Bottle Plotter

.jpg)

.jpg)

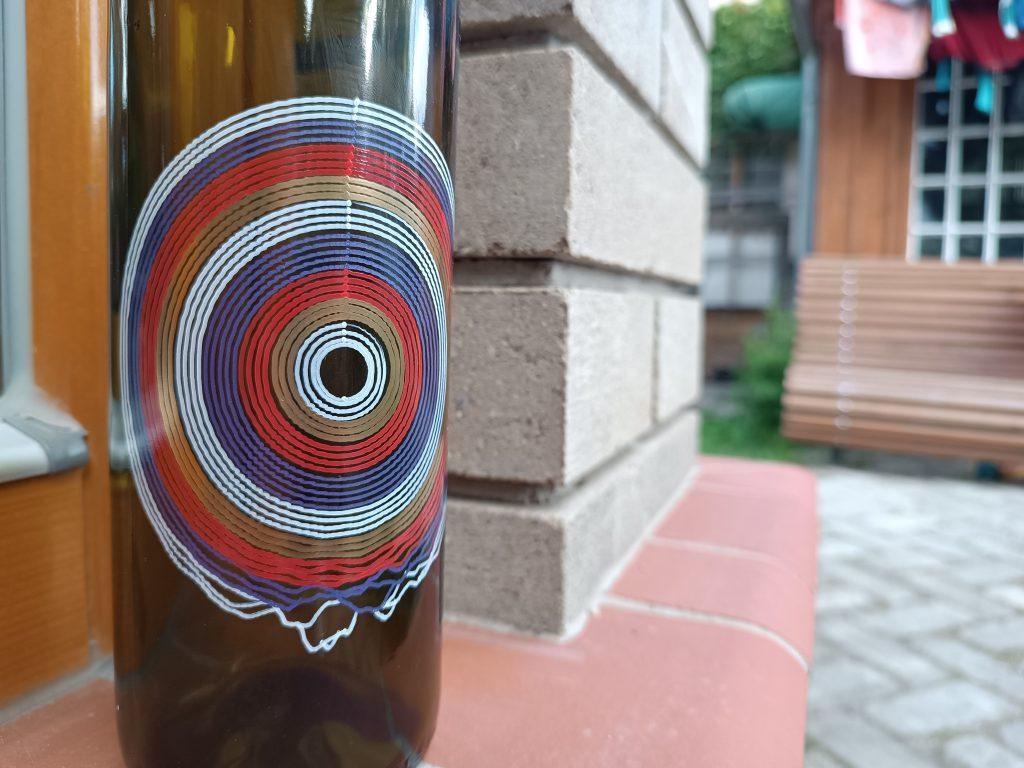
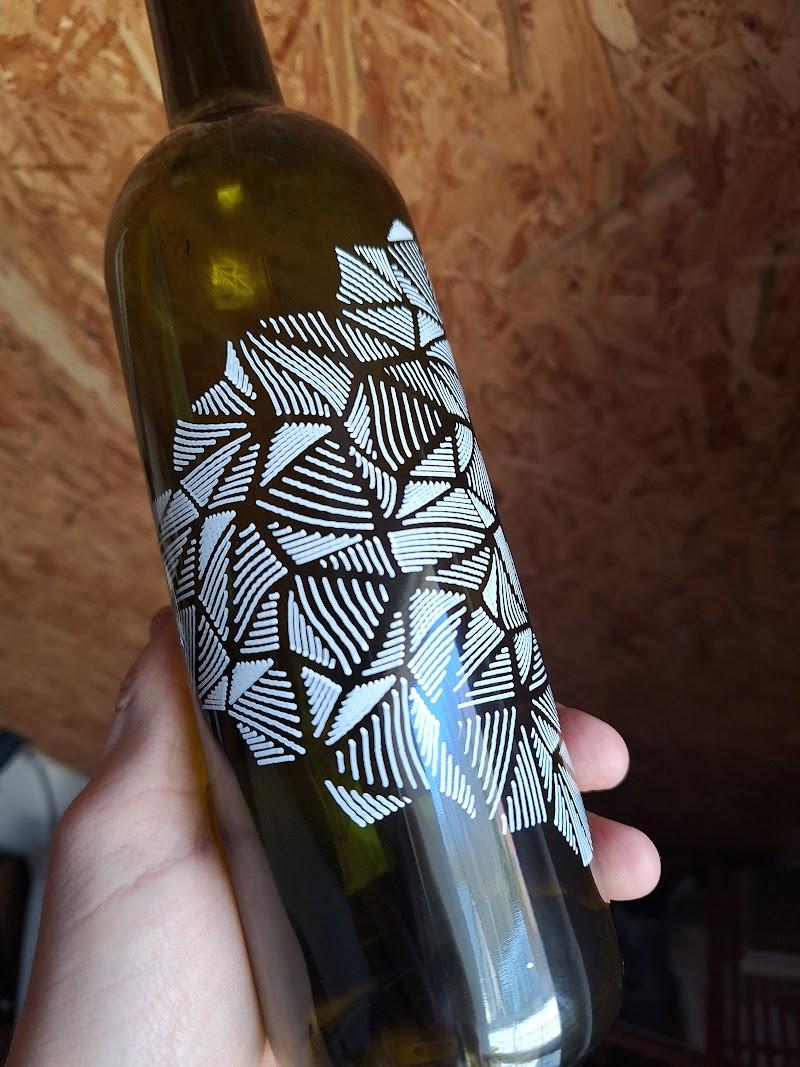
Bottle Plotter is a CNC plotter that was ground up designed to pen plott on bottles. It's my hobby fun project that I used as opportunity to learn and test highly agile approach to the design. So after quite some time and plenty of iterations I end up with quite cost efficient and reliable machine that is capable of pen plotting on bottles.
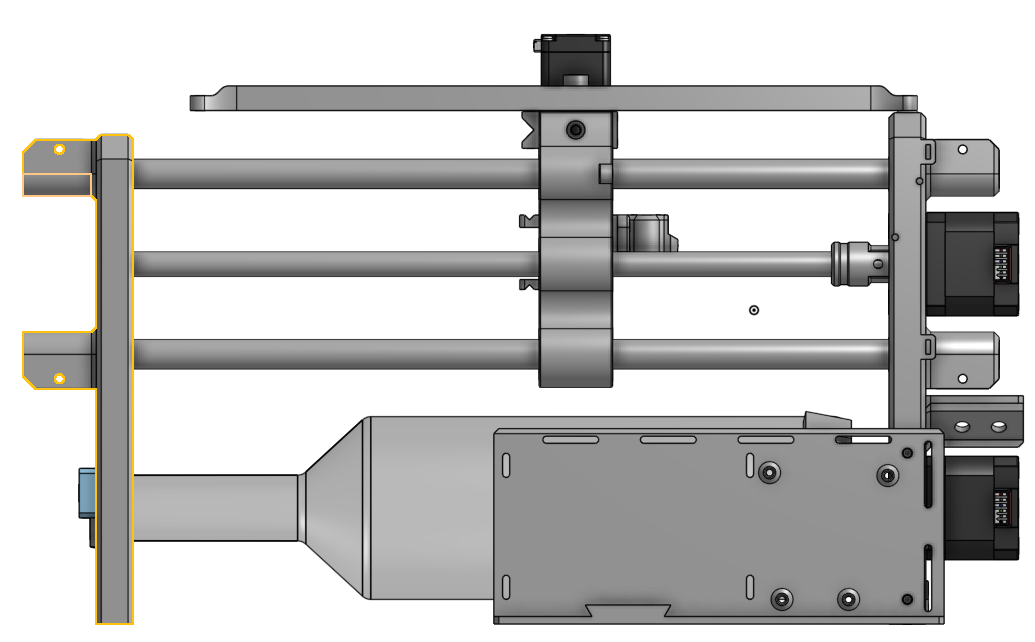
Bottle plotter is mainly 3D printed for ease of manufacturing and then using common standard parts used in 3D printers which are easy to get and cheap.
Assembly could be probably done in something like 2 hours, but never measured it. The most time consuming parts is some soldering but it is not hard to do.
For most up to date data visit my GitHub or seek for help use Discord
Or if you are interested in story how the plotter was created check my blog
Supplies
As first step order all necessary components. Use provided parts list as reference all links are Amazon Associate so by using those you can support me. But all part are quite generic and can be sourced from anywhere.
Main categories are:
- Main components
- 12mm Linear rod - 2 x 40cm
- 12mm Linear Ball Bearing - 2x
- 6mm Linear rod - 2 x 11cm
- 6mm Linear Ball Bearing - 4x
- Lead Screw - 37cm
- Lead Screw - 8cm
- MicroSwitches - 3x
- Arduino CNC shield + 4 x DRV8825
- Arduino UNO
- Nema 17 X,Y Steppers 2x
- Nema 11 Z Stepper
- 24V 2.5A PowerSupply
- Ball bearing - 1x
- Bolts - Best to source locally
- M4x10 - 19x
- M3x10 - 12x
- M2.5x10 - 4x
- M3x15 - 6x
- M4x??? - 1x - Long for Y limit switch
- Wires and small electronics
- Shielded pair for Limit switches 3x
- 2-socket header female for limit switches 3x
- 4 Wires cable for Z motor extension 1x
- 4-socket header female for motors 3x
- Faston connectors for limit switches itself 6x
- Optional
- 24V Power Switch
- Panel LED Diode
- Resistor for LED
- Pens
- Edding 780 or similar diameter able to paint on glass
3D Printing

When waiting for components to arrive start with 3D print. I printed all the parts on Prusa MK3 with 0.3mm layer draft settings and with PLA filament (40% infill). This seems to work fine and all the dimensions are tuned for this setting, but you might use whatever you want. PLA seems fine but it is little bit brittle and temperature sensitive.
Printing all the parts can take more 24 hours. It is up to you if prefer to print more parts at once or do smaller batches. Each approach has its pros and cons.
Mechanical Assembly


If you have everything printed and also have all the mechanical components. You can start with the most satisfying part. Putting things together. Follow pictures and 3D assembly to be sure if you do everything right, but it is quite straightforward.
- Push linear bearings and trapezoidal nut into Z Slide
- Push lead rods left side 3D print don't forget to insert Z Slide on rods then push right side on rods
- Mount X and Y motors on left side
- install lead screws reduction on X and Y motor axis
- Install lead screw
- Assembly X axis bottle holder
- Assembly Z pen holder, motor, slides and screw assembly
- Screw it to the Z slide
- Install Arduino UNO with CNC shield on back electrical board.
Cabling


When you have main electronics board, motors and limit switches on place you can start with installing cables. On X and Y measure the motor cable to reach its connector on board and then cut it off with some reserve for cable management later. Z axis motor comes with loose wires so these has to extended to reach the board.
In the same spirit measure length for limit switches. There is hole for cable routing prepared for X limit switch. You can solder or crimp faston connectors on wires. Make sure you are using shielded pair of wires as I had issues in past when the motors were creating noise on limit switches cables when not shielded.
CNC shield is powered from main power supply that provides main power for motor drivers. Arduino itself is powered from USB connected to PC.
There is place on the 3D print for LED diode and switch to switch on/off 24V to shield this will stop motors from moving but keeps Arduino still alive. It is helpful as it servers as stop switch in case of crashing the CNC. But it is not necessary.
Setting Microsteps for Axis

Please set proper amount of microsteps for each axis with jumpers hidden under the drivers. See the M0 M1 M2 positions.
- X M0,M1,M2
- Y M0,M1
- Z M0,M1
You can play around with microstep setting but you will have to also change step/mm ratio in GRBL config.
You have to set up all values in GRBL on Arduino according to attached file. In future you can play with acceleration or you will have to change the step/mm value for rotational axis as it is valid only for one diameter of bottle. Right now it is fine tuned for specific size of bottle. If you would like to print on smaller/bigger you have recalculate step/mm ratio for this axis based on diameter of bottle you wish to print on.
Downloads
Software
Main board itself does not run on its own, it only converts G-Code received from serial port (USB) to pulses for motor drivers. So you need your computer to be connected and provide G-Code. Install CNCjs or similar software that can communicate with GRBL on the board. In case you are using arduino you have to install GRBL firmware on it. If you are successfully connected you should be able to see settings from GRBL printed into the console.
Update GRBL settings according to provided list.
For creating the are you want to plott is the best to install Inkscape which is free vector graphics editor that can output SVGs. Or you can use some samples from Github Page
To convert SVG to G-Code you can use my very basic slicer on https://bottleslicer.gaman.cz
You can check if the G-Code is correct it should like something like this in CNCjs
Power Up!
Now if you have everything right we can start with powering up the motherboard with 24V. Connect Arduino Board to the PC with USB cable and then also 24V.
If everything is correct you should hear motors and the also should be hard to move by hand as the current is flowing thru them.
- Check if all Limit switches are connected and that you get the information into GRBL. By sending "?" you will get info which switches are pressed. Check each of them. Otherwise you will not be able to home the plotter.
- You may set current for each motor. But it should not be necessary in the begging. If the current will be high motors will get hot and can melt the plastic eventually, if the current is too low motors will easily lose steps and you will have to use lower speeds and acceleration.
First Print

Start with opening Inkscape create new drawing and set page size to 235mm x 150mm which is almost the surface of wine bottle I use for plotting. And in the middle create simple rectangle.
I'm using Edding 780 or 792 fine tip pens, that can paint on glass without issues. But unfortunately when the print is way too long it can start to have issues and stops painting. You can revive it by dipping it in bezin. Or you can use thicker pen that is not that prone to "drying" out.
Then export the drawing as SVG file
Exported SVG import into https://bottleslicer.gaman.cz this is my convertor which is still way in Alpha phase and I would recommend to use some other more mature G-Code convertor, but this will work for this simple example.
Generated G-Code then open after homing into CNCjs
How to start printing
- Insert bottle
- Home Machine
- Tell it to go to Z 0
- Insert pen to touch the bottle surface and then fix it
- If you have loaded G-Code you can start to print
Creating Your Own Art

You can use art done already by somebody else as for example from plotterfiles.com. Our you can design yours using Inkscape.org