Bridge for Wooden Train Set and Roadways (Brio Toys Compatible).
by Asinoma in Workshop > Woodworking
332 Views, 0 Favorites, 0 Comments
Bridge for Wooden Train Set and Roadways (Brio Toys Compatible).
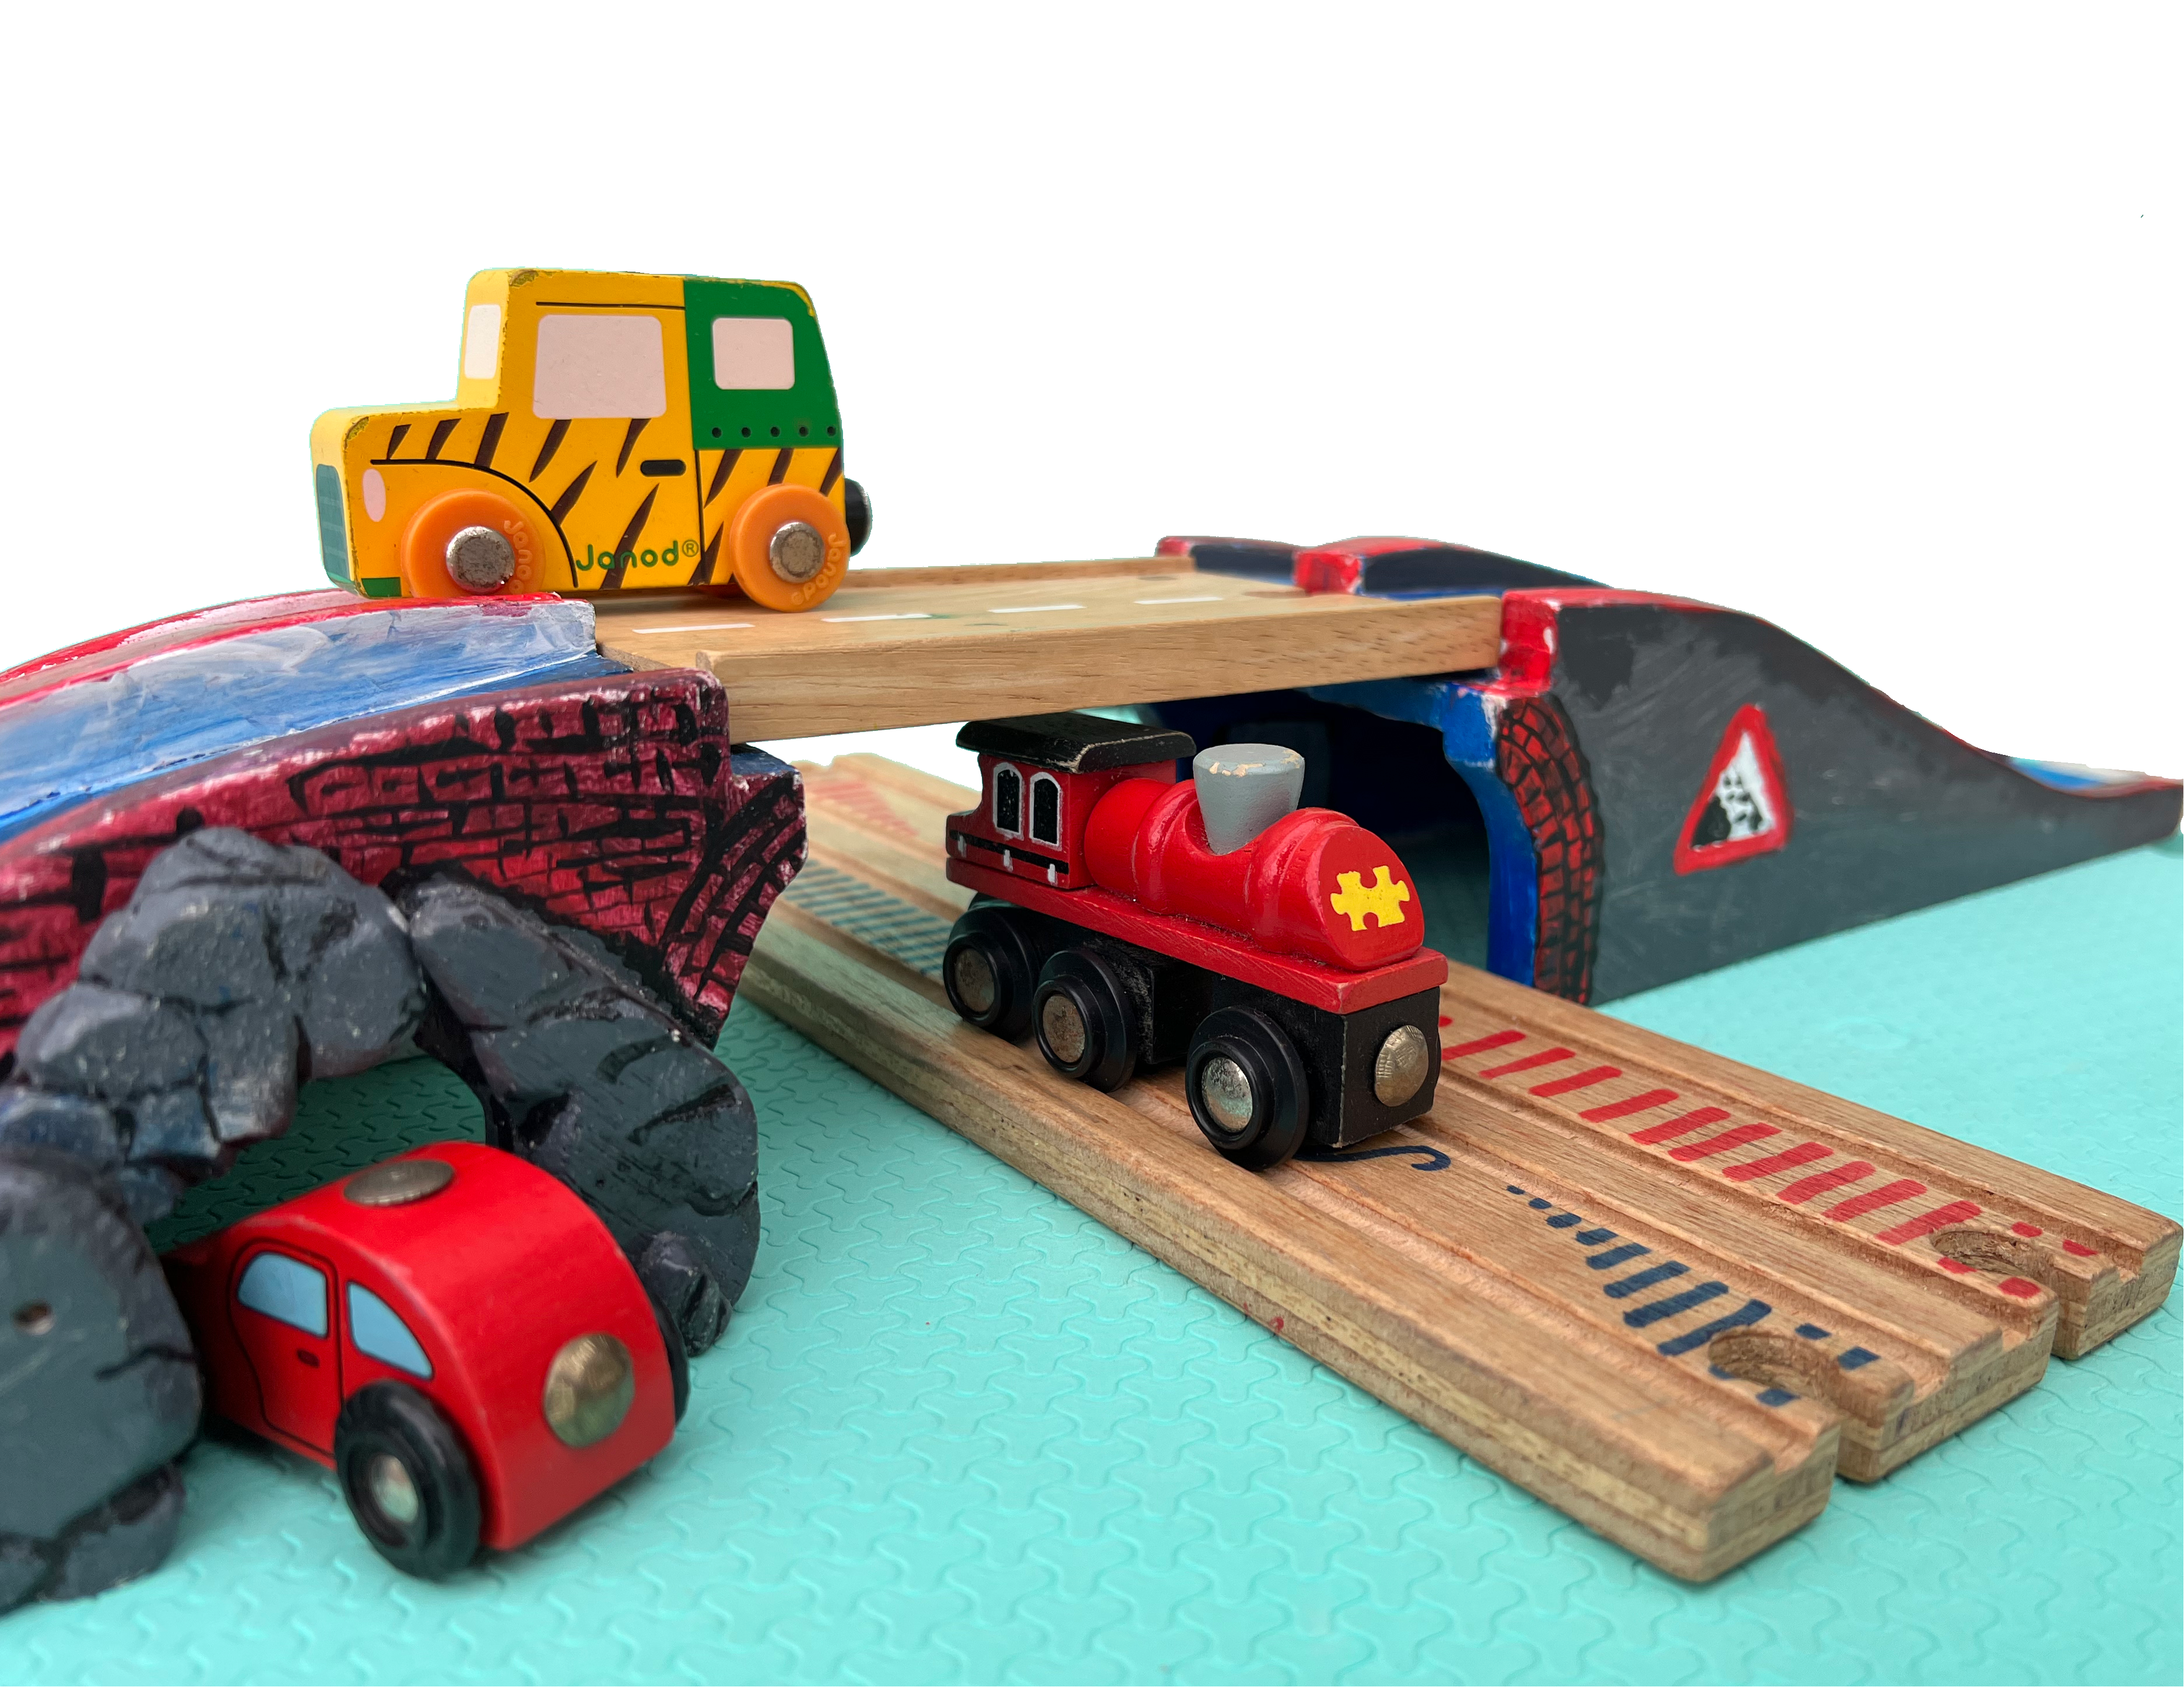
There are many brands selling wooden trains and vehicles. Some propose a few roadways to go along the railways so I wanted to complete our system with a bridge for our cars. I also wanted to add some of the playability you can find in car circuits toys (like Darda or Hotwheels) by adding a secret door and a dangerous crumbling rock cave.
Supplies
12mm thick triplay for the outside layers.
Pine lumber in the approximate dimensions: 1"x2"x8' (20mmx41mmx2440mm).
reciprocating saw
sandpaper and wood files
power drill with thin drill bit
thin chisels (5-6mm) or exacto knife
wood glue
clamps
Measurements
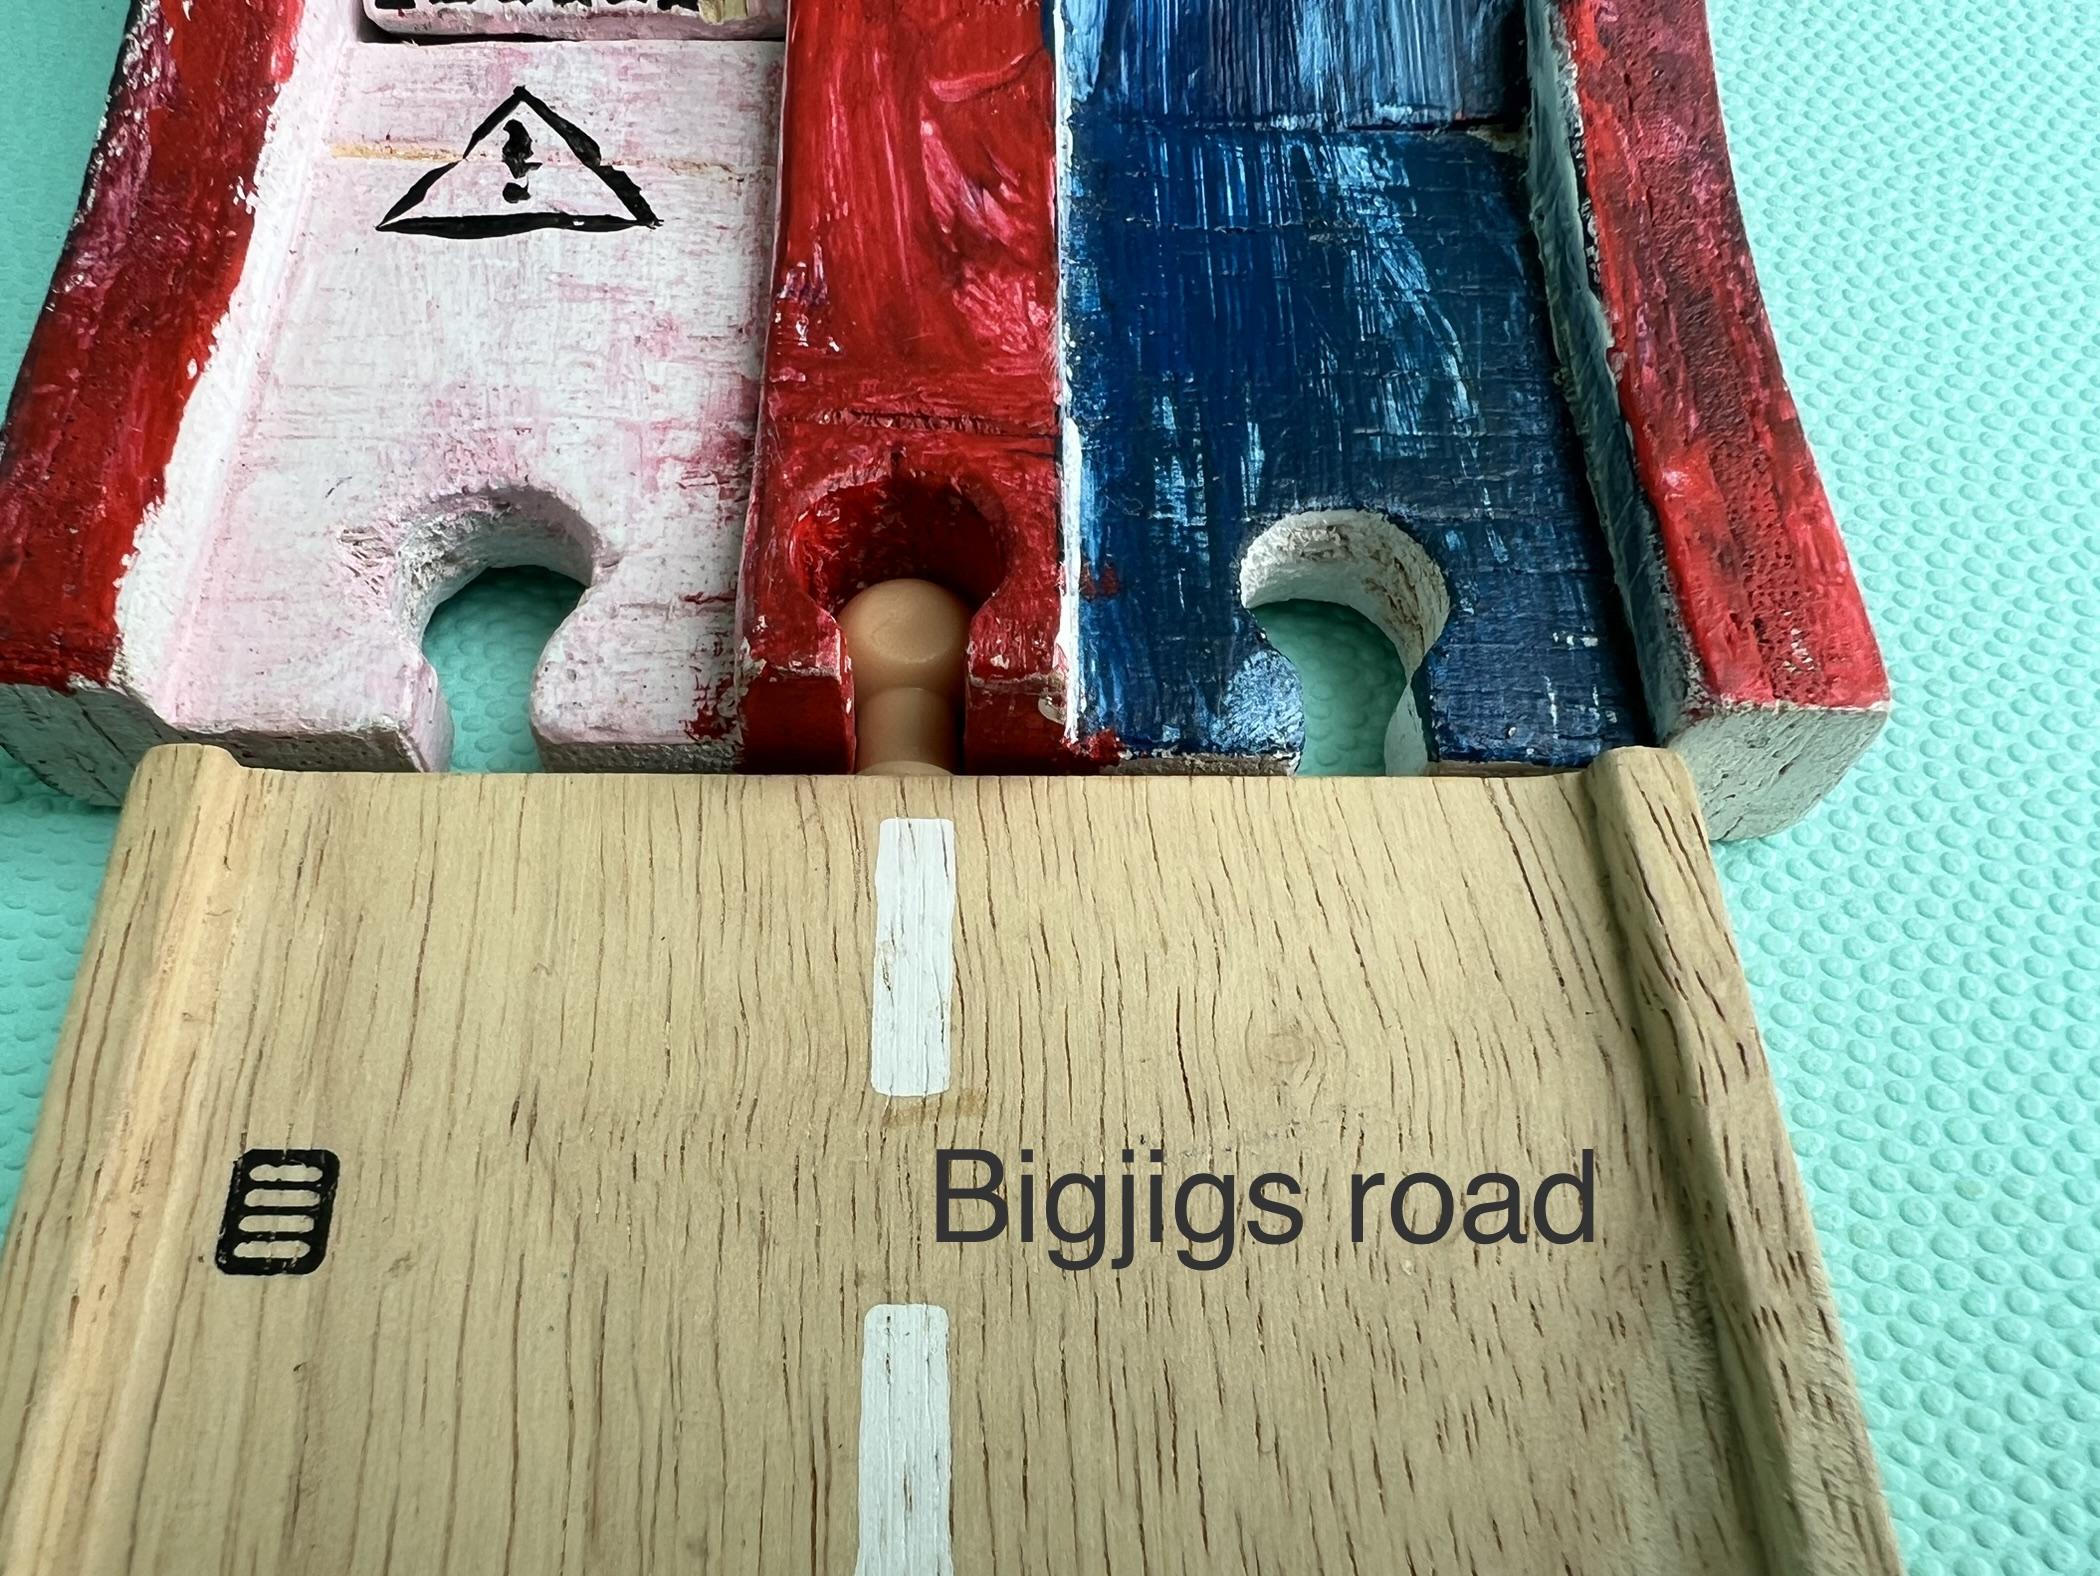
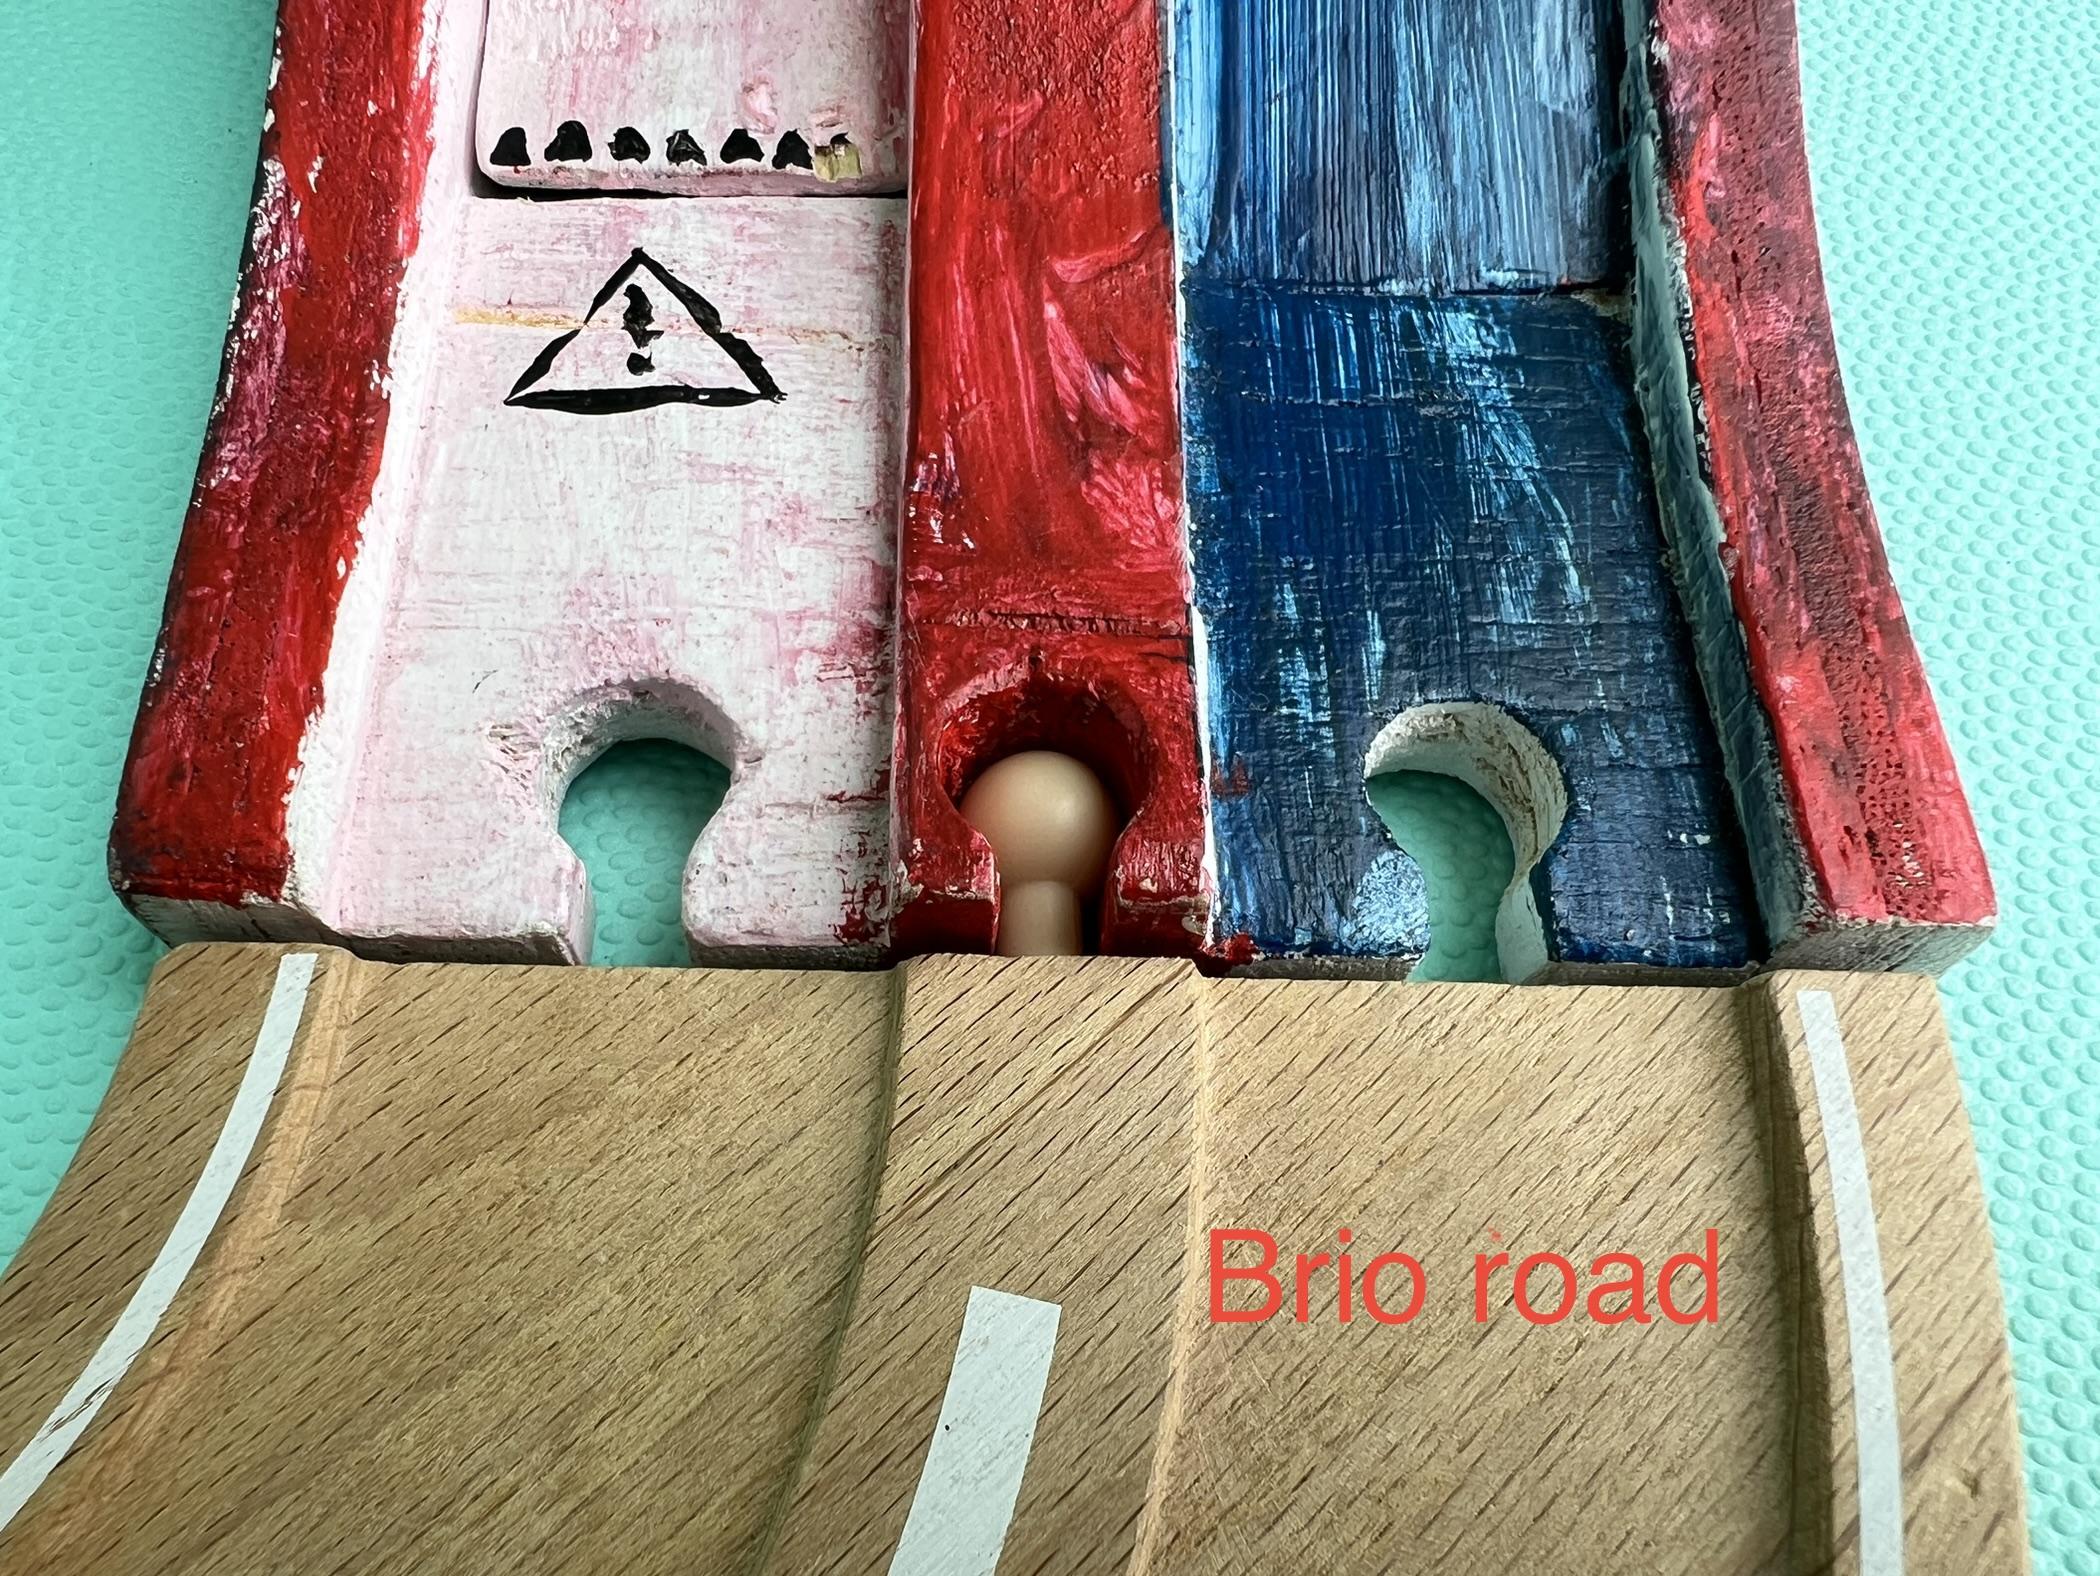
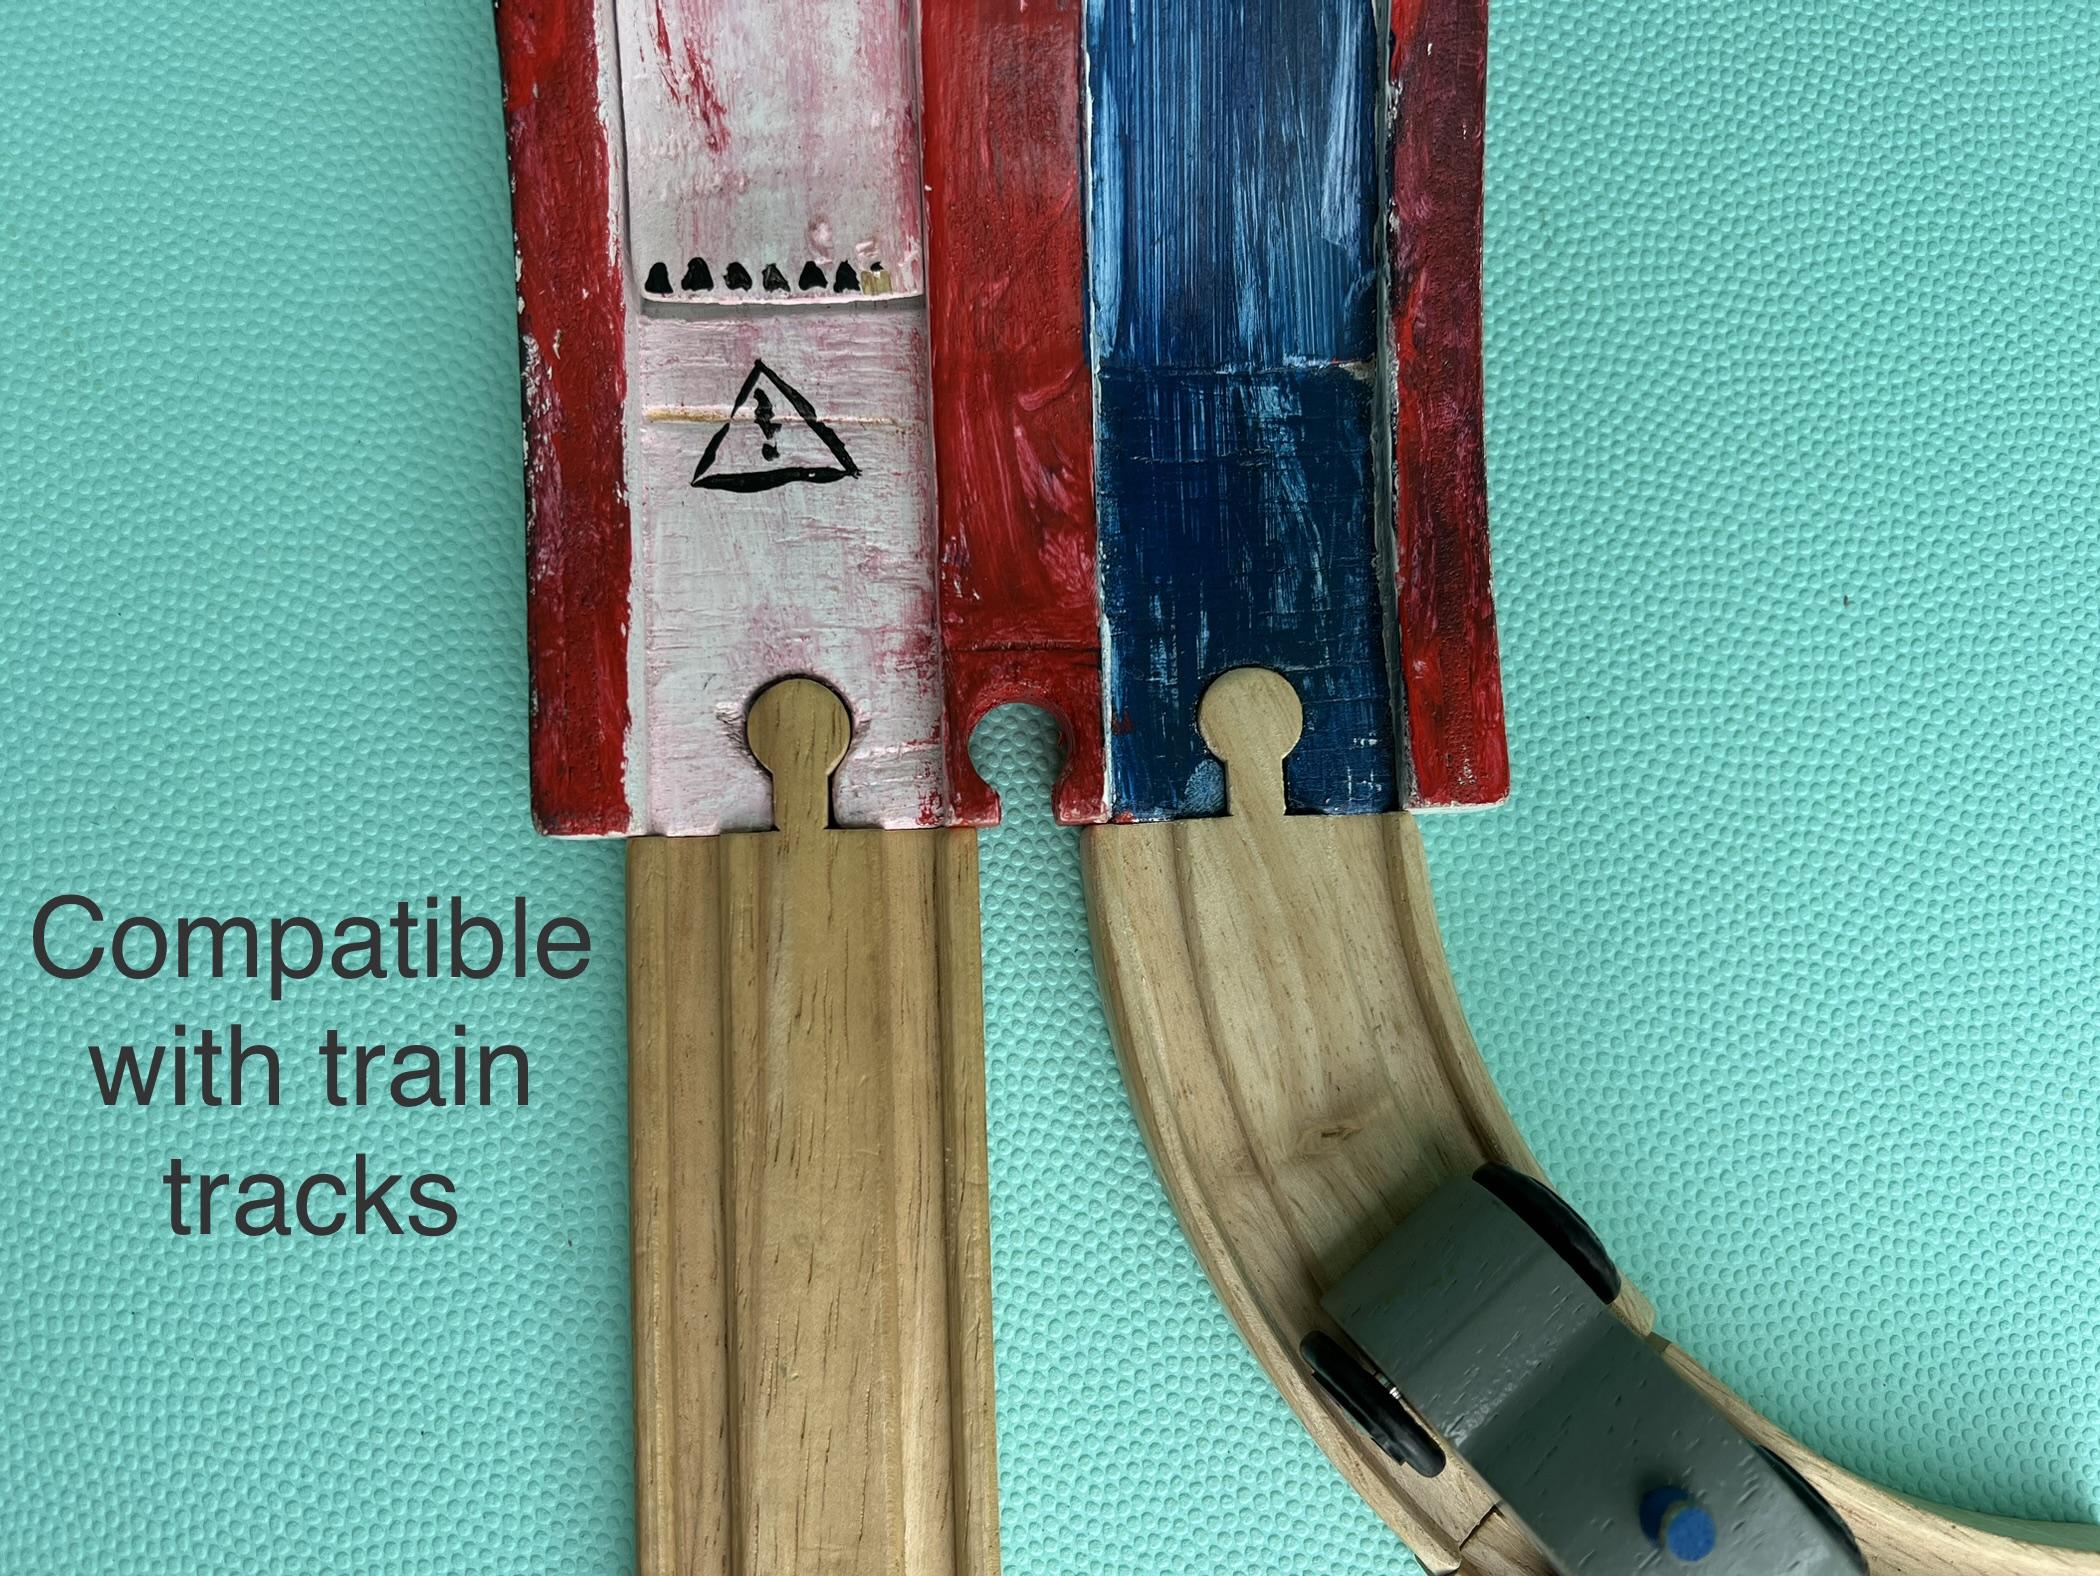
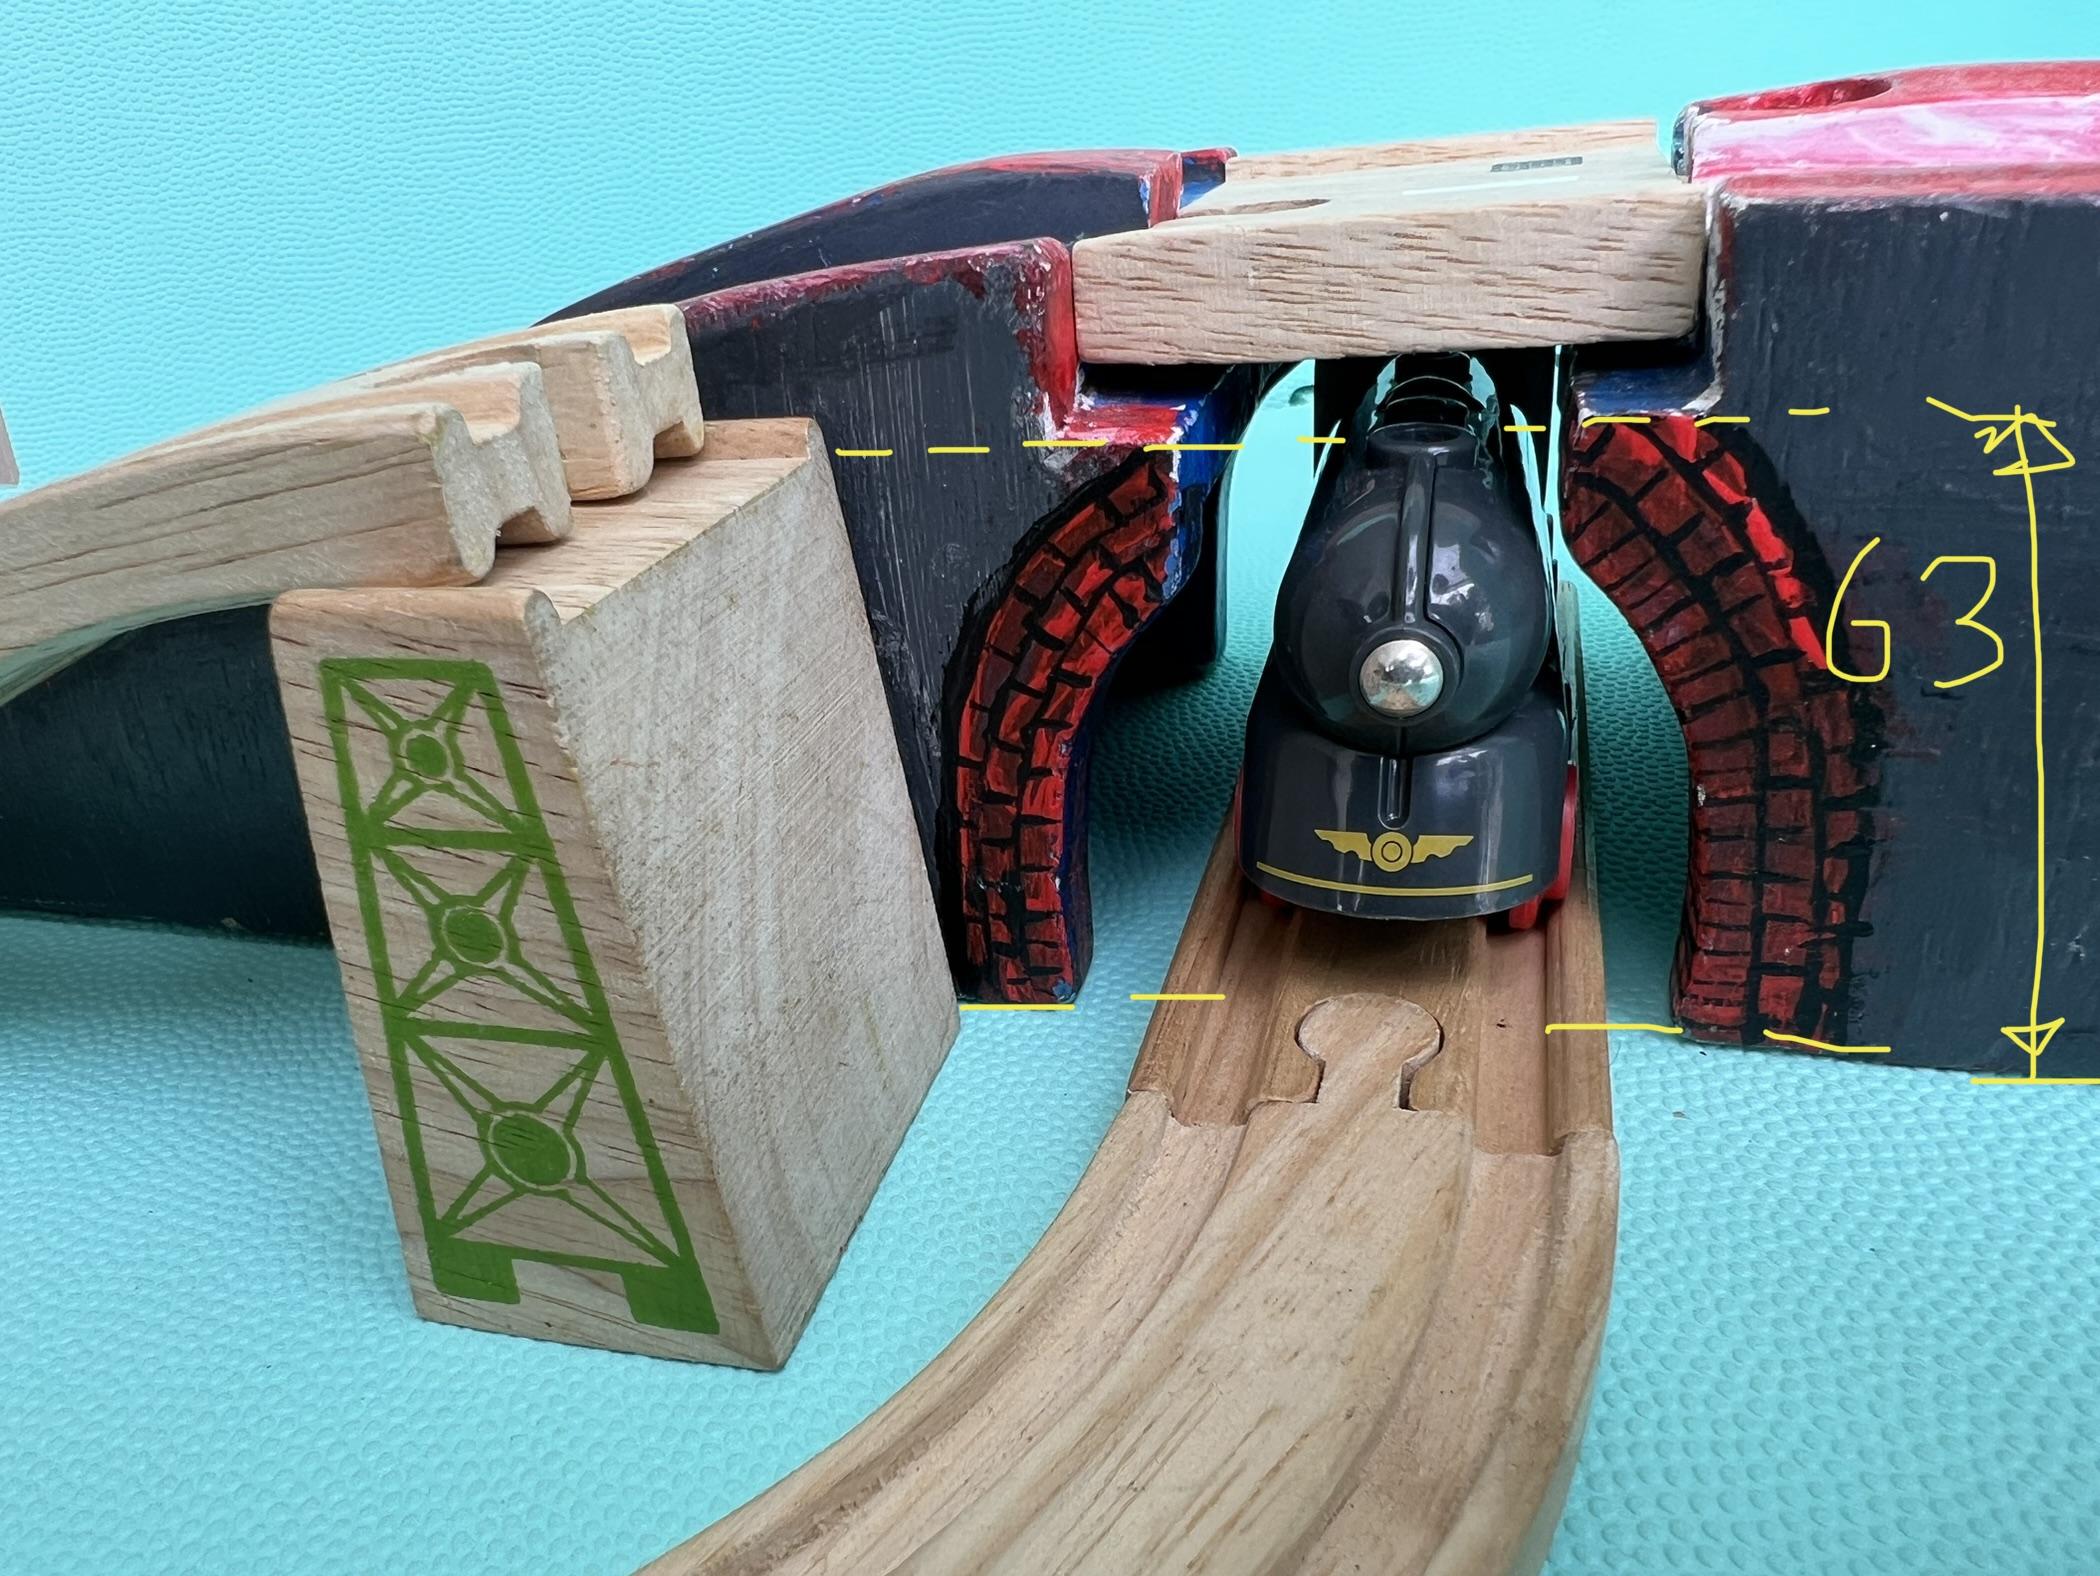
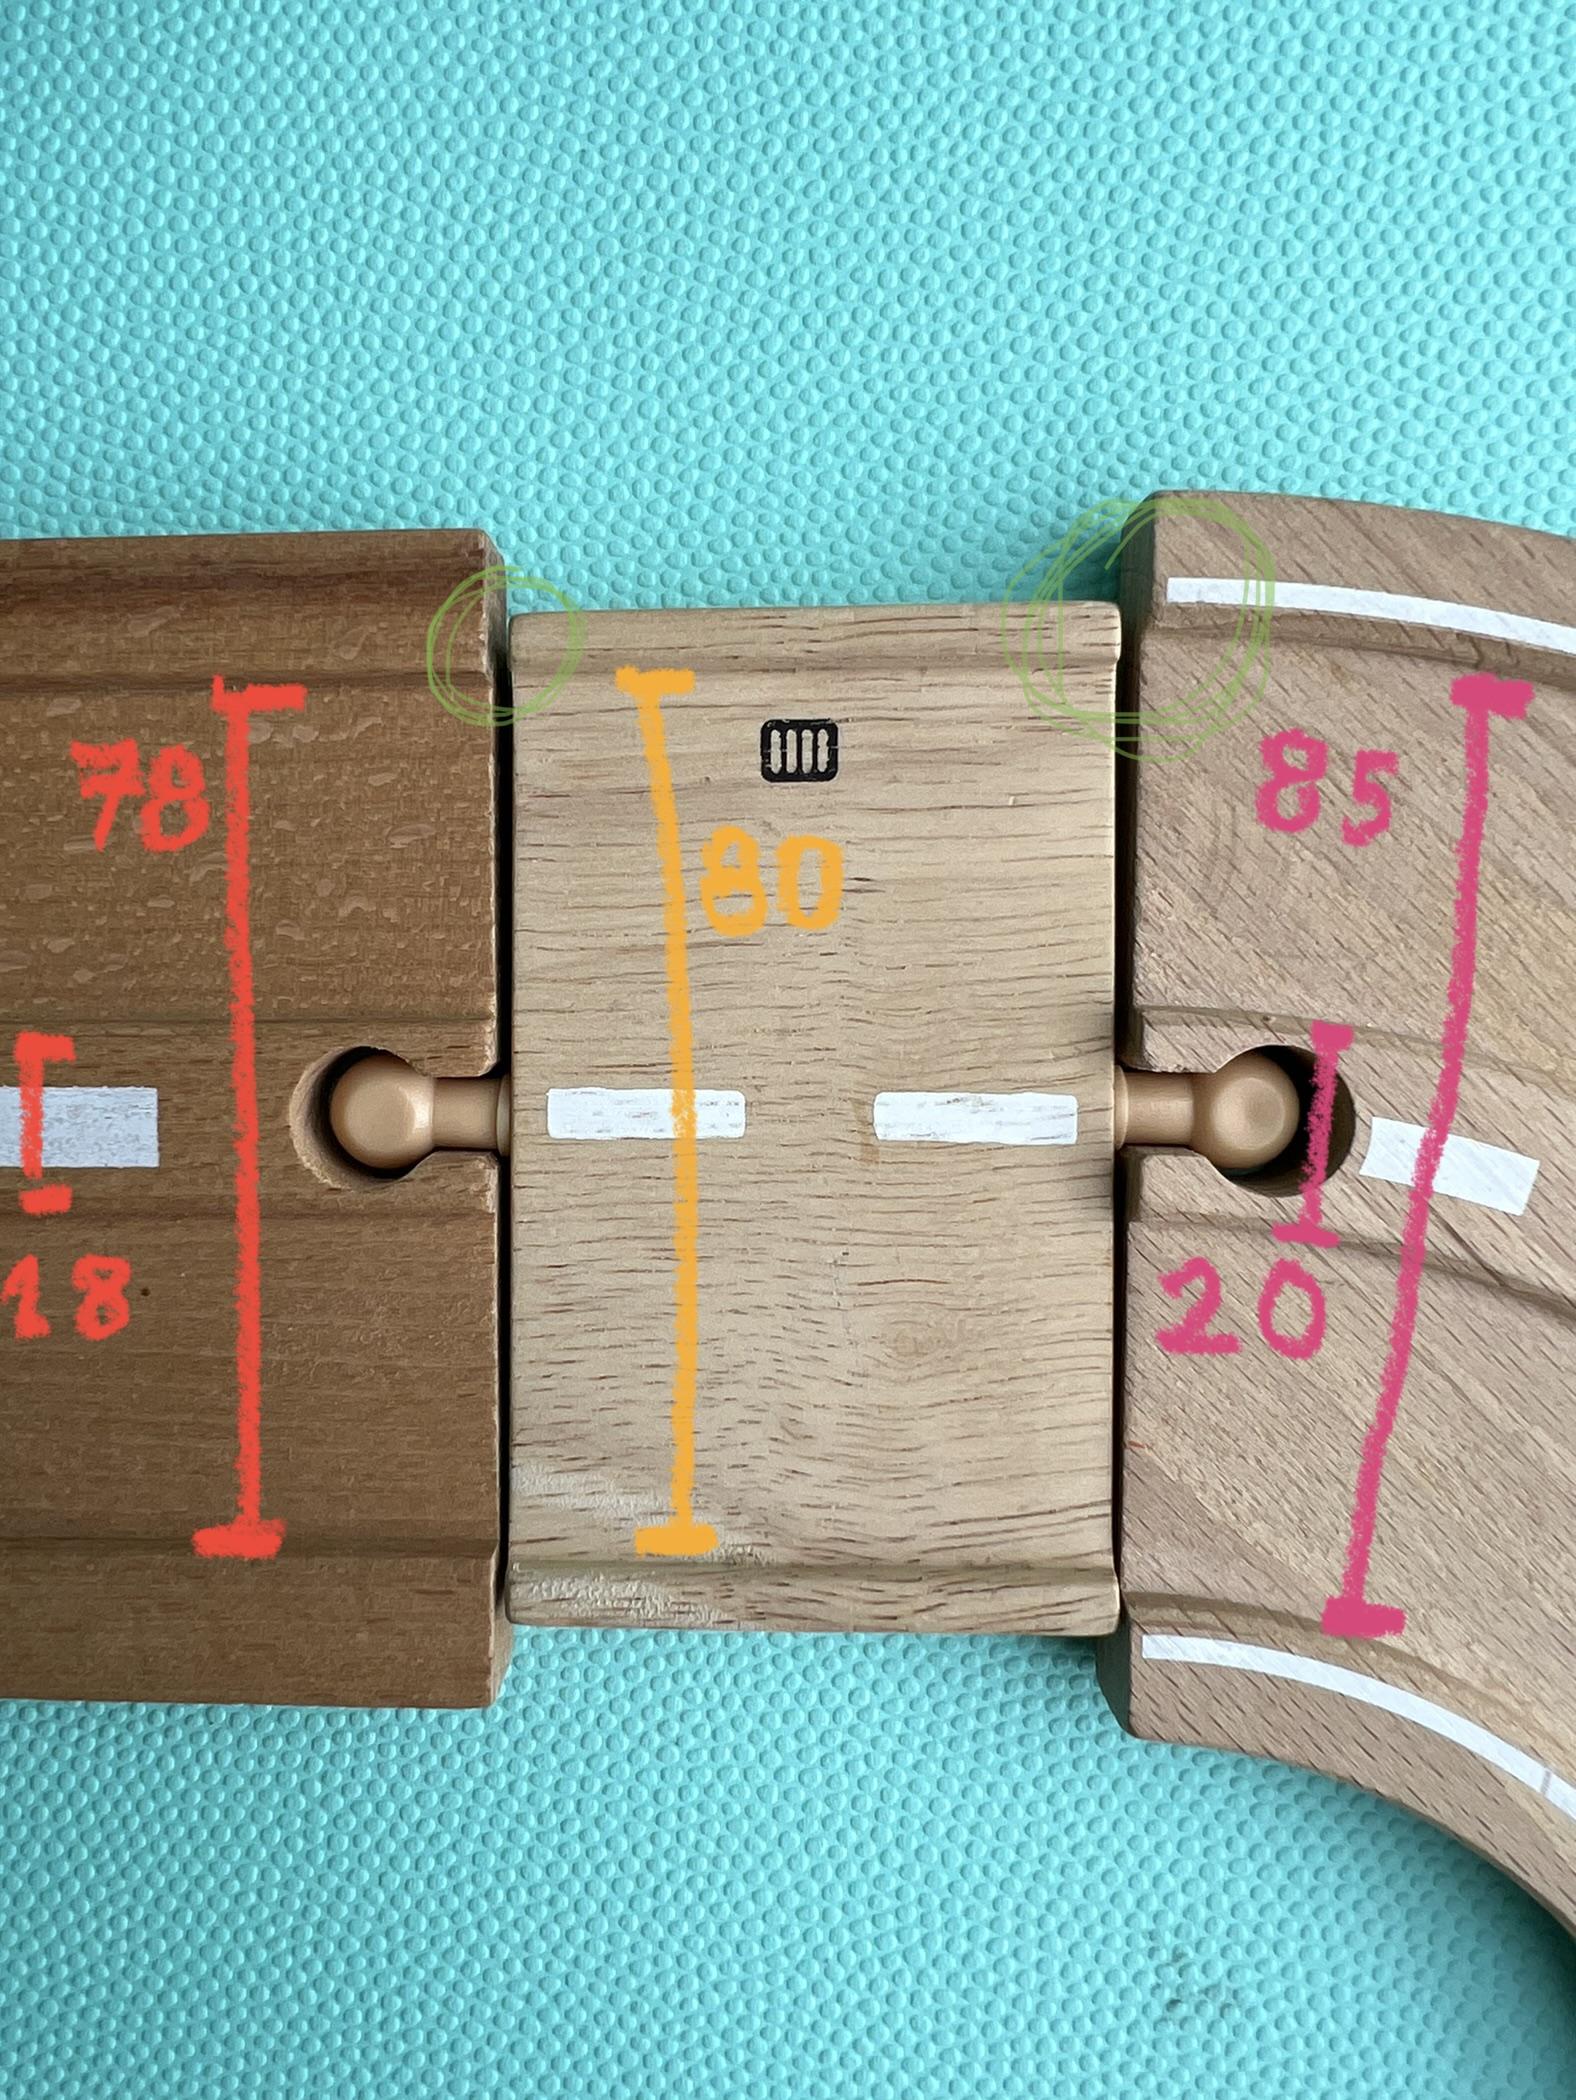
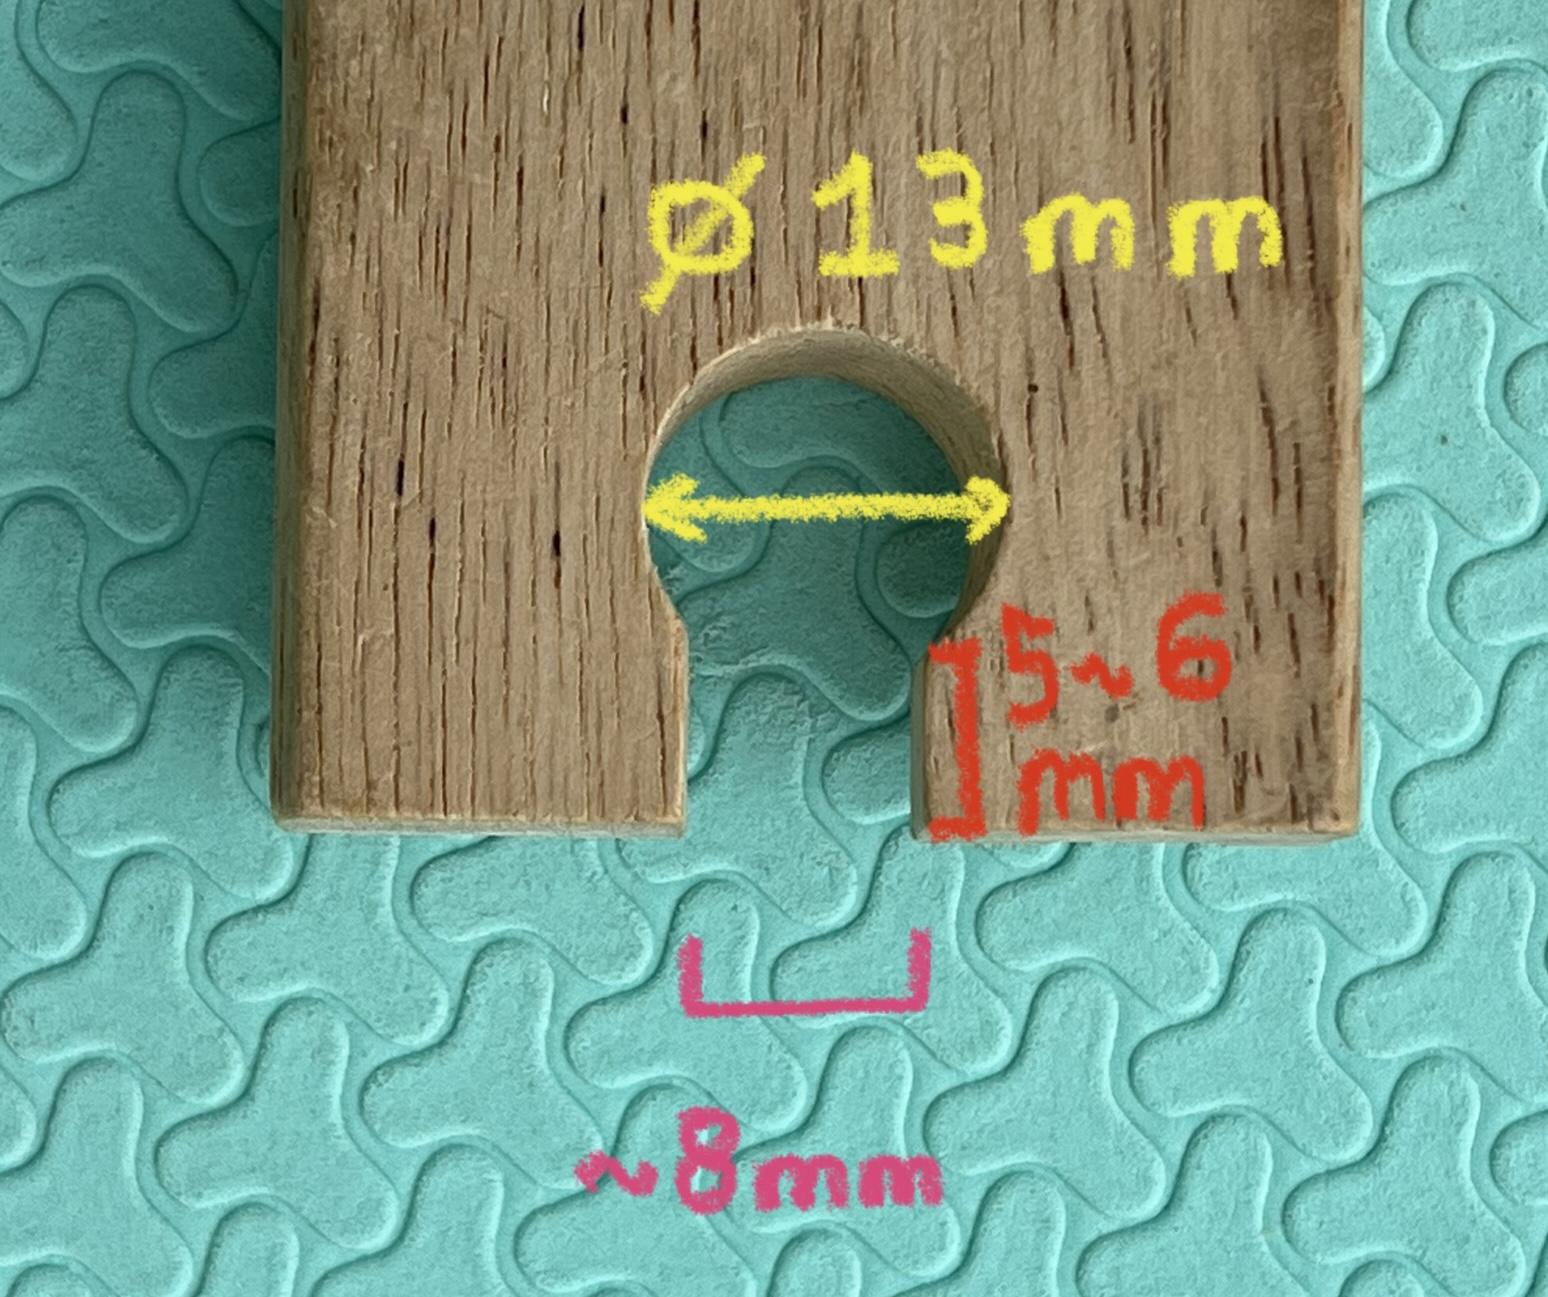
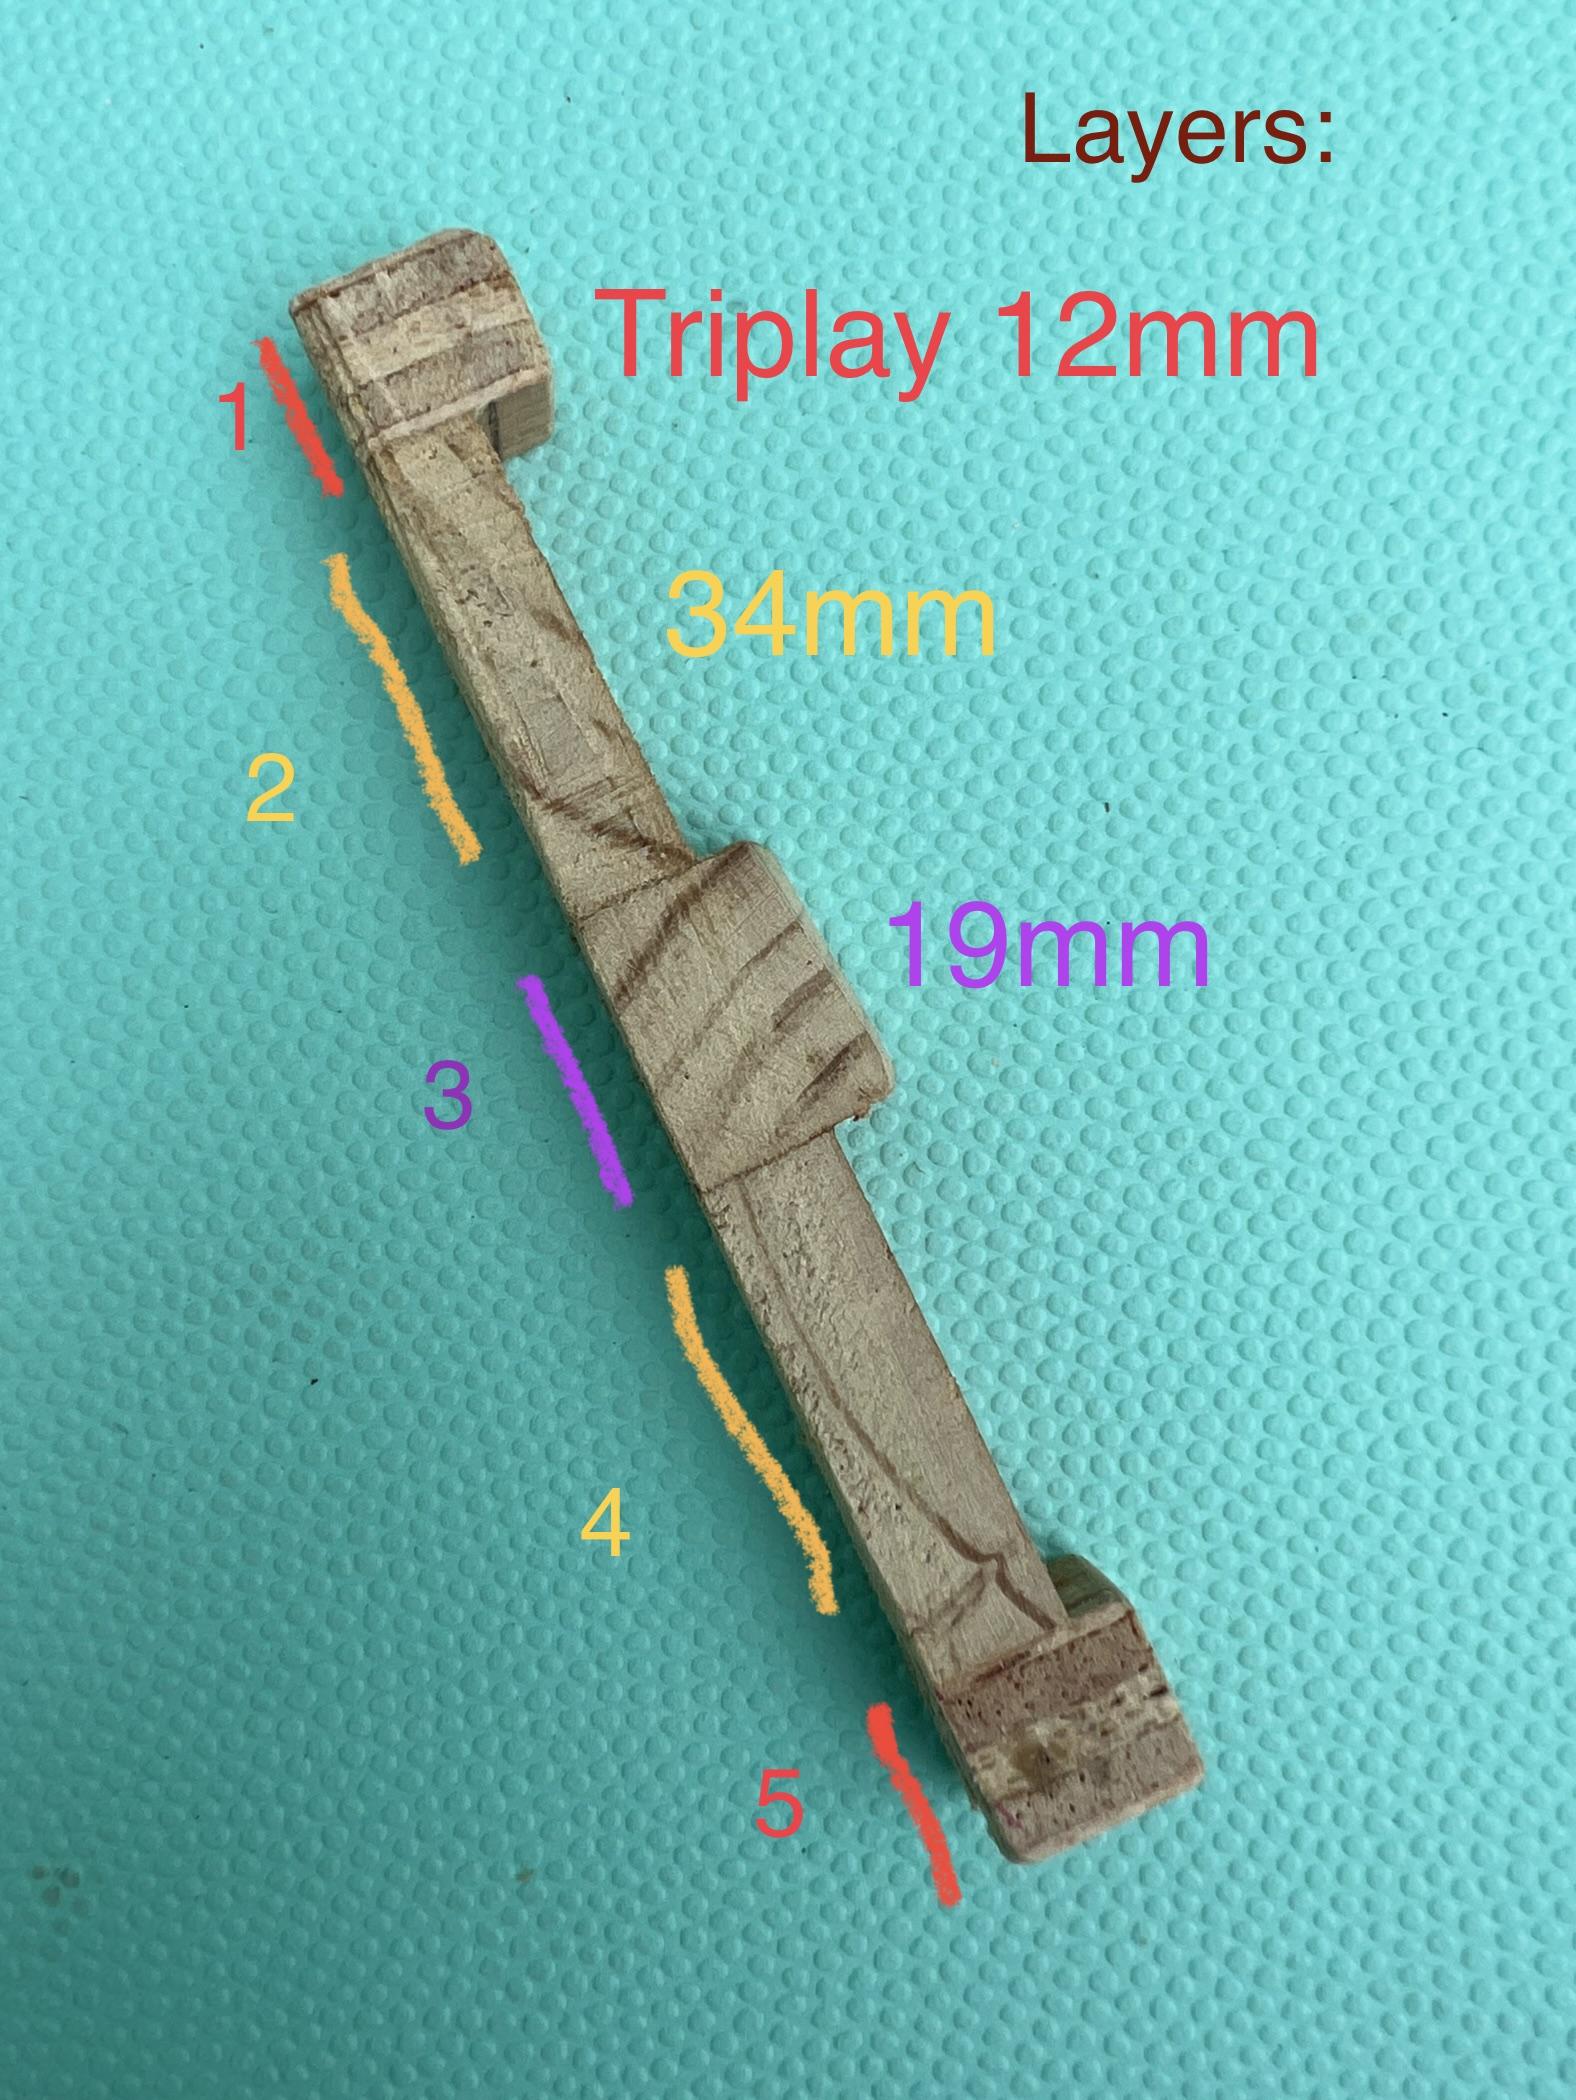
Decide how long should your bridge be in order to fit in well with the standard you already own at hhome. Once this is decided, everything else is easier to figure out. I made mine compatible with both our train tracks and our roadways because you should never underestimate the creativity of a 5 year old.
If your train set is compatible with the vario system (Brio, Hape, Liddl, Bigjigs...) your bridge should have minimum 63 mm headroom in order to allow a train and its tracks to go under.
Every lane on thhe bridge should be around 34mm large and connection holes should be drilled with 12-13 mm diameter drillbit.
Cut the Boards
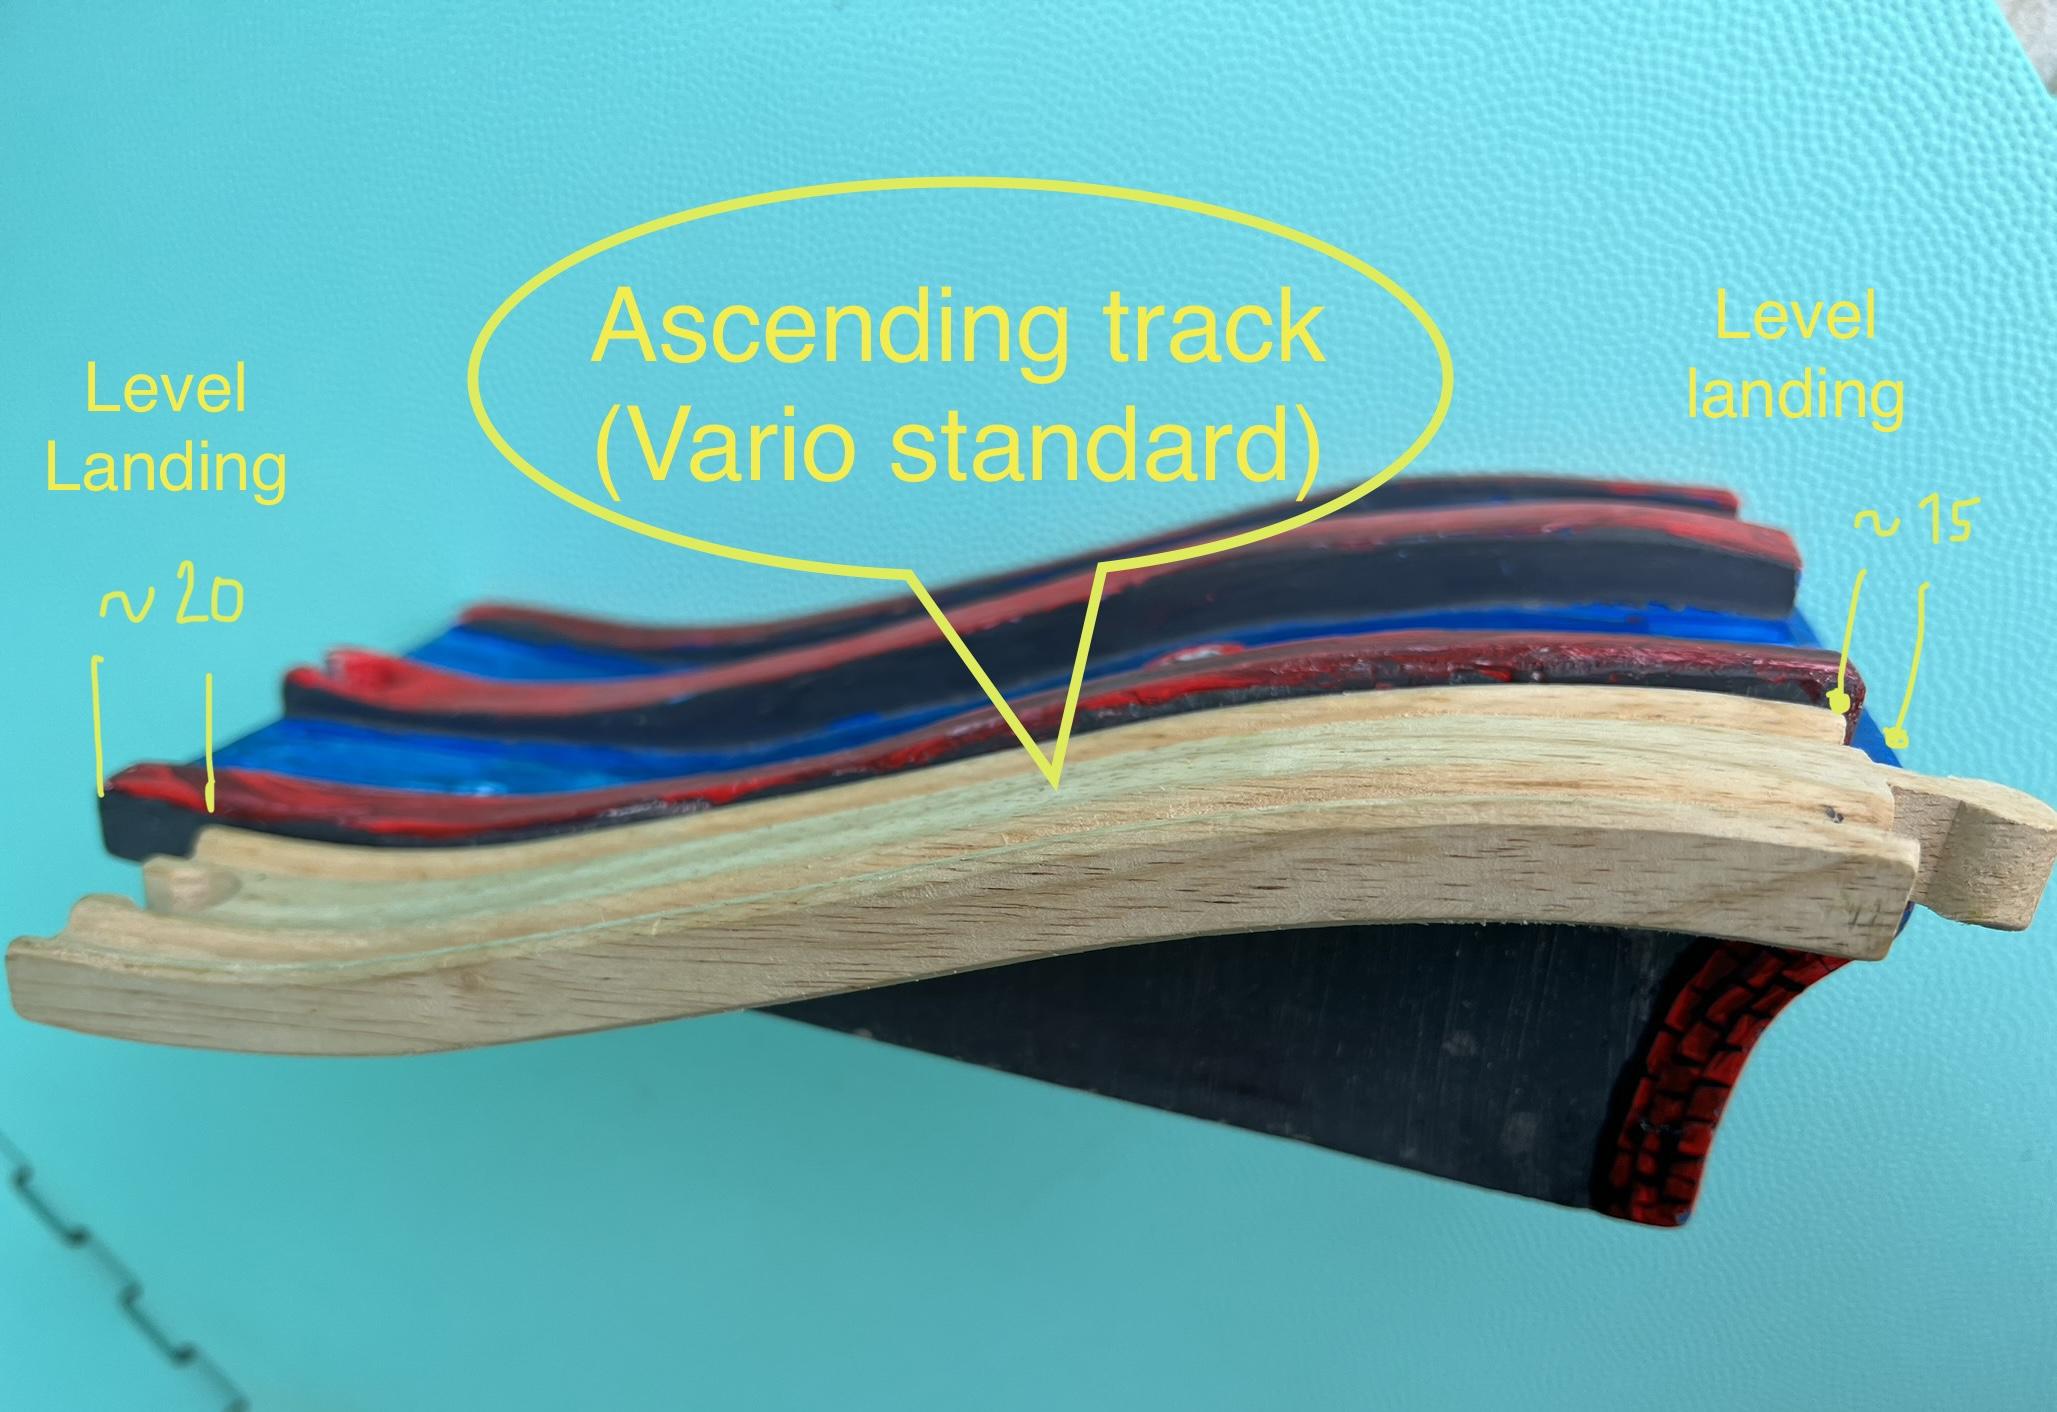
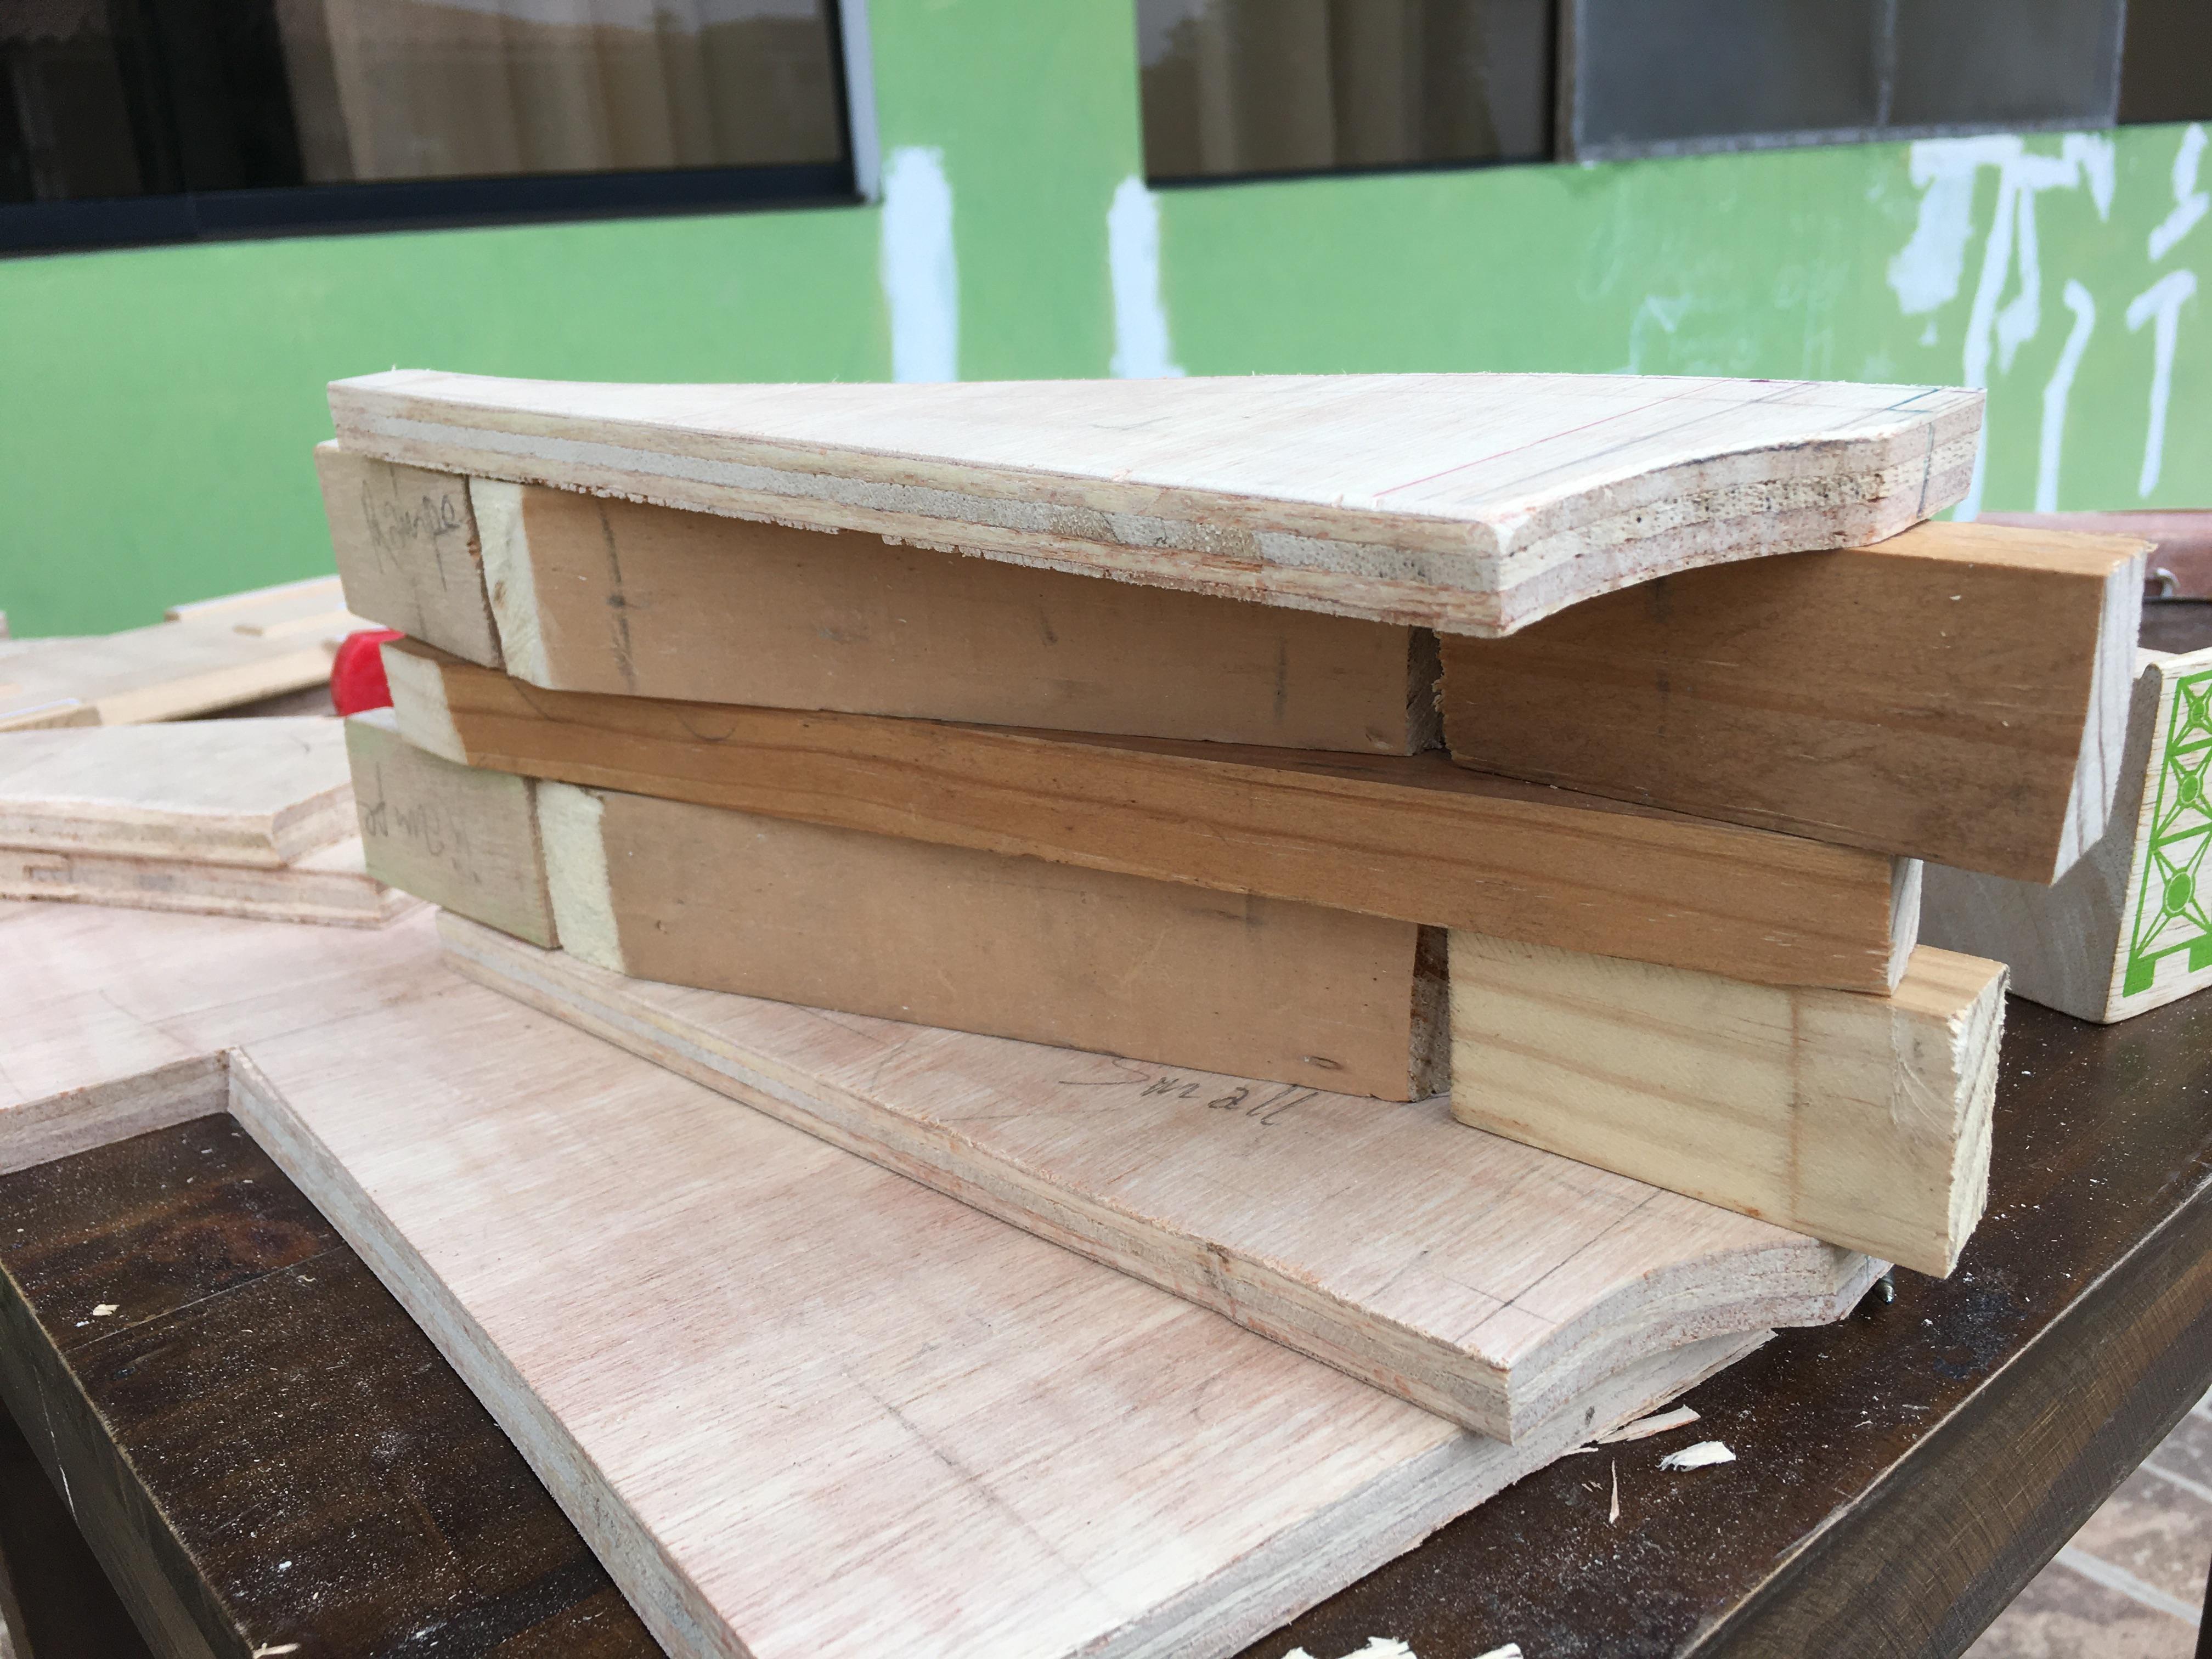
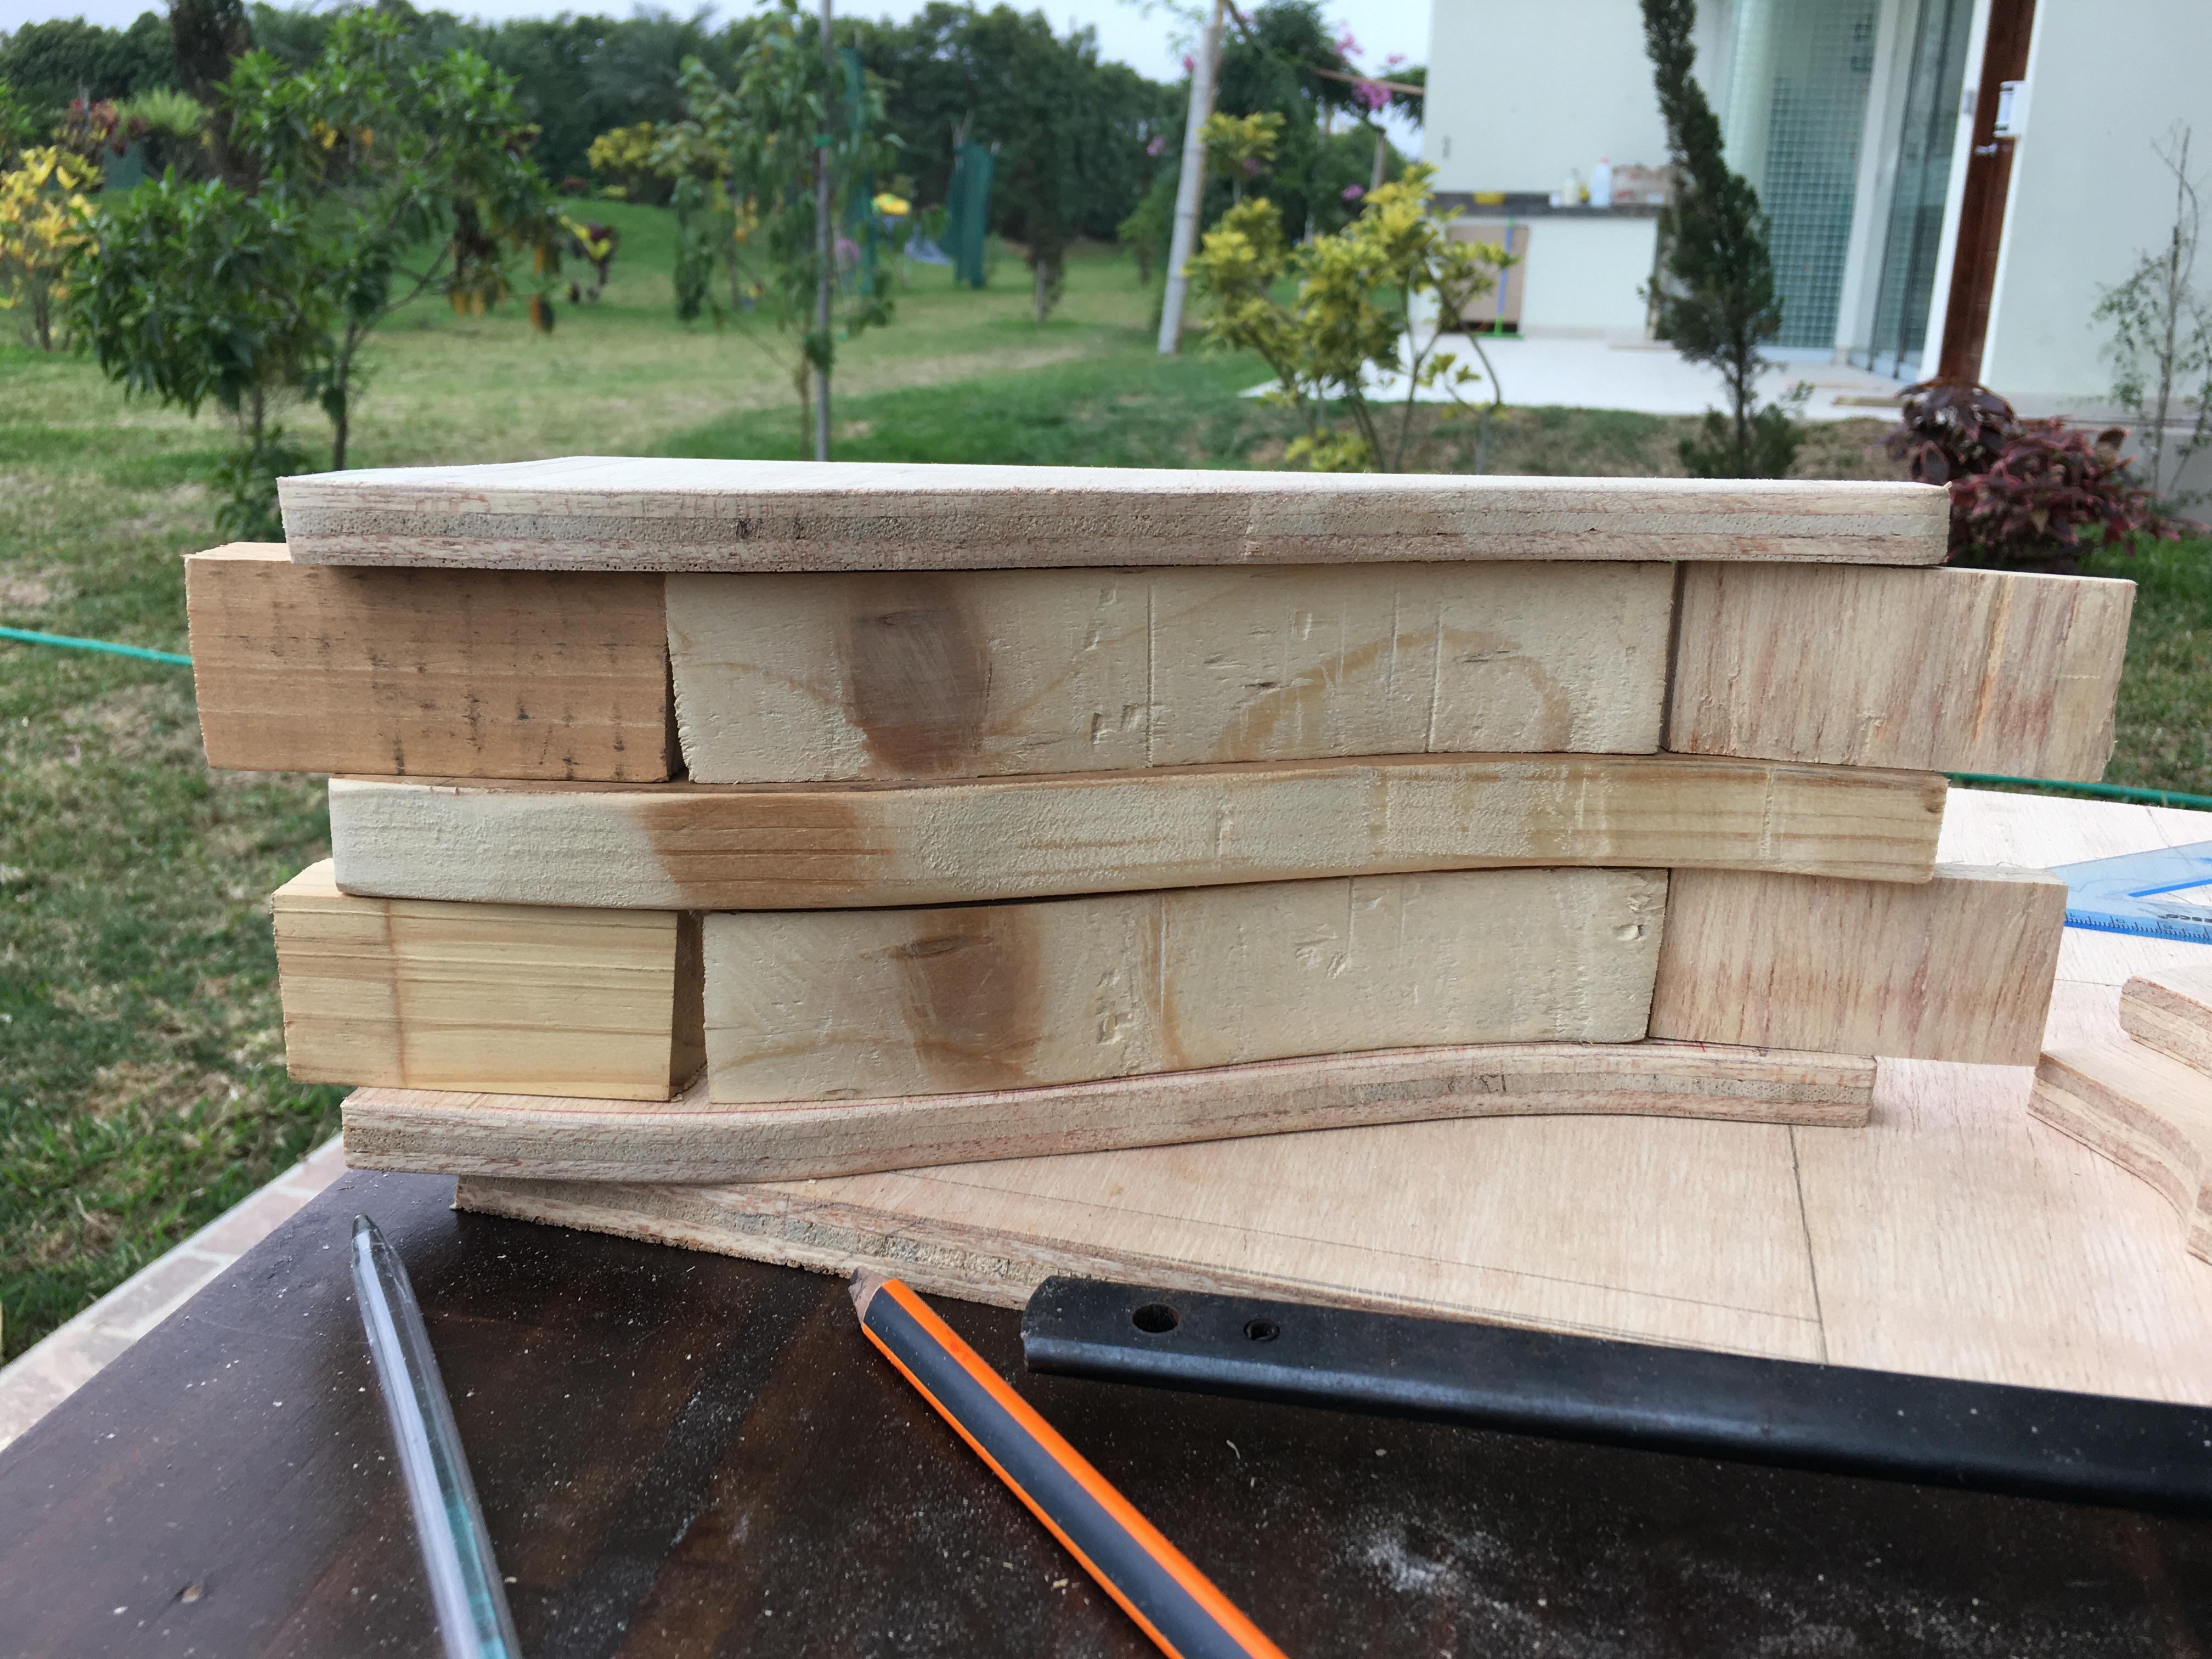
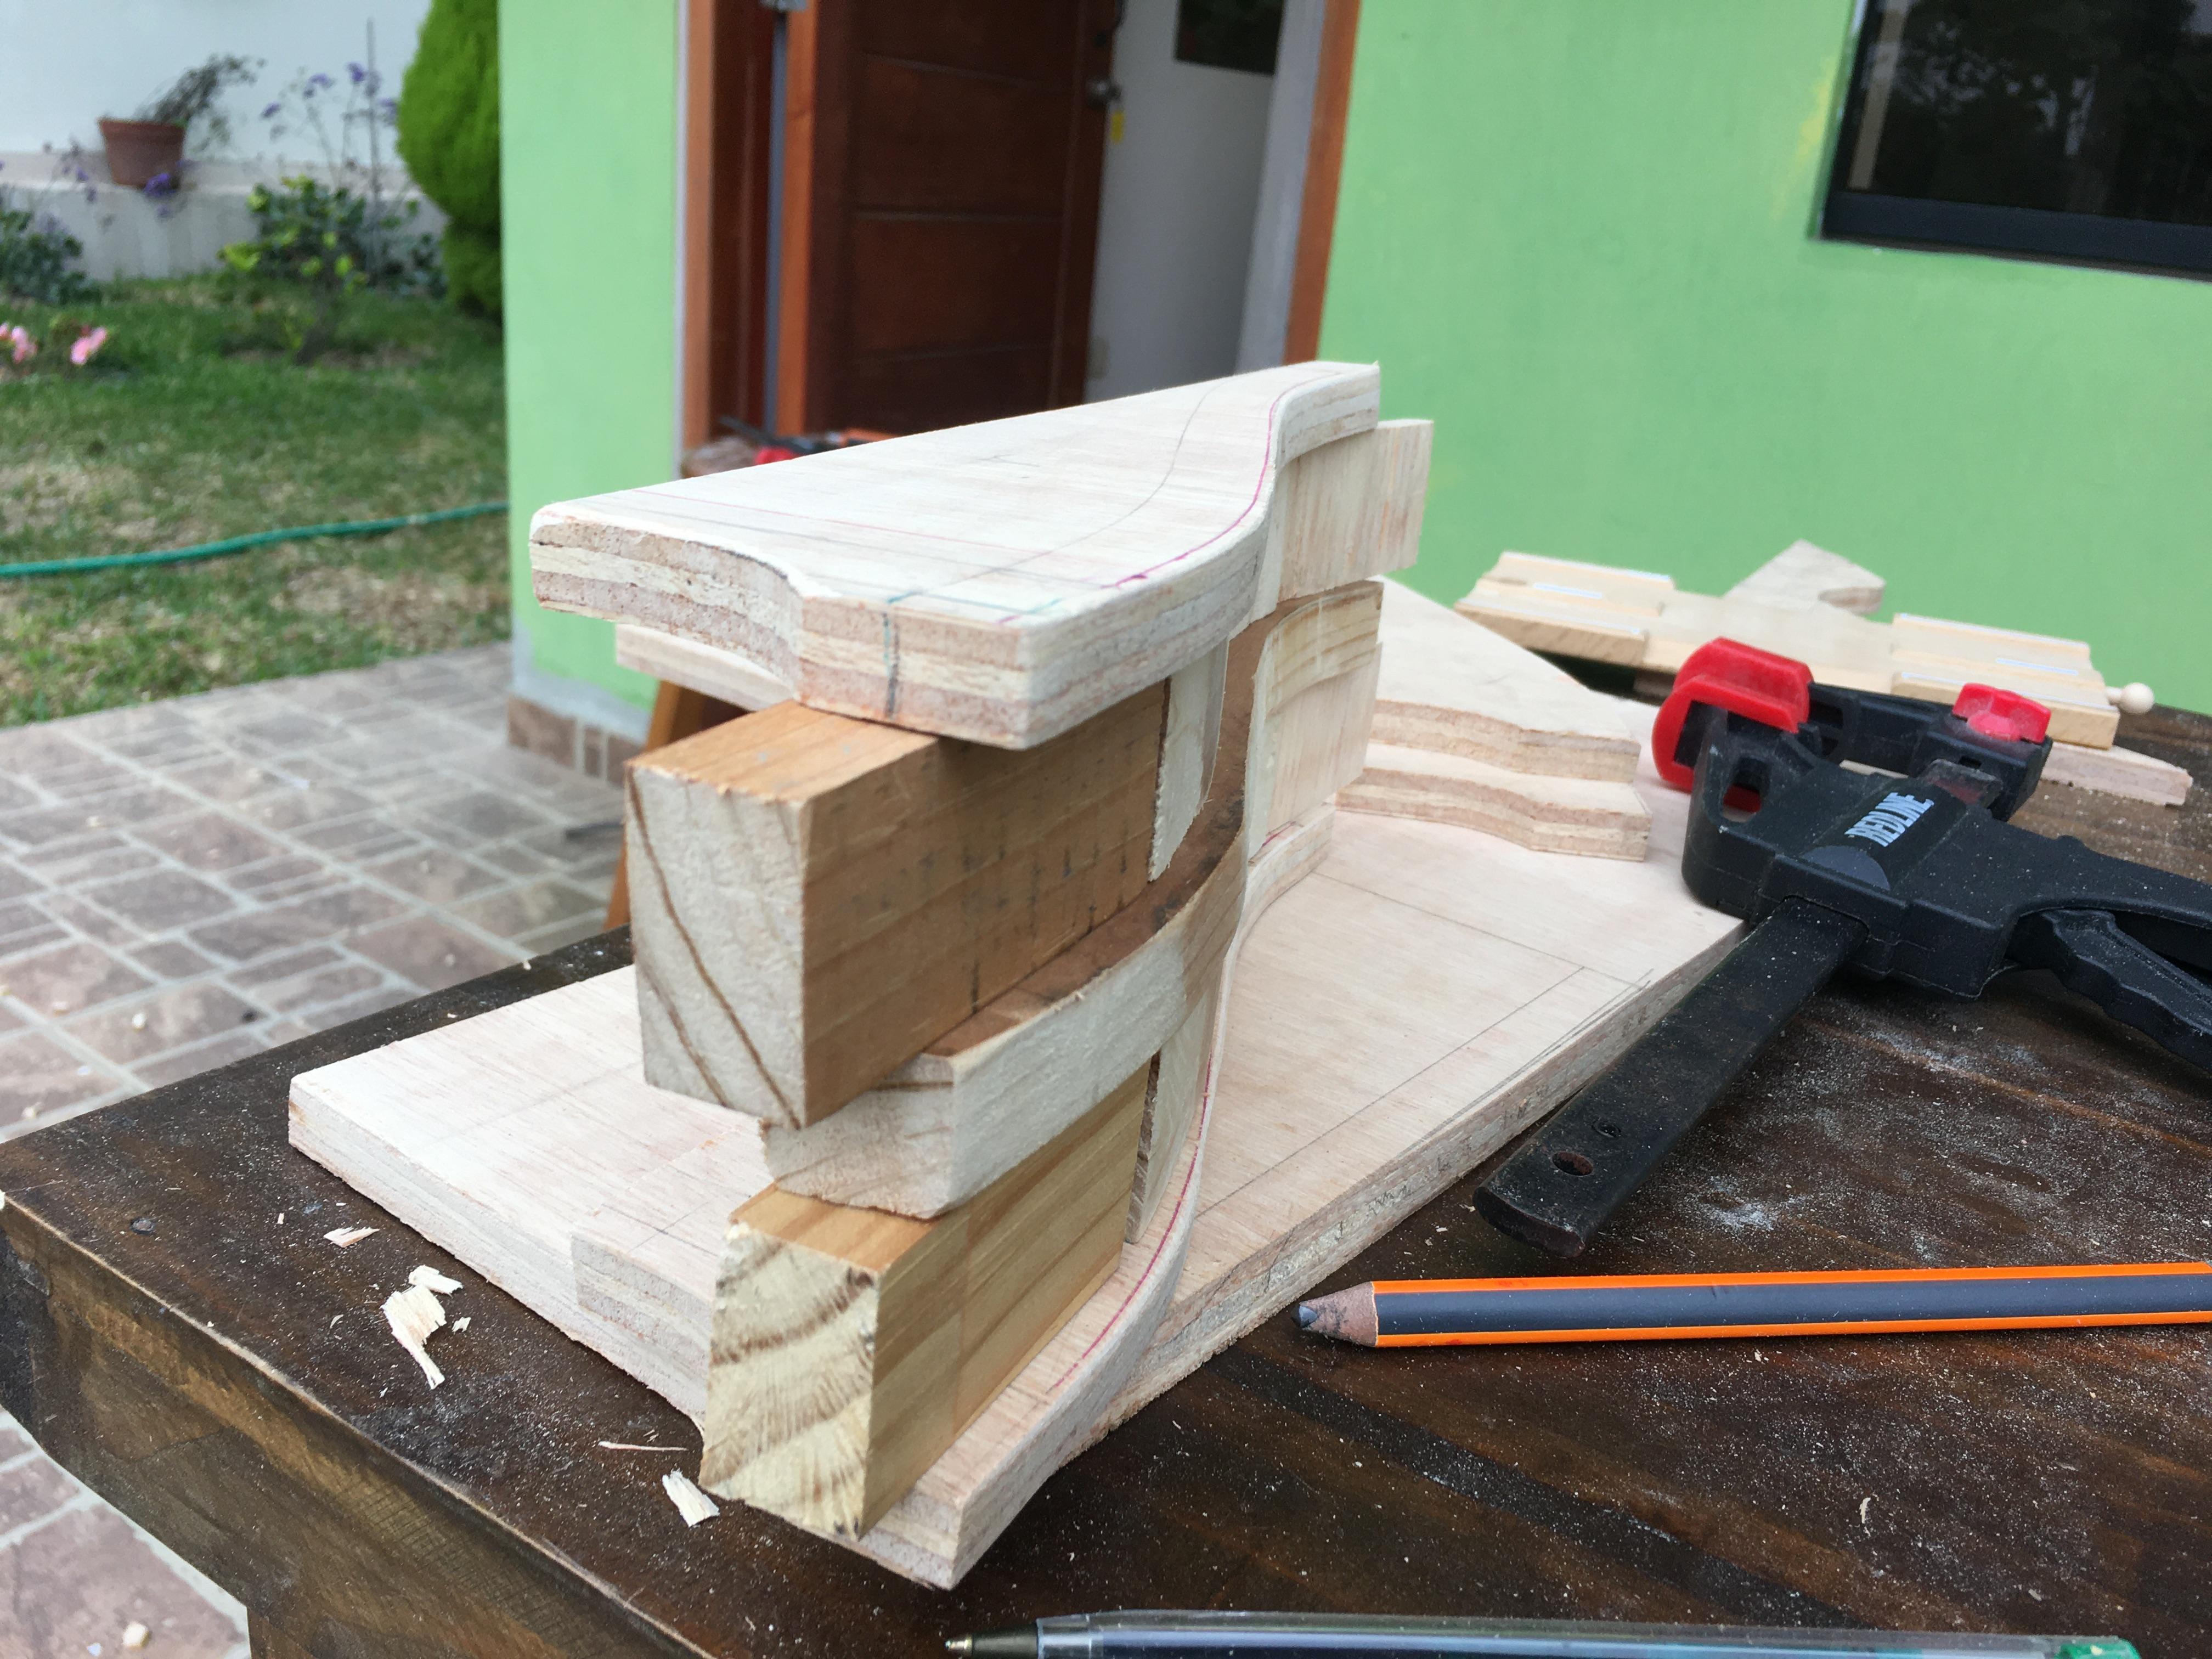
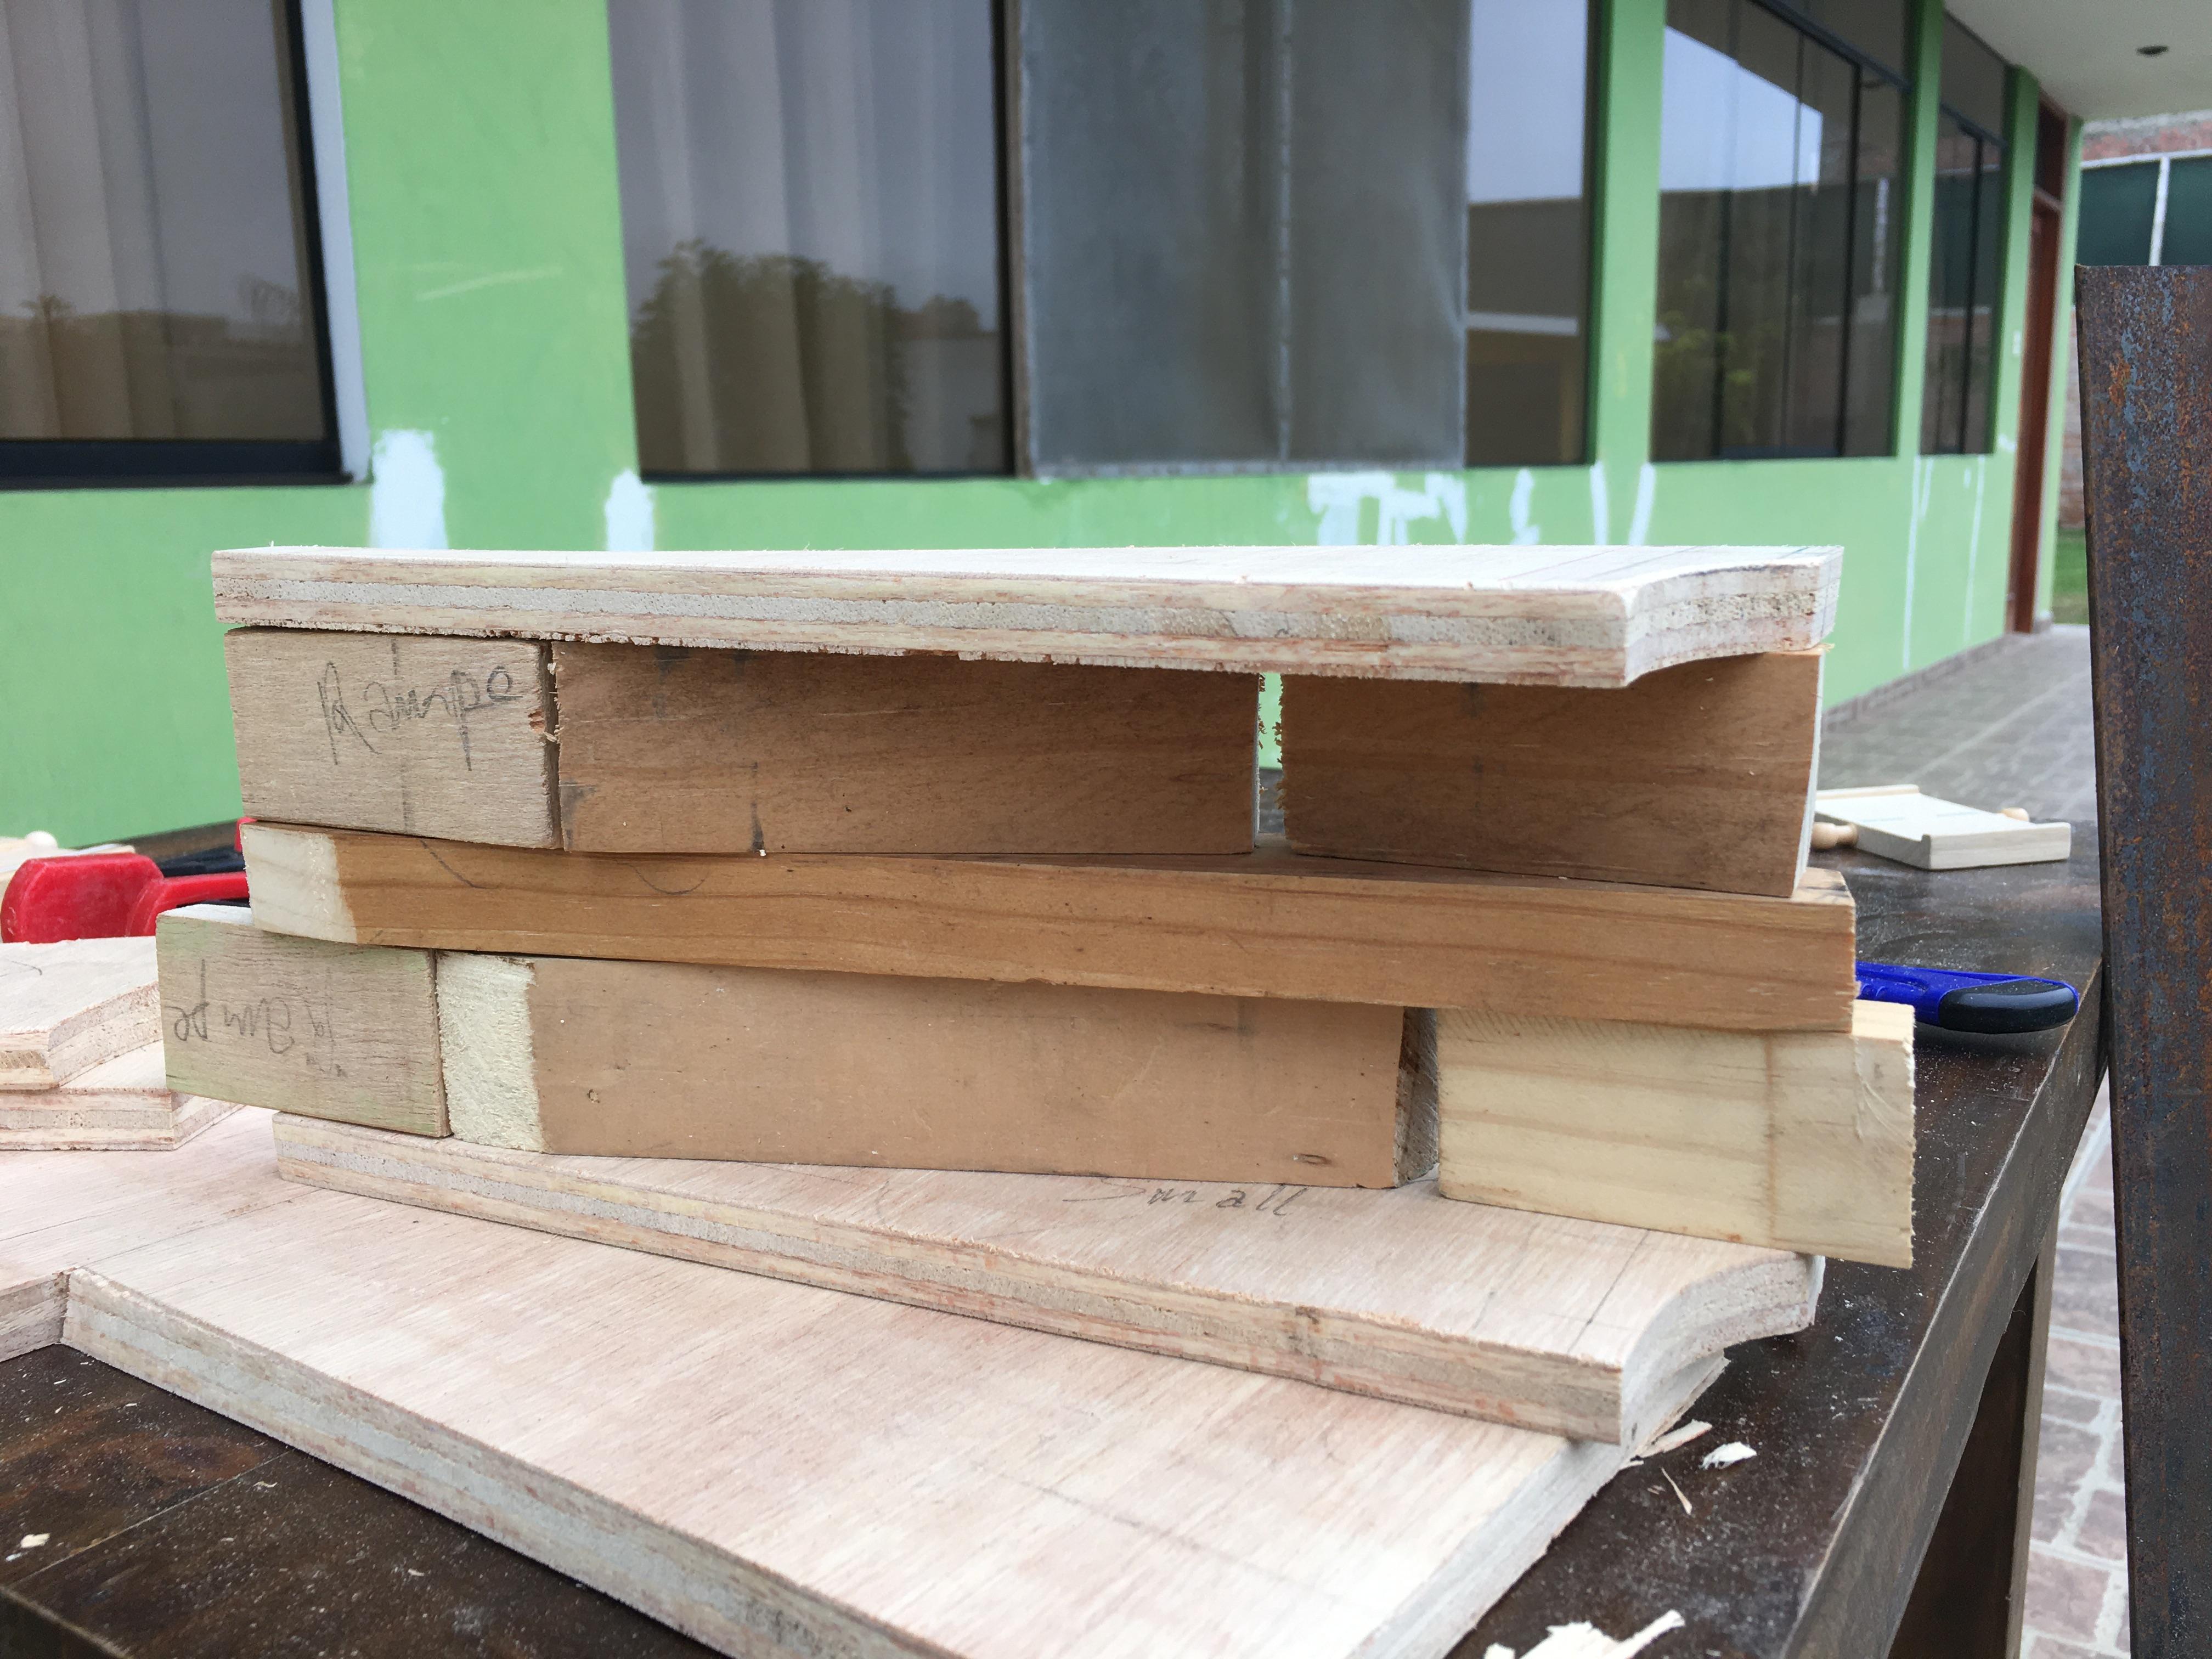
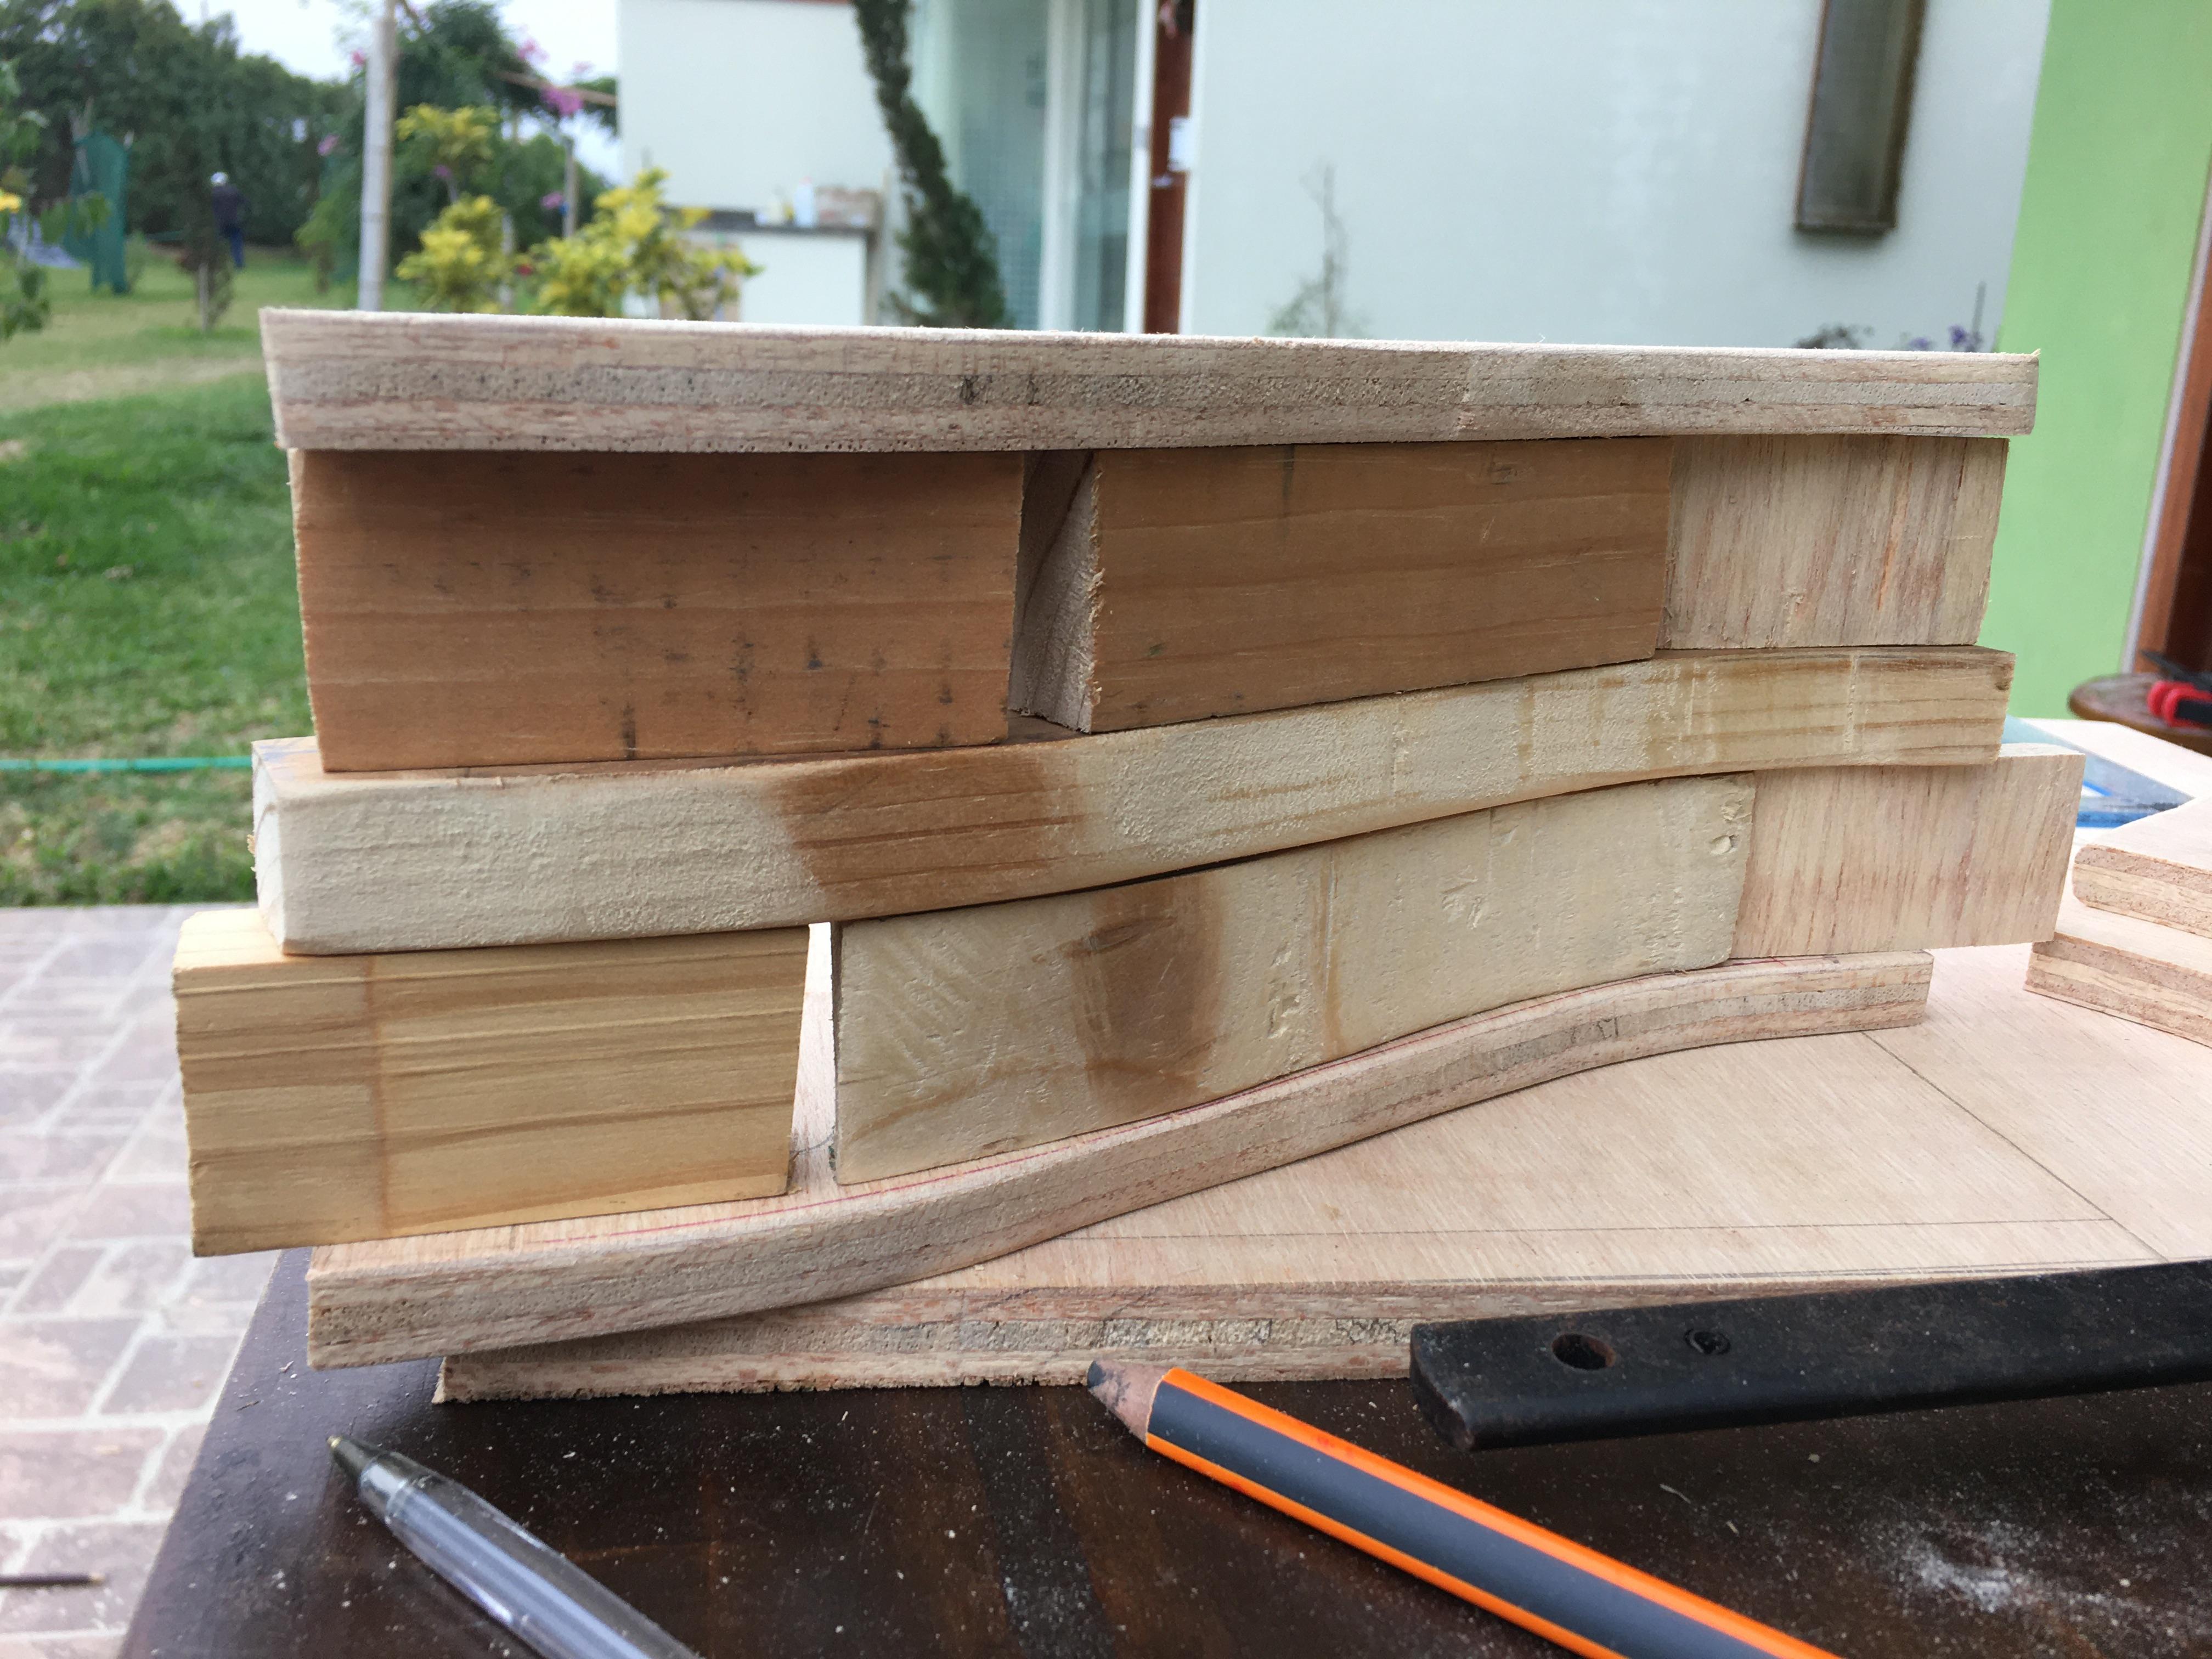
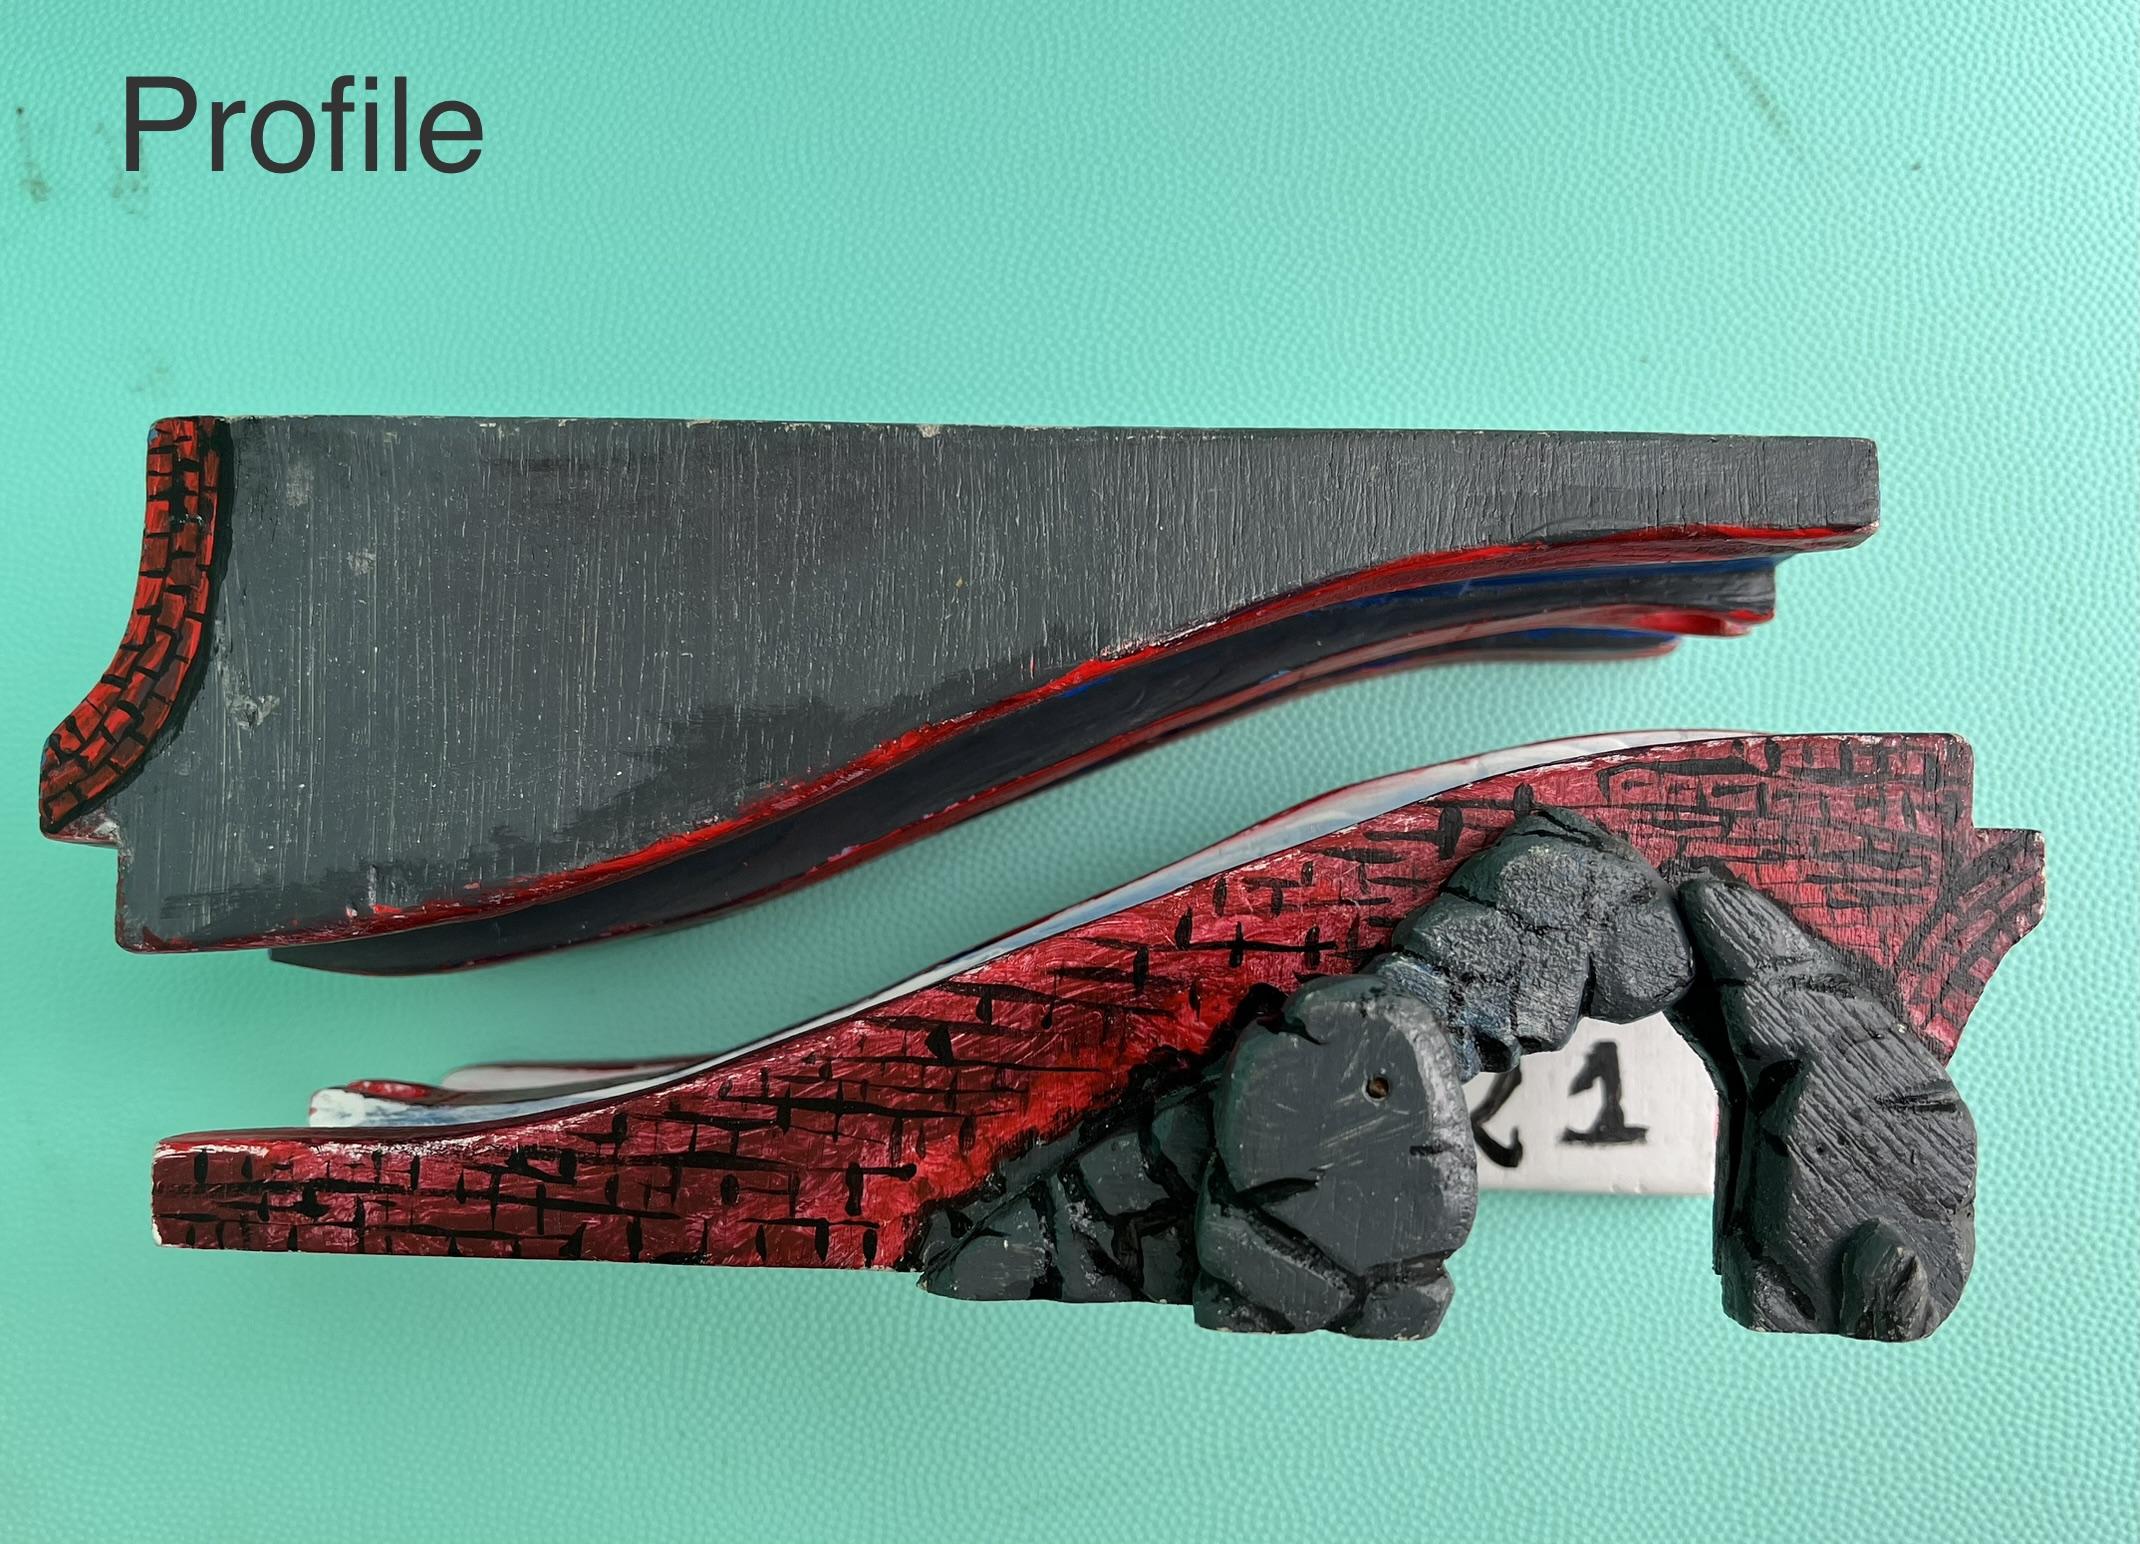
I created the rough profile of the bridge with an ascending track from our train set.
You should trace the profile of your bridge on the board 4 times and cut them out with the reciprocating saw. When you trace your shapes, always leave some room for the saw to manoeuvre. It is also a good idea to saw outside your lines as if you deviate a little bit, the side pieces of the bridge will not be level.
With the same train ascending track as a template, trace the road divider on a 20 mm thick piece.
The Secret Passage
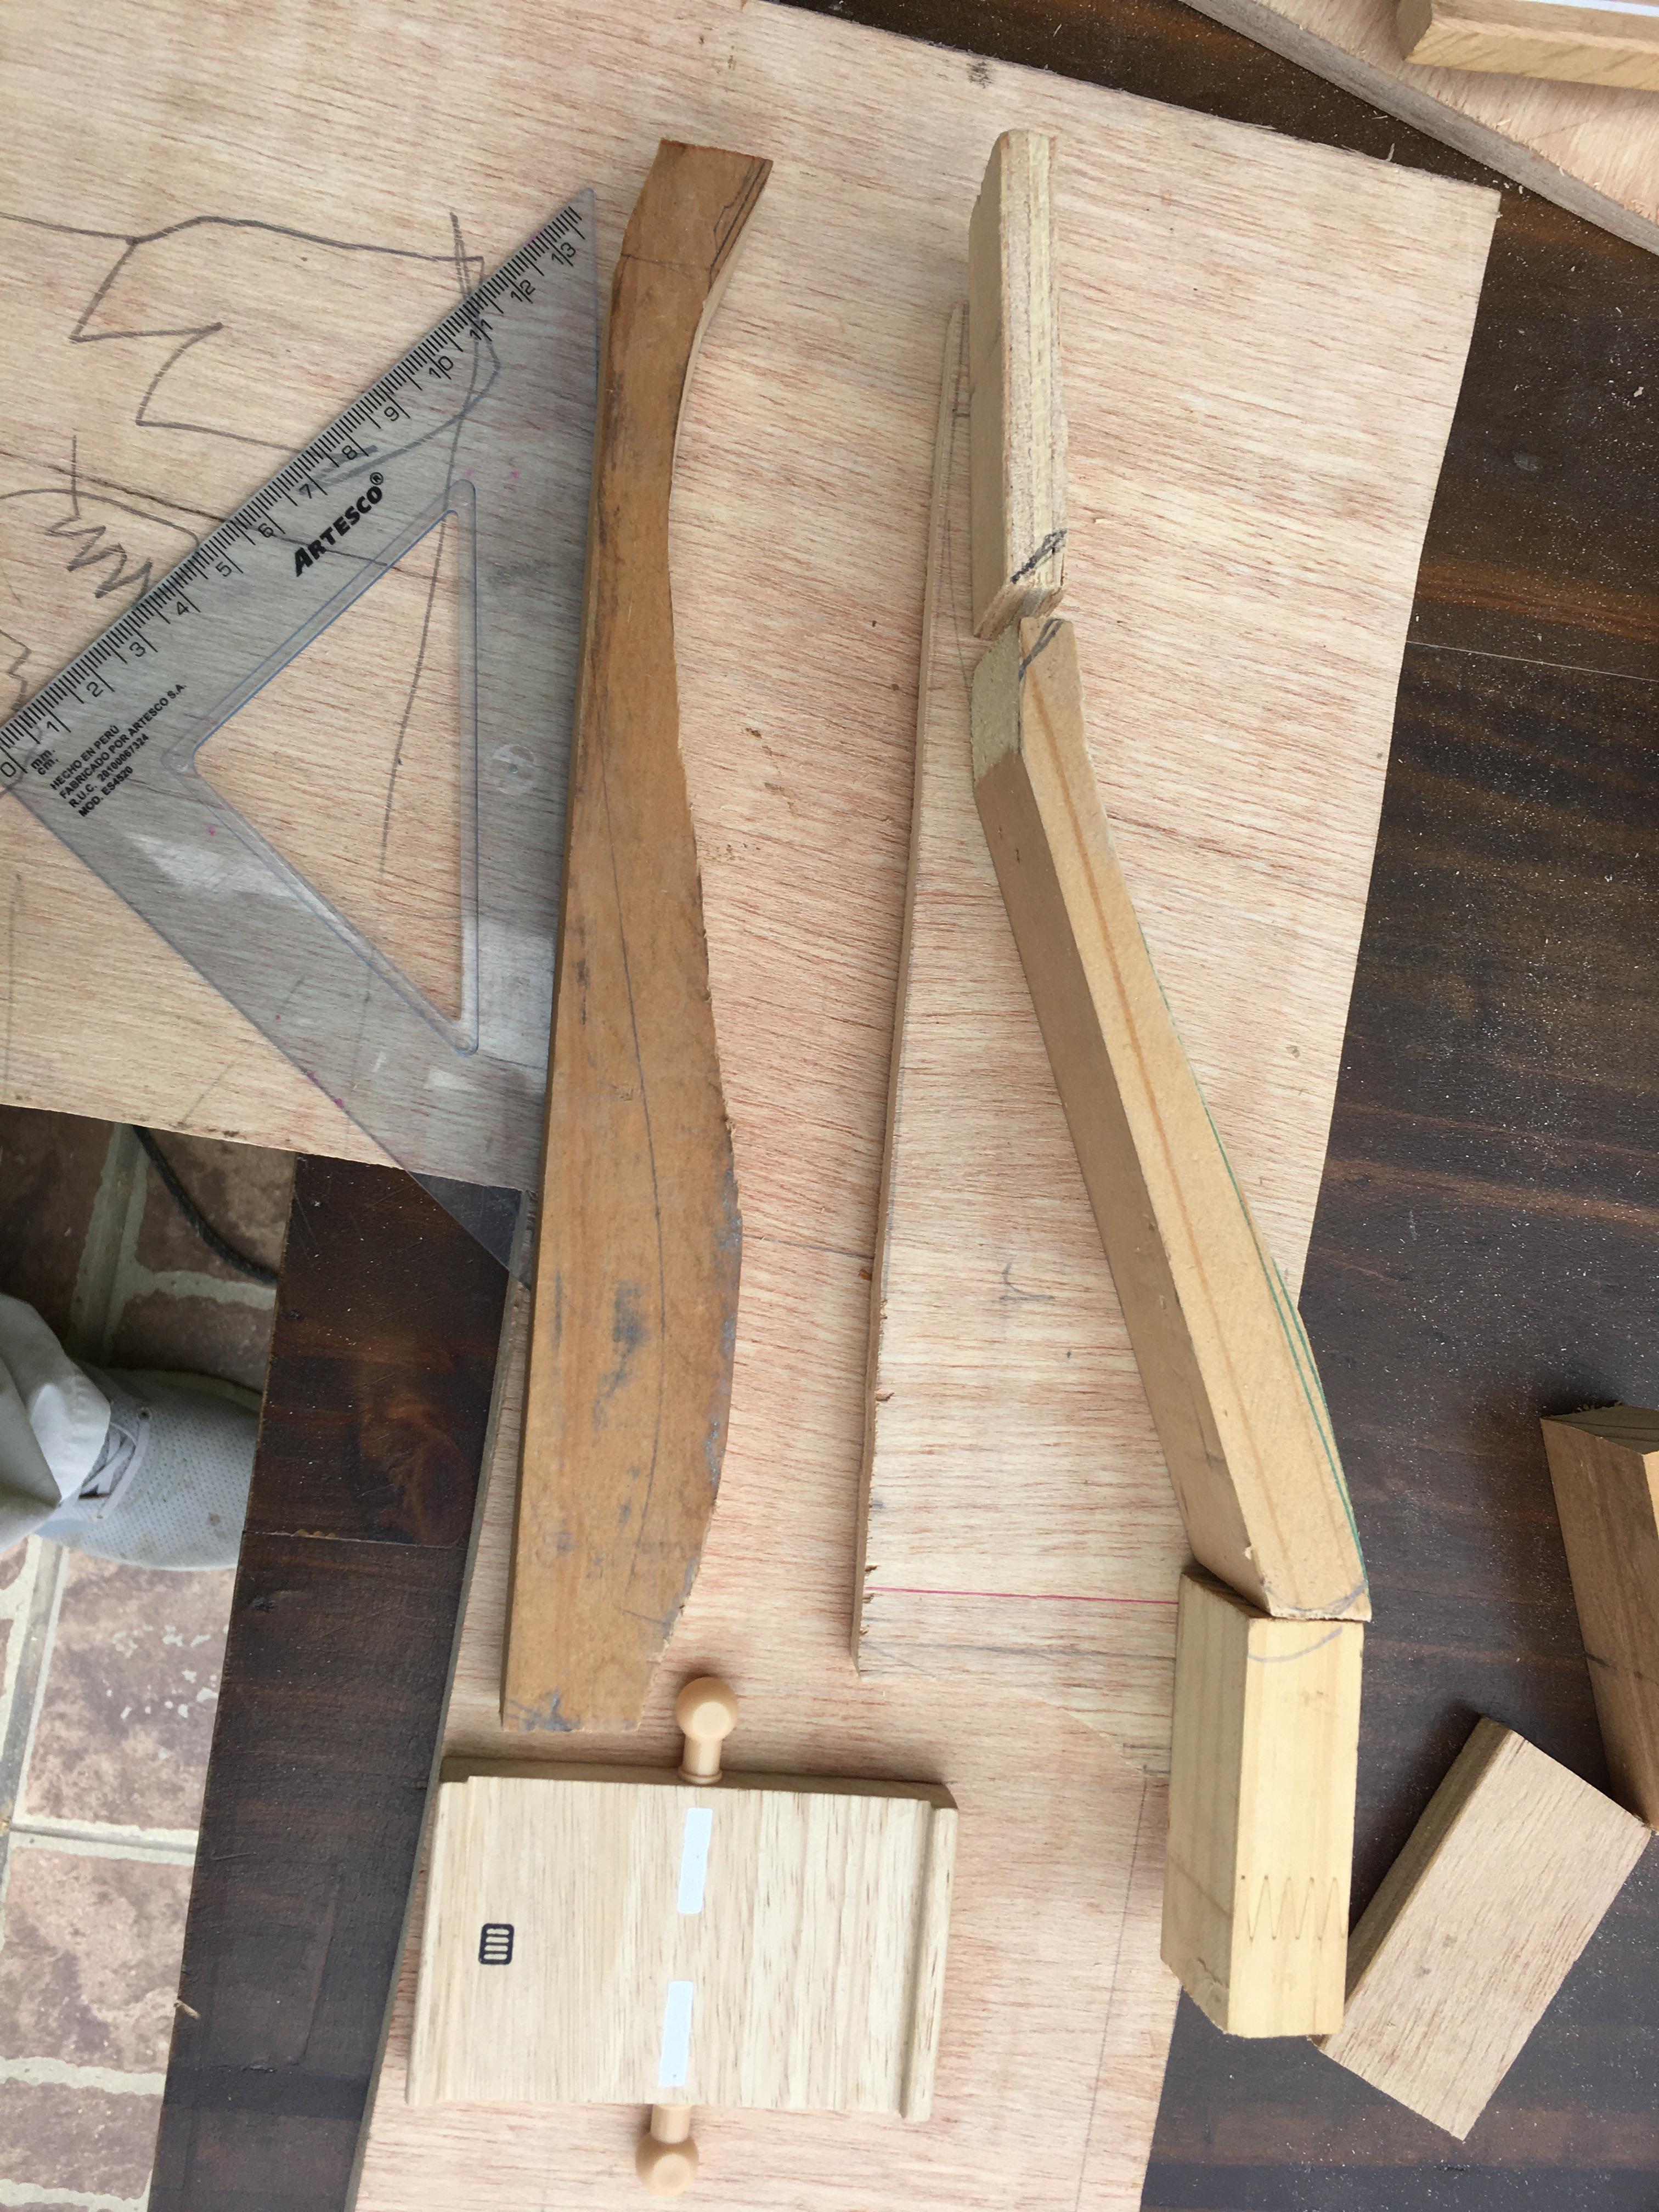
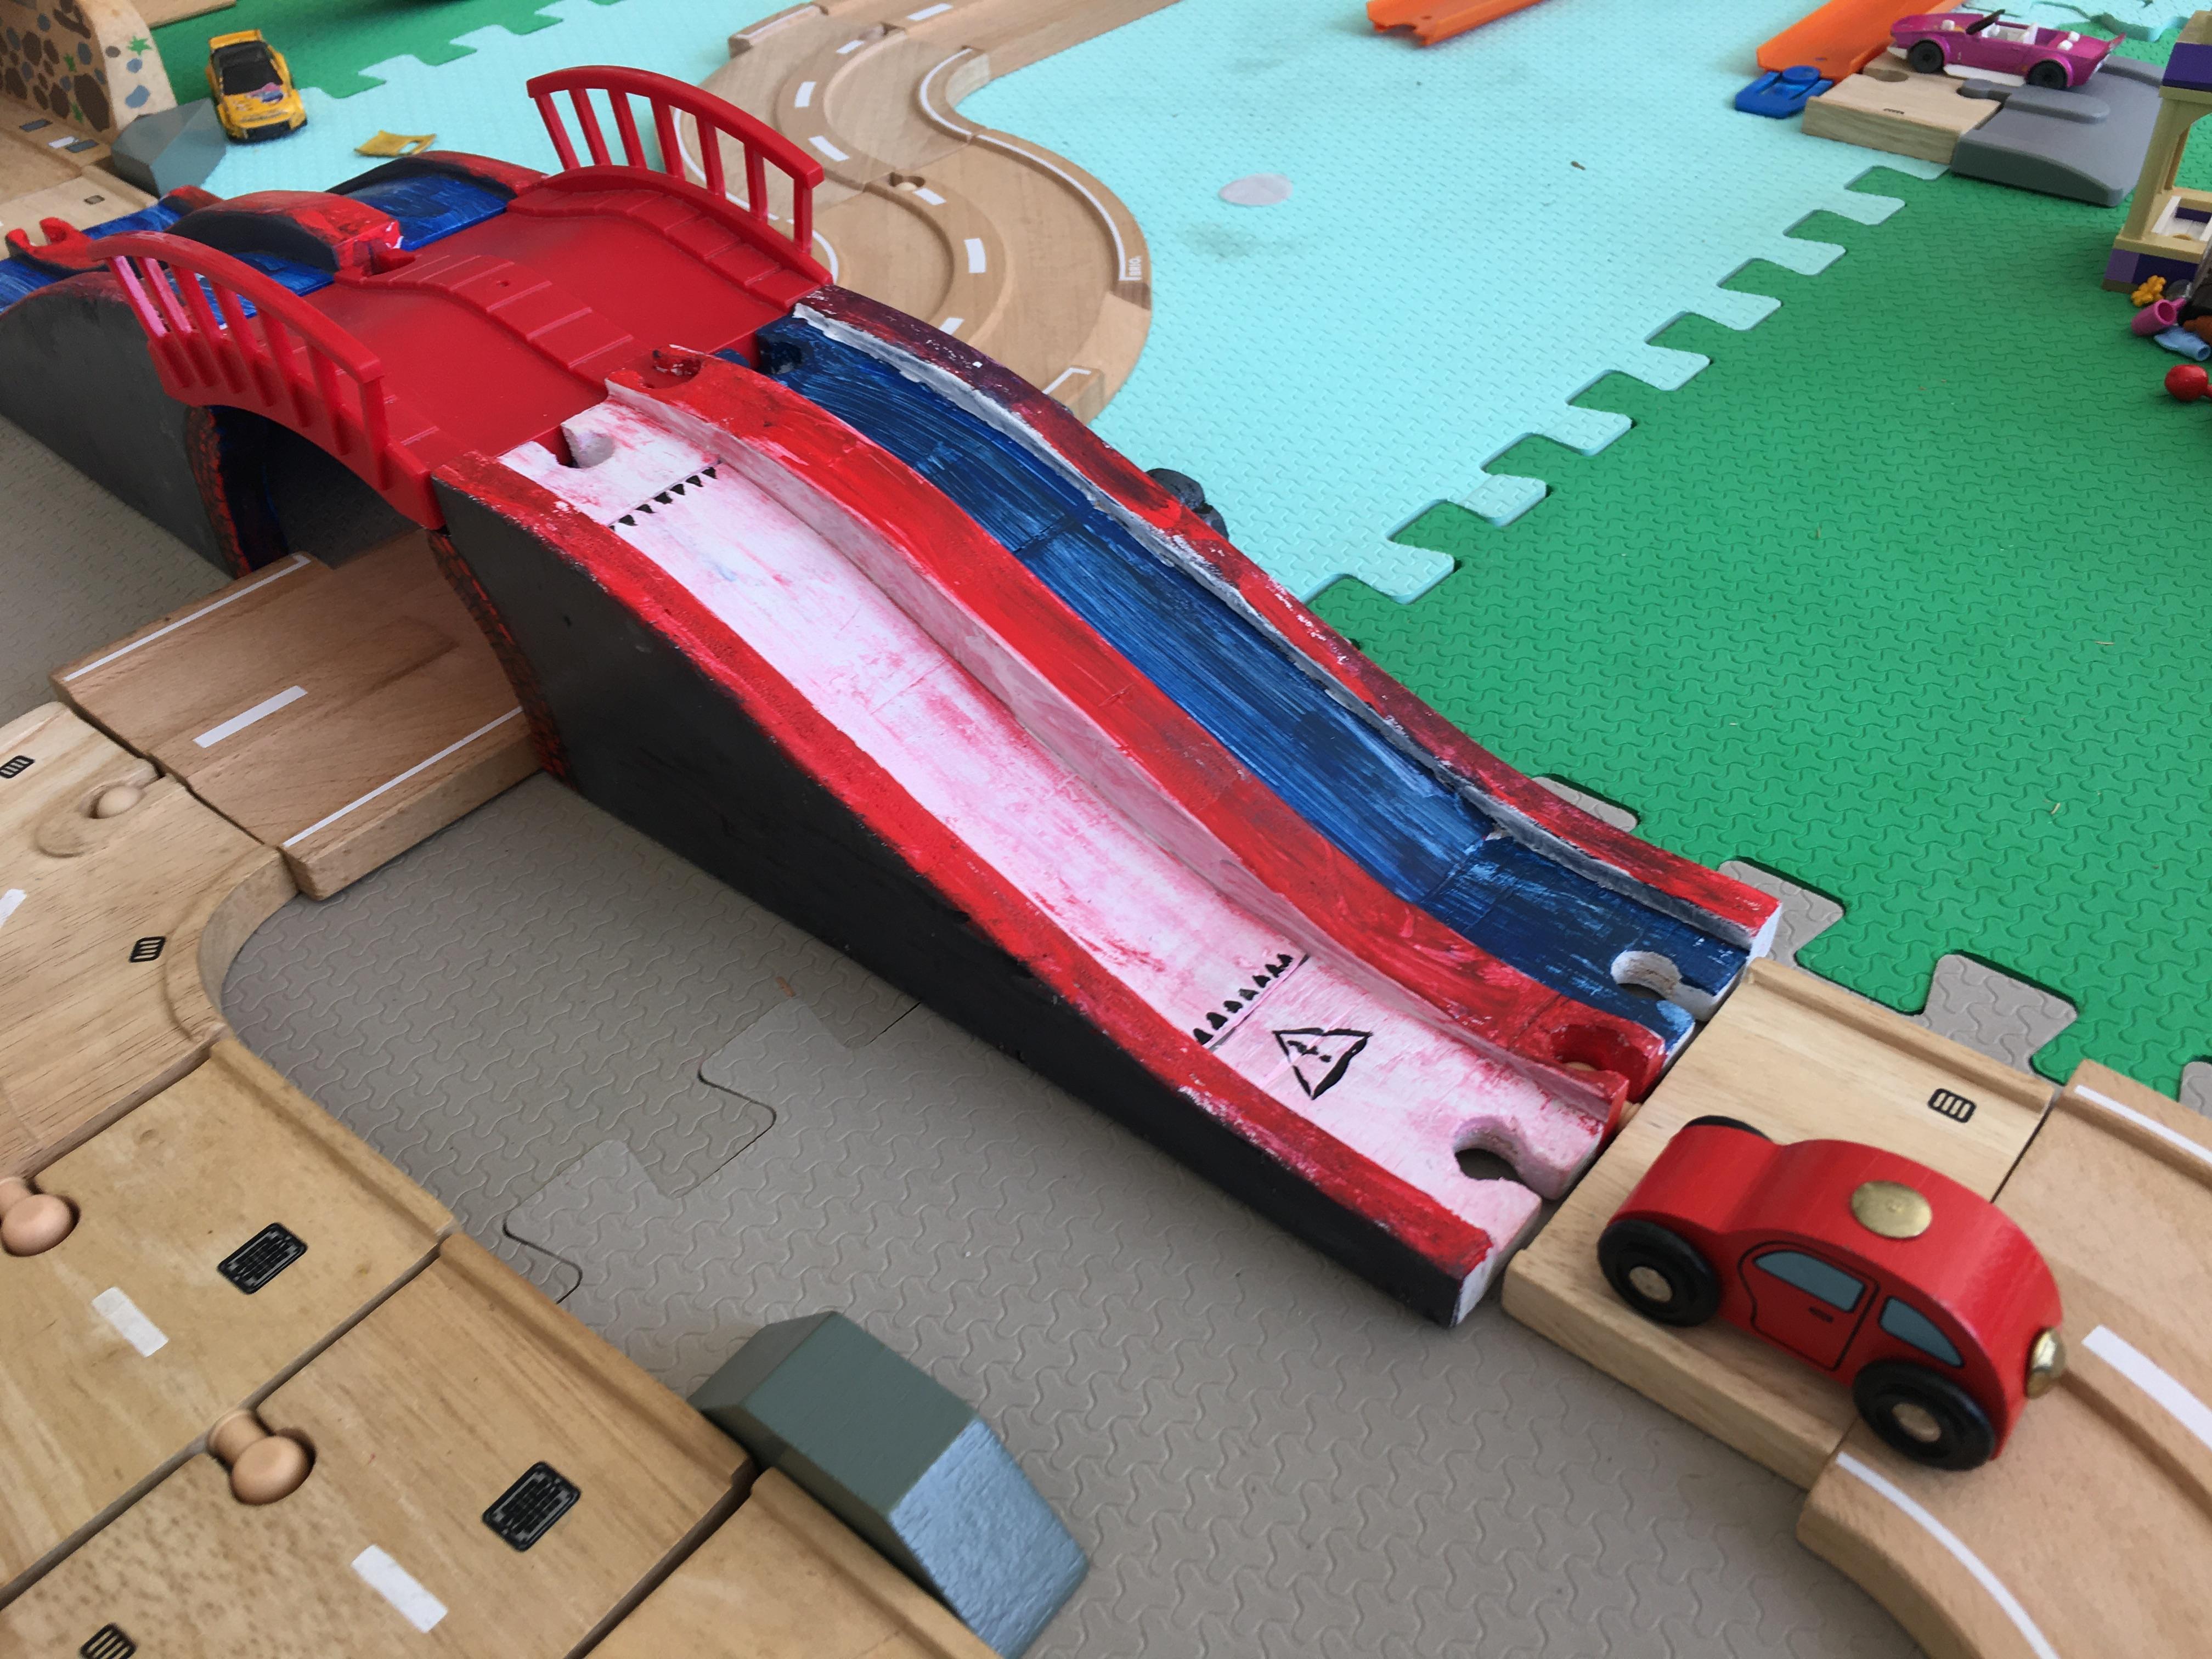
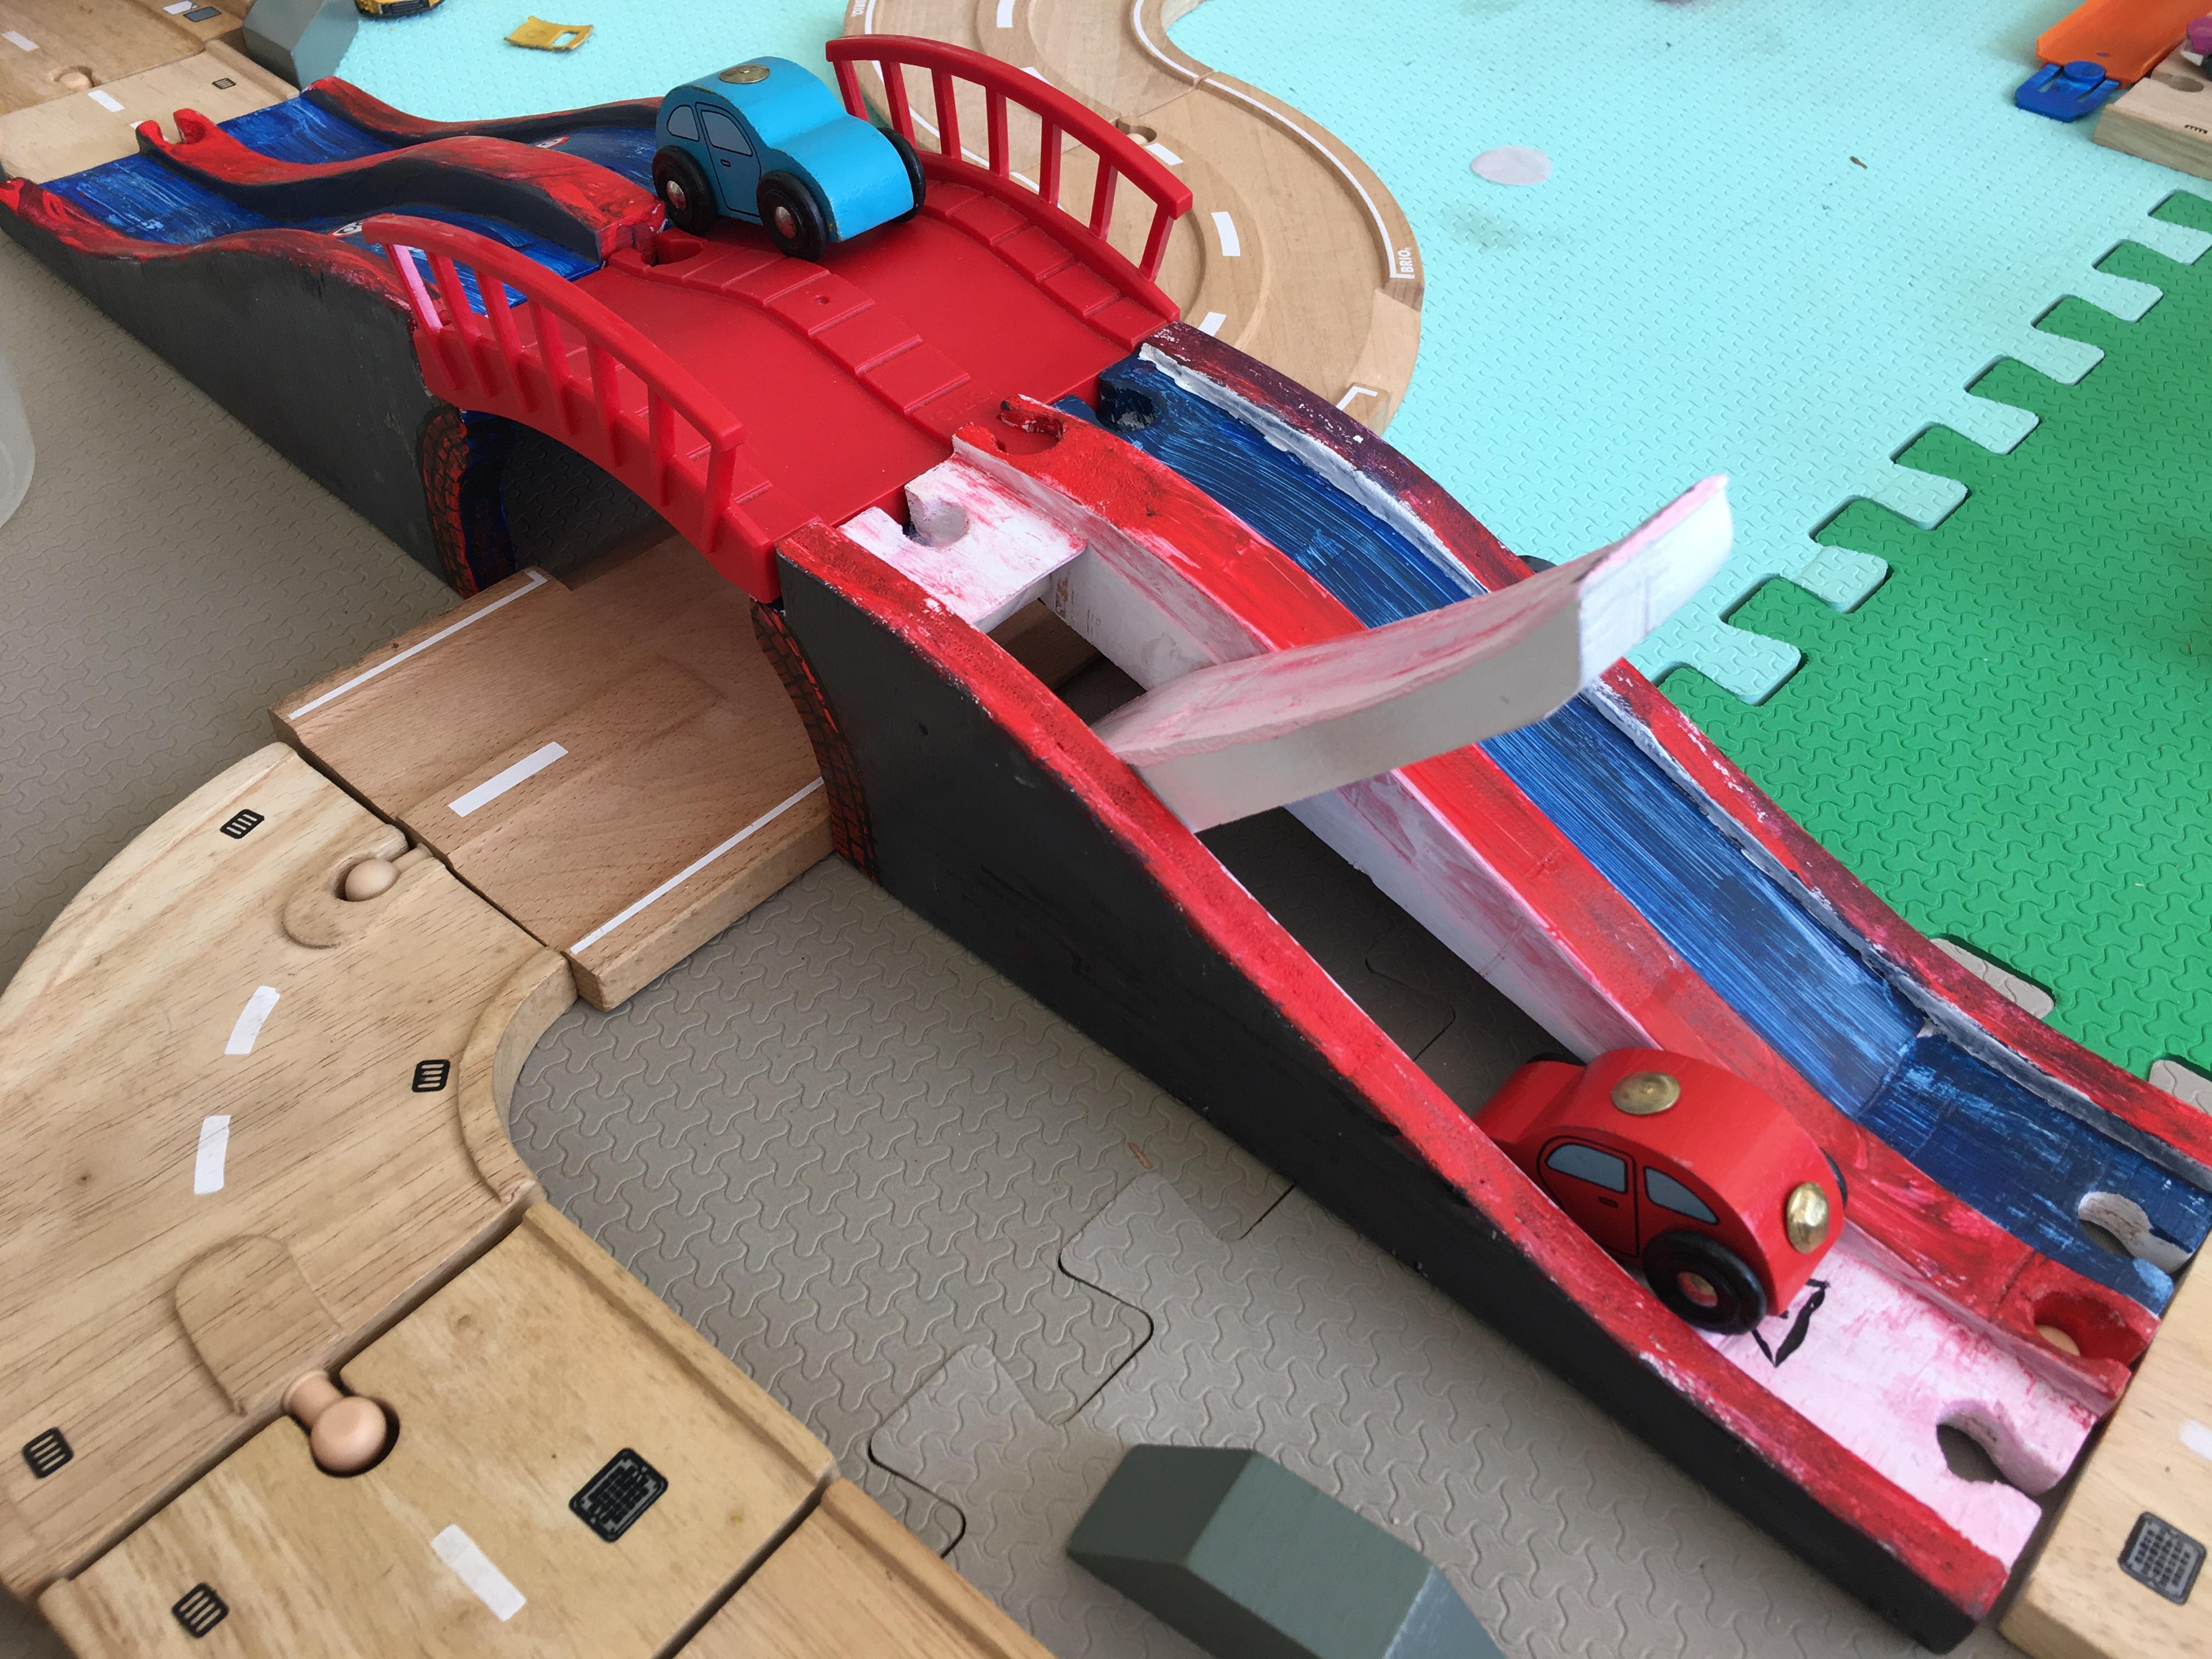
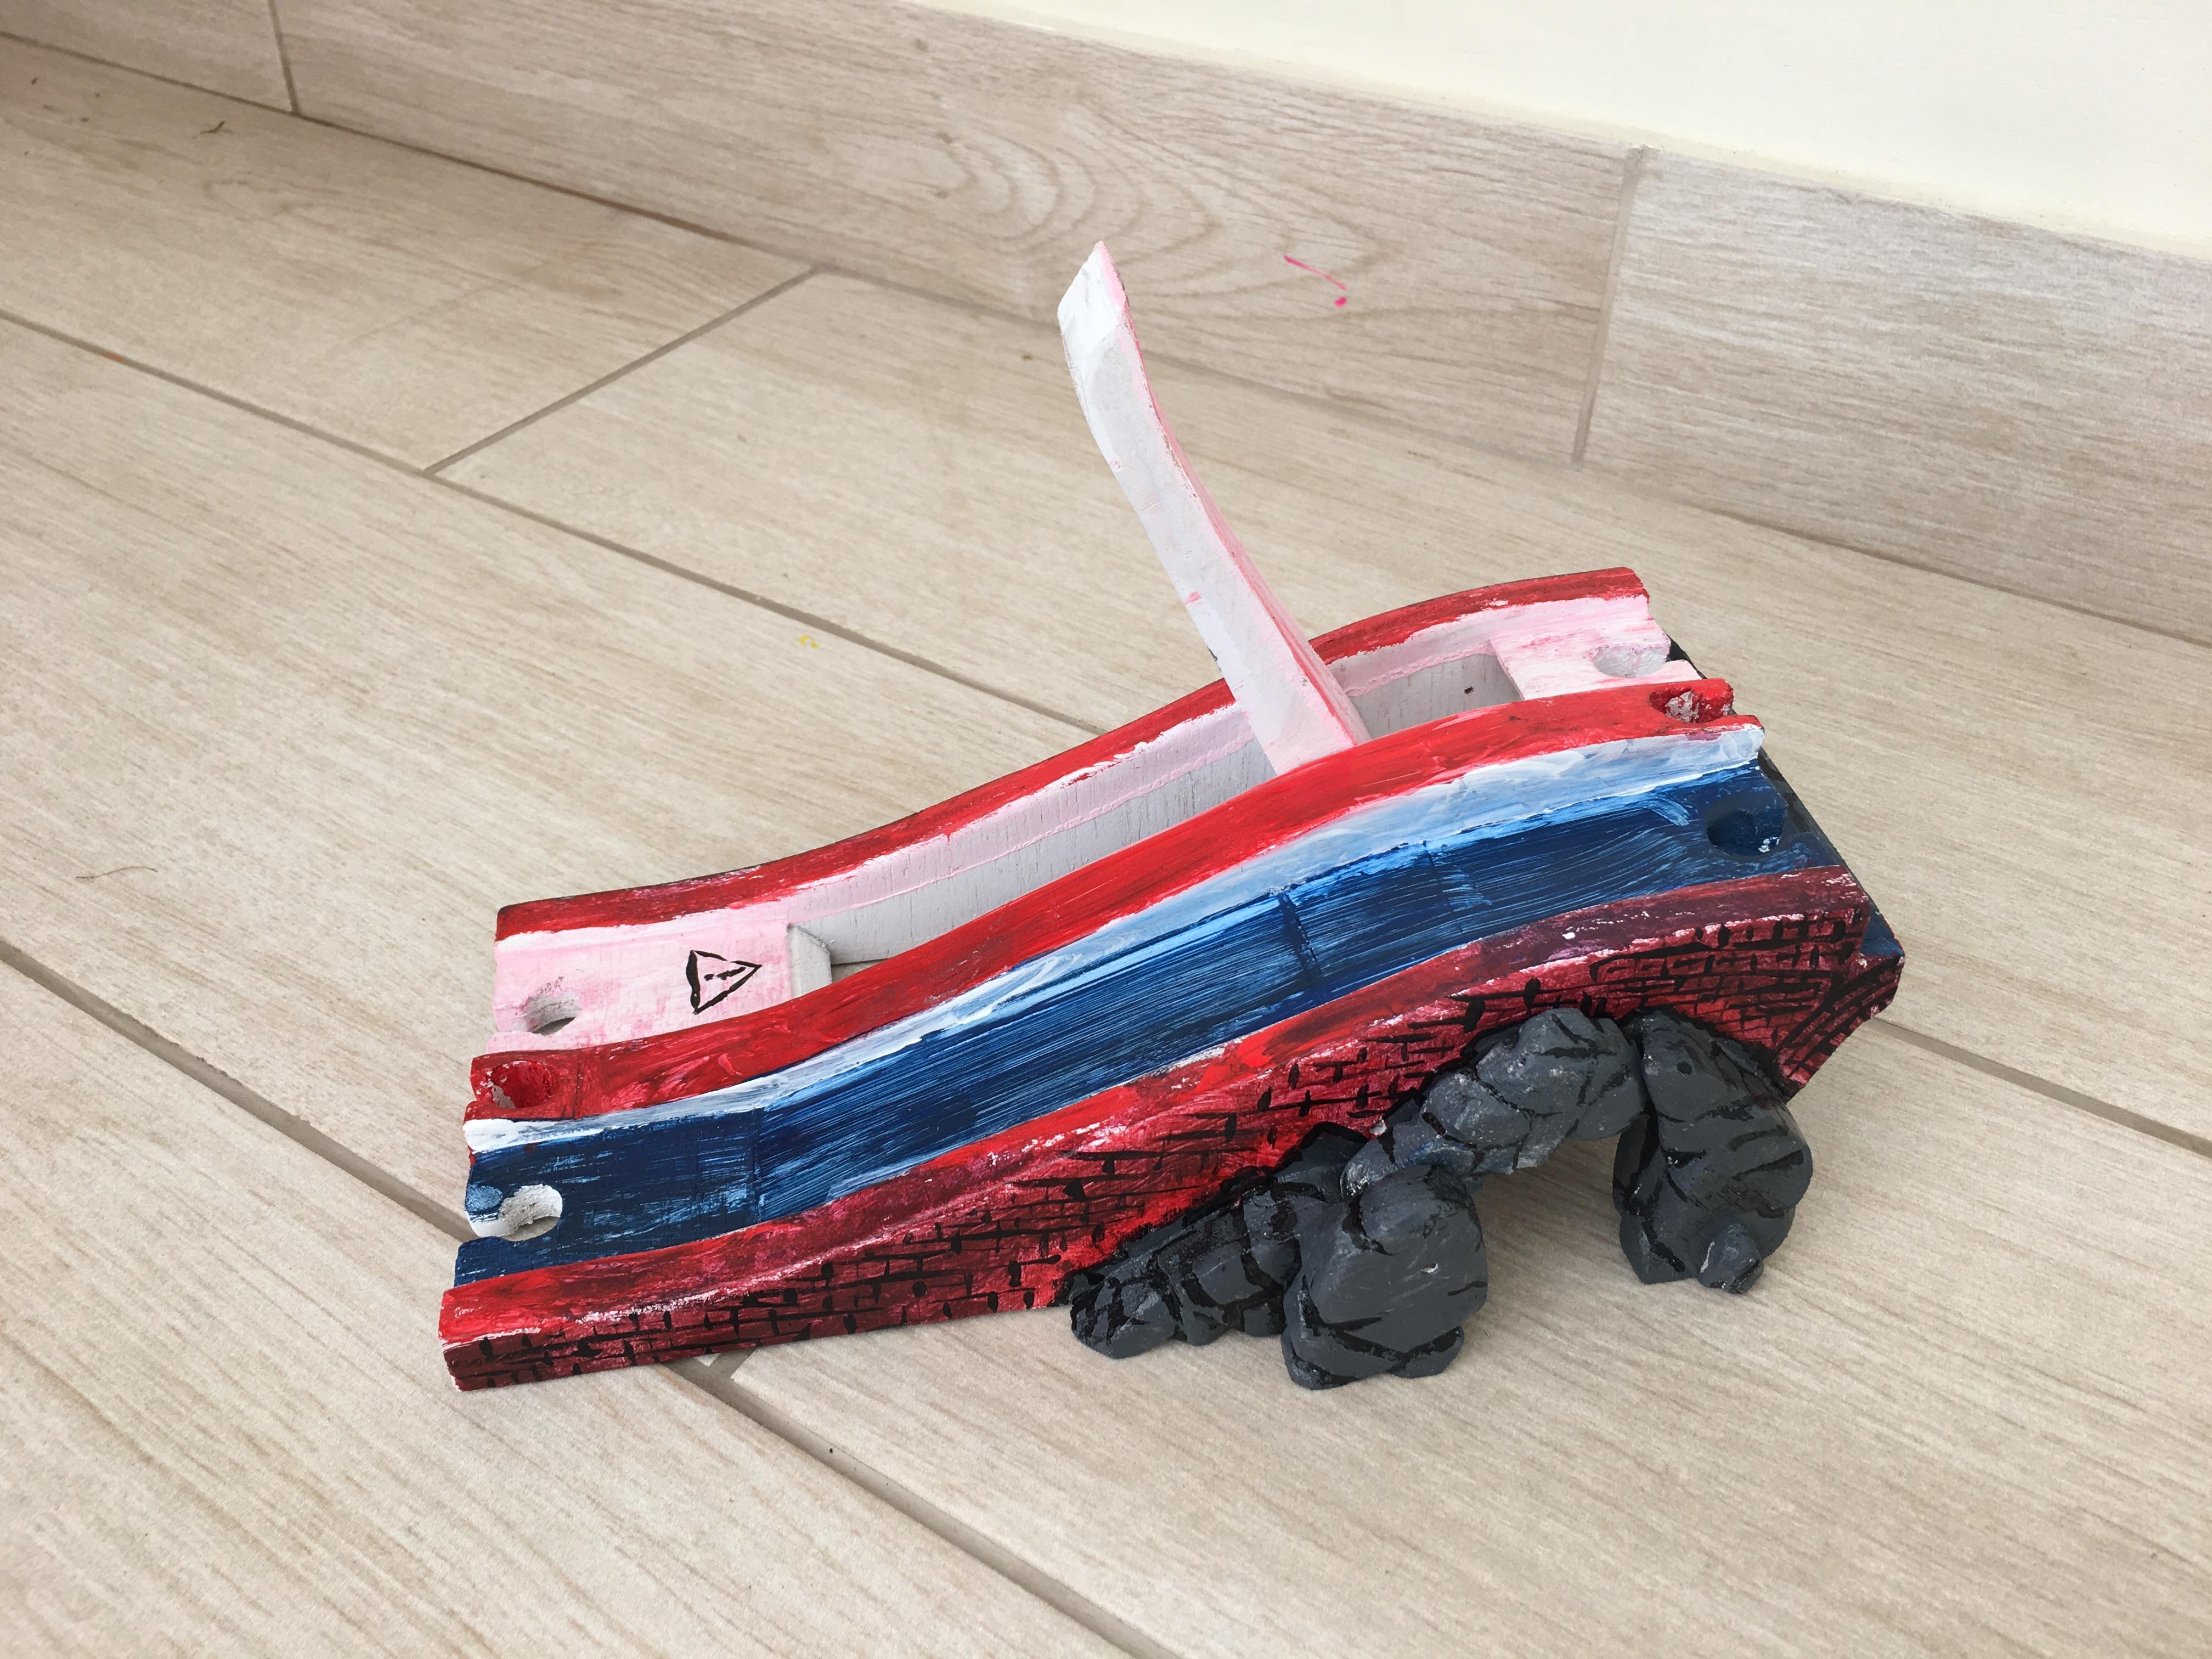
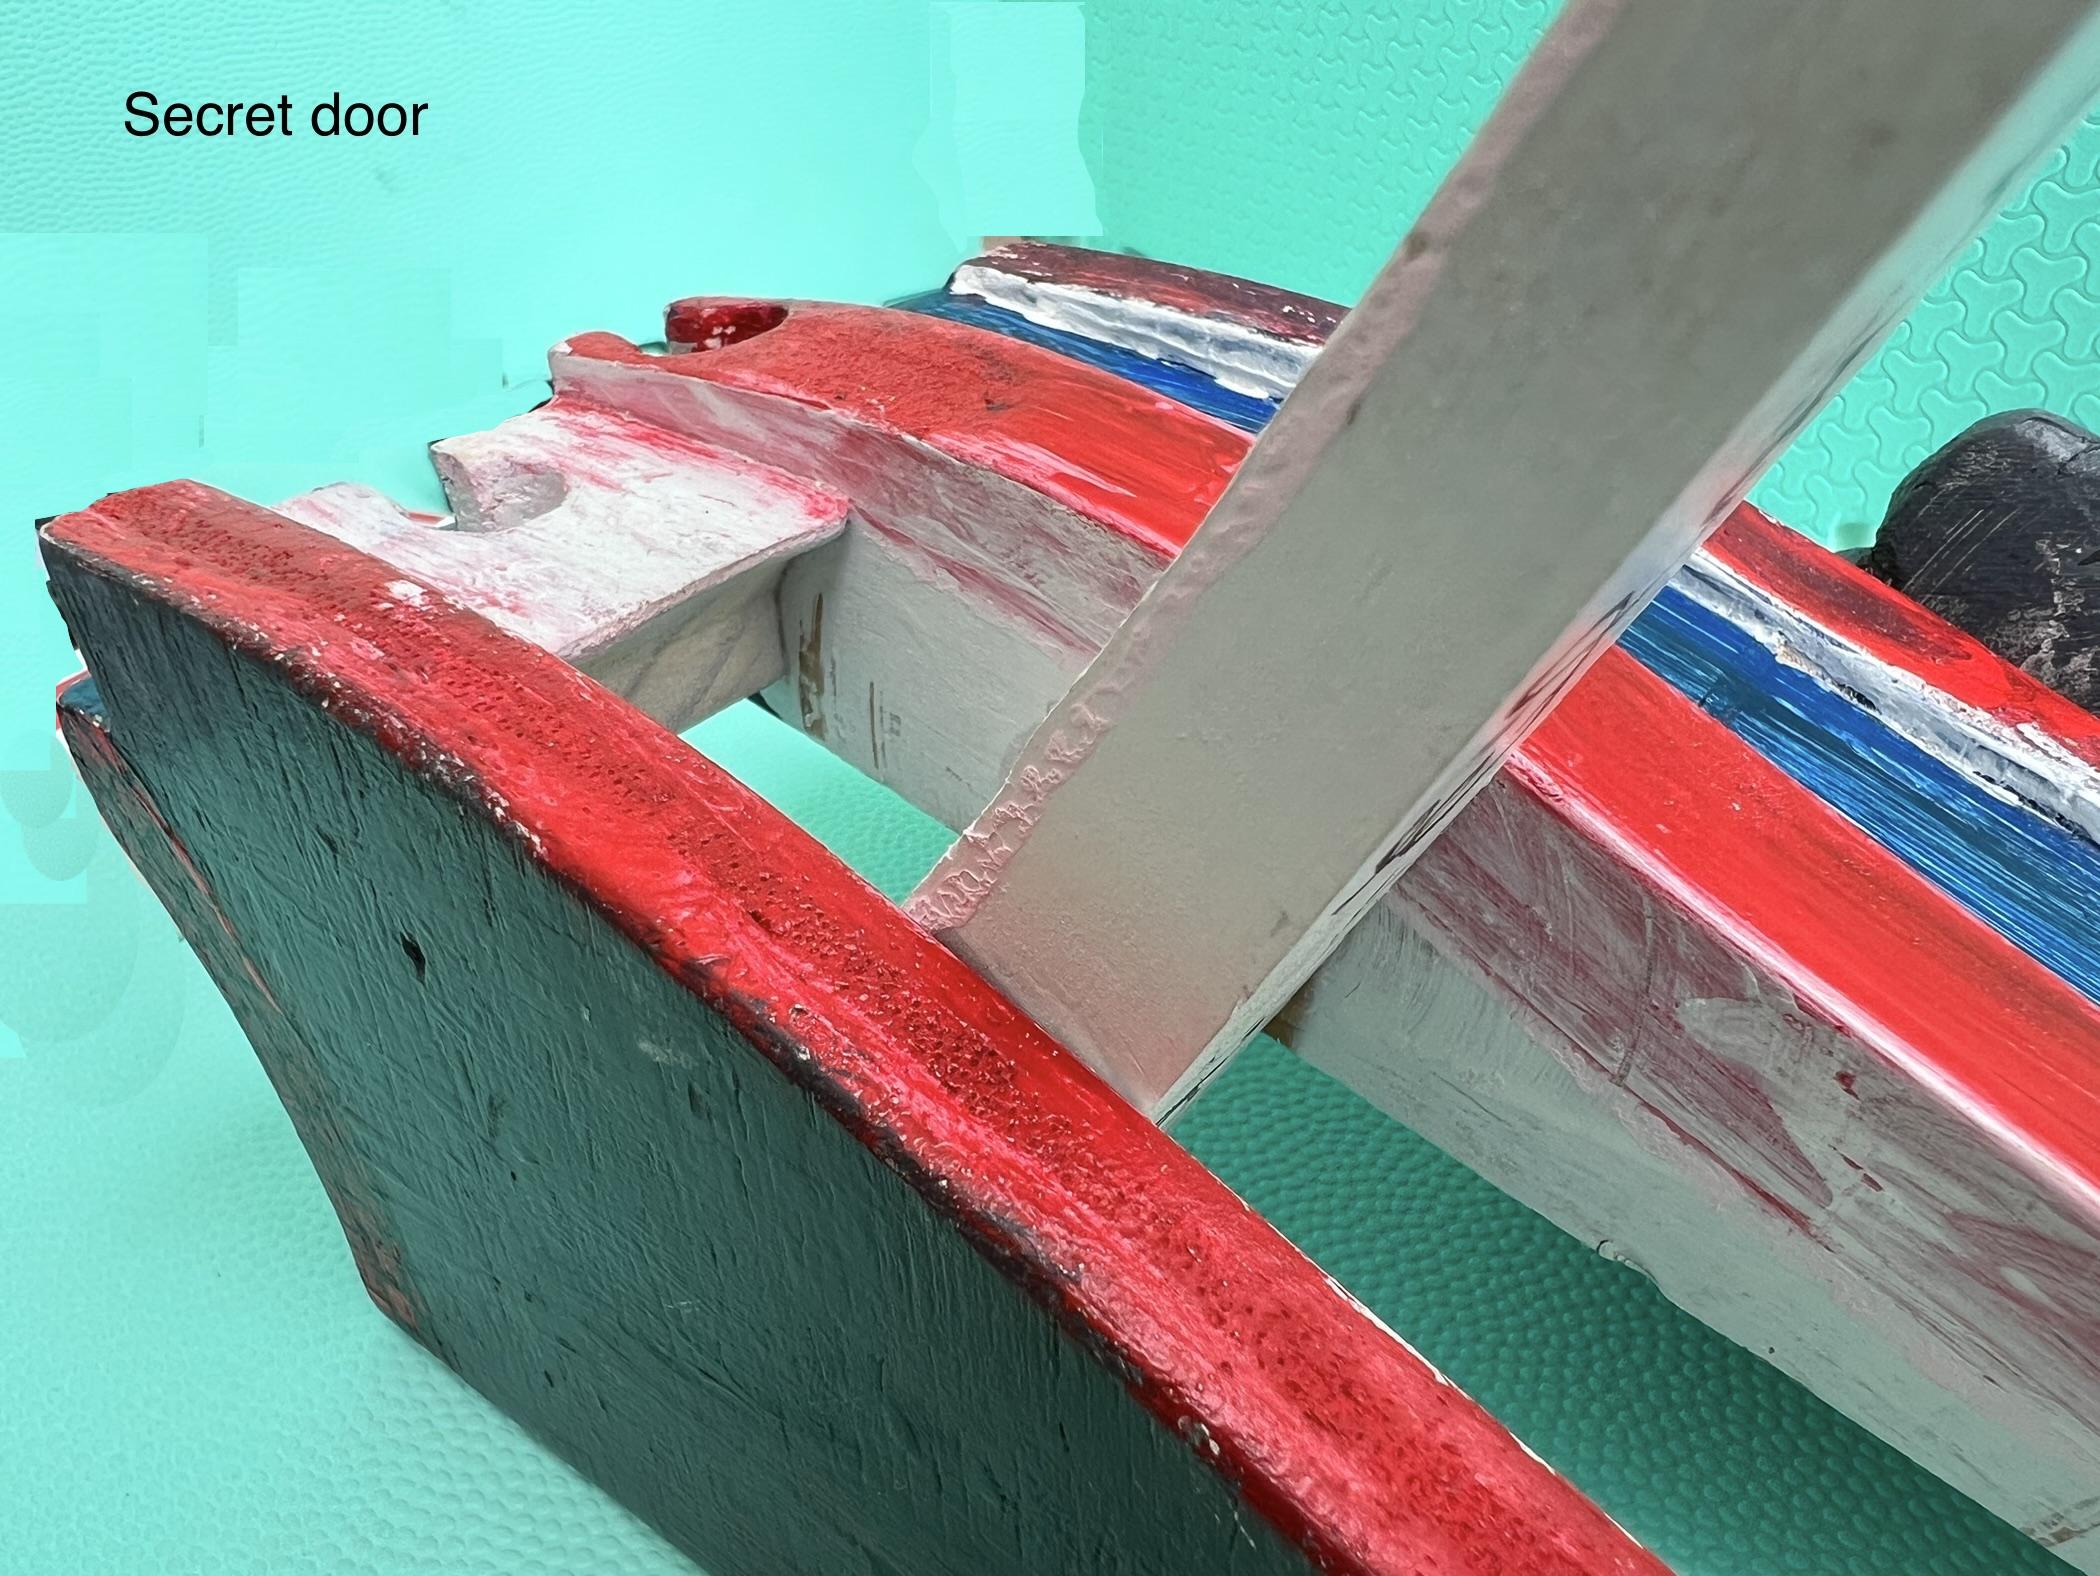
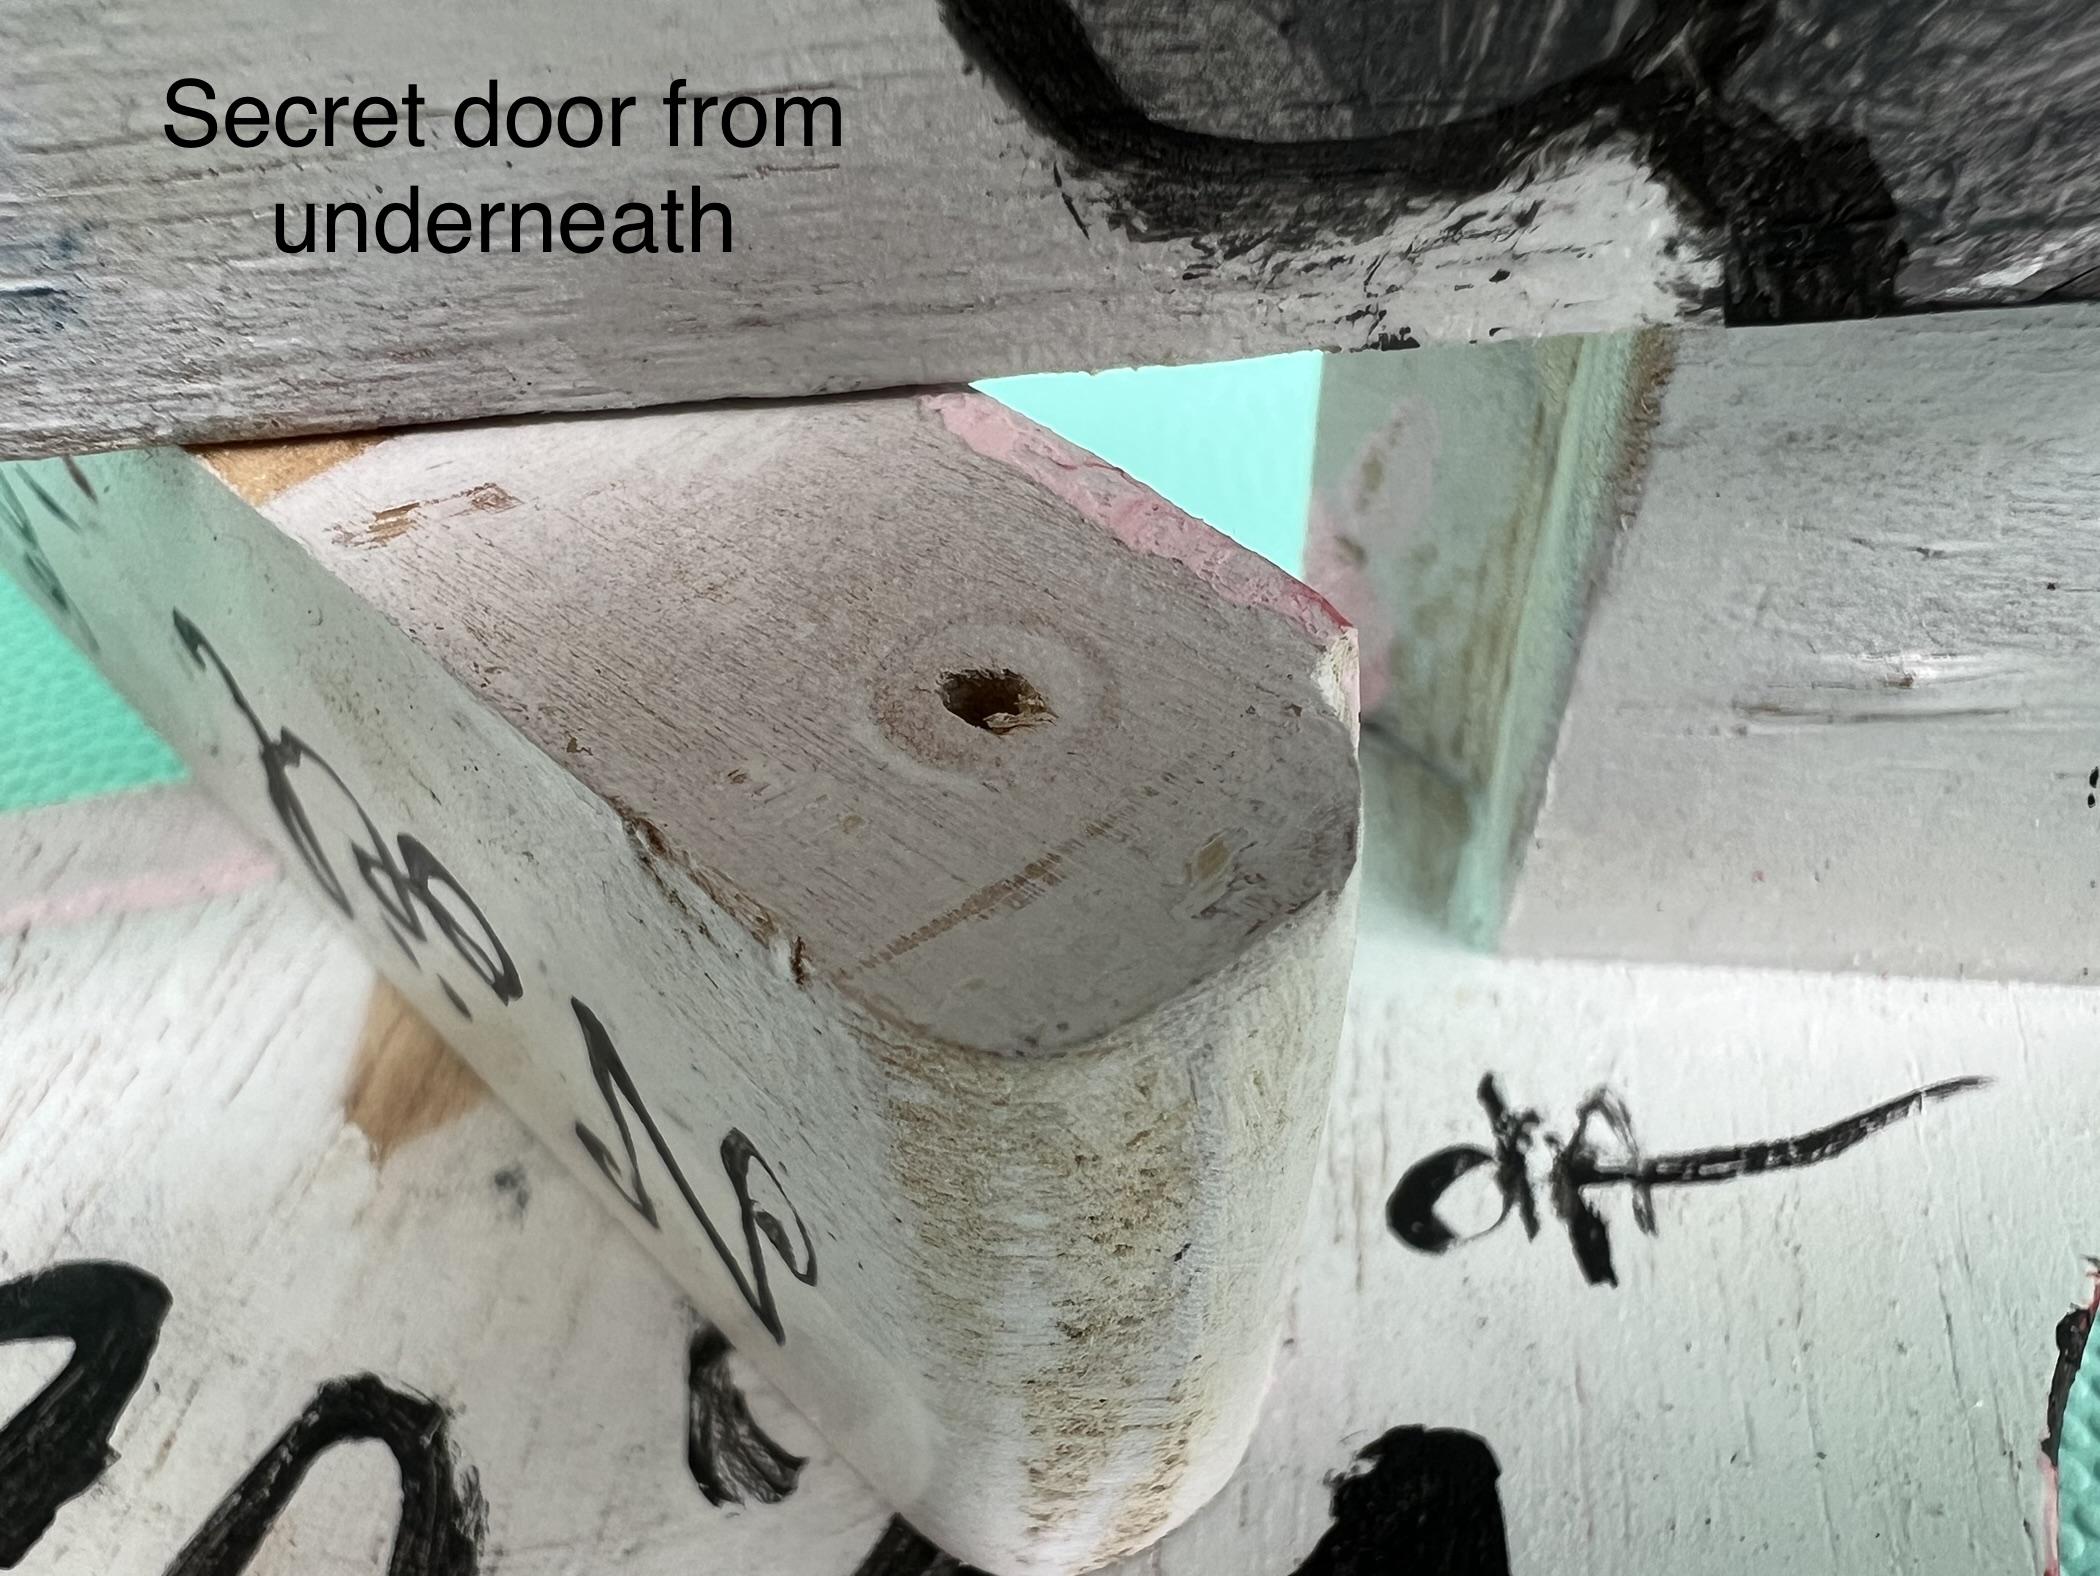
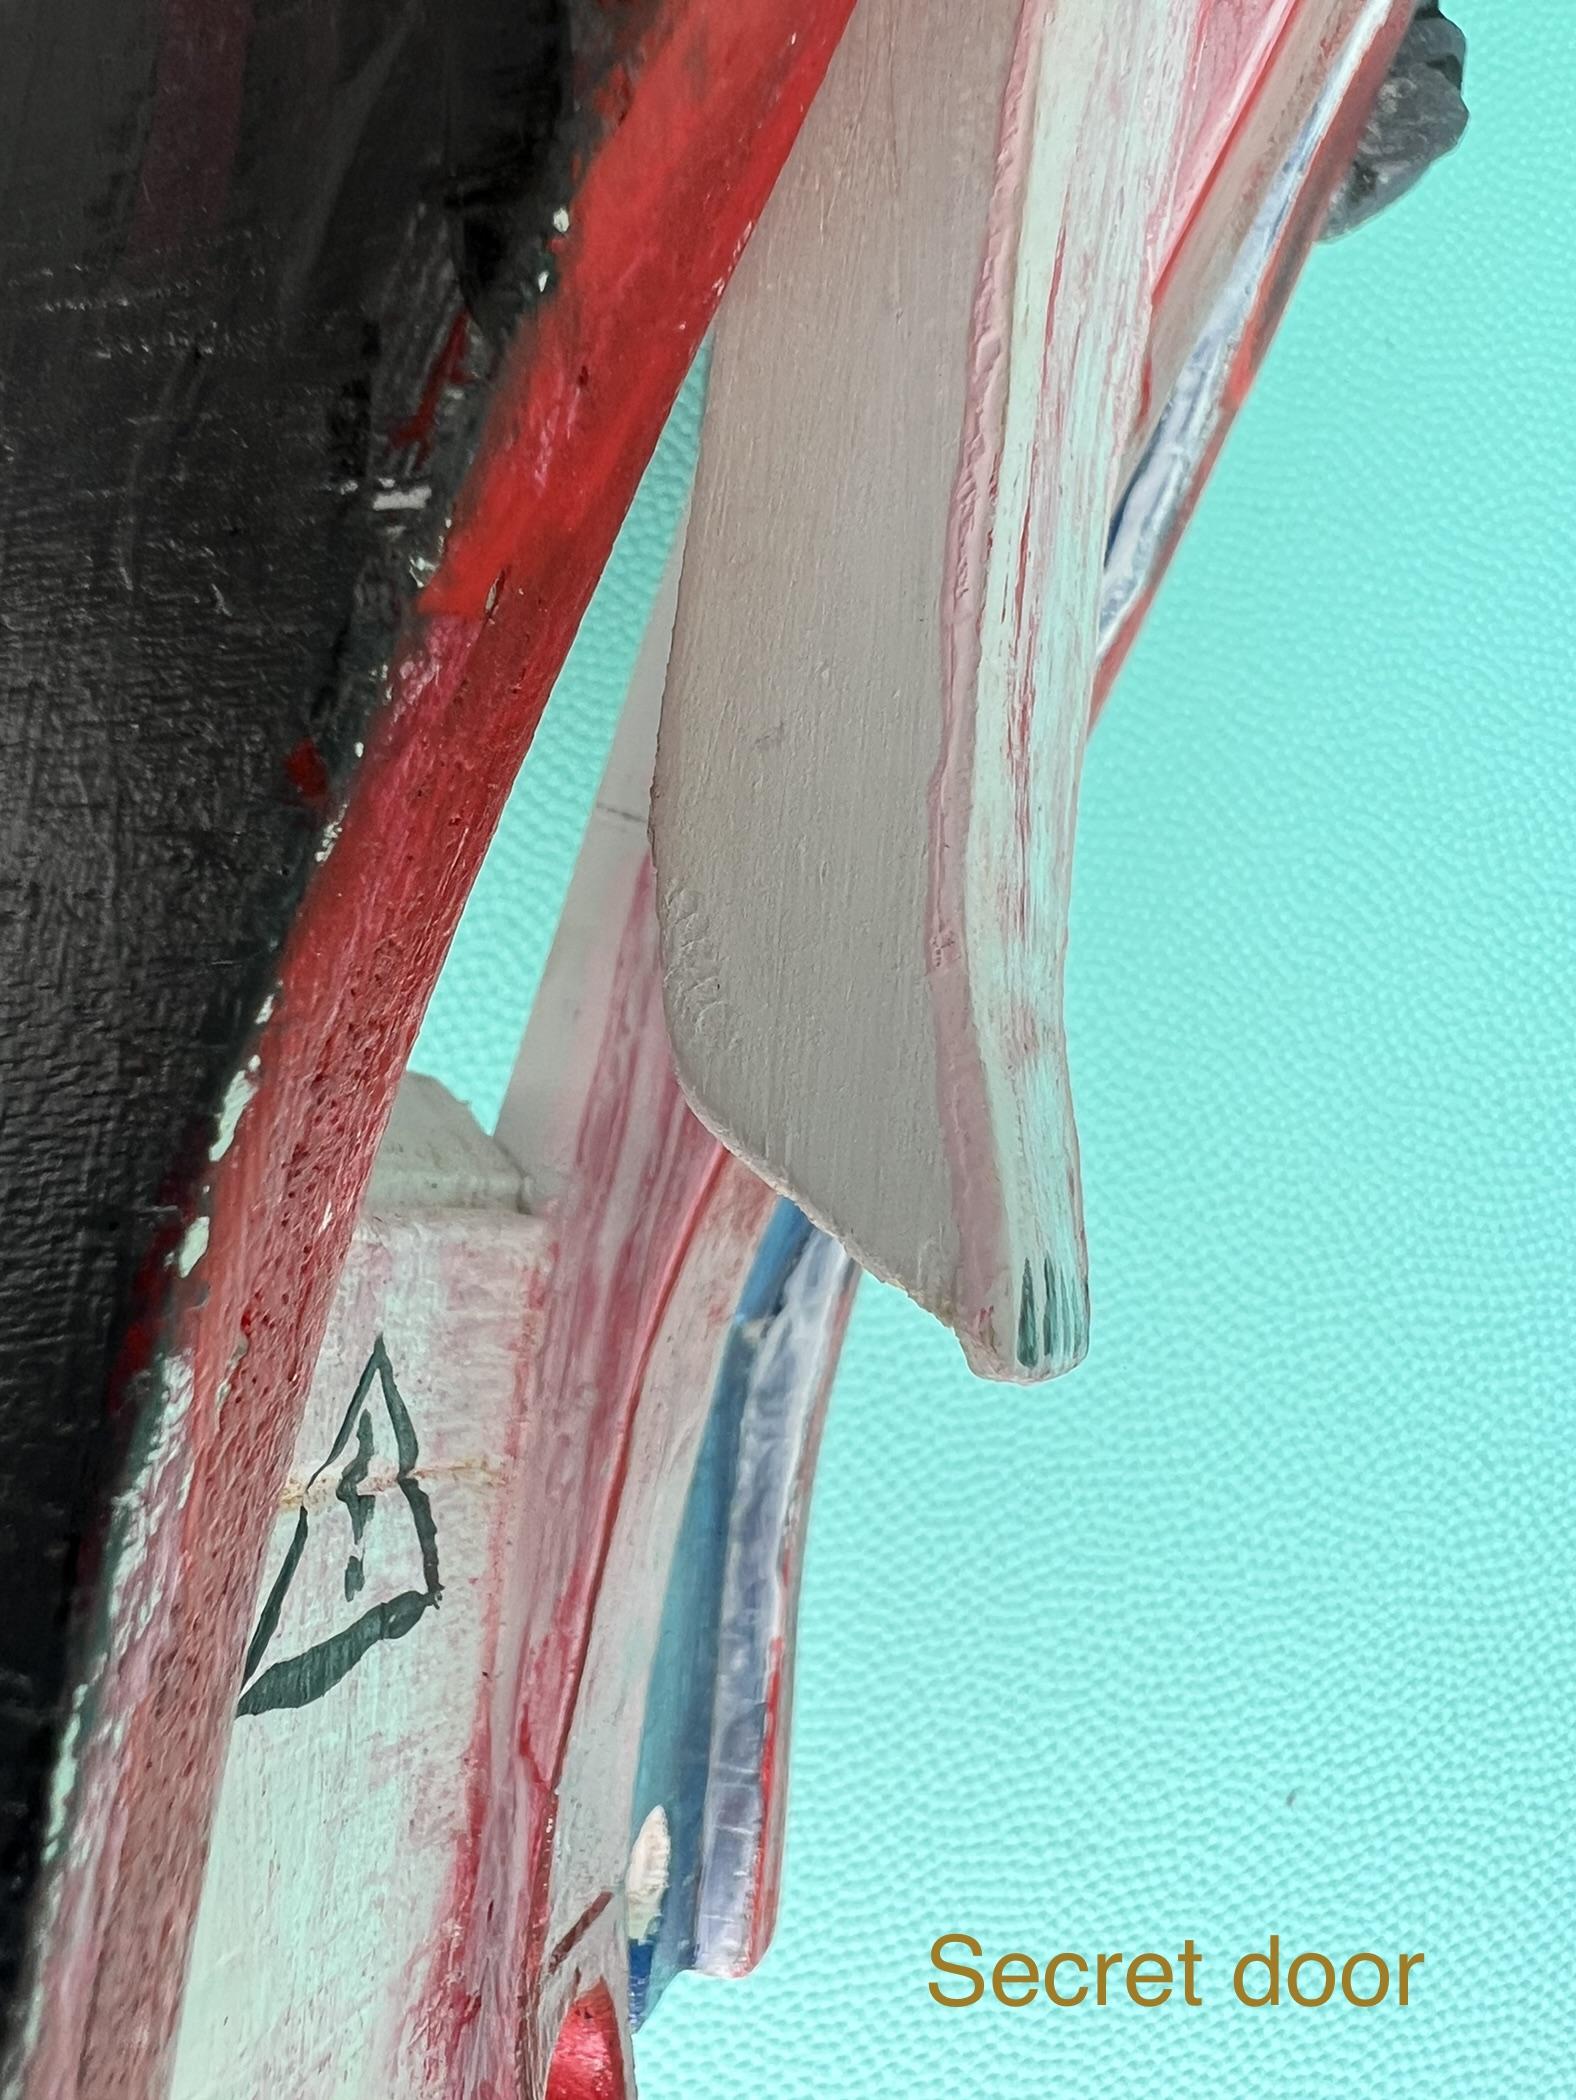
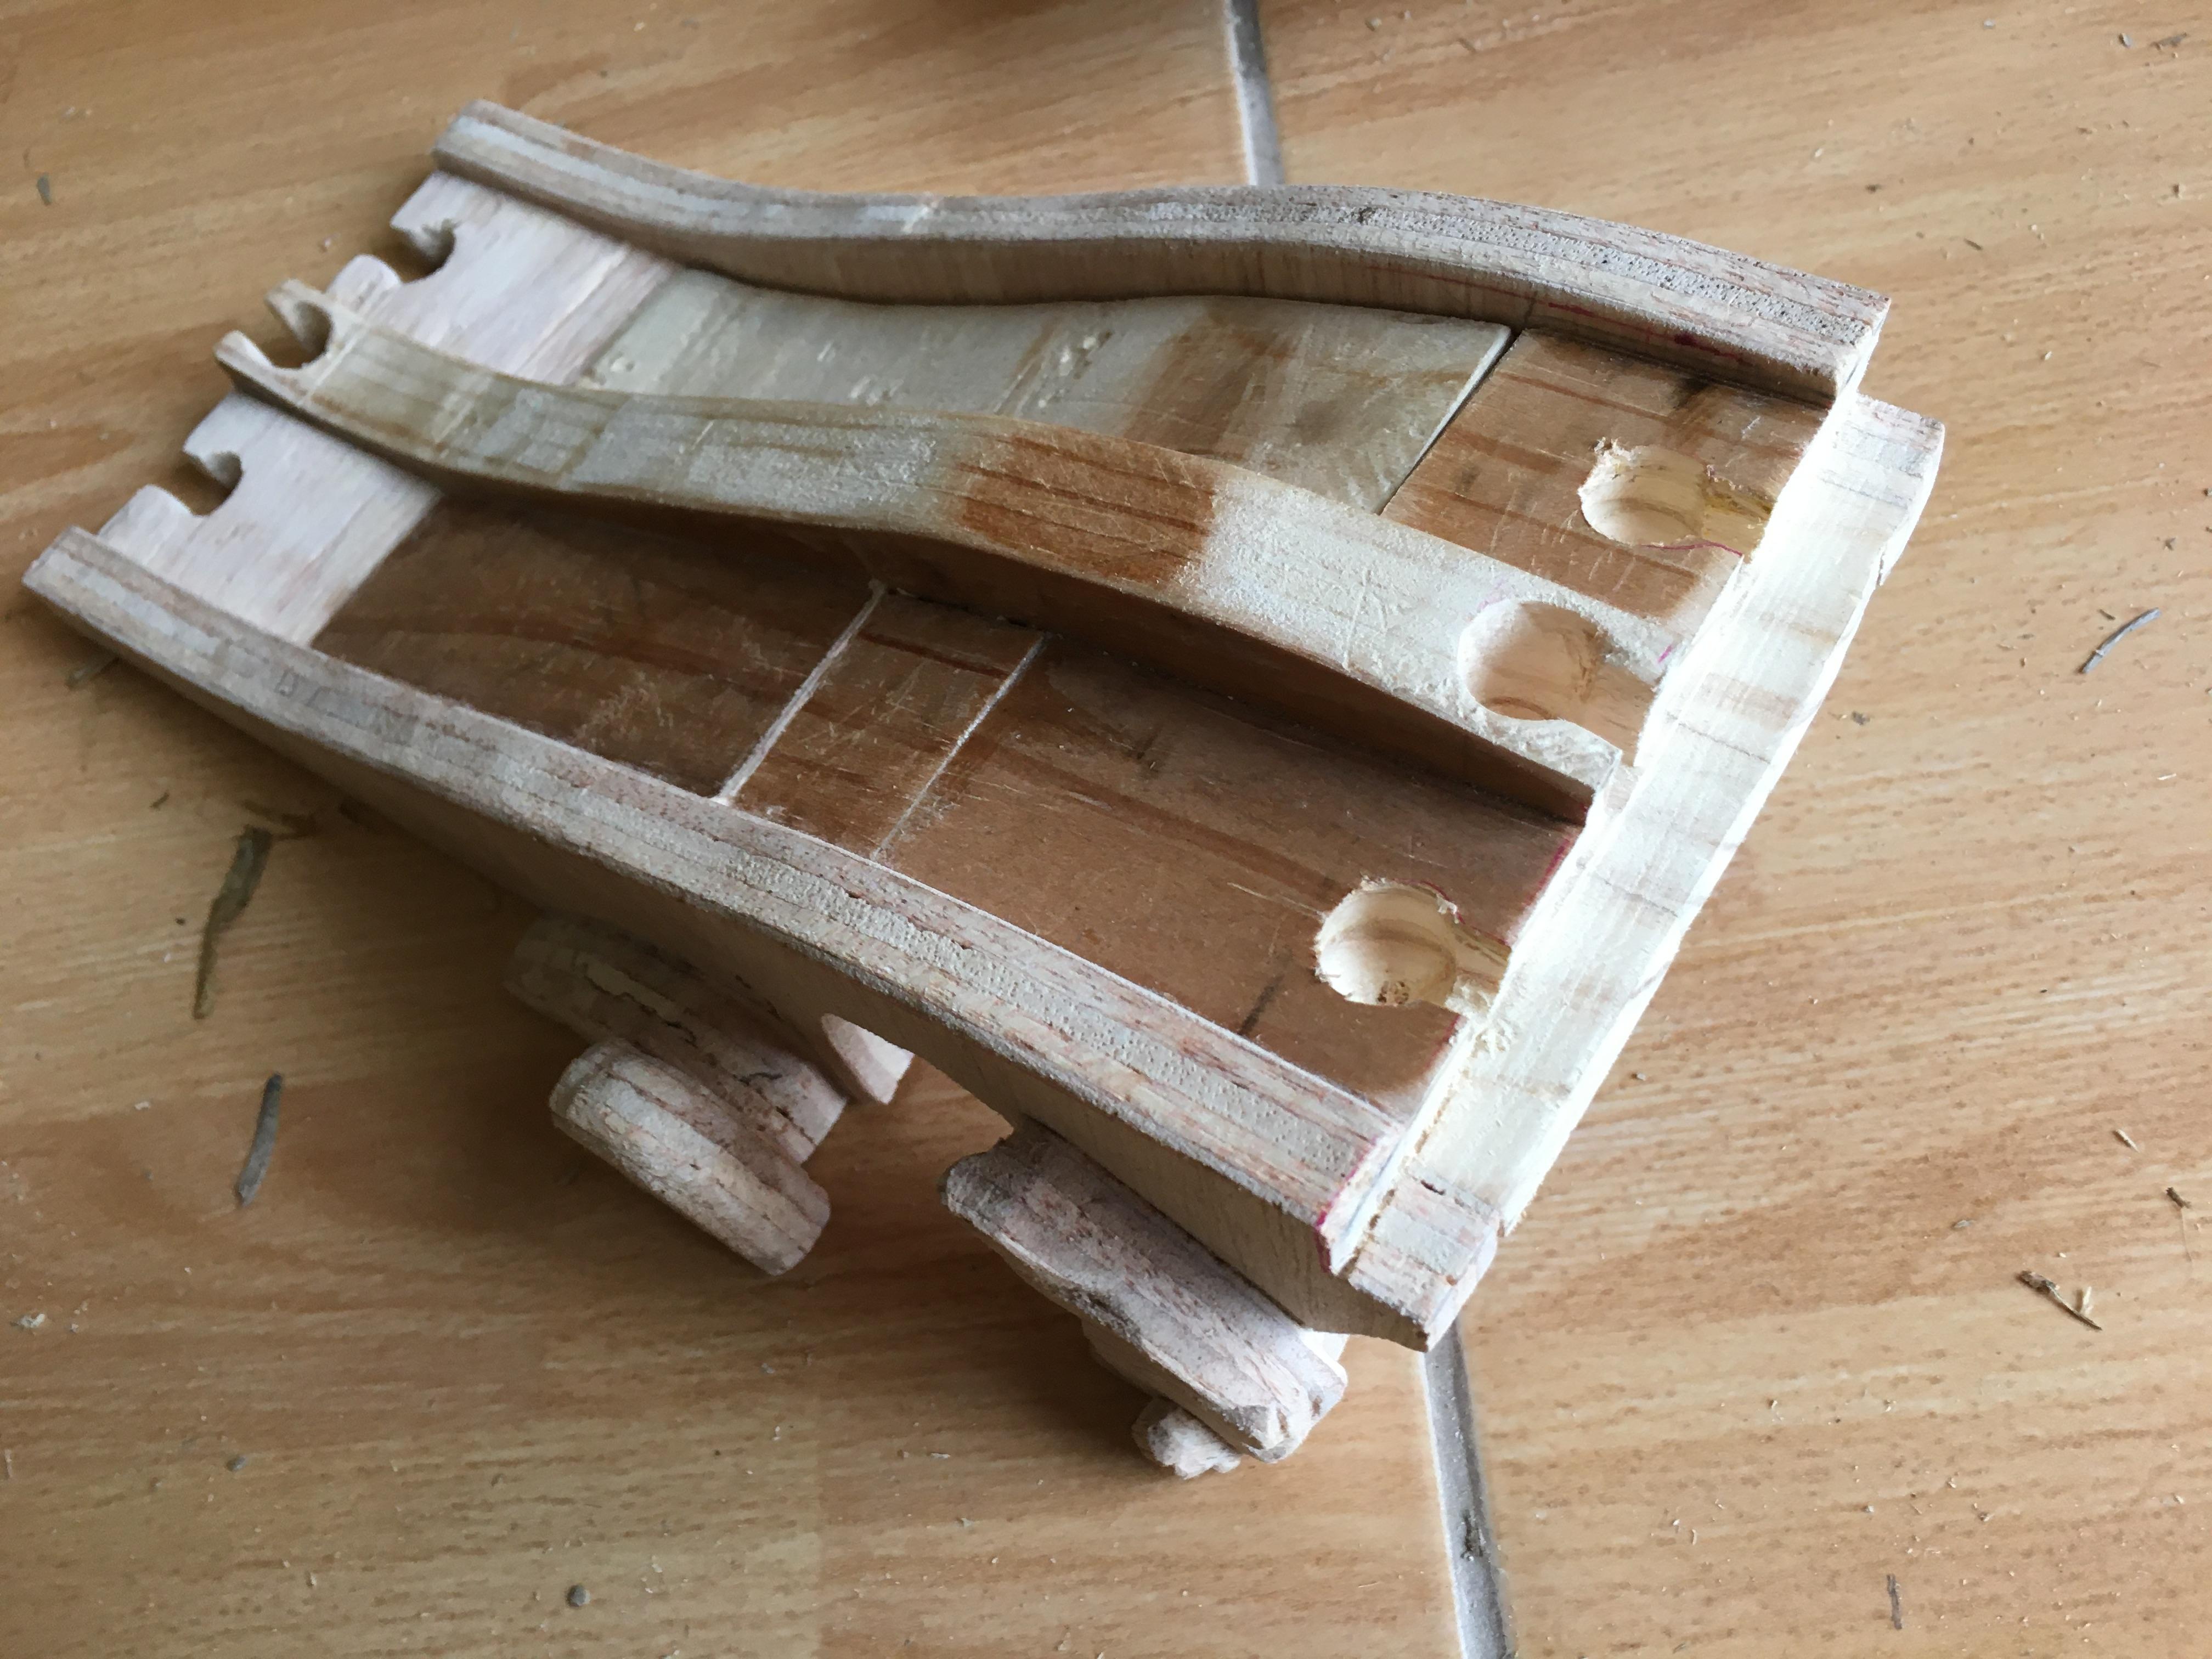
I made the ramp thinner than the other road pieces so it could move freely once painted. I drilled a hole and inserted a wire in the ramp to act as a pivot. Then I assembled all the layers of the bridge.
Assemble
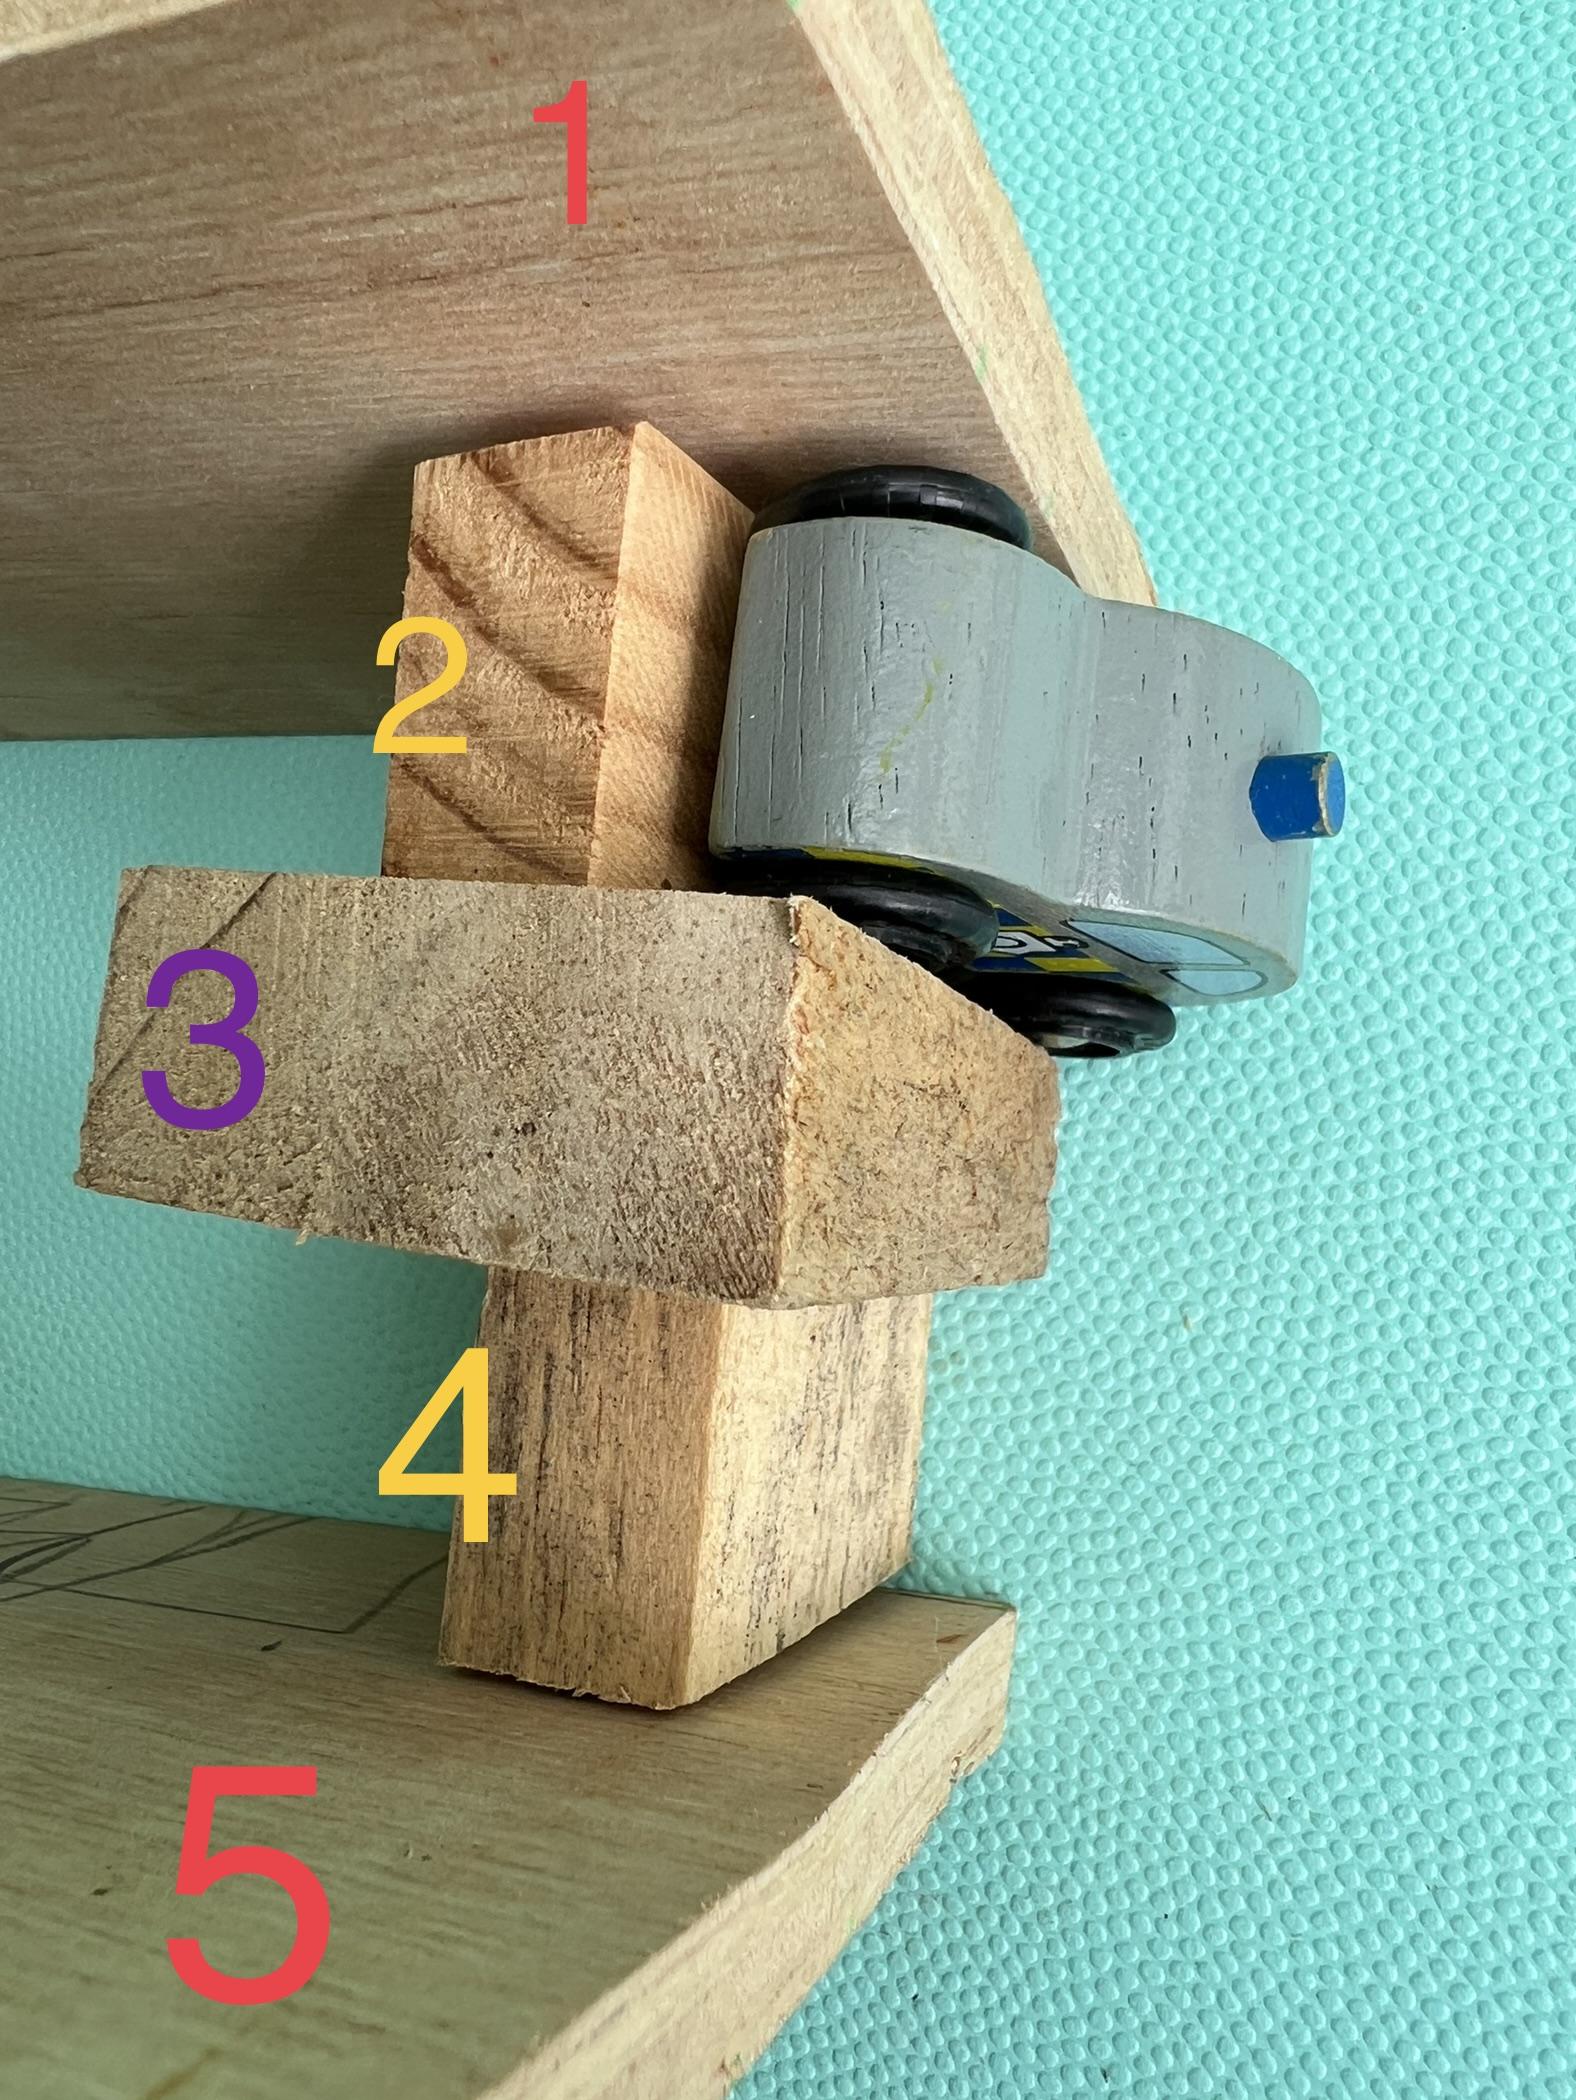
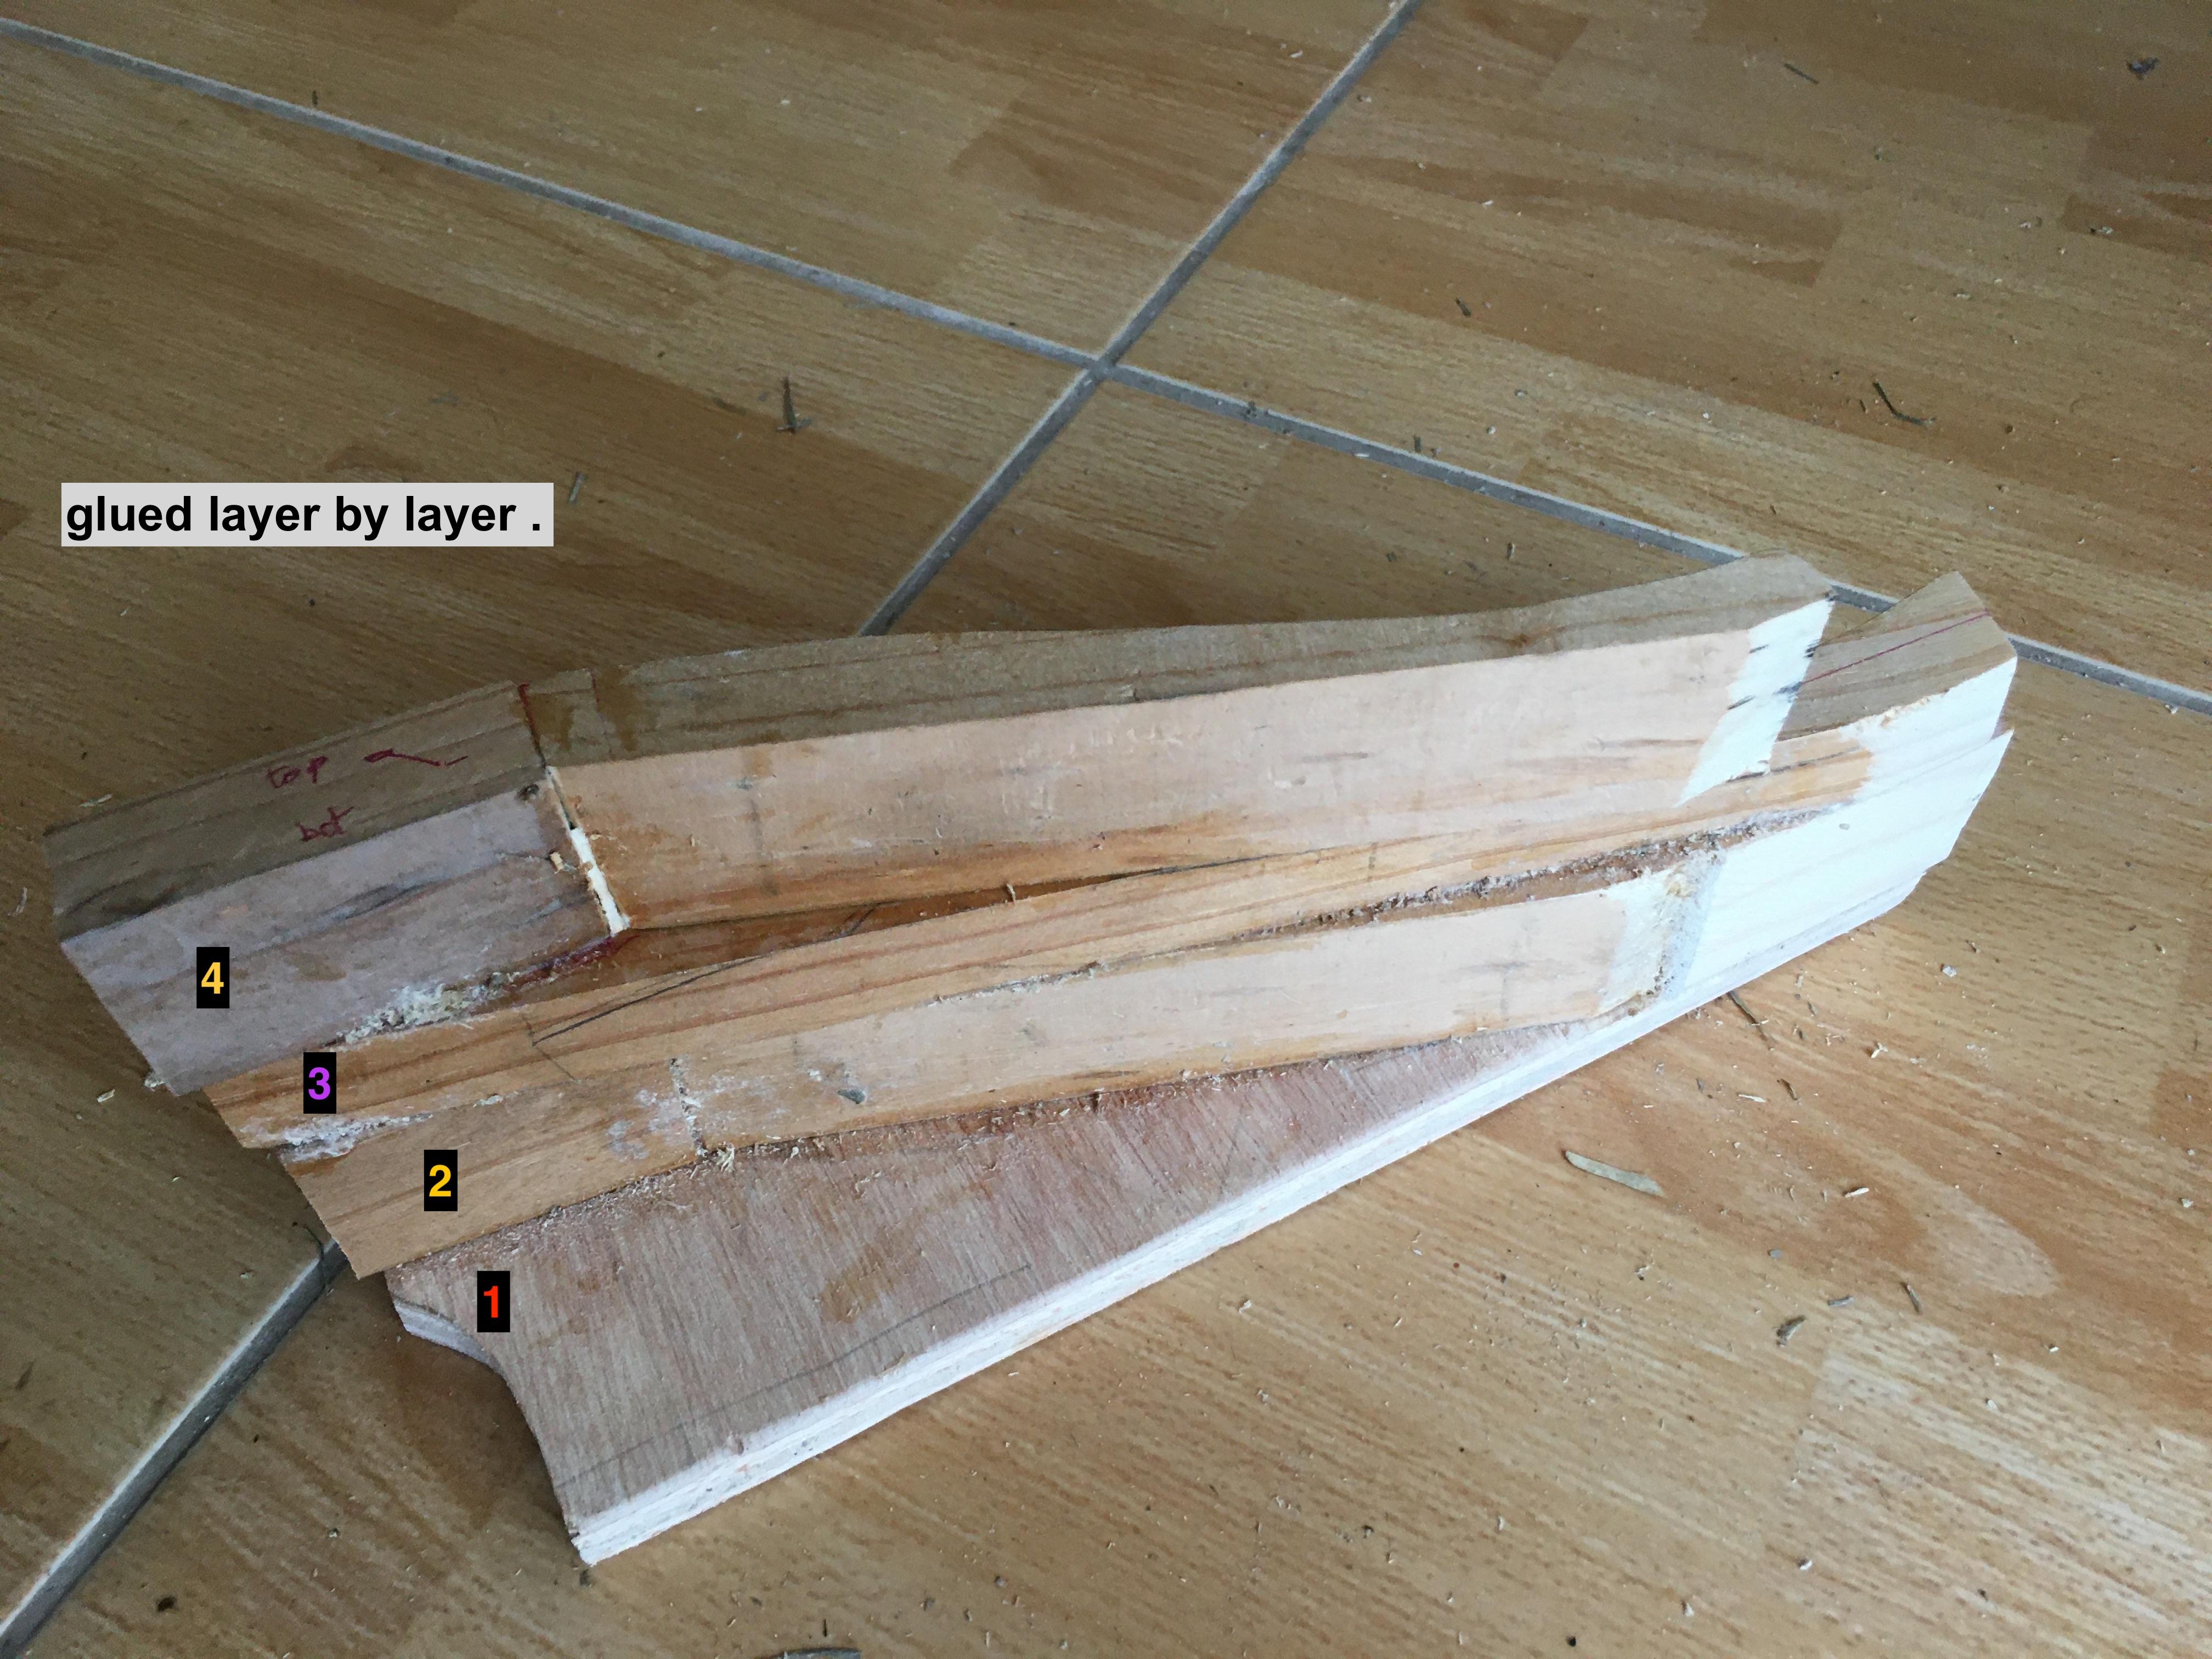

Before any gluing, the parts were assembled and held together with clamps to check if all components were well dimensioned. During this process, I was surprised to find that some pieces weren't cut straight enough. I made numerous adjustments with sandpaper. I also improvised wood paste from saw dust and glue to fill some gaps later on.
All the pieces were glued to each other one layer at a time. It takes time but it allows avoiding slippage when clamping the glued covered pieces.
The Rocks
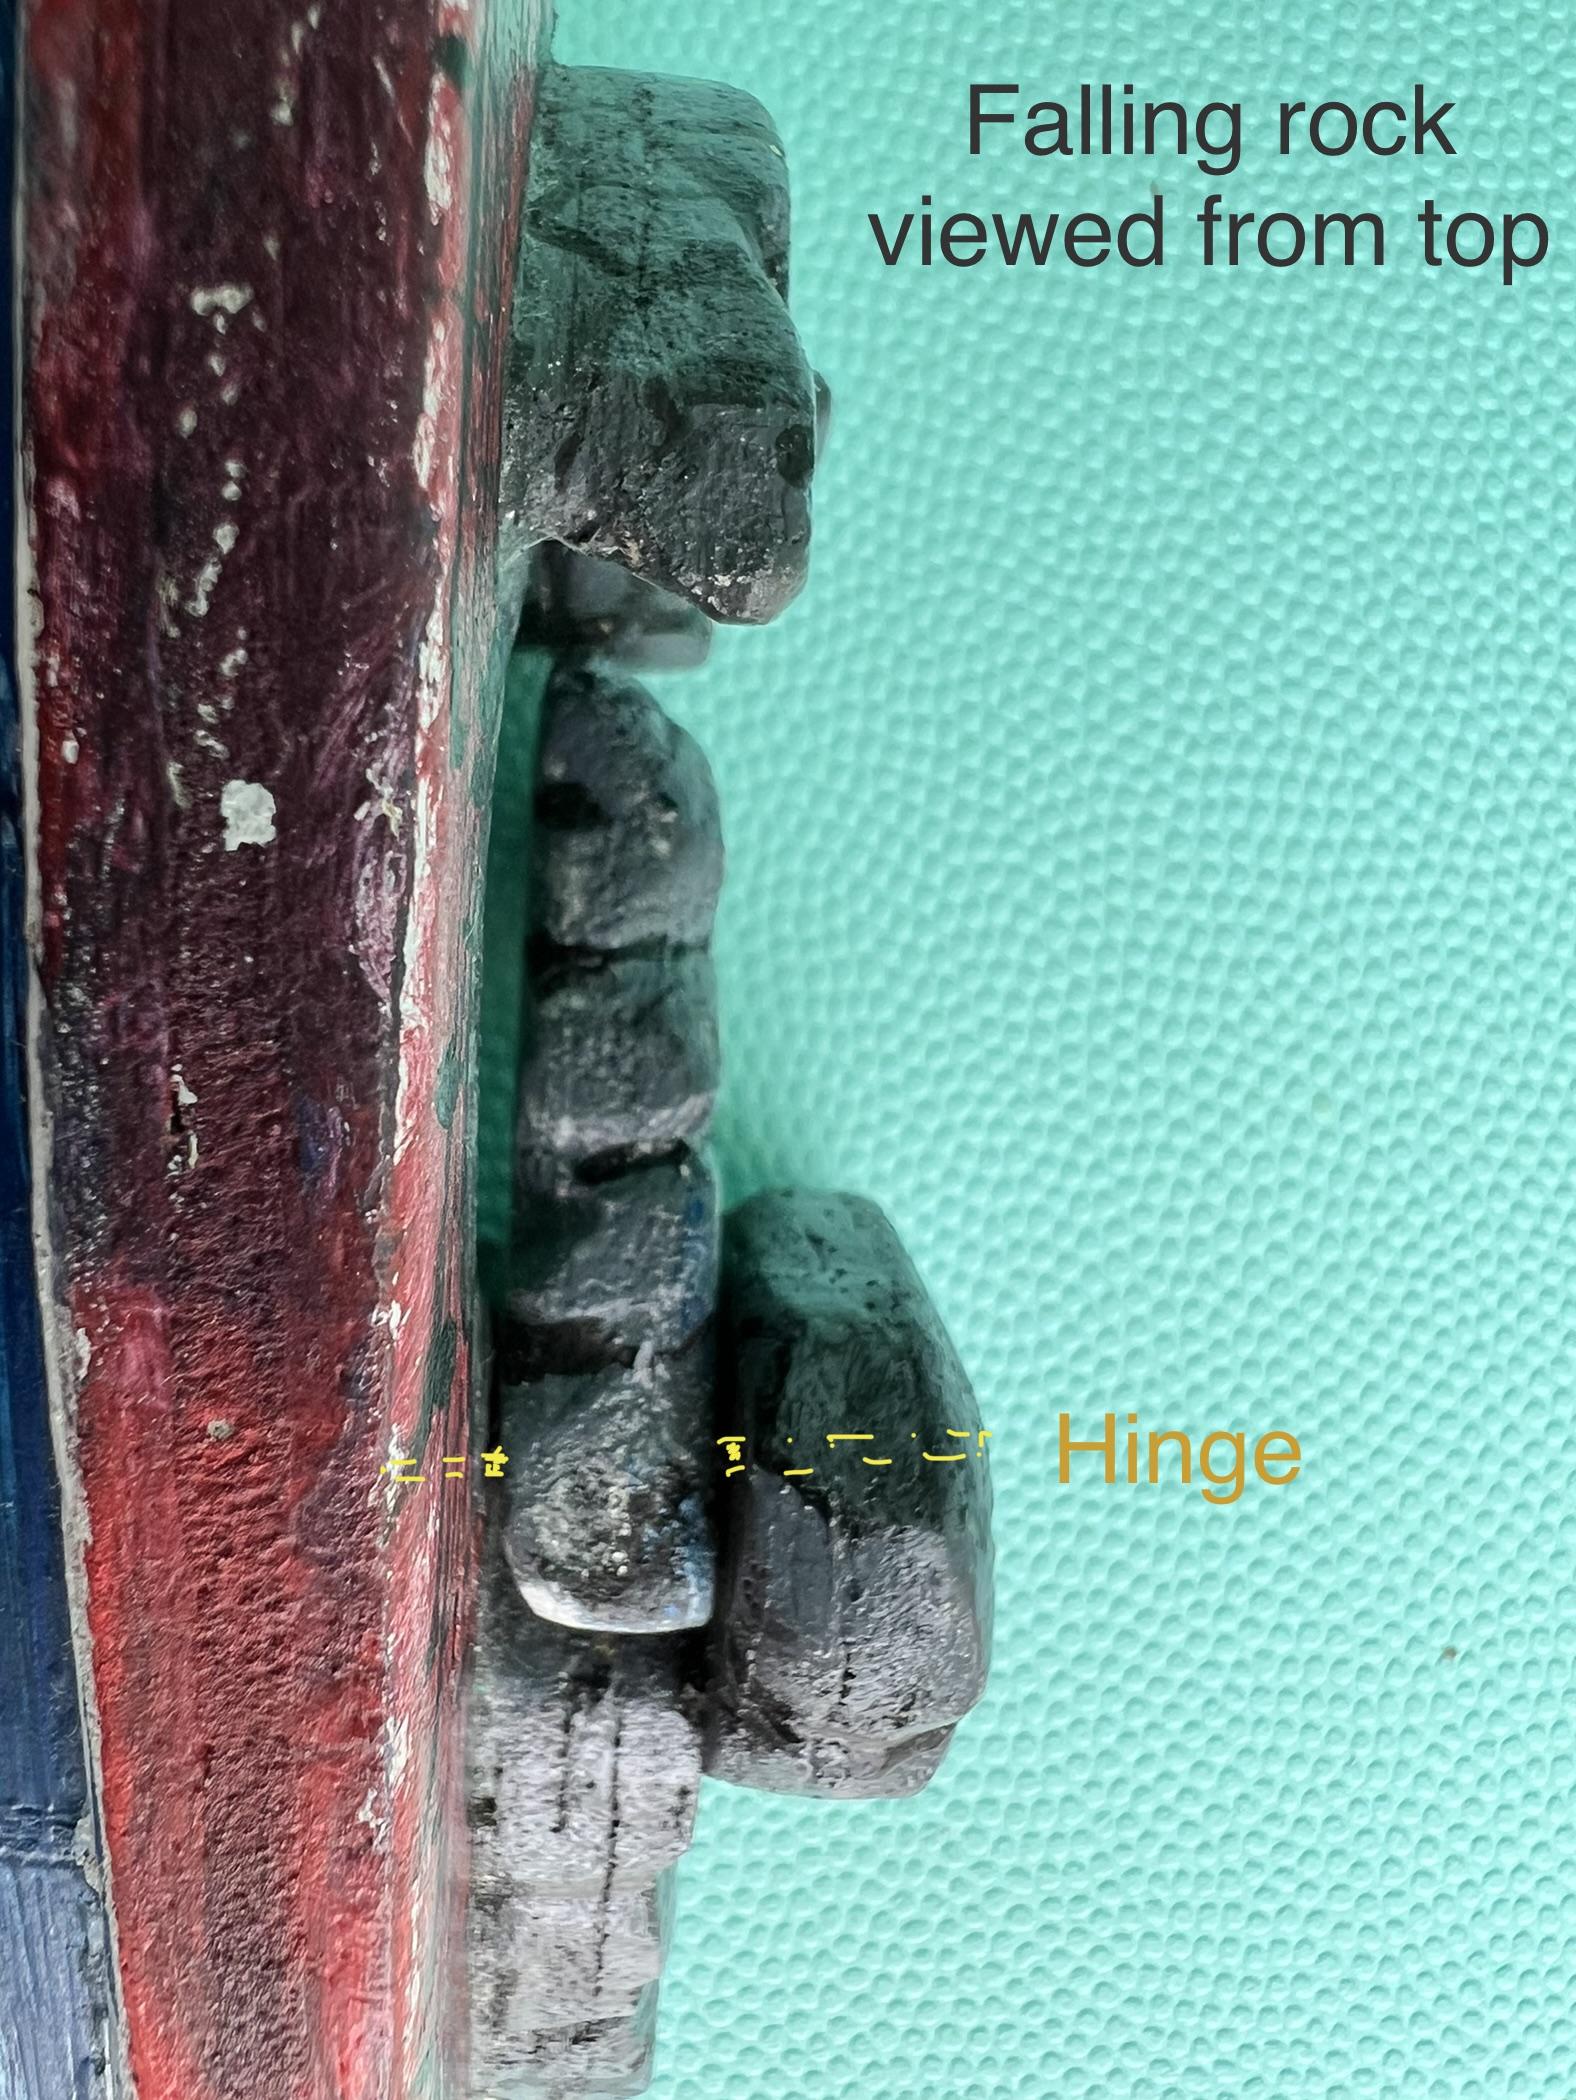
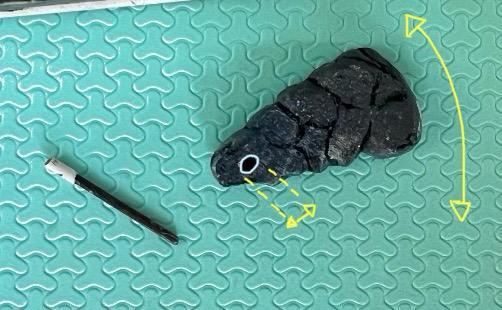
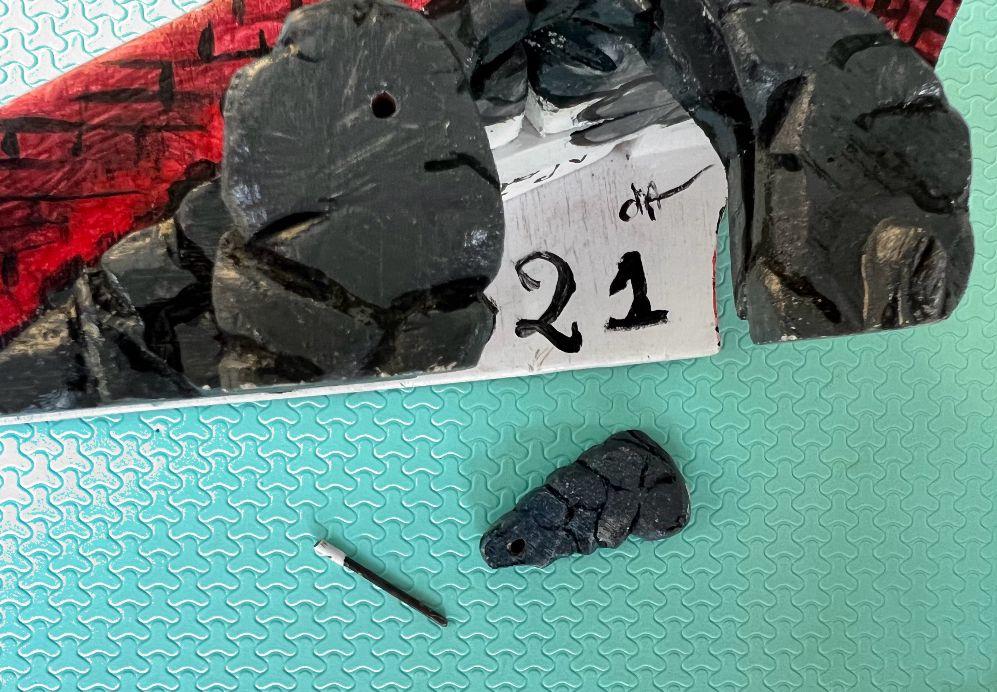
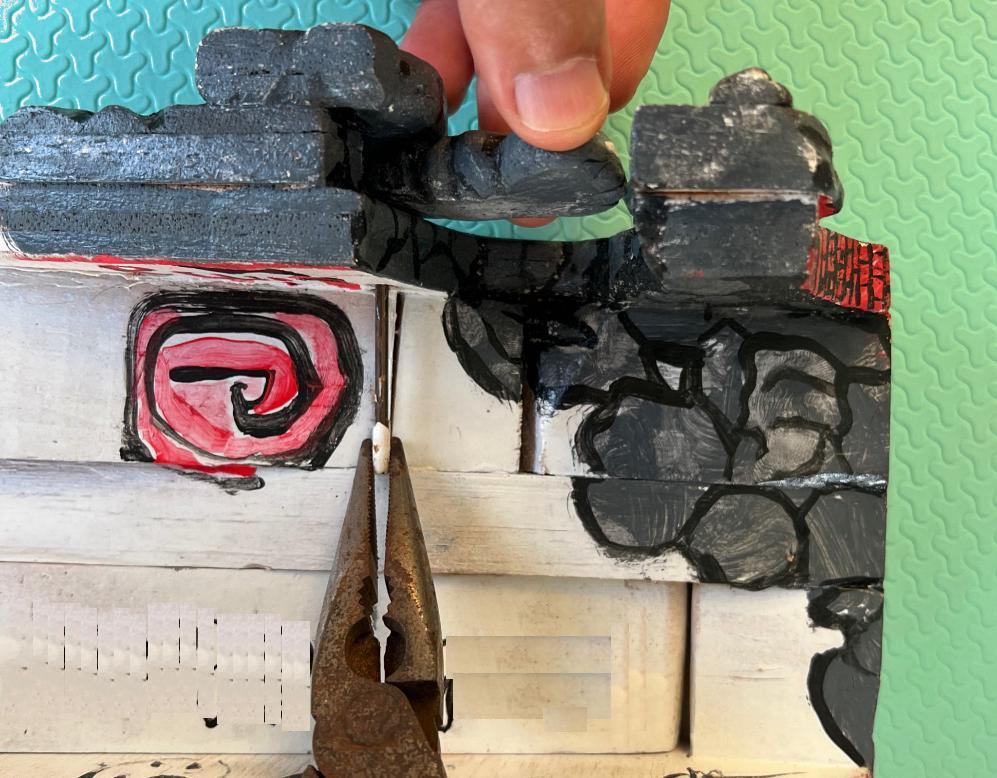
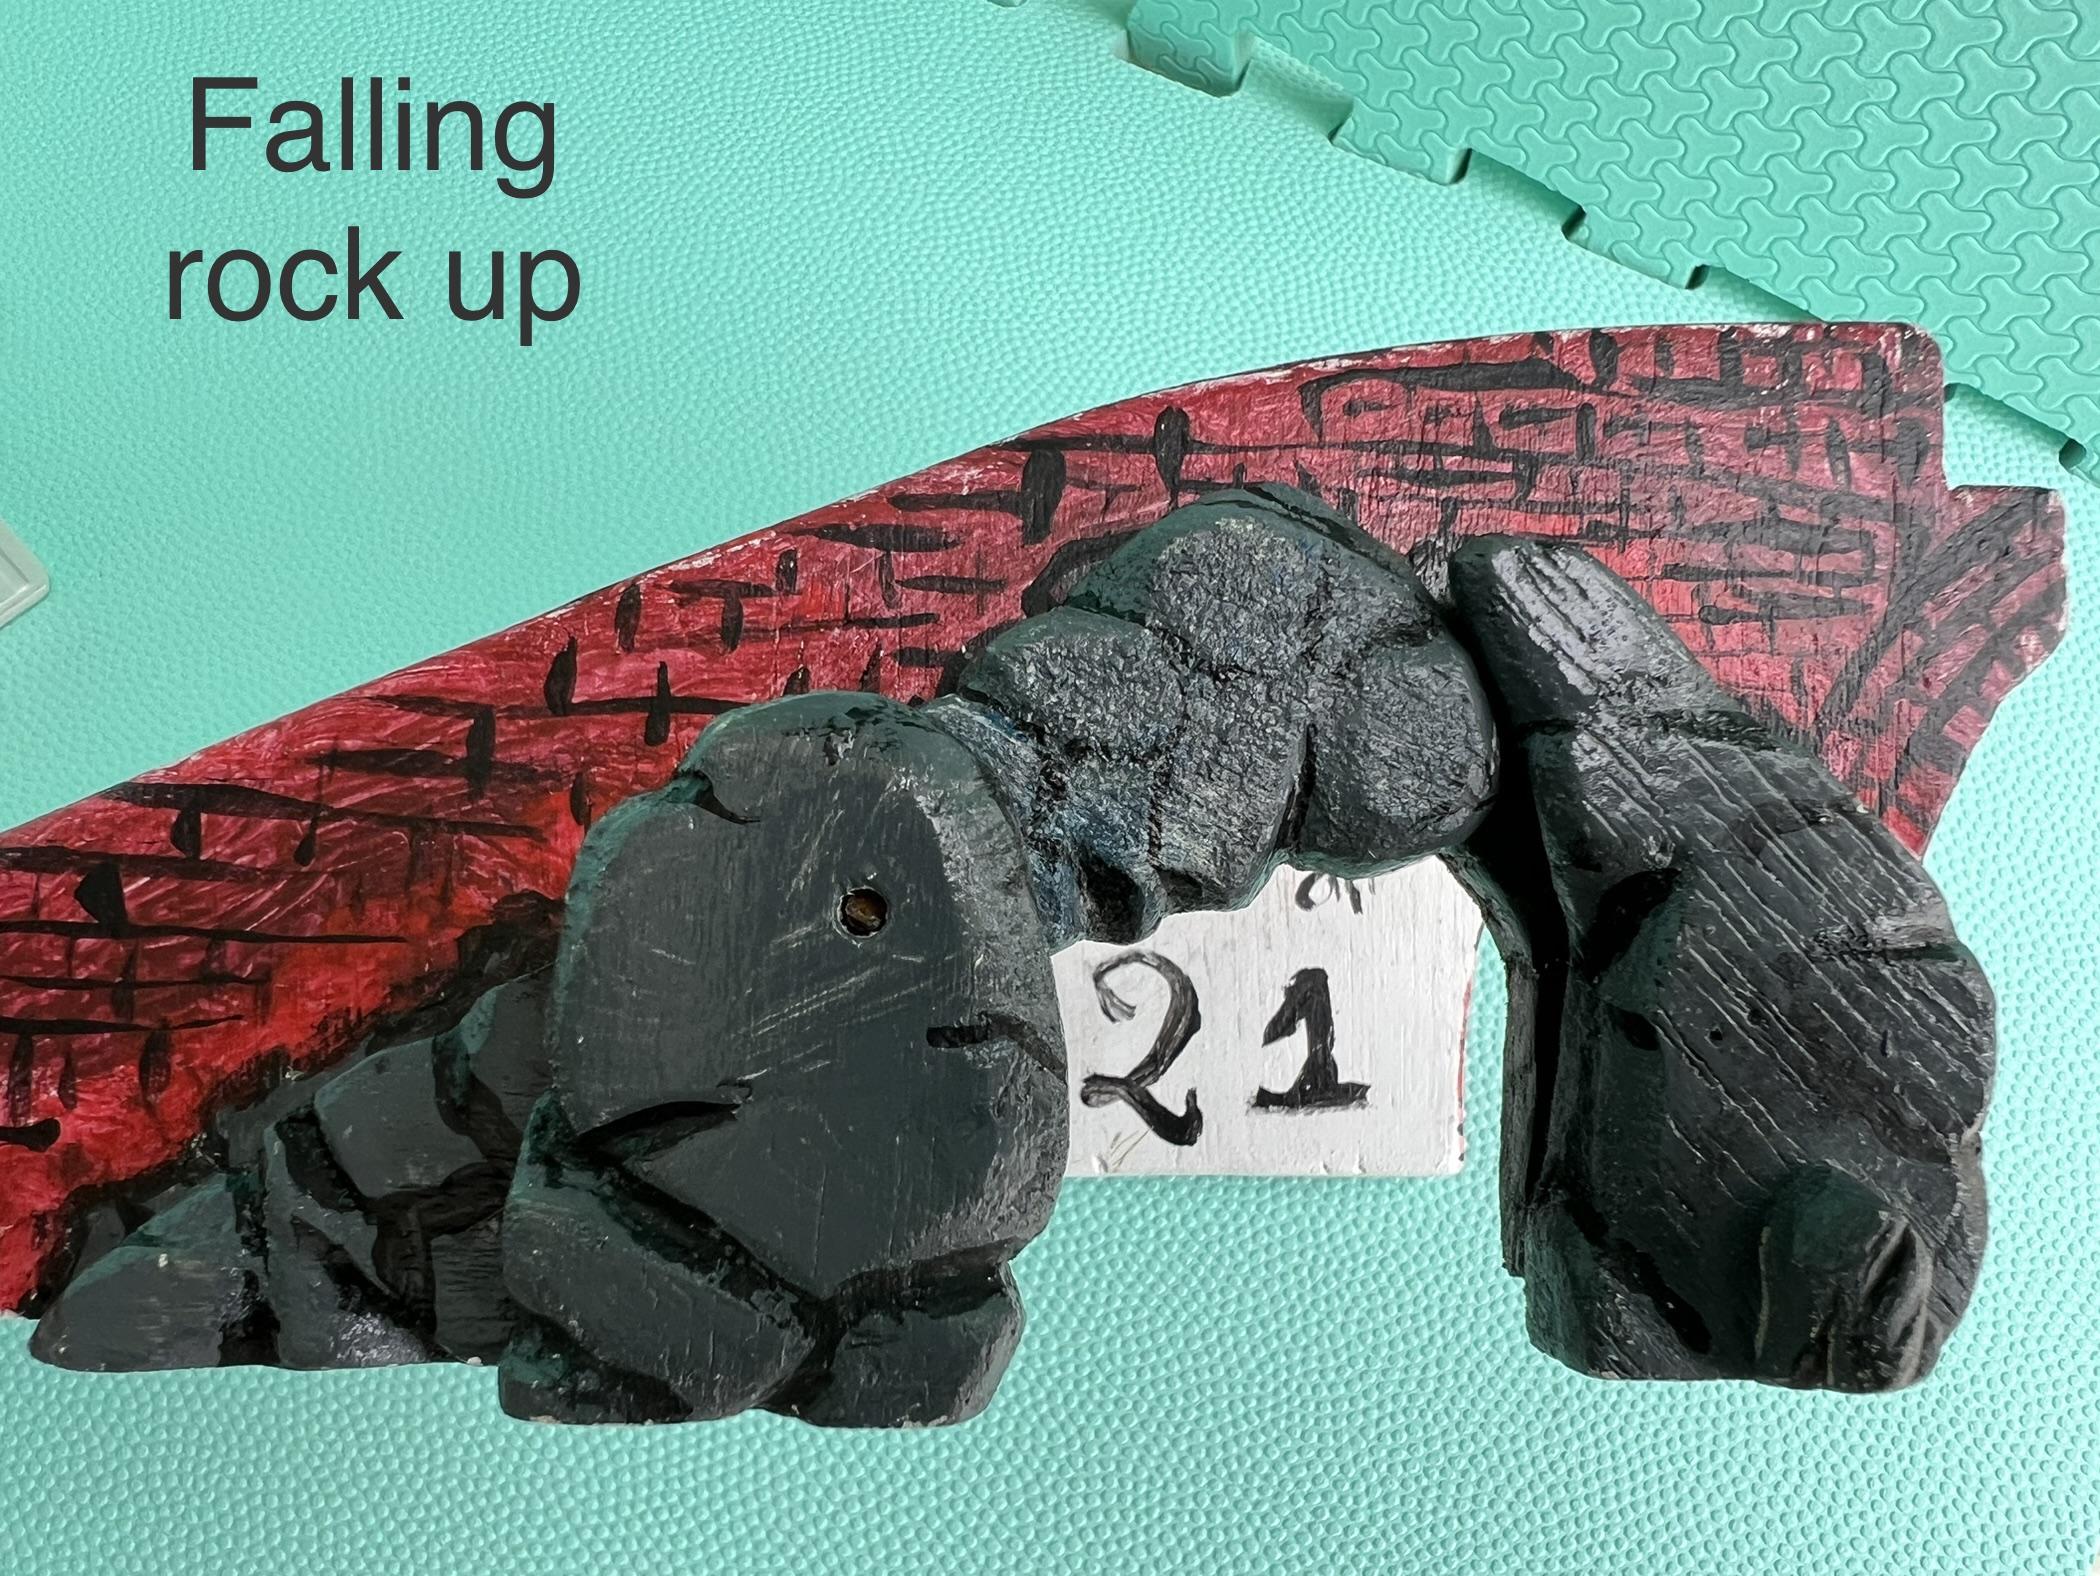
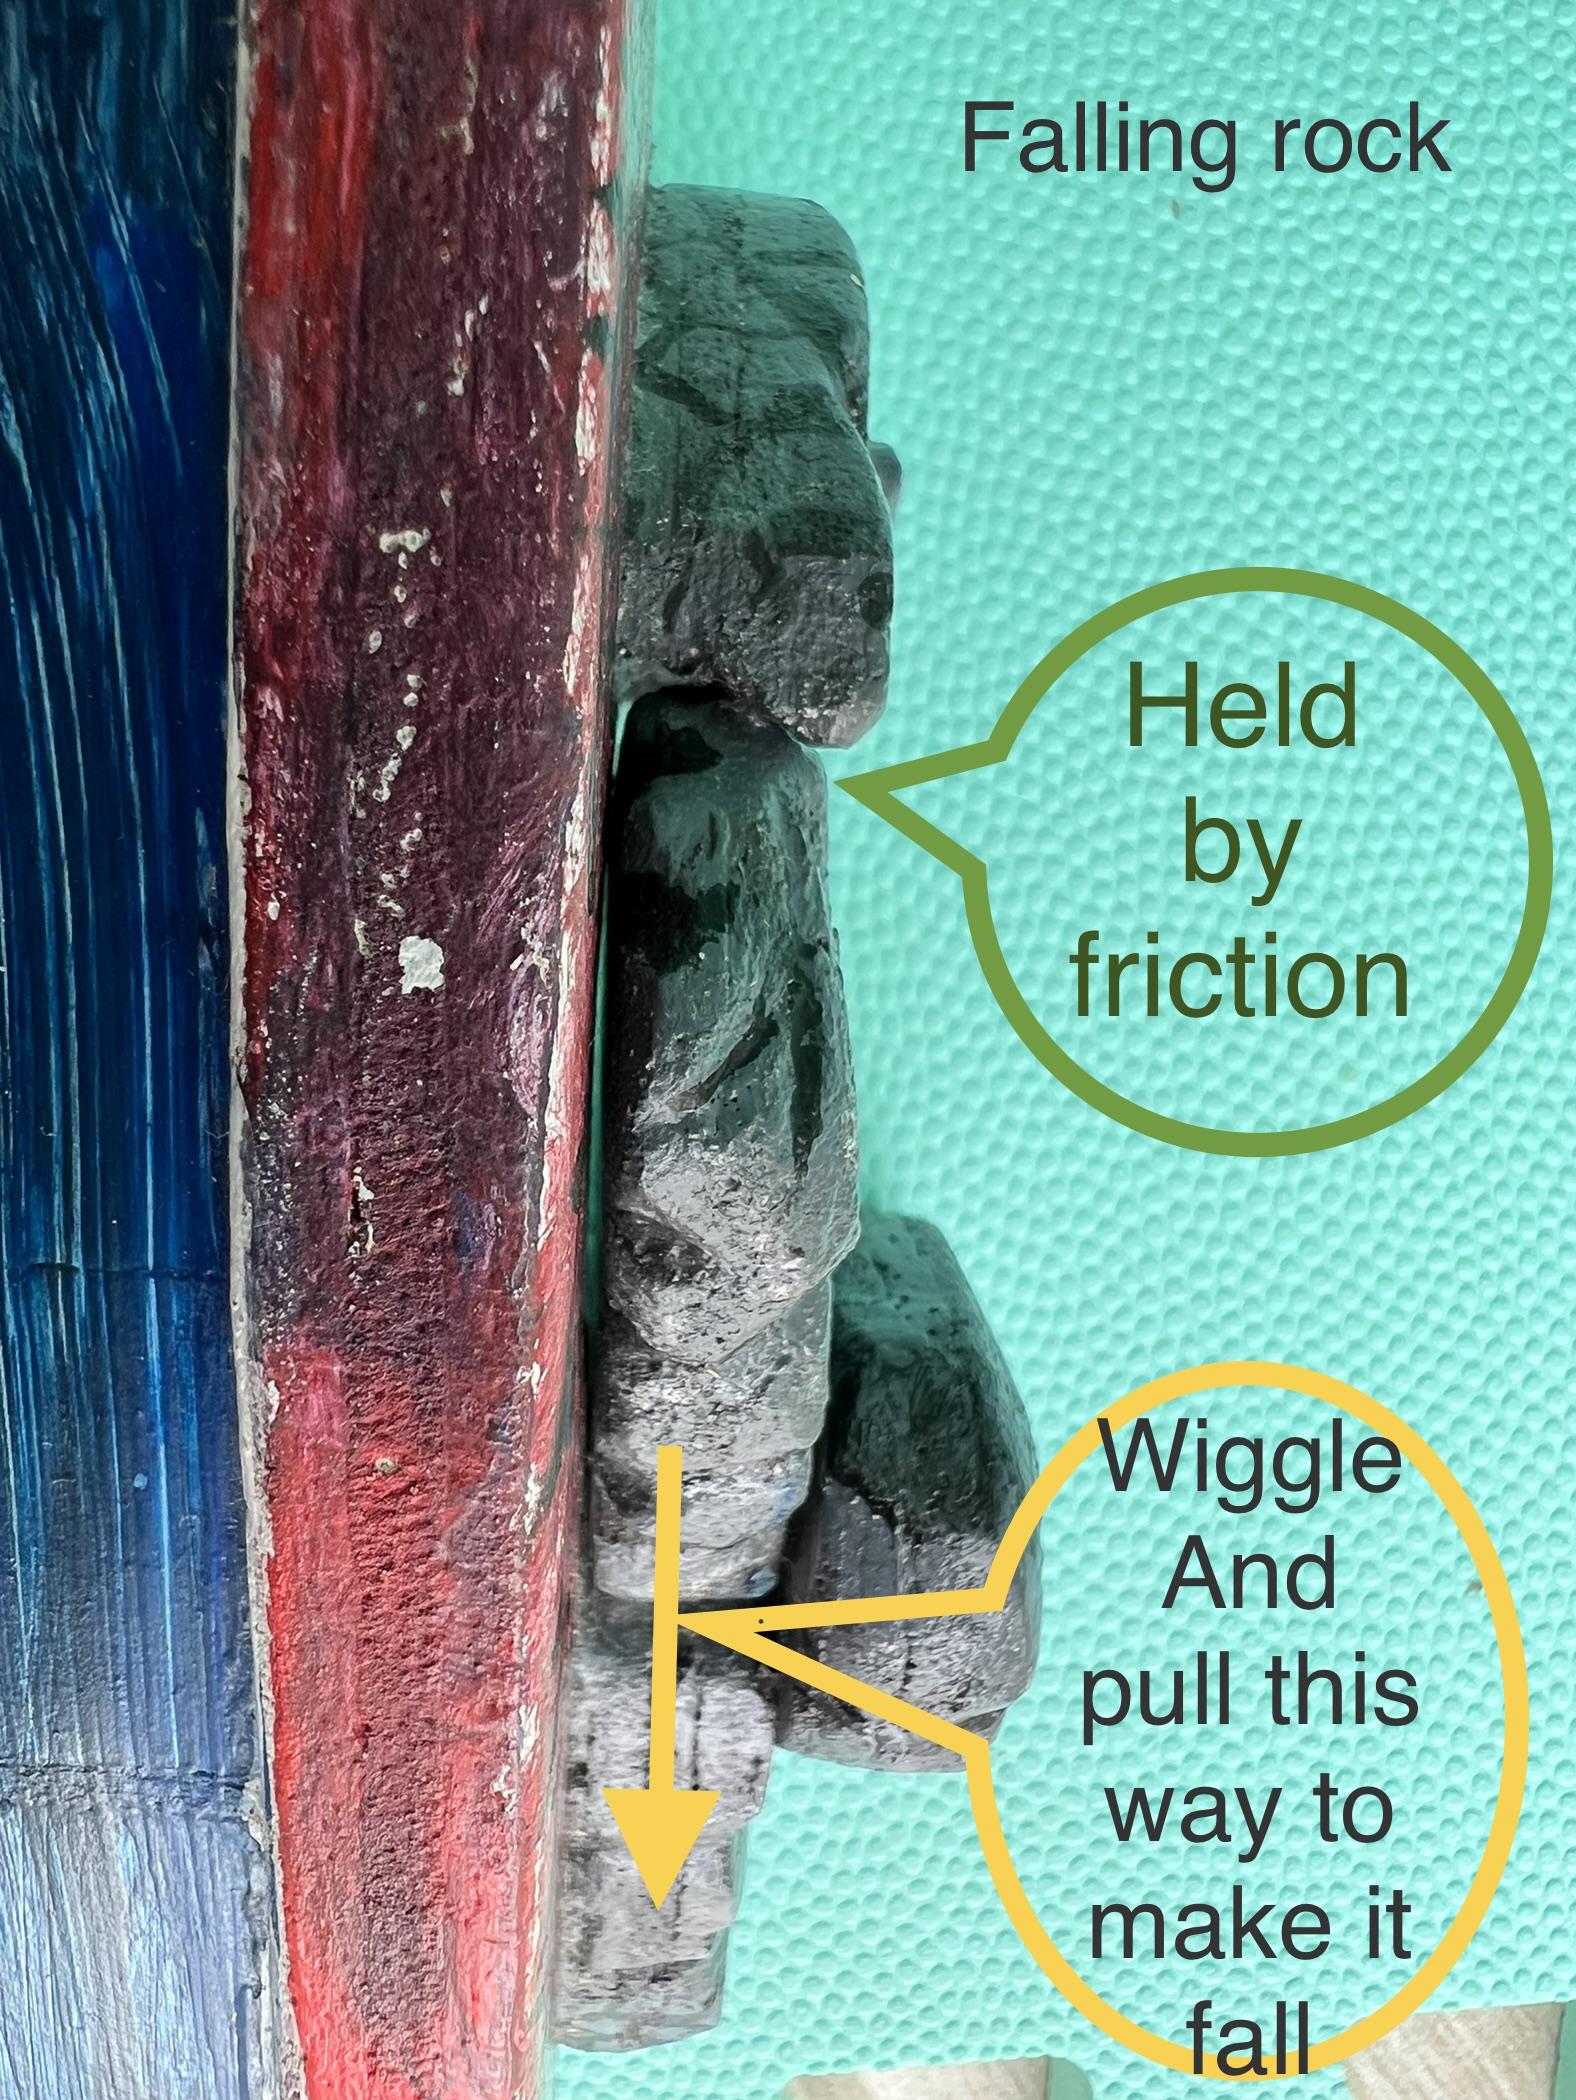
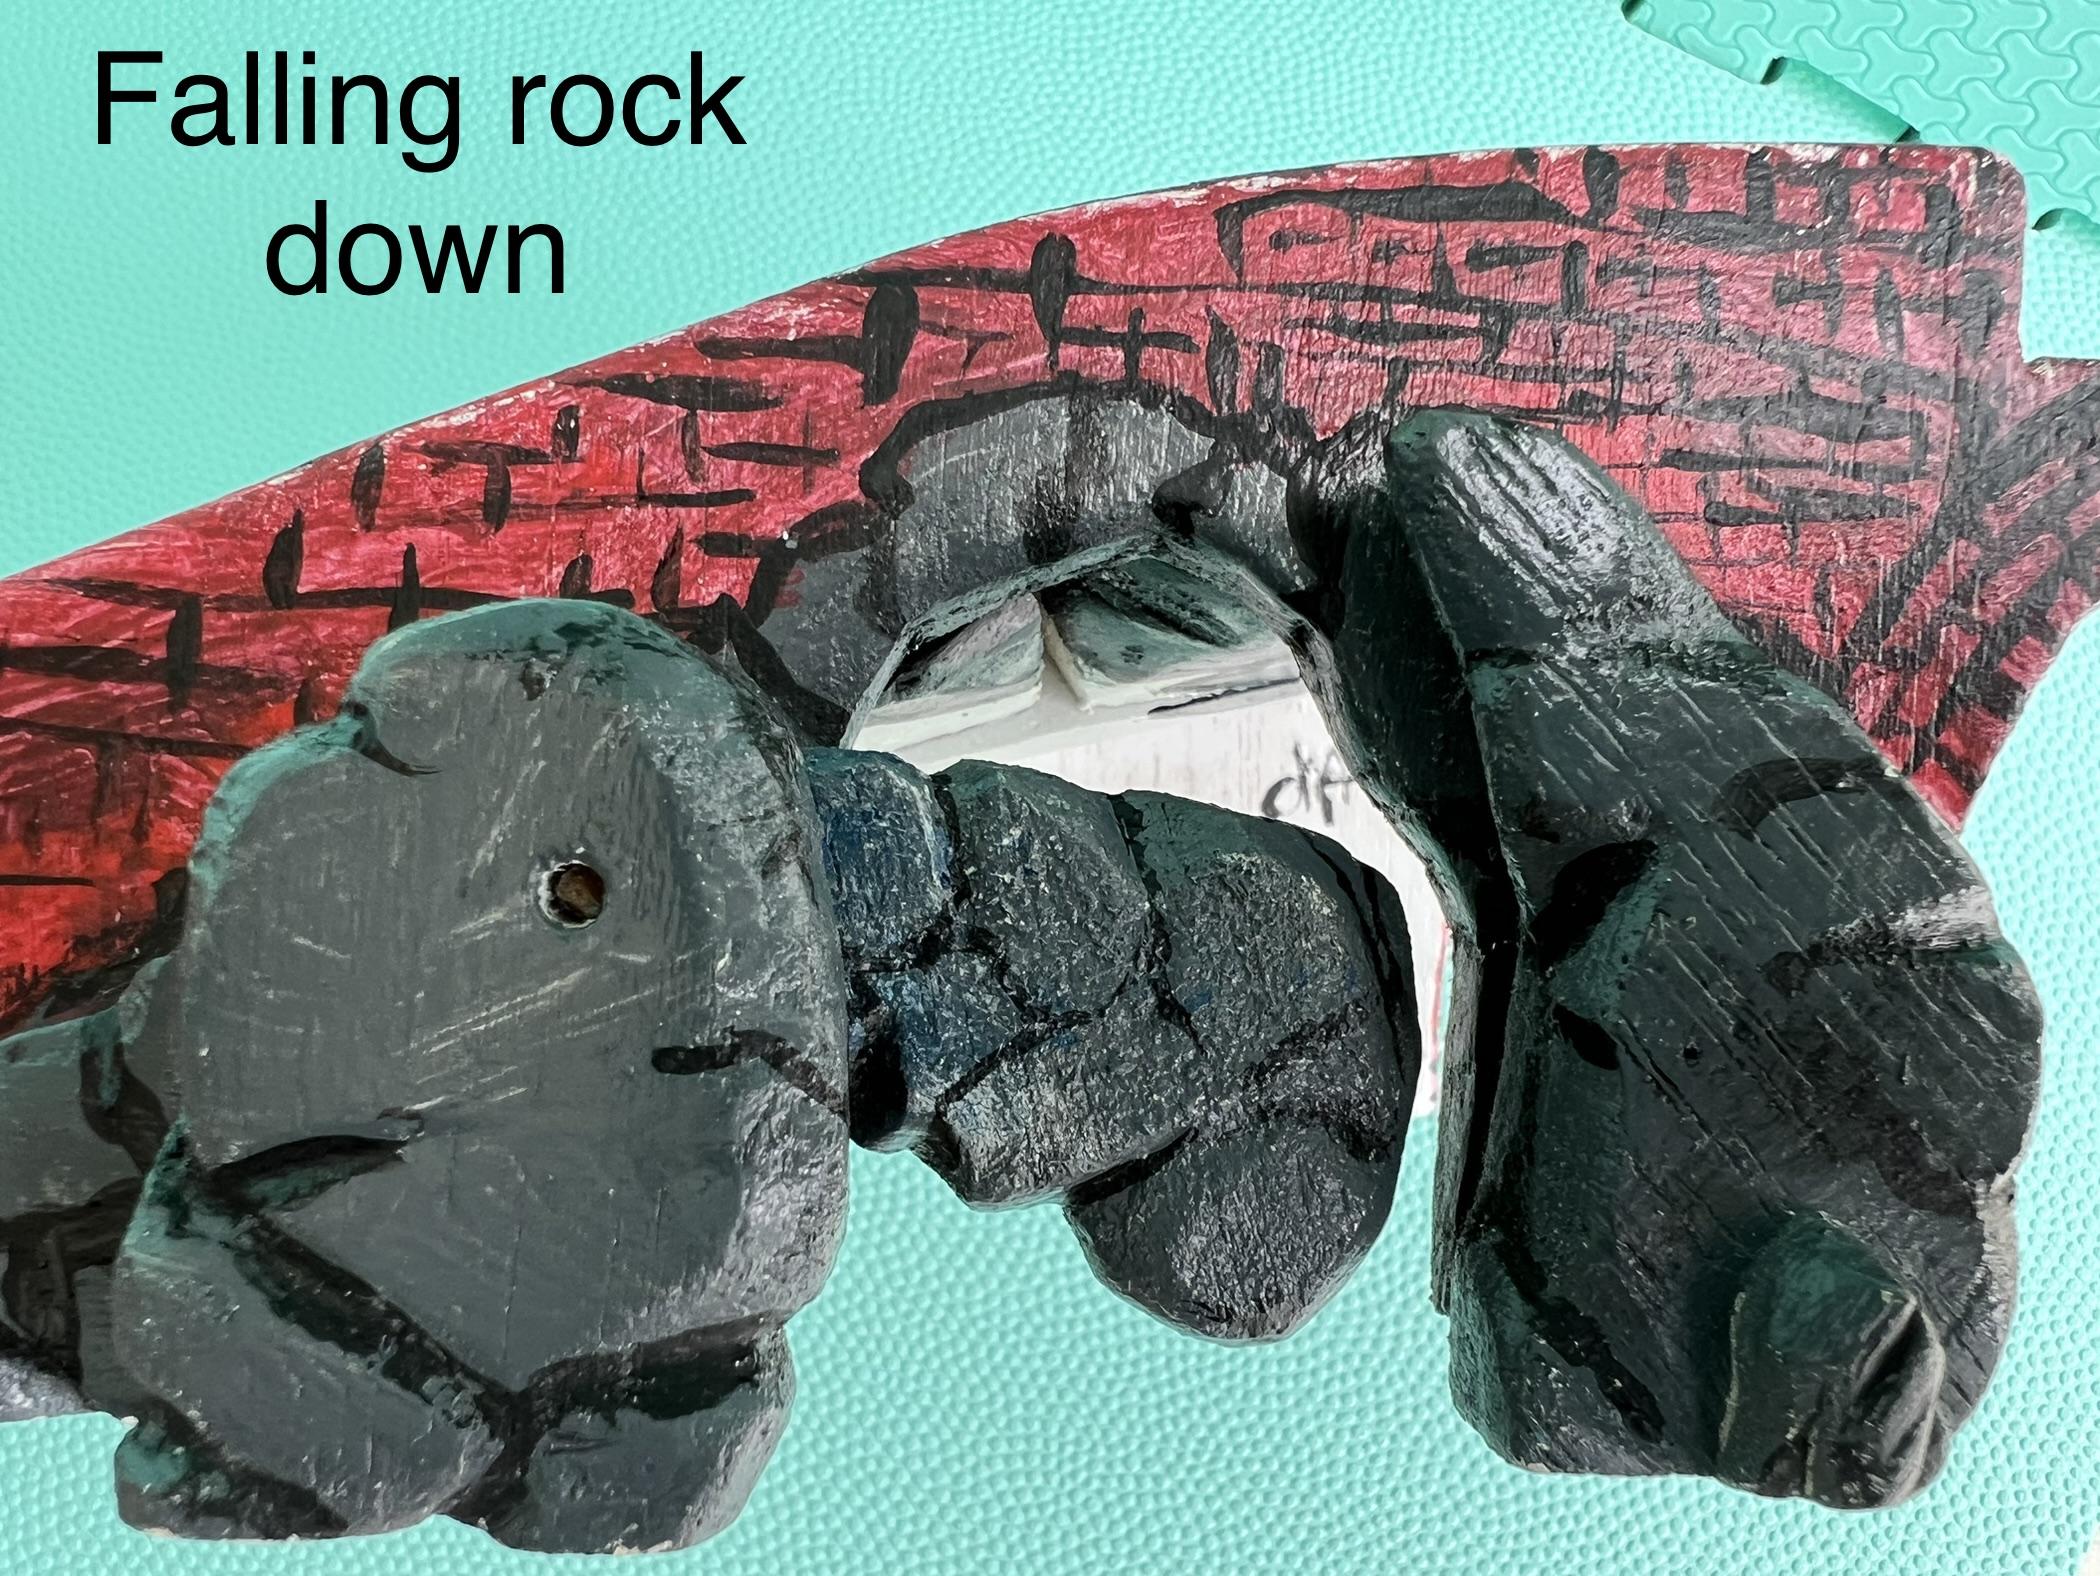
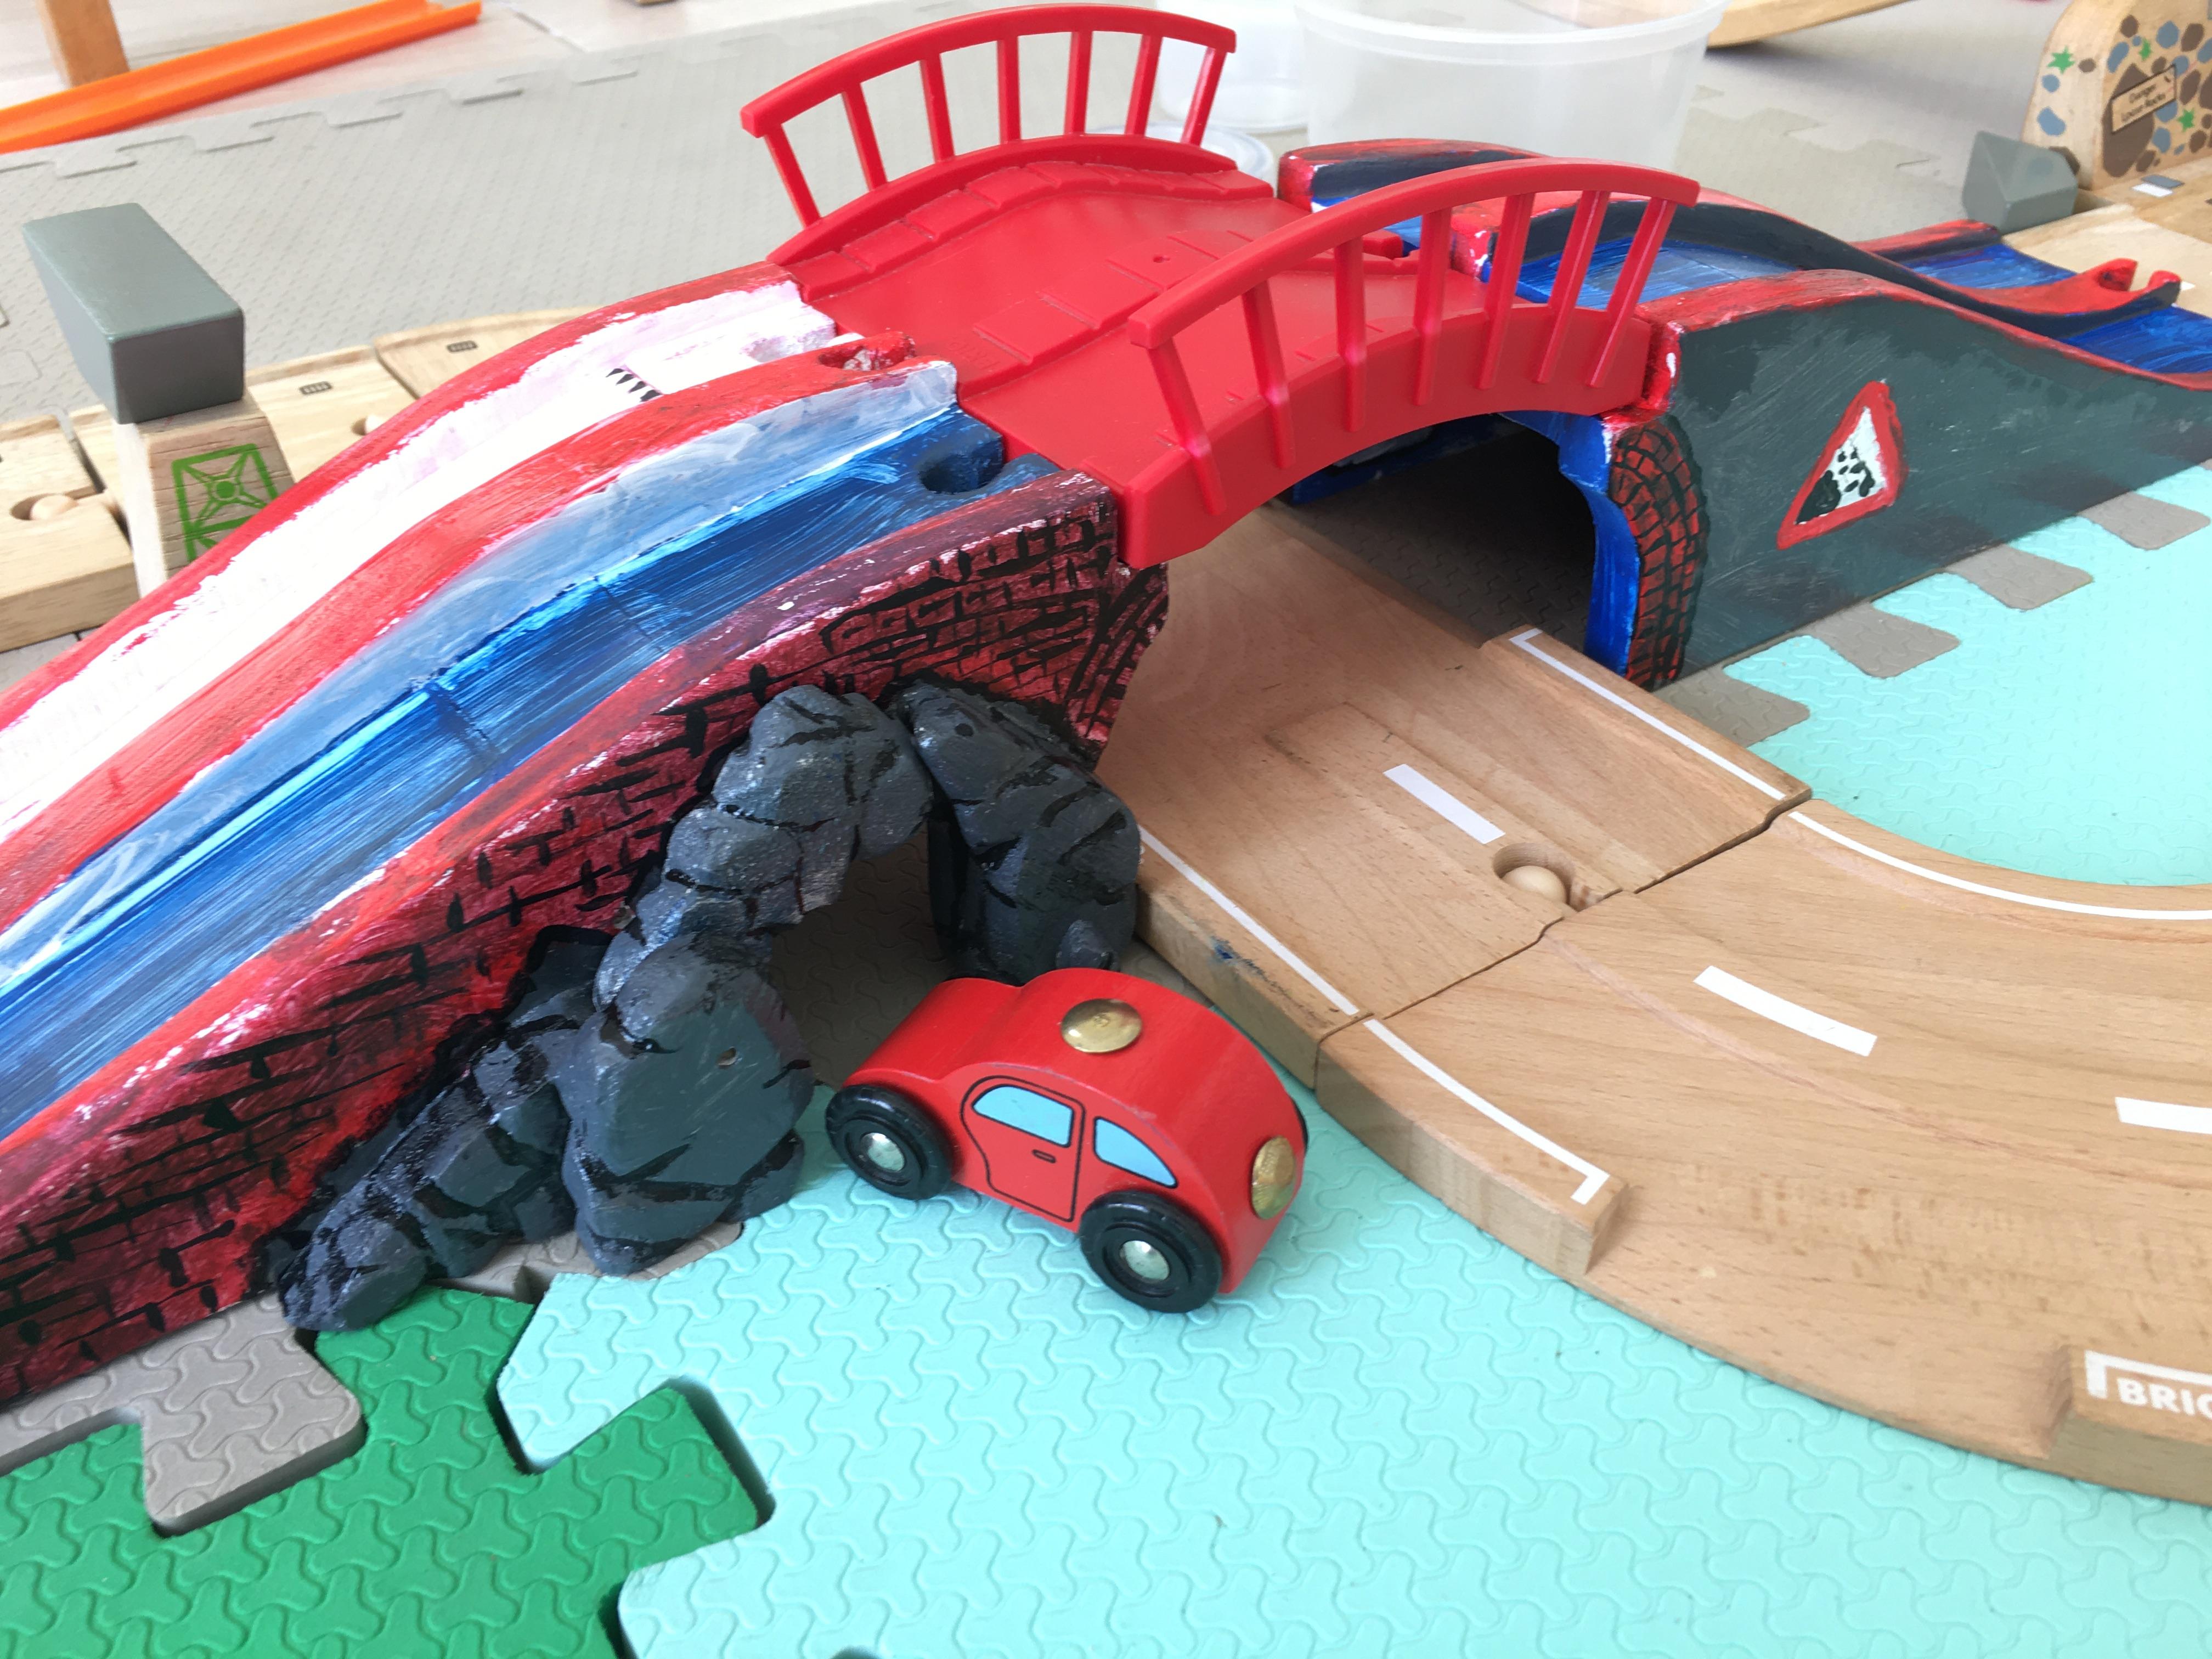
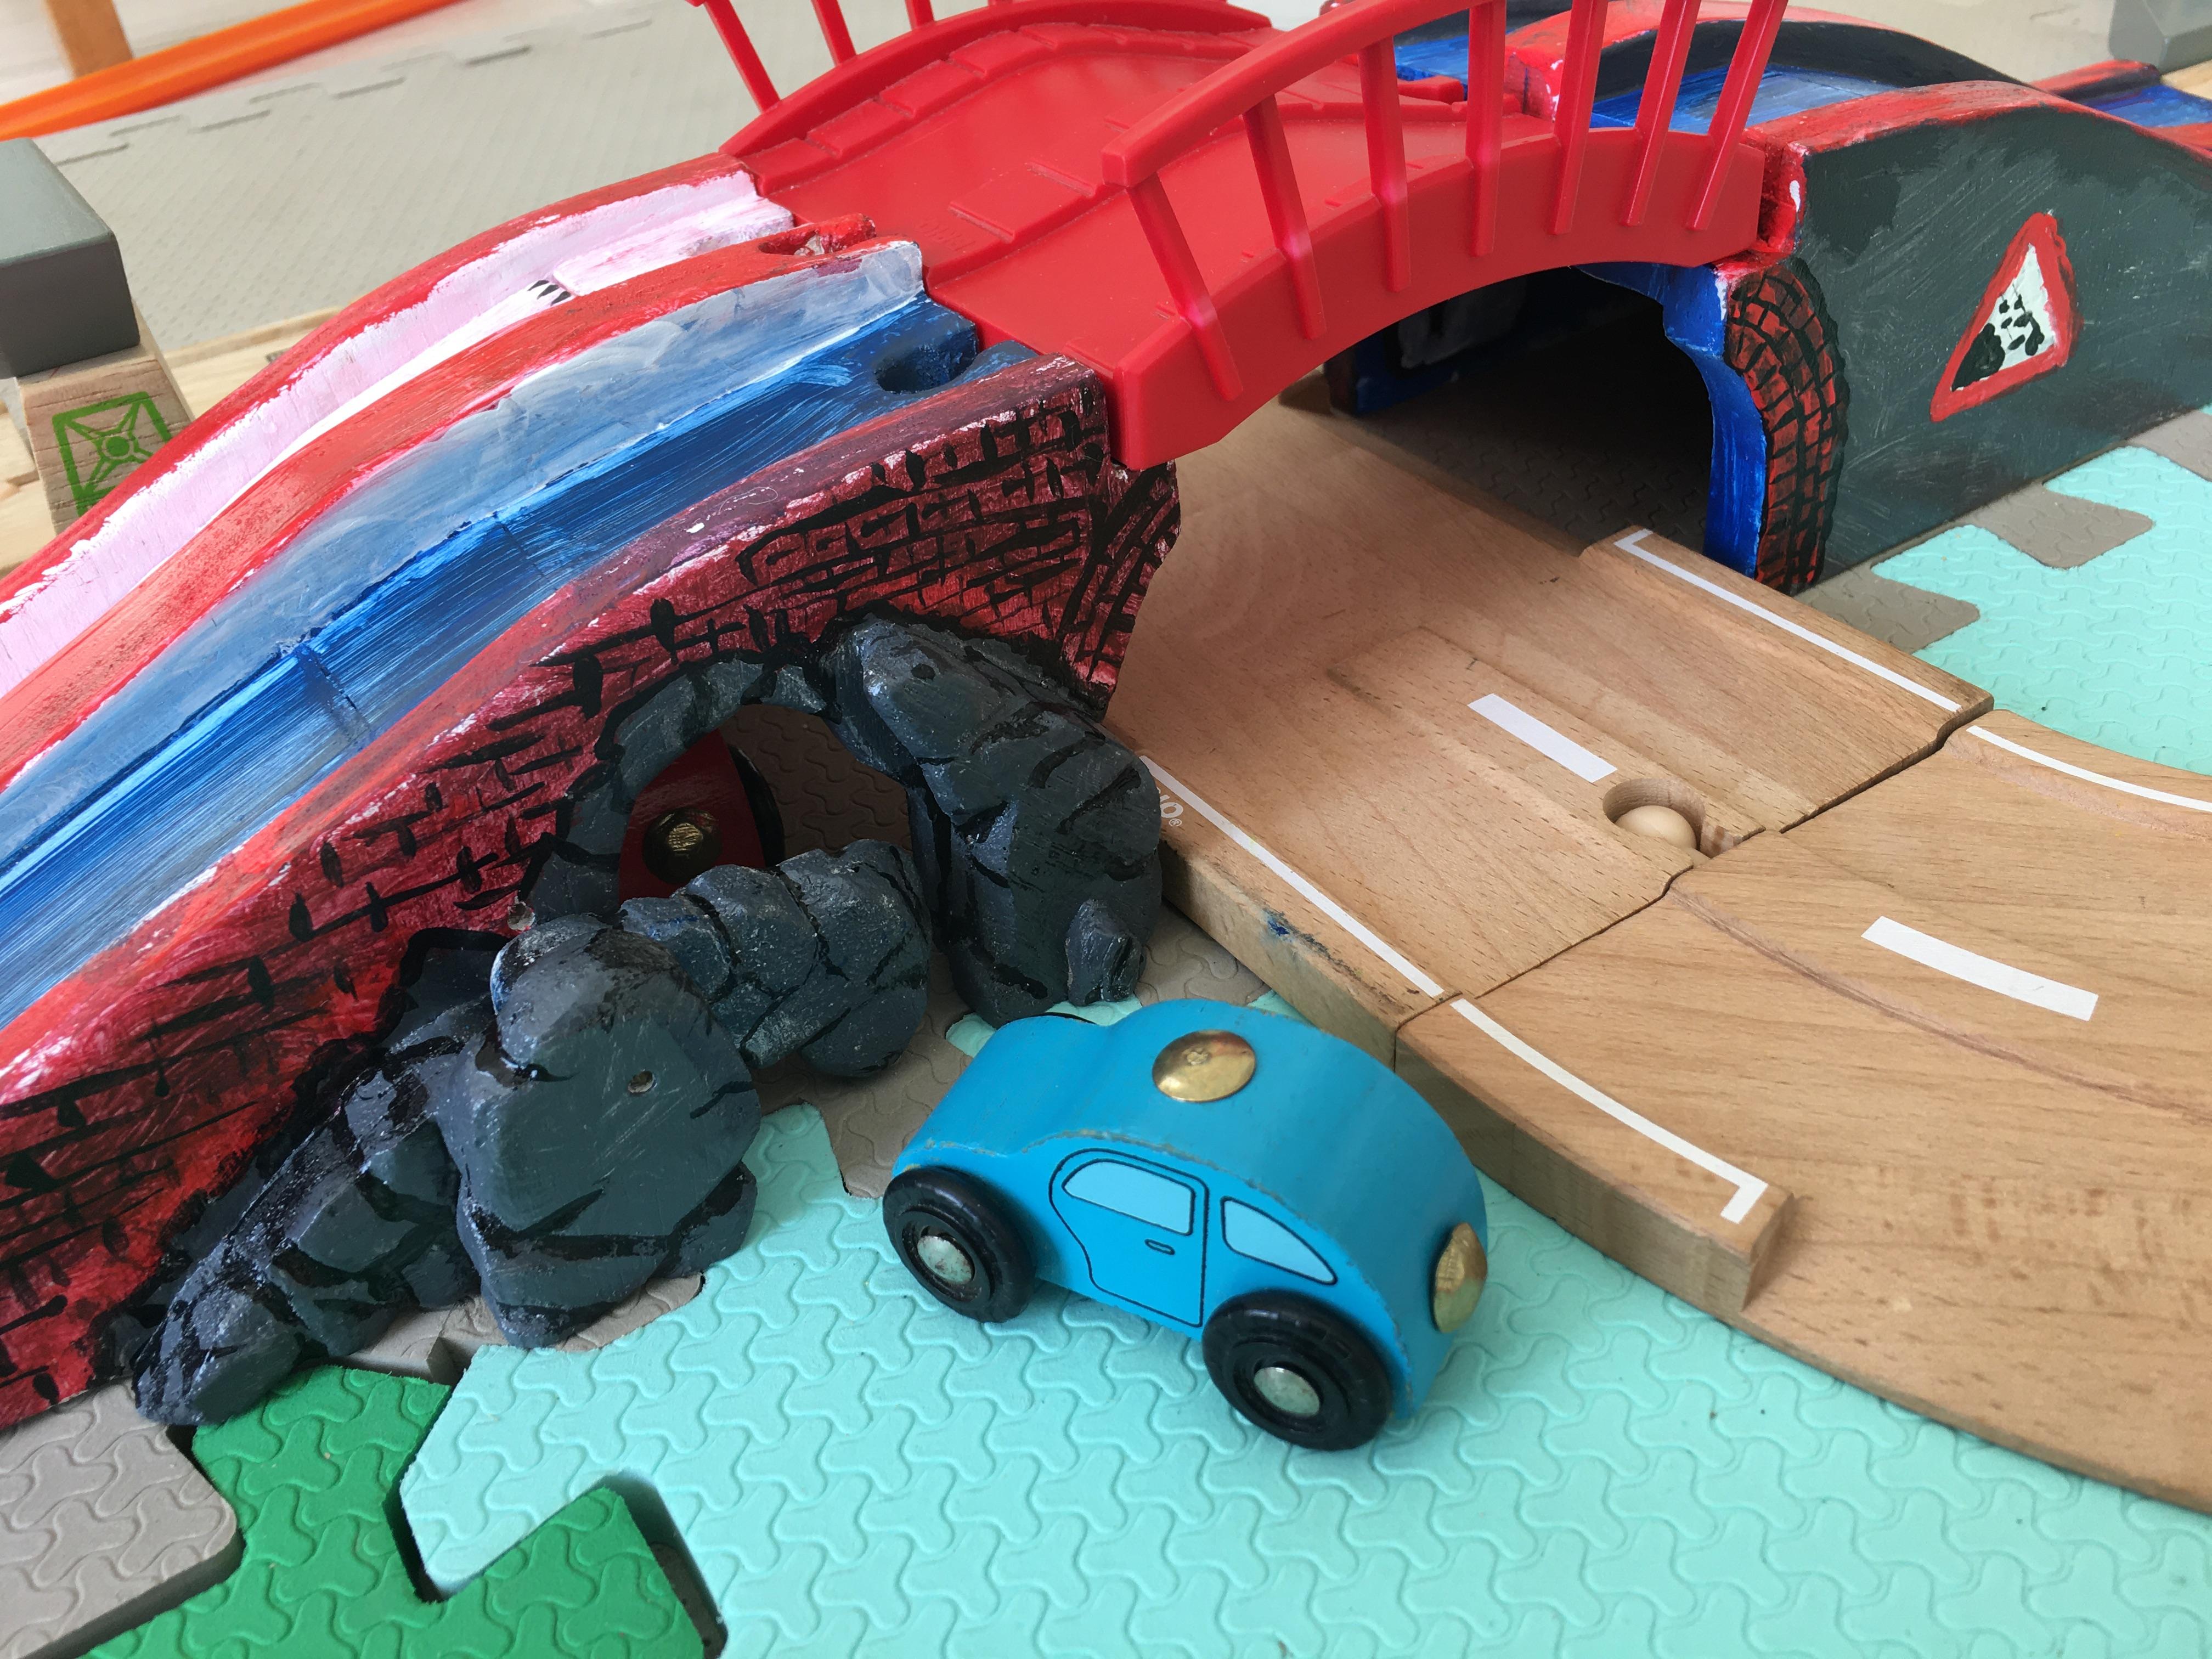
I filed the edges of some leftover plywood pieces and rounded up with sandpaper in order to create rock like shapes.