BroTie: Send Your Colors Over Bowtie Friendship Lamp
by bar513 in Circuits > Microcontrollers
47 Views, 0 Favorites, 0 Comments
BroTie: Send Your Colors Over Bowtie Friendship Lamp

BroTie is a long-distance friendship lamp project designed as a wedding gift for my best men (my Bros!). When one person touches their lamp, all seven lamps across the country glow in the same color. and the best part? It is made from only 5 components! I think this project has the ultimate ratio of simple VS wow effect - very easy to make and super practical and nice.
Supplies
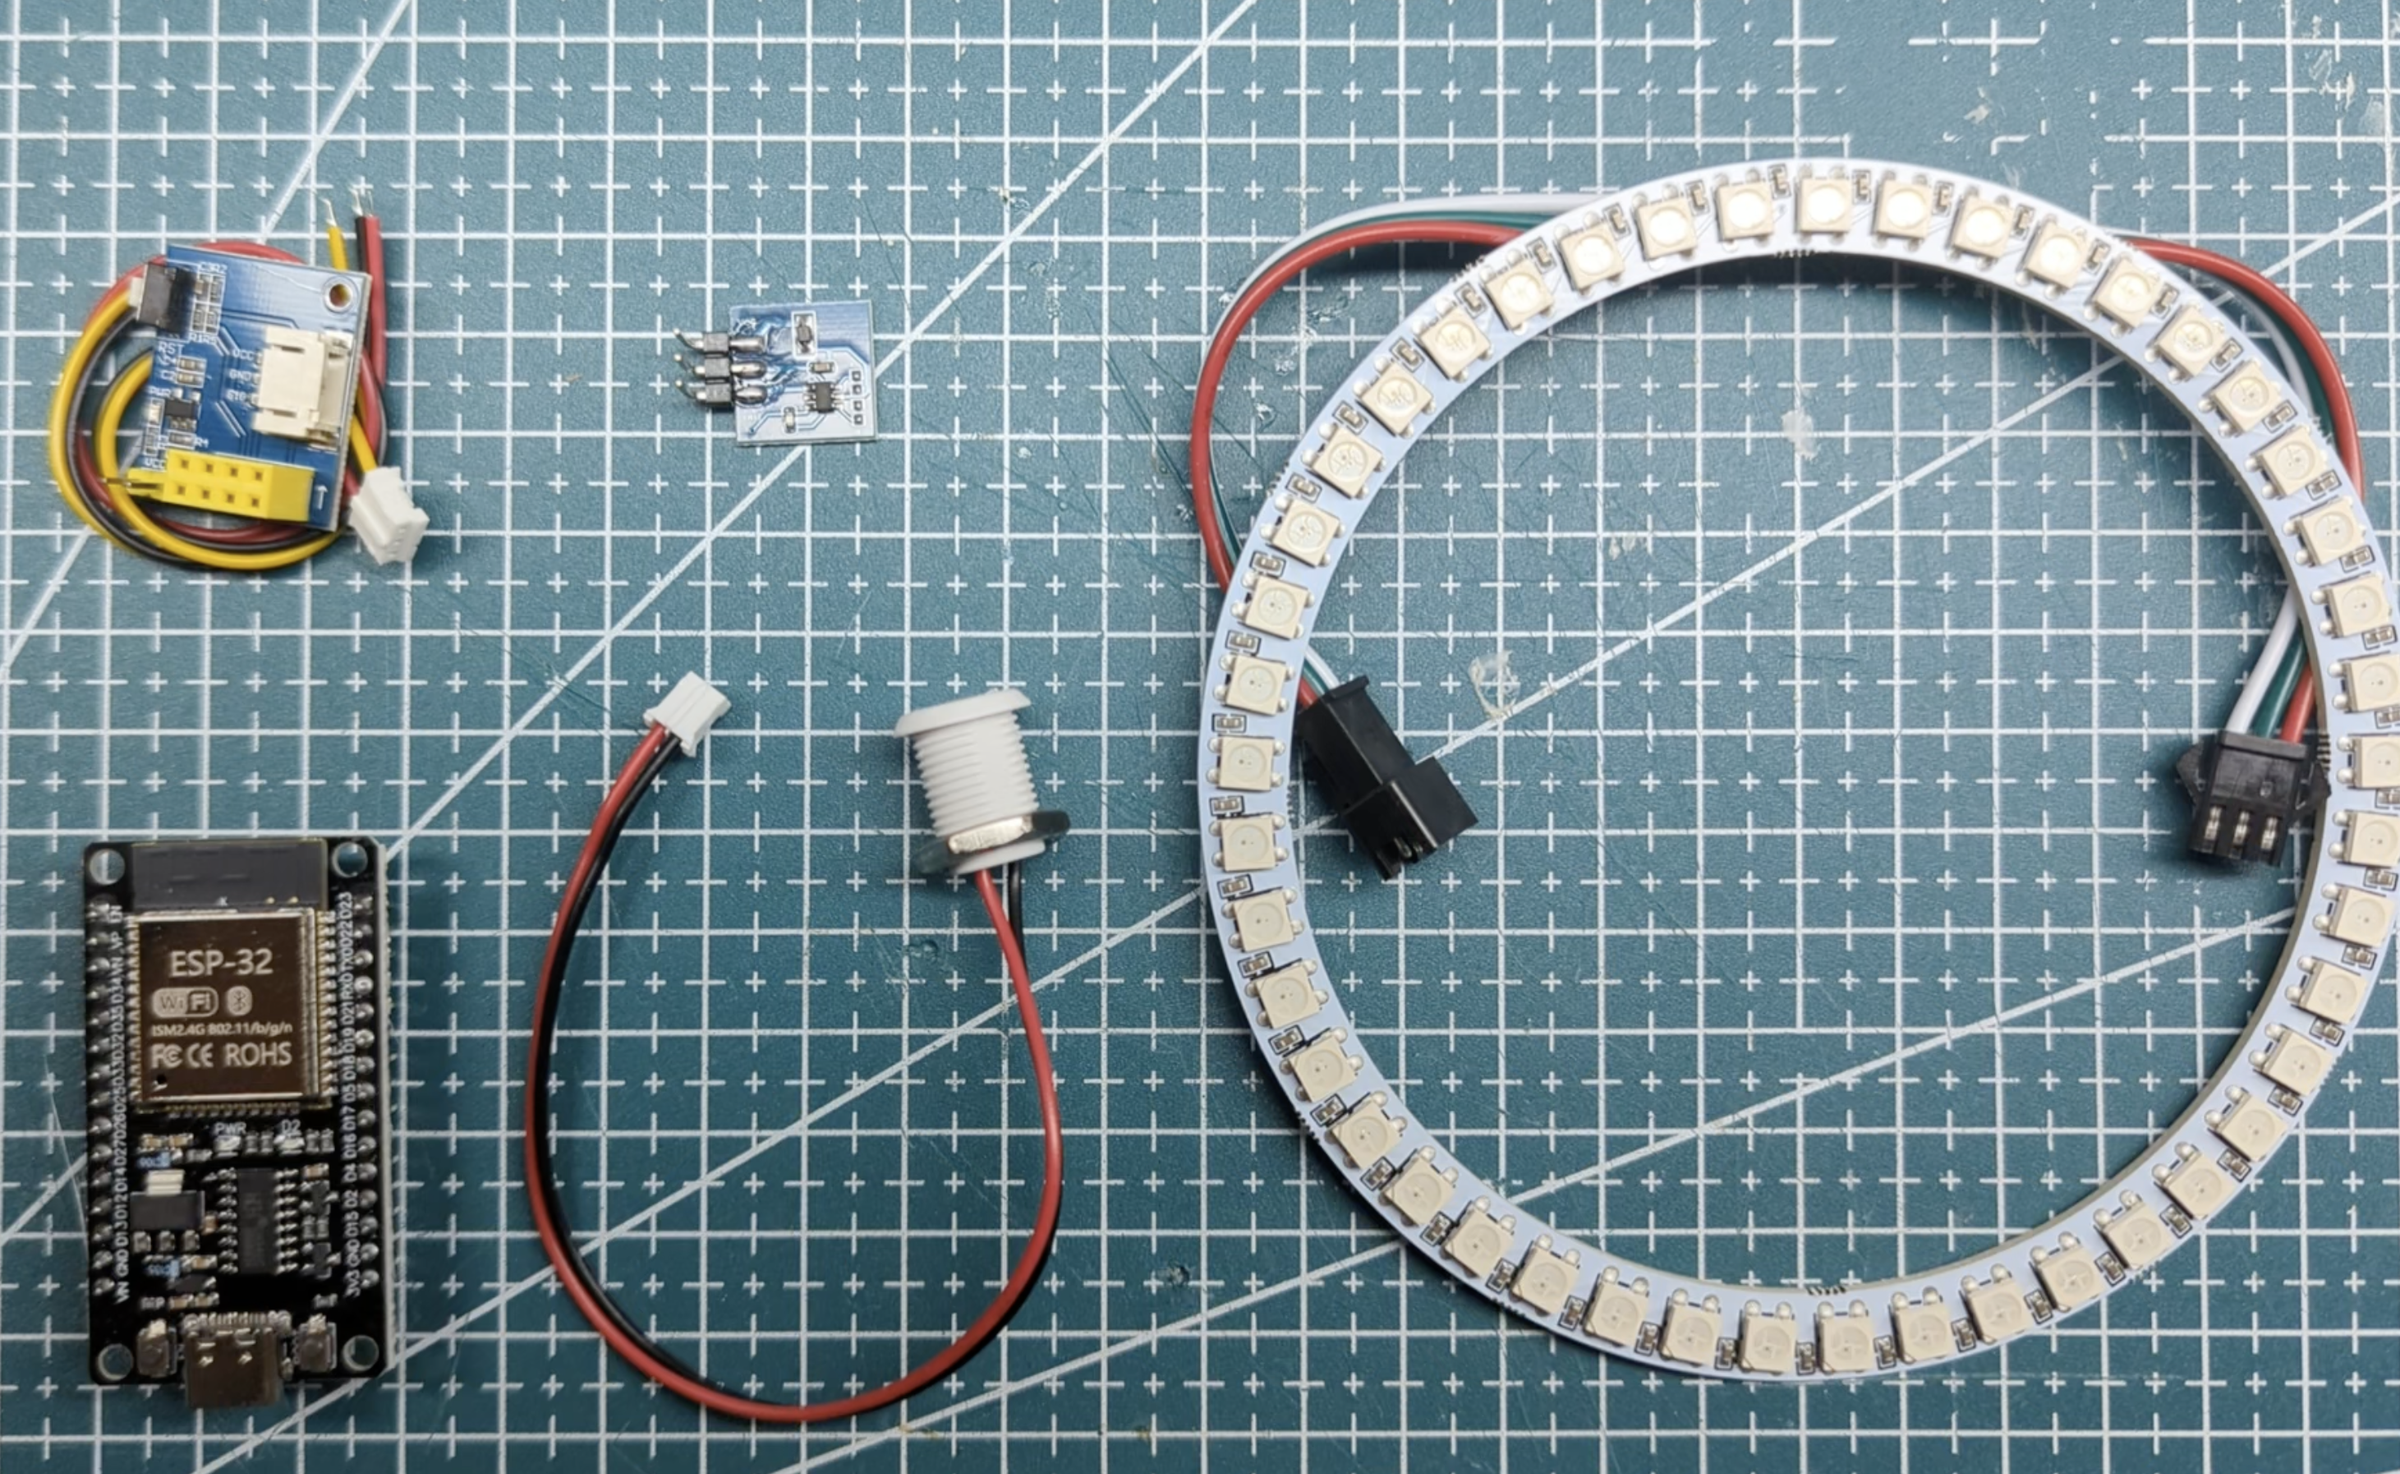
1x ESP32 Microcontroller: but any microcontroller with Wi-Fi will do.
1x Capacitive Touch Sensor: based on the TTP223. After I finished the project I found out that the esp32 itself has touch "pins" so maybe you don't need an external one.
1x WS2812B LED Ring (45 LEDs): providing the 360° rainbow glow - any led strip is fine.
1x LED Driver / Logic Level Shifter: ensures the ESP32's 3.3V signal is boosted to 5V for the LEDs.
1x USB Type-C Power Port: for powering the device.
Solder the Touch Sensor
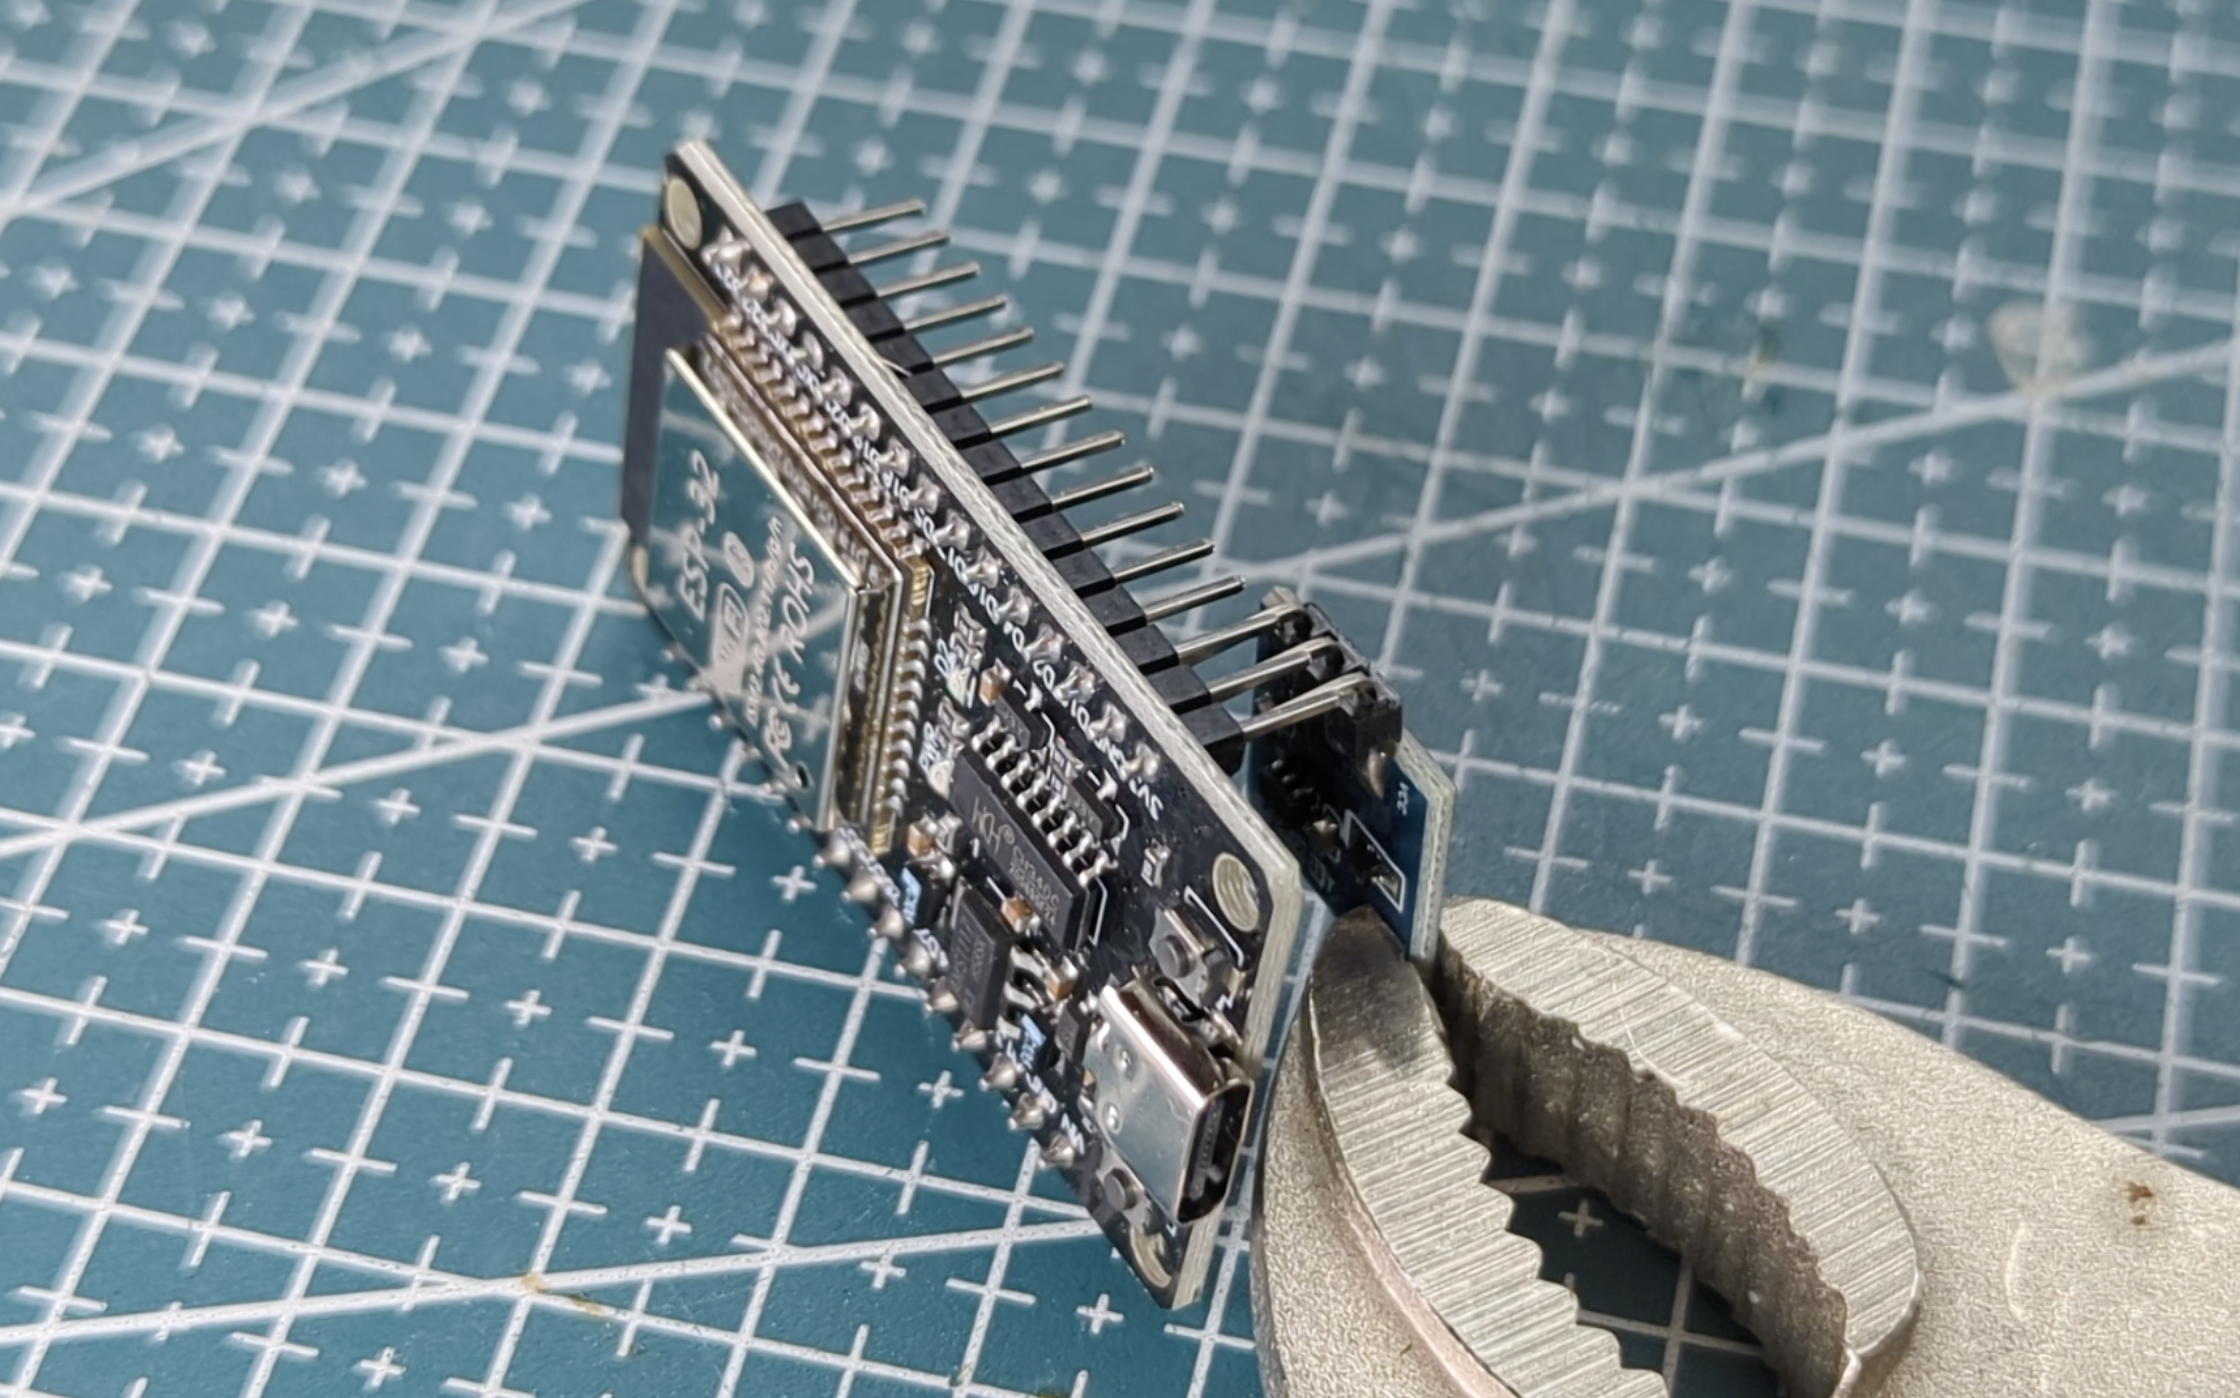
Soldering the touch sensor directly to the esp32 to save room and wires. we have 3 connections - two for power (VCC and Ground) and one for the signal reading. you should read about the esp32 "touch pins" - it can be alternative to the sensor.
Solder the Led Driver
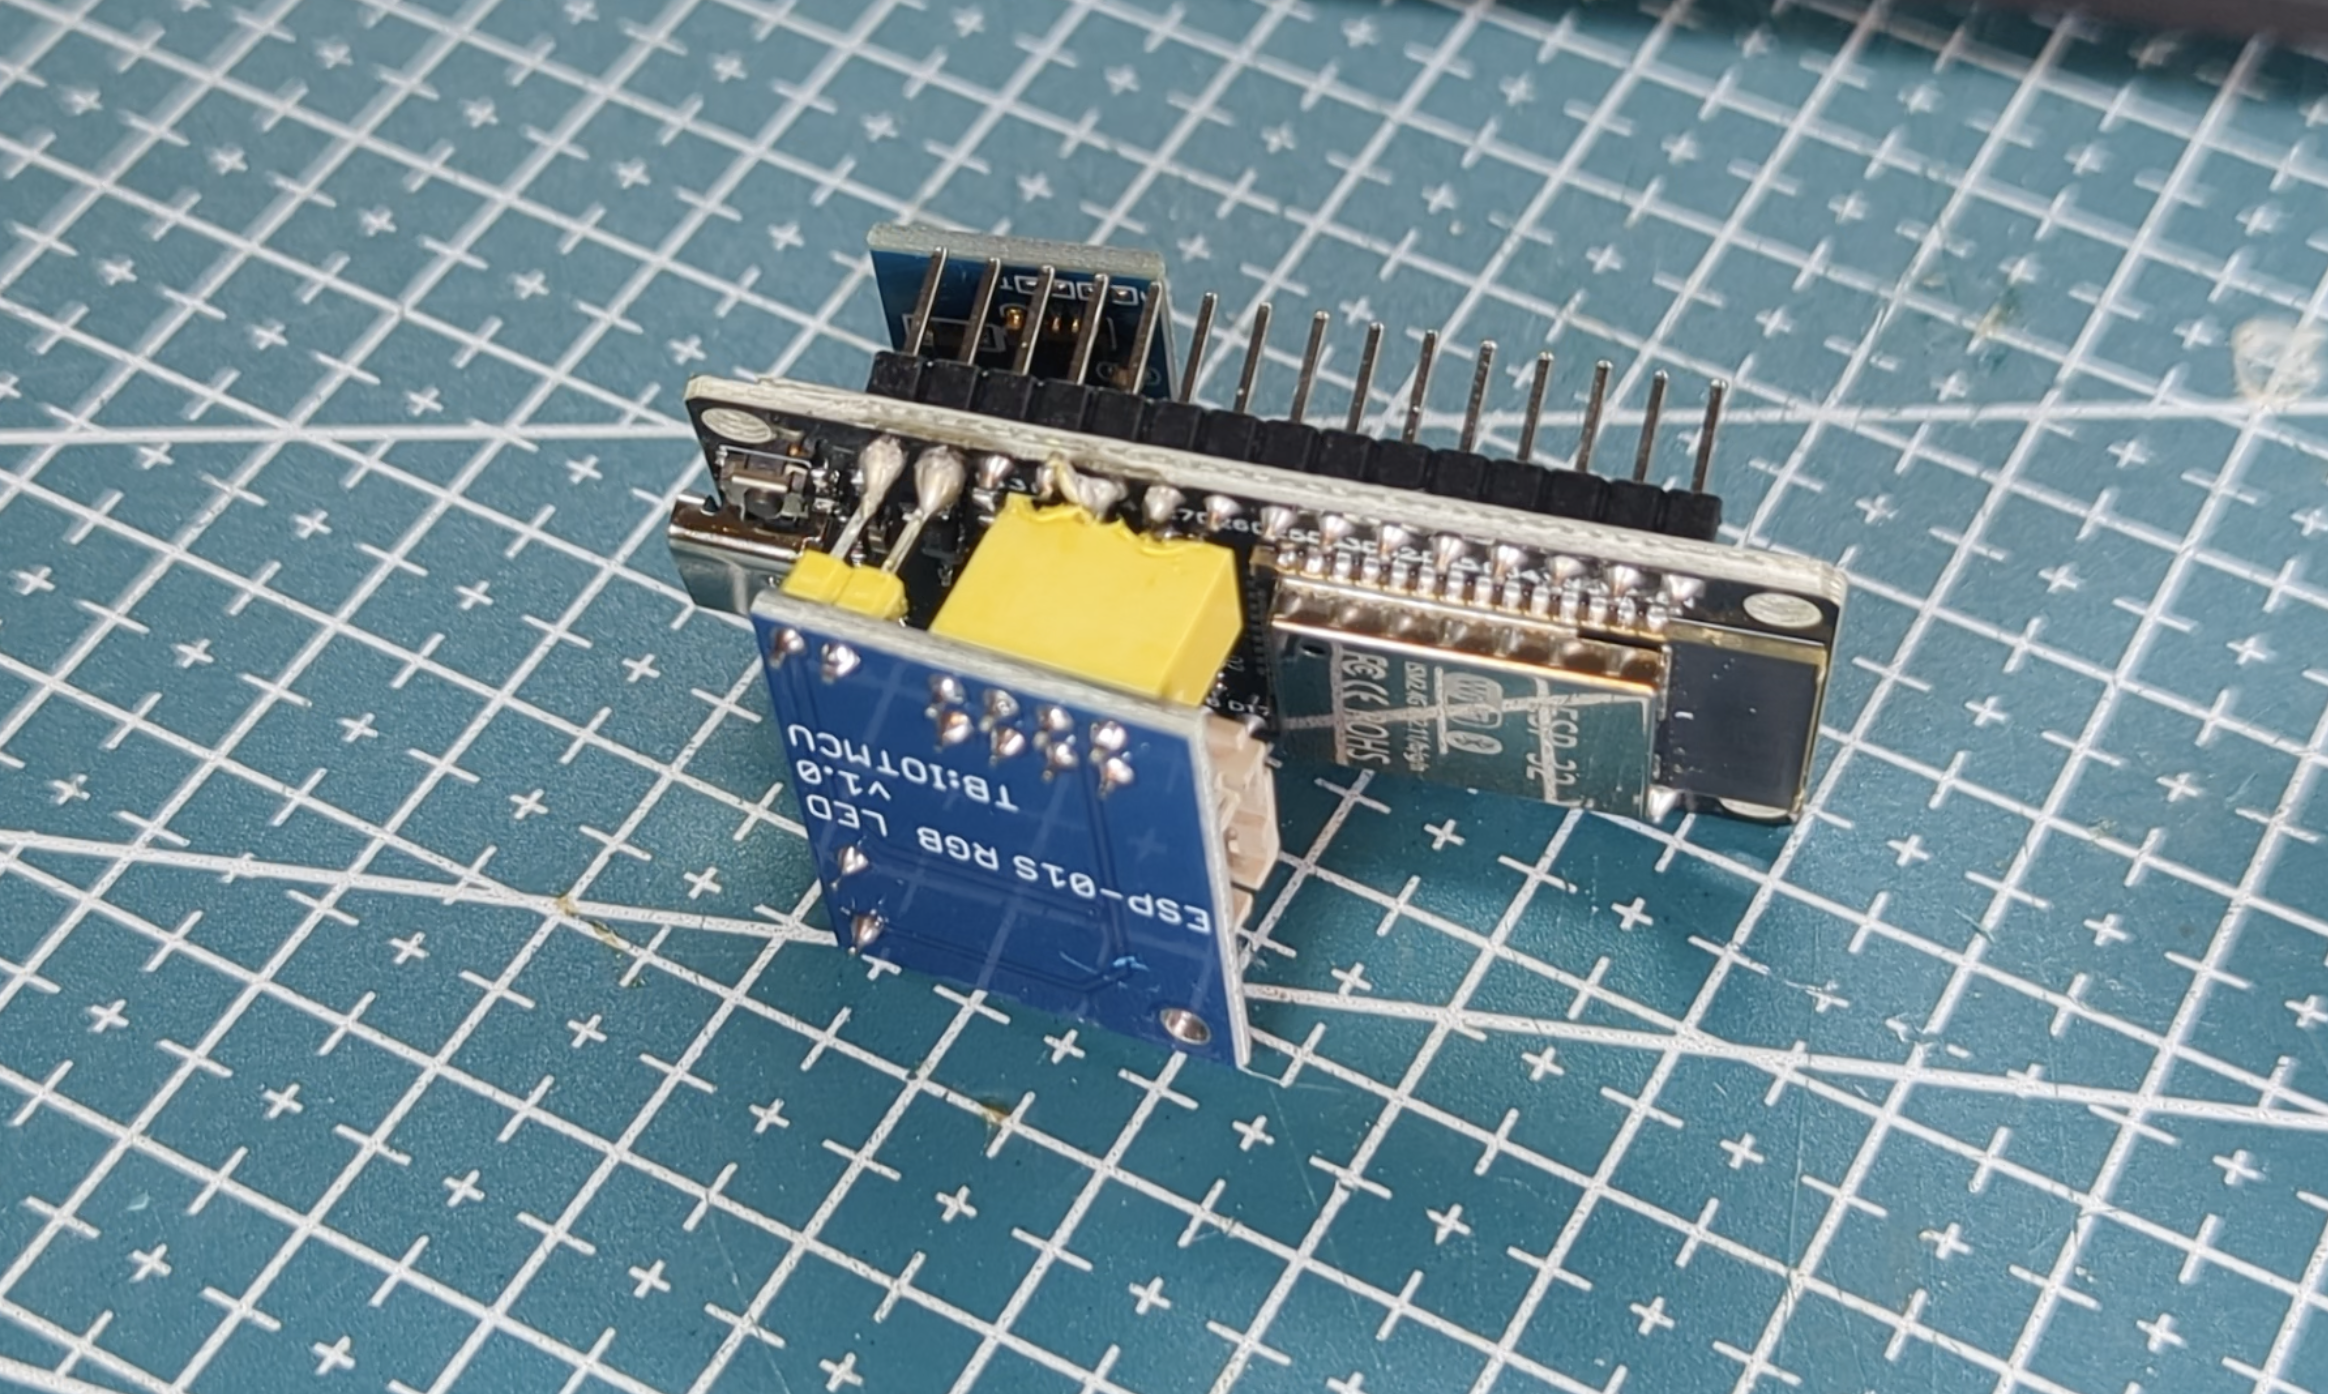
Like before, 3 soldering spots. I used a specific led driver that was build for the esp-01 so it was easy to understand the pinout - 2 for power and one for controlling the led strip. I had to make the footprint of the electronic super small so I solder it directly from the other side of the esp.
Connect the Led Ring
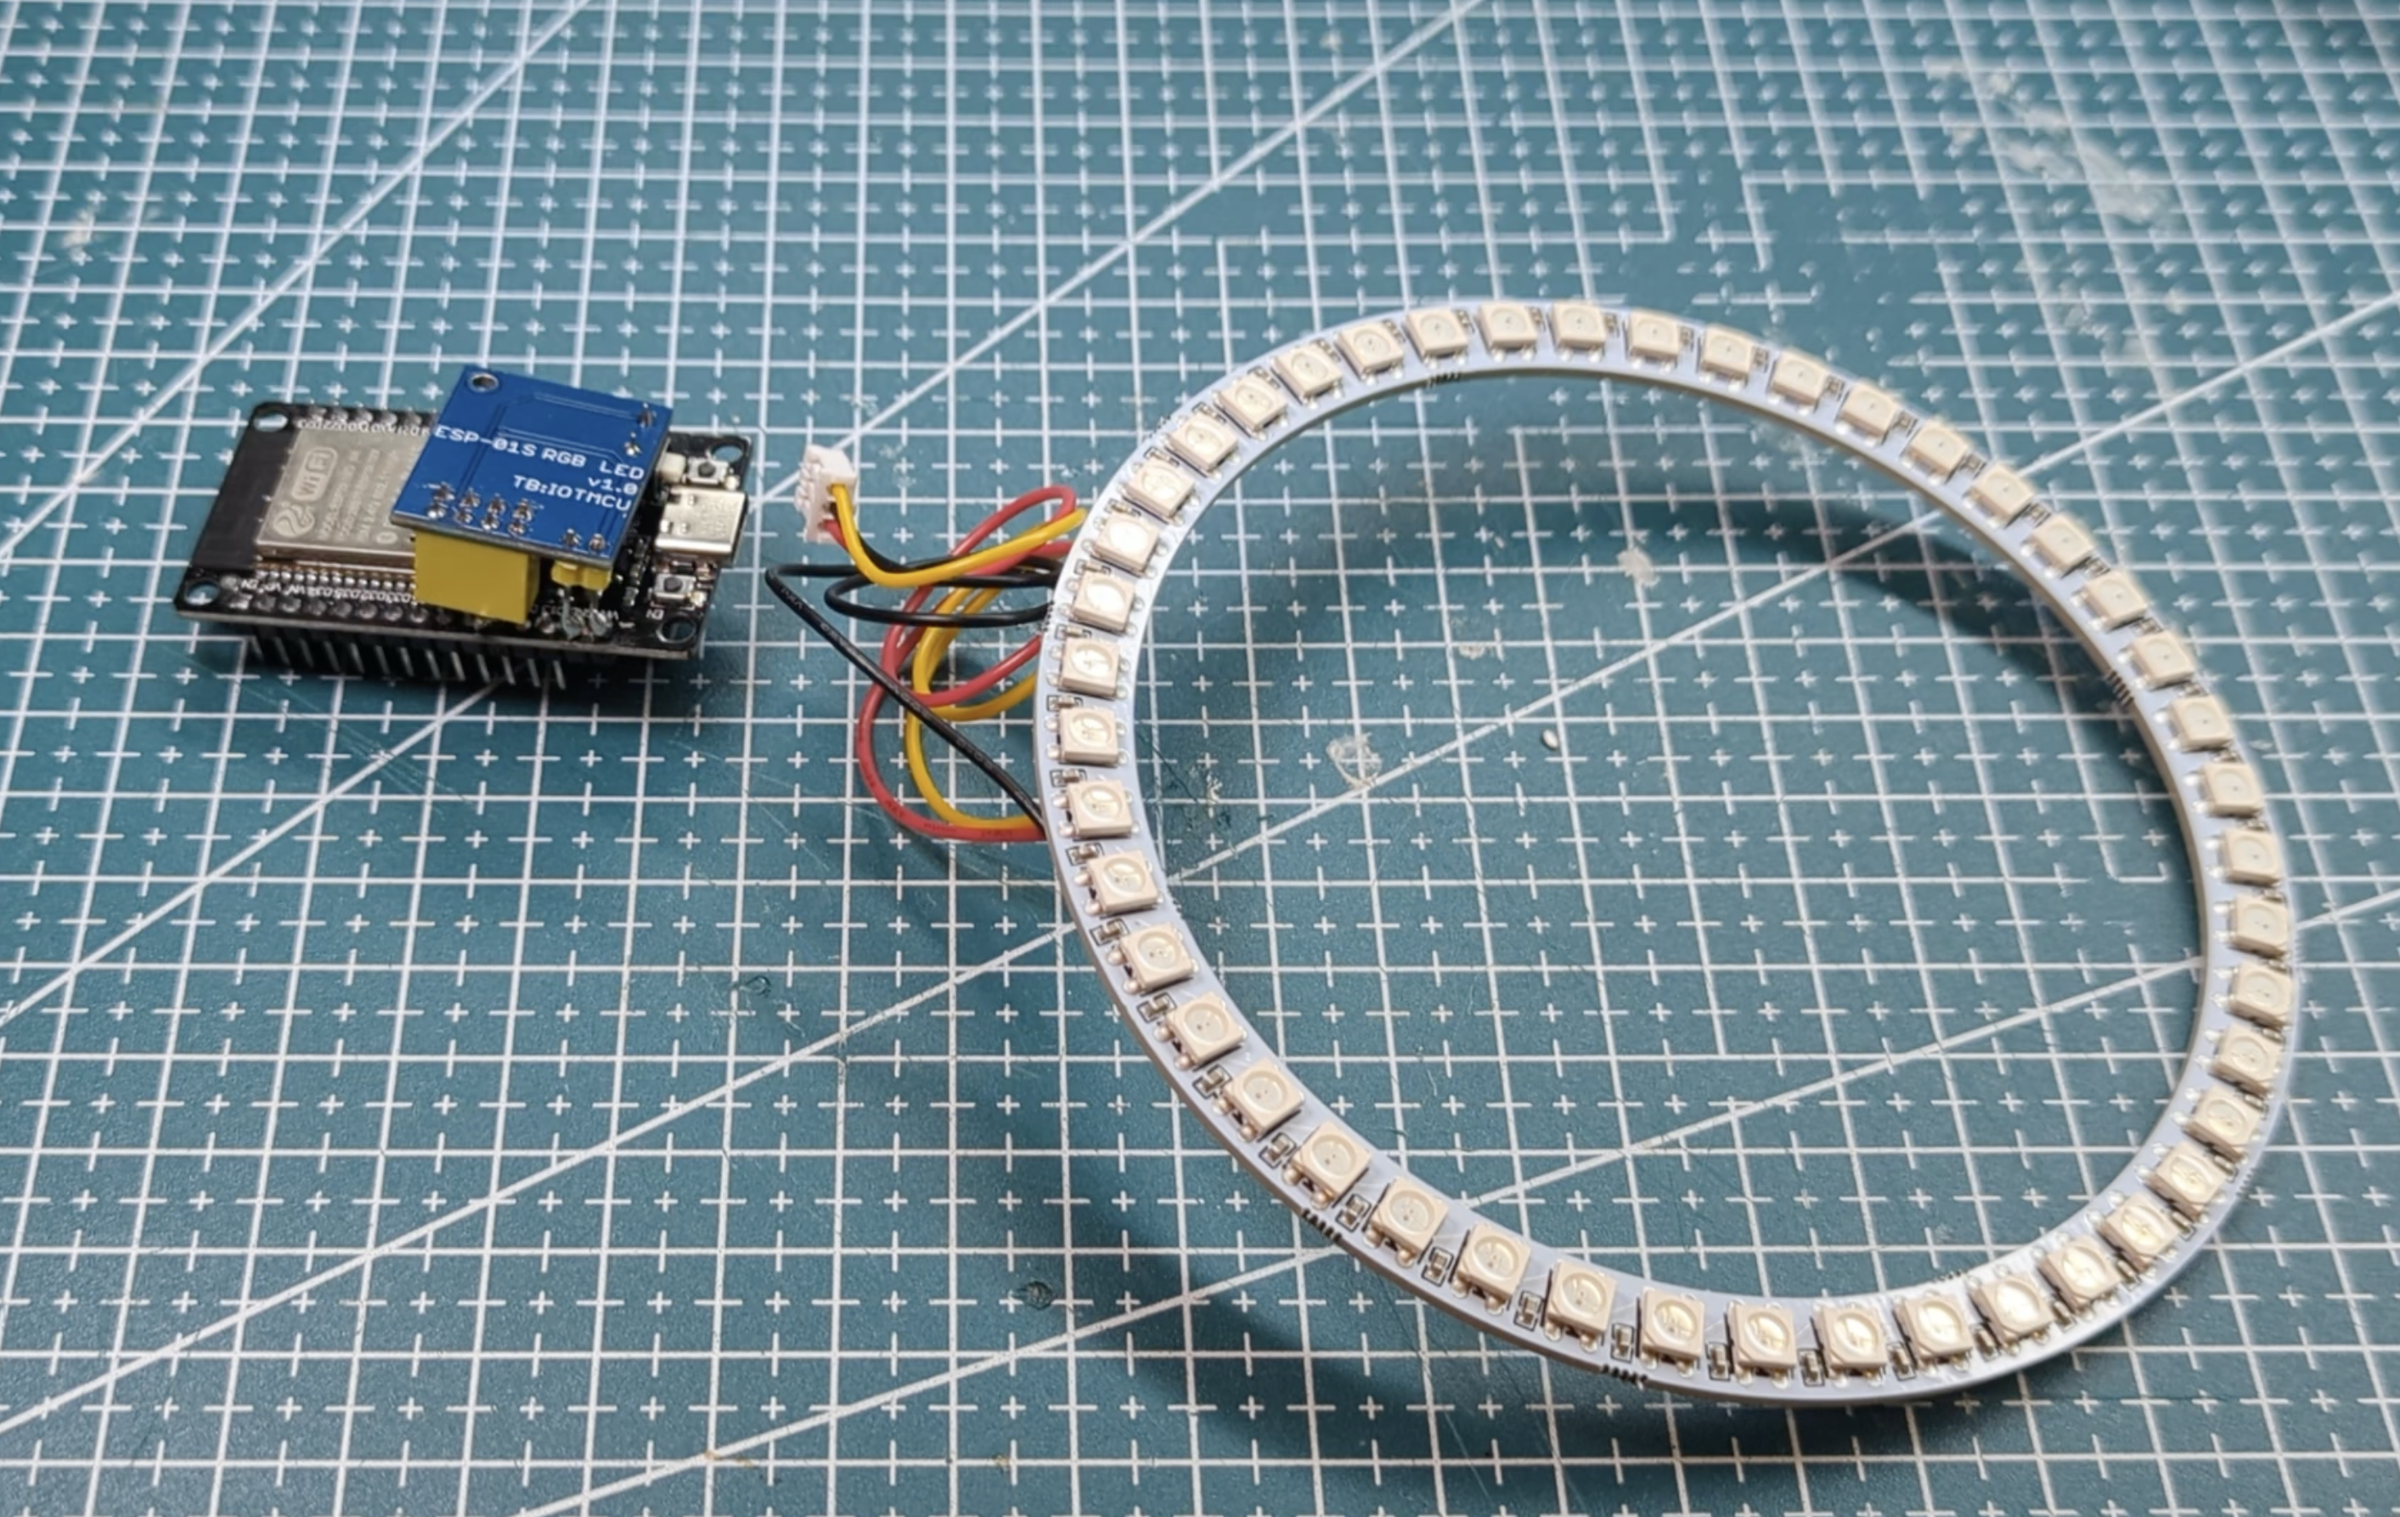
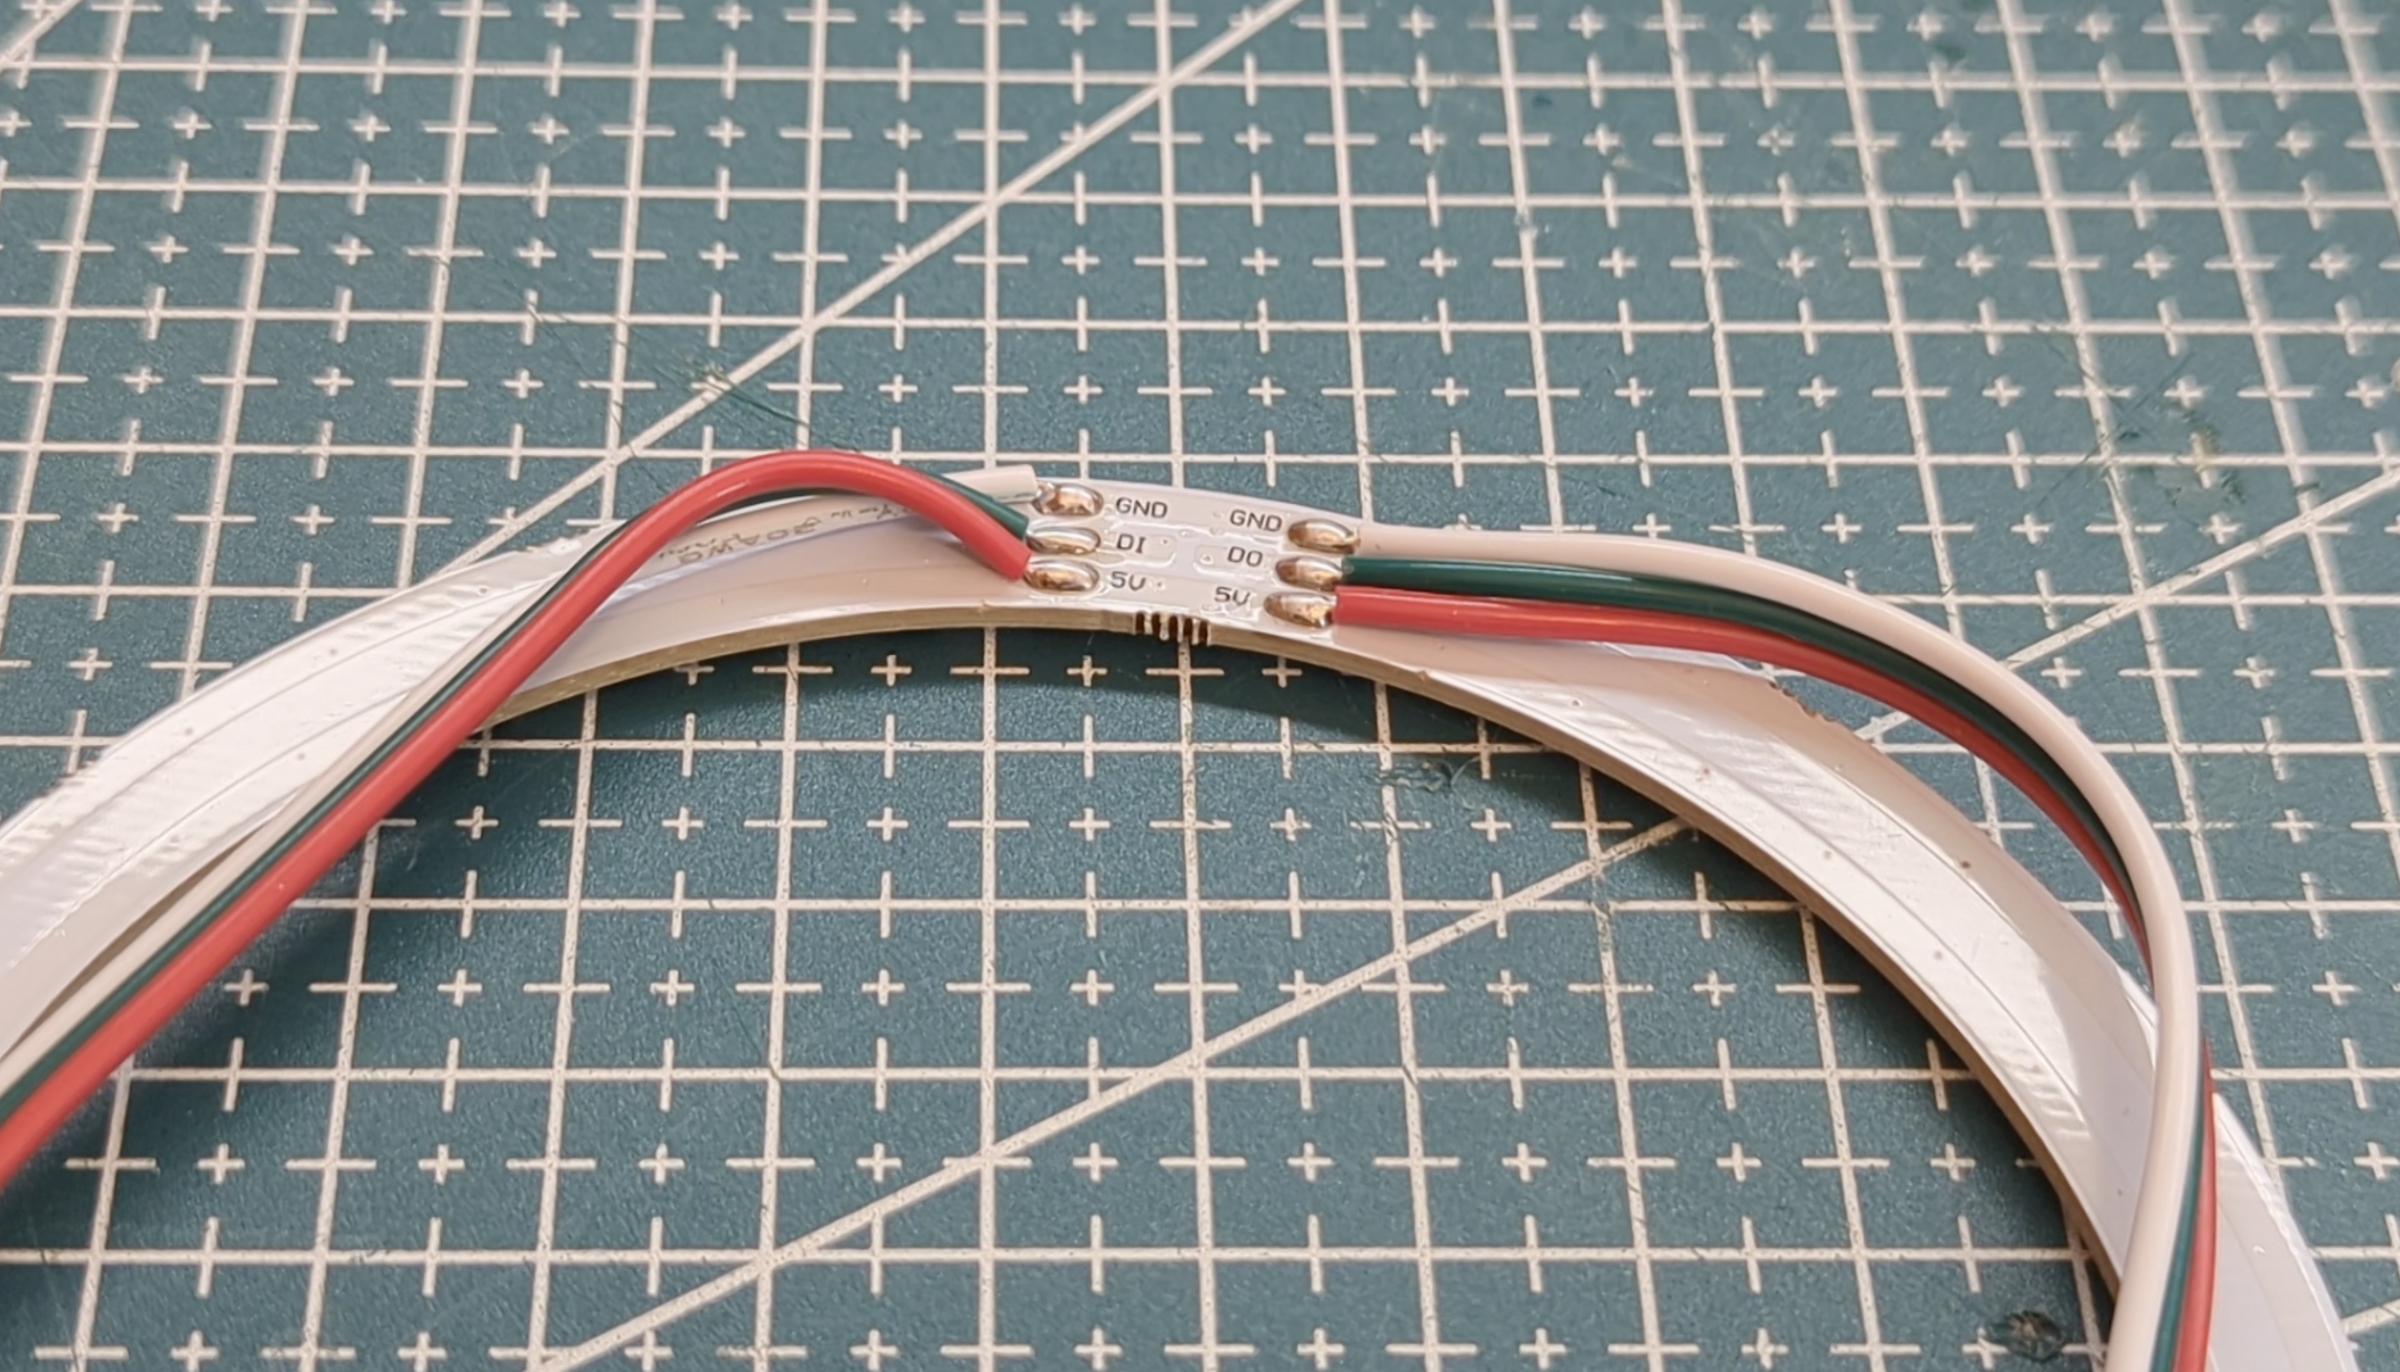
Just unsolder the wires of the Led ring and solder the connector that fits to the Led driver. finally connect the Led ring to the driver. yes, that's one line explanation because it easy as that.
Connect the Type-c Power Socket
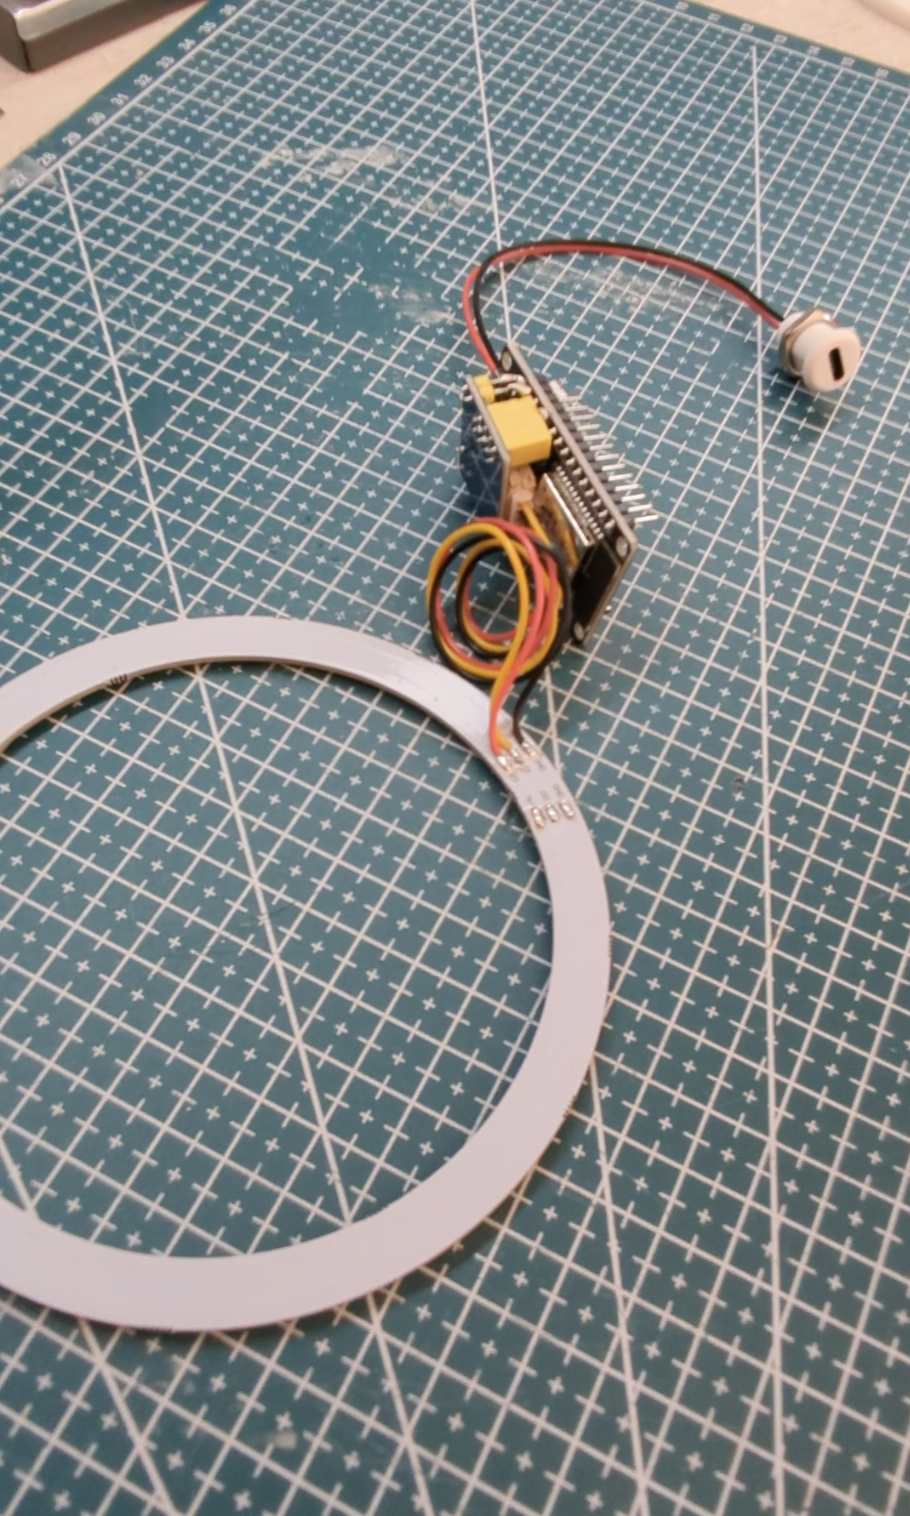
Well, no soldering here, just connecting the power socket to the two power pins of the Led driver. That's it, everything is ready on the electronics side.
Upload the Code
So the code, the lovely code. you can upload it directly (from my GitHub here), just add the Adafruit name and token (its free), open your phone and and see the esp32 temporary hotspot - connect to it ONCE to configure the WIFI and you name and thats it. its working
For me it took a while to finish the code so it will be reliable and with all the features that in my opinion are basic such as choosing a brightness or color. so some information on the code operation - behind the scene each lamp stays constantly synchronized through Adafruit IO - which is free for some extent. When you touch your sensor, the lamp sends a the unique hue and name through MQTT protocol to the server and all the other lamps are listening for changes. To help me troubleshoot I also send some logs every 24 hours regarding crashes, so I can make sure it is stable and who of my friend is connected.
Regarding colors and brightness I used the internal memory of the ESP32, and the lamp saves your custom name, your last chosen brightness, and your favorite color. This means even if you unplug the lamp to move it, it wakes up exactly as you left it, holding onto your settings (including wifi) so no need to reconfigure.
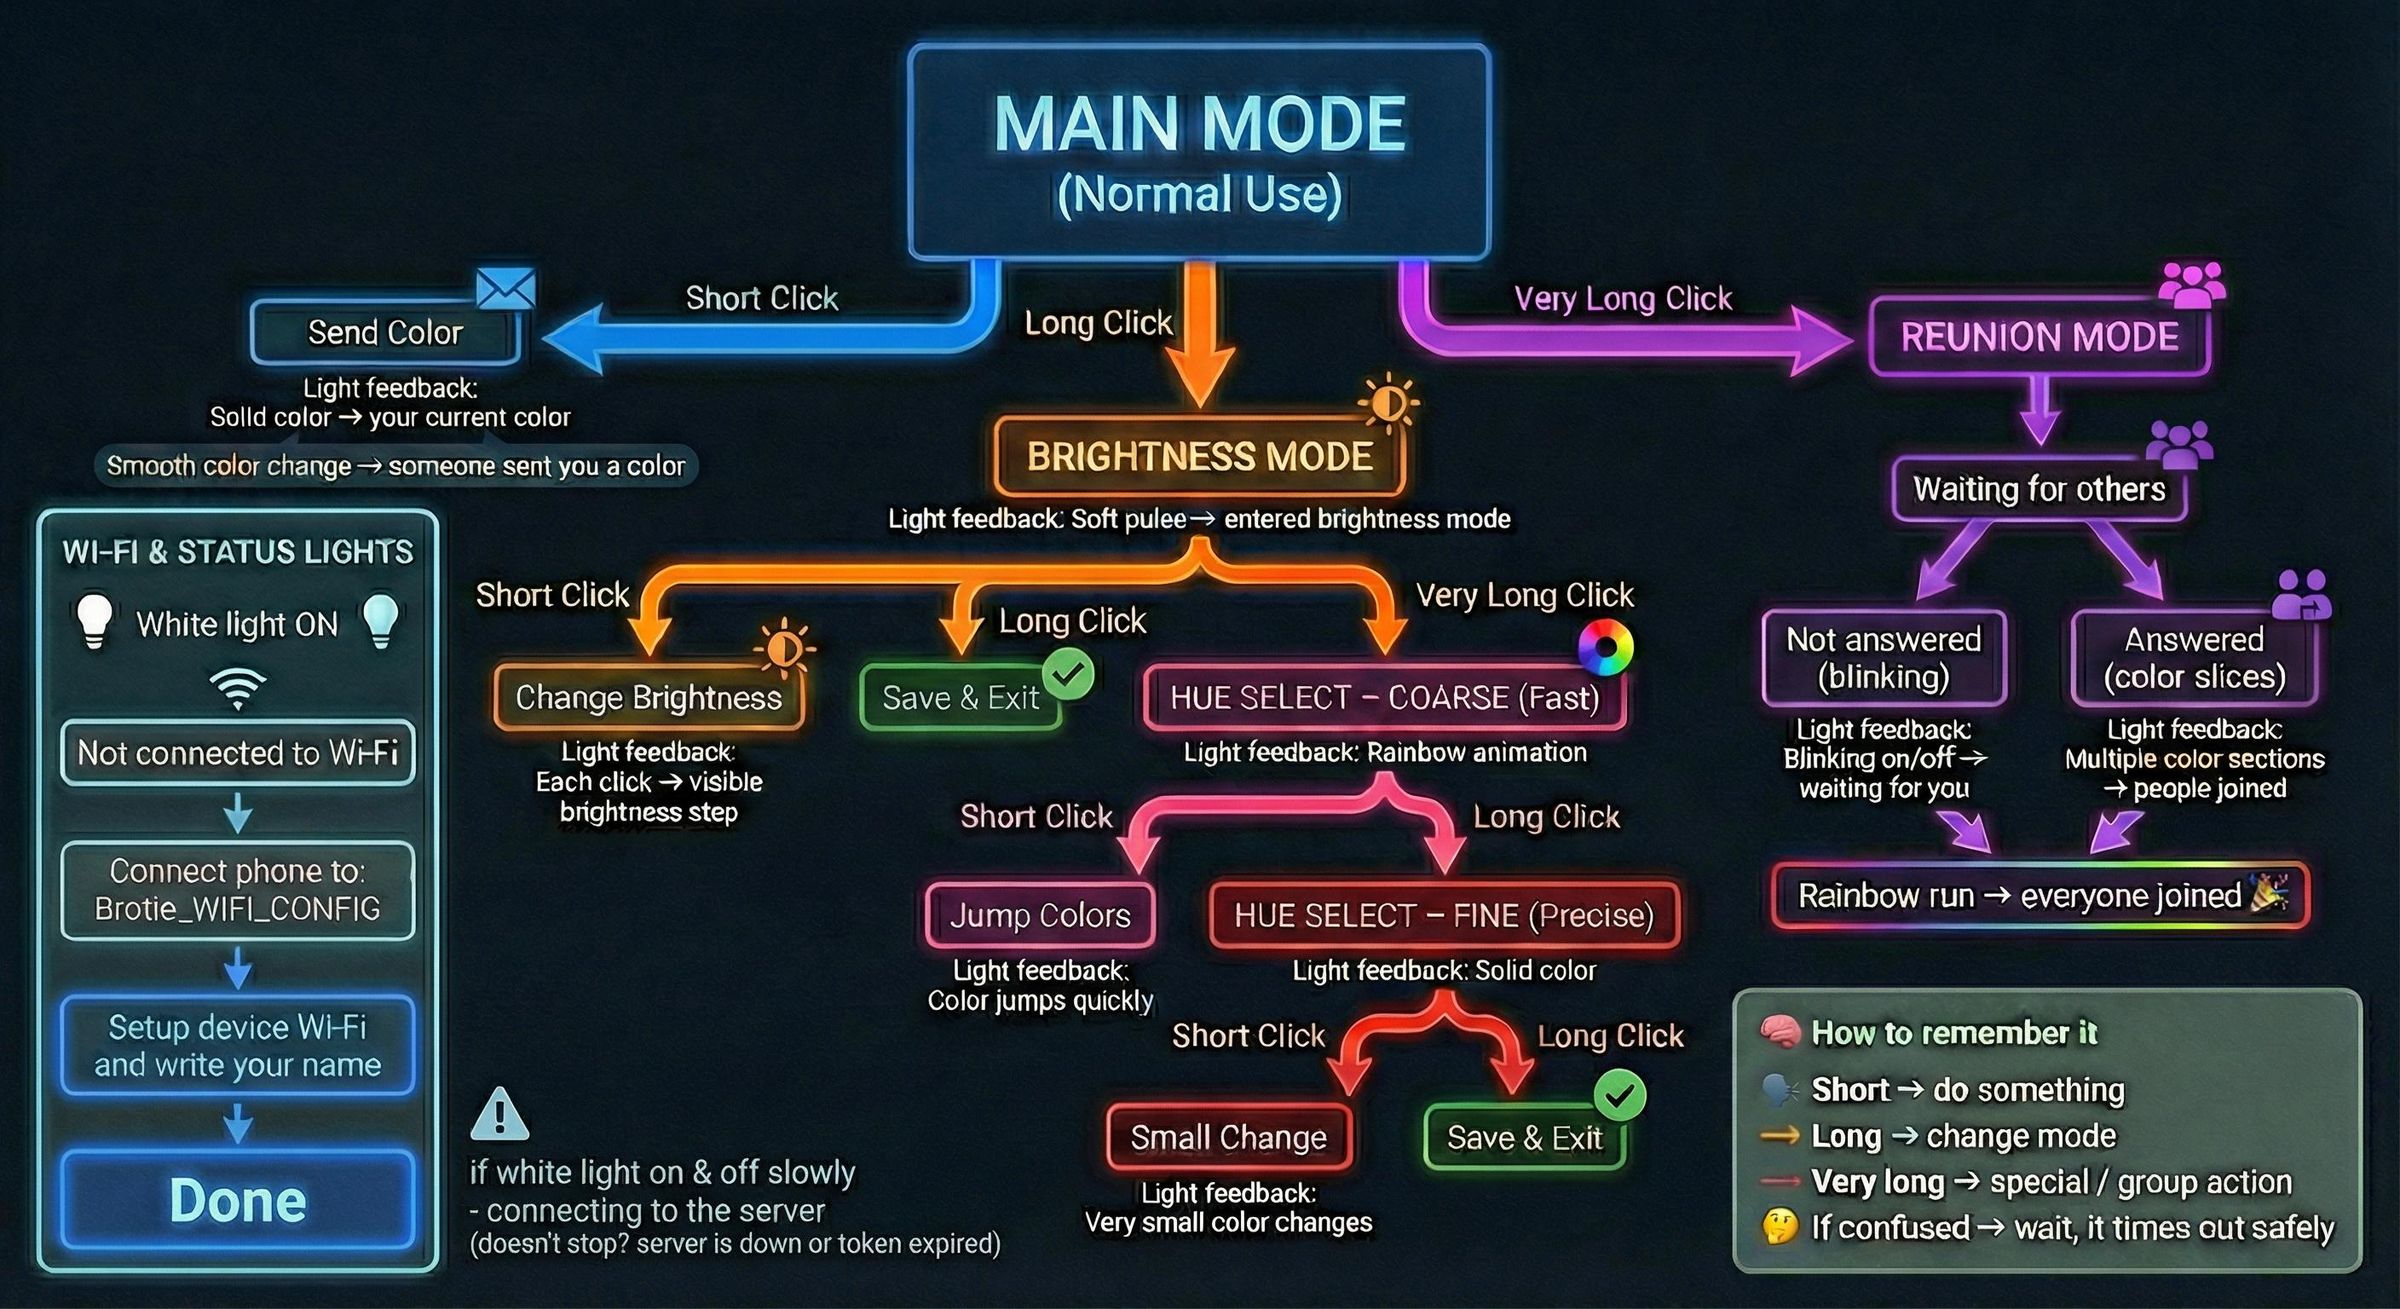
The interaction itself isis based on three distinct button presses - short, long and very long. while sending a hue to a friend is just one short click, changing the brightness or color is more complicated and it is shown on the image in this step. One real soul of the project is the Reunion Mode, triggered by a very long press. It sends out a signal to the whole group, and if all of us (7 devices) answer that call within twenty seconds, the lamps break out of their standard routine and into a synchronized light show — a digital colorful high-five across the country.
Design and 3D Print the Case
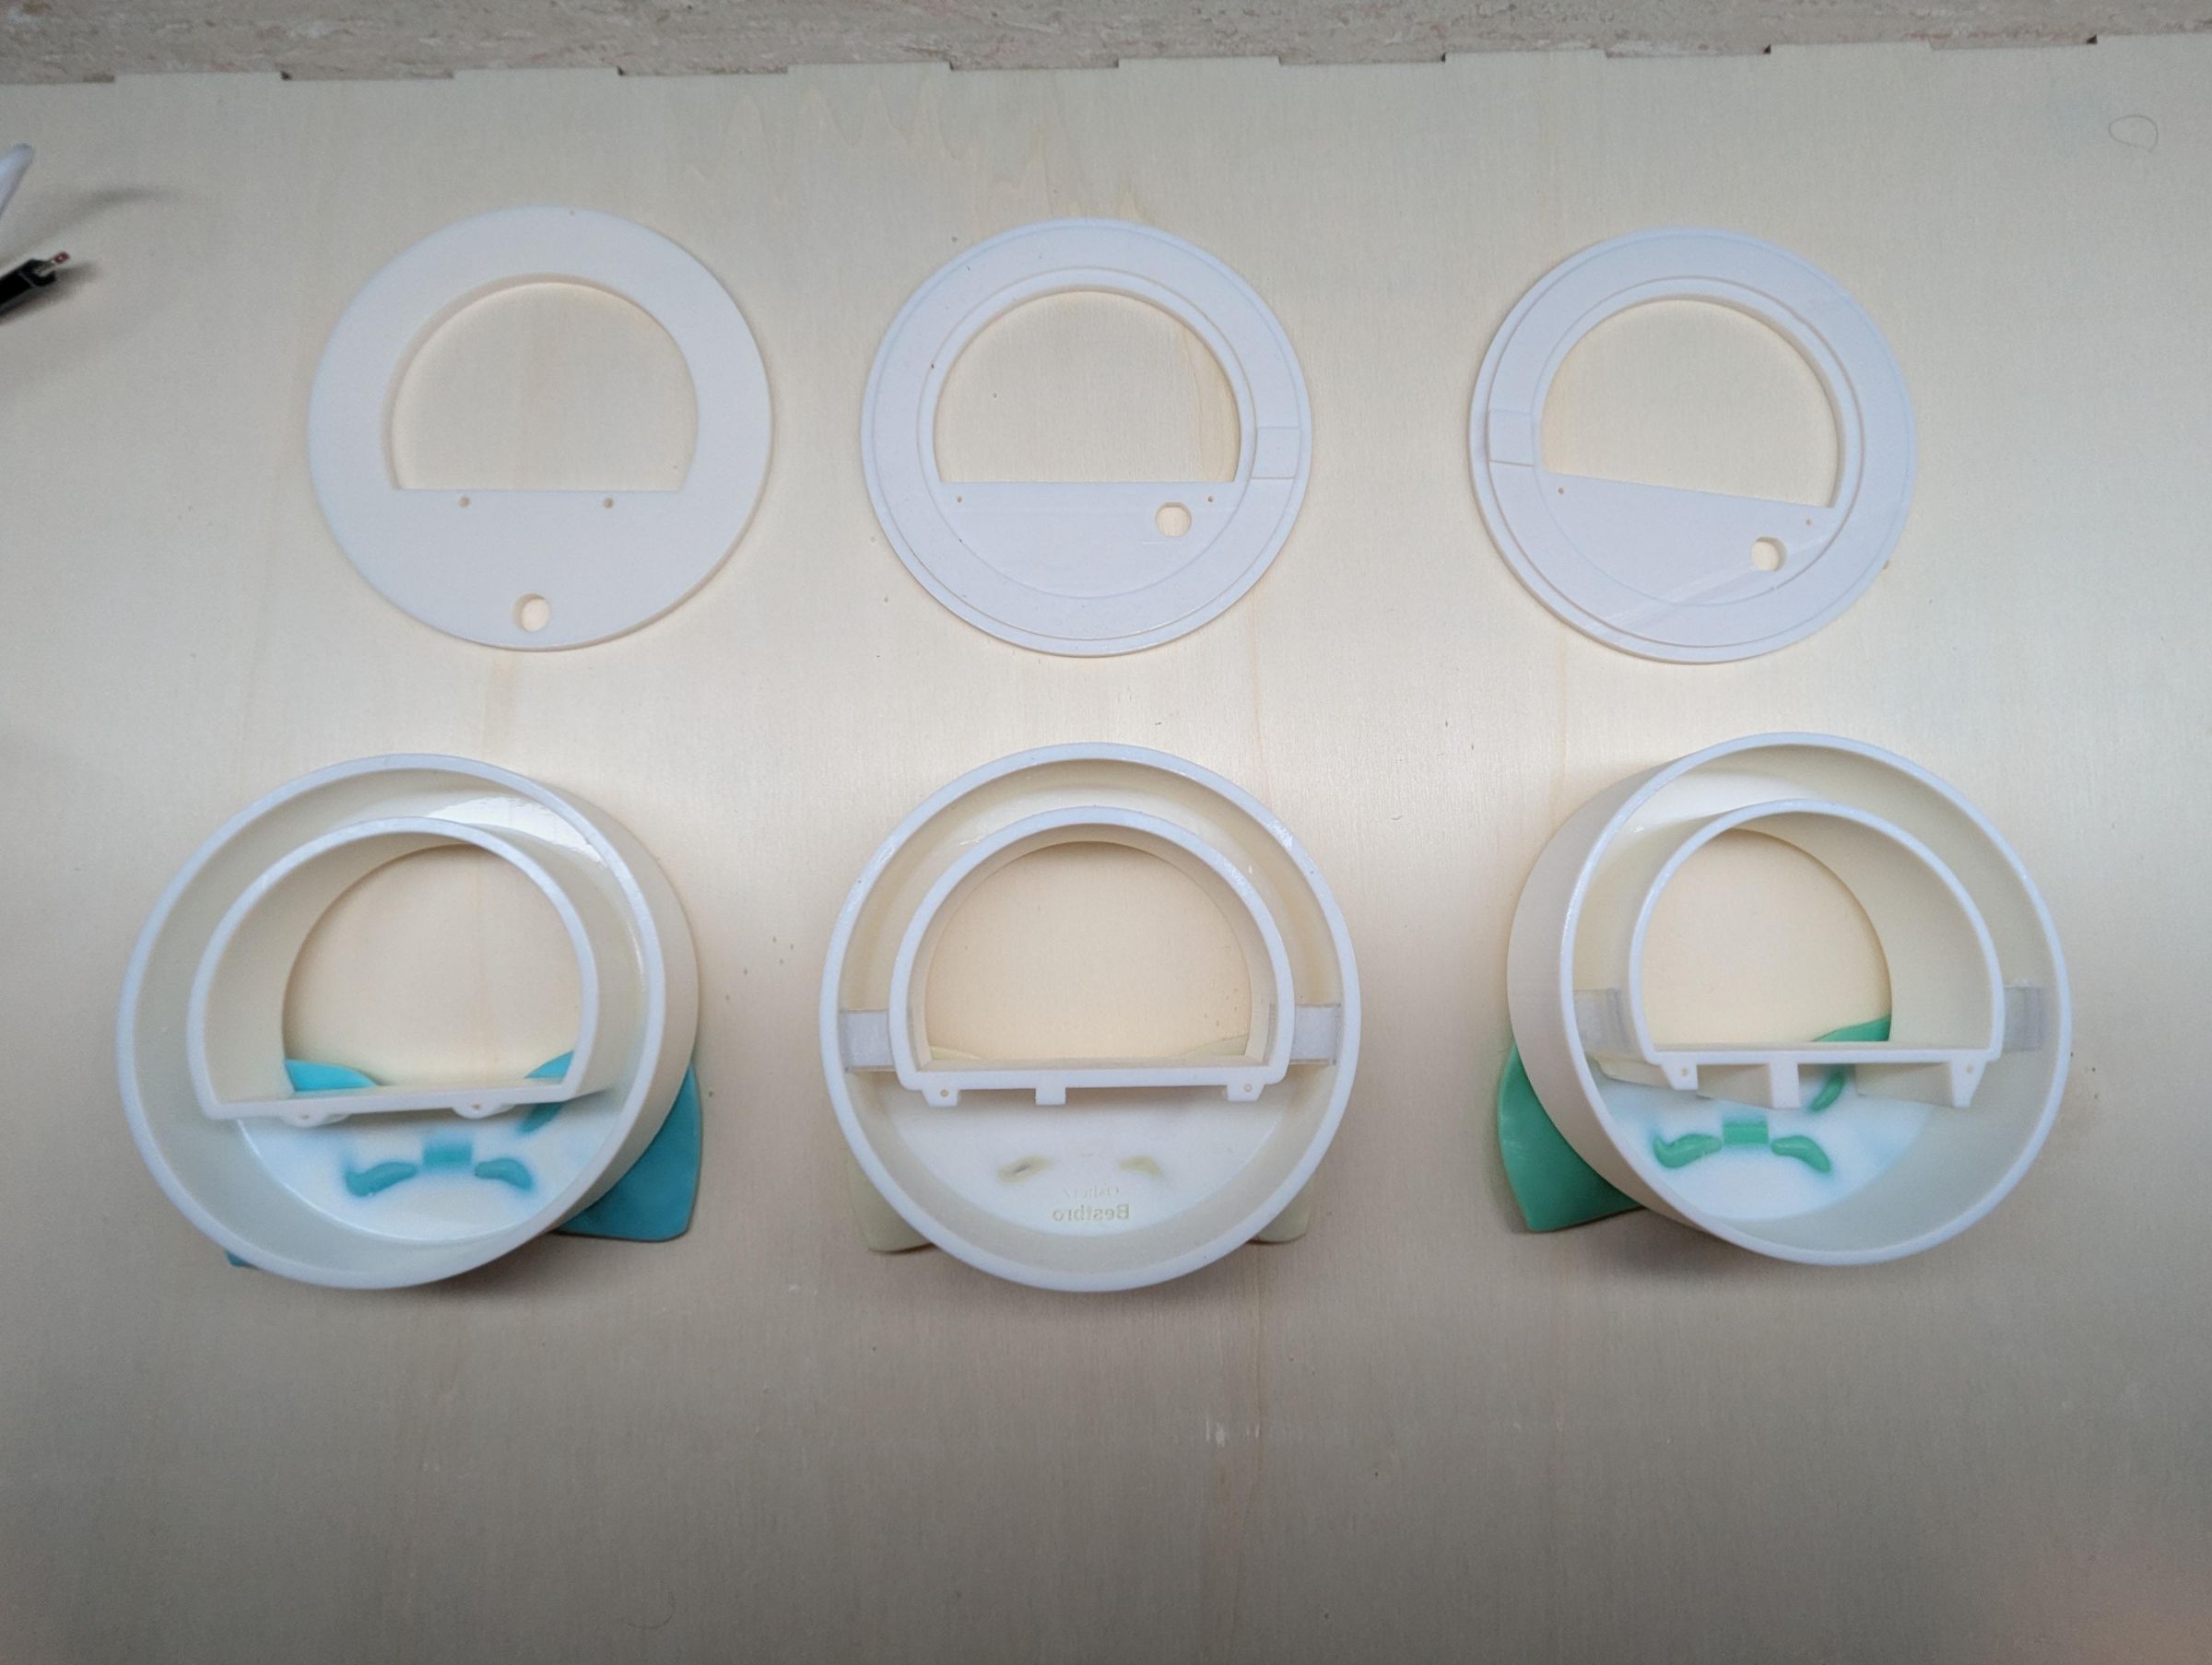
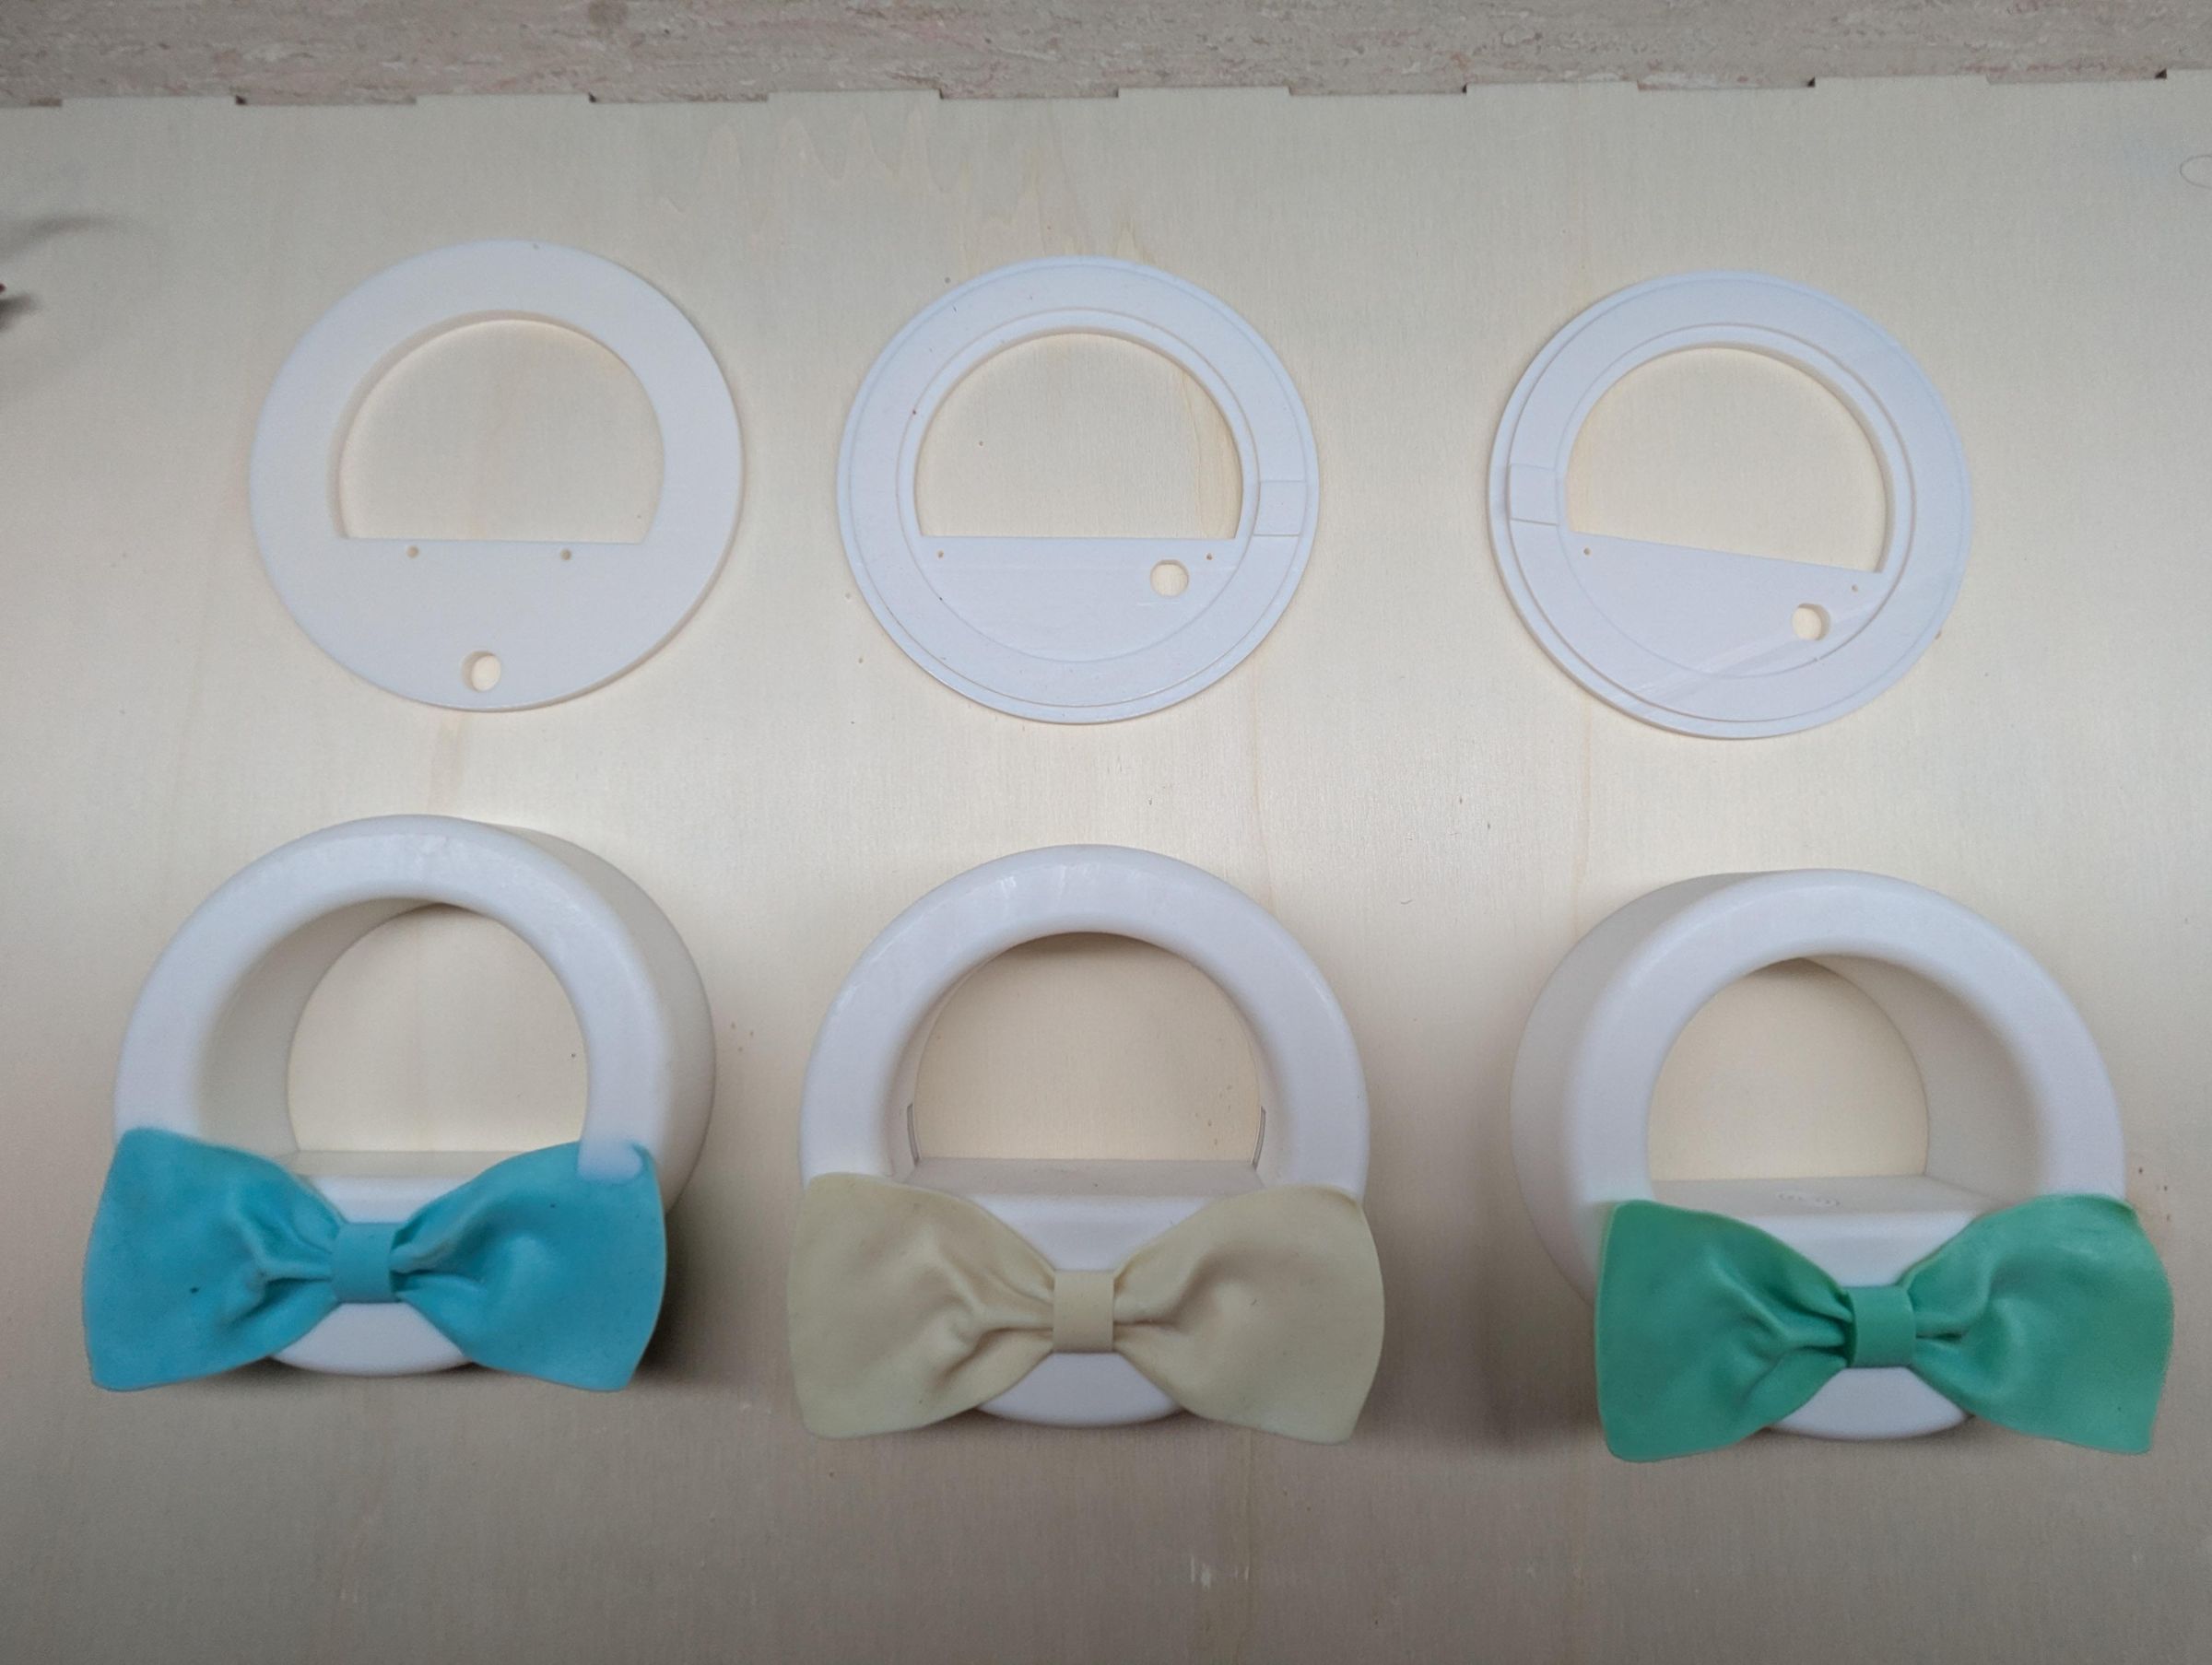
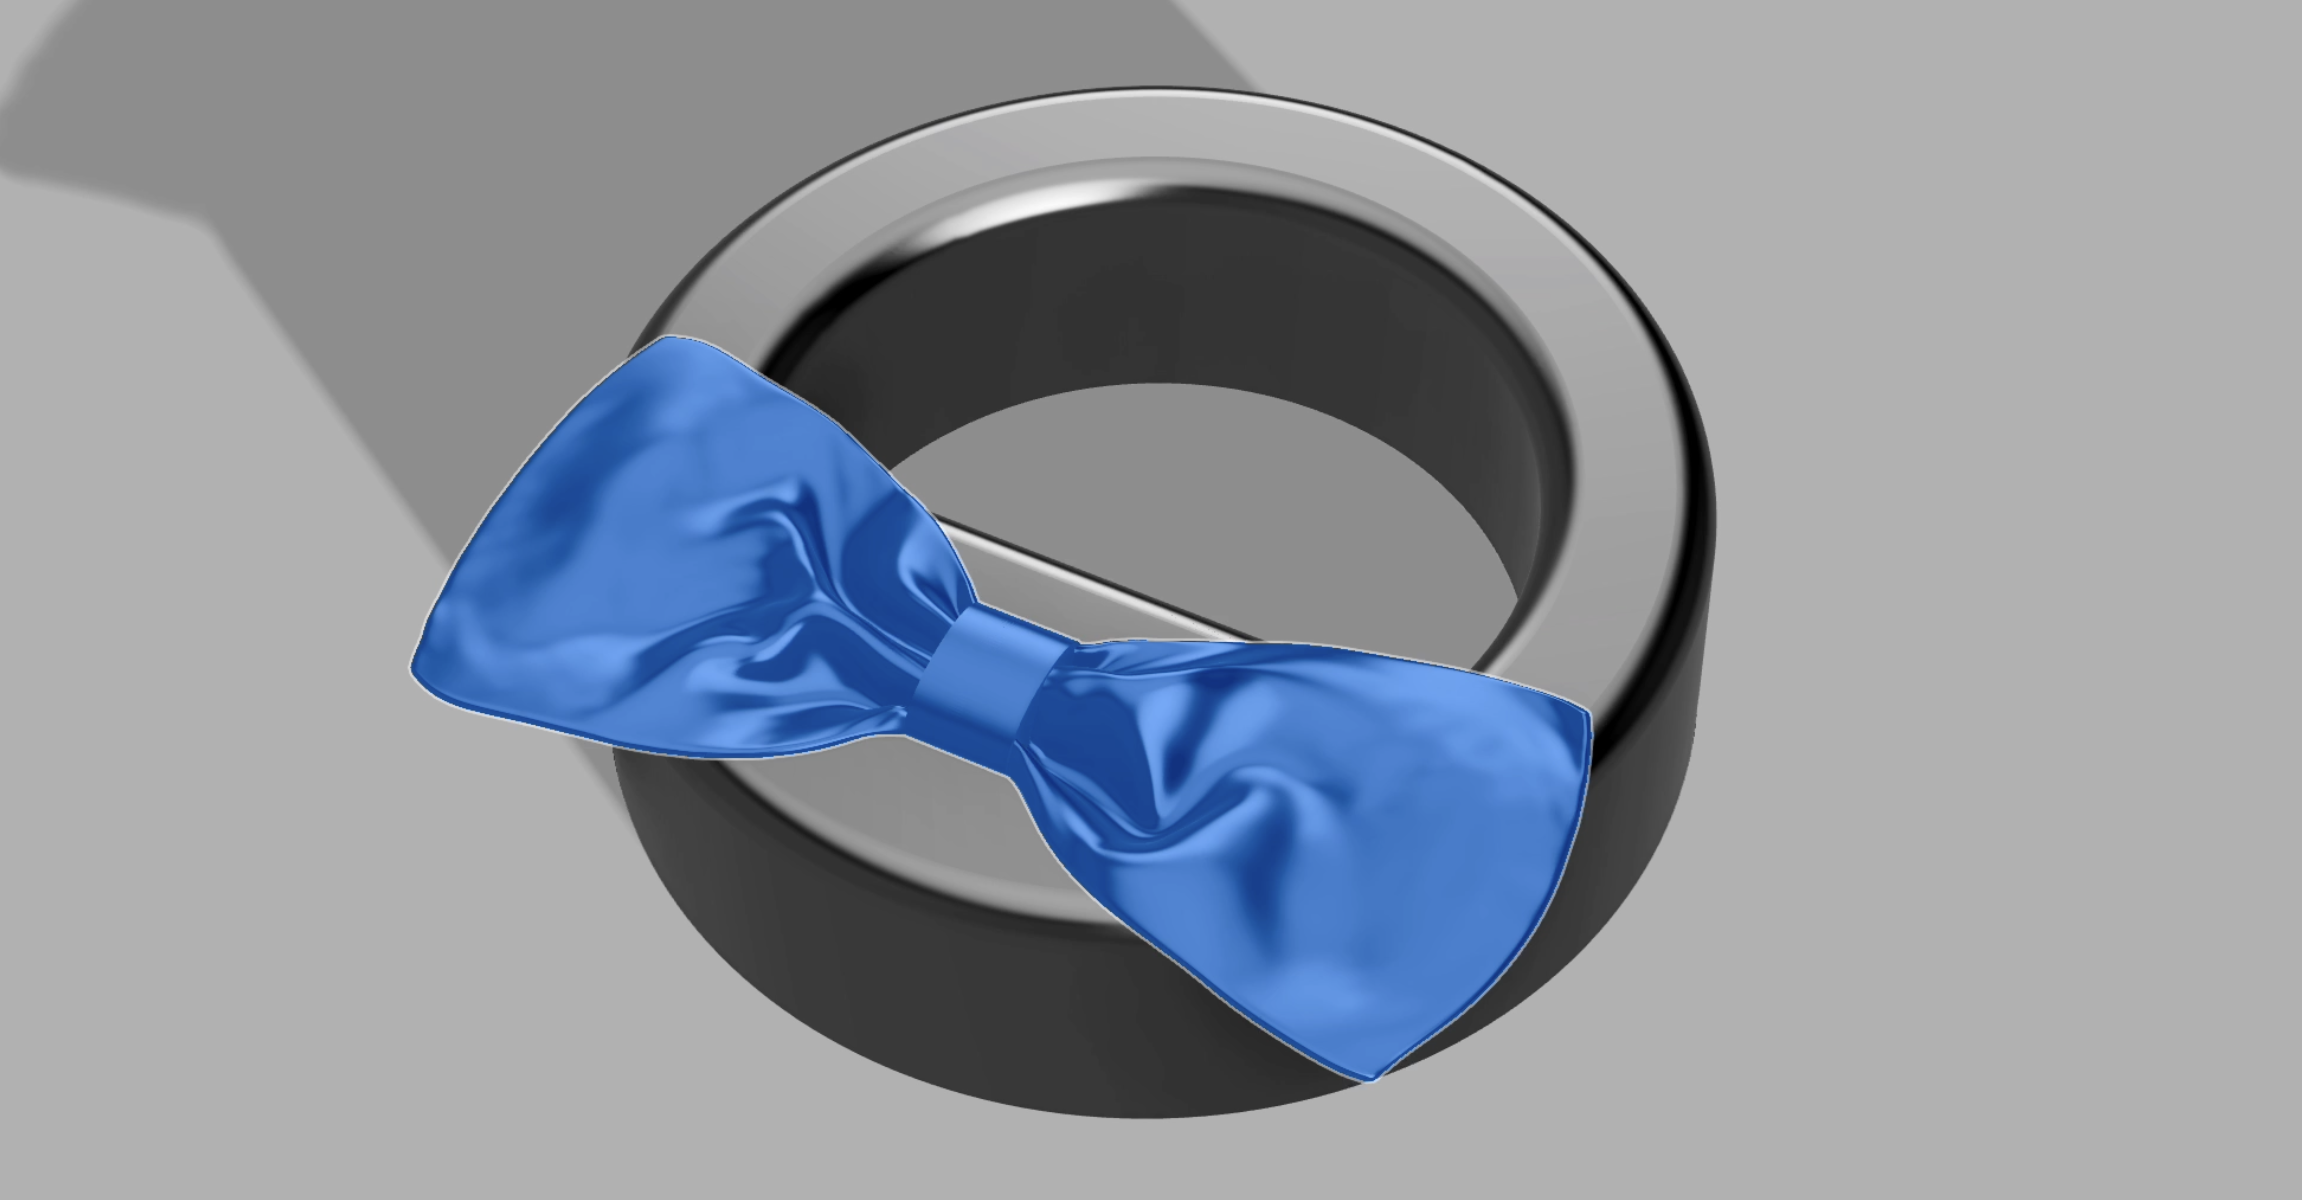
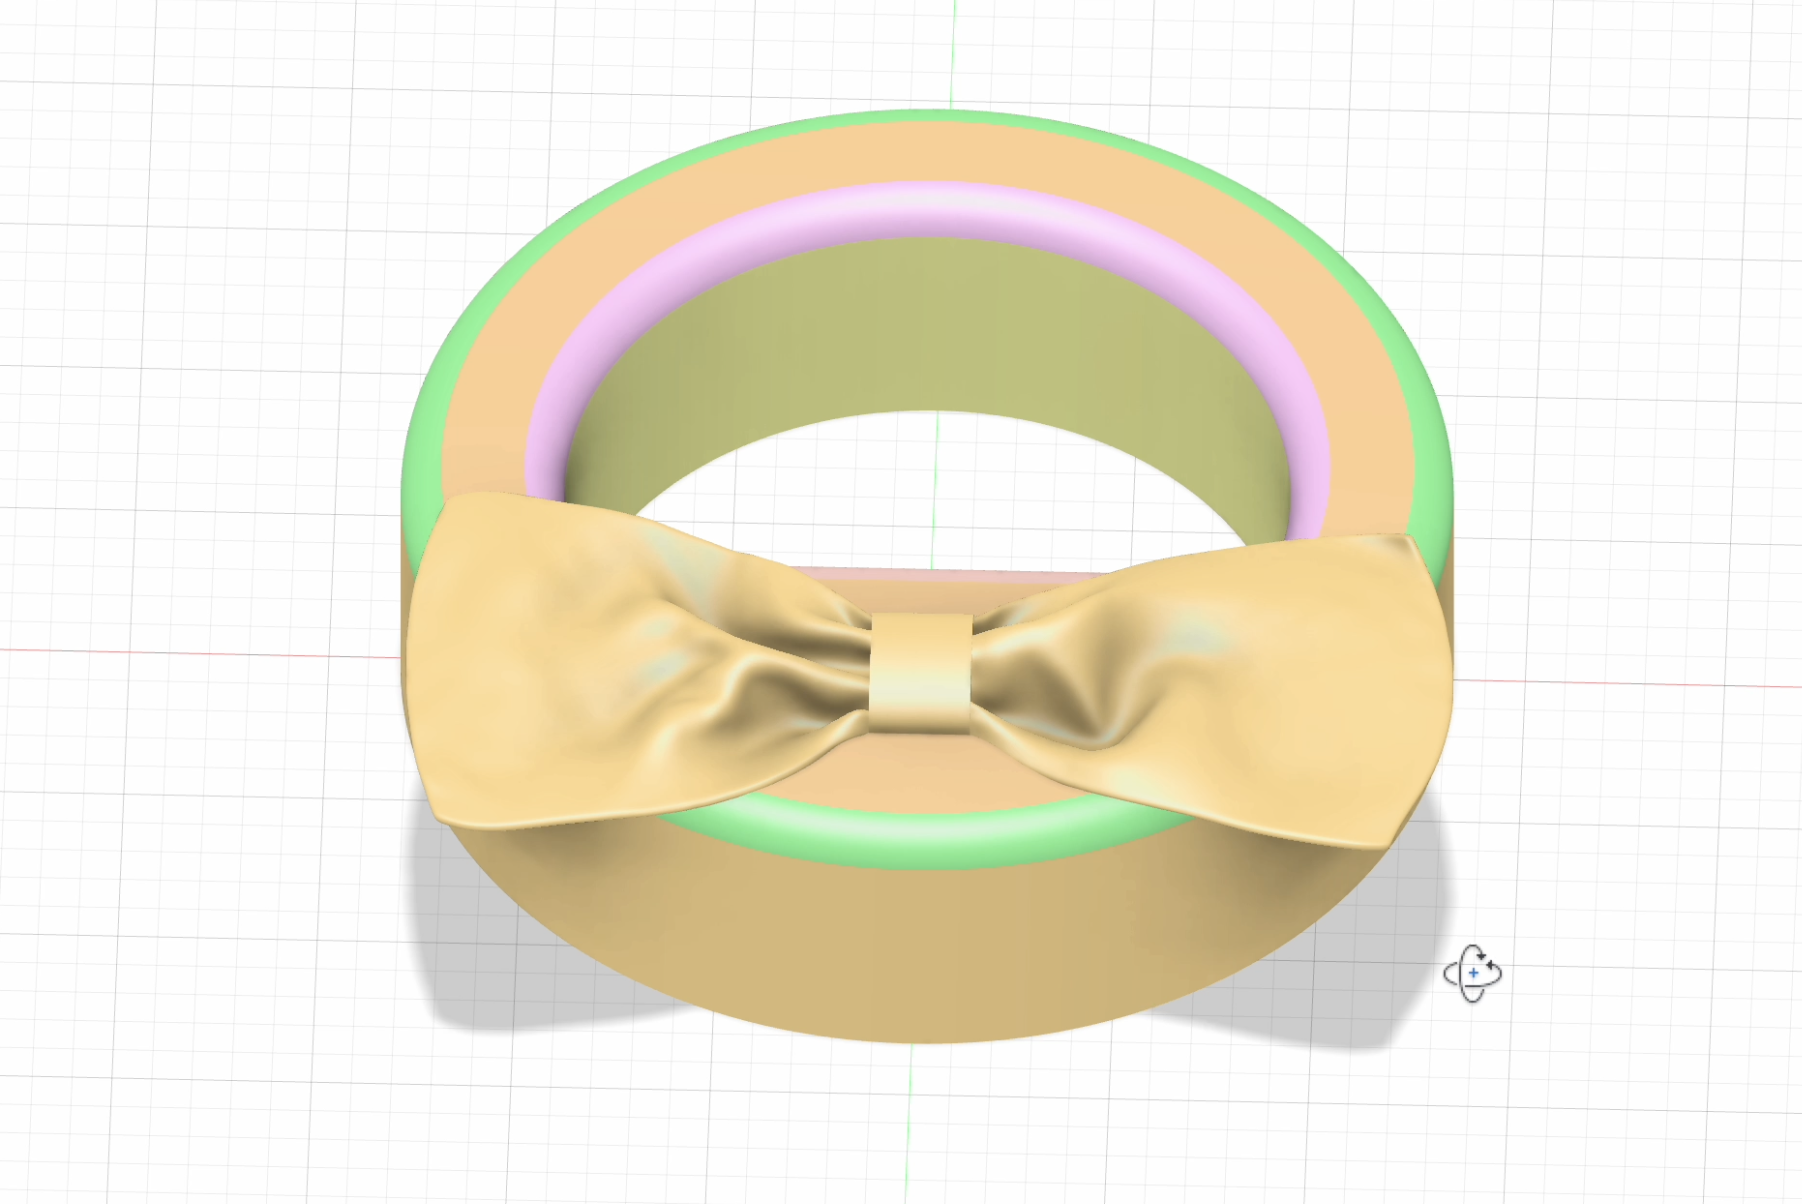
You don't have to print the case! basically the electronic can be insert to any chip lamp or wooden box and make it as a interactive lamp. I wanted a very unique and special design so I 3D design the case using autodesk fusion 360, and printed it in a polyjet printer. I made 3 different designs before I had one the was good enough, the light is spreading evenly, the touch area is marked nicely and the button is working and the main challenge of fitting everything inside was completed.
Assemble Everything
It's easy to assemble yet hard to explain so the full explanation is in the video in the top of the page. while for this planned 3d case its trivial, if you go for different case that you want to print or make, you should consider 3 main features:
- Hole for the type-c socket
- Thin, none metal part so the touch sensor would work well (thickness of under 4 mm)
- enough room for all the electronics
If making your own case, you may work with any strip of leds, so you can plan the case accordingly. you can choose any number of of leds so it will fit to the case but you should not go beyond the number of leds that will draw to much power. I did my tests, assuming 0.06 maximum ampere for one led, 35 is basically the limit. also for glass or transparent plastic, using light diffuser is recommended. in out case I chose the thickness of the printed case so it will used as diffuser but won't block the light.
Repeat the Process and Keep in Touch
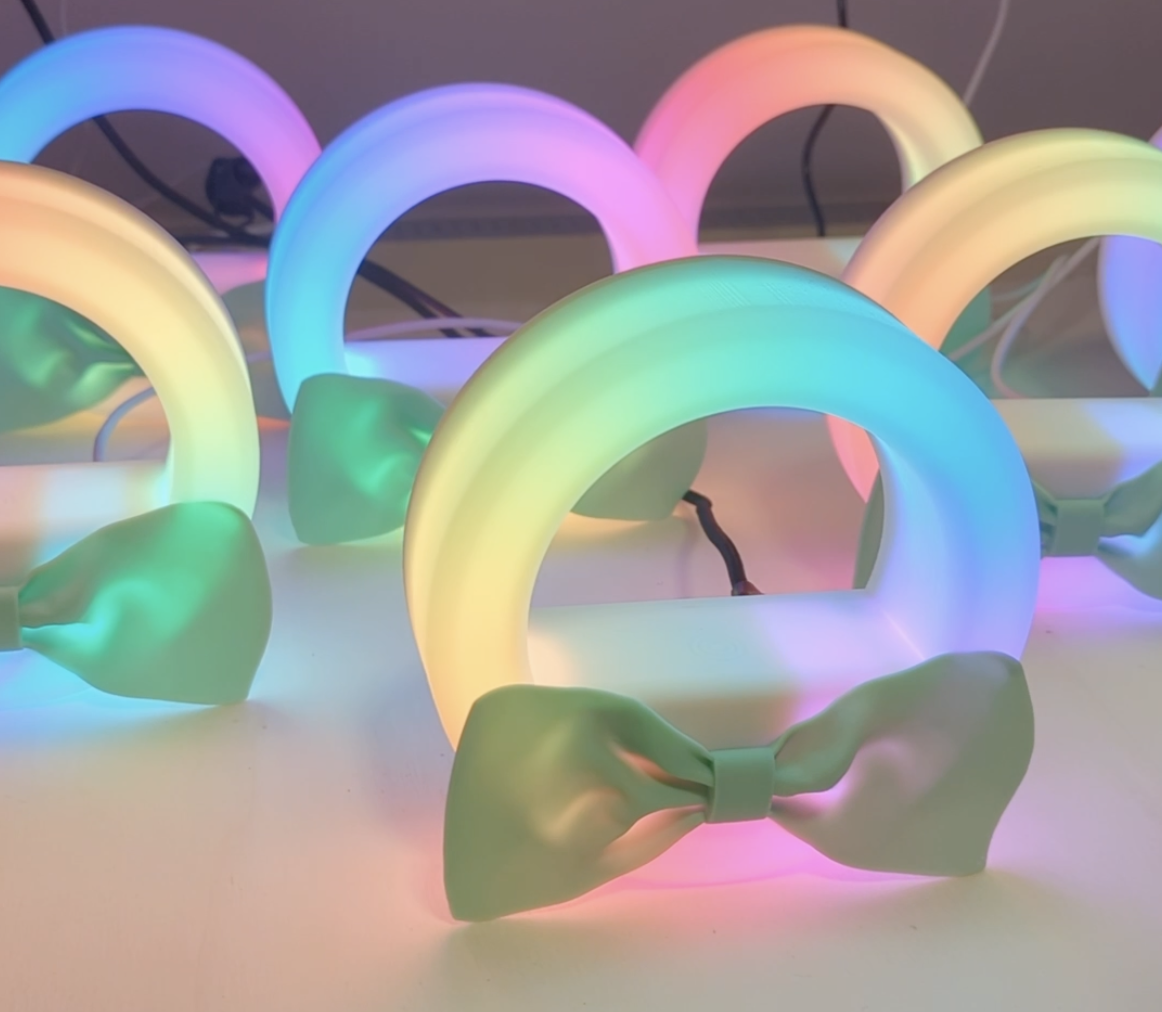
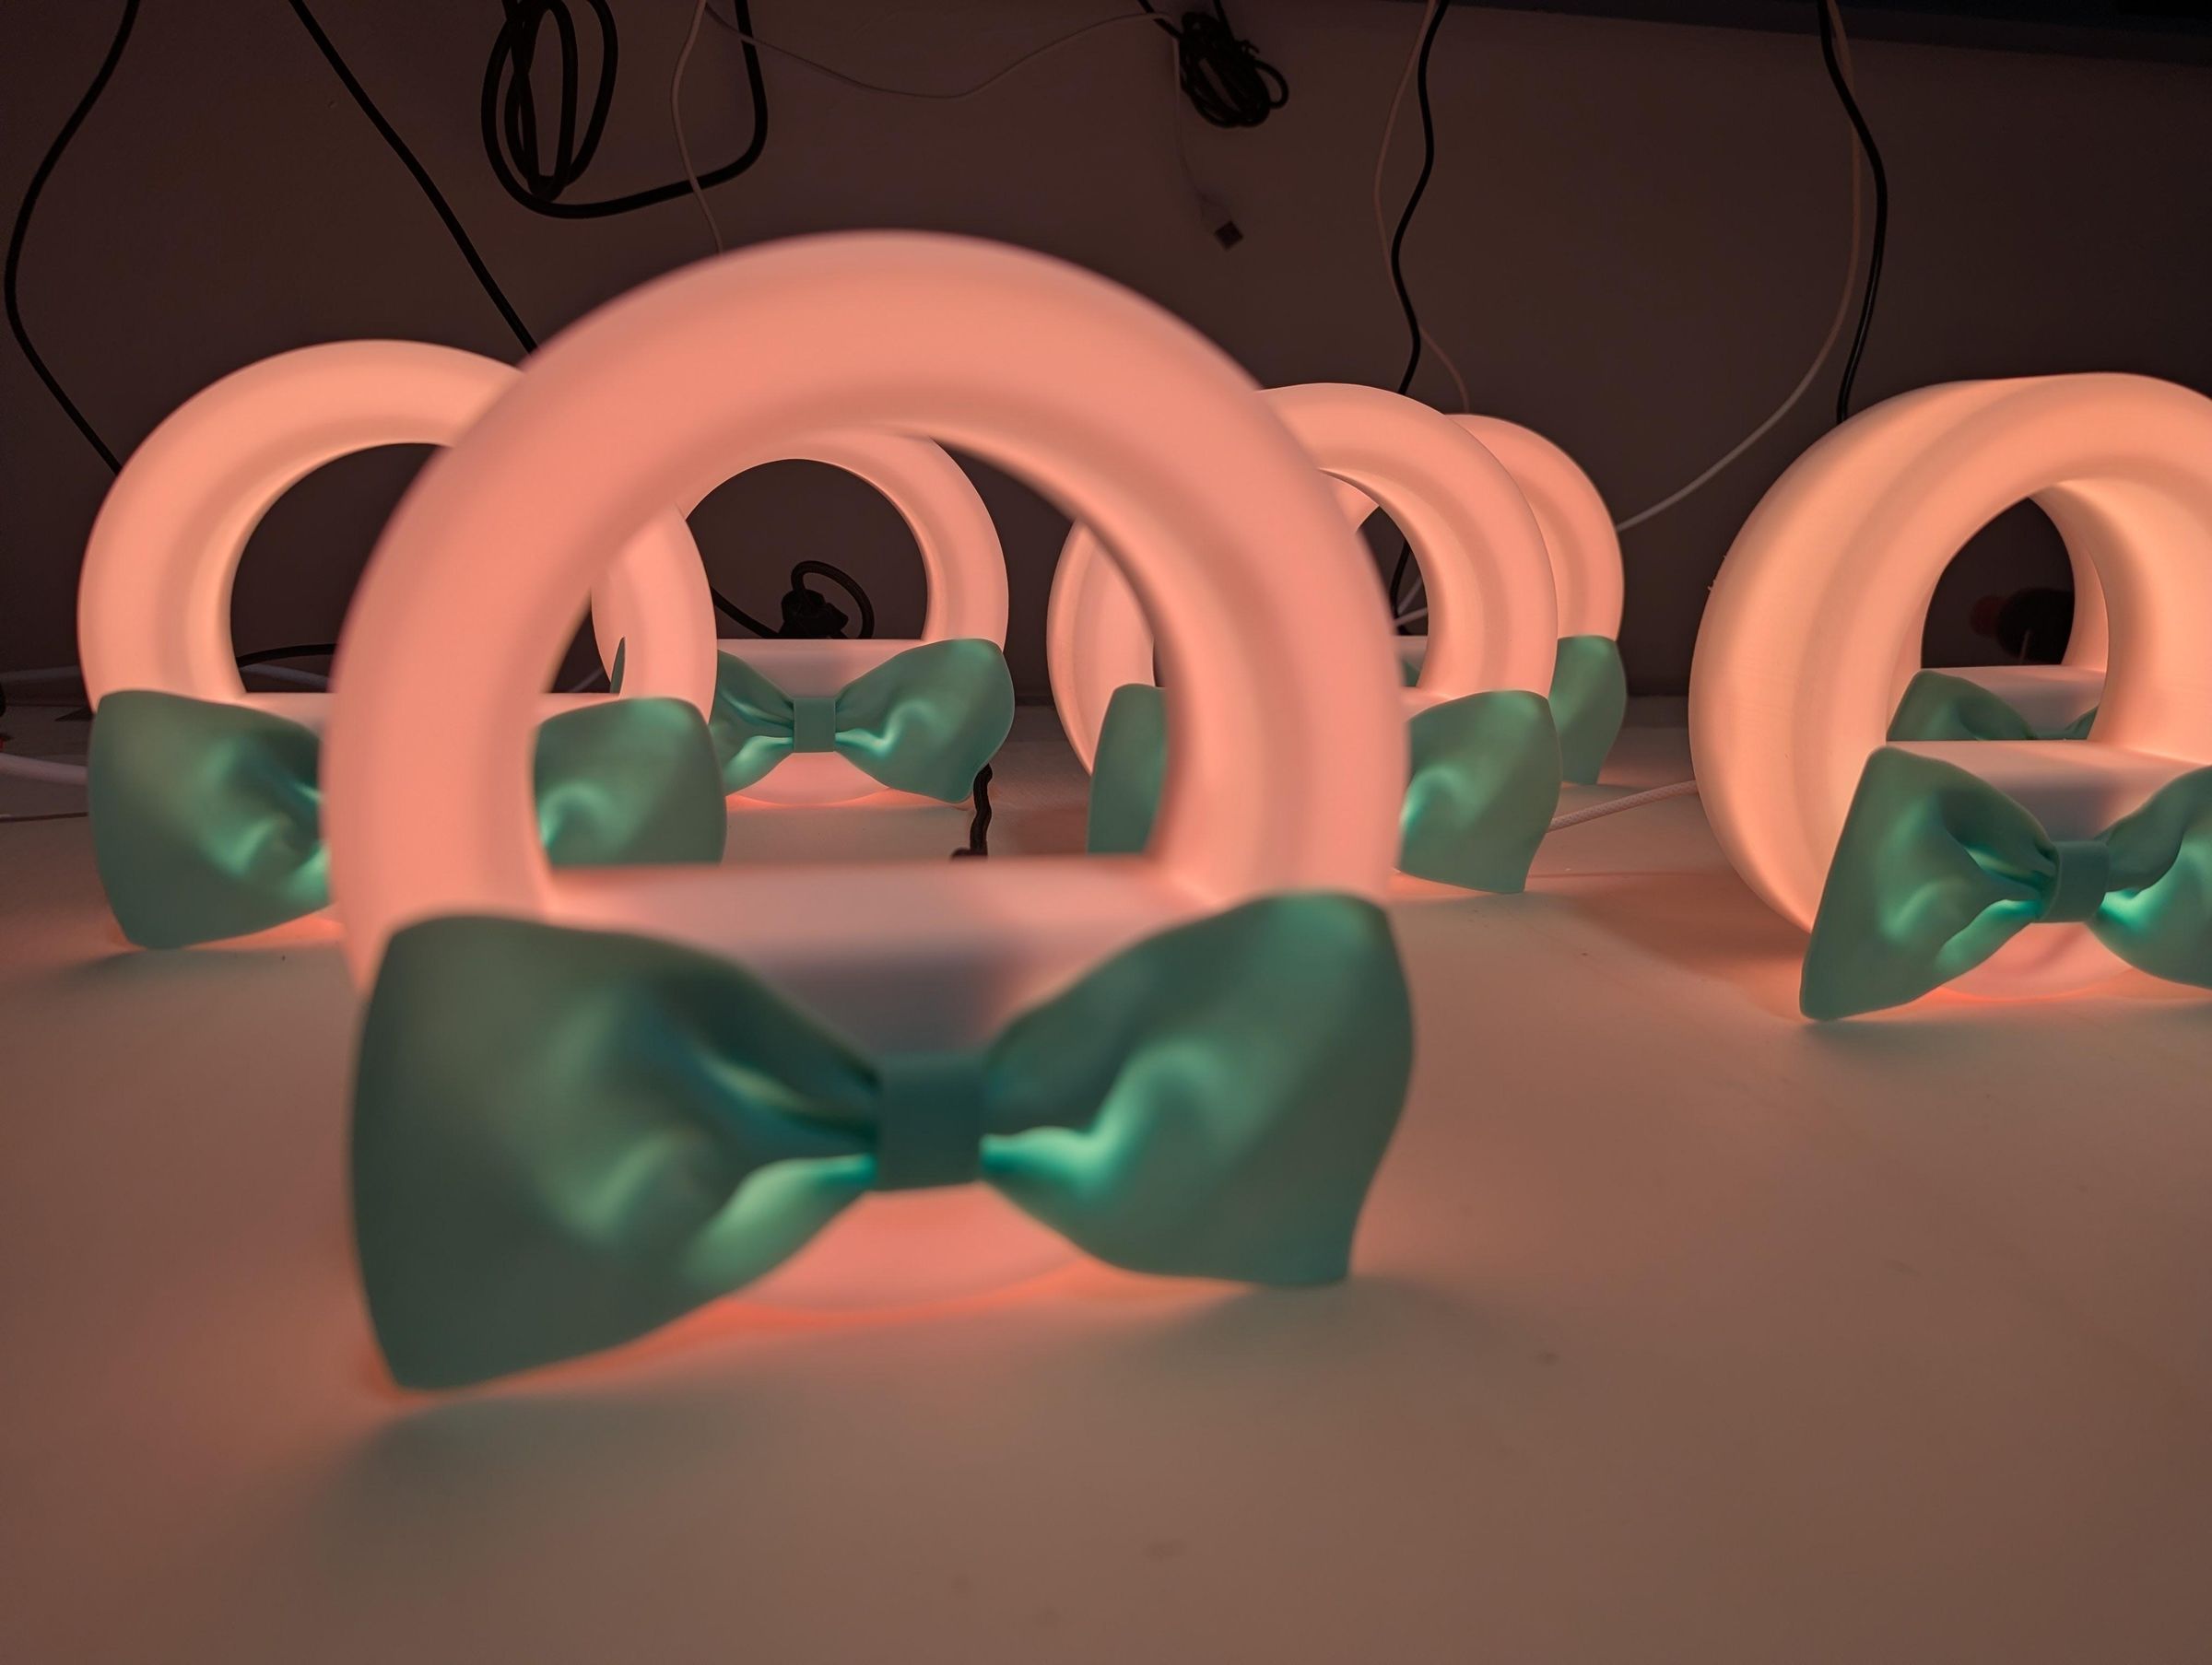
Now its the time for you to put some headphones with good music and repeat the process - make several more lamps, 2 its enough the more the merrier. give it to your special people in life, family or friend and remind each other that you think about them, no matter when or where you are (It should civilized place, wifi must be included). I hope you enjoy the project and you can always feedback me on the project, code or just share your ideas.