Buddy - the Companion Bot
by Random Creations in Circuits > Assistive Tech
2470 Views, 3 Favorites, 0 Comments
Buddy - the Companion Bot


In today’s fast-paced world, managing time can be a significant challenge, especially for individuals with ADHD or other neurodivergent conditions. The constant struggle to stay on task, maintain focus, and track time can lead to frustration and burnout. To address this, I’ve developed Buddy the Companion Bot—a smart assistive companion designed to help those who often feel overwhelmed by time management. Inspired by the Pomodoro technique, Buddy helps break tasks into manageable intervals, with built-in music and timed breaks, creating a gentle structure that encourages focus without the pressure.
Running on the Unihiker Single Board Computer (SBC) and powered by Python, Buddy combines the open-source software with the portability and power of an Unihiker. Whether you need a calming playlist to help you focus, a reminder to take a break, or just a reliable timer to track your work, Buddy is here to guide you through the day. In this article, I’ll walk you through how this works, how it was developed.
Supplies

.jpeg)

.jpeg)
.jpeg)
.jpeg)

Things You'll be In need of:
- Unihiker
- PAM8403 Amplifier Board
- Tp4056 Module
- 3.7v 1400 mAH battery
- 3d Printed Enclosure
- Laptop with VScode
And you will be in need of Soldering Iron, File or sandpaper and wire stripper.
Installing Kivy Framework
Code and Enclosure design Files are available on Github
I developed the GUI in python and used the Kivy framework.
Kivy is an open source framework and is reliable solution for developing cross platform applications. And has a smooth performance.
There are two methods to install kivy on unihiker. The first one is PPA and the second is by using pip. Later one works smoothly without any hinderance. While the first one isn't a friendly option.
First of all we have to be logged into the Unihiker via SSH on VS code. You can follow unihiker wiki guide or my previous project DIY Smart Home using Unihiker.
Next in root shell, or command line terminal run the following command.
and it'll take some time to completely install it. Make sure you stay connected to the internet all the time.

Mine is already installed that's why the log looks like this
nce the installation is complete you can run the following command,
And again, it'll take some time to update the list. Once it is finished you can check that wether kivy got properly installed or not by importing it.

Importing Kivy
And if no error pops up, then you are good to go.
Required Library imports:
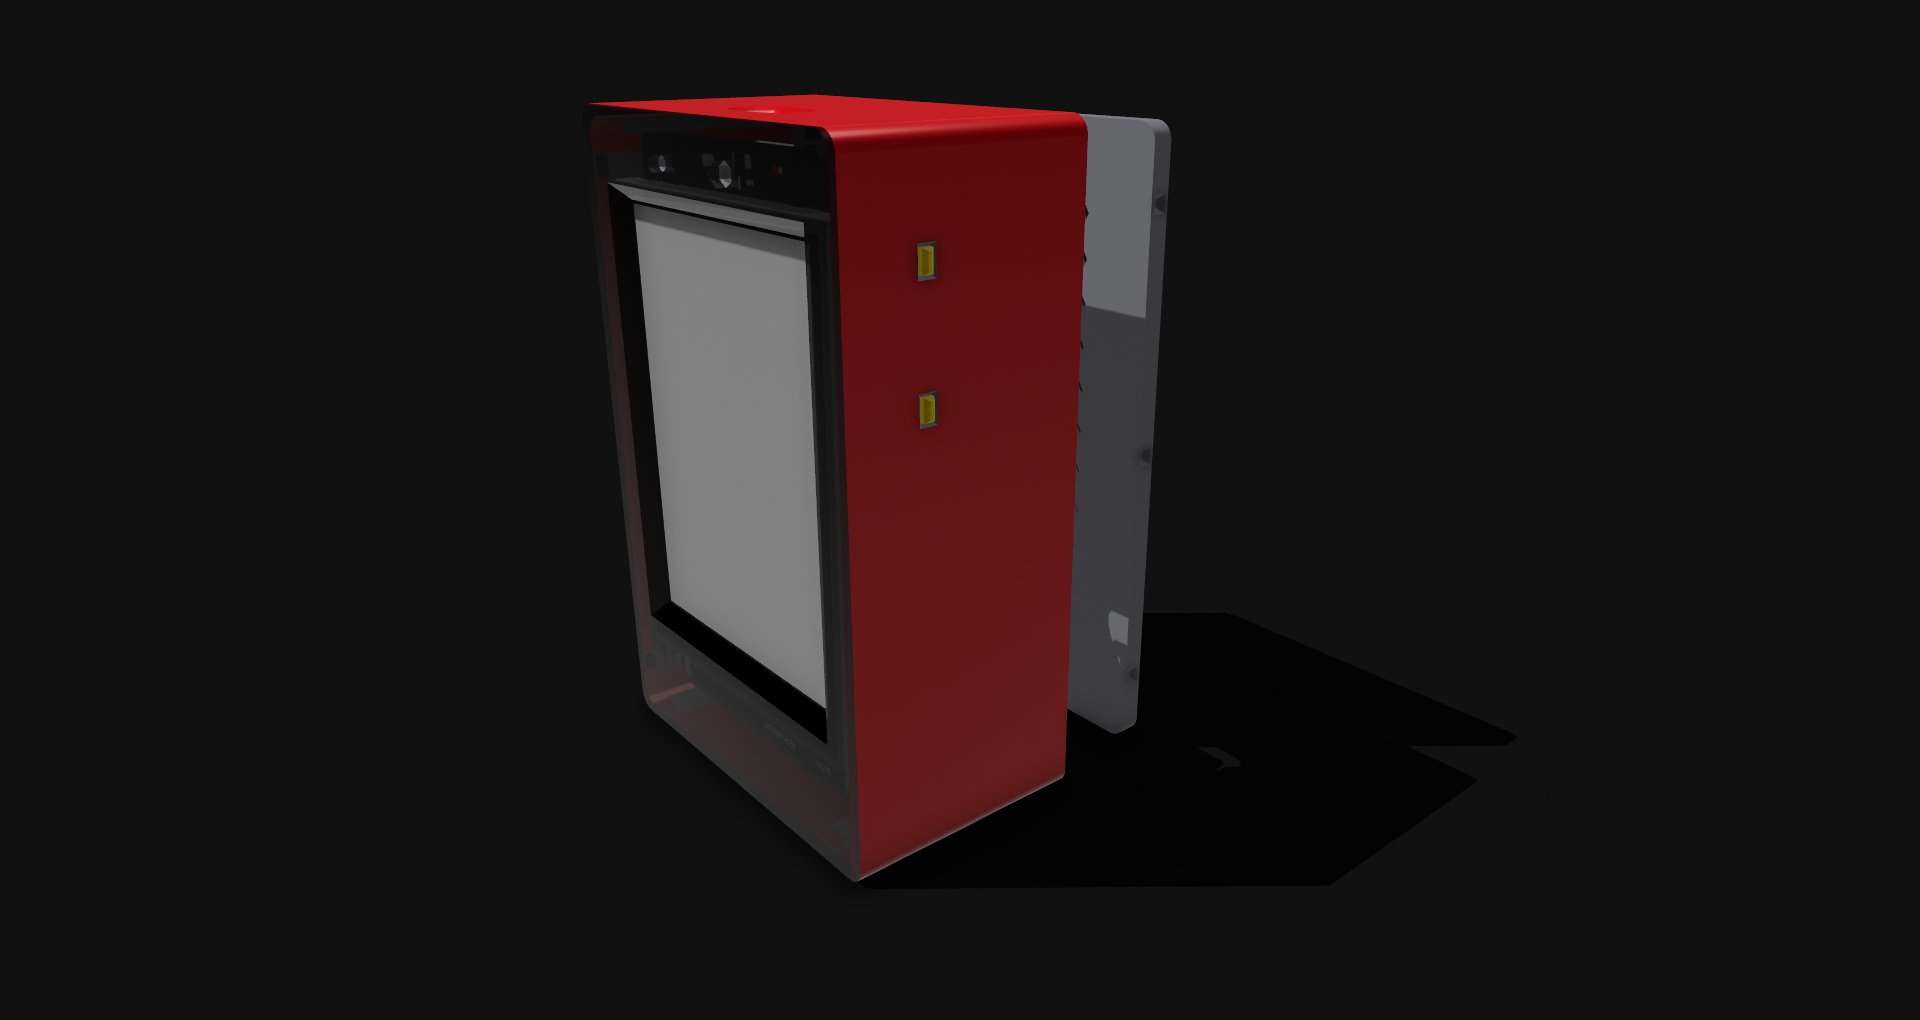
Enclosure Design


.jpeg)

So I designed the Enclosure in Shapr3D and got it printed by friend of mine.
There are three main parts,
Back Plate
Front Panel and Walls
Button Caps
GUI Design
.jpeg)


So I have designed this GUI based on three screens.
First is main screen Which displays text Buddy animation in and out.
It has background image from pinterest.
Second screen, this is the main screen. It has the Timer and button to adjust the Time duration, break time, and Music selsction and Start Timer and Reset Timer. And a button to Go back to main screen.
Third screen, It is the screen where we can select the music and Play it. We can select the music available in folder.
Future Goal

I have added the Slots and hole for wires on the opposite side of C-Type Inlet. This Slot will help it to mount it on the Chassis along with wheels. It'll be able to drive around and explore the enviroment using sensors.
I'll be using it as Emote buddy using Self Balancing Chassis. So that it'll be able to interact with the environment. And Listen to commands instead of relying on GUI control.
So that's my future goal for this project.
Demo
