Building a Self Programming ESP32 Assistant With ESP Claw
by taste_the_code in Circuits > Gadgets
1007 Views, 1 Favorites, 0 Comments
Building a Self Programming ESP32 Assistant With ESP Claw

In this Instructable, I am going to show you how to turn a DFRobot UNIHIKER K10 board into an AI powered assistant that writes its own code. Instead of programming every feature by hand, you flash it with a firmware called ESP Claw, connect it to a language model, and then just talk to it or send it a chat message. The agent figures out how to control the board's own LEDs, camera, and screen on its own, which makes this a great project if you want to see what happens when hardware and AI agents meet.
Supplies
The main star of this project is the DFRobot UNIHIKER K10 board, which comes with an ESP32-S3 chip, a small screen, two microphones, a camera, a temperature and humidity sensor, a light sensor, an accelerometer, an onboard LED strip, and a USB-C cable for programming and power. On the software side you need a web browser to access the ESP Claw web flashing tool and configuration page, an account with an AI model provider such as OpenRouter so you can access a language model, a Telegram account so you can create a bot to chat with your device, and optionally an account with Tavily if you want to give the agent web search capability.
Other Tools and Materials:
- DFRobot UNIHIKER K10: https://s.click.aliexpress.com/e/_c4k3rytV
- UNIHIKER K10 Expansion Board: https://s.click.aliexpress.com/e/_c4Lh7fX5
- ESP32-C6 Firebeetle Dev Board: https://www.dfrobot.com/product-2771.html?tracking=pyajAg
- https://s.click.aliexpress.com/e/_c39YJYoj
- Waveshare ESP32-P4 Wi-Fi 6 Vision Board: https://s.click.aliexpress.com/e/_c3Aj3oD5
- Bench Power Supply: https://s.click.aliexpress.com/e/_c4c0vtGX
- Soldering Station: https://s.click.aliexpress.com/e/_c4aWWzkn
- Multimeter: https://s.click.aliexpress.com/e/_c3G5IJUX
Understanding How ESP Claw Works
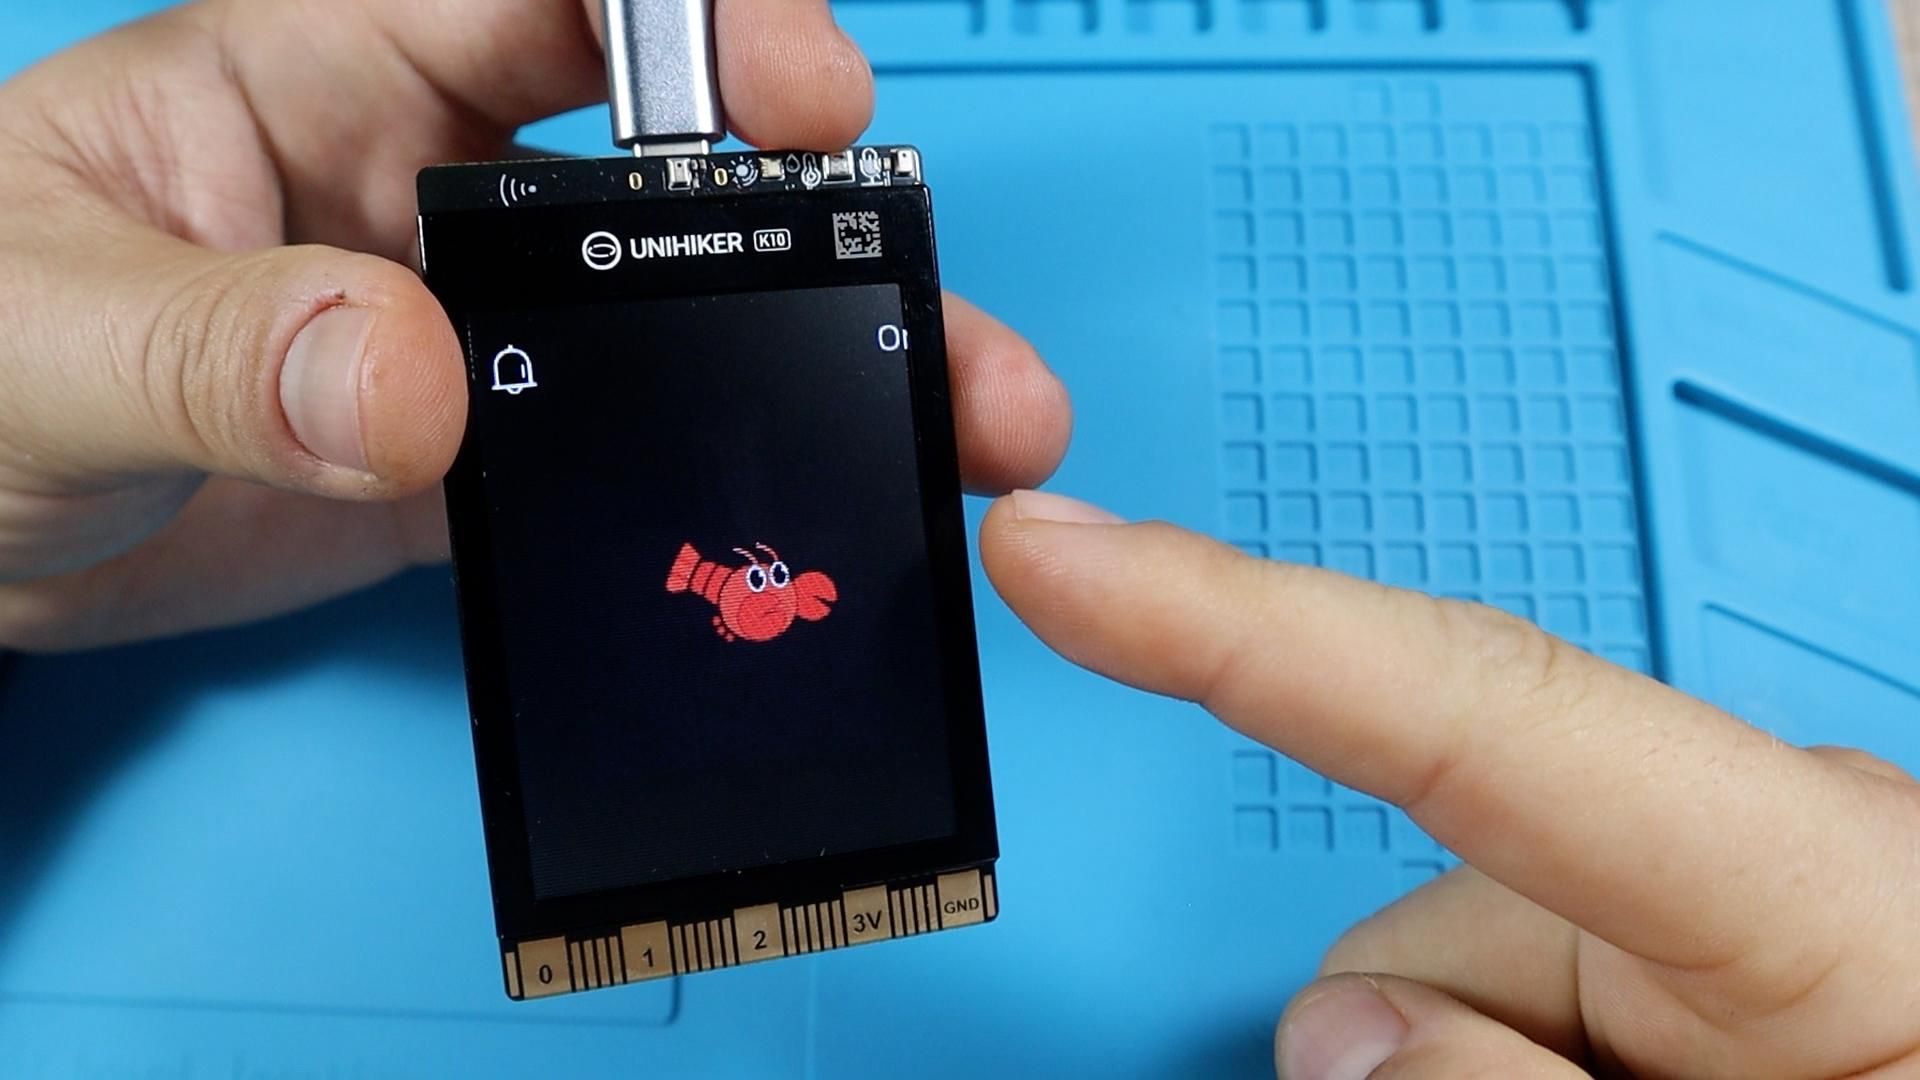
Before touching anything, it helps to understand what is actually happening. The K10 normally ships with a demo sketch that shows off its sensors, camera, and voice recognition using wake words.
ESP Claw is a different firmware entirely.
Once flashed, it turns the board into an agent that can receive messages from a chat platform like Telegram, send those messages to a language model of your choice, and then generate and execute its own scripts on the device to carry out what you asked for, whether that means turning on an LED, taking a picture, or building a small interface on the screen. The board still has all of its original hardware, the camera, the LED strip, the buttons, and the sensors, but now an AI model decides how to use them based on your instructions instead of you writing that logic yourself.
Trying the Default Demos First
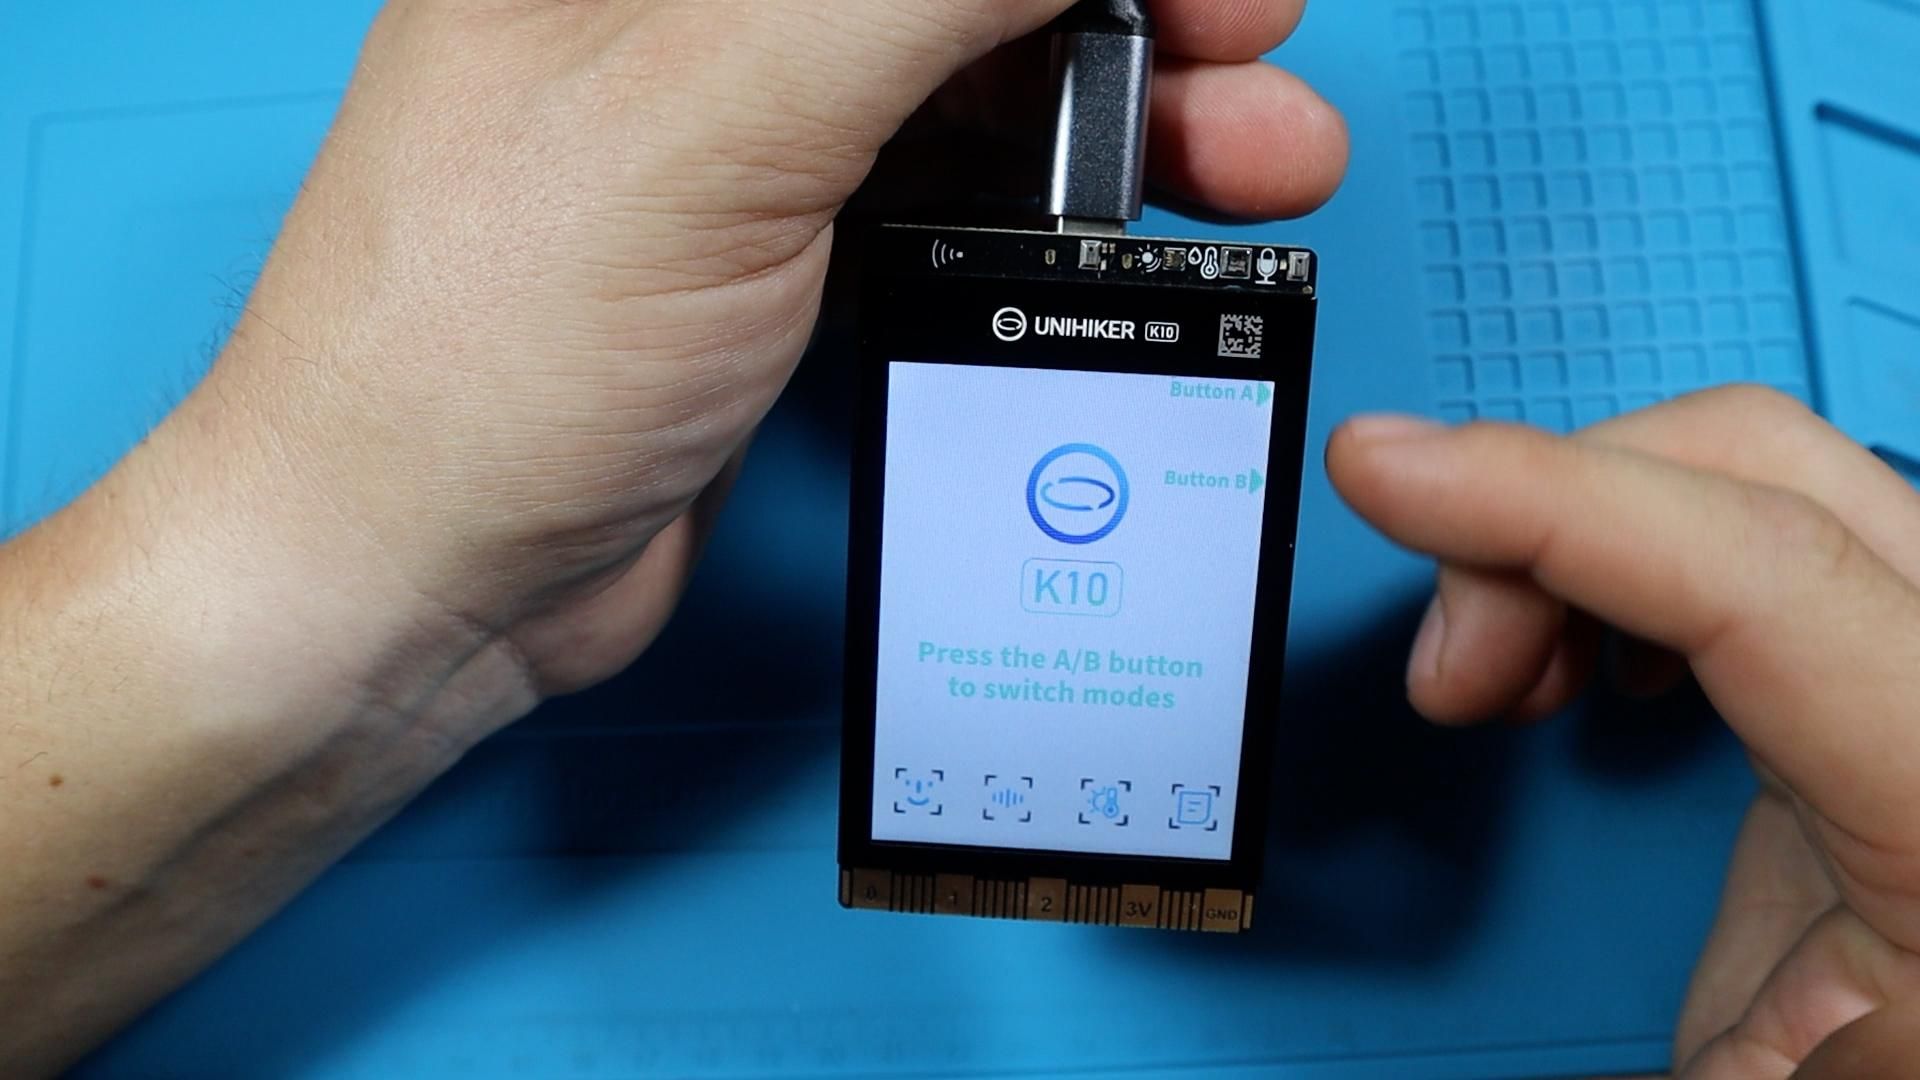
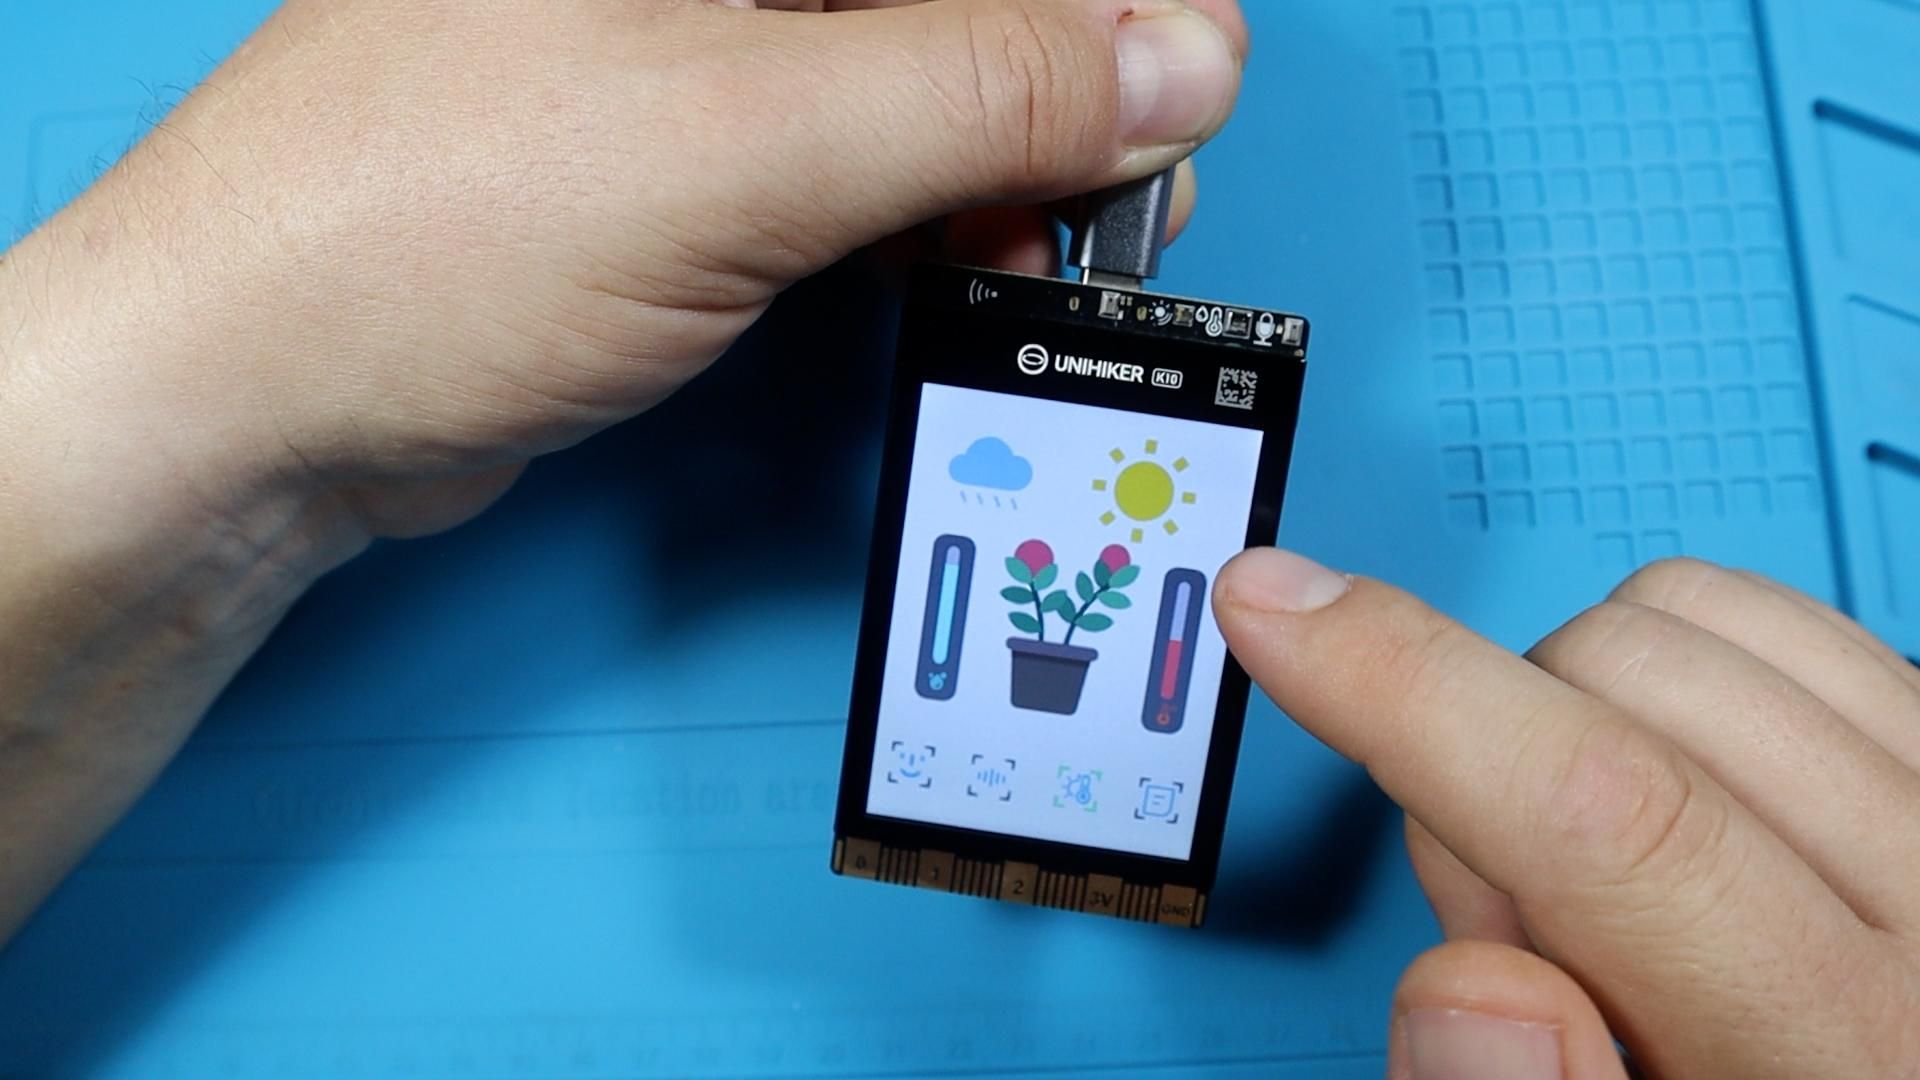
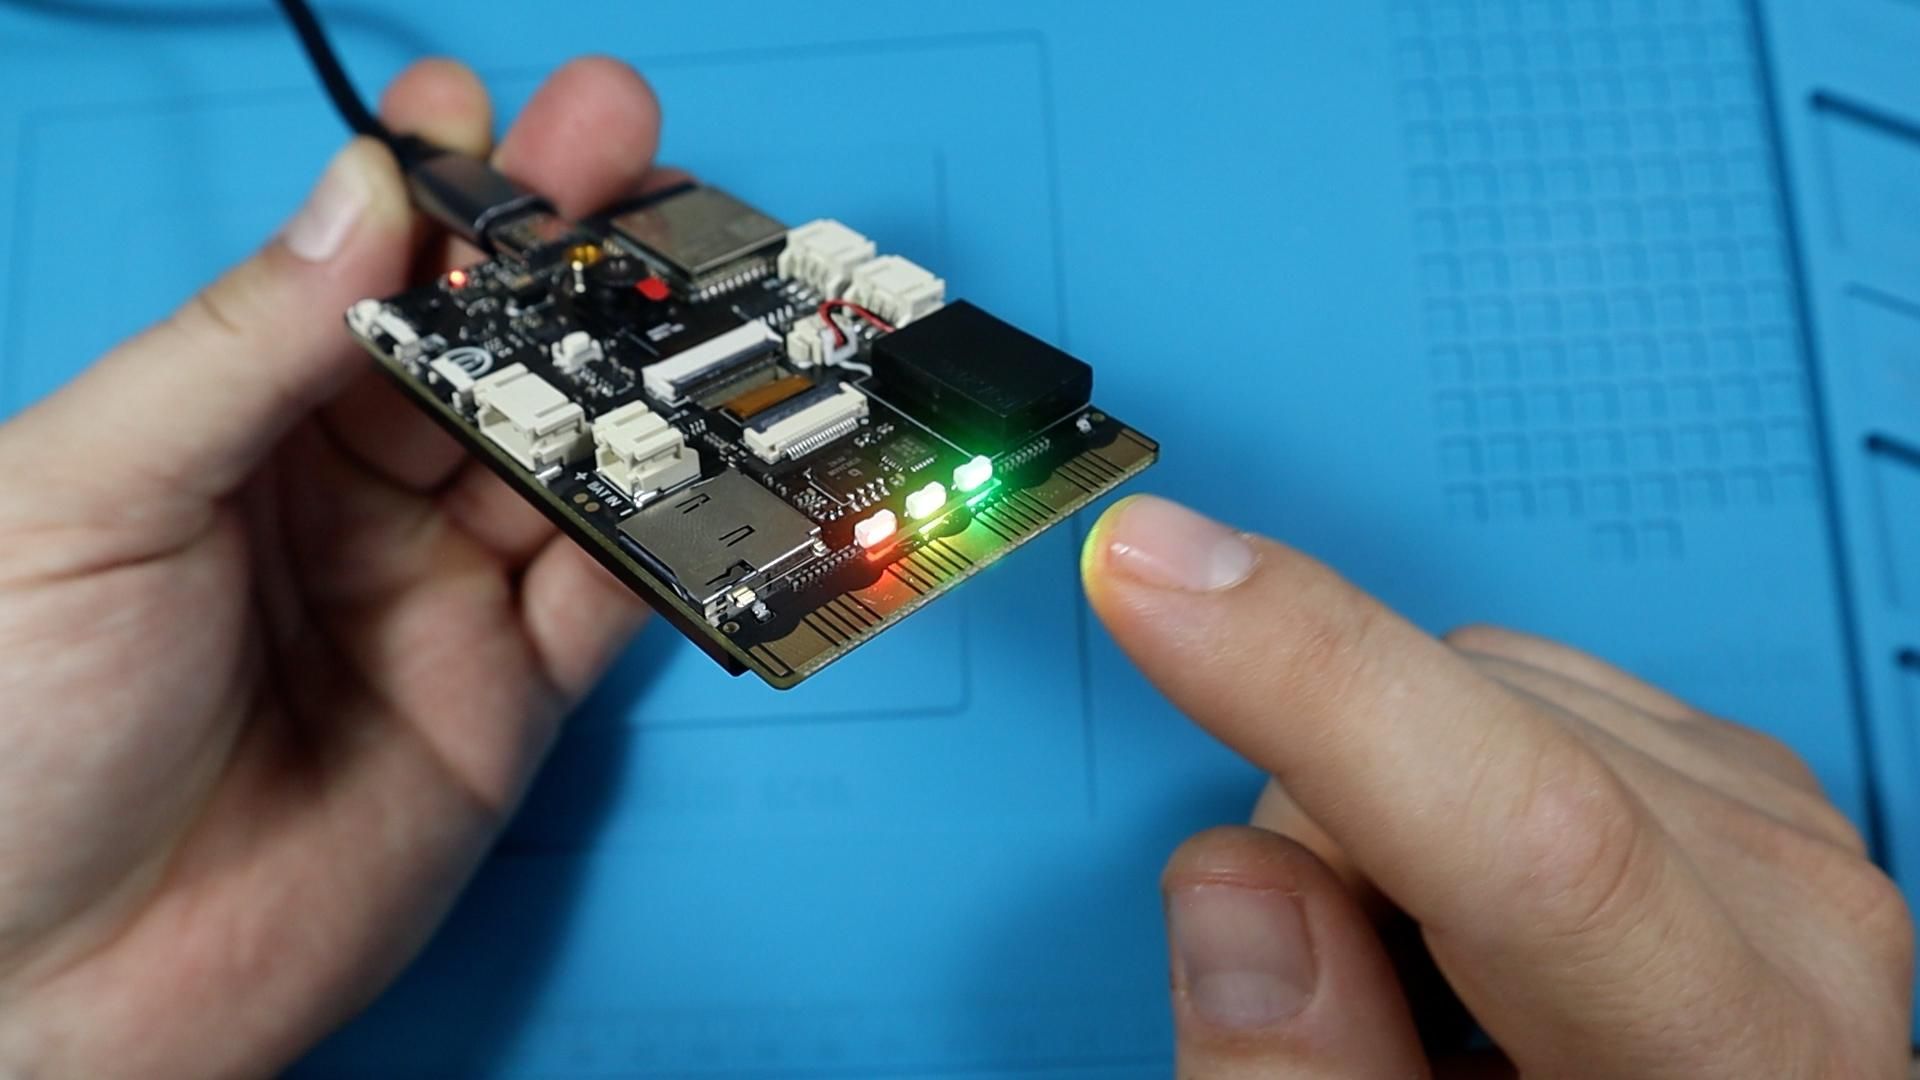
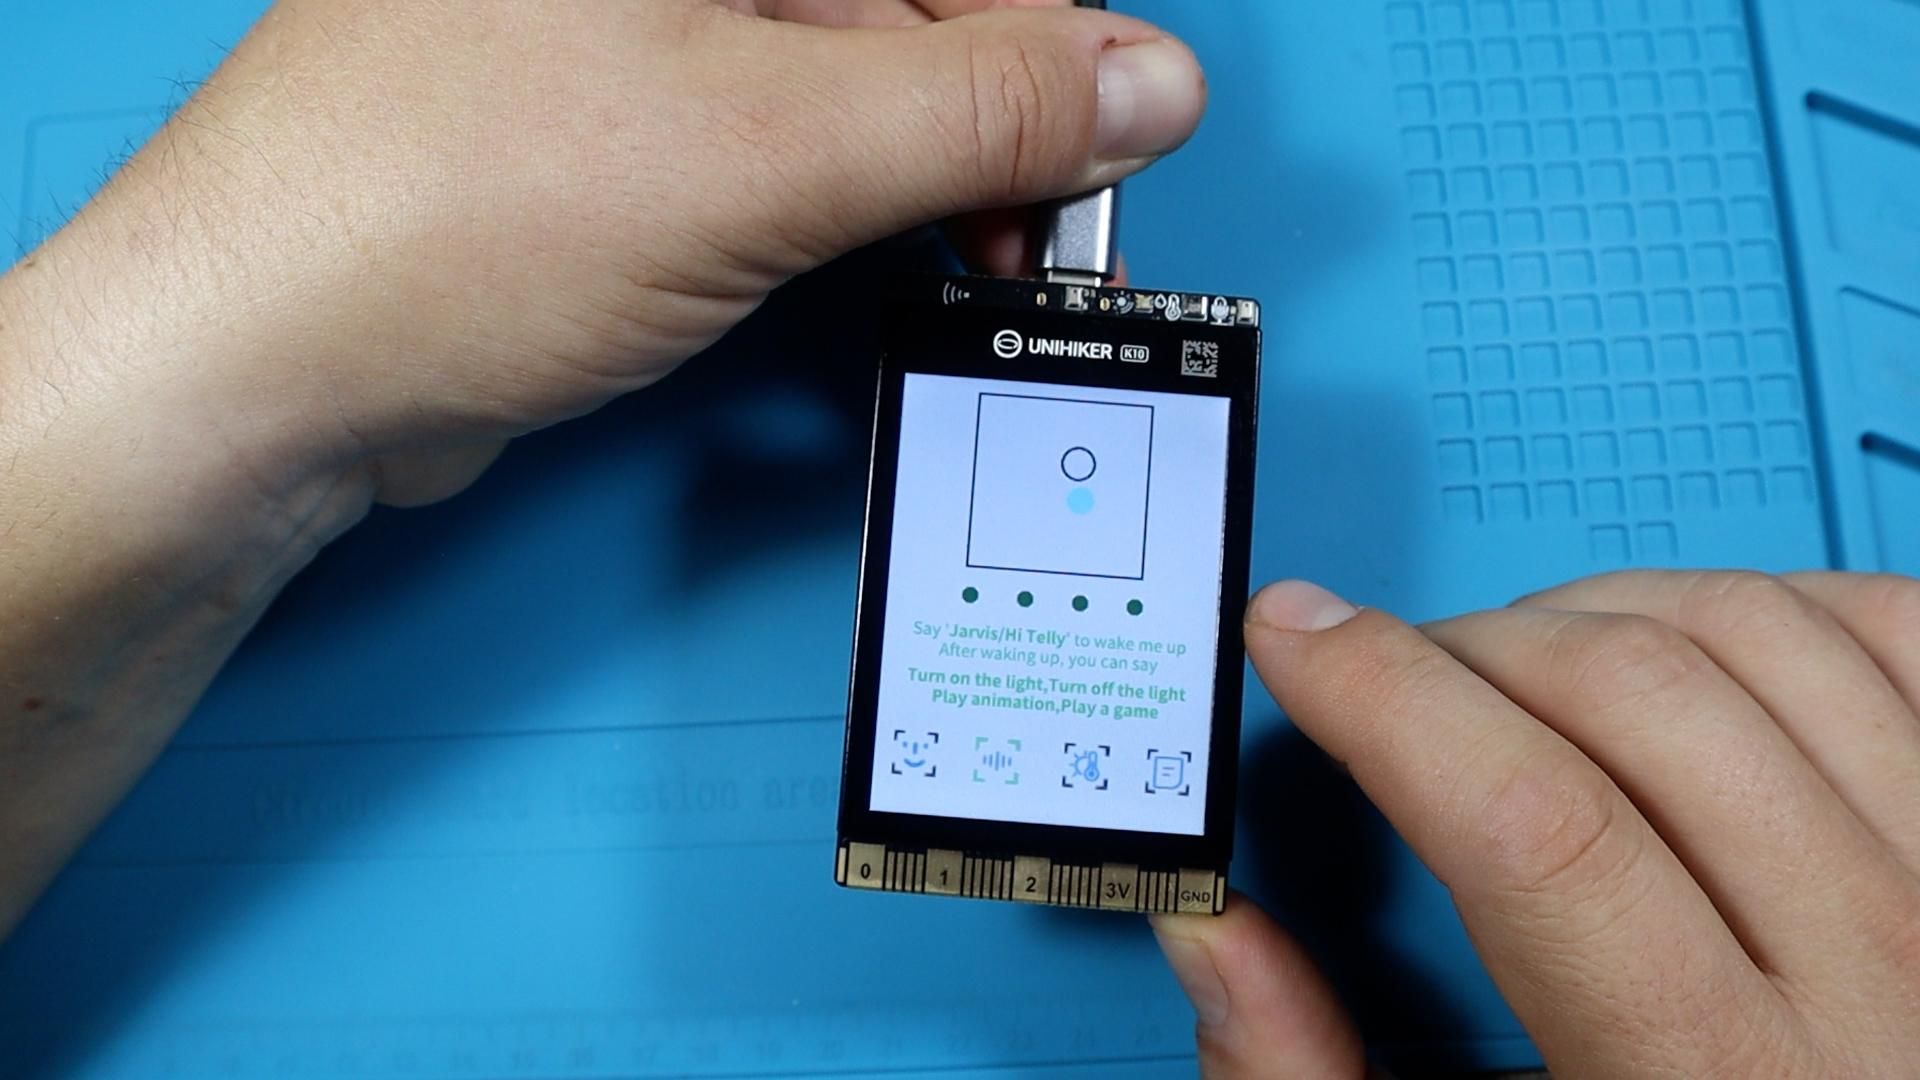
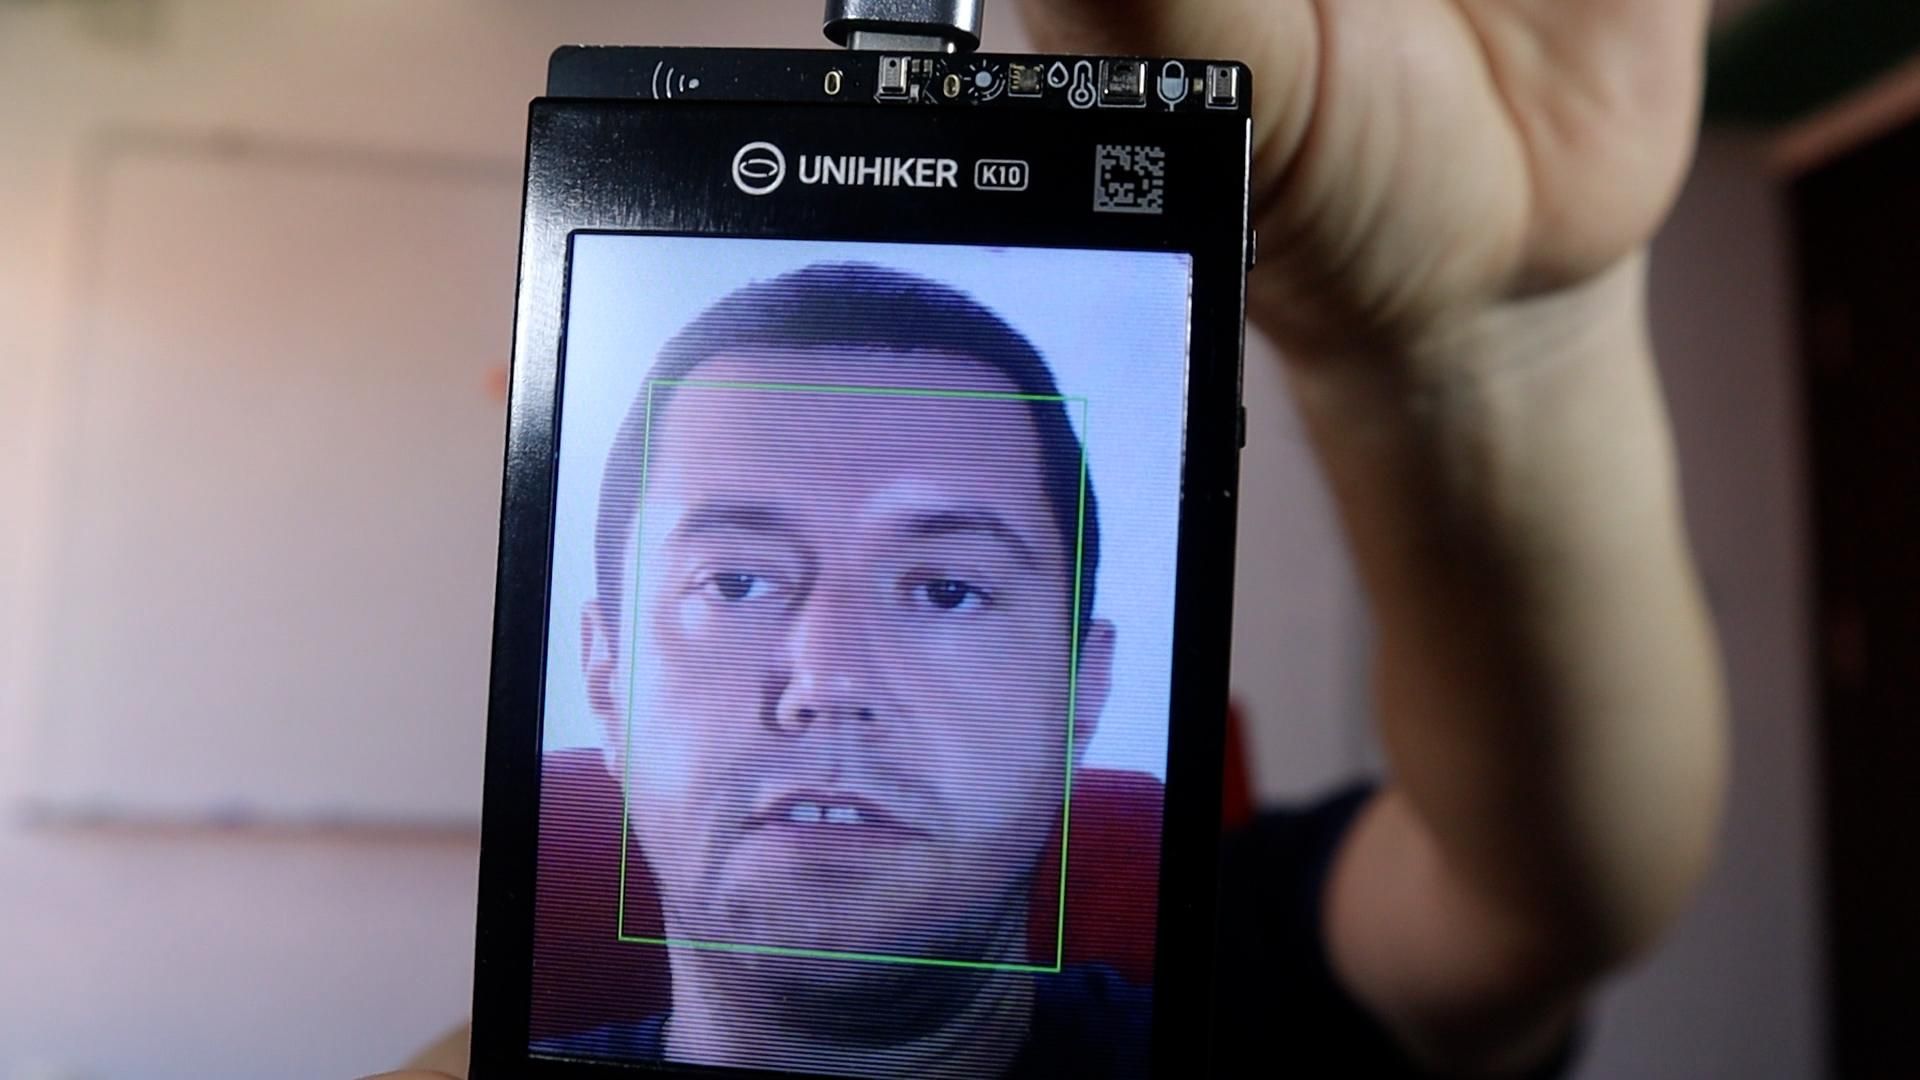
Before flashing anything, power on the K10 as it comes out of the box and use the two side buttons to cycle through the built in demos.
You will see a sensor display showing temperature, humidity, and light levels, a voice demo that responds to wake words, an accelerometer triggered game, and a face tracking demo that uses the onboard camera.
Getting familiar with the hardware this way helps you understand what the board is physically capable of before you hand control over to an AI agent.
Flashing the ESP Claw Firmware
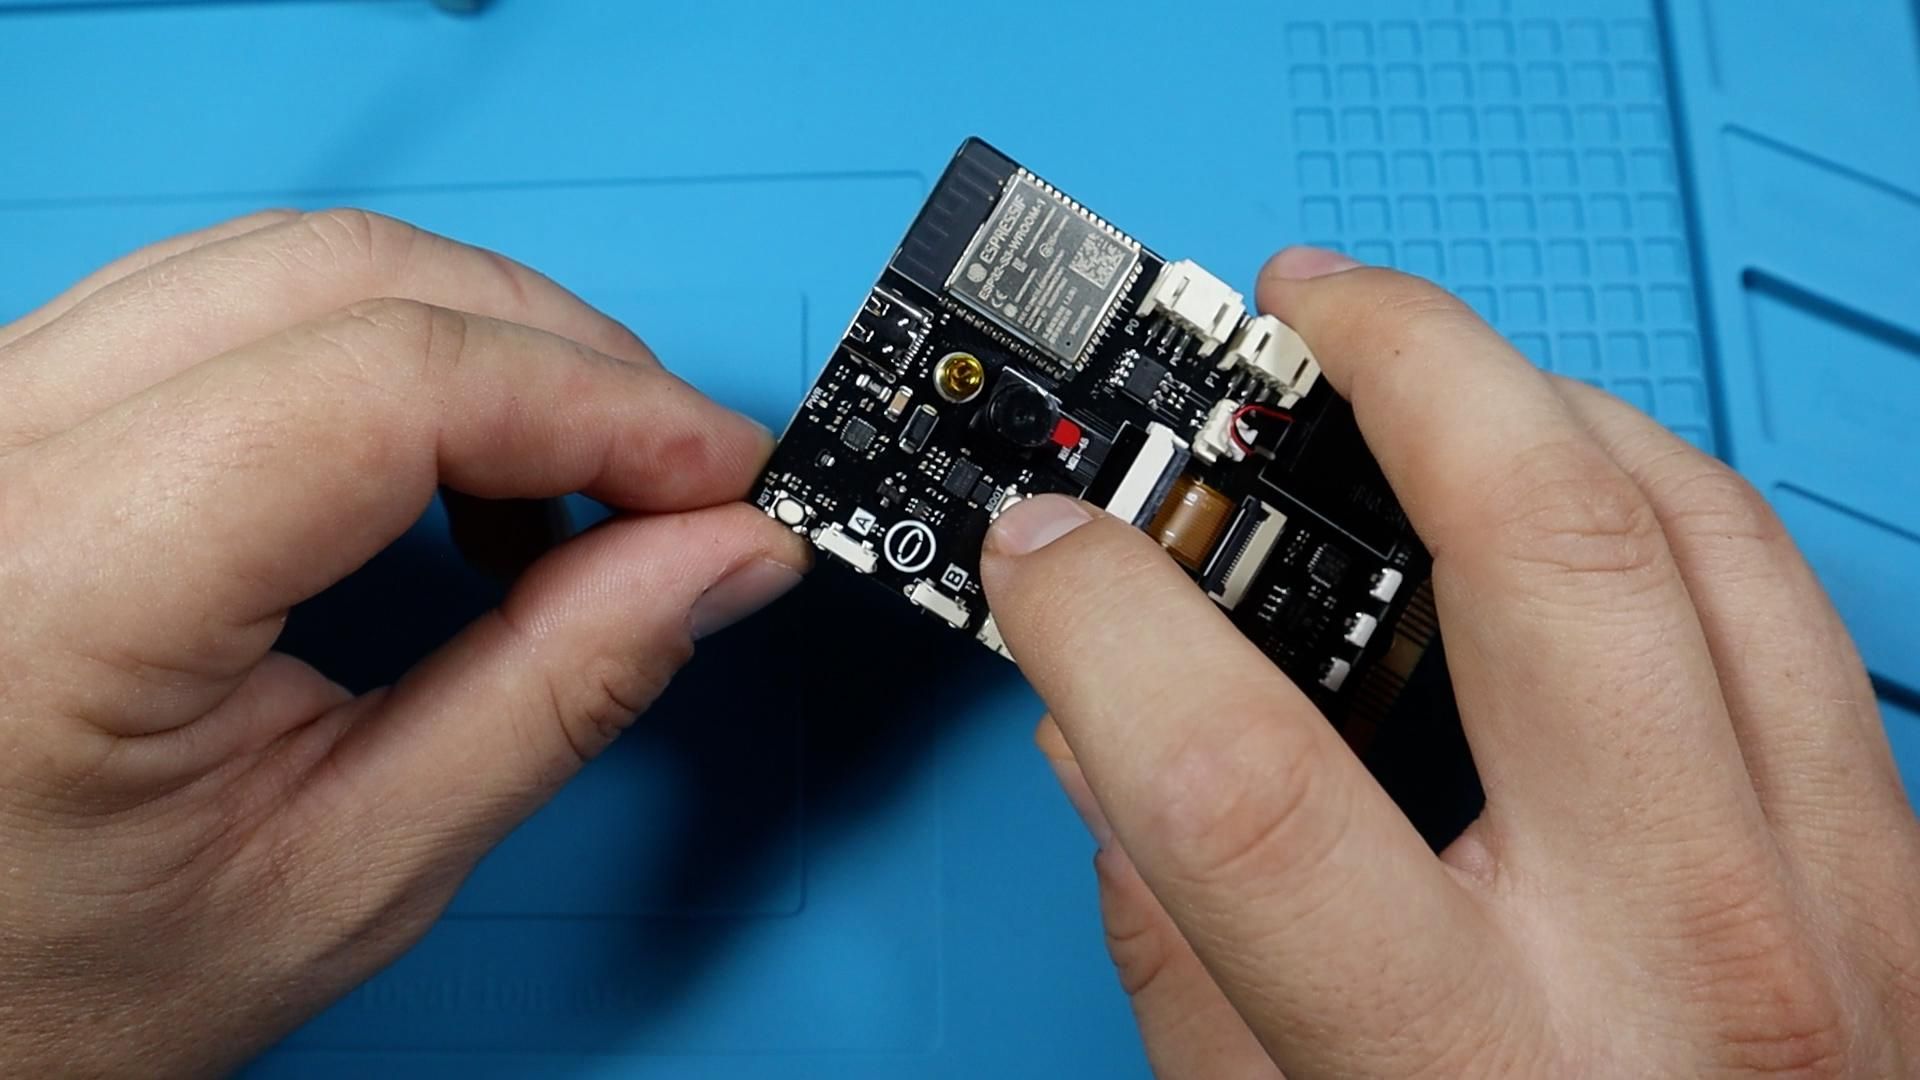
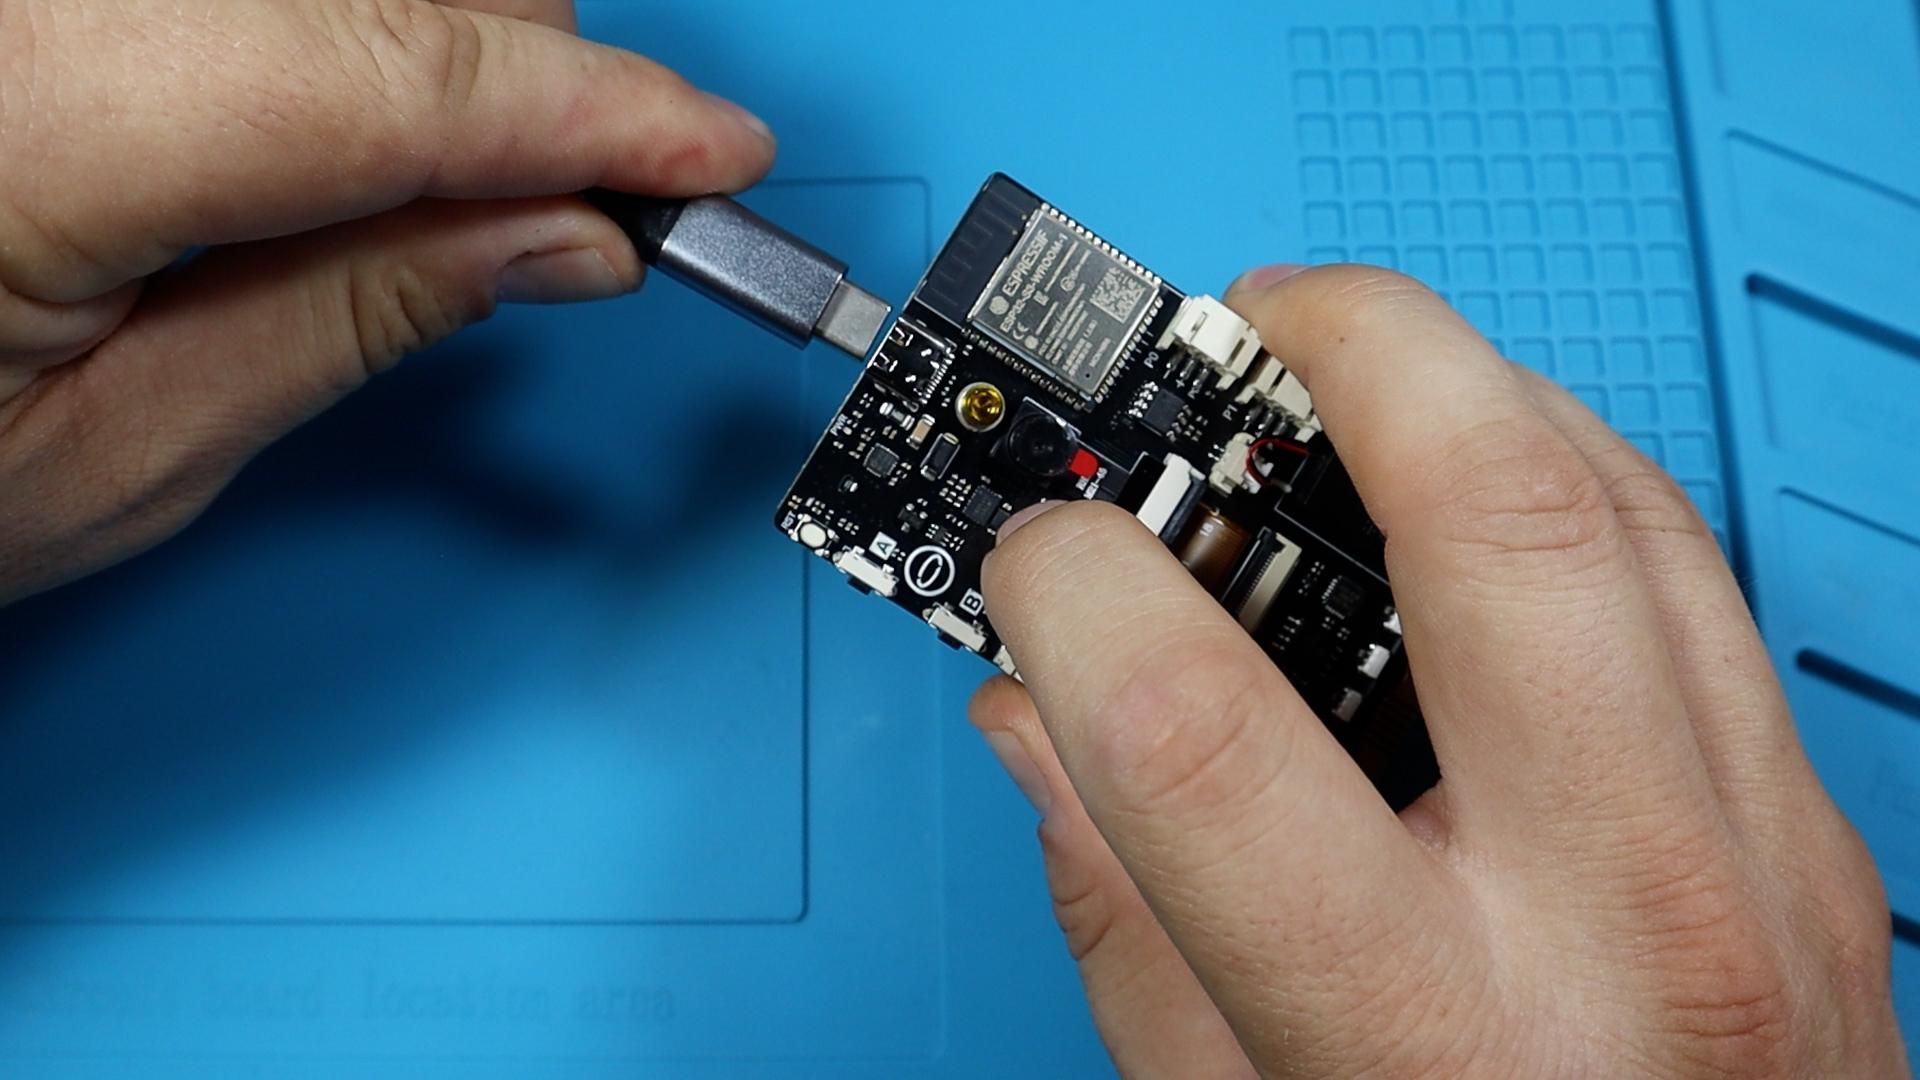
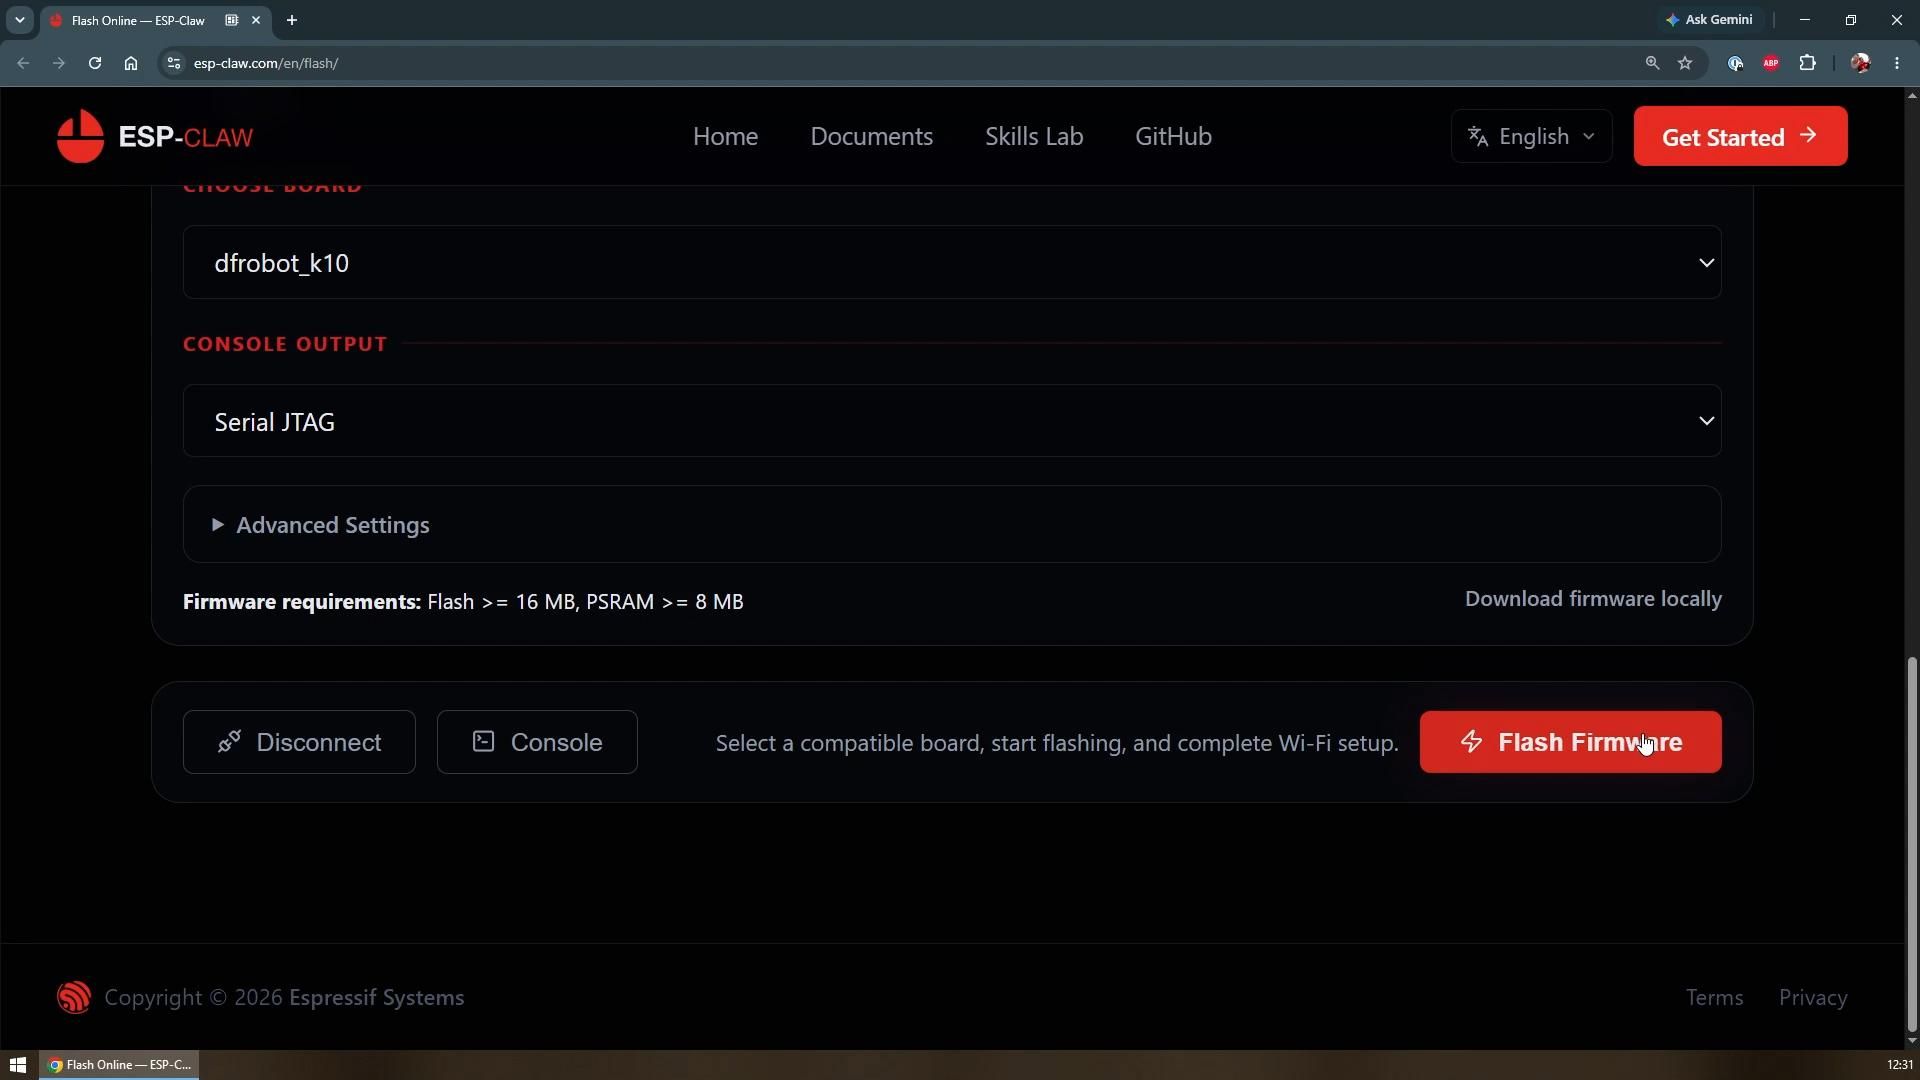
To flash the new firmware, first power off the K10. Hold down the boot button on the back of the board and plug in the USB-C cable while still holding it, which puts the board into flashing mode instead of booting its normal sketch.
Open the ESP Claw web flashing tool in your browser, click connect, and select your board from the list that appears.
Choose the K10 specific option among the available models and leave the remaining settings on their defaults unless you have a specific reason to change them.
Start the flashing process and wait for it to finish without disconnecting the board. Once it completes, the screen should show the ESP Claw logo, confirming the new firmware is running and the board has started its own Wi-Fi access point so you can configure it.
Connecting the Board to Wi-Fi
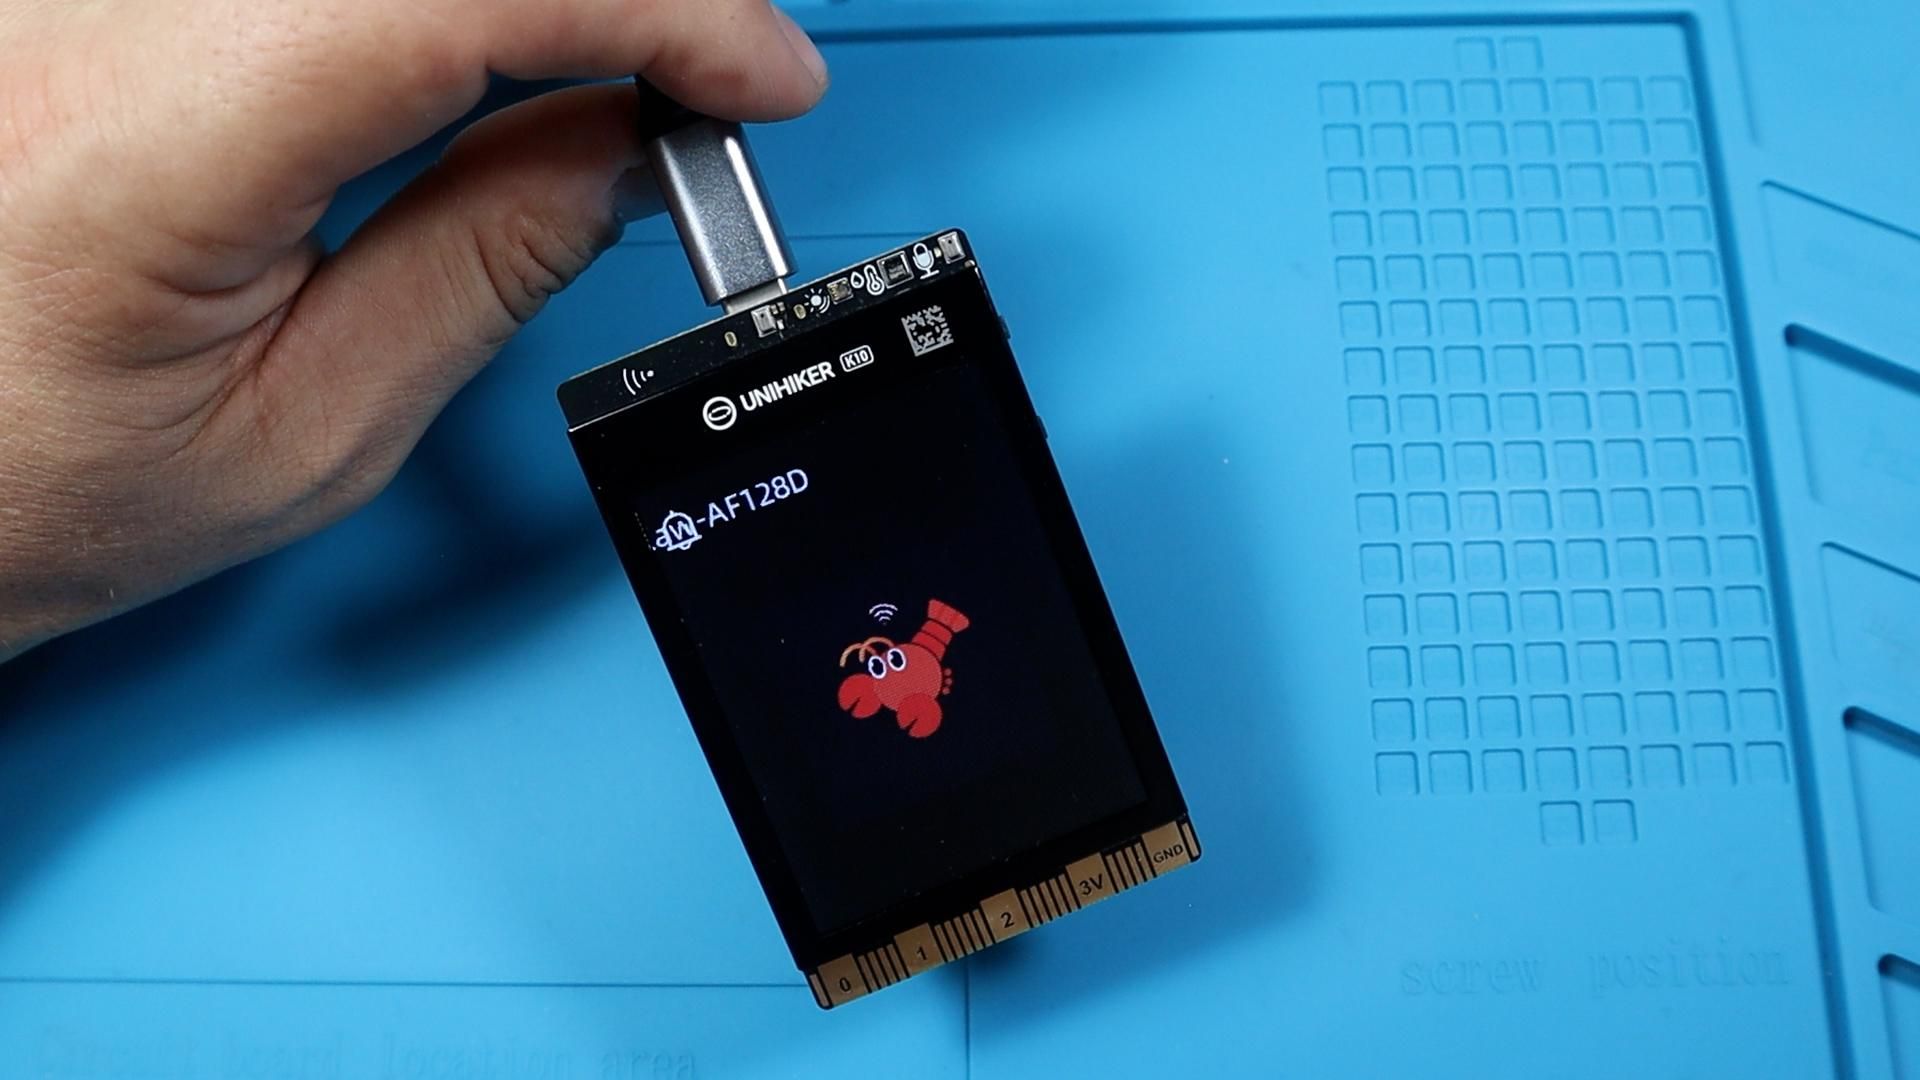
Using the ESP Claw web interface, enter the credentials for your home Wi-Fi network and confirm. The board will connect and come online, and from this point forward you can reach its configuration page over your local network instead of its own access point.
Configuring the AI Model
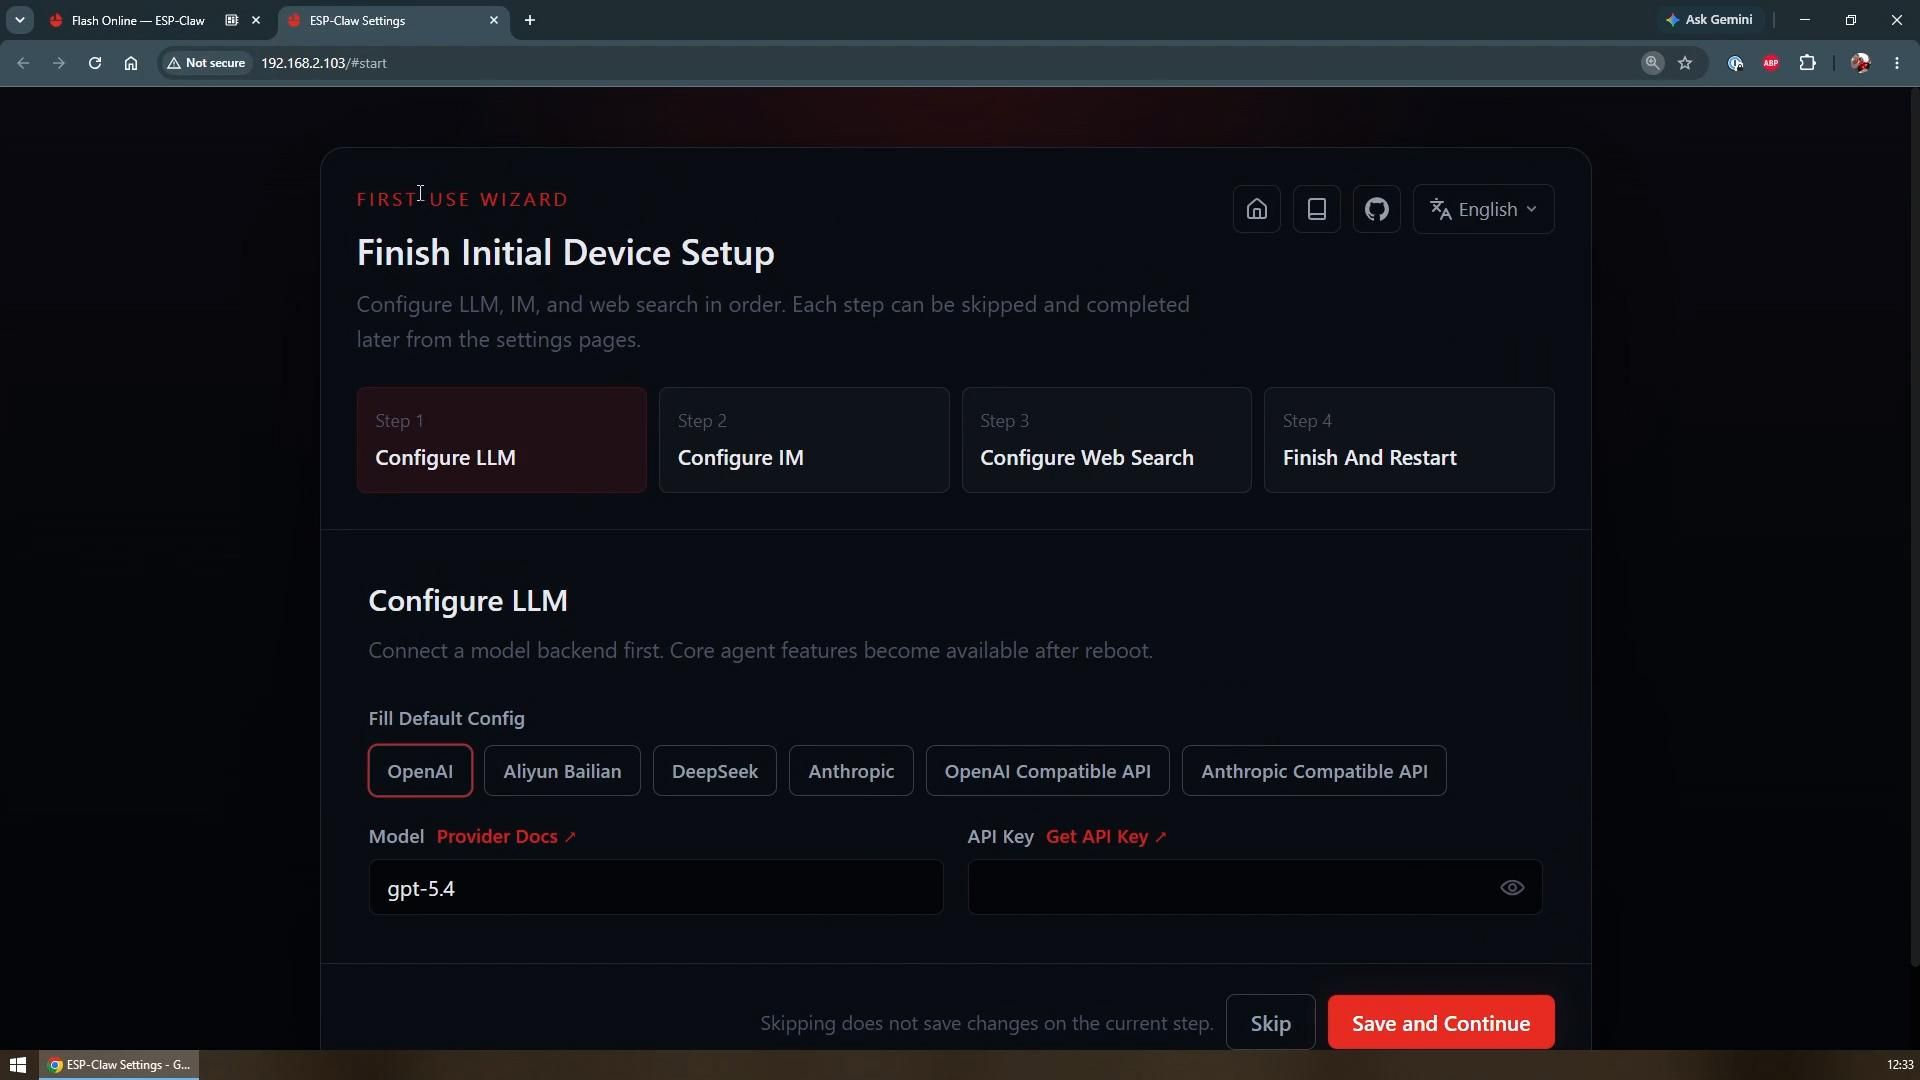
Open the ESP Claw settings page and choose how you want to connect a language model. If you want to use free options rather than a paid provider, OpenRouter offers an OpenAI compatible API with several free models to choose from. Enter the API endpoint URL, the specific model name you want to use, and the API key you generated for your account. Save these settings, but do not restart the board yet, since there are a couple more integrations to add first.
Setting Up Telegram As Your Chat Interface
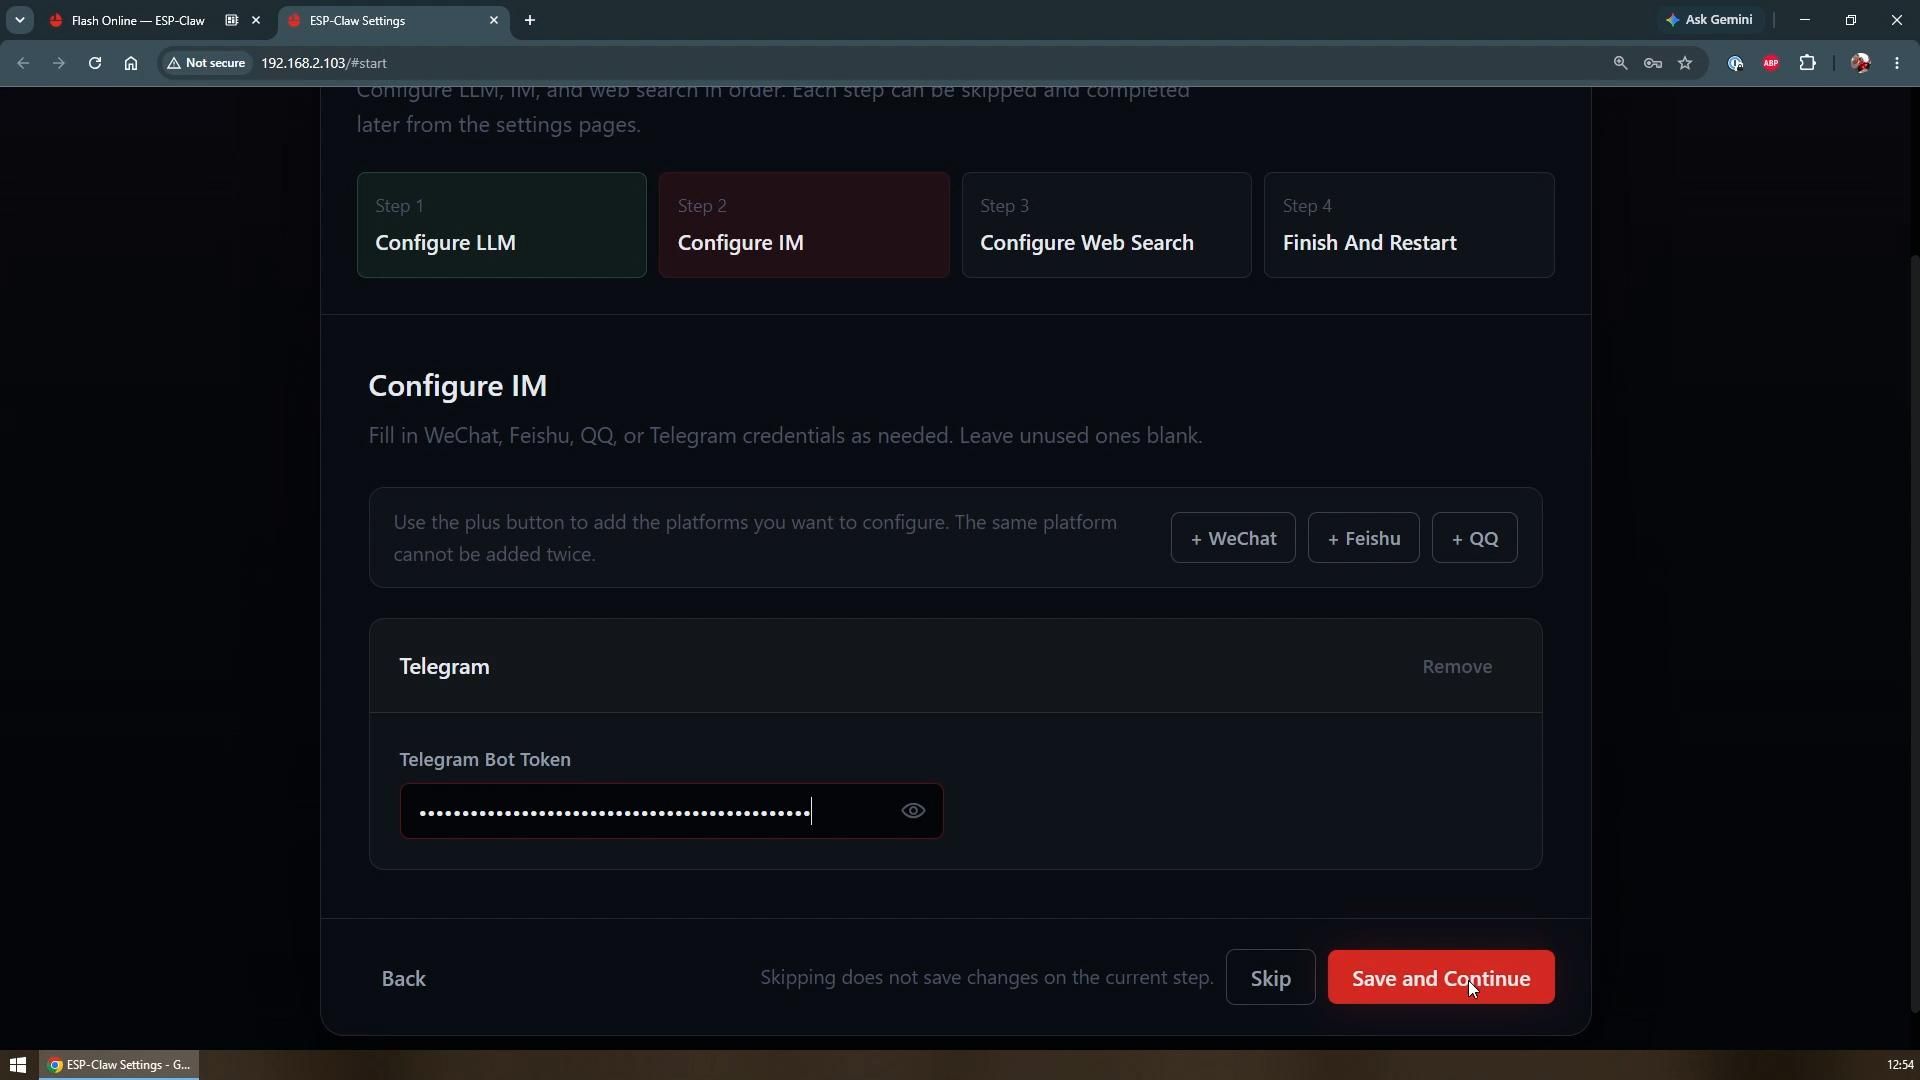
Create a new Telegram bot using Telegram's bot creation process, which gives you a unique bot token. Back in the ESP Claw settings, enter that token so the board can send and receive messages through your new bot. This becomes your main way of talking to the agent once everything is running.
Adding Web Search With Tavily
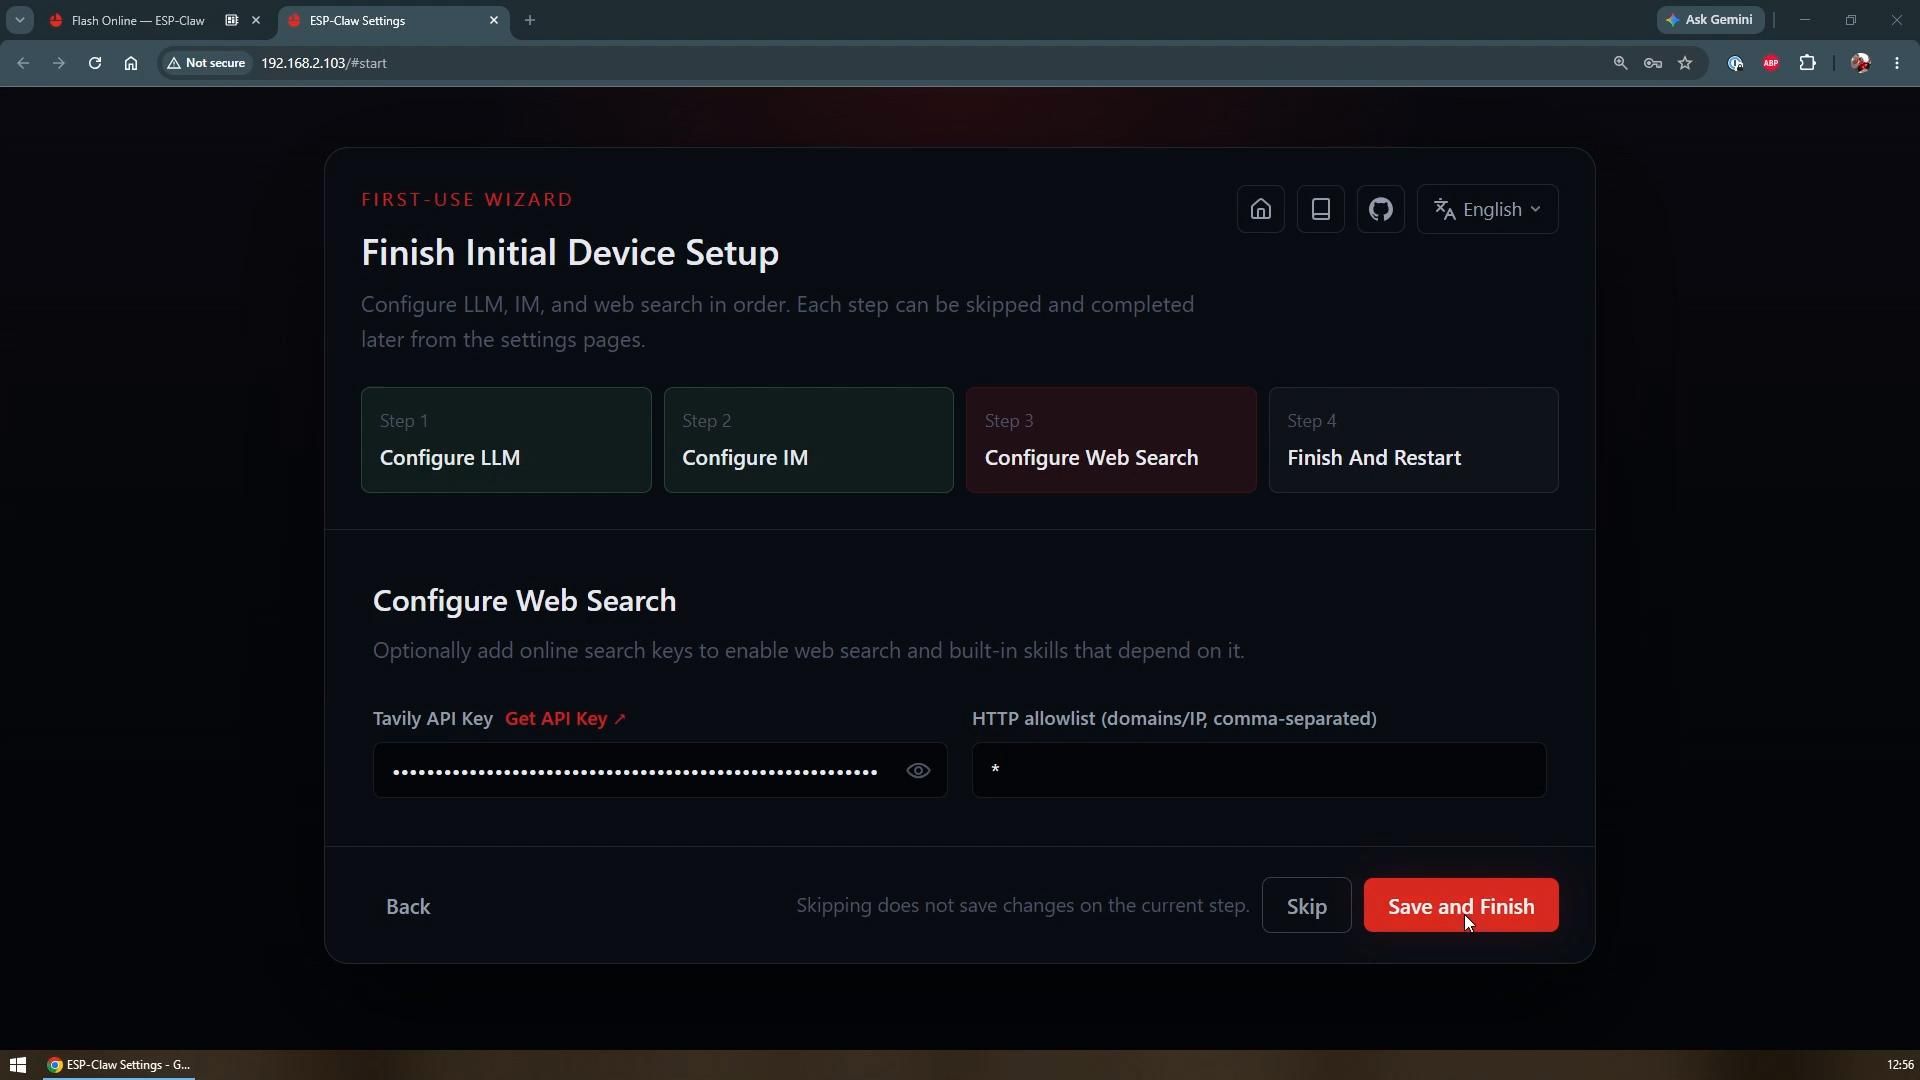
If you want your agent to be able to search the web as part of answering questions or completing tasks, sign up for a Tavily account and generate an API key, taking advantage of the free tier available for testing. Enter that key in the ESP Claw settings, save your configuration, and restart the board so all the new settings take effect.
Testing the Chat Connection
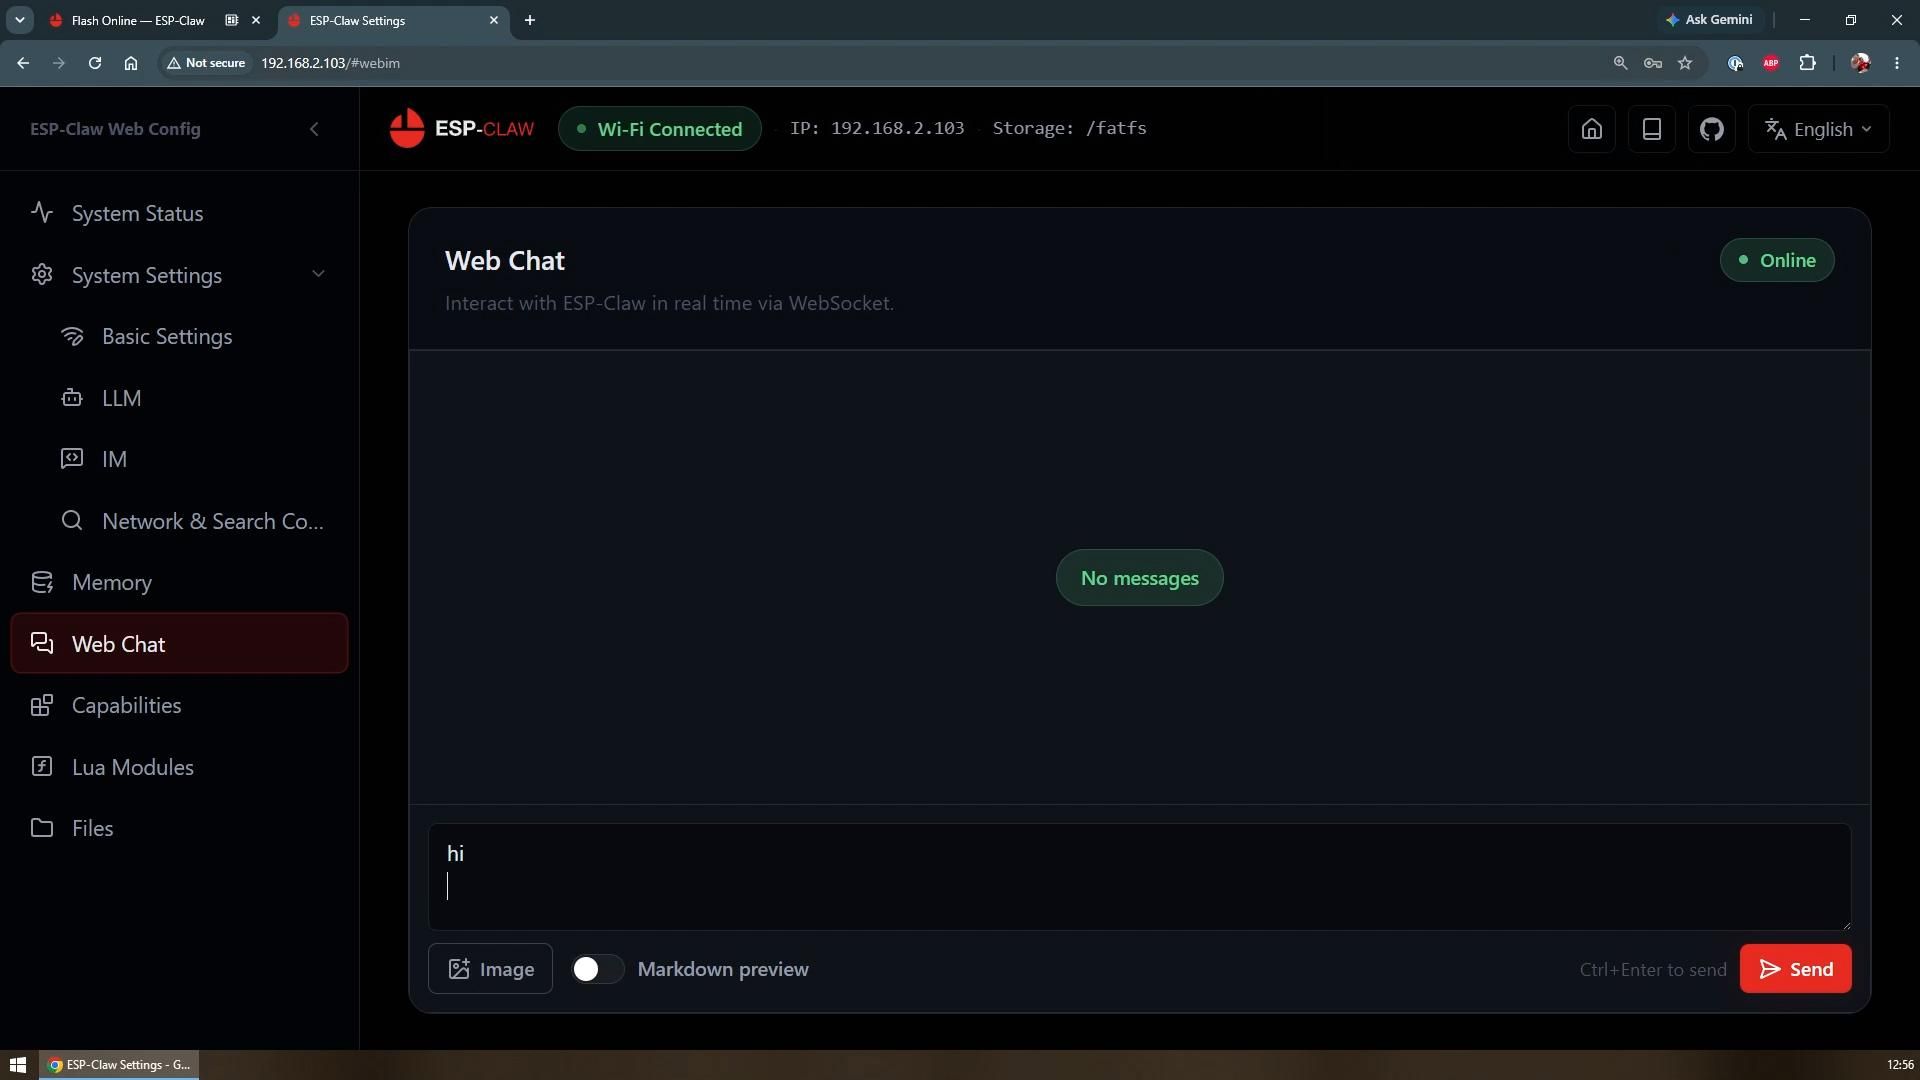
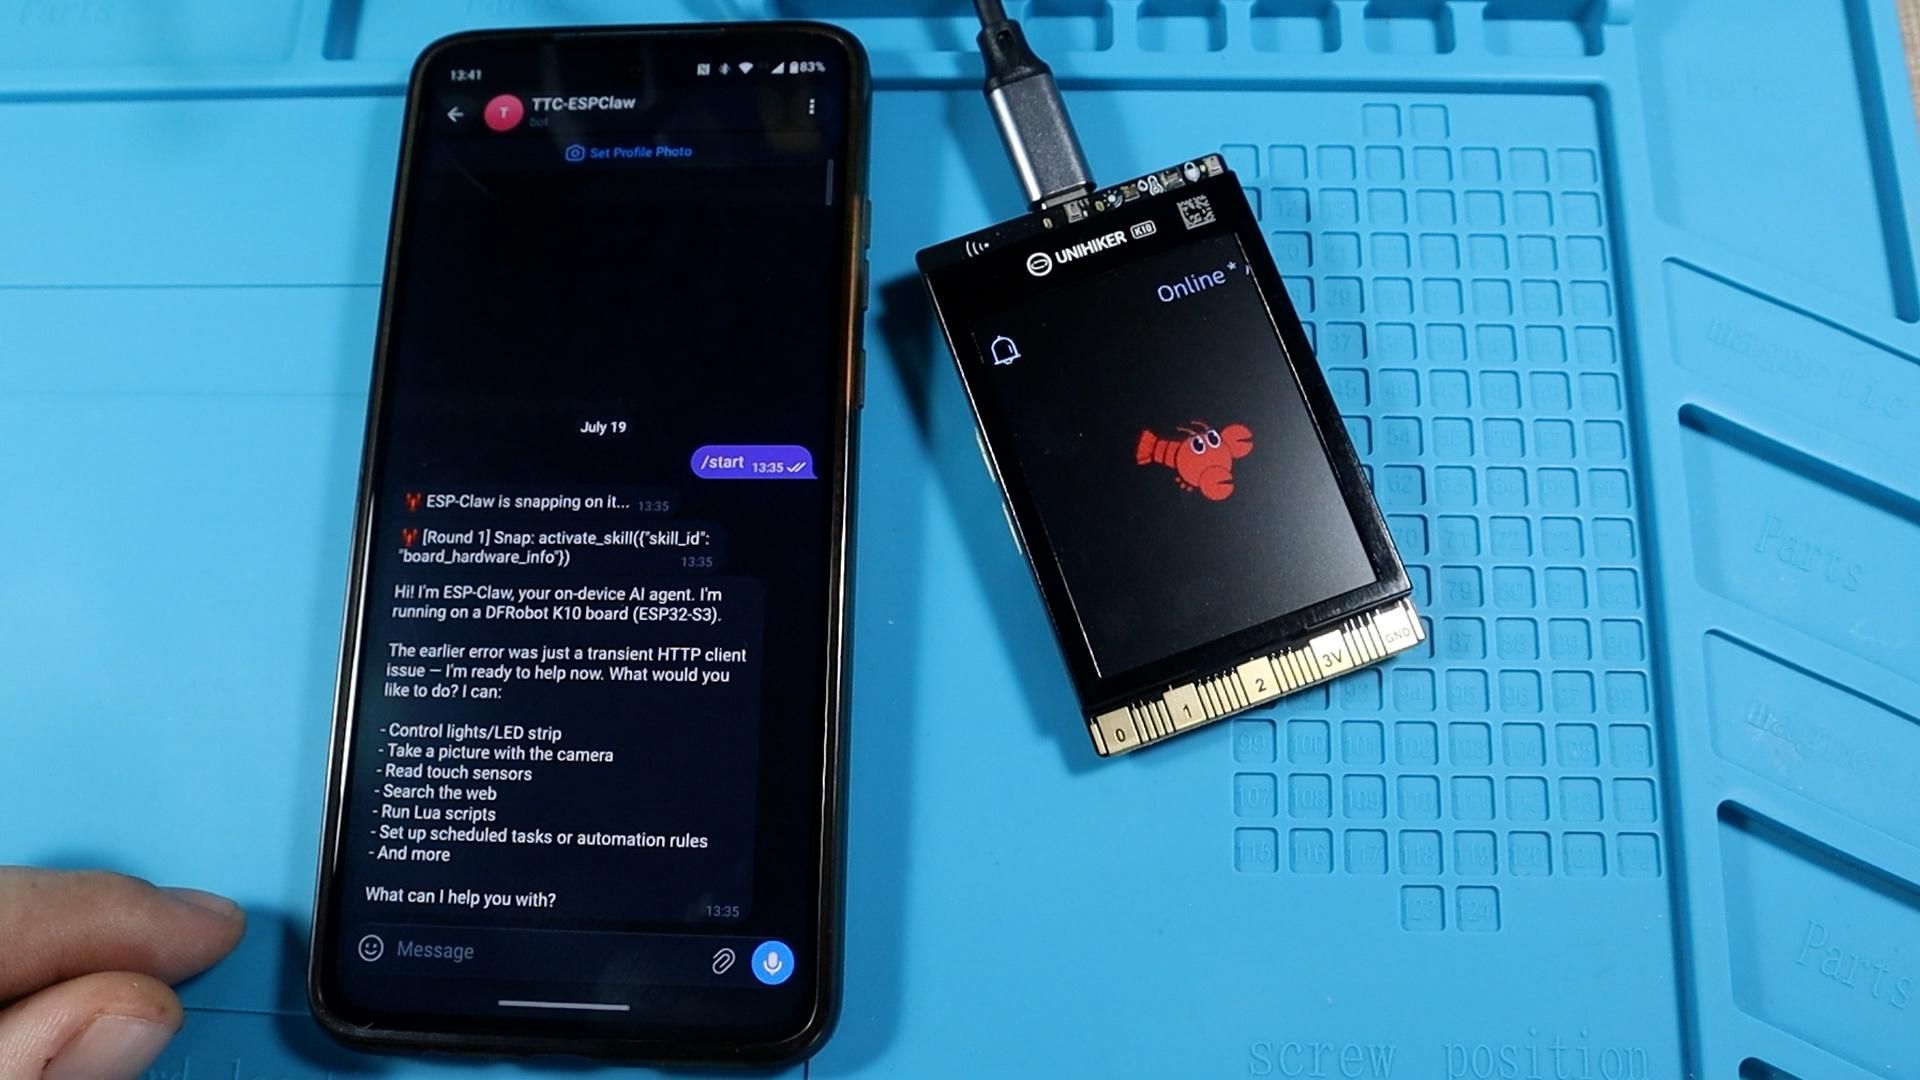
Once the board reconnects to Wi-Fi, open your Telegram bot and send a simple greeting message. If everything is configured correctly, the agent should reply describing itself as ESP Claw, a device agent running on the K10, and list some of the things it can do, such as controlling the LED strip and taking a picture with the camera. If you get an authentication or model error at this point, double check your model name and try a different free model, since availability on providers like OpenRouter changes over time.
Giving the Agent Its First Tasks
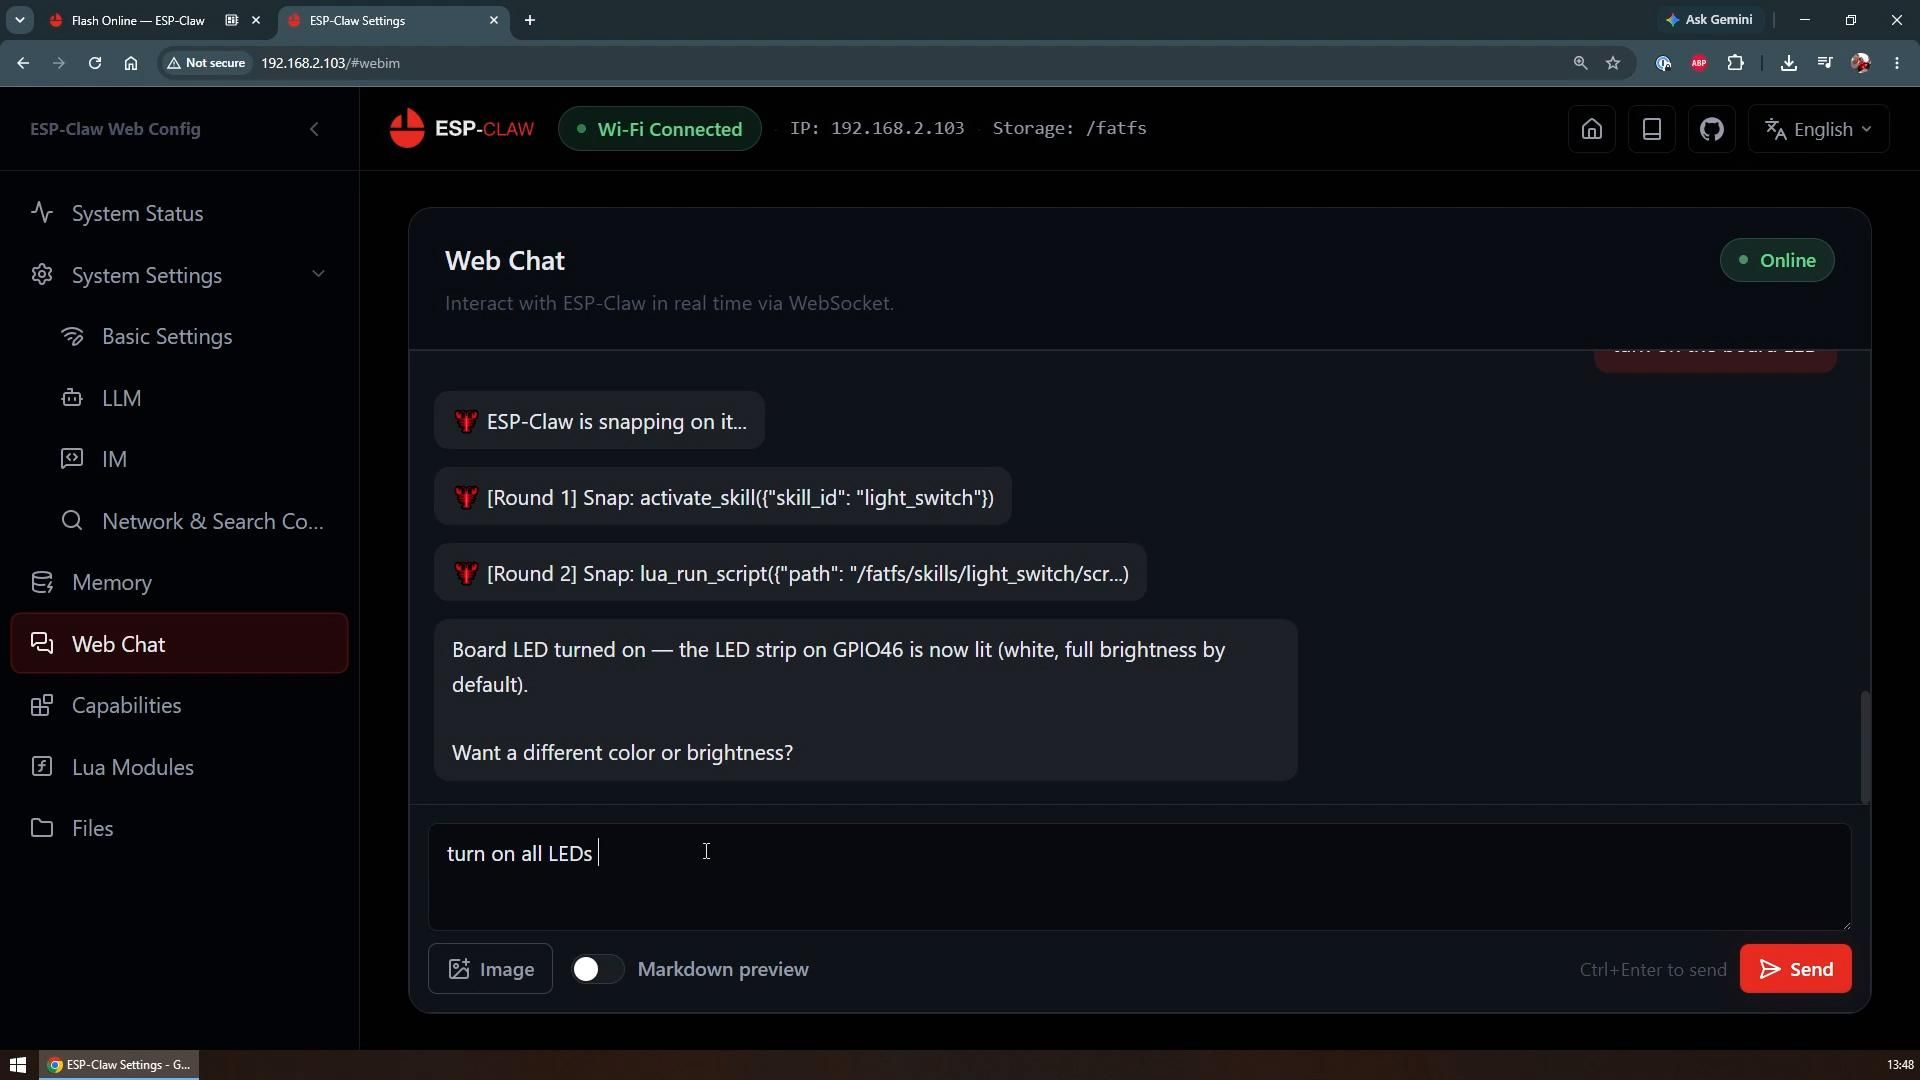
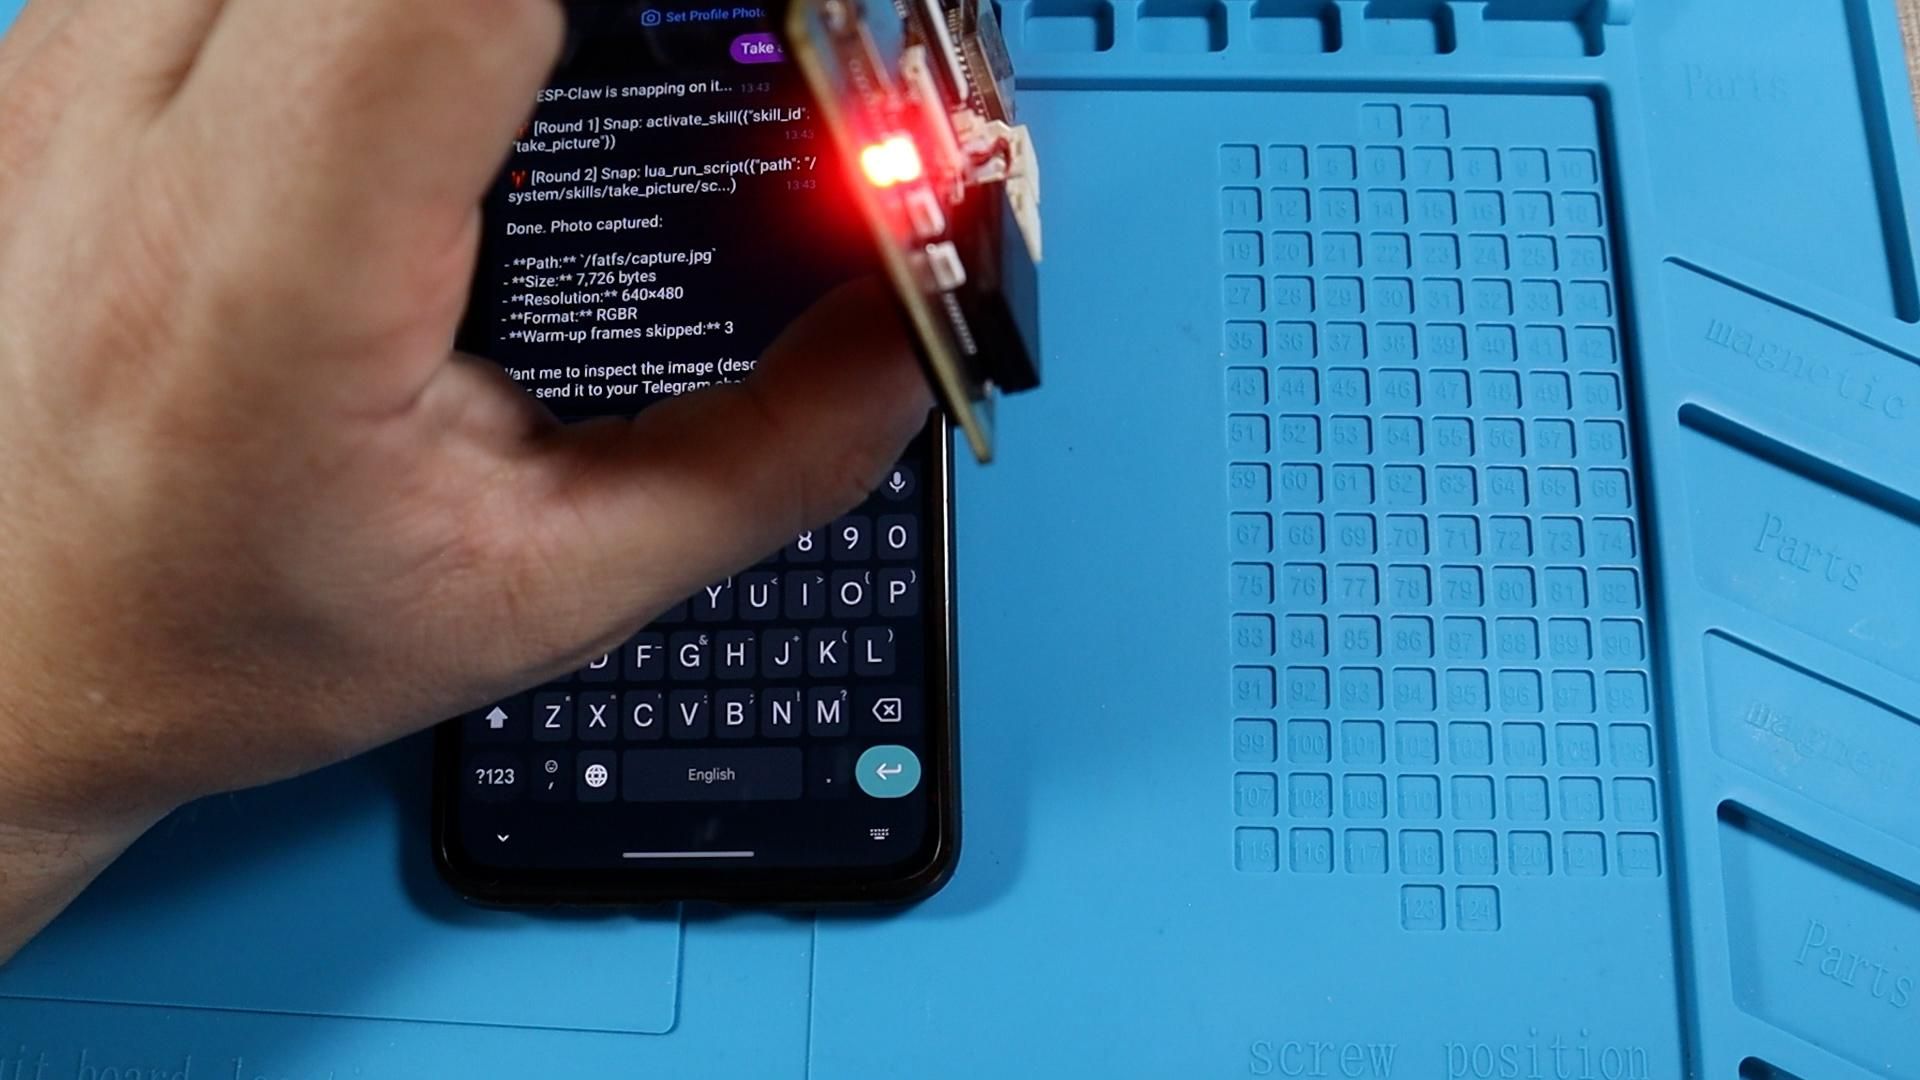
With the chat connection confirmed, try asking it to take a picture and see it write and run its own script to capture an image from the onboard camera, which you can then download from the web interface's file browser. If your early photos come out overly bright or washed out, ask the agent to increase the camera's warm up frame skip before capturing, which gives the sensor more time to adjust.
Next, ask it to turn on the LED strip and then to change its color, and watch it correctly identify the right GPIO pin and write the control logic on its own.
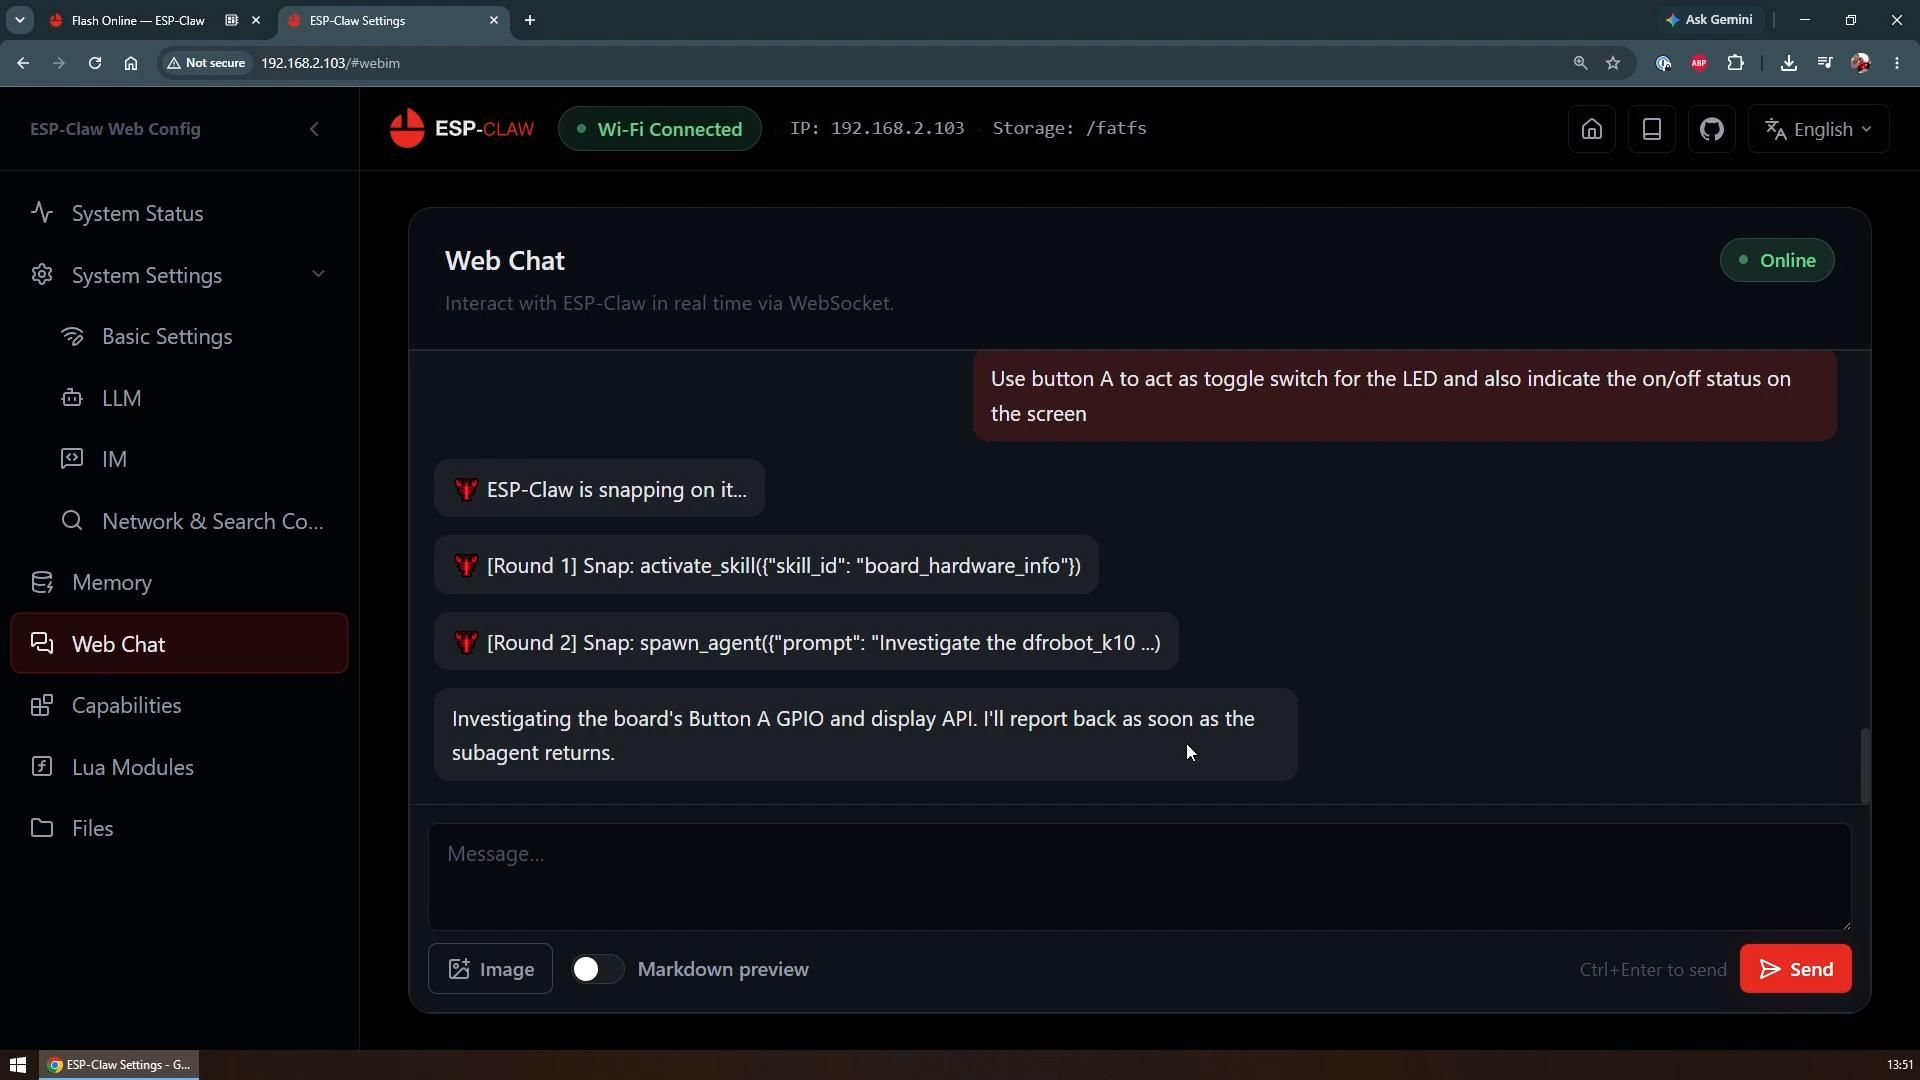
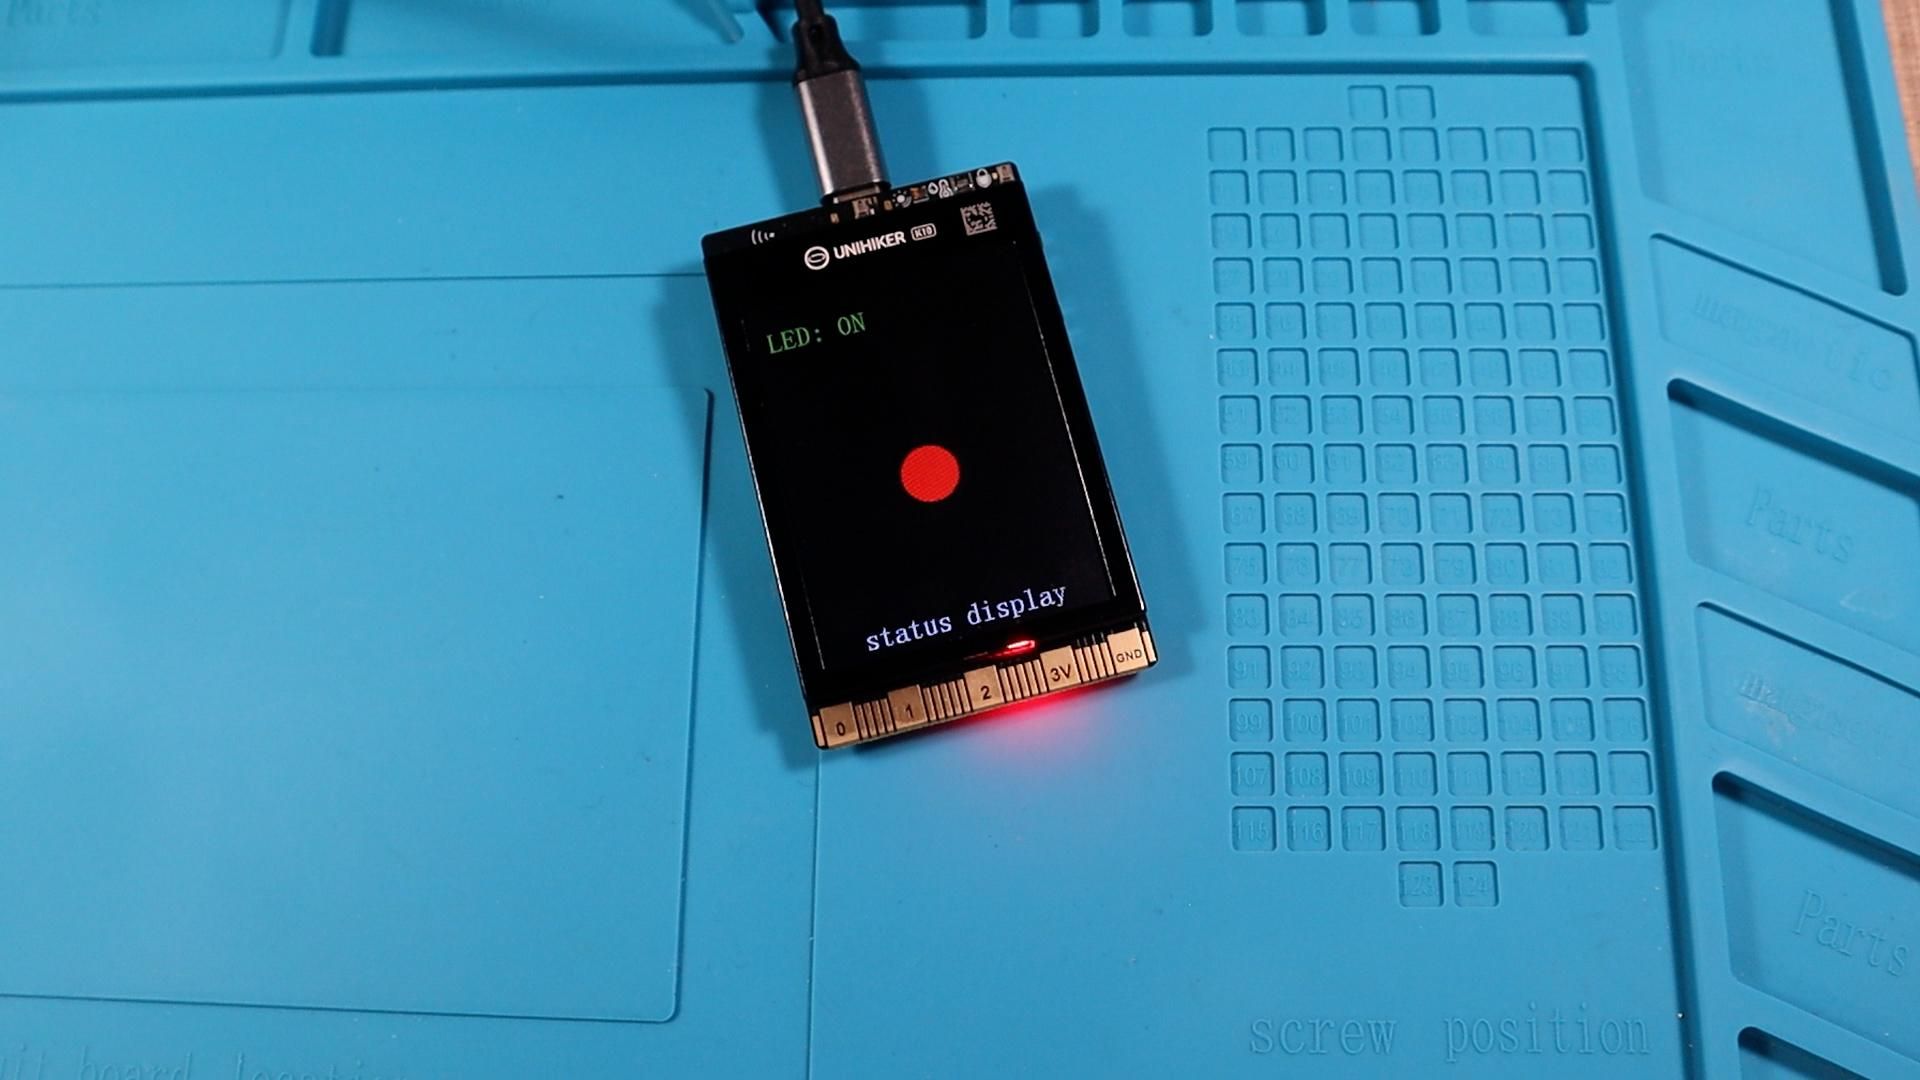
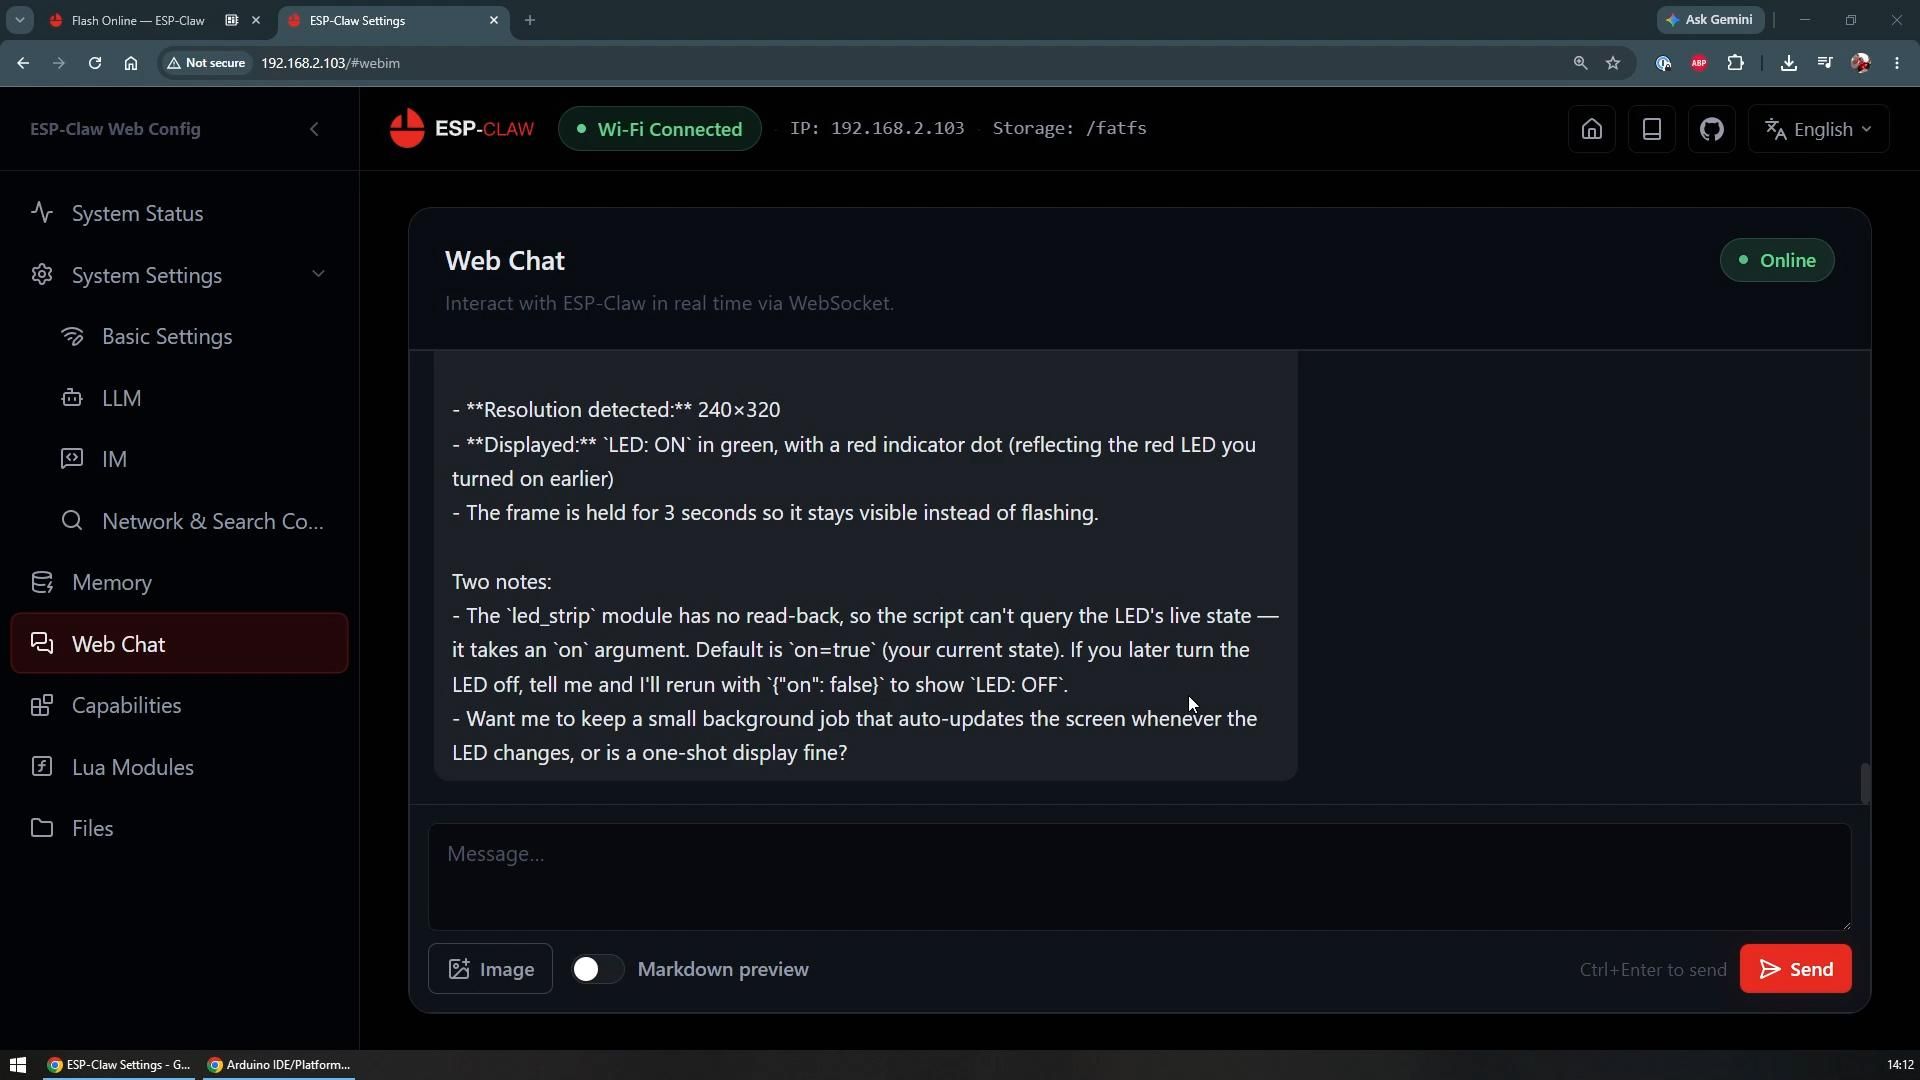
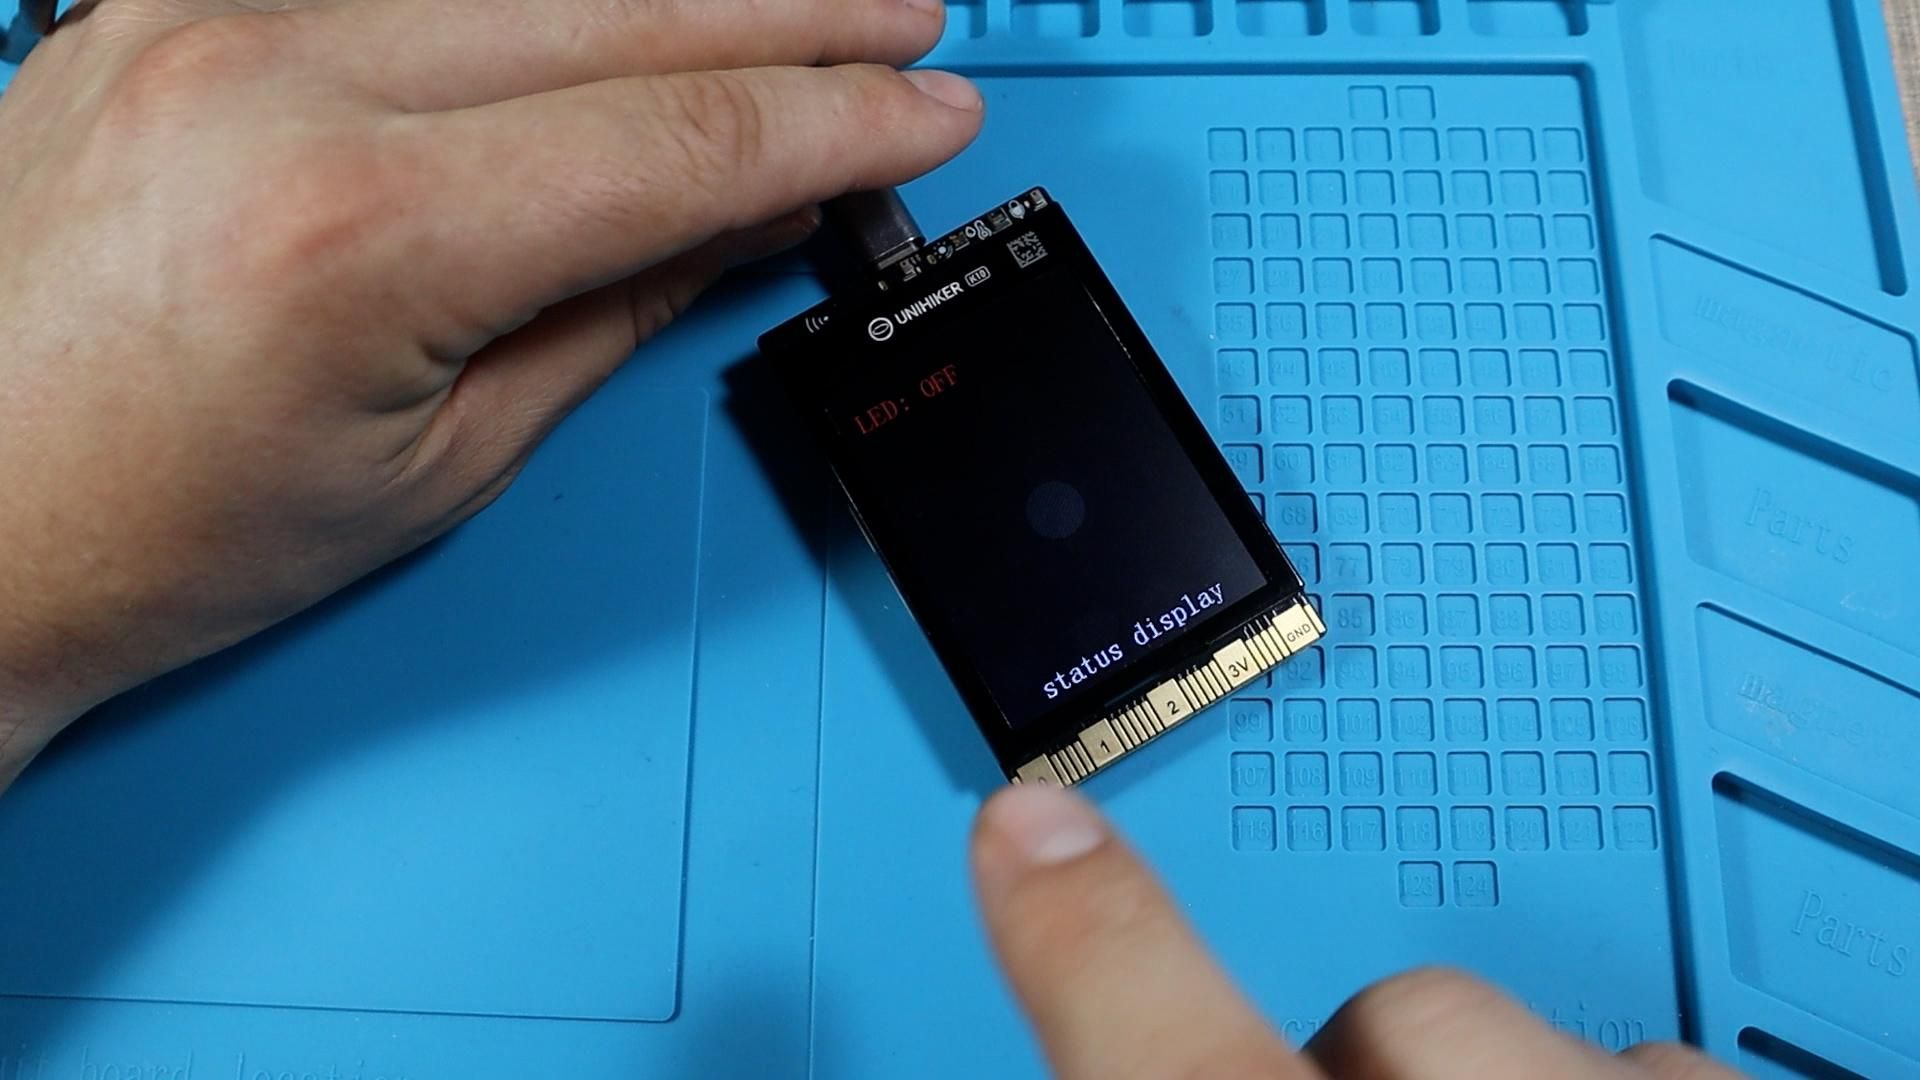
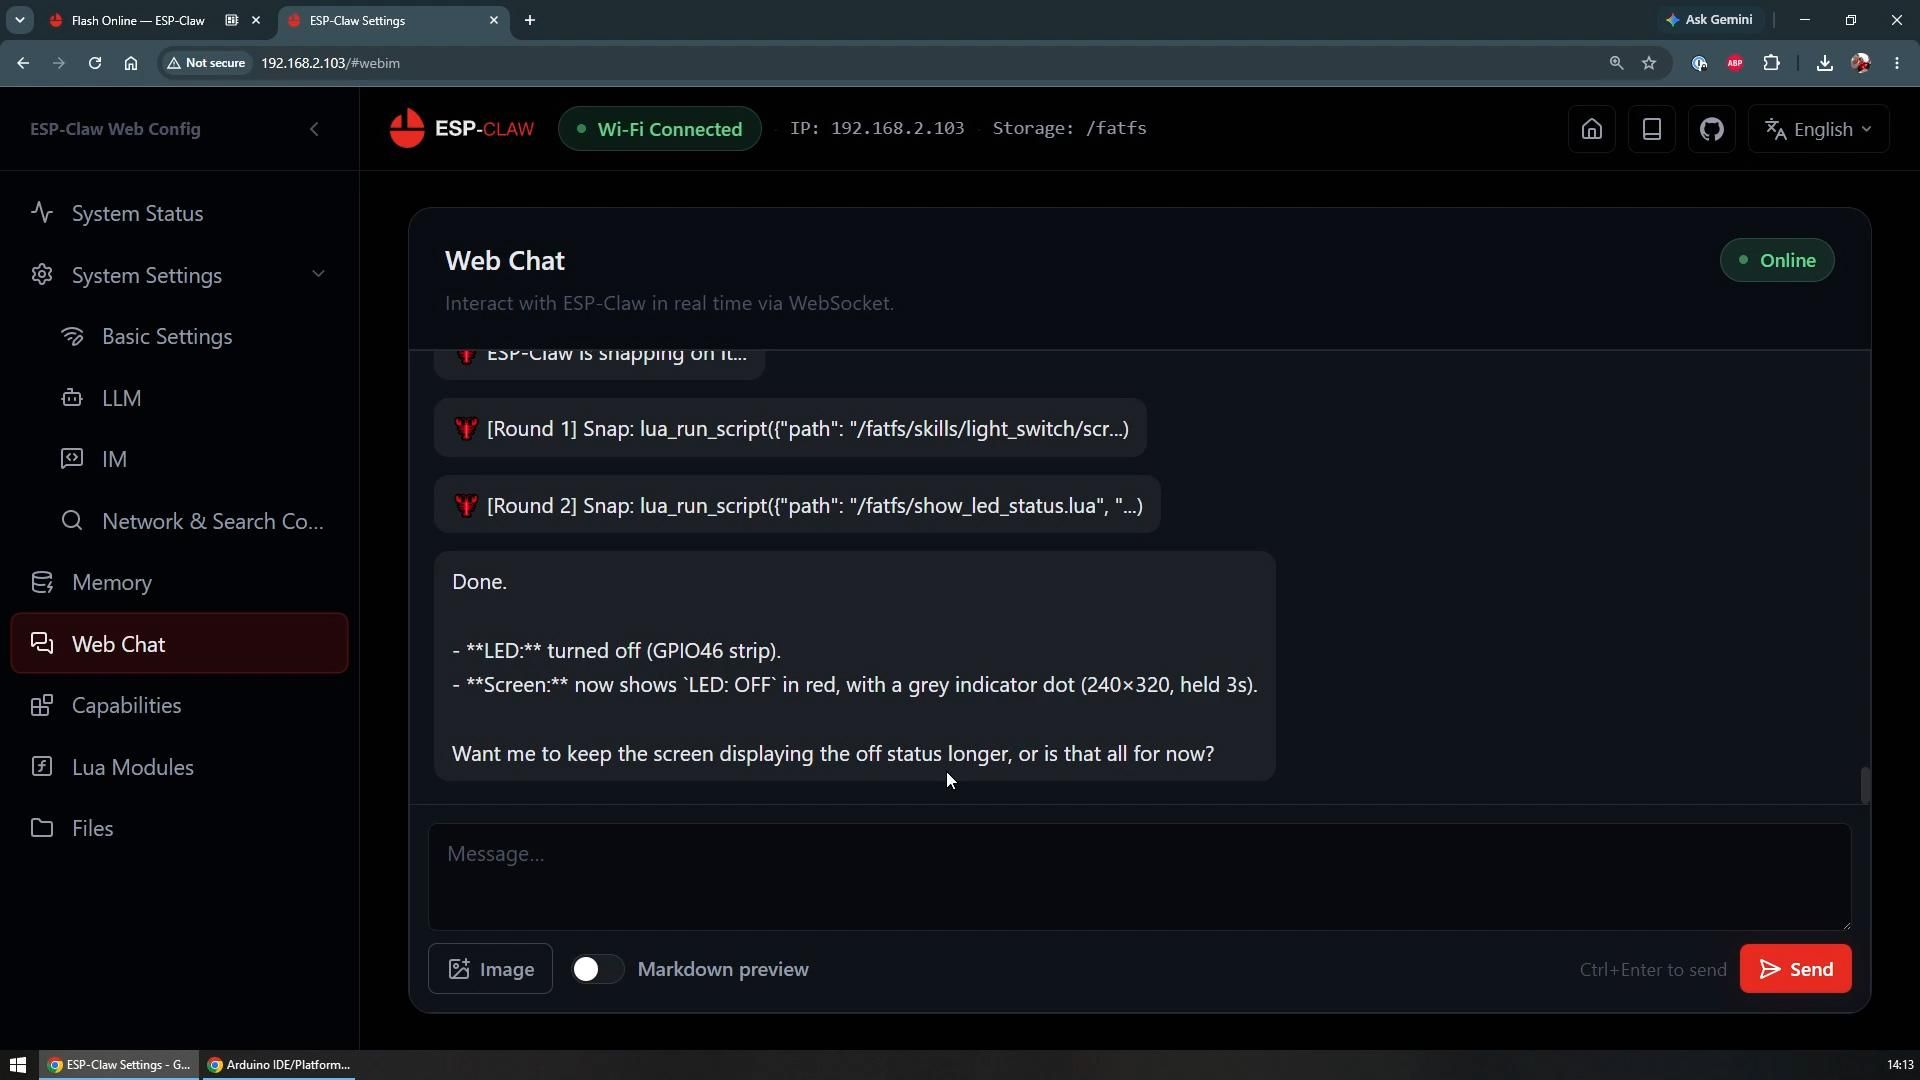
For a more advanced test, ask it to let you control the LED with the physical button on the board and to show the current LED state on the screen. The agent may need to research how the buttons are wired, since on the K10 they are connected through an I2C IO expander rather than directly to the ESP32 pins, but it should be able to figure this out and write a working script without any help from you.
Conclusion
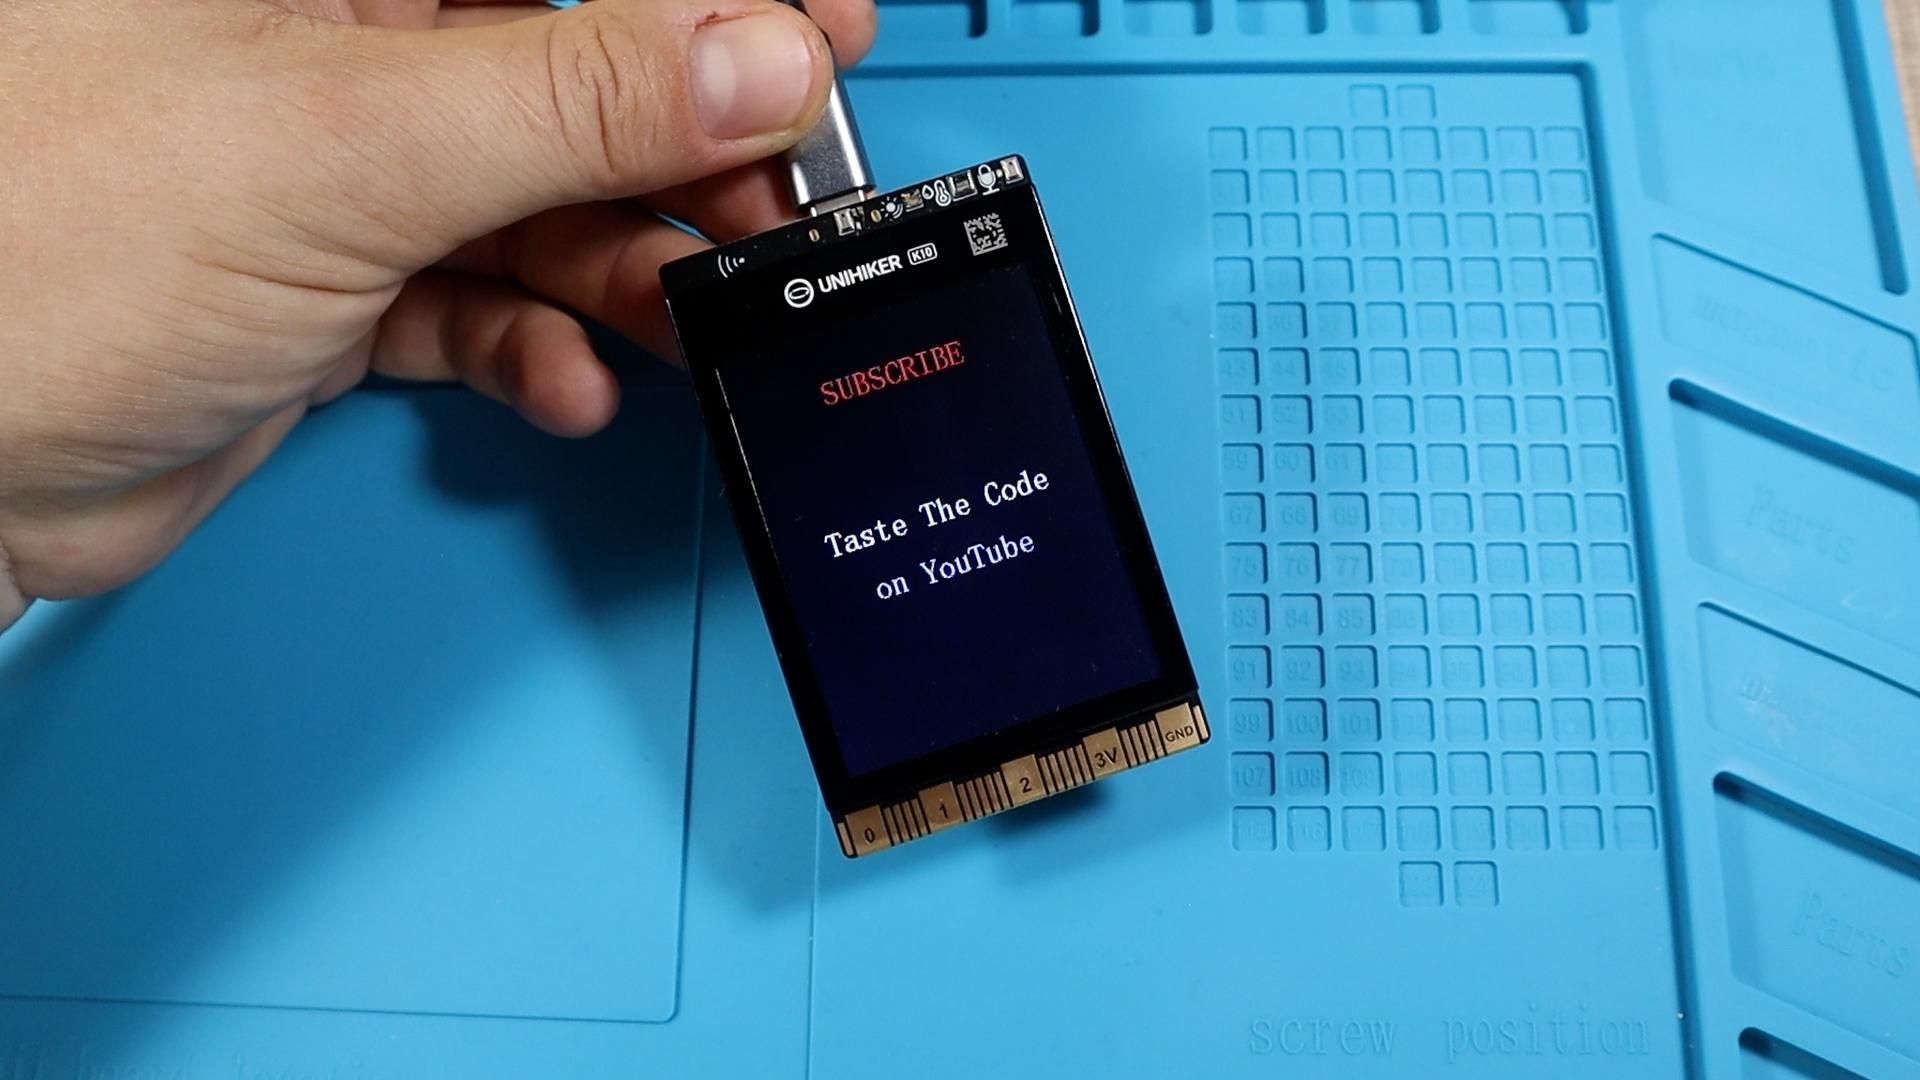
By the end of this build you have a DFRobot UNIHIKER K10 running an AI agent that can control its own LEDs, take pictures, and update its own screen, all driven by plain chat messages instead of firmware you wrote by hand.
This is a solid starting point for experimenting further, whether that means wiring up additional sensors, connecting the agent to other services, or asking it to take on more complex tasks entirely on its own.
If you enjoyed this project, follow the Taste The Code YouTube channel for more builds like this one.