CATapult - a Machine Throwing Cat Food All Over Your Living Room
by Anbifa in Circuits > Arduino
84 Views, 1 Favorites, 0 Comments
CATapult - a Machine Throwing Cat Food All Over Your Living Room
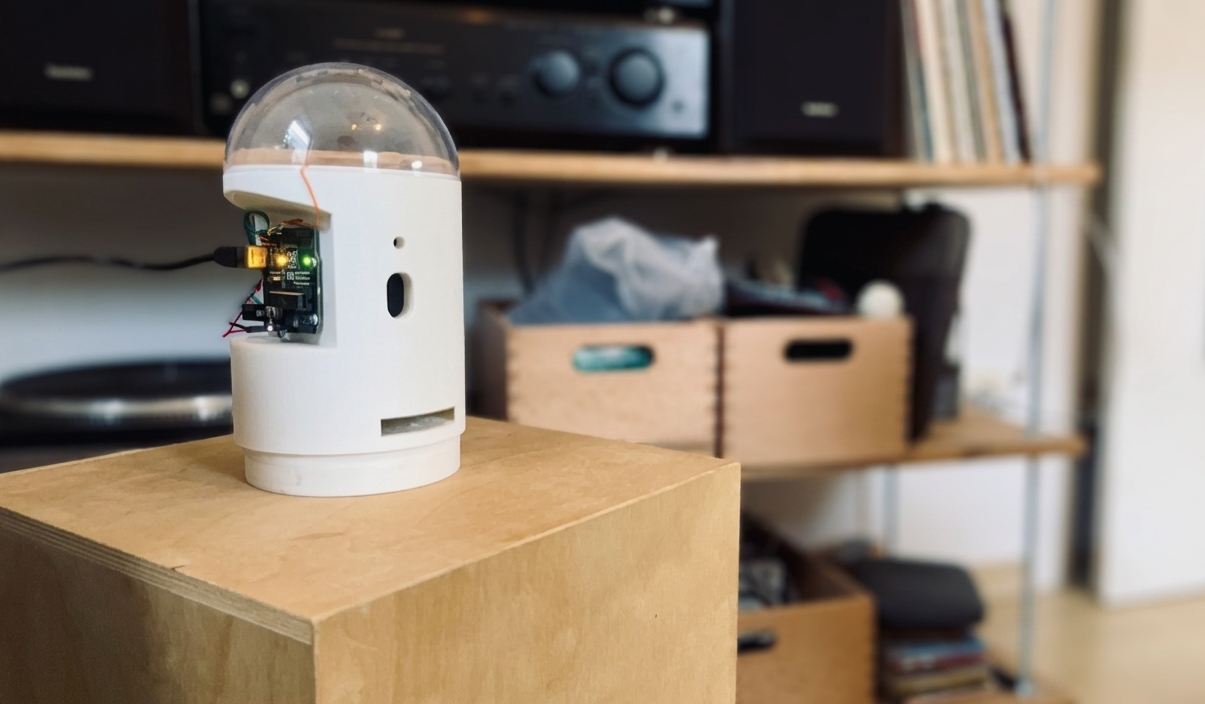
.png)
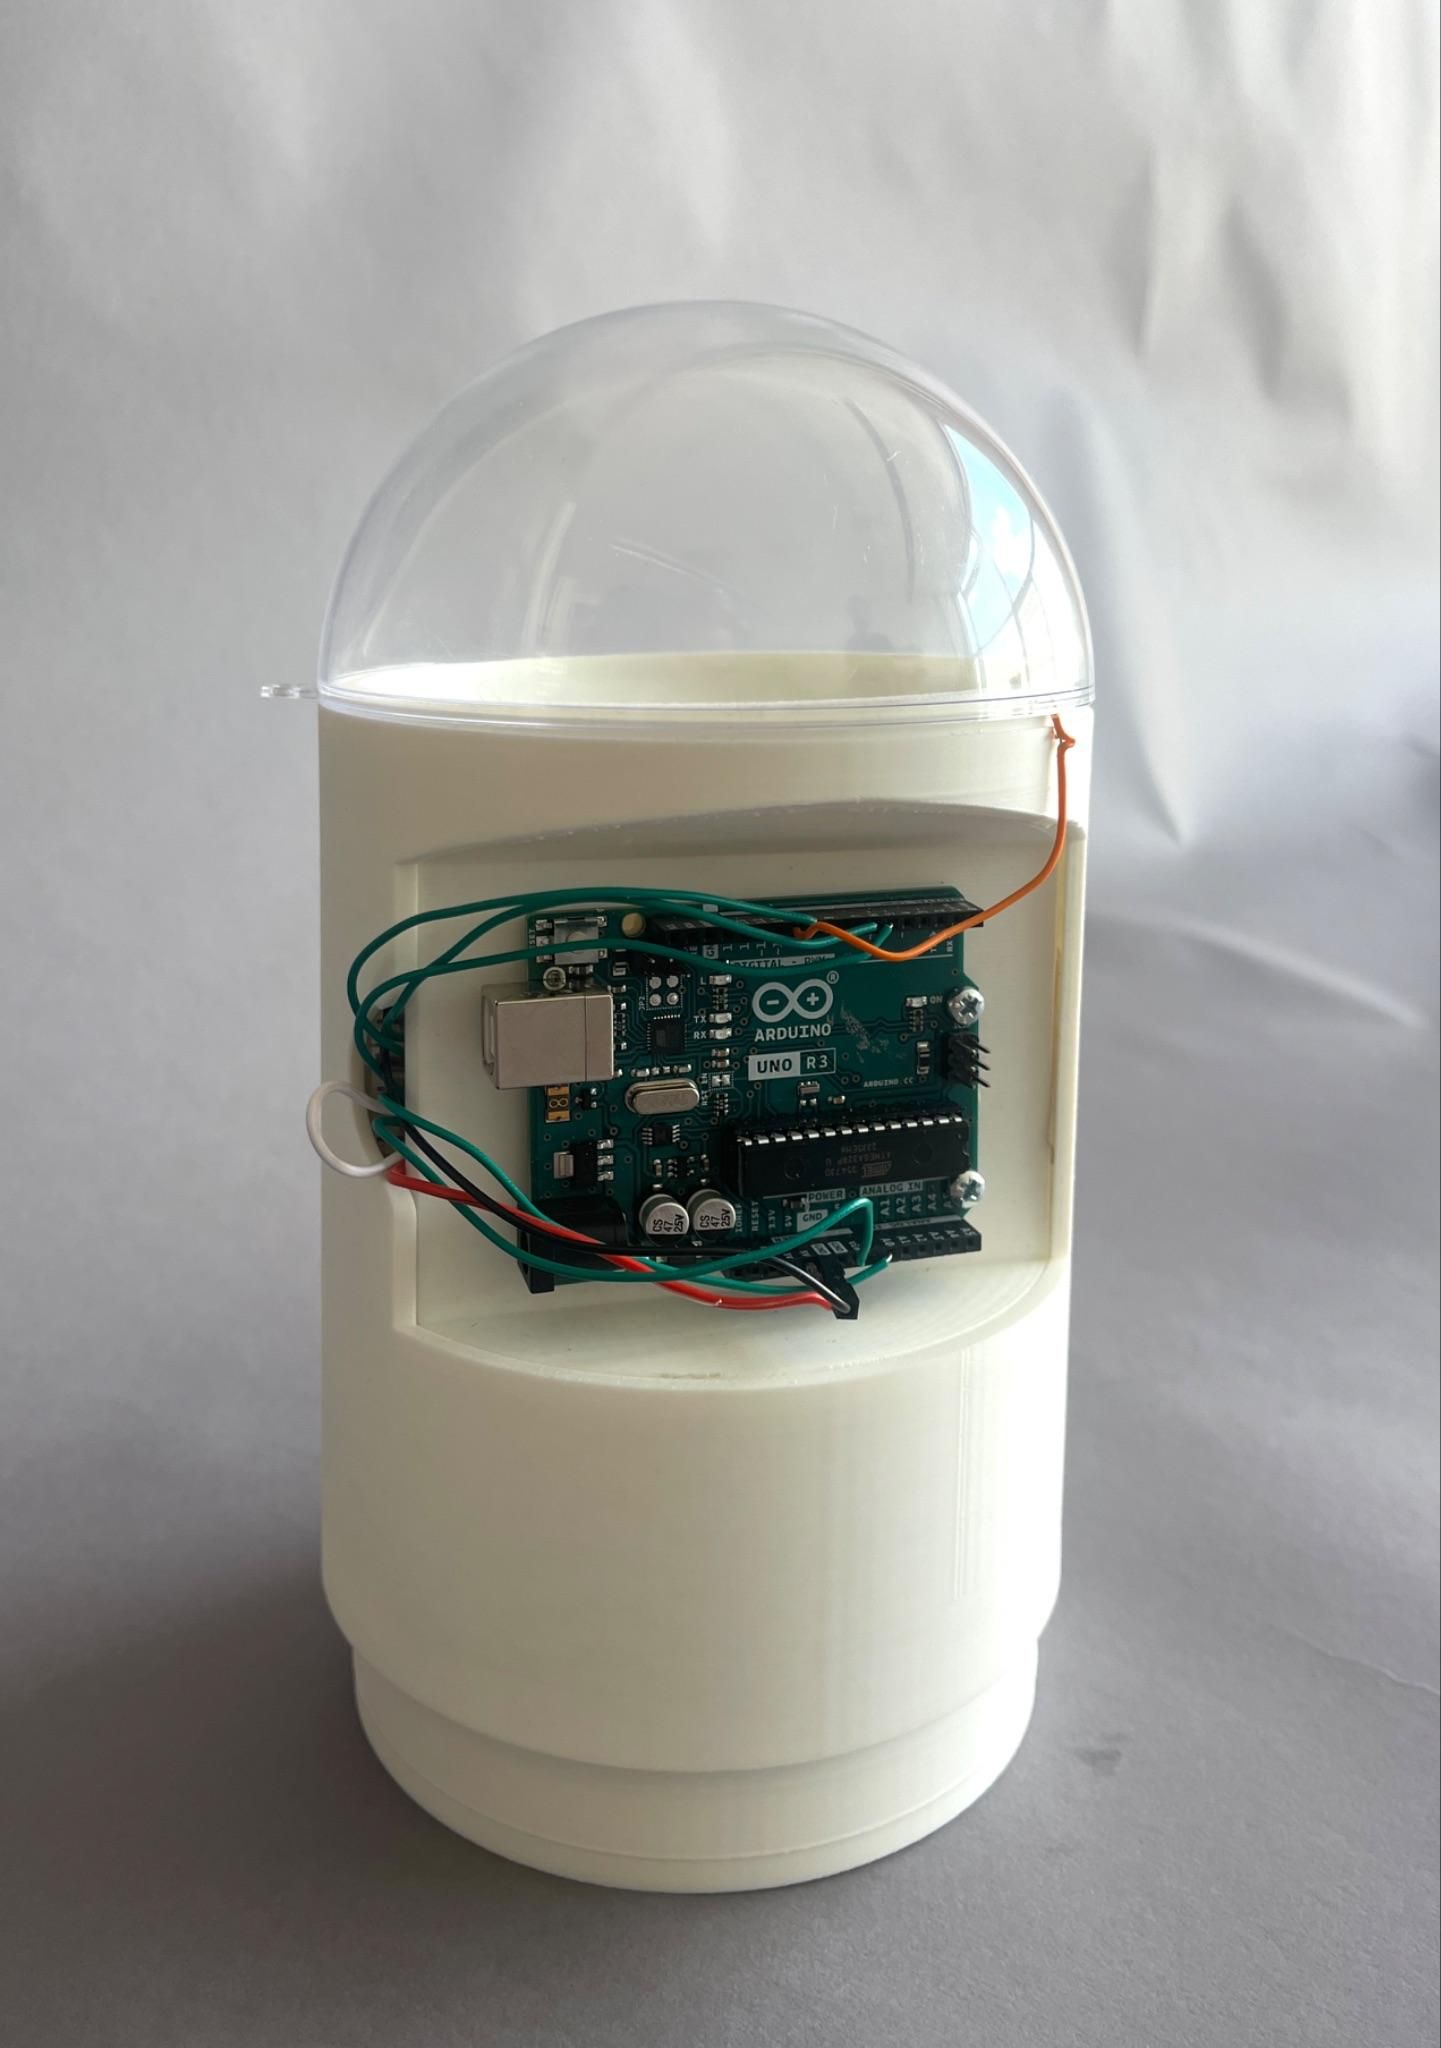
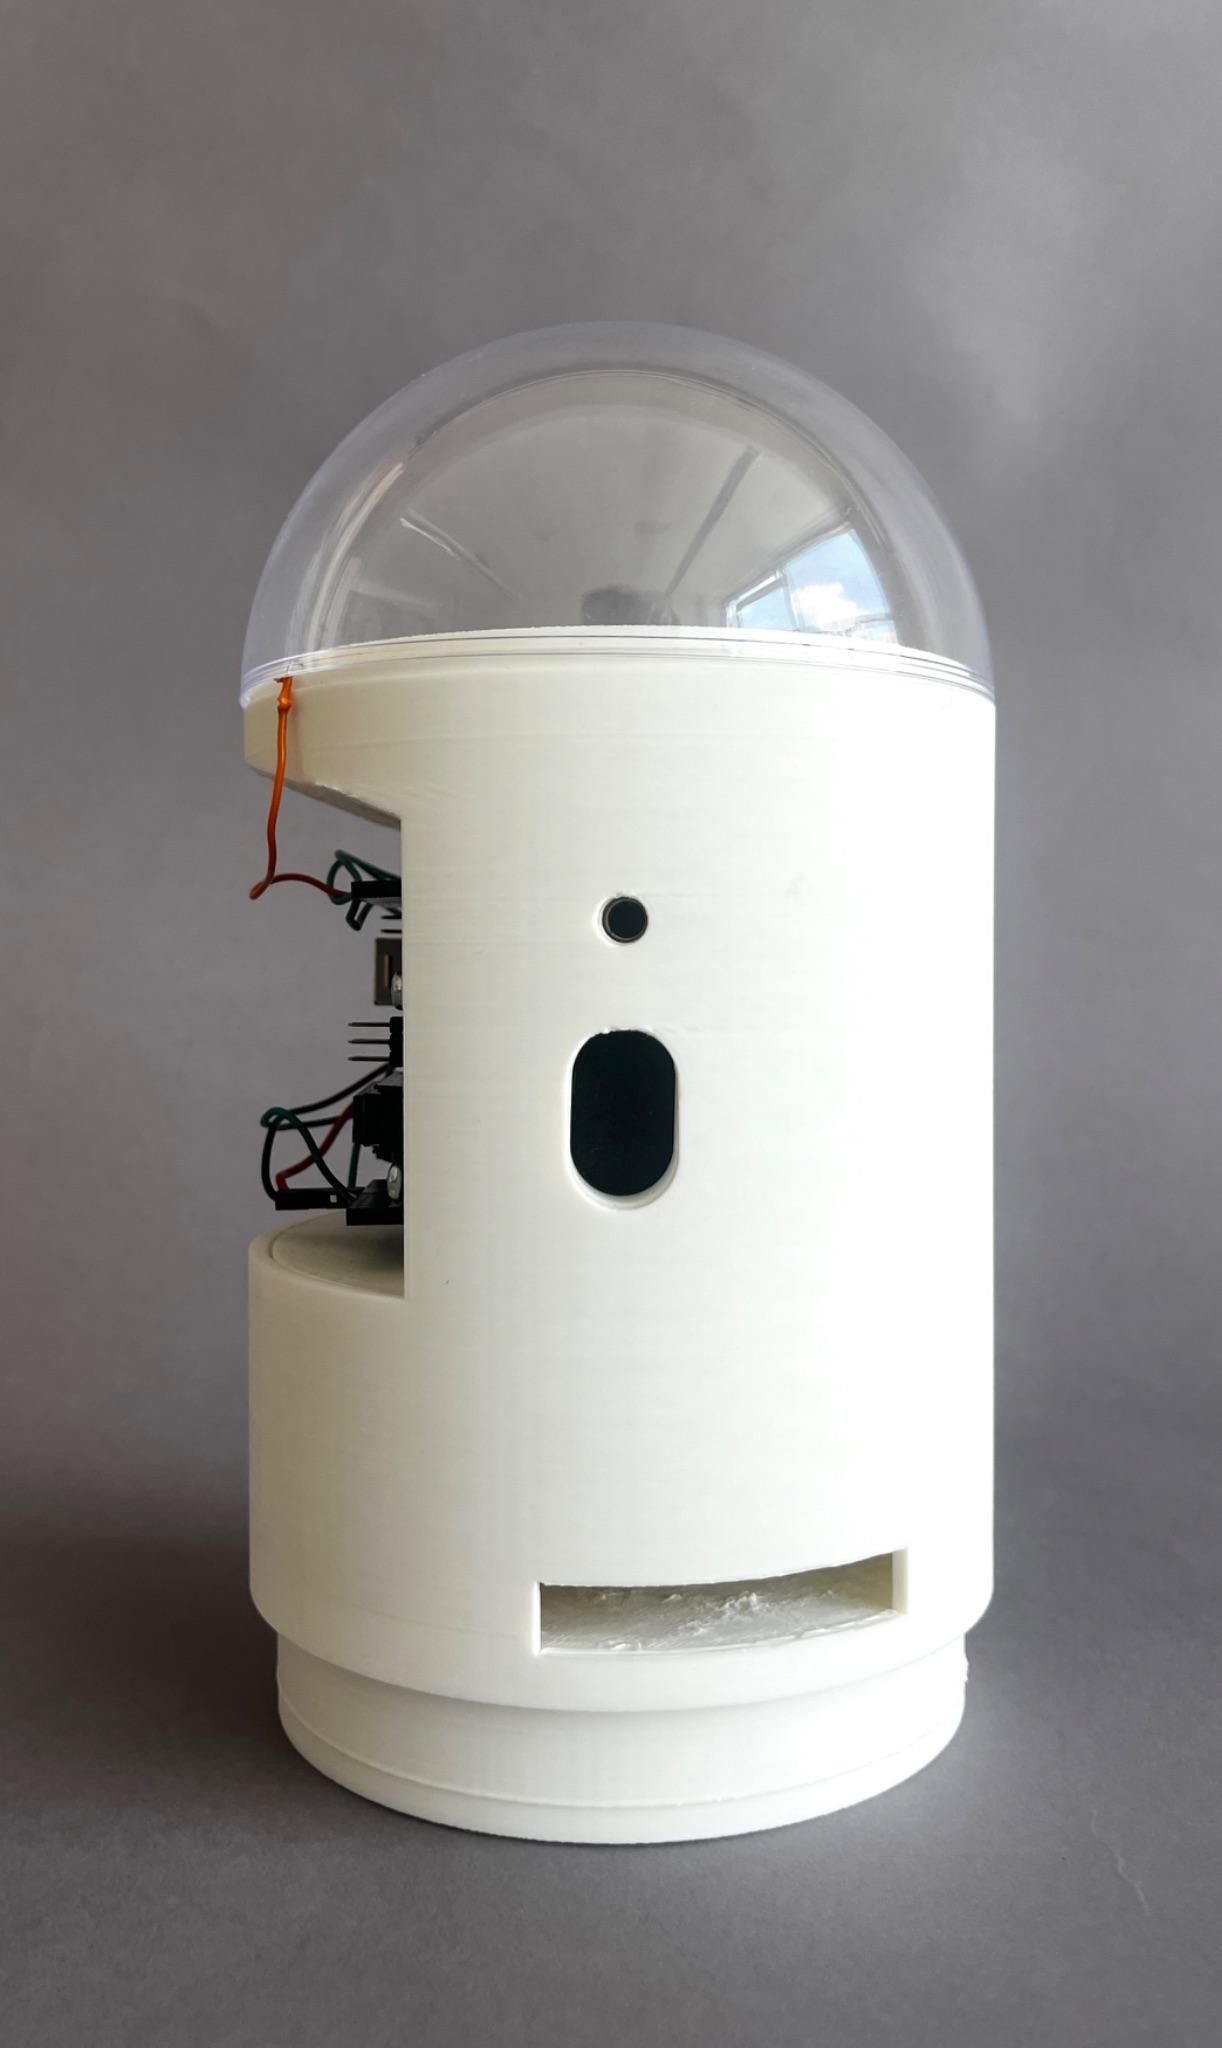
This project was created as part of the course Computational Design and Digital Fabrication as part of the M.Sc. ITECH program at the University of Stuttgart.
Have you ever imagined a machine that can toss food to your cats automatically? The CATapult was designed to feed and distract cats through sound activation — it can respond to a simple clap or even to specific sound frequencies emitted by the cats themselves.
Developed as a way to reduce conflicts between cats by redirecting their attention with food, this prototype is activated by a sound sensor, rotates 360 degrees, launches food over distances greater than 3.5 meters, and also includes an integrated speaker.
Although still in the testing phase, the project aims to evolve into a product equipped with a more advanced sound recognition system capable of identifying cat fights and responding automatically.
Studies on the potential psychological dependency and behavioral reinforcement associated with this approach still need to be conducted in order to evaluate the product’s effectiveness and ensure compliance with animal welfare standards and ethical guidelines.
Authors: Aylin Özel, Fabian Opitz, Thiago Engers
Supplies
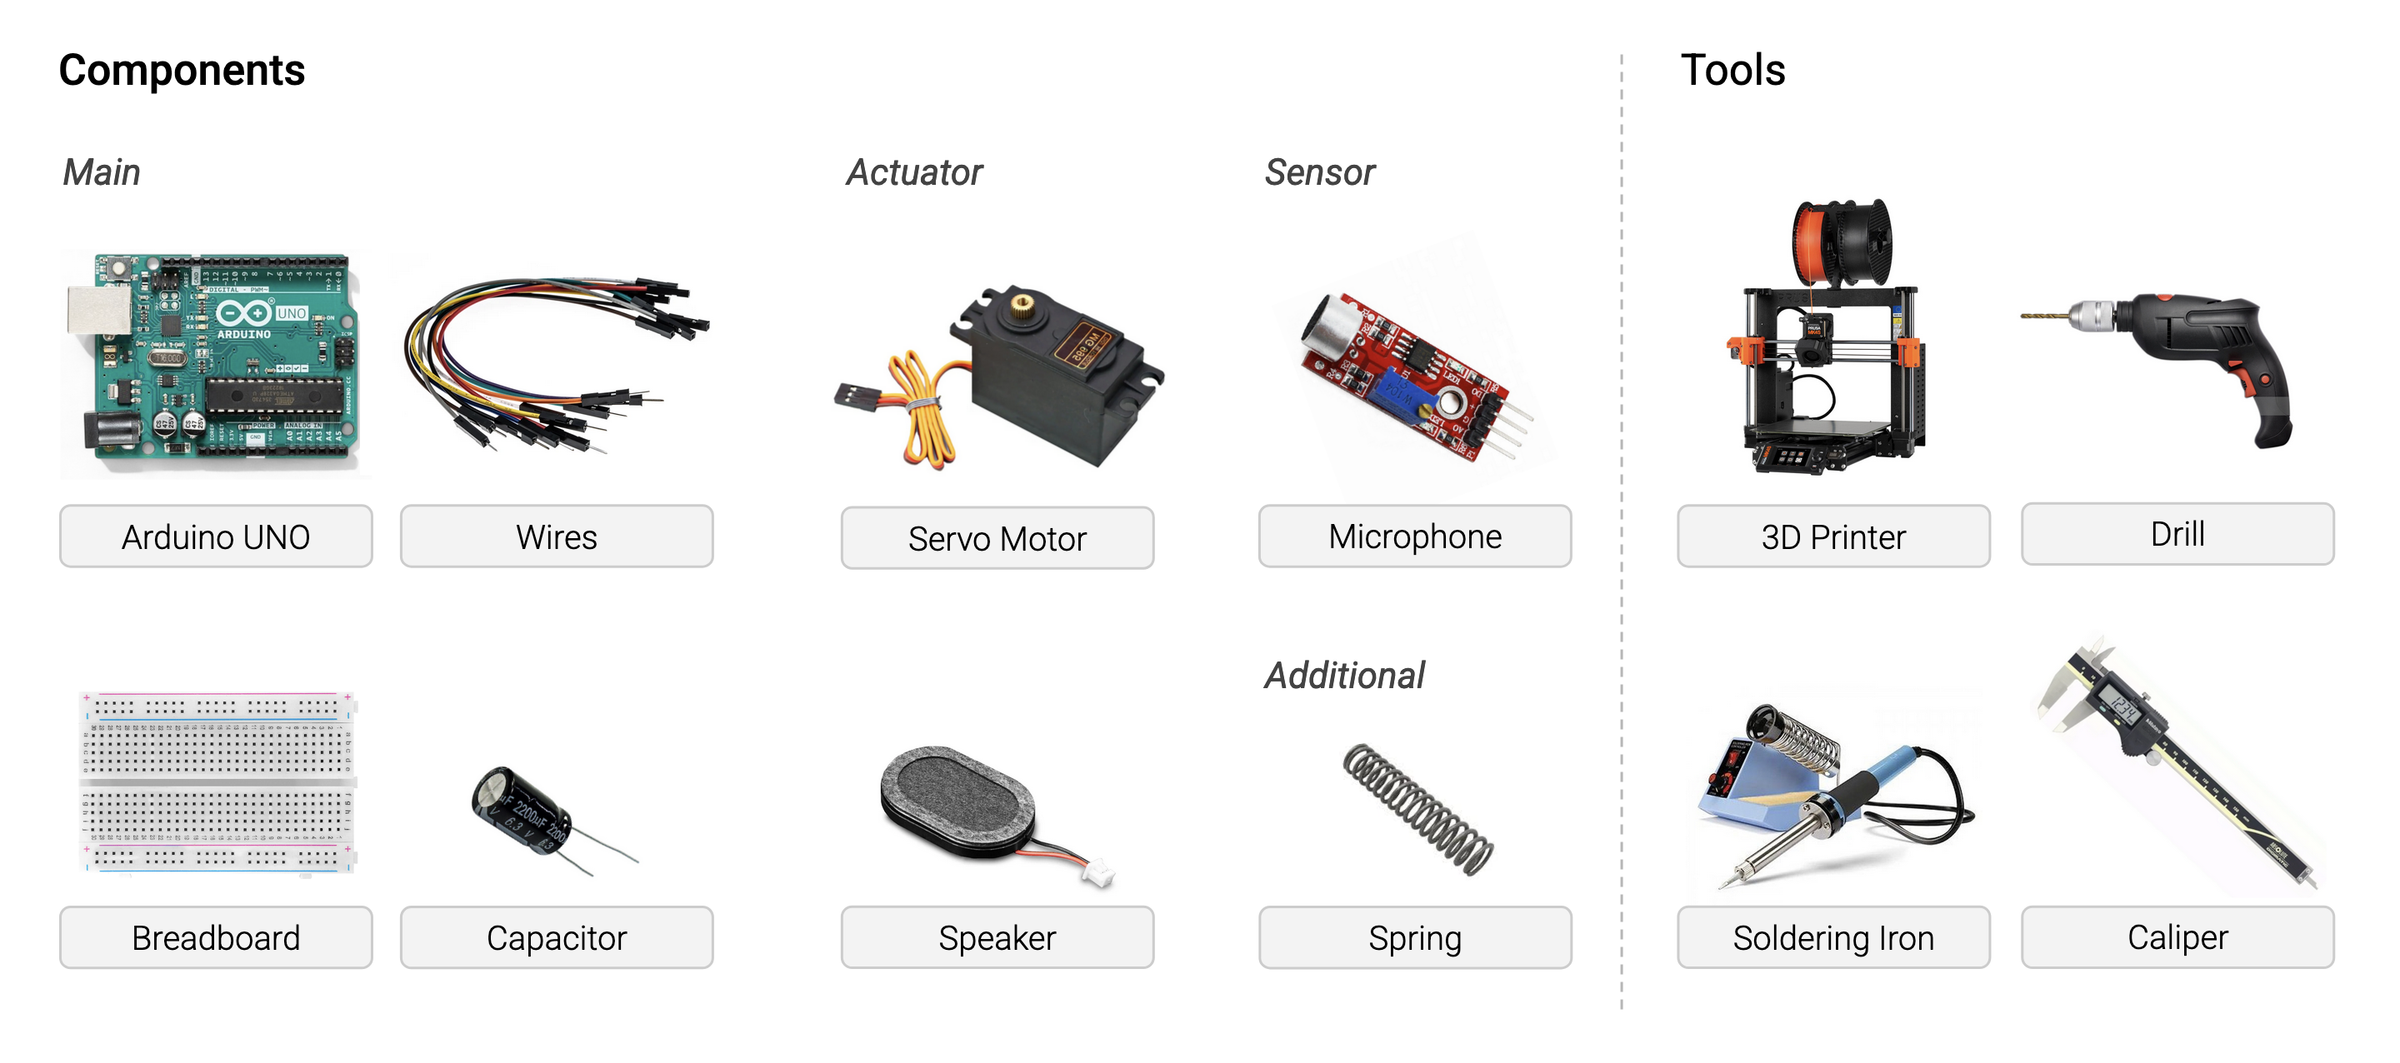
Find a list of the required material for the this project below:
Hardware
- Spring 4mm outer diameter x 70mm length
- Plastic semi-sphere with a diameter of 120mm - Food cover
- Tape
- 3D printing filament / ~300gr
- 1x Screw M4x30 + M4 Nut - Spring release pin
- 3x Screw M4x20 + M4 Nut - Arduino Mounting
- 2x Screw M3x12 - Dispenser plate attachment
- 1x Servo motor horn - Spring servo mount
Electronics
- 1x Arduino Uno R3
- 1x Breadboard
- 1x Servo for the throwing action - SpringRC SM-S2309S
- 1x Servo for the food dispensing mechanism - Jamara Q4 ST4119
- 1x Continuous rotation servo for the turning - FeeTech FS5103R
- 1x Microphone - IDUINO microphone breakout board
- 1x Speaker with included driver - Adafruit STEMMA Speaker - Plug and Play Audio Amplifier
- 1x Capacitor - 1000uF
- Assortment of breadboard jumper cables
Tools
- 3D printer
- Computer
- Drill
- Soldering iron
- Glue
3D Print the Body
This project relies heavily on 3D printed components for realization. The attached file contains all the components in one single stl file which most likely will need to be split into the individual meshes in order to make it printable. The split to object option should be available in most modern slicers to separate it back into individual models. If arranged well all the components fit on two 250x250mm print beds.
Downloads
Build the Circuit
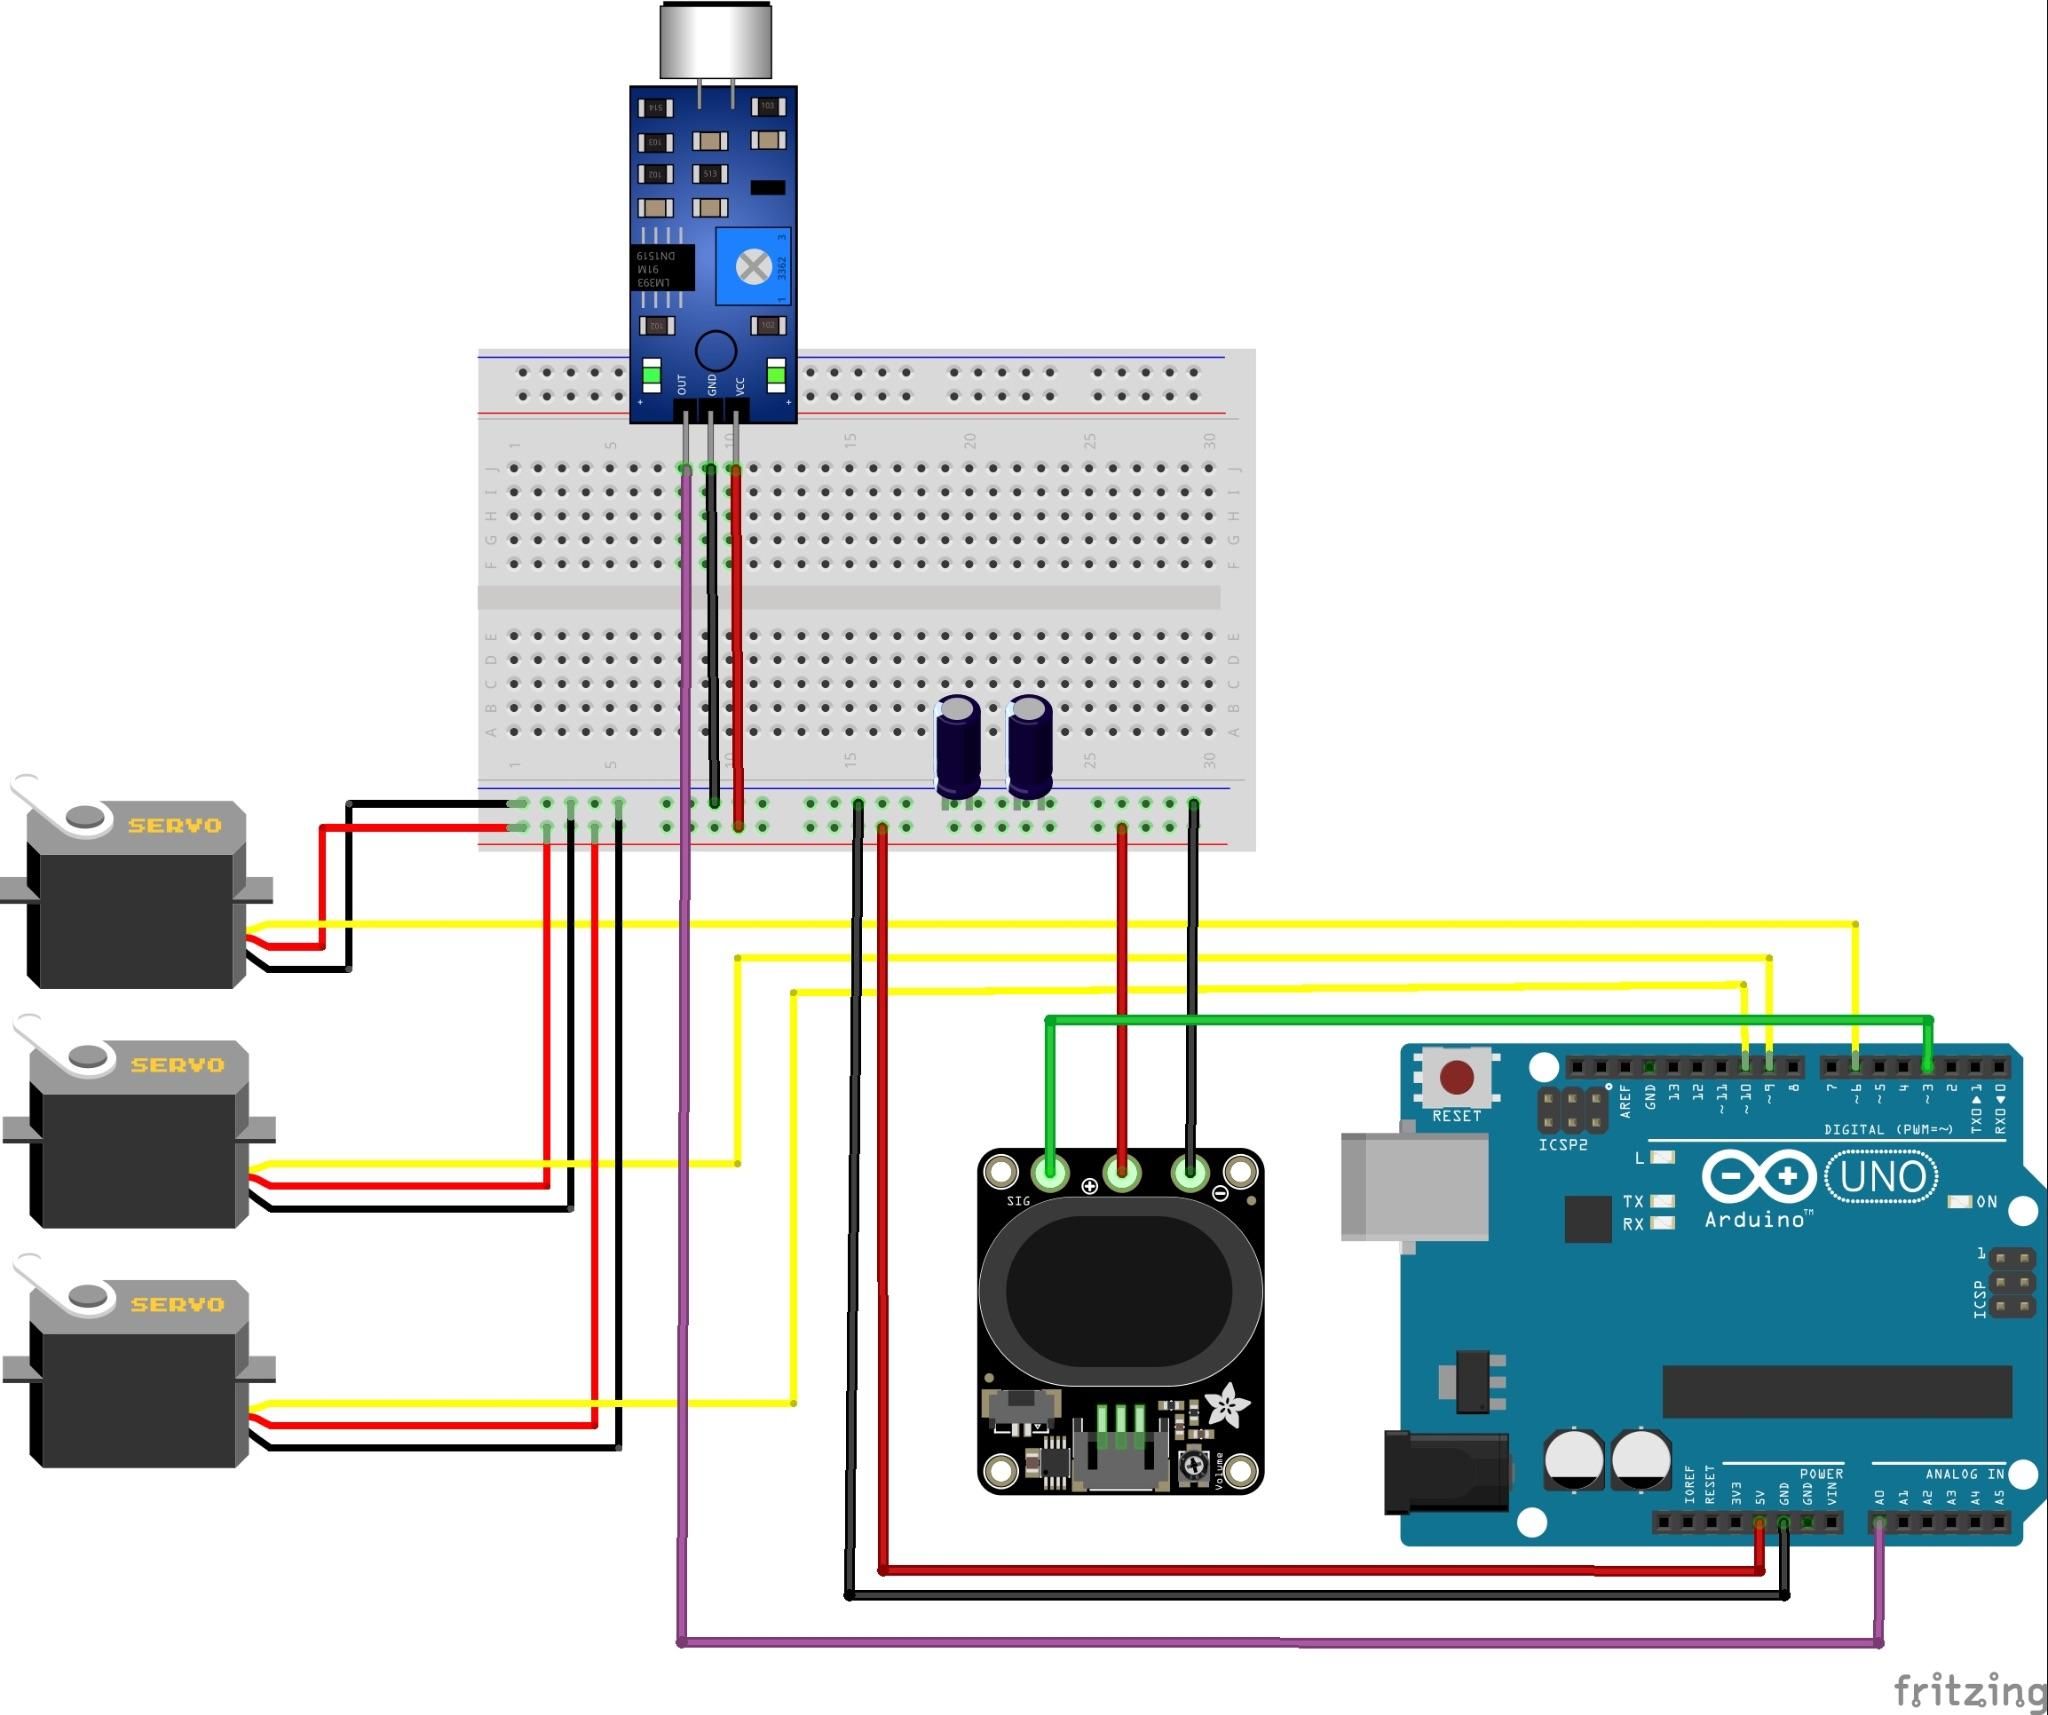
While the printer is busy, one can start to assemble the circuit
The only real soldering required is to attach wires to the speaker breakout board because it is not breadboard friendly.
It is advised to first assemble the circuit and do a dry run of the individual components and the code before assembling everything together into the final device.
Code
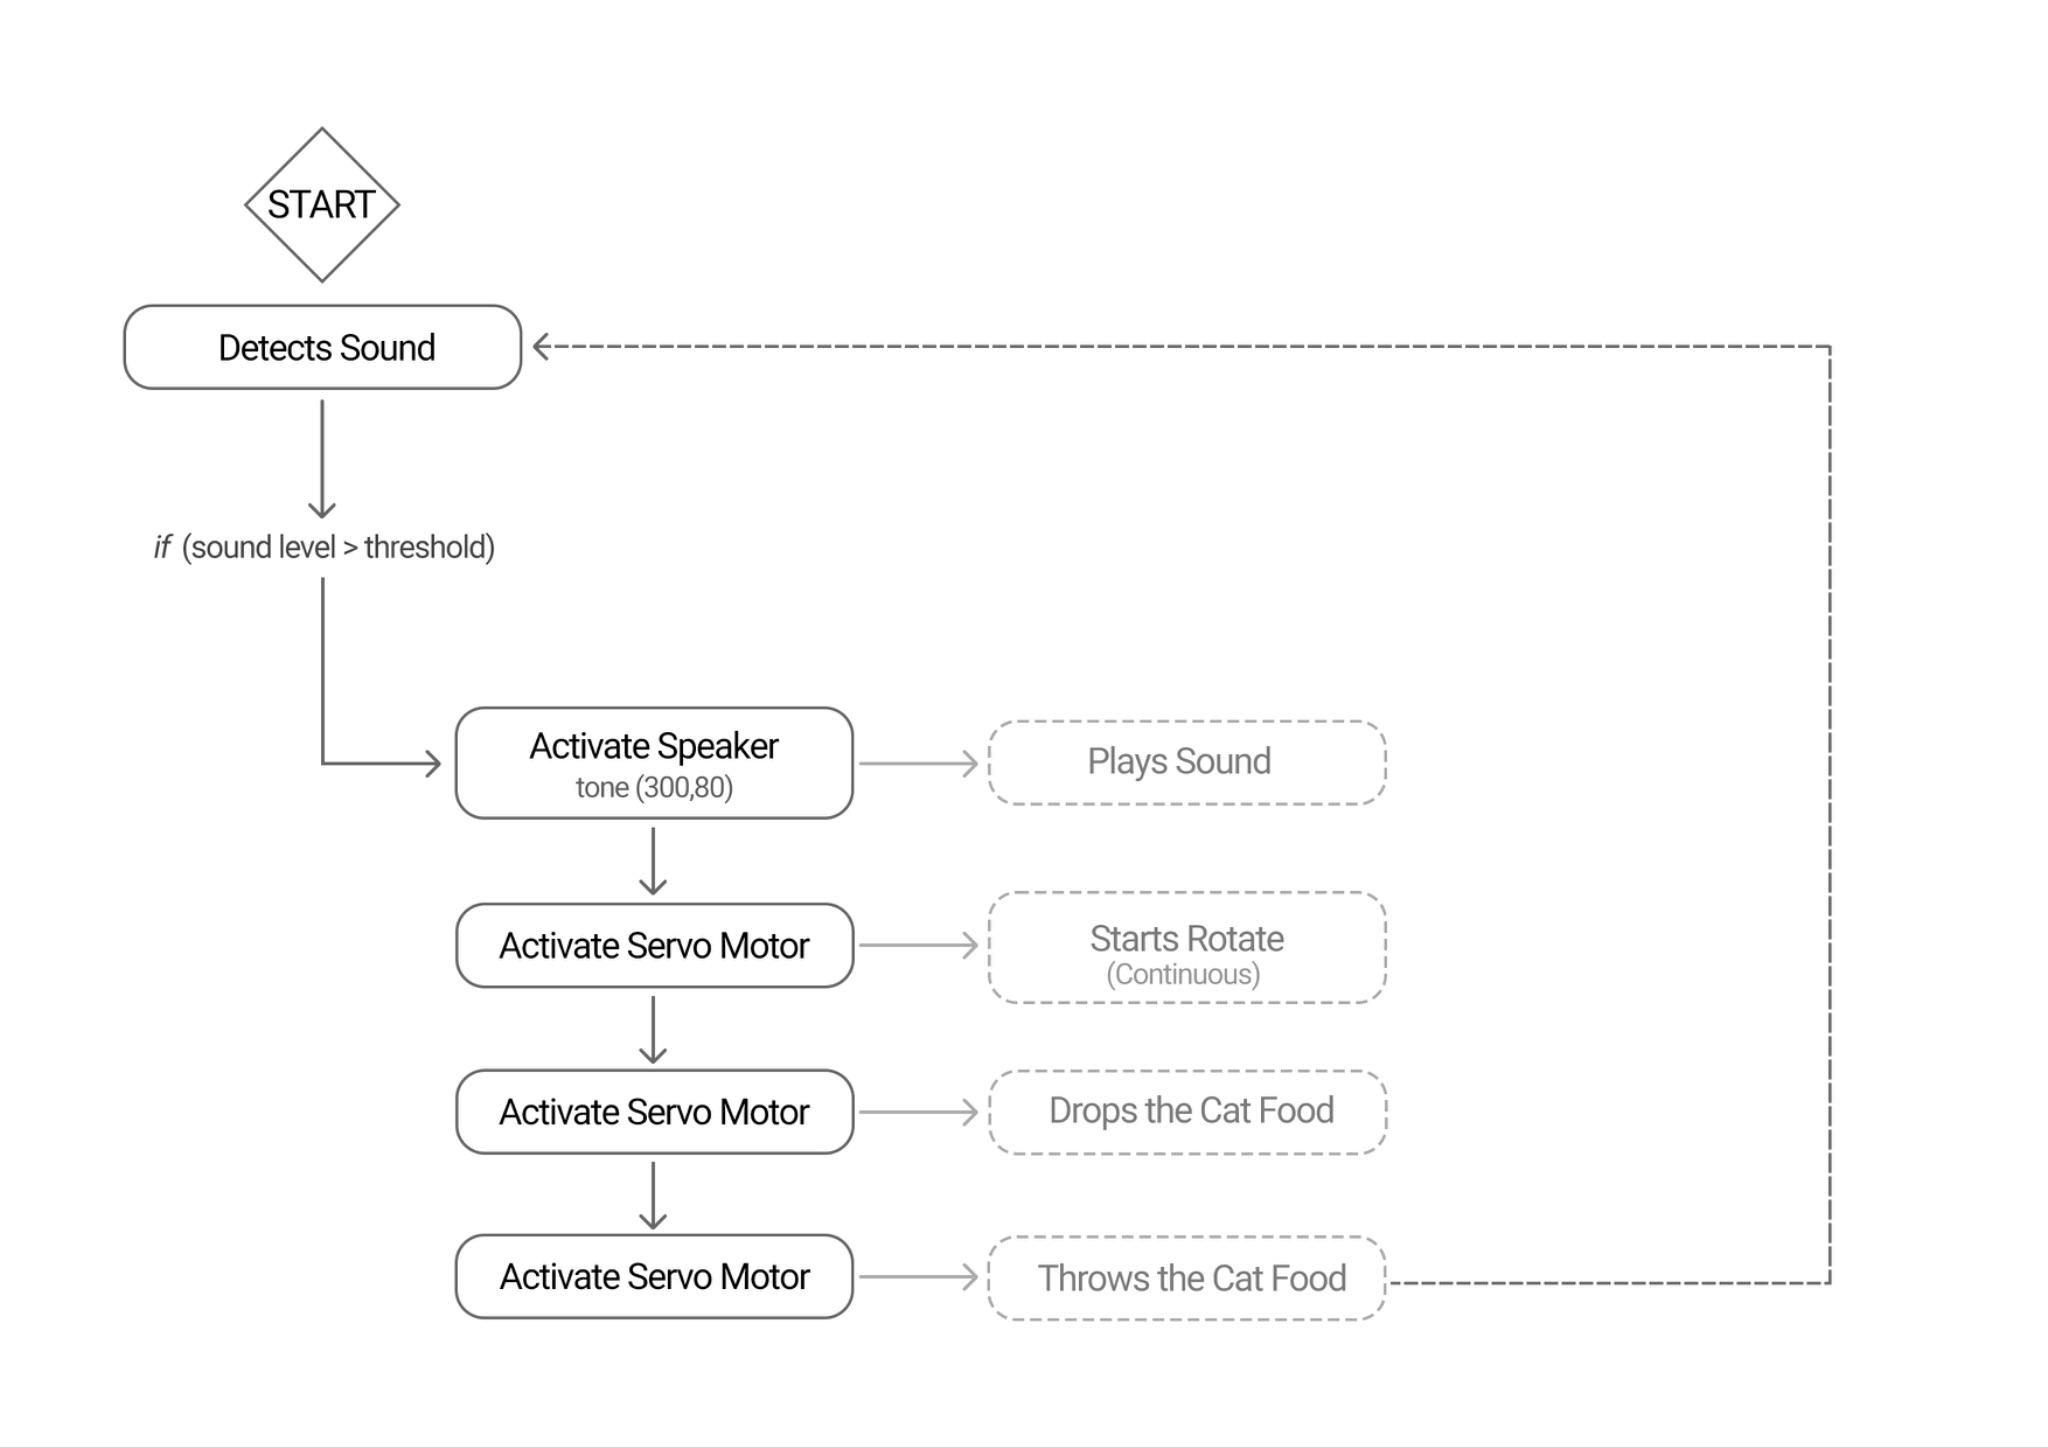
Next to the standard functions, the code is implemented with two different functions
- In the setup method, all the components are initialized
- Adding the current microphone reading to the exponentially weighted moving average
- Compare the current microphone level value to the weighted average and activate the system if a threshold is exceeded
- The activation function performs the servo movements
Downloads
Assembly
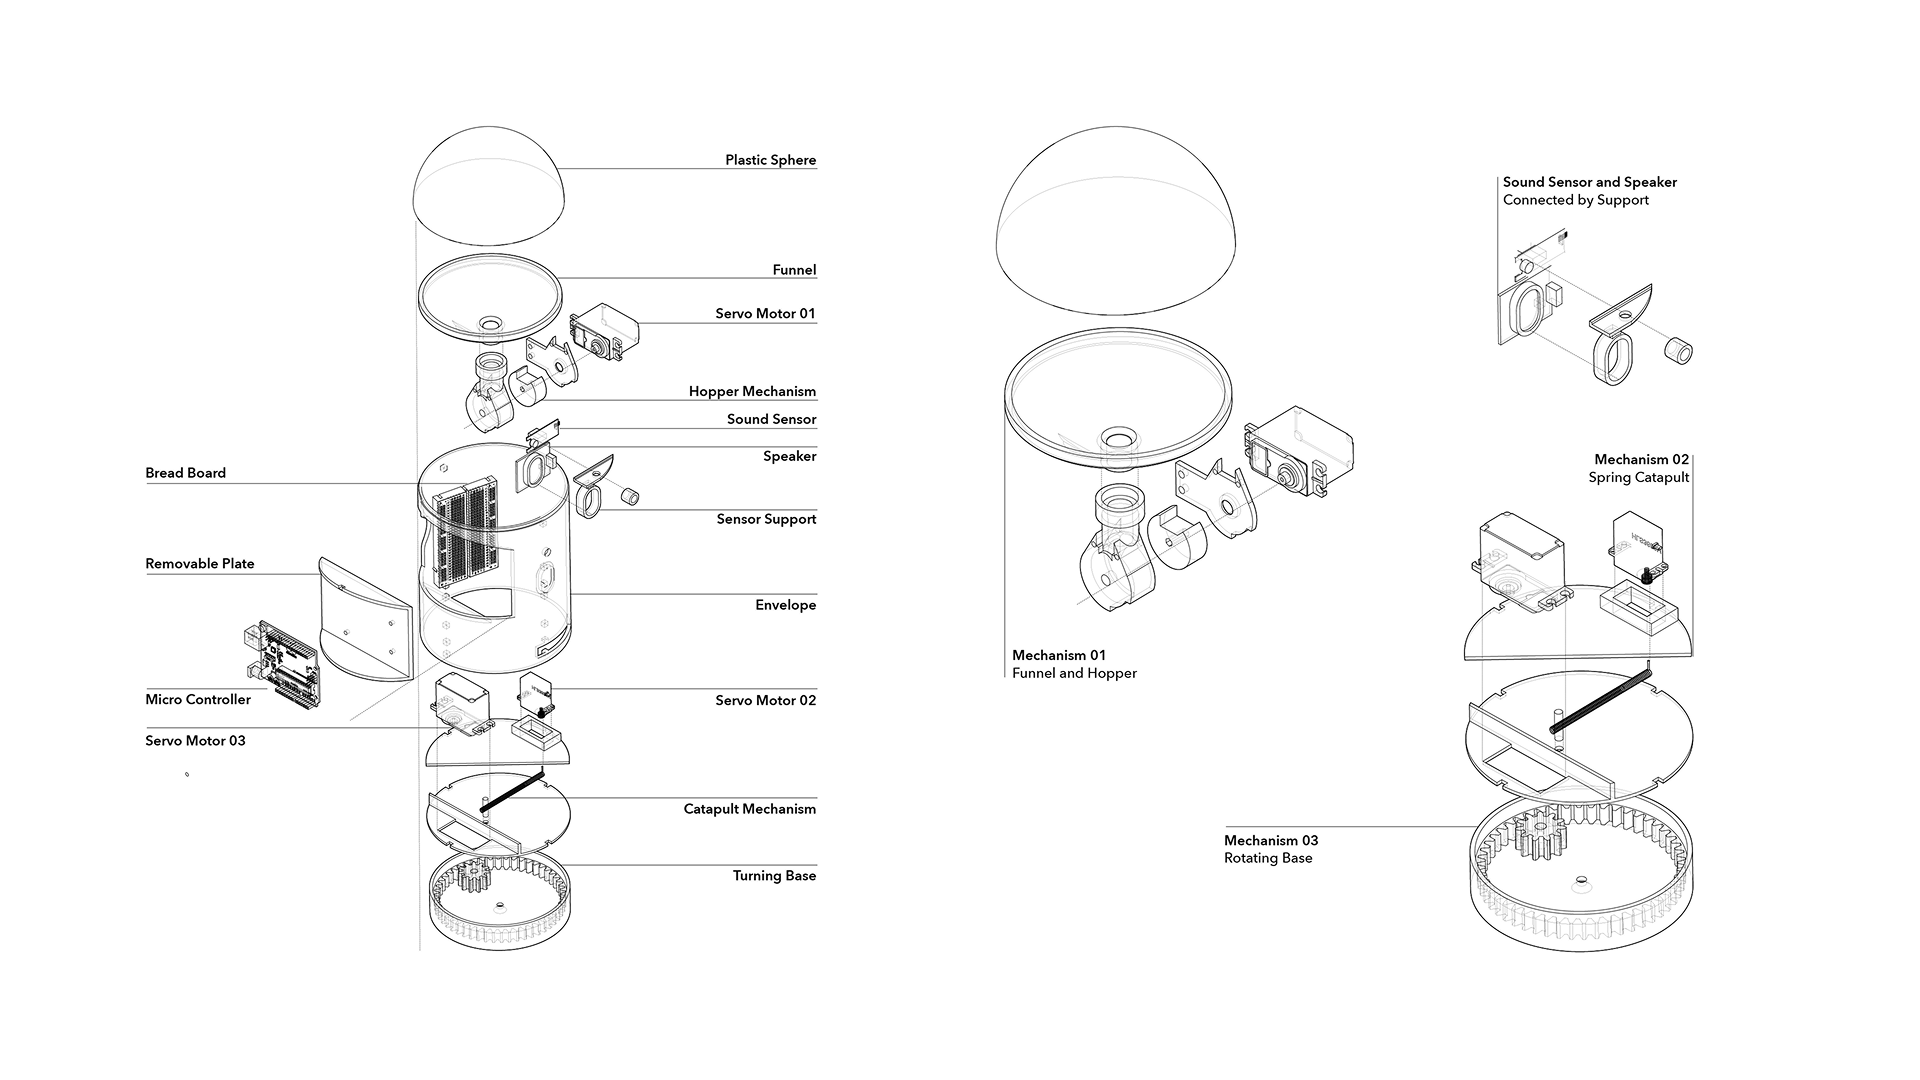
- Glue in the sensor holders to the outer hull
- Attach the continuous servo to the bottom plate
- Press the small cog wheel onto the axis of the servo
- Attach the smaller servo to the middle plate
- Attach the spring to the servo horn with glue and tape. Make sure the spring clears the internal separating wall and shorten it if necessary
- Put the spring release pin screw into the bottom plate
- Attach the servo the removable side plate by marking the screw positions, drilling holes and then use M4 screws to attach it
- Press fit the side plate of the hopper onto the dispensing servo and then press fit the rotating drum onto the servo axis.
- Assemble the the hopper mechanism by driving M3 screws through the piloted holes
- Glue the hopper to the funnel
- Glue in the breadboard prepared with the circuit onto the flat spot on the inside of the outer hull
- Attach the microphone & speaker to the designated places in front
- Connect the servos plus the speaker and the microphone to the breadboard
- Re-connect the cables to the arduino through the hull cutout
- Push the cables through the round section of the cutout
- Carefully place the side plate back into position by pushing it through upwards and then rotating it back into position. The cables to the breadboard need to be routed through the rounded section of the cutout which does not interfere with the fit
- Lower down the hopper-funnel assembly from the top to the outer hull
- Fill the funnel with cat food
- Place the plastic hemisphere on top to seal it in
- Place the assembled device on top the internal gear to form the rotating base
- Start shooting some cat food around!
Individual Mechanisms
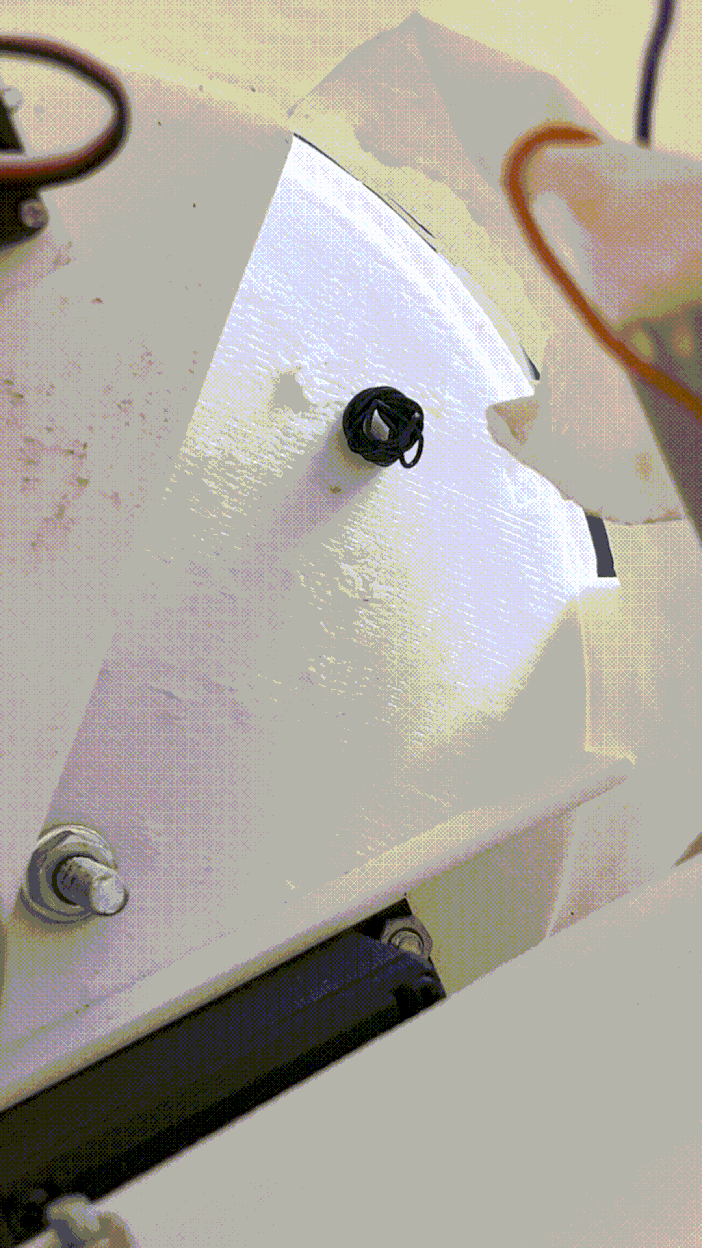
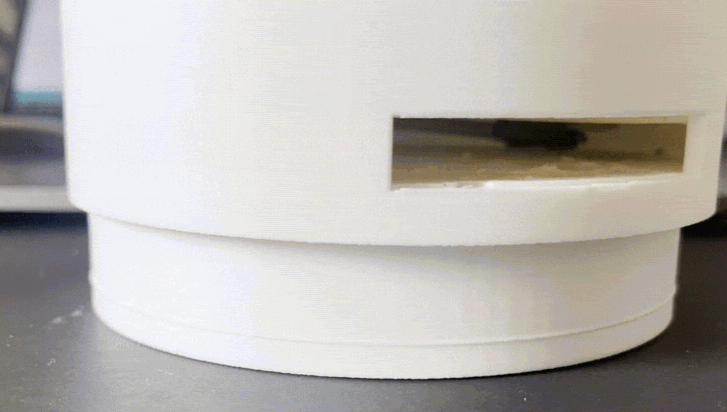
When all the mechanisms work together at first the whole device rotates around its main axis to adjust the throwing direction, then the hopper mechanism dispenses a single cat food nugget from the hopper and lastly the throwing mechanism releases the spring and throws the food out of the device.
Testing With Cats
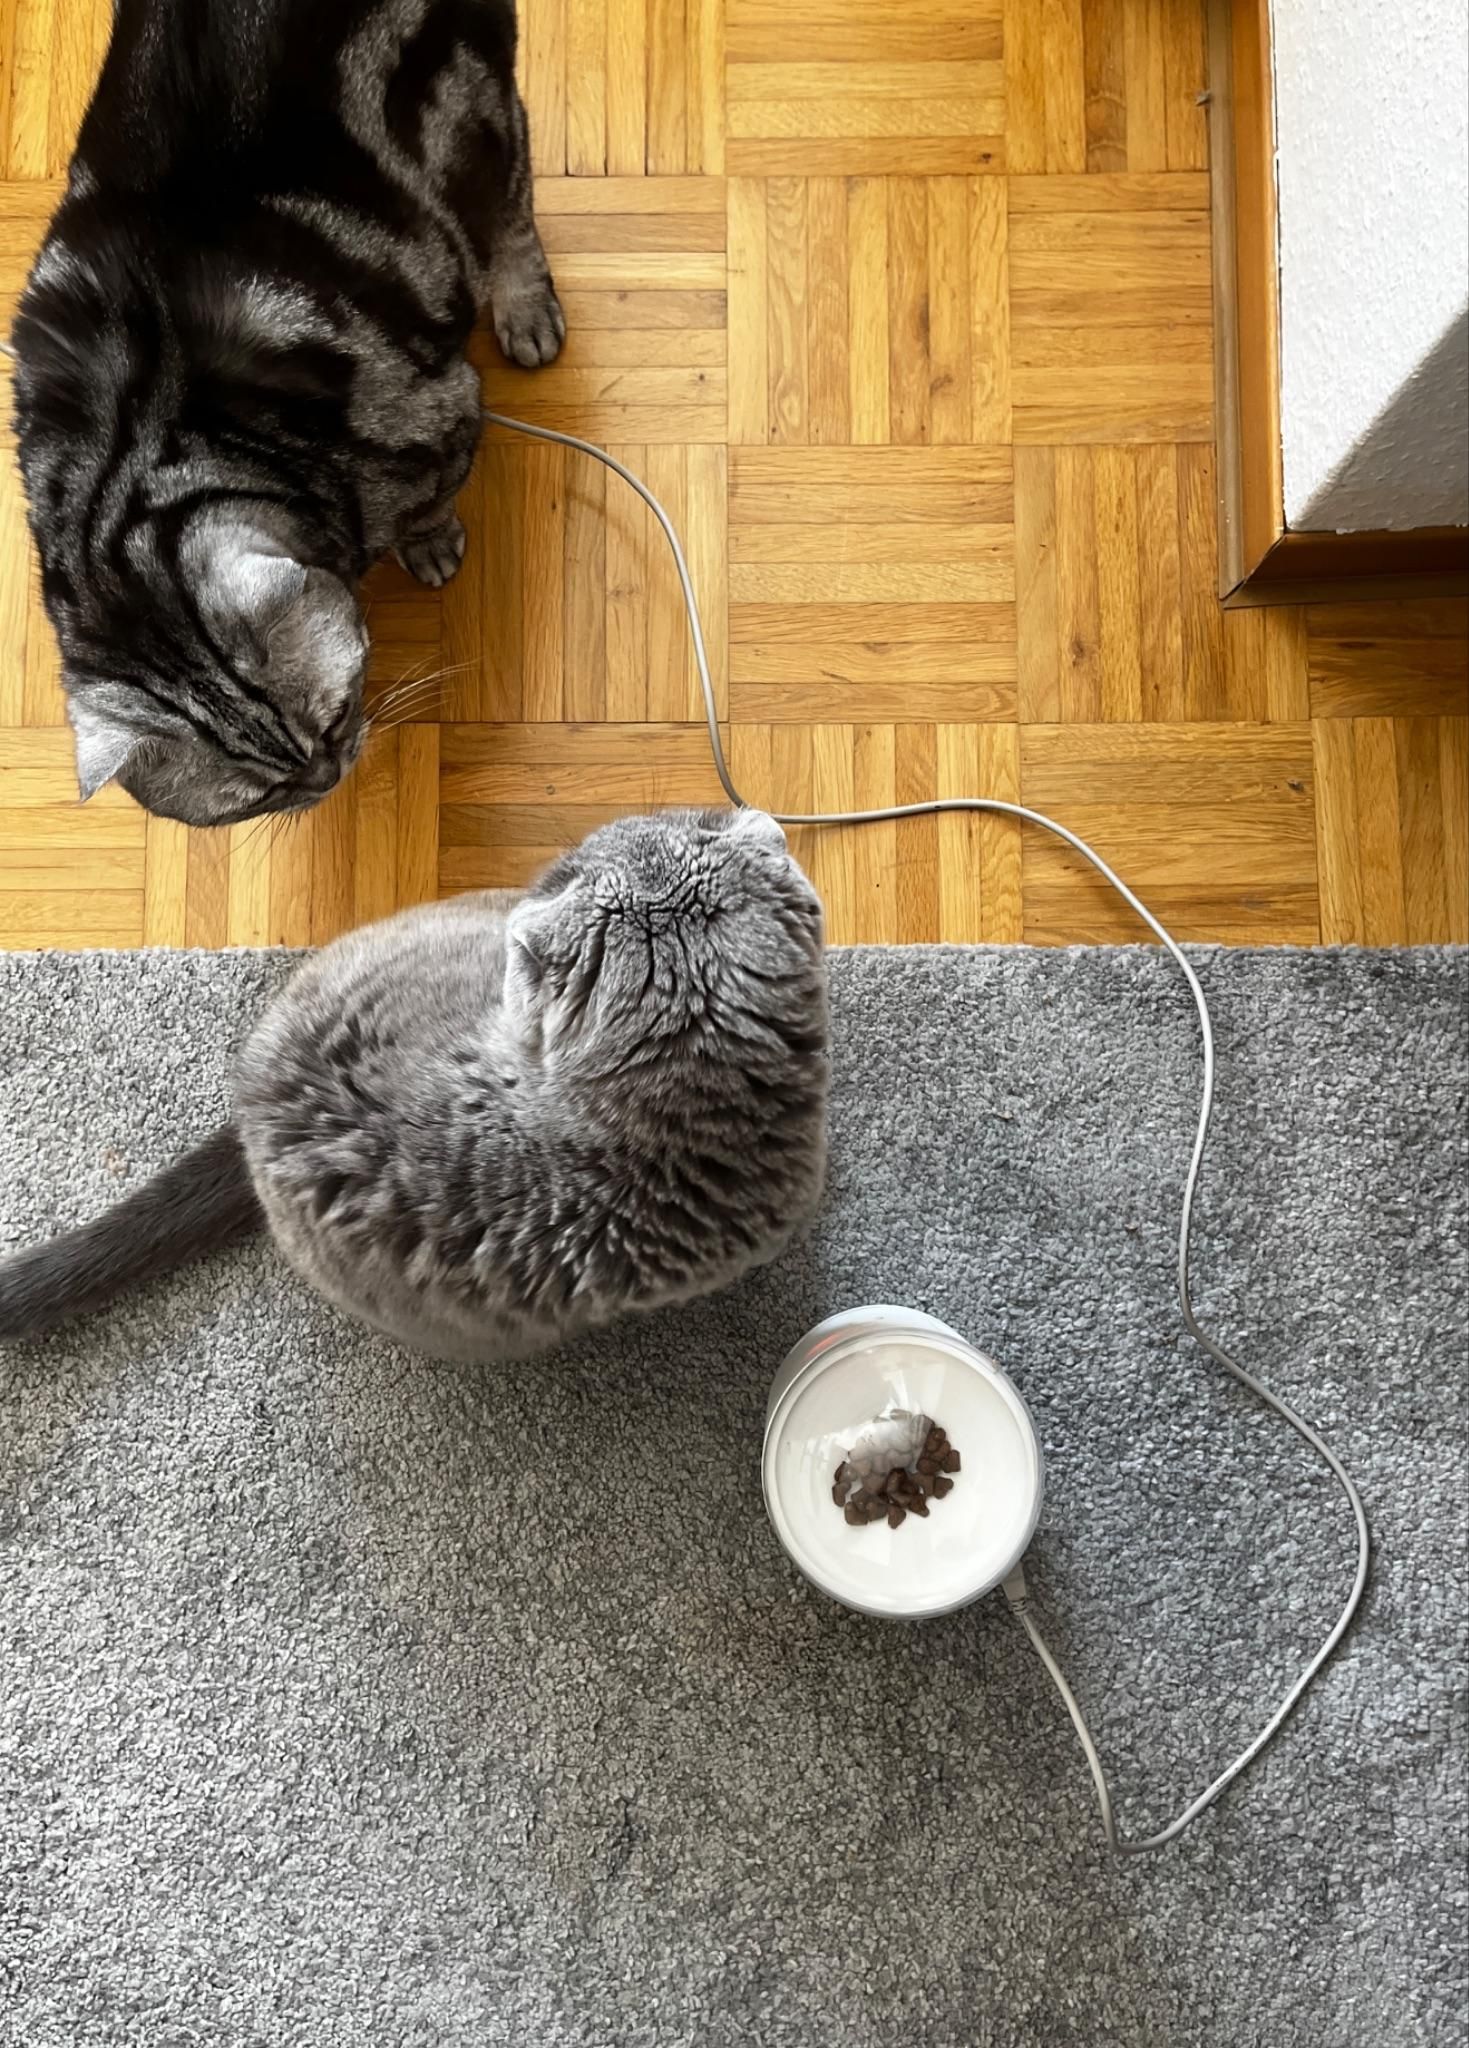
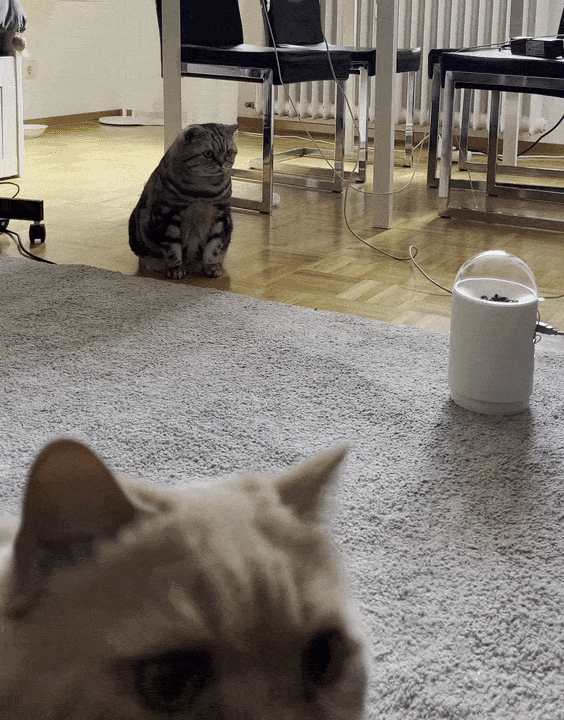
The device was introduced into the environment of three cats, which showed strong curiosity toward the machine, the sounds it produced, and the food stored inside it. When activated by clapping, the prototype launched food across the space, and the combination of movement, sound, and the projected food immediately captured the cats’ attention.