Camera Obscura

In this lab, I experimented with the camera obscura principle by building two pinhole cameras: a large one and a small one. I investigated the effects of aperture size and camera size on image sharpness and light qualities. In addition, mathematical relationships are derived for the imaging process of a pinhole camera.
Building and Experimenting With Camera Obscura


Large Pinhole Camera
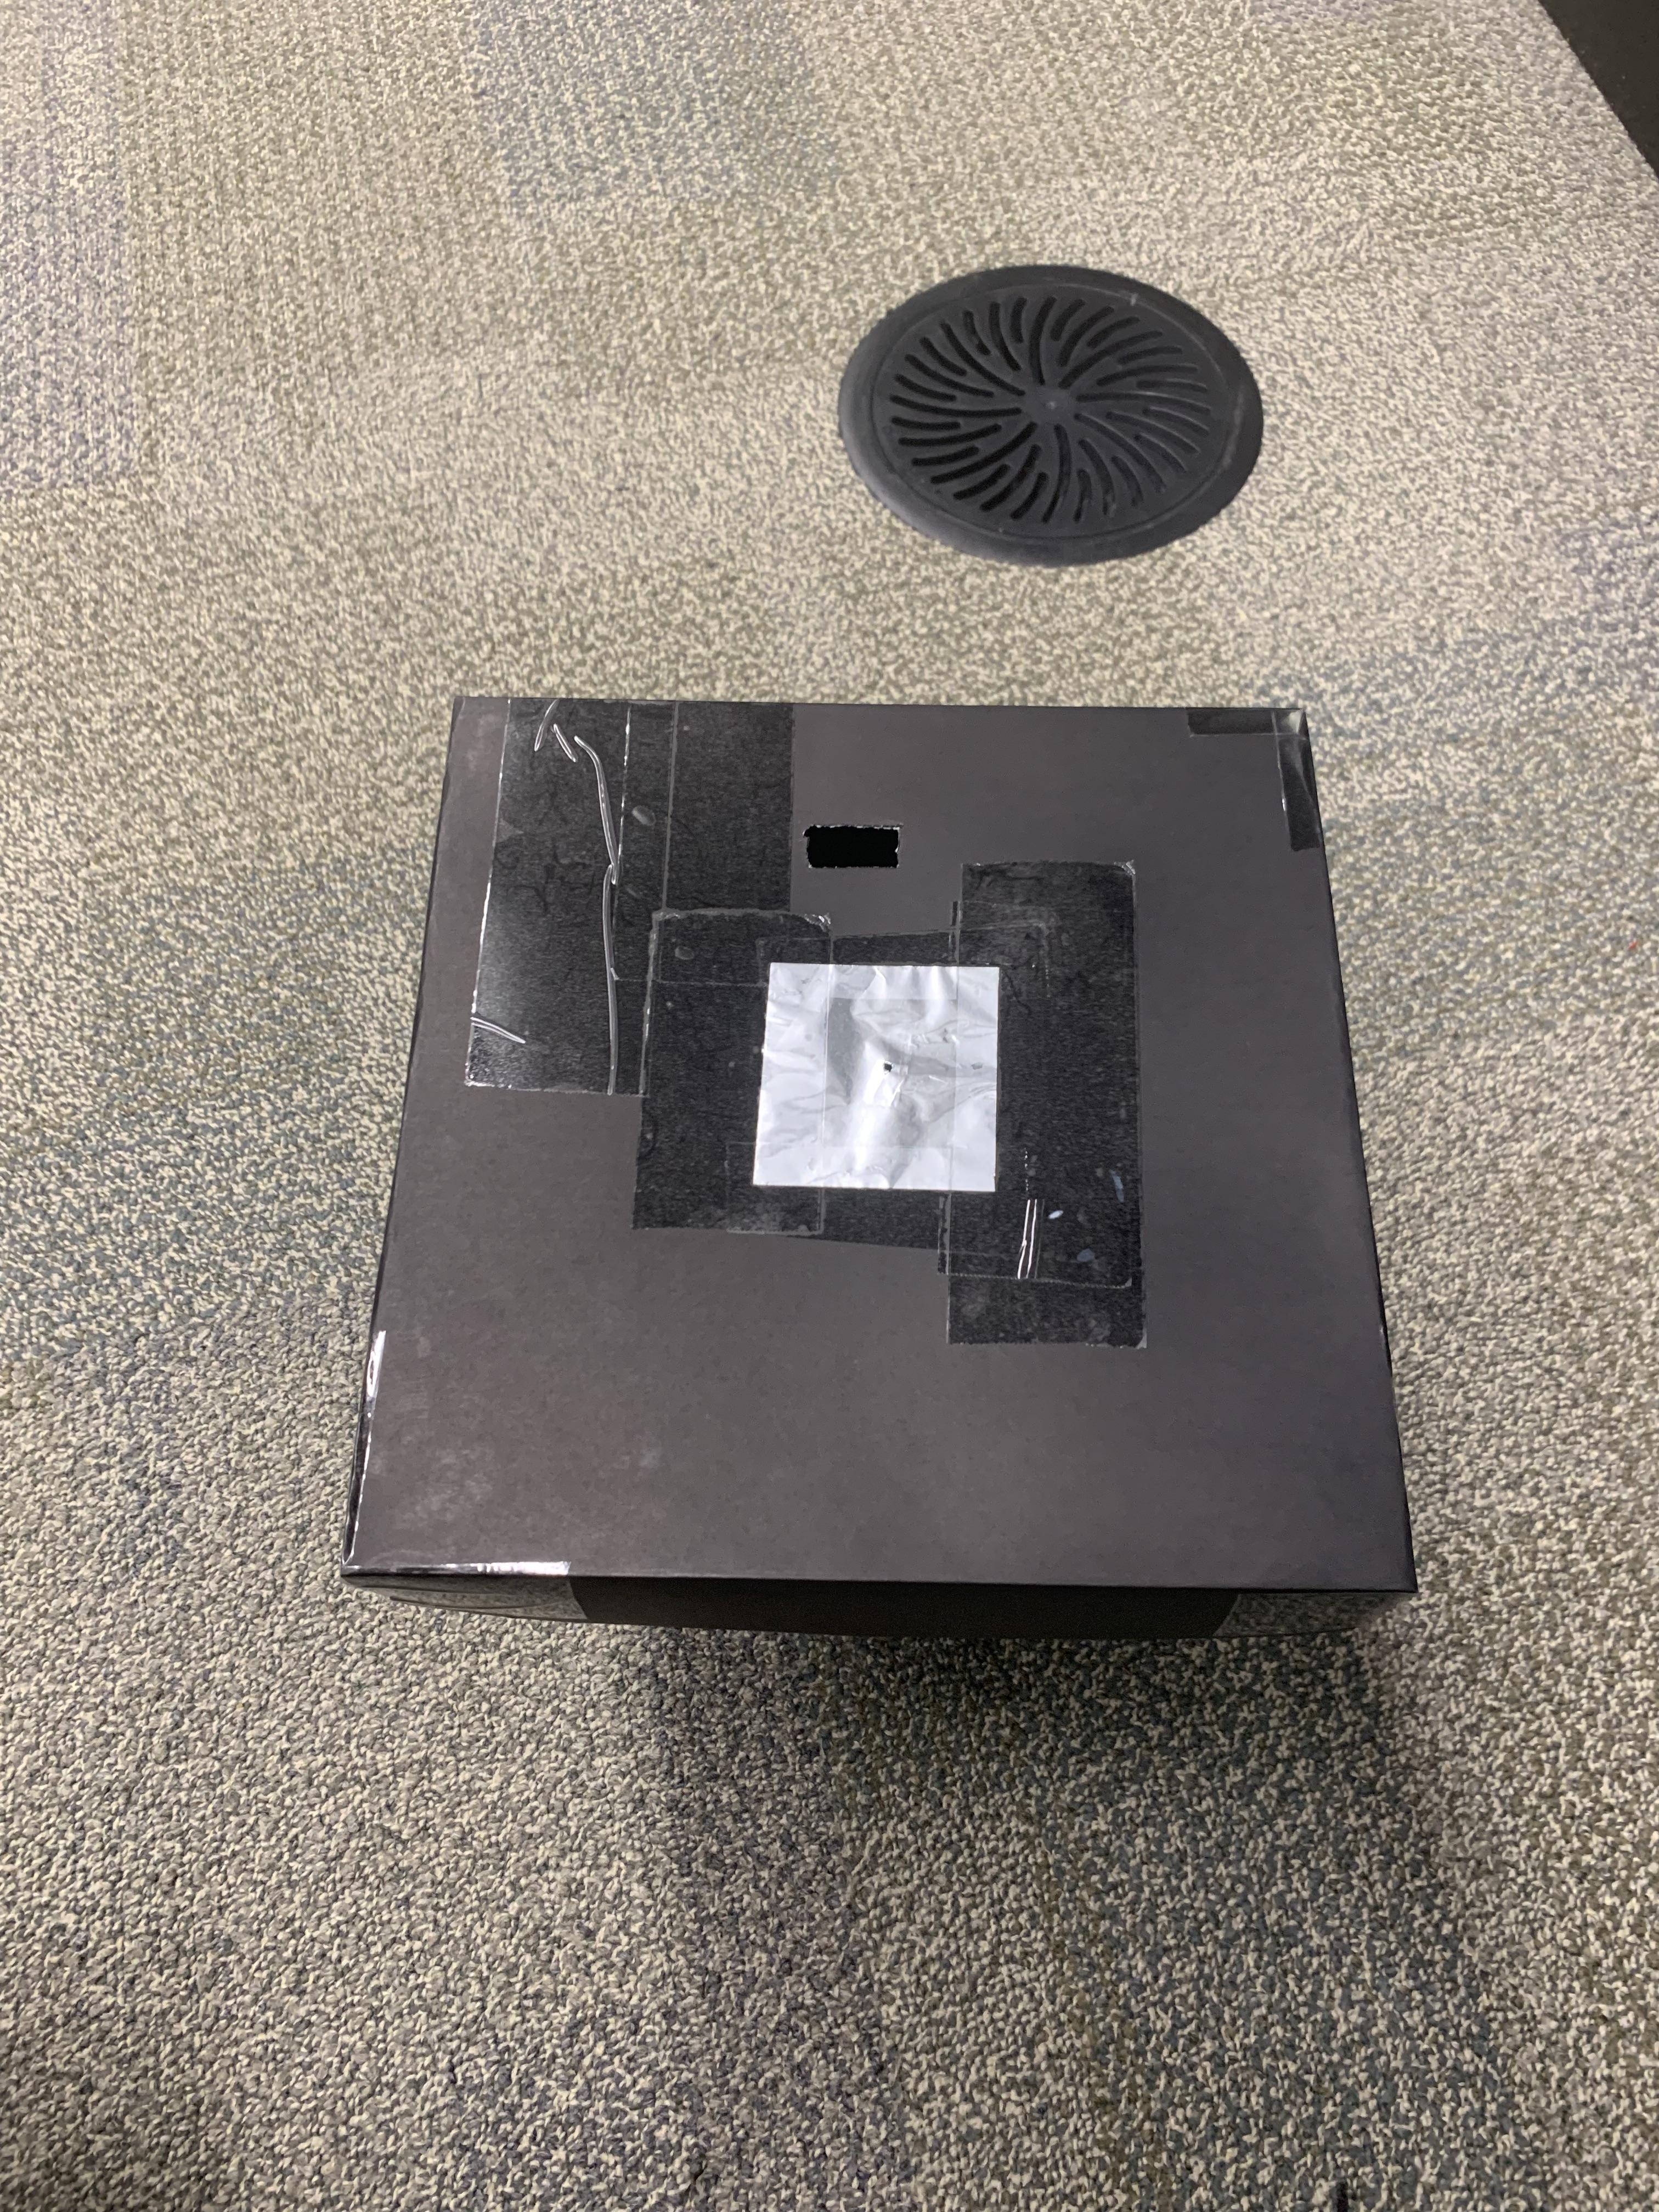
For the large pinhole camera, I constructed it using a black garbage bin. I ensured that no external light could seep through the plastic. Inside the bin, I placed a white sheet of cardboard at the bottom to serve as the screen/display for the image. I then constructed a lid for the bin out of black cardboard and cut a small square where I placed a sheet of aluminum foil to create the pinhole.
To experiment with varying pinhole sizes, I made two separate pinhole ”cards,” each with a piece of aluminum foil containing different-sized pinholes. These cards could be overlaid on top of the camera to easily switch between pinhole sizes. On the lid, I also added a small cutout for my phone to photograph the resulting images.
Small Pinhole Camera
For the small camera, I used a small box lined with black cardboard to minimize stray light. Similar to the large camera, I included a white sheet of cardboard as the display screen. Since I had already made the pinhole cards for the large camera, I reused them for the small camera as well. This allowed me to test the same aperture sizes in both setups for consistency in comparison.
Observations and Comparative Analysis


The results highlighted a trade-off between sharpness and brightness:
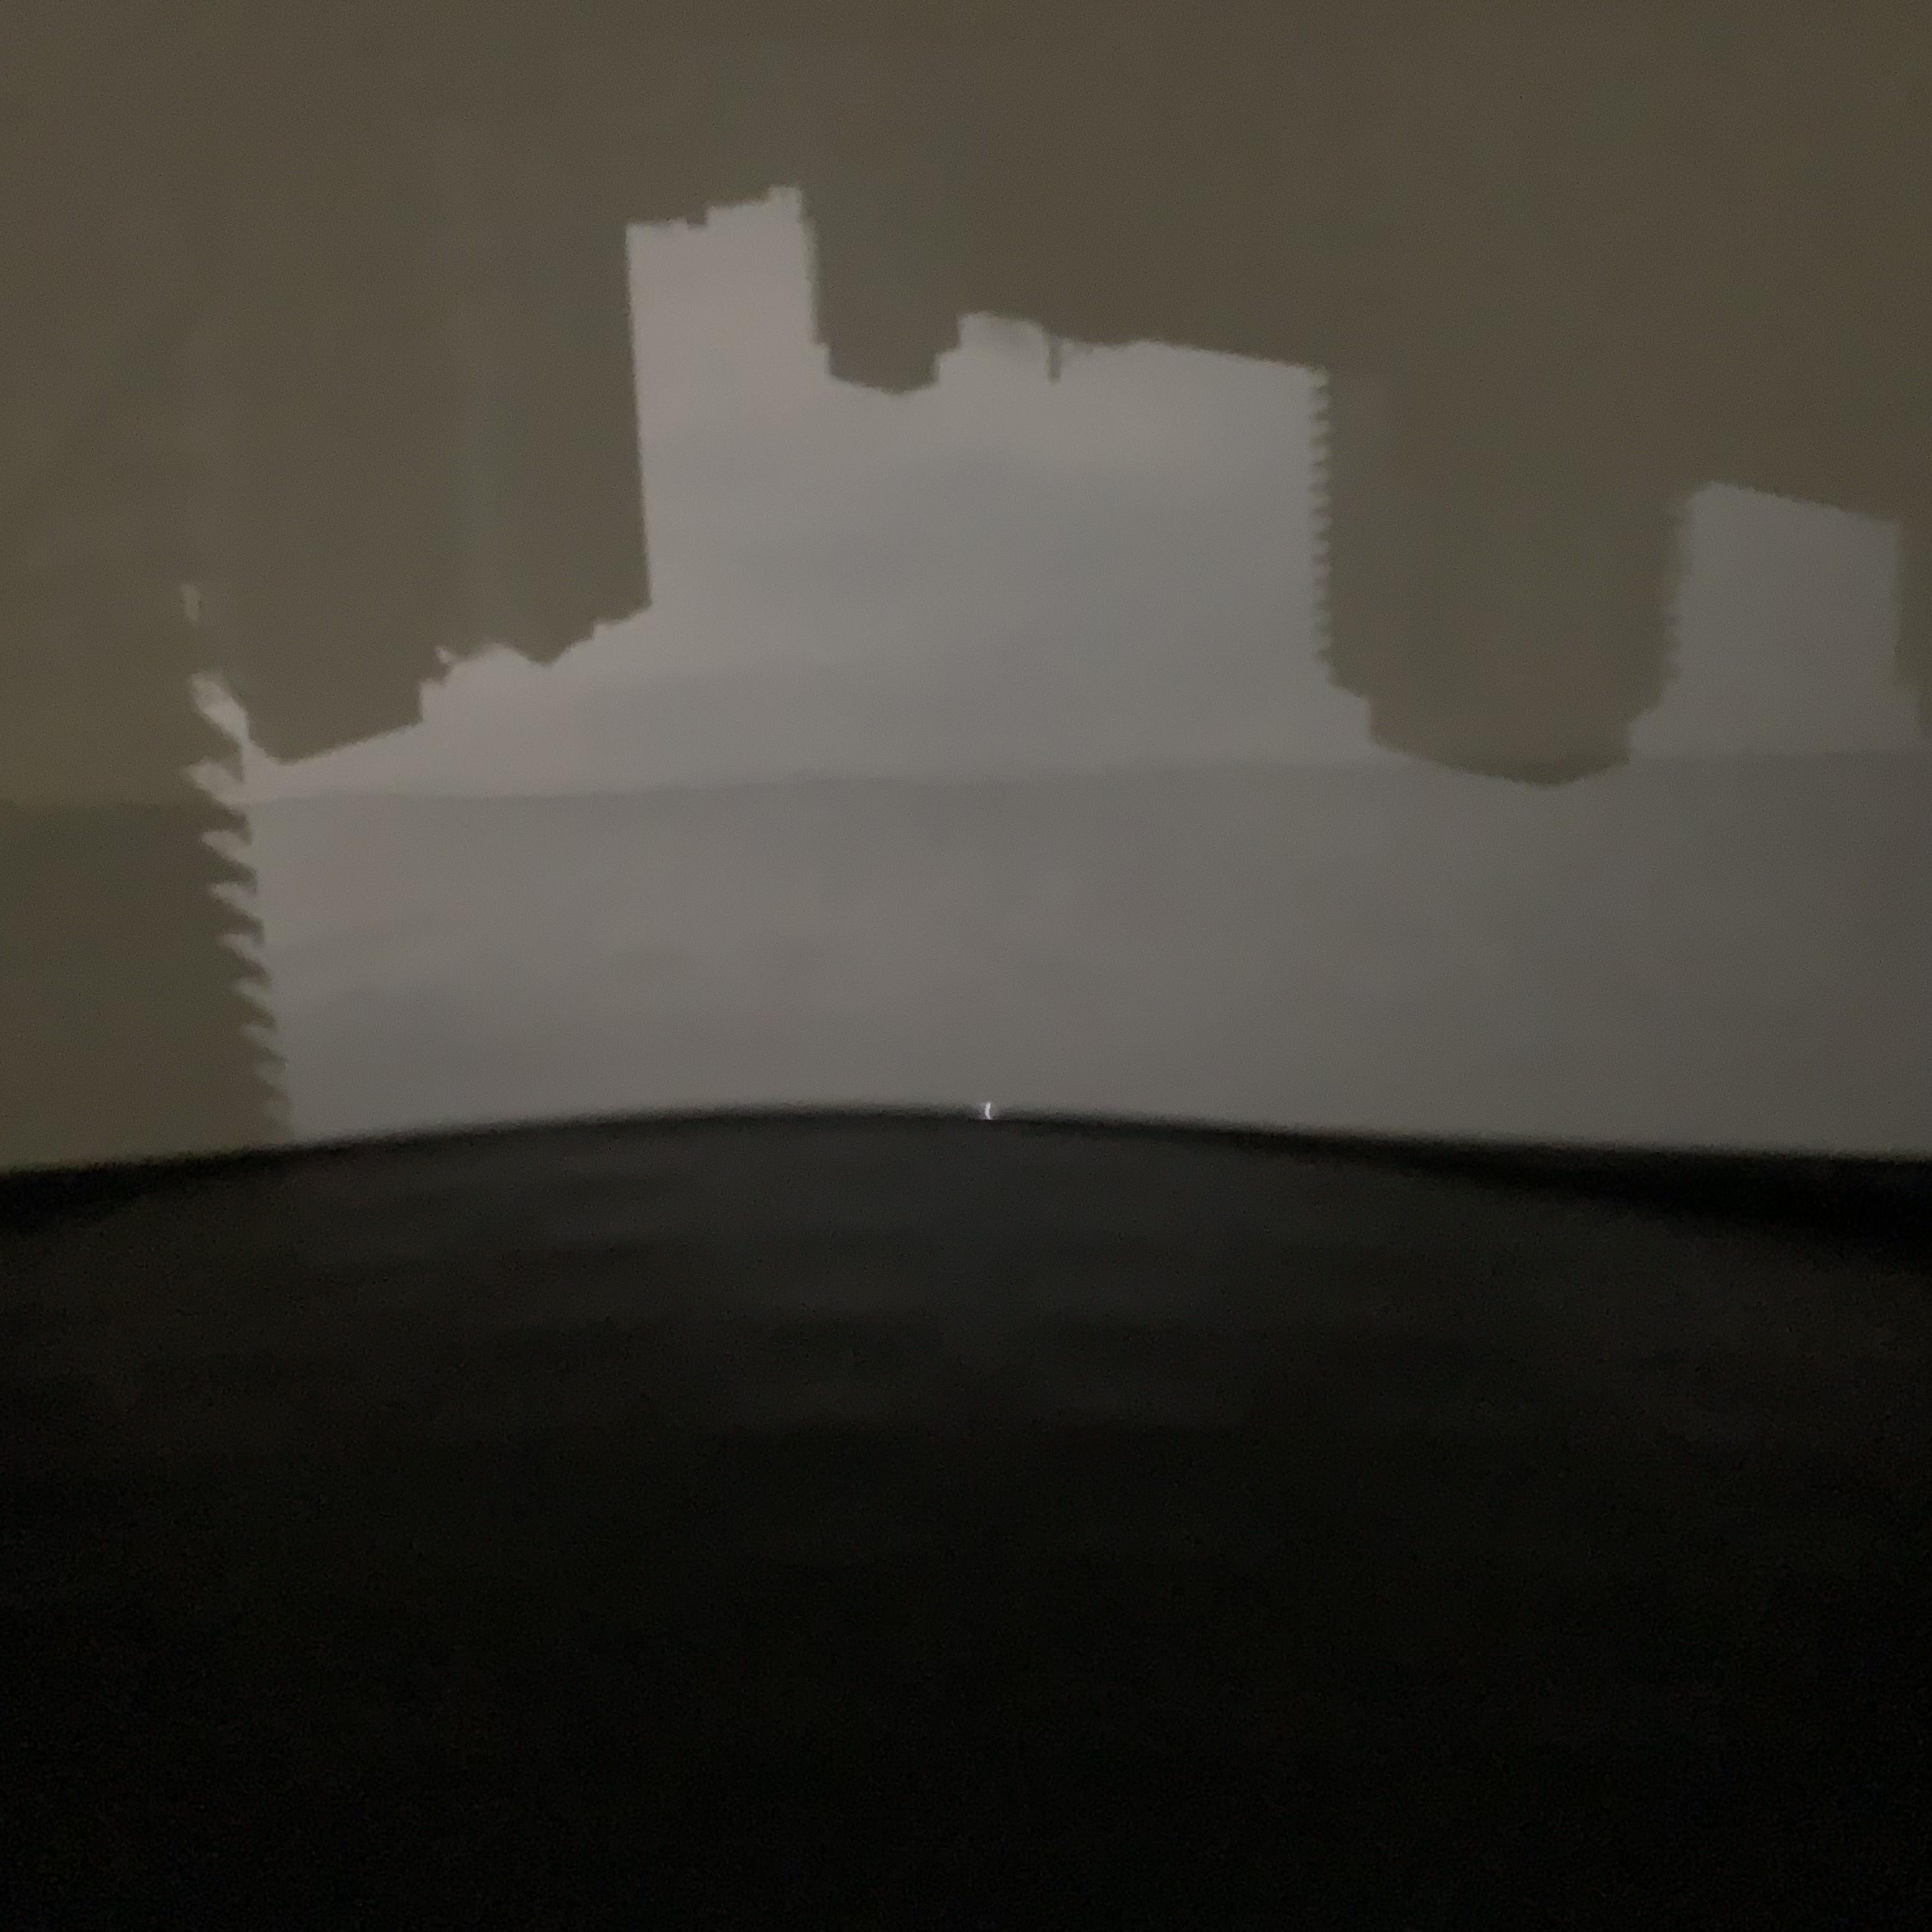
- For the large camera, the medium-sized pinhole offered the best results, balancing light and sharpness. The larger projection area allowed for capturing more detail, but it required careful optimization of the pinhole size to minimize light diffusion and improve image sharpness.
- For the small camera, a larger pinhole allowed better image clarity due to increased light intensity. The compact design and shorter focal length made it less sensitive to diffraction effects, allowing a larger aperture to produce a clearer and brighter image.
This comparison shows that large-format pinhole photography can produce better images due to its potential for higher detail and sharpness, especially when optimized for aperture size. However, it also requires more careful control of light and stability, whereas smaller cameras are easier to manage and can yield satisfactory results with larger apertures.
Function of a Camera & Mathematical Analysis
Function of a Camera
A pinhole camera forms an image by allowing light rays to pass through a small aperture and project onto a screen. The rays travel in straight lines, preserving the geometric relationships between the scene and the image. This simple optical system demonstrates how light travels and how an inverted image forms due to the linear nature of light rays passing through the aperture.
Mathematical Derivation
Using similar triangles, the relationship between the subject size (hs) and image size (hi) is given by:
hi/hs = I/S,
where I is the distance from the pinhole to the image plane (focal length) and S is the distance from the pinhole to the subject. Rearranging:
hi = hs · I/S .
This equation shows that the image size is proportional to the subject size and the ratio of distances. Linear scaling ensures that the geometry of the scene is preserved, although inverted.
Optimal Pinhole Diameter
The optimal pinhole size balances sharpness (classical optics) and diffraction (modern optics). A smaller pinhole improves sharpness by limiting the amount of overlapping light rays, but excessively small pinholes cause diffraction, resulting in a blurrier image. The formula for the optimal aperture diameter is:
d = c√(f λ),
where:
- d = aperture diameter,
- f = focal length (distance from aperture to image plane),
- λ = wavelength of light (e.g., 550 nm for green light),
- c = constant between 1.5 and 2.
For the large camera with f = 1 m:
- d = 1.5√1 × 550 × 10−9 ≈ 1.1 mm.
For the small camera with f = 0.1 m:
- d = 1.5√0.1 × 550 × 10−9 ≈ 0.5 mm.
These calculations illustrate how focal length and wavelength influence the optimal aperture size. For the large camera, a medium pinhole size approximates this value and provides a balanced trade-off between sharpness and brightness. For the small camera, a slightly larger pinhole allows more light, compensating for its shorter focal length.
Image Enhancement Using a Small Lens

To enhance image quality, I placed a small lens—a magnifying glass—over the pinhole of the large camera. I used the medium-sized pinhole, as it had produced the best results during previous experiments. Adding the magnifying glass noticeably improved the image, making it sharper and more defined. Additionally, the image appeared to take on some color, enhancing its overall clarity and detail.
Further Improvements
To improve camera designs, I would relocate the hole in the smartphone camera to make the device more user-friendly. This issue was particularly evident with the small camera, where positioning my smartphone to capture the image was challenging. Adjusting the placement of the hole would simplify the process and enhance usability.
Conclusion
Through this lab, I built and tested two pinhole cameras and observed the impact of aperture size on image quality. The experiments showed that the medium-sized pinhole worked best for the large camera, while a larger pinhole was optimal for the small camera. These findings highlight the practical trade-offs involved in pinhole photography and align with theoretical predictions based on classical and modern optics. The mathematical relationships derived further clarify the principles underlying pinhole imaging. The results provide insight into how image sharpness, light intensity, and diffraction interact, emphasizing the importance of optimizing aperture size for specific setups.