Cheap Beer Keg Halloween Lantern
by Barry Neeson in Craft > Reuse
463 Views, 0 Favorites, 0 Comments
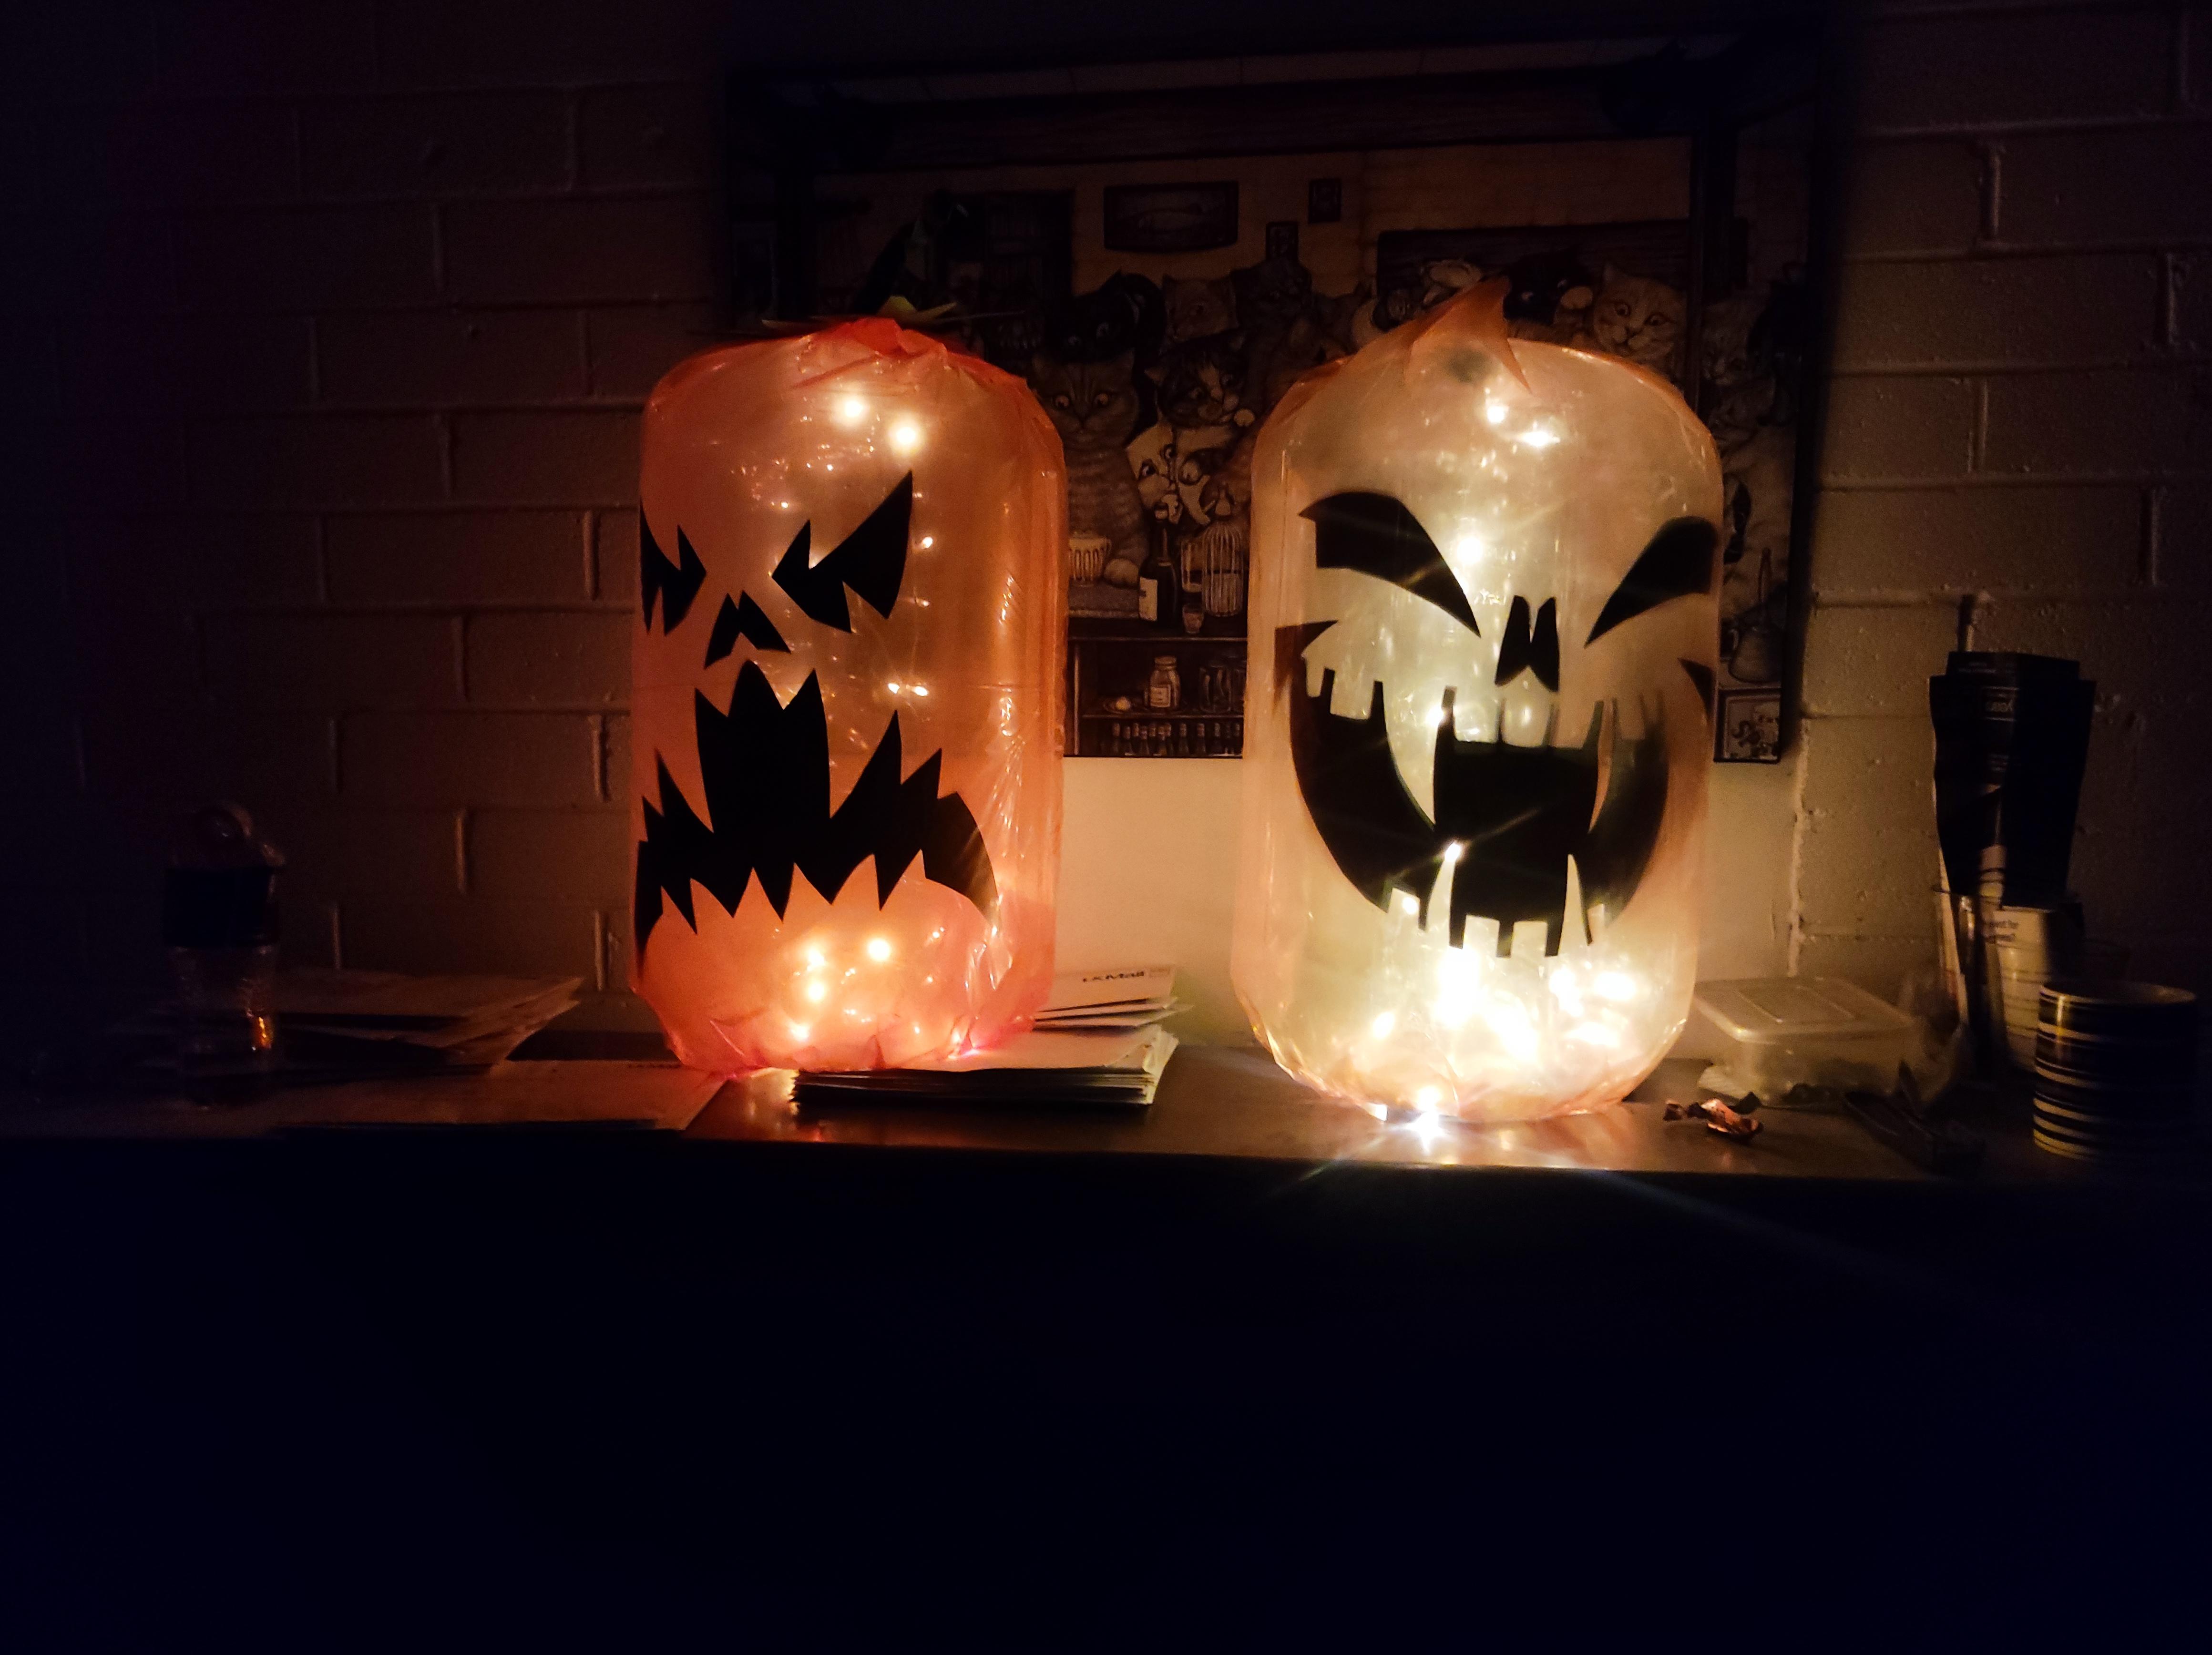
Cheap Beer Keg Halloween Lantern

Happy Halloween!
I hope you are all suitably excited for the spooky season!
In this instructable I am going to share how to make a large reuasable lantern that can quite happily sit outside using no special equipment and it wont break the bank.
Warning: You may have to spend some time in your local pub (or get an adult to to do it for you if you are not of legal drinking age...ahem)
Supplies
Materials
A plastic recycleable keg: Most Bars are quite happy to give you these as they usually acumulate somewhere in the back. You will need a certain type of keg but more on that step 1. Big thanks to Inn Deep in Glasgow for the kegs.
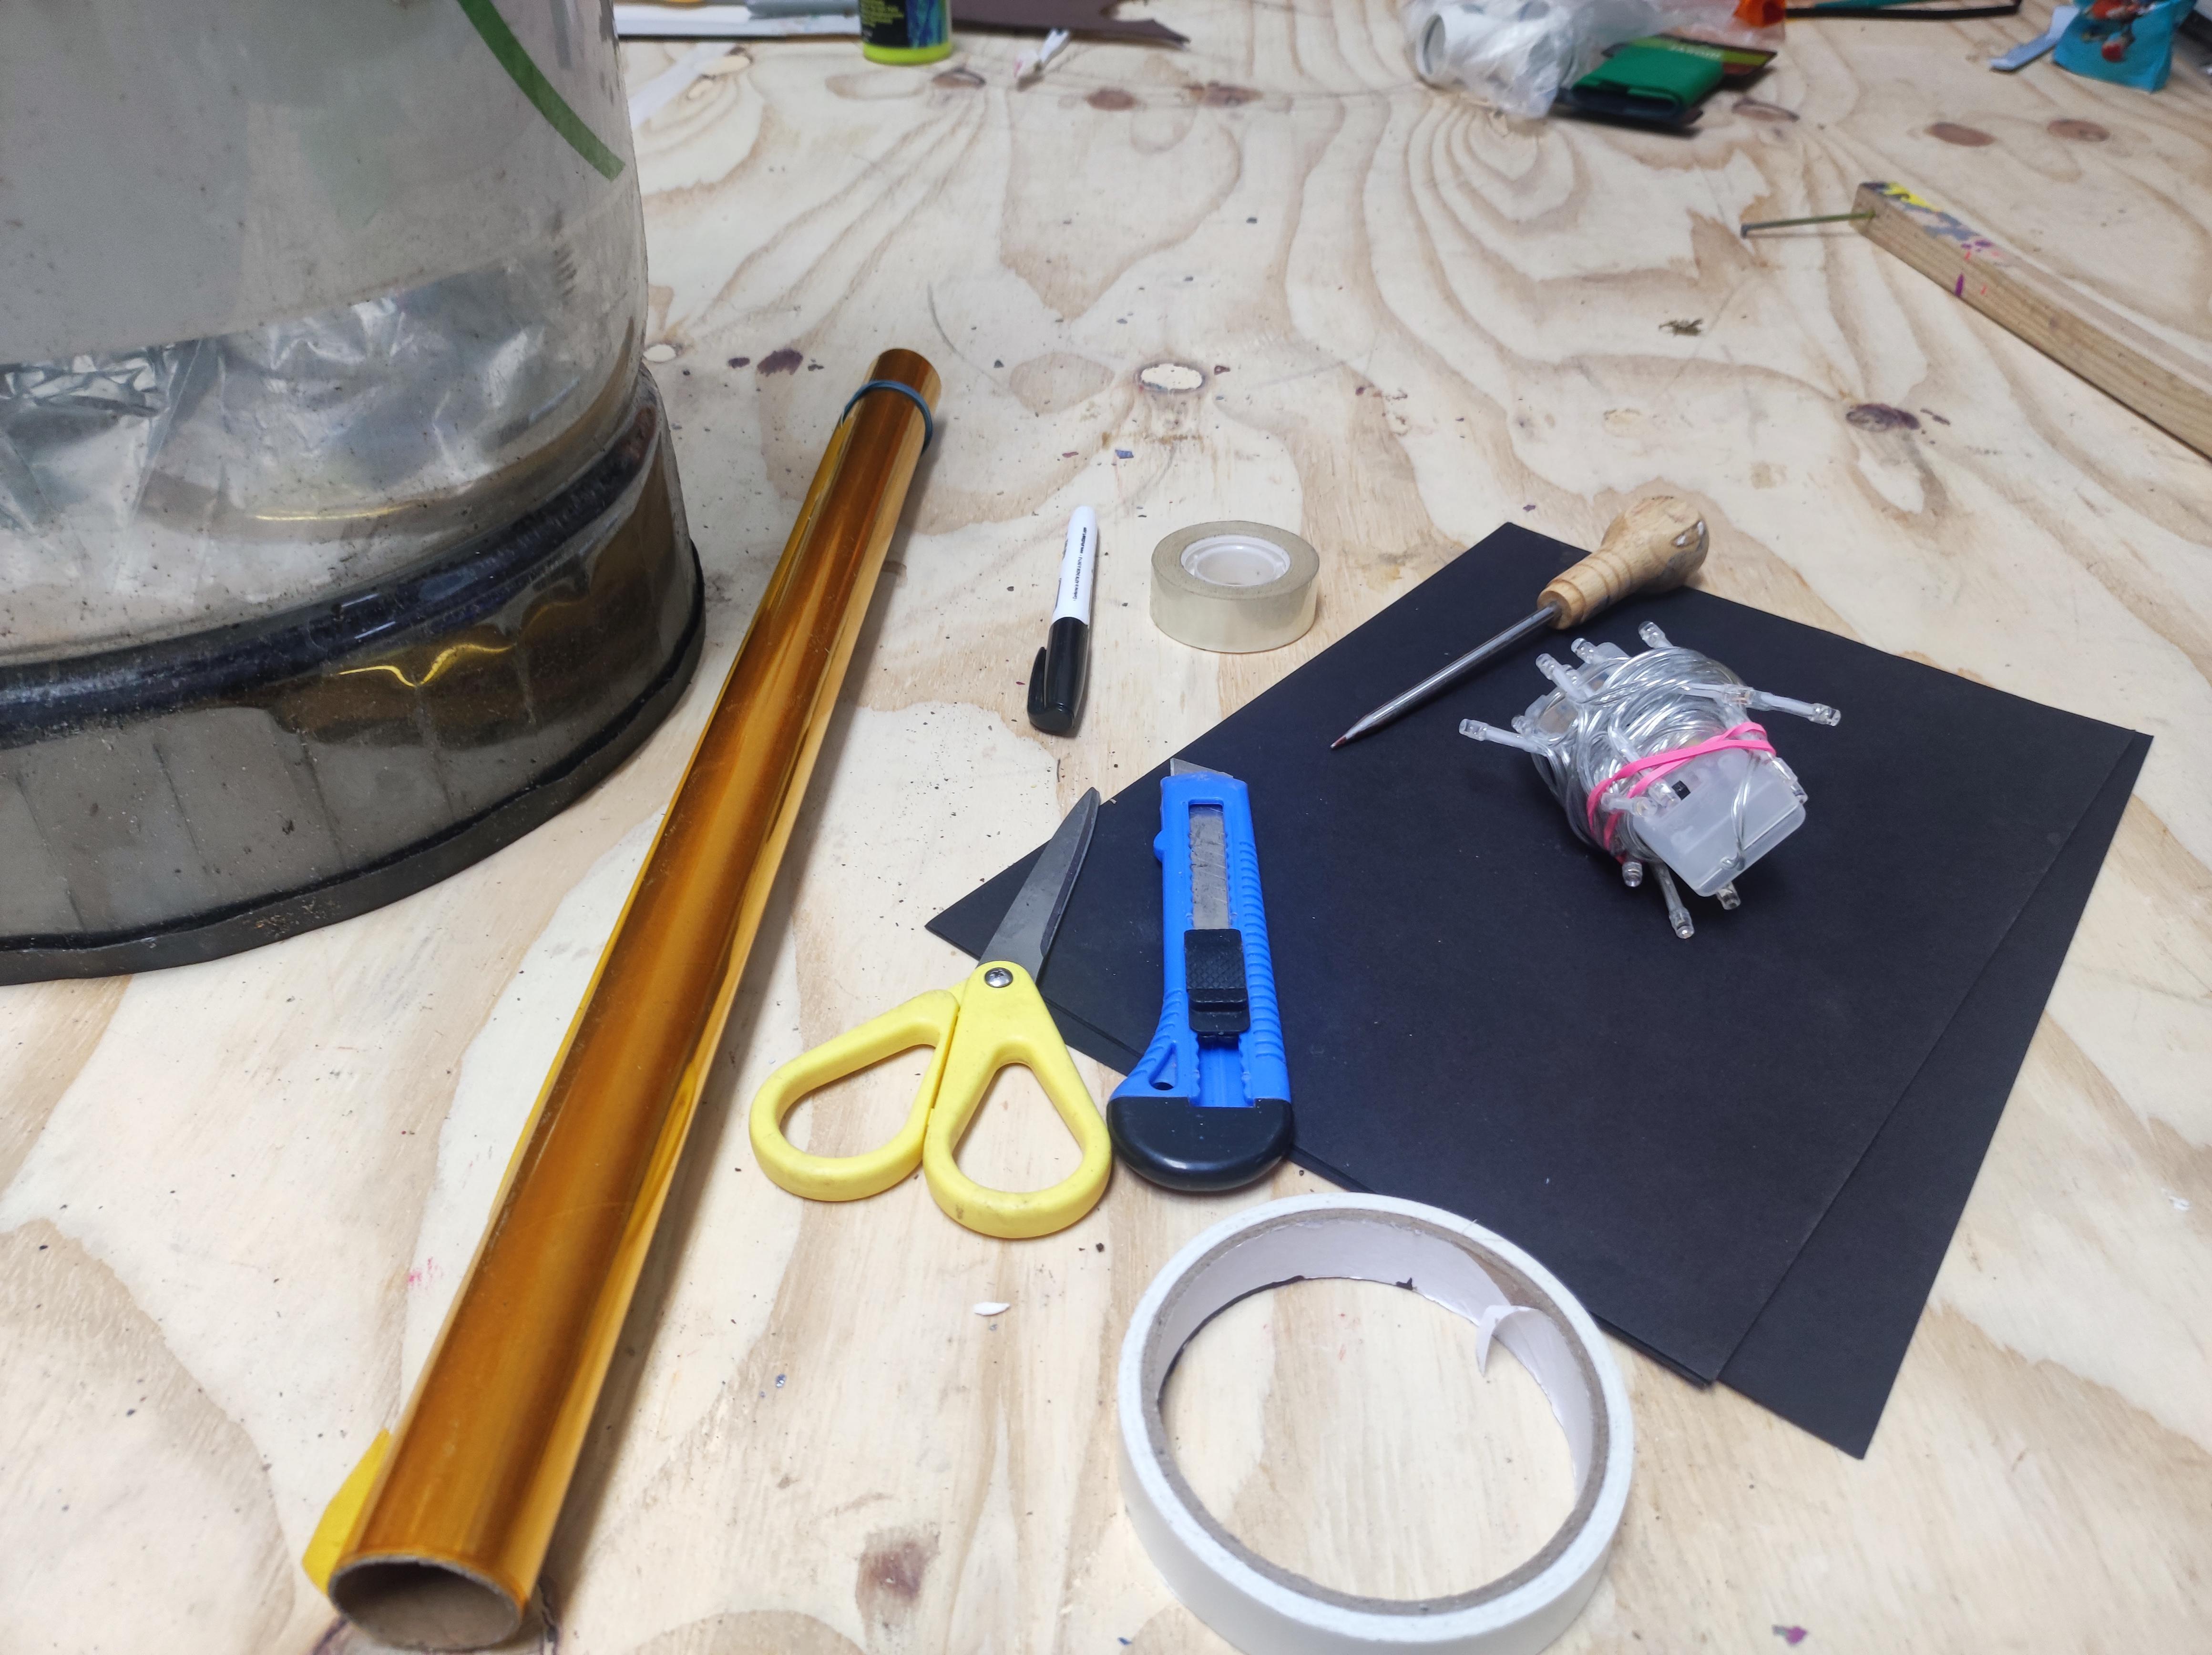
Orange cellophane: Try and get a roll long enough to wrap round the keg like a cylander with extra above and below. I picked up a roll 86 CM wide ;)
Black Card: Alternativley any dark colour of card as it will be back lit and behind the orange cellophane
Double sided tape or Cellotape
Battery operated lights: You could run plug in lights to them if you have that capability
Additional but not necessary
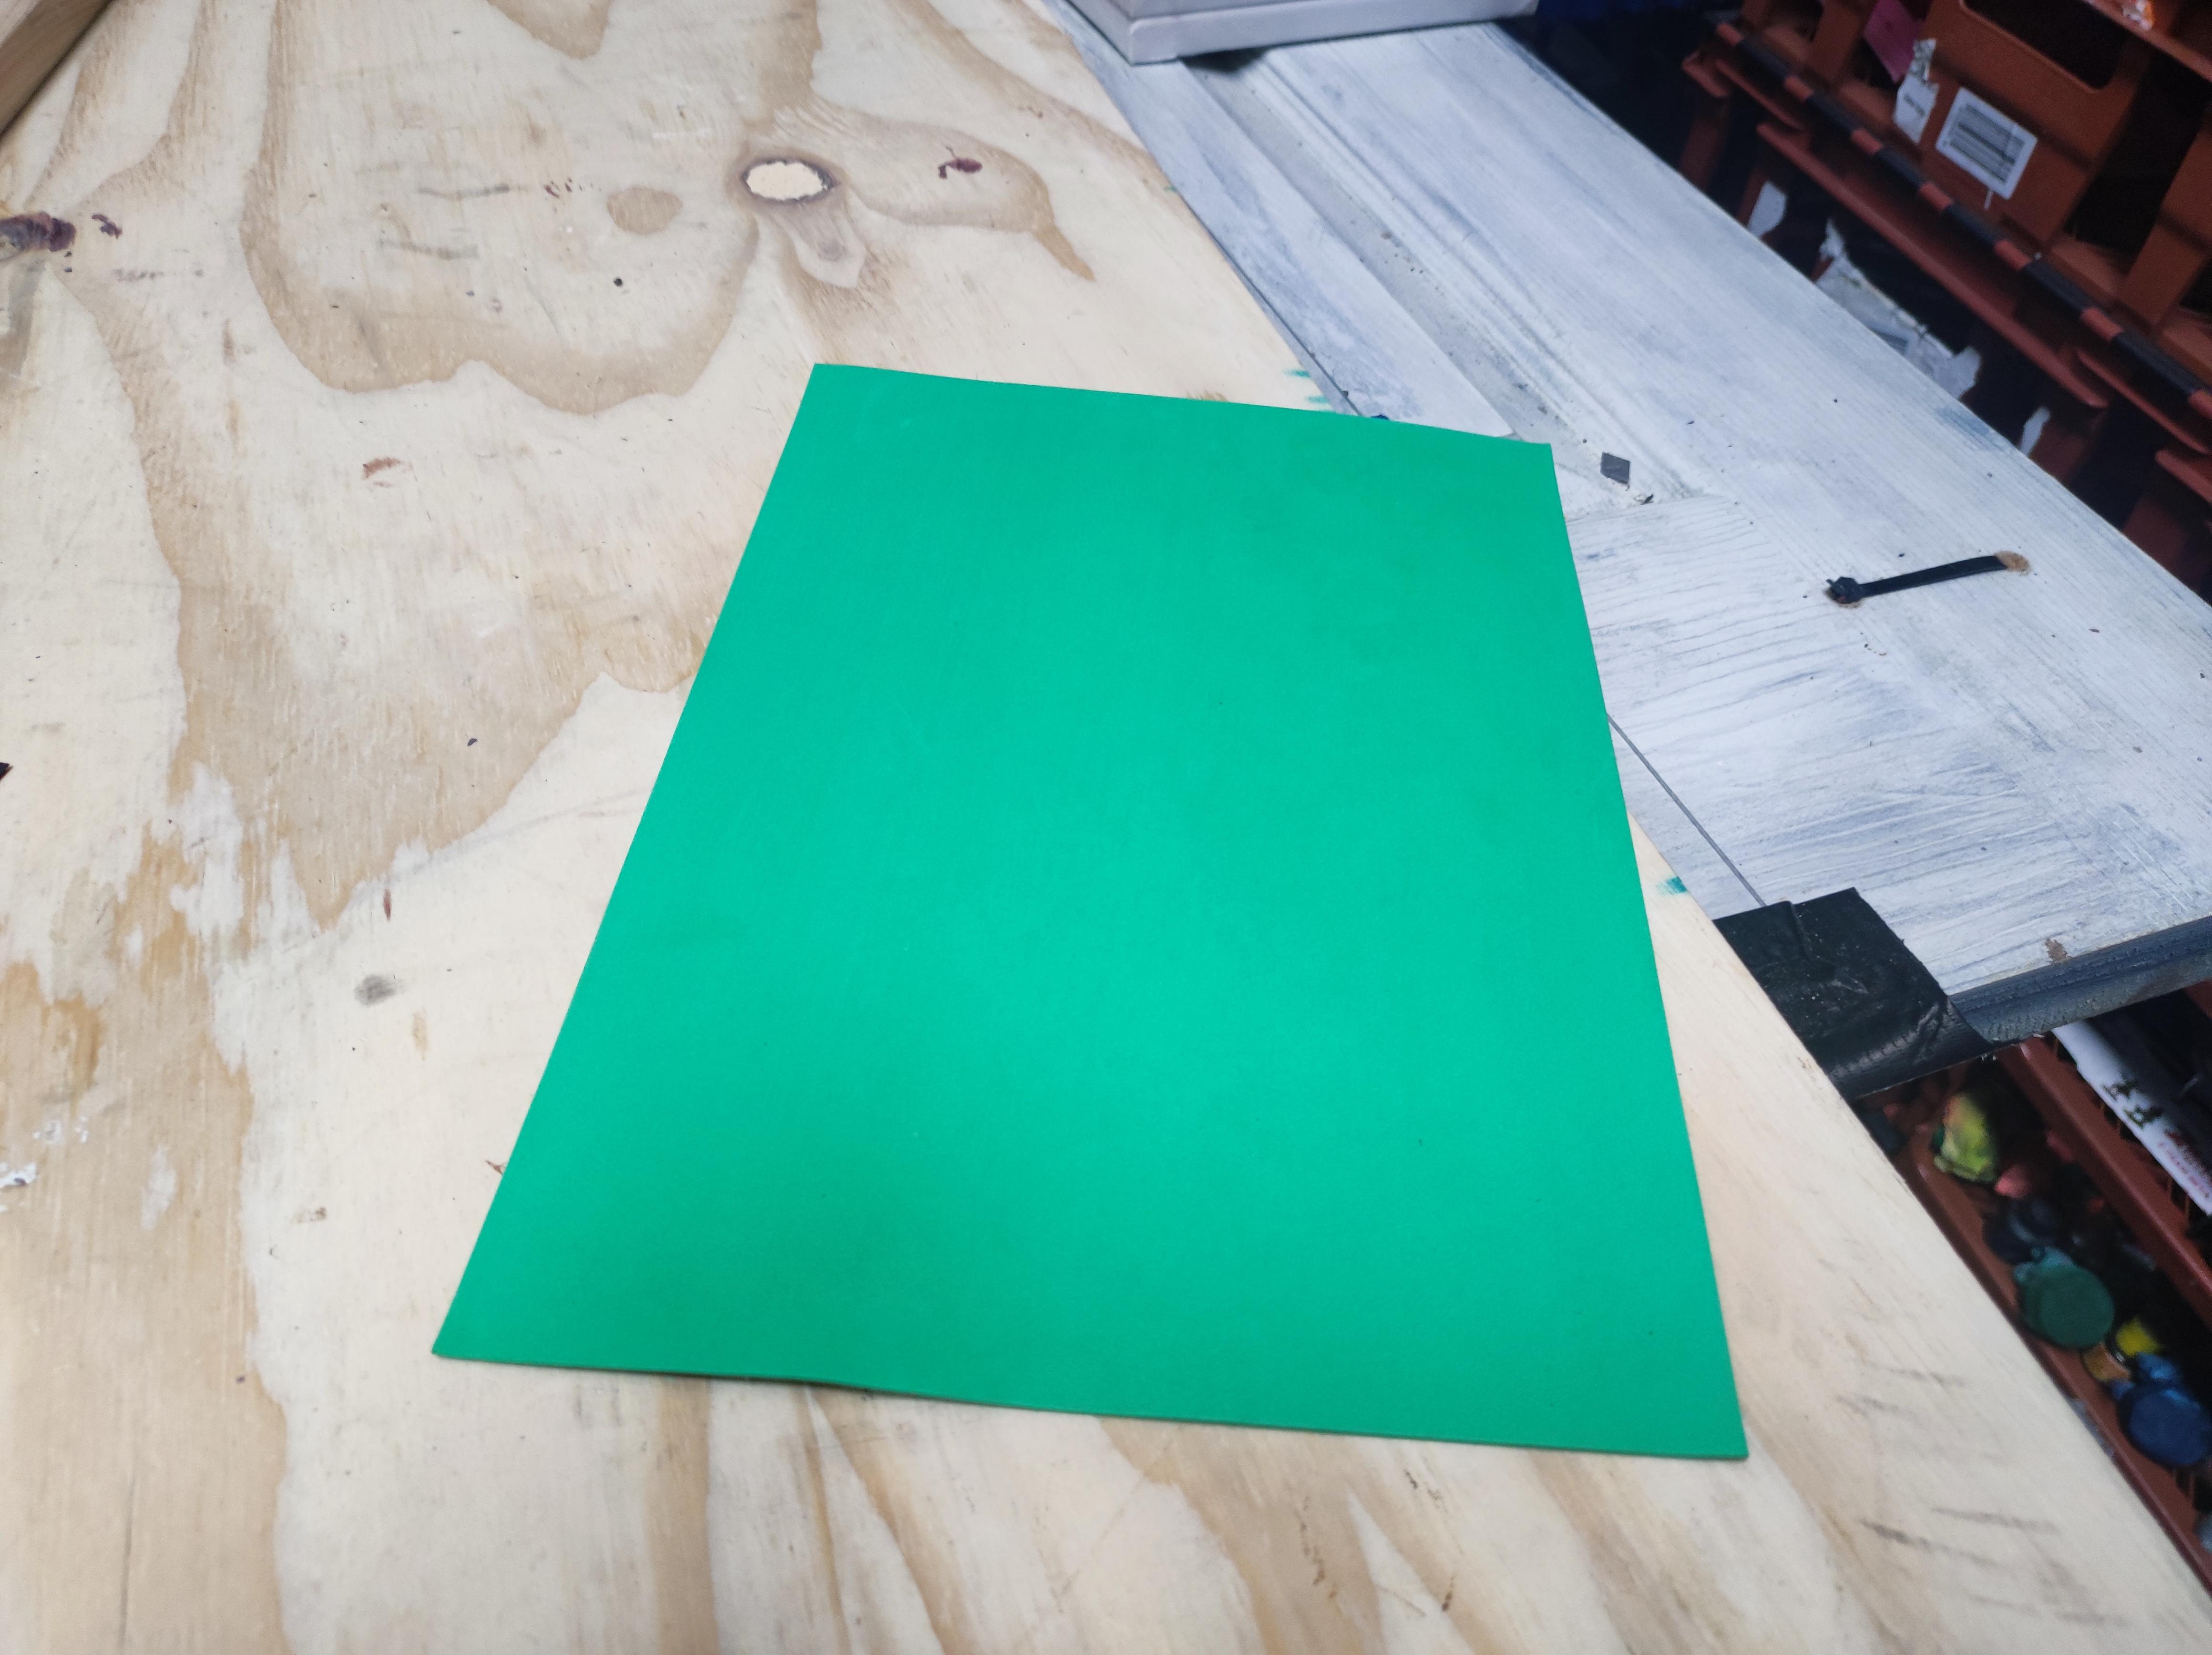
Green craft foam: If you are keeping the lantern indoors you could also use green card
Tools
Scissors
Craft knife
Something sharp and pointy: This is to pierce the keg, I used a gnoll but even a nail will do
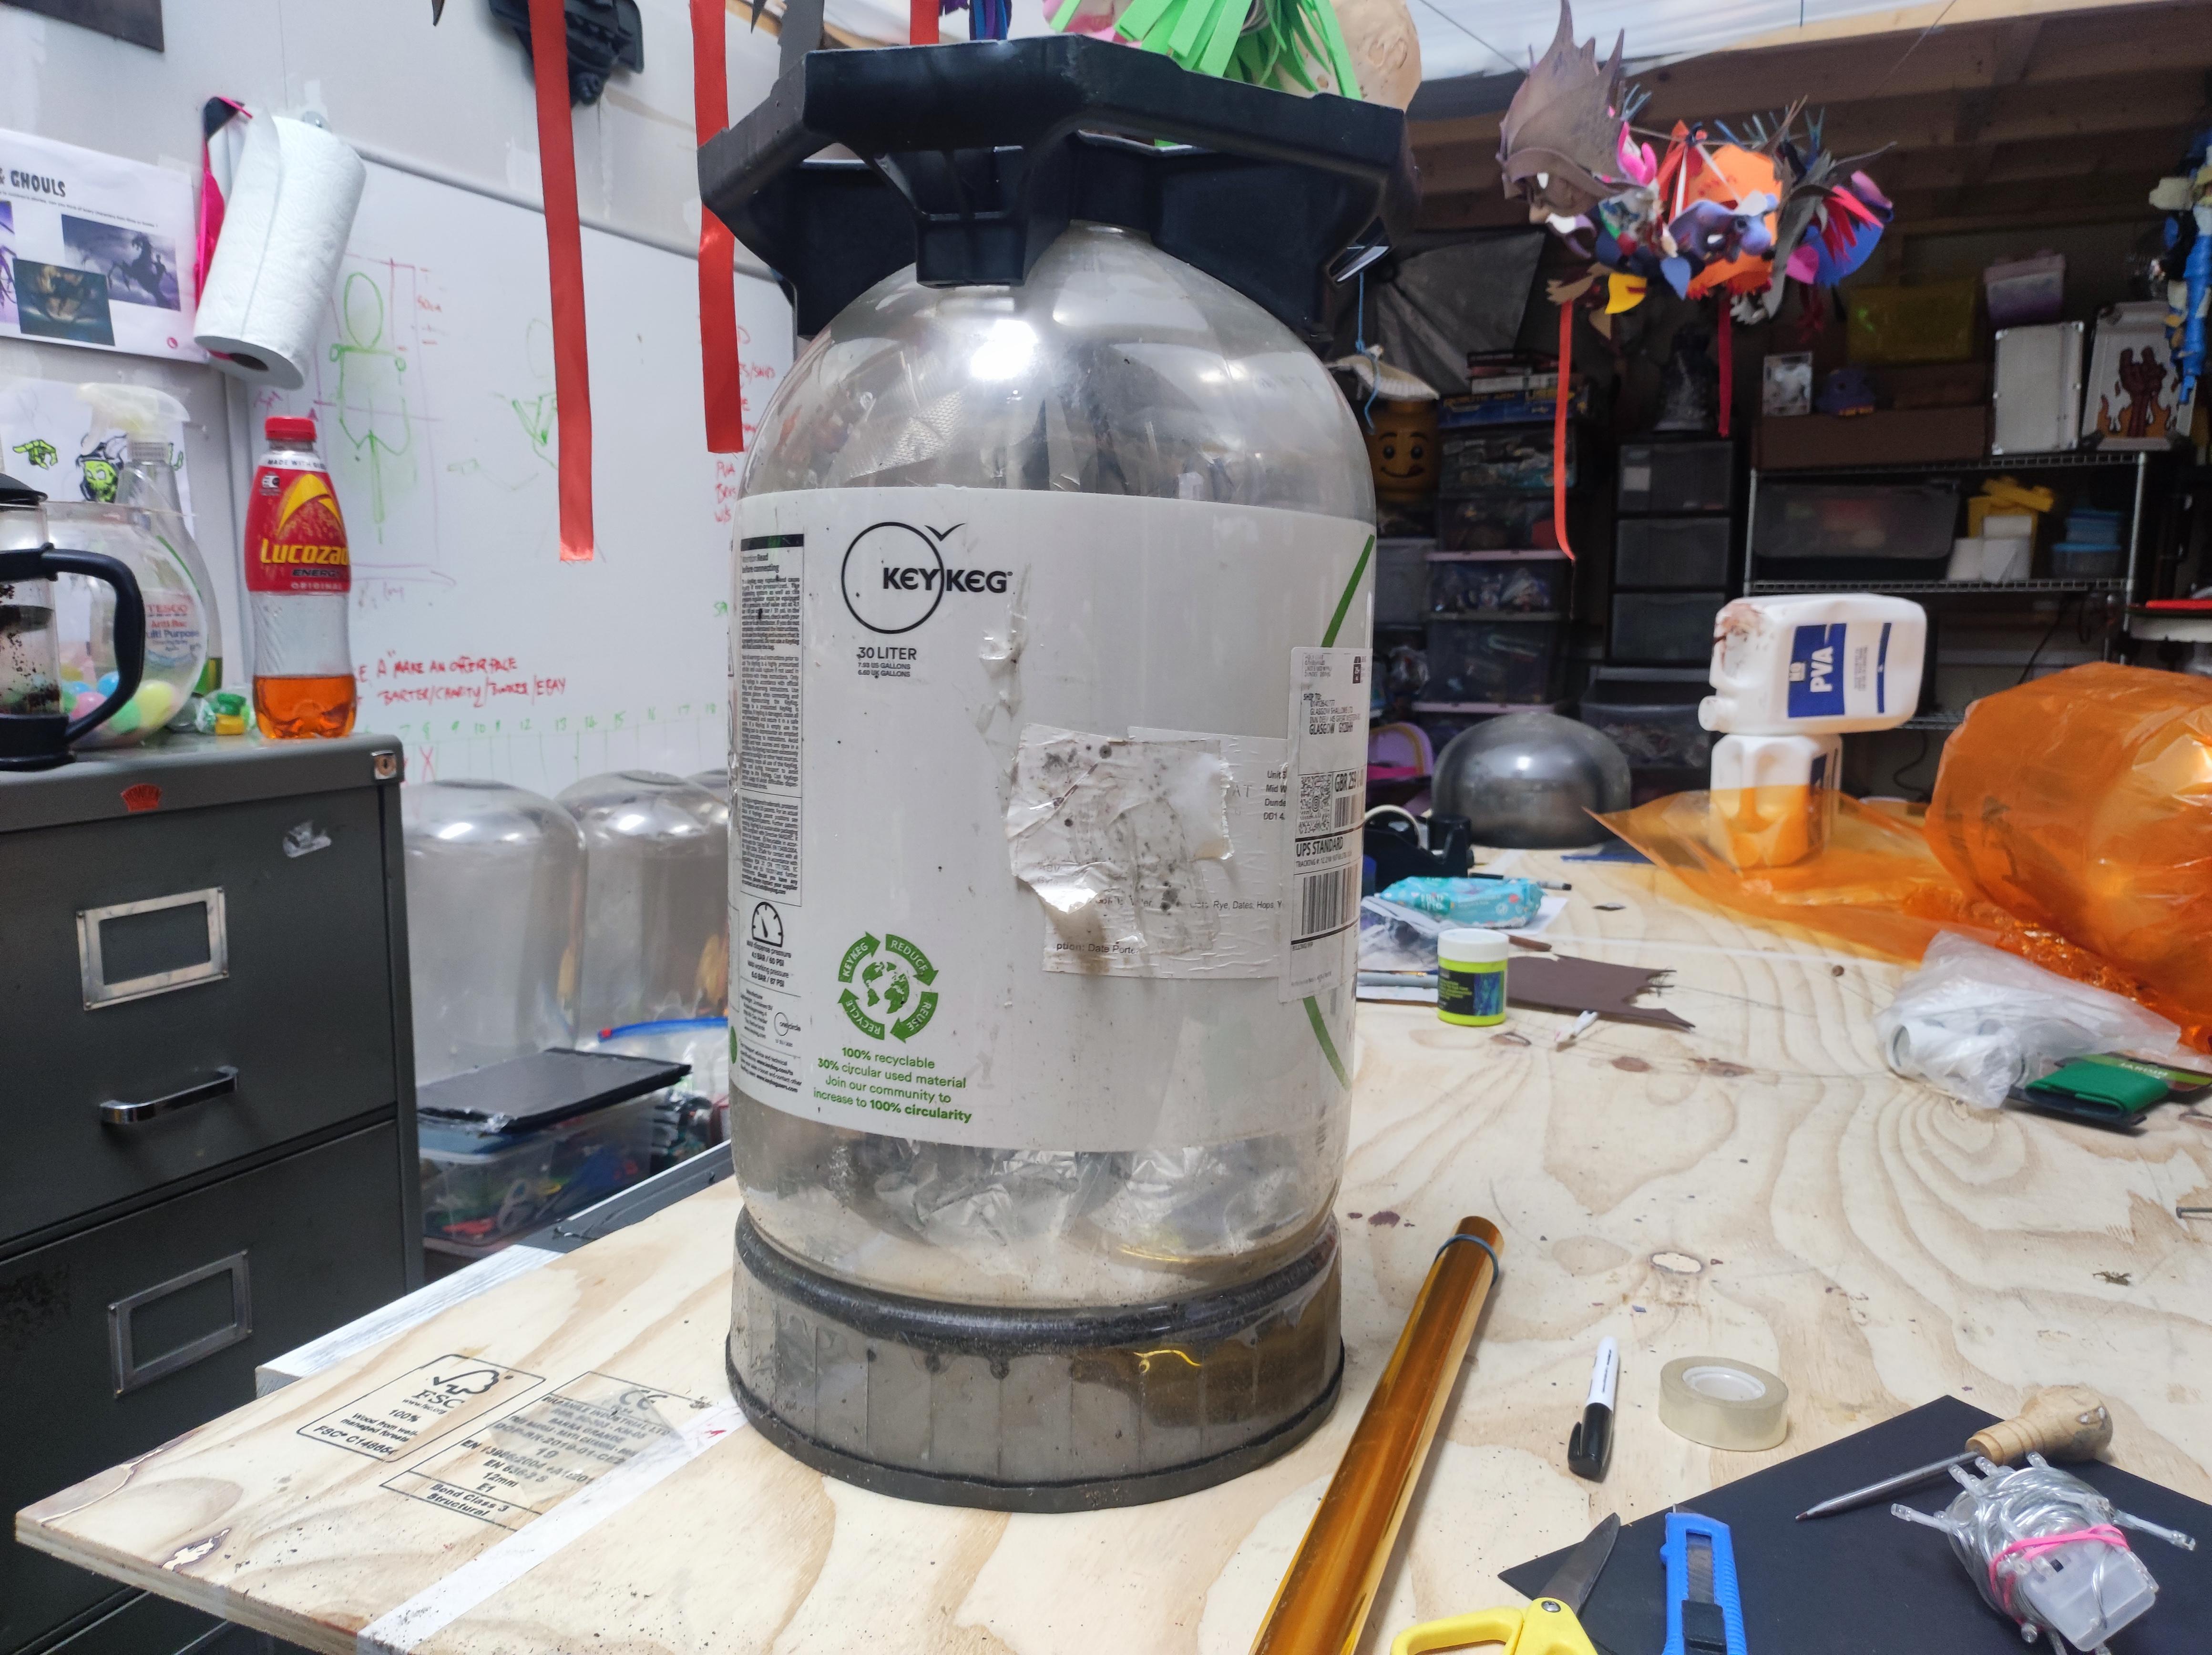
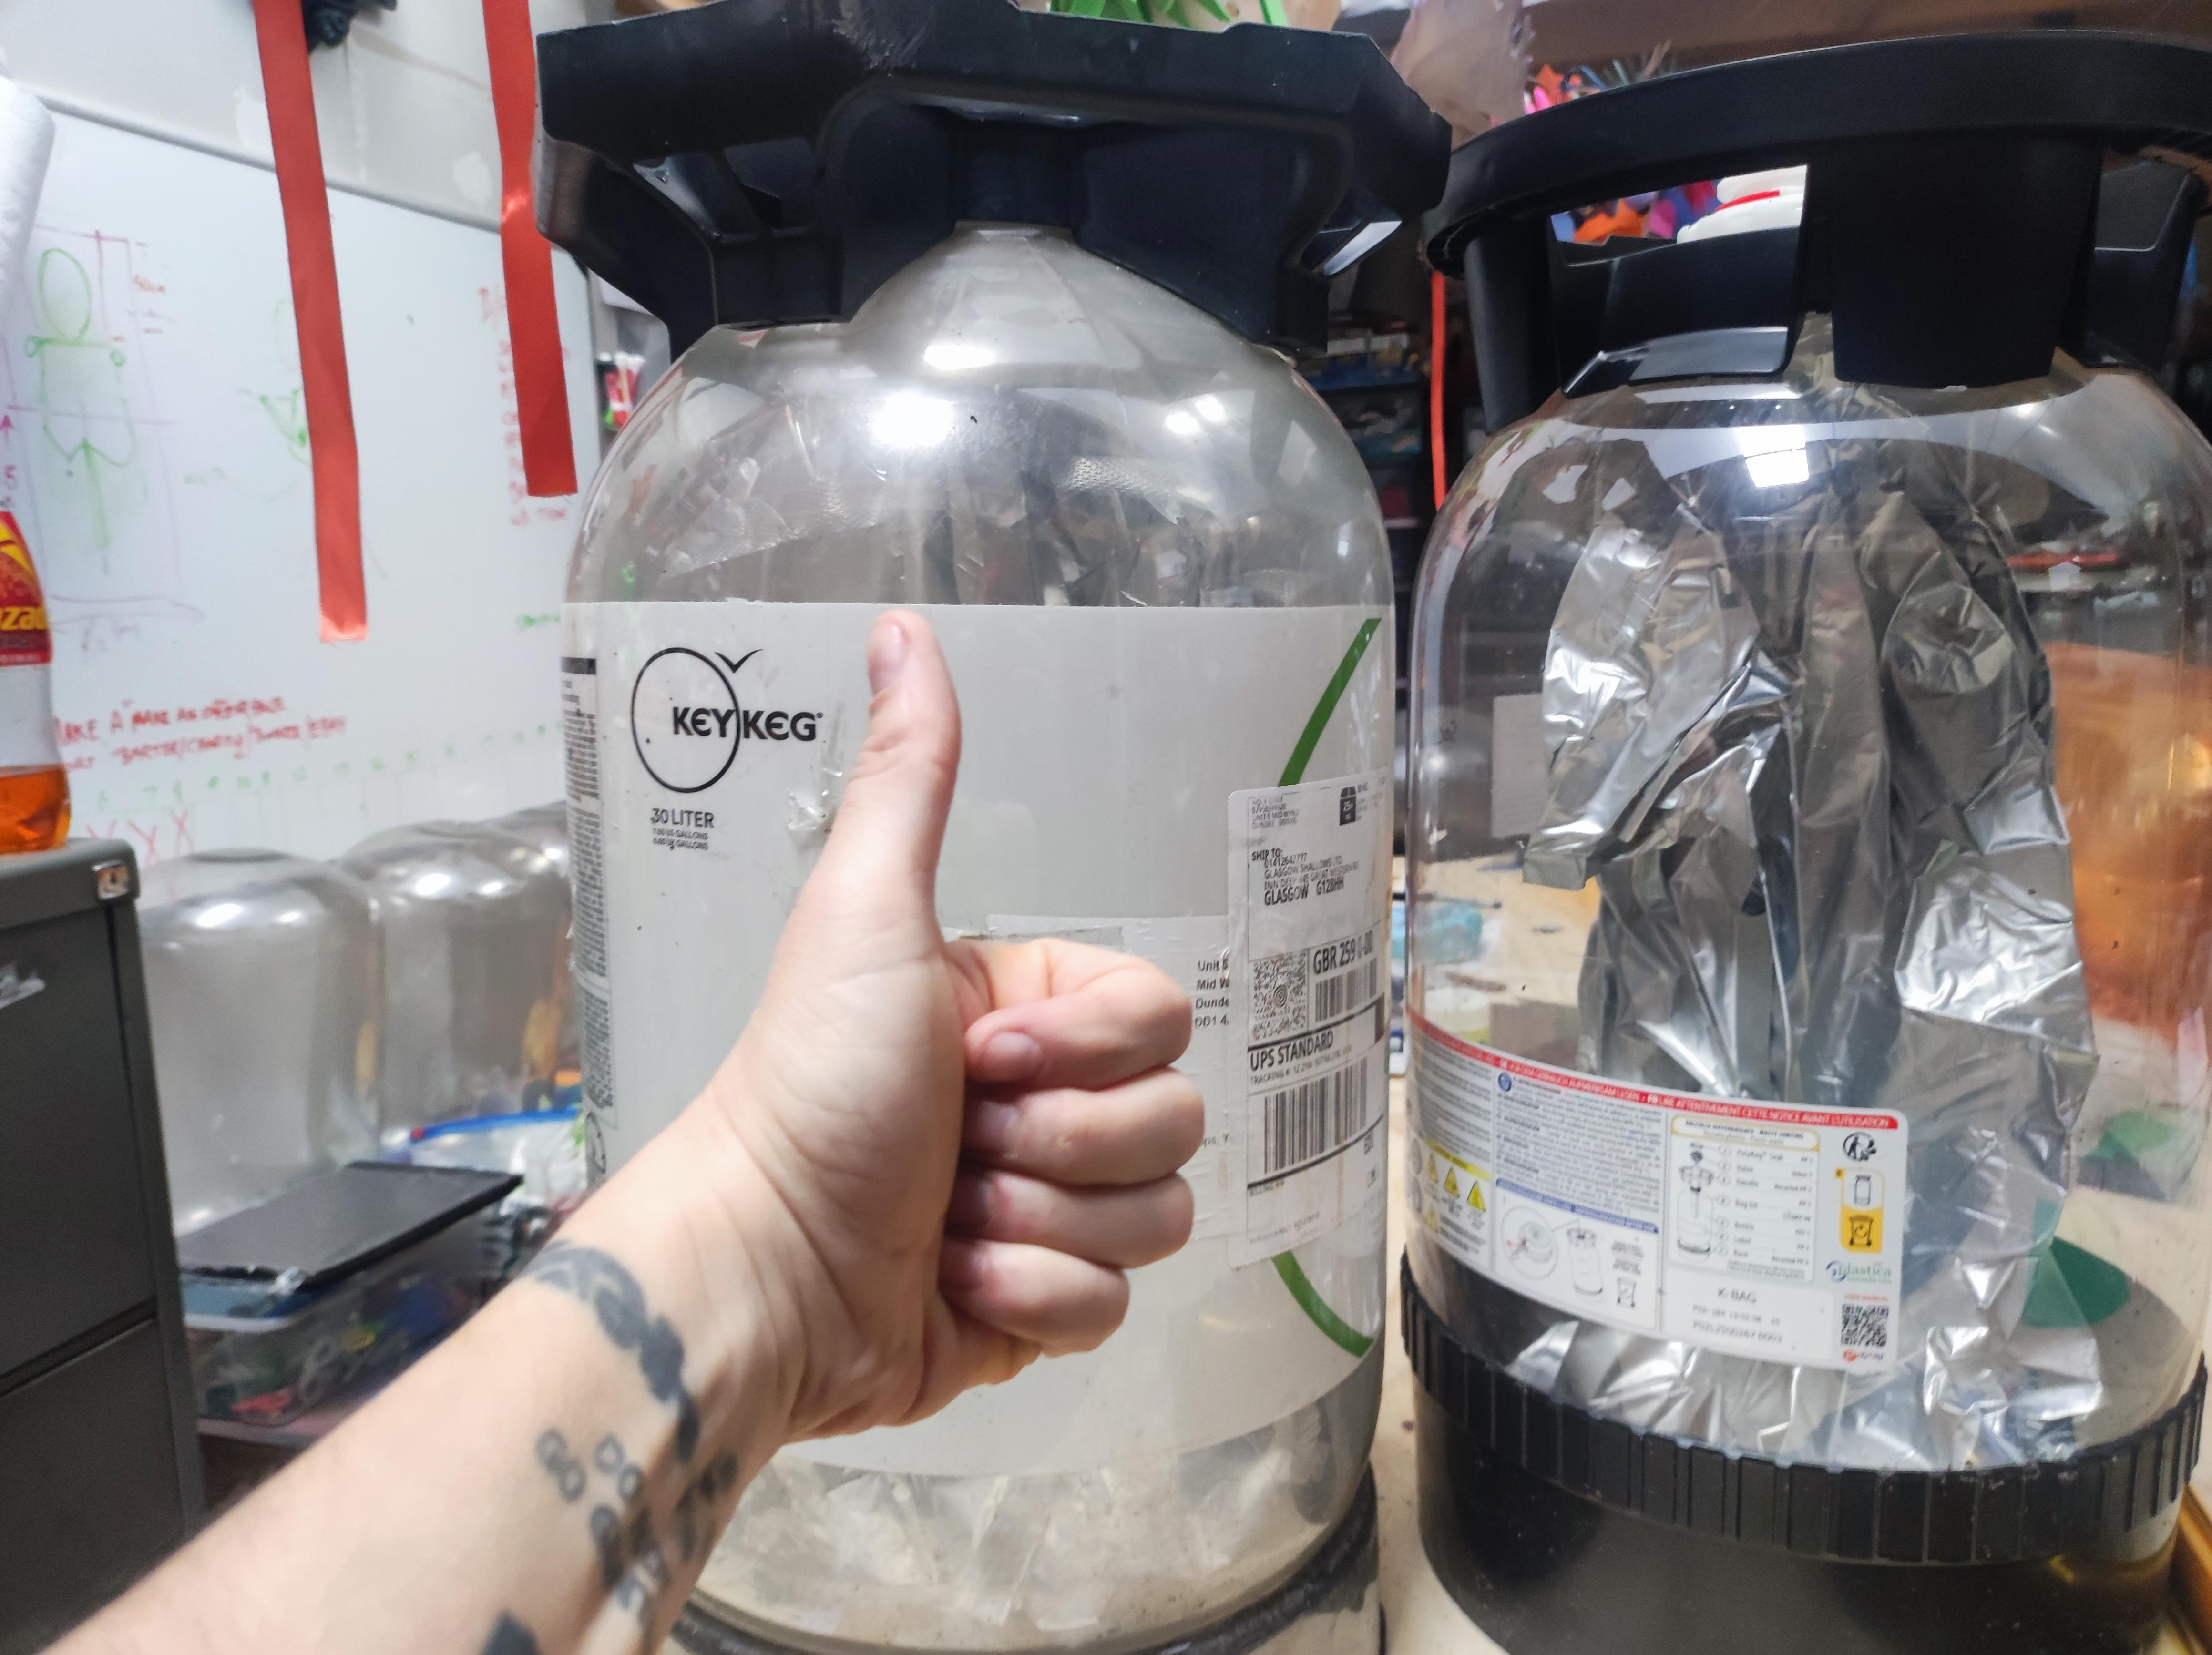
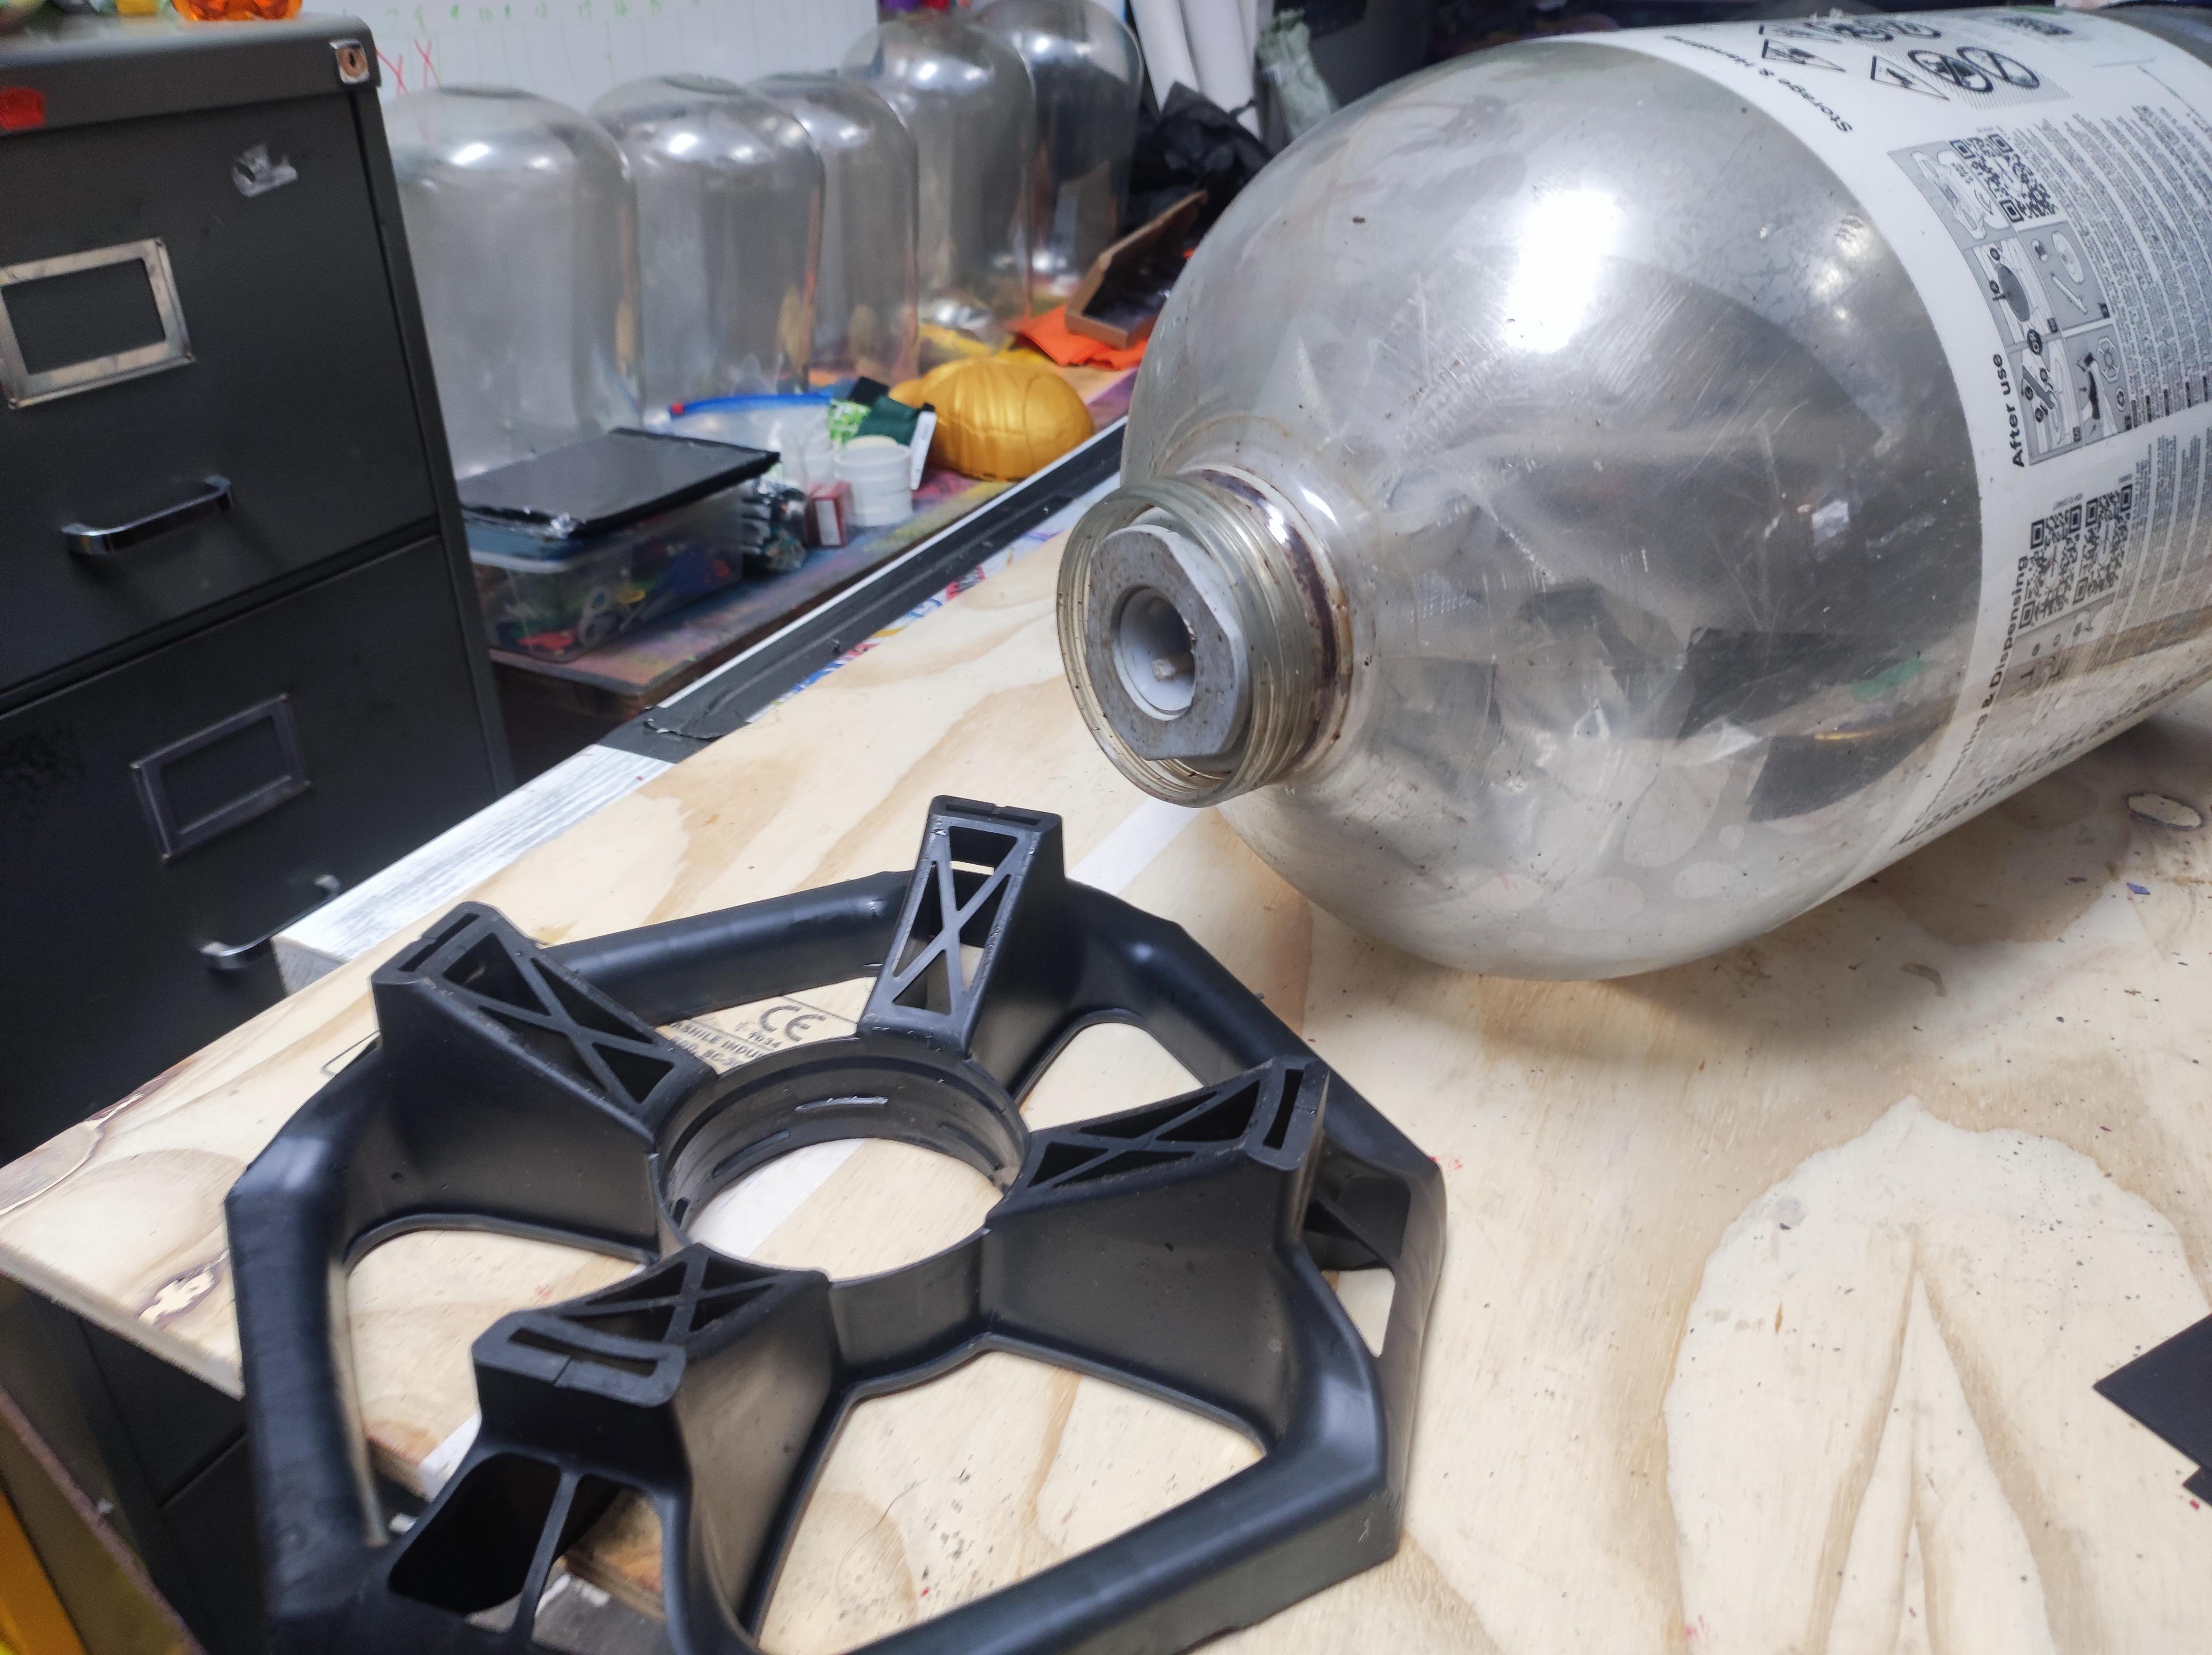
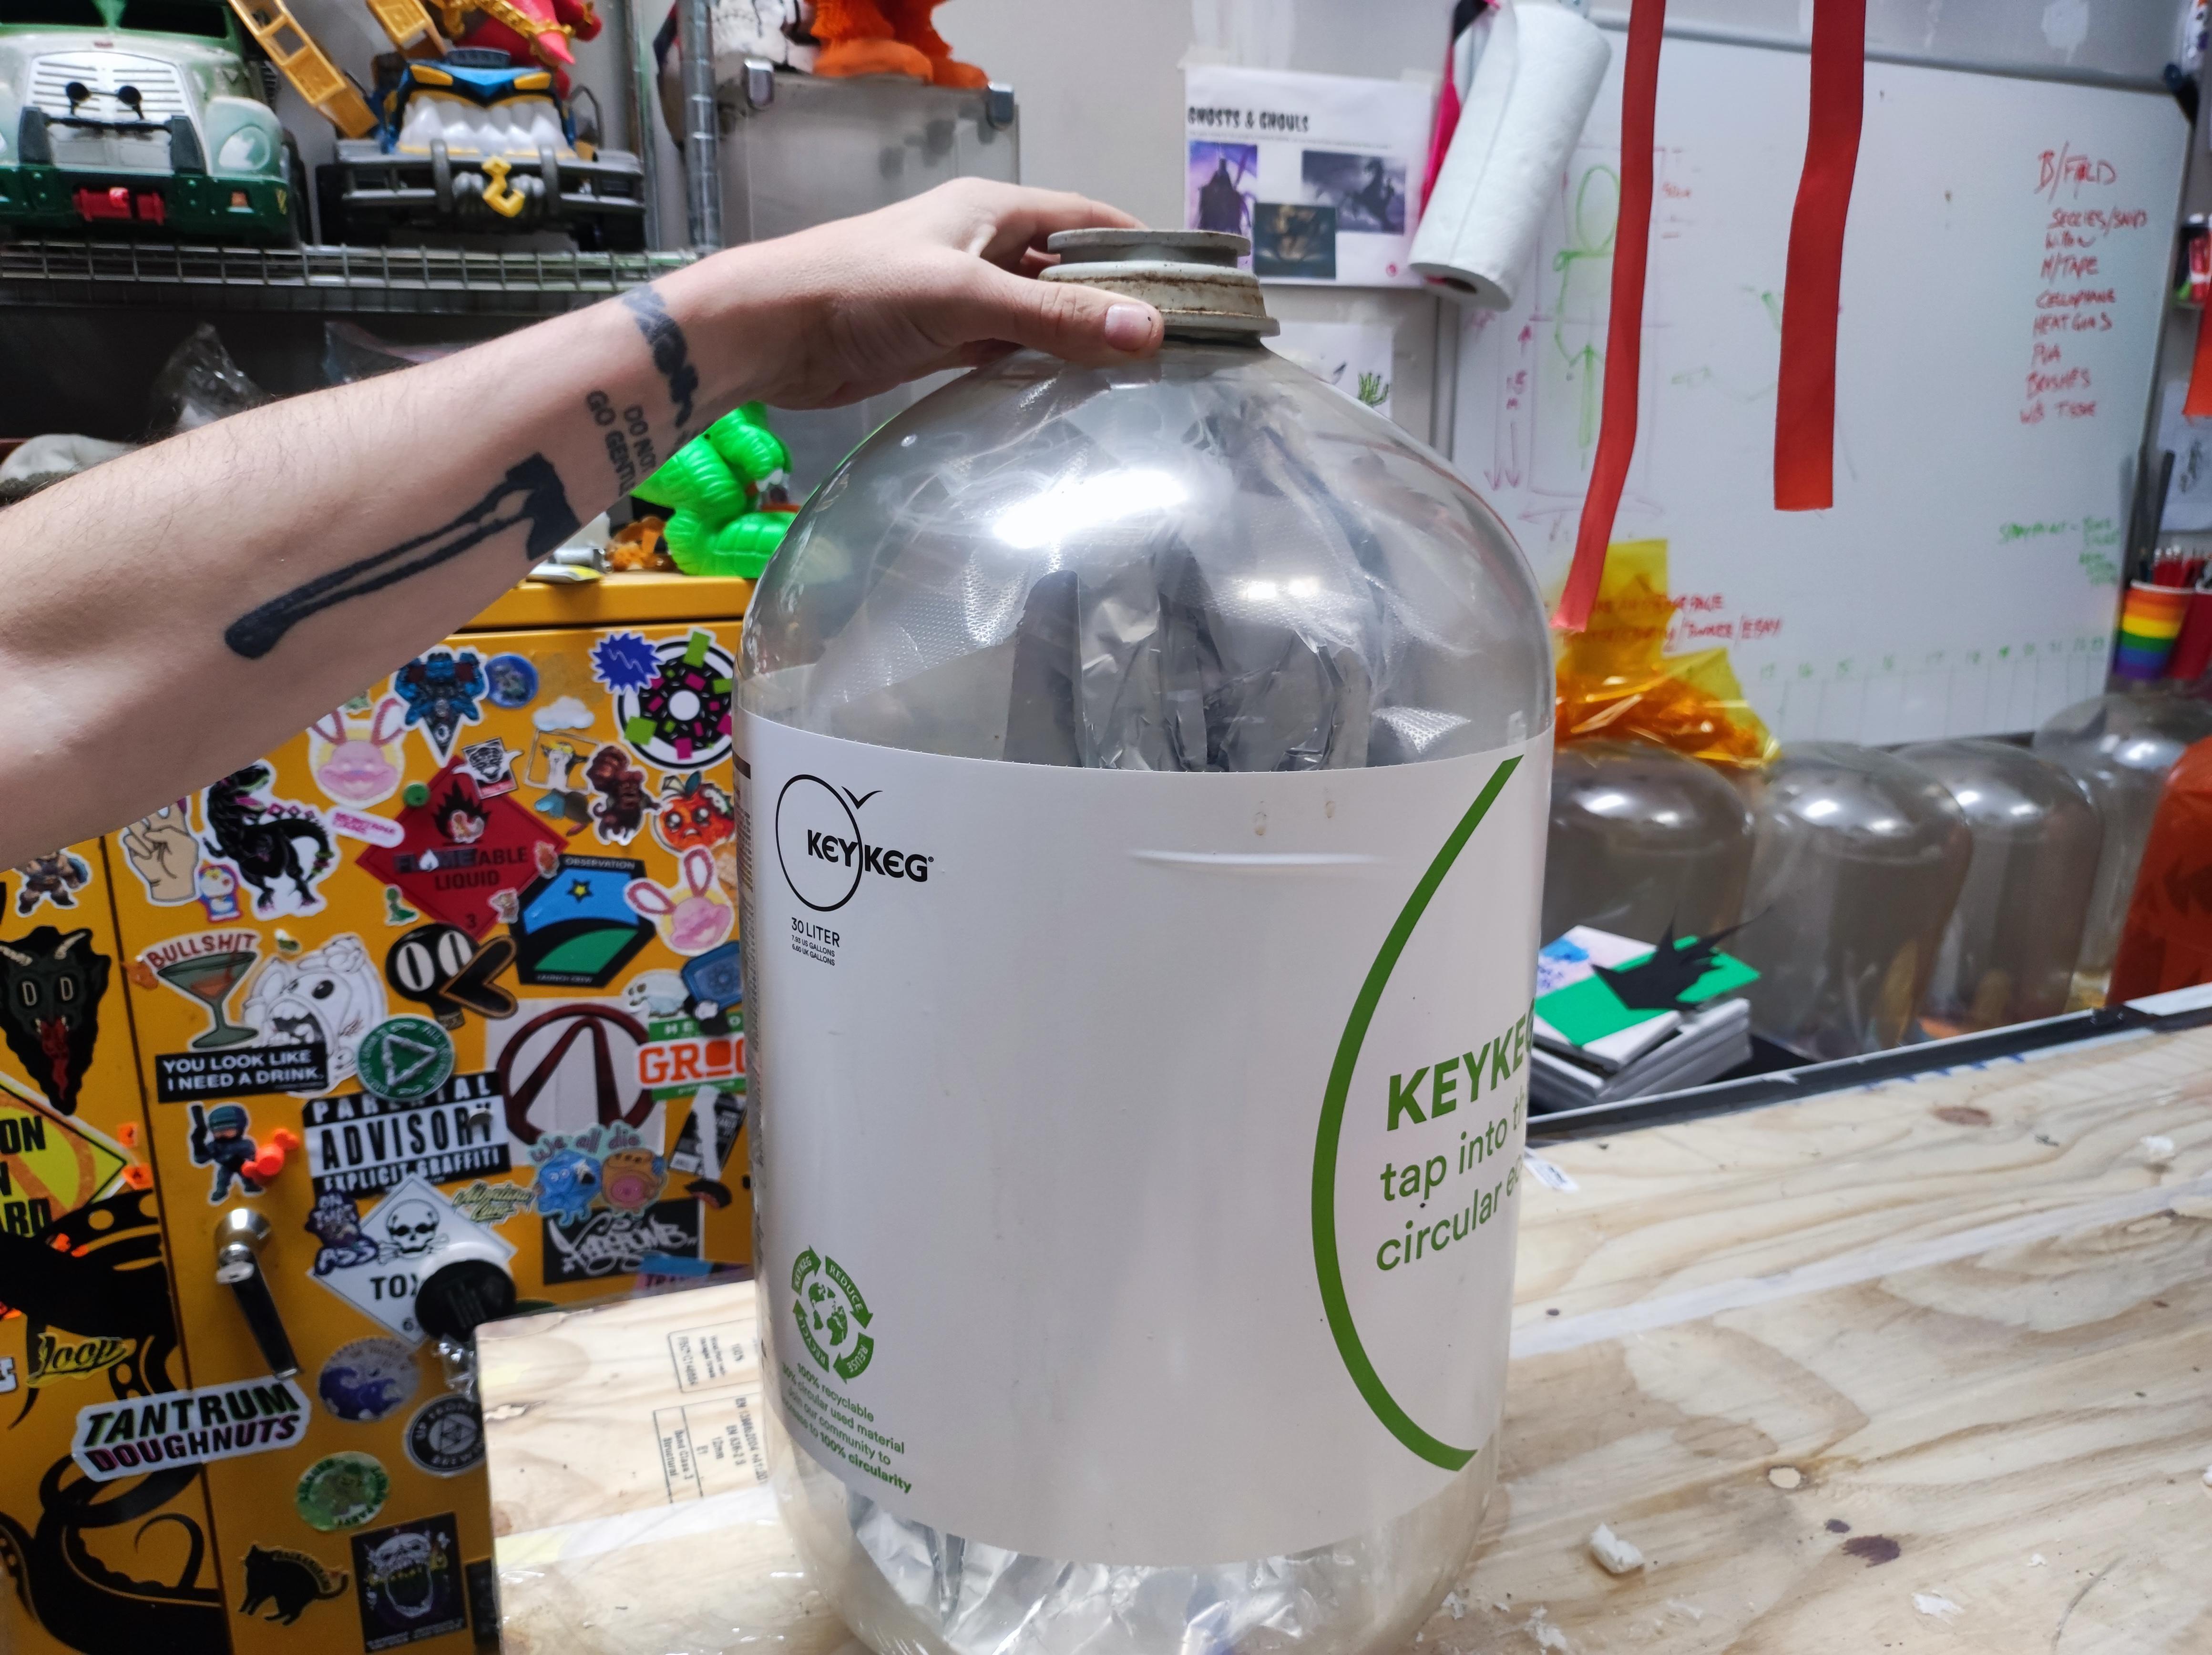
Choose Your Keg
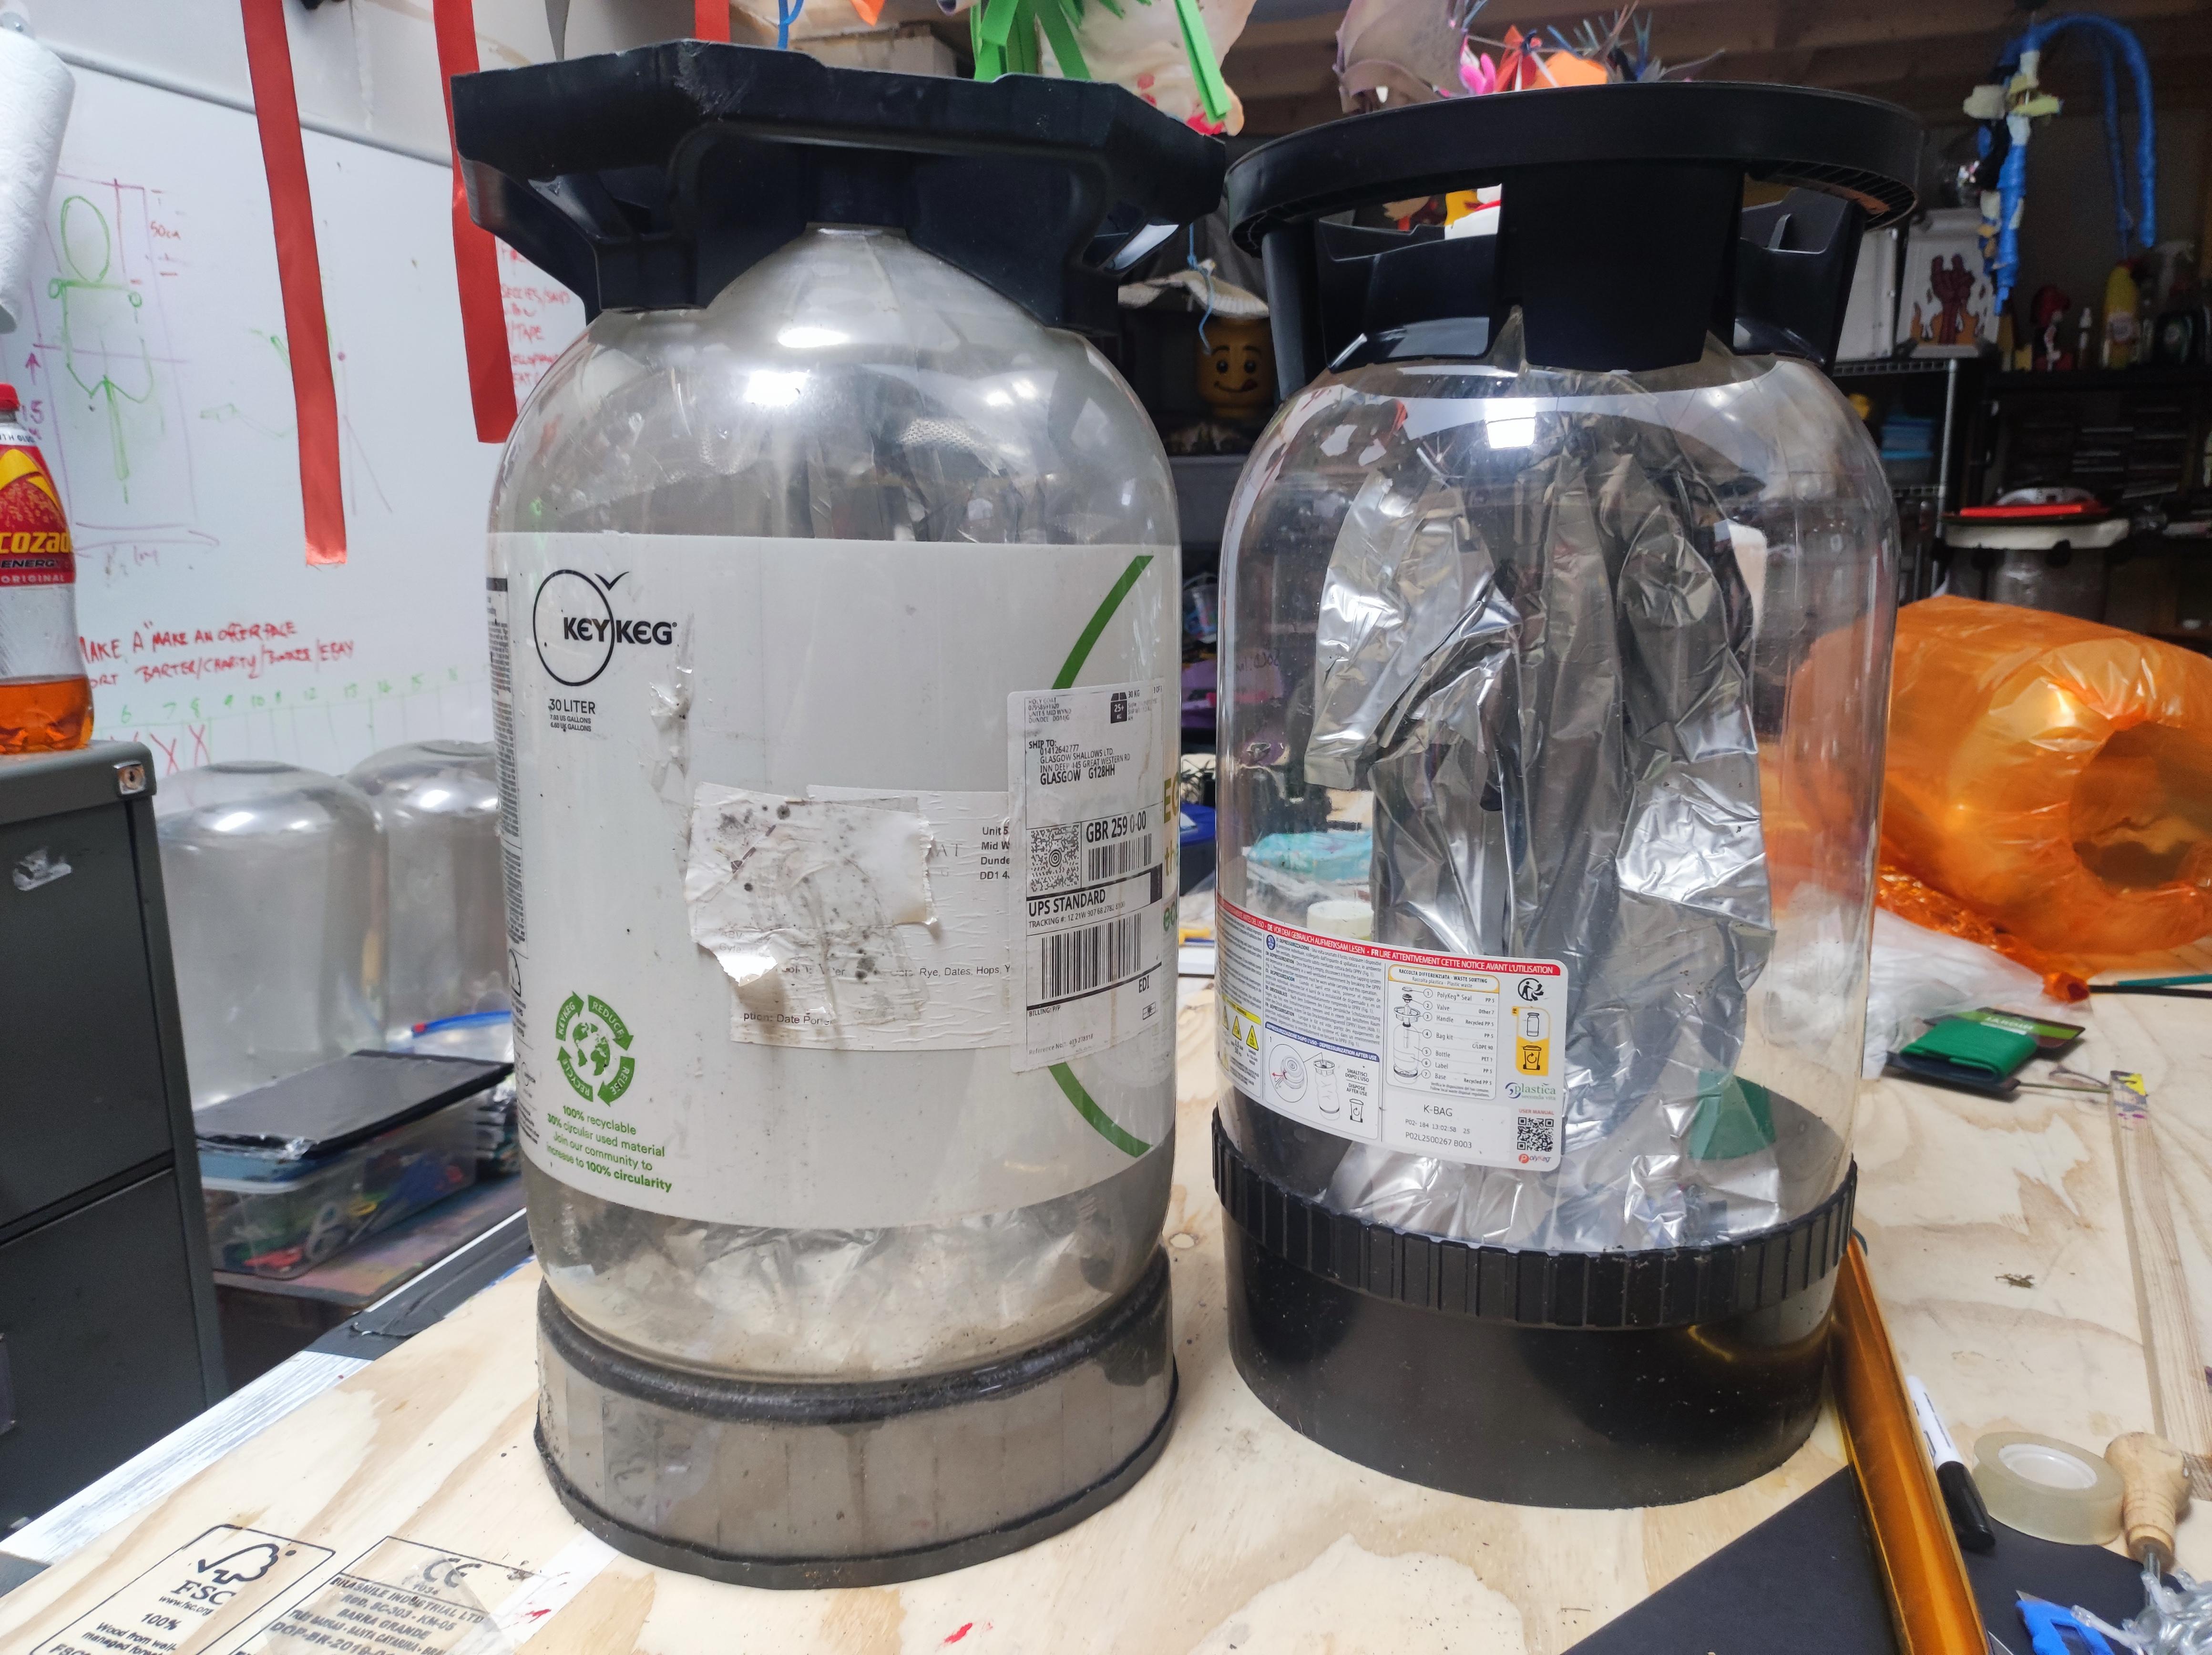
As we all know all kegs are not the same. Some contain beer, other cider and some contain IPAs that smell too strongly of anticeptic.
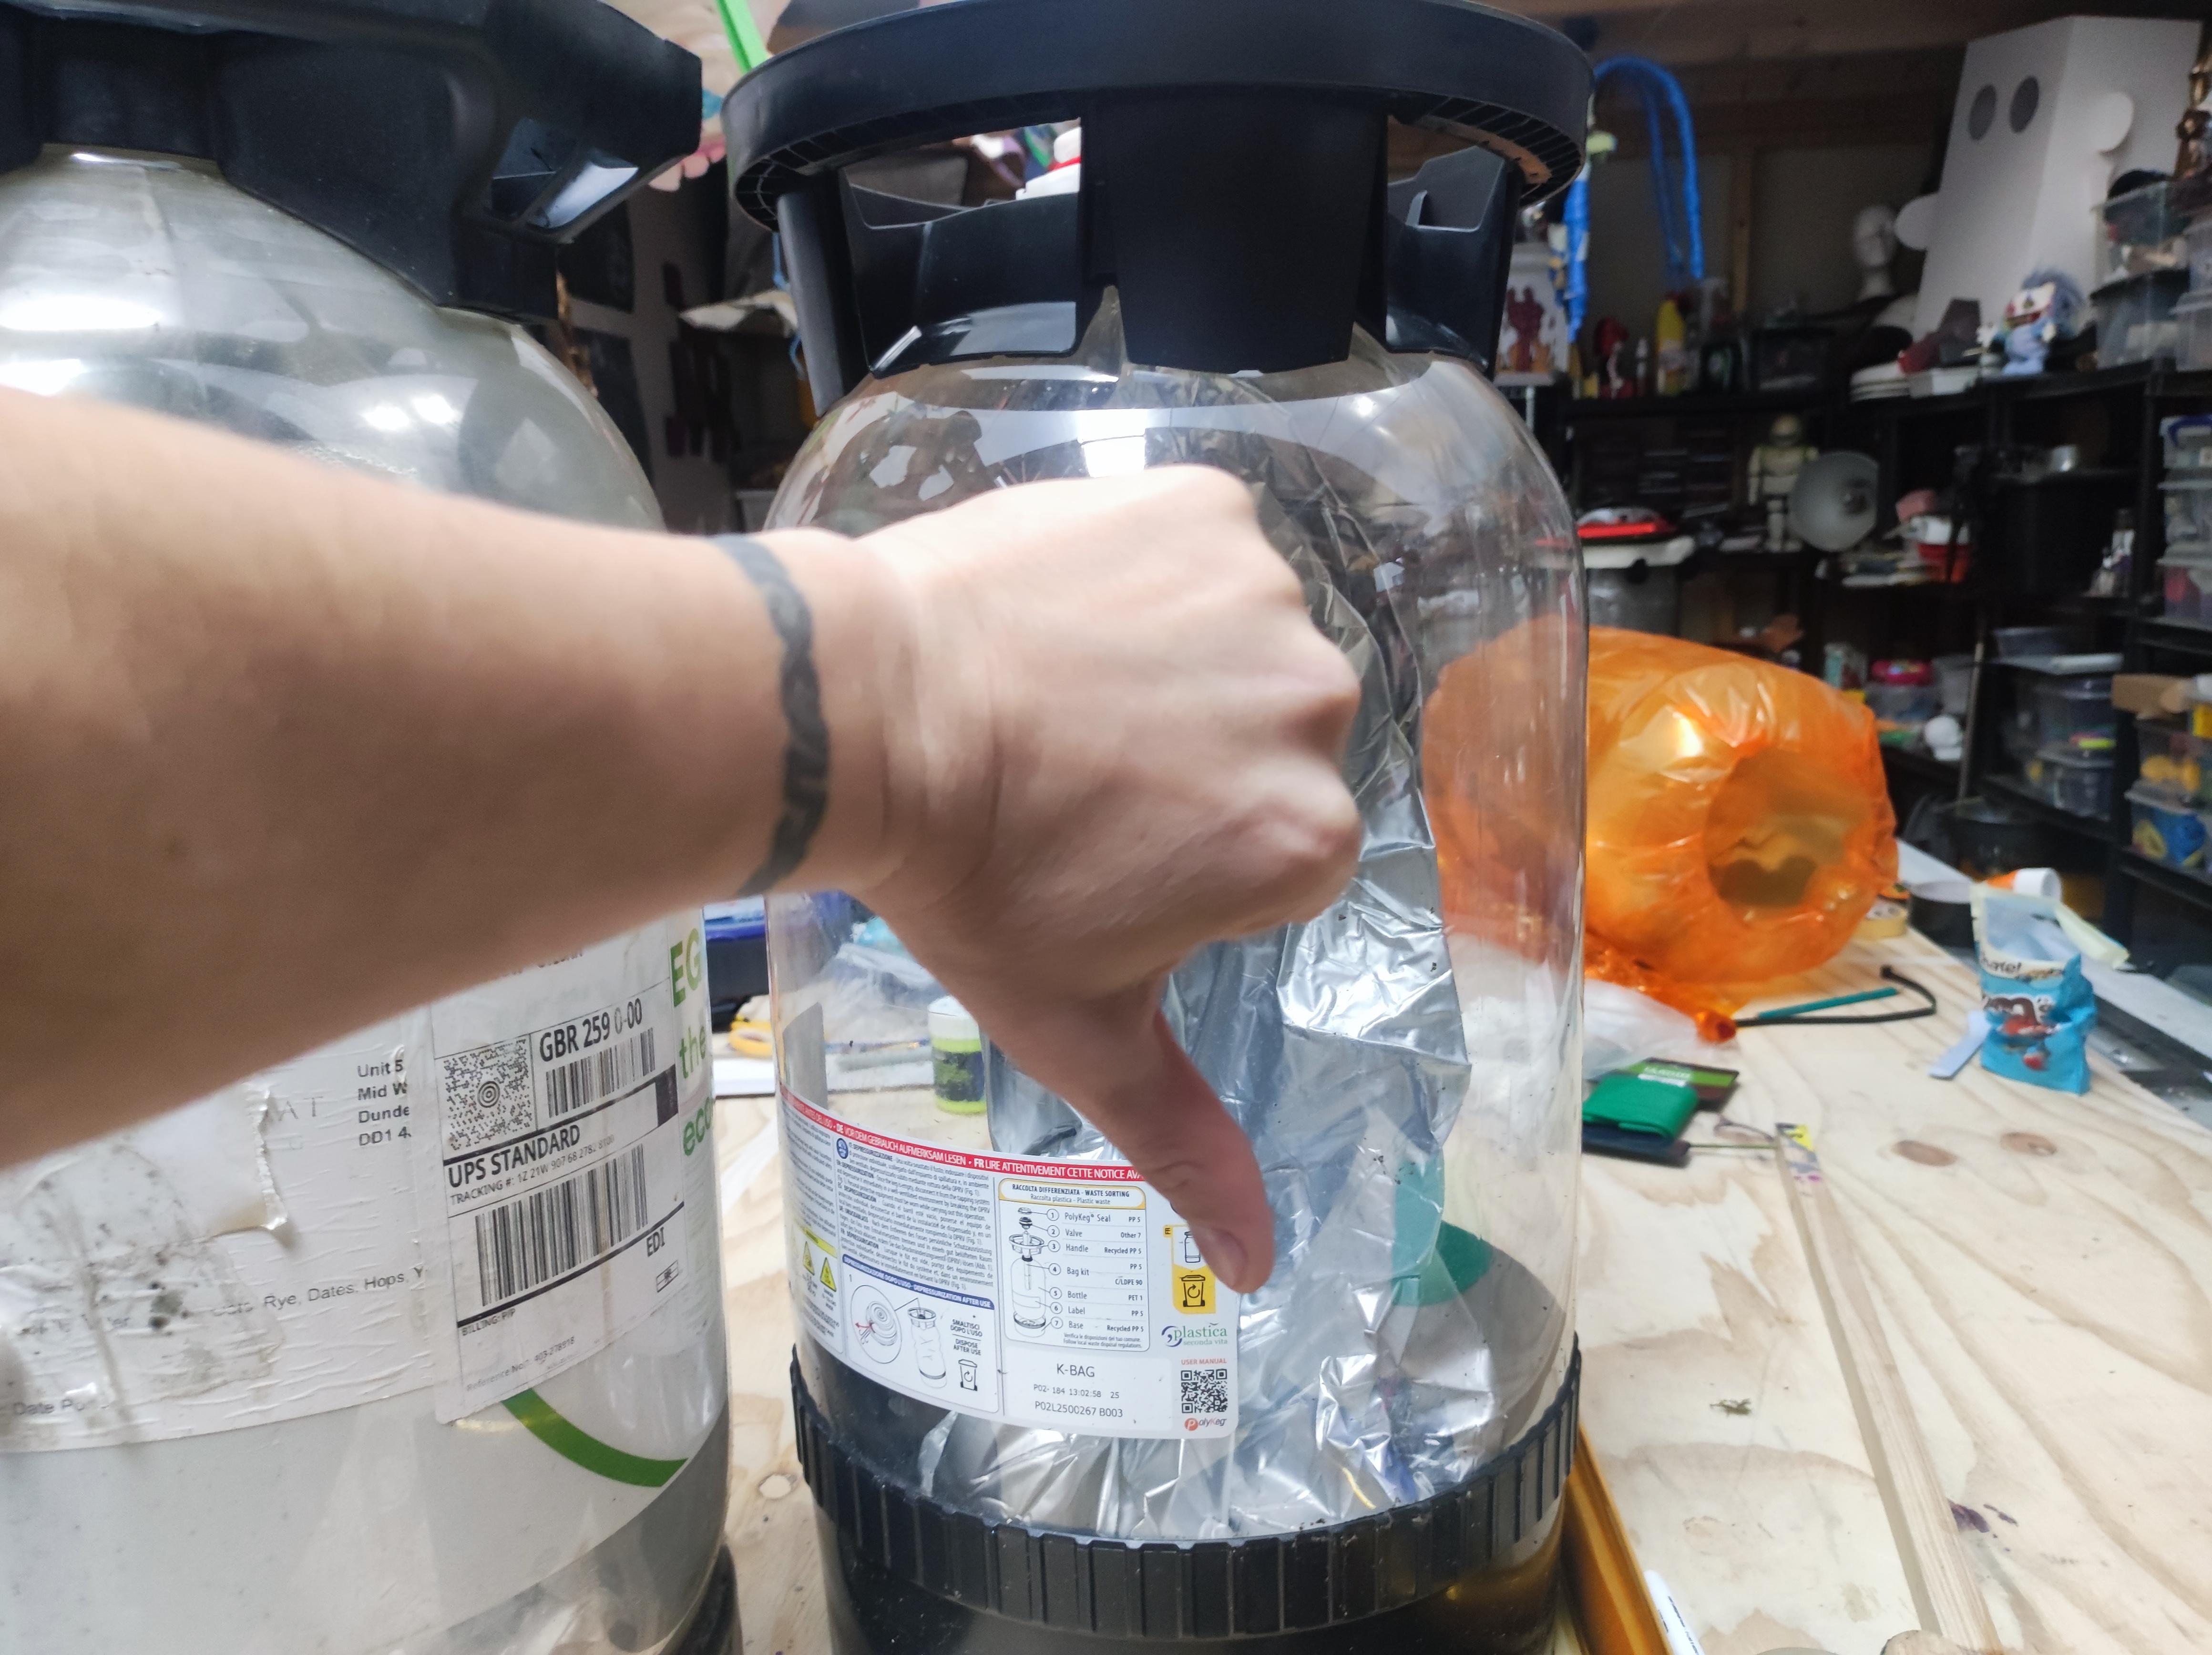
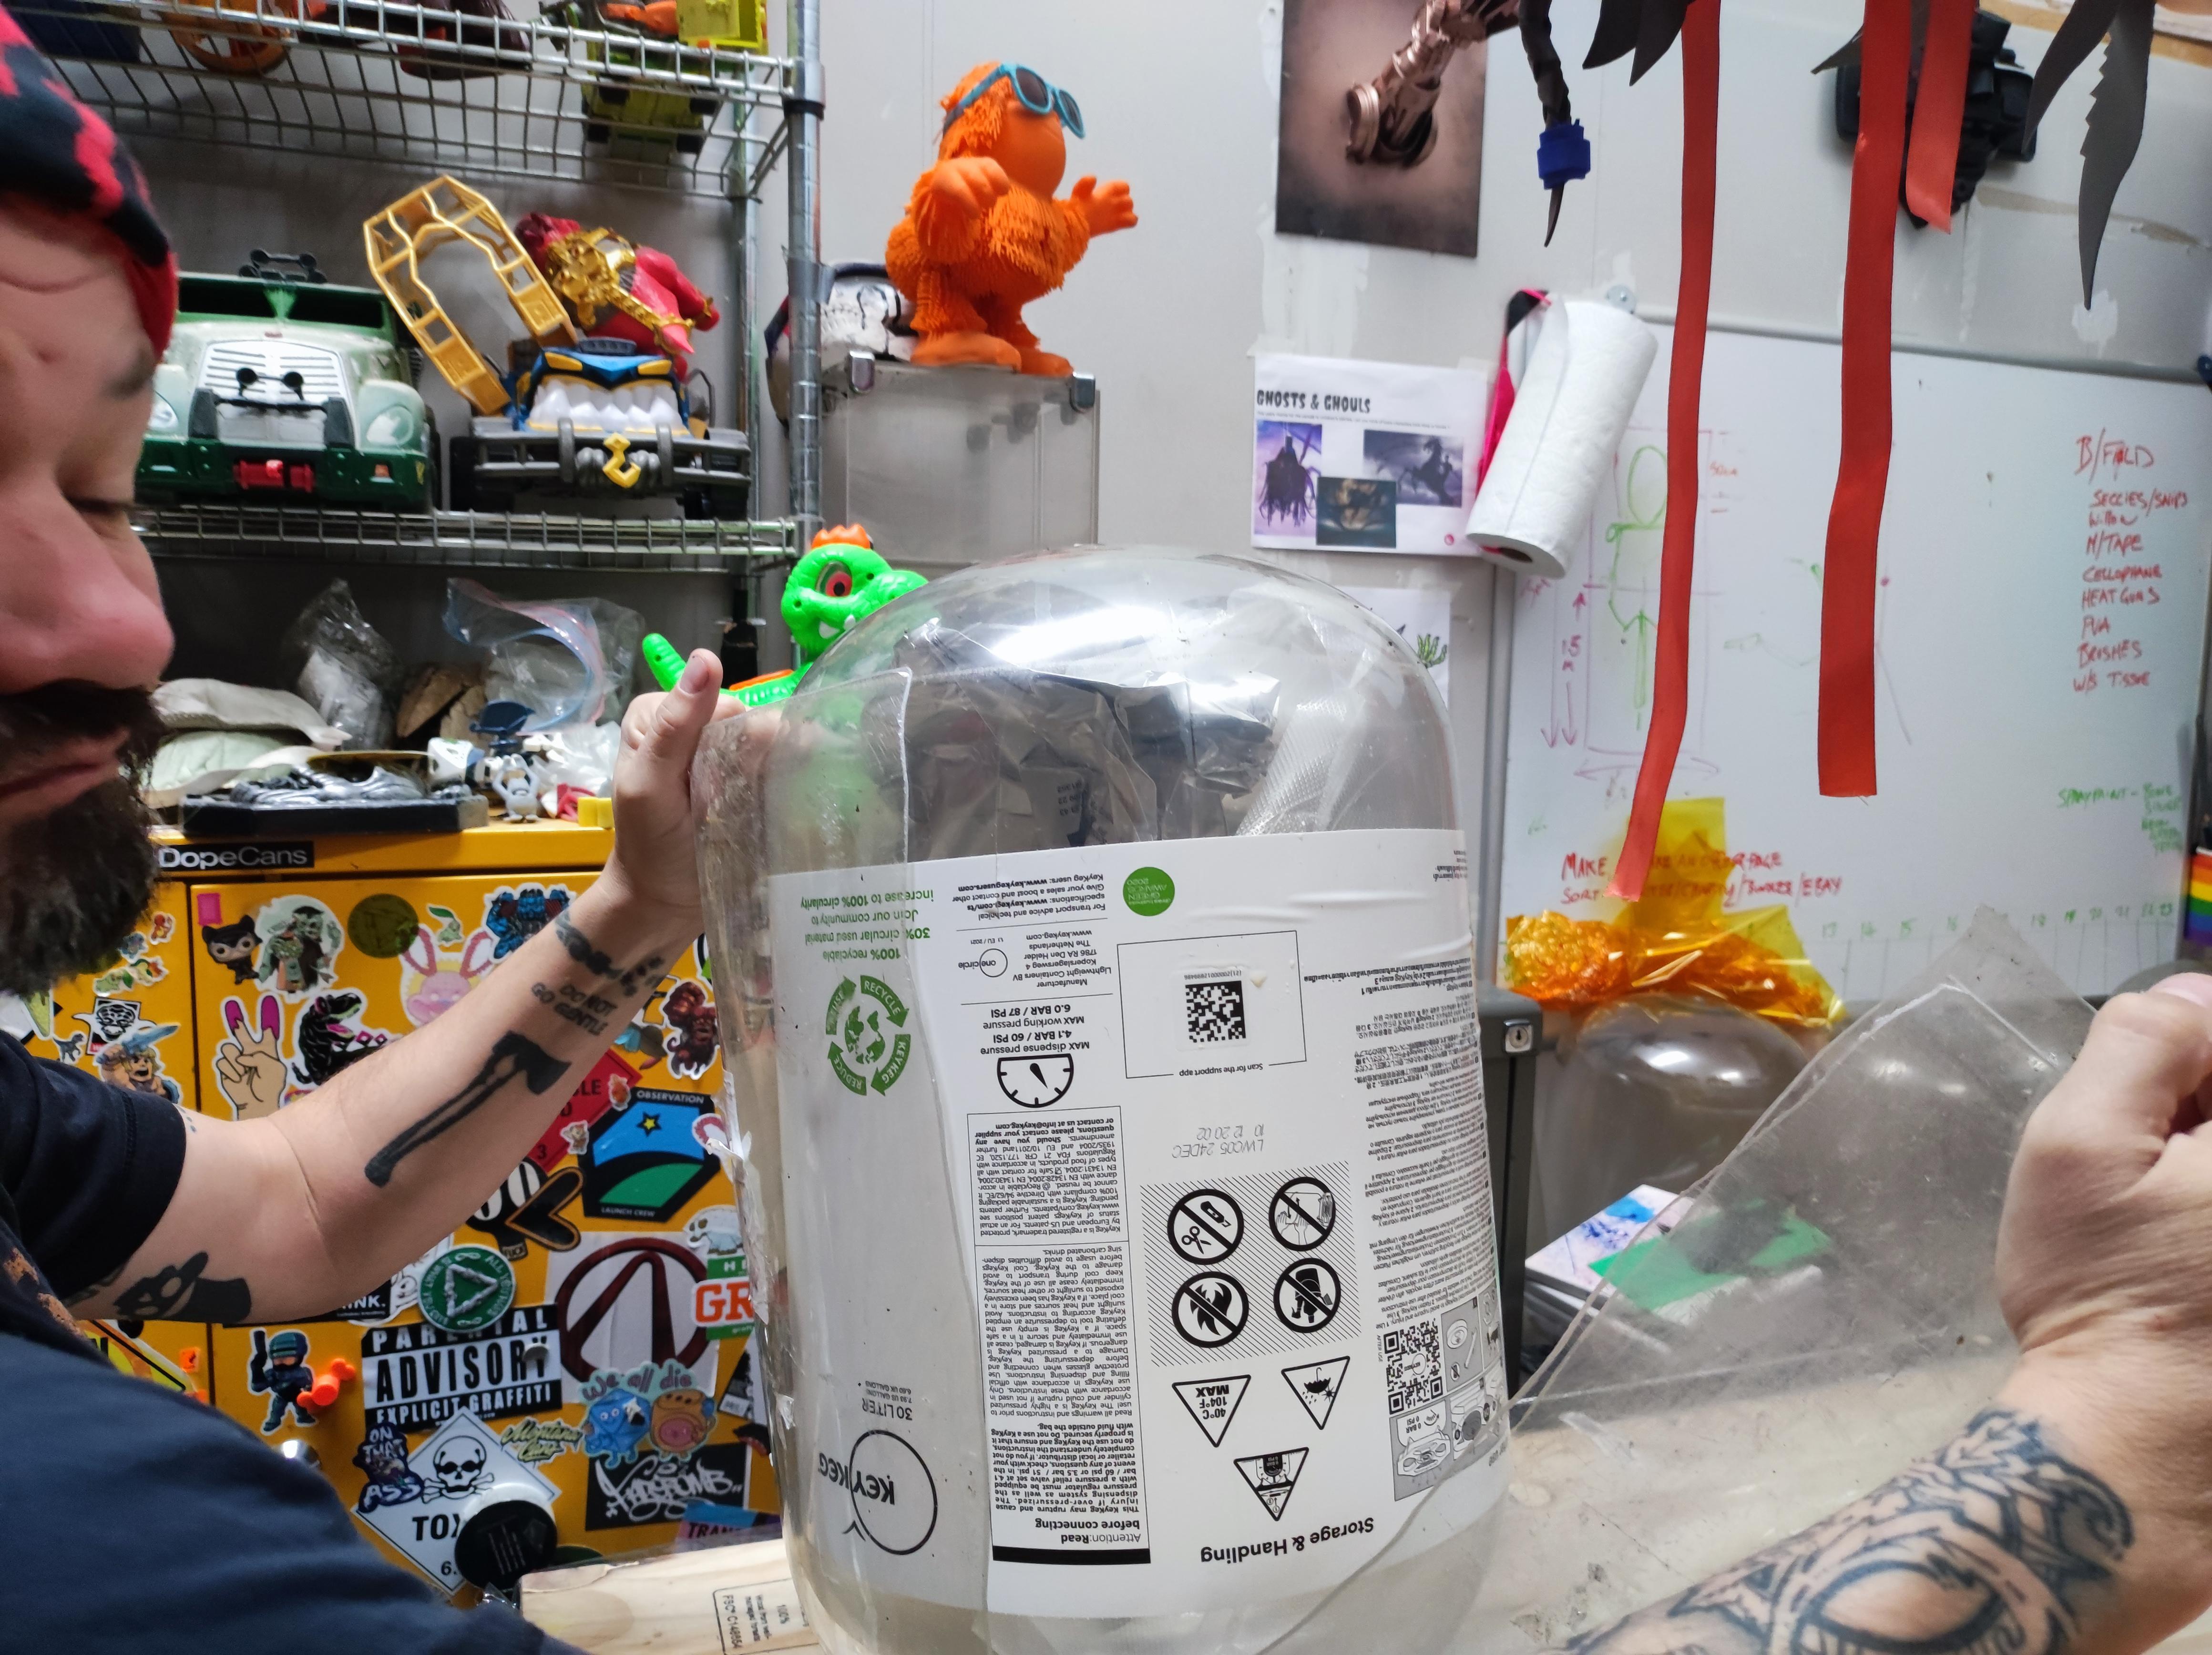
For this project we want an empty keg (if you helped achieve this then good on you, I hope you supported a small local bar) You want a keg that has an outer shell and an inner keg. If you look at the base and the outer shell covers this thats the type for you.
Some kegs do not come with an outer shell and while they produce far less waste they are not good for this project as getting the stickes off and removing the base/ handle is a pain.
Prep the Keg
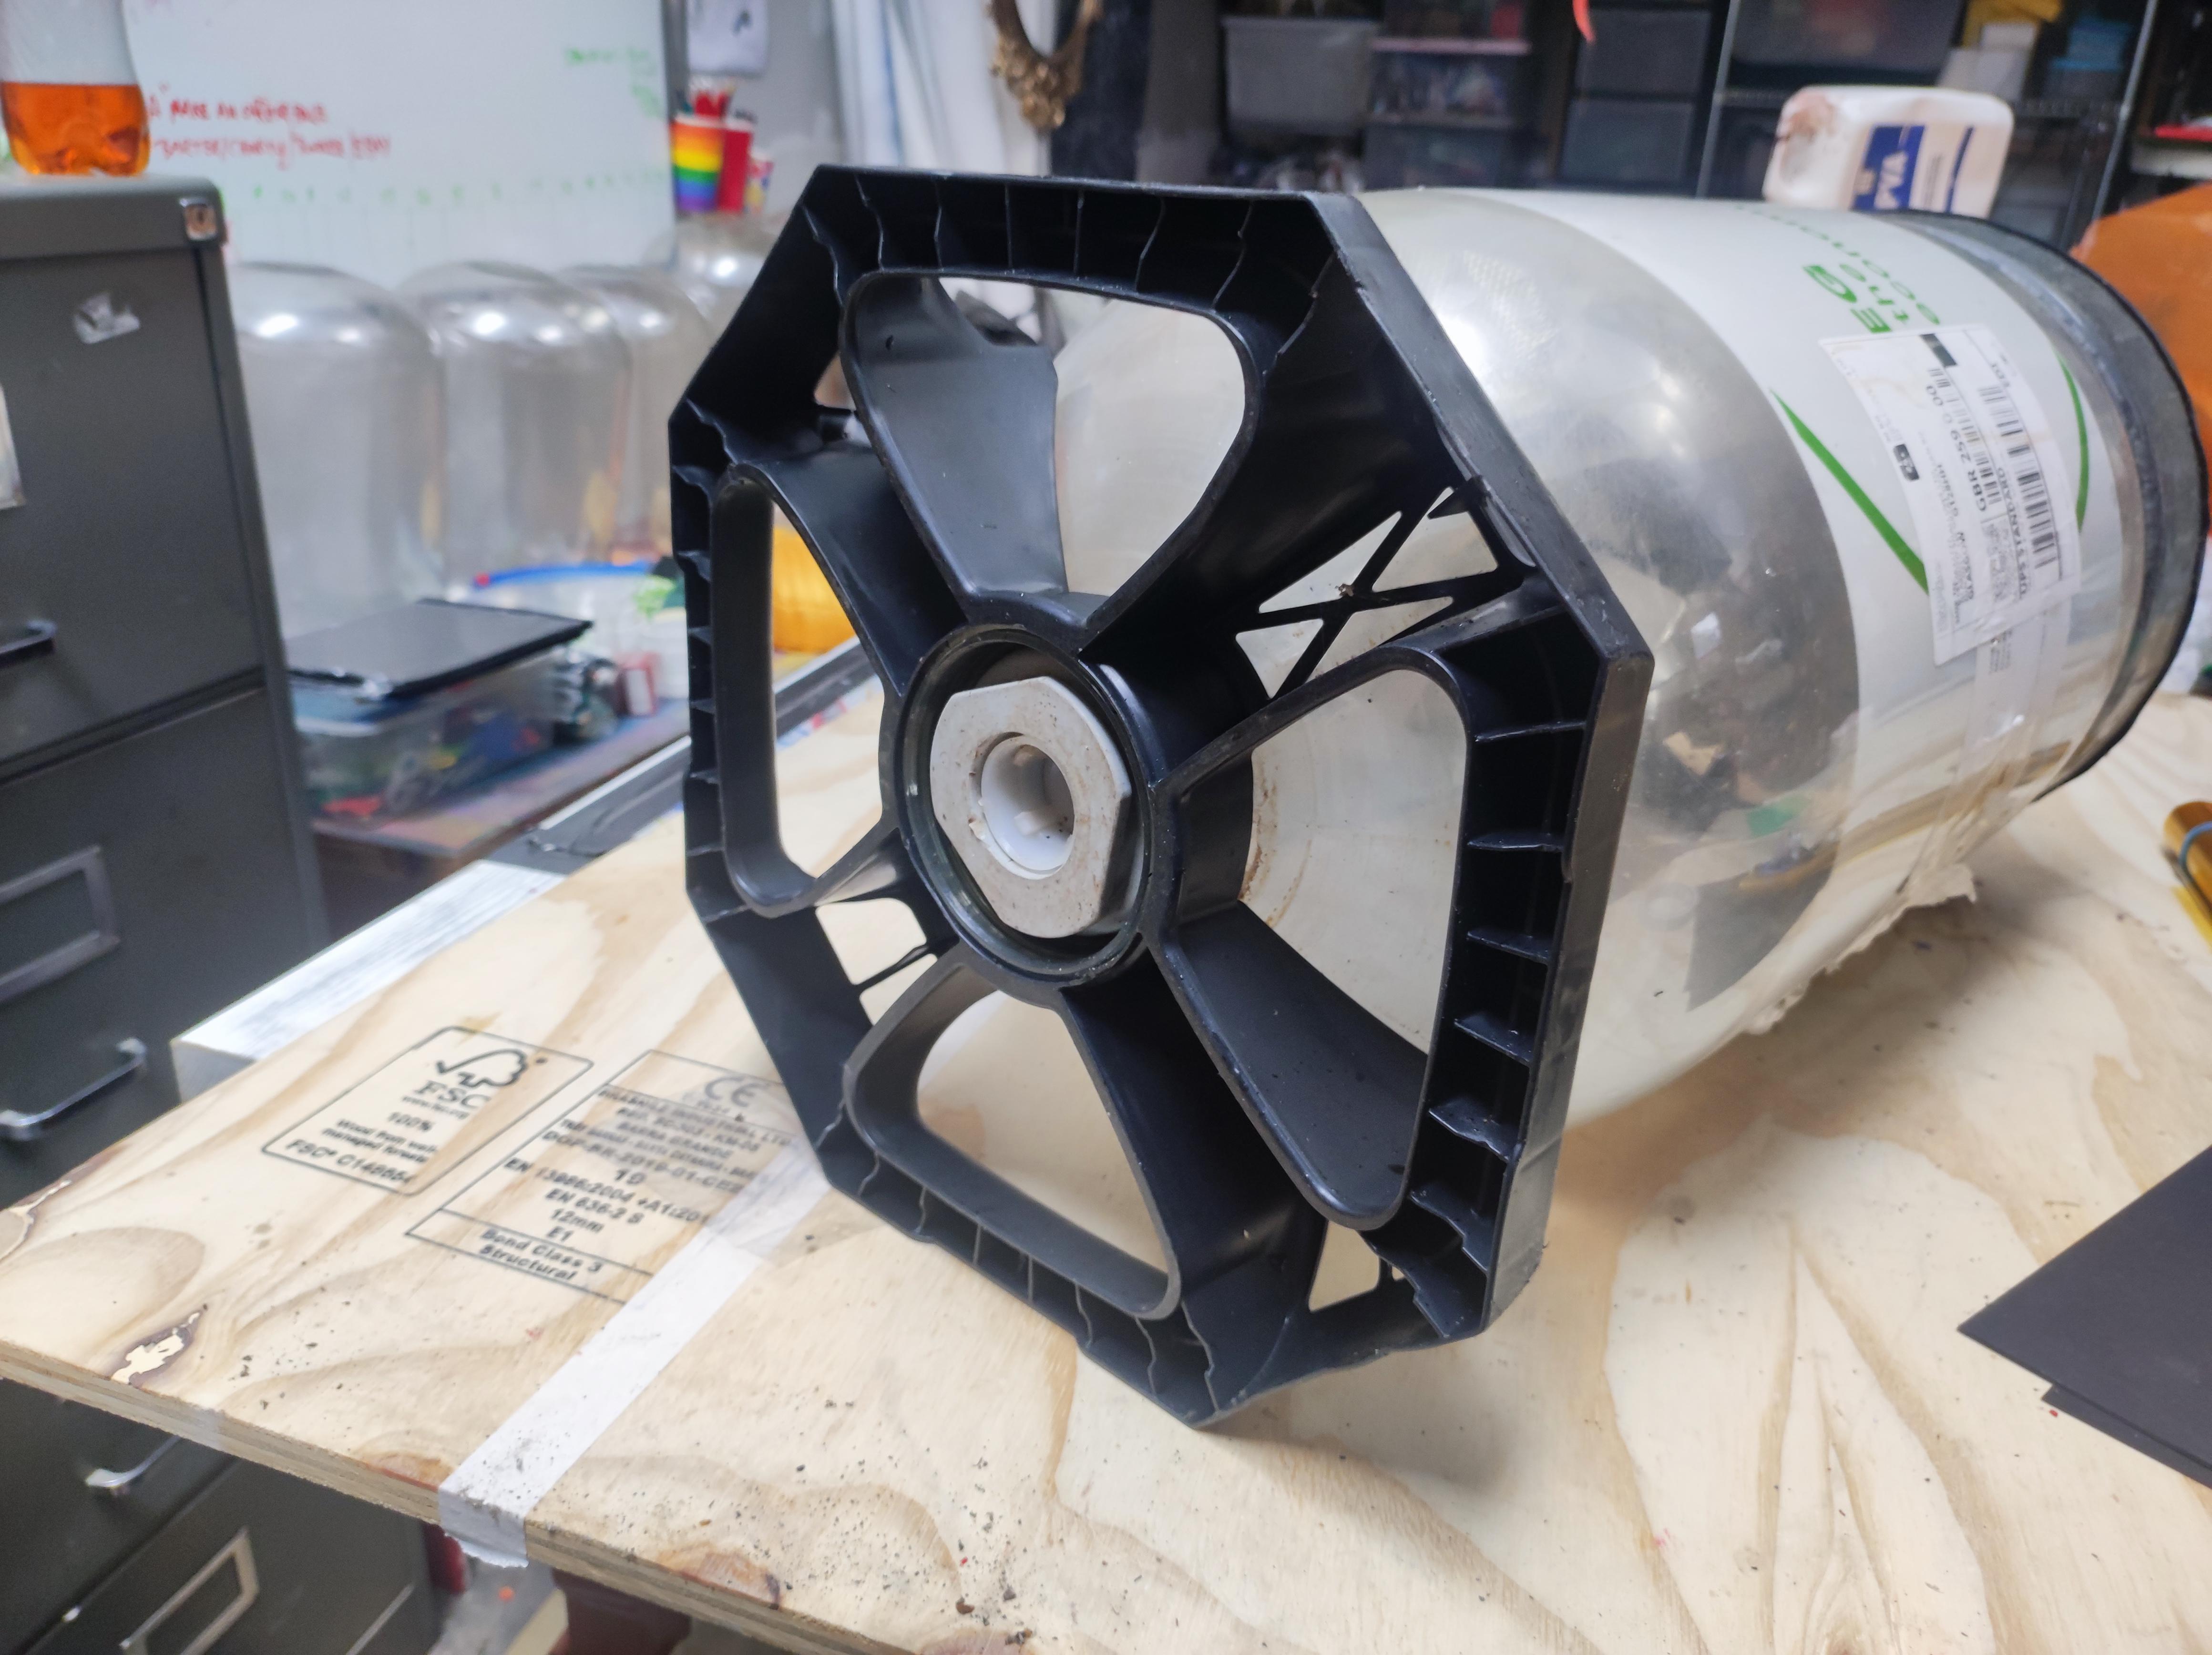

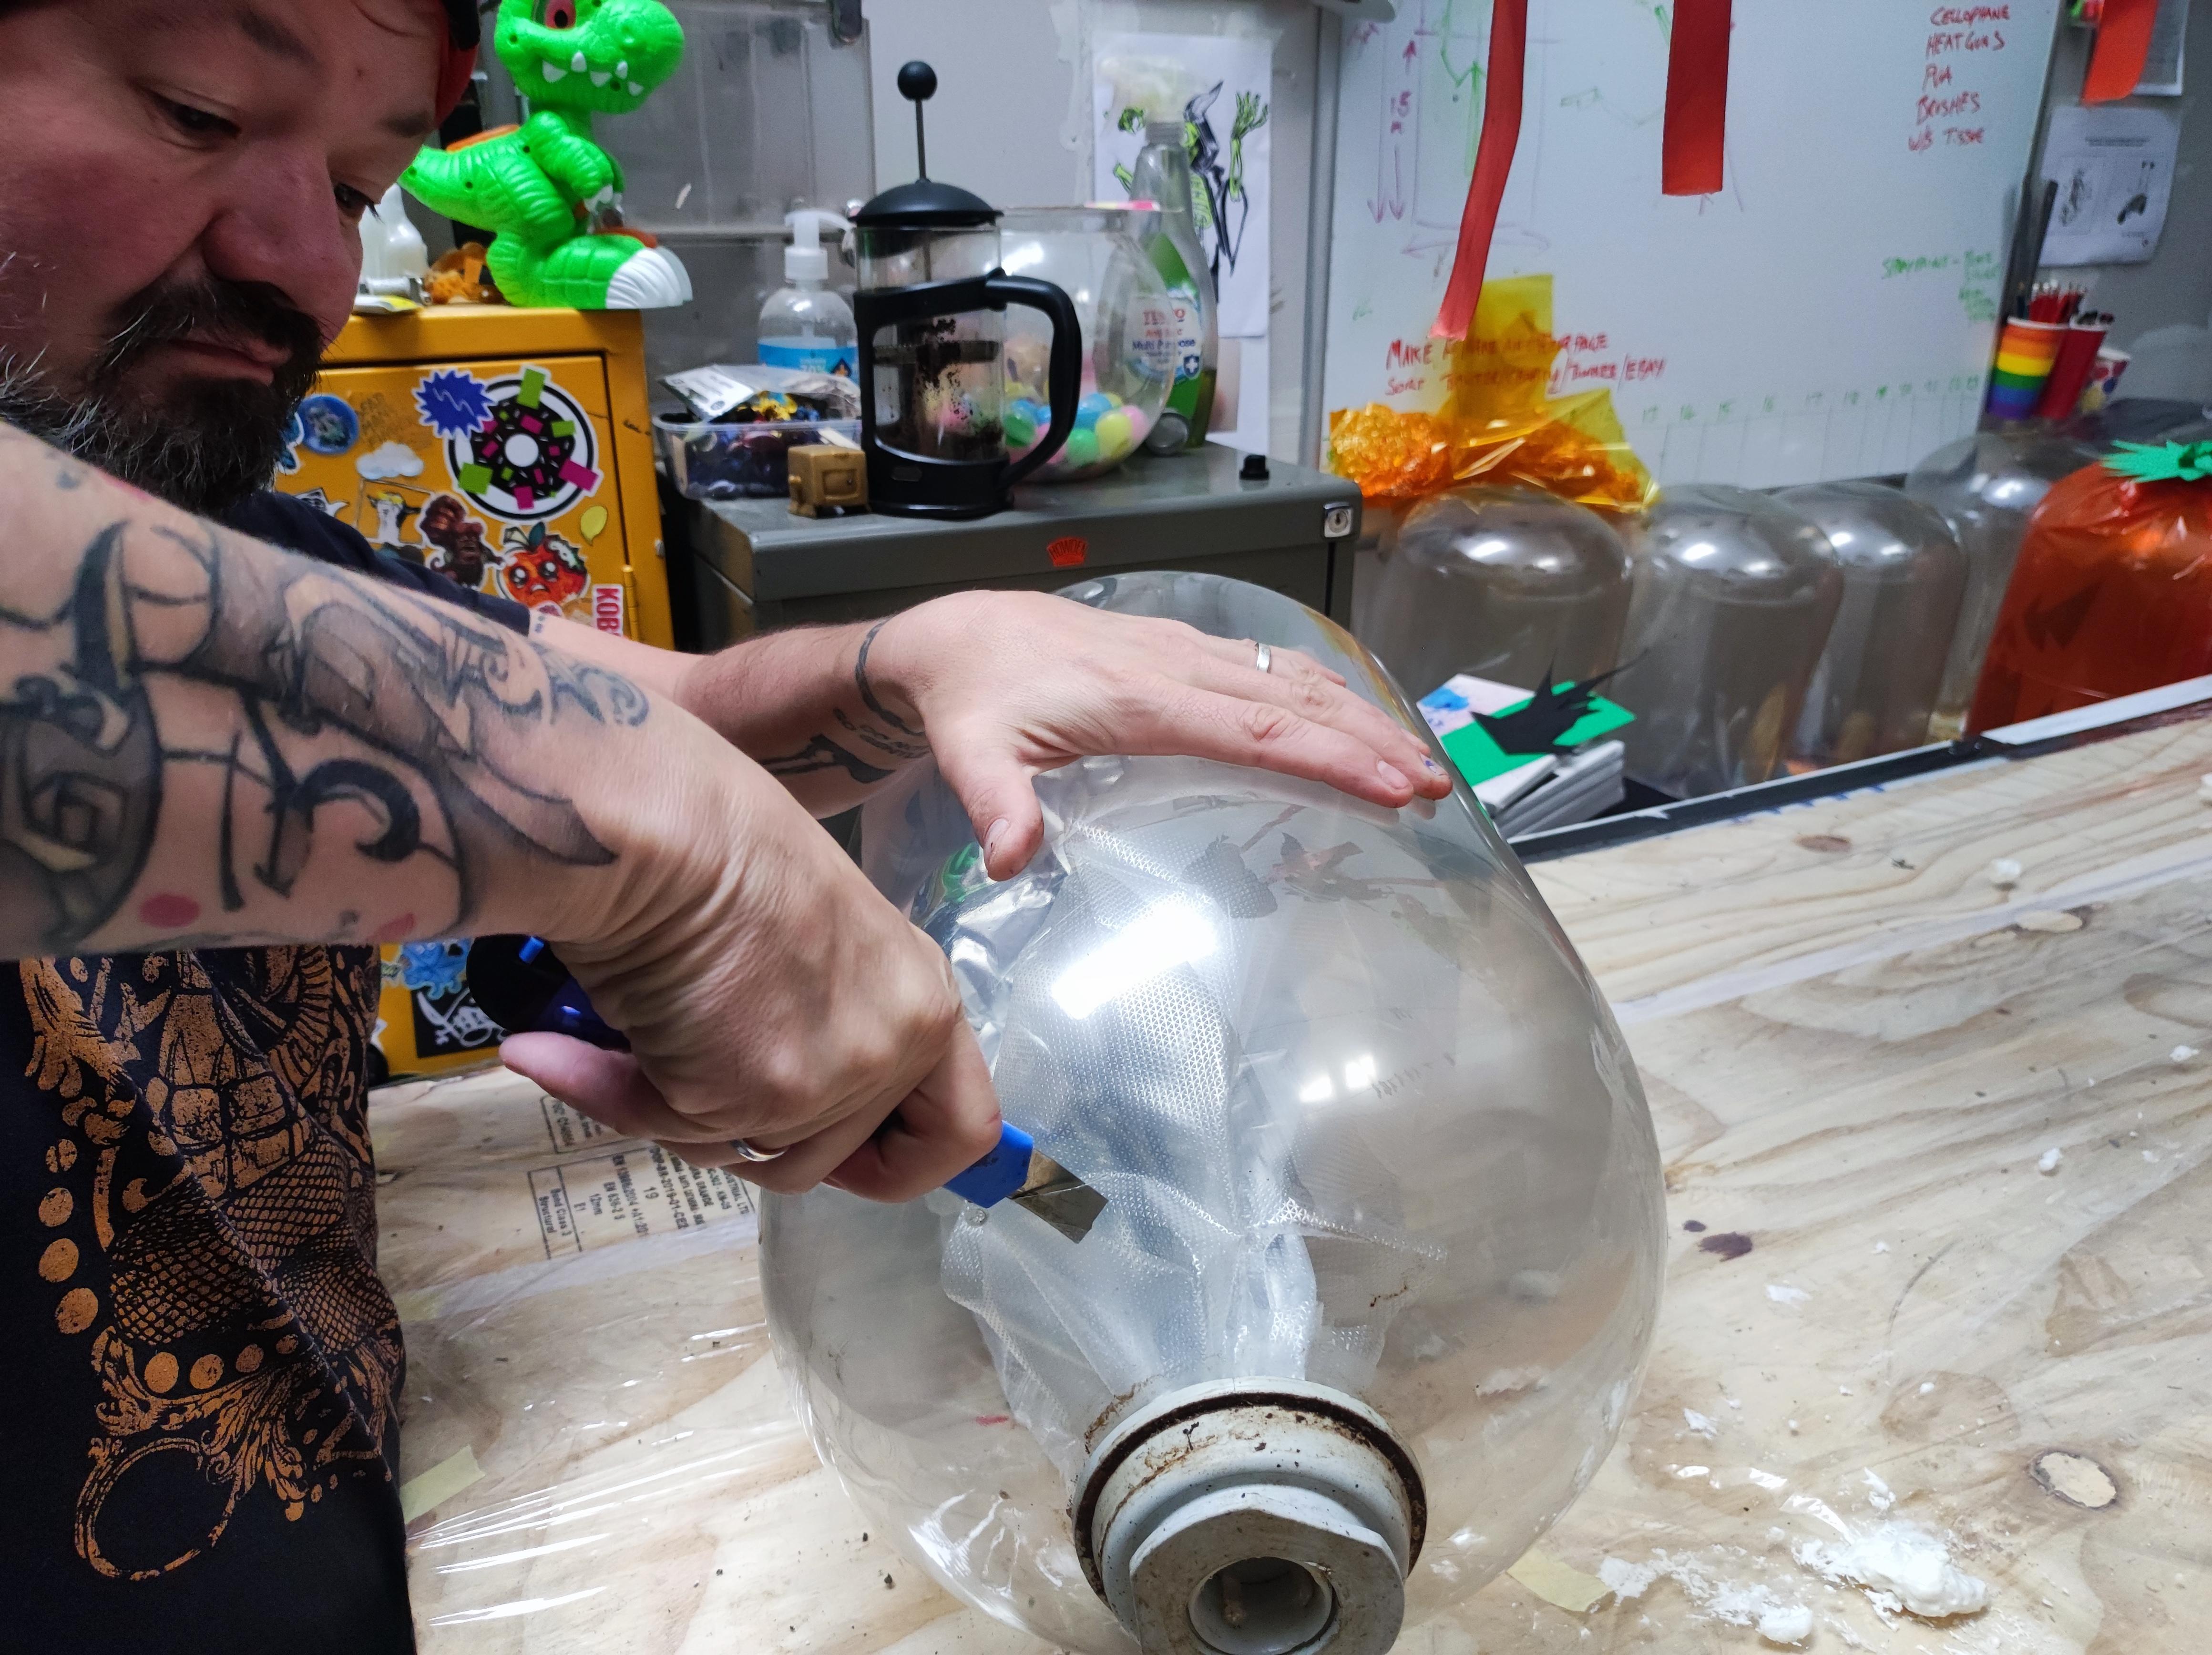

Please be carefull during these steps as it requires using sharp objects.
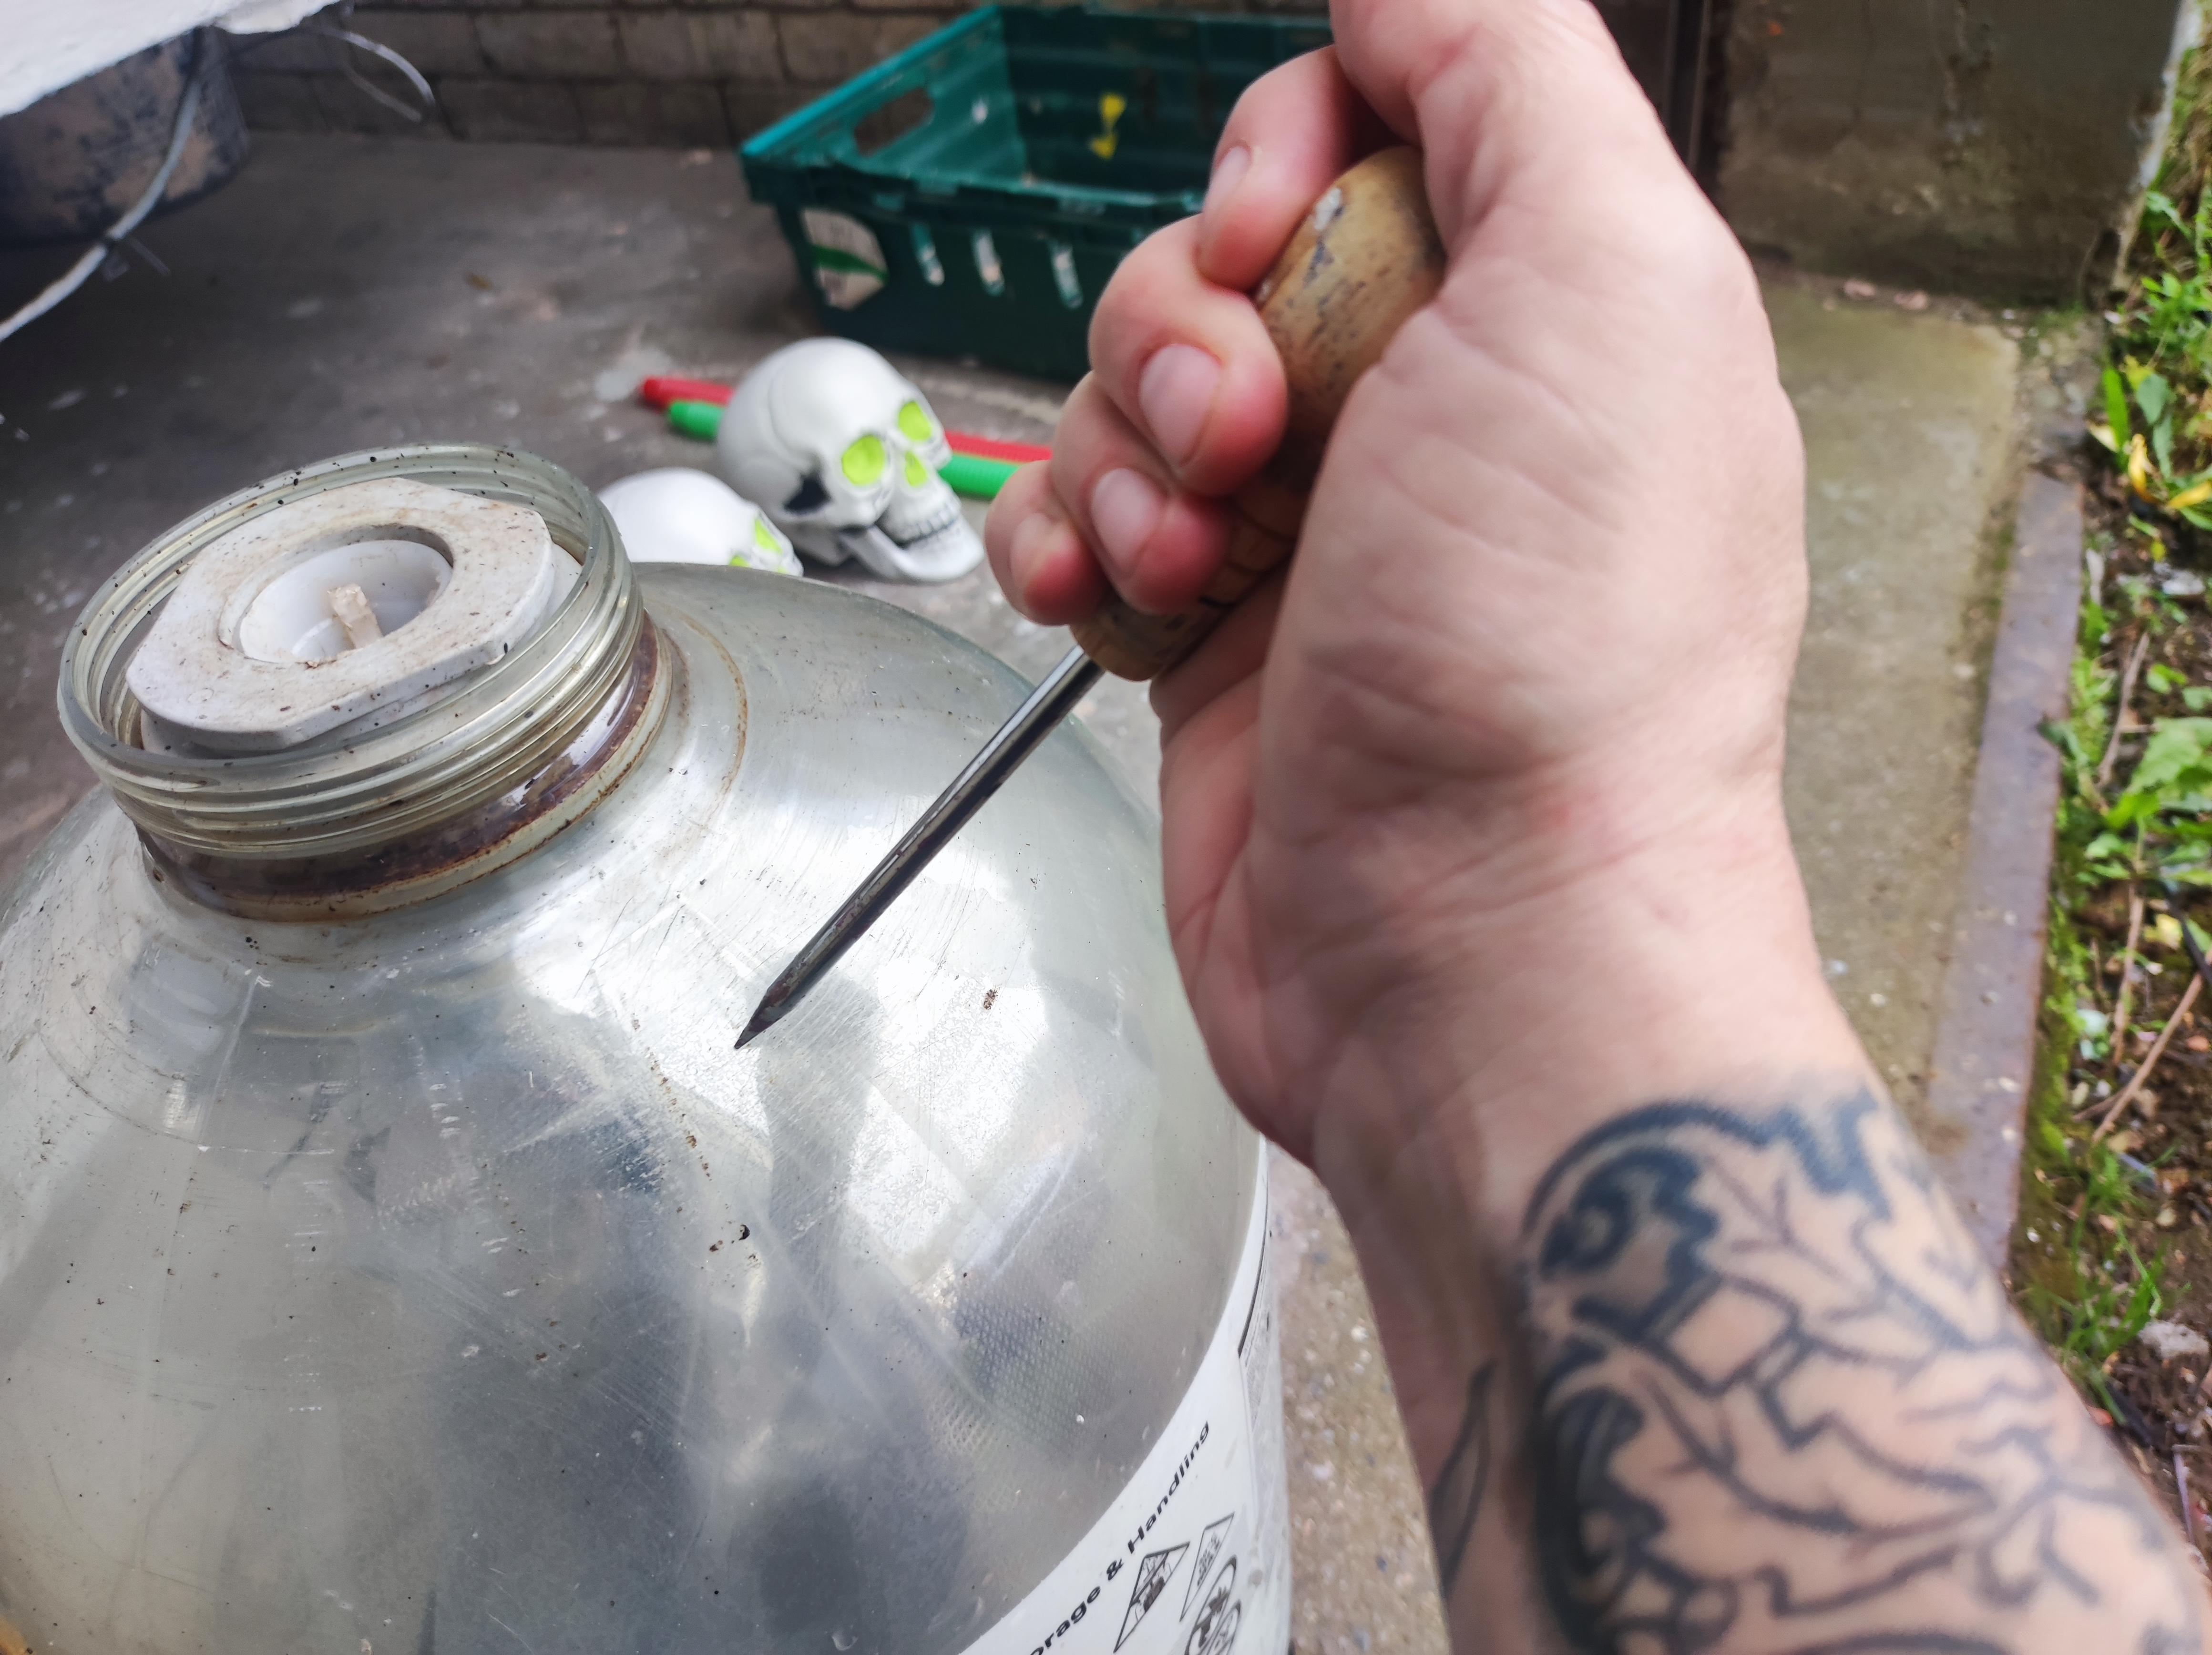
Remove the handle: This should just screw off
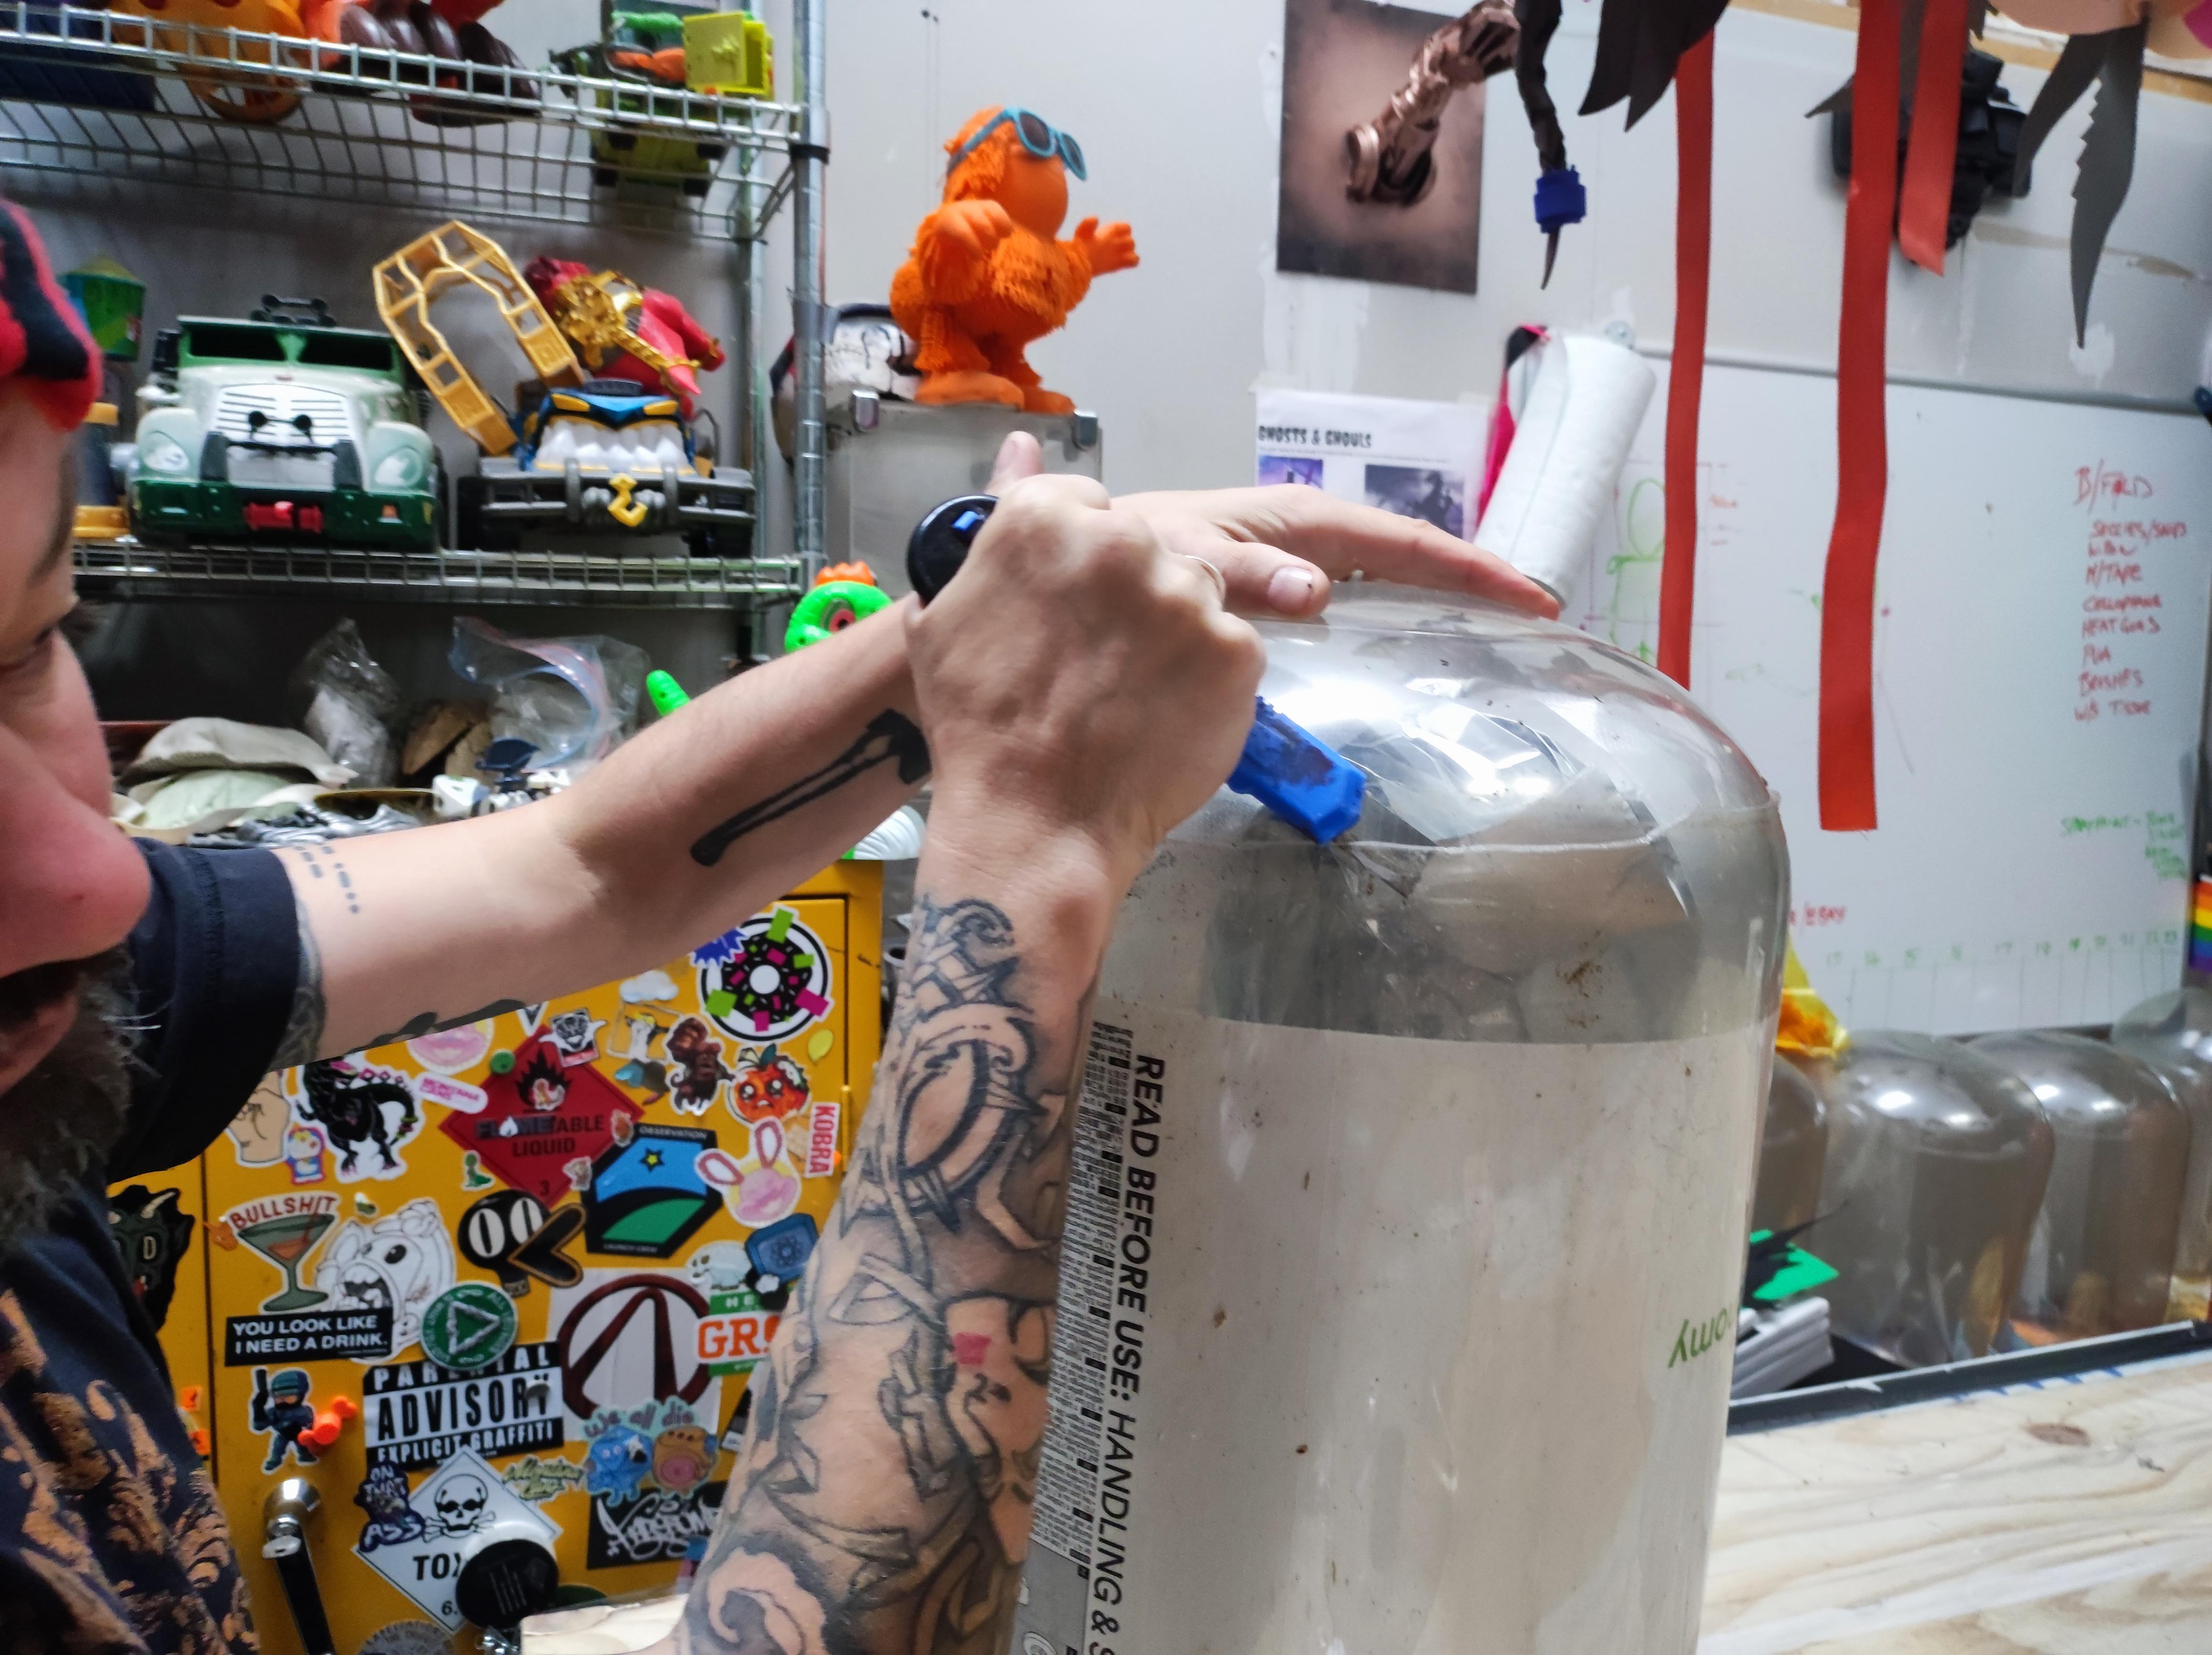
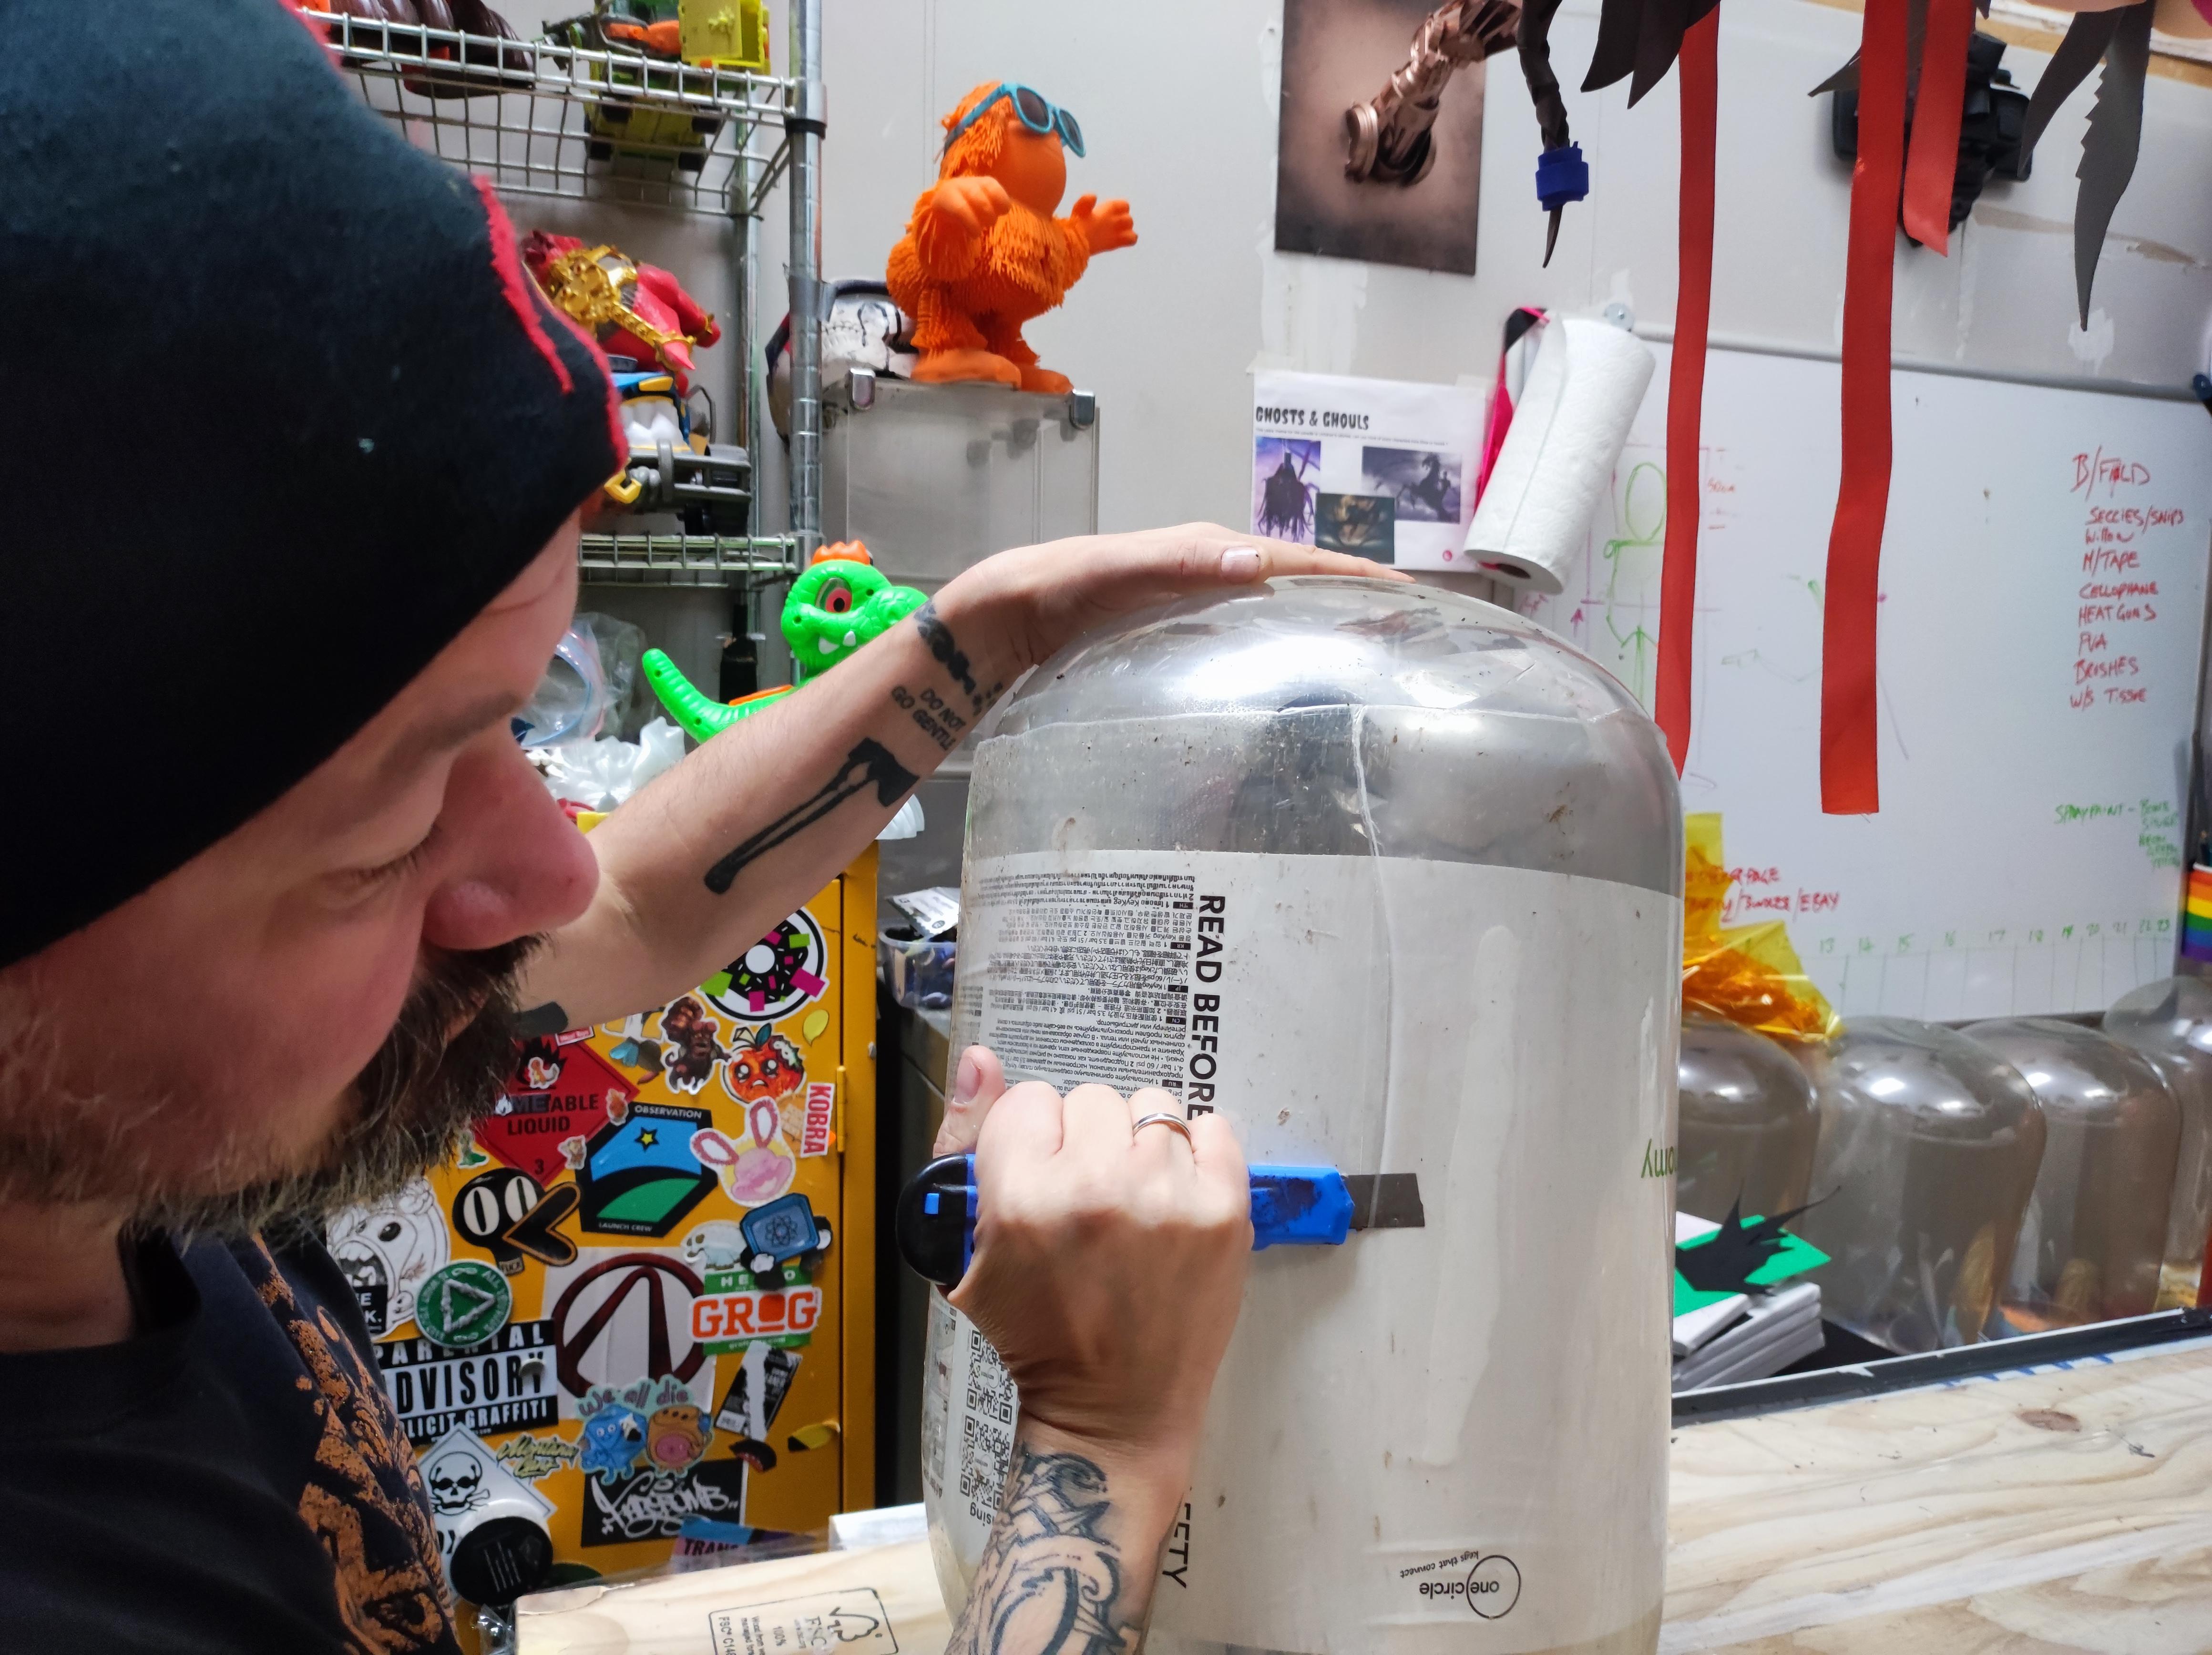
Pierce the keg: WARNING! This is a presurised container so be prepared for a rush of air/Co2. You may want to do this outside. Using your sharp pointy thing jab a hole near the neck of the keg (where the handle came off)
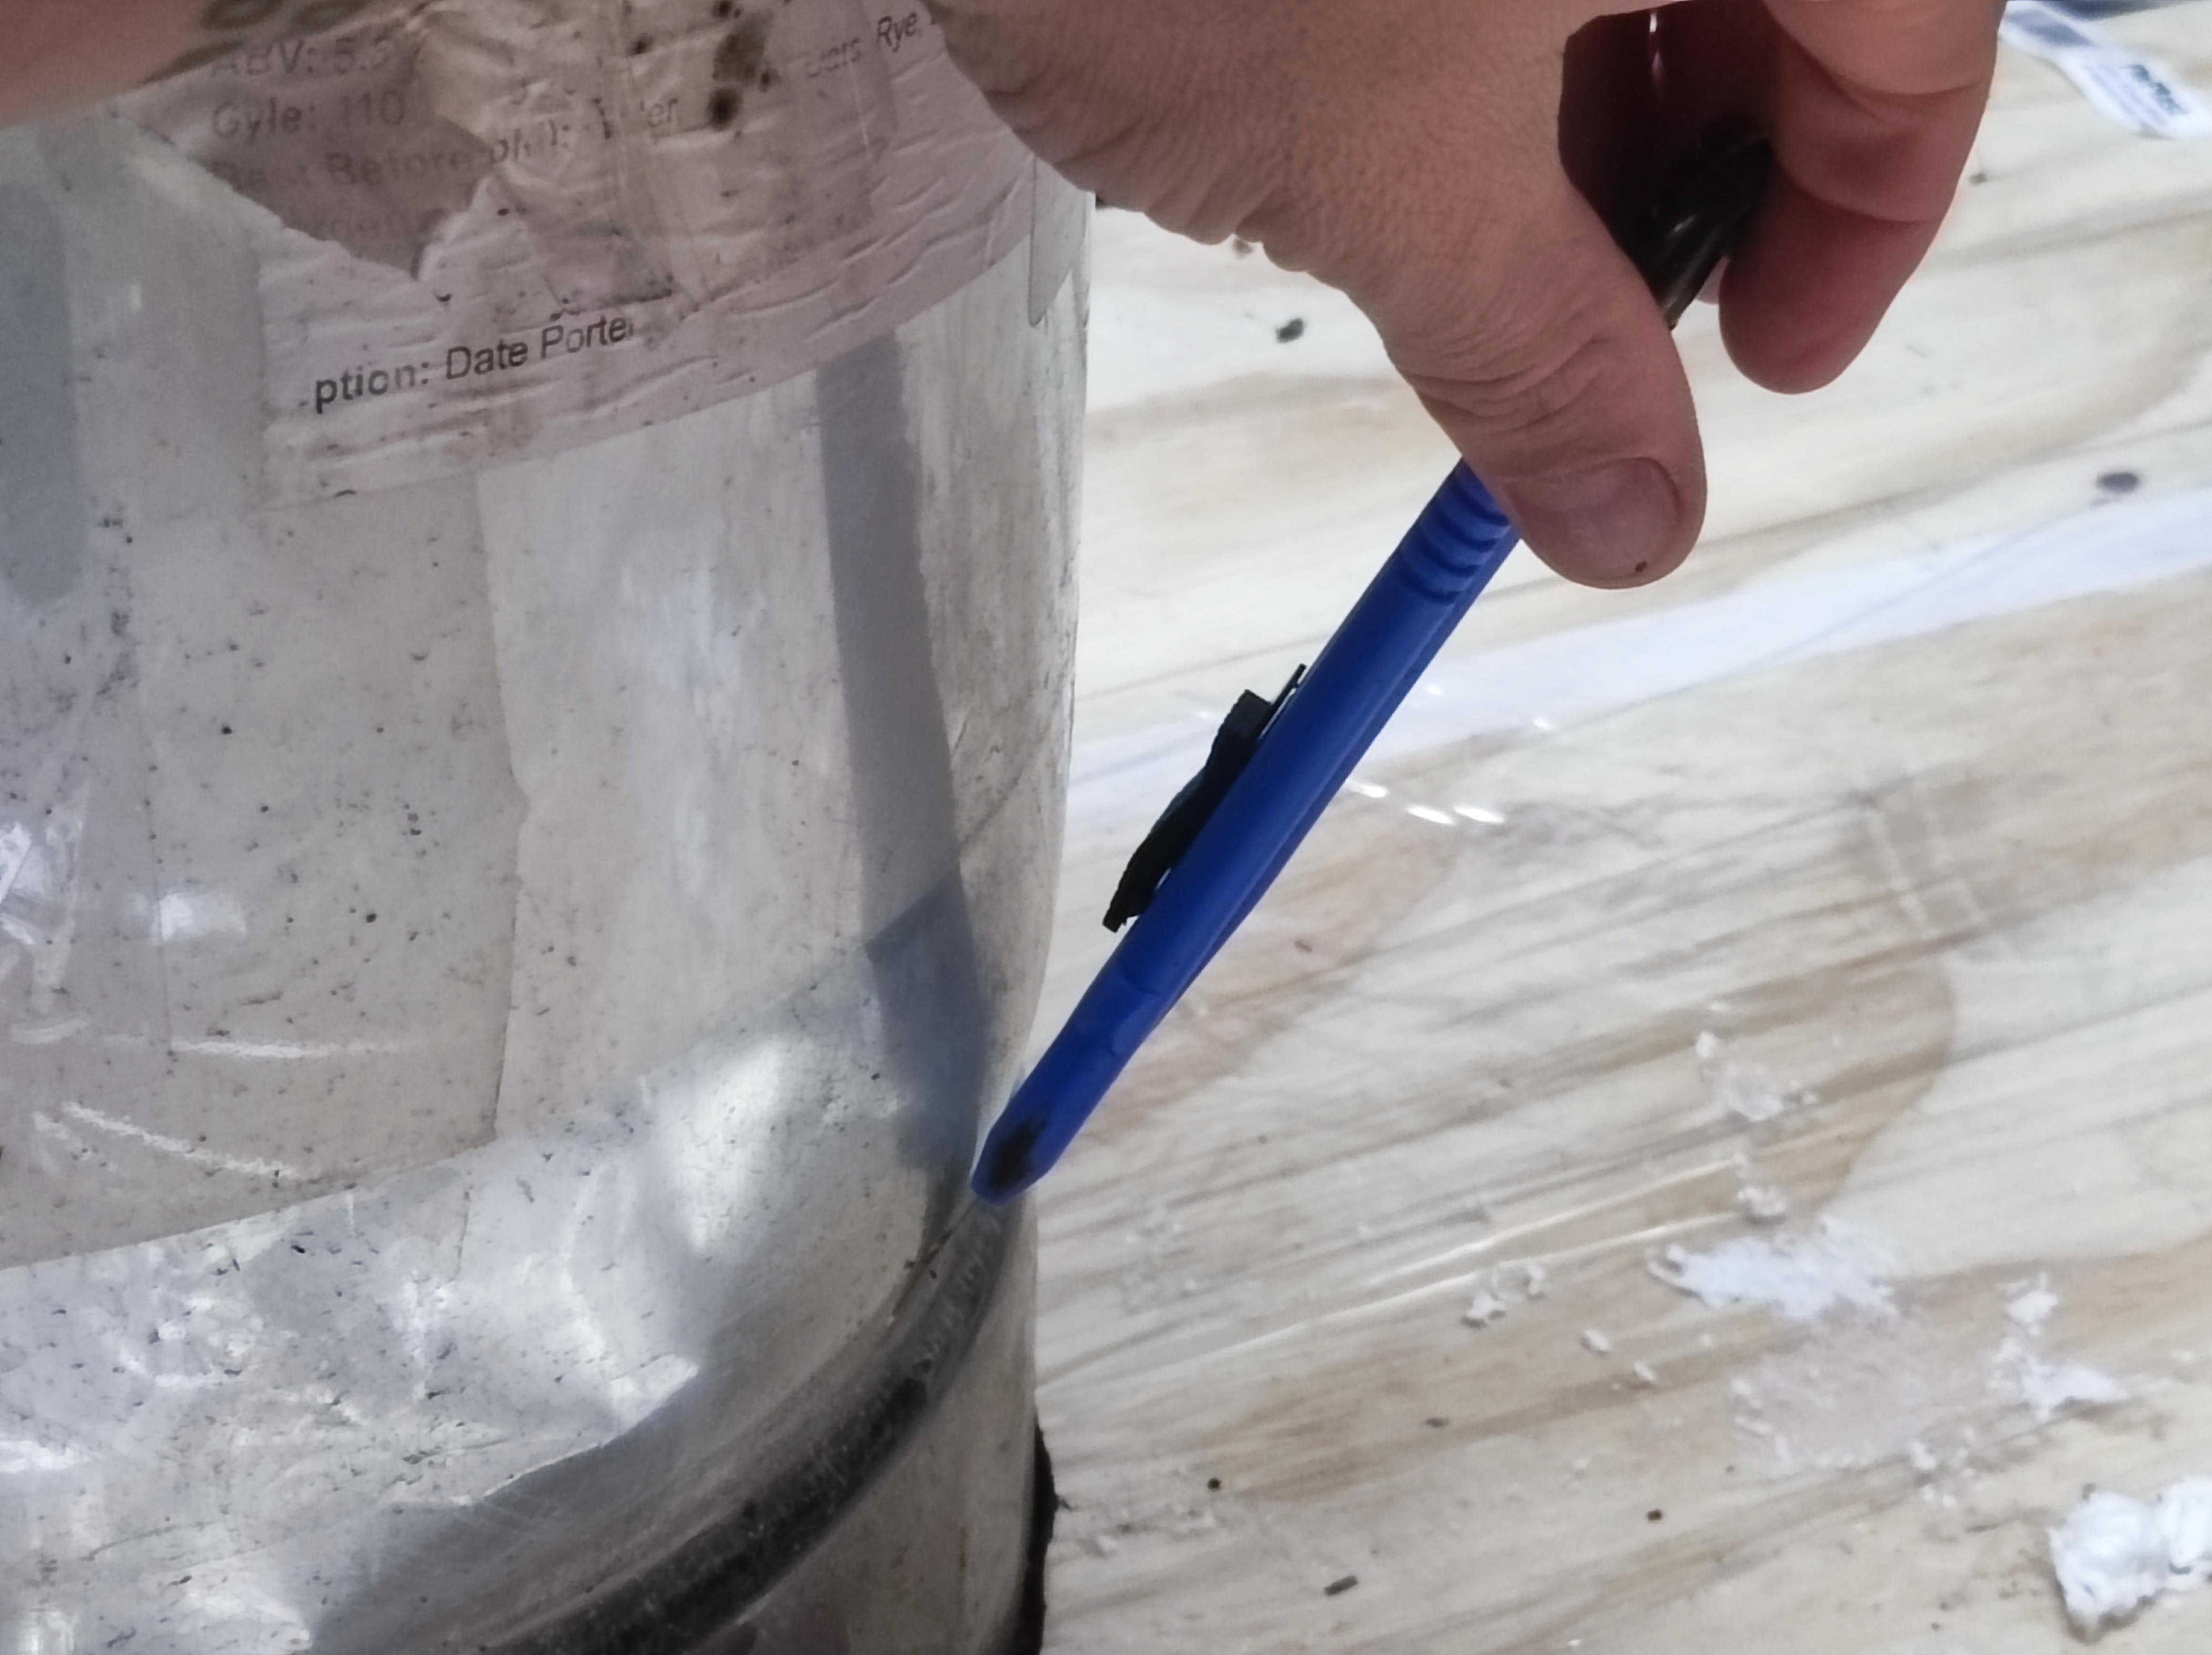
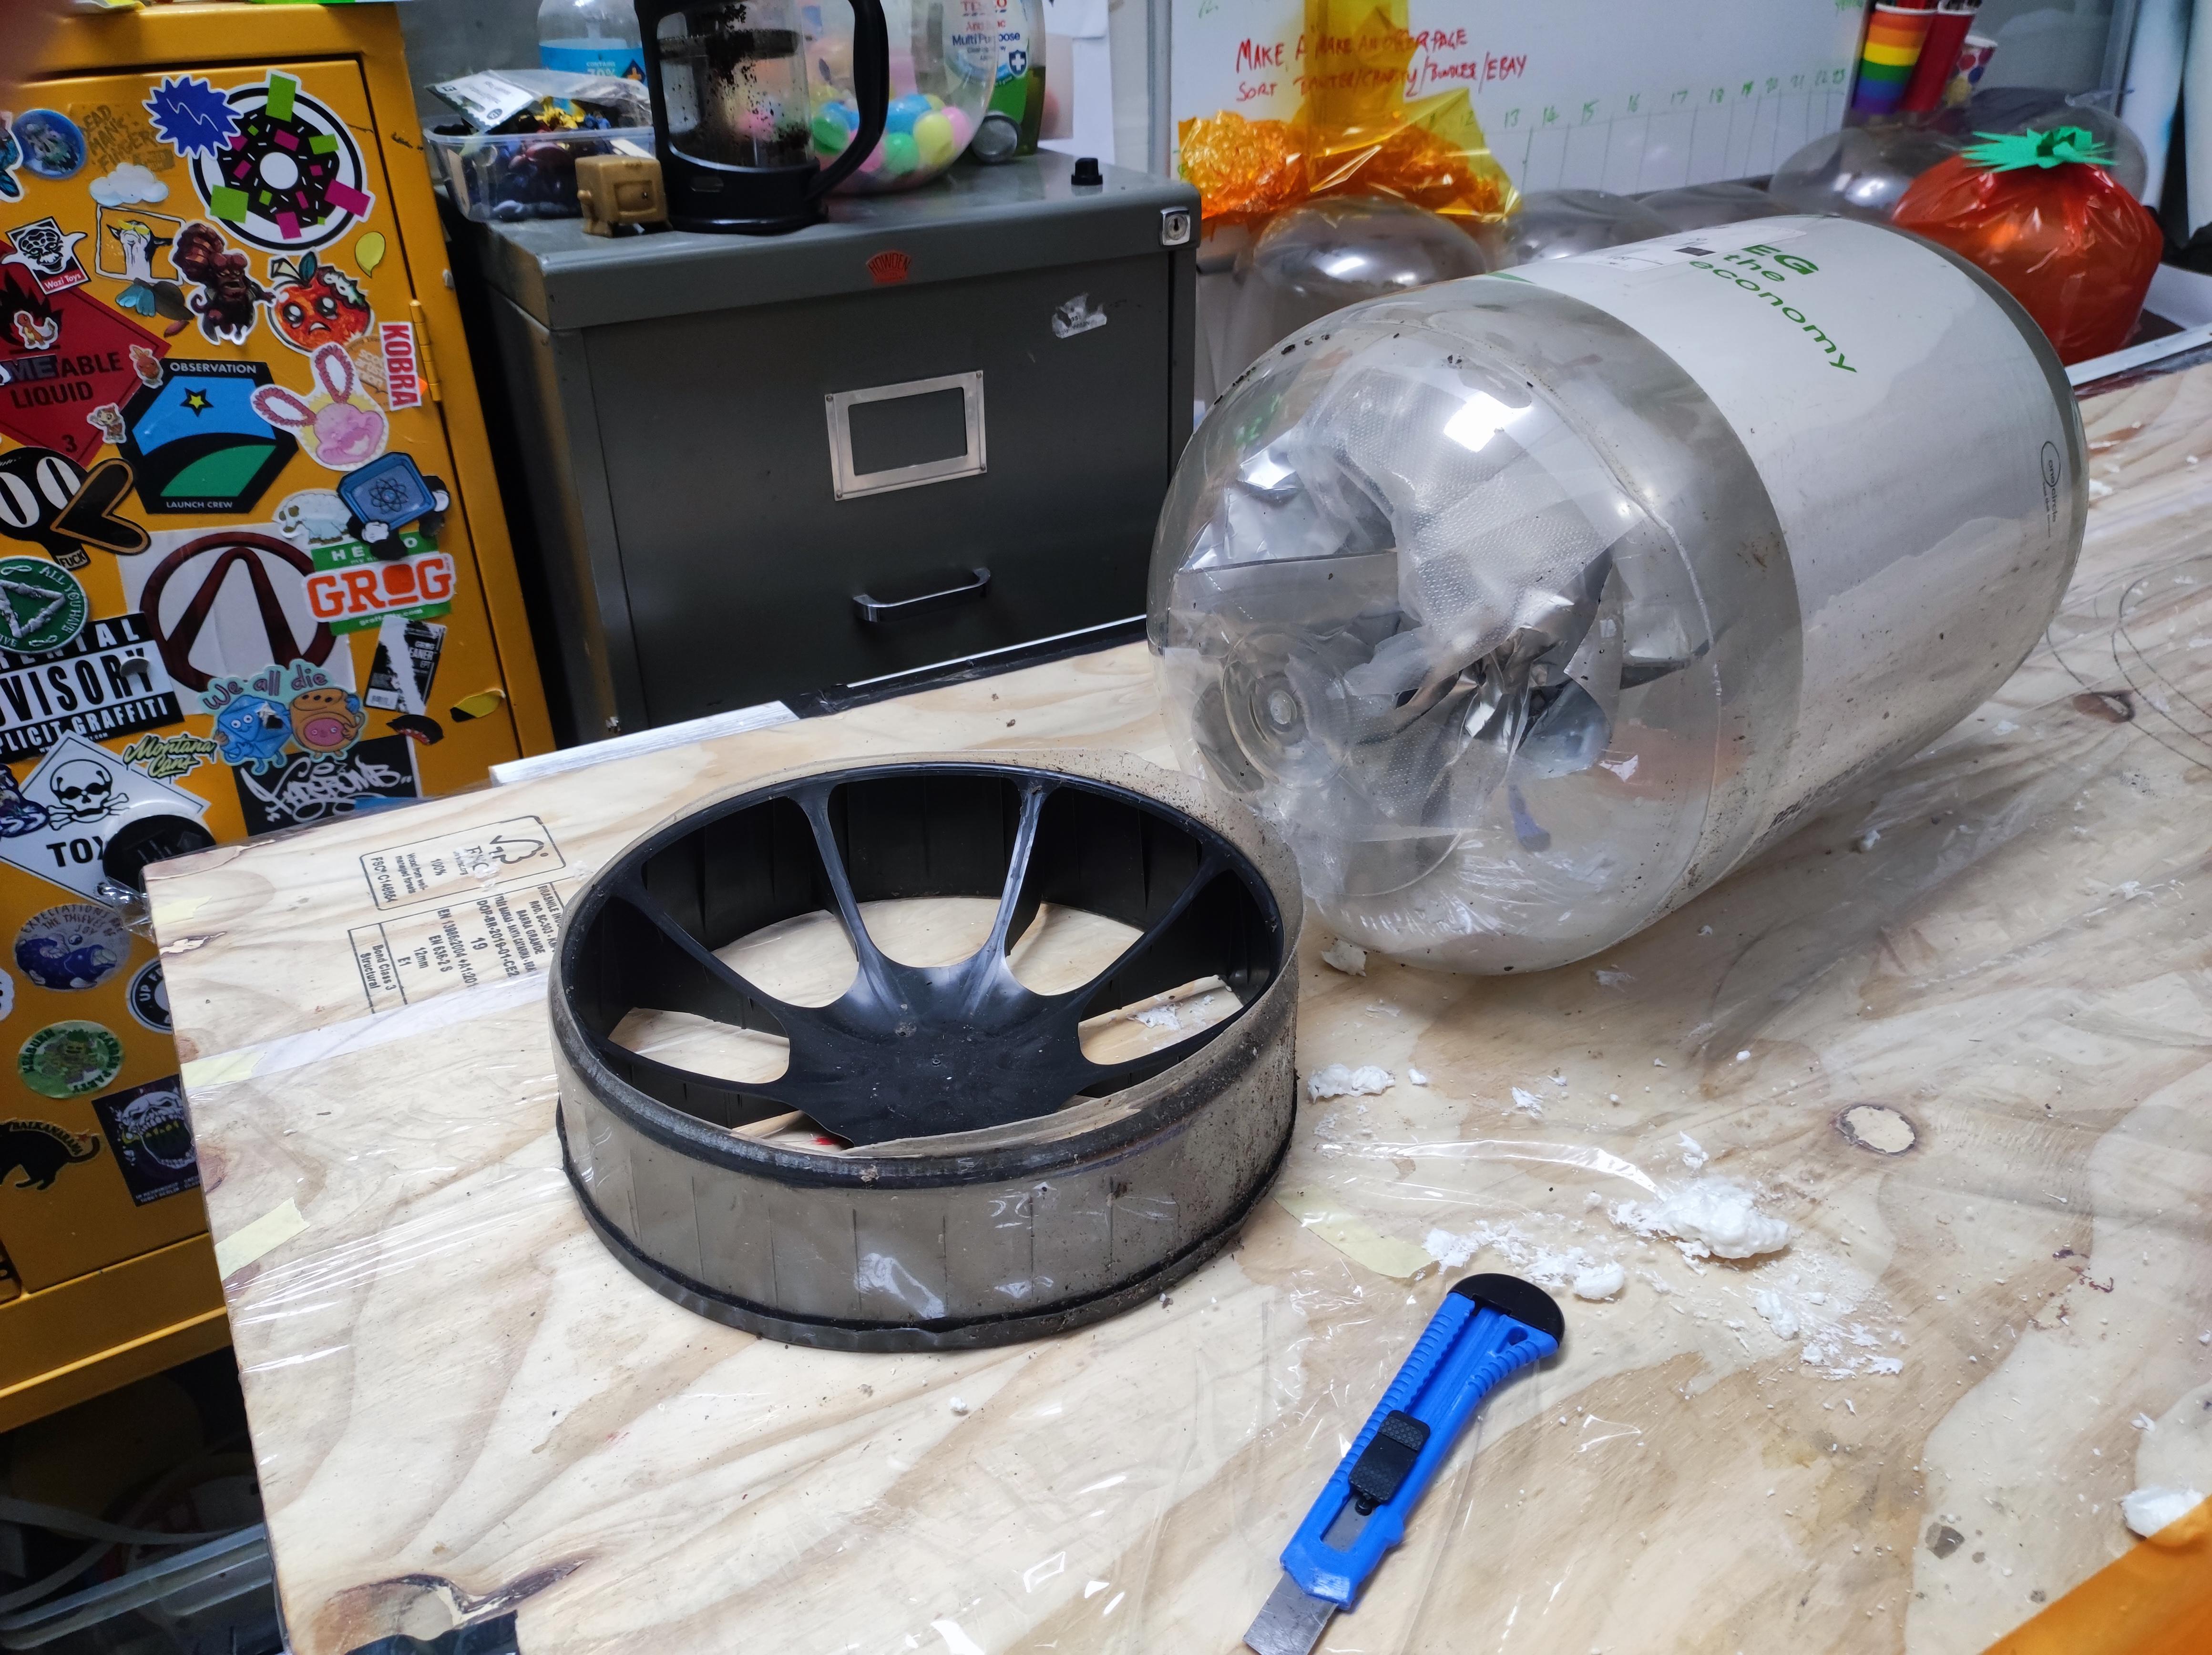
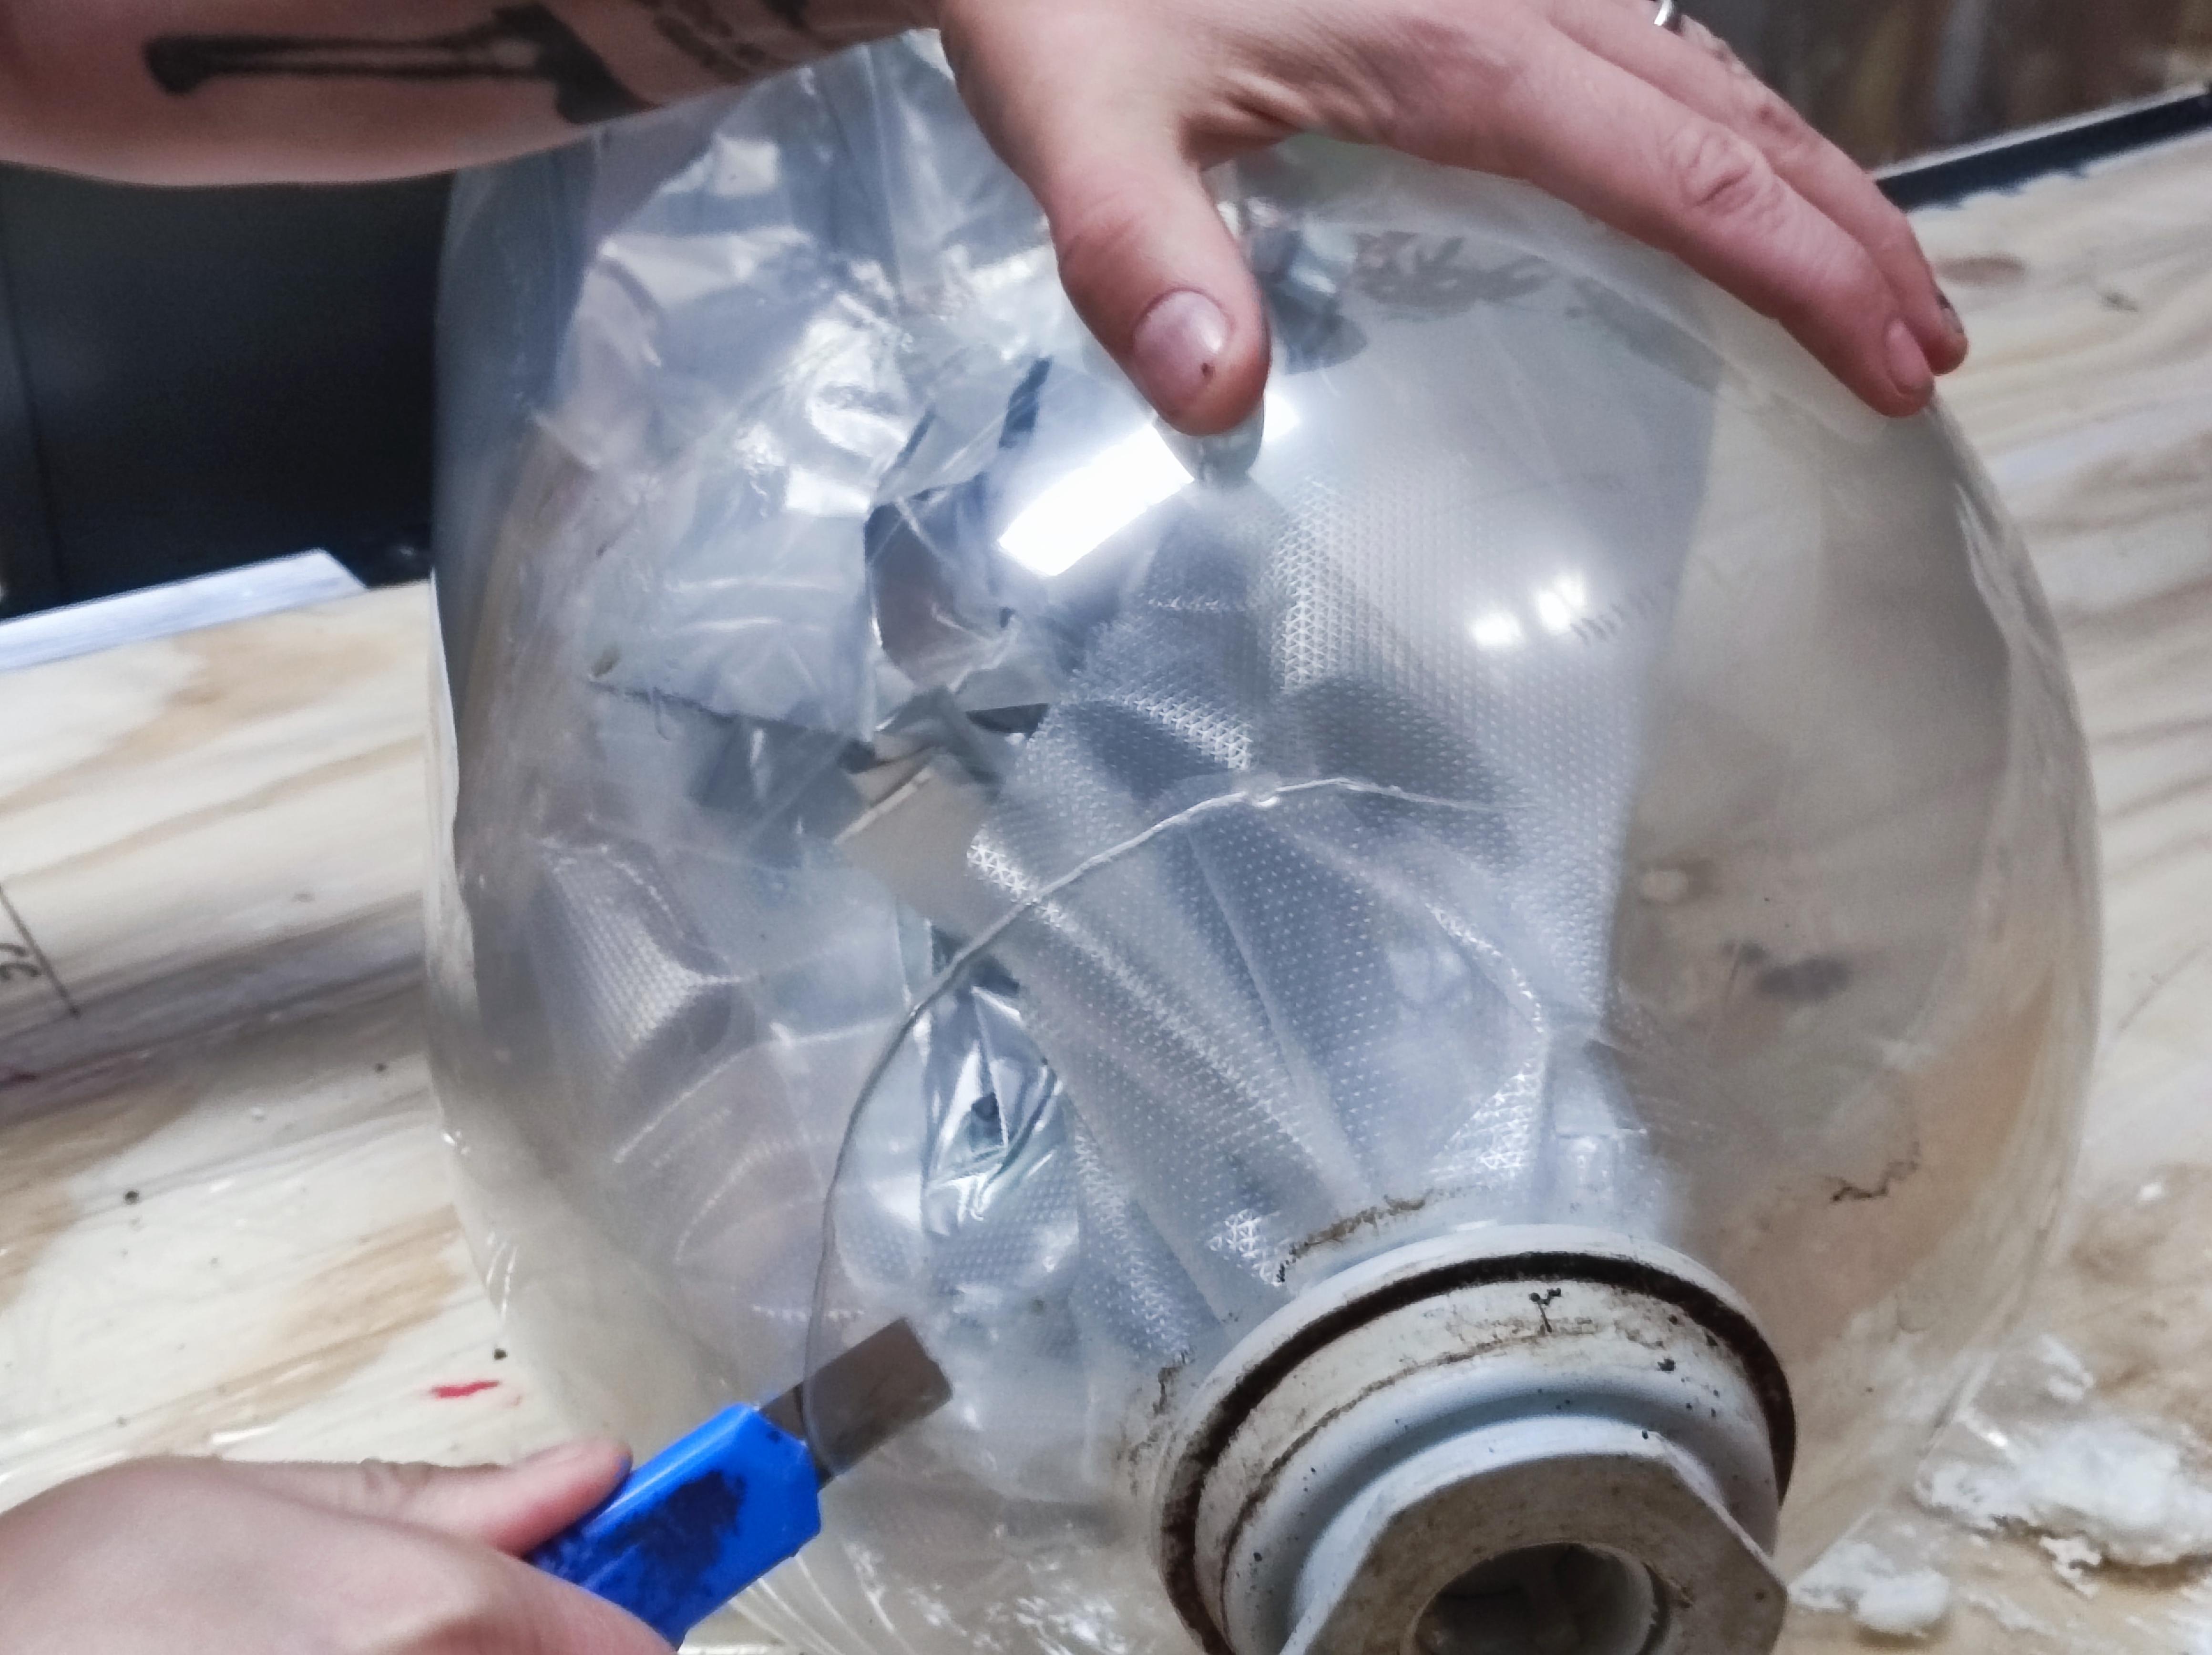
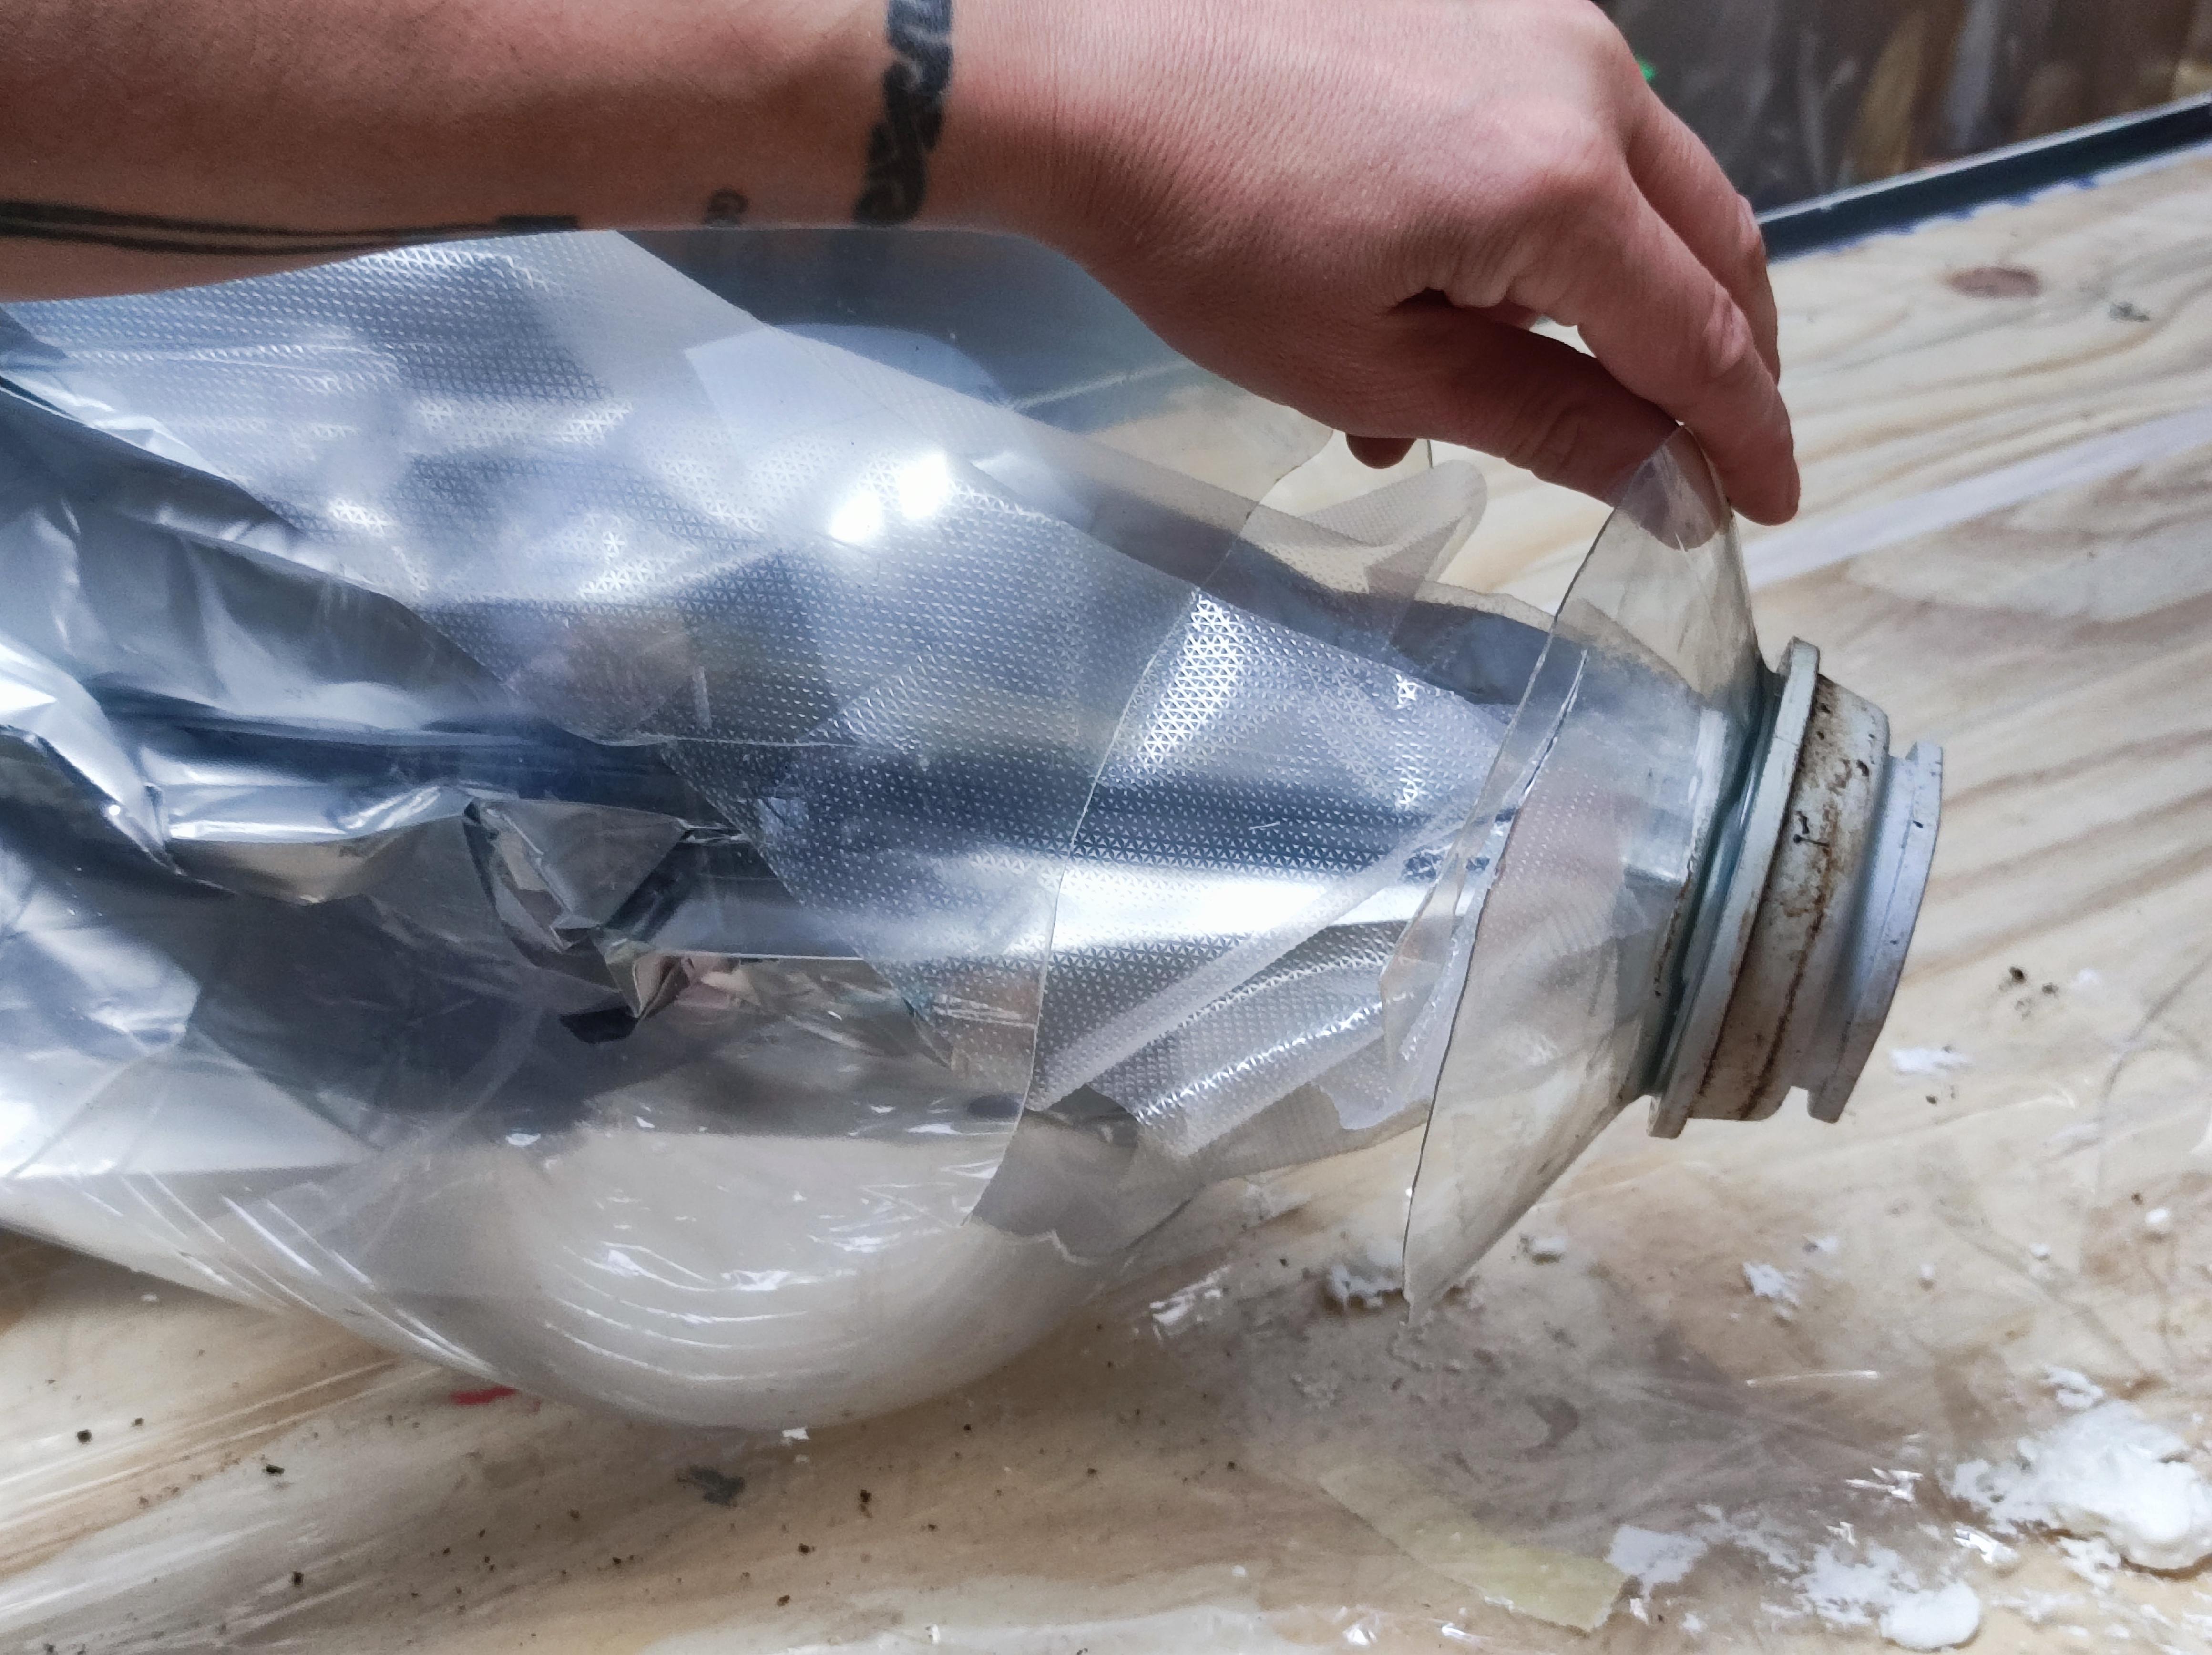
Cut off the outer keg: Make a hole near the base of the keg, there should be an indent where it curves in and cut at an angle between the inner keg and the base. You want to cut the outer keg while leaving the inner keg intact.
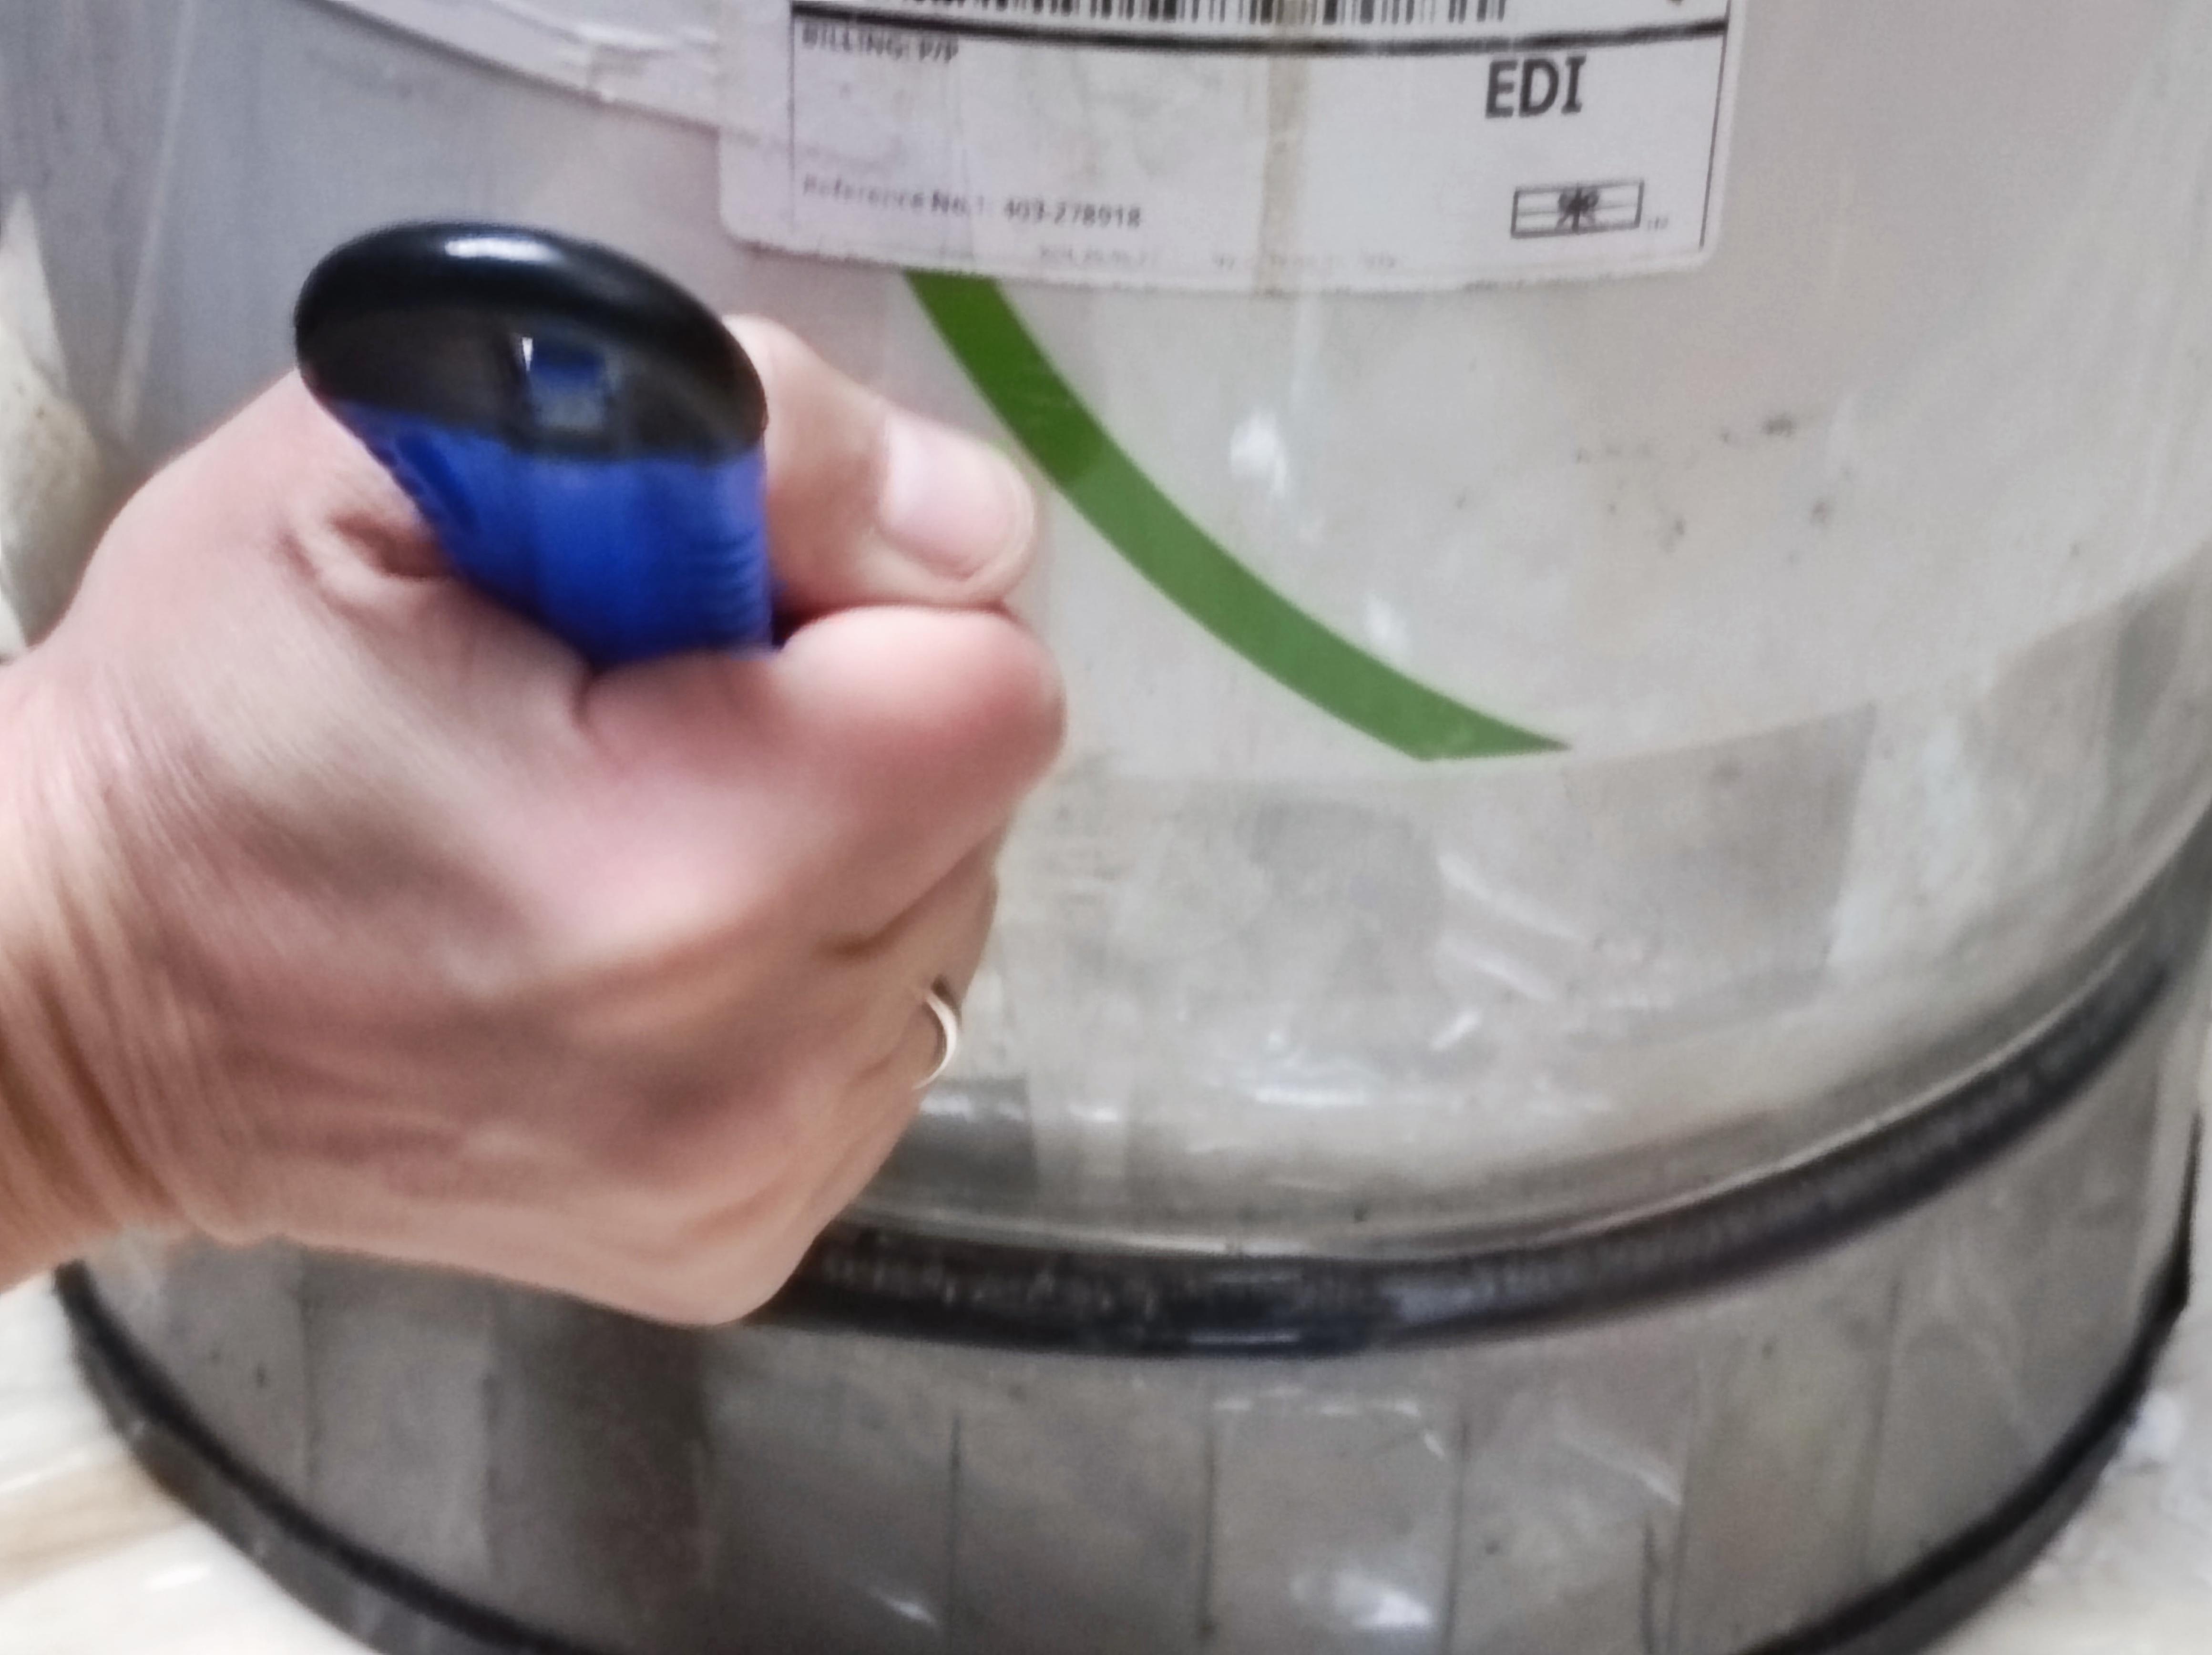
After you have done this cut down the sides of the outer keg so that you can pry them appert and release the inner keg.
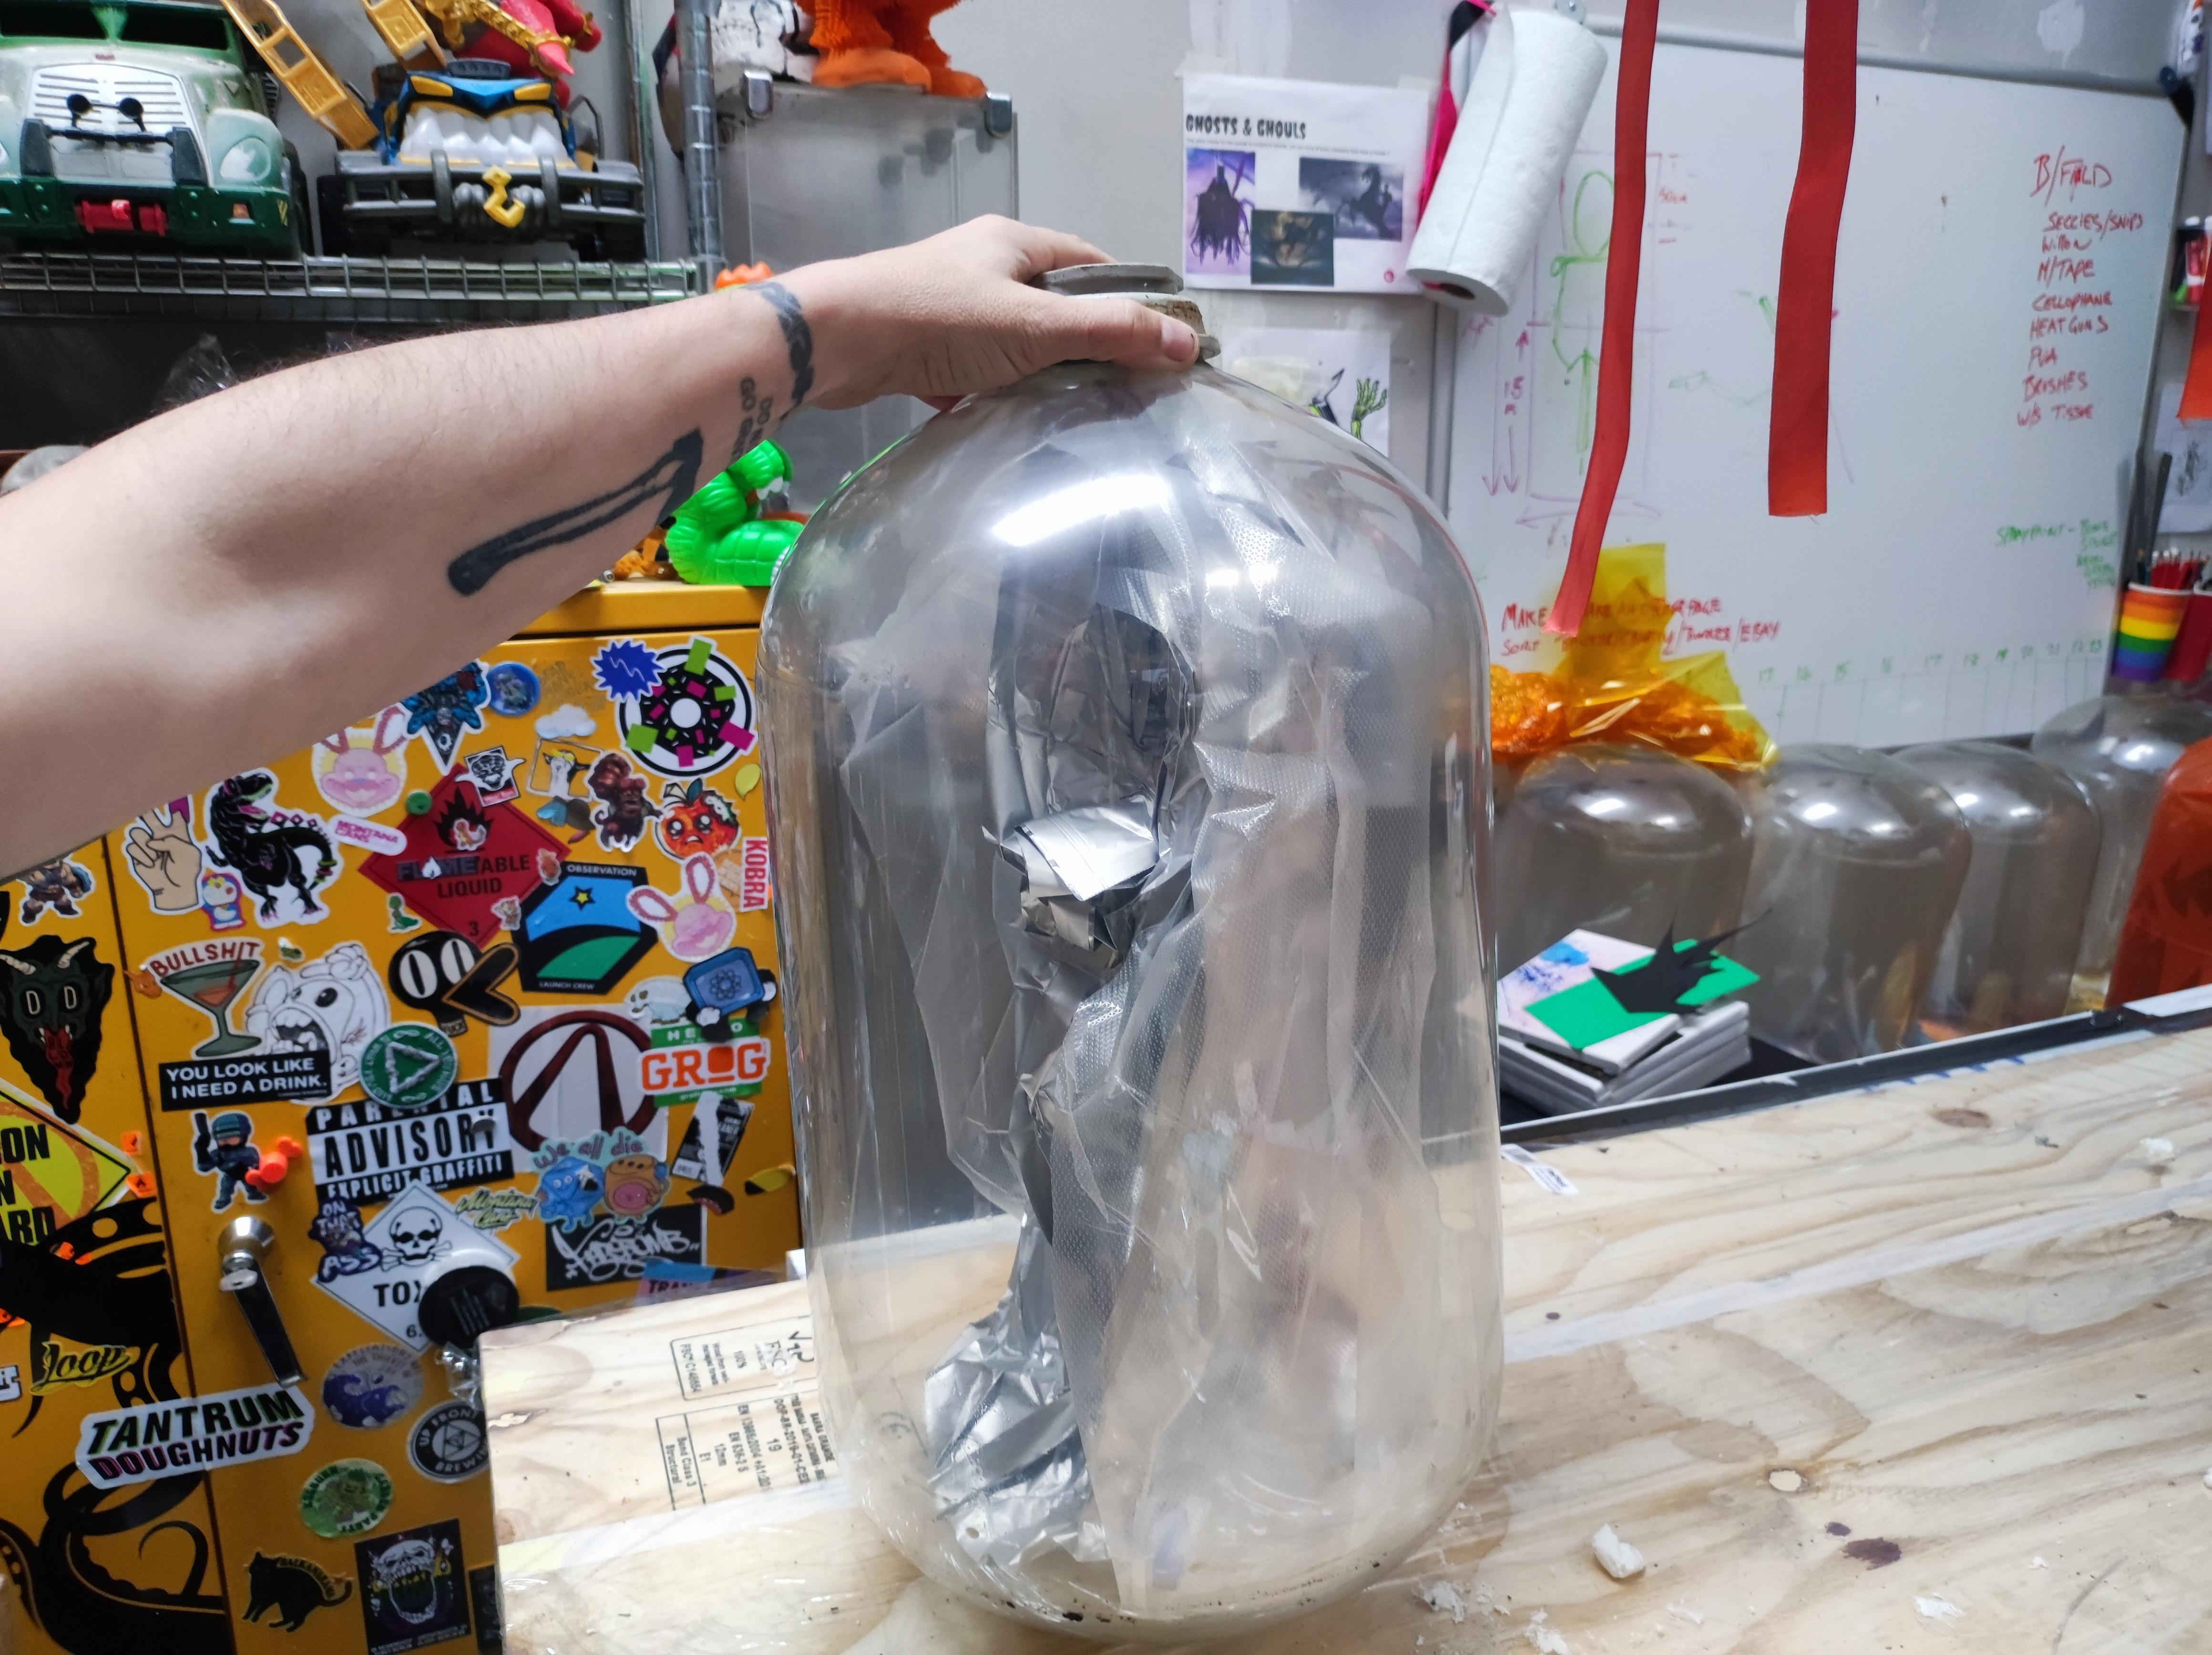
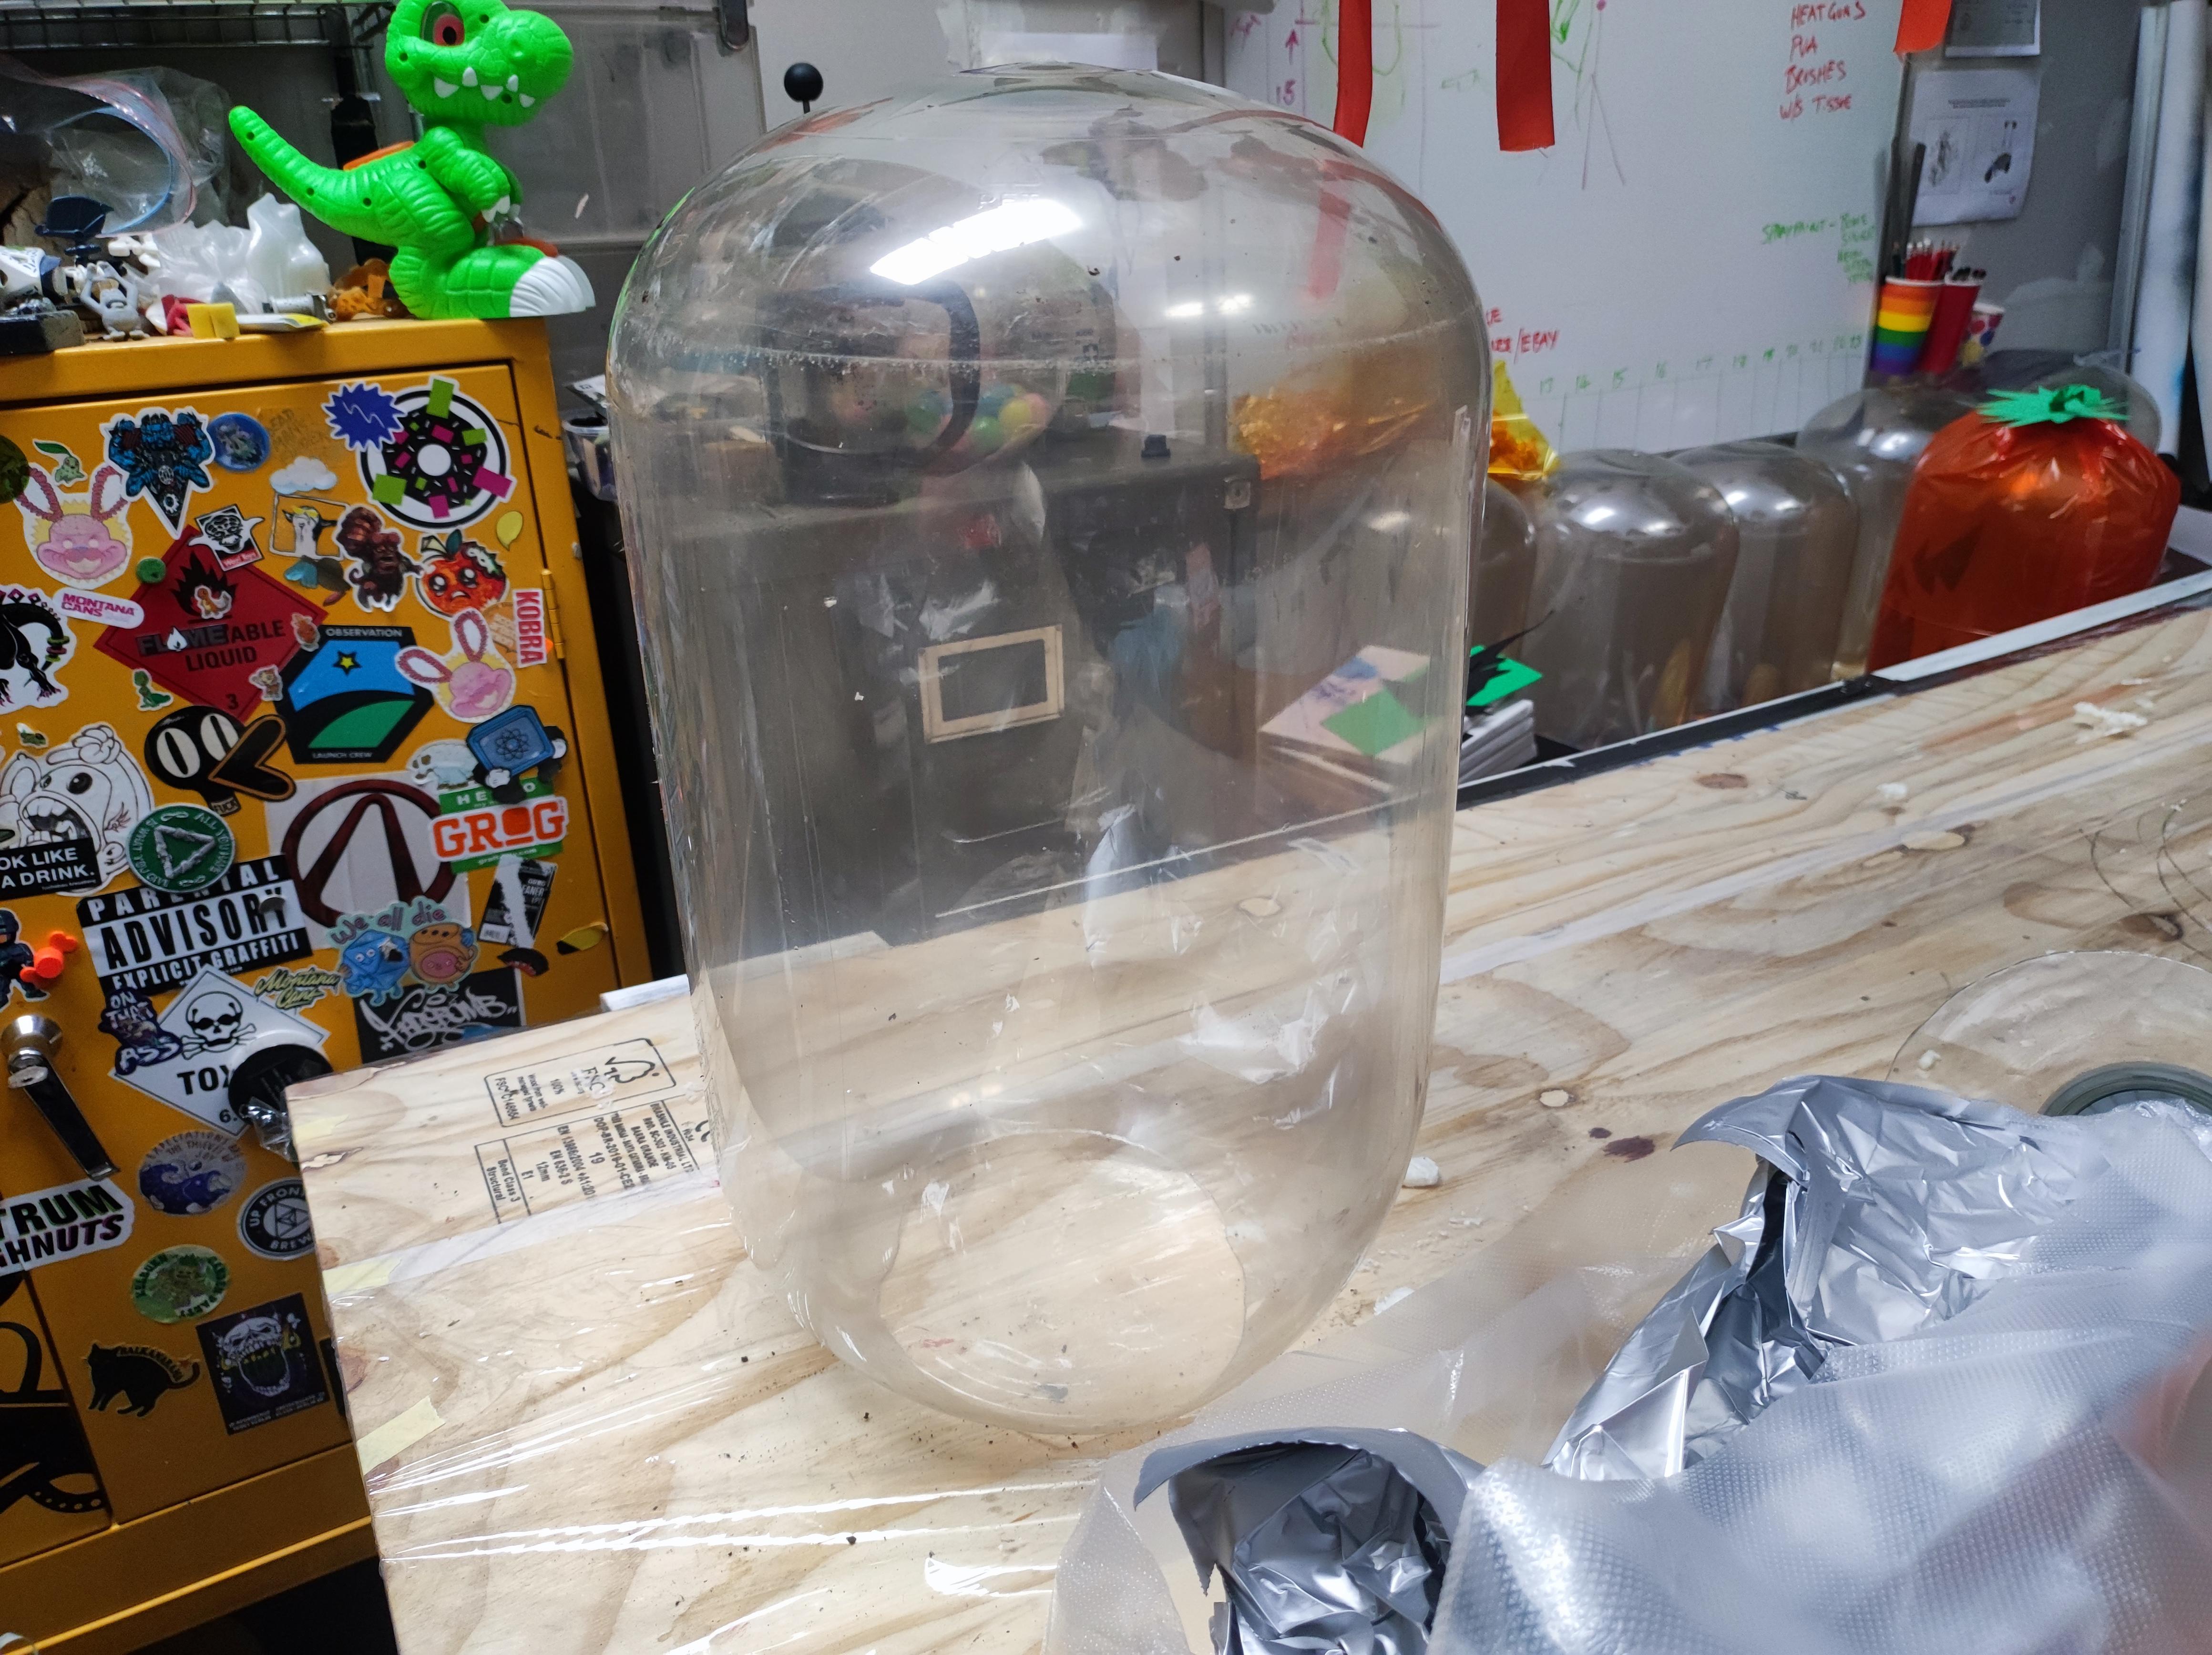
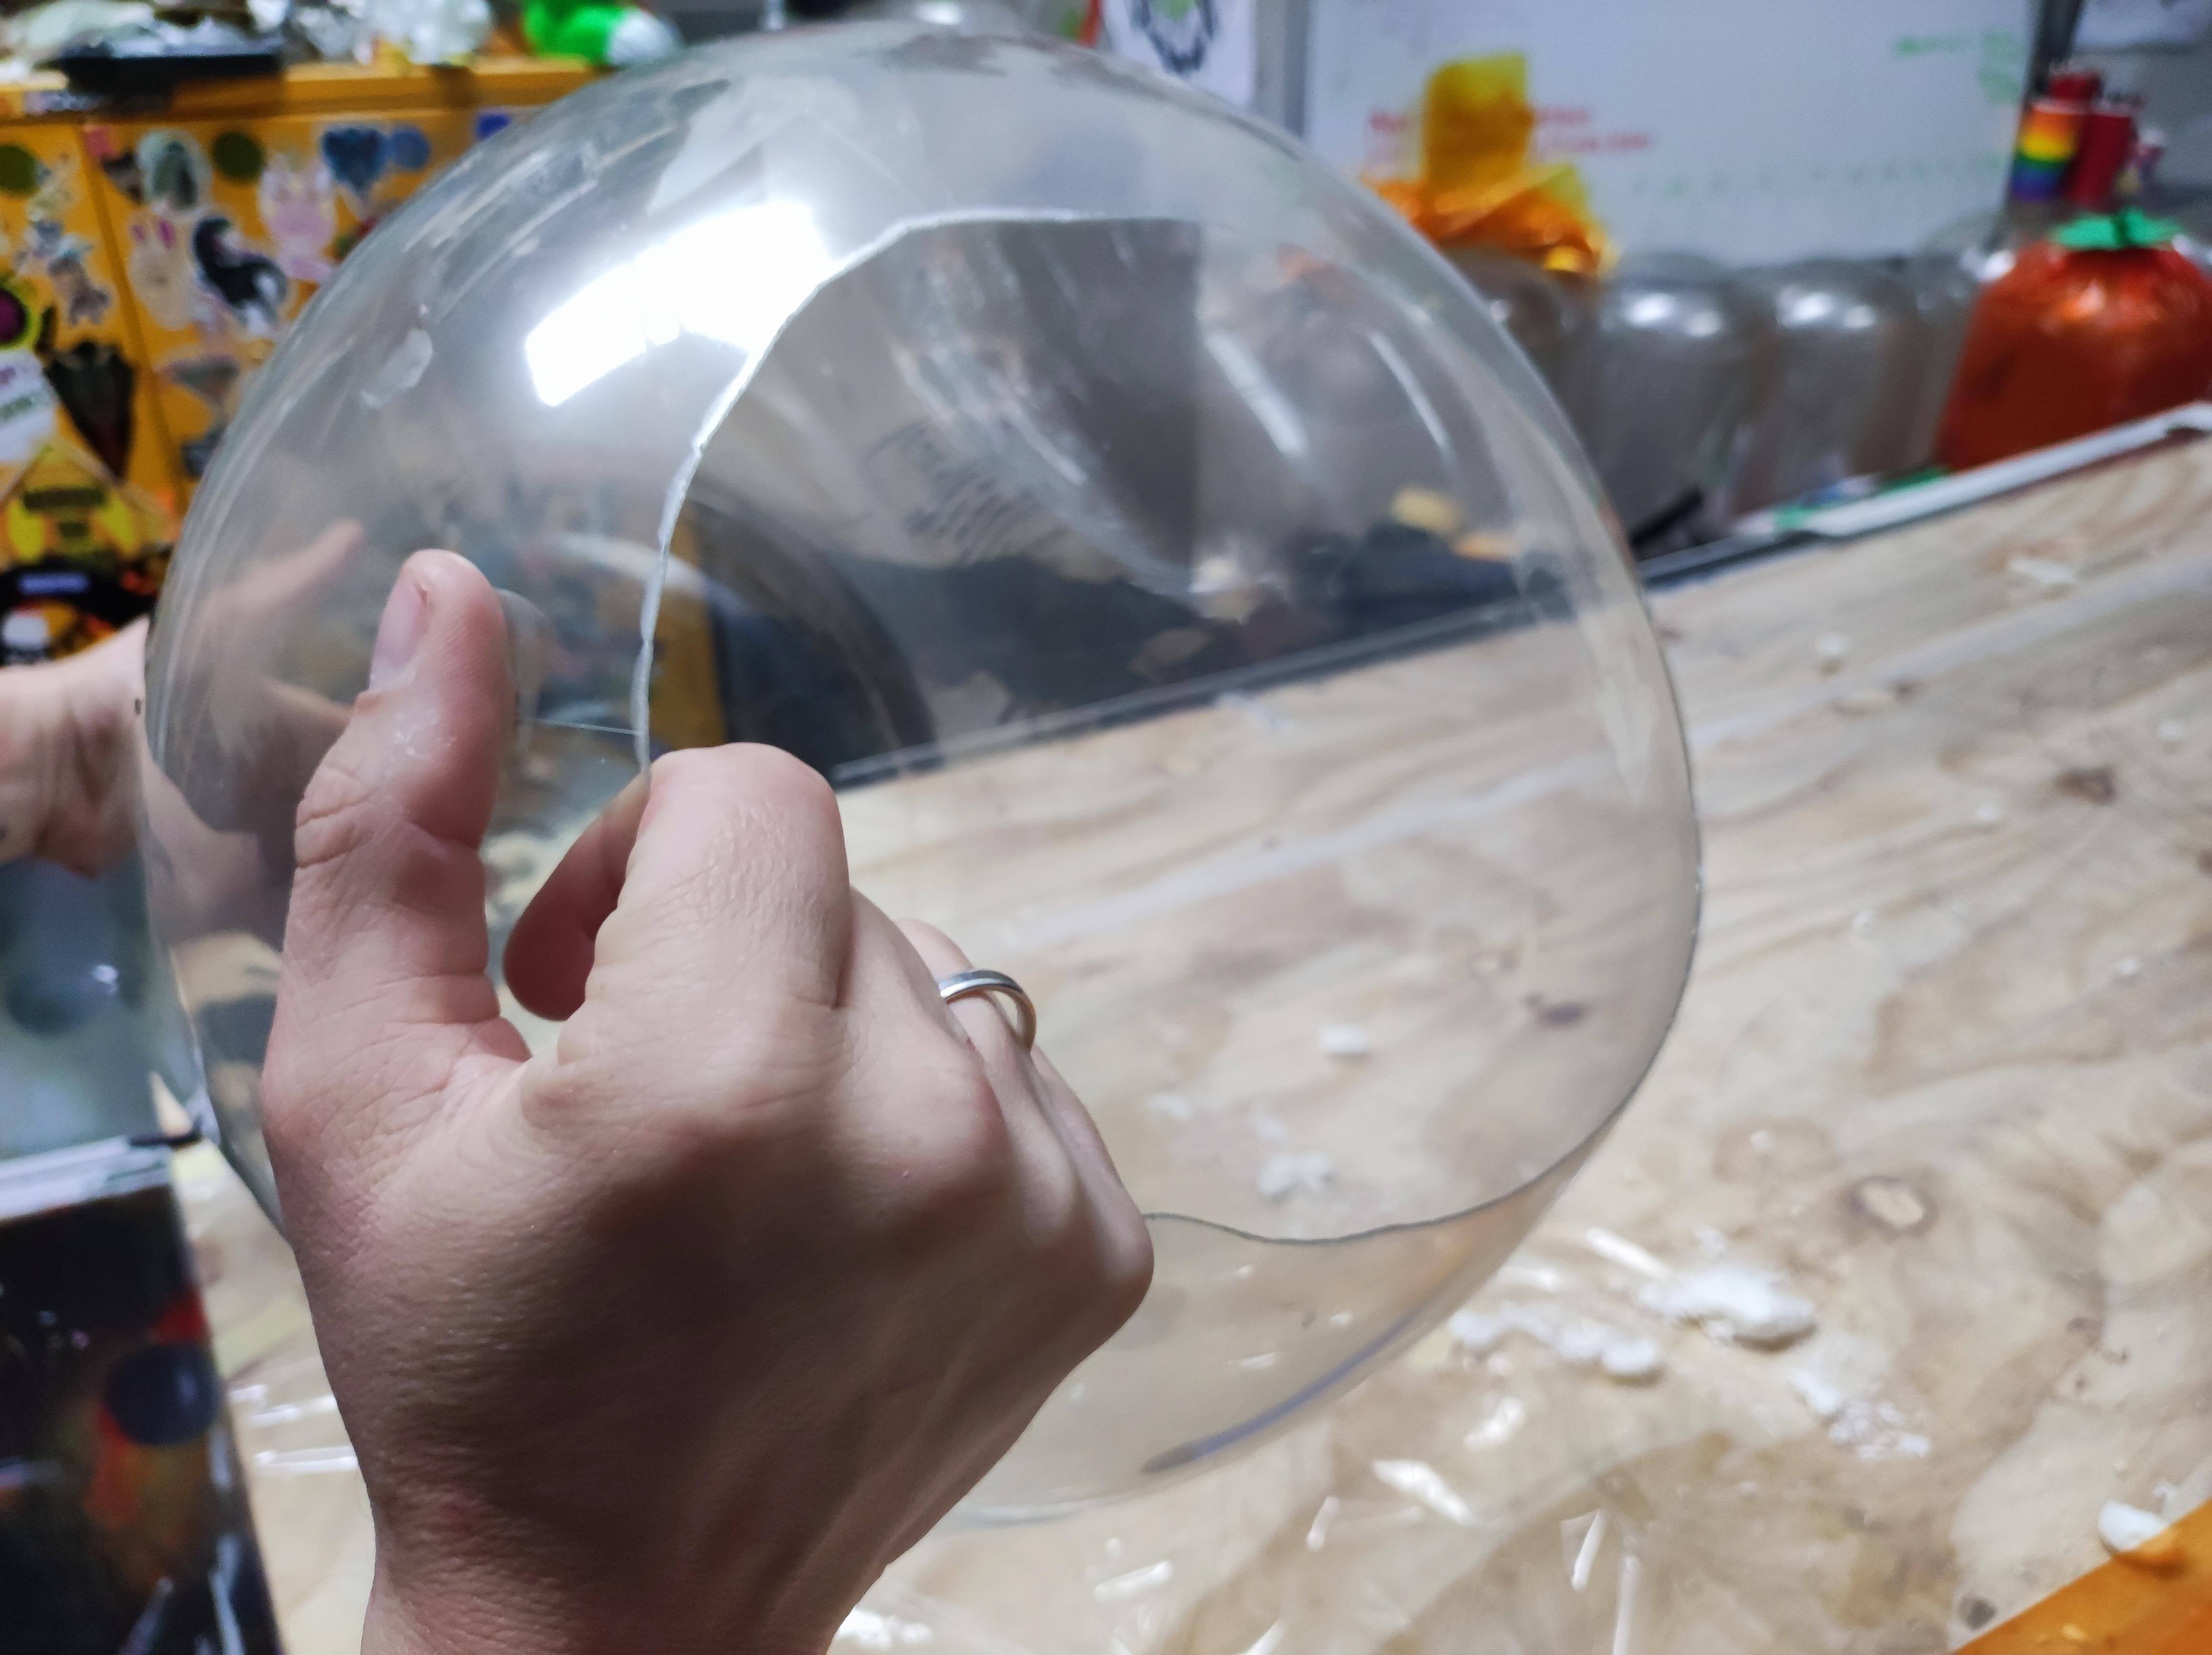
Prepping the inner keg: Remove any labels and then near the top (the nozzle shaped bit) carefully cut a circle so that you can remove the nozzle and the beer bag inside (it kinda feels like de-seeding a pumpkin) > you want the whole to be wide enough that it creates a stable base for the lantern to sit on.
NOTE: there is usually a good elastic band at the top of the beer bag should you be like me and not want to waste as much as possible)
Finally: Tidy up any untidy/sharp edges of the hole you have just cut
Wrapping the Keg
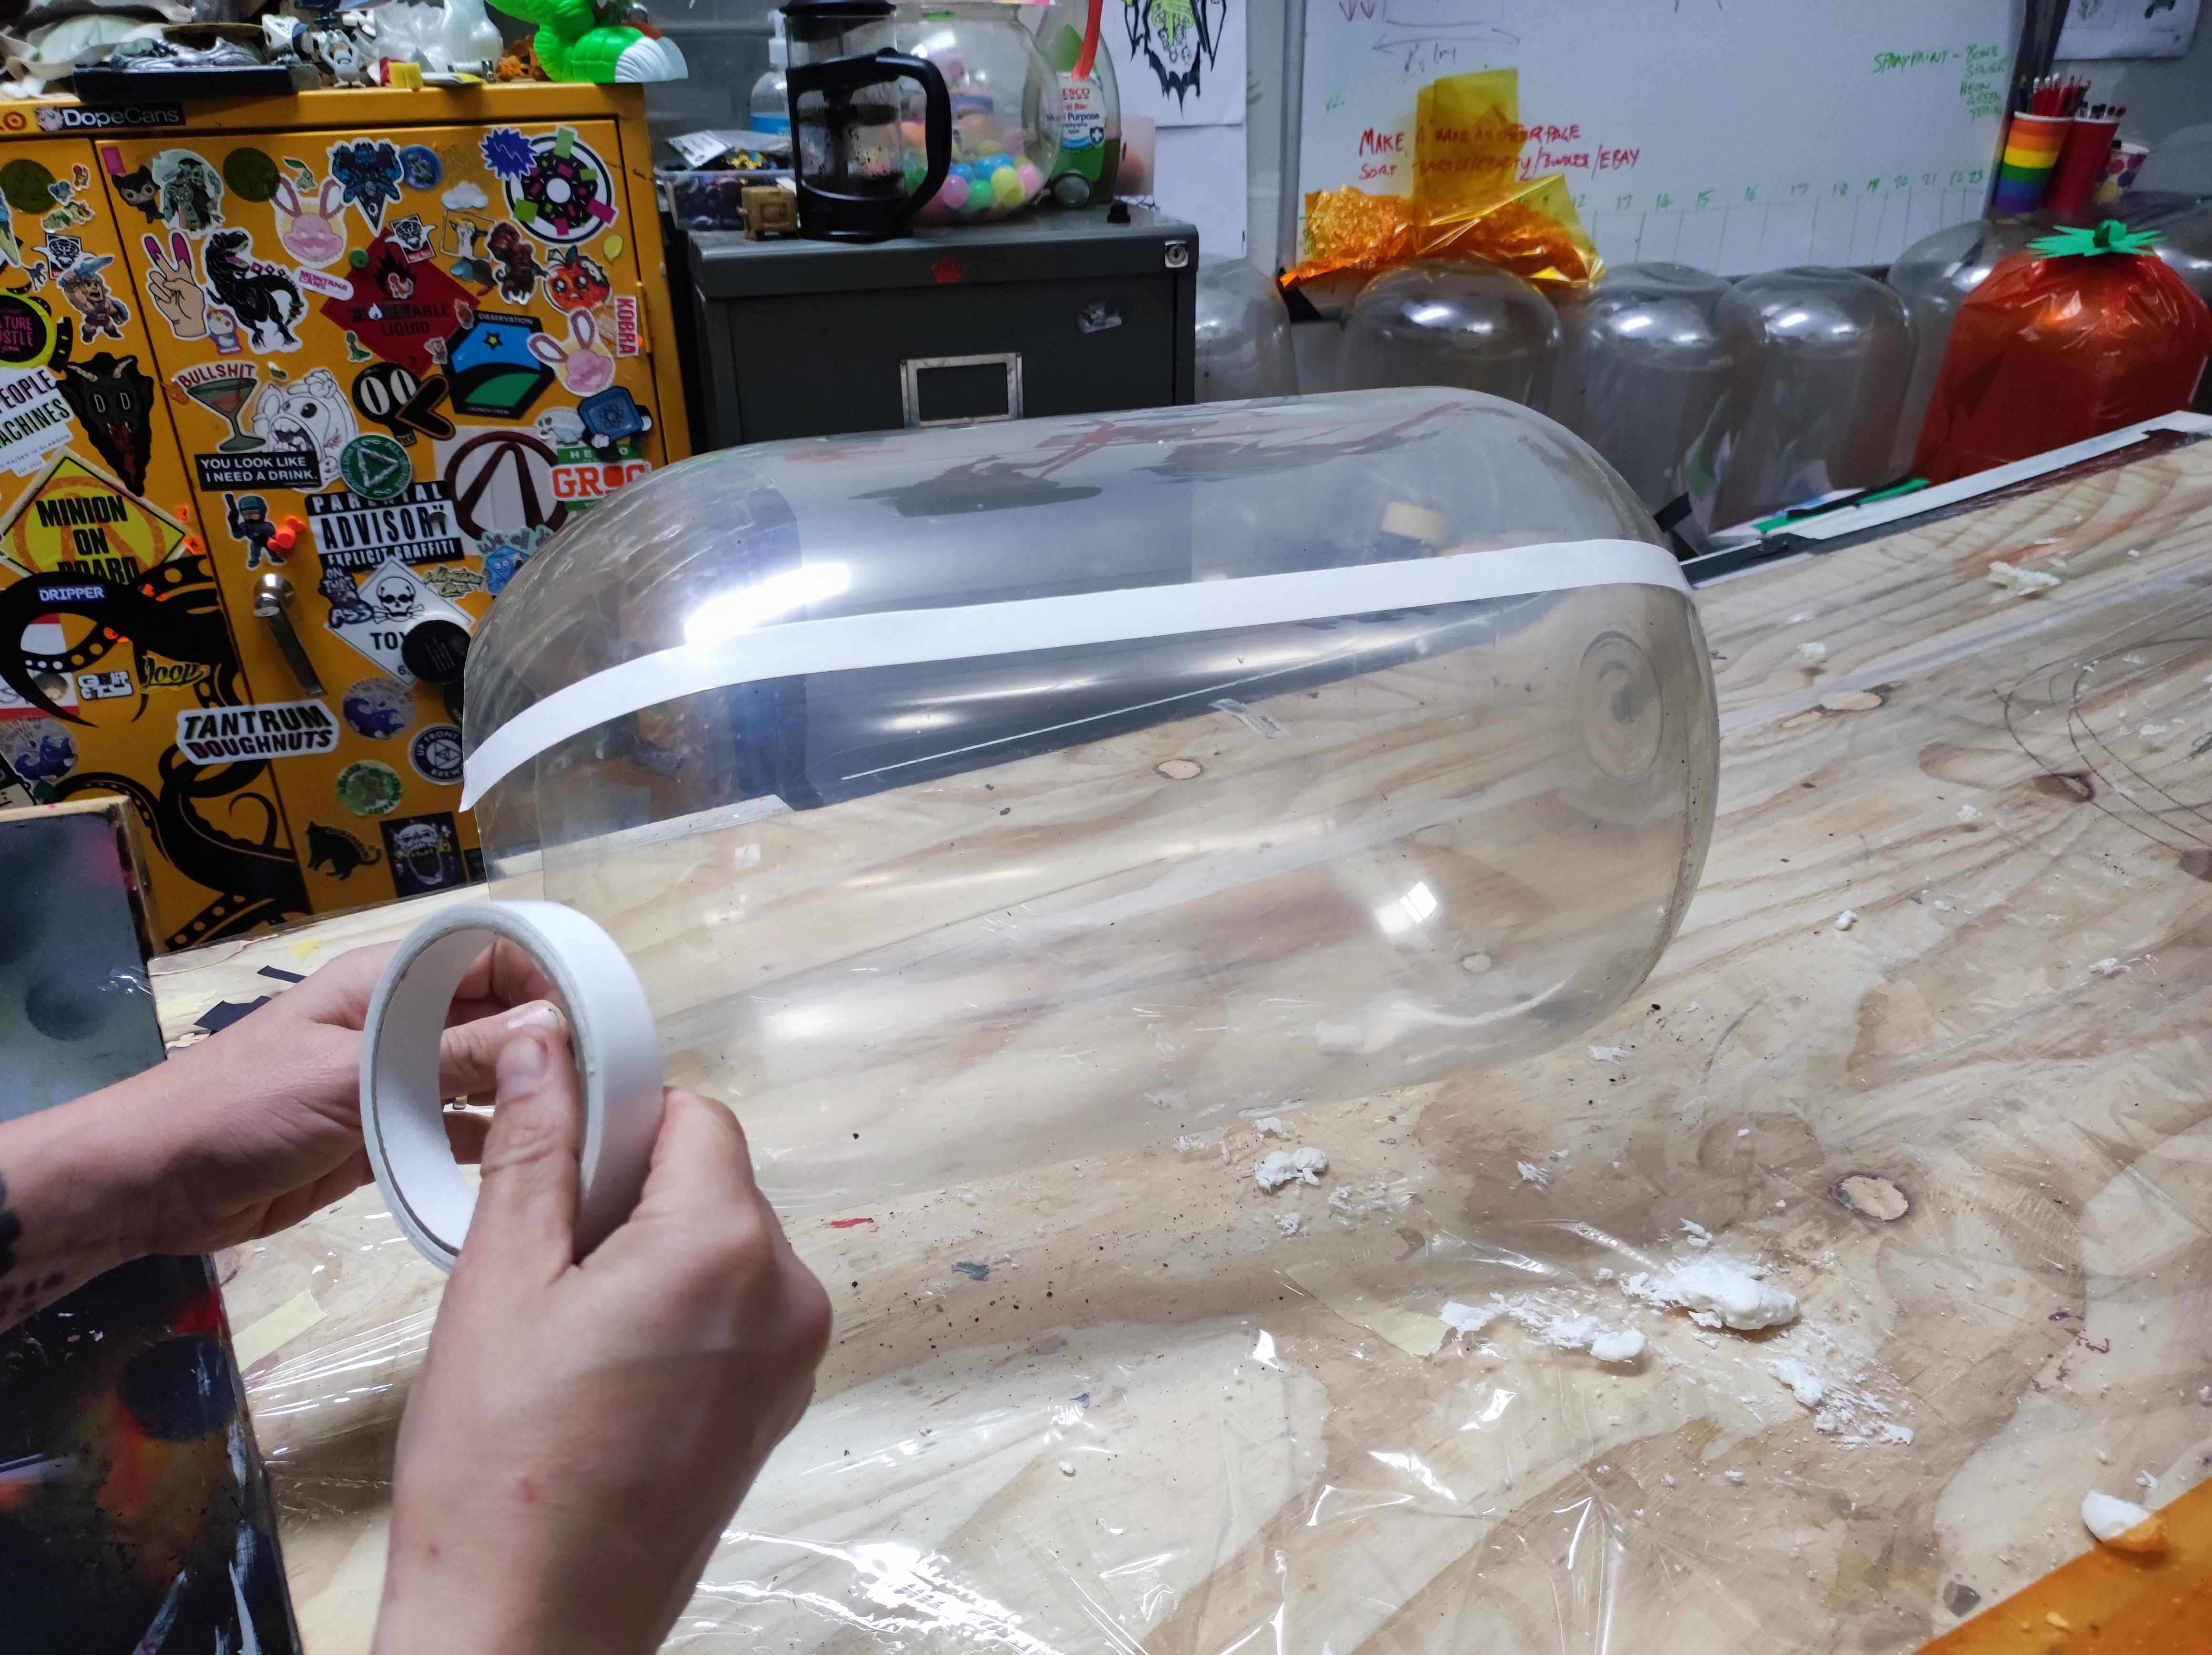
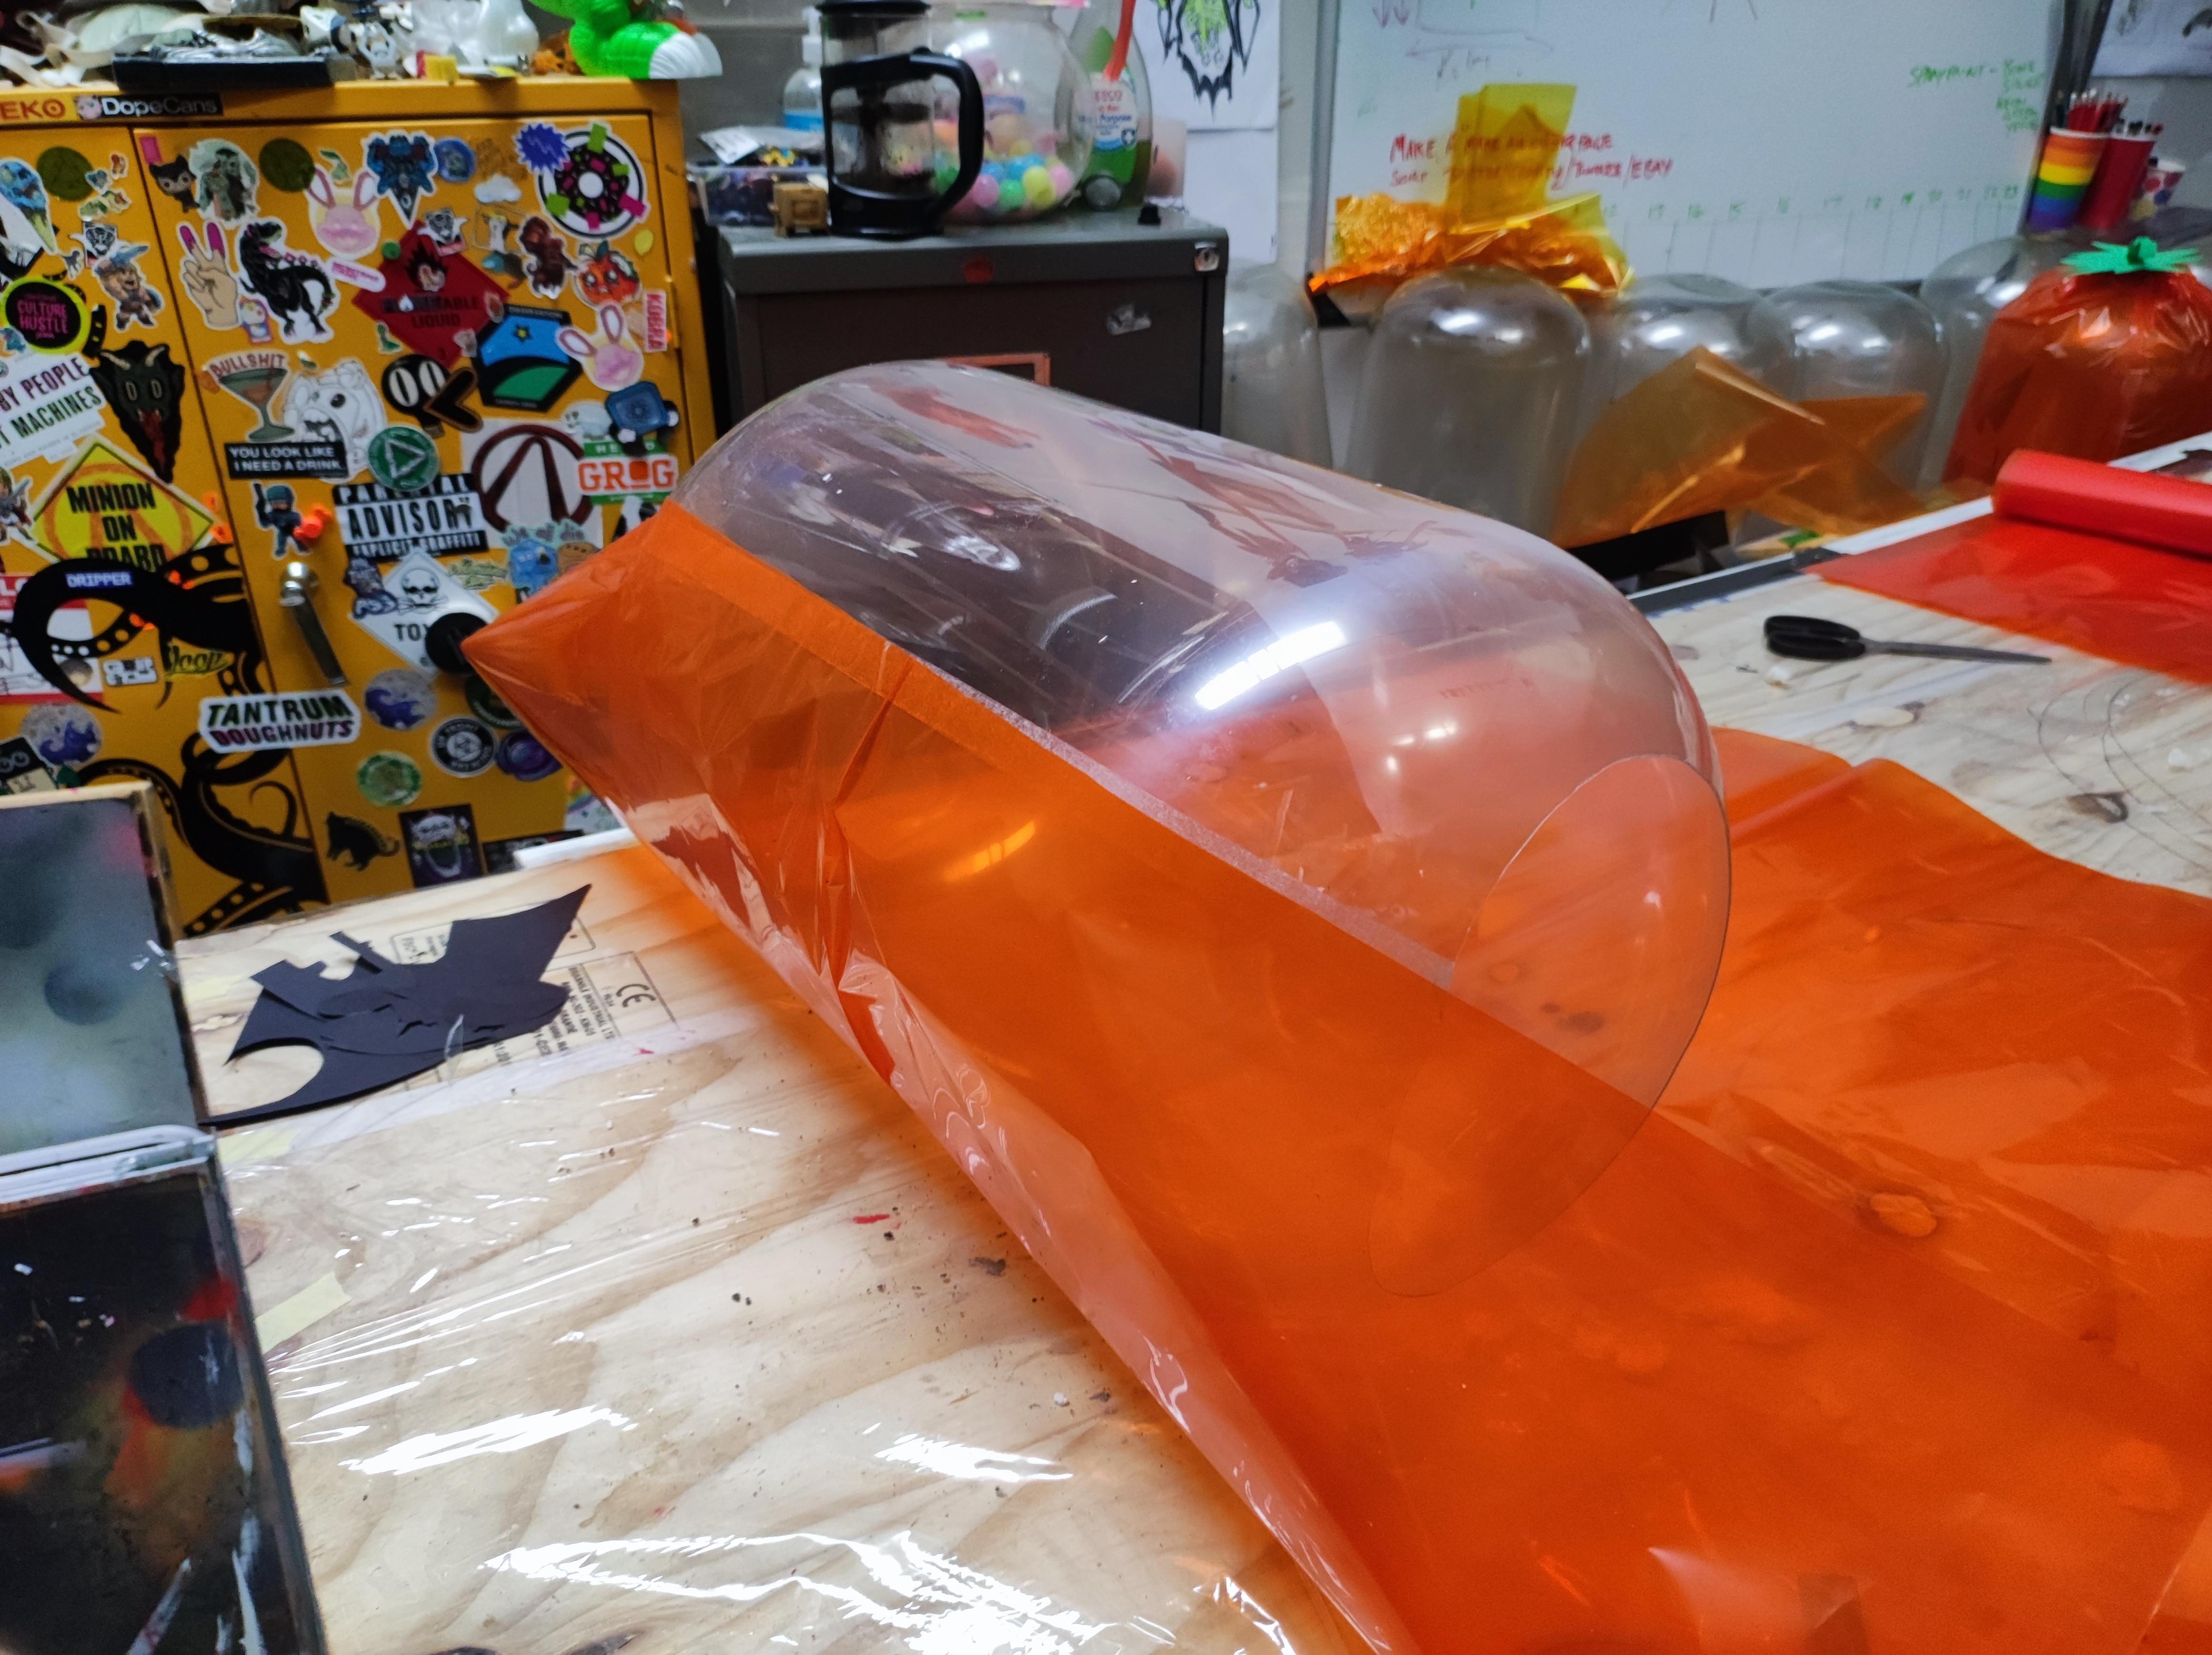
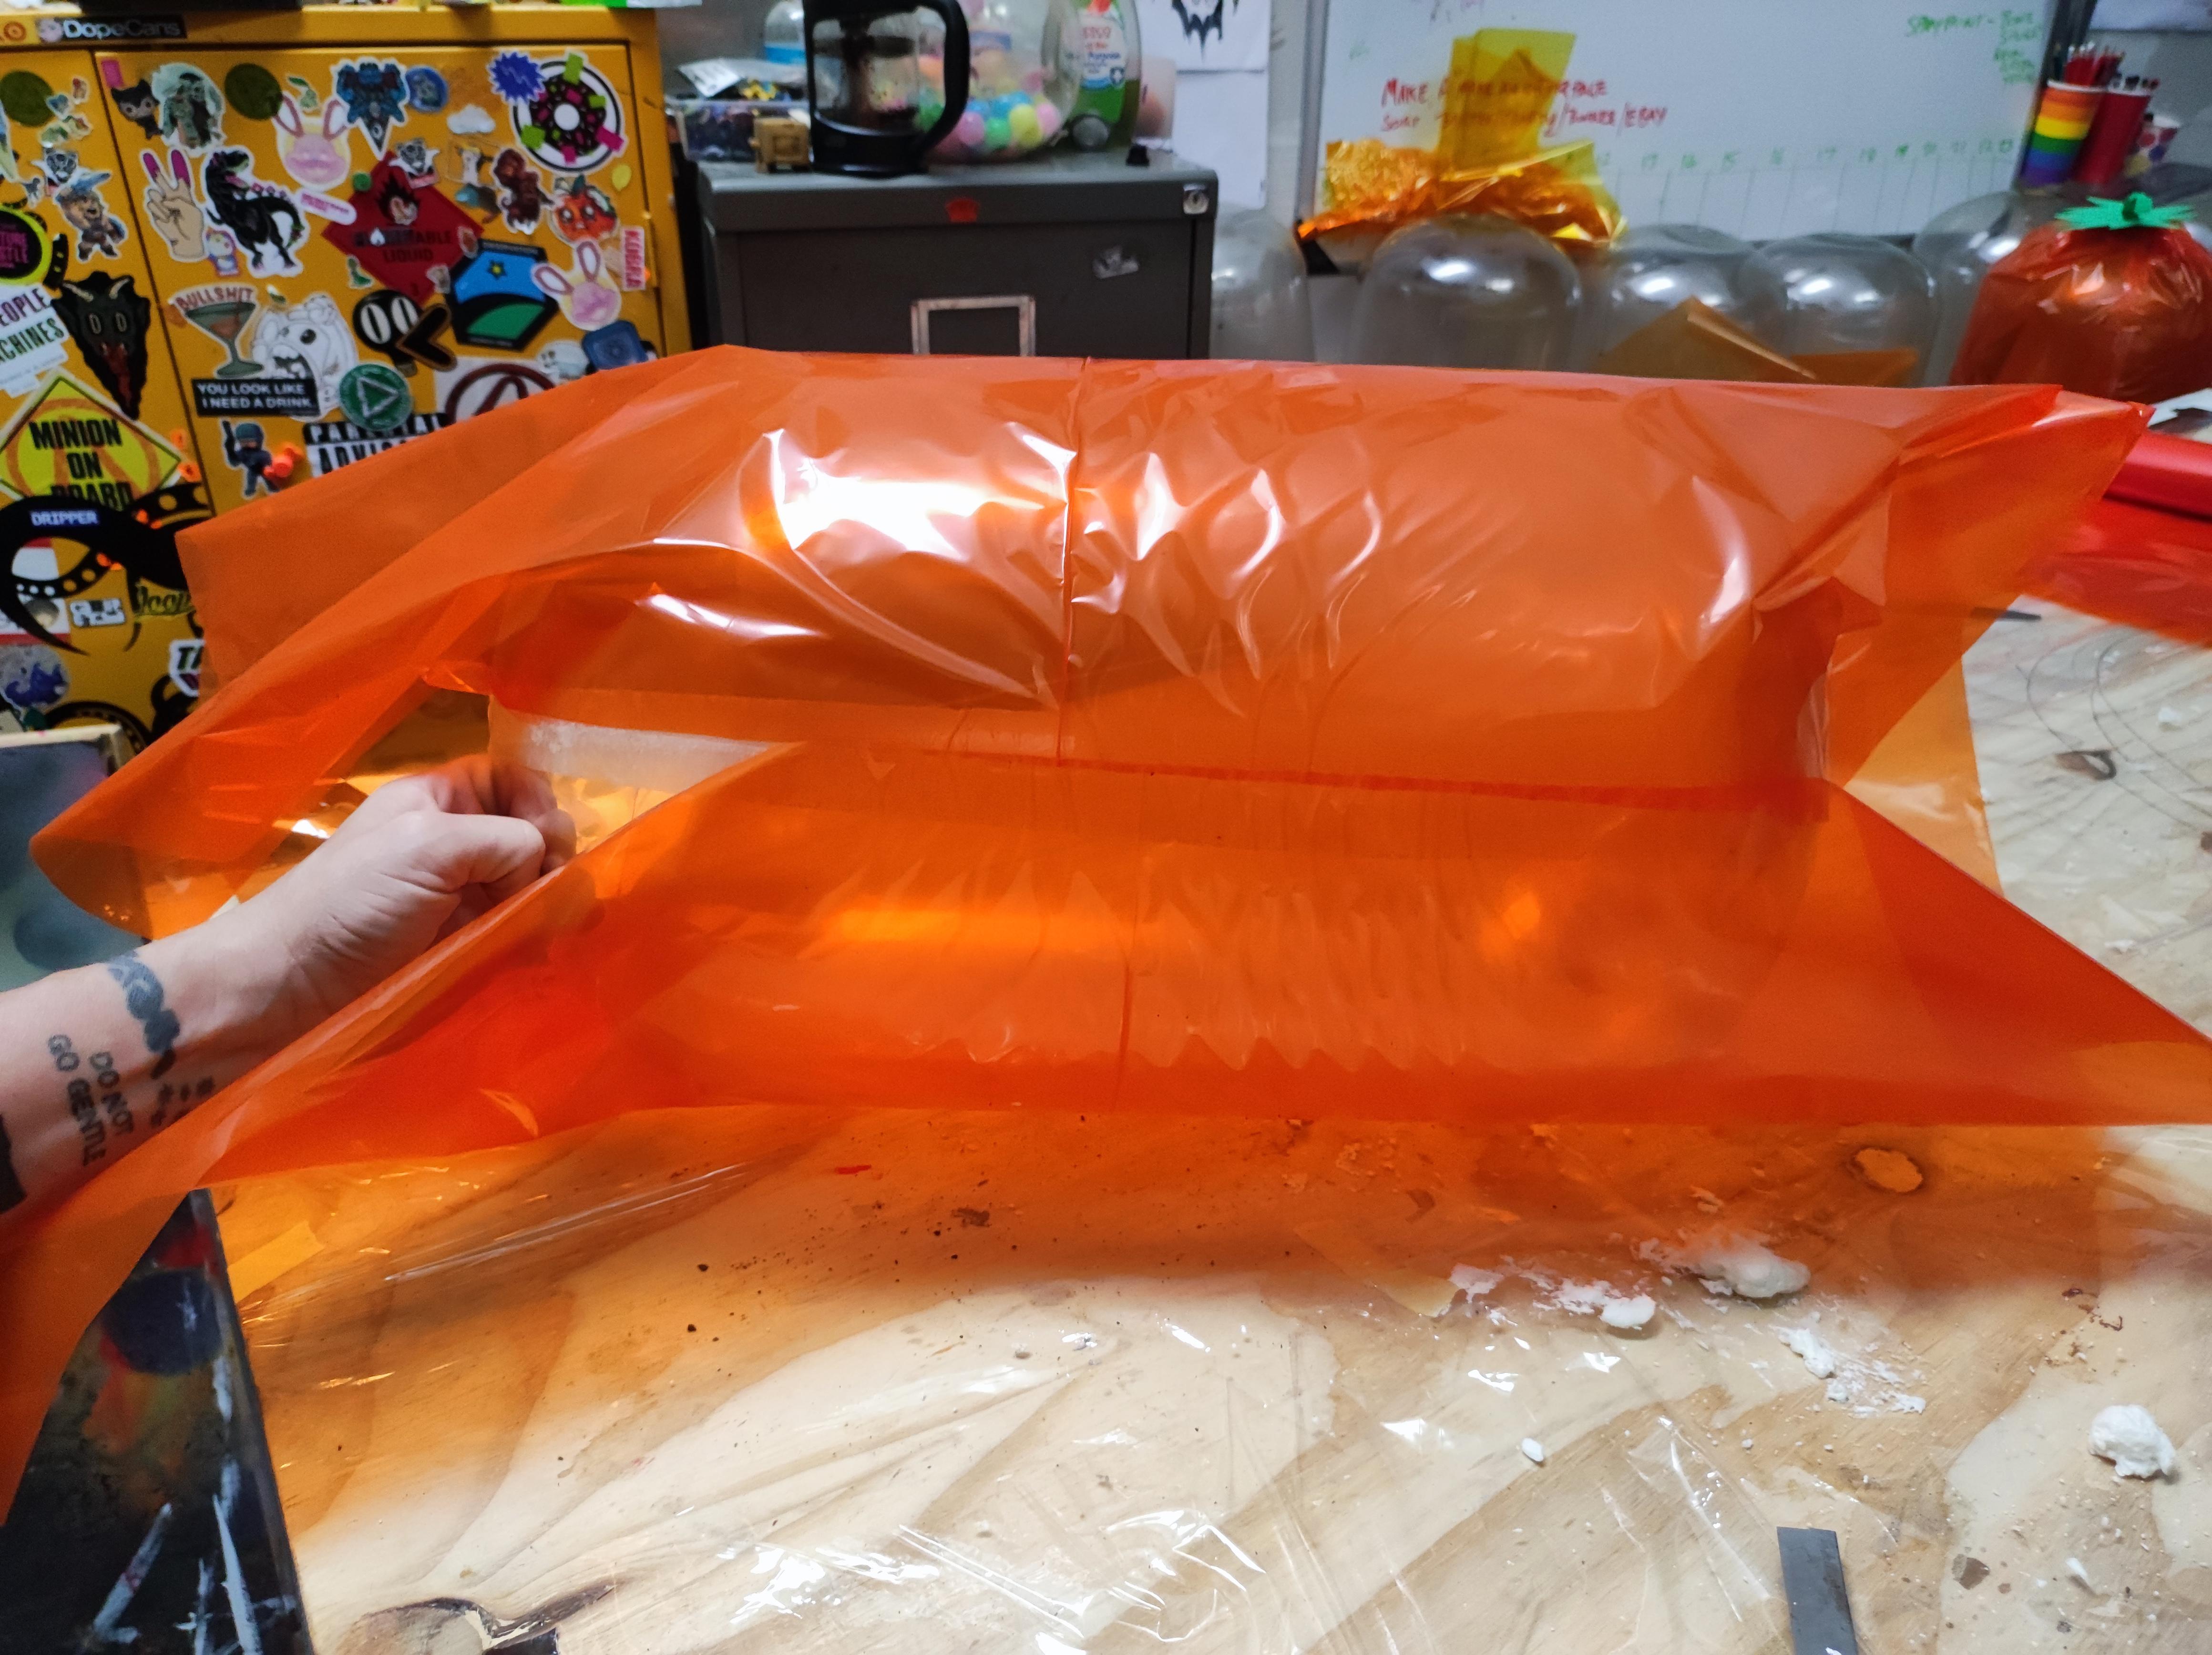
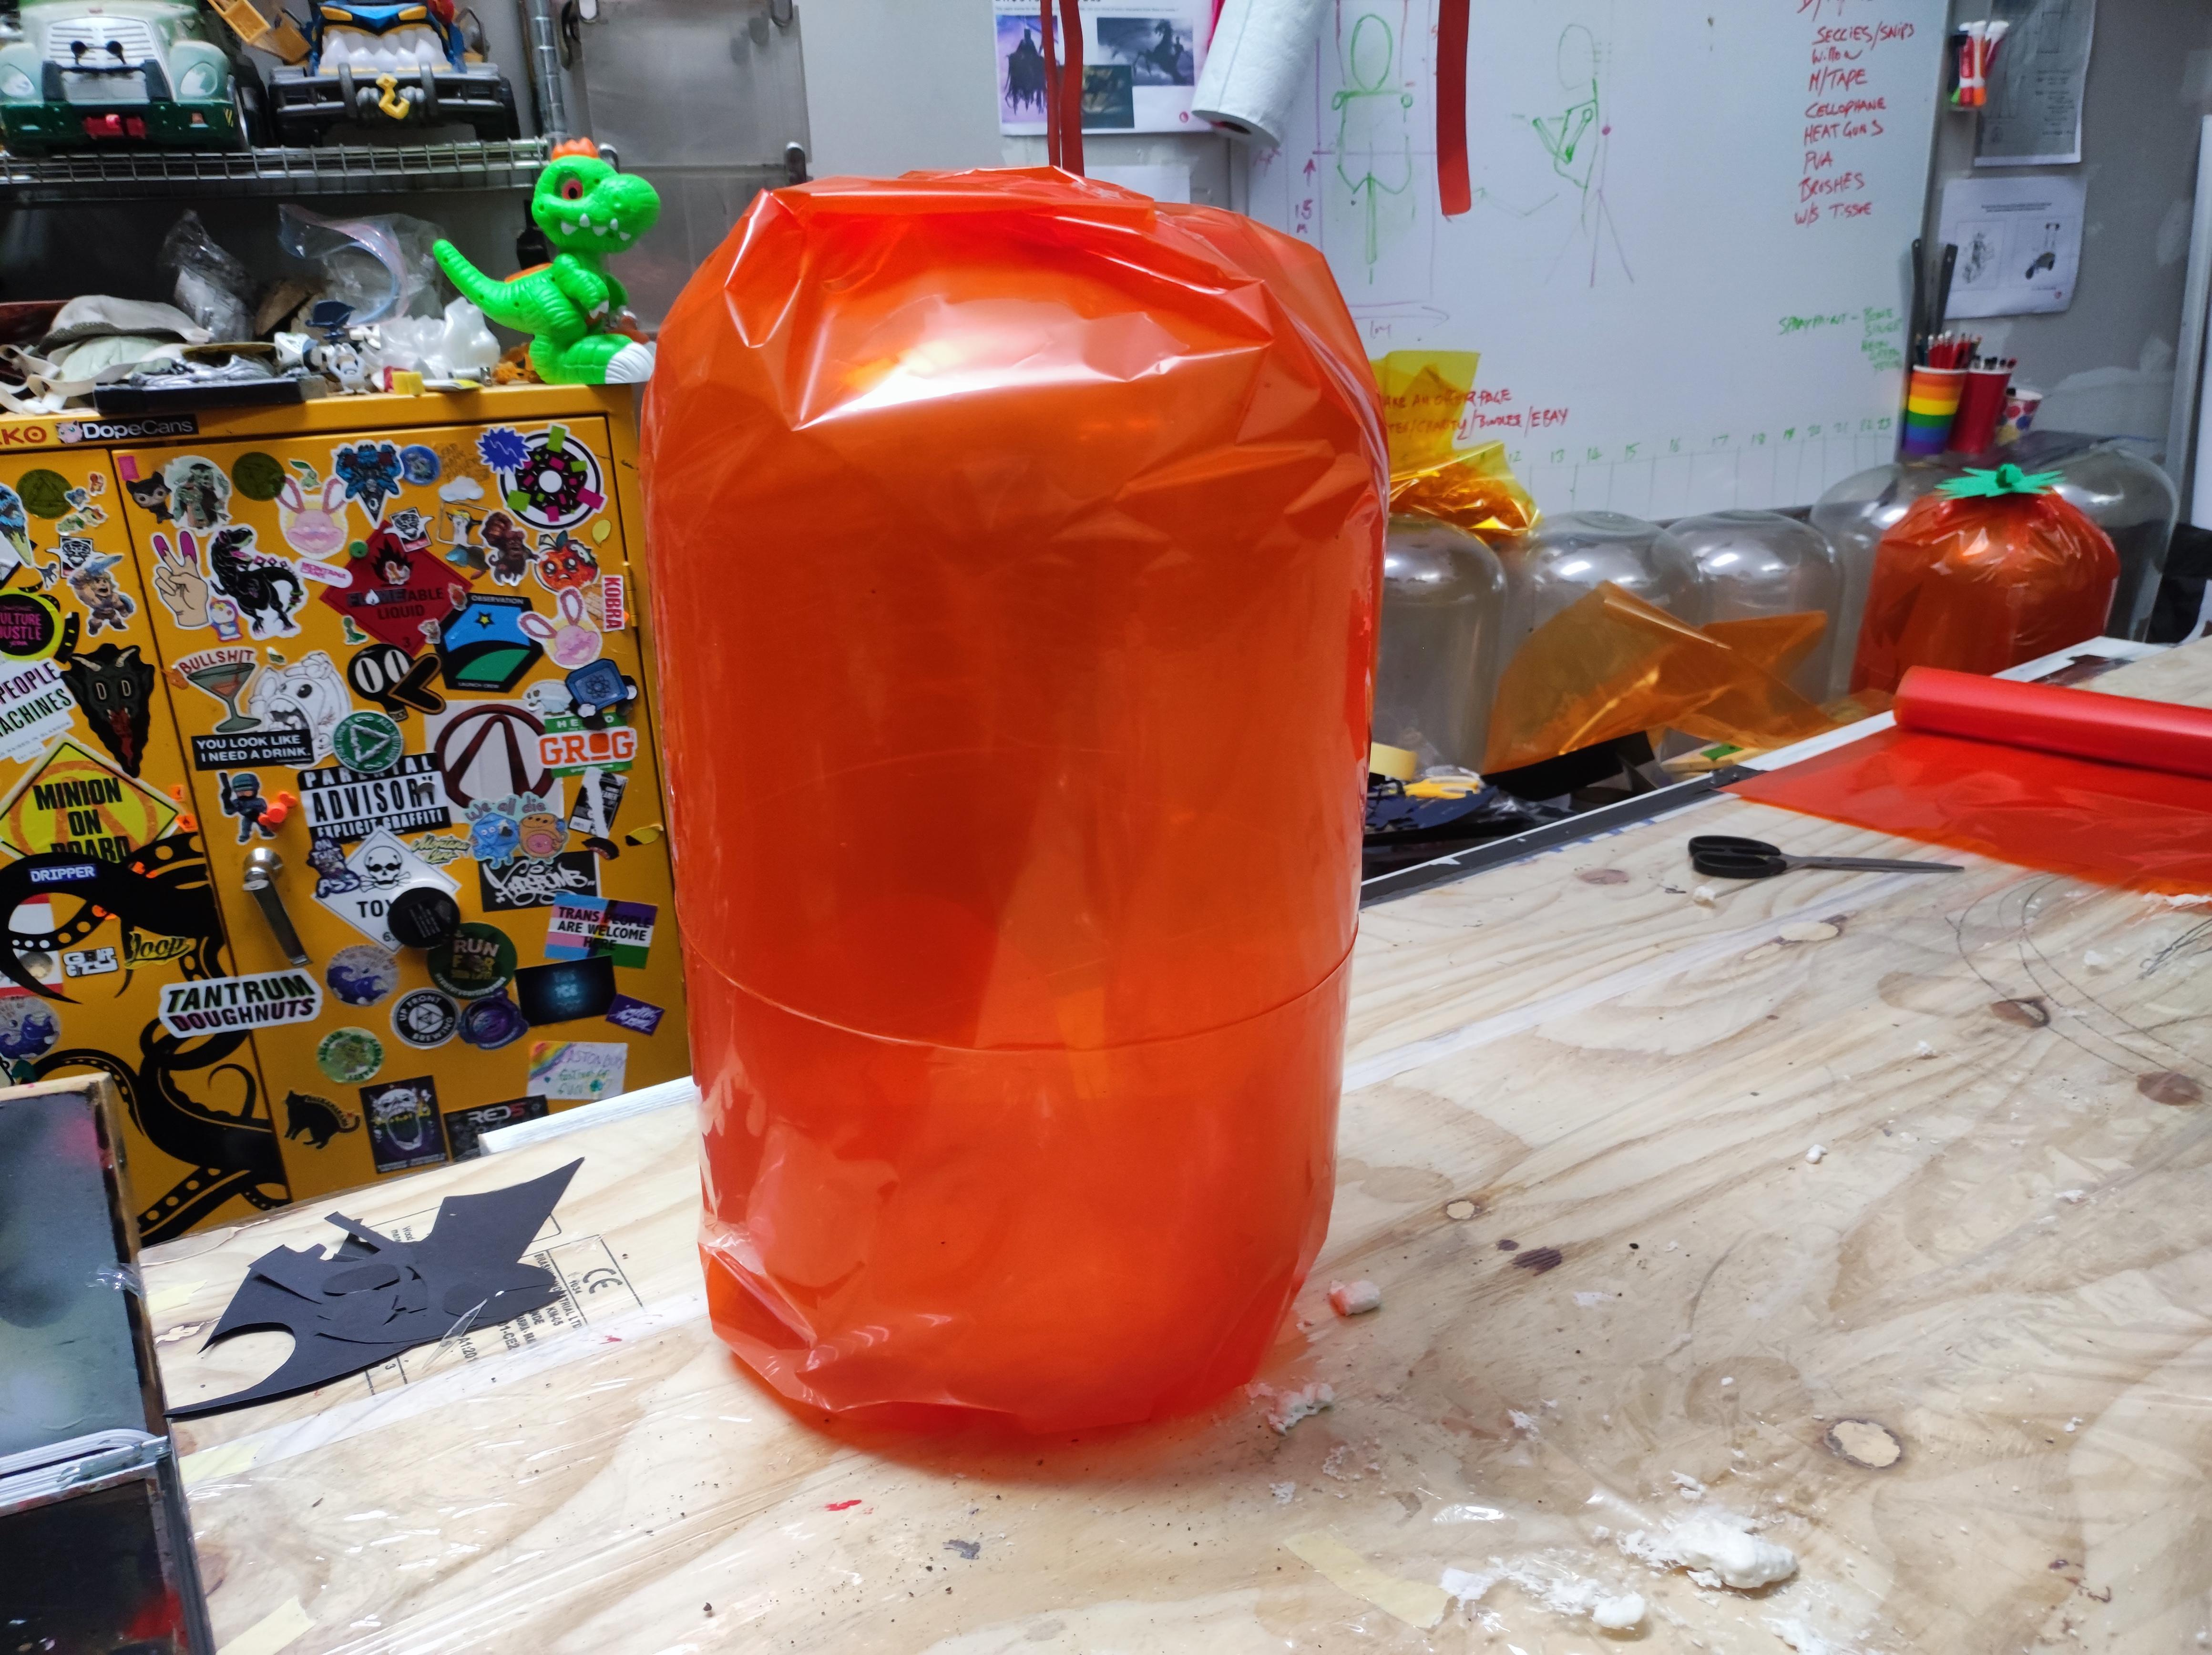
If using double sided tape, run a length of it along one edge of the keg. Attach your cellophane and then roll it until you know it will cover your whole keg (this is where its handy to have cellophane that is wider than the keg). Cut the cellophane to length and then run another length of double sided tape to close it off.
If using regular cellotape, much the same just use the tape as you would to hold the cellophane in place.
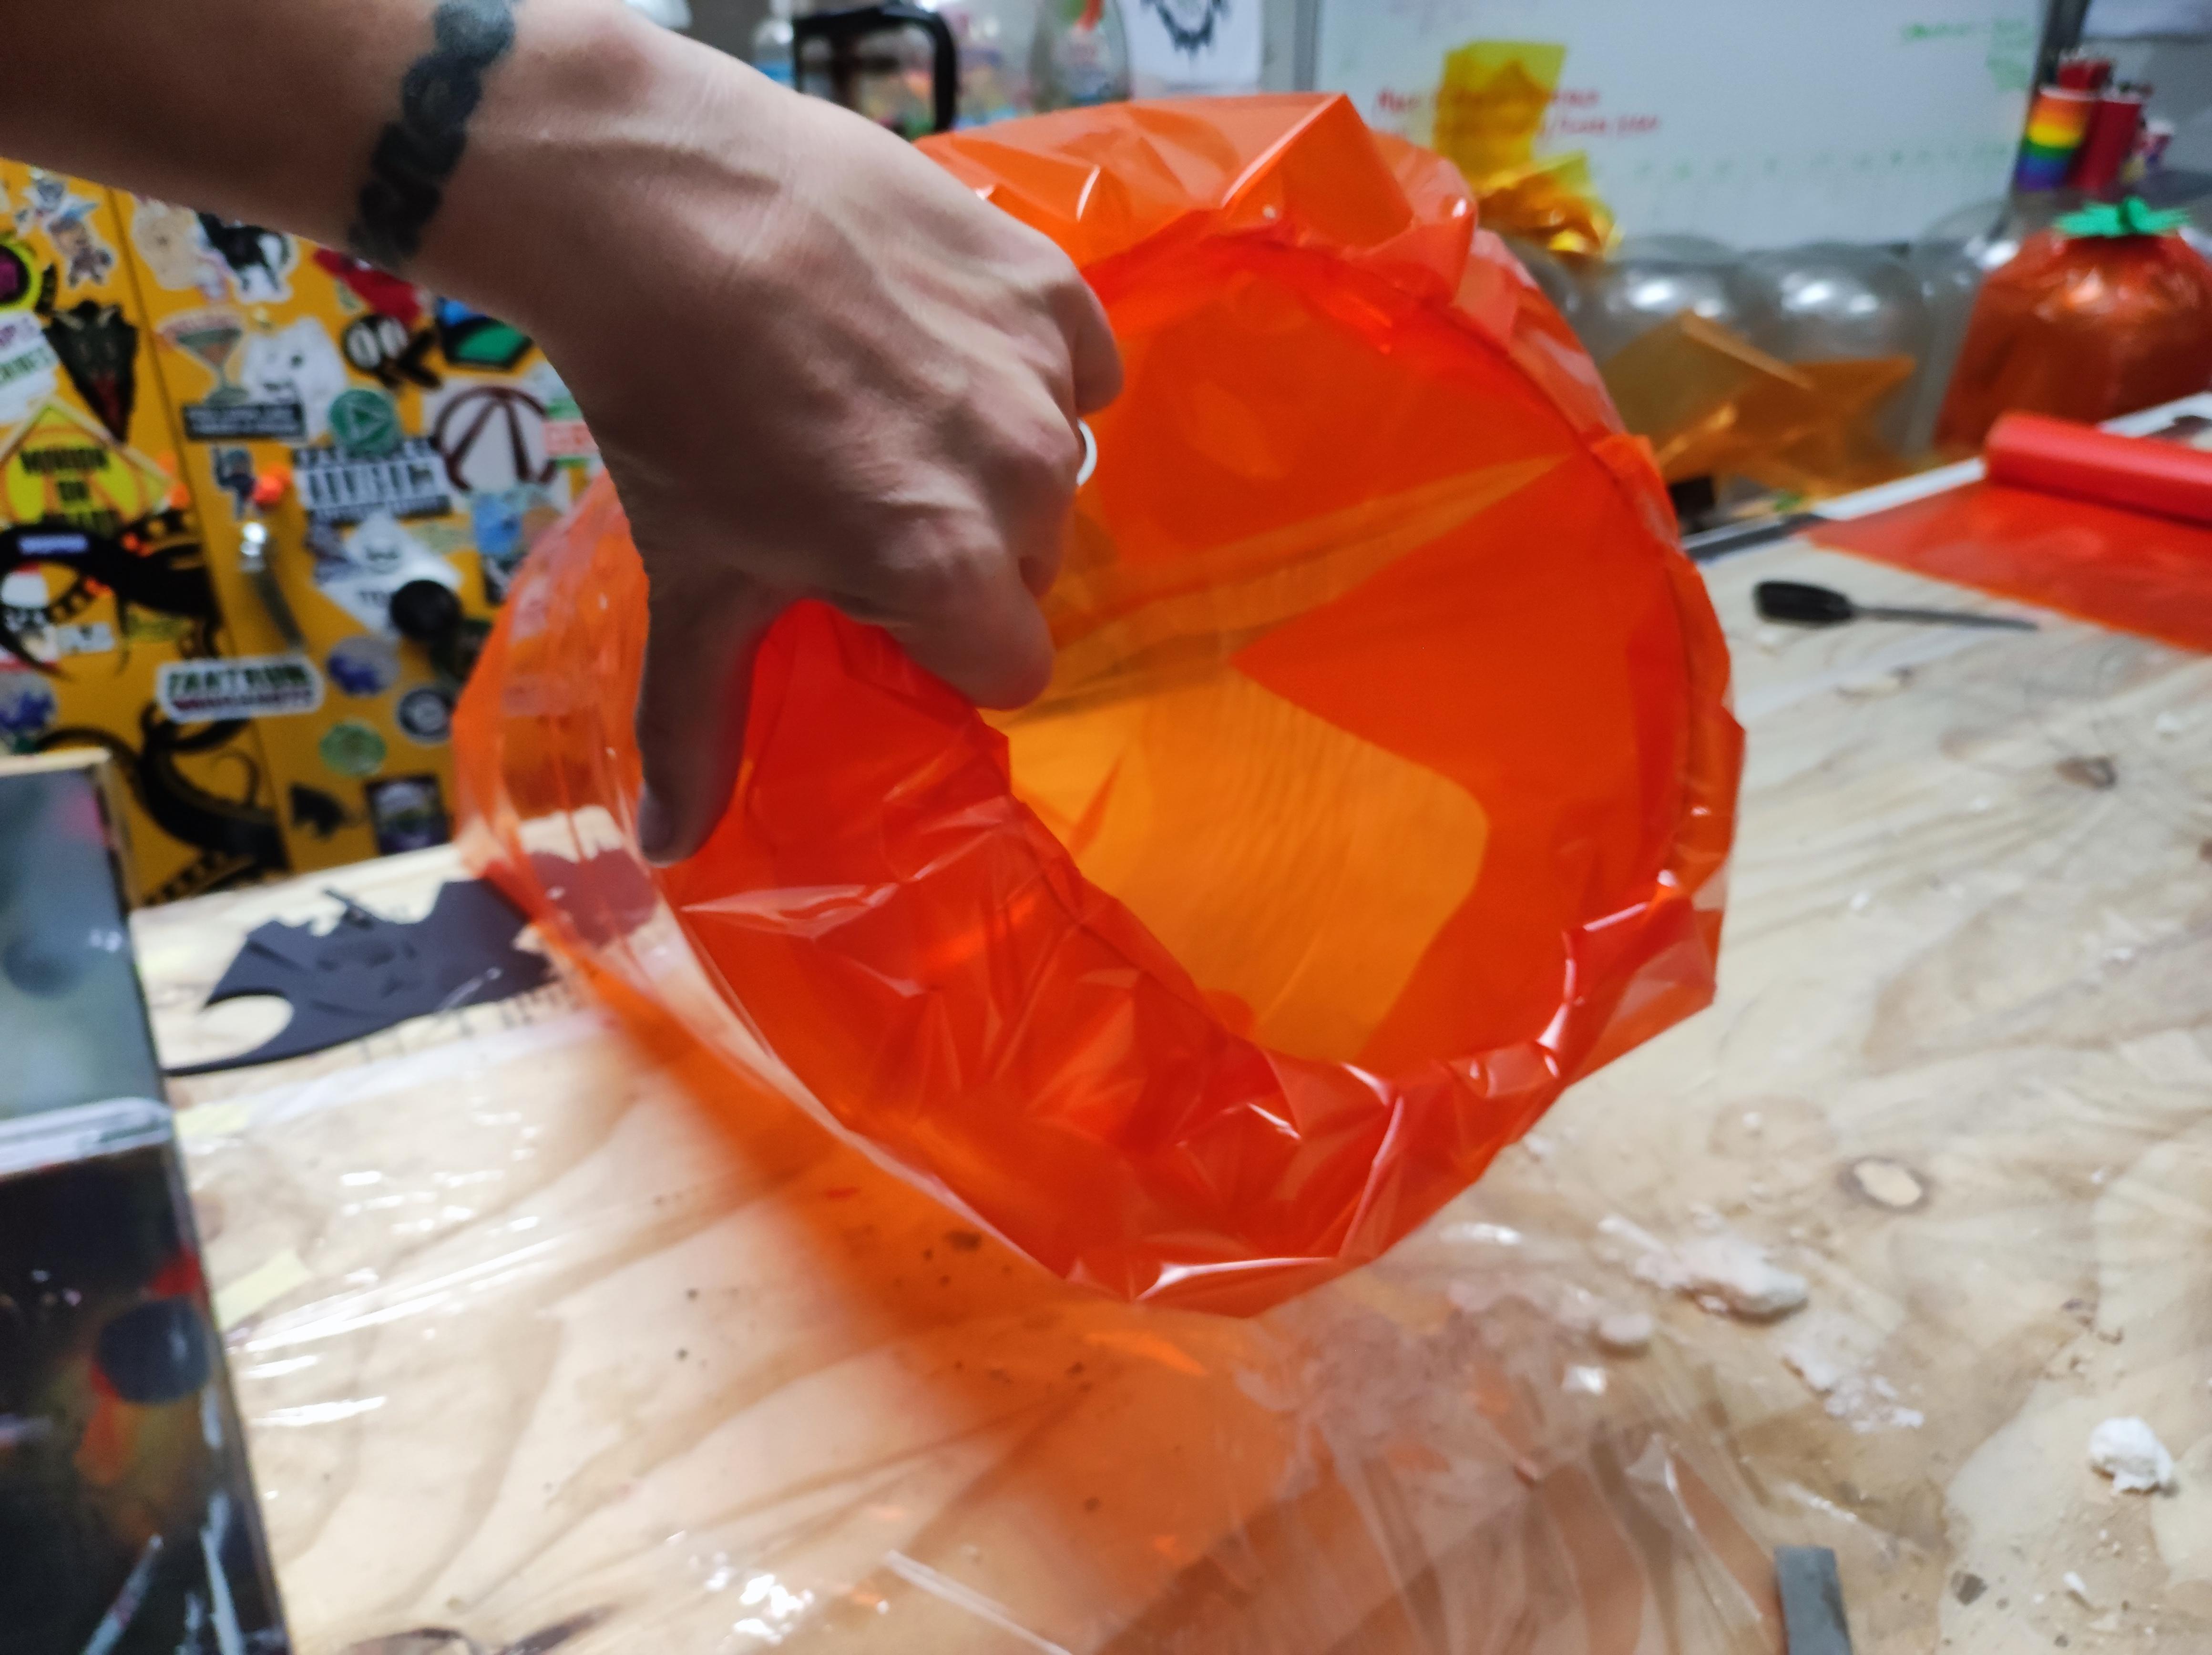
Any excess at the bottom of the keg tuck into the hole.
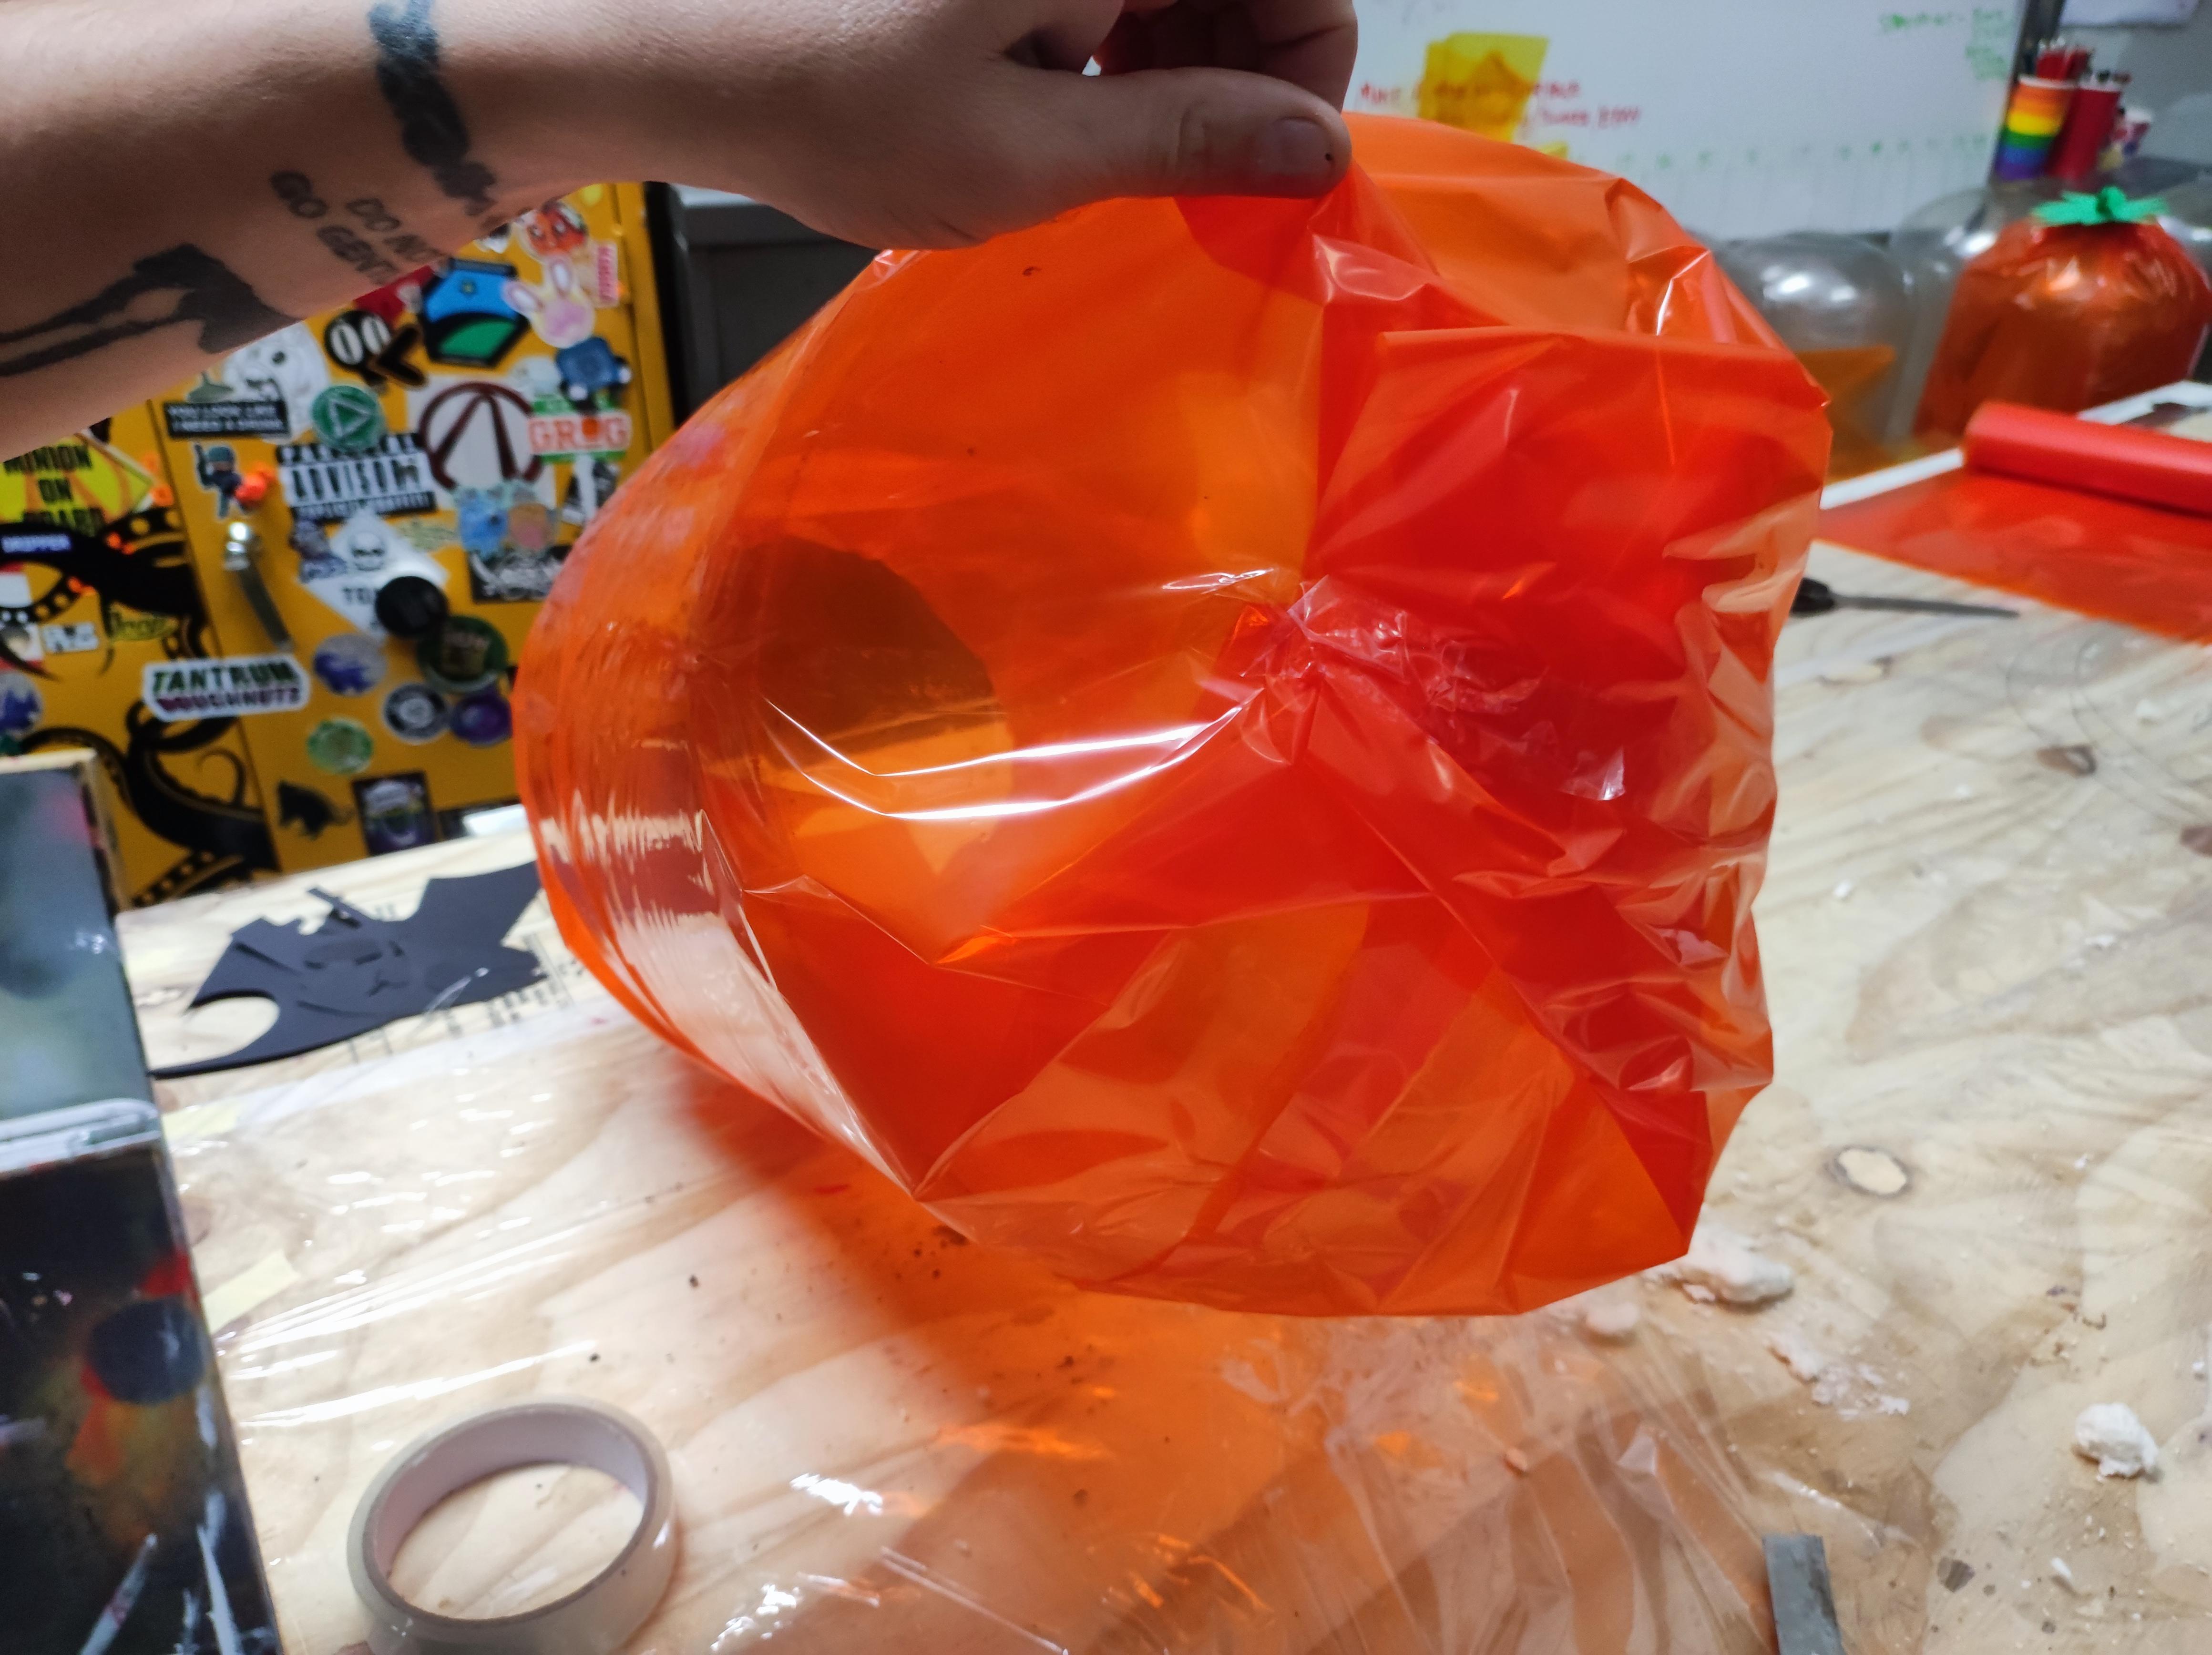
Fold the exces at the top onto each other as you would wrapping a gift and tape in place.
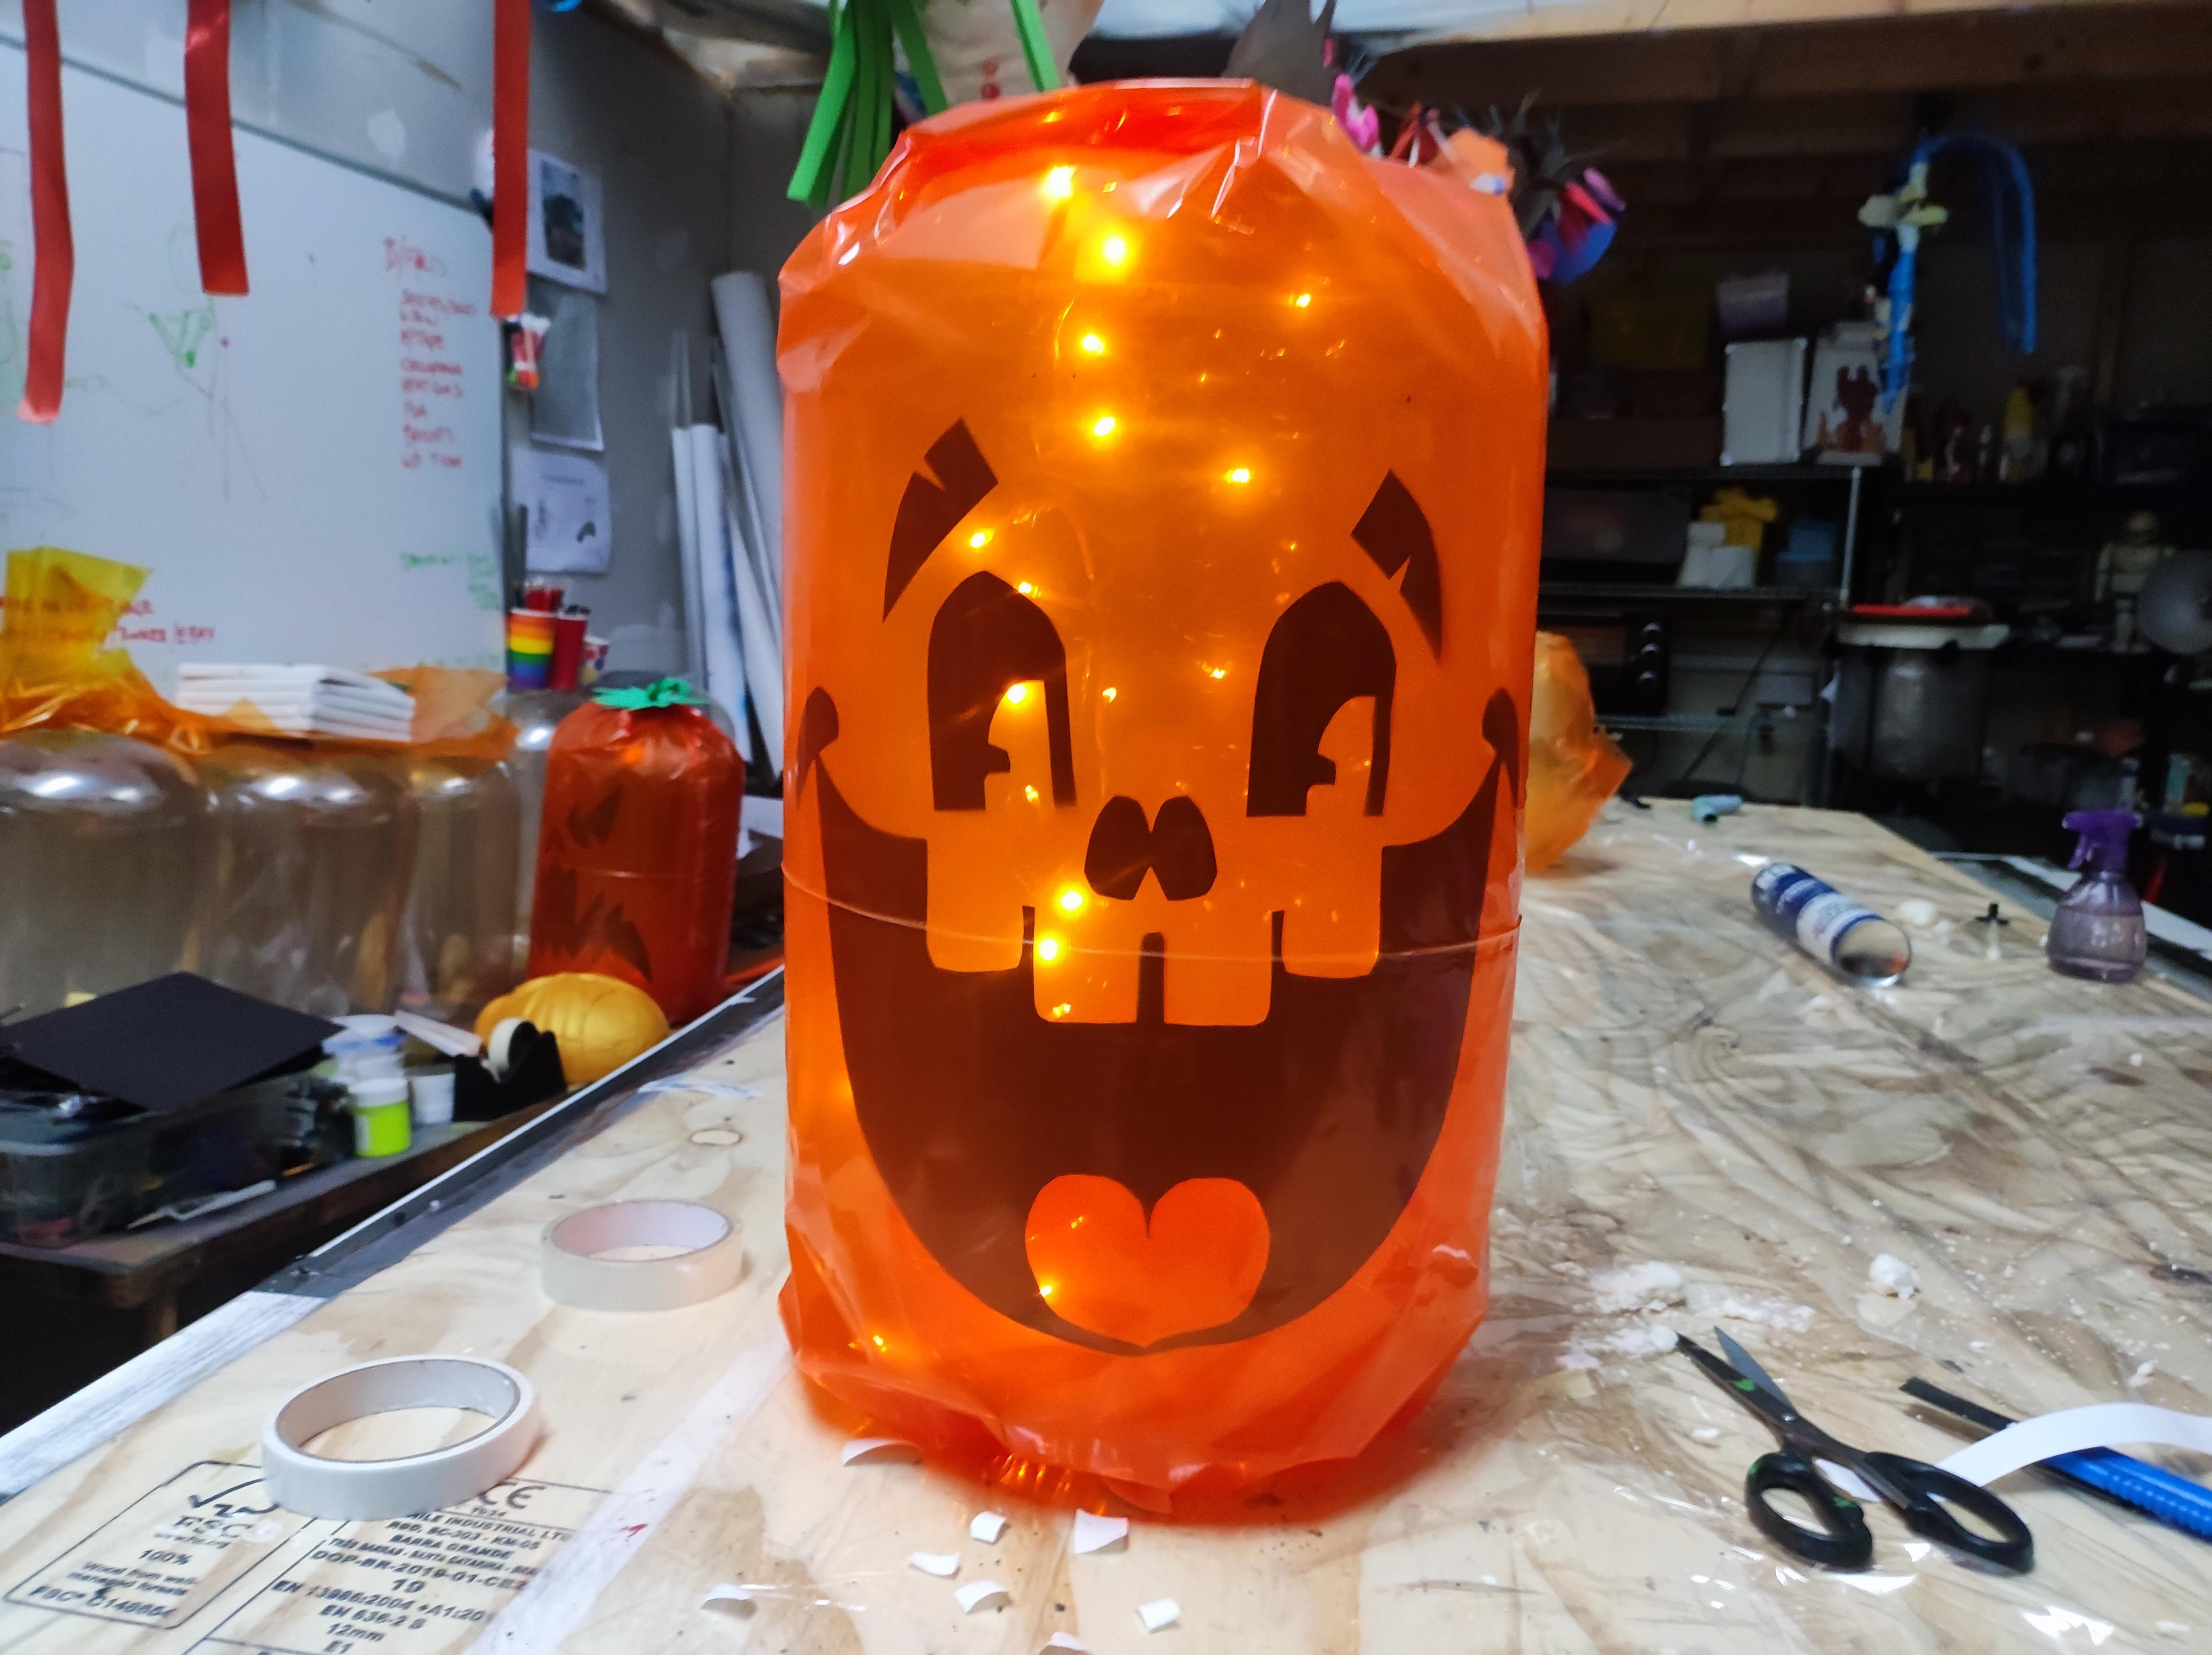
Decorate It
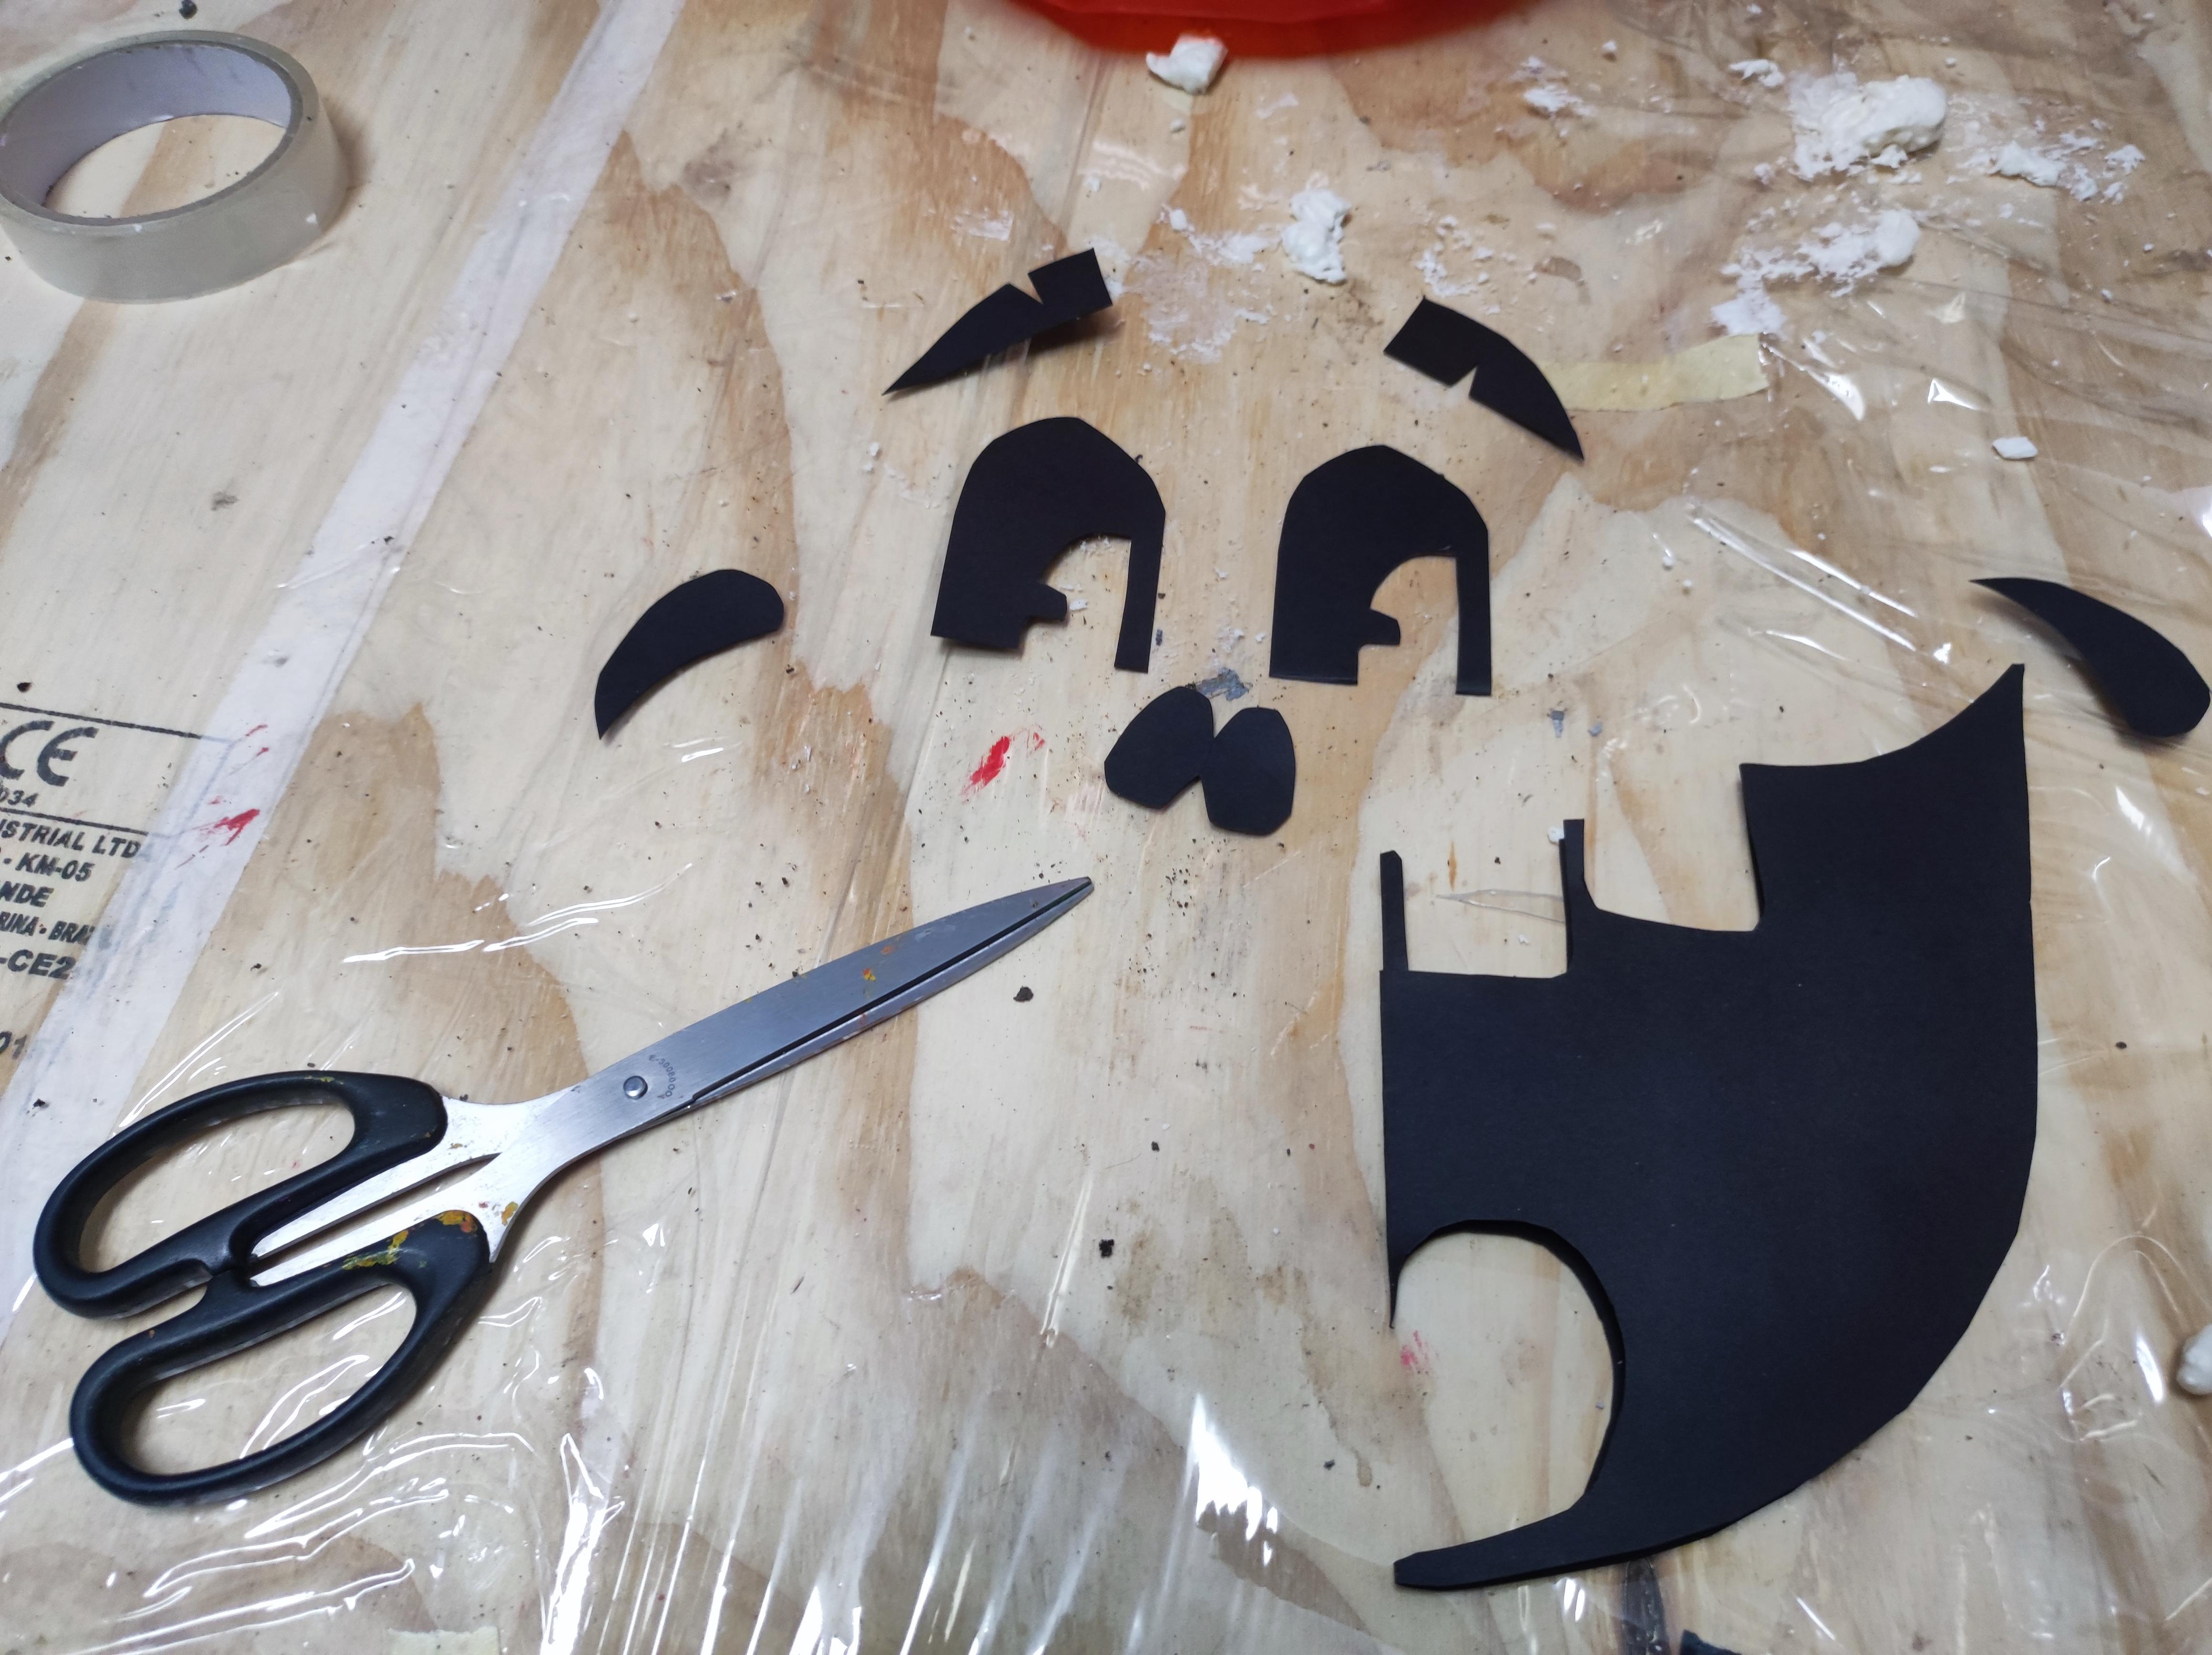
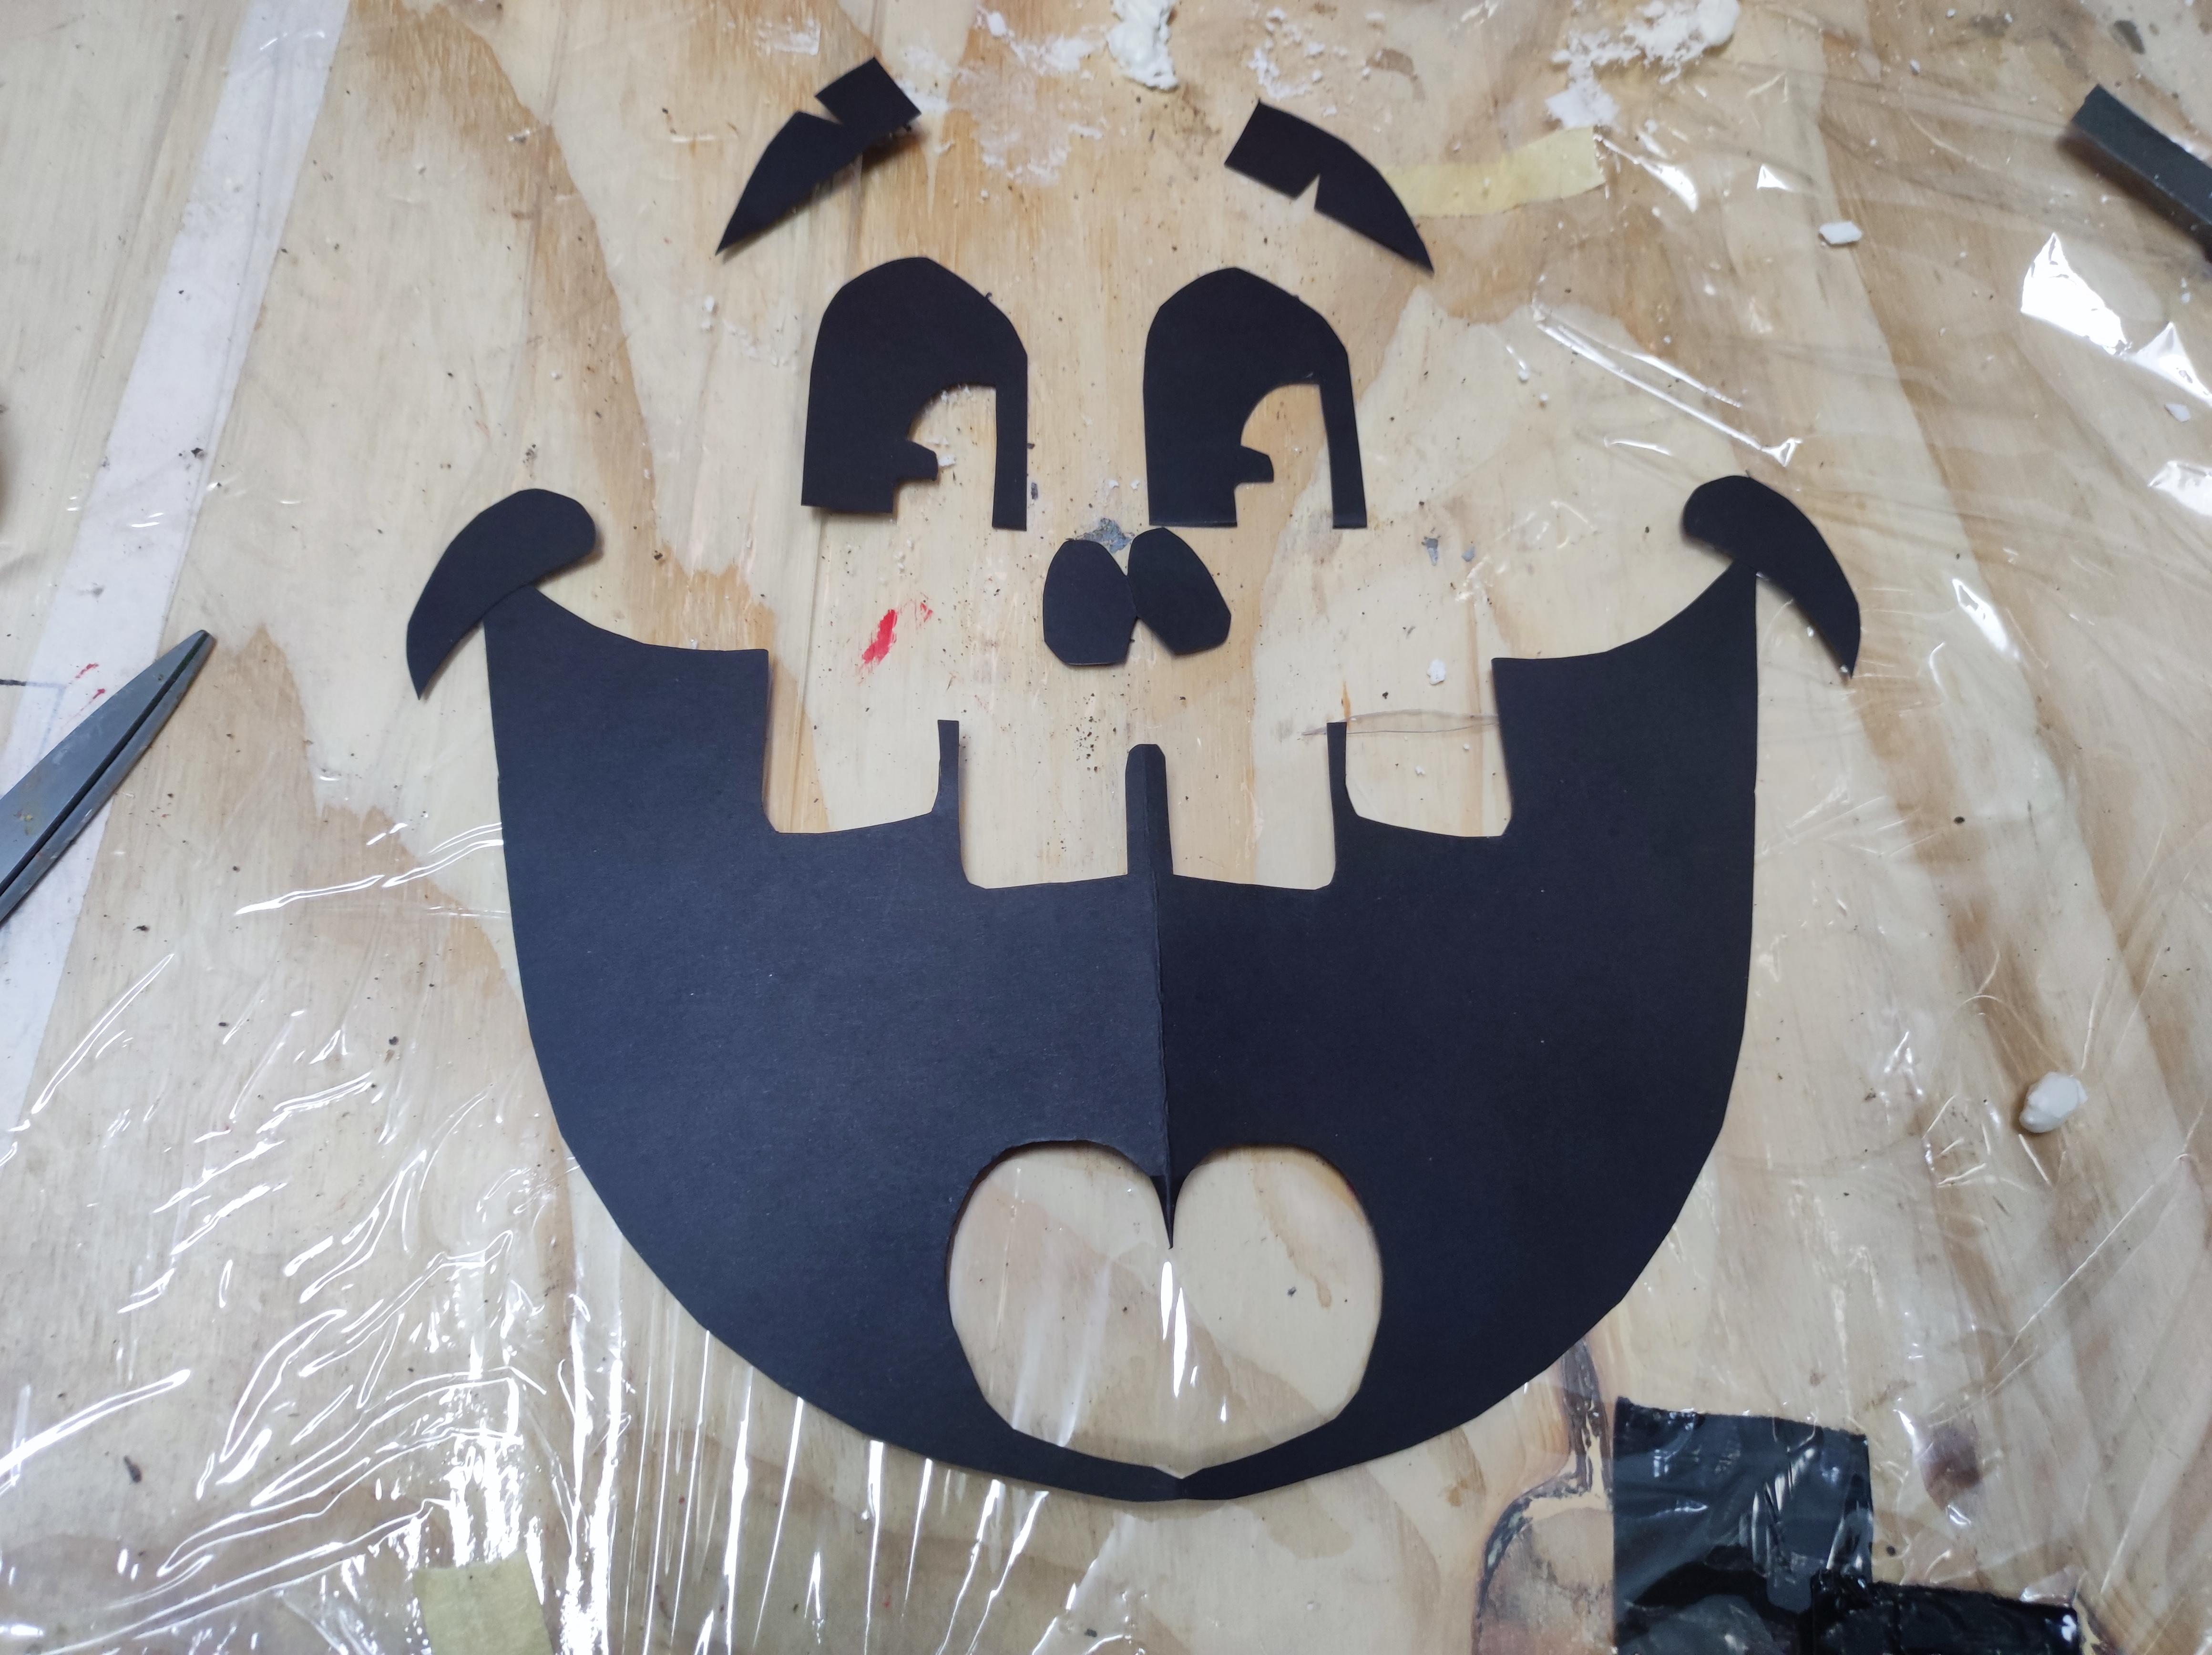
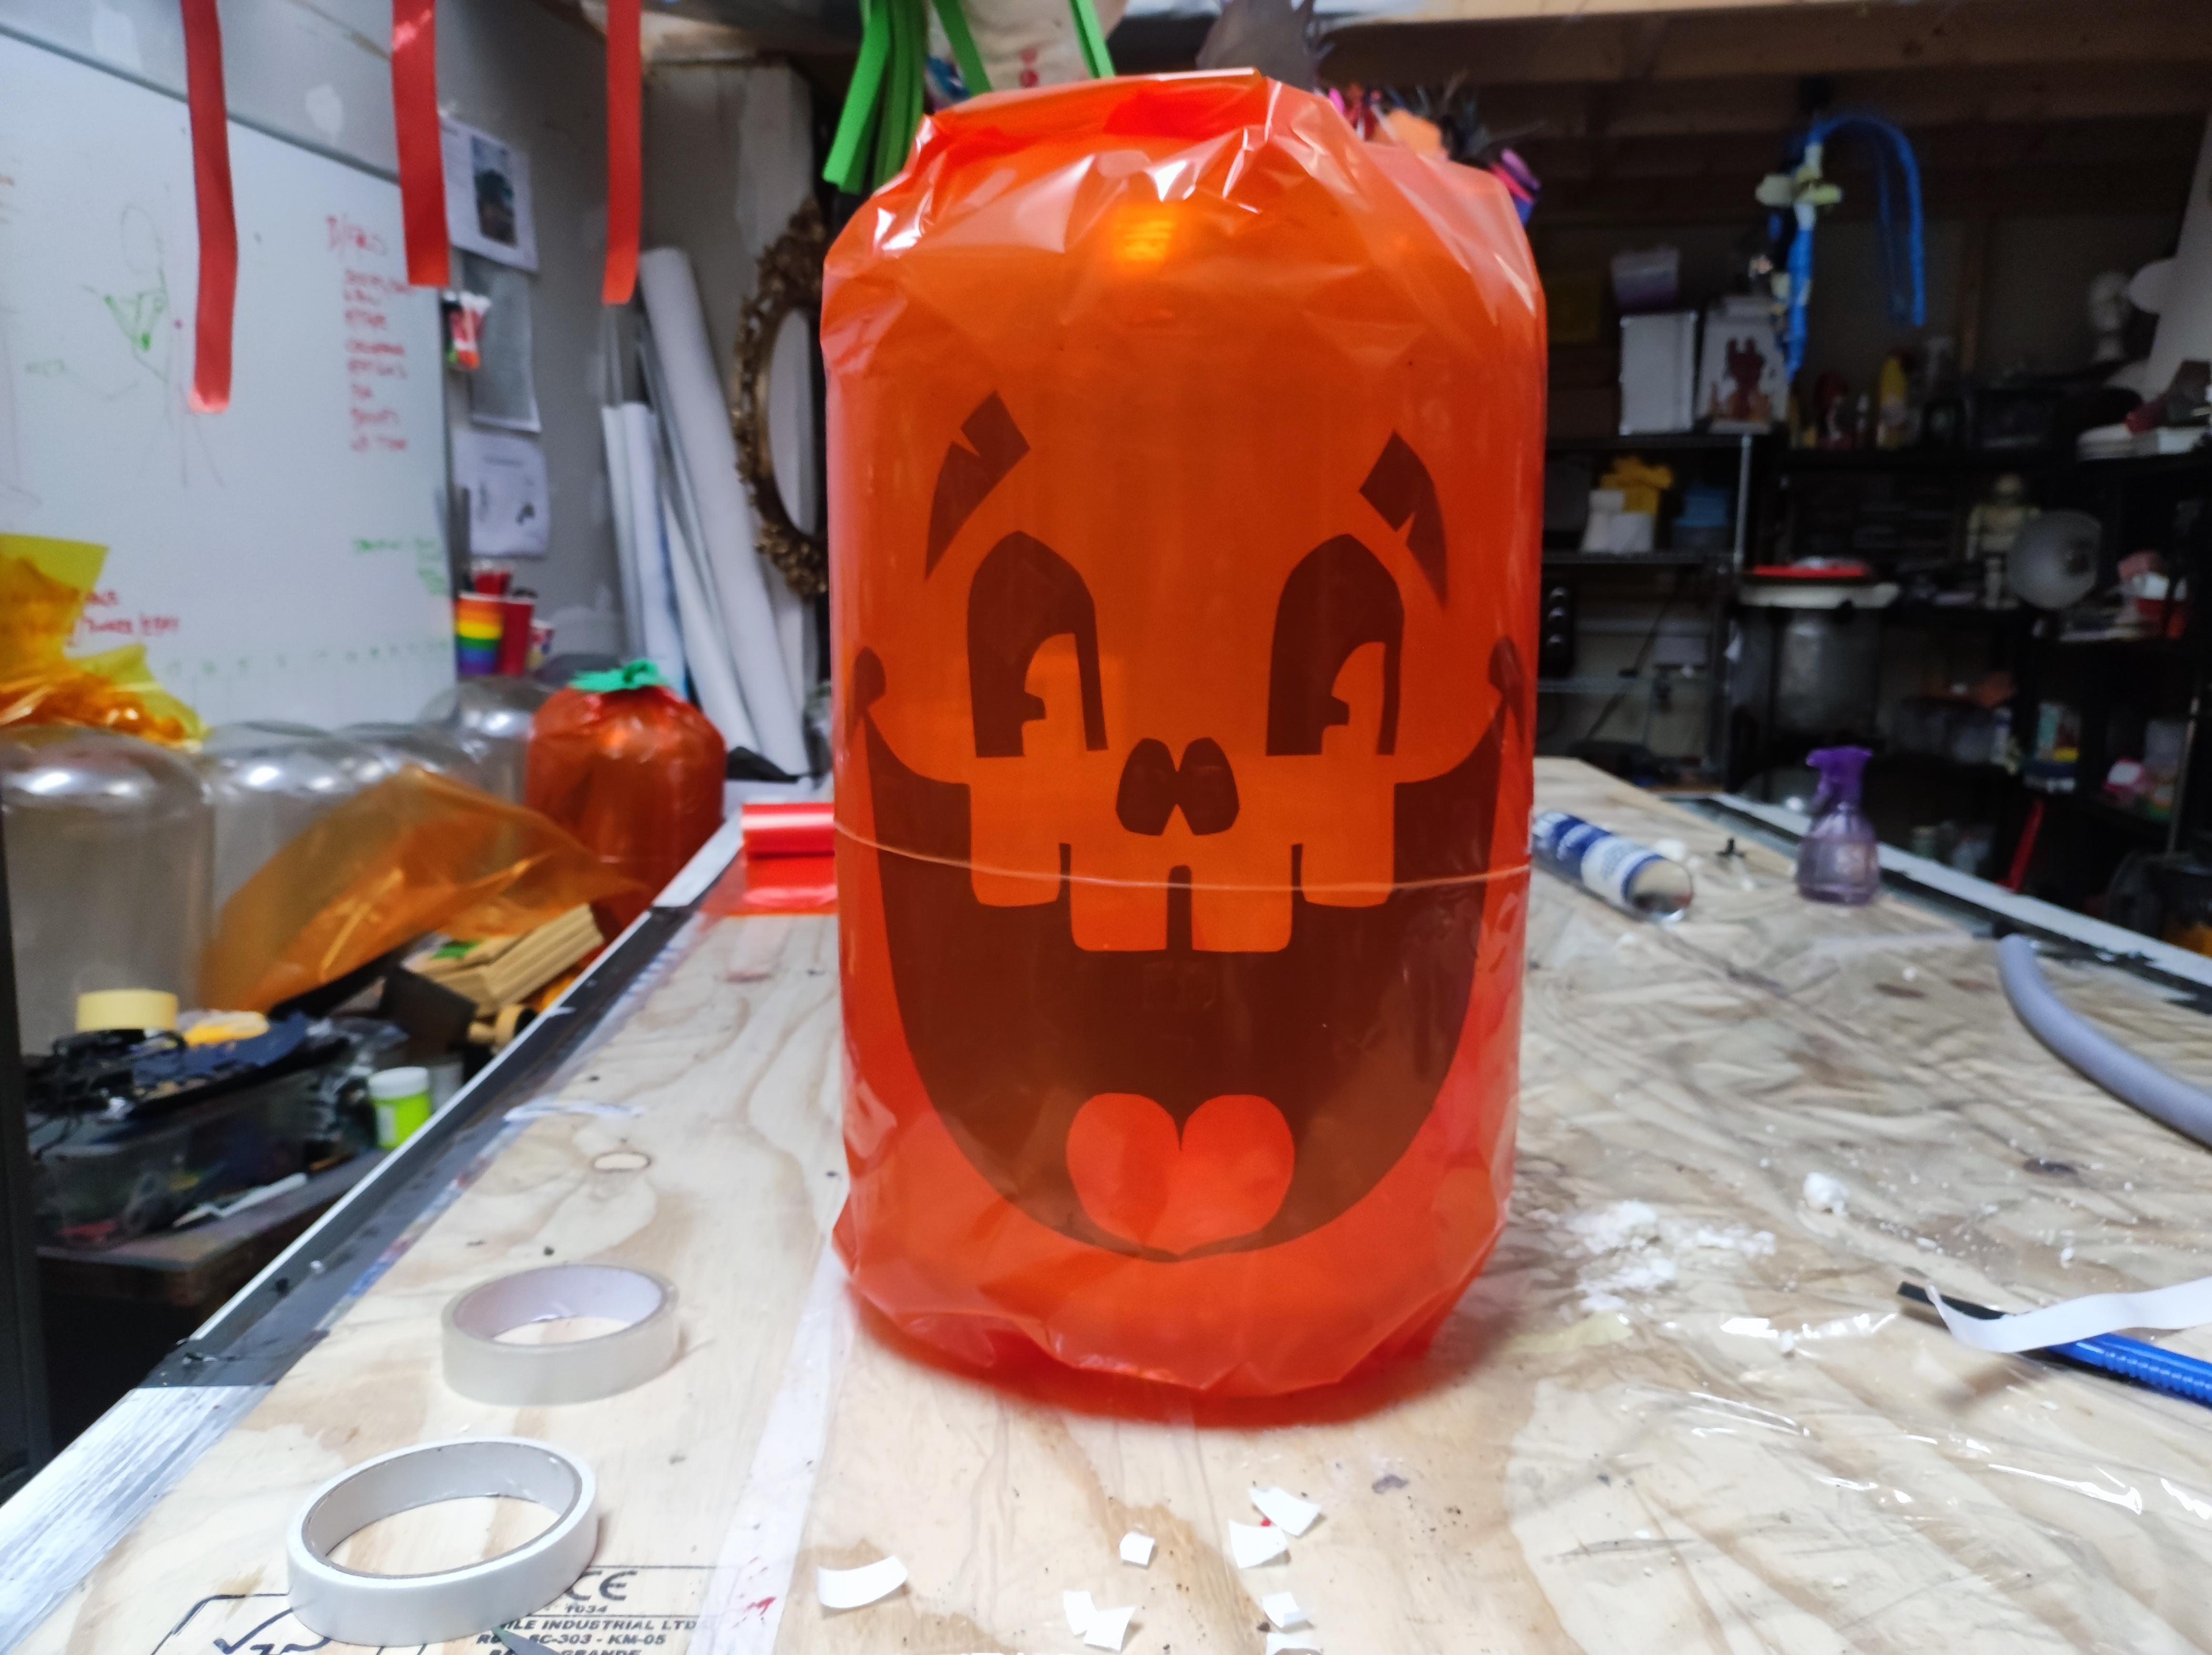
Use your black card* to create a face or a message or a scene.
Handy hint: if you ant it to be symetrical, fold the card in half and cut it from the fold.
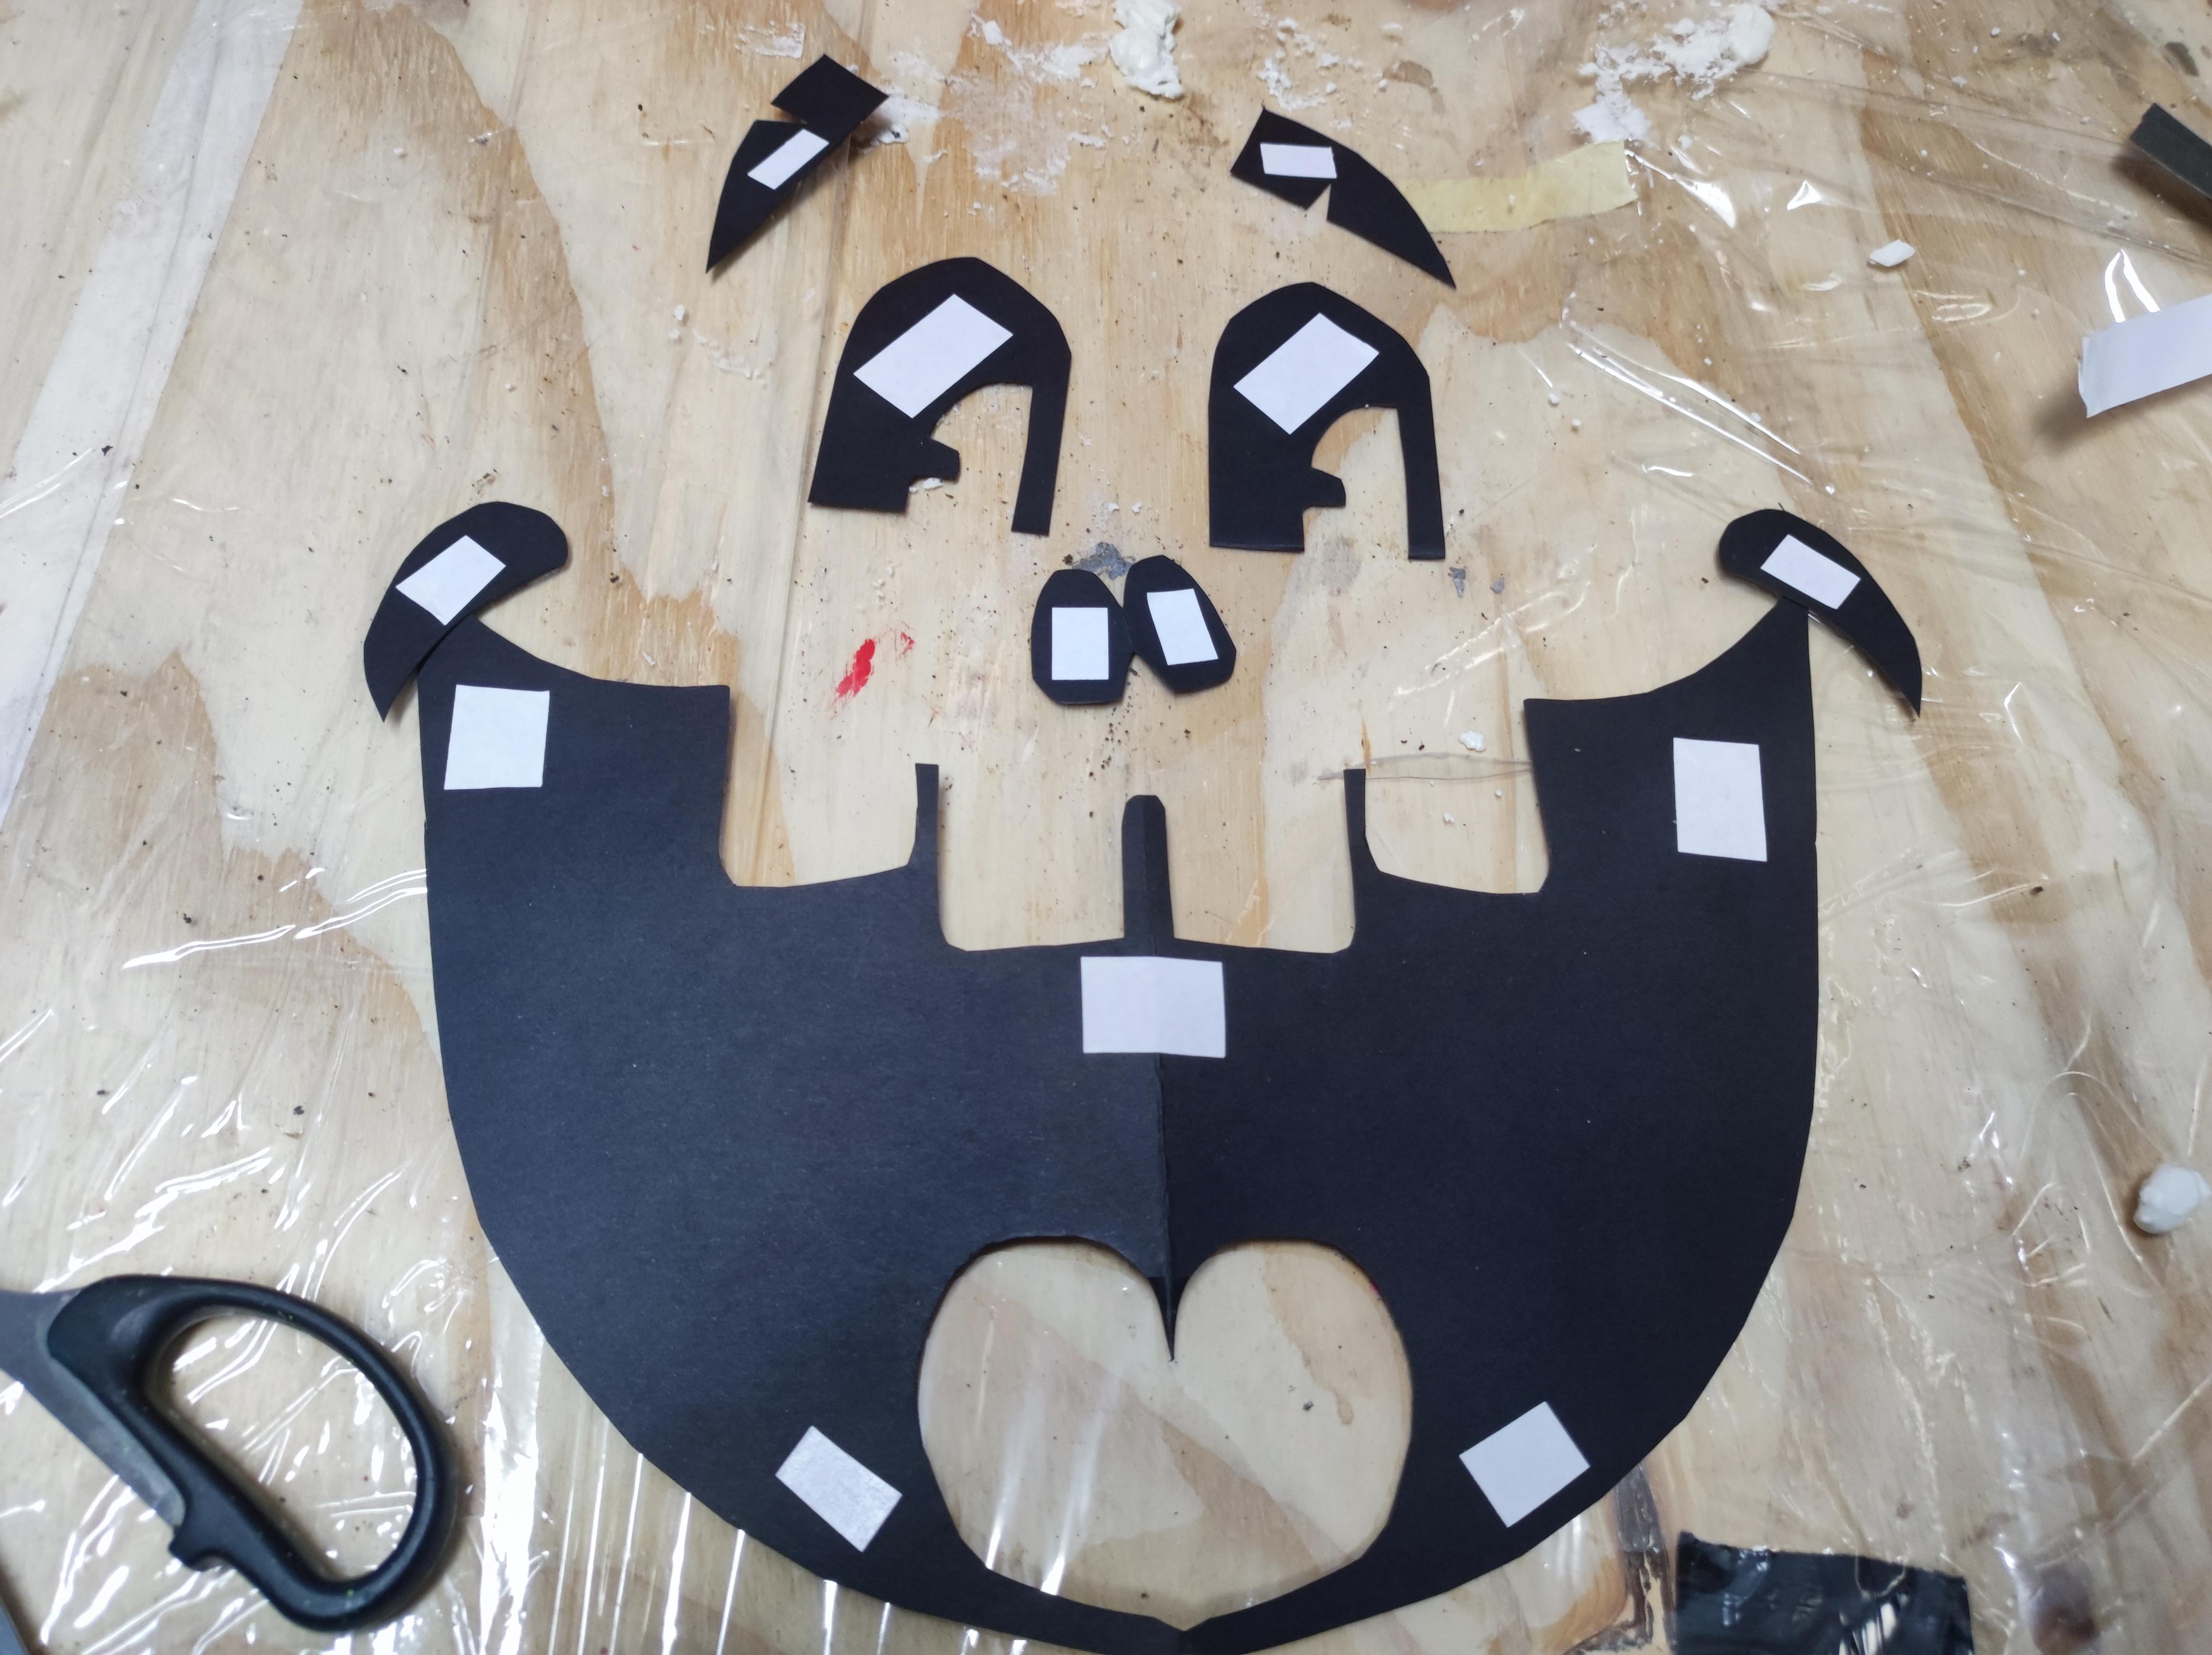
Use your tape (double sided or regular) to attach it to the inside of the keg.
*I am using black but any dark colour will work as it will be back lit and behind orange cellophane
Light It Up
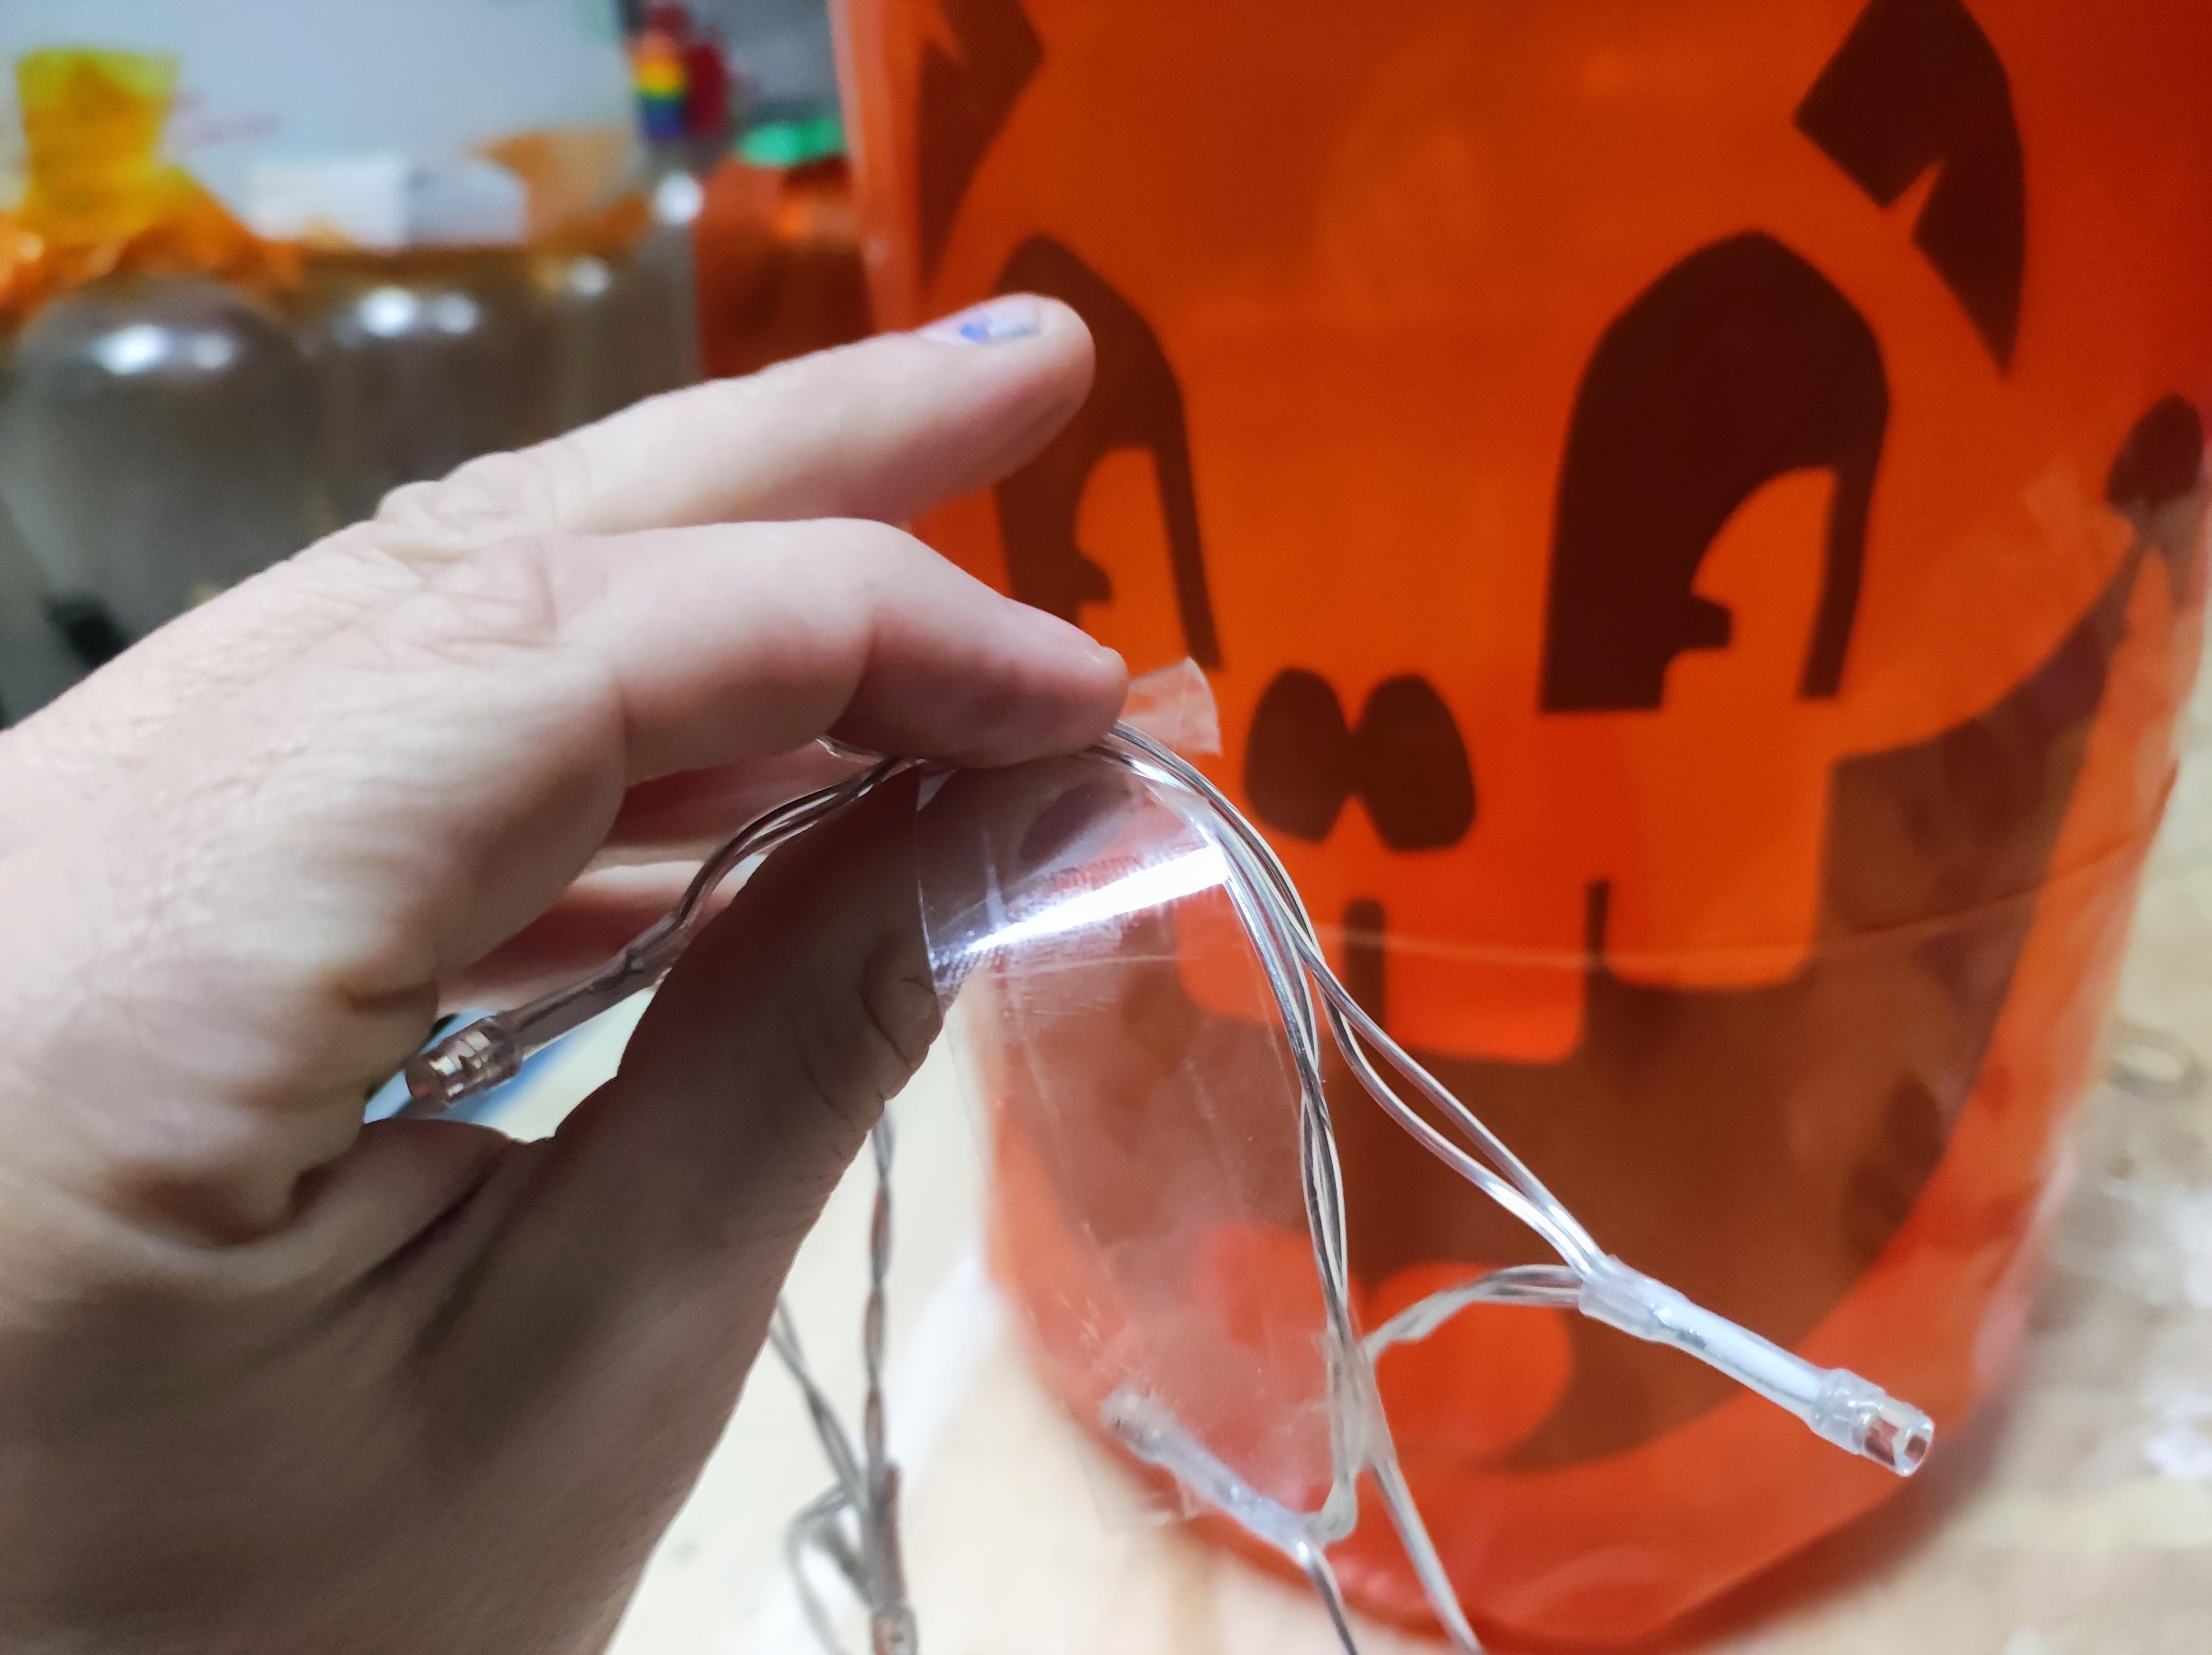
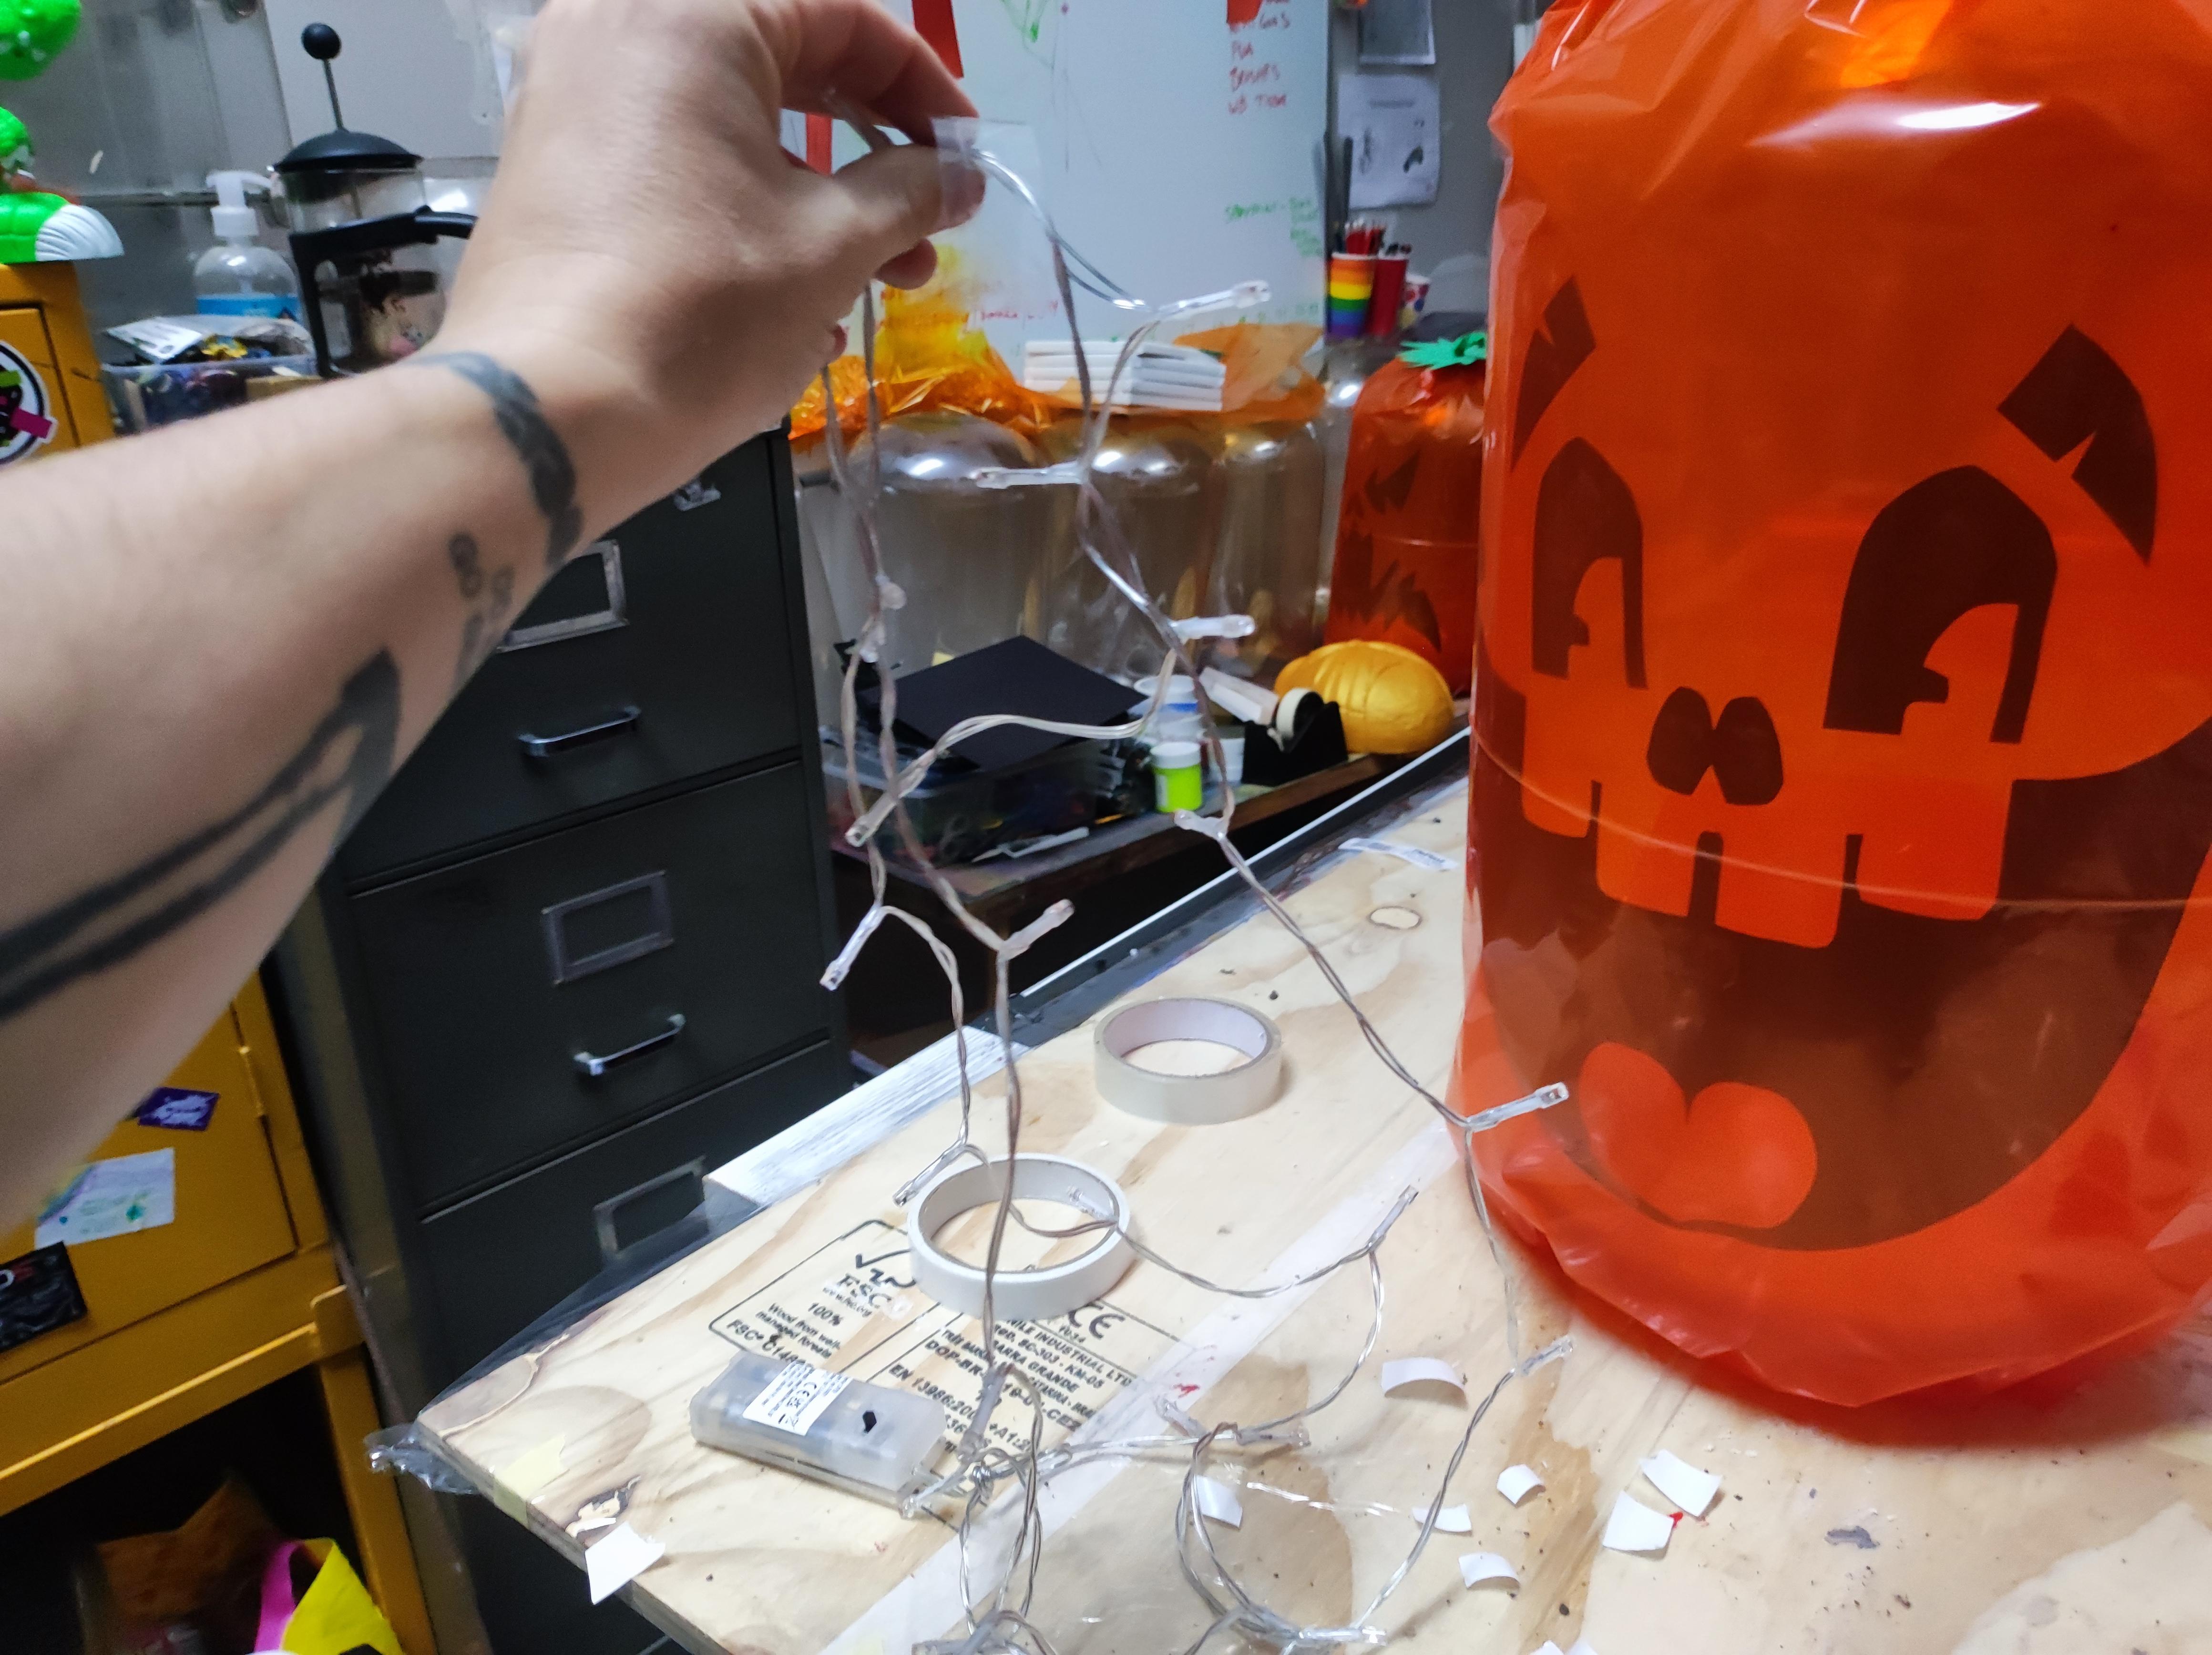
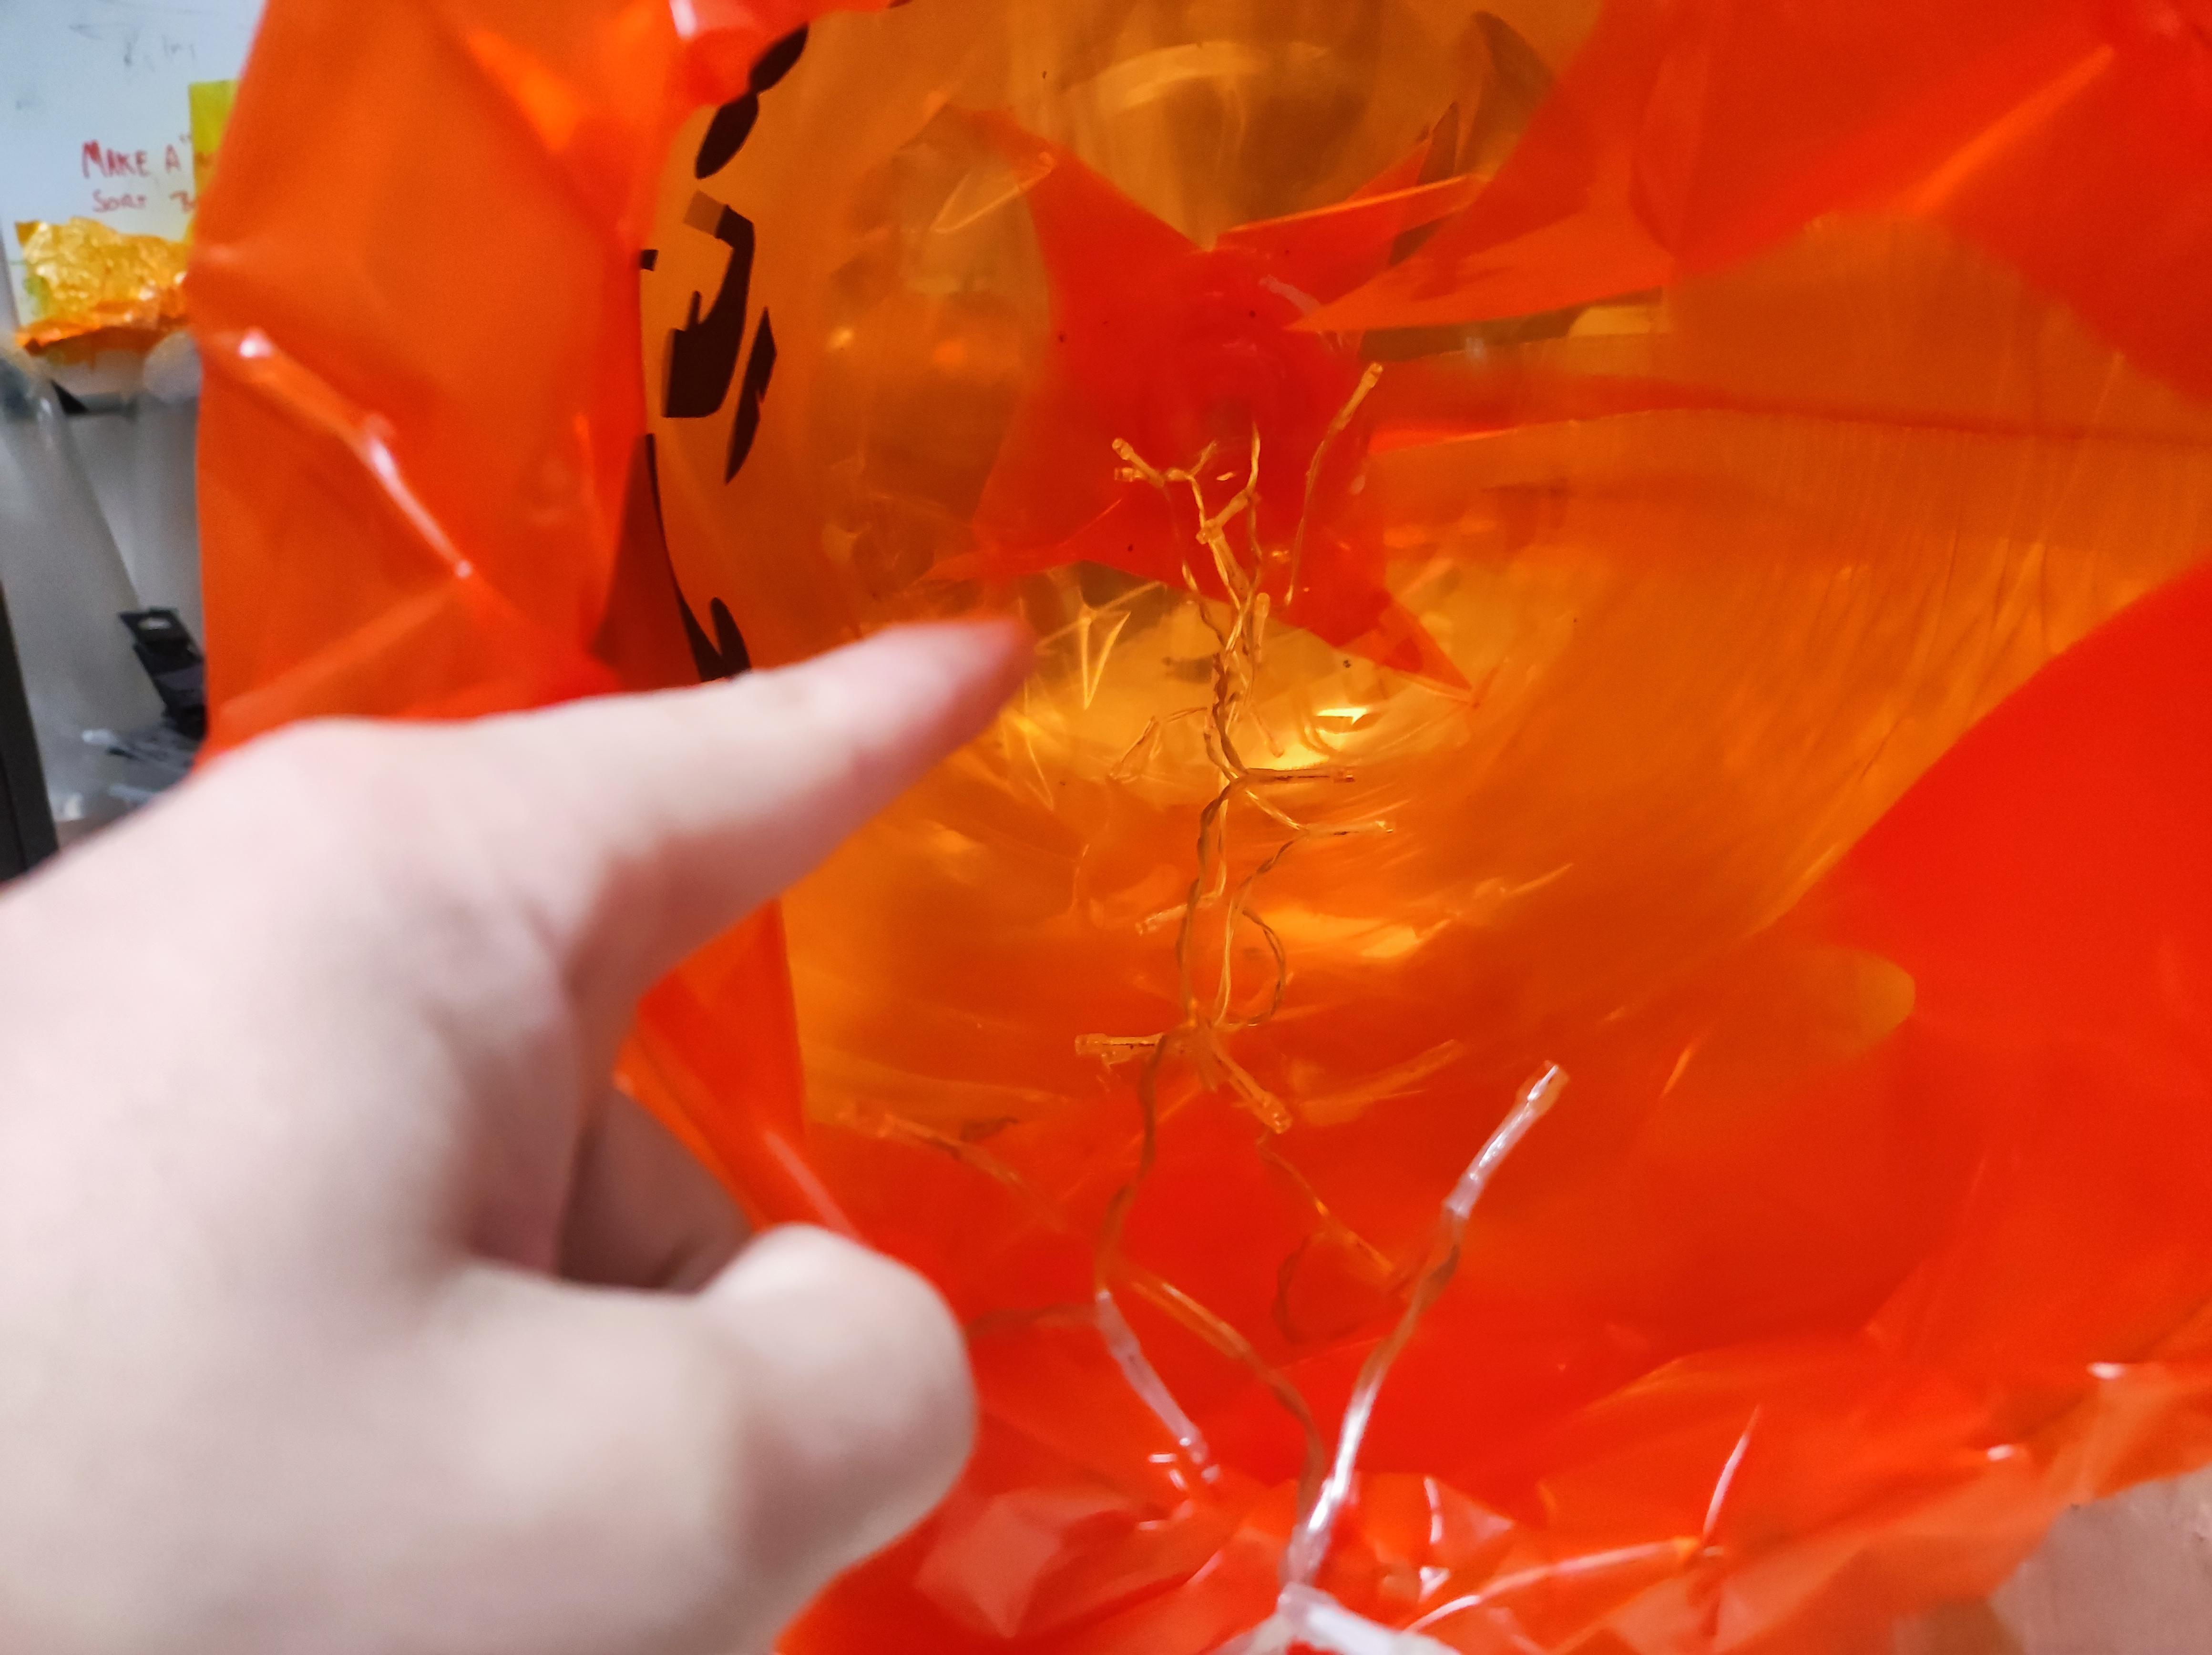
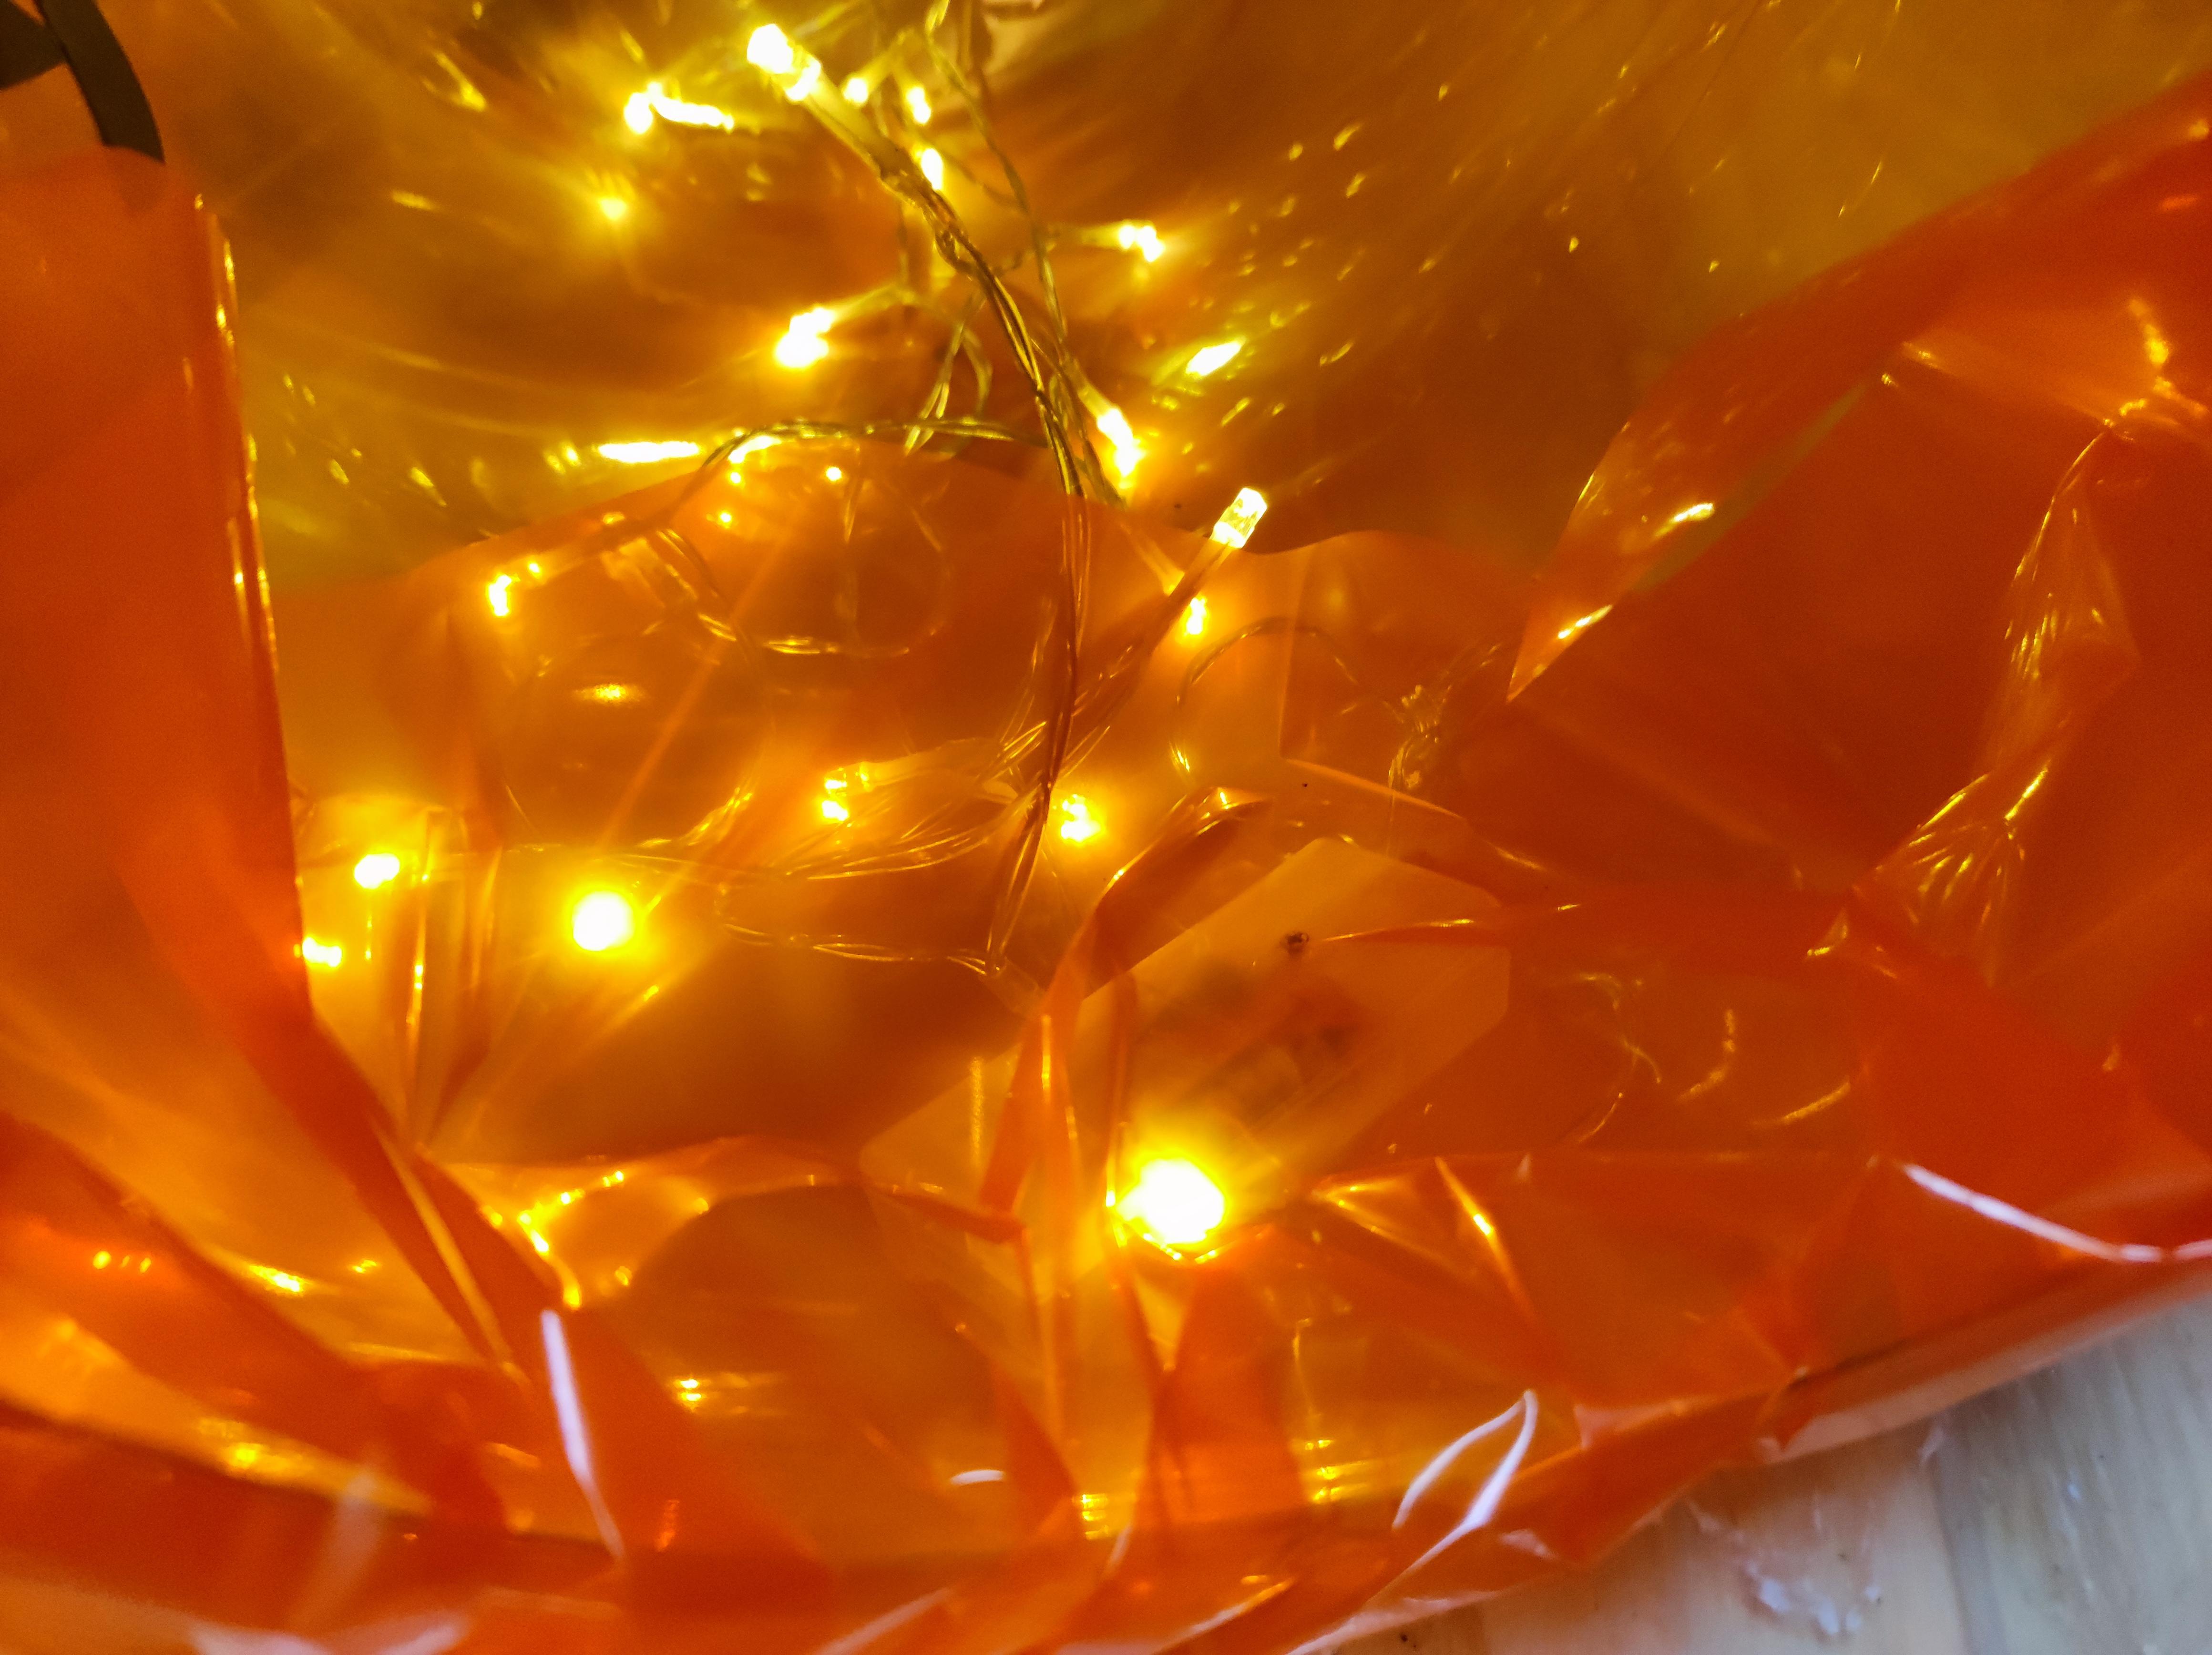
Important note: Make sure your lights work before attaching them!
Depending on the length of you lights you may want to loop the round a couple of times and then using some tape attach it to the top of the inside of the keg and let them hang down. Make sure the battery pack is at the bottom/hole for east access to turn the lights on/off. You can even tuck the battery pack behind the excess cellophane or tape it in place.
Additional

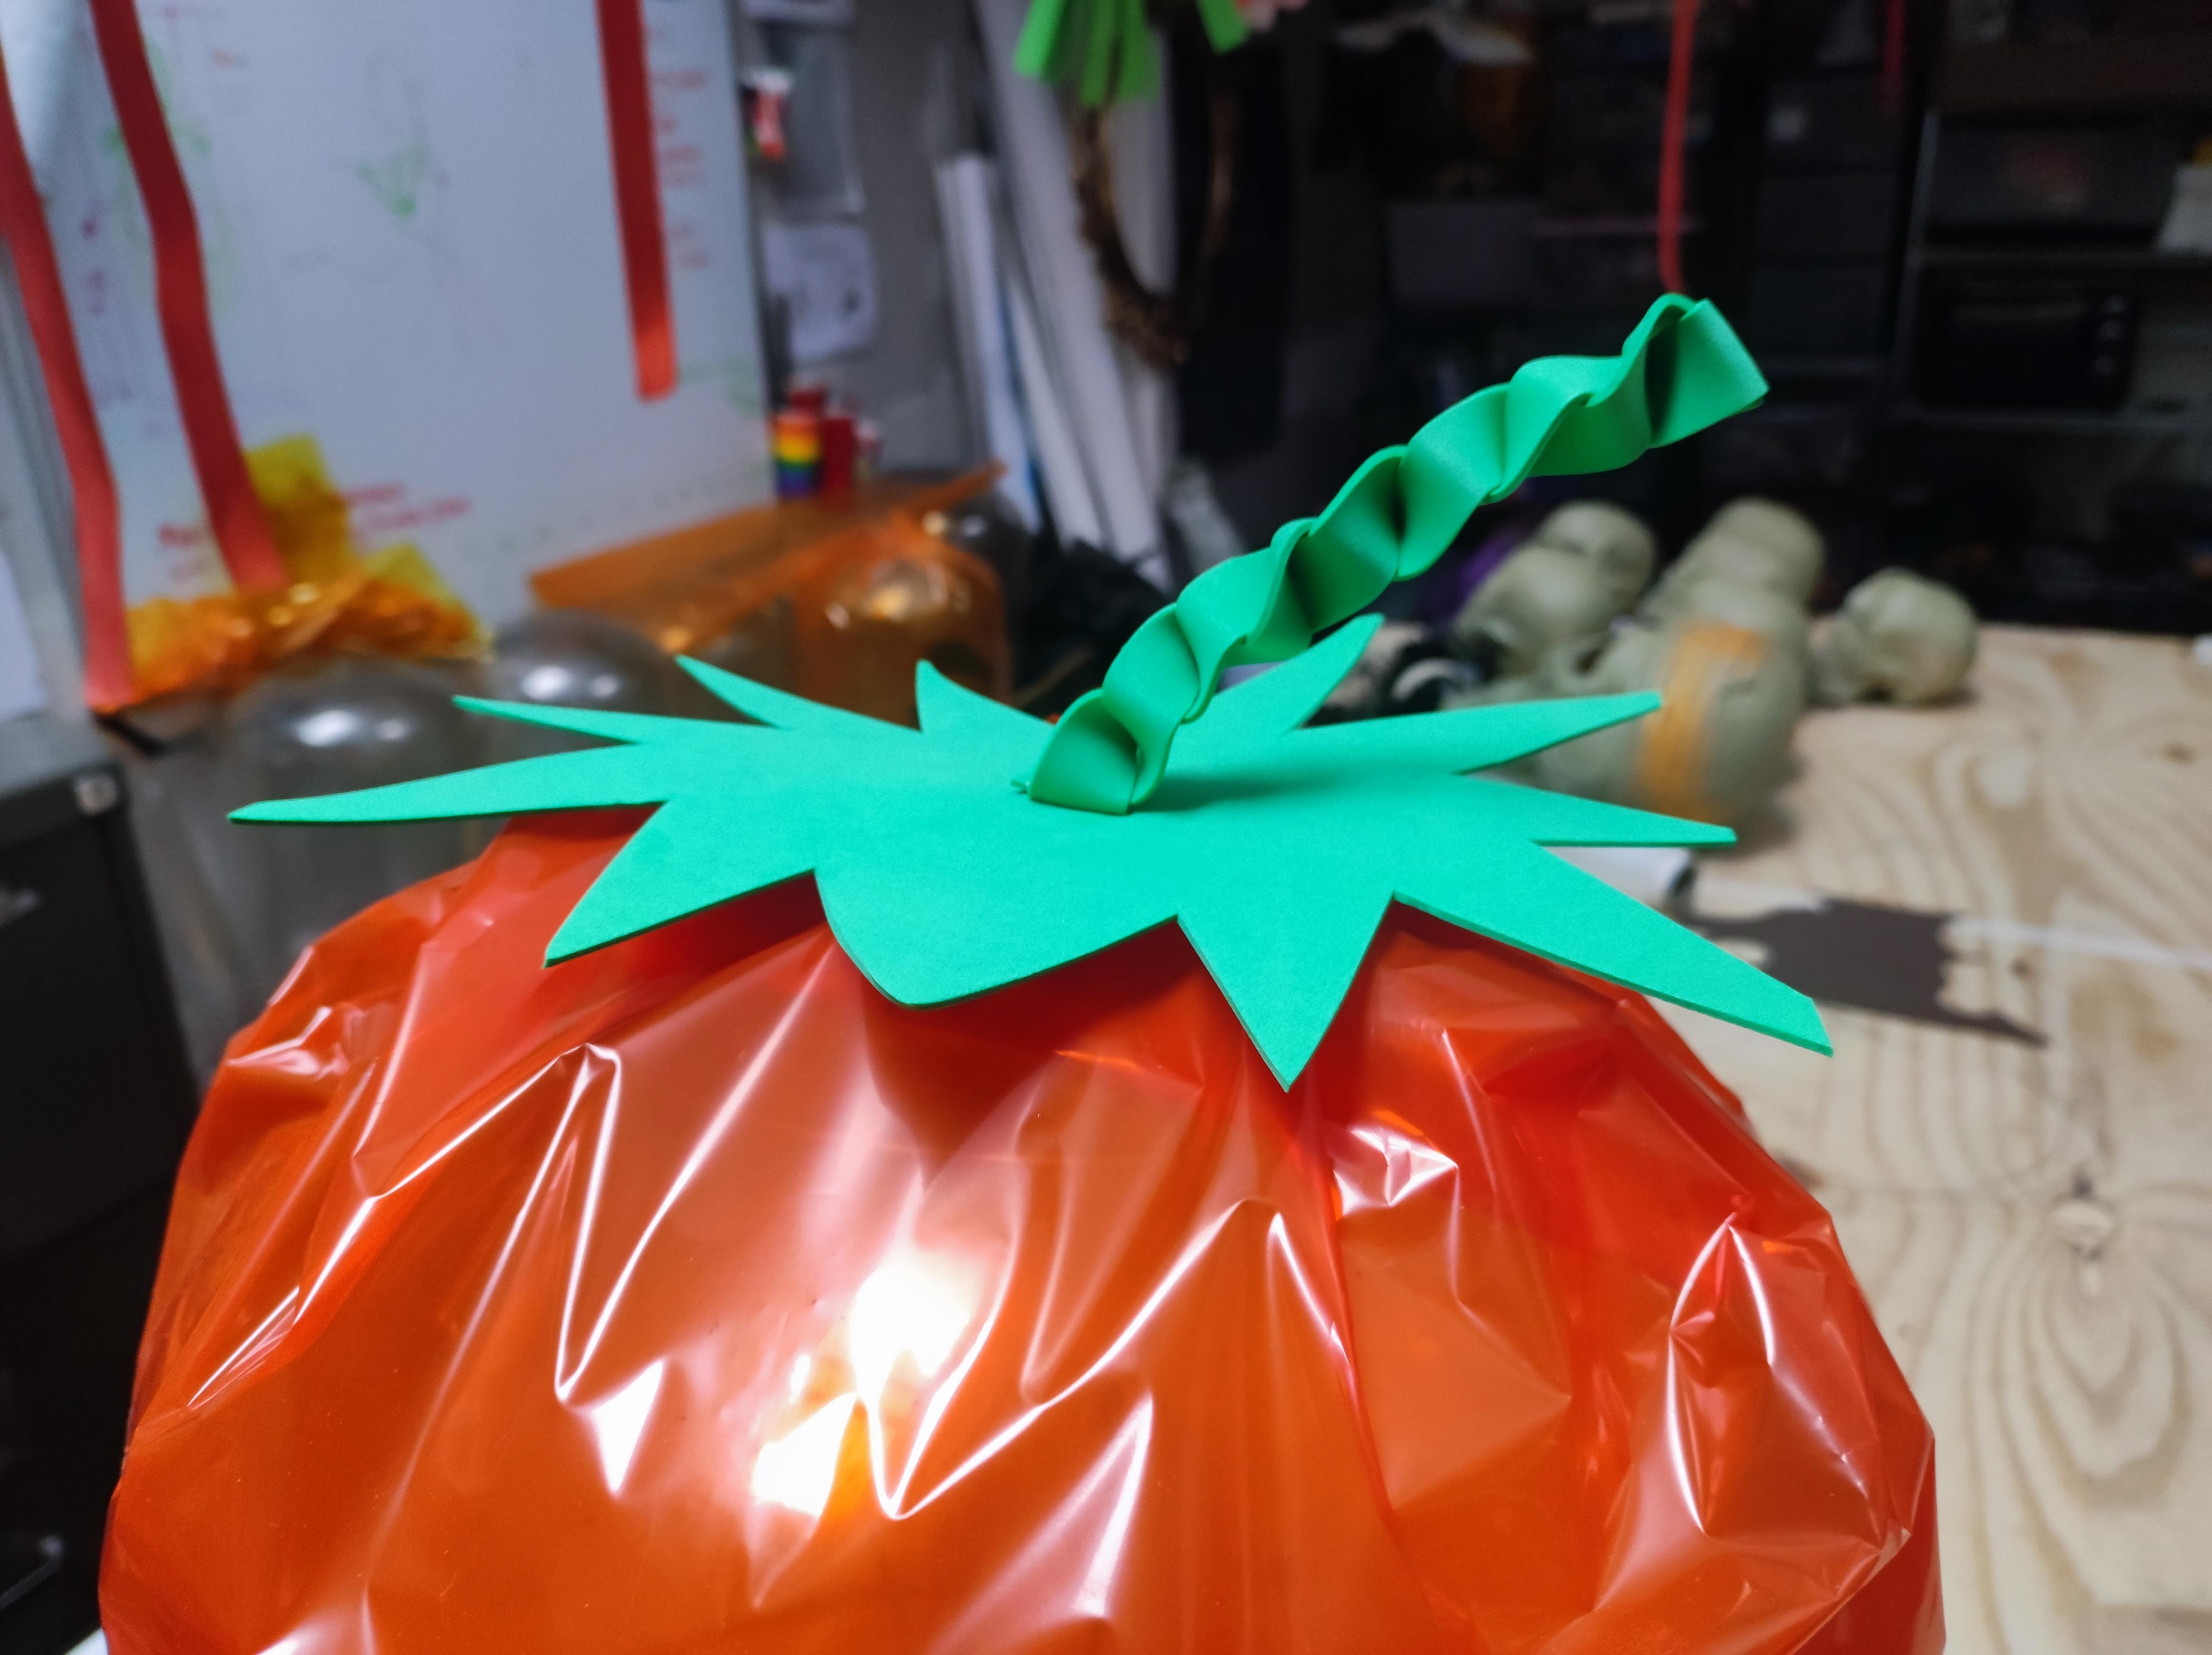
You can always attach a bit of gream foam or card to the top to give it some foliage. If its going to sit outside i would youse foam.
DONE!
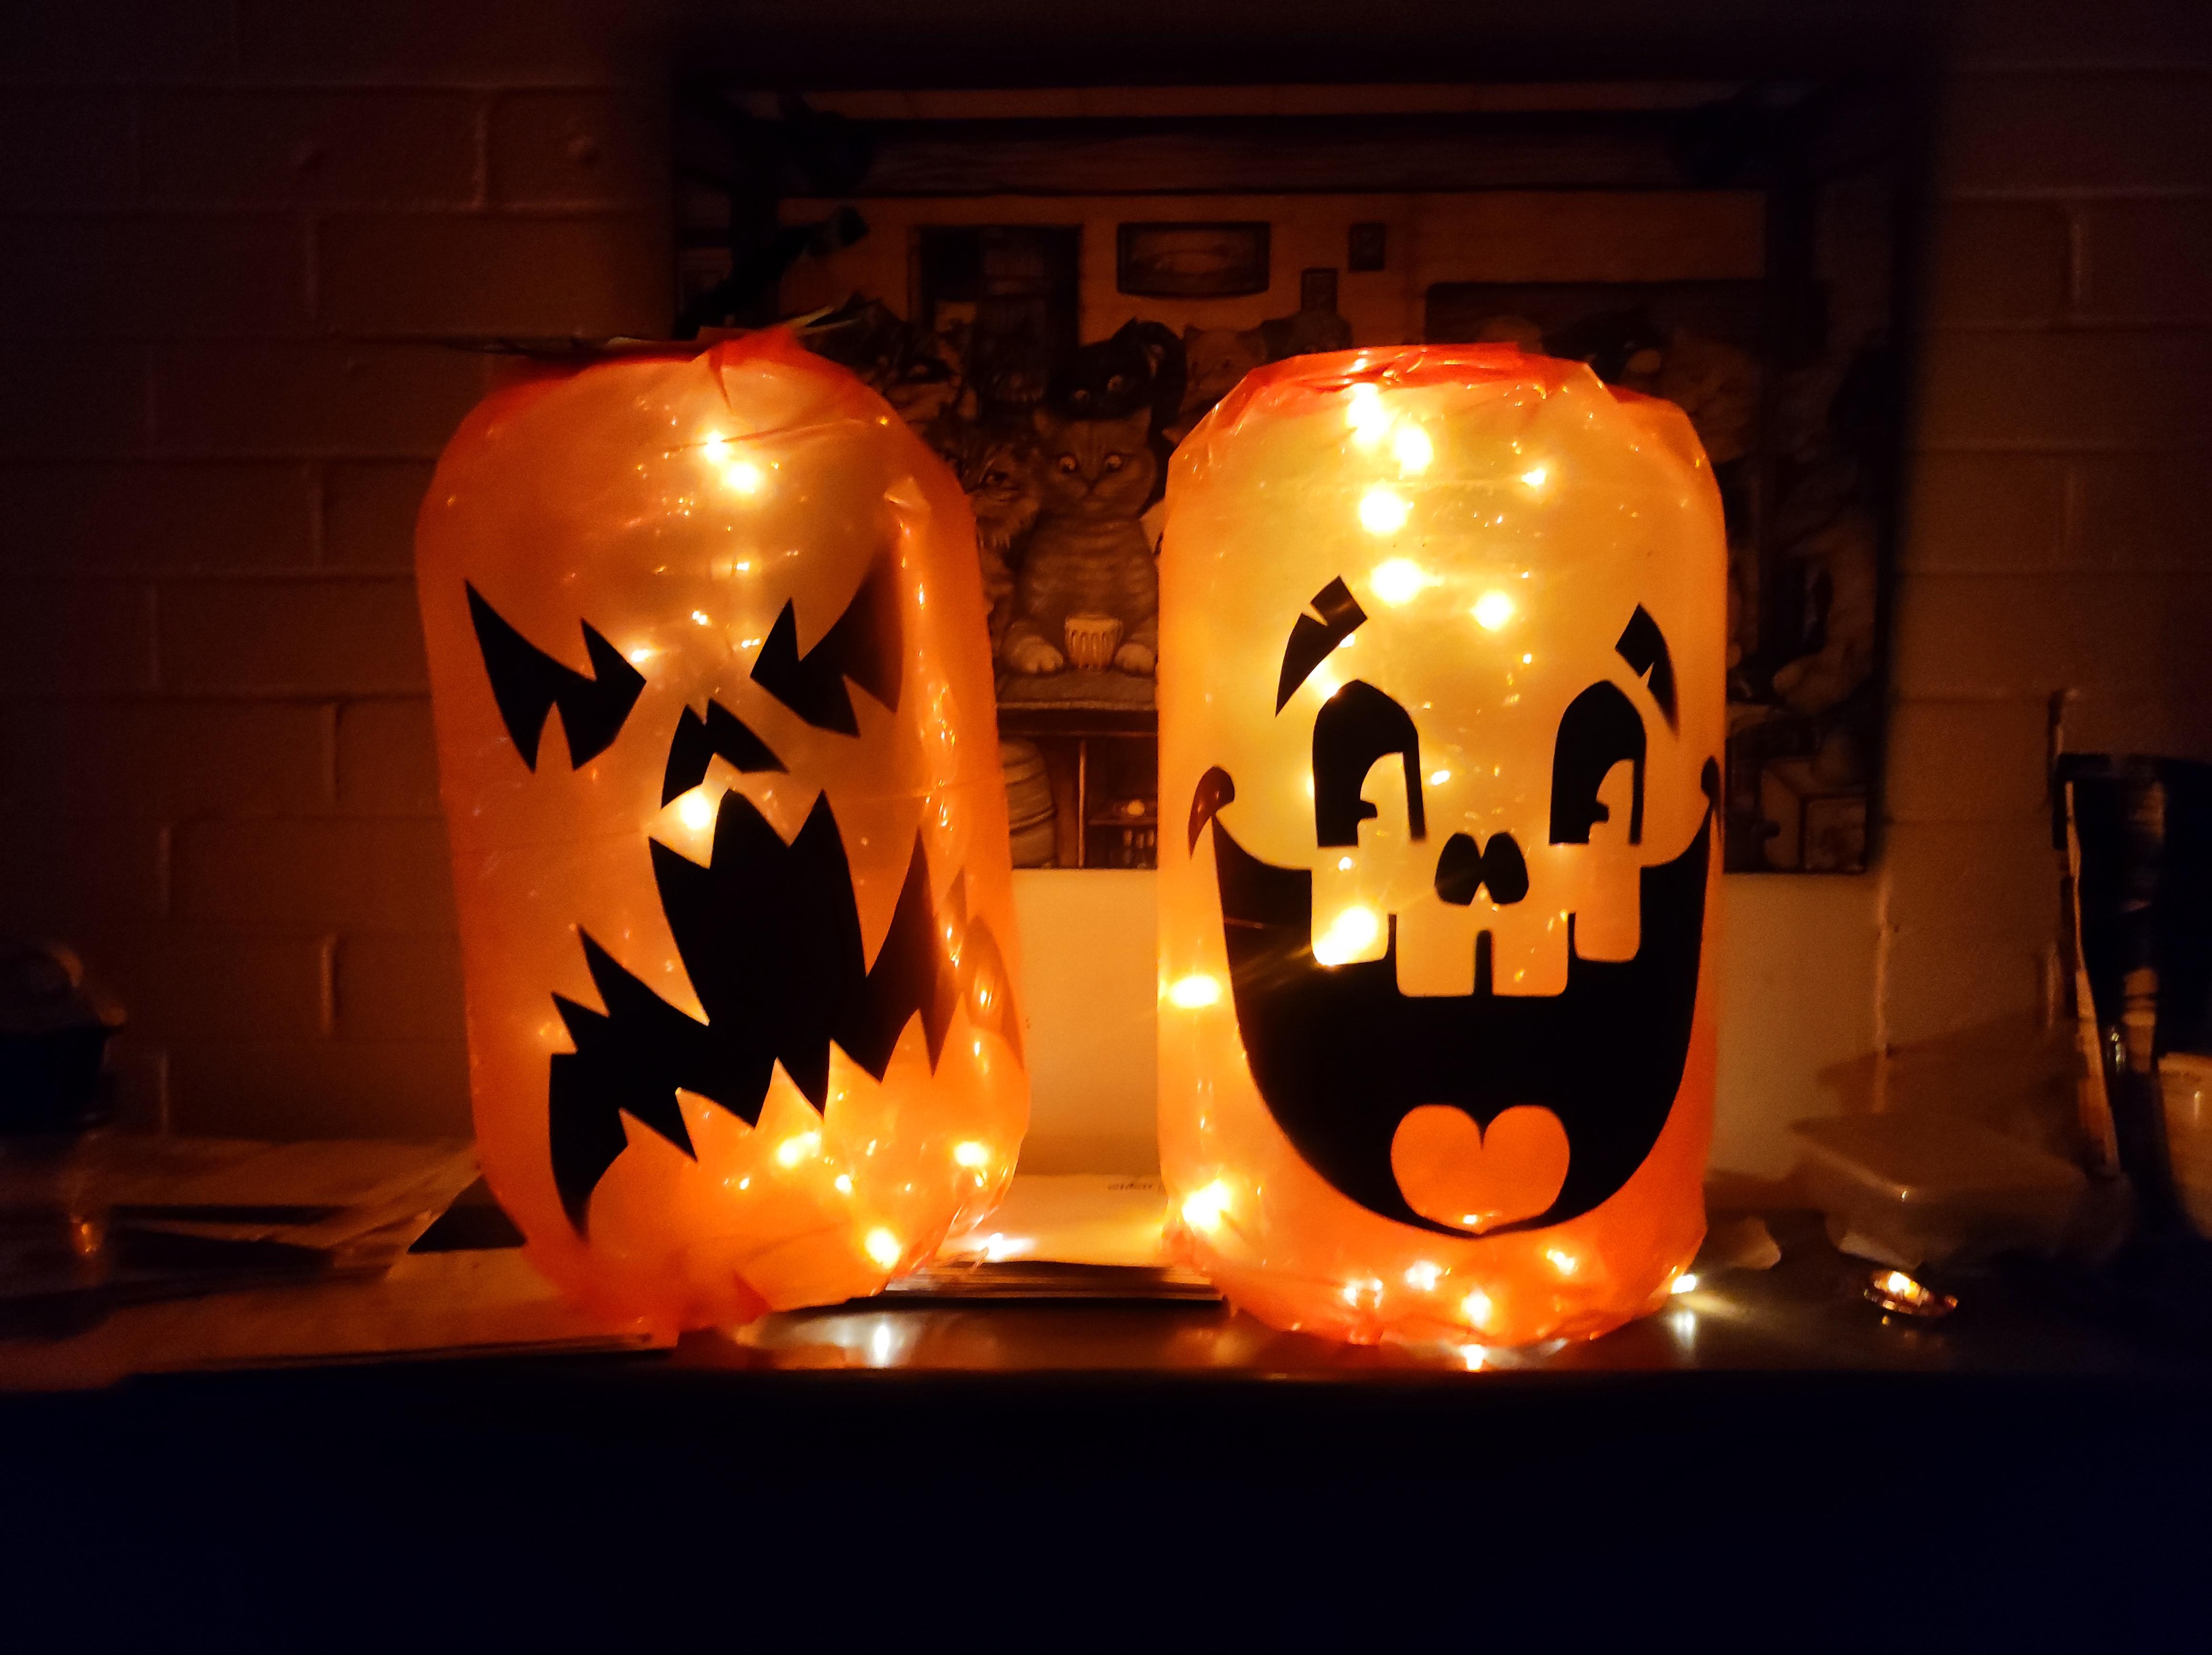
And that is you finished!
Well, I hope you enjoyed this instructable and as always your thoughts, comment, critisims and photos of your own Keg lanterns are welcome in the comments.
Happay Halloween!