Choco Mold

A 3d print to be cast for a chocolate mold.
Supplies
Fusion 360, Prusa mk4s 3d printer, and white PLA.
Ideation
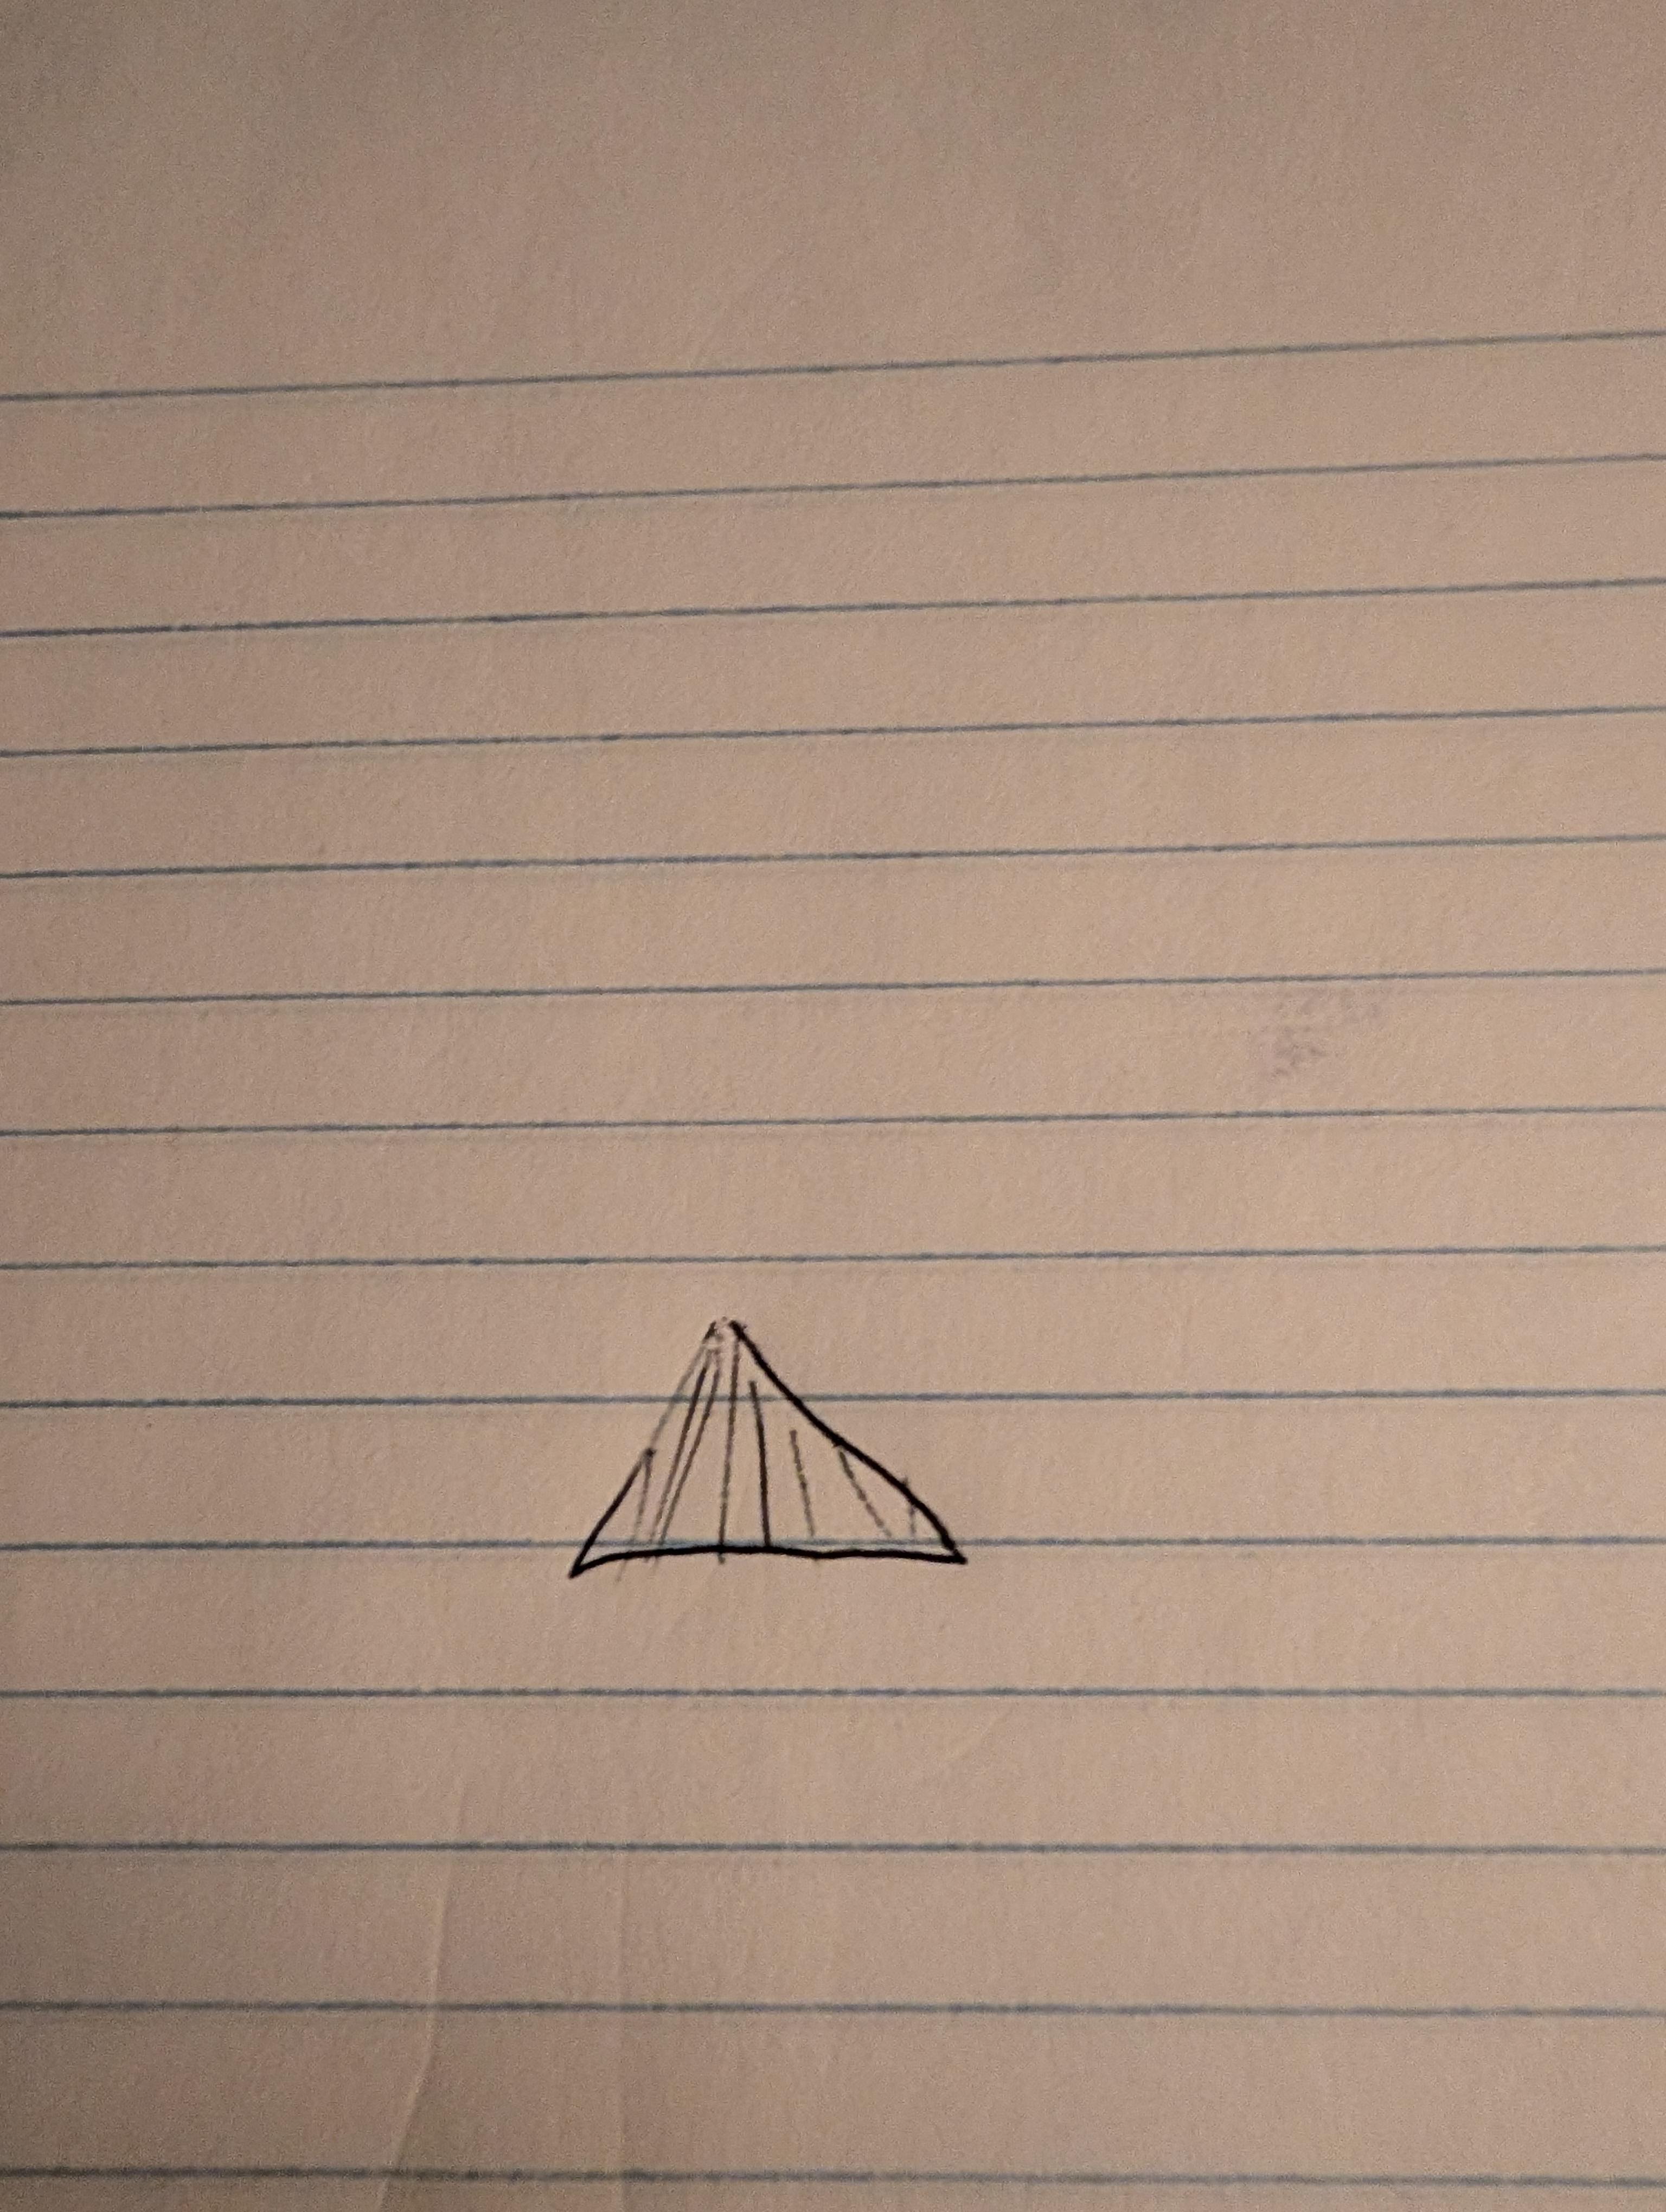
I was looking for a small conical shape that preferably had indents along the outside walls.
Fusion 360
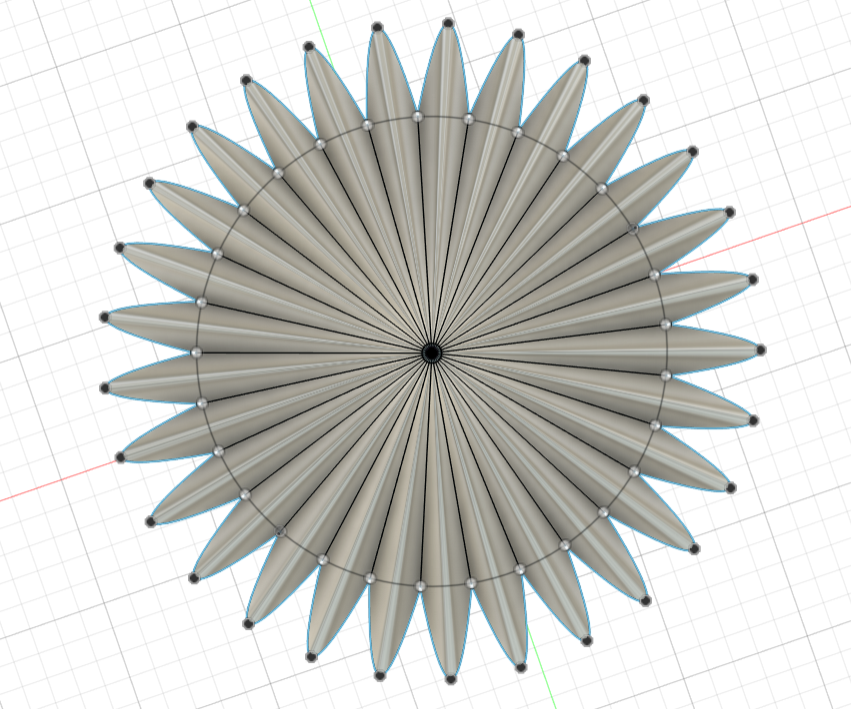
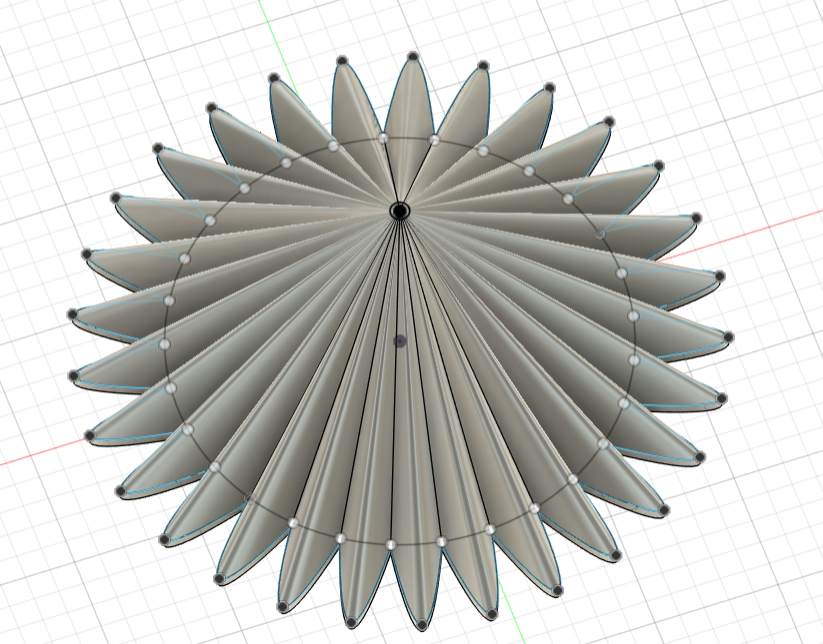
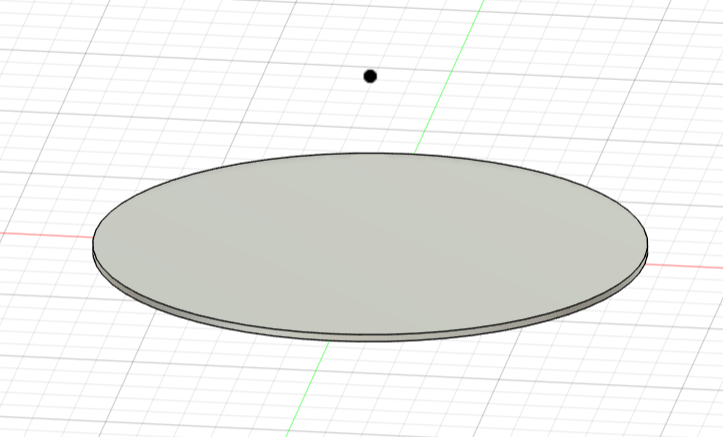
I had started off with a circular base and put a curved pattern using the spline tool. It was a singular curve between two points on the circular base, I had then used the pattern tool around the circle on the curve to create the indents around the circle. I had then extruded the indented circular base 0.5 mm. I offset a plan 15 mm above the circular base and put a 0.5 mm circle in the middle. I then used the loft tool on the circular base and the offset mini circle to give the idea of a conical shape. I finally lessened the diameter of the circular base so the indents poked out past the base.
Outcome
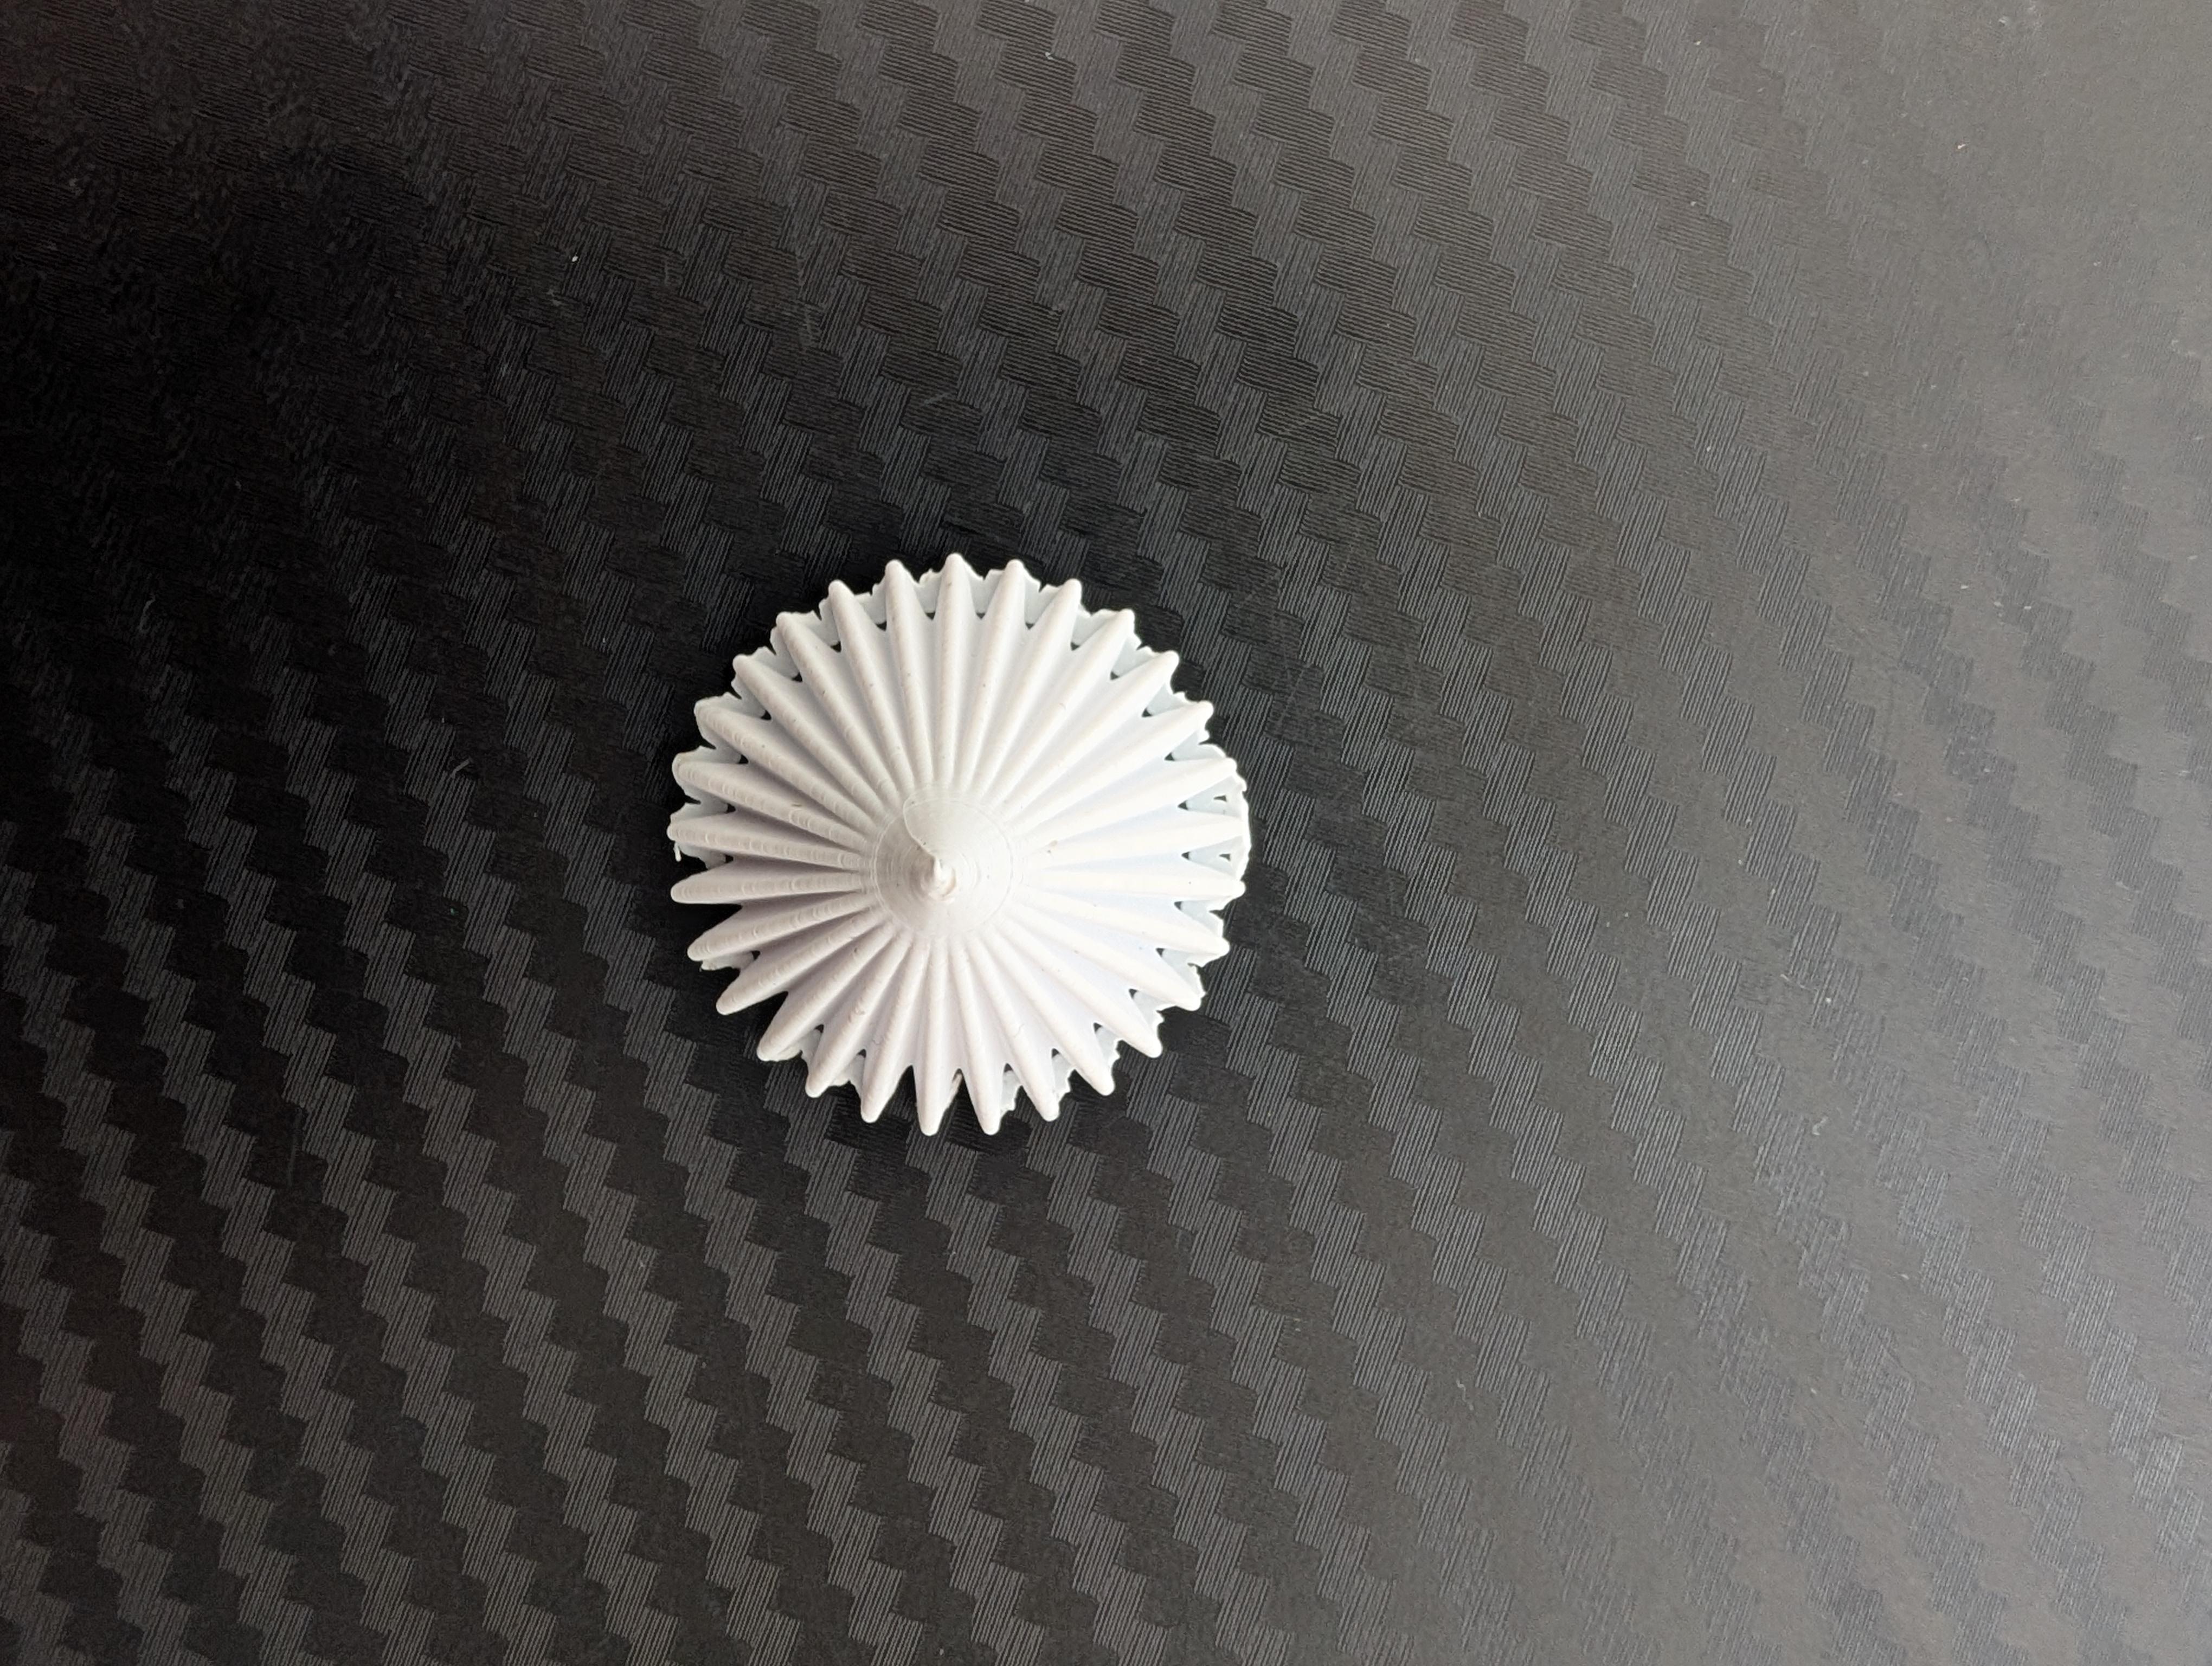
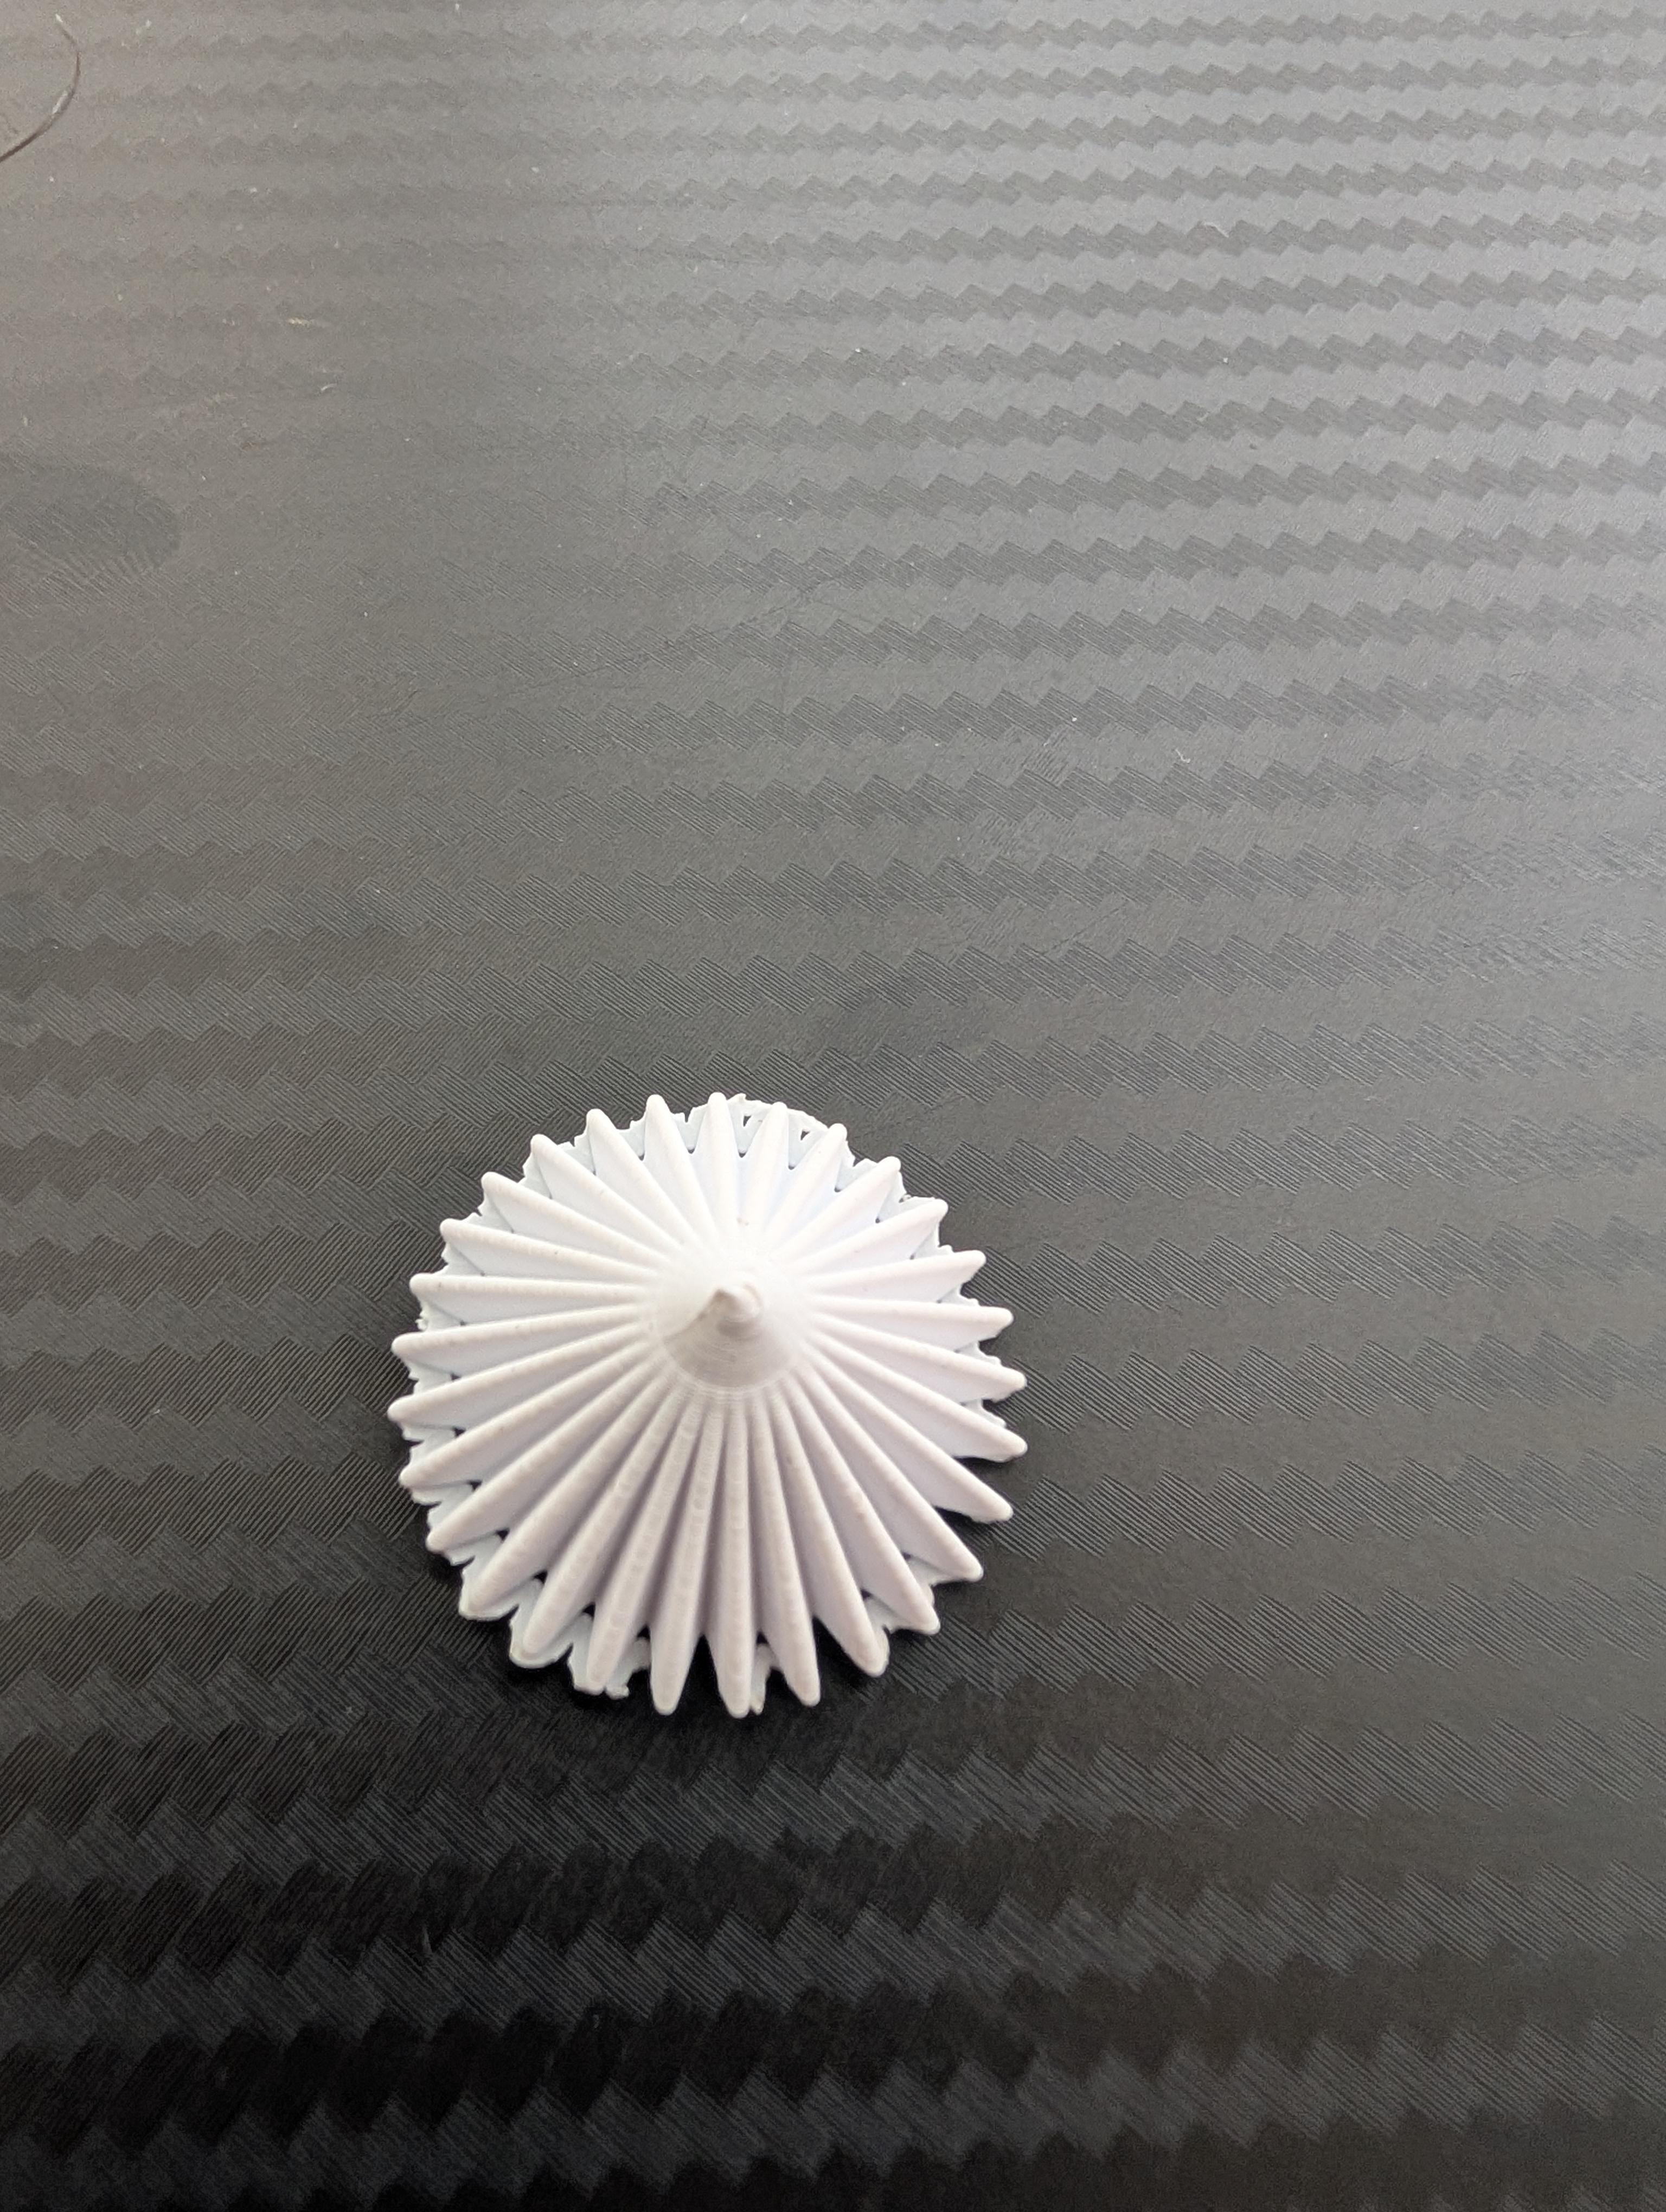
It worked out well. The only problem I had was the added inner skirt to increase surface in contact, I don't think it was that necessary and was a hassle to tear off and some of it still is connected, but only minimally. It was about a 16 minute print.
Reading Reflection
I like how the reading goes over the idea that a product might go through many physical changes such as color, and still appear the same aesthetically and that's what matters when designing. That perhaps the surprises and changes are what make the product unique and improved upon. I take this advice and approach my product and whatever forms it may take on in the future with a very open mind.