Christmas Is Coming Reindeer
by GeekDadDIY in Living > Christmas
2381 Views, 15 Favorites, 0 Comments
Christmas Is Coming Reindeer
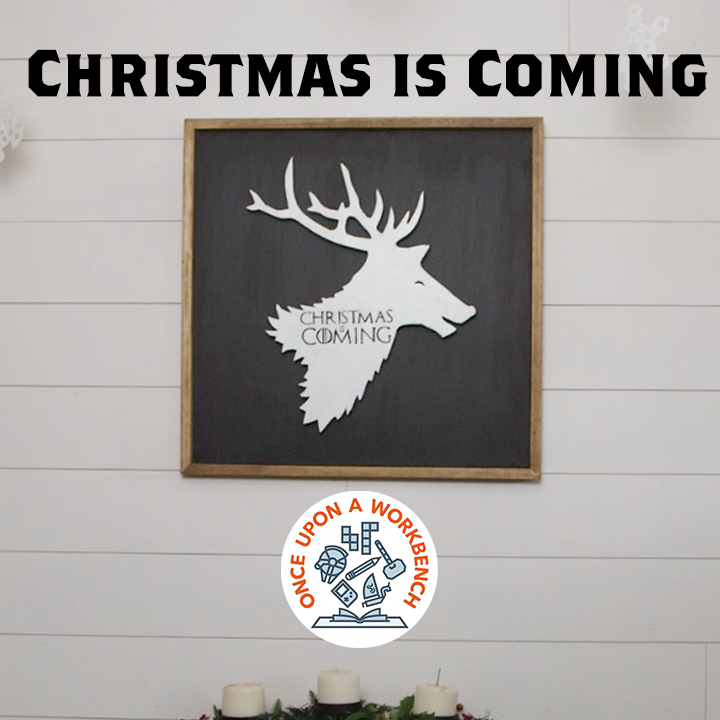
Brace yourself - Christmas is coming! And what better way to celebrate the impending holiday than to spruce up your wall with some Game of Thrones inspired holiday goodness?!
Here is how I put together a Christmas is coming reindeer decoration:
Materials
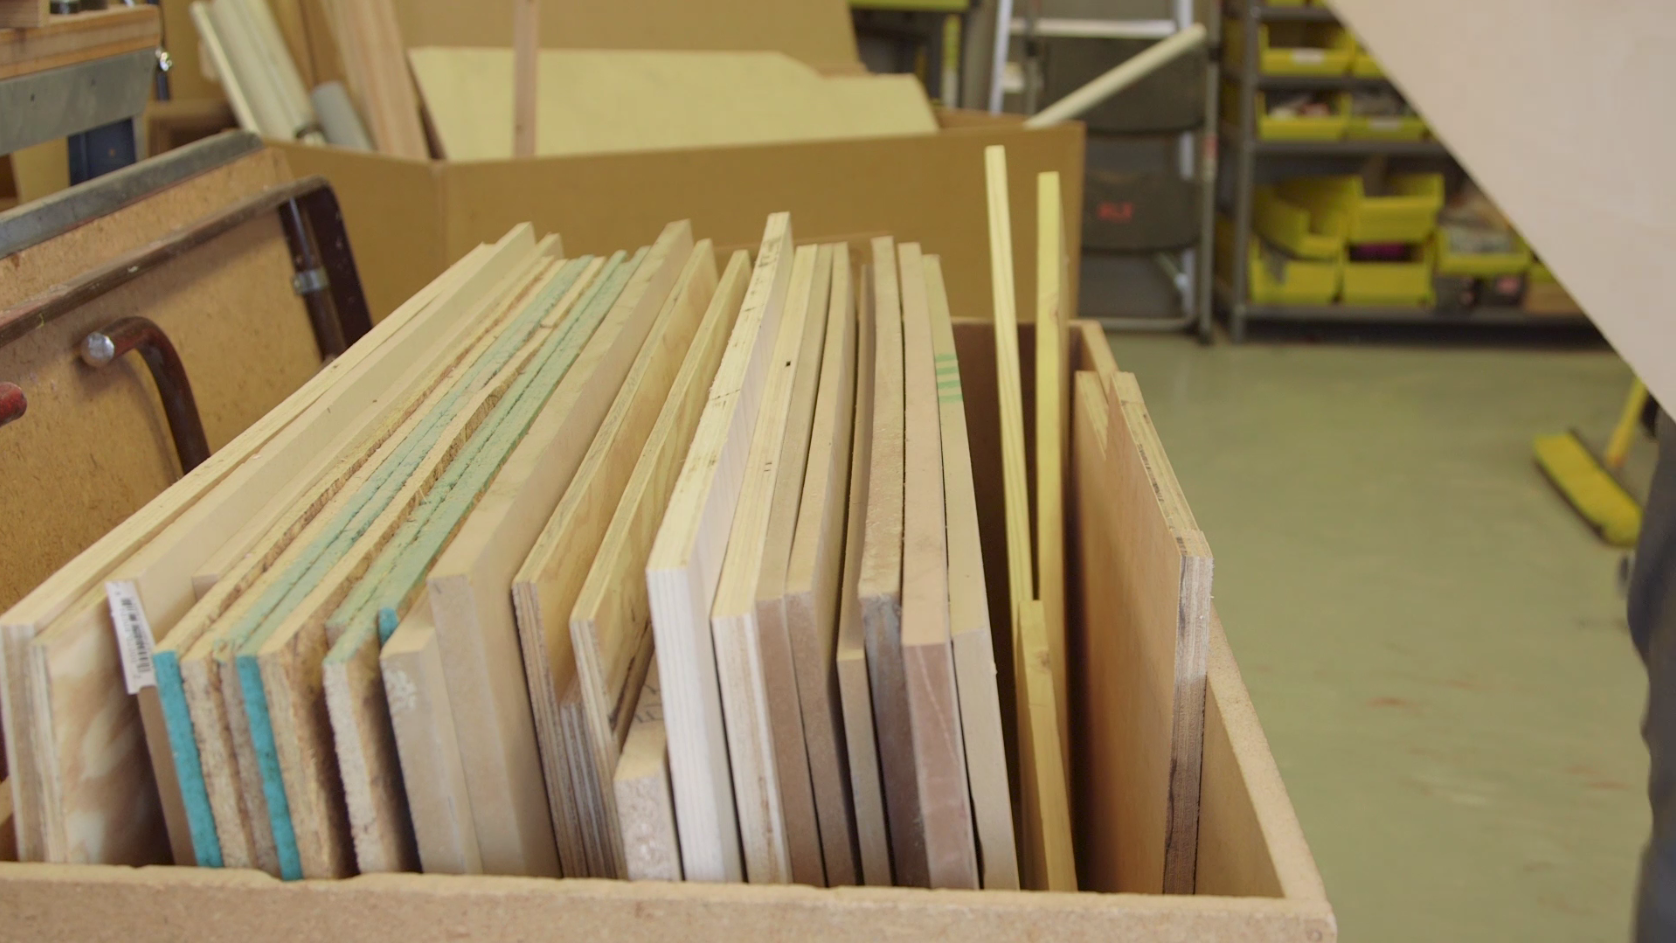
The materials I used:
1/2 Plywood (2'x2' for backing, at least 1 1/2'x 1 1/2' for the reindeer)
3/4" pine (for frame)
#10 screw inserts (I used 6)
#10 1 1/4" bolts (I used 6)
1/2" spacers (I used 6)
Paint (I used chalboard paint and white paint)
Wood stain (I used Early American)
Tools:
Bandsaw
Drill (or drill press)
Scroll saw
Box cutter (or carving knife, or a CNC)
Hammer
Glue
45 degree clamps
Sandpaper
Inkscape (or Illustrator, or equivalent)
Design and Cut the Reindeer
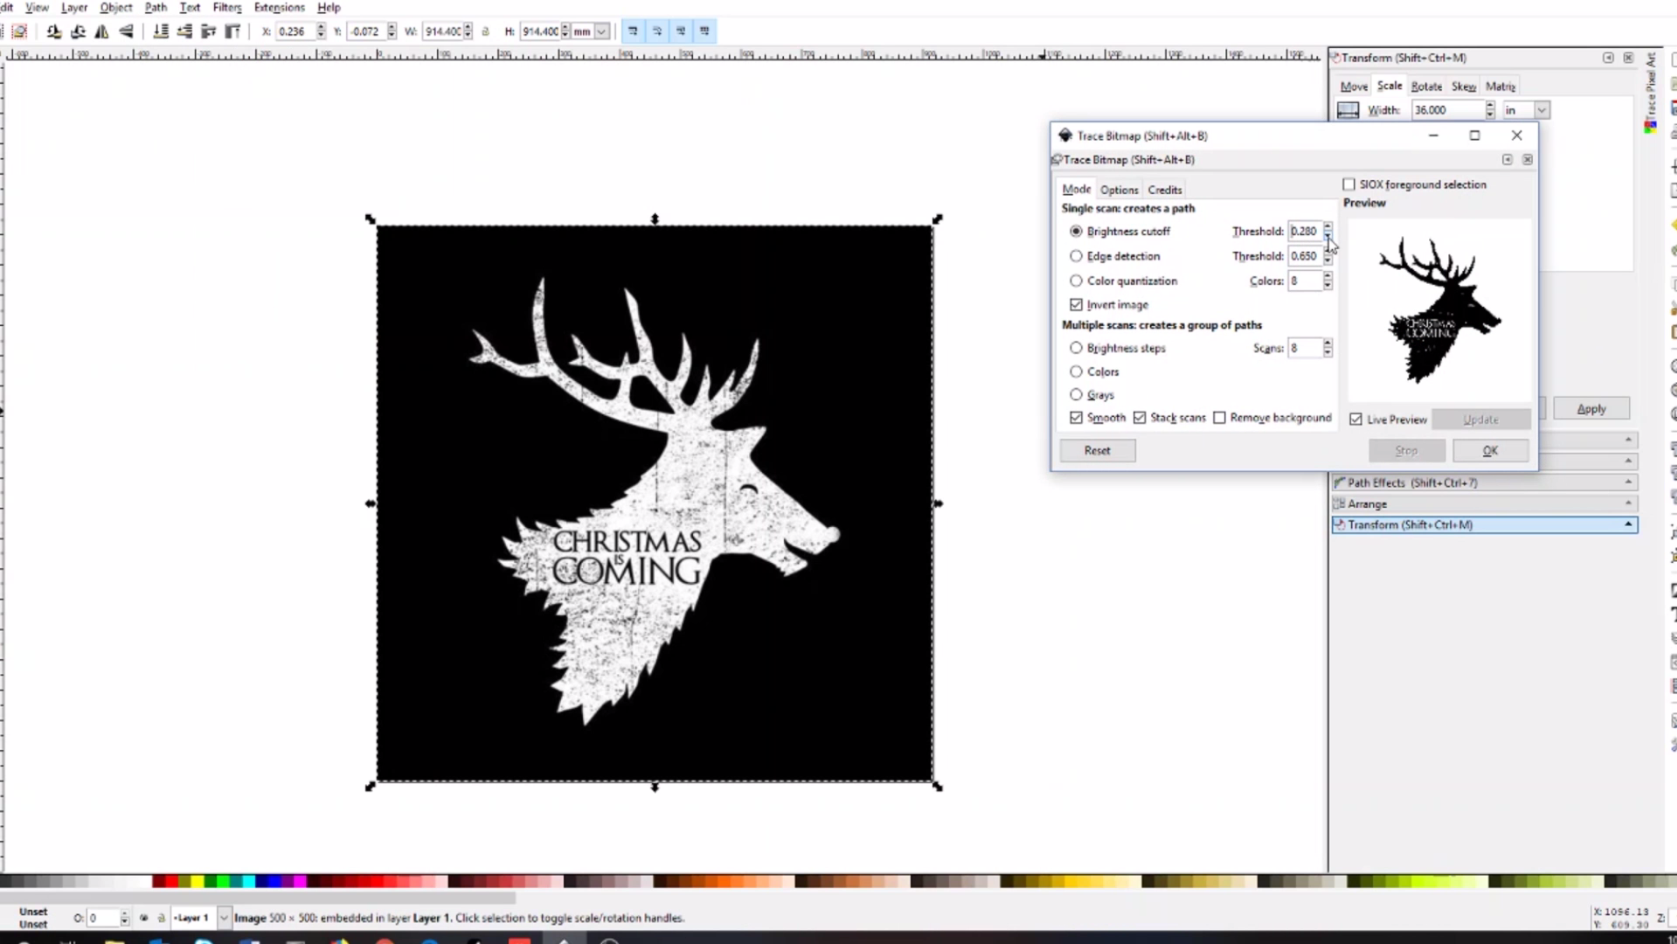
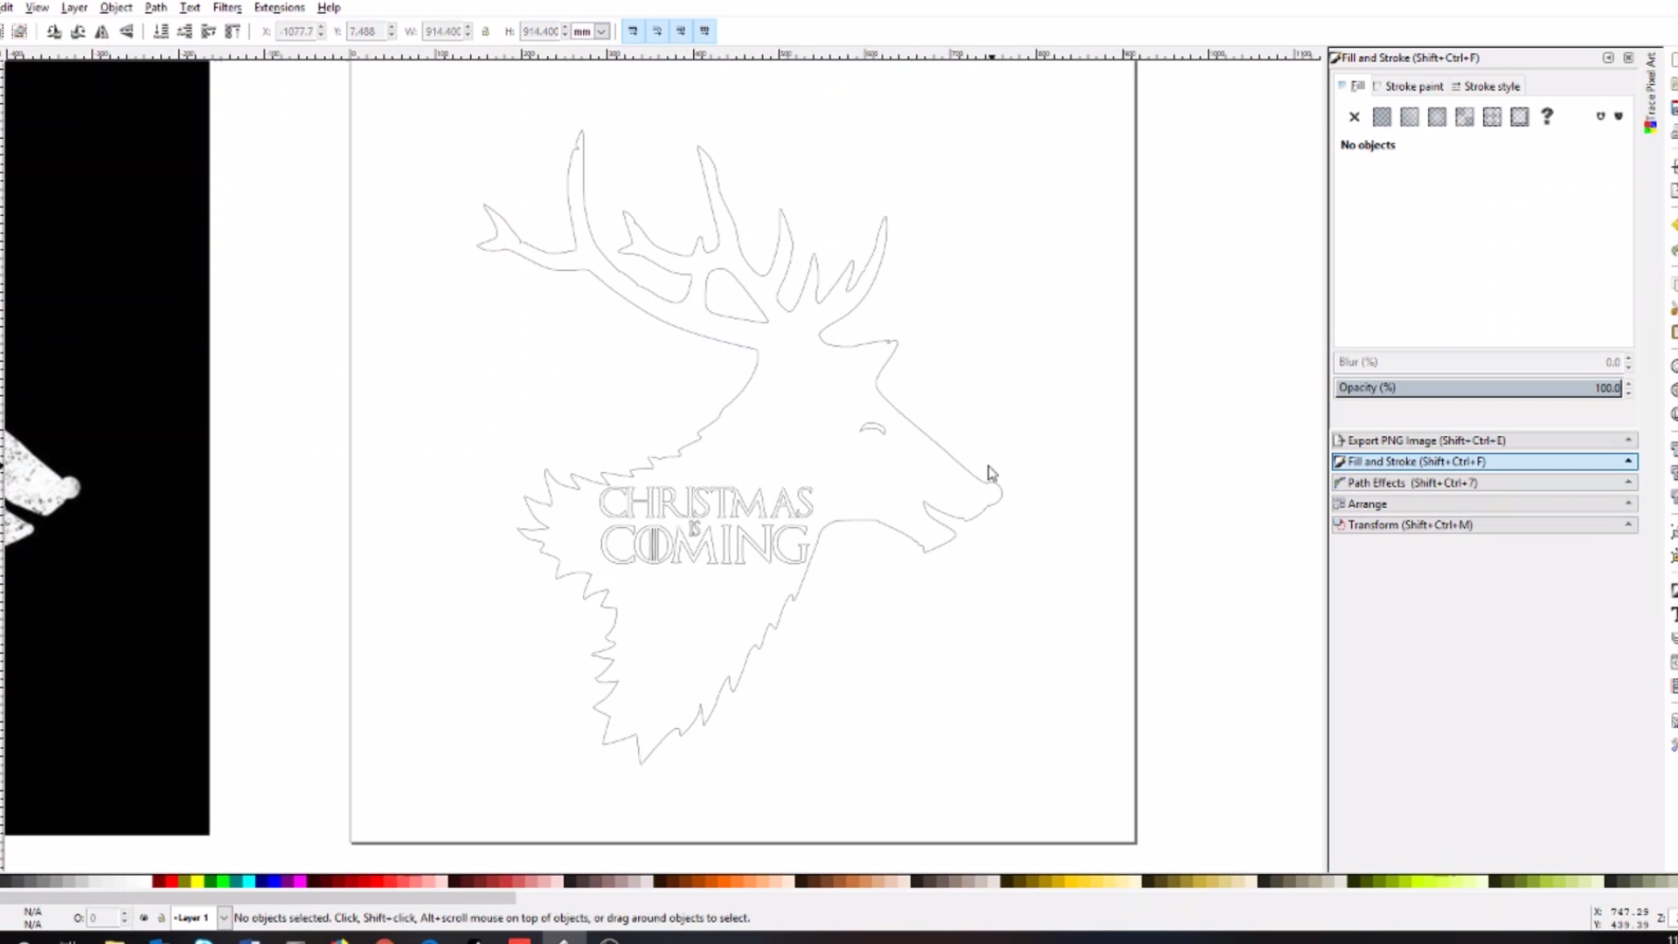
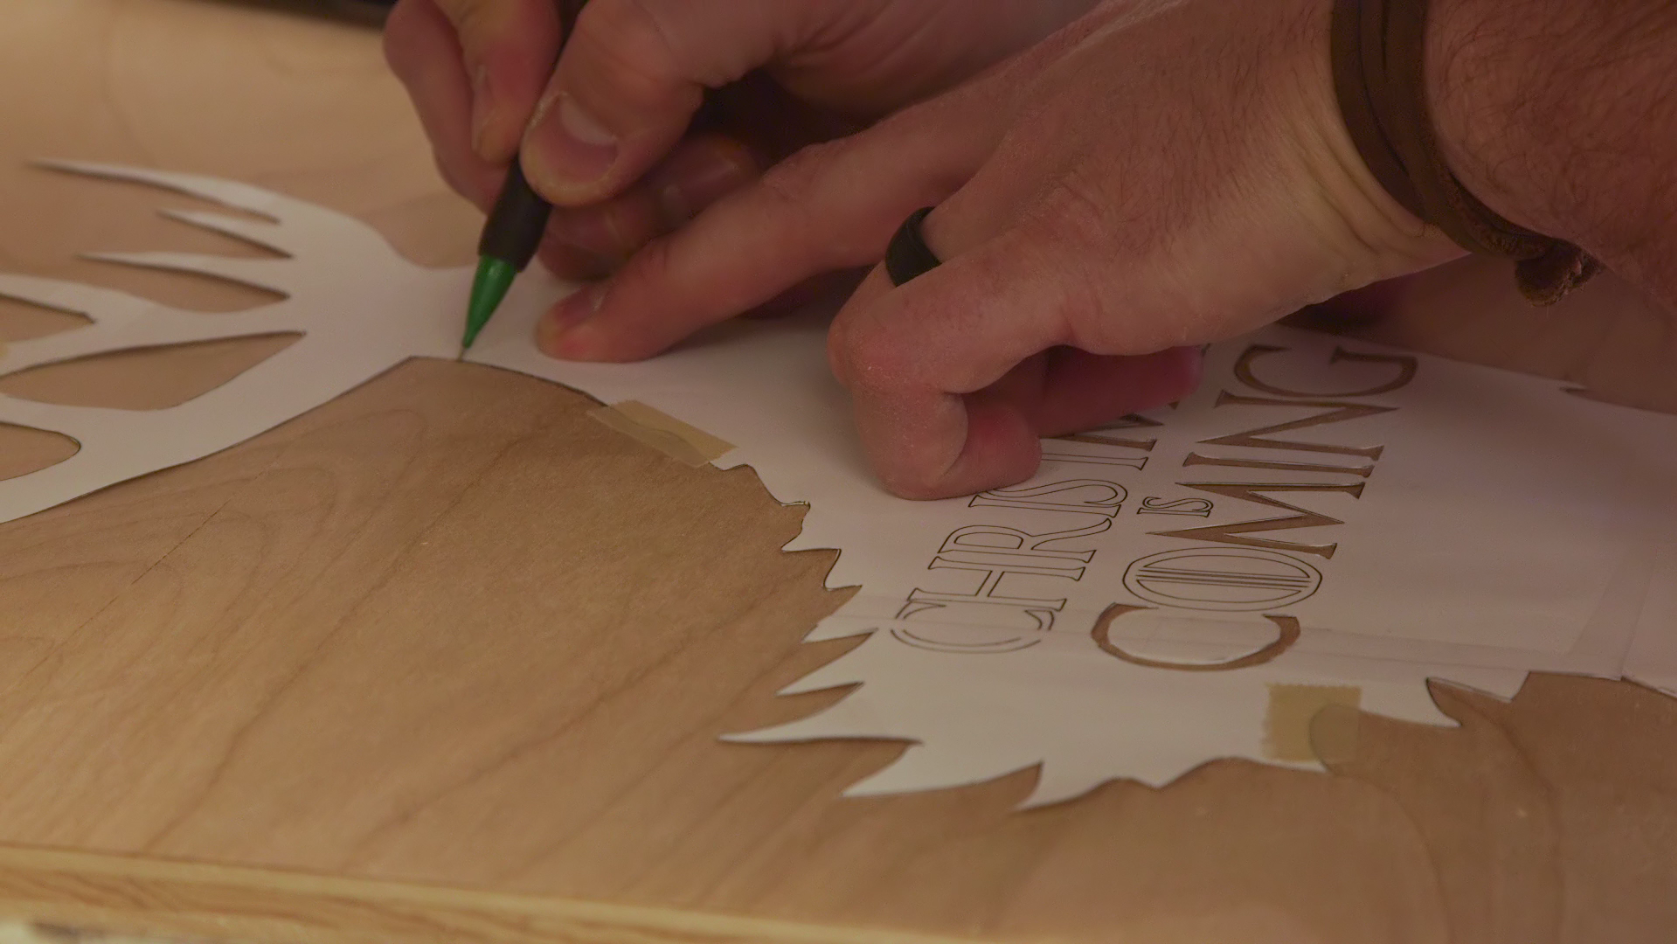
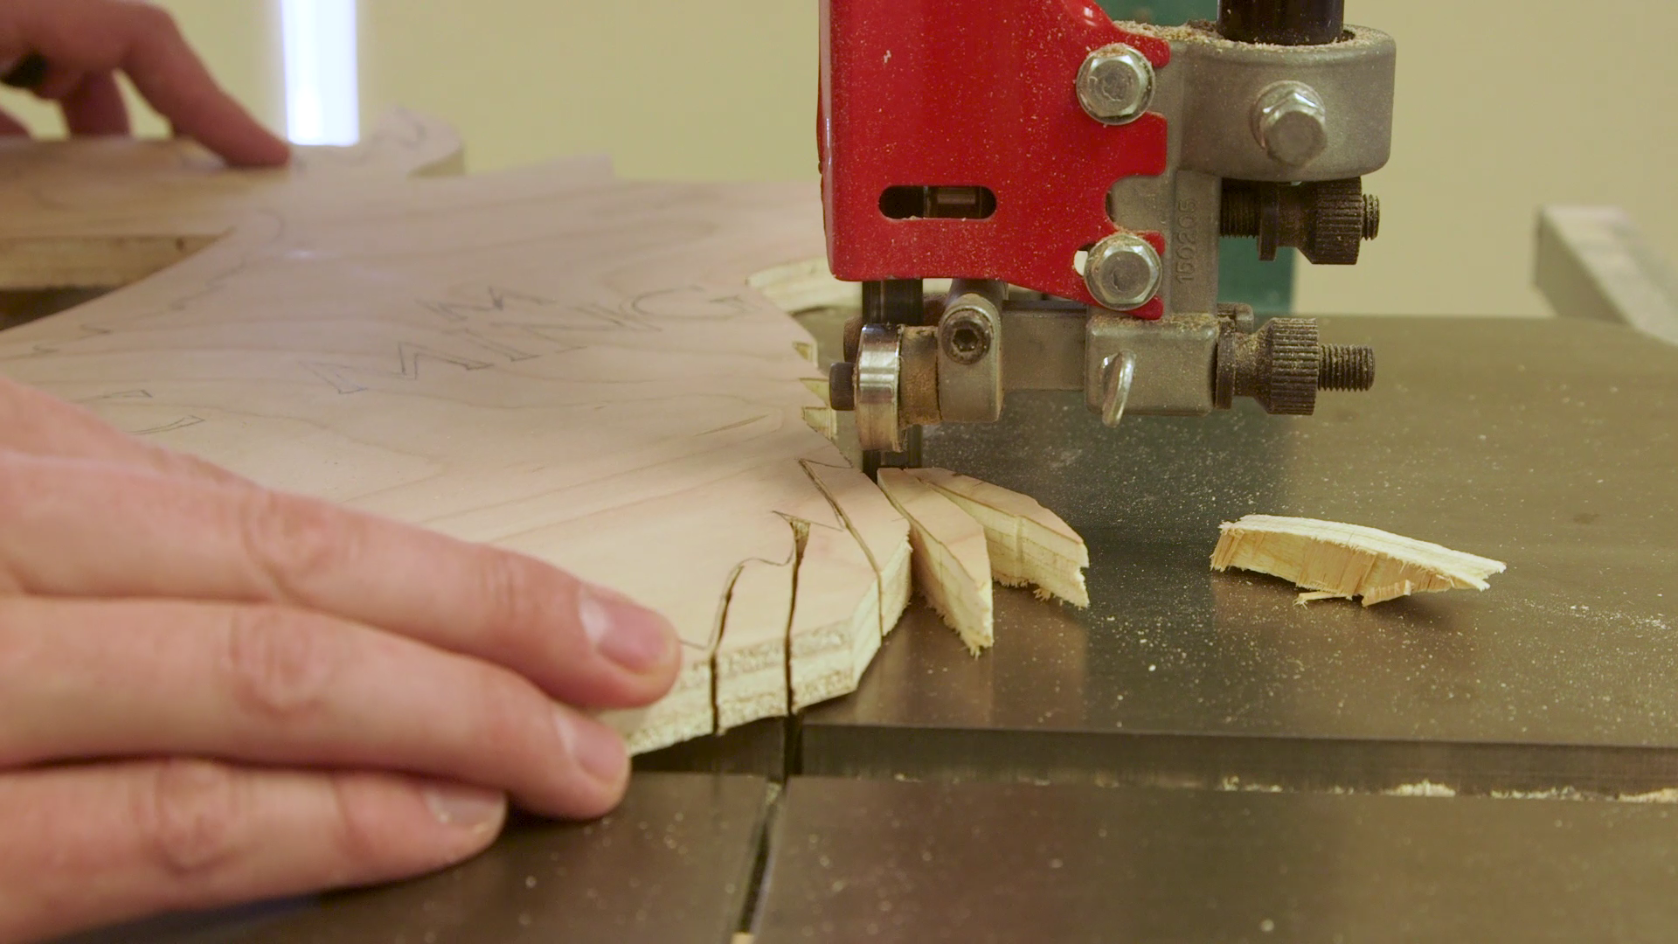
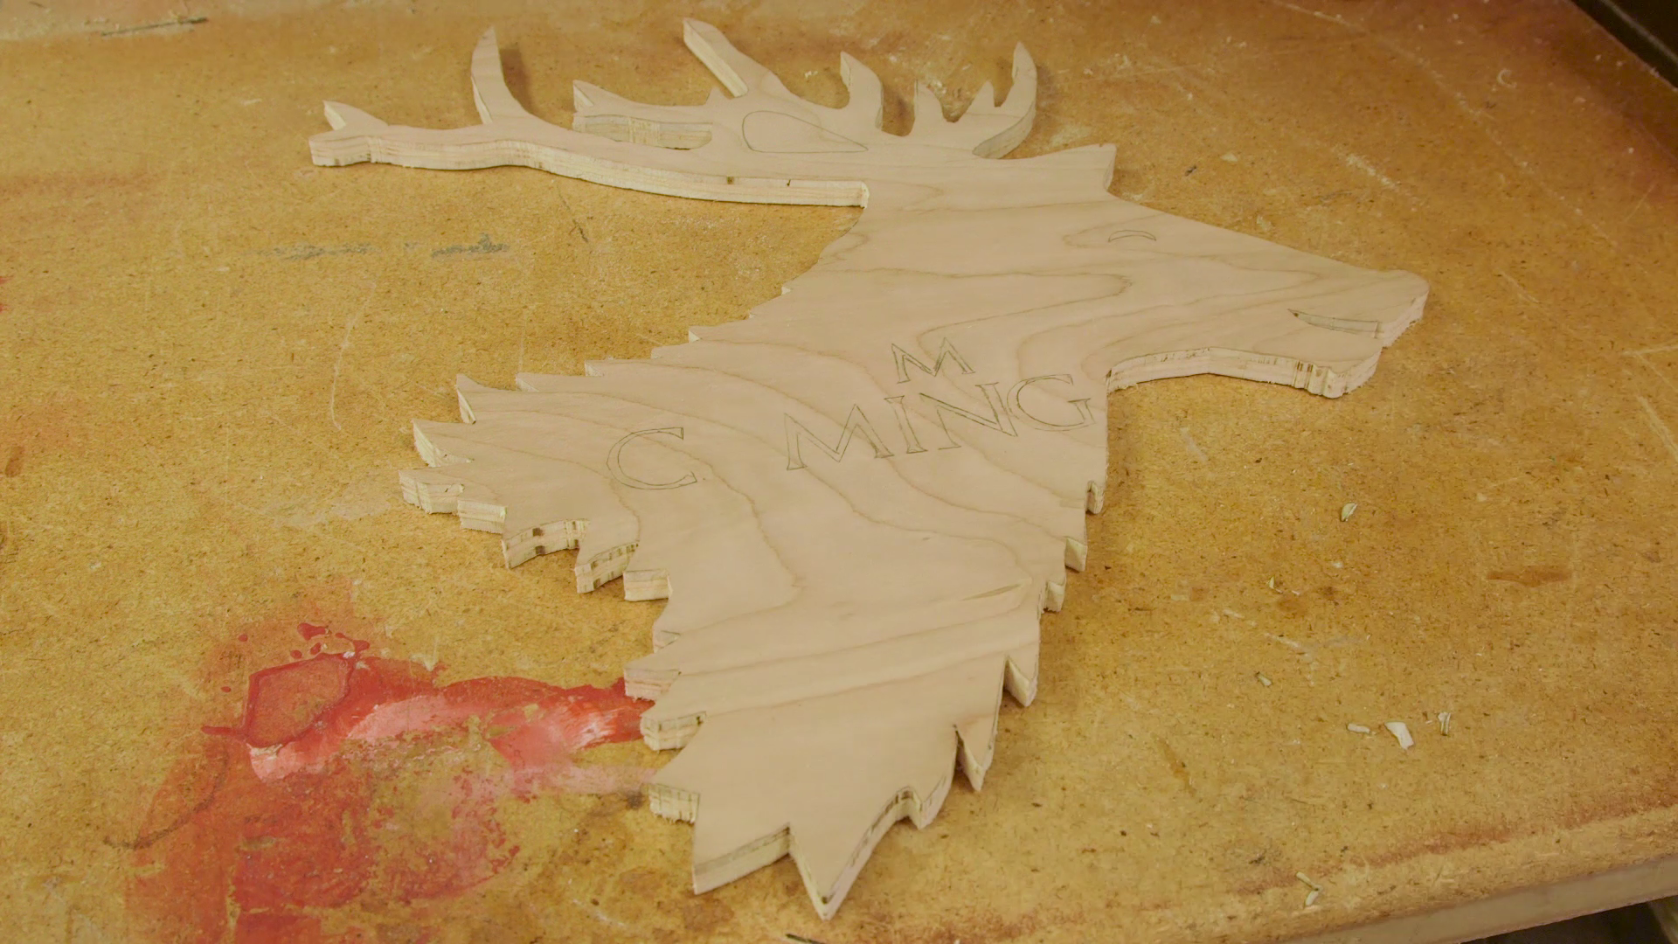
I started by bringing some artwork of the reindeer into Inkscape, and tracing the image. I added the lettering (had to download a Game of Thrones font), then combined the lettering with the outline of the reindeer. I sized the reindeer to the size I wanted, then printed it out (make sure to tile print, and not fit to page).
I took my printout, traced it onto the 1/2" plywood, then cut it out on a bandsaw.
Carve and Paint the Lettering
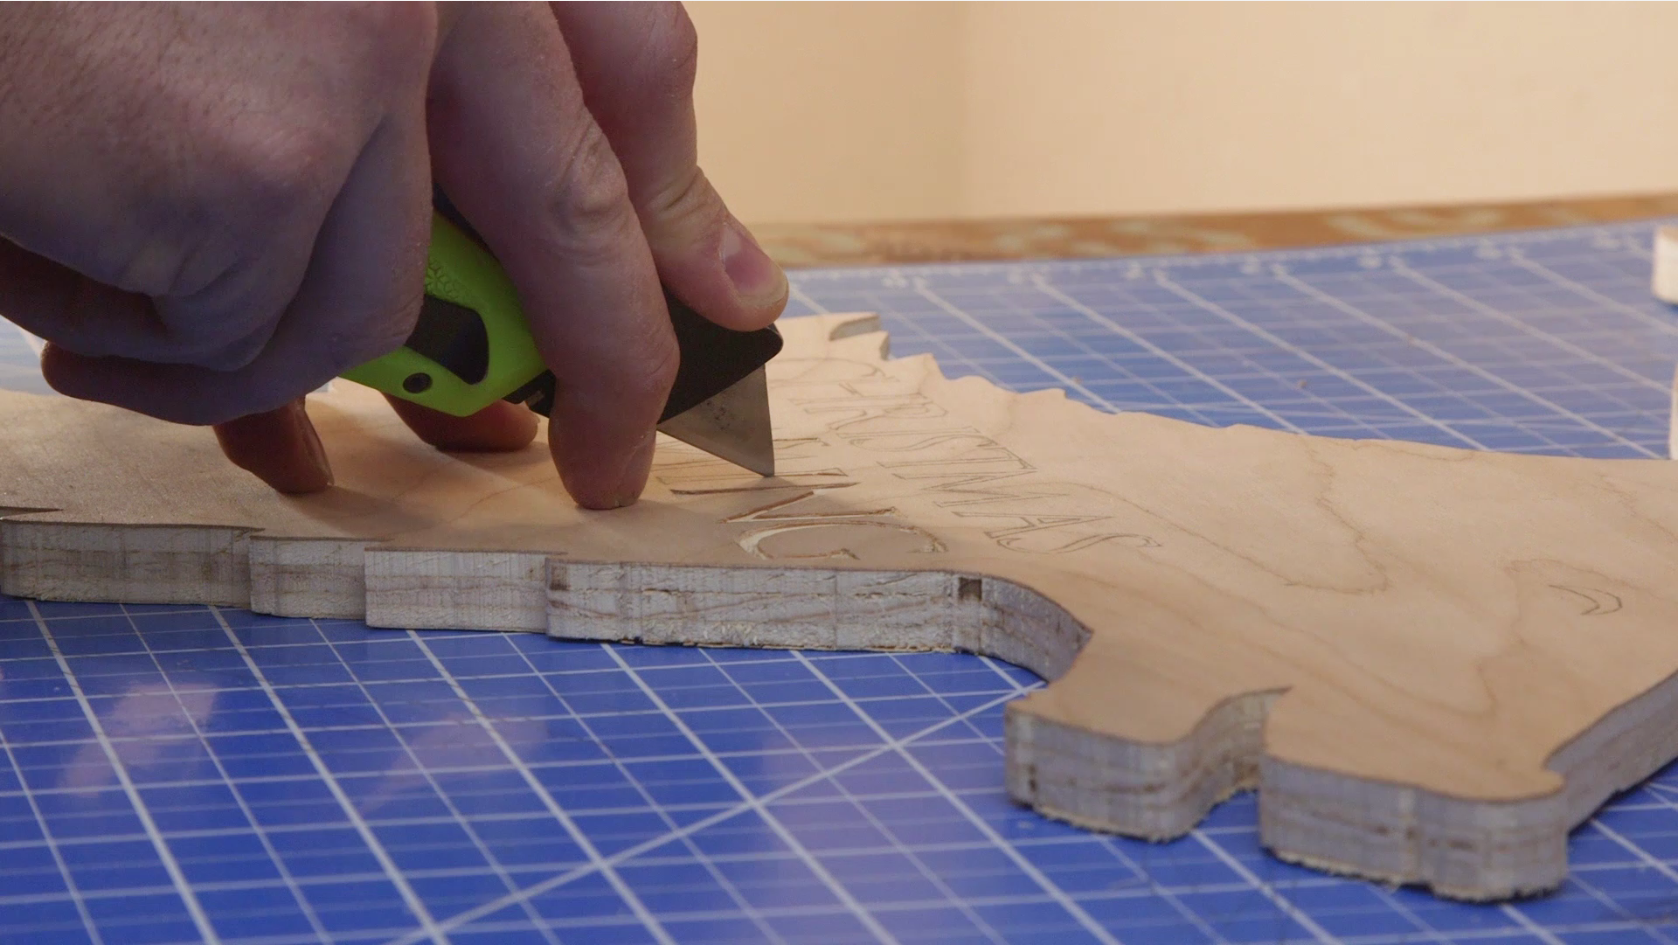
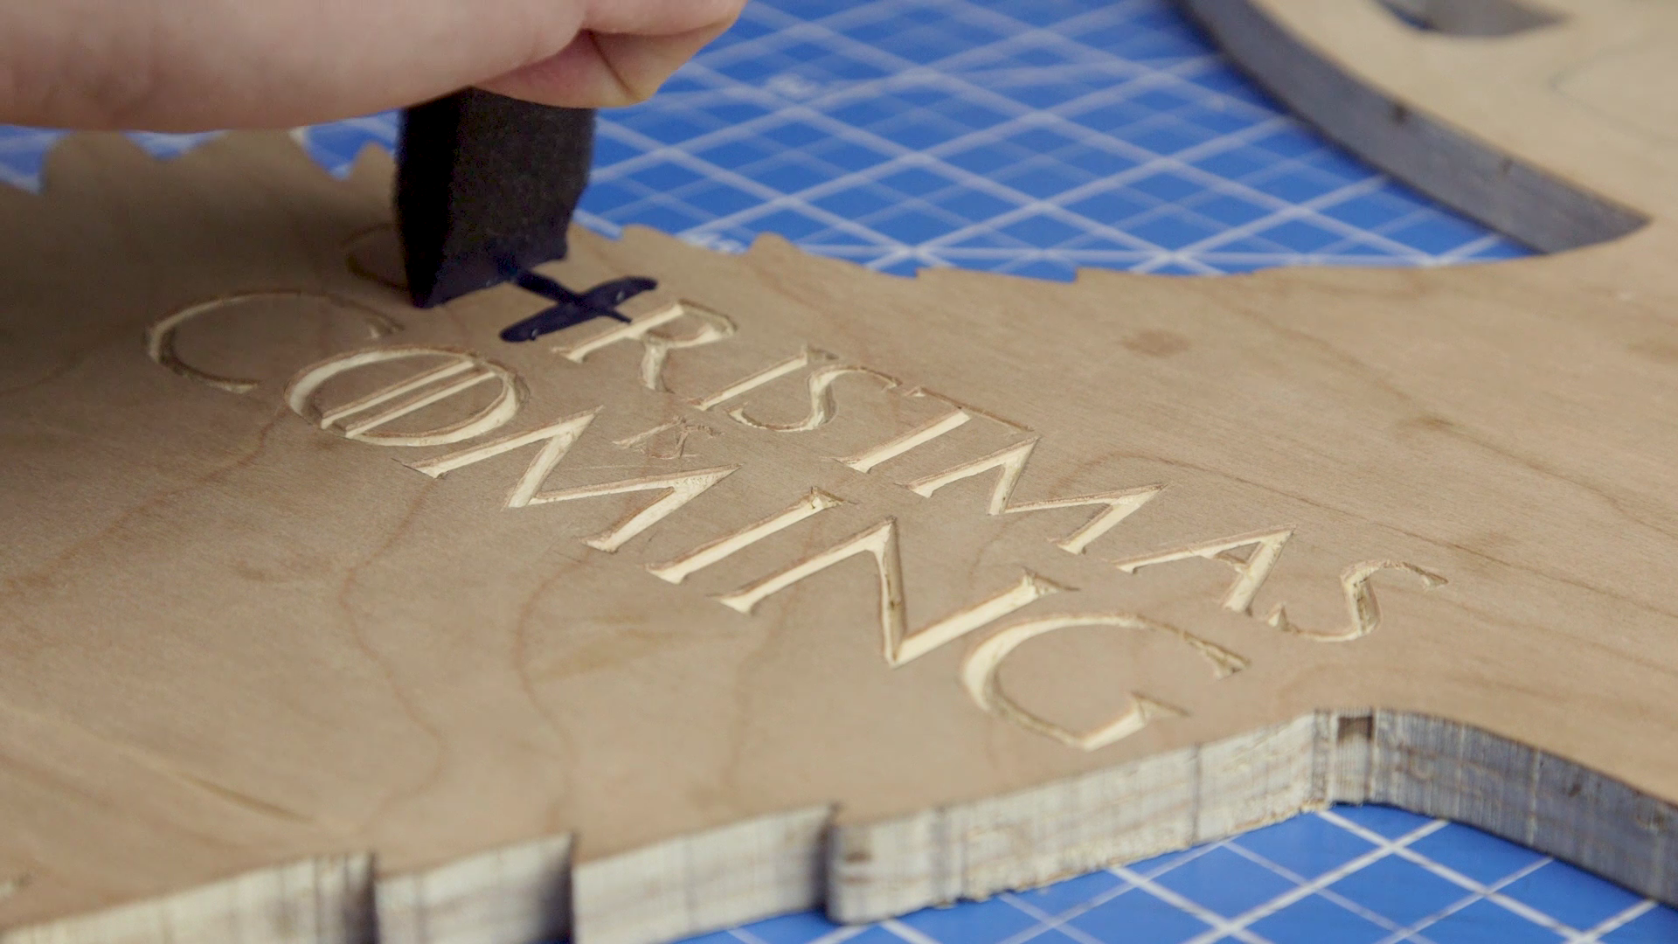
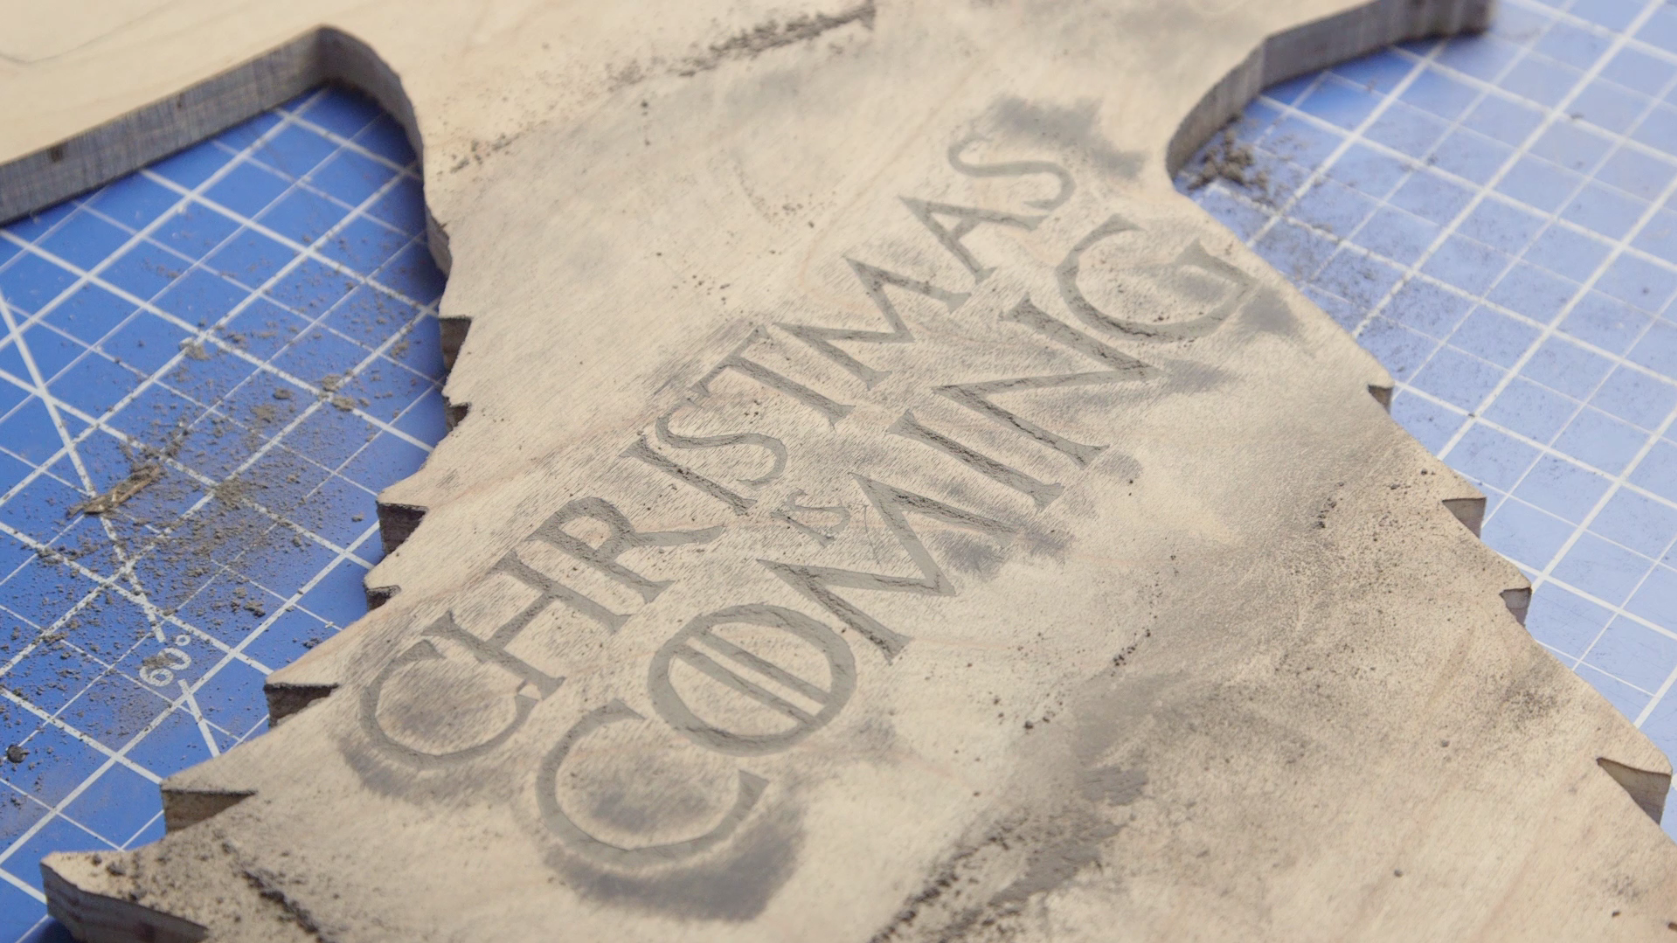
I traced the lettering onto the reindeer, then took a box cutter and carved out the letters. I took the chalkboard paint and painted the letters, then once dry I sanded the surface of the reindeer down. Having the letters carved meant that any paint outside the carved parts would be sanded away.
Cleanup and Paint the Reindeer
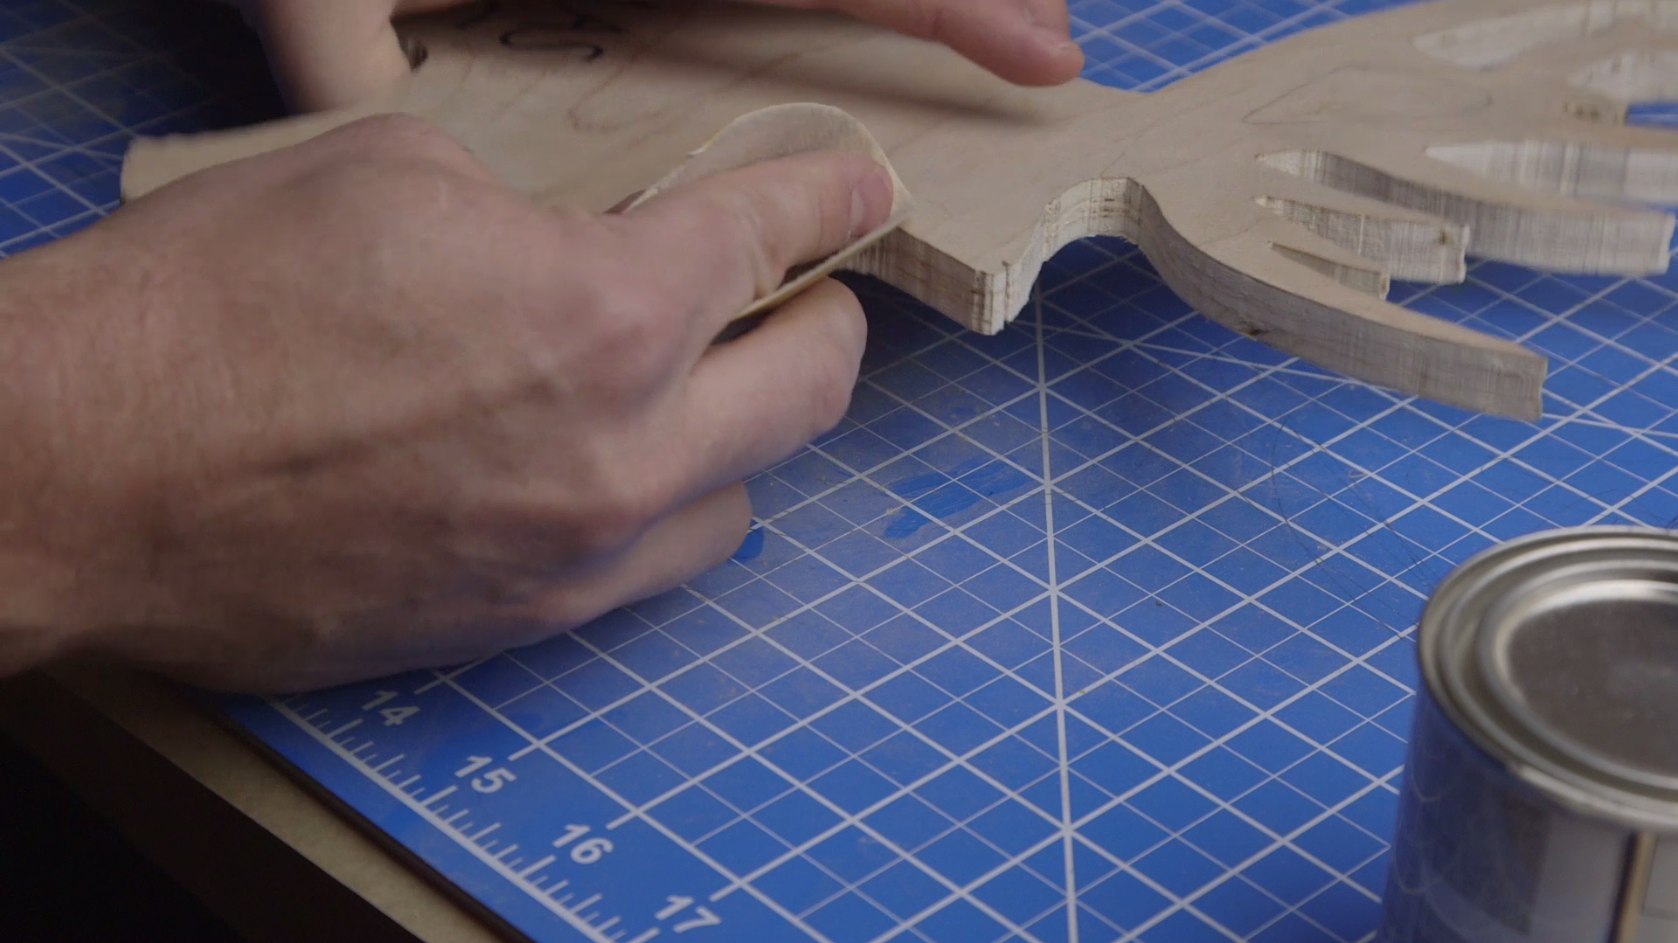

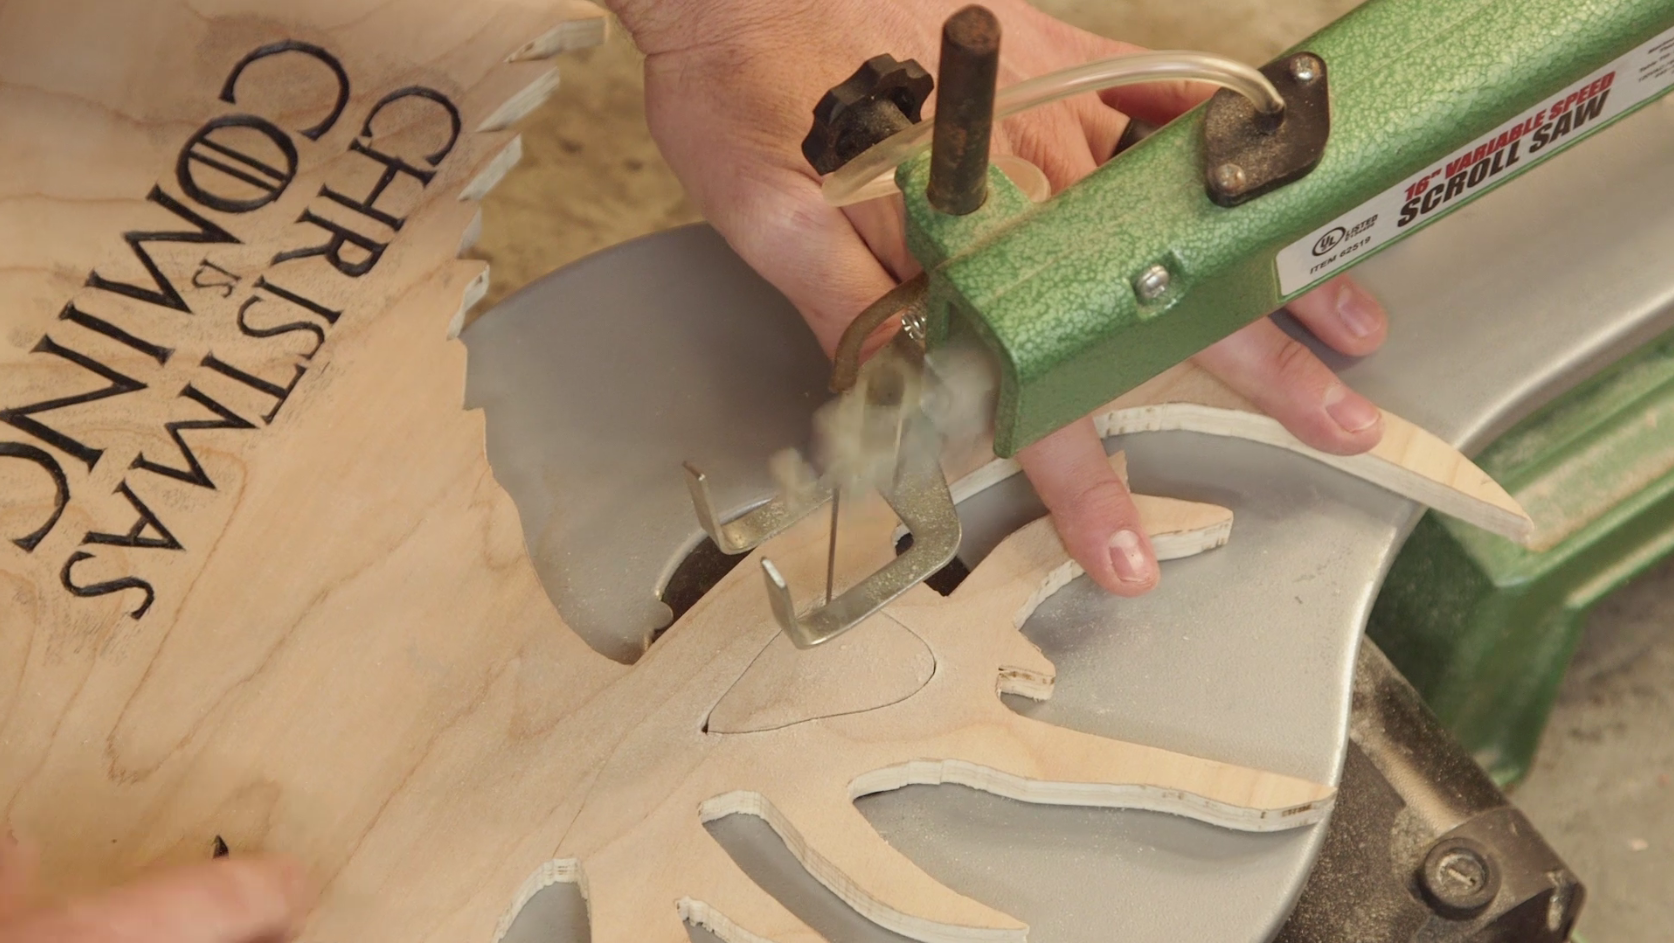
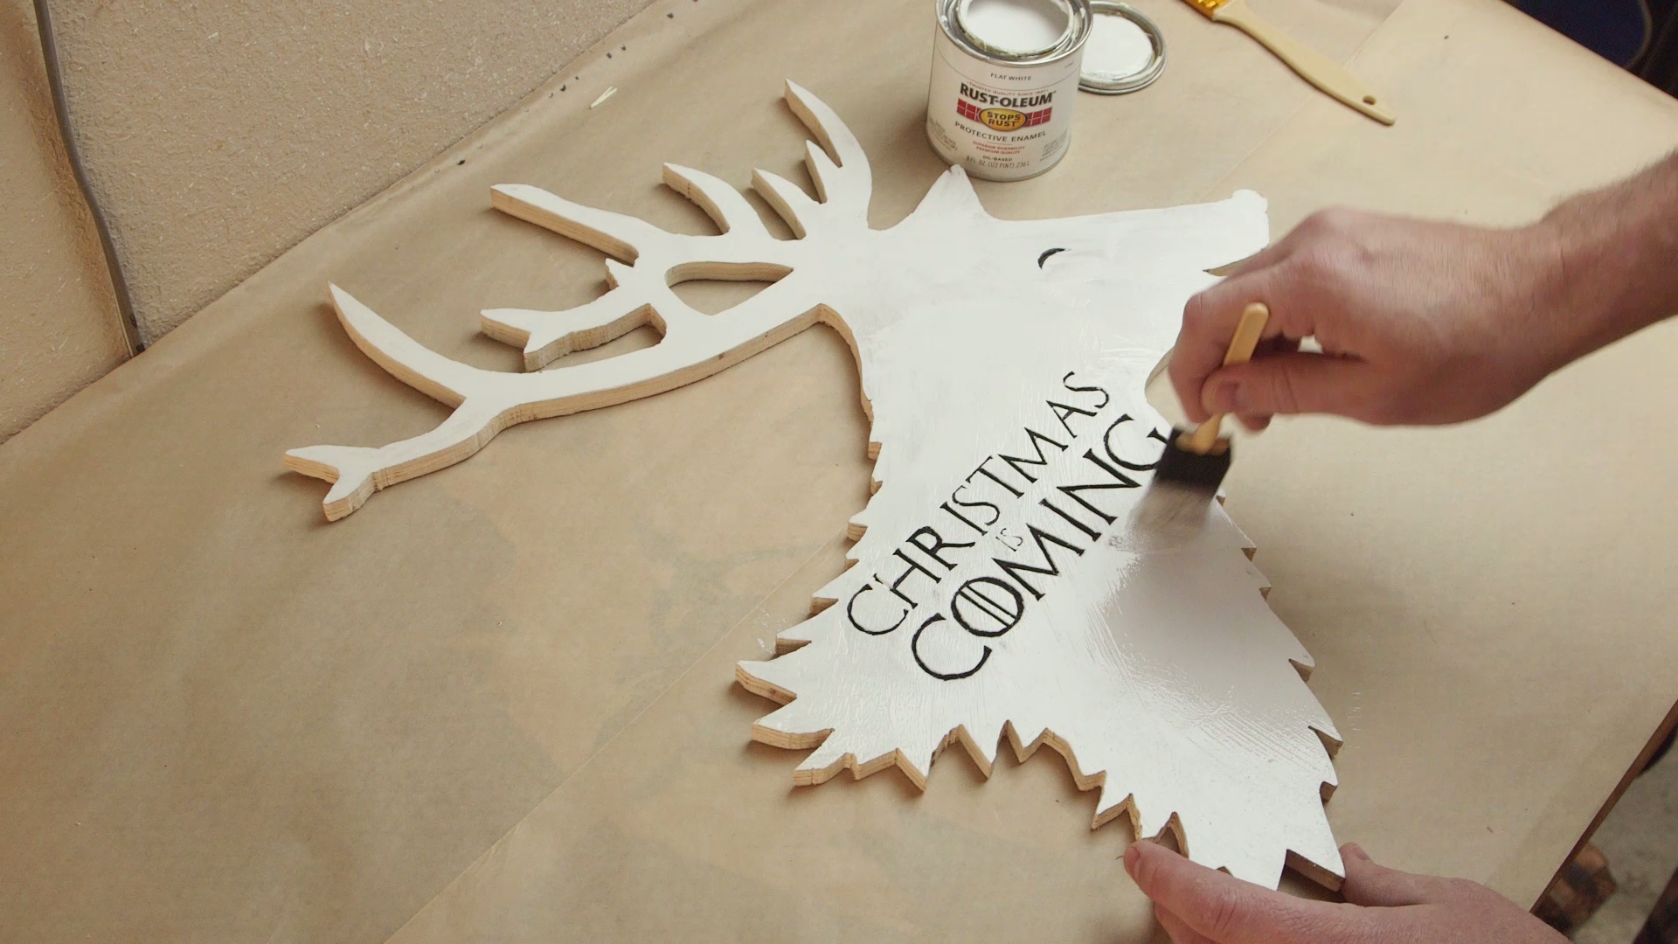
I took some sandpaper and sanded all the outside edges of the reindeer, then drilled a hole into the inside section of the antlers that still needed cut out. I fed a scroll saw blade into the hole and cut out the inside piece.
I then took some white paint and painted the reindeer.
Making the Frame
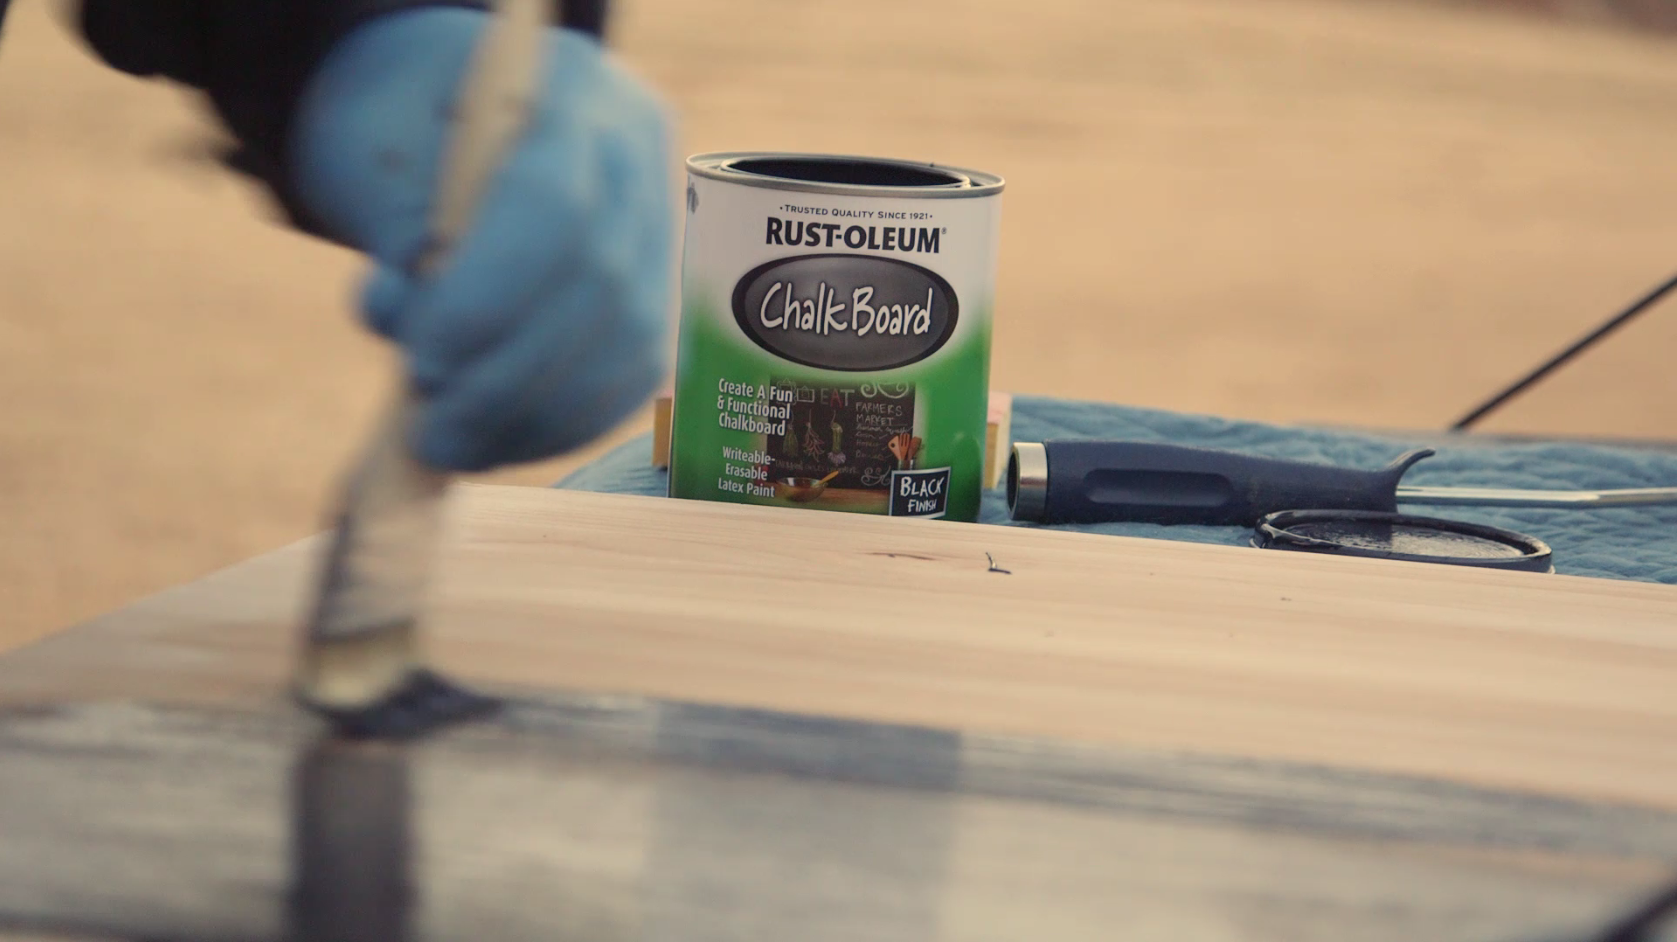
I cut out a 2'x2' piece of 1/2" plywood and painted it black with the chalkboard paint.
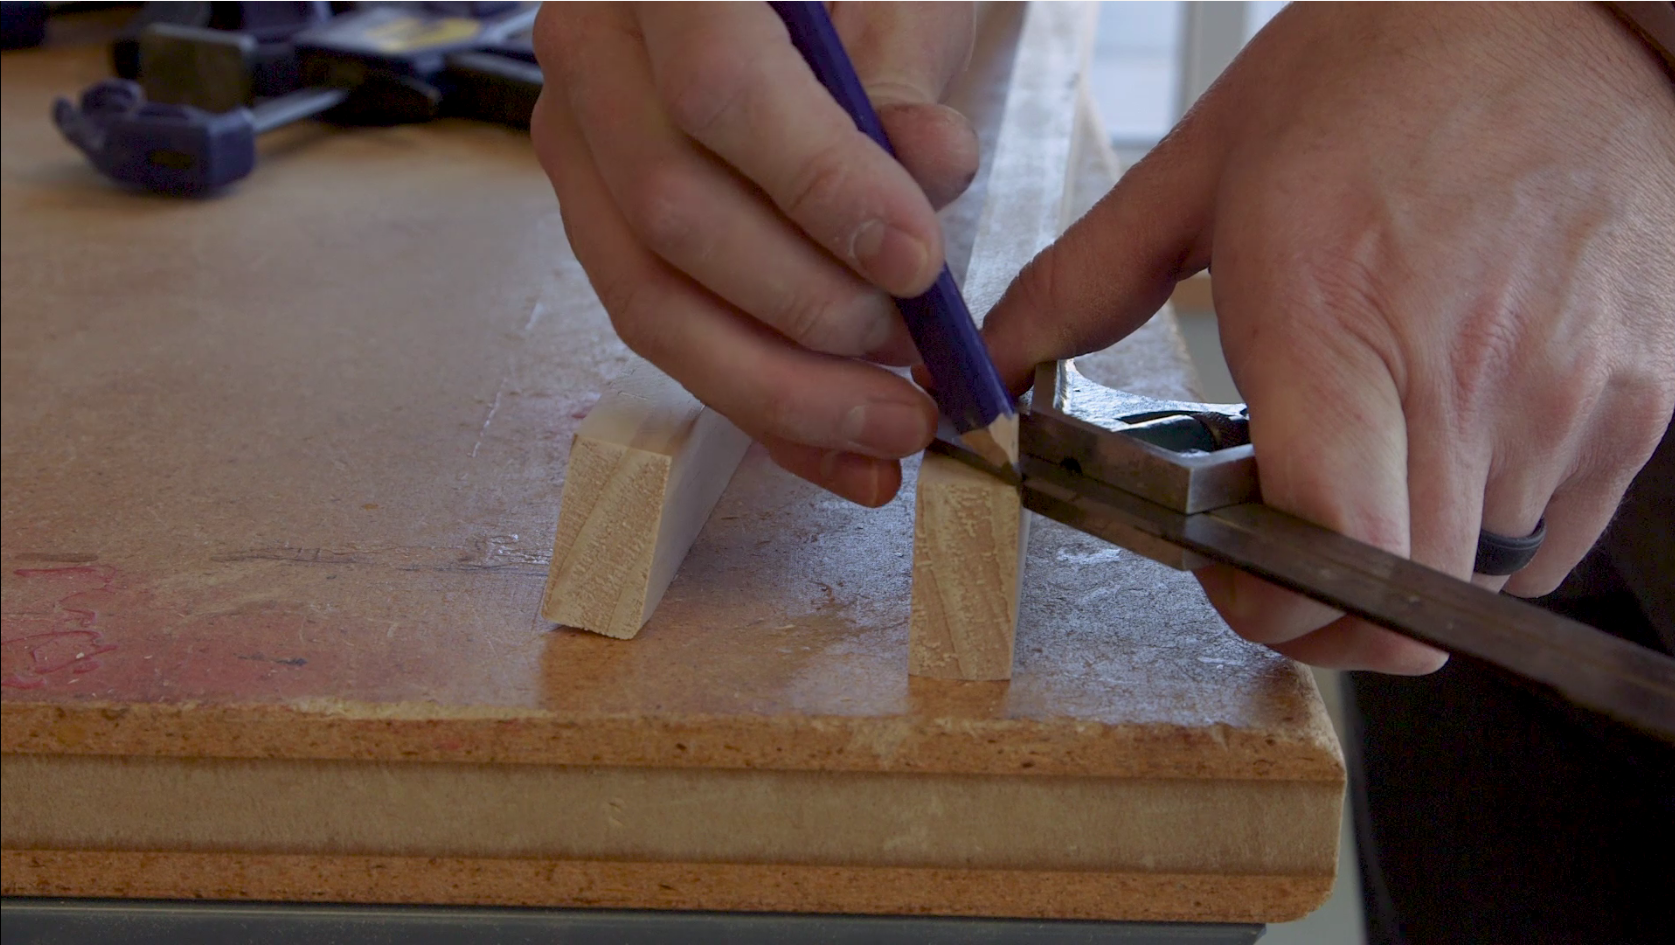
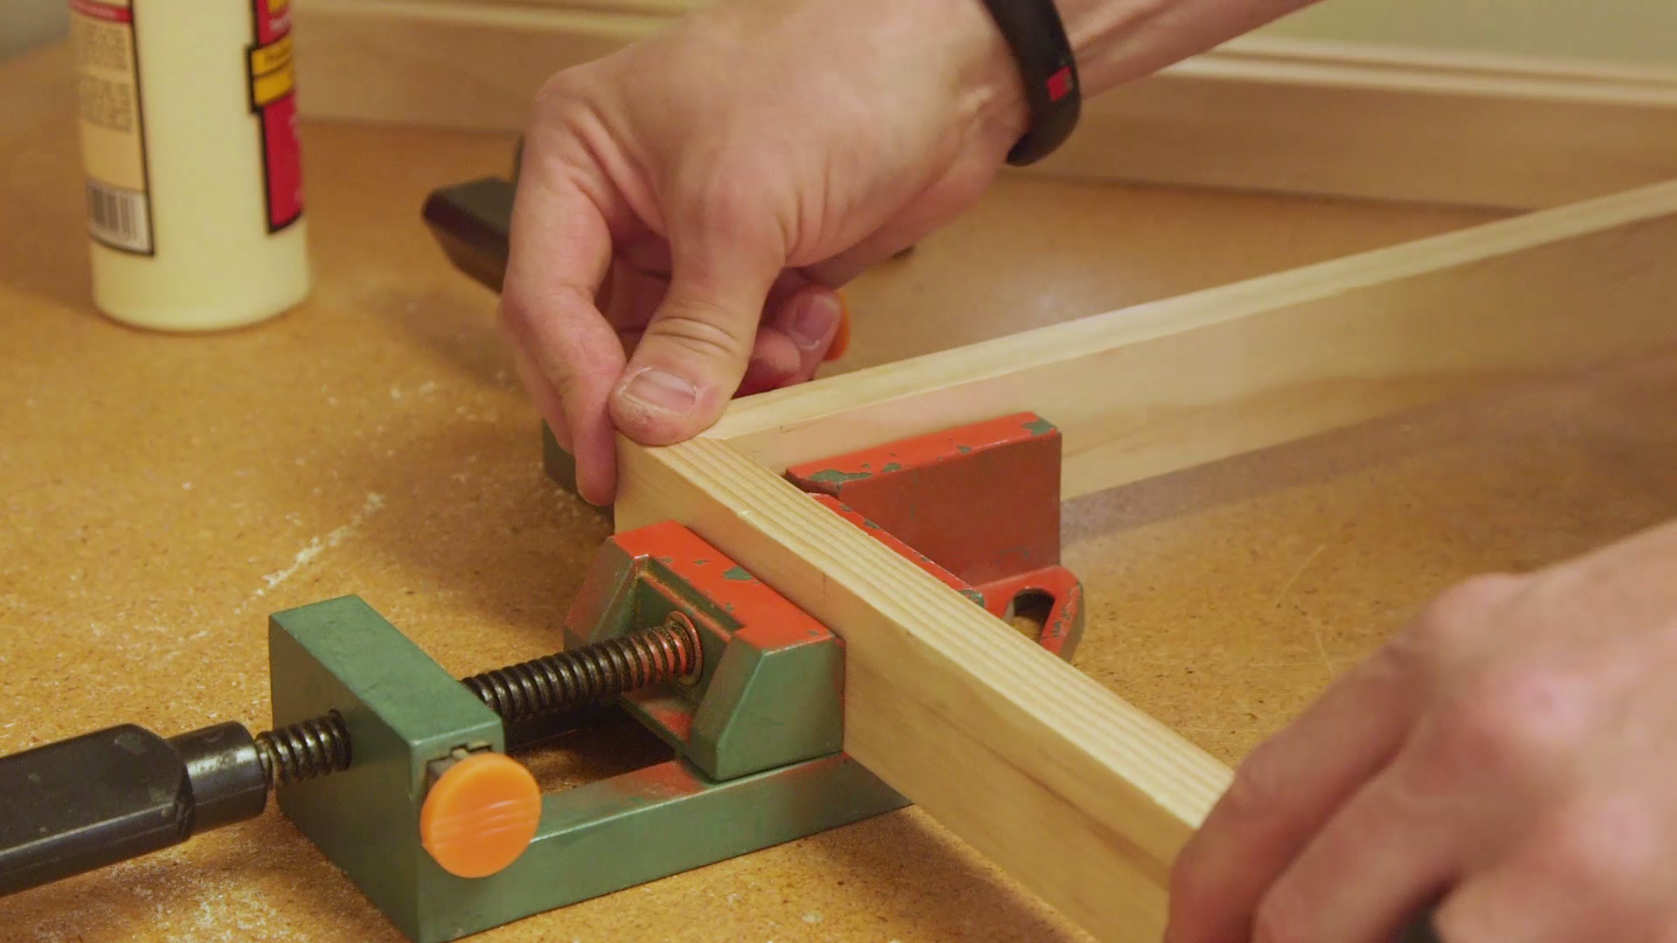
I took some scrap pieces of 3/4" pine and cut them to length to fit around the plywood backing. I cut the edges to a 45 degree, then used a 45 degree clamp to glue the frame pieces together.
I took the frame, stained it Early American, and then glued it to the 2x2 piece.
Setting the Reindeer
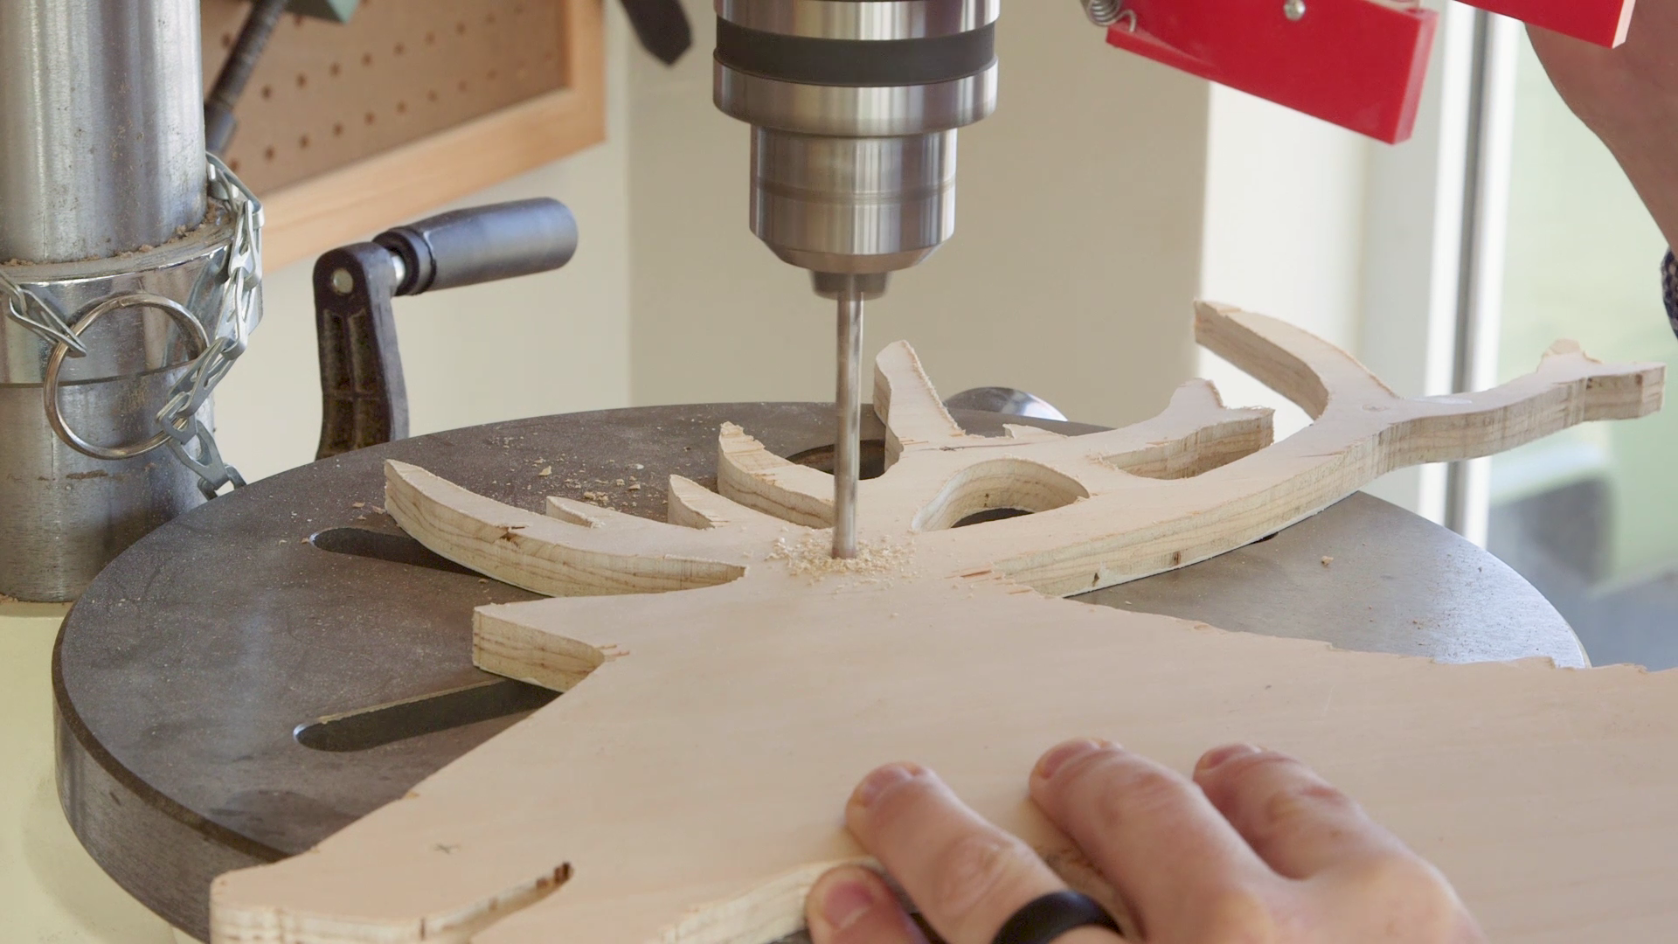
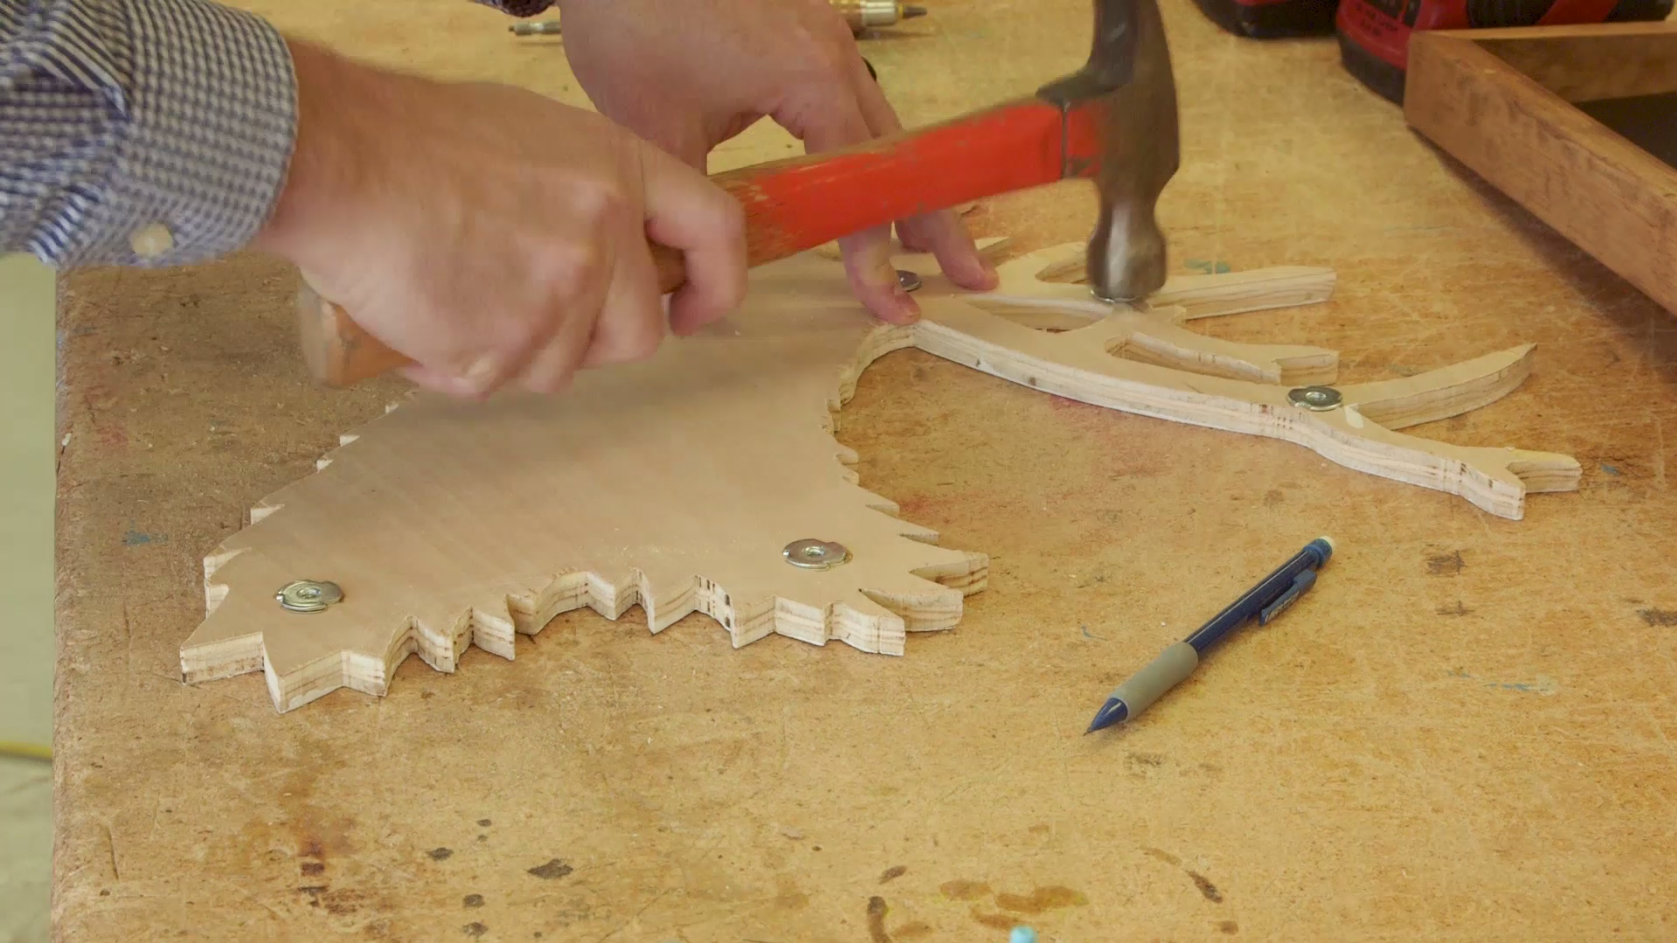

I drilled holes into various places on the back of the reindeer, and then glued and hammered some screw inserts into the holes. I lined up the reindeer where I wanted it on the frame, then marked and drilled holes into the frame.
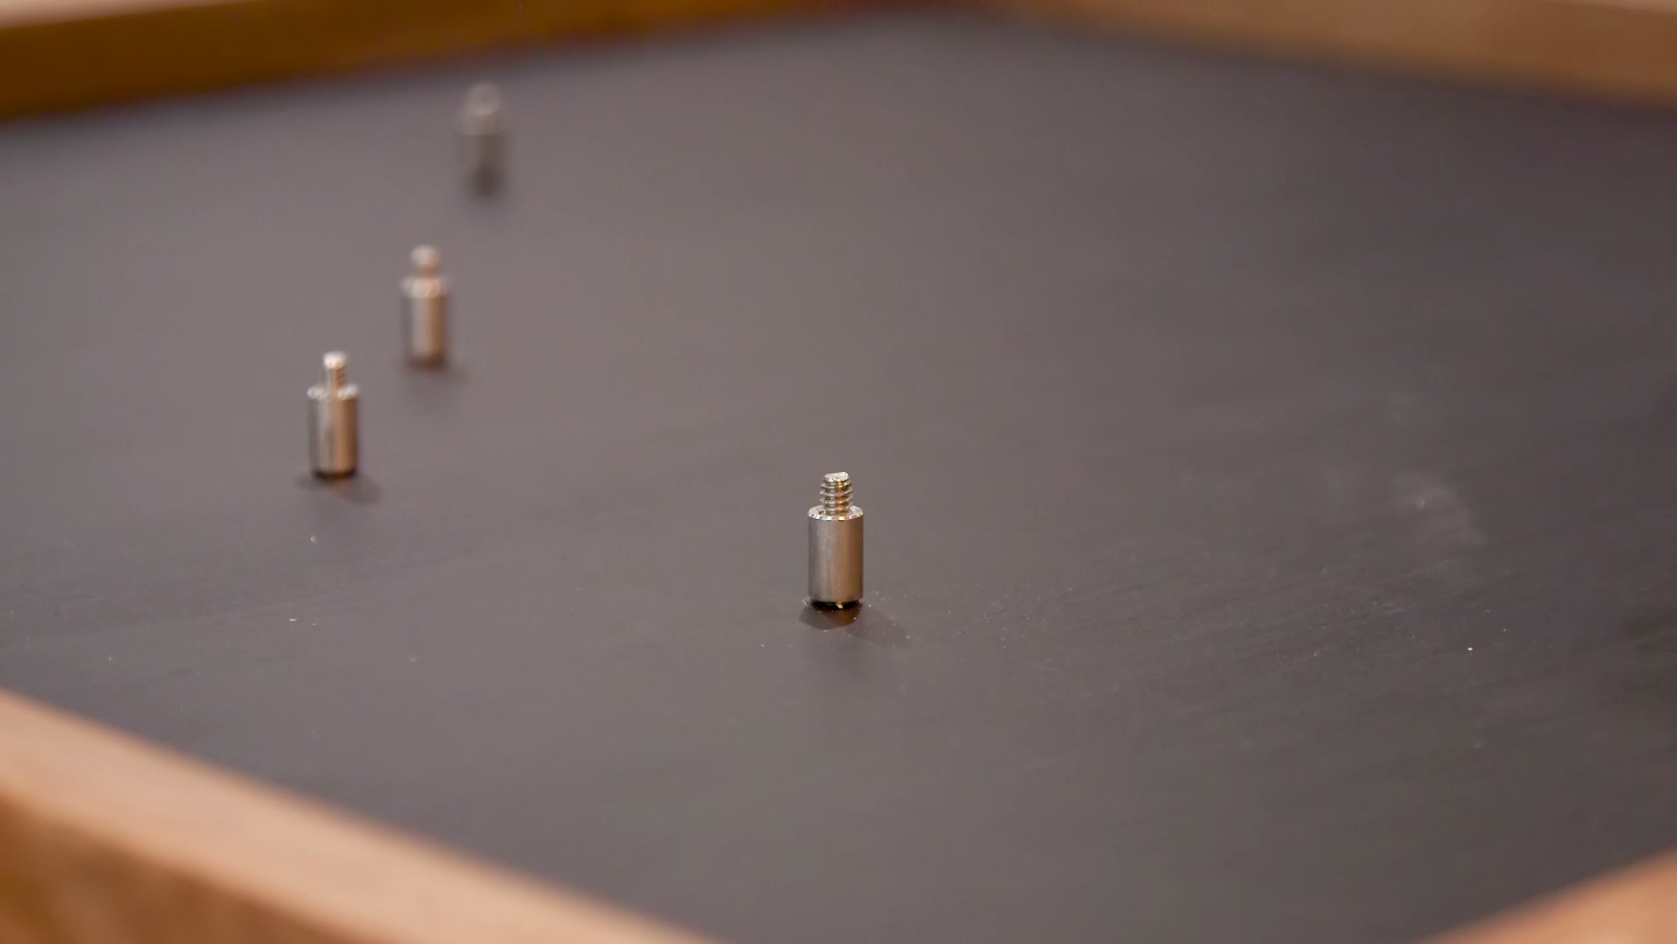
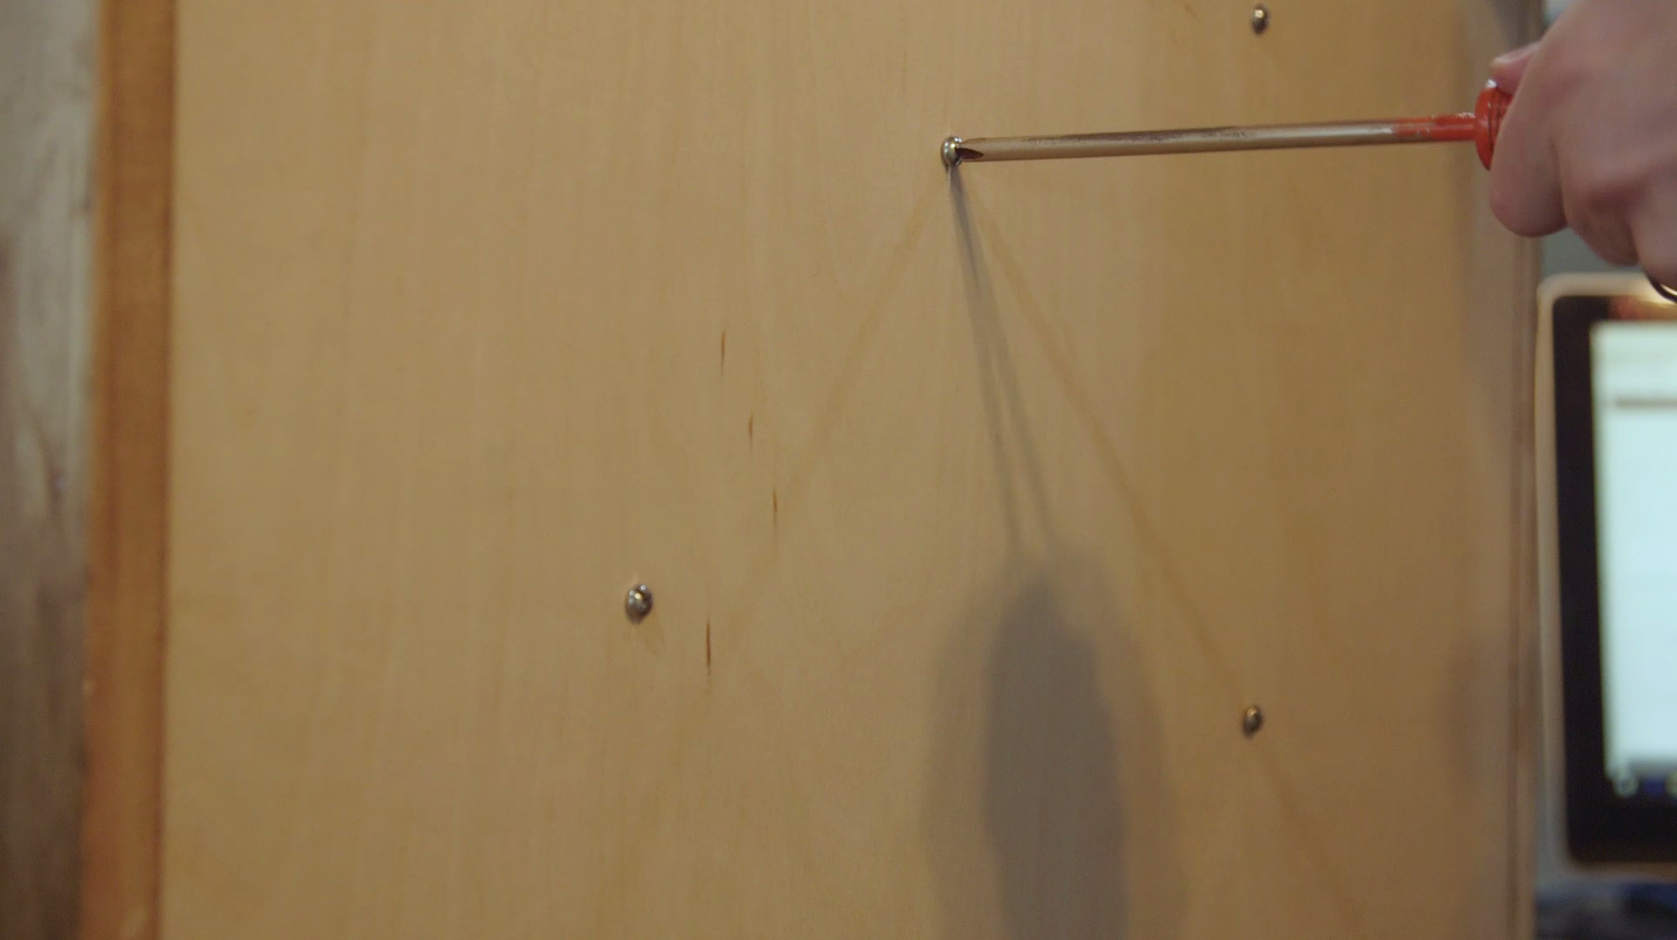
I fed the 1 1/4" bolts through the back of the frame, put the 1/2" spacers on each bolt, then attached the reindeer to the frame. I slowly screwed in each bolt on the back of the frame till the reindeer was tight against each spacer.
Hang and Enjoy
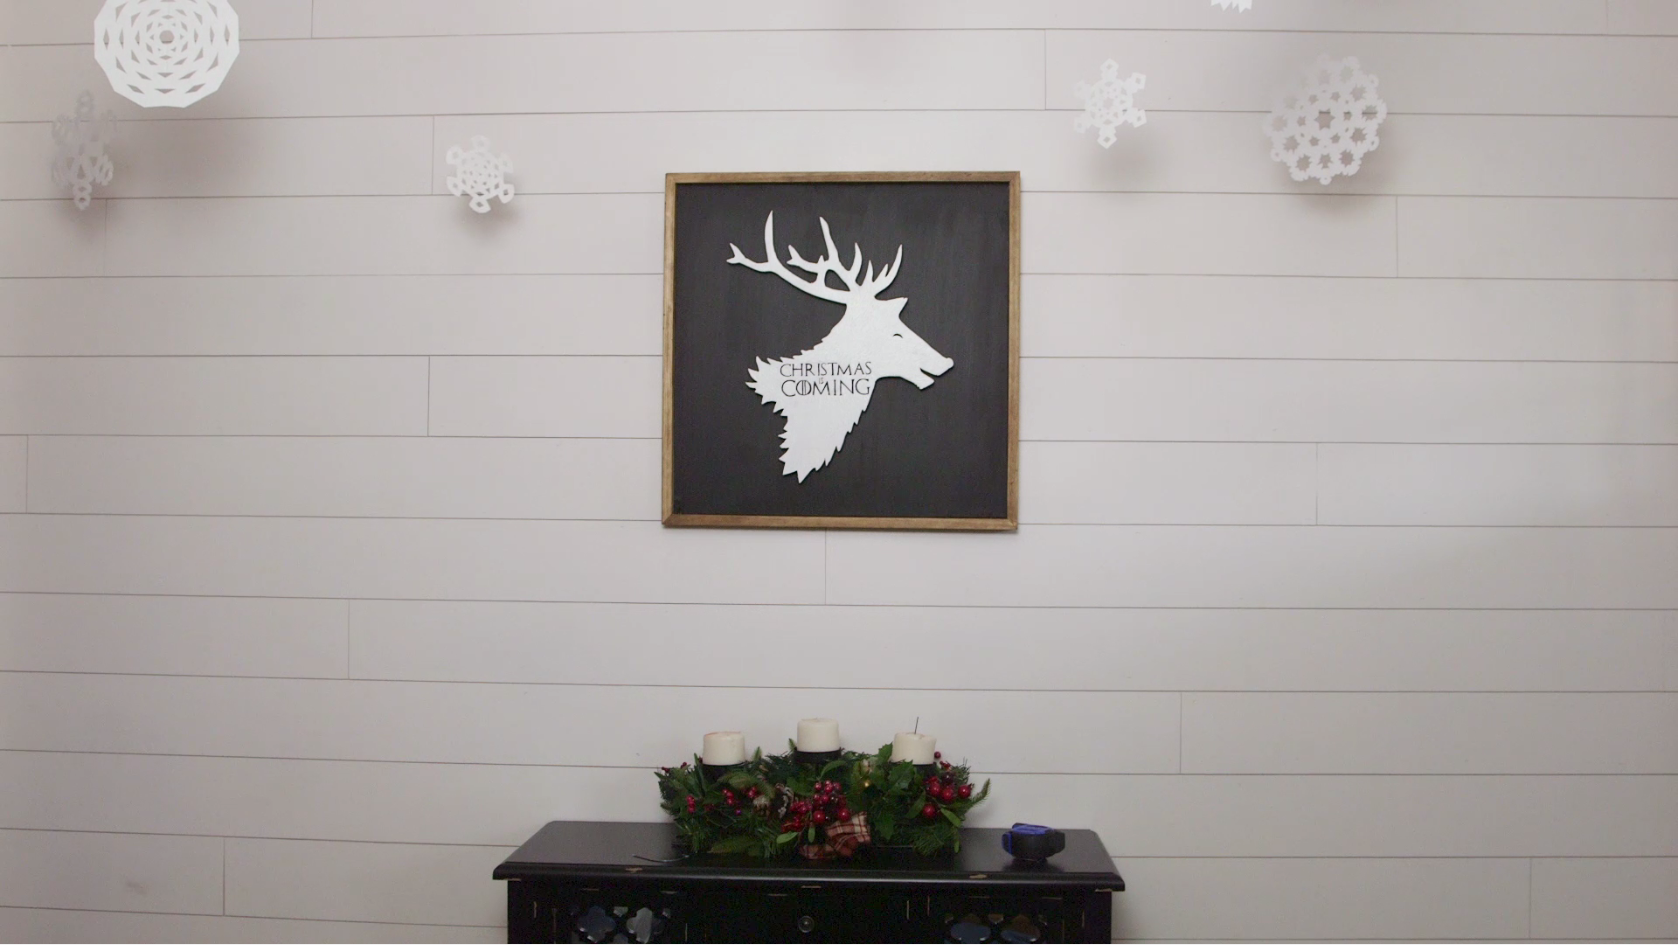
Now that it's done, you can hang it on your wall and enjoy!
Which I did.