Christmas in July Crochet Chunky Christmas Gift Box Decor
by rajiscrafthobby in Craft > Knitting & Crochet
106 Views, 0 Favorites, 0 Comments
Christmas in July Crochet Chunky Christmas Gift Box Decor
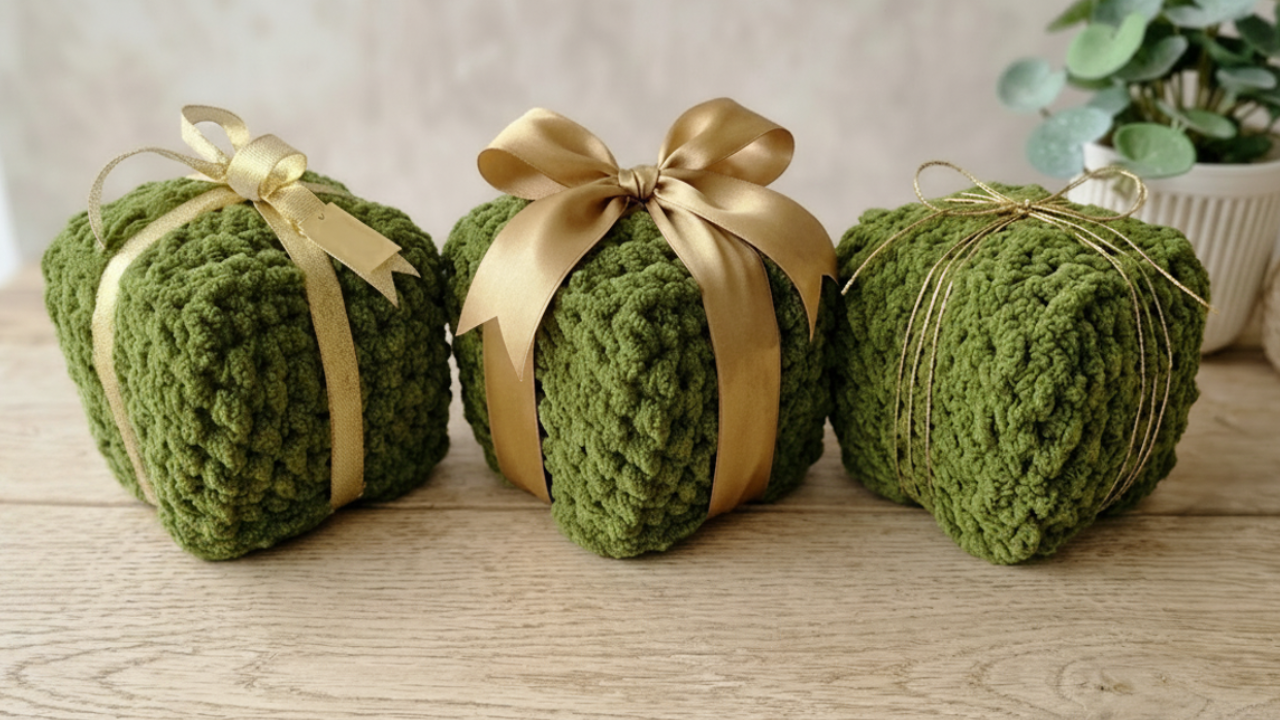
Who says Christmas magic has to wait until December? Celebrate Christmas in July with these adorable chunky crochet gift boxes! These Christmas in July Crochet Chunky Christmas Gift Boxes are a fun and beginner-friendly project that adds a cozy handmade touch to your seasonal decor. Display them on a coffee table, bookshelf, or beneath the Christmas tree for an effortless Holiday look.
Whether you are decorating for Christmas in July, preparing early for the holiday season, or creating handmade gifts for friends and family, these chunky crochet gift boxes are quick to make and incredibly versatile. Mix different sizes, ribbon colors, and yarn shades to match your favorite holiday theme—from classic green and gold to rustic farmhouse or any neutral decor.
If you are looking for a relaxing, cozy project that works up quickly, these adorable crochet gift boxes are the perfect choice. Create several in different sizes and stack them together for a charming holiday display. Add bells, faux greenery, pinecones, or personalized gift tags for even more festive charm.
Visit
https://rajiscrafthobby.blogspot.com/2026/07/christmas-in-july-crochet-chunky.html
Size:-
4 Inches
Supplies
Chunky Yarn
10mm Crochet Hook
Video Tutorial
Here is the Video Tutorial:-
You can follow along with this tutorial video. Please be sure to subscribe too!
Round 1:-
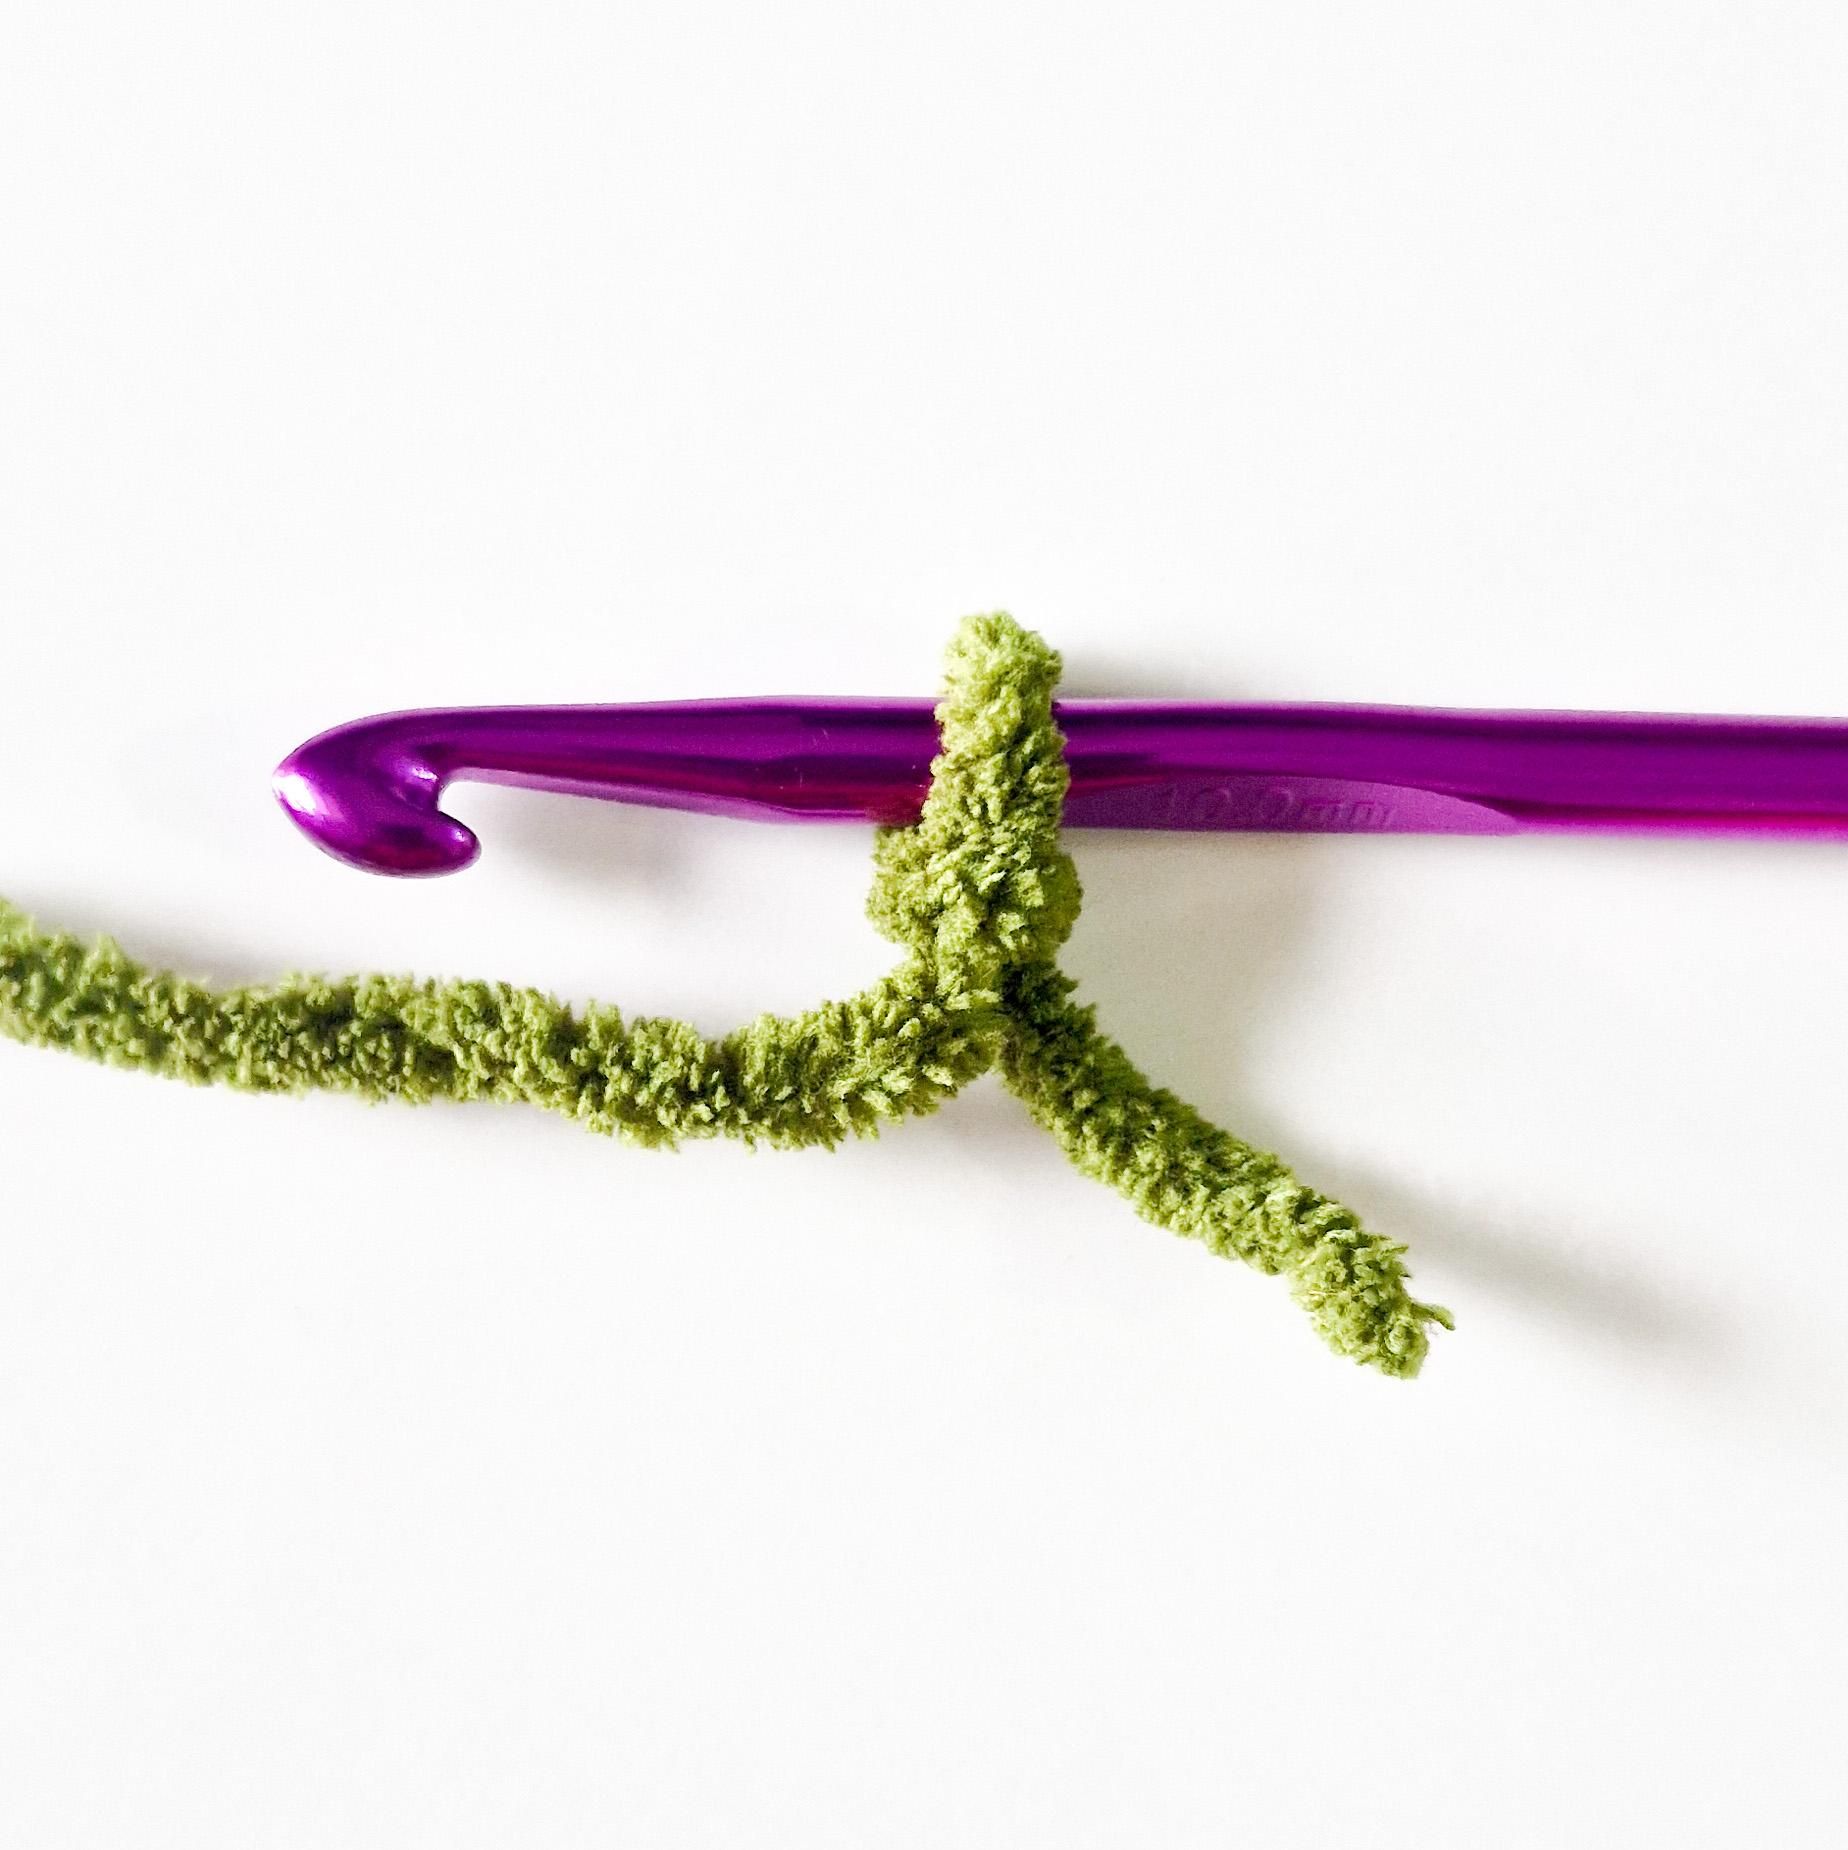
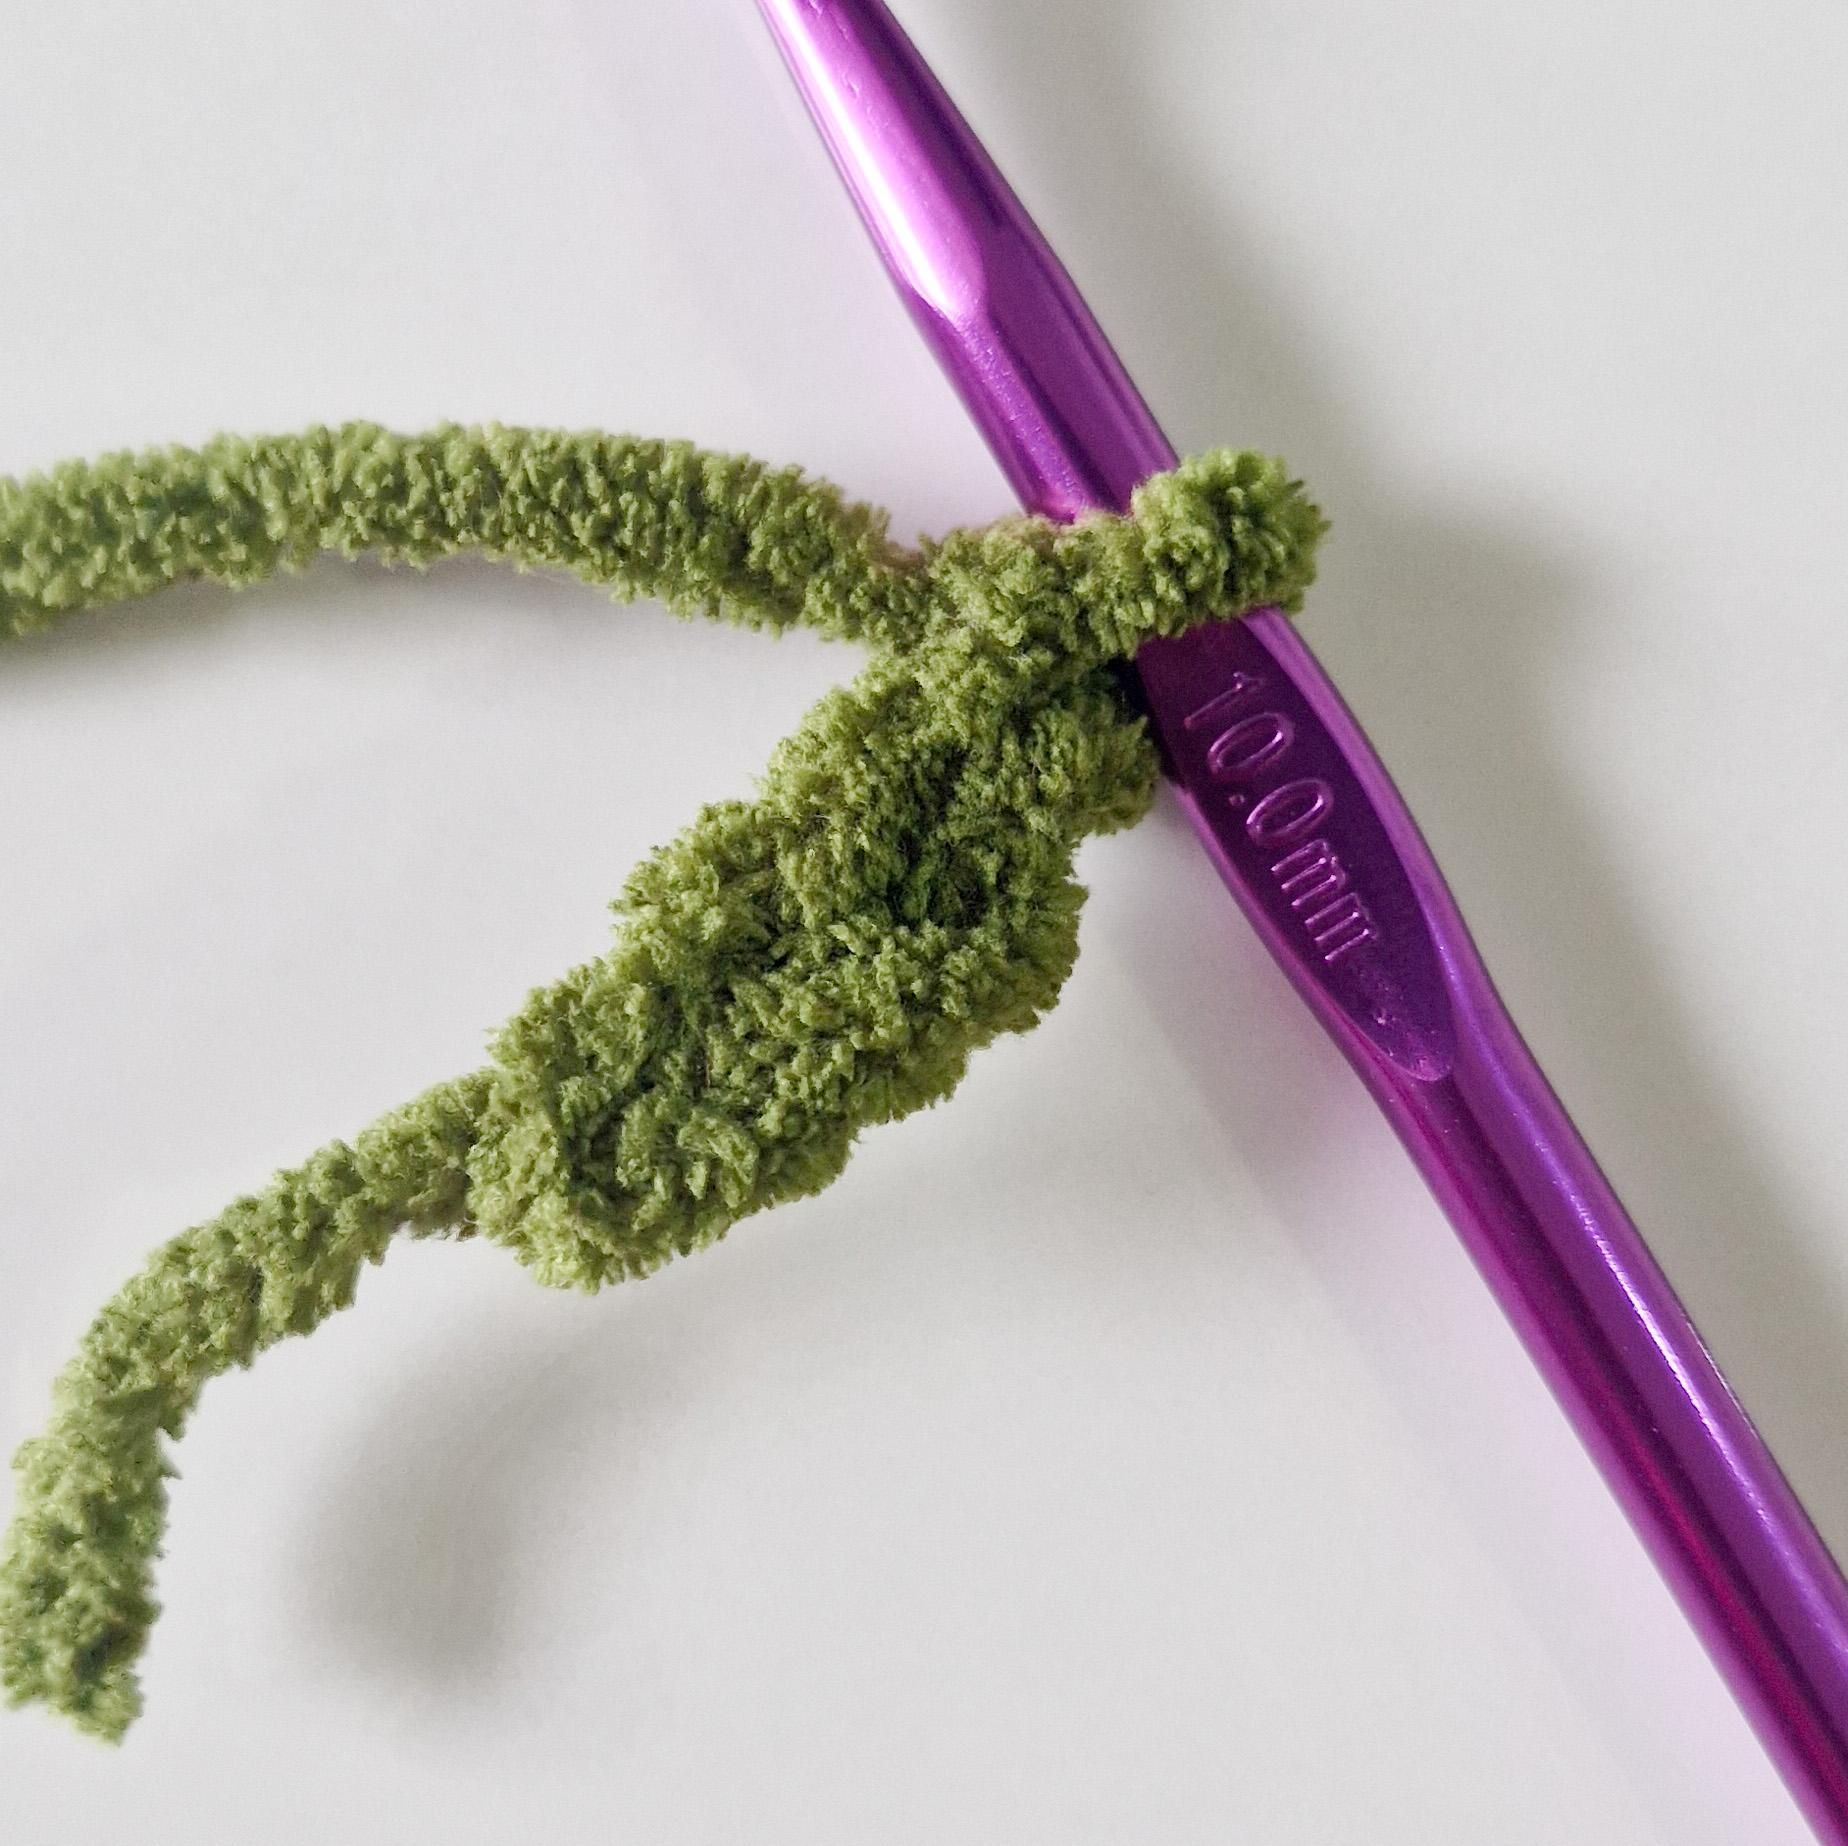
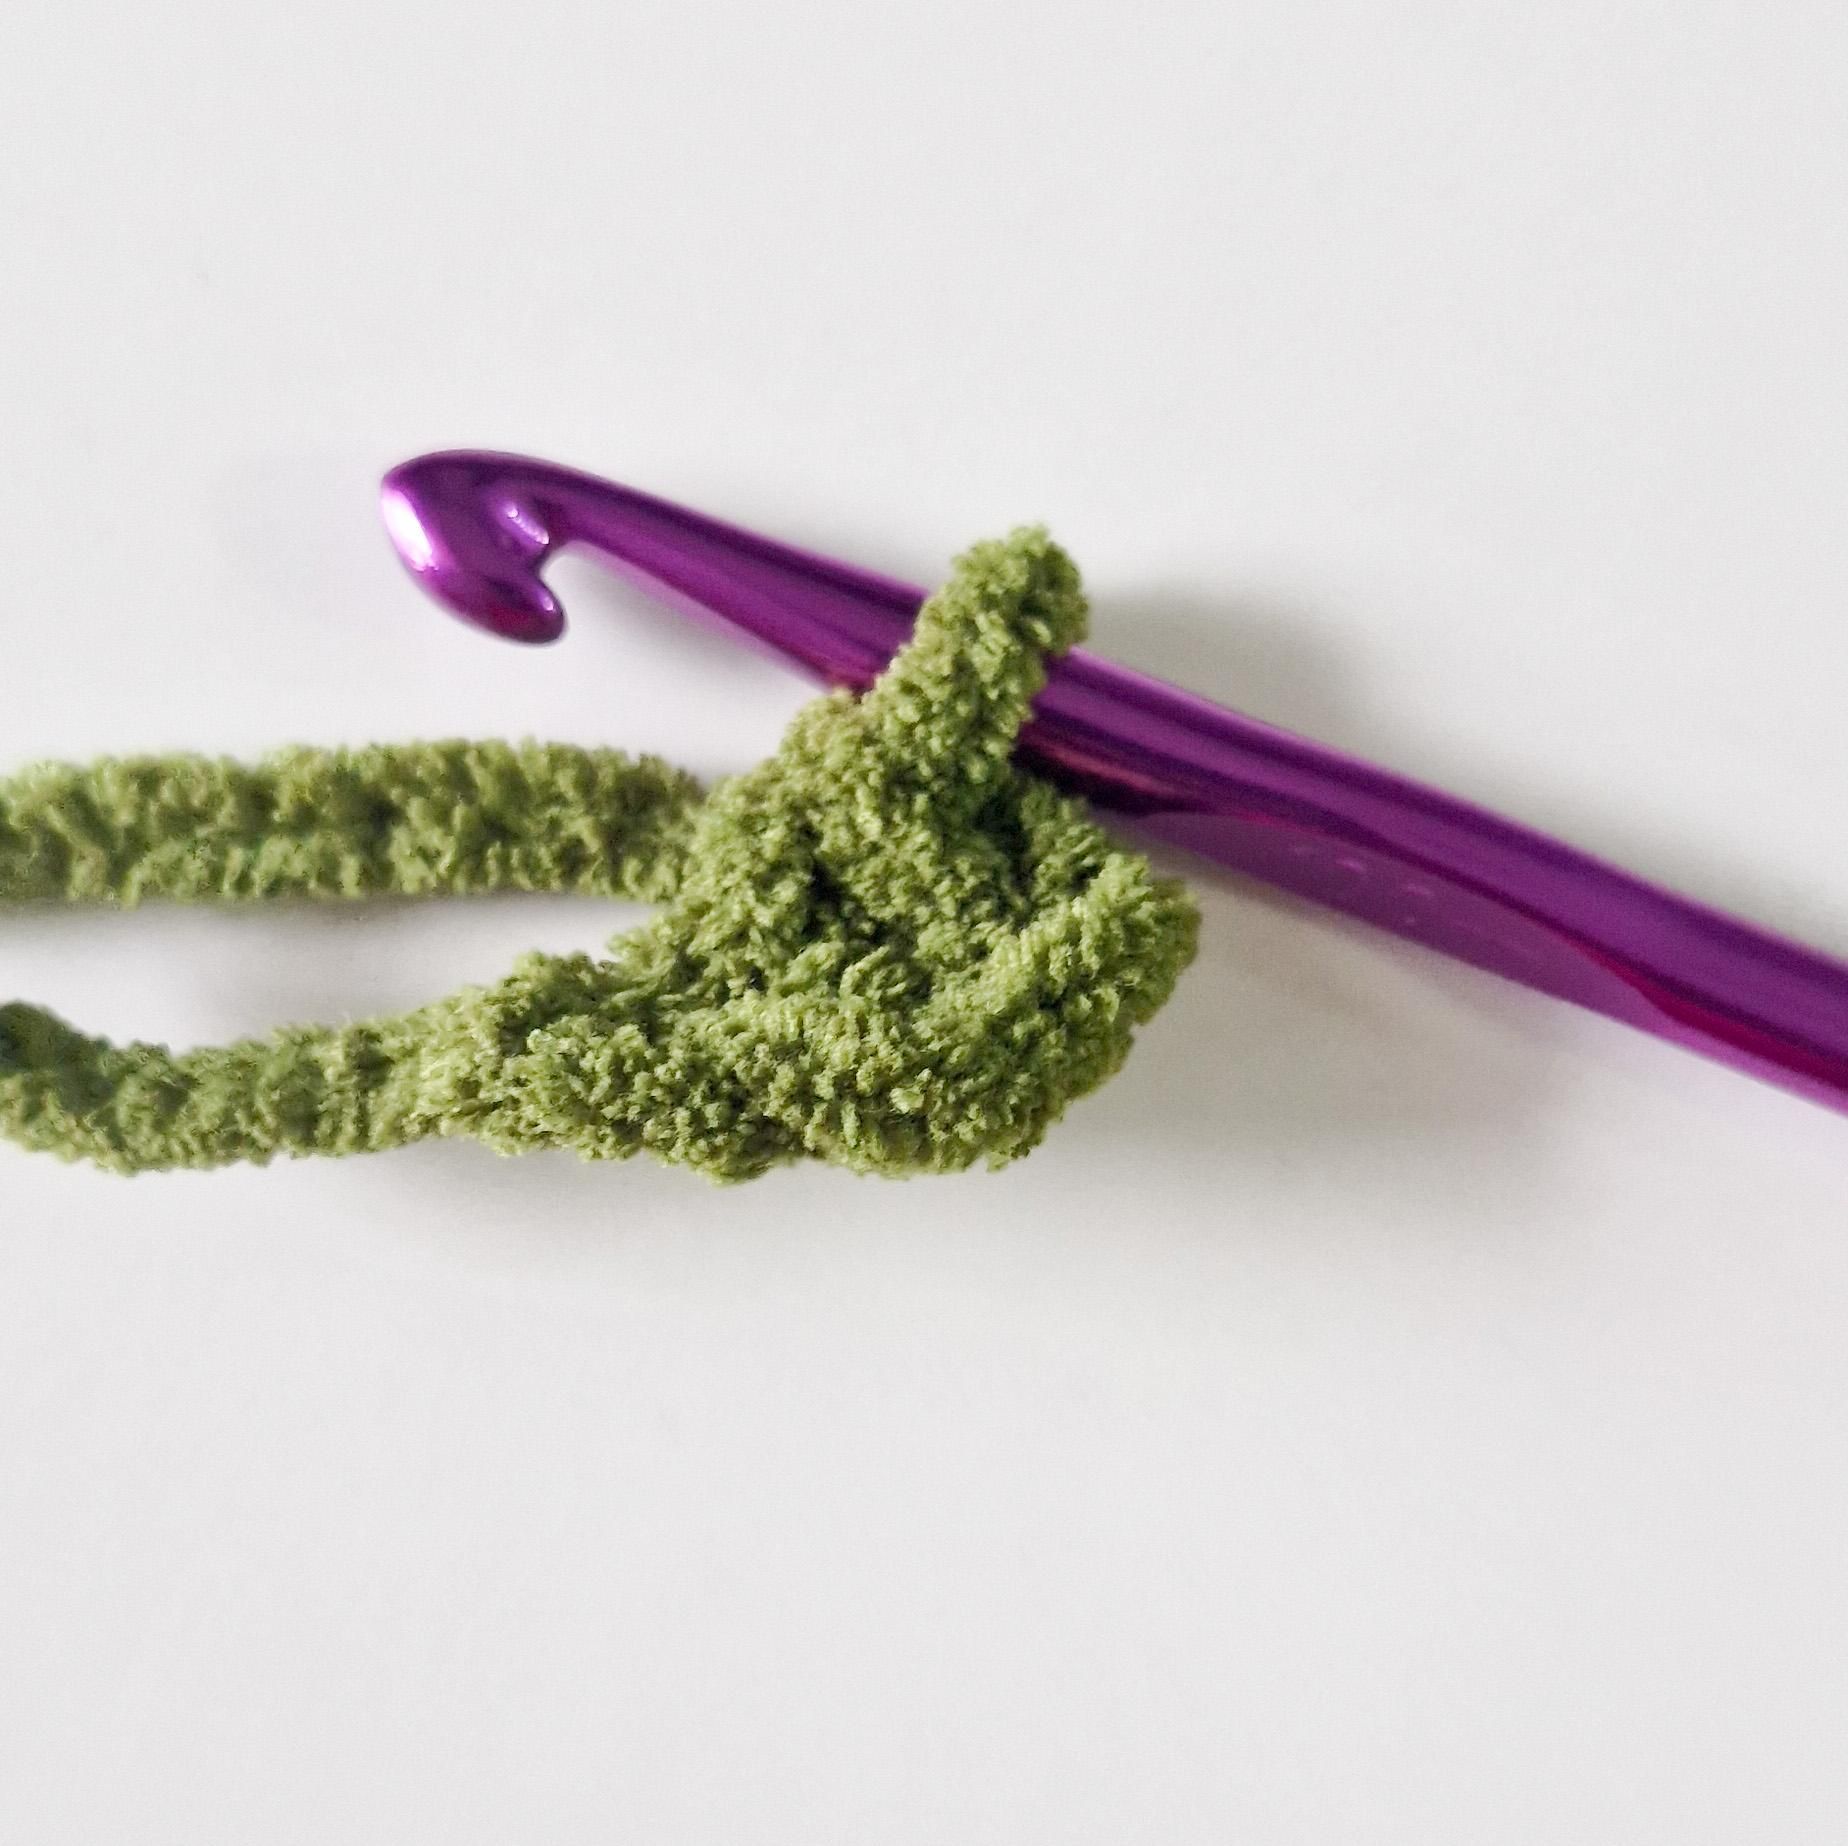
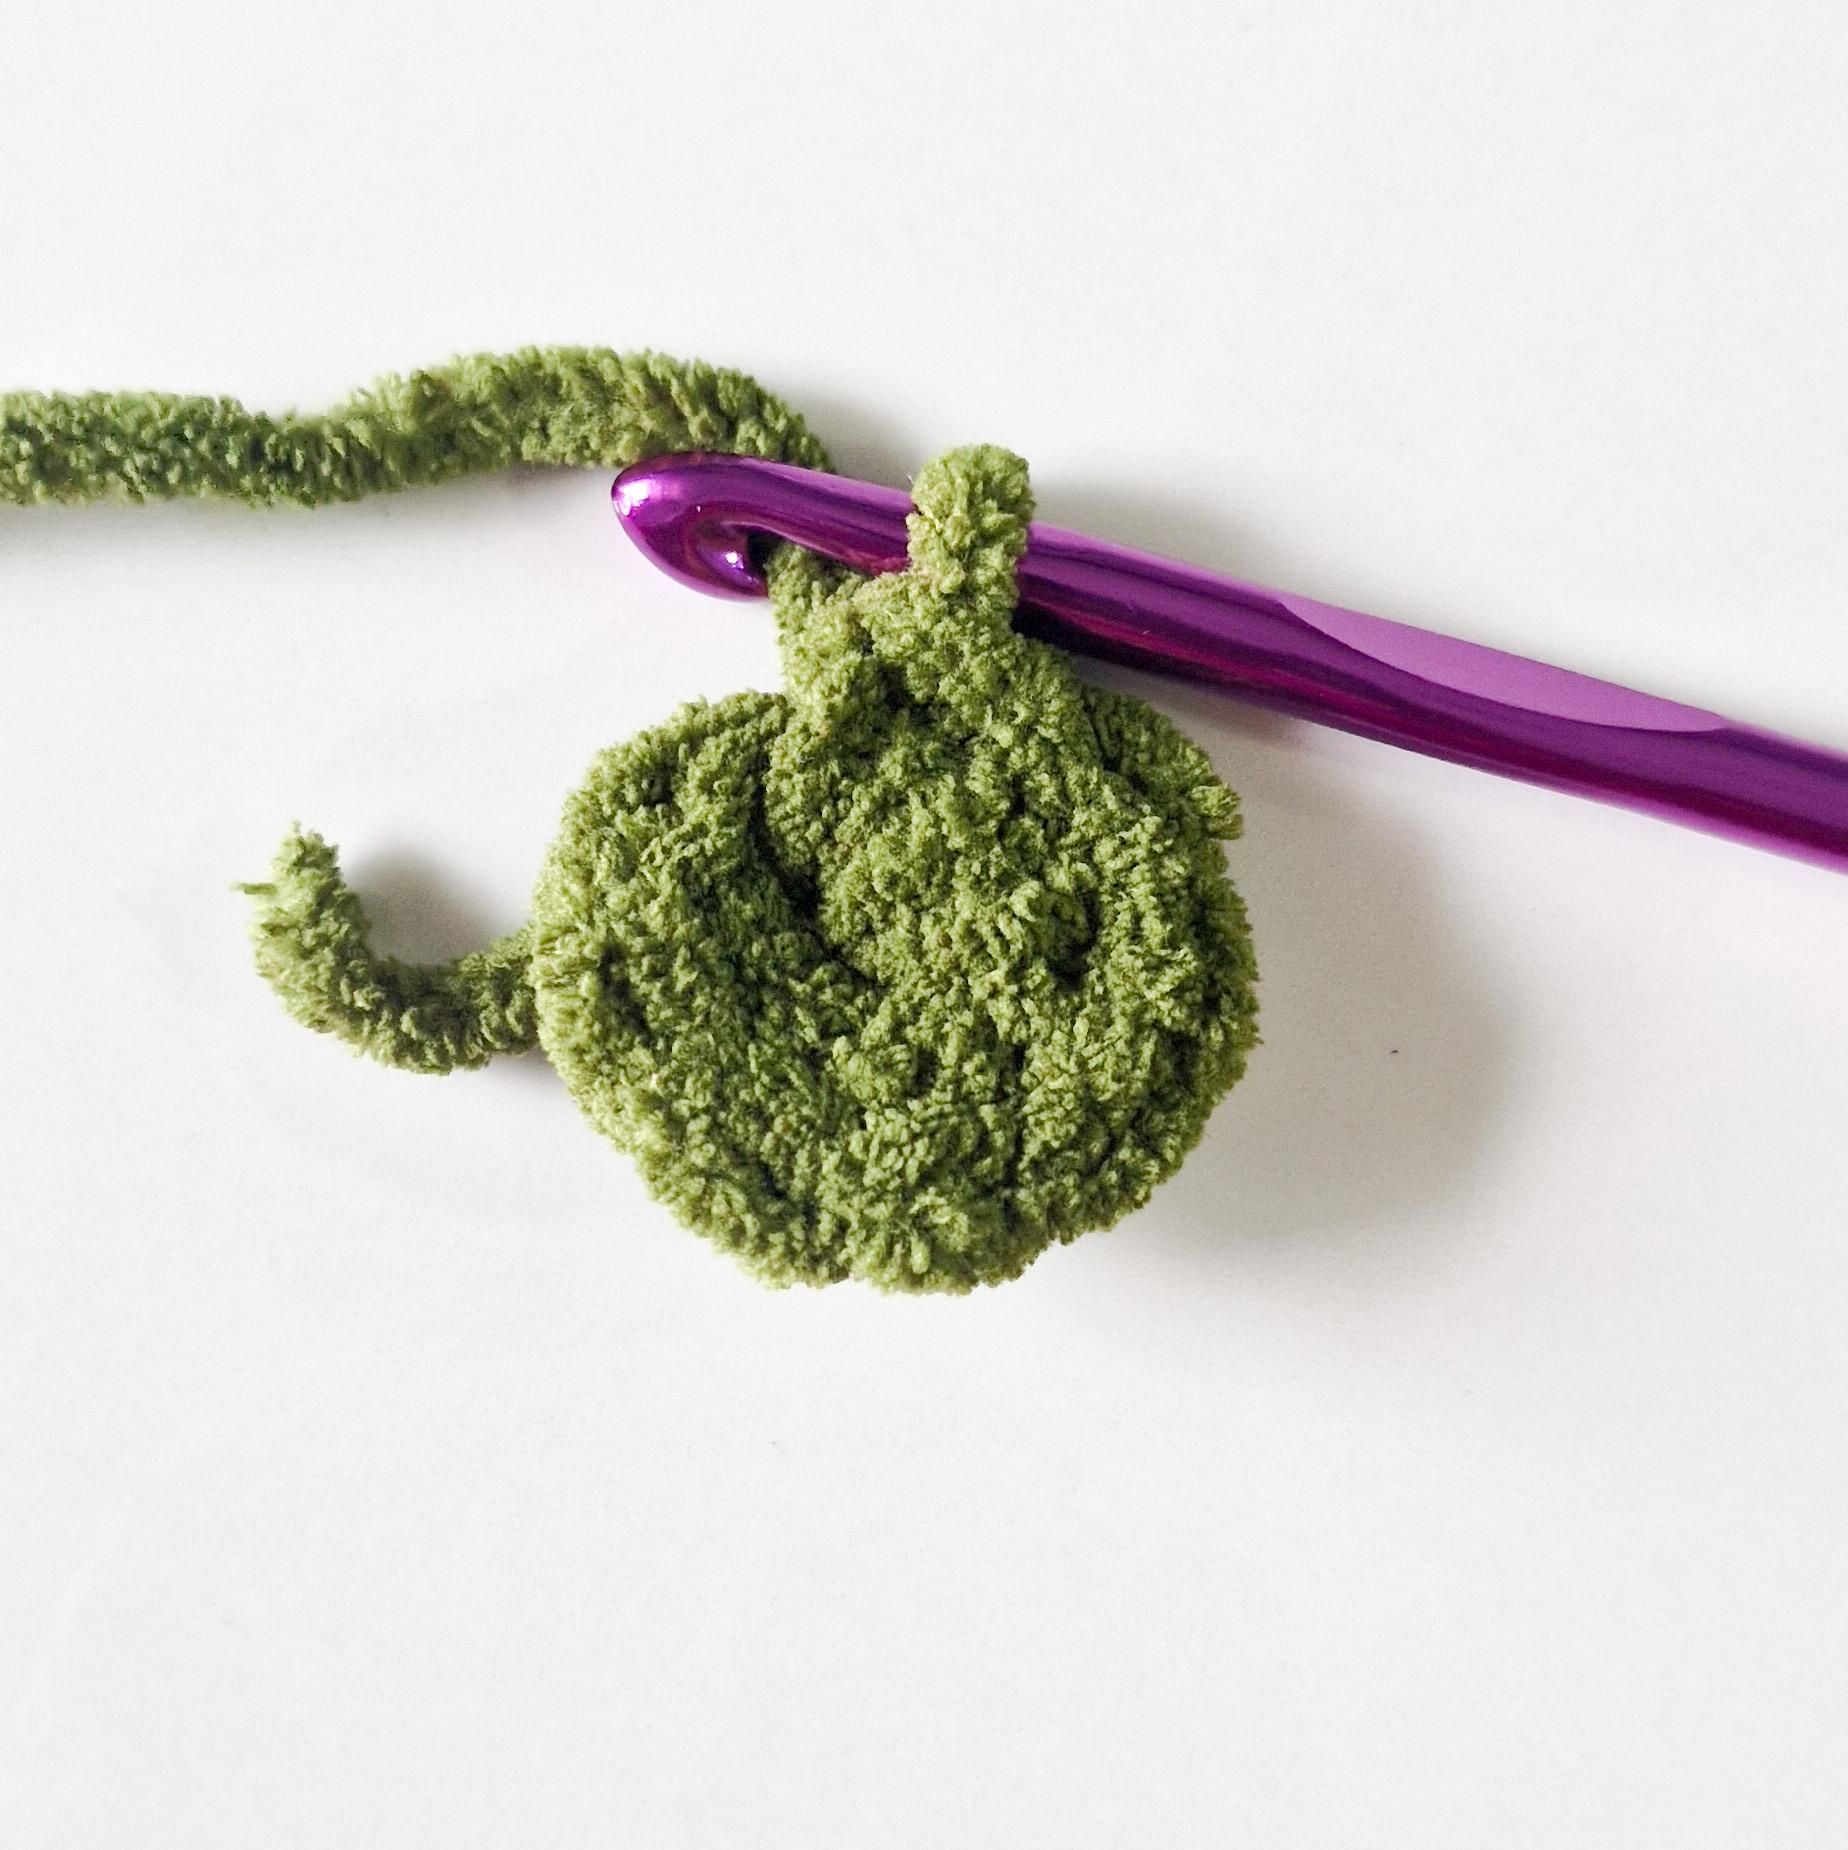
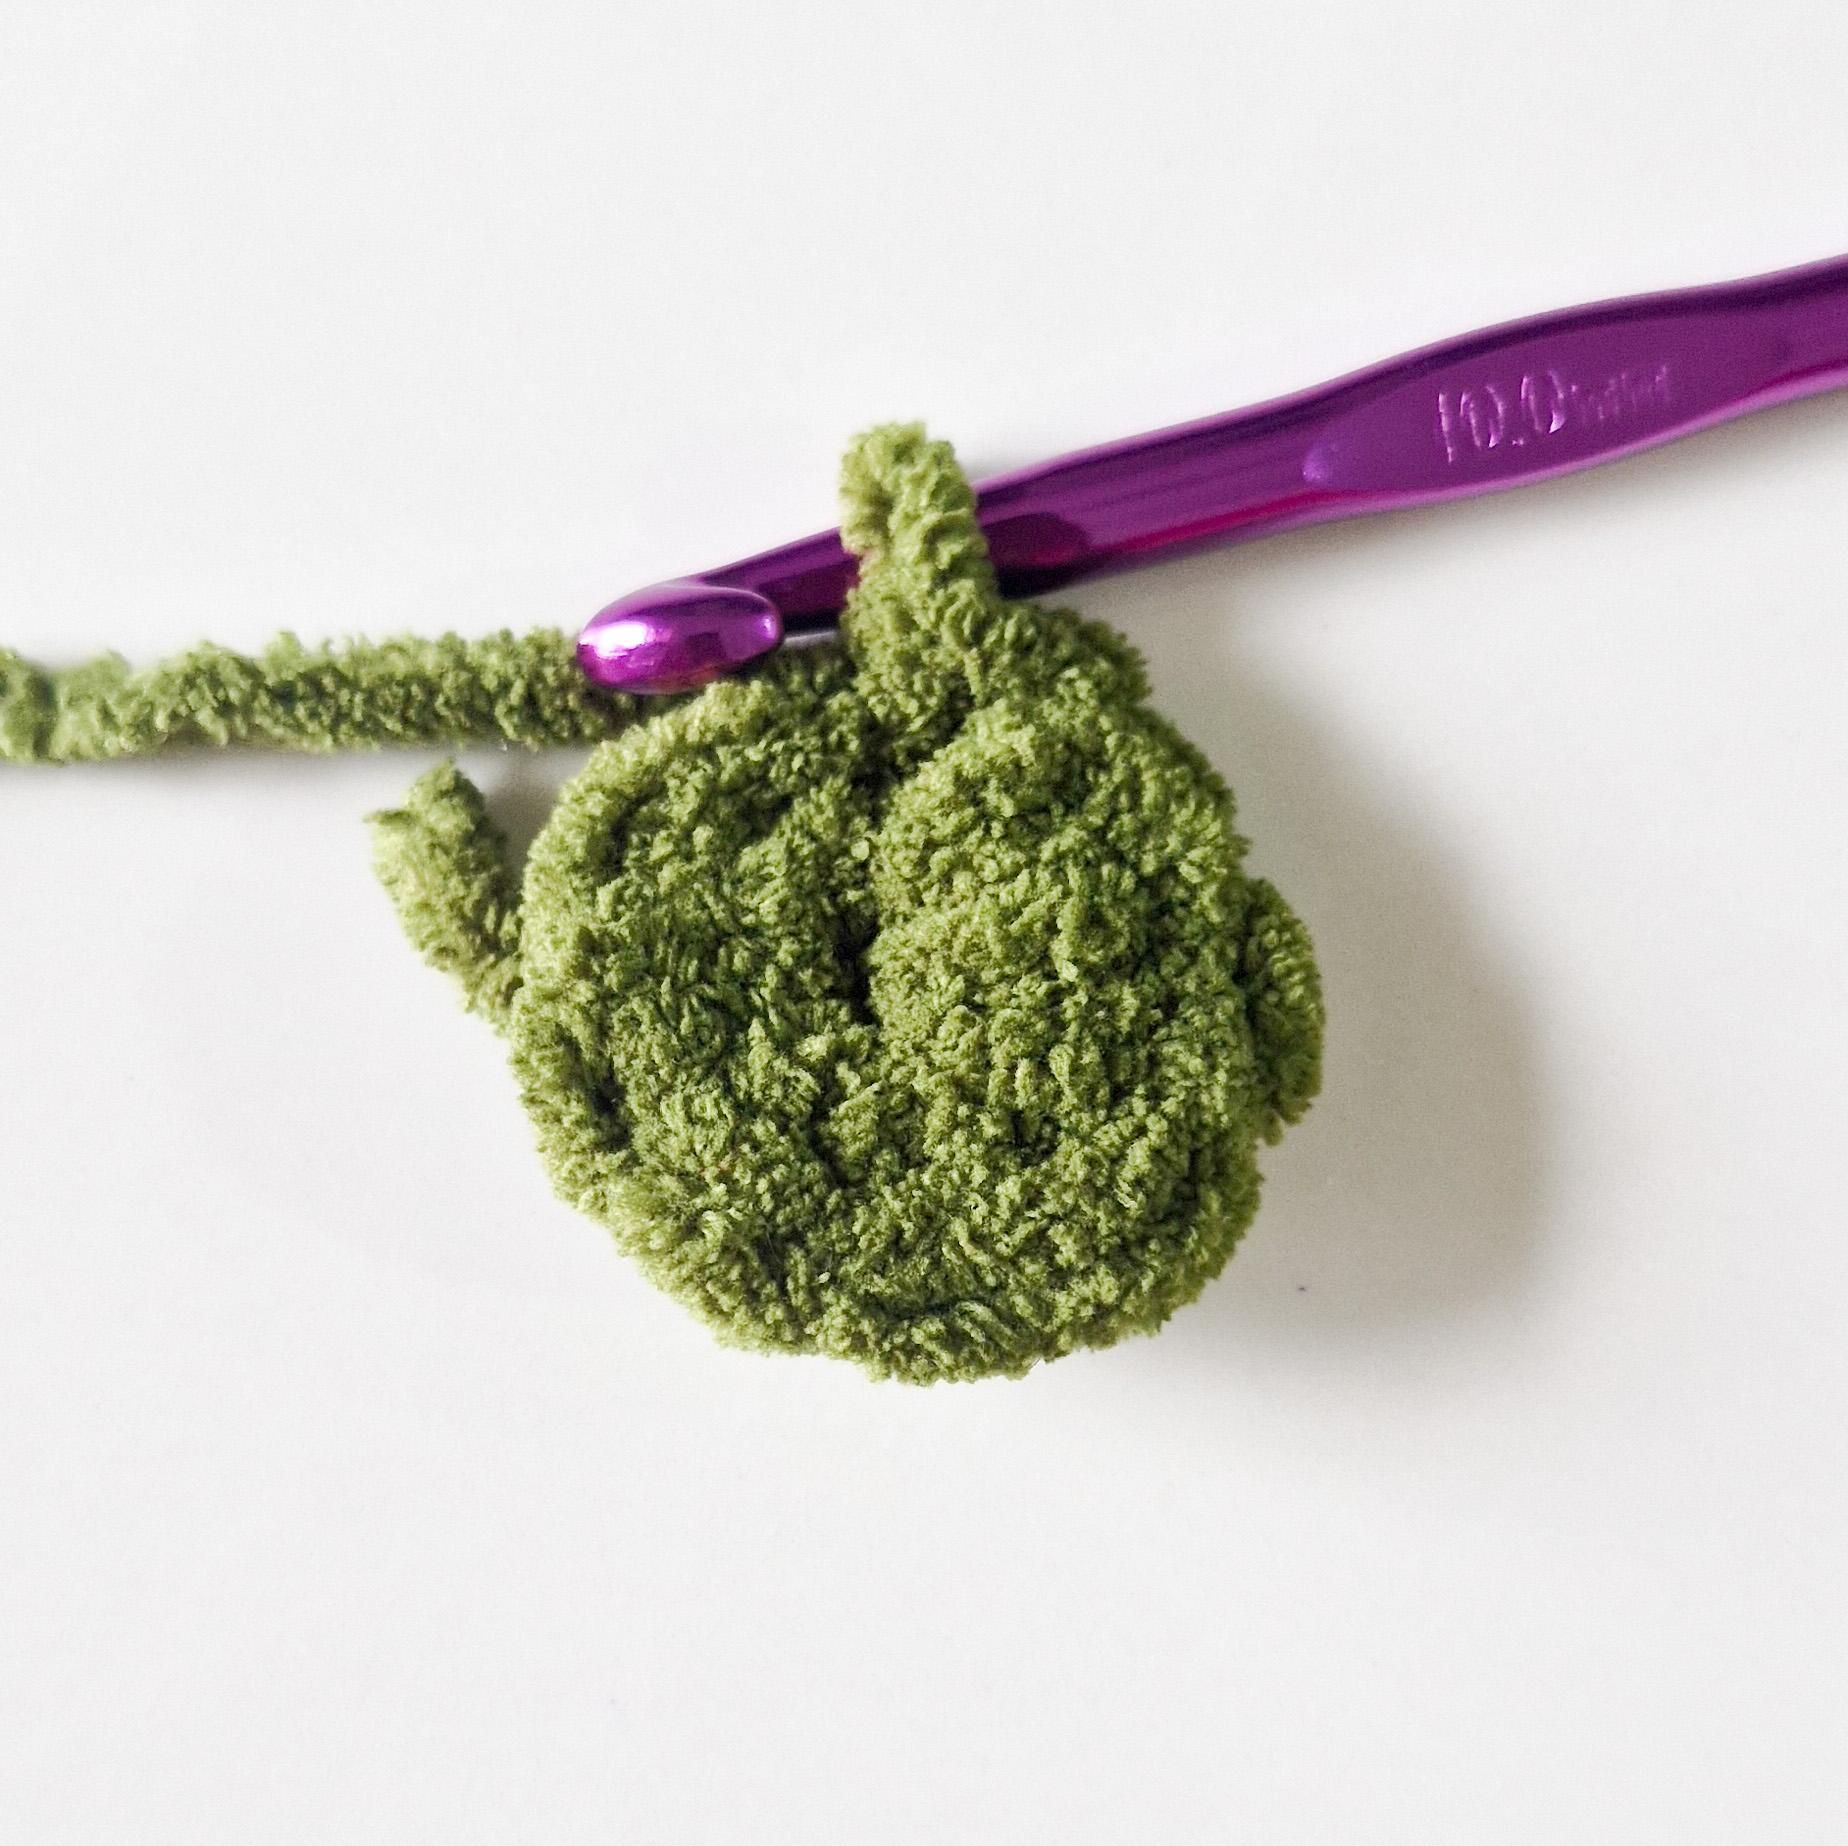
Start with a Slip Knot.
Chain 3.
8 Single Crochets into the 3rd Chain from the hook.
Slip stitch on top of the first Single Crochet.
Round 2:-
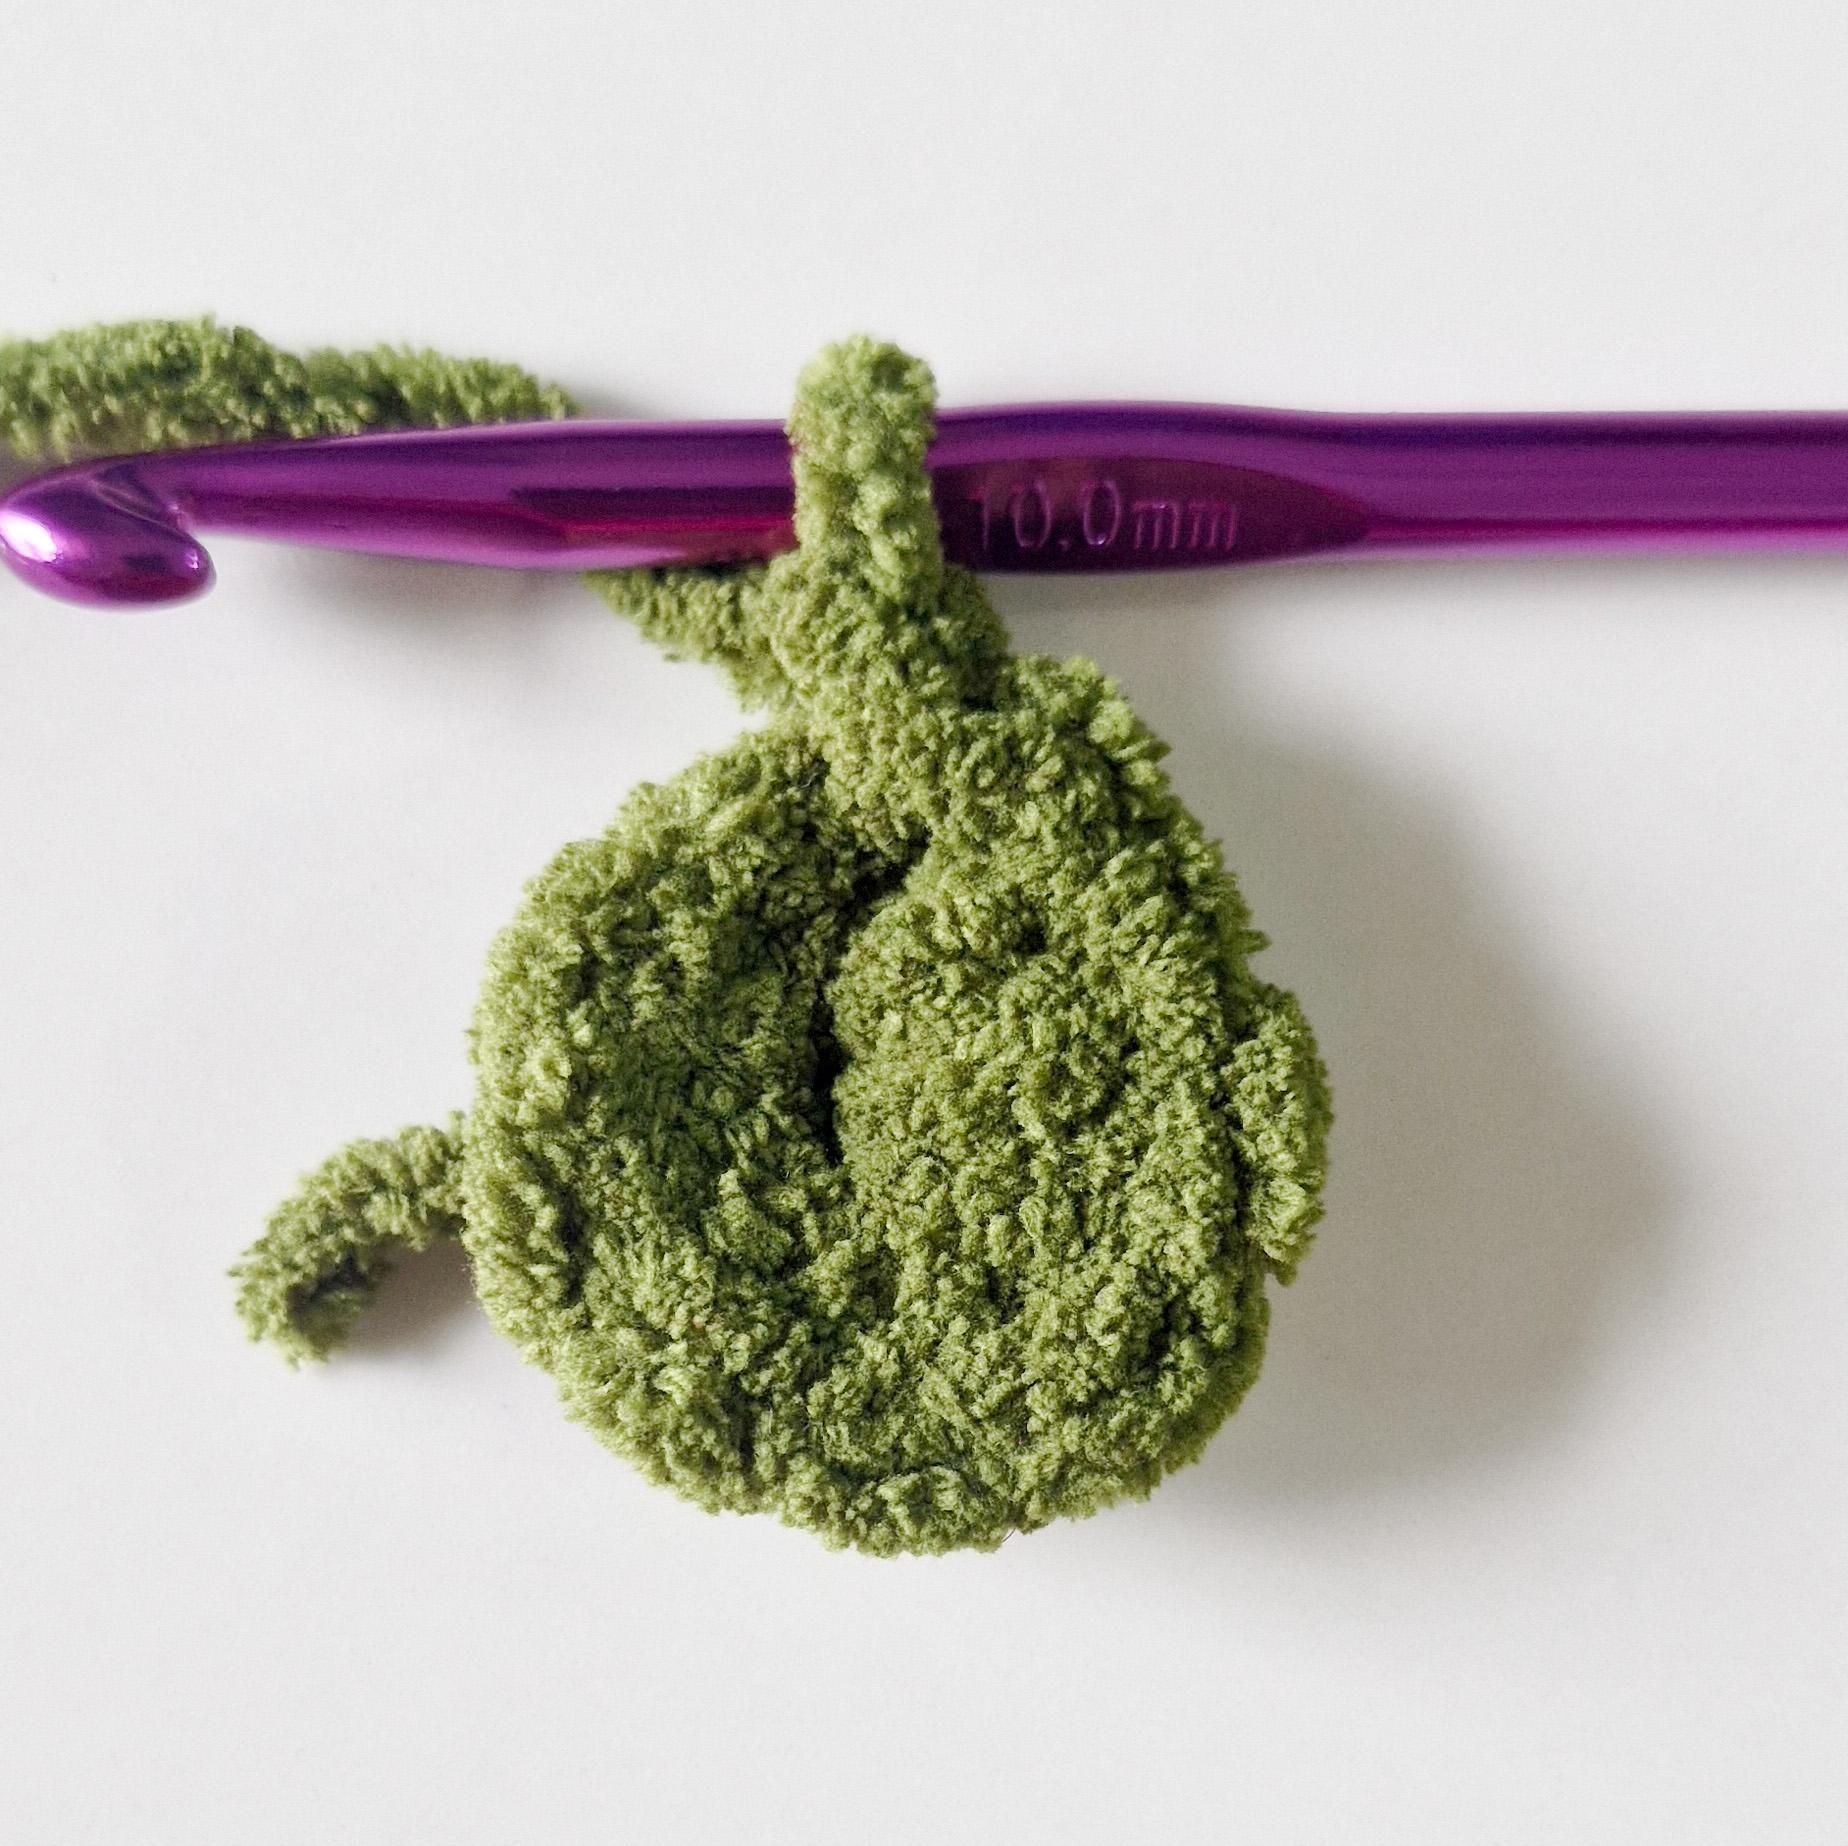
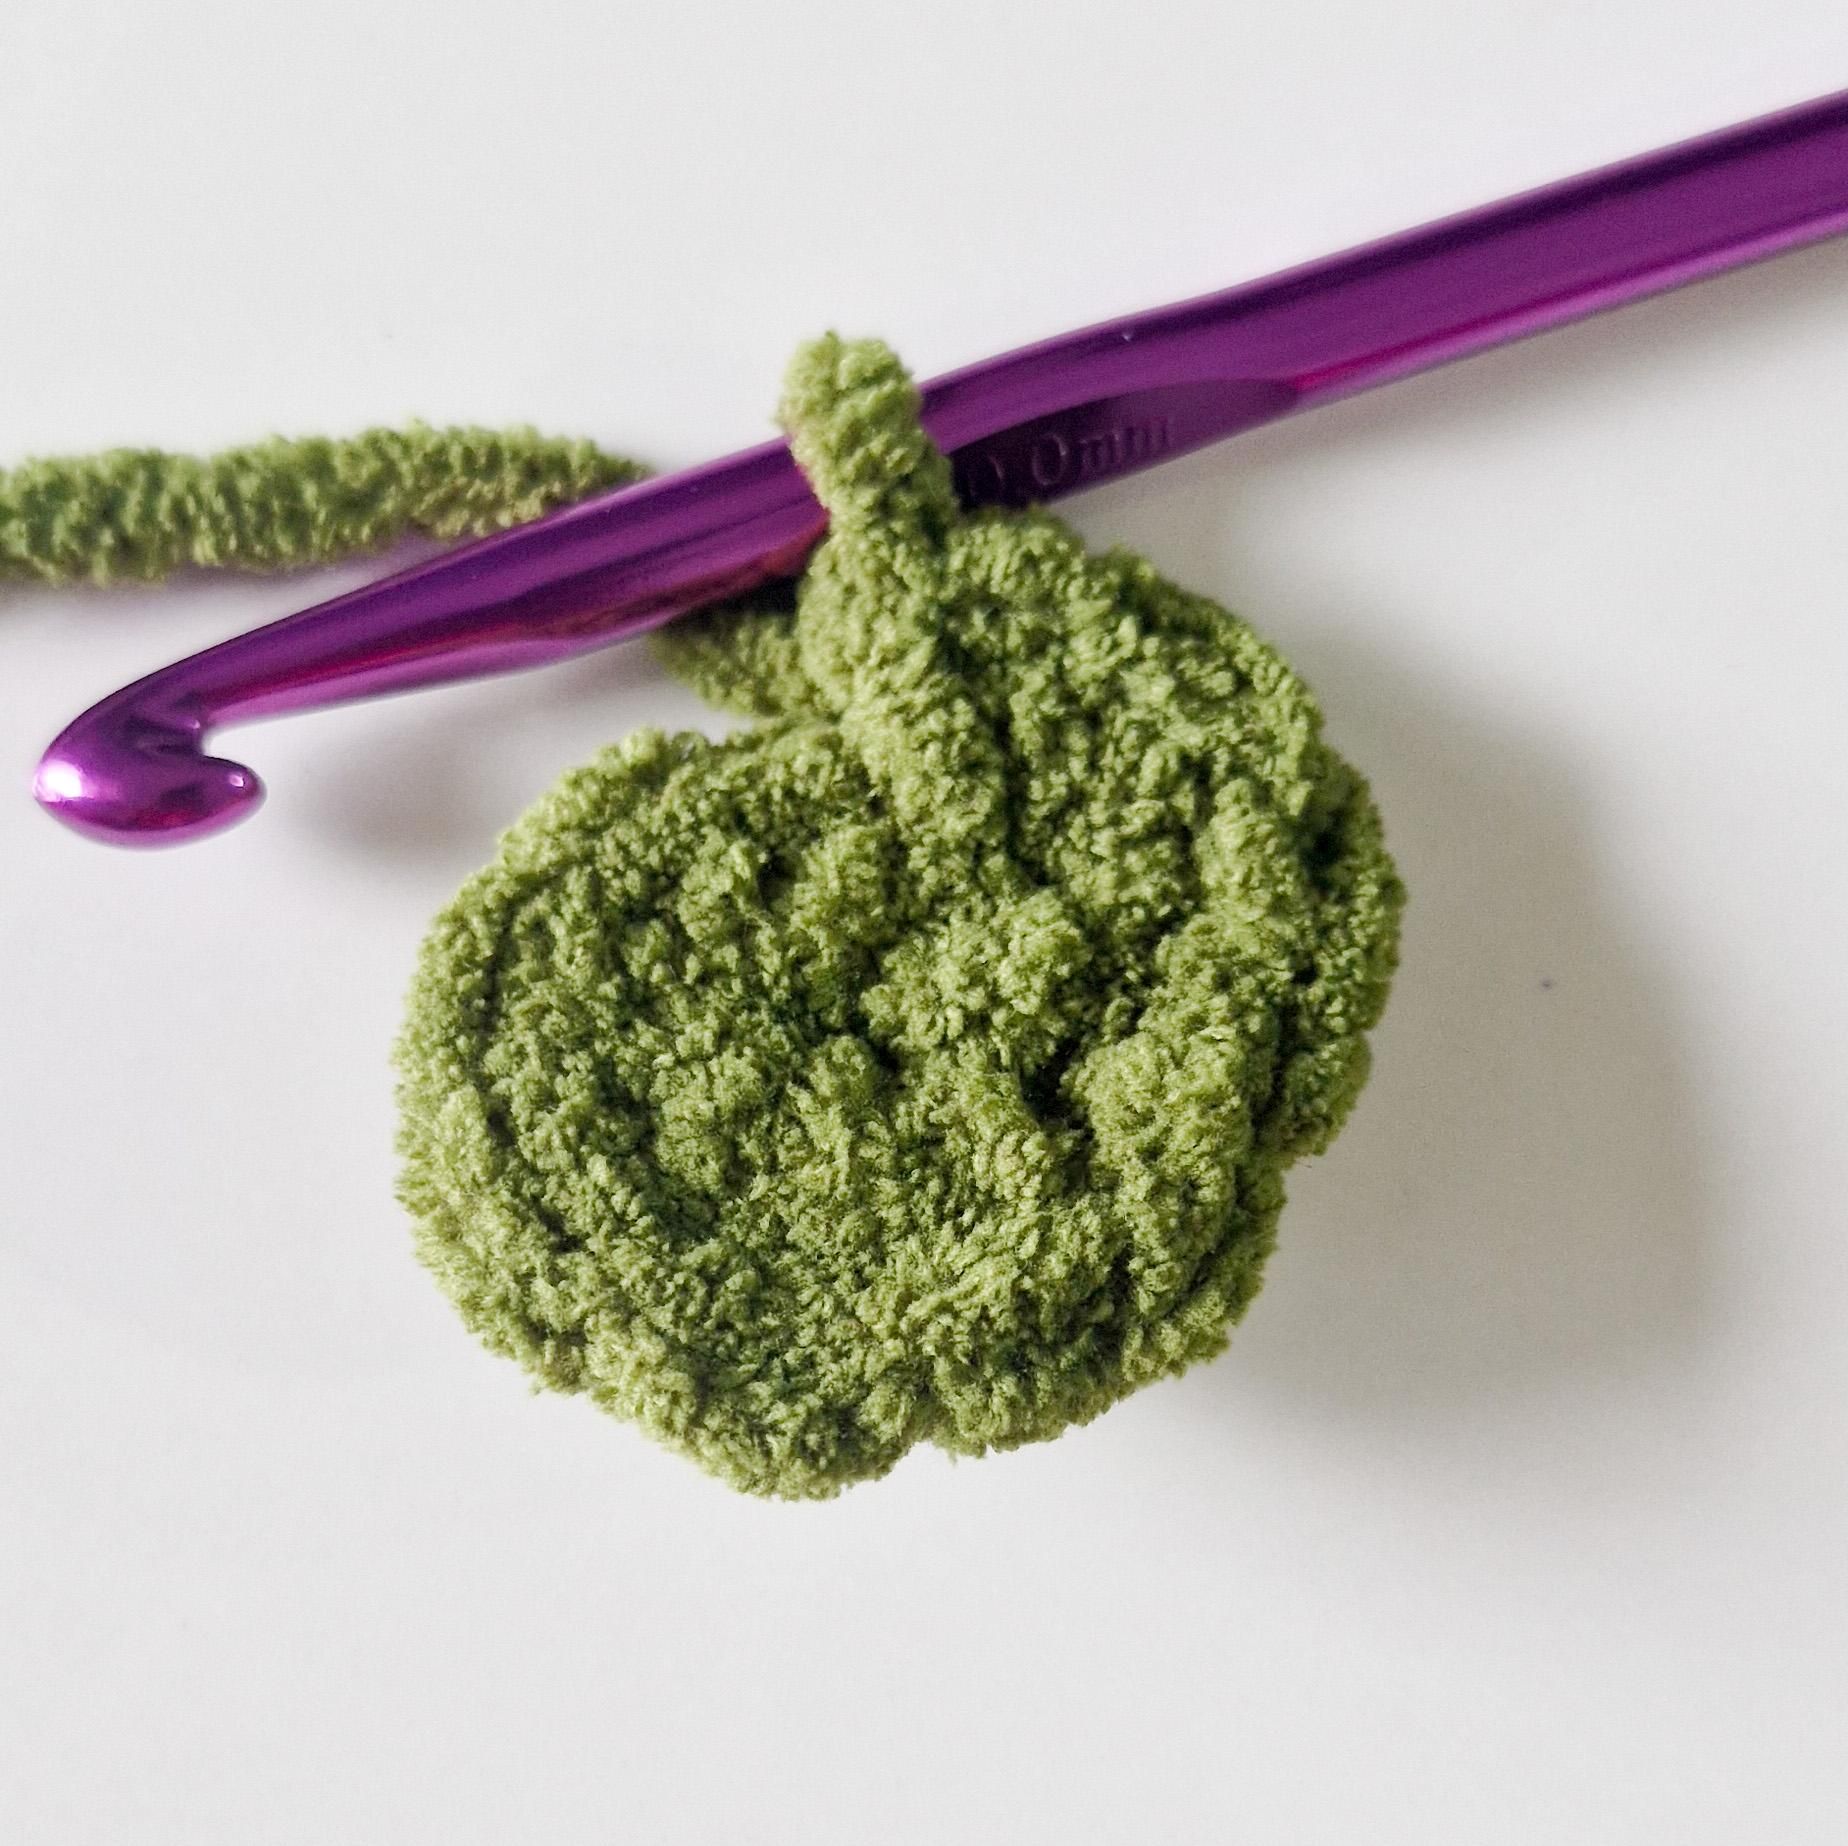
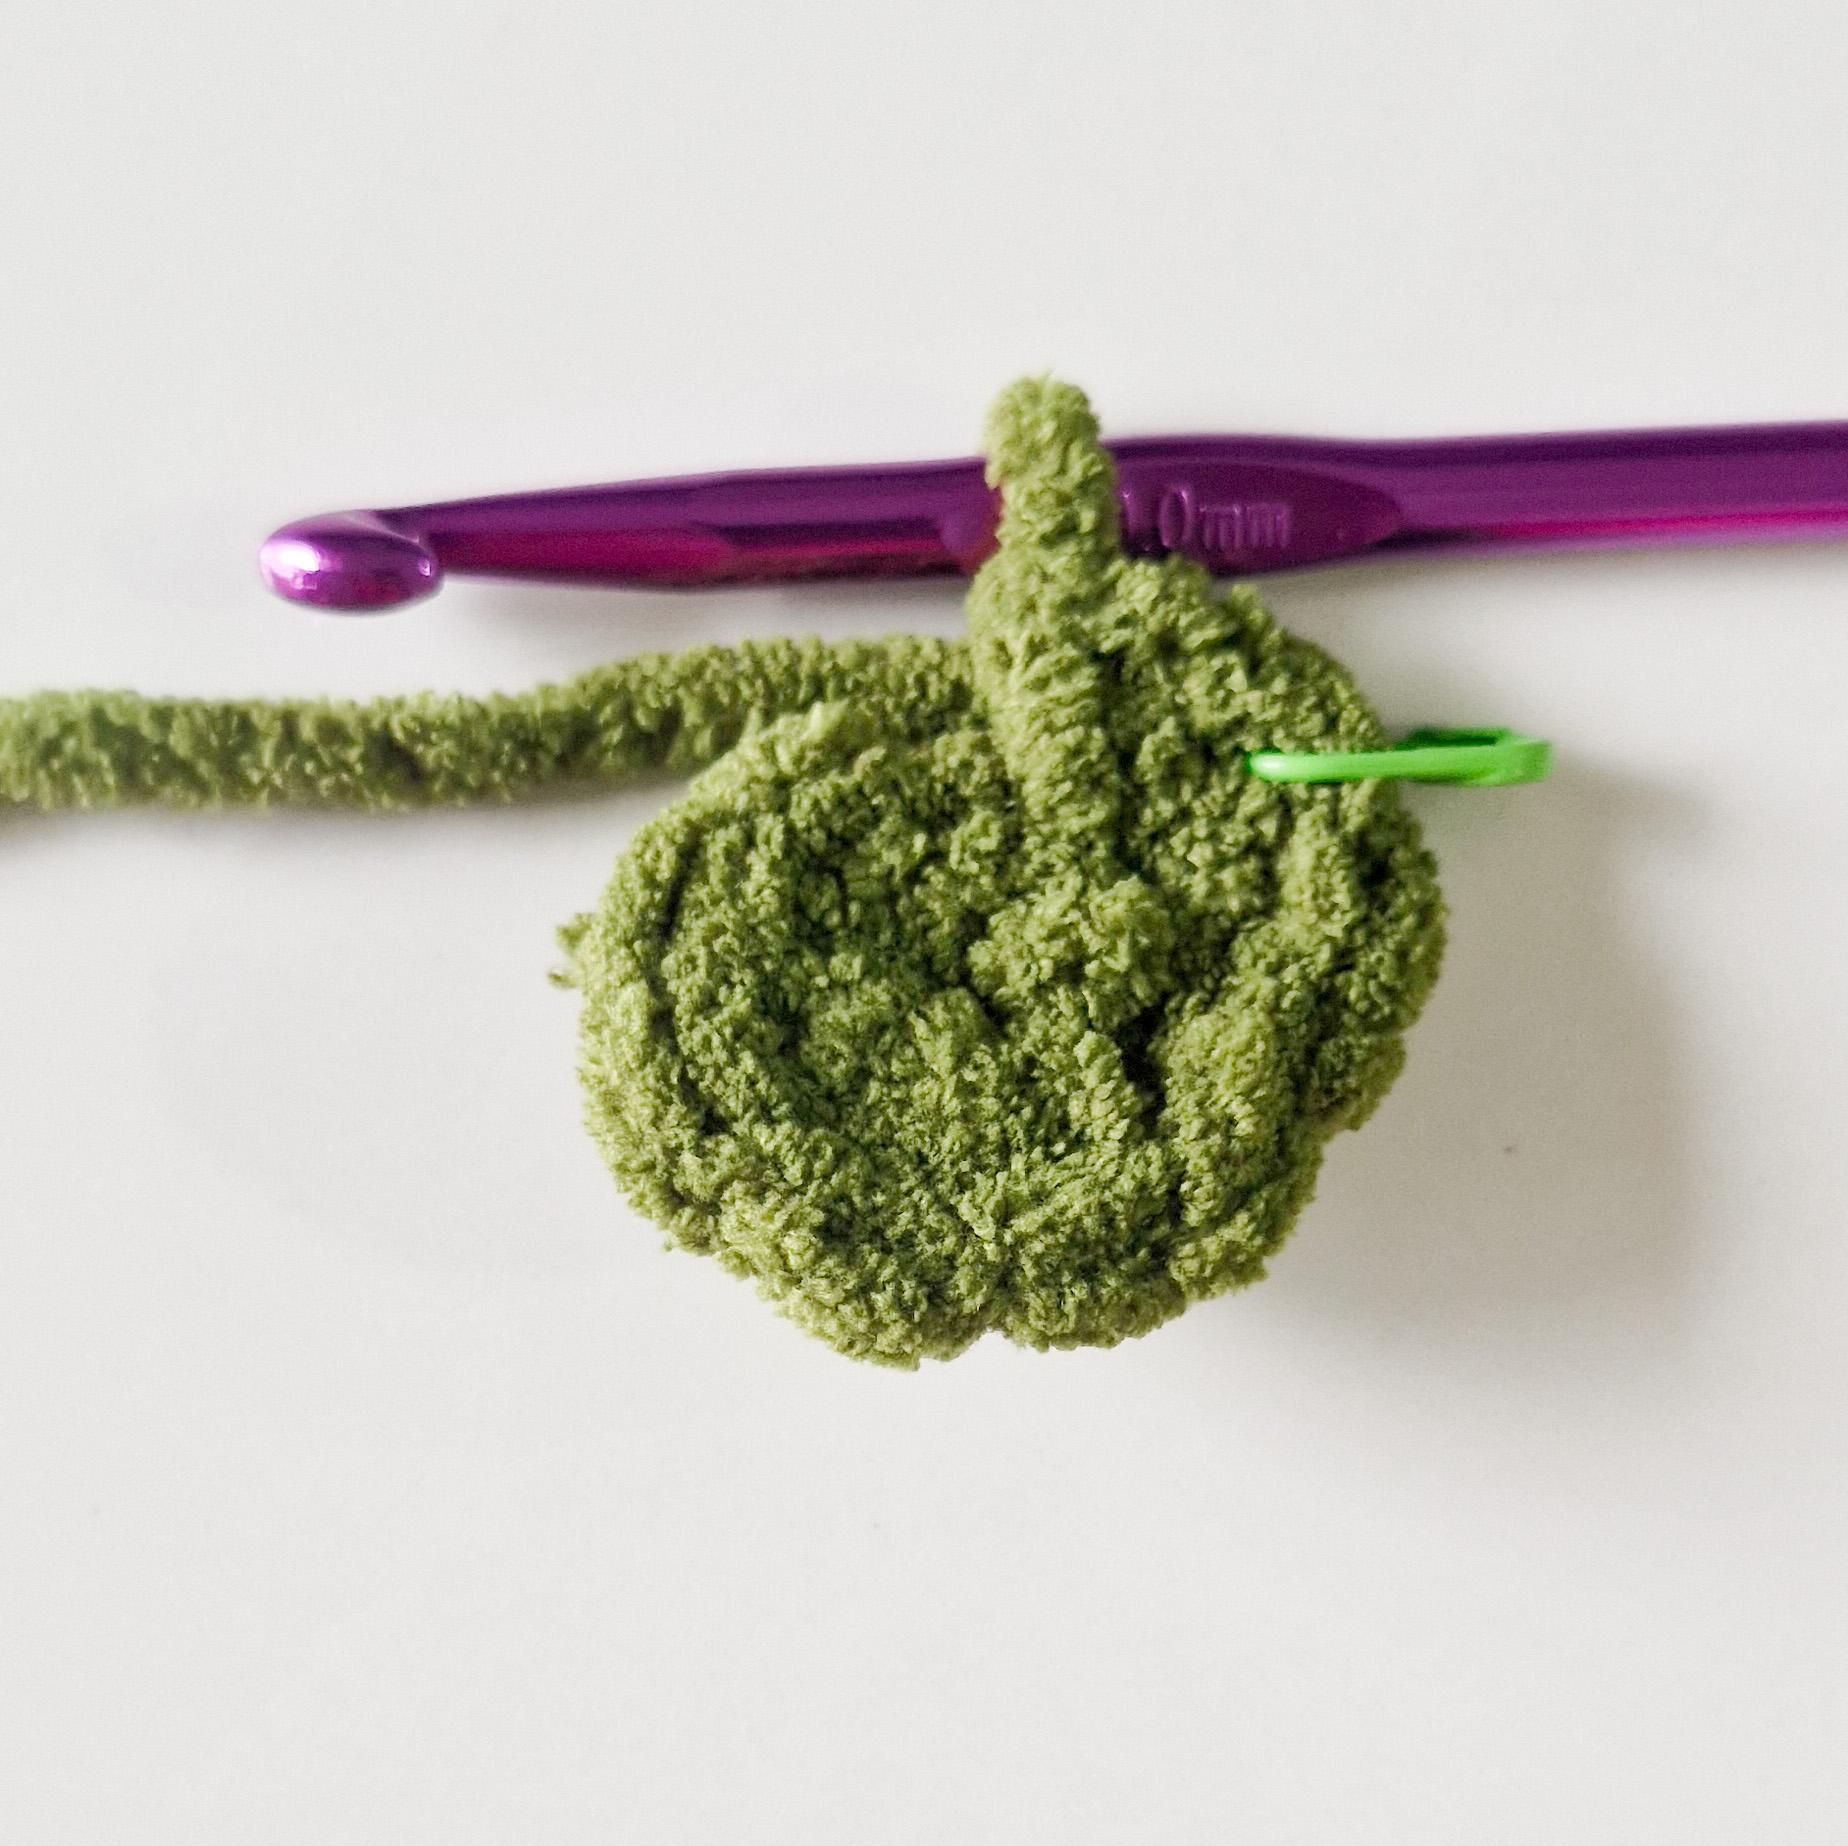
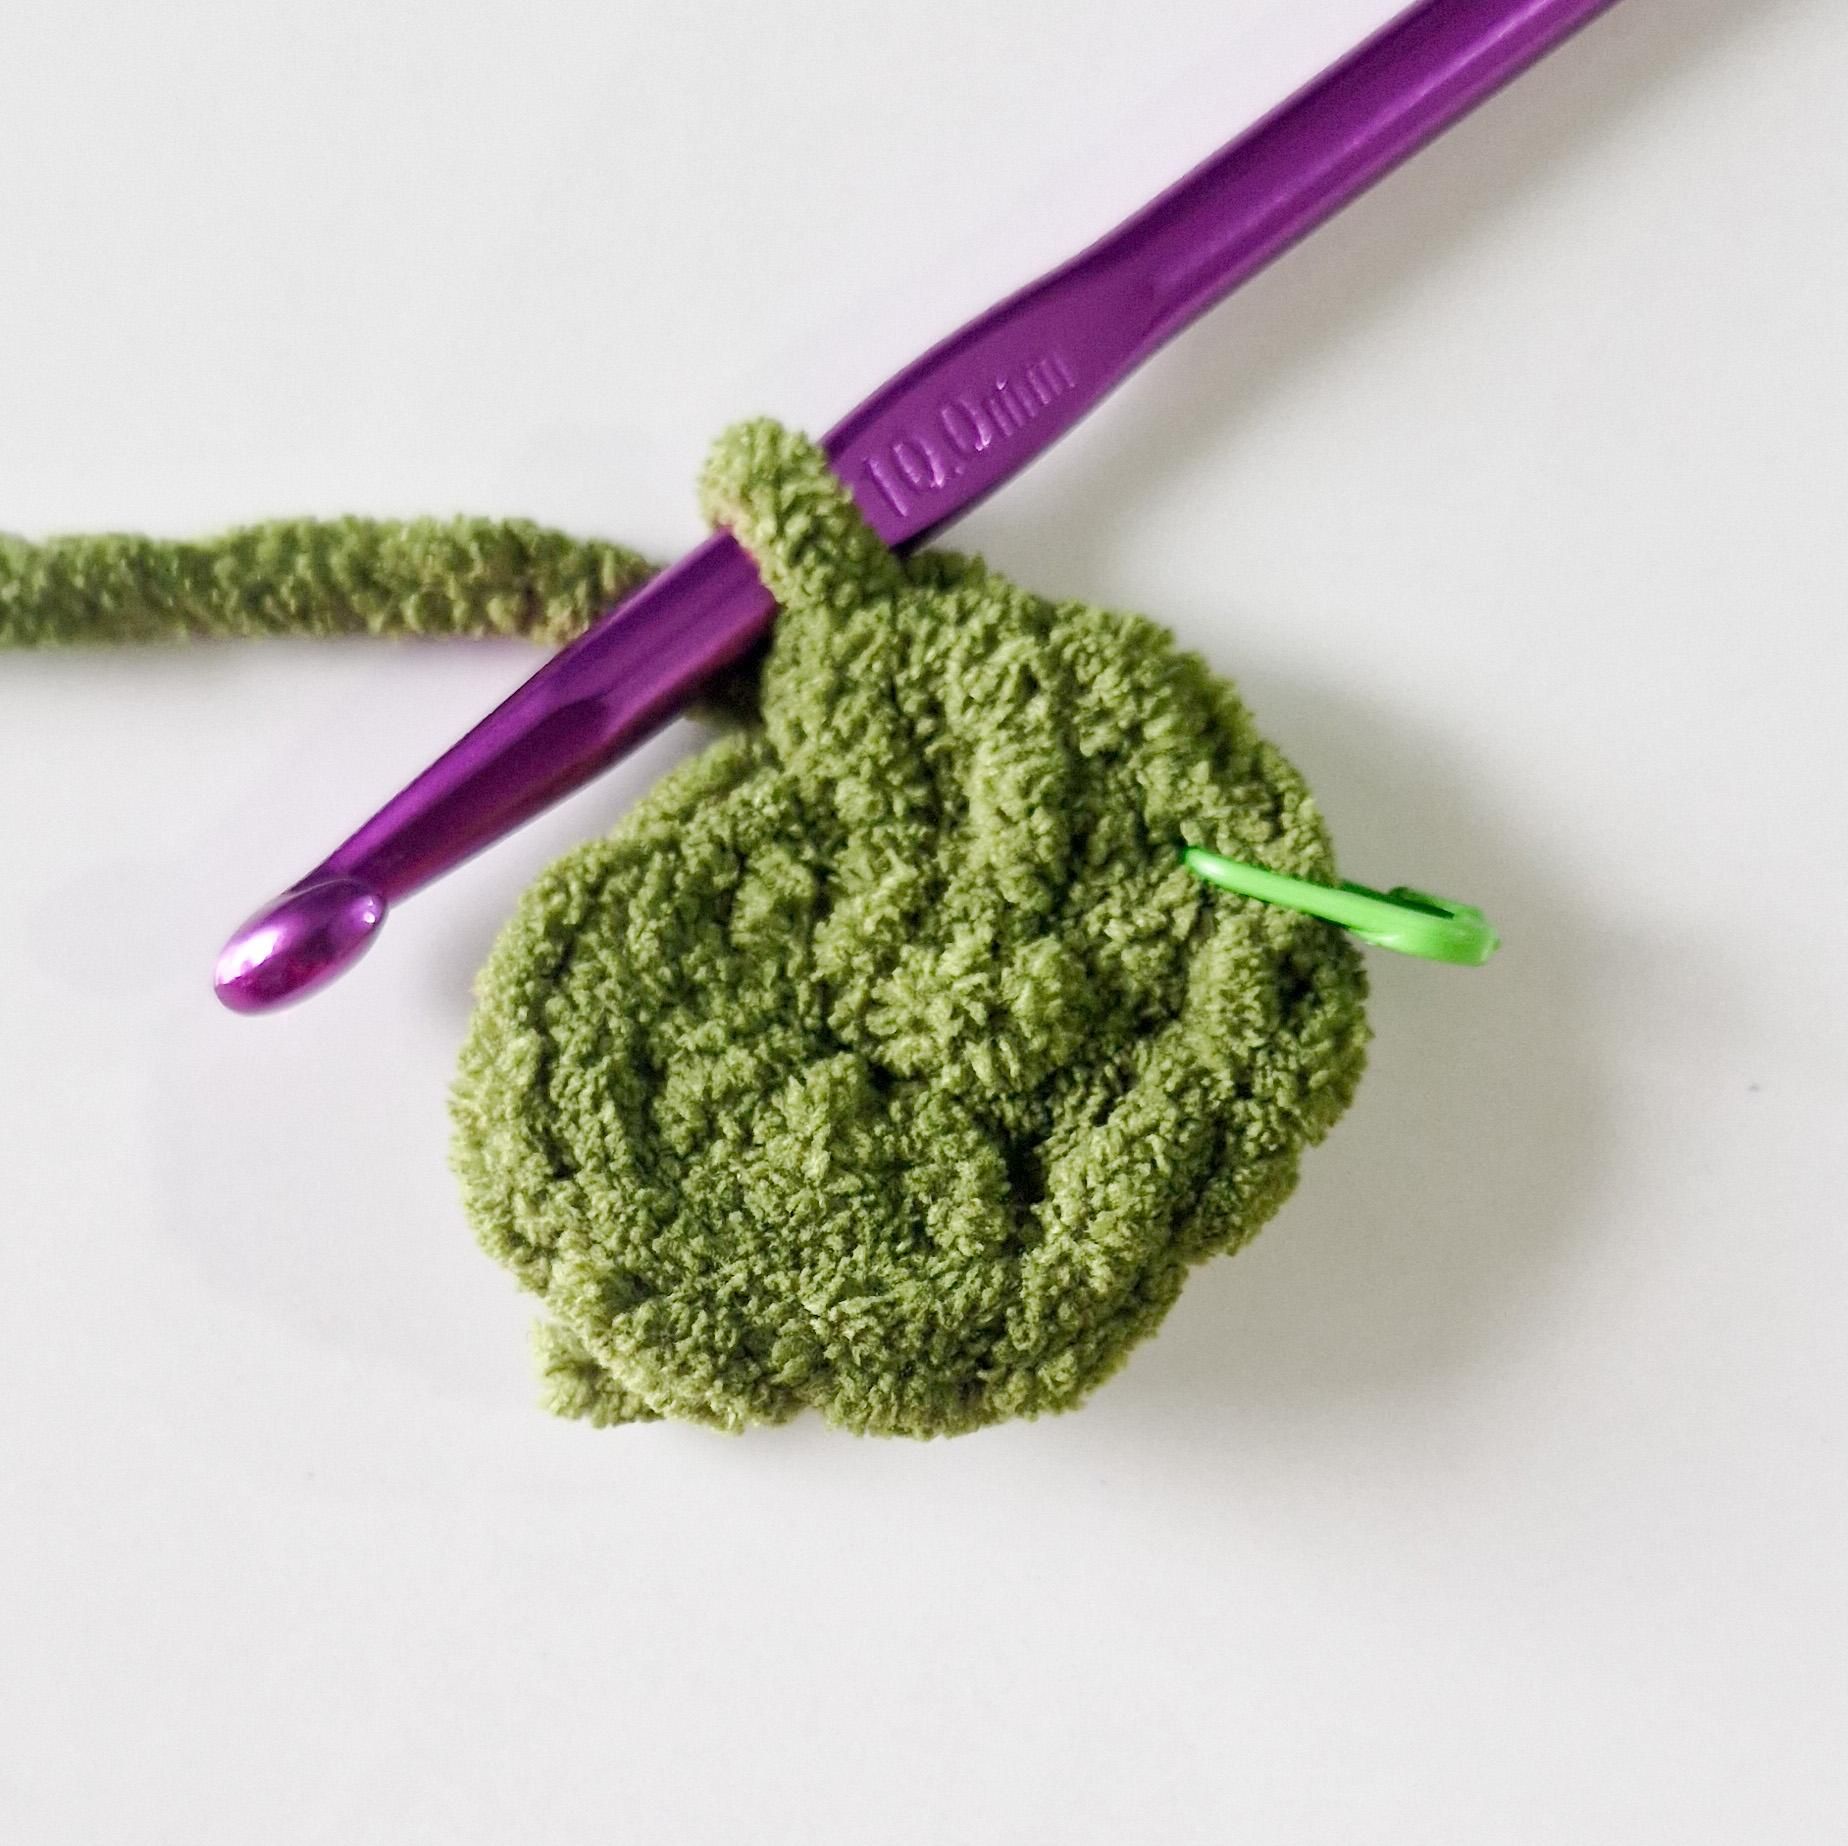
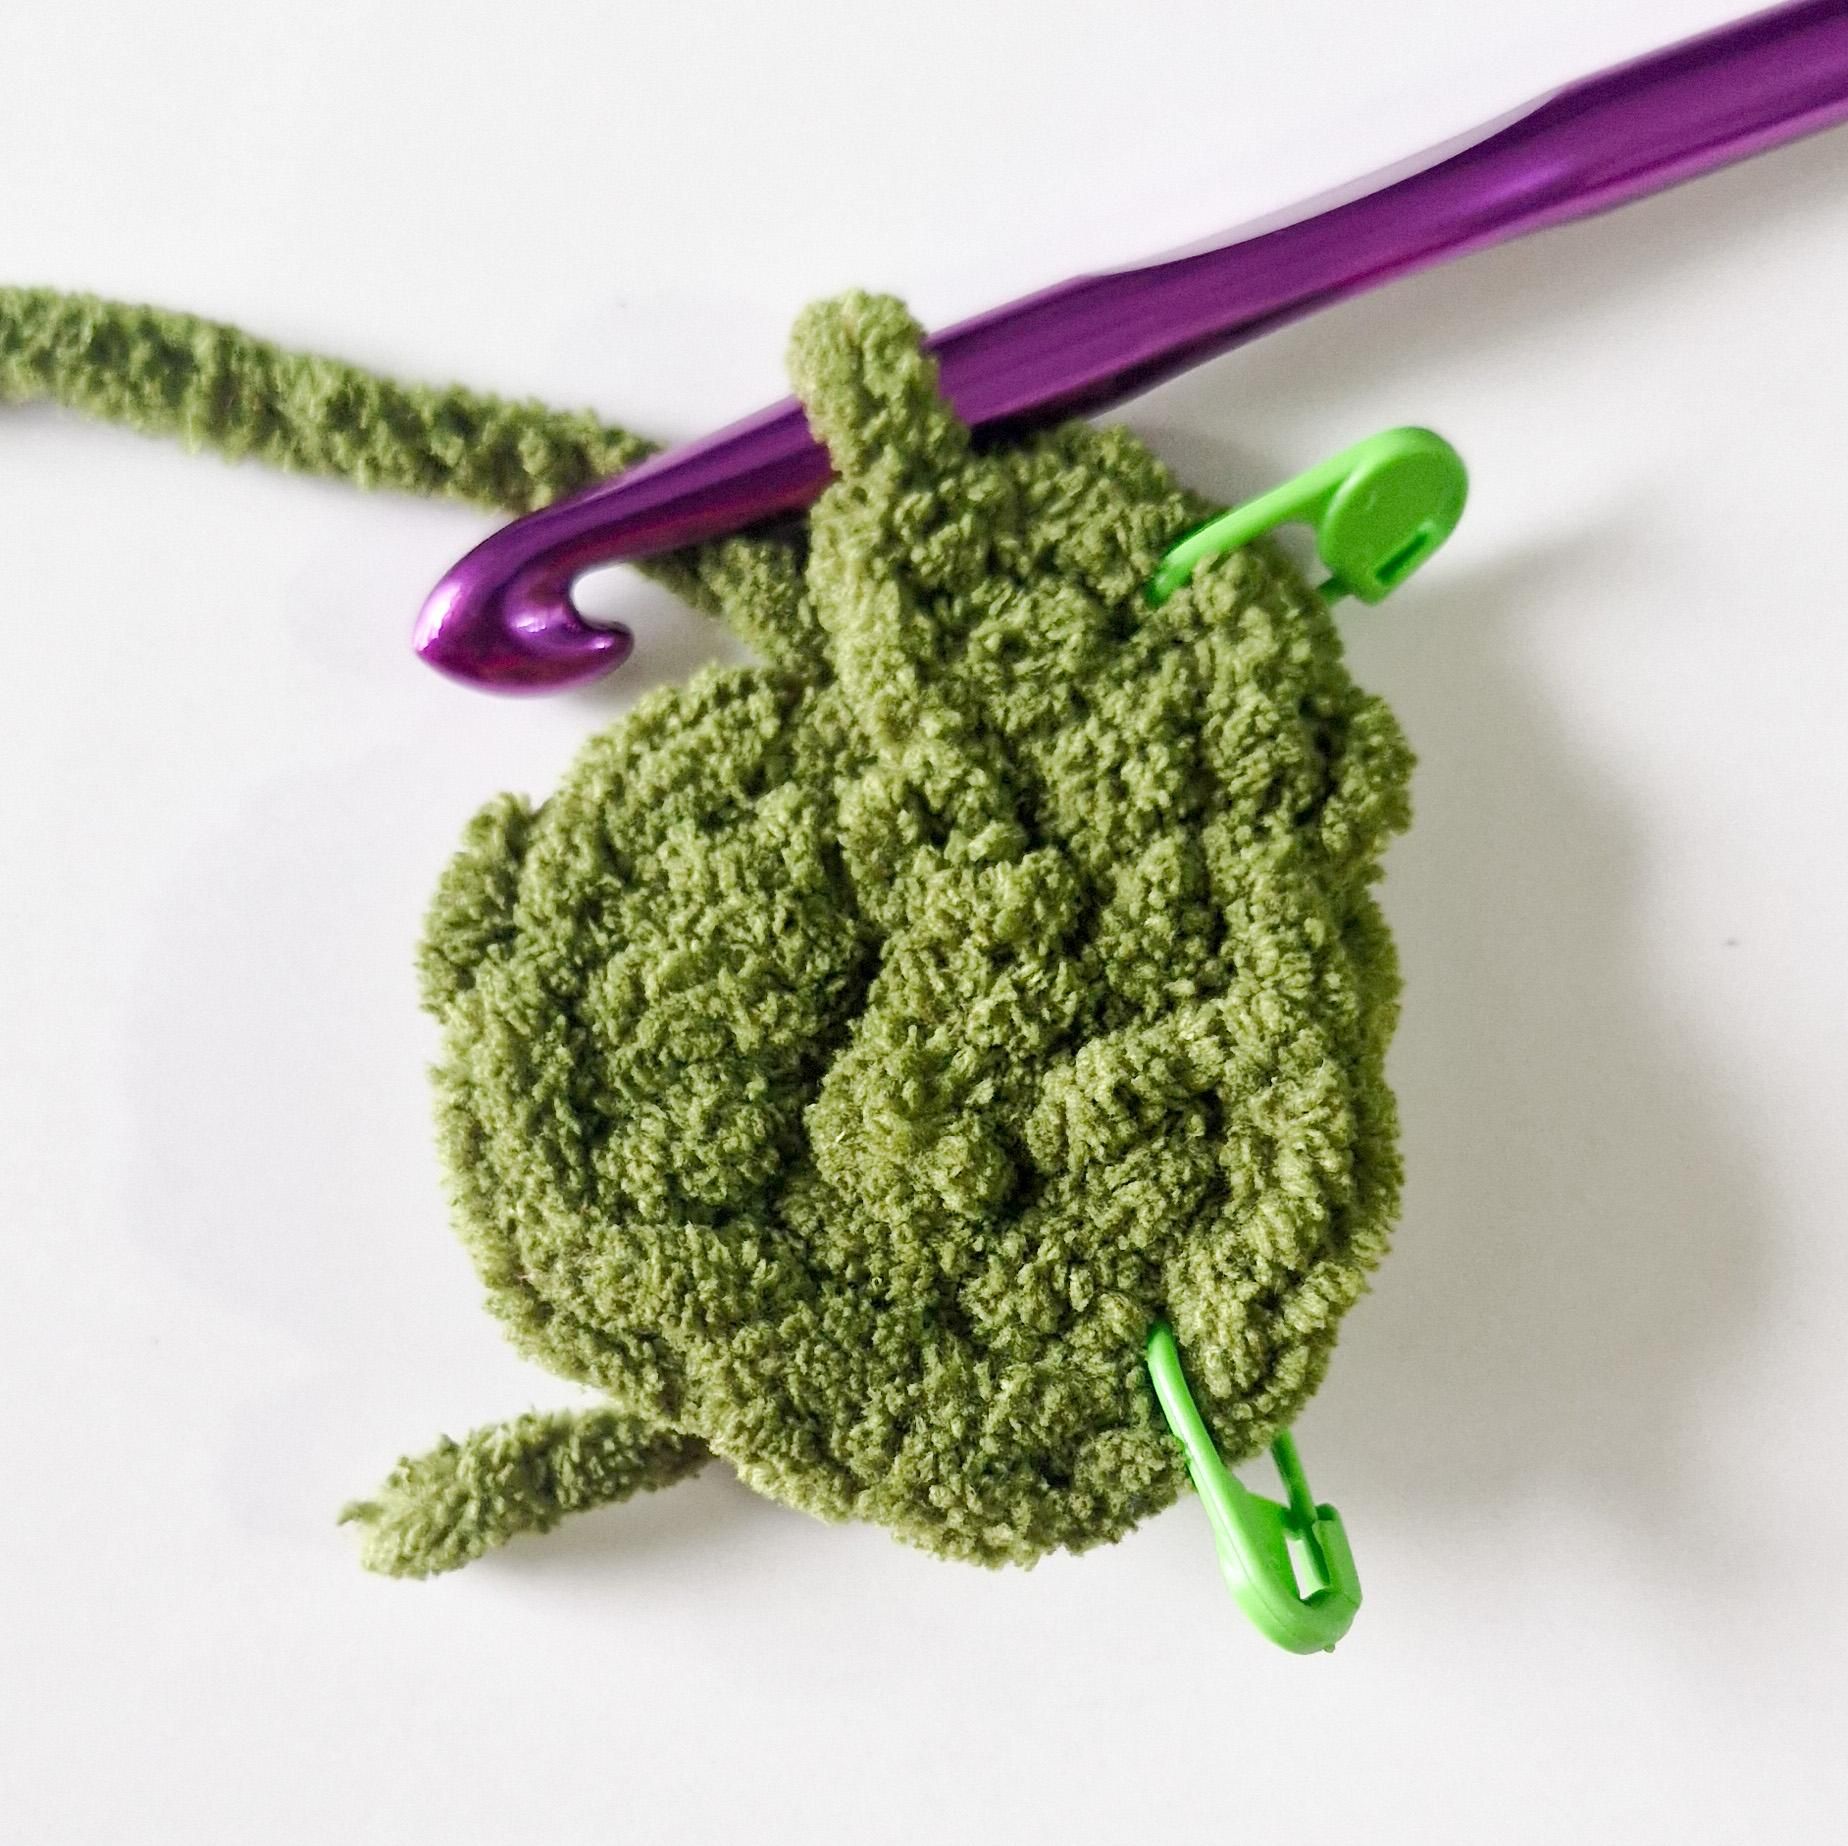
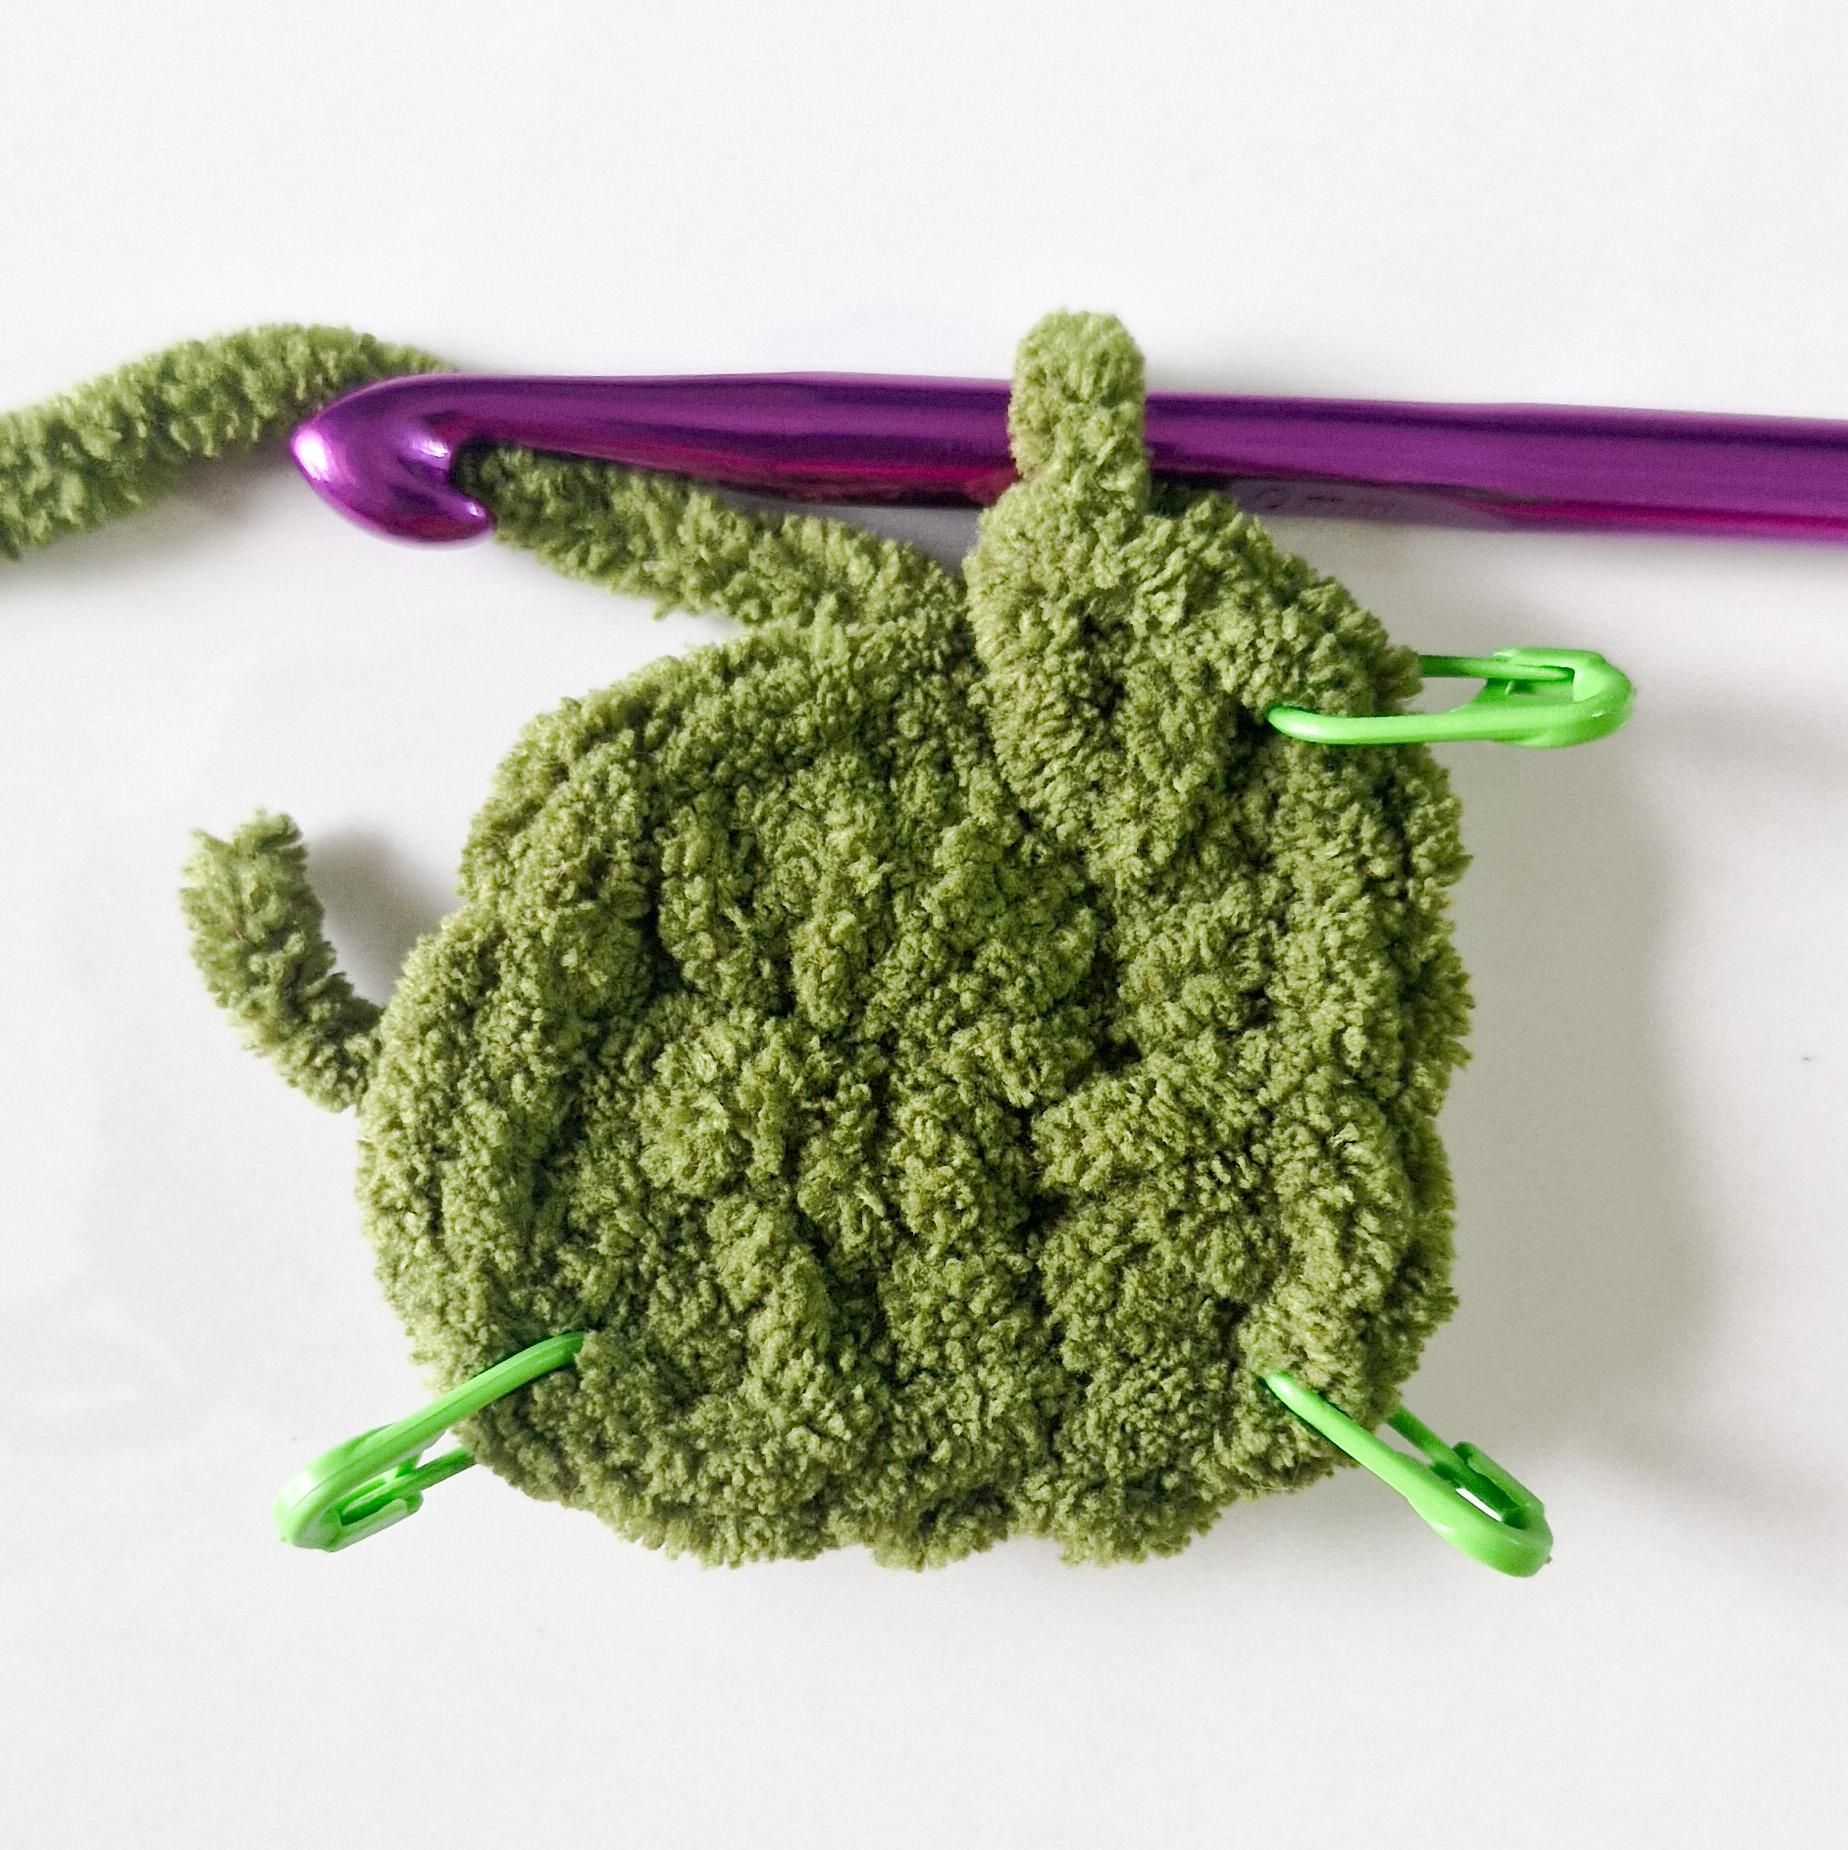
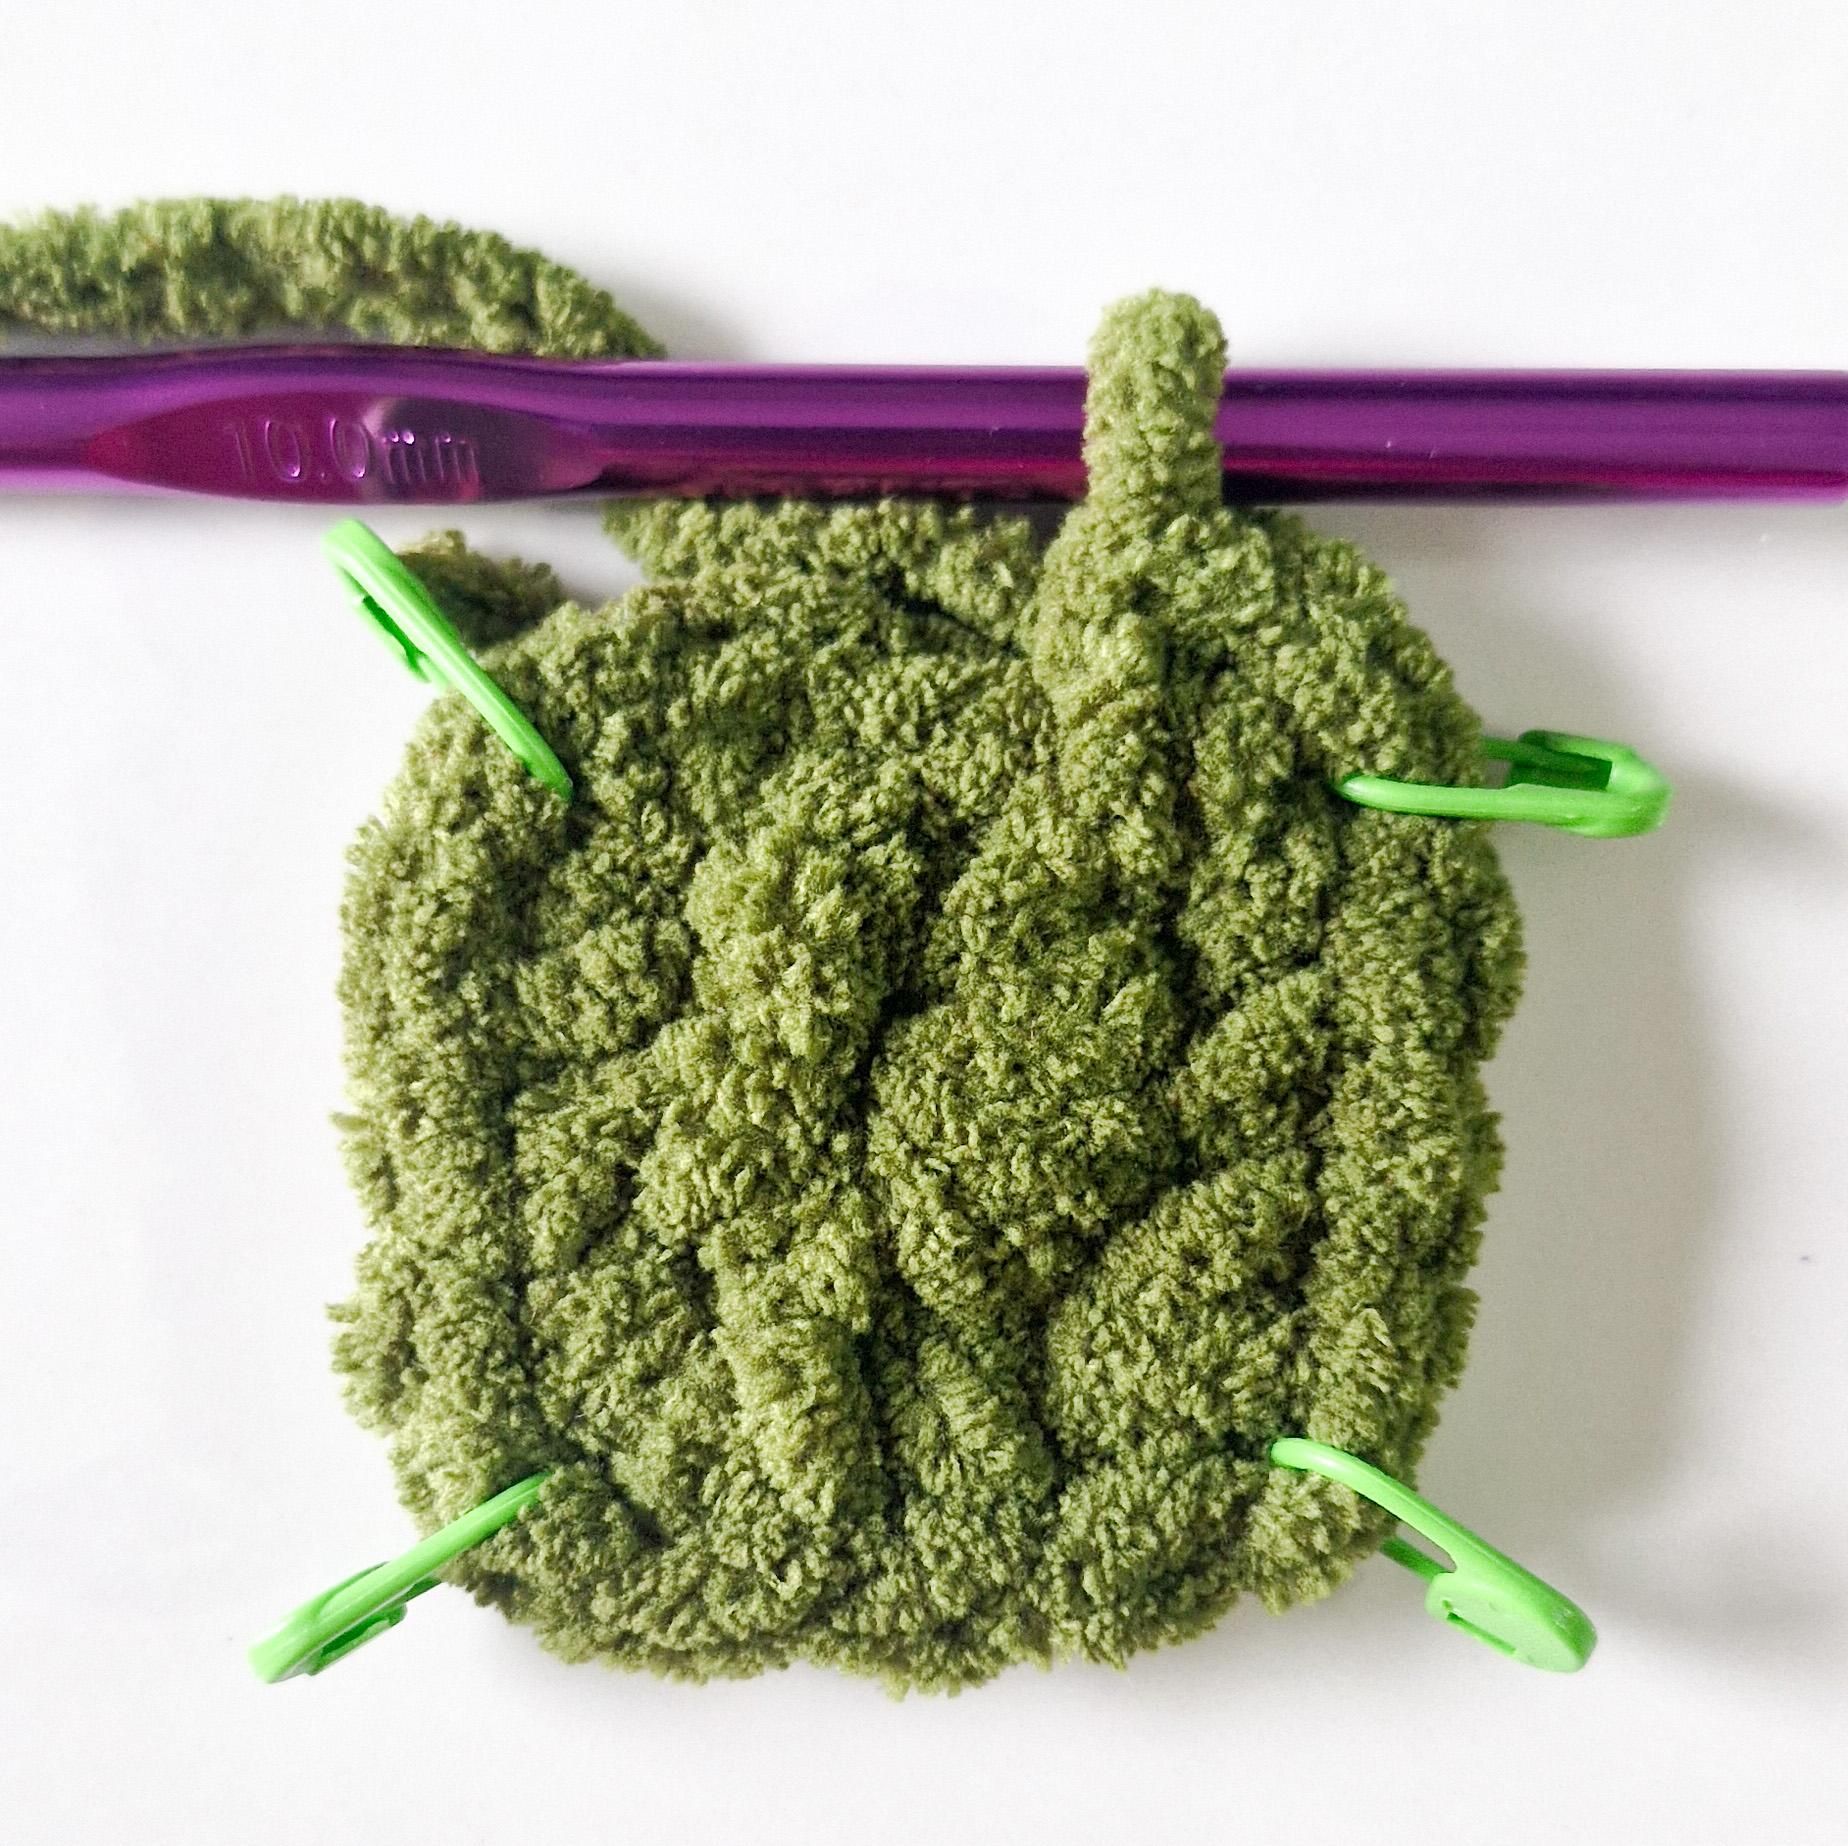
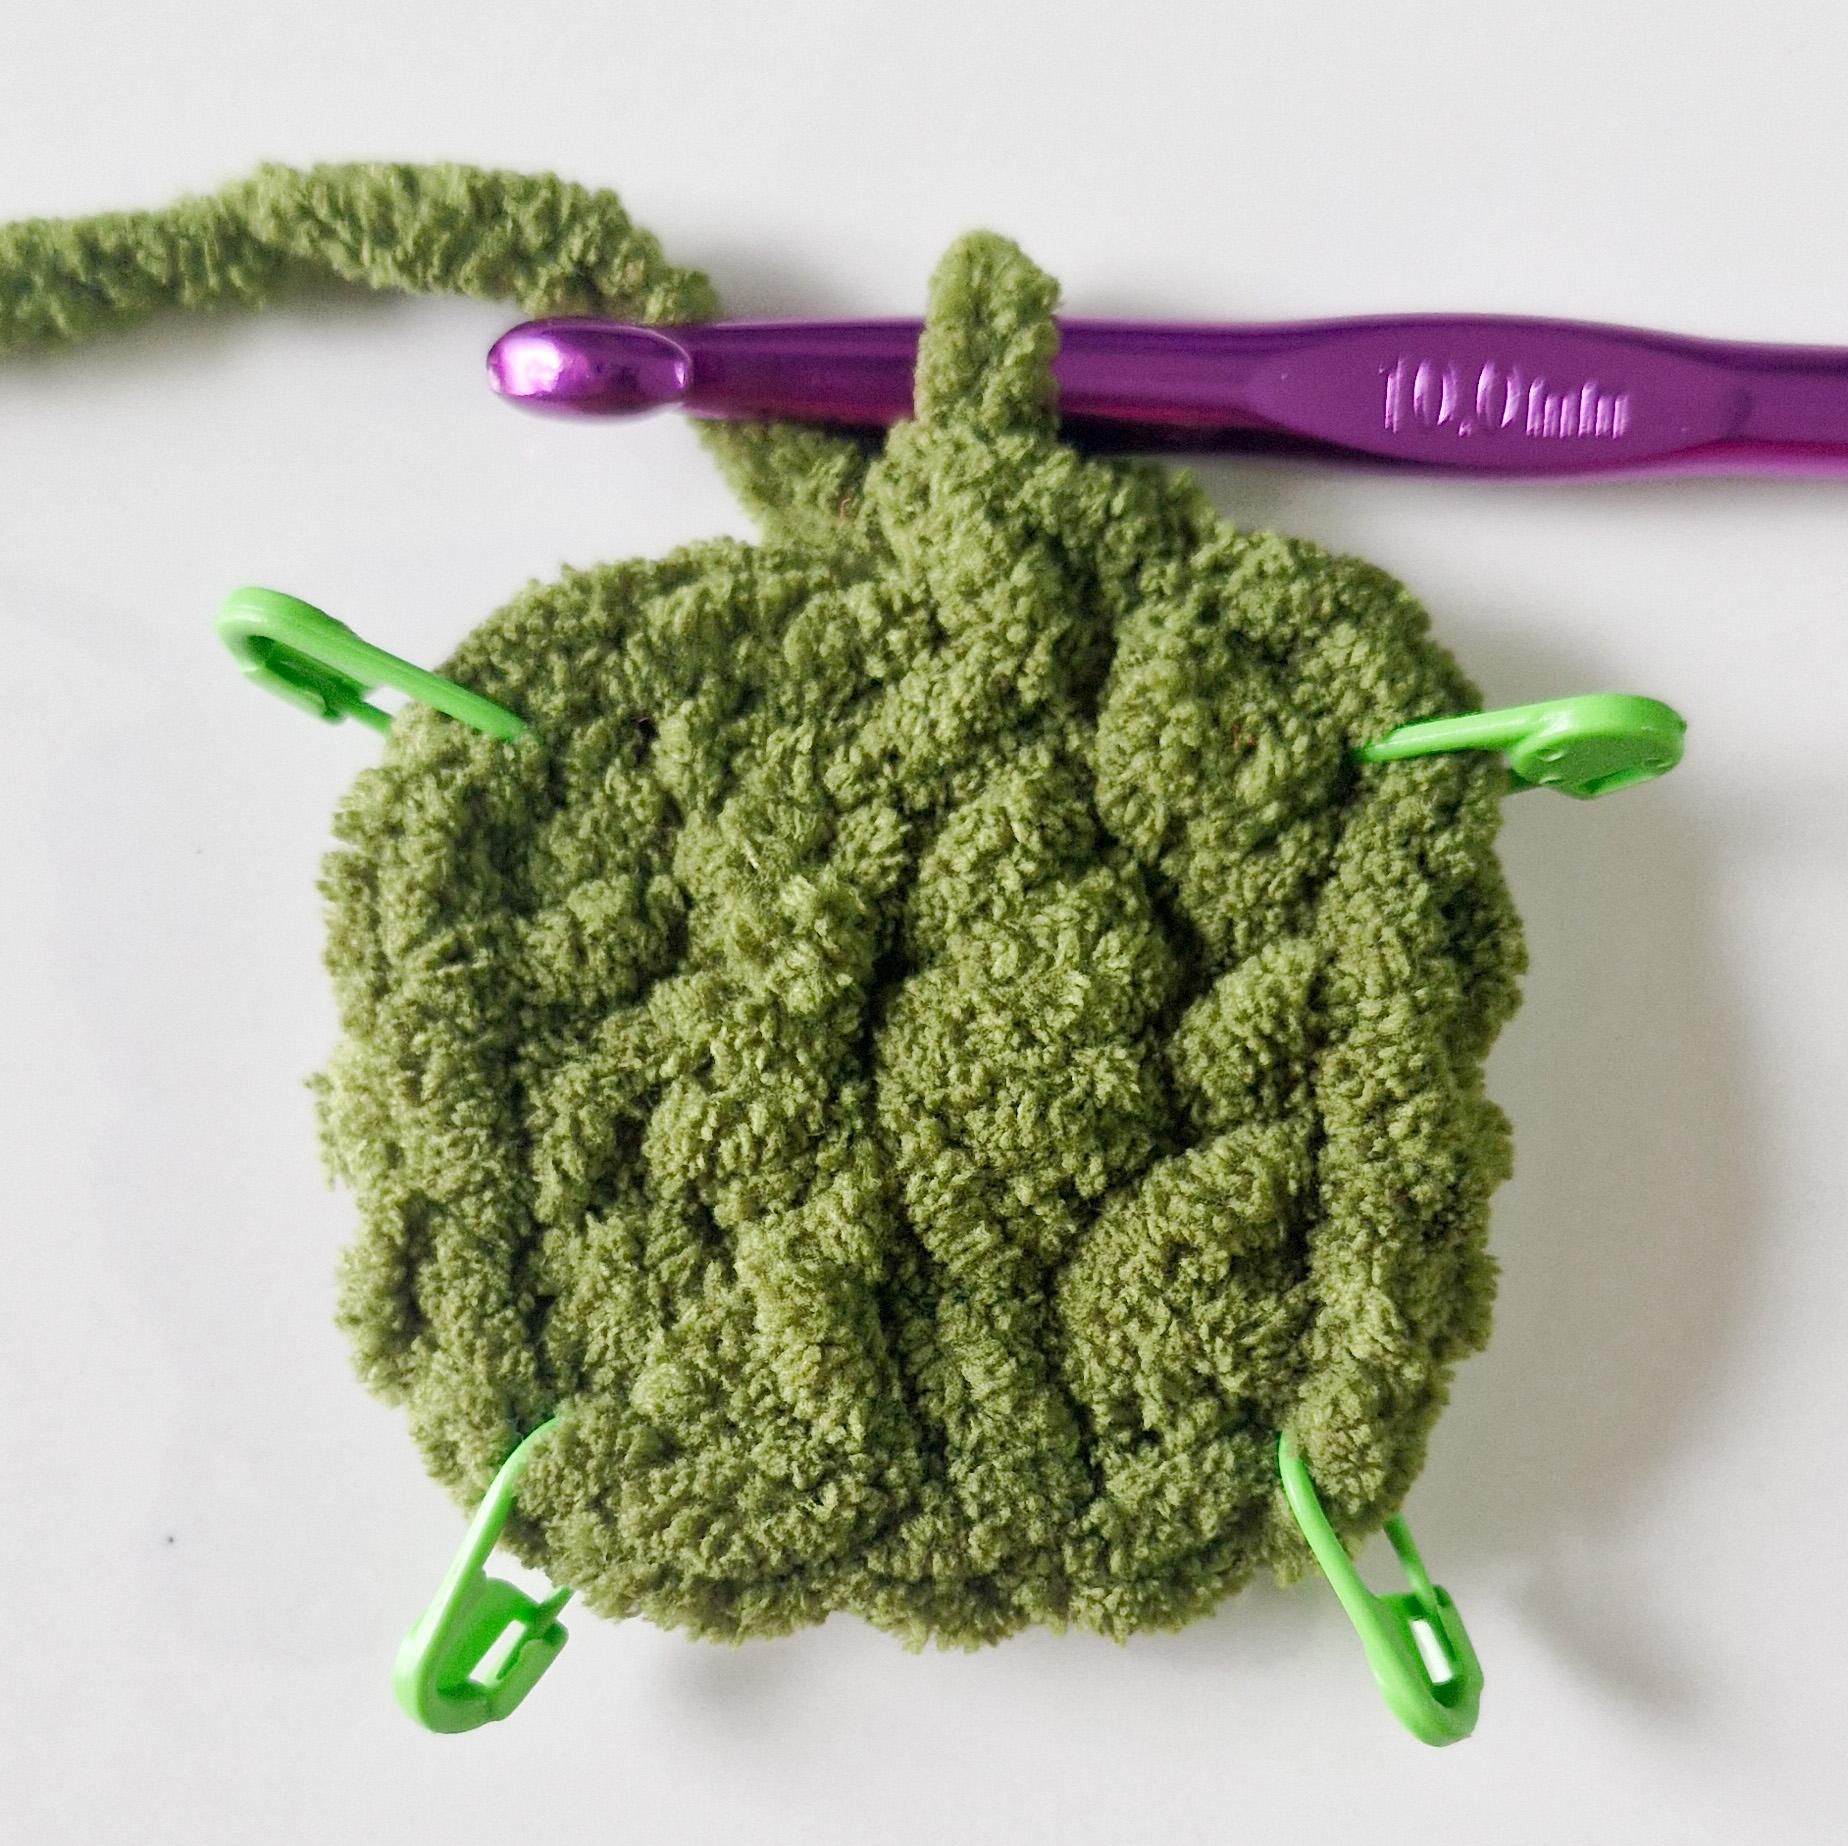
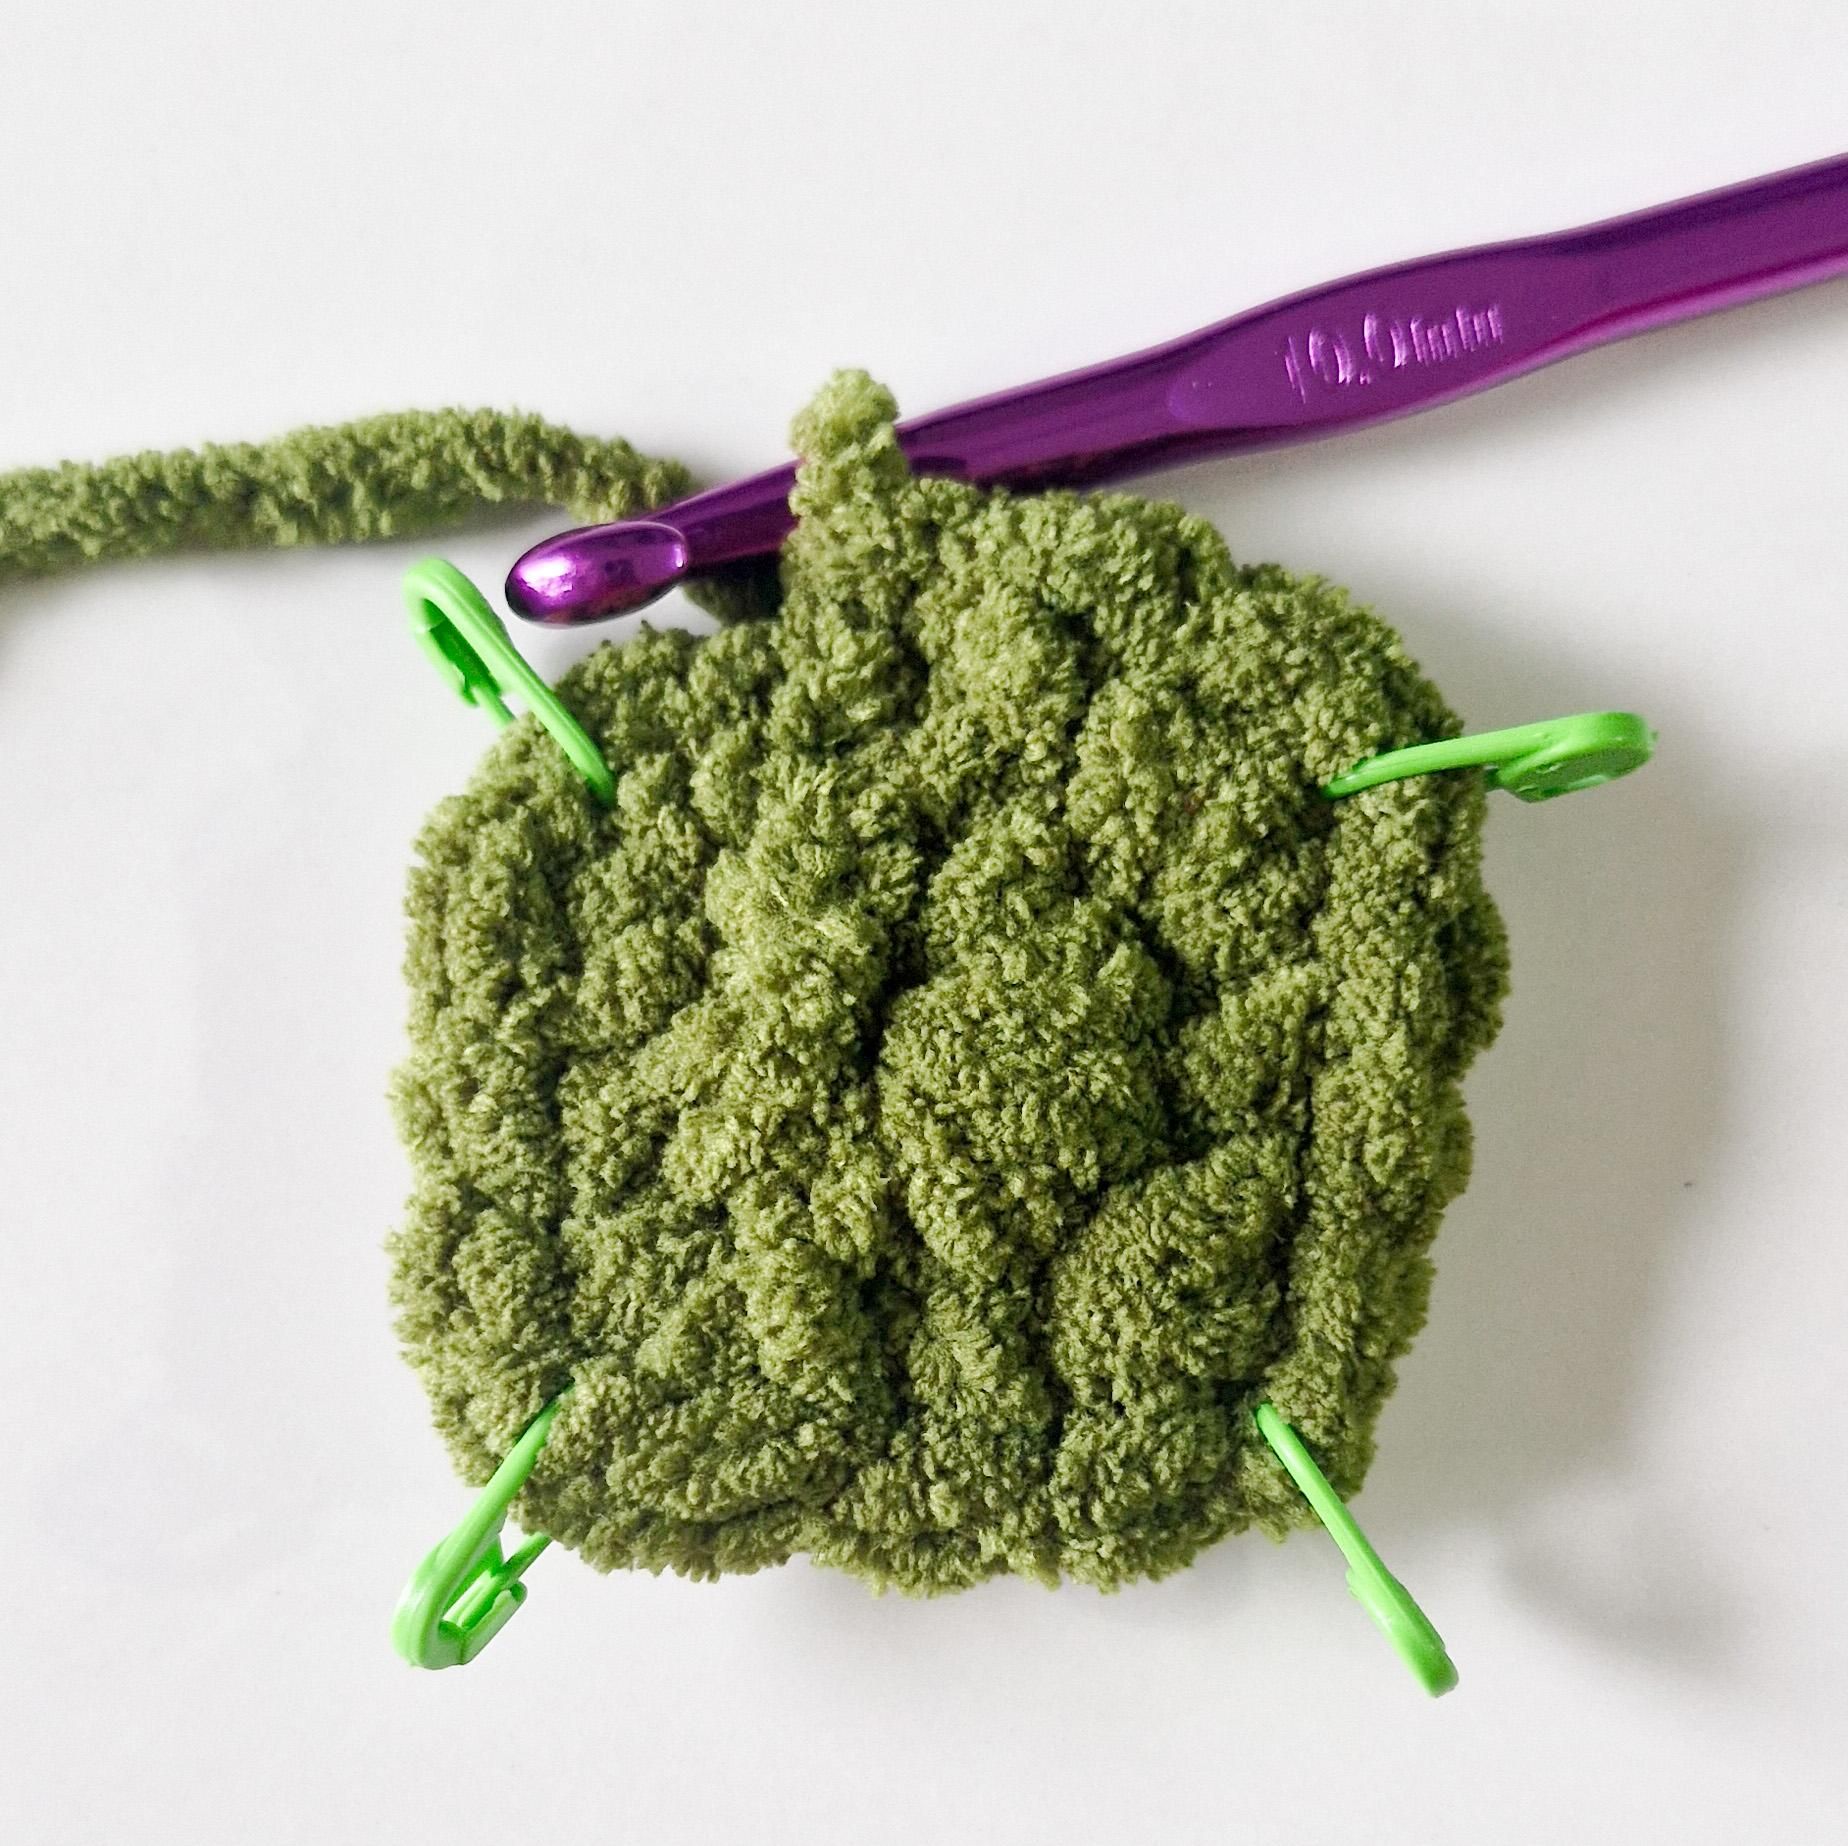
Chain 1.
1 Single Crochet.
3 Single Crochets in the next stitch.(Mark the middle stitch with a stitch marker(i.e. the Second Stitch of the 3 Single Crochets)This will form the corner of the square.)
1 Single Crochet in the next stitch.
3 Single Crochets in the next stitch.( Mark the middle stitch)
Repeat*(1 SC, 3SC) in rest of the stitches.
Slip Stitch on top of the first Single Crochet.
Round 3:-
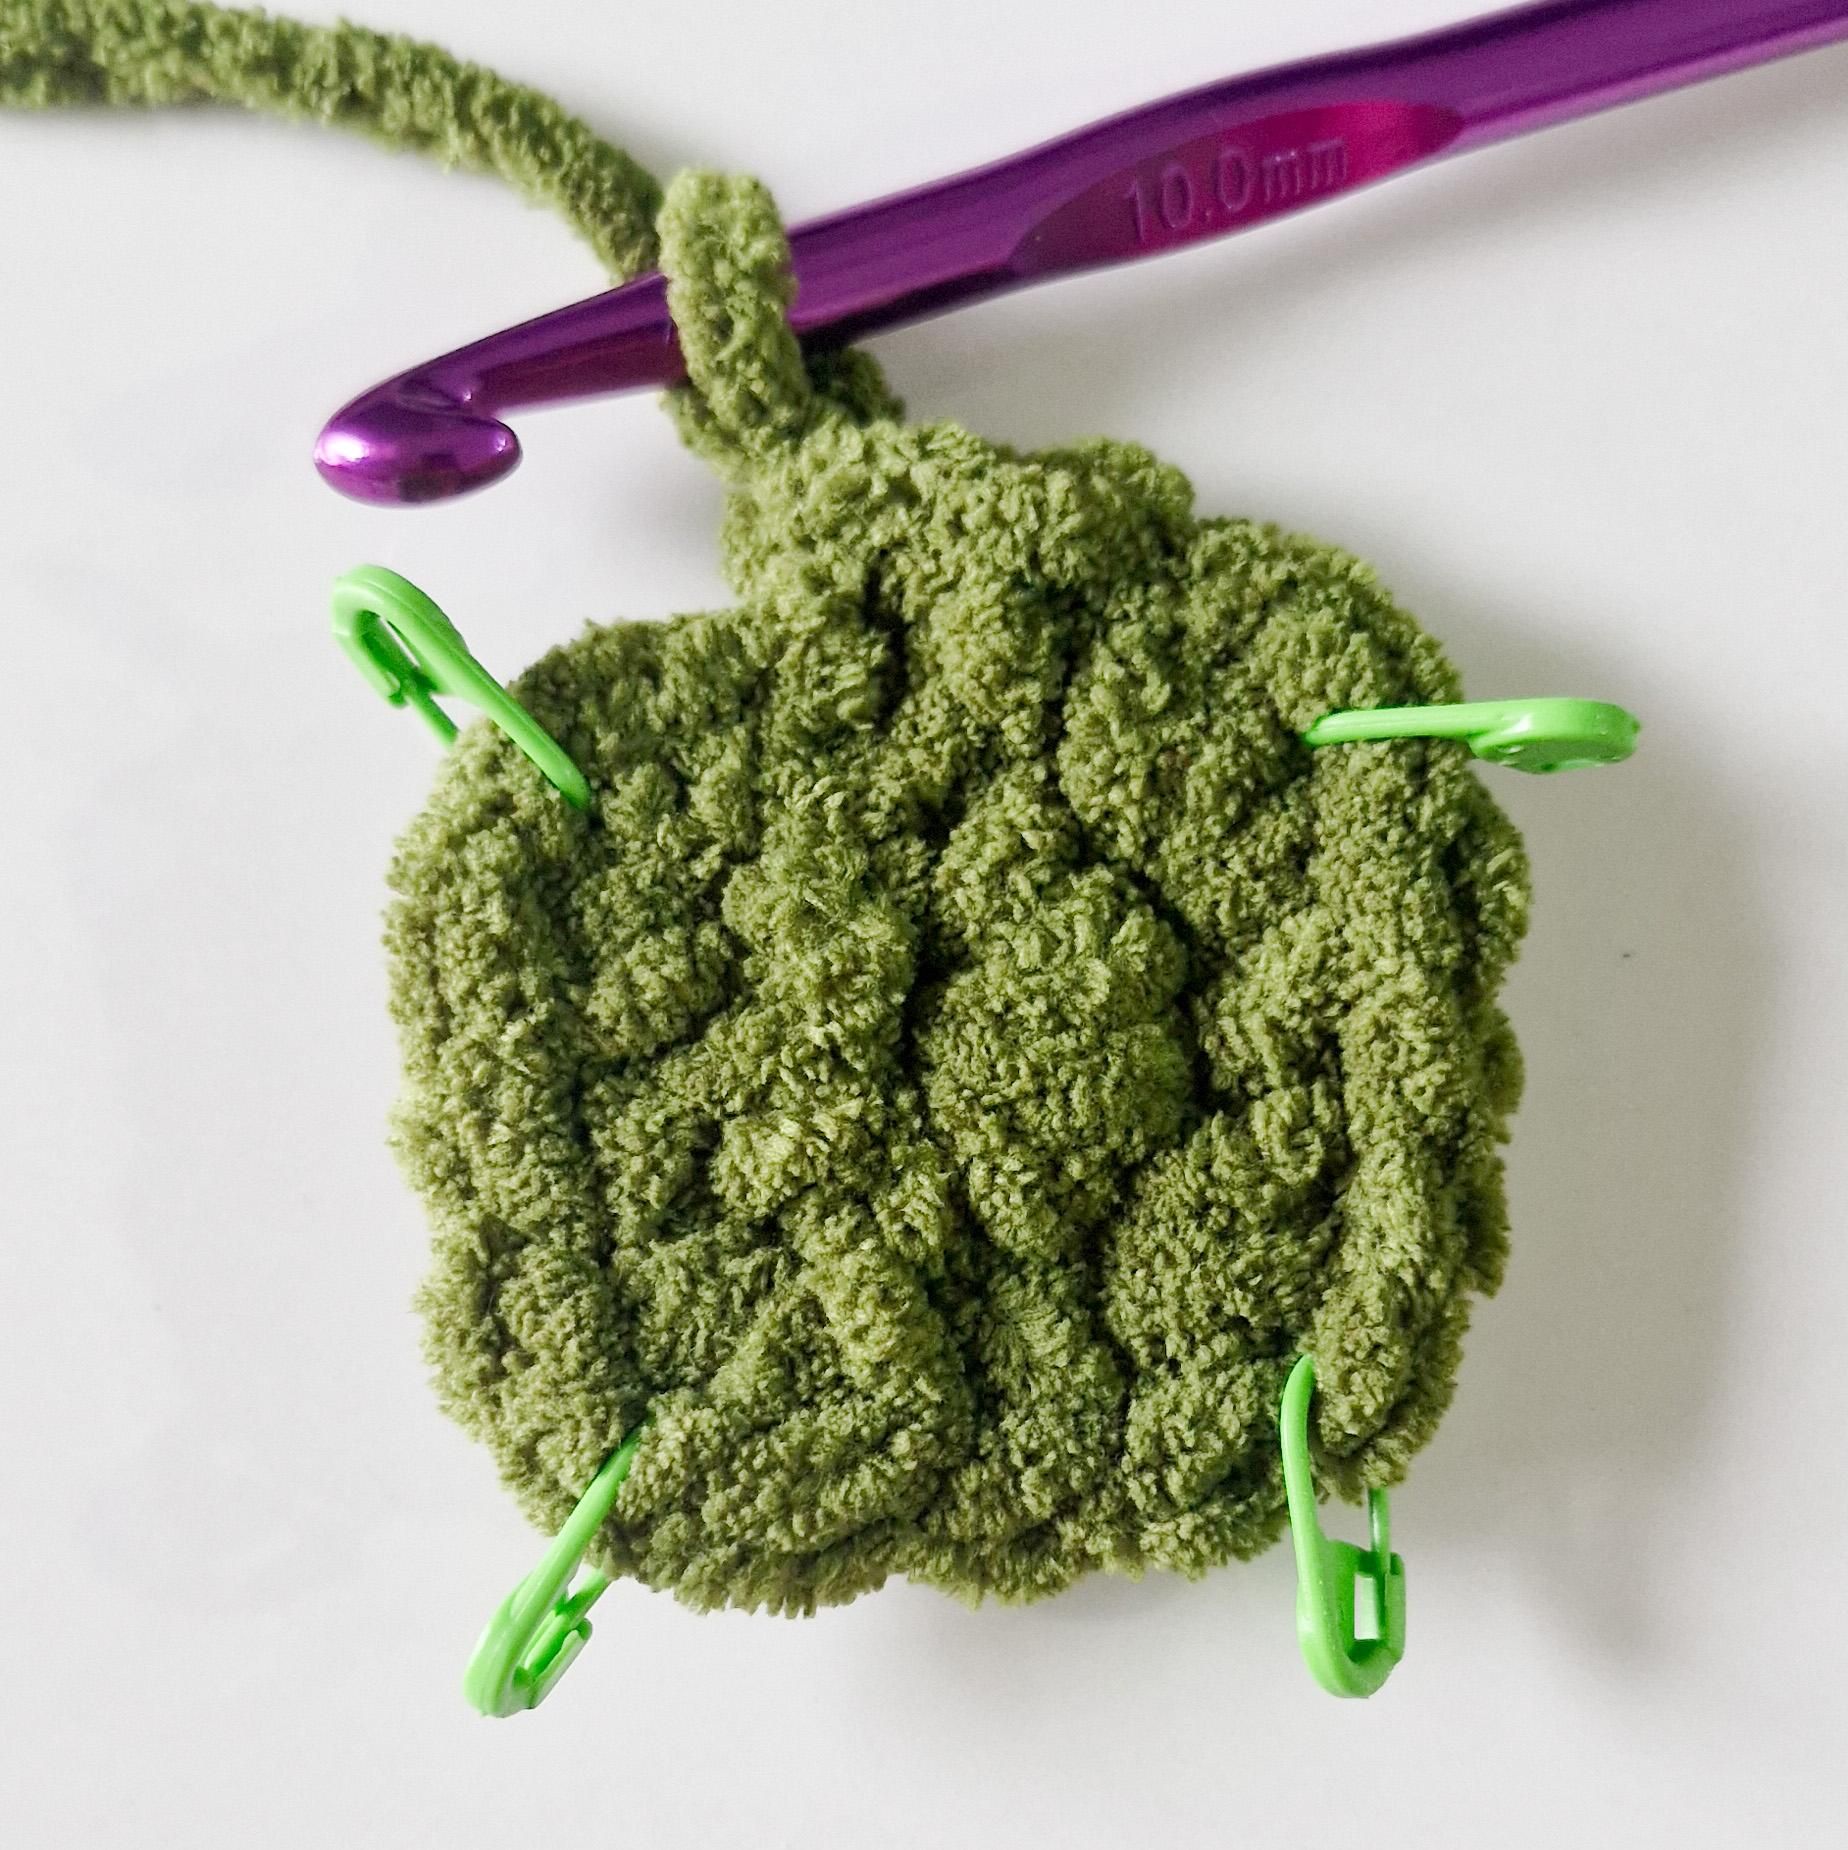
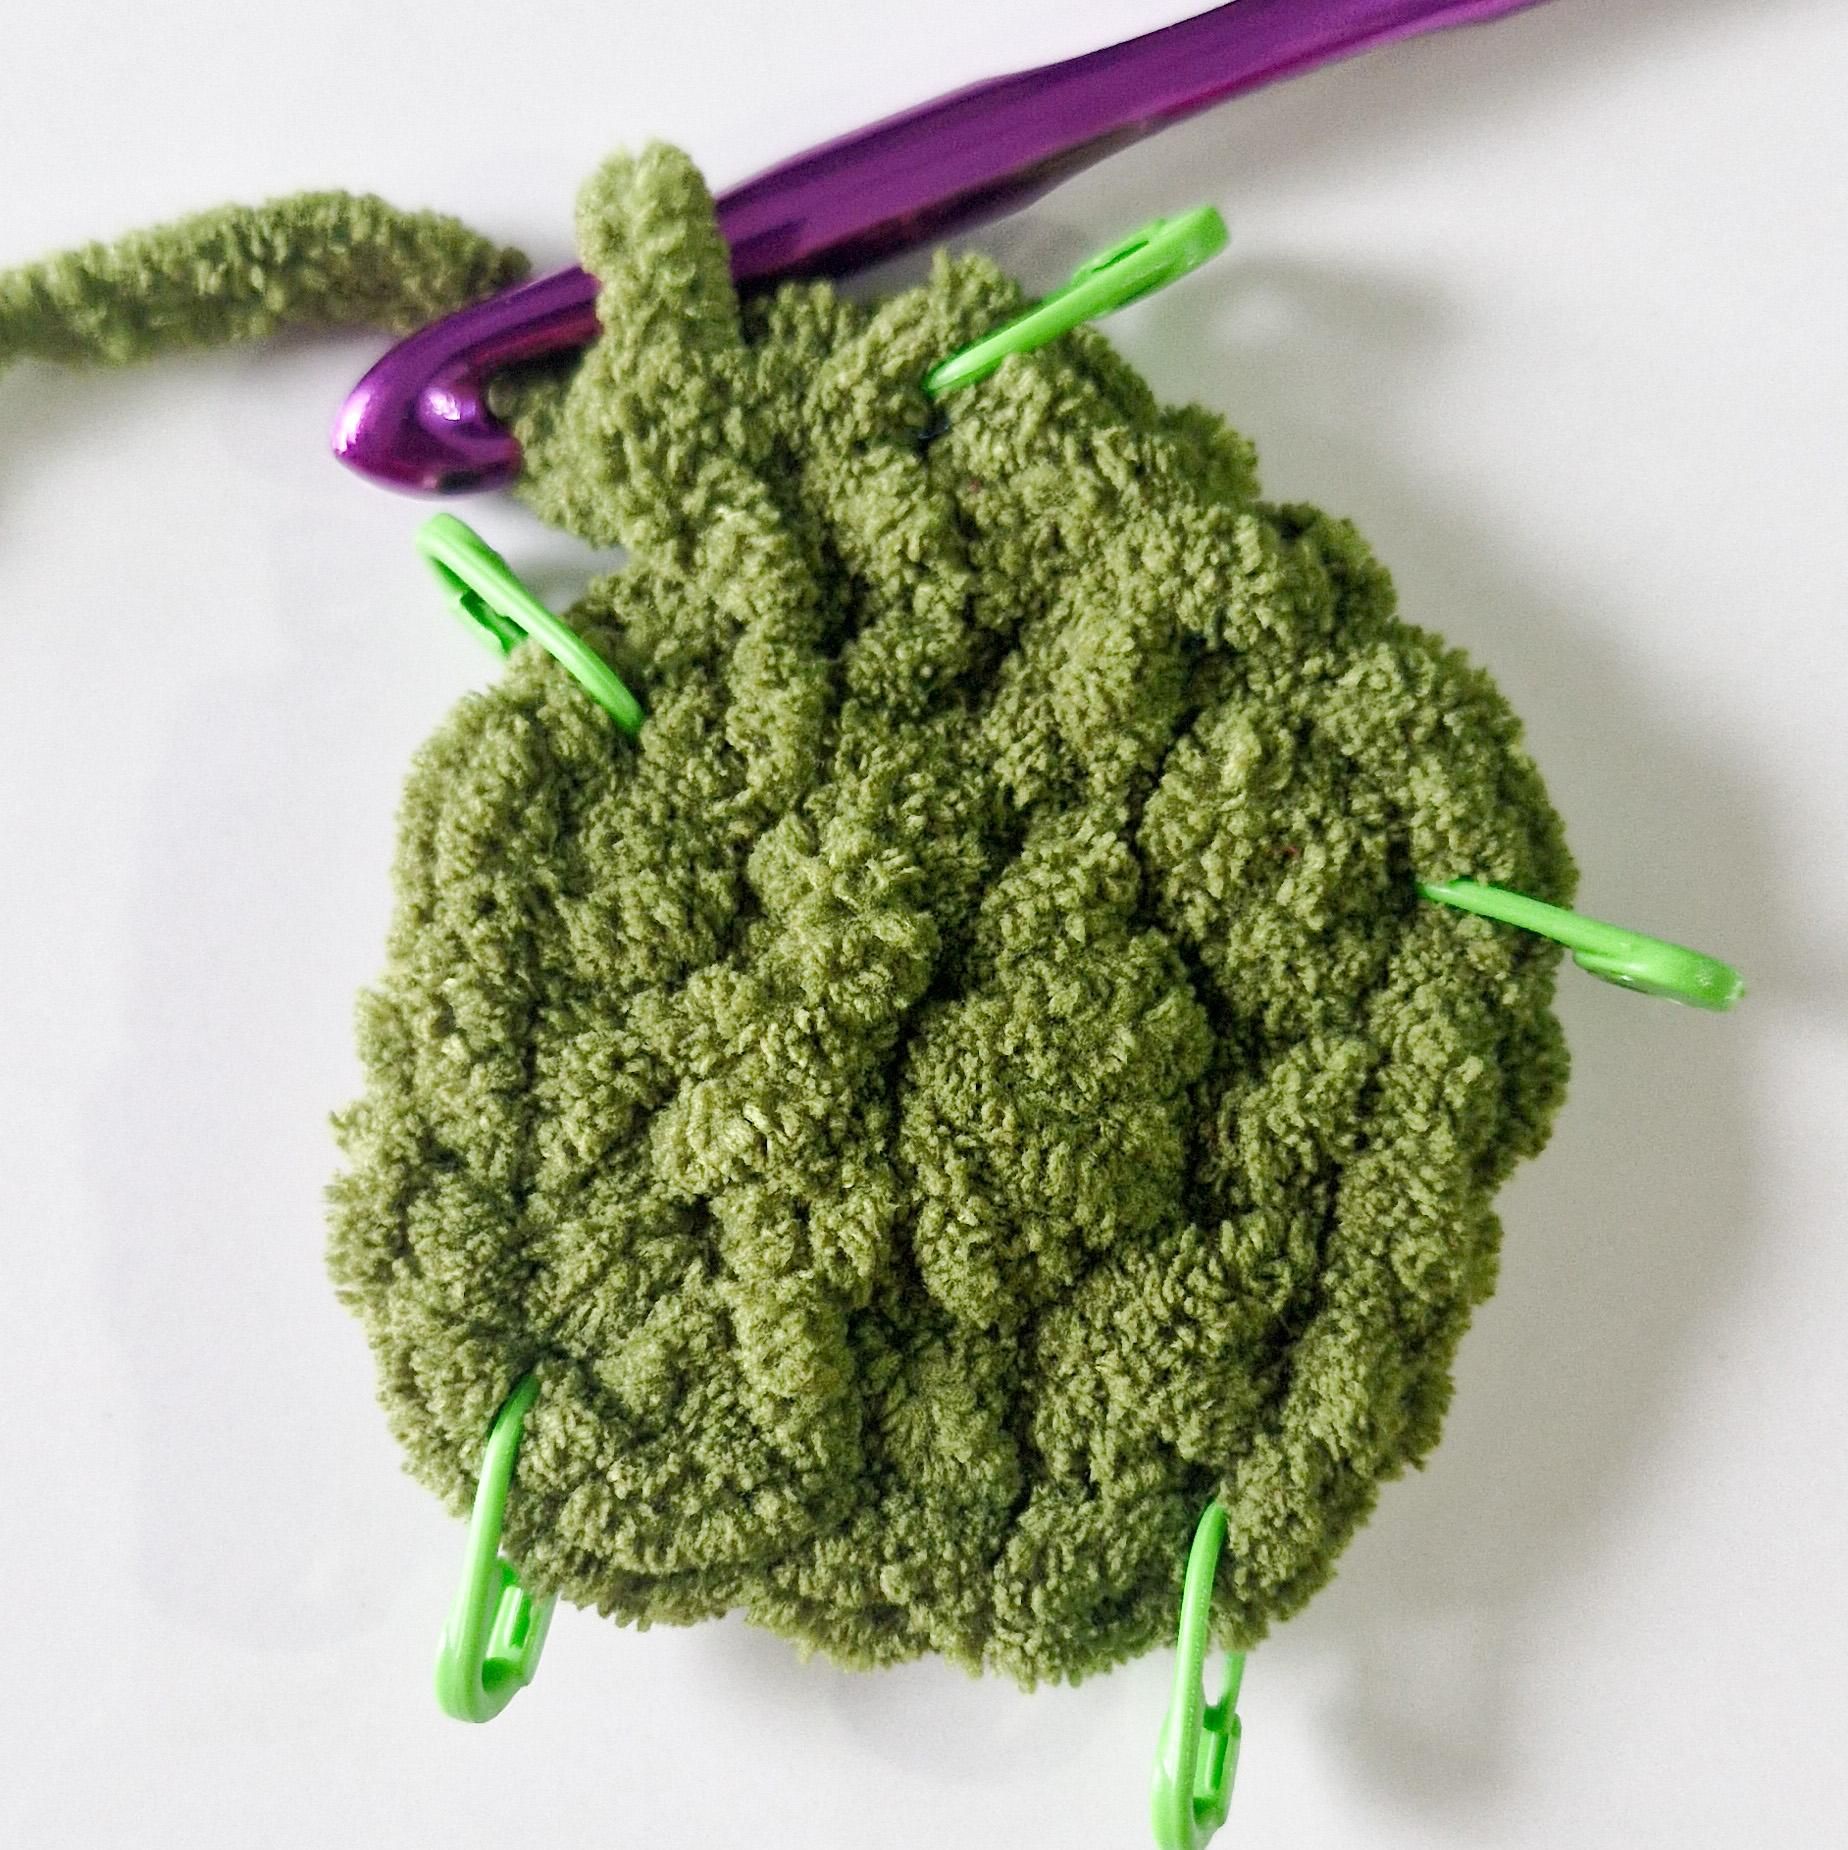
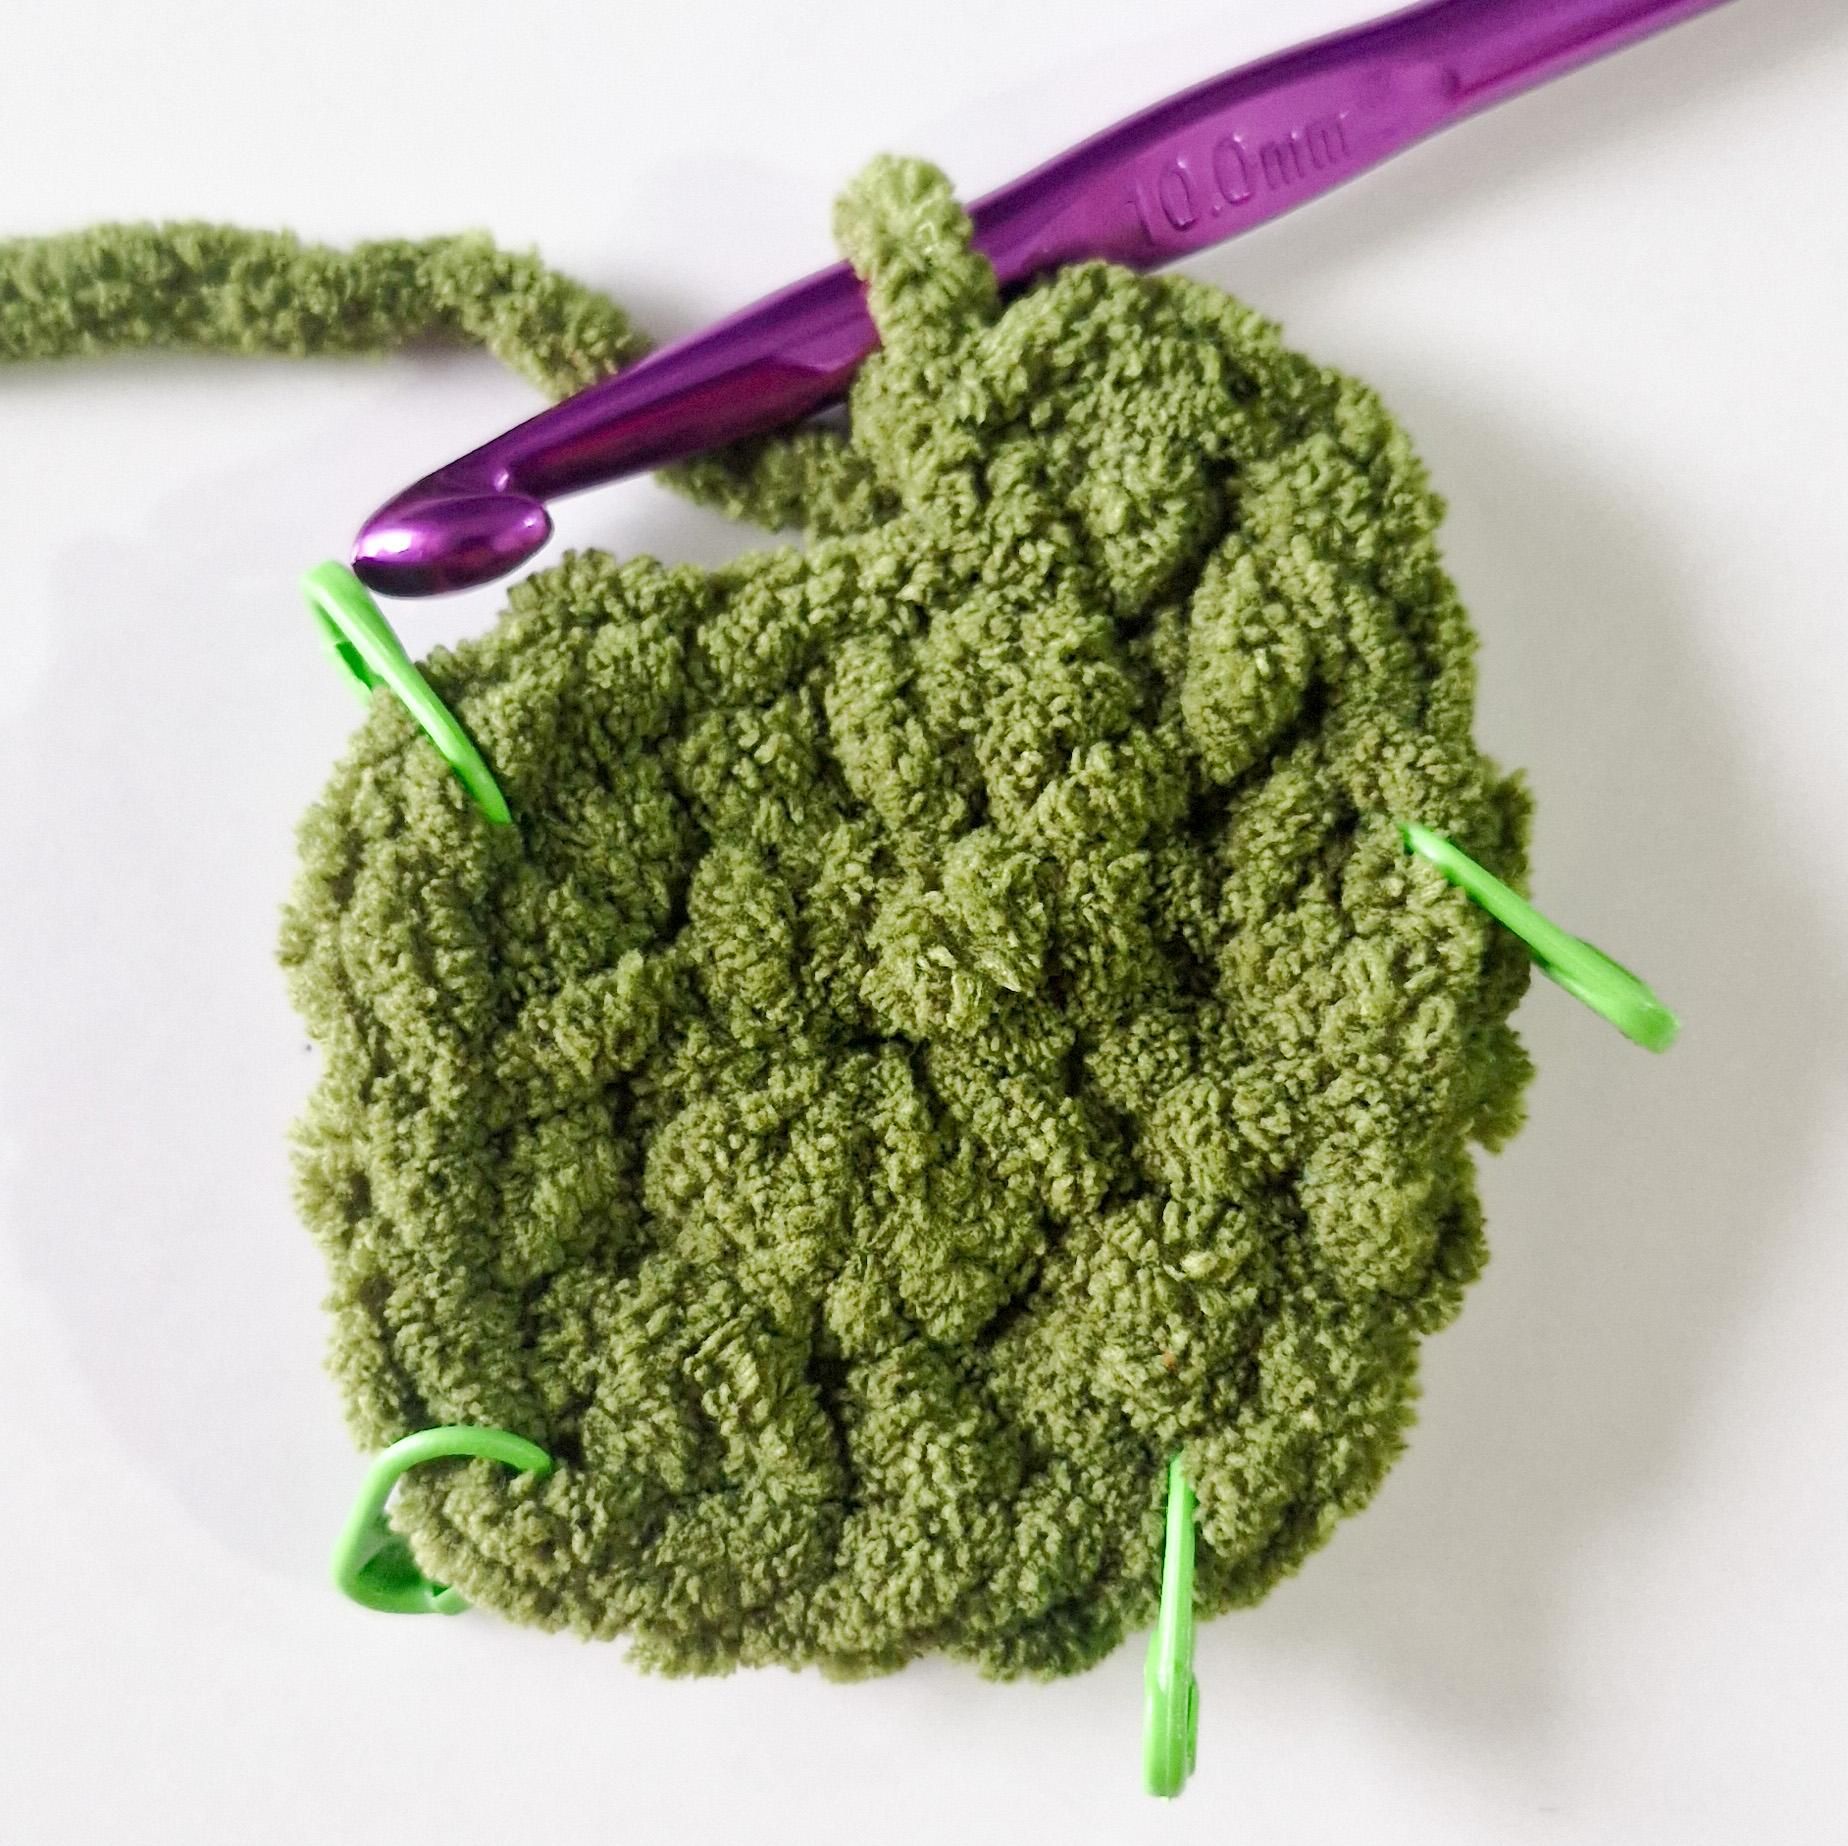
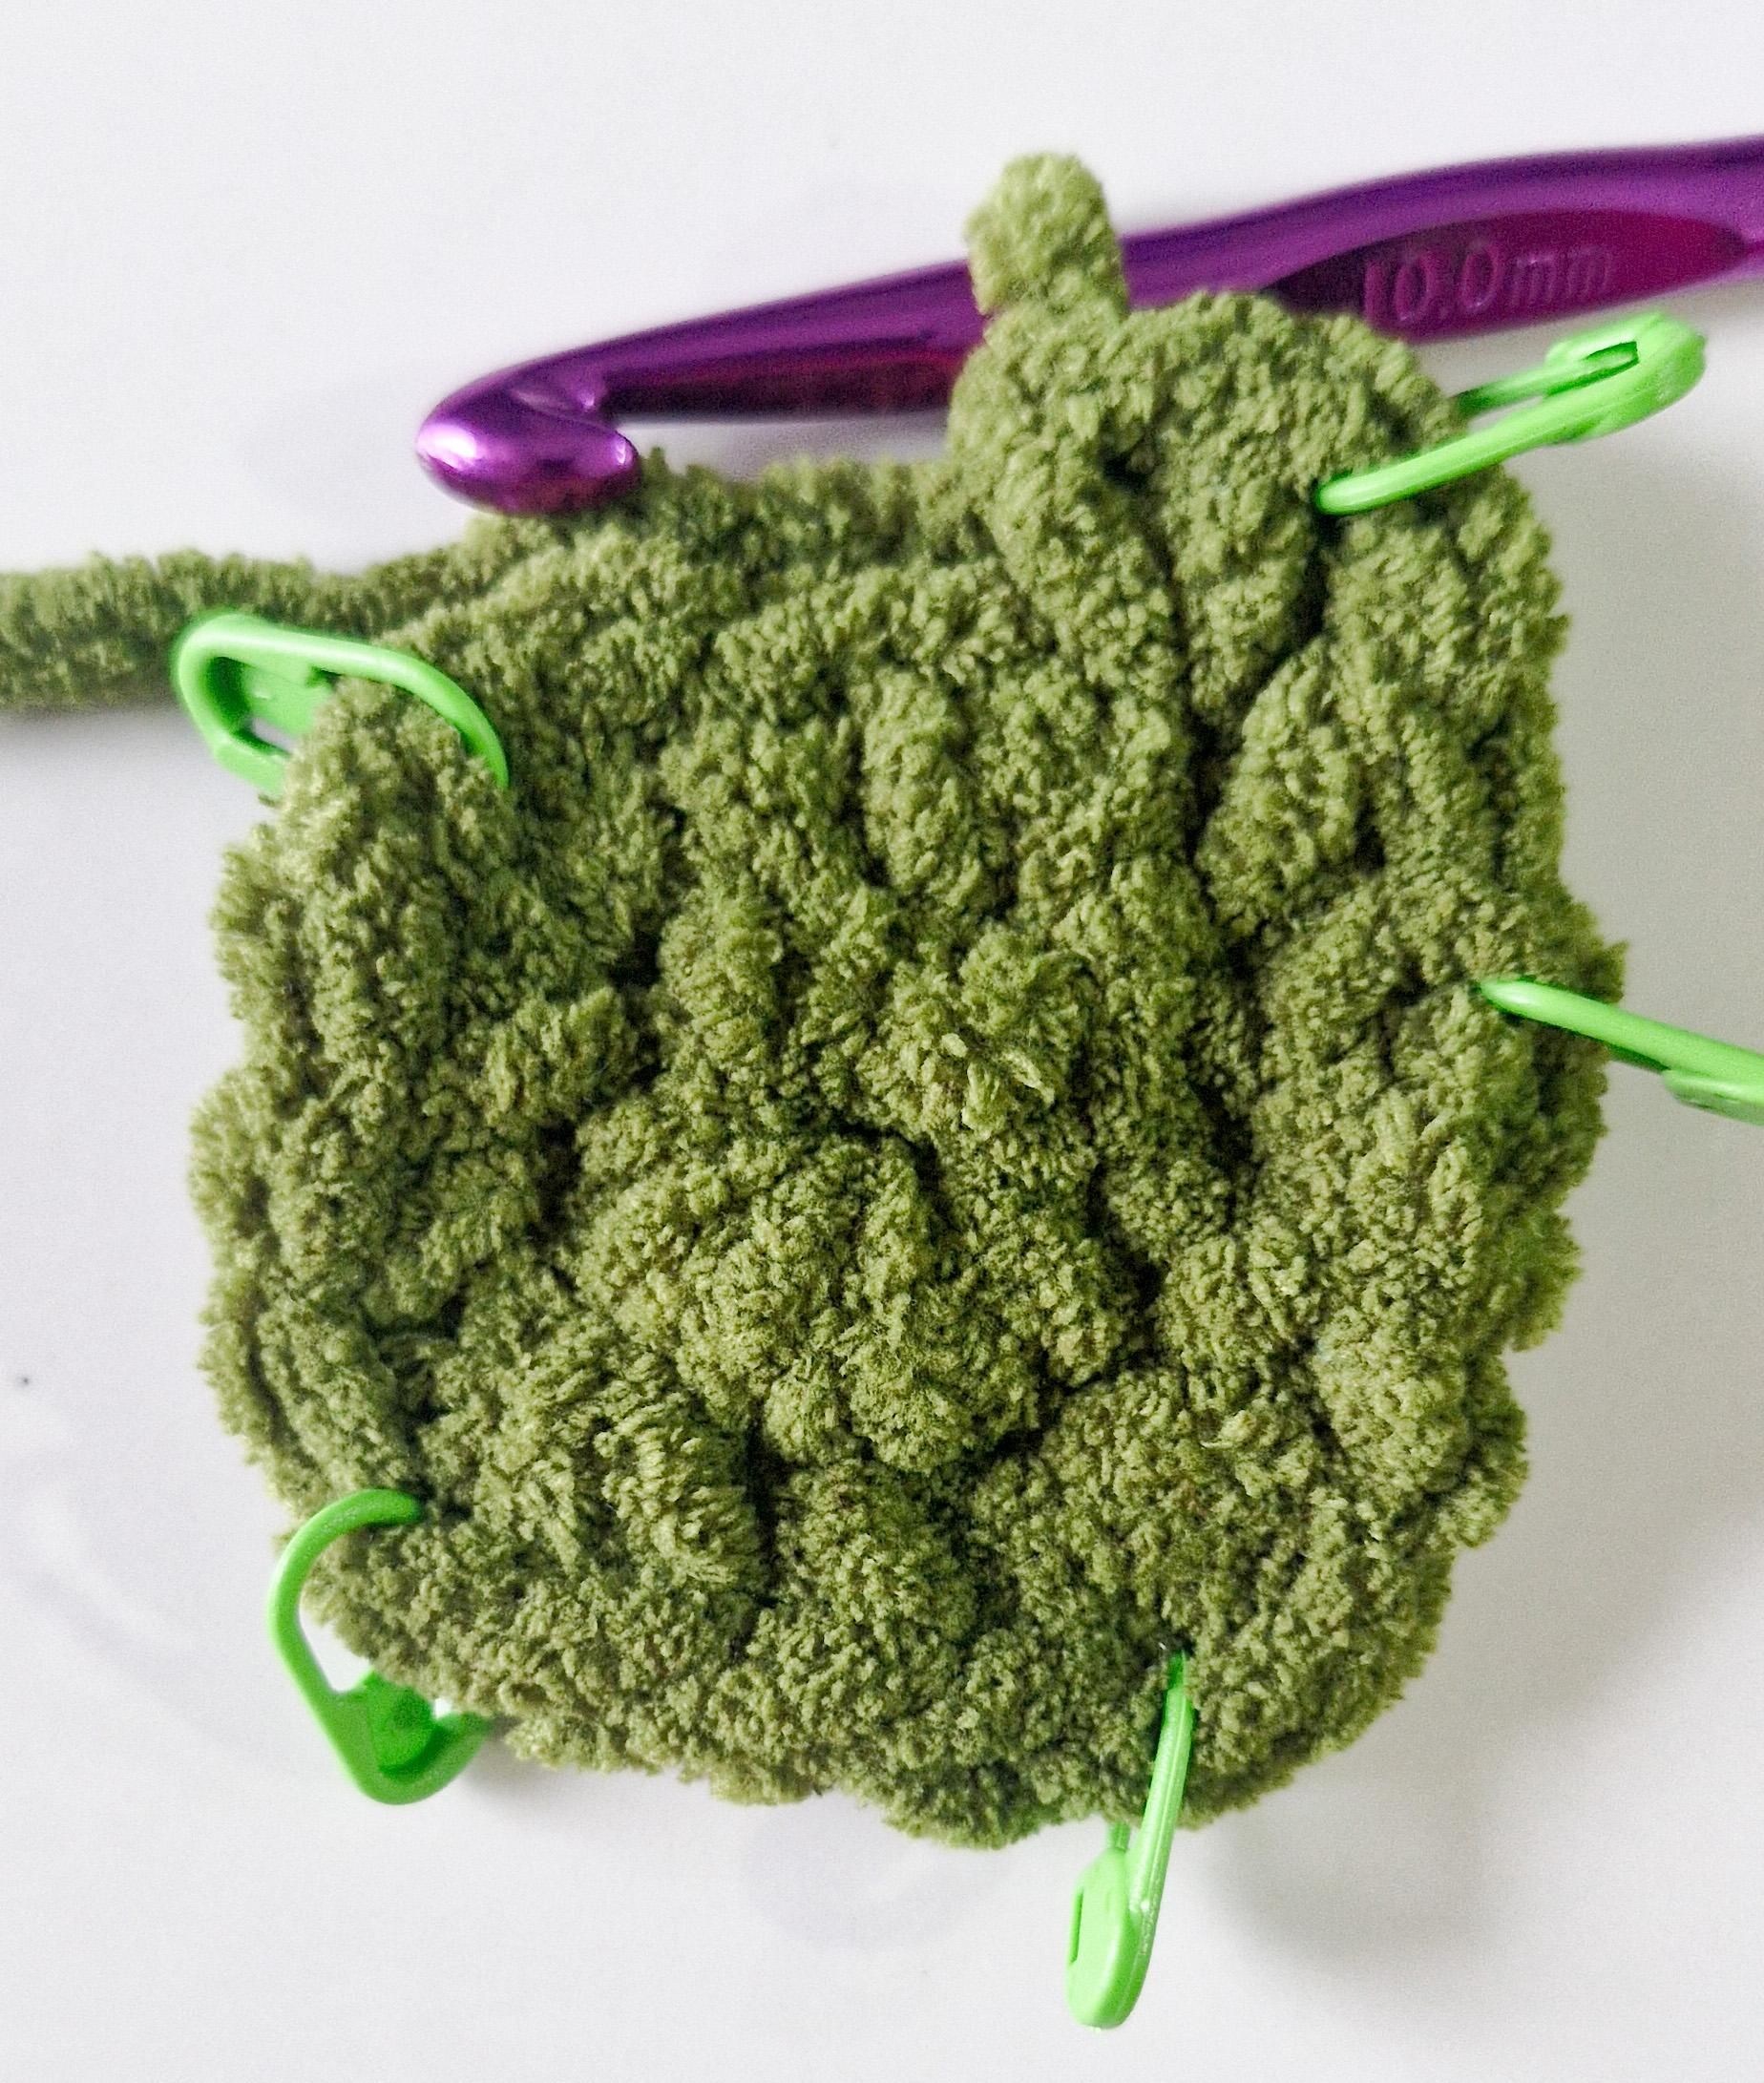
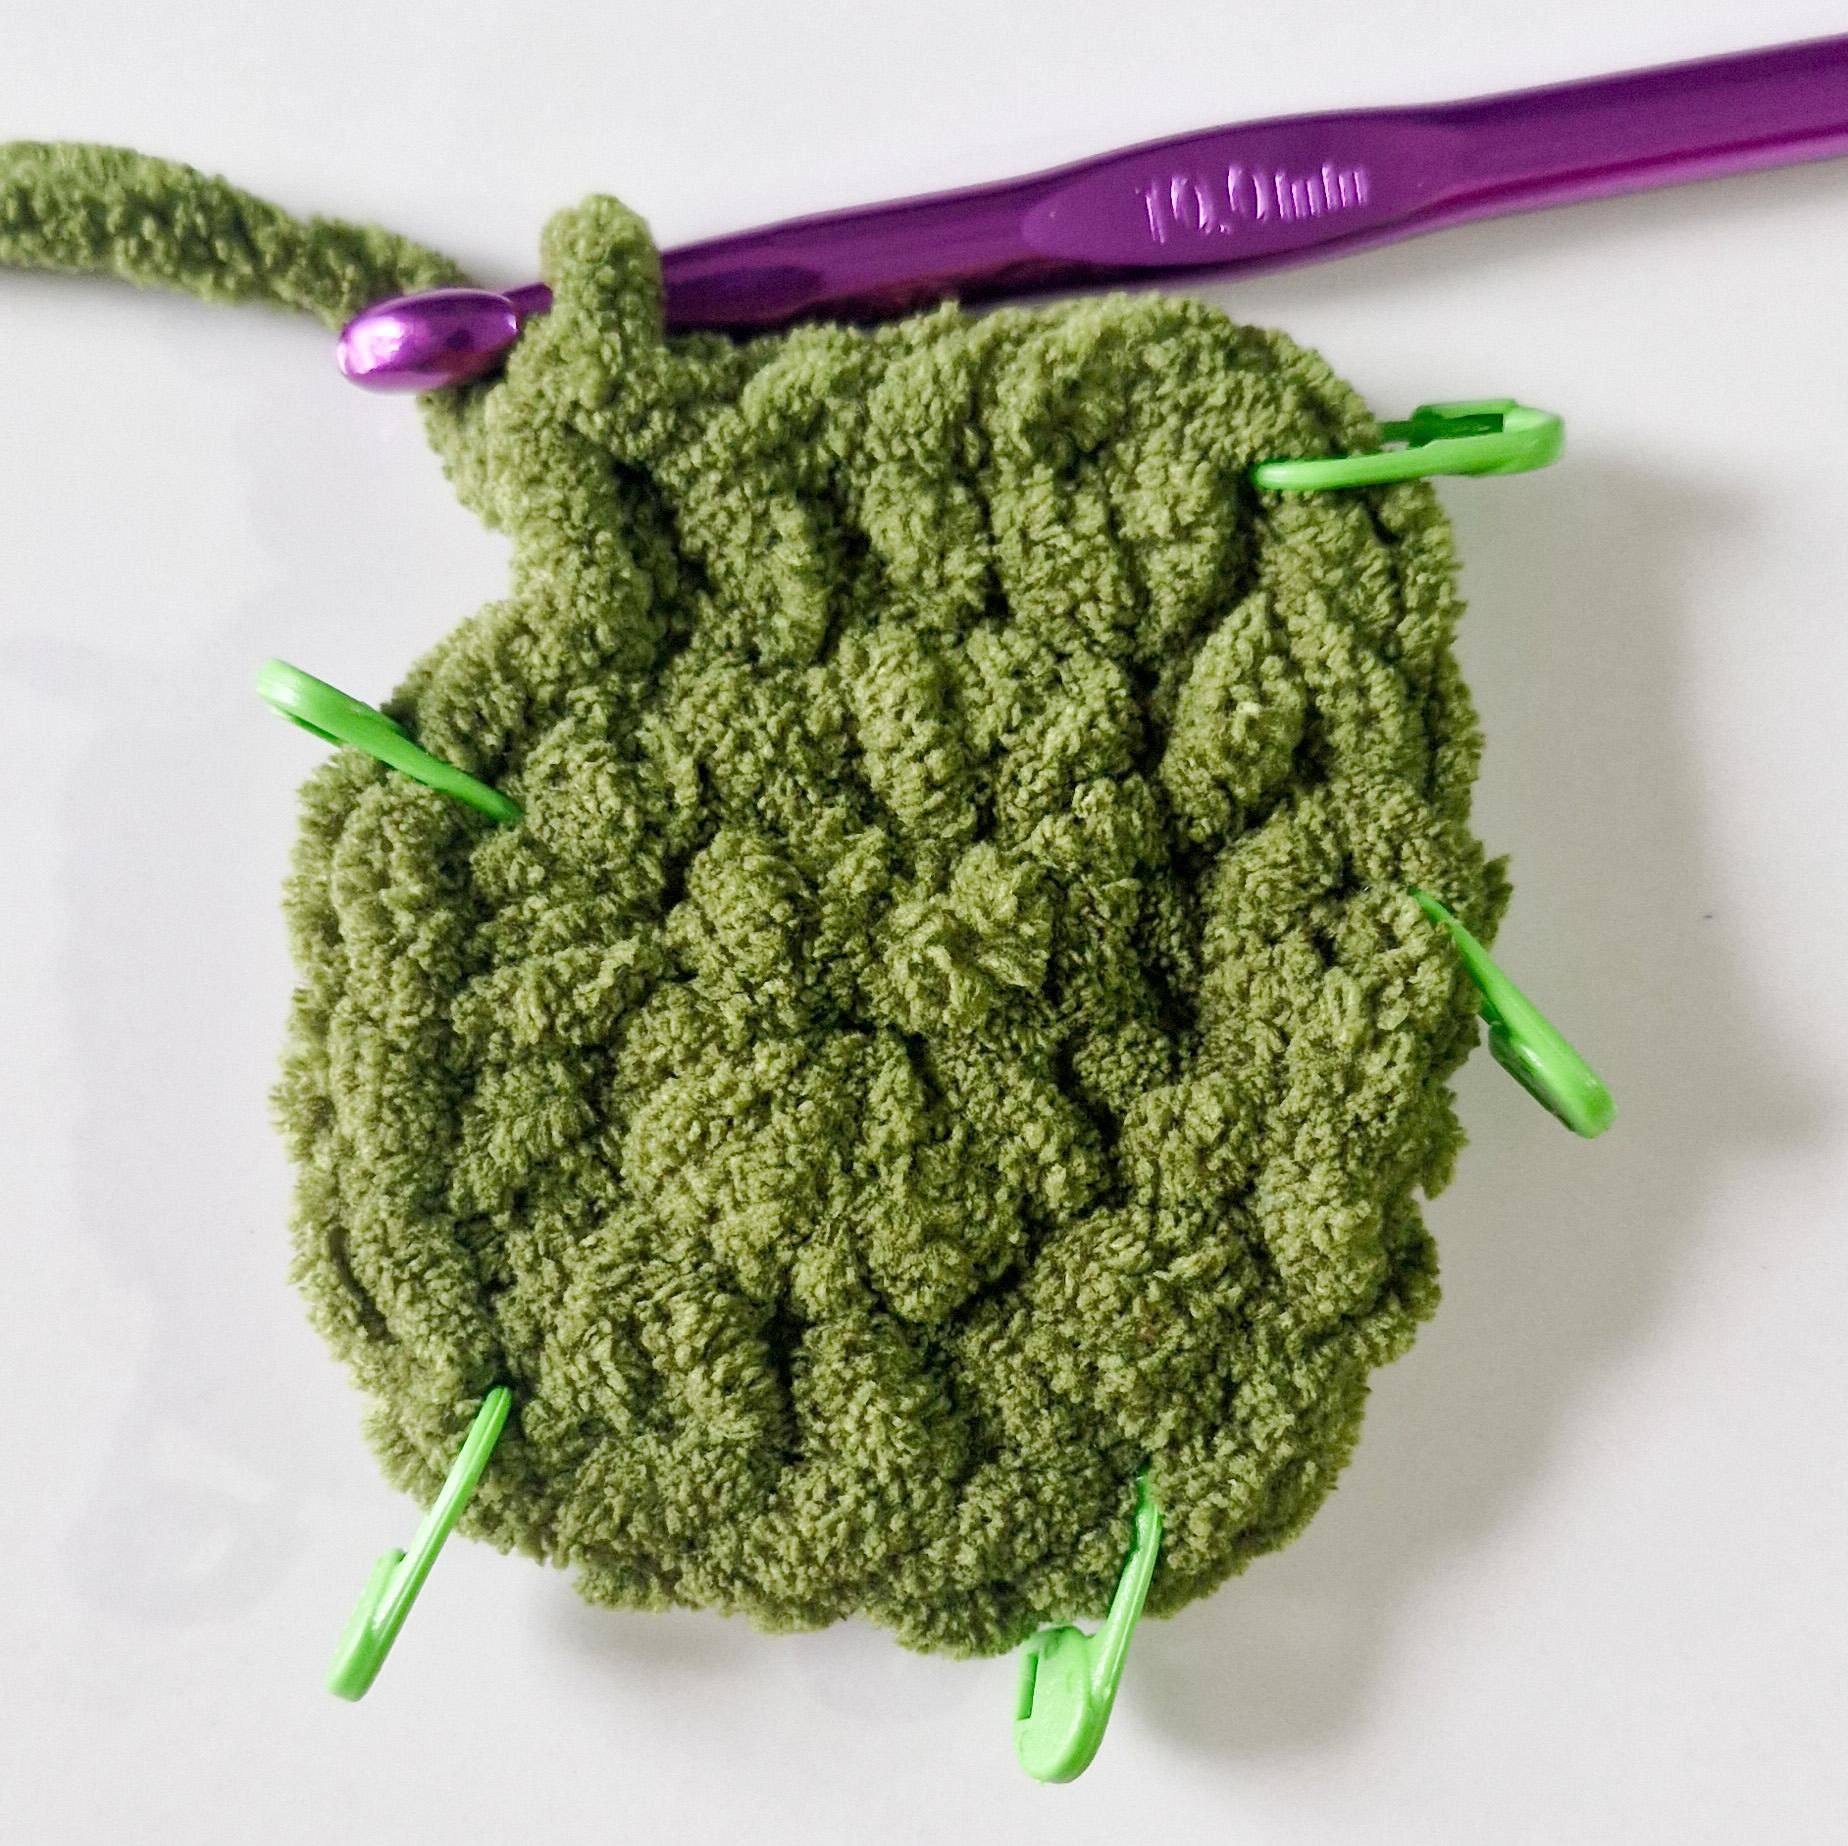
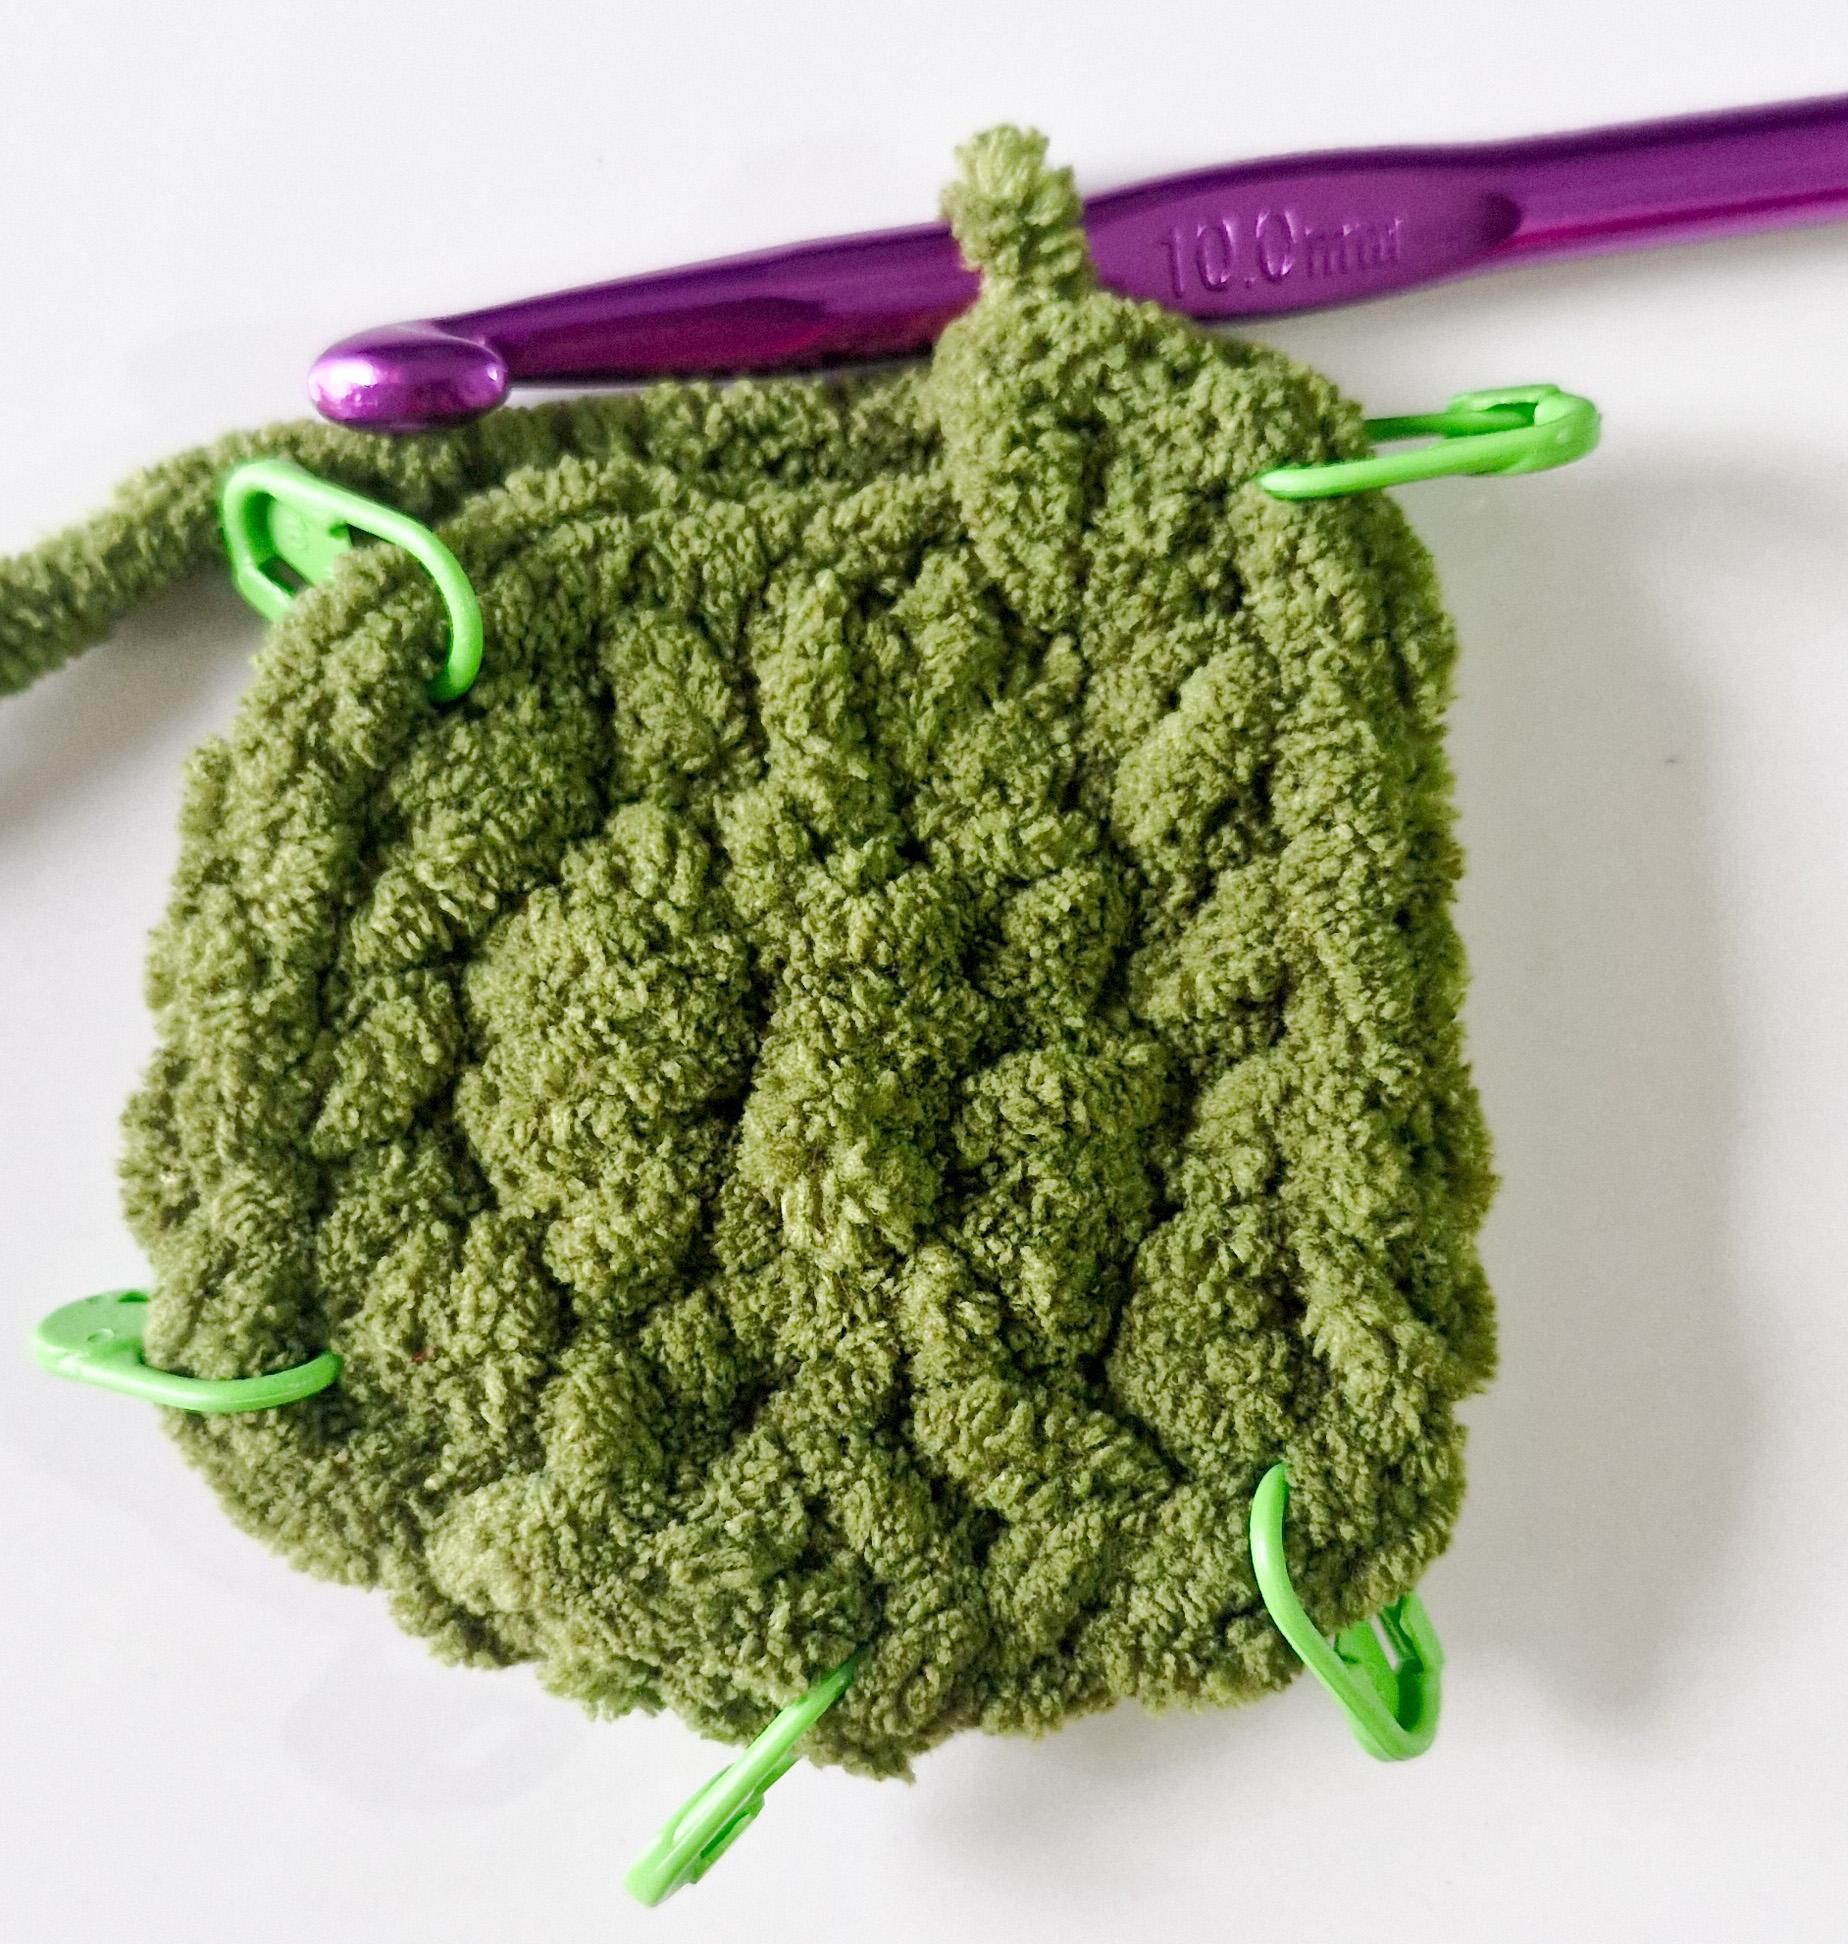
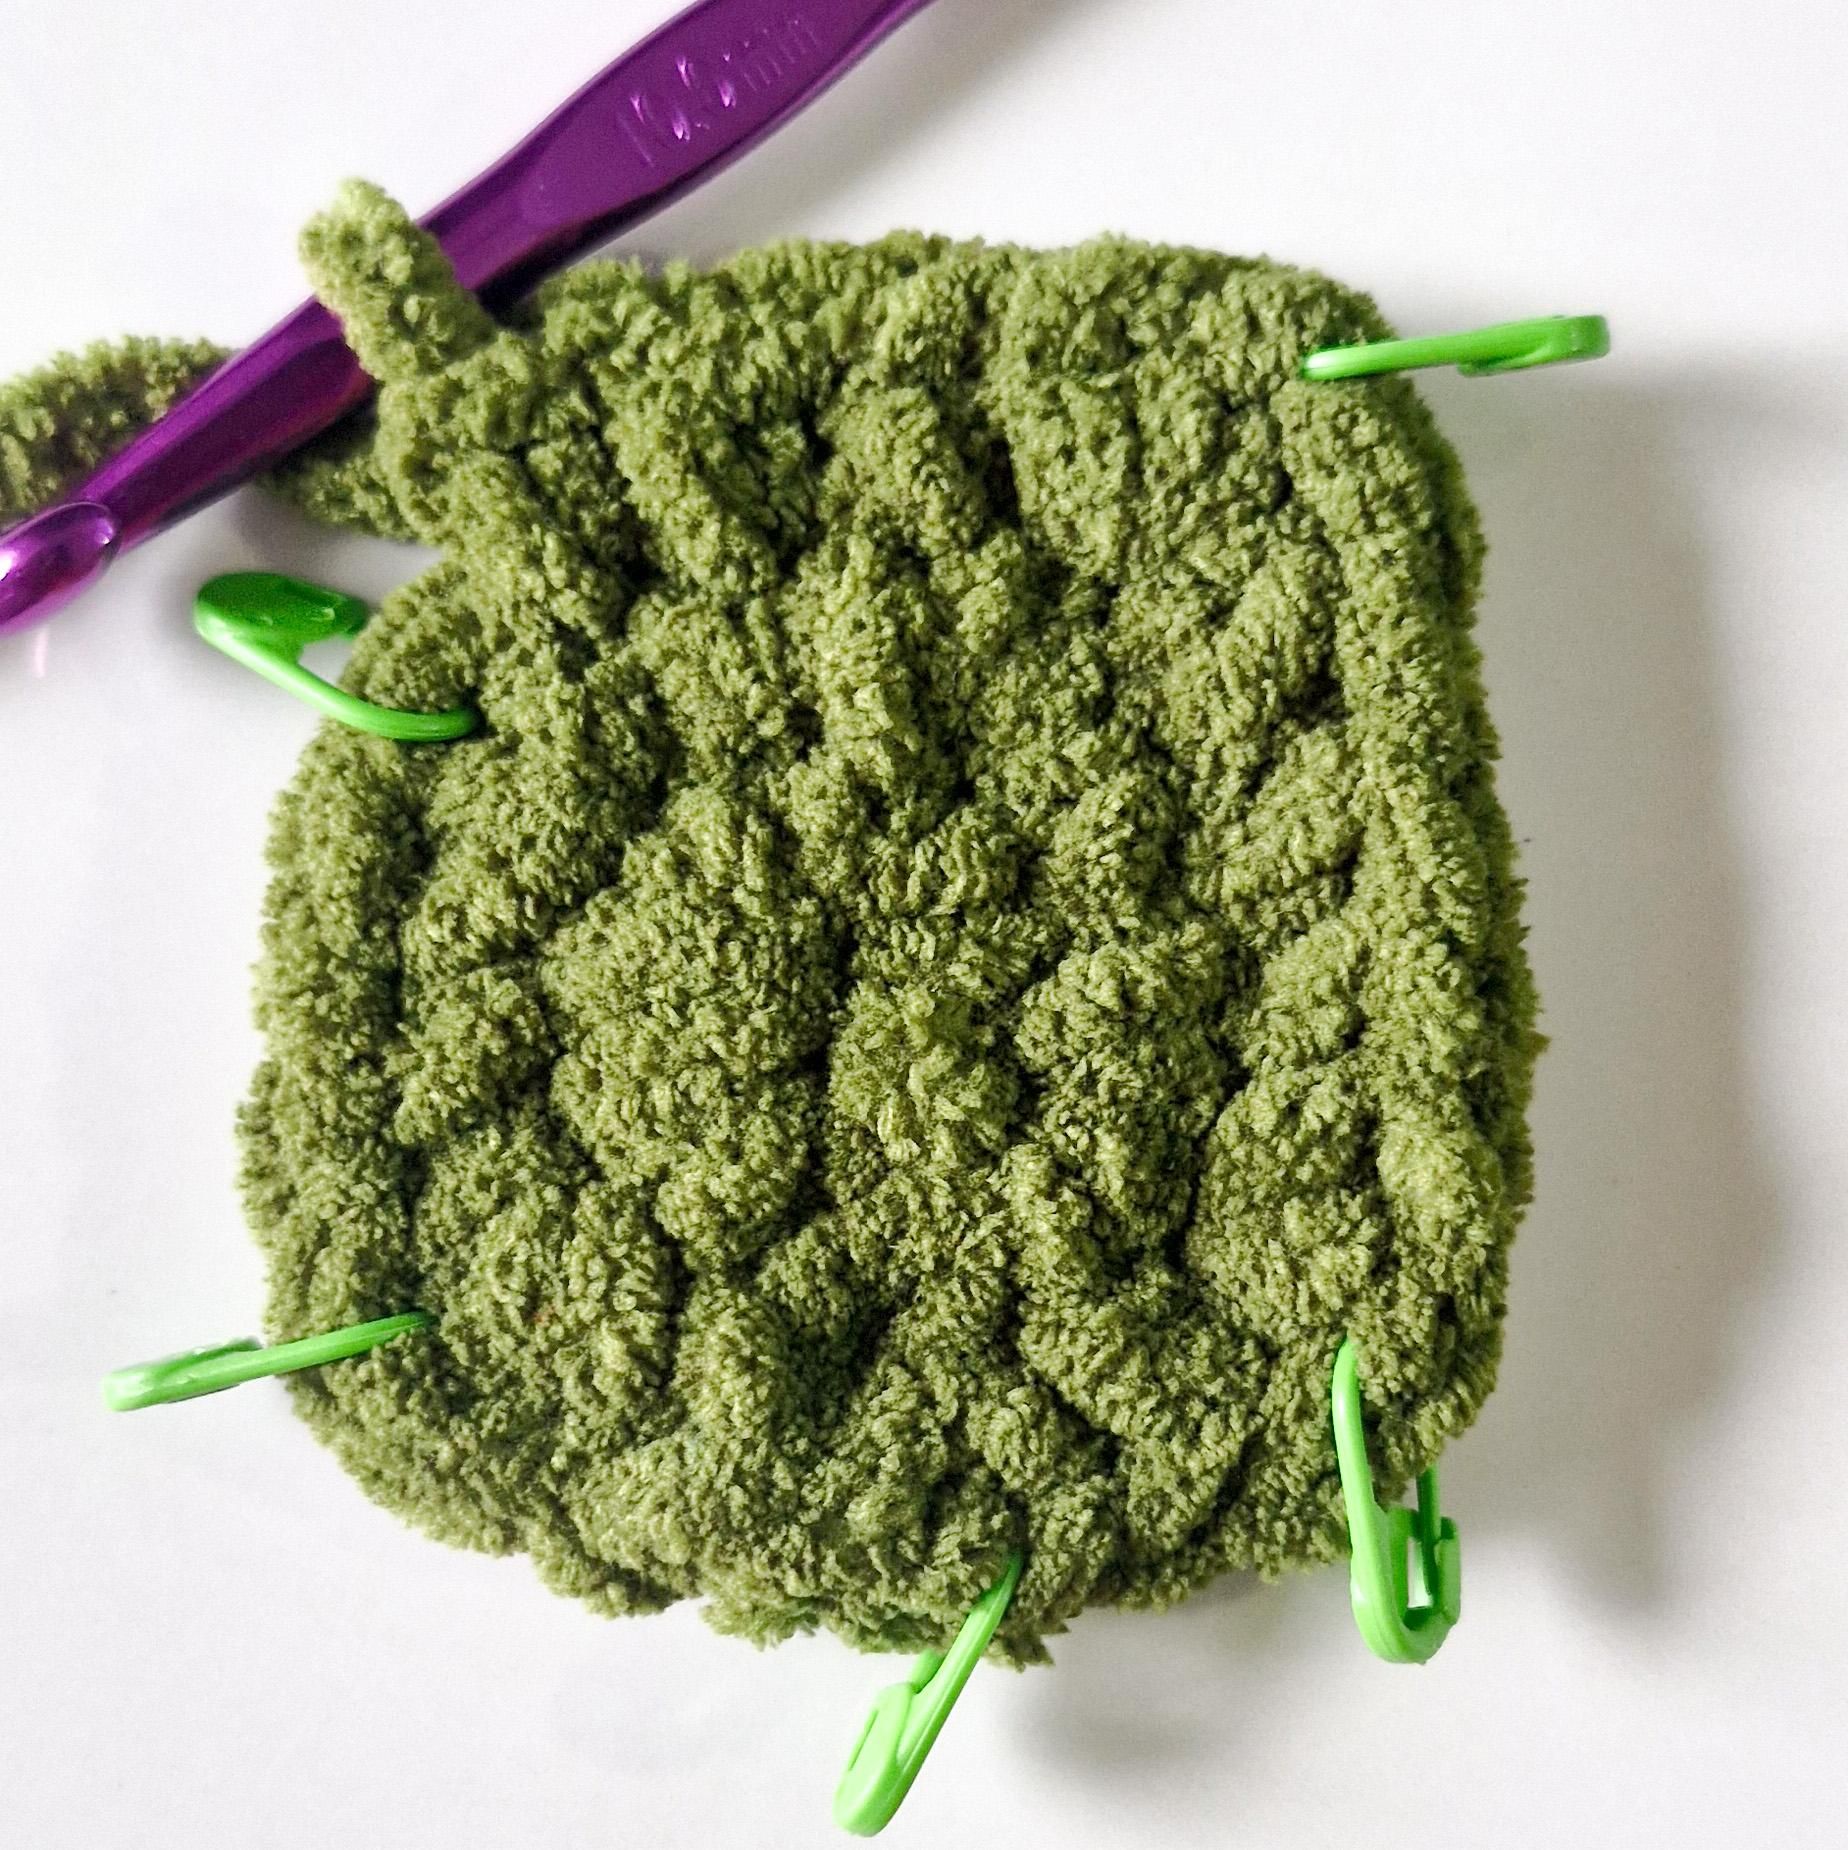
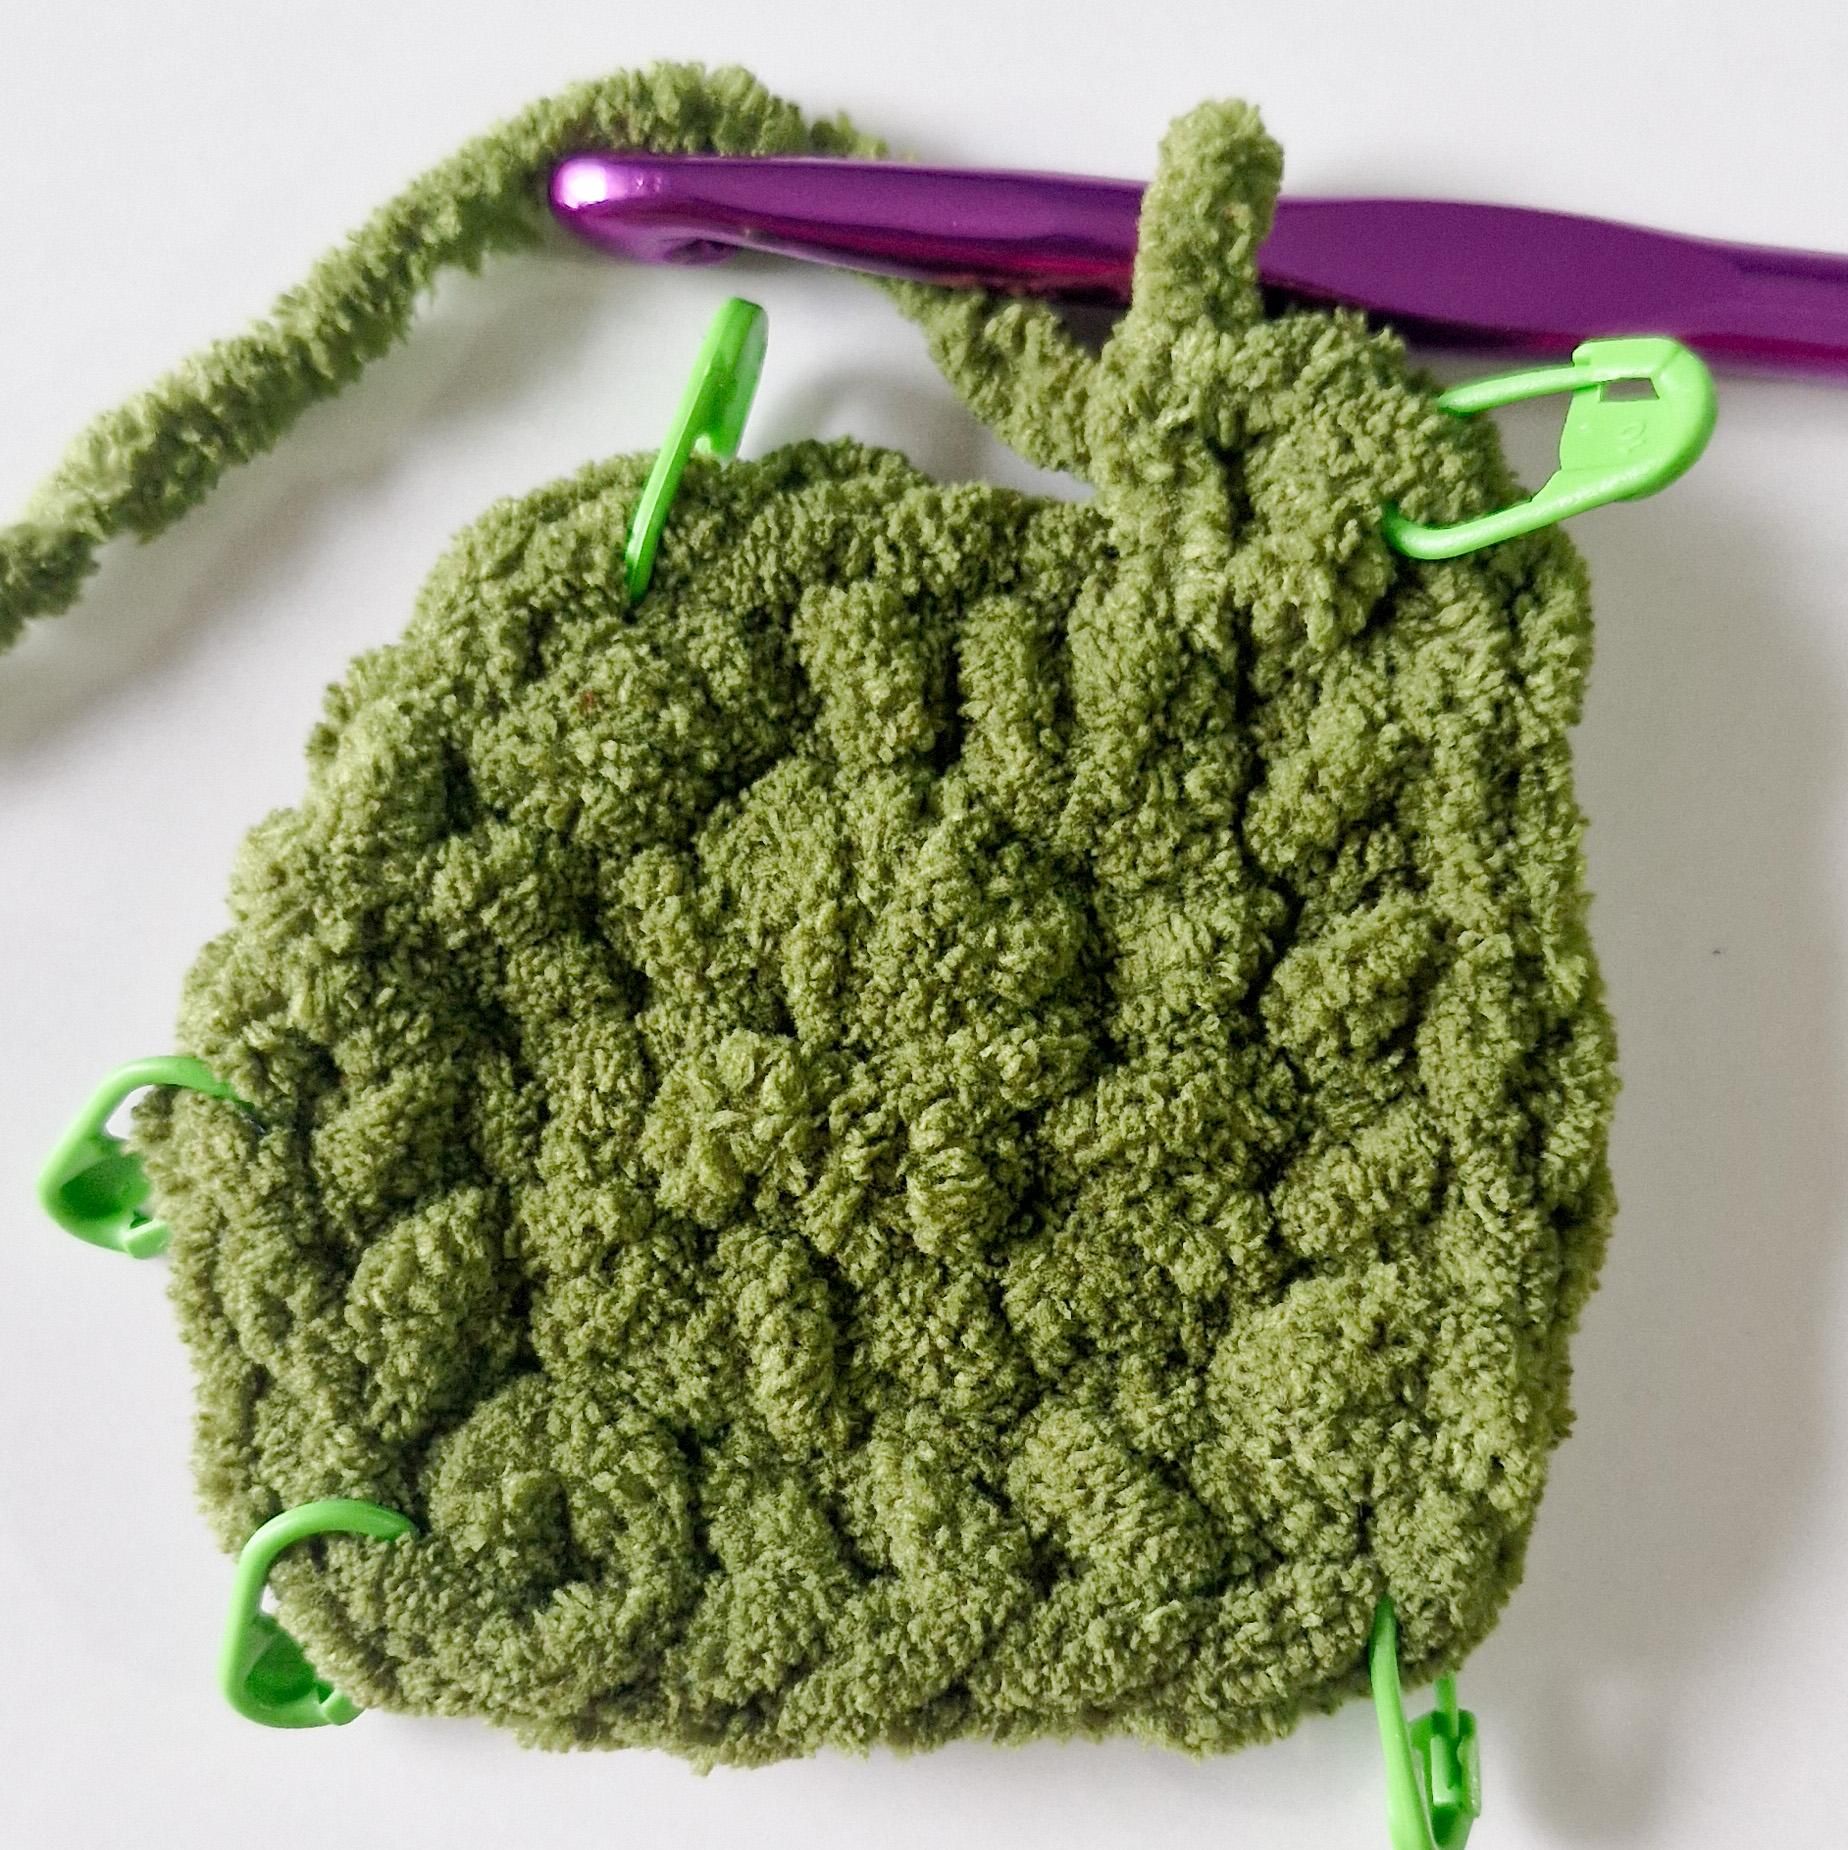
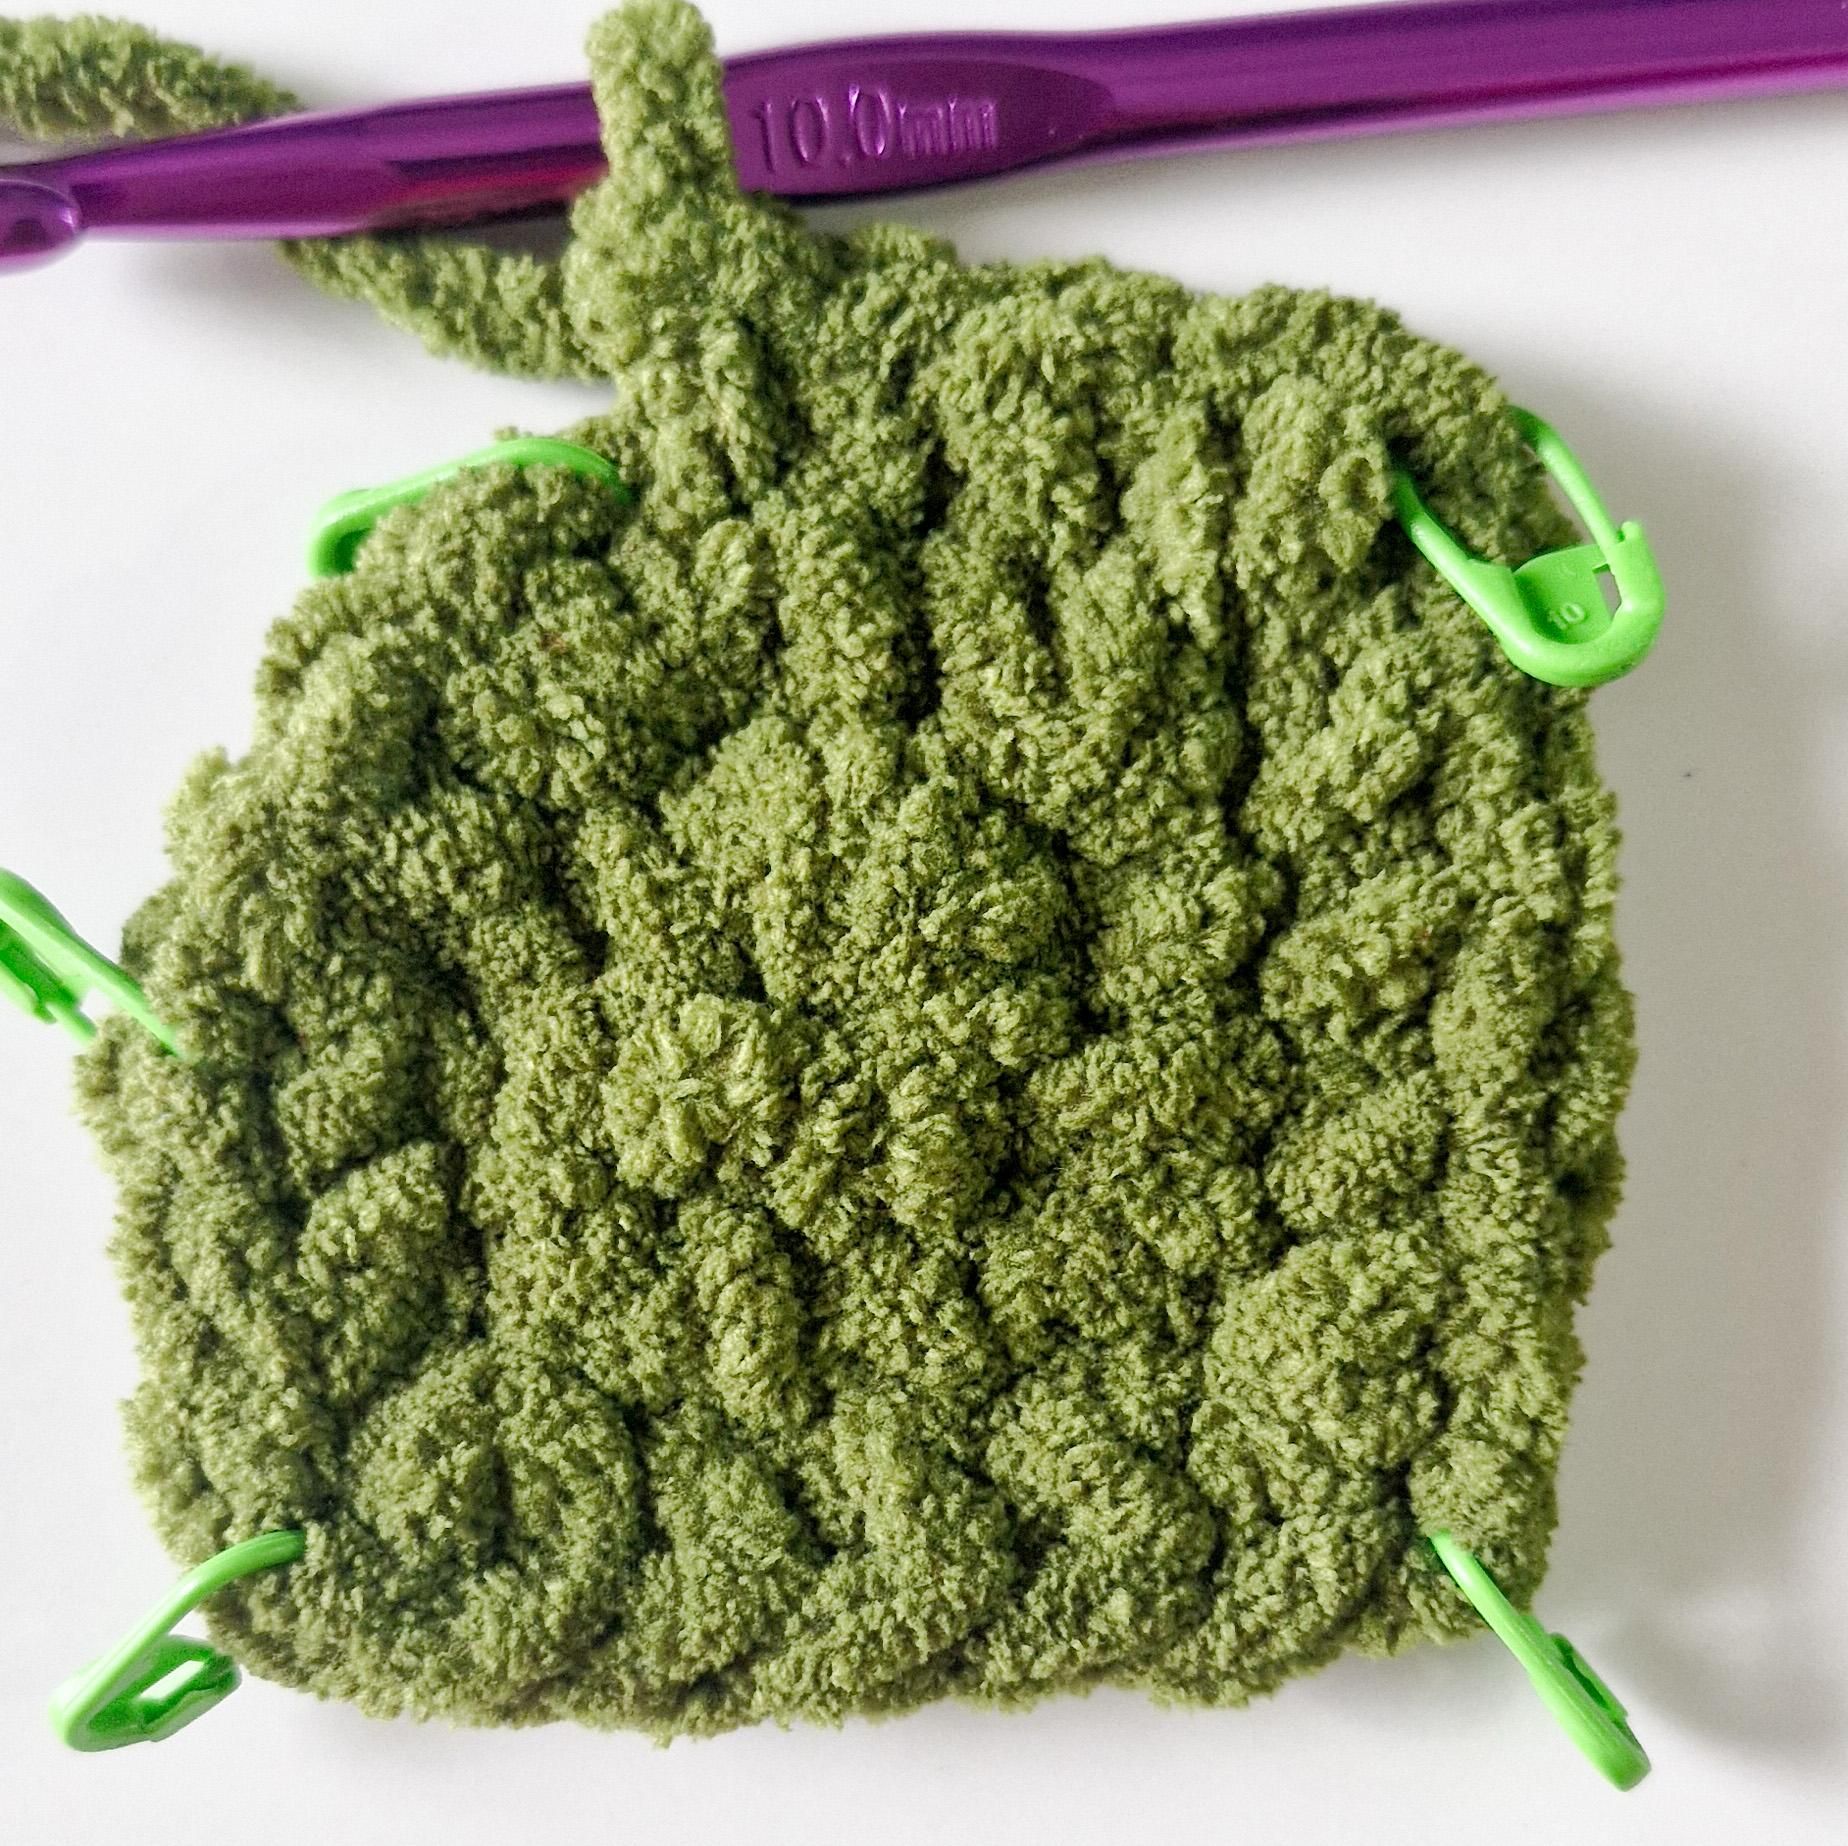
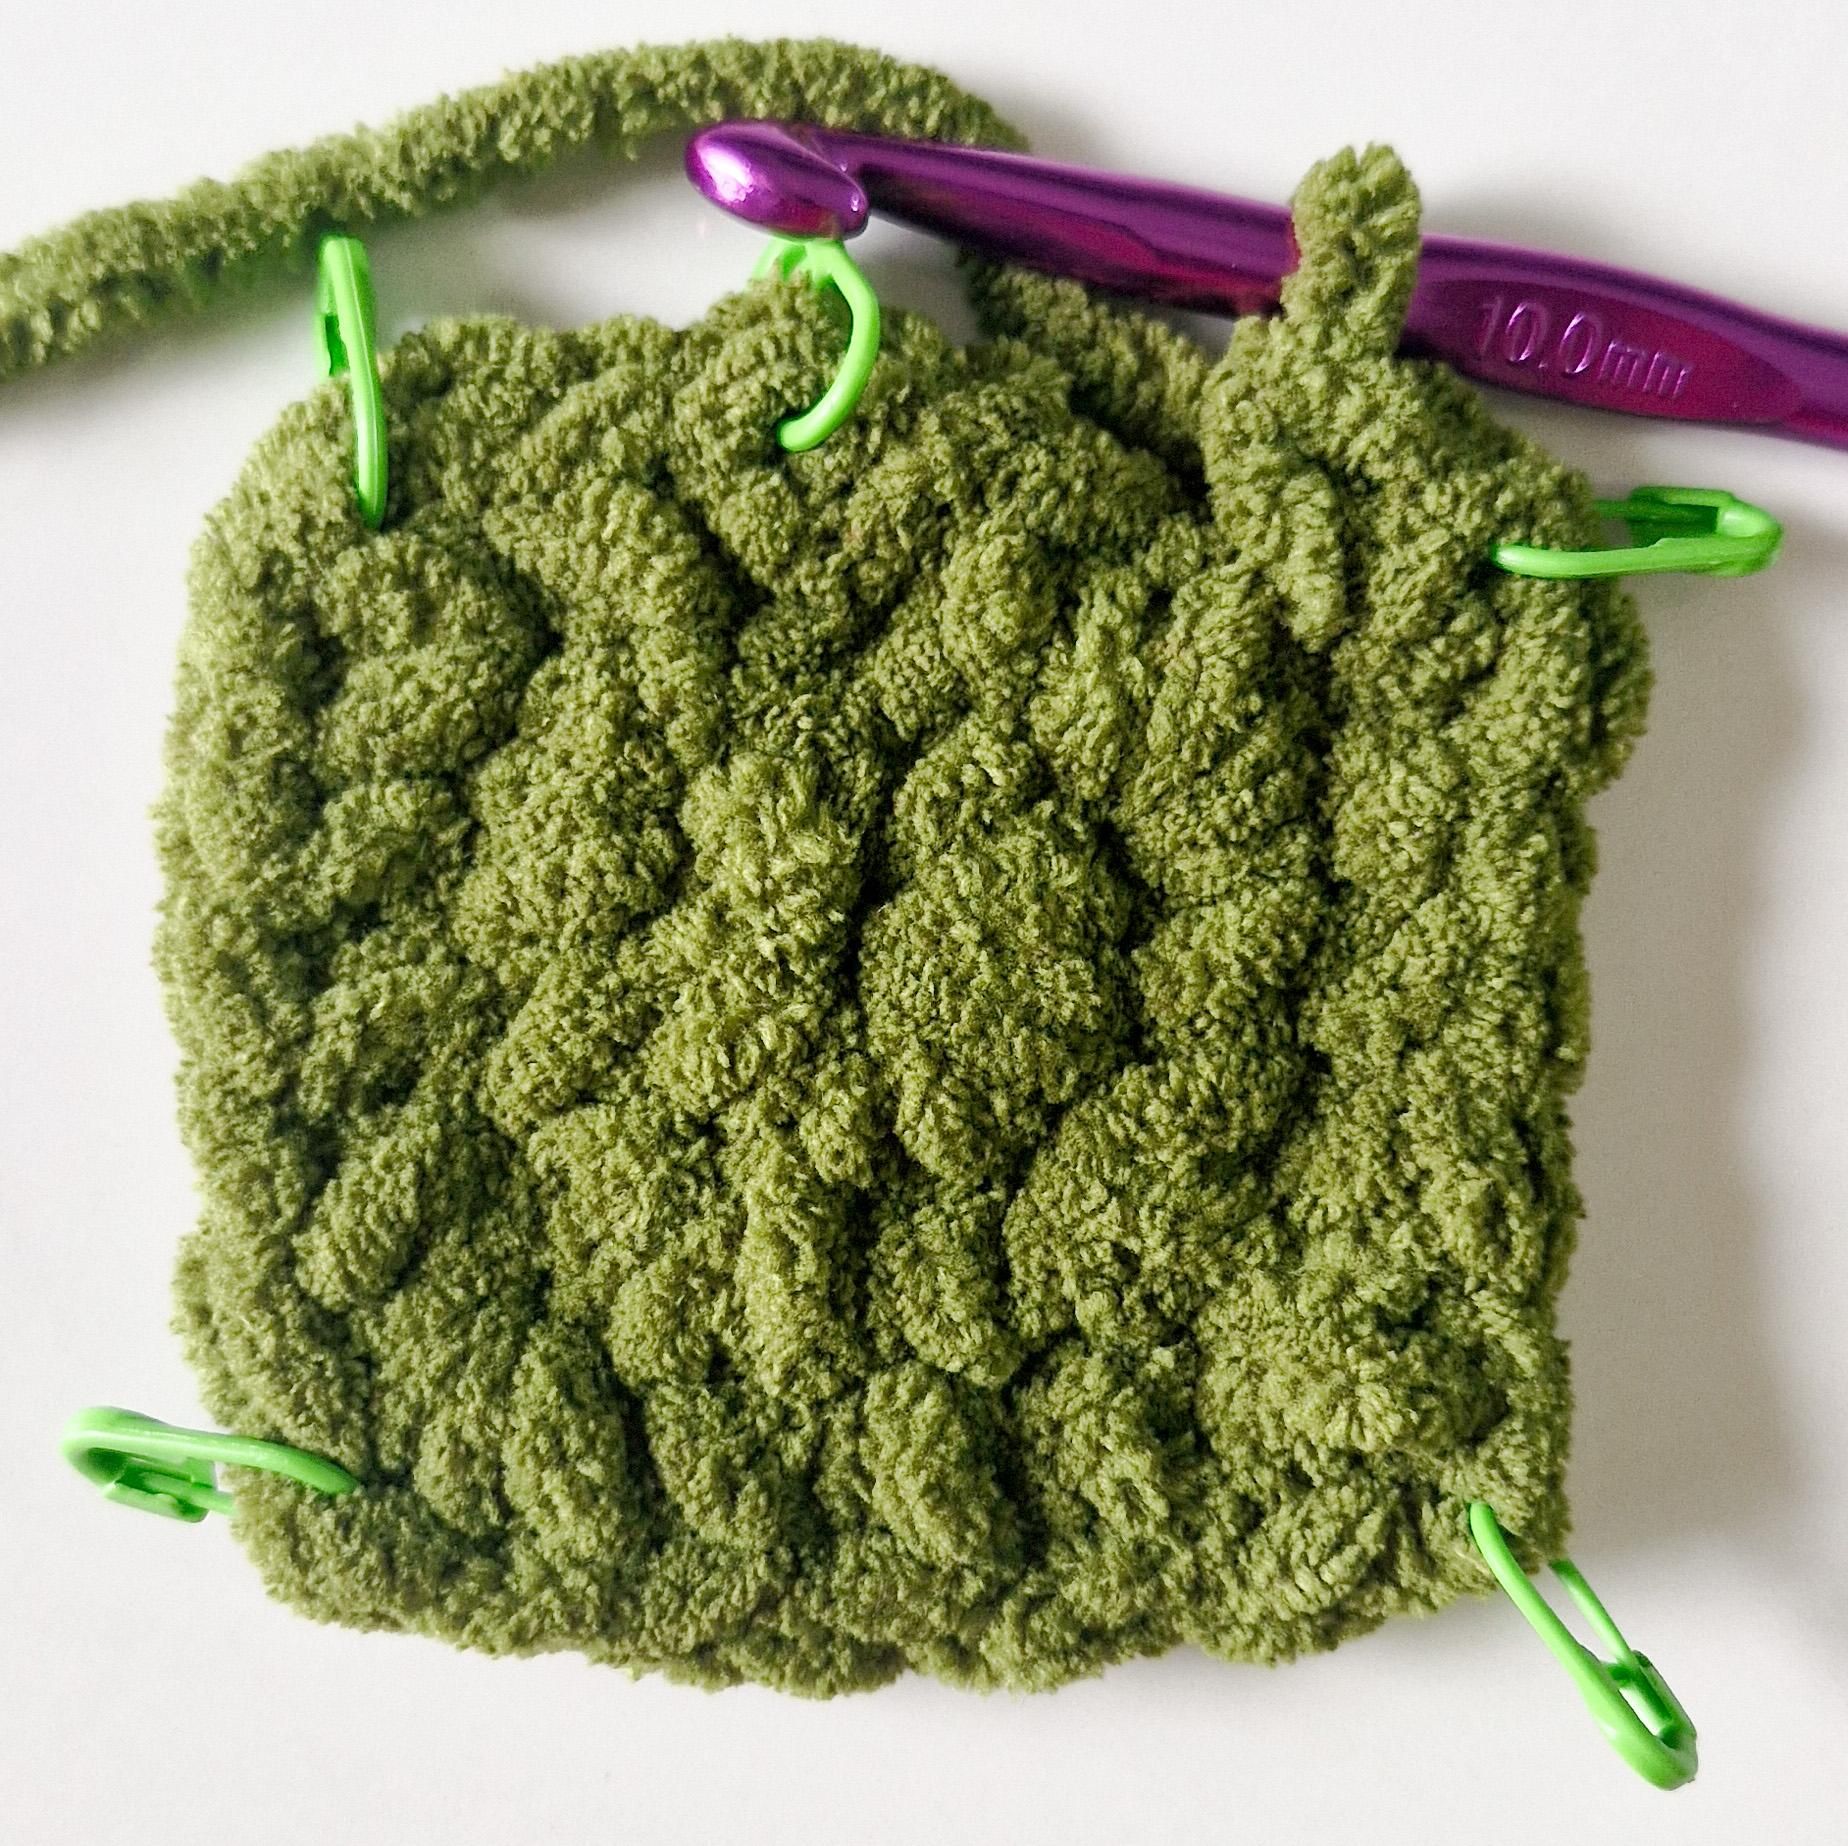
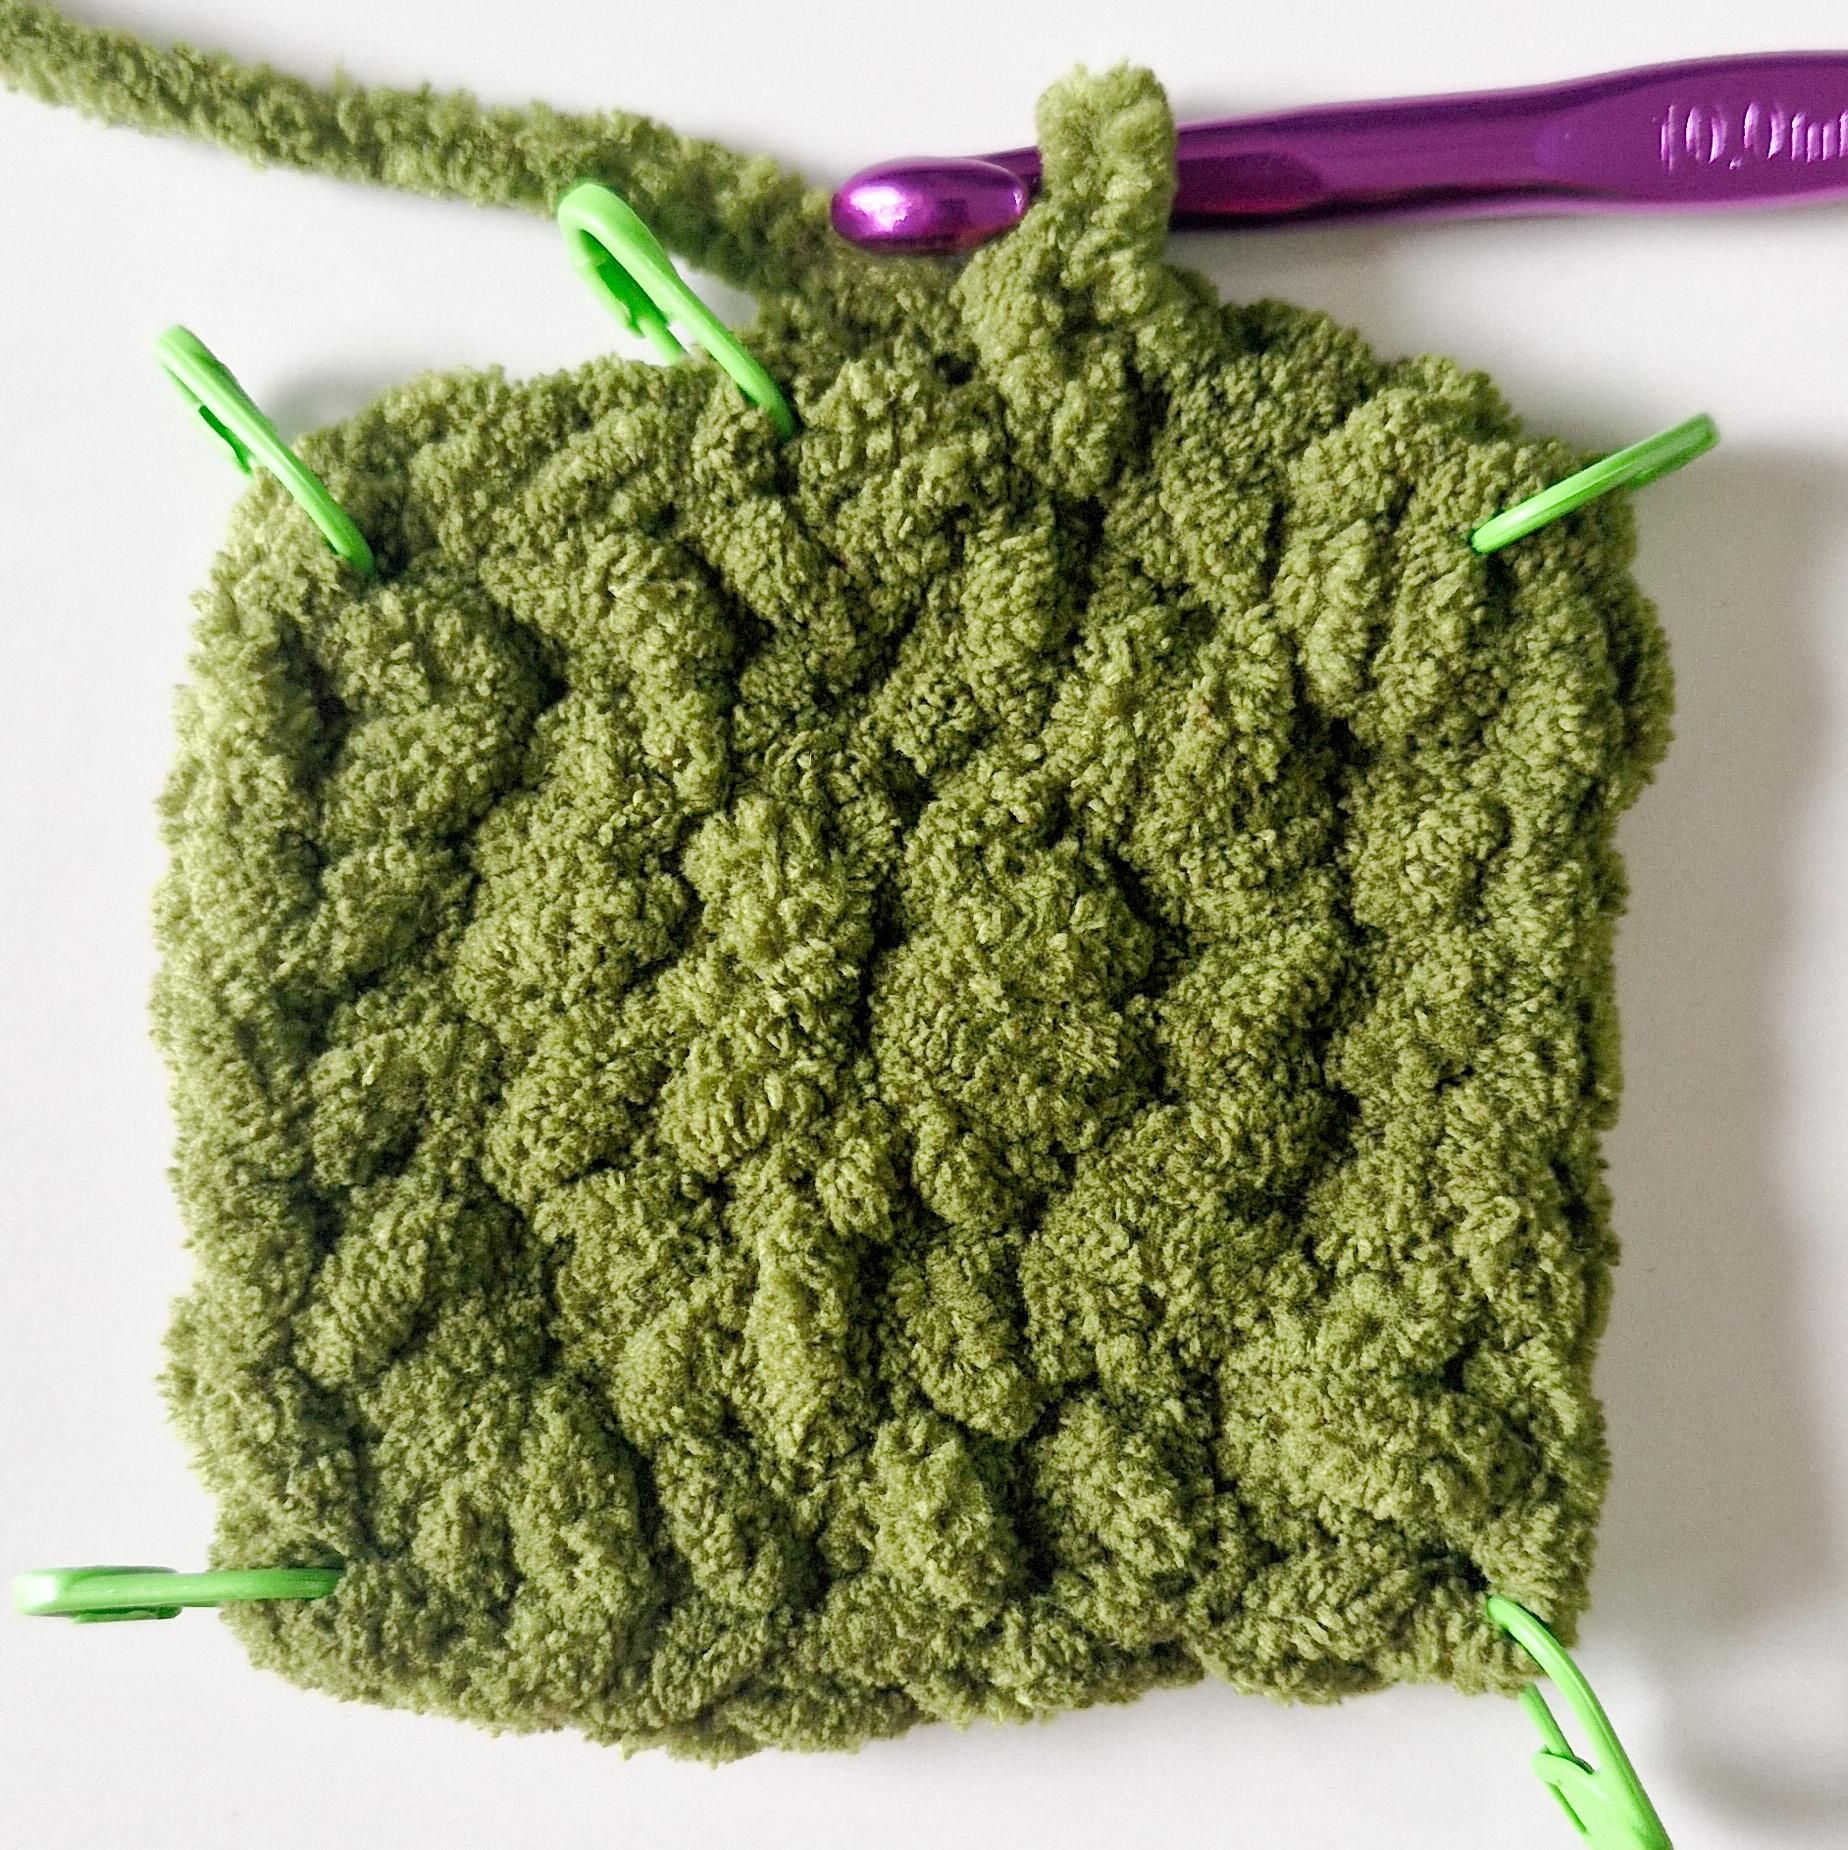
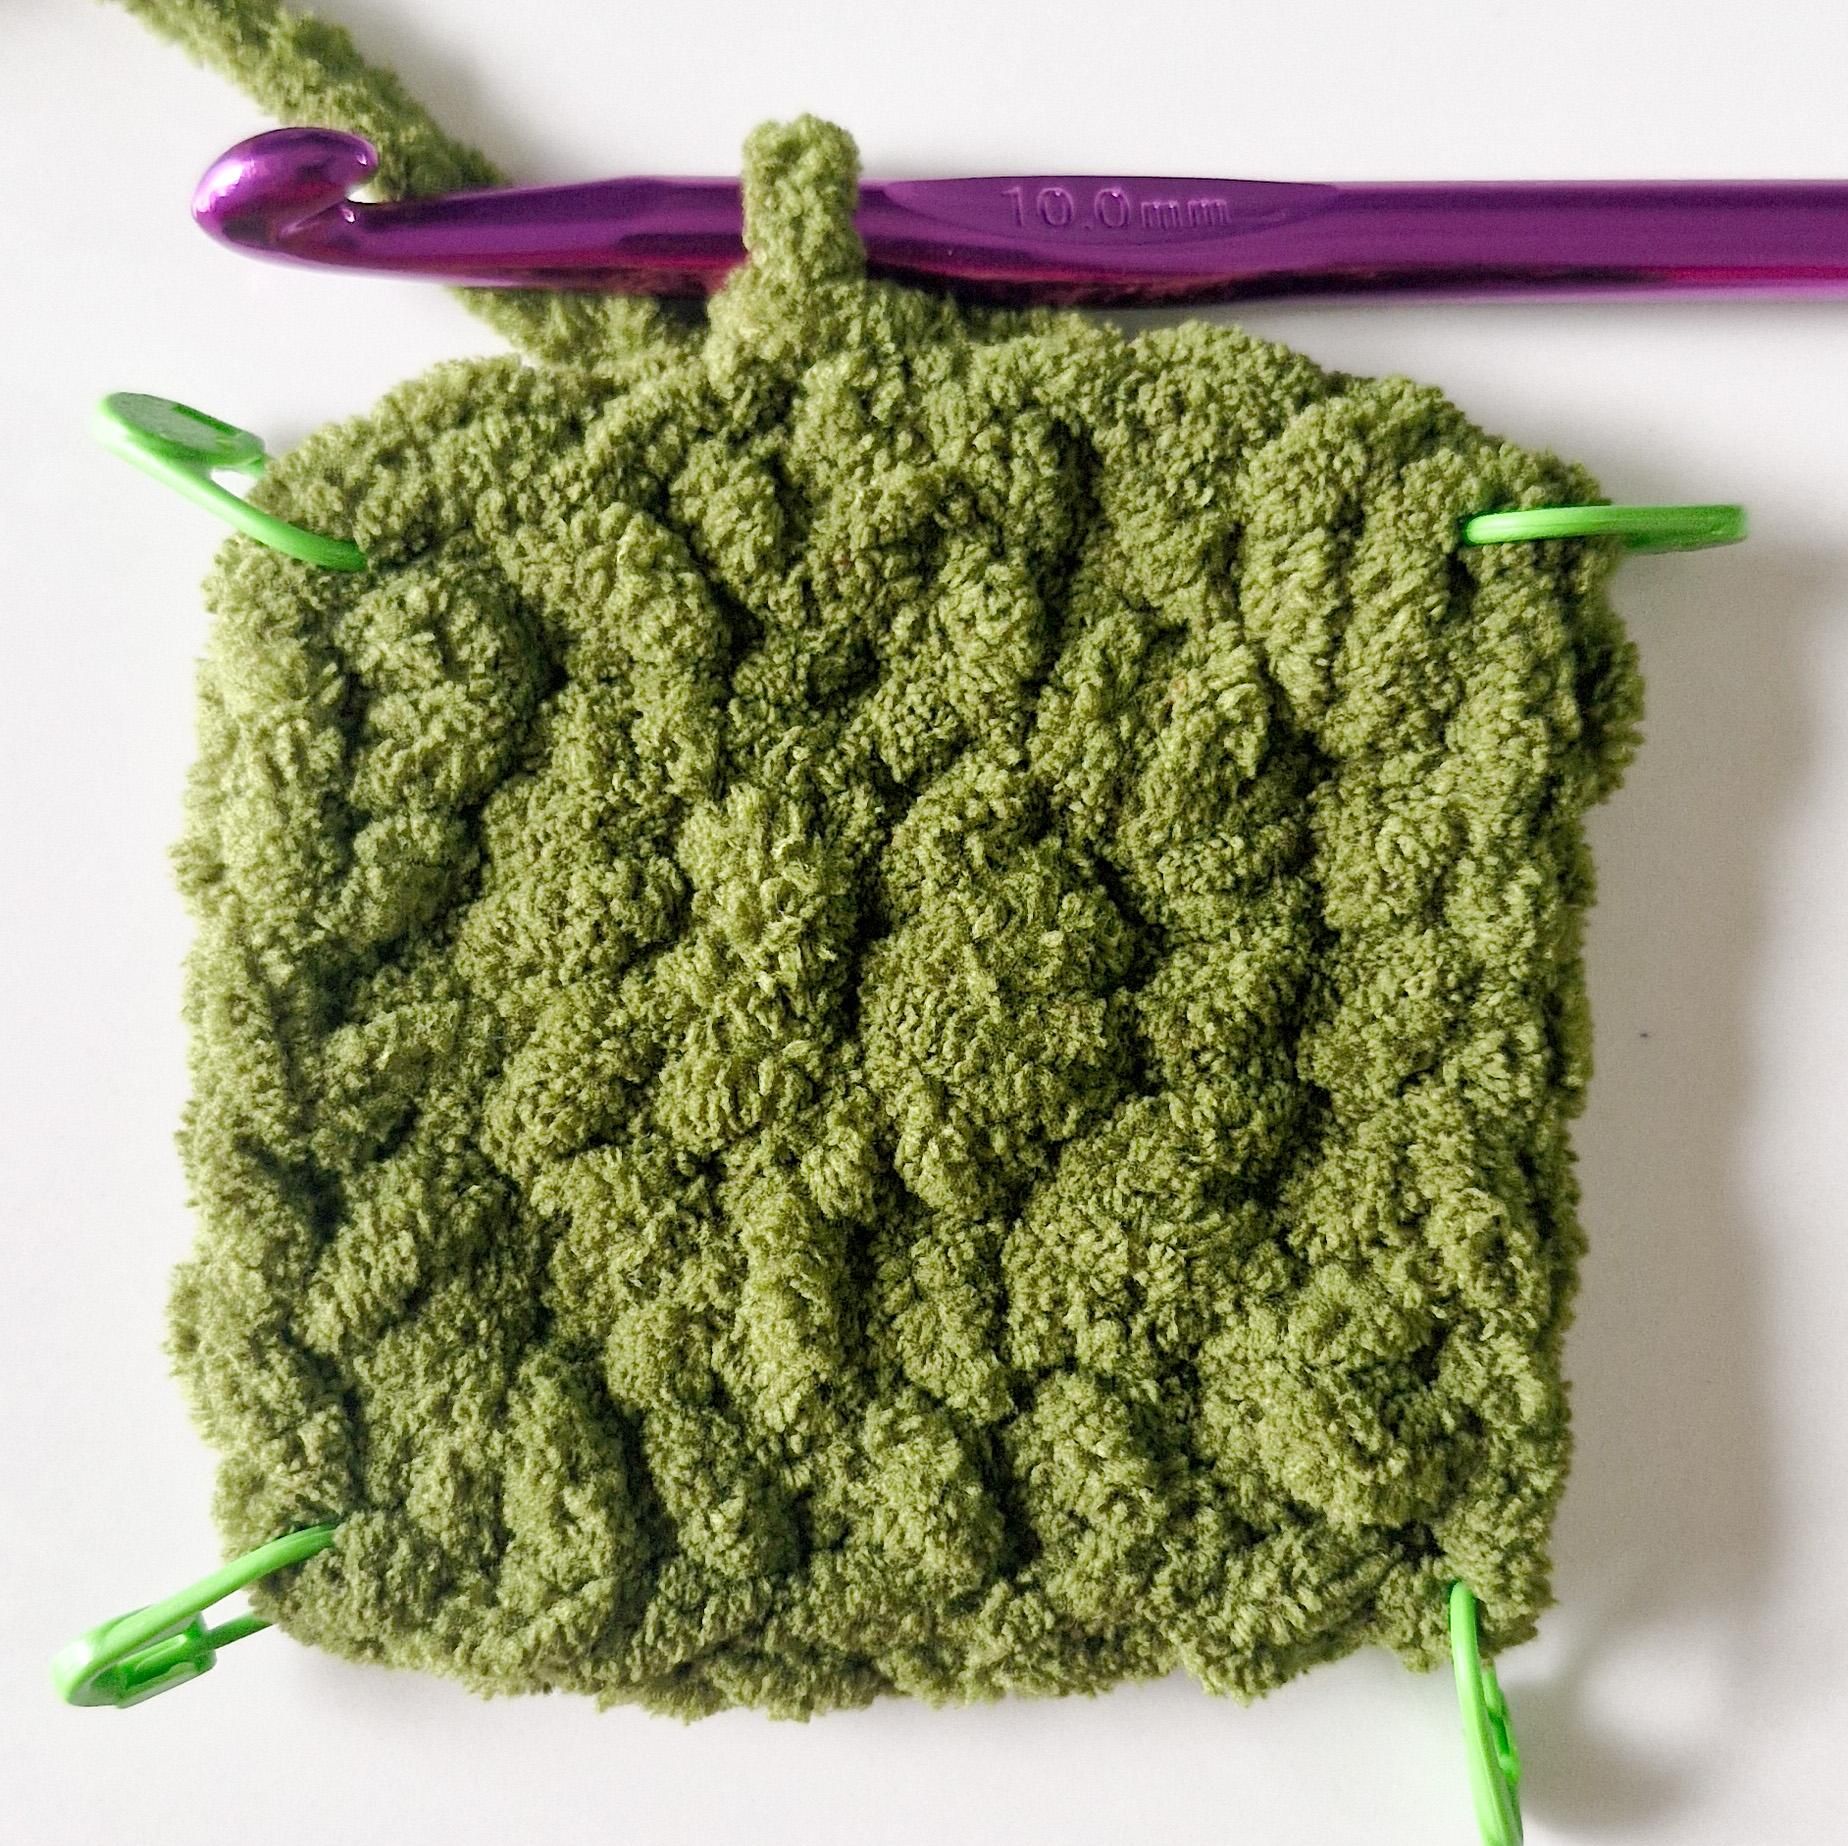
Chain 1.
1 Single Crochet in each stitch untill the Marked stitch.(Corner)
3 Single Crochets in the Marked stitch.
Repeat* (1SC in each stitch untill the Marked Stitch, 3 SC in the Marked stitch)
Slip Stitch on top of the first Single Crochet.
Round 4:-
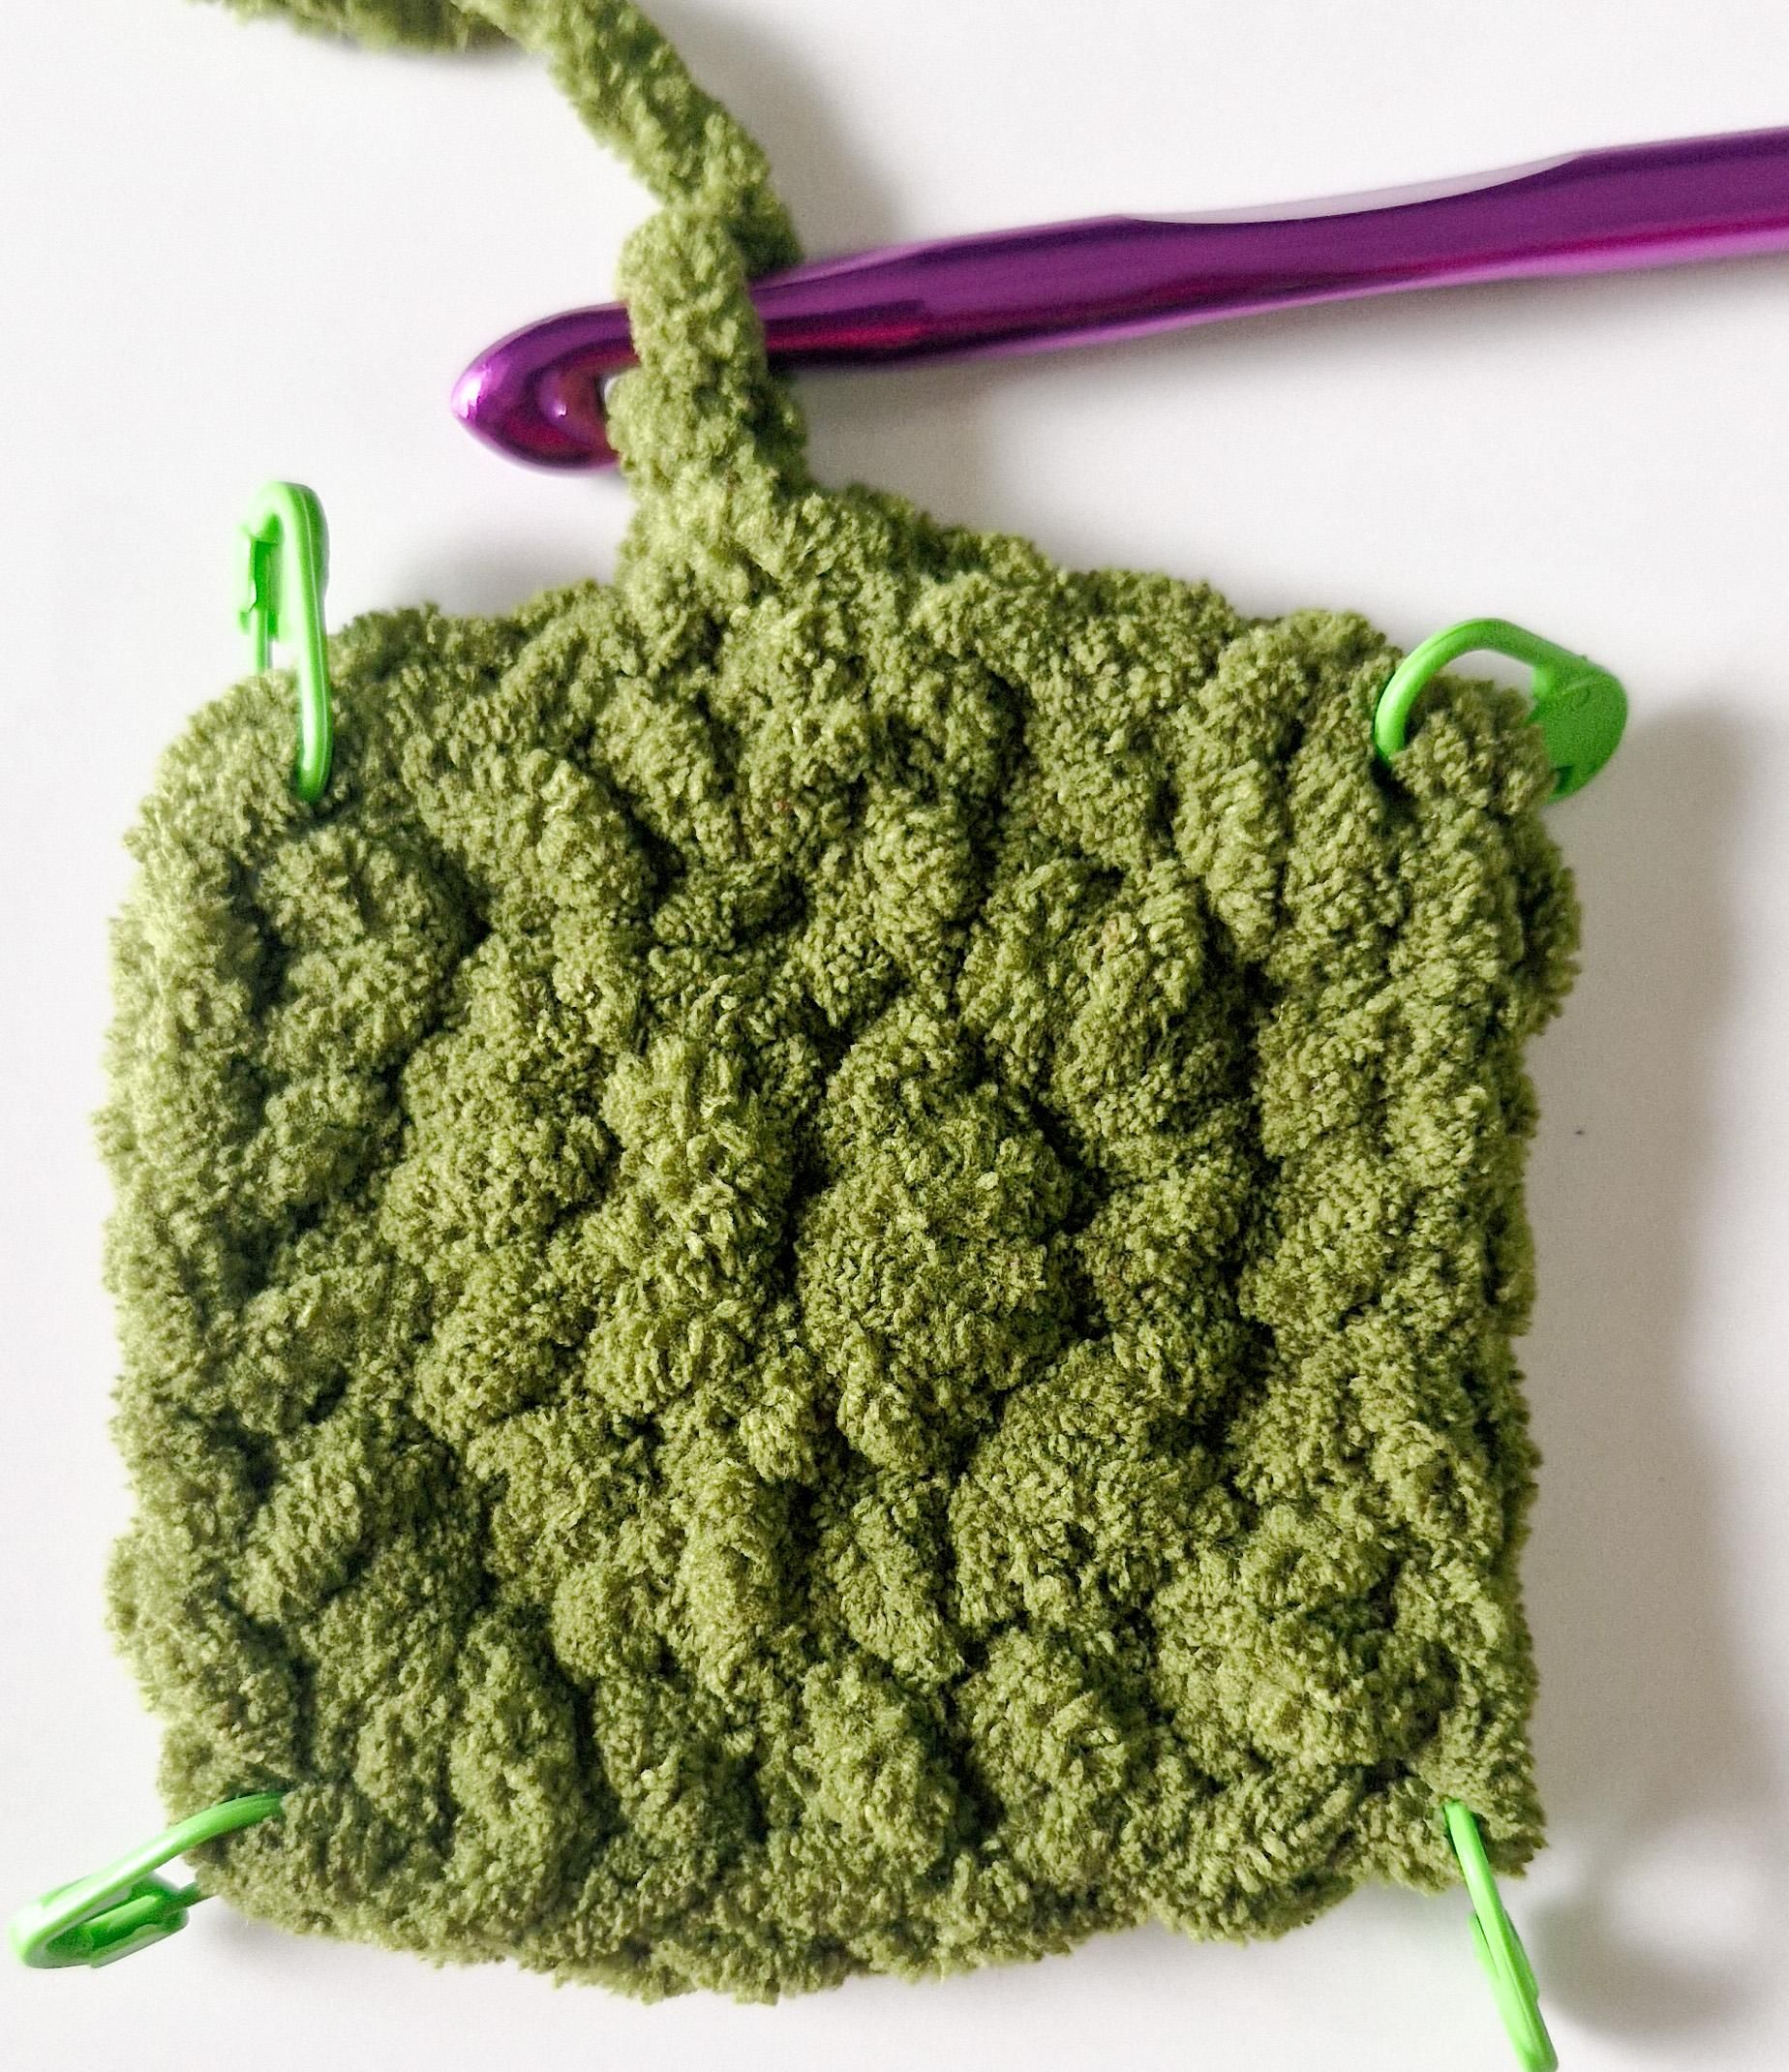
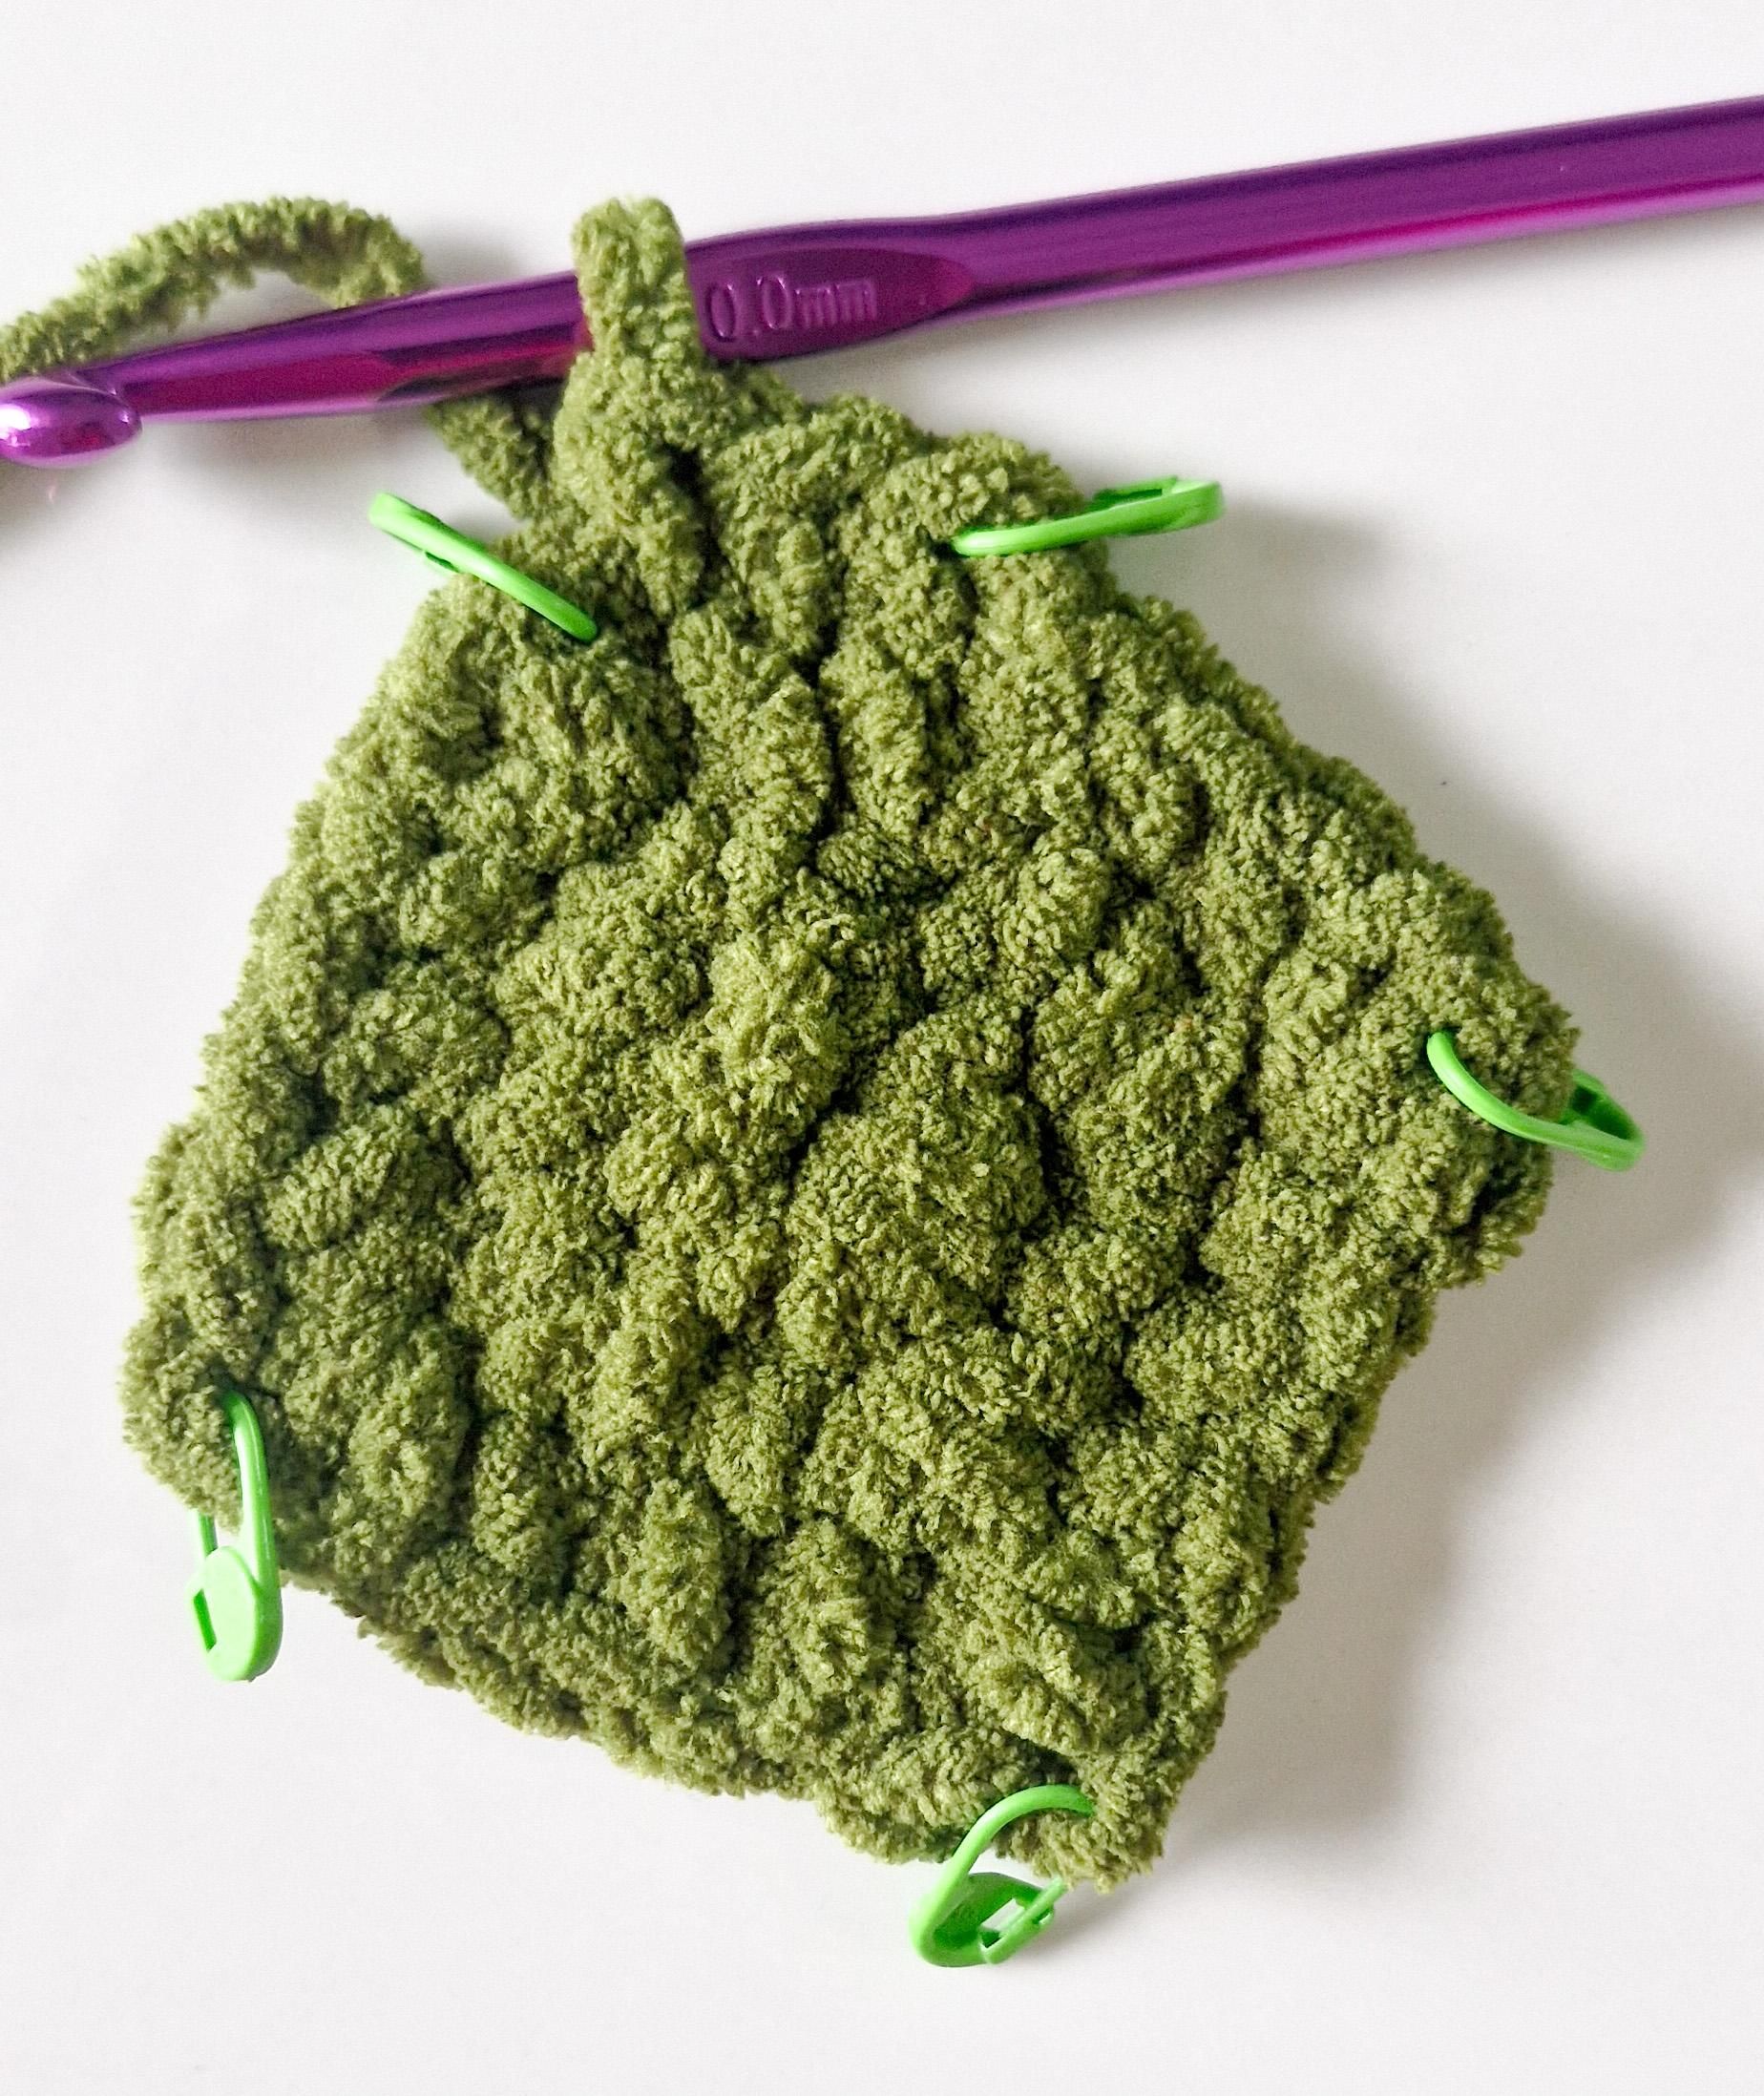
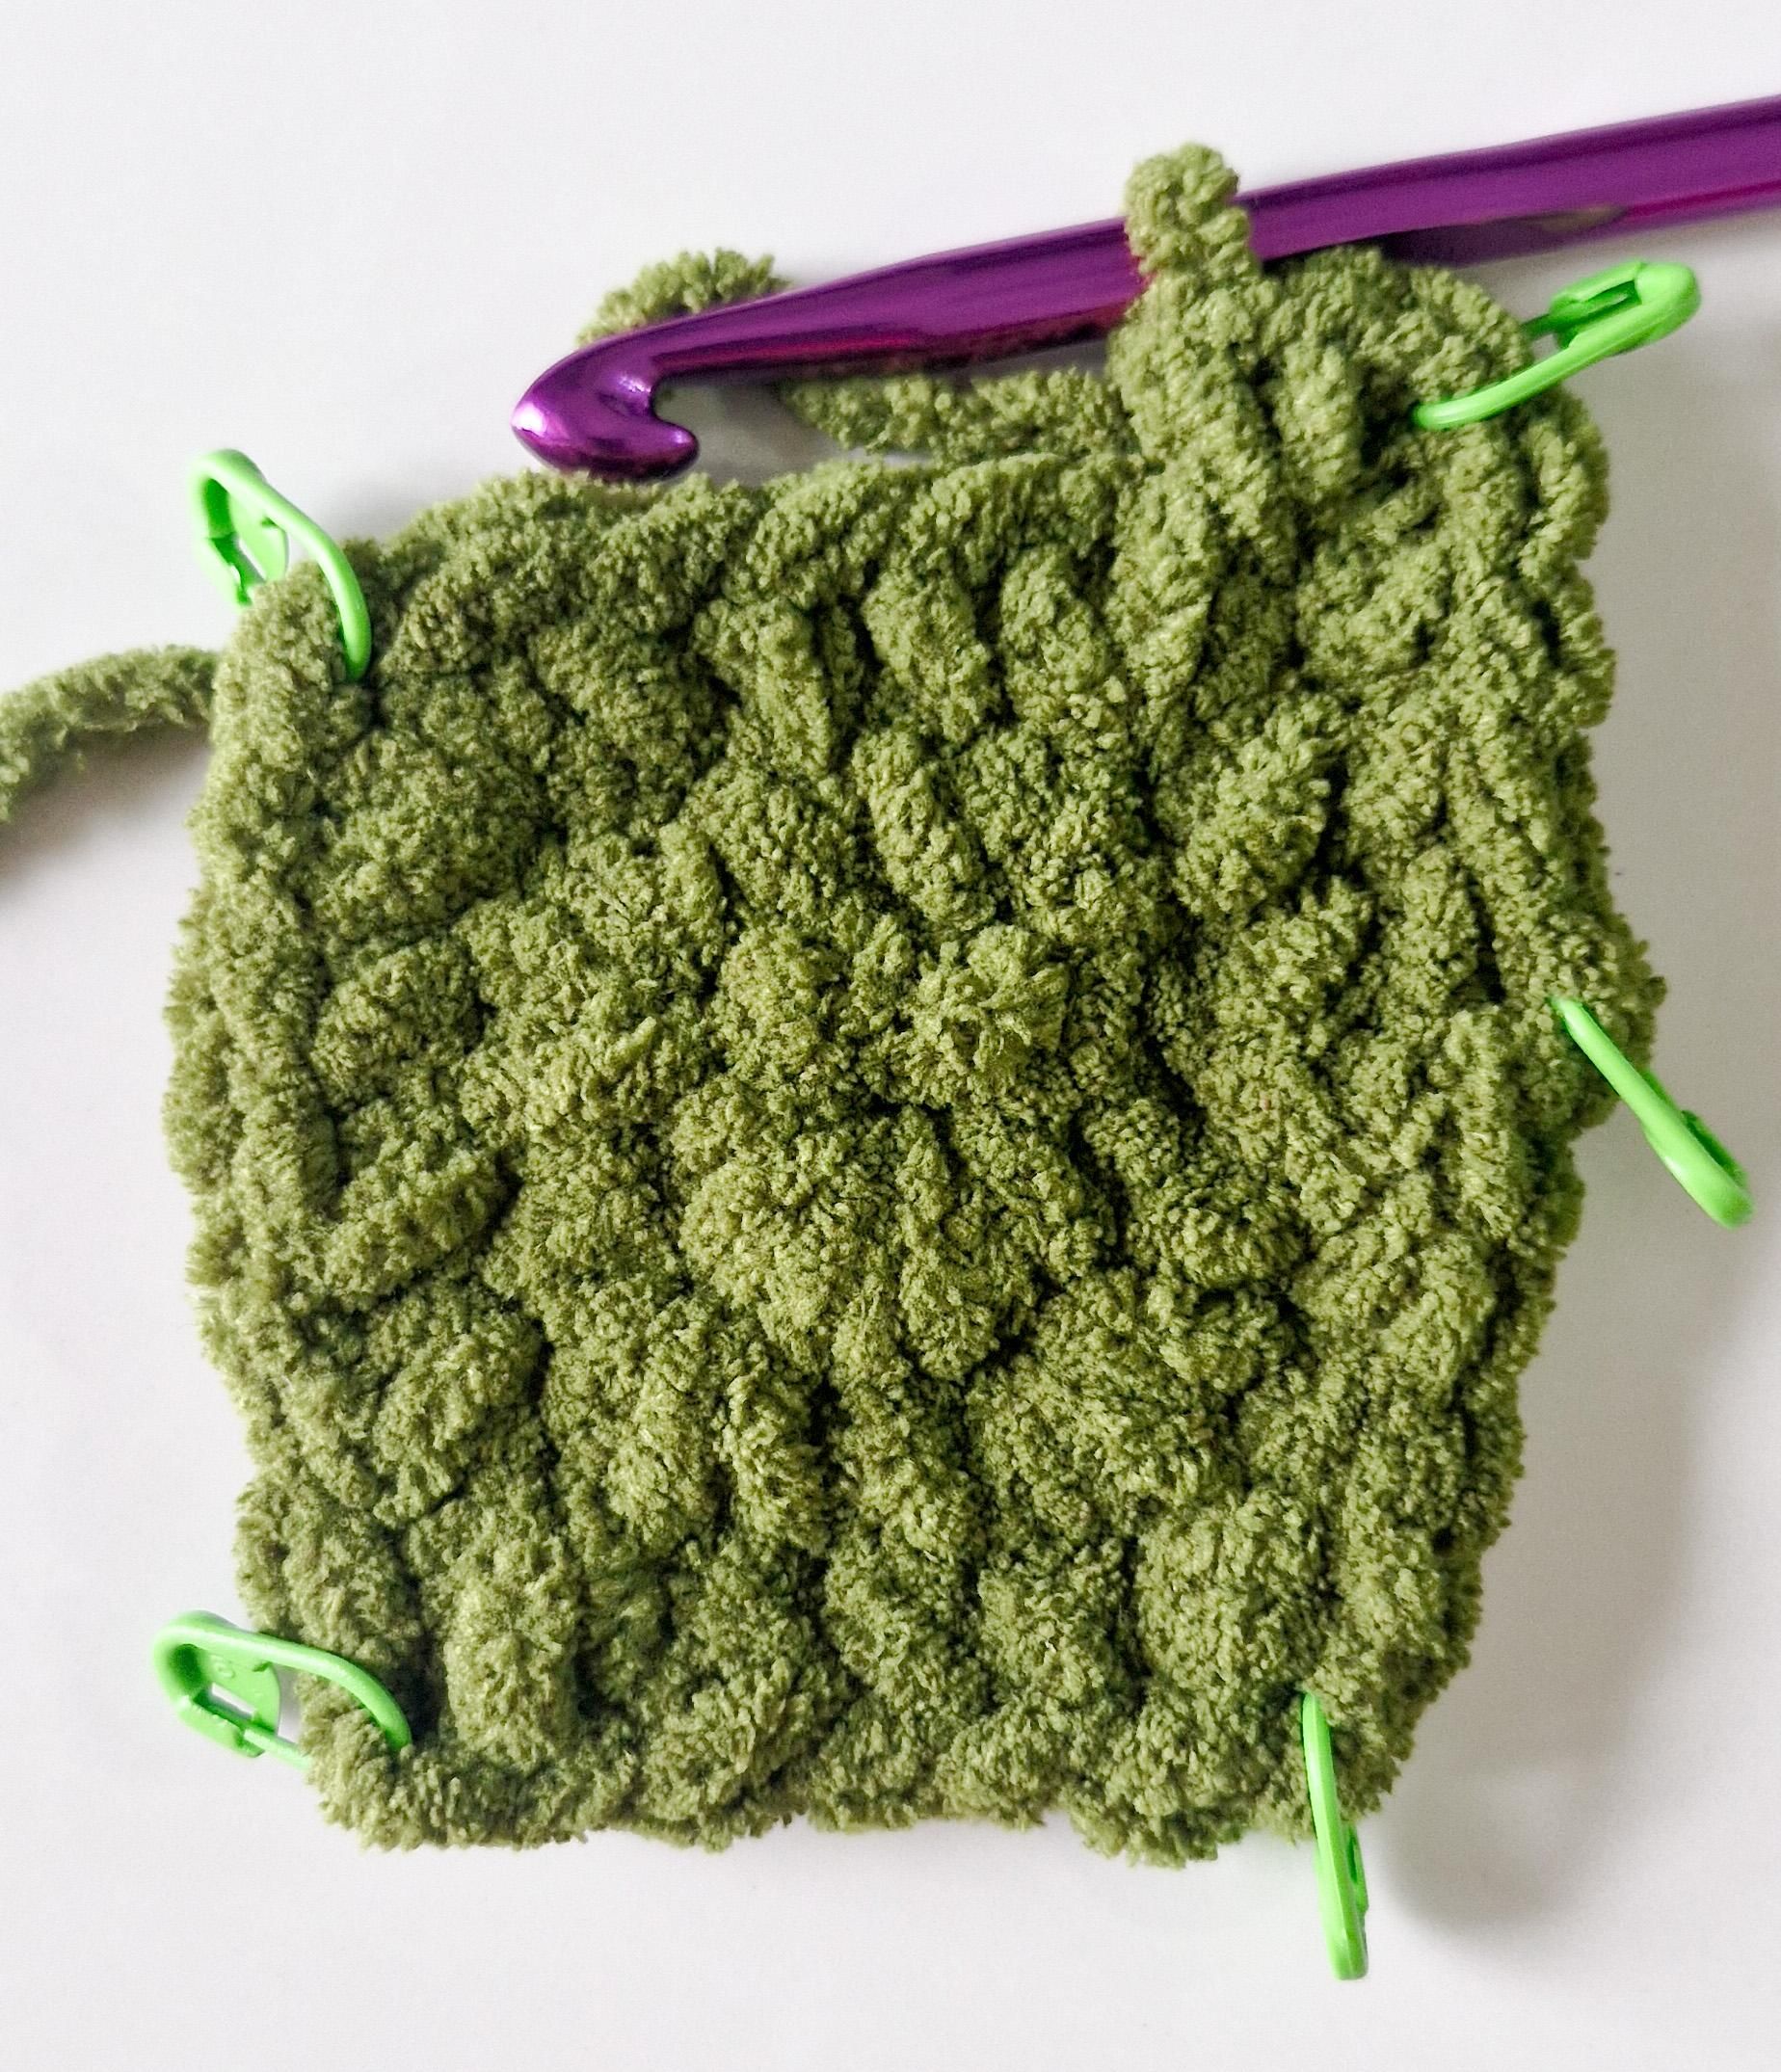
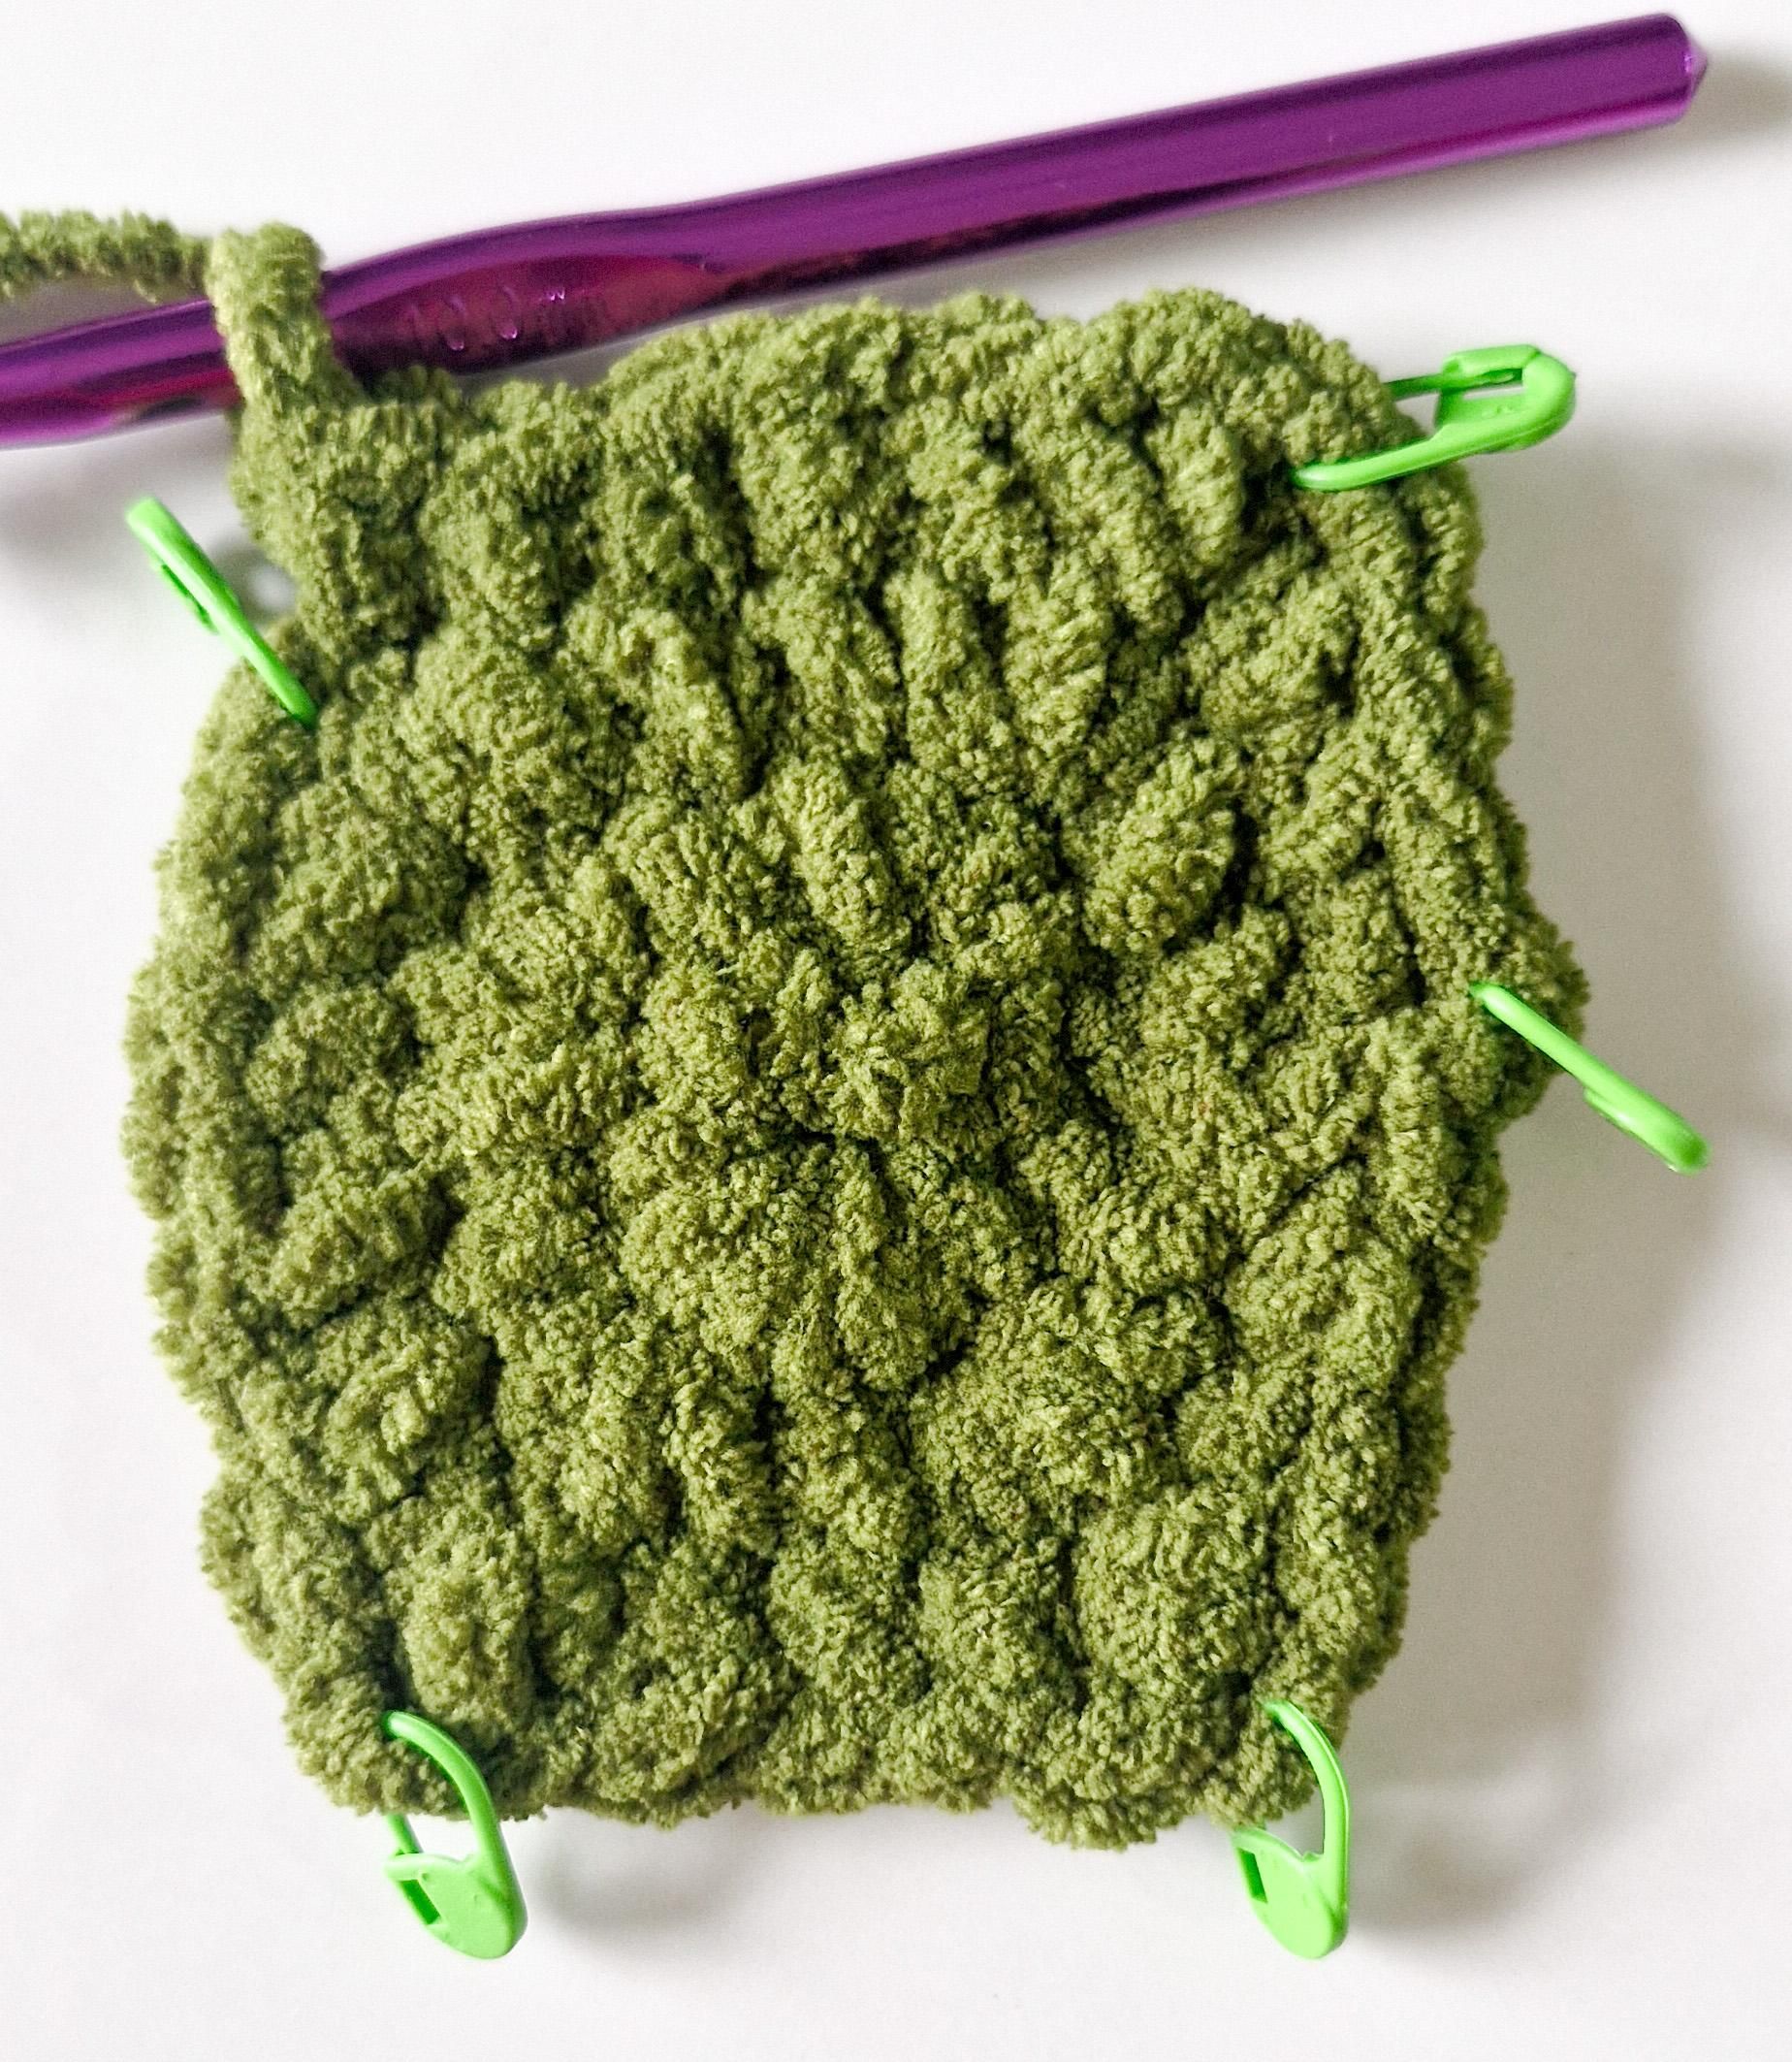
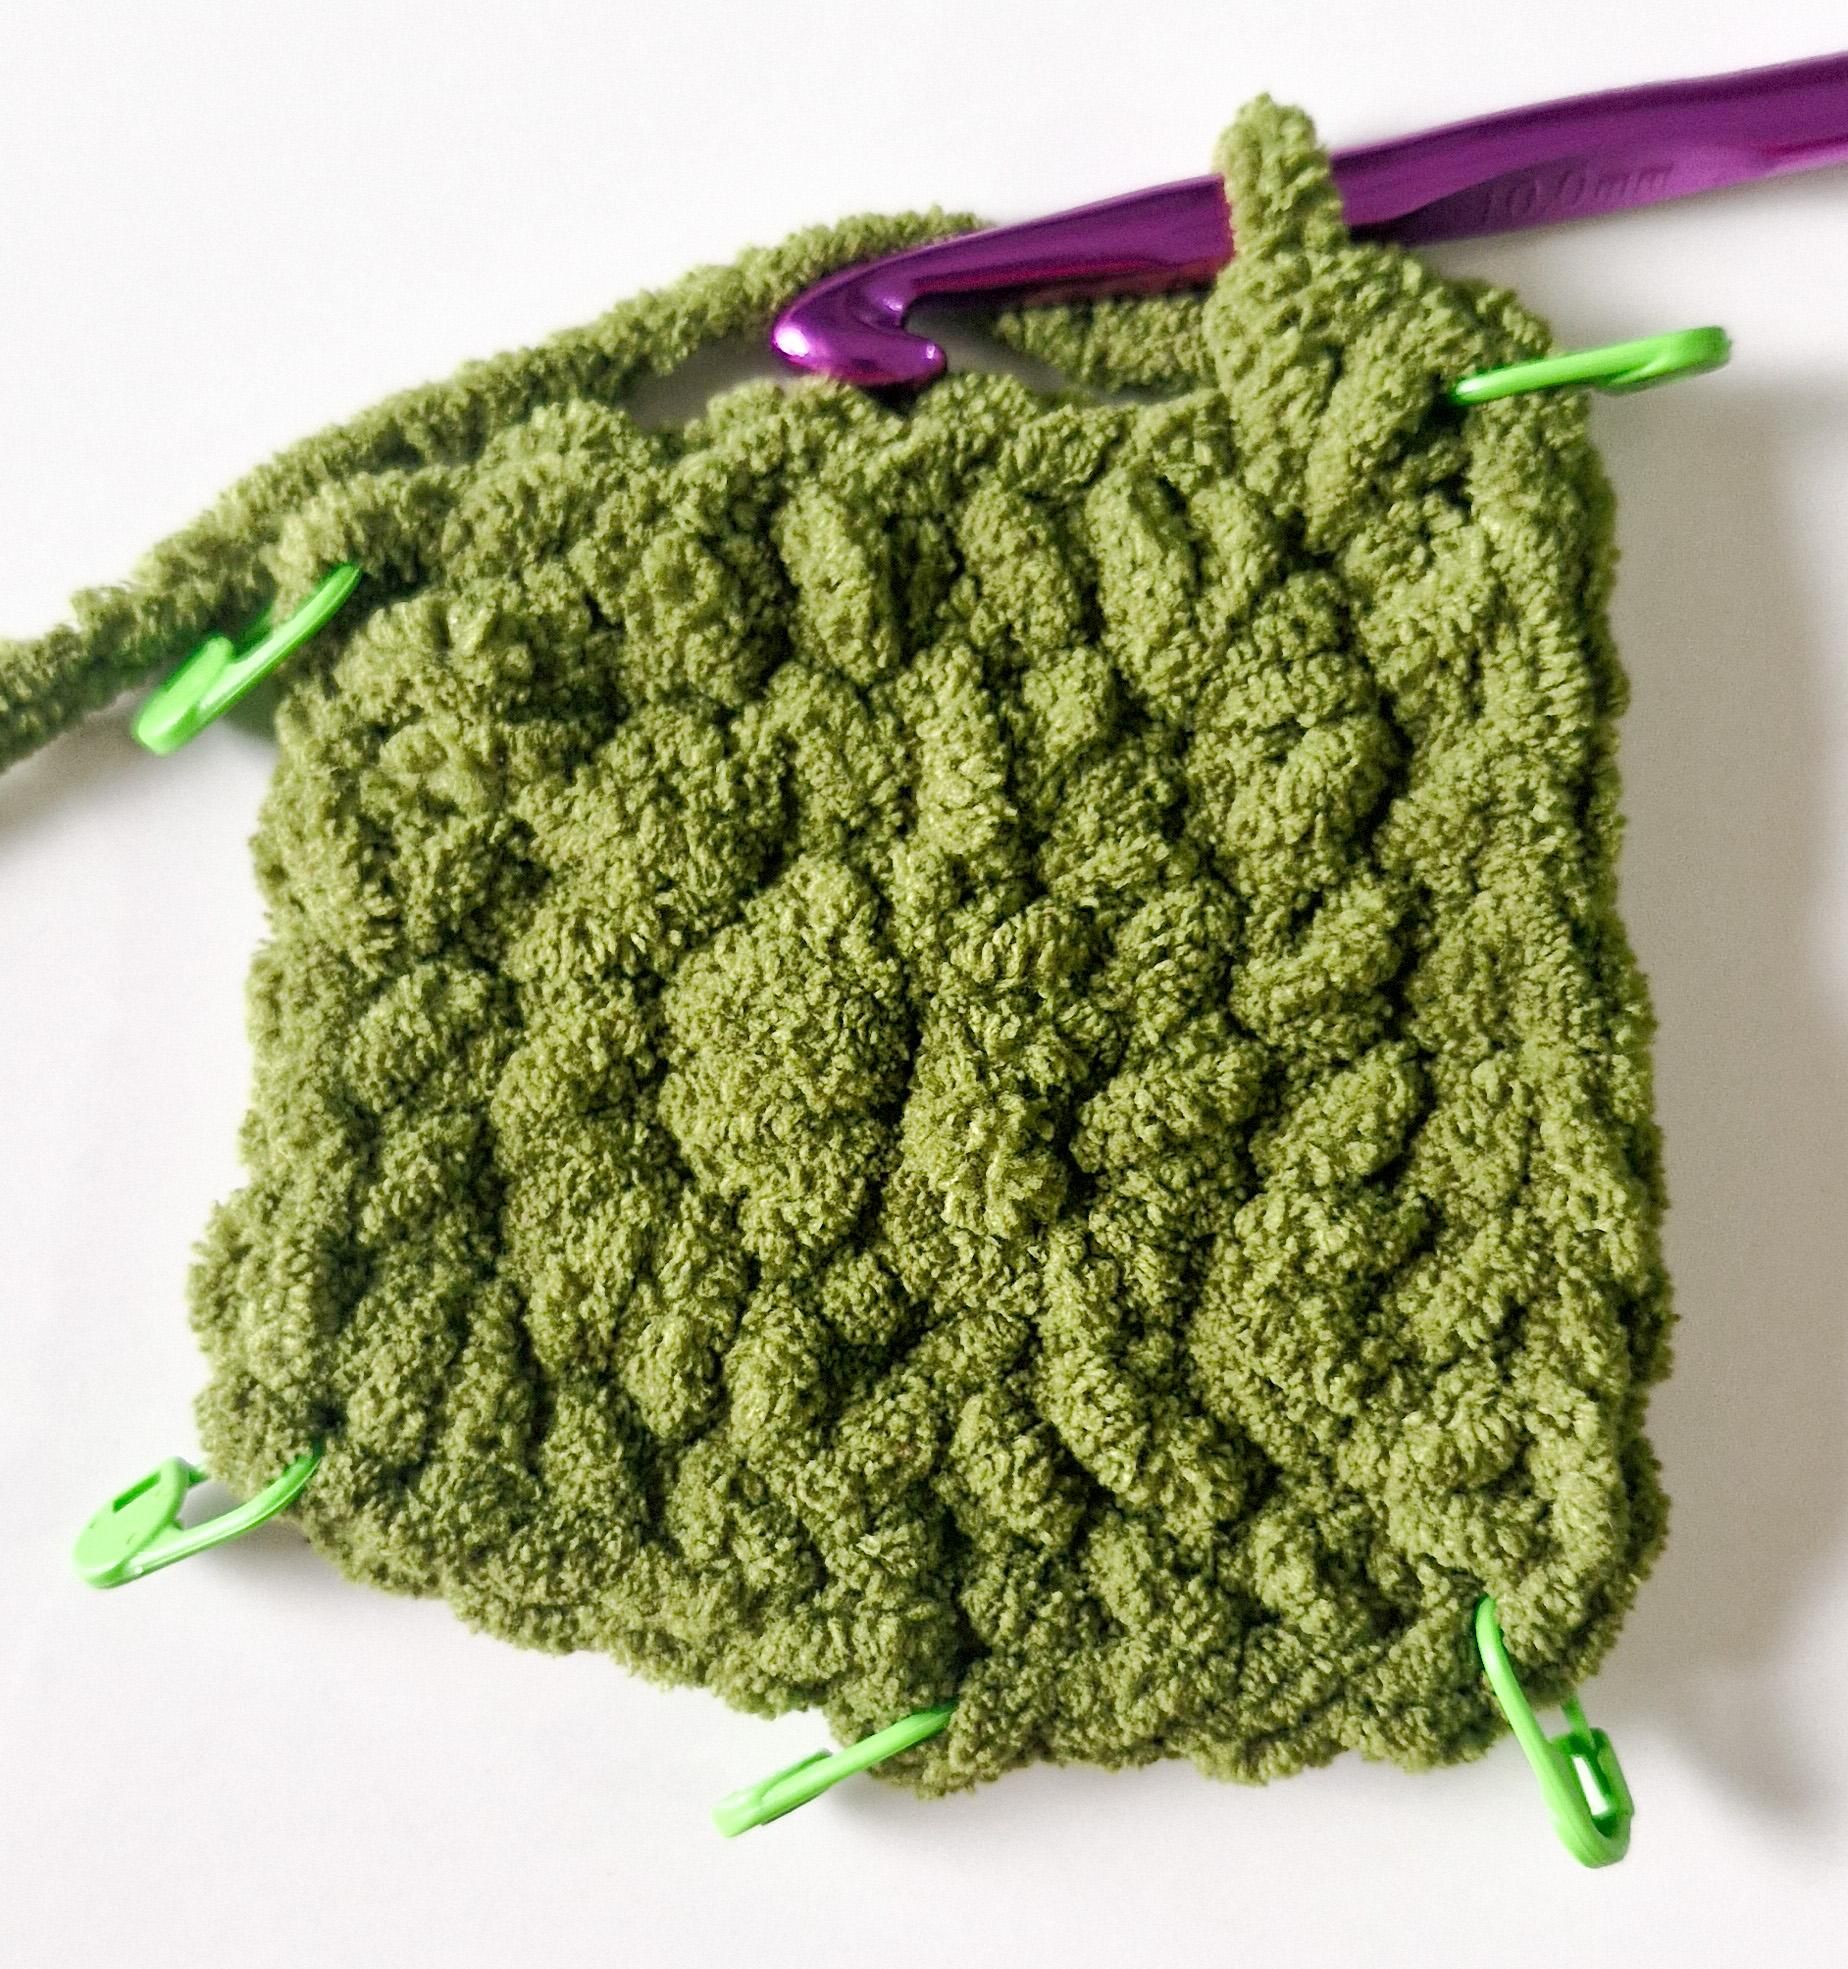
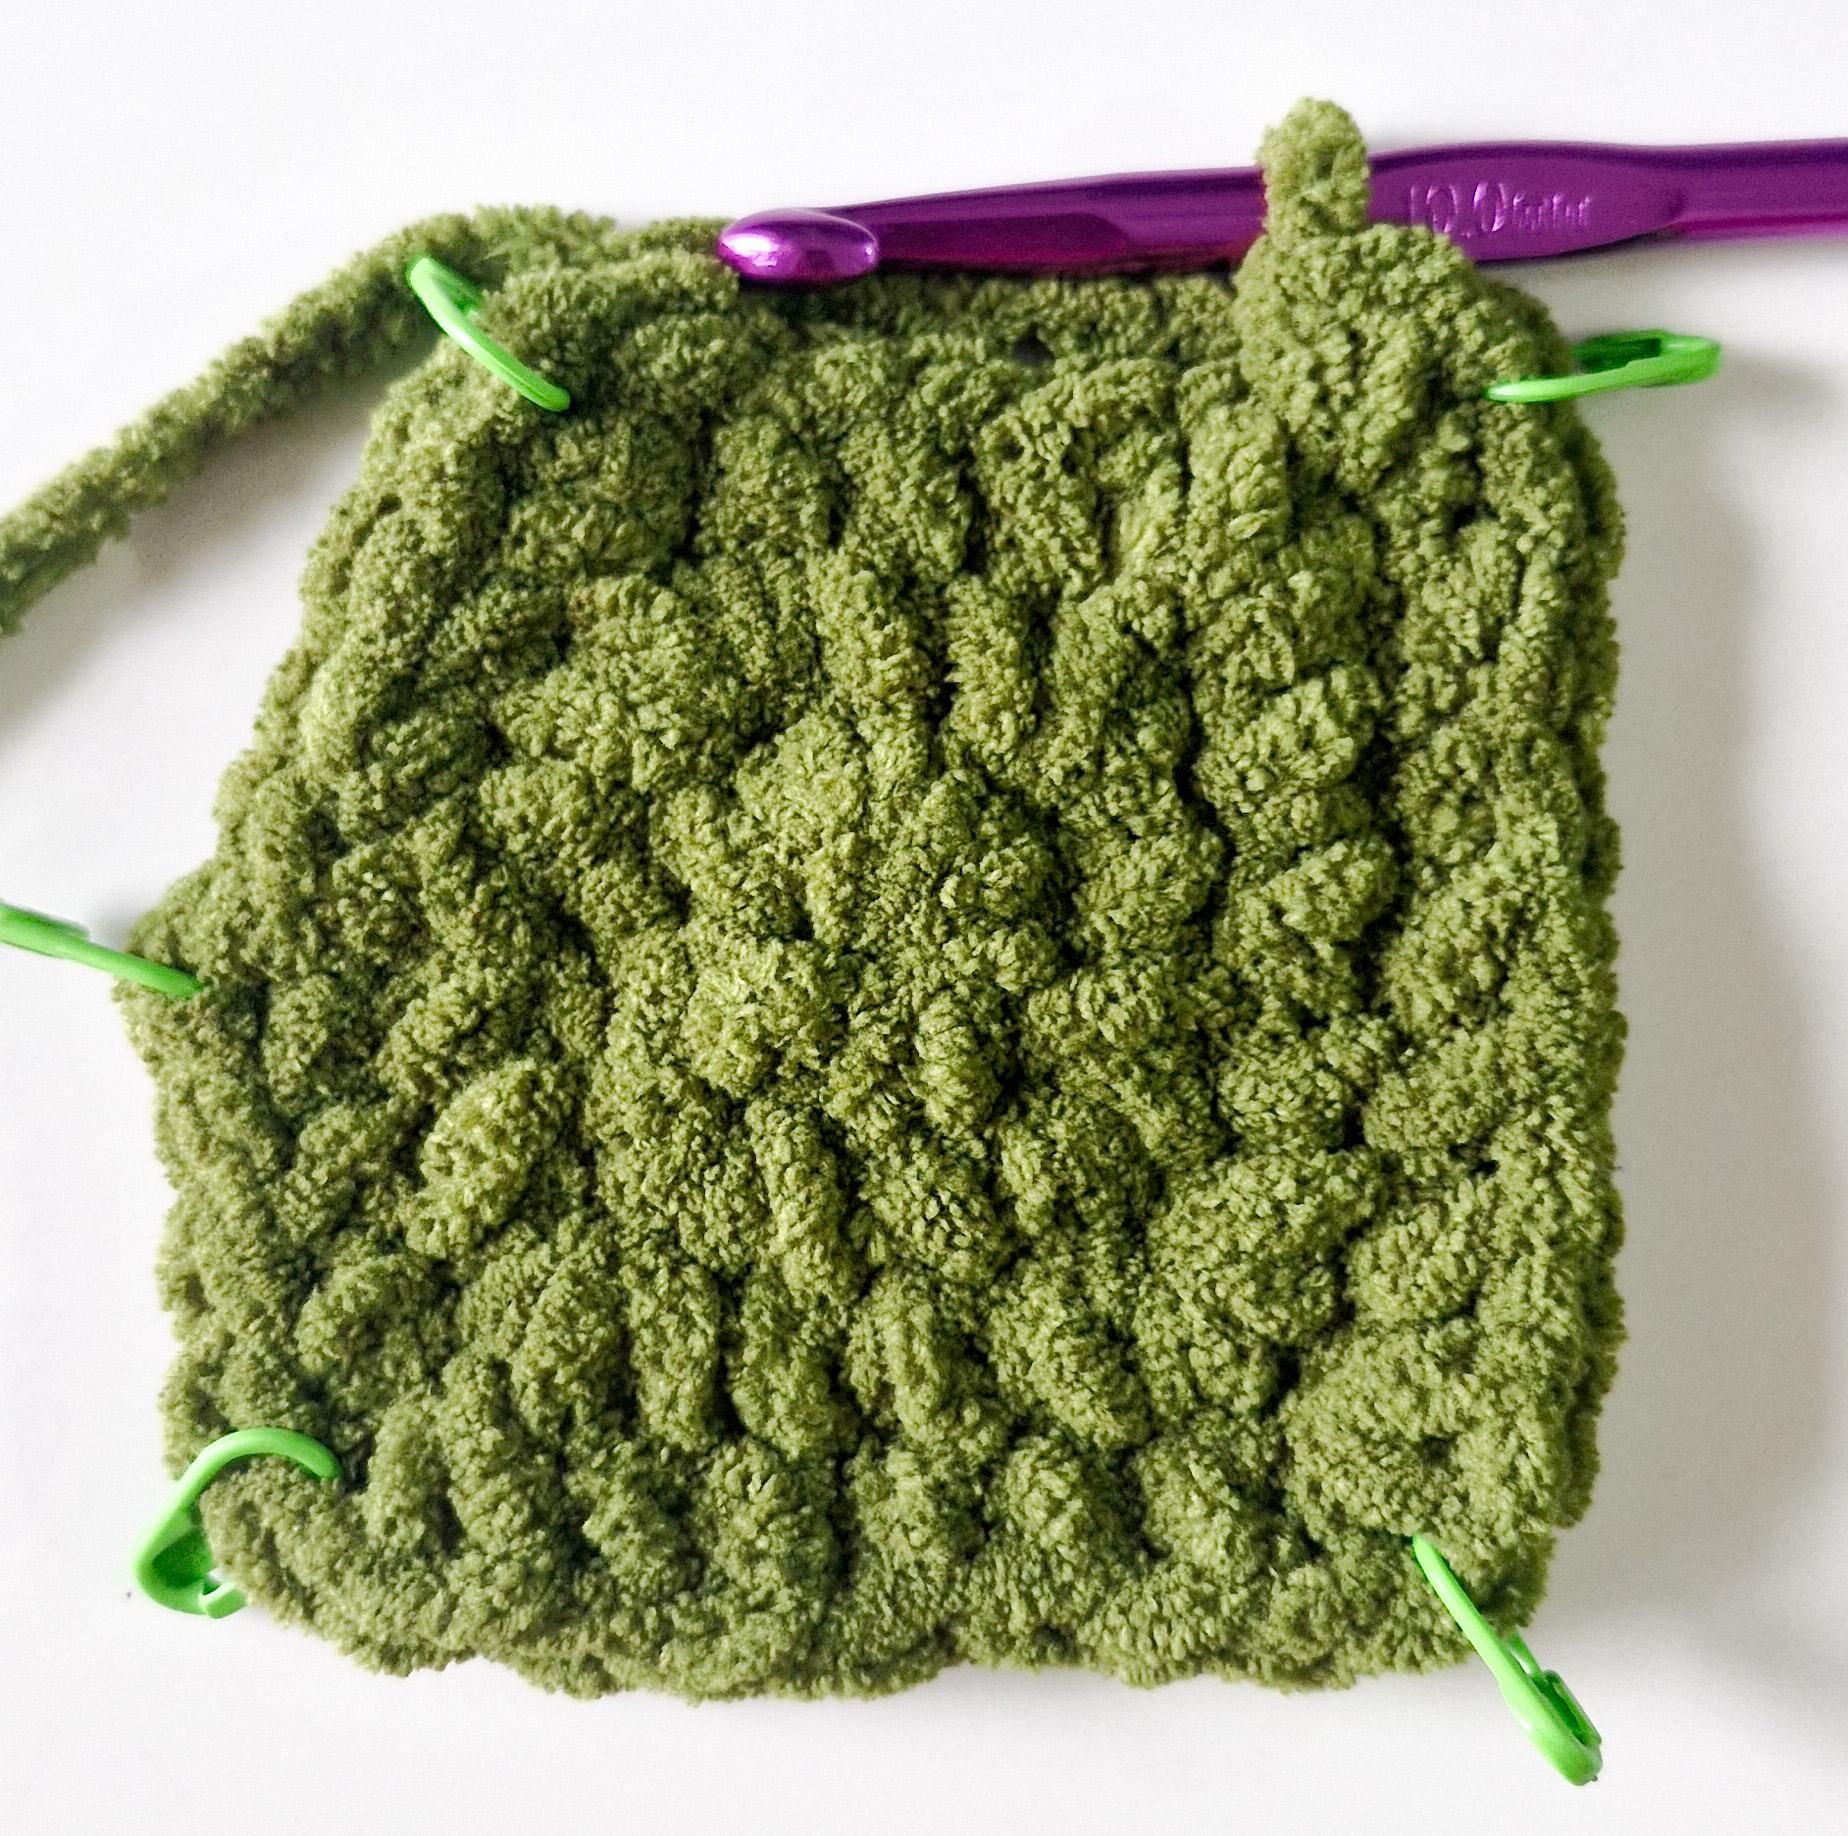
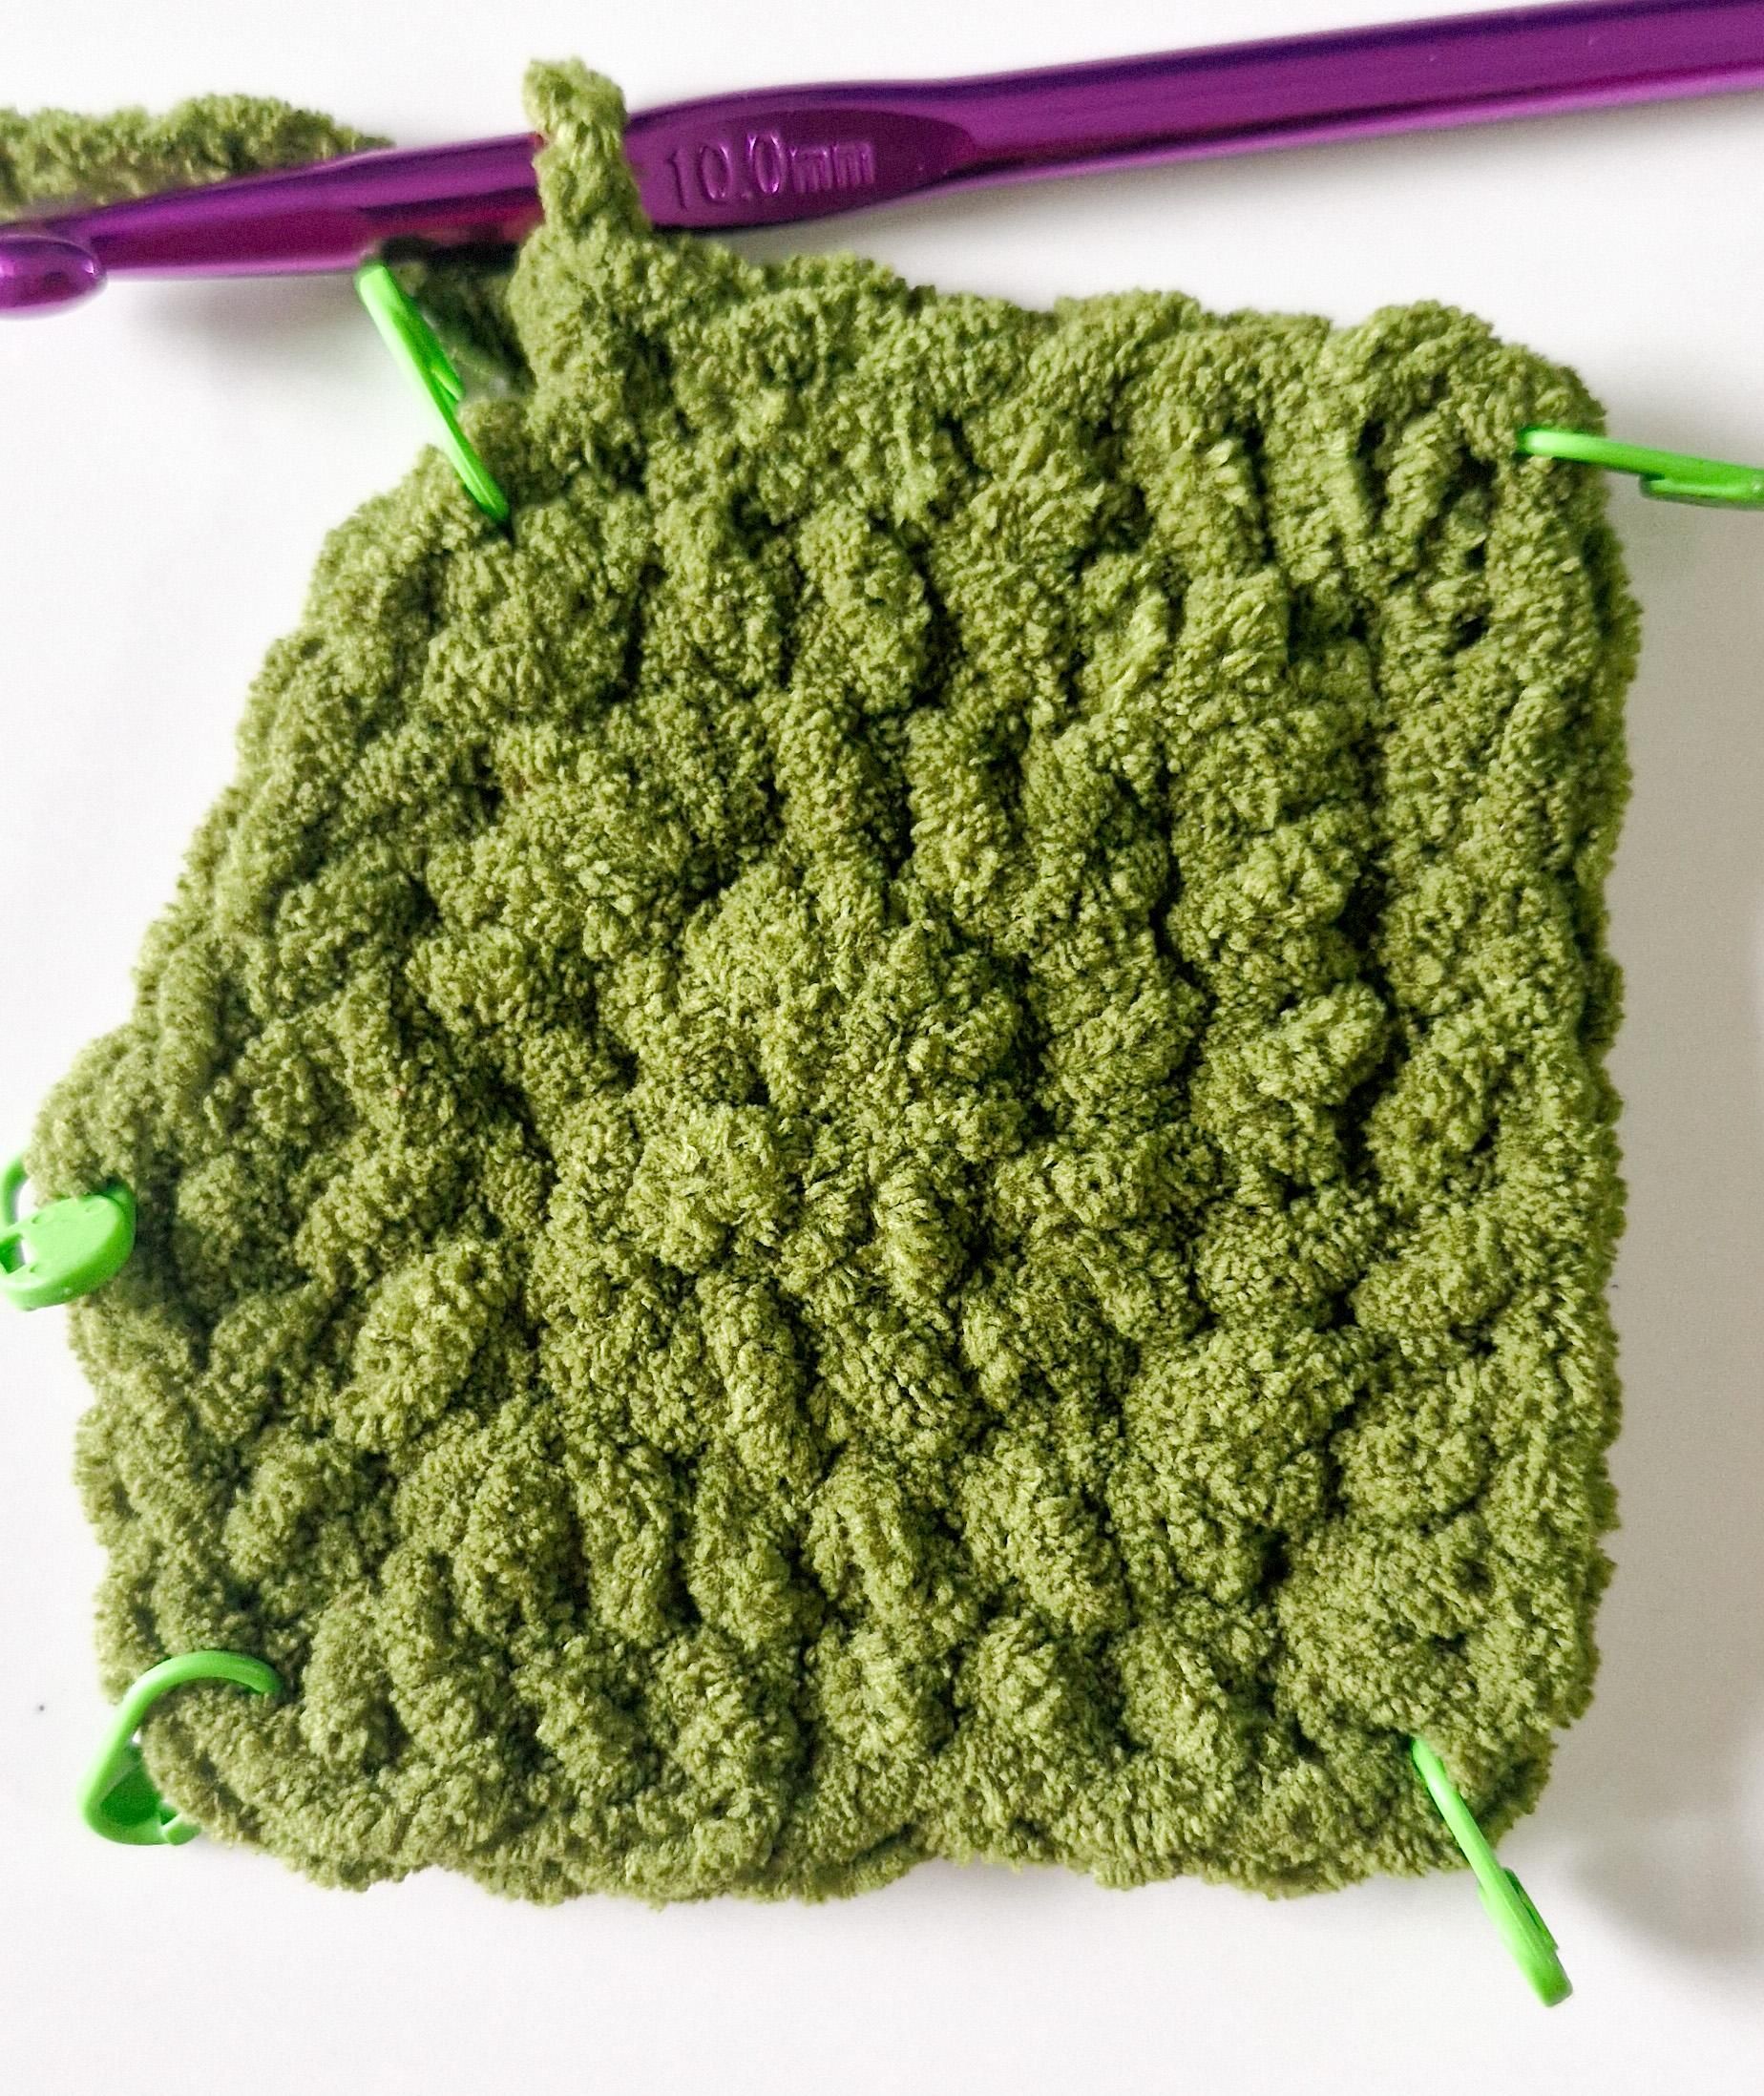
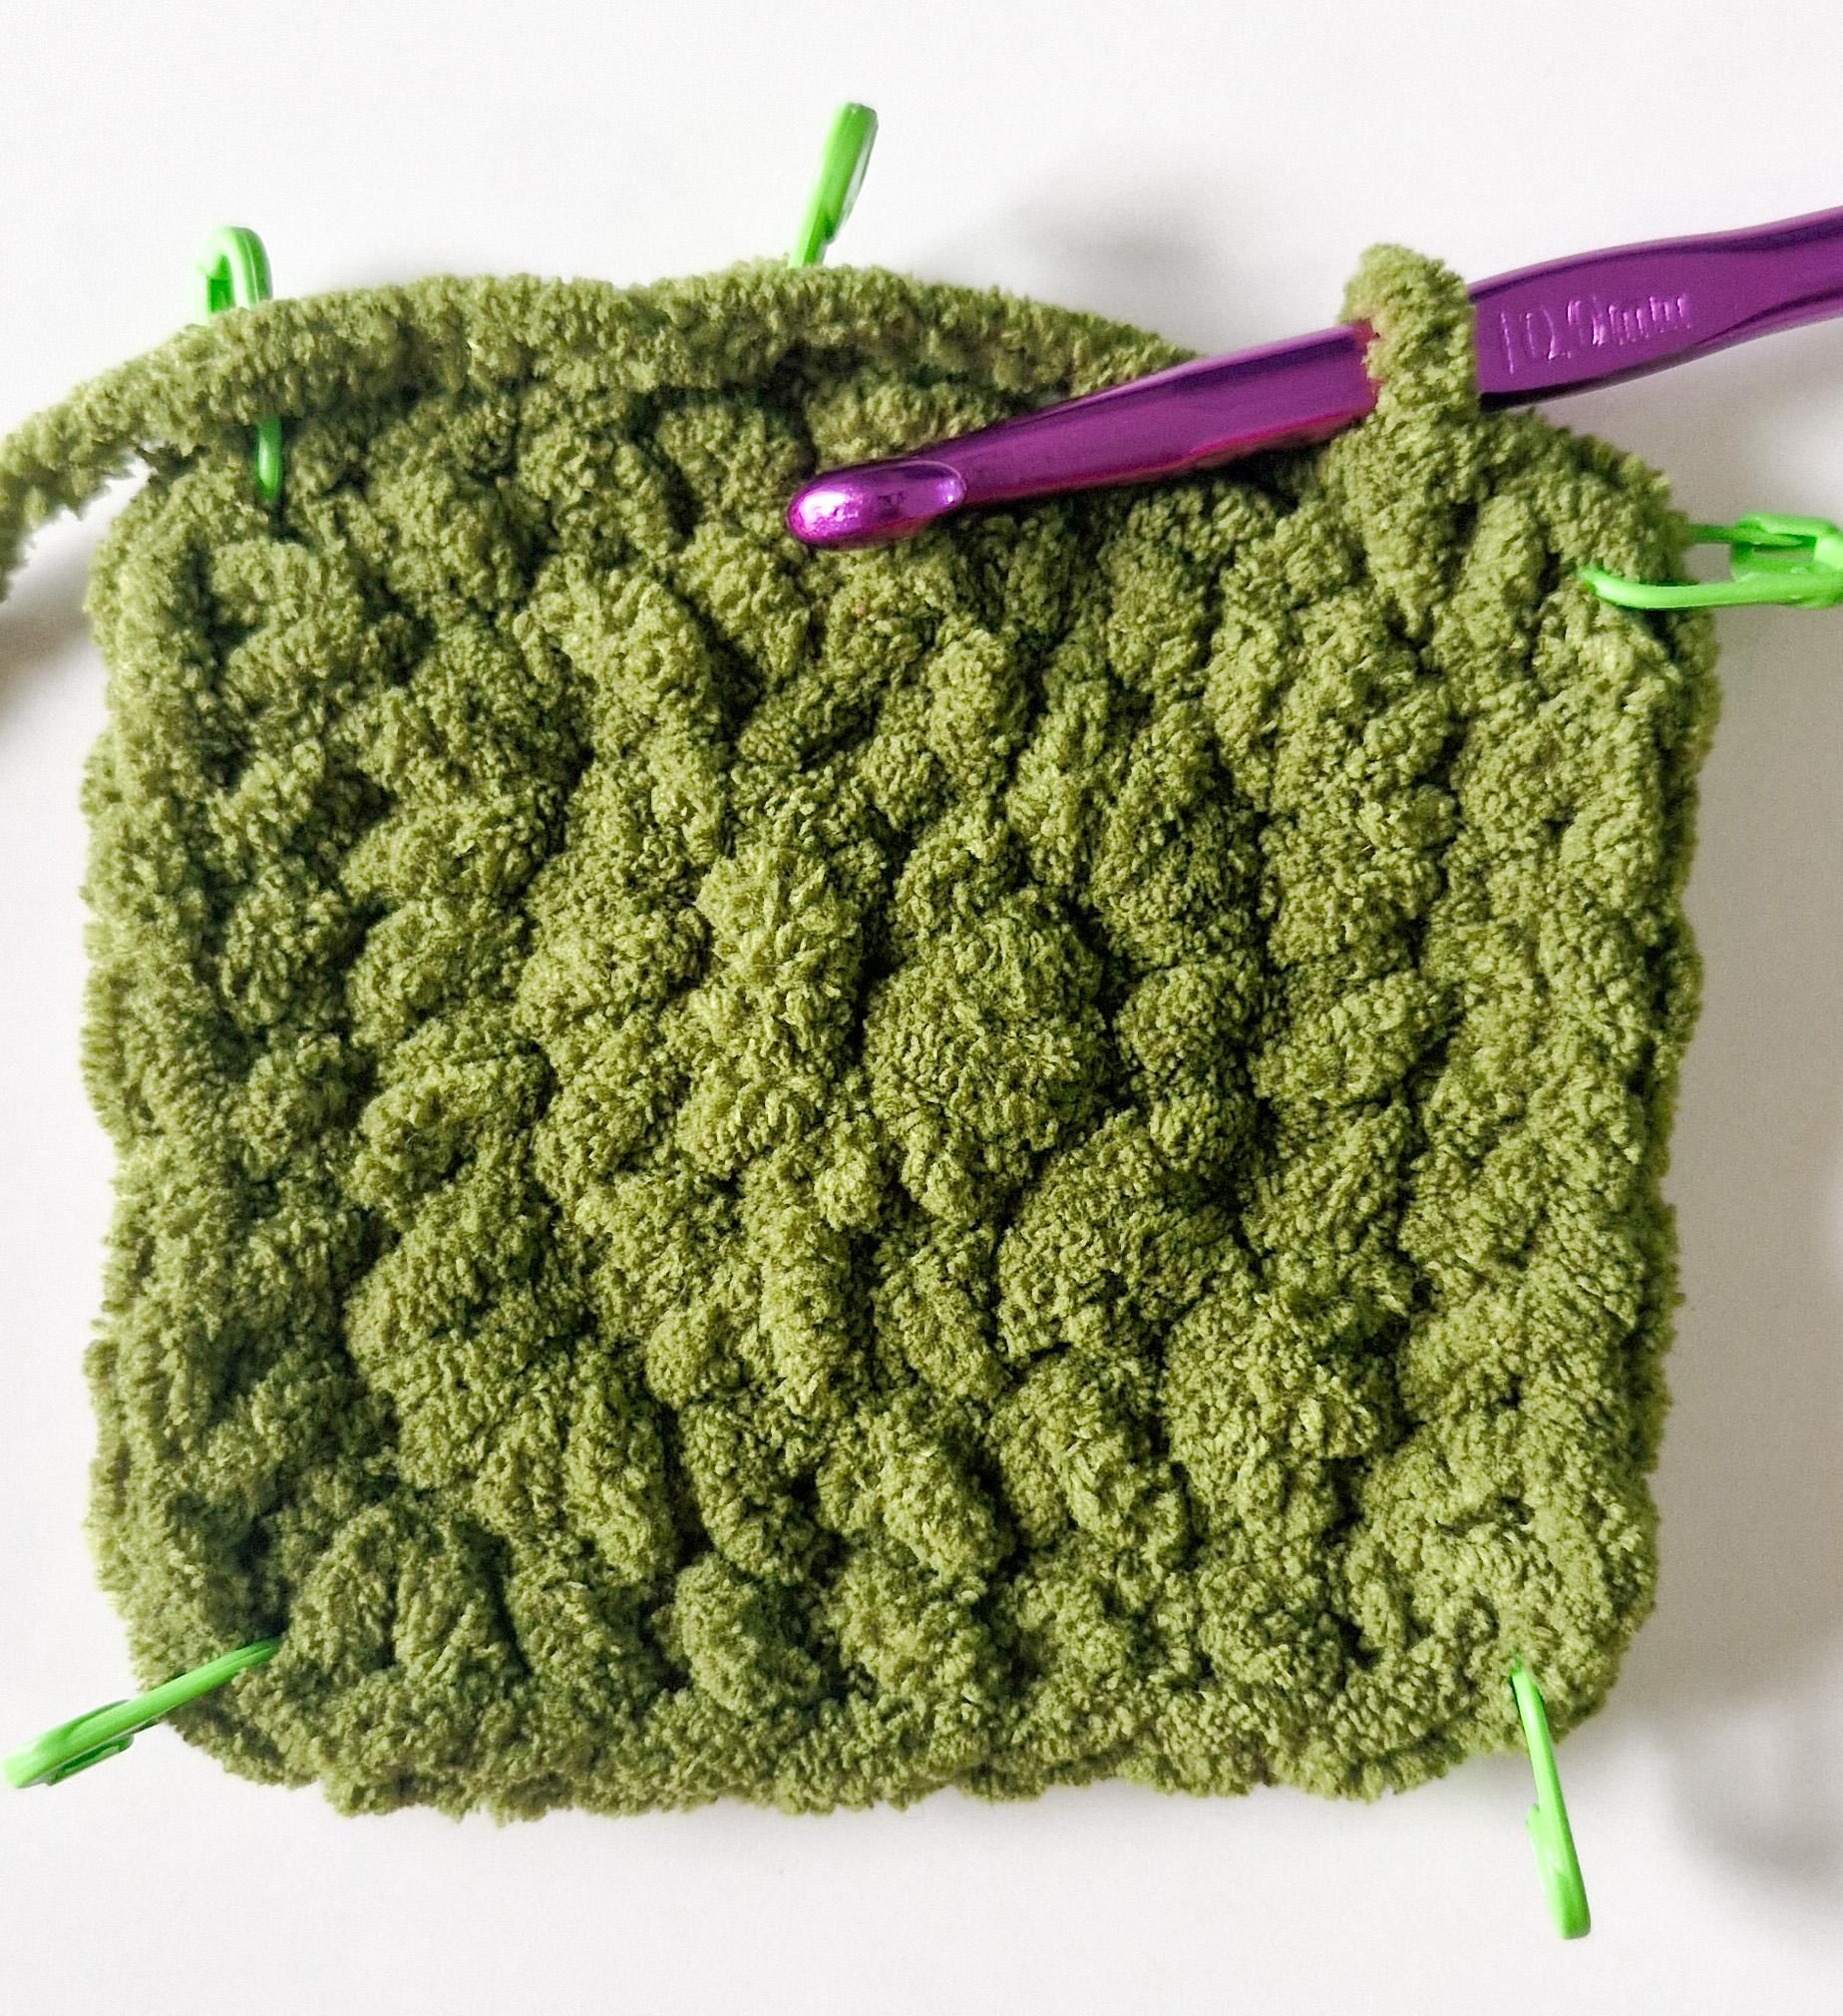
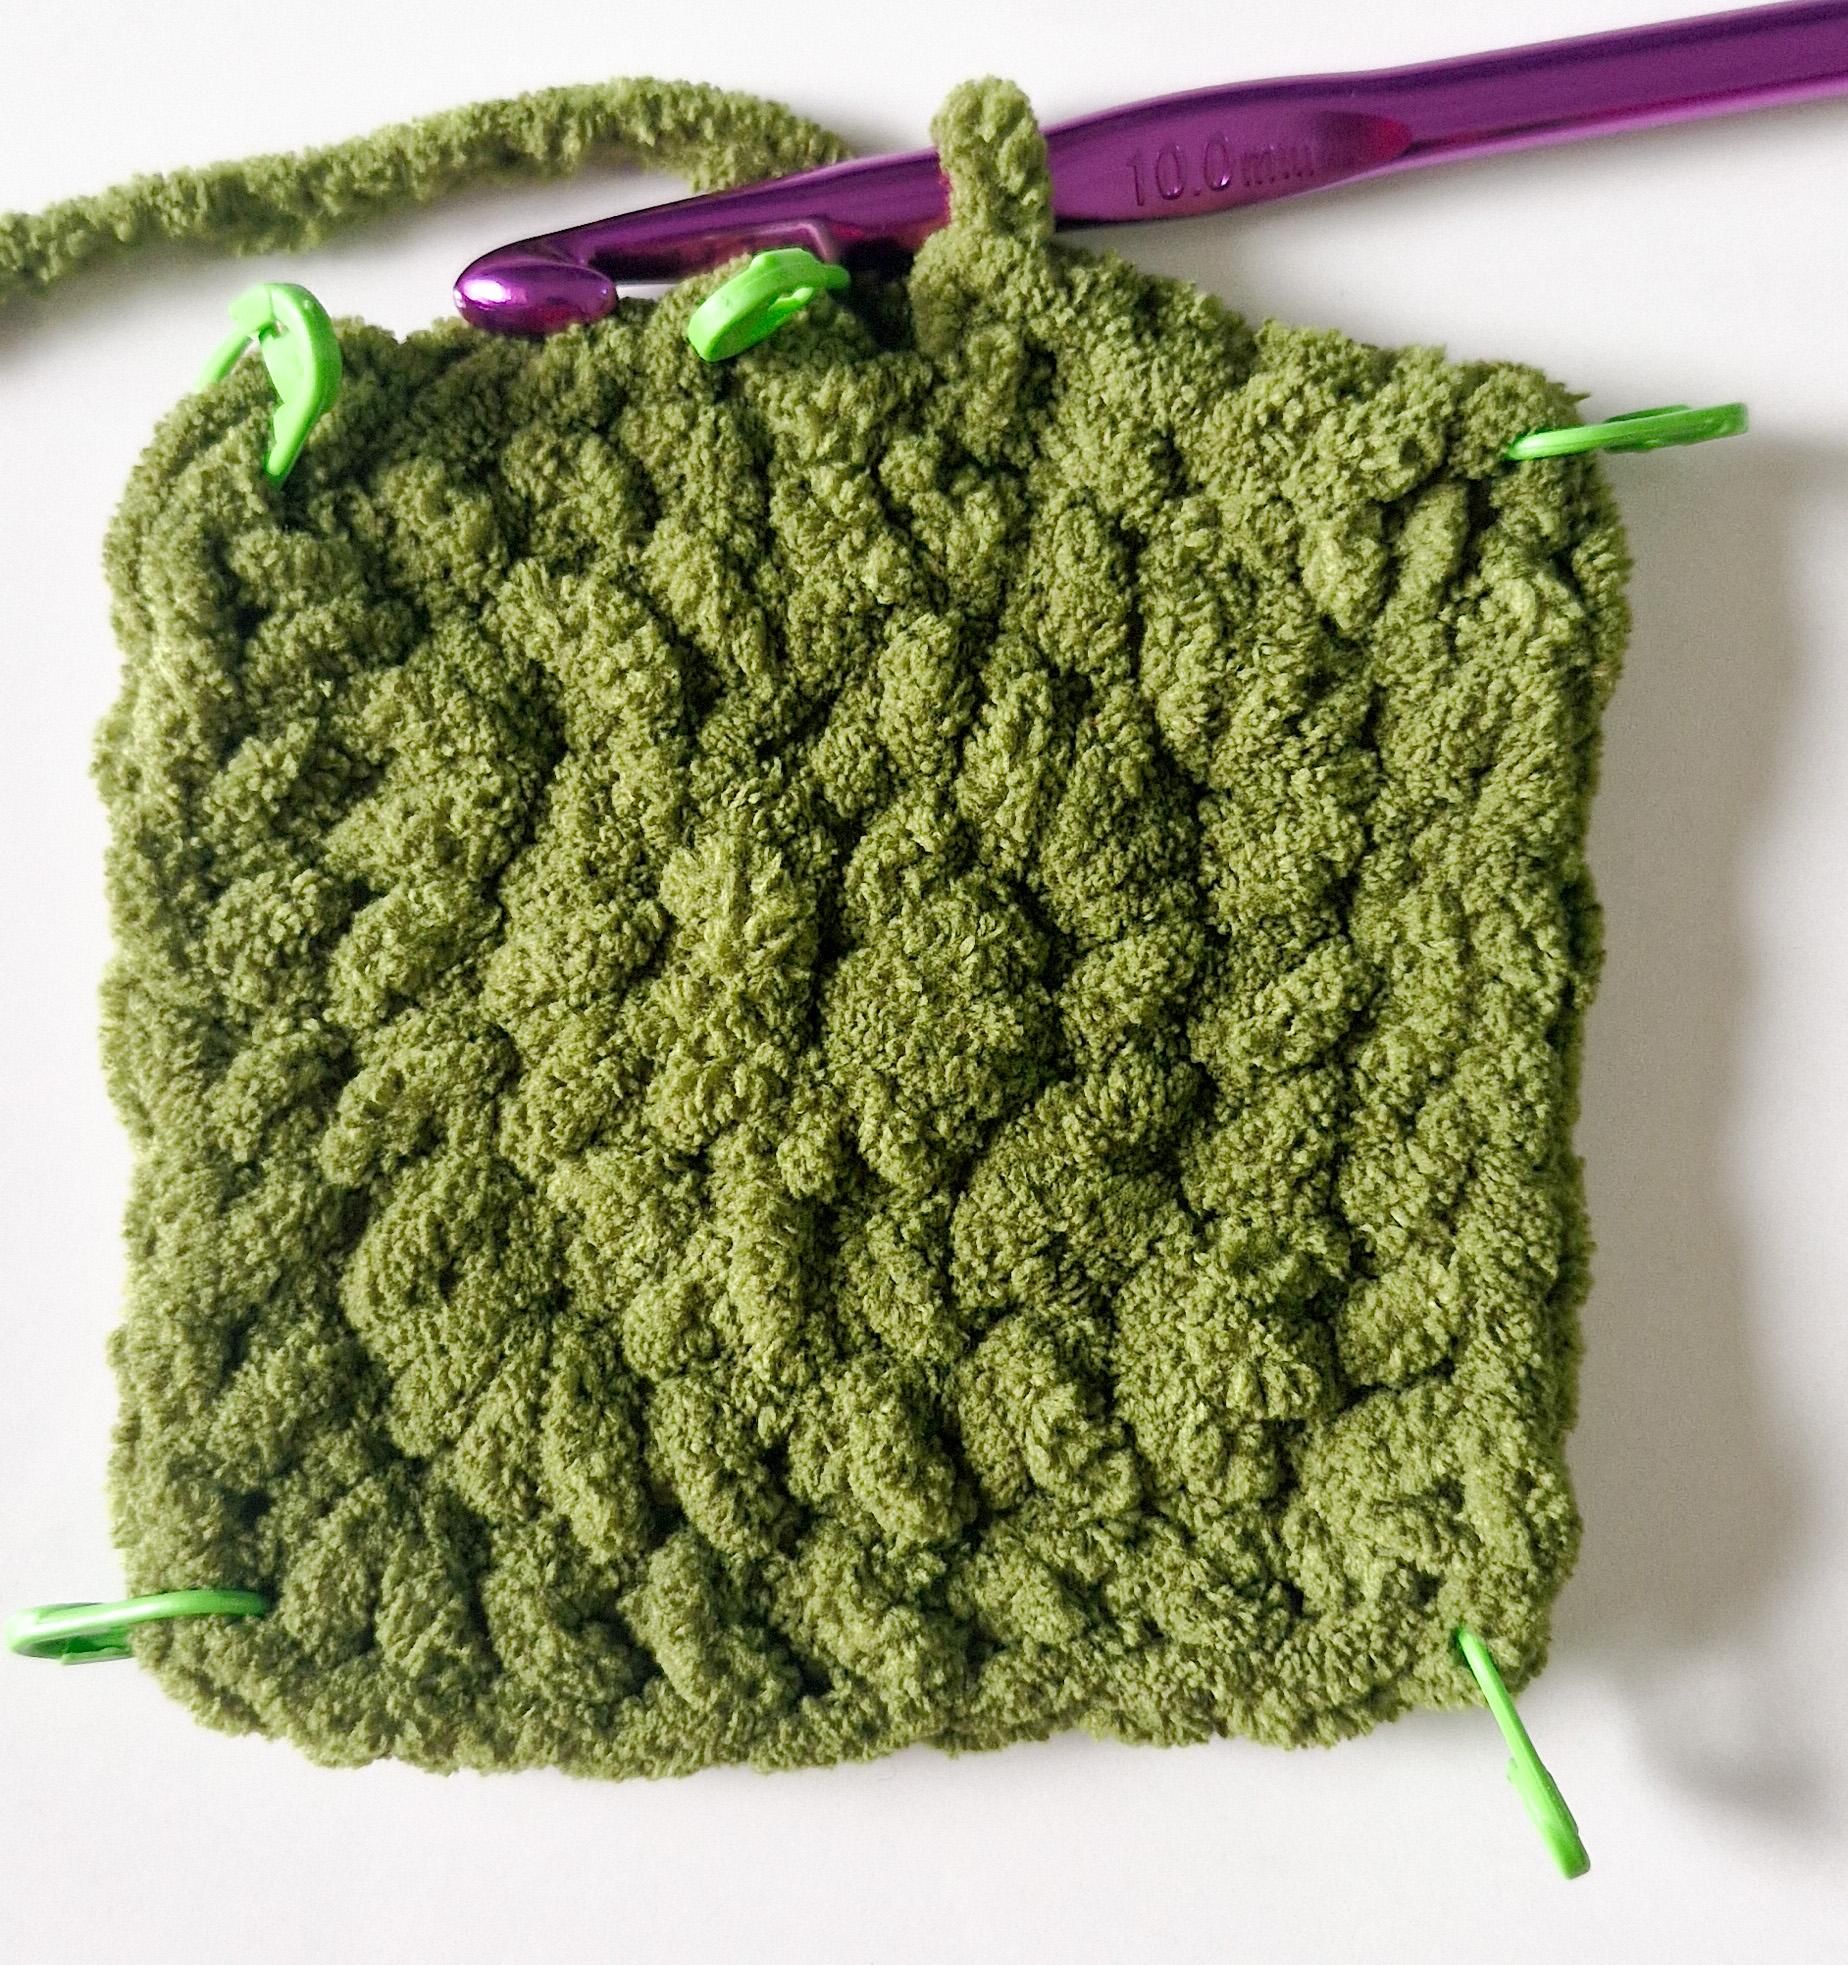
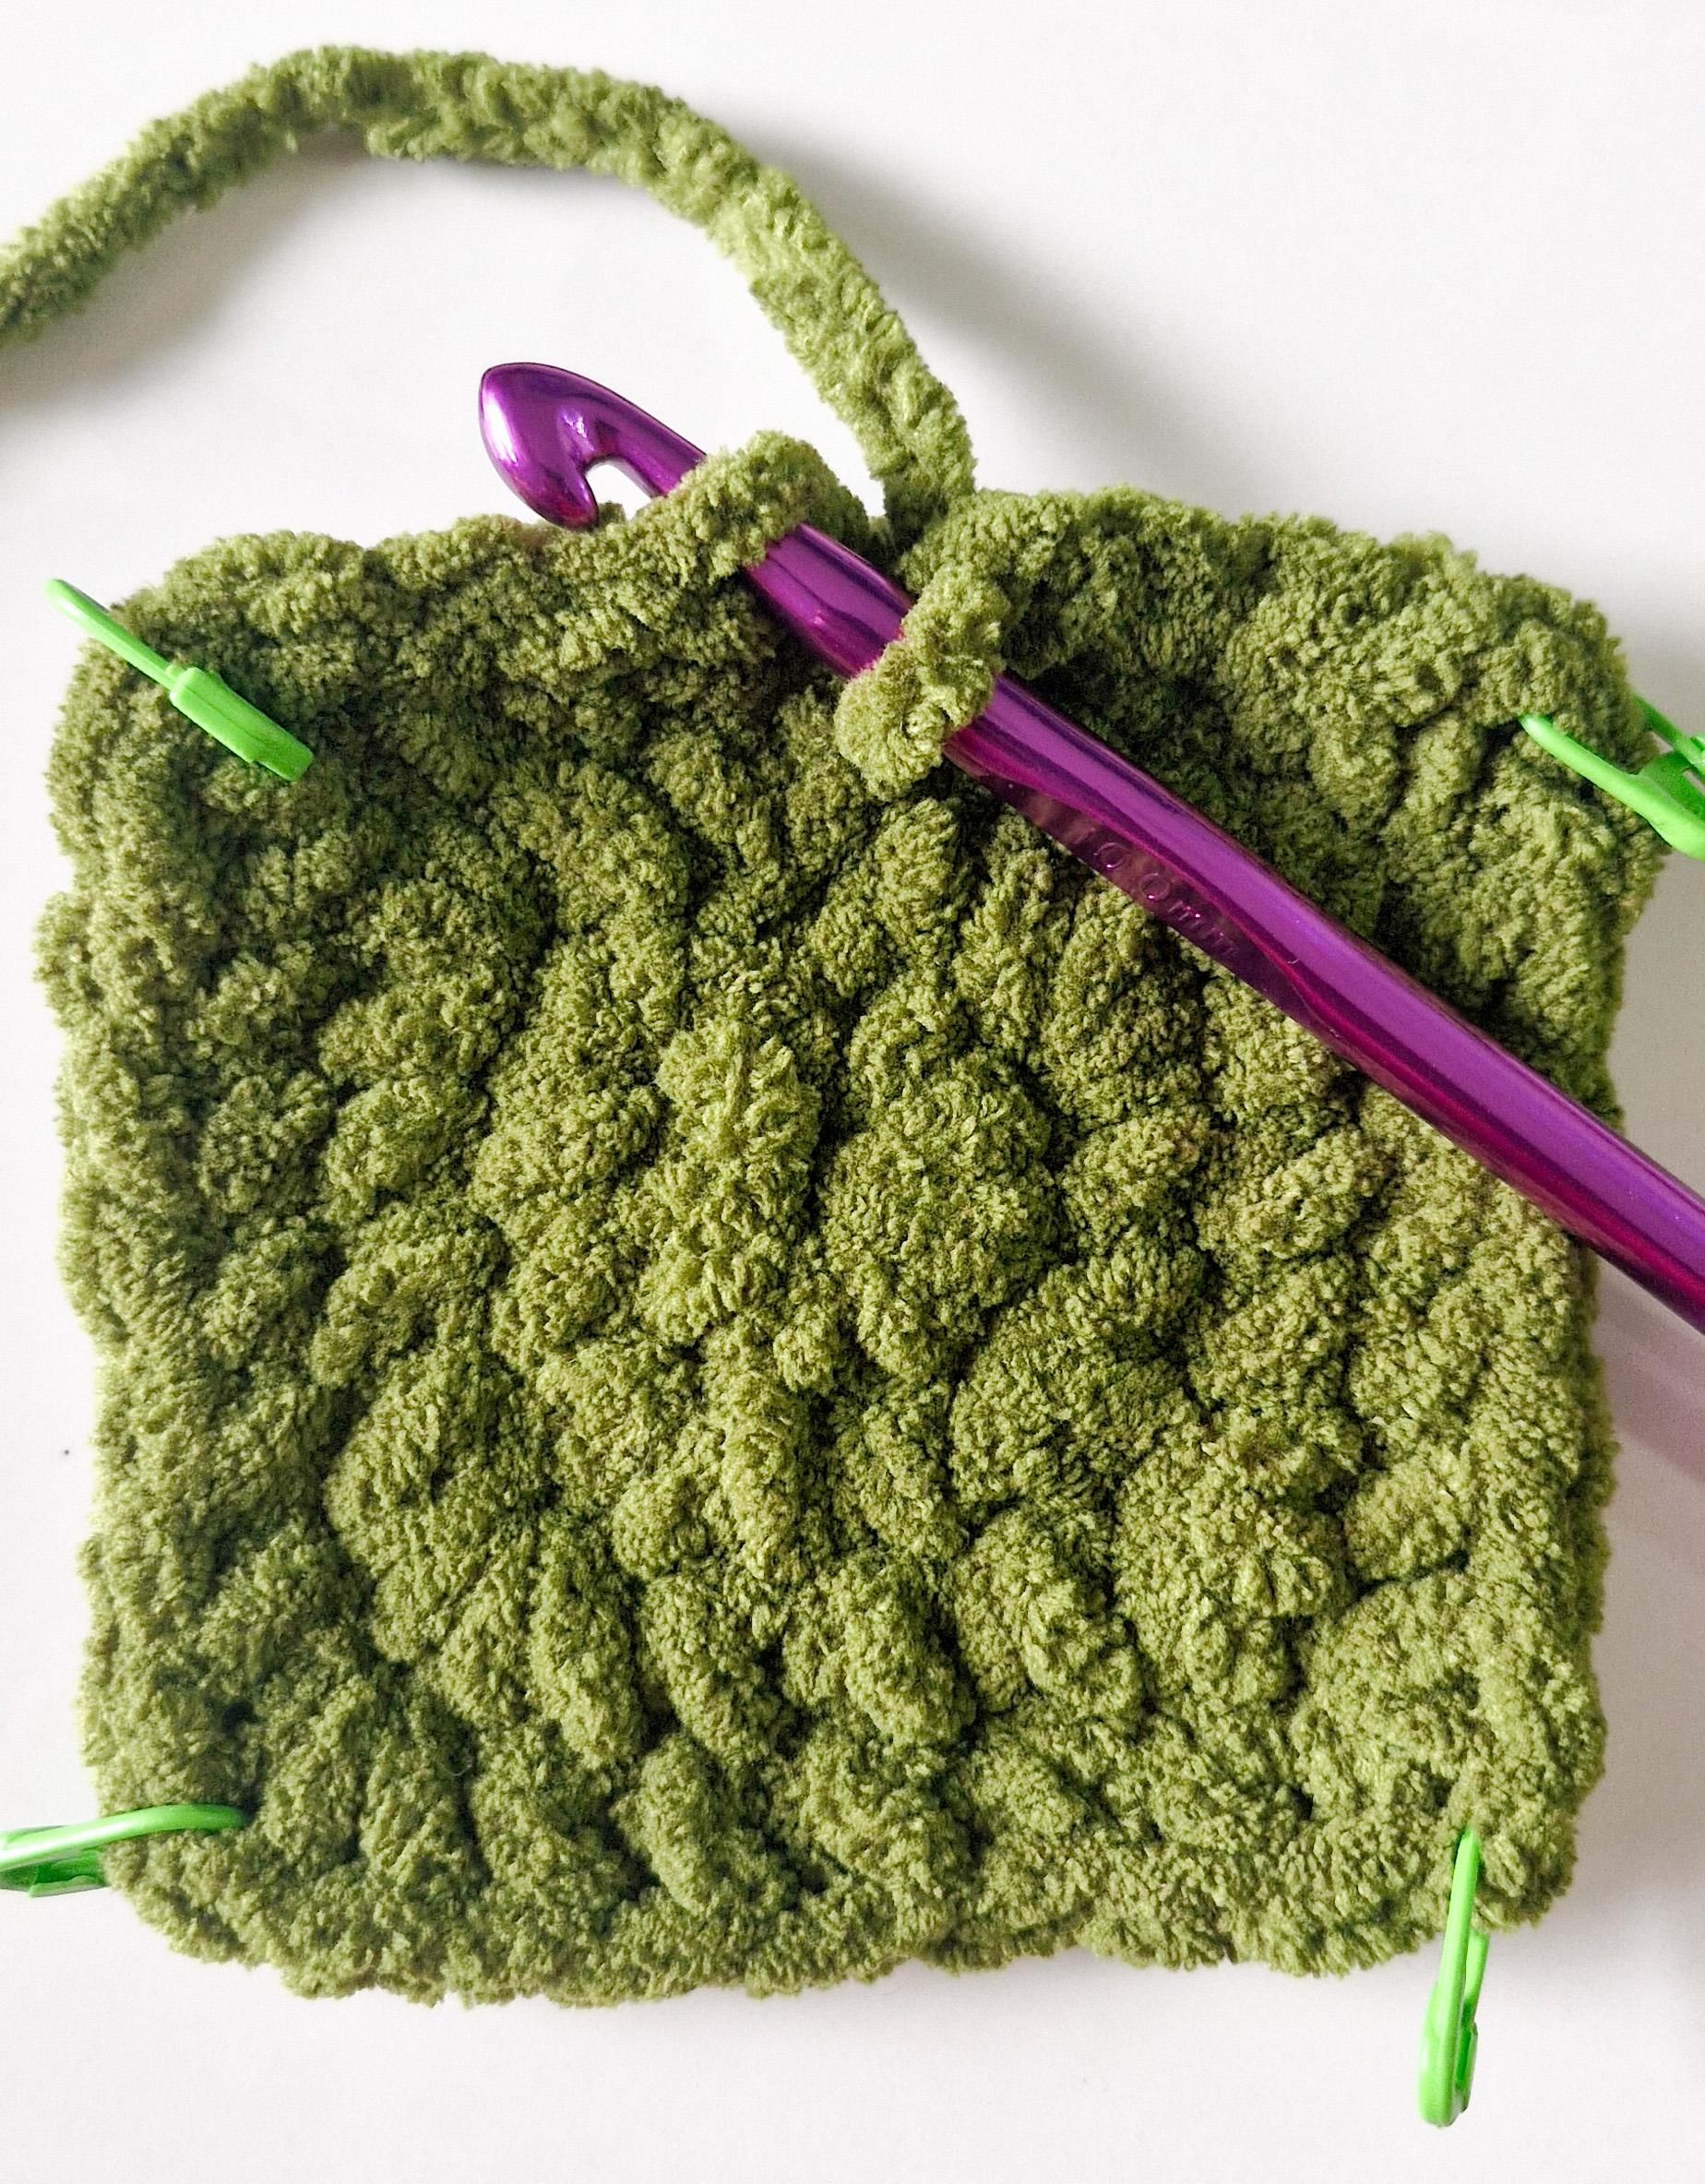
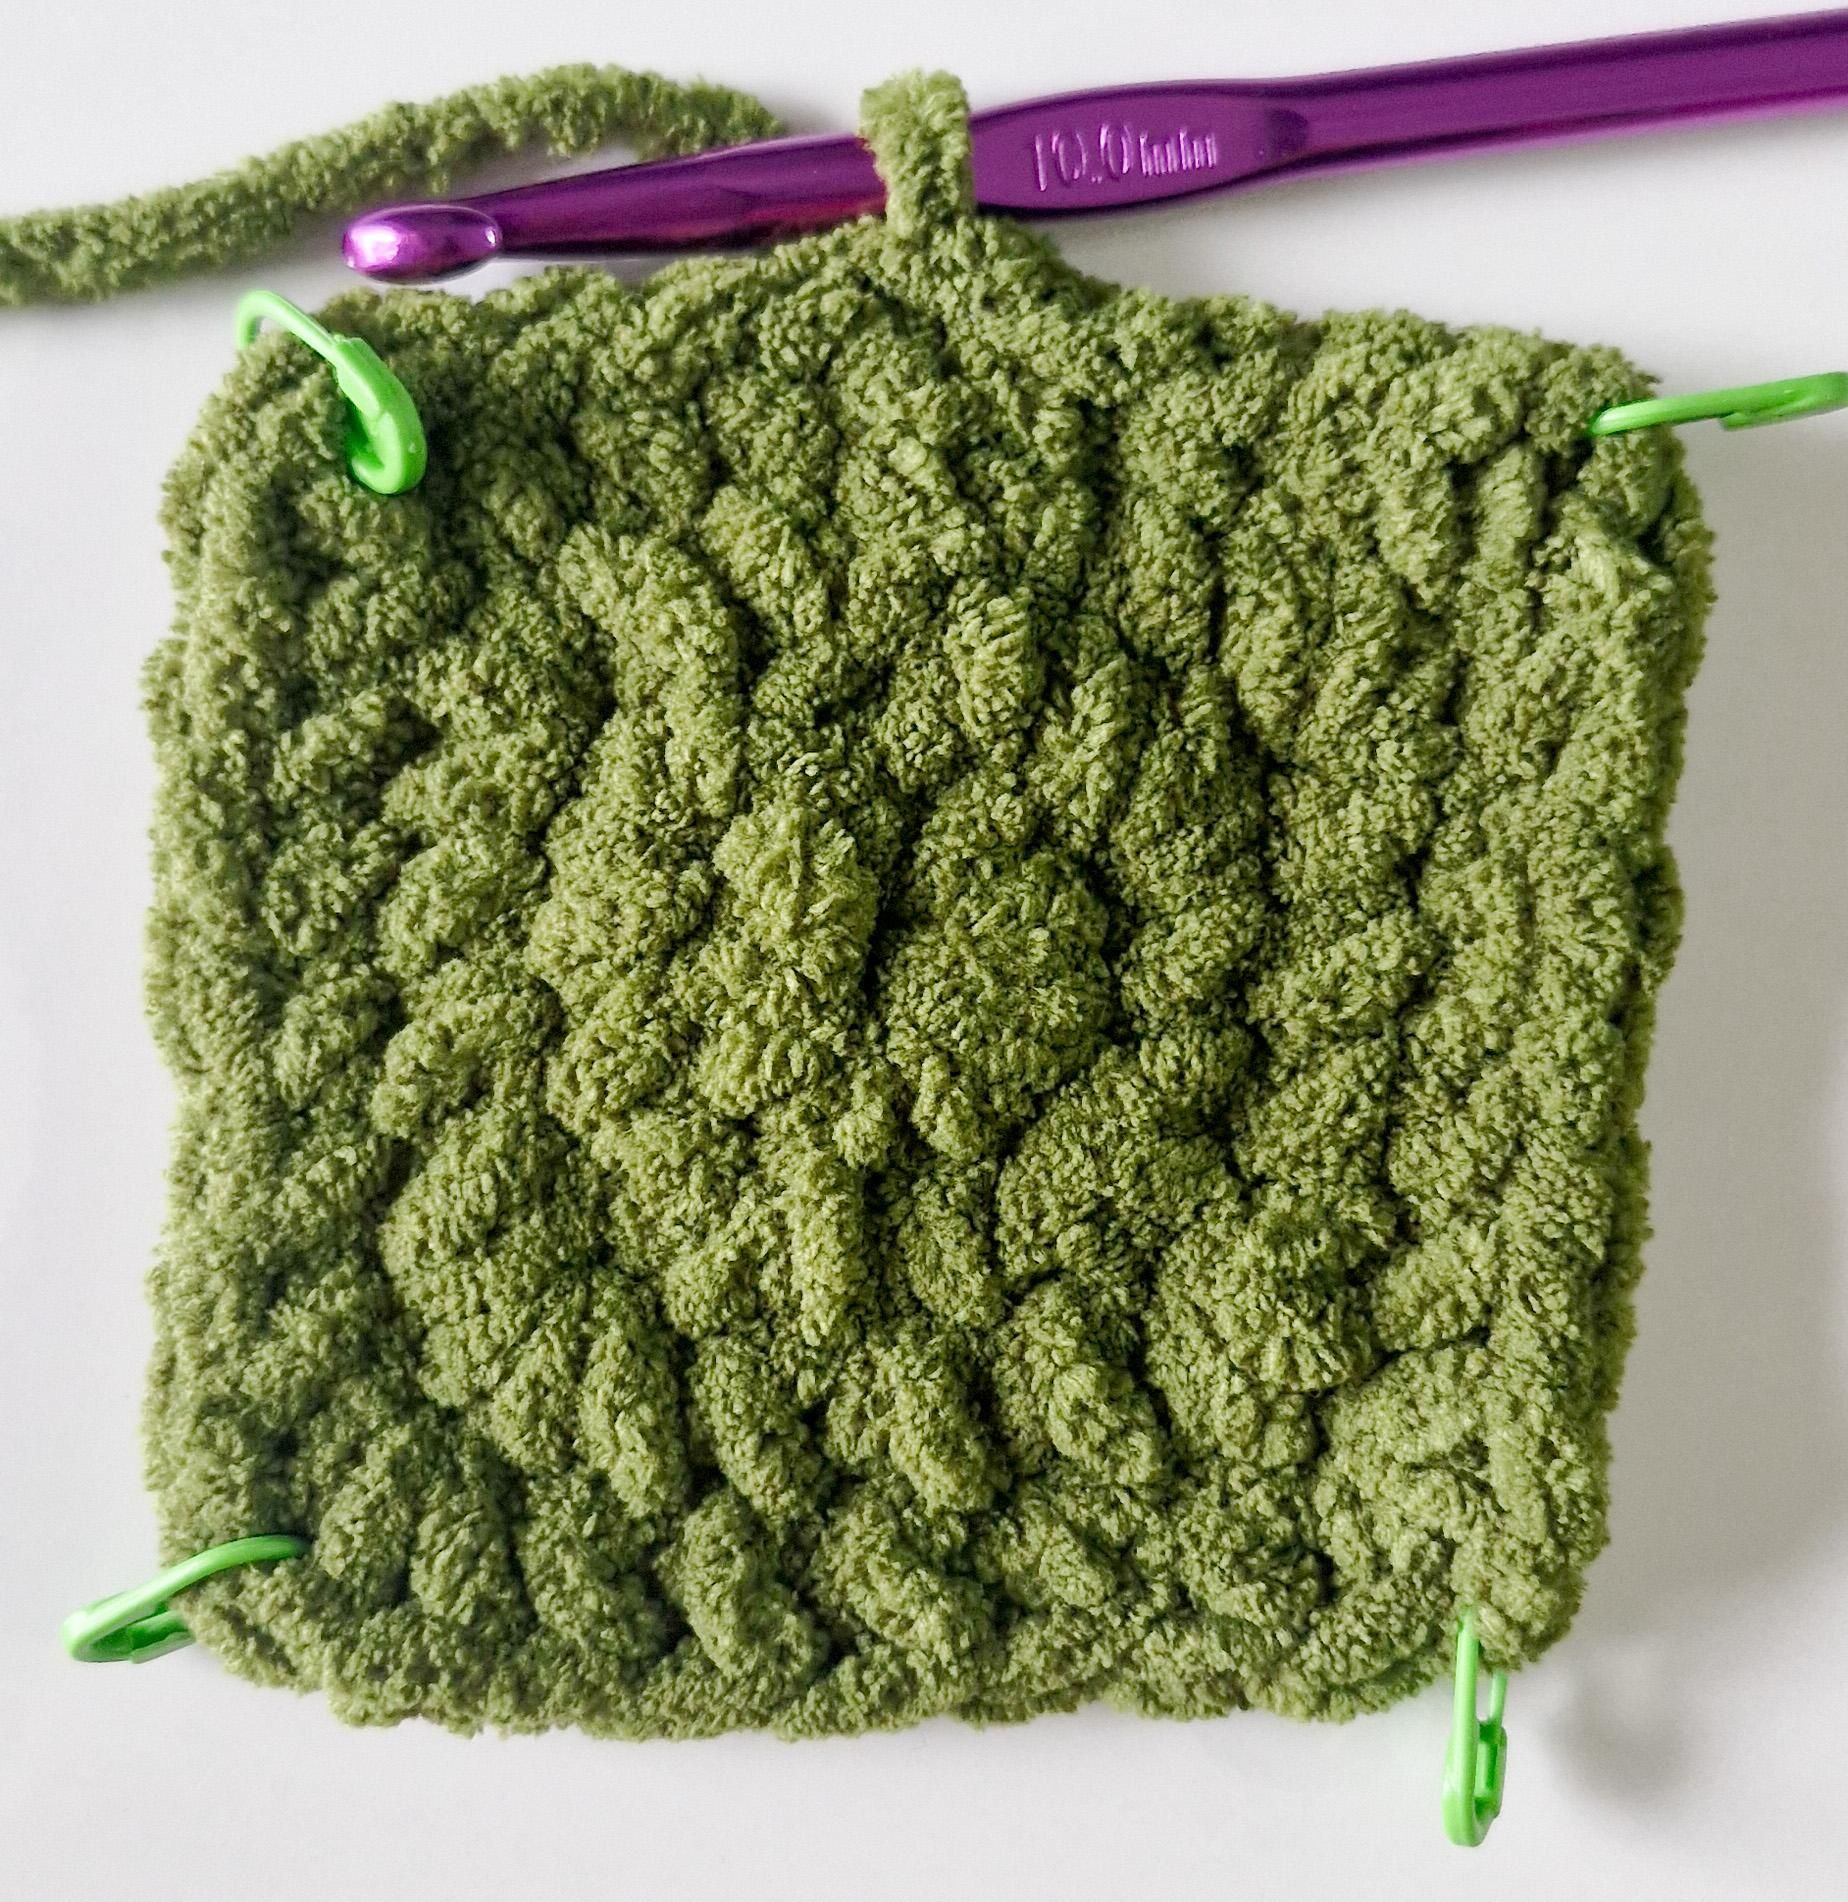
Chain 1.
1 Single Crochet in each stitch untill the Marked stitch.(Corner)
3 Single Crochets in the Marked stitch.
Repeat* (1SC in each stitch untill the Marked Stitch, 3 SC in the Marked stitch)
Slip Stitch into the Backloop of the first Single Crochet.
**With the same Pattern make one more piece for the top of the Box and keep it aside.
**If you wish to make it larger, then keep repeating Round 4 untill the size needed.
And Once you reach the size needed, make the last Slip Stitch into the Backloop of the 1st Single Crochet.
Round 5:-
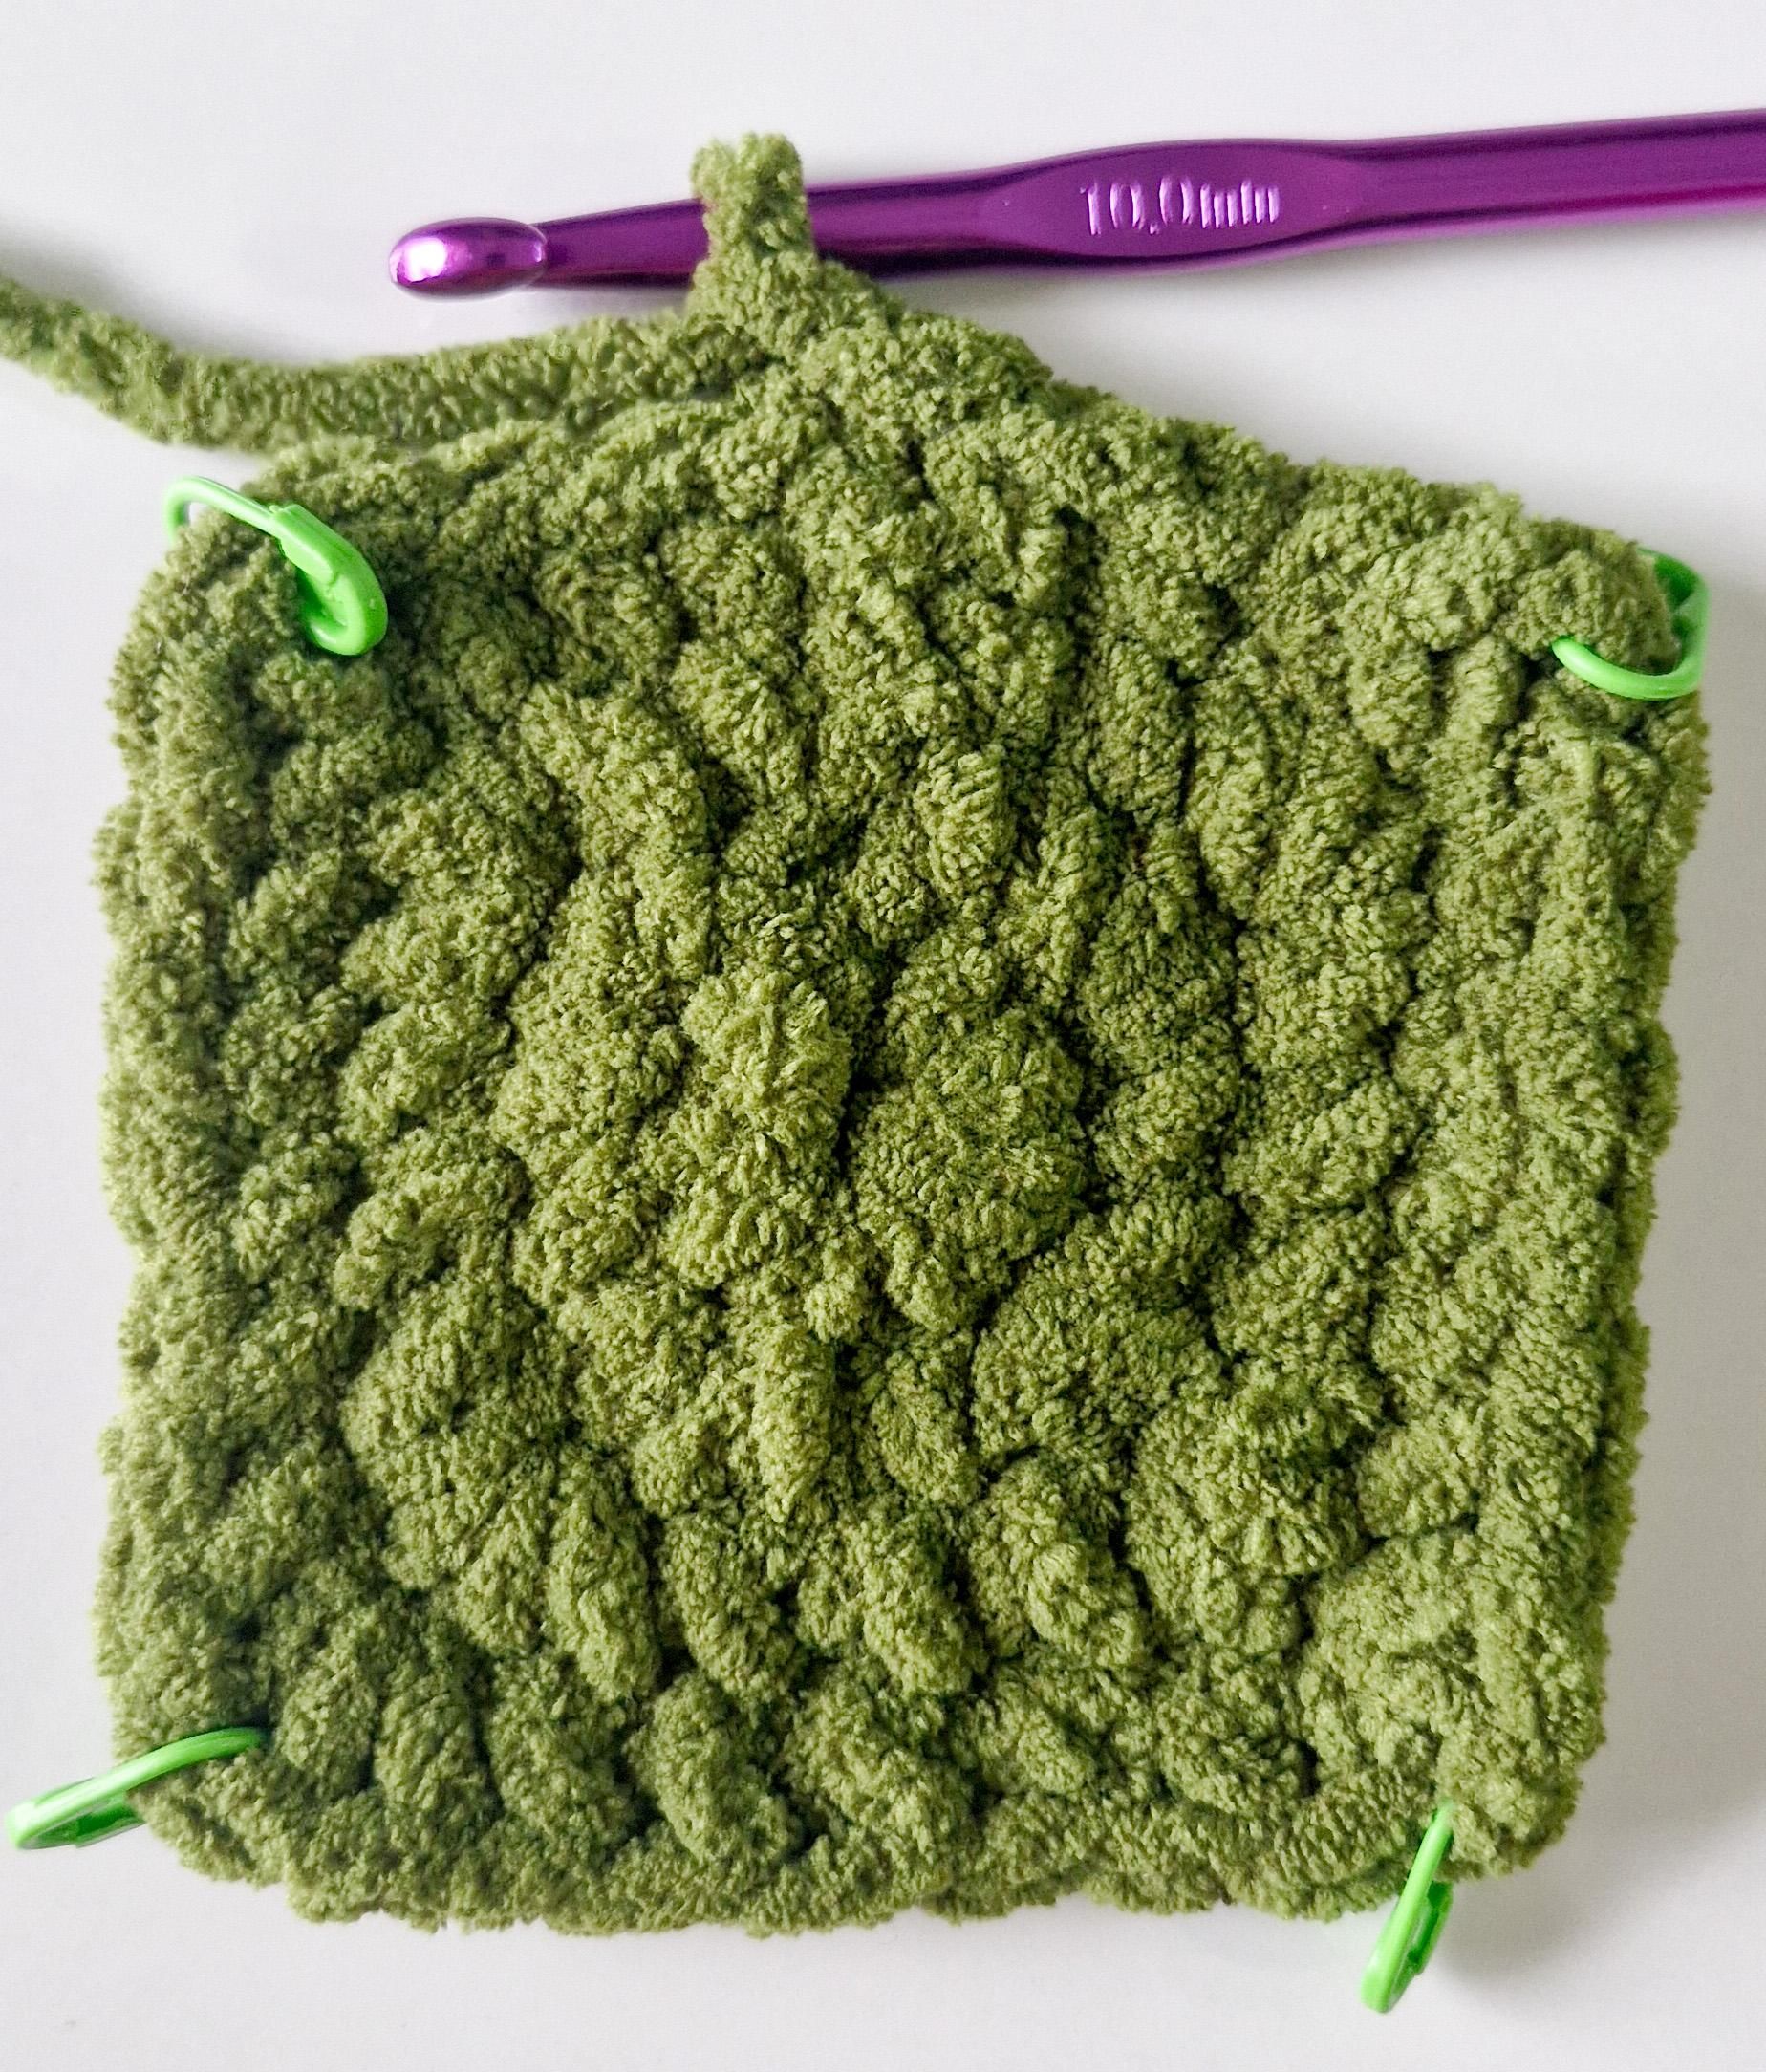
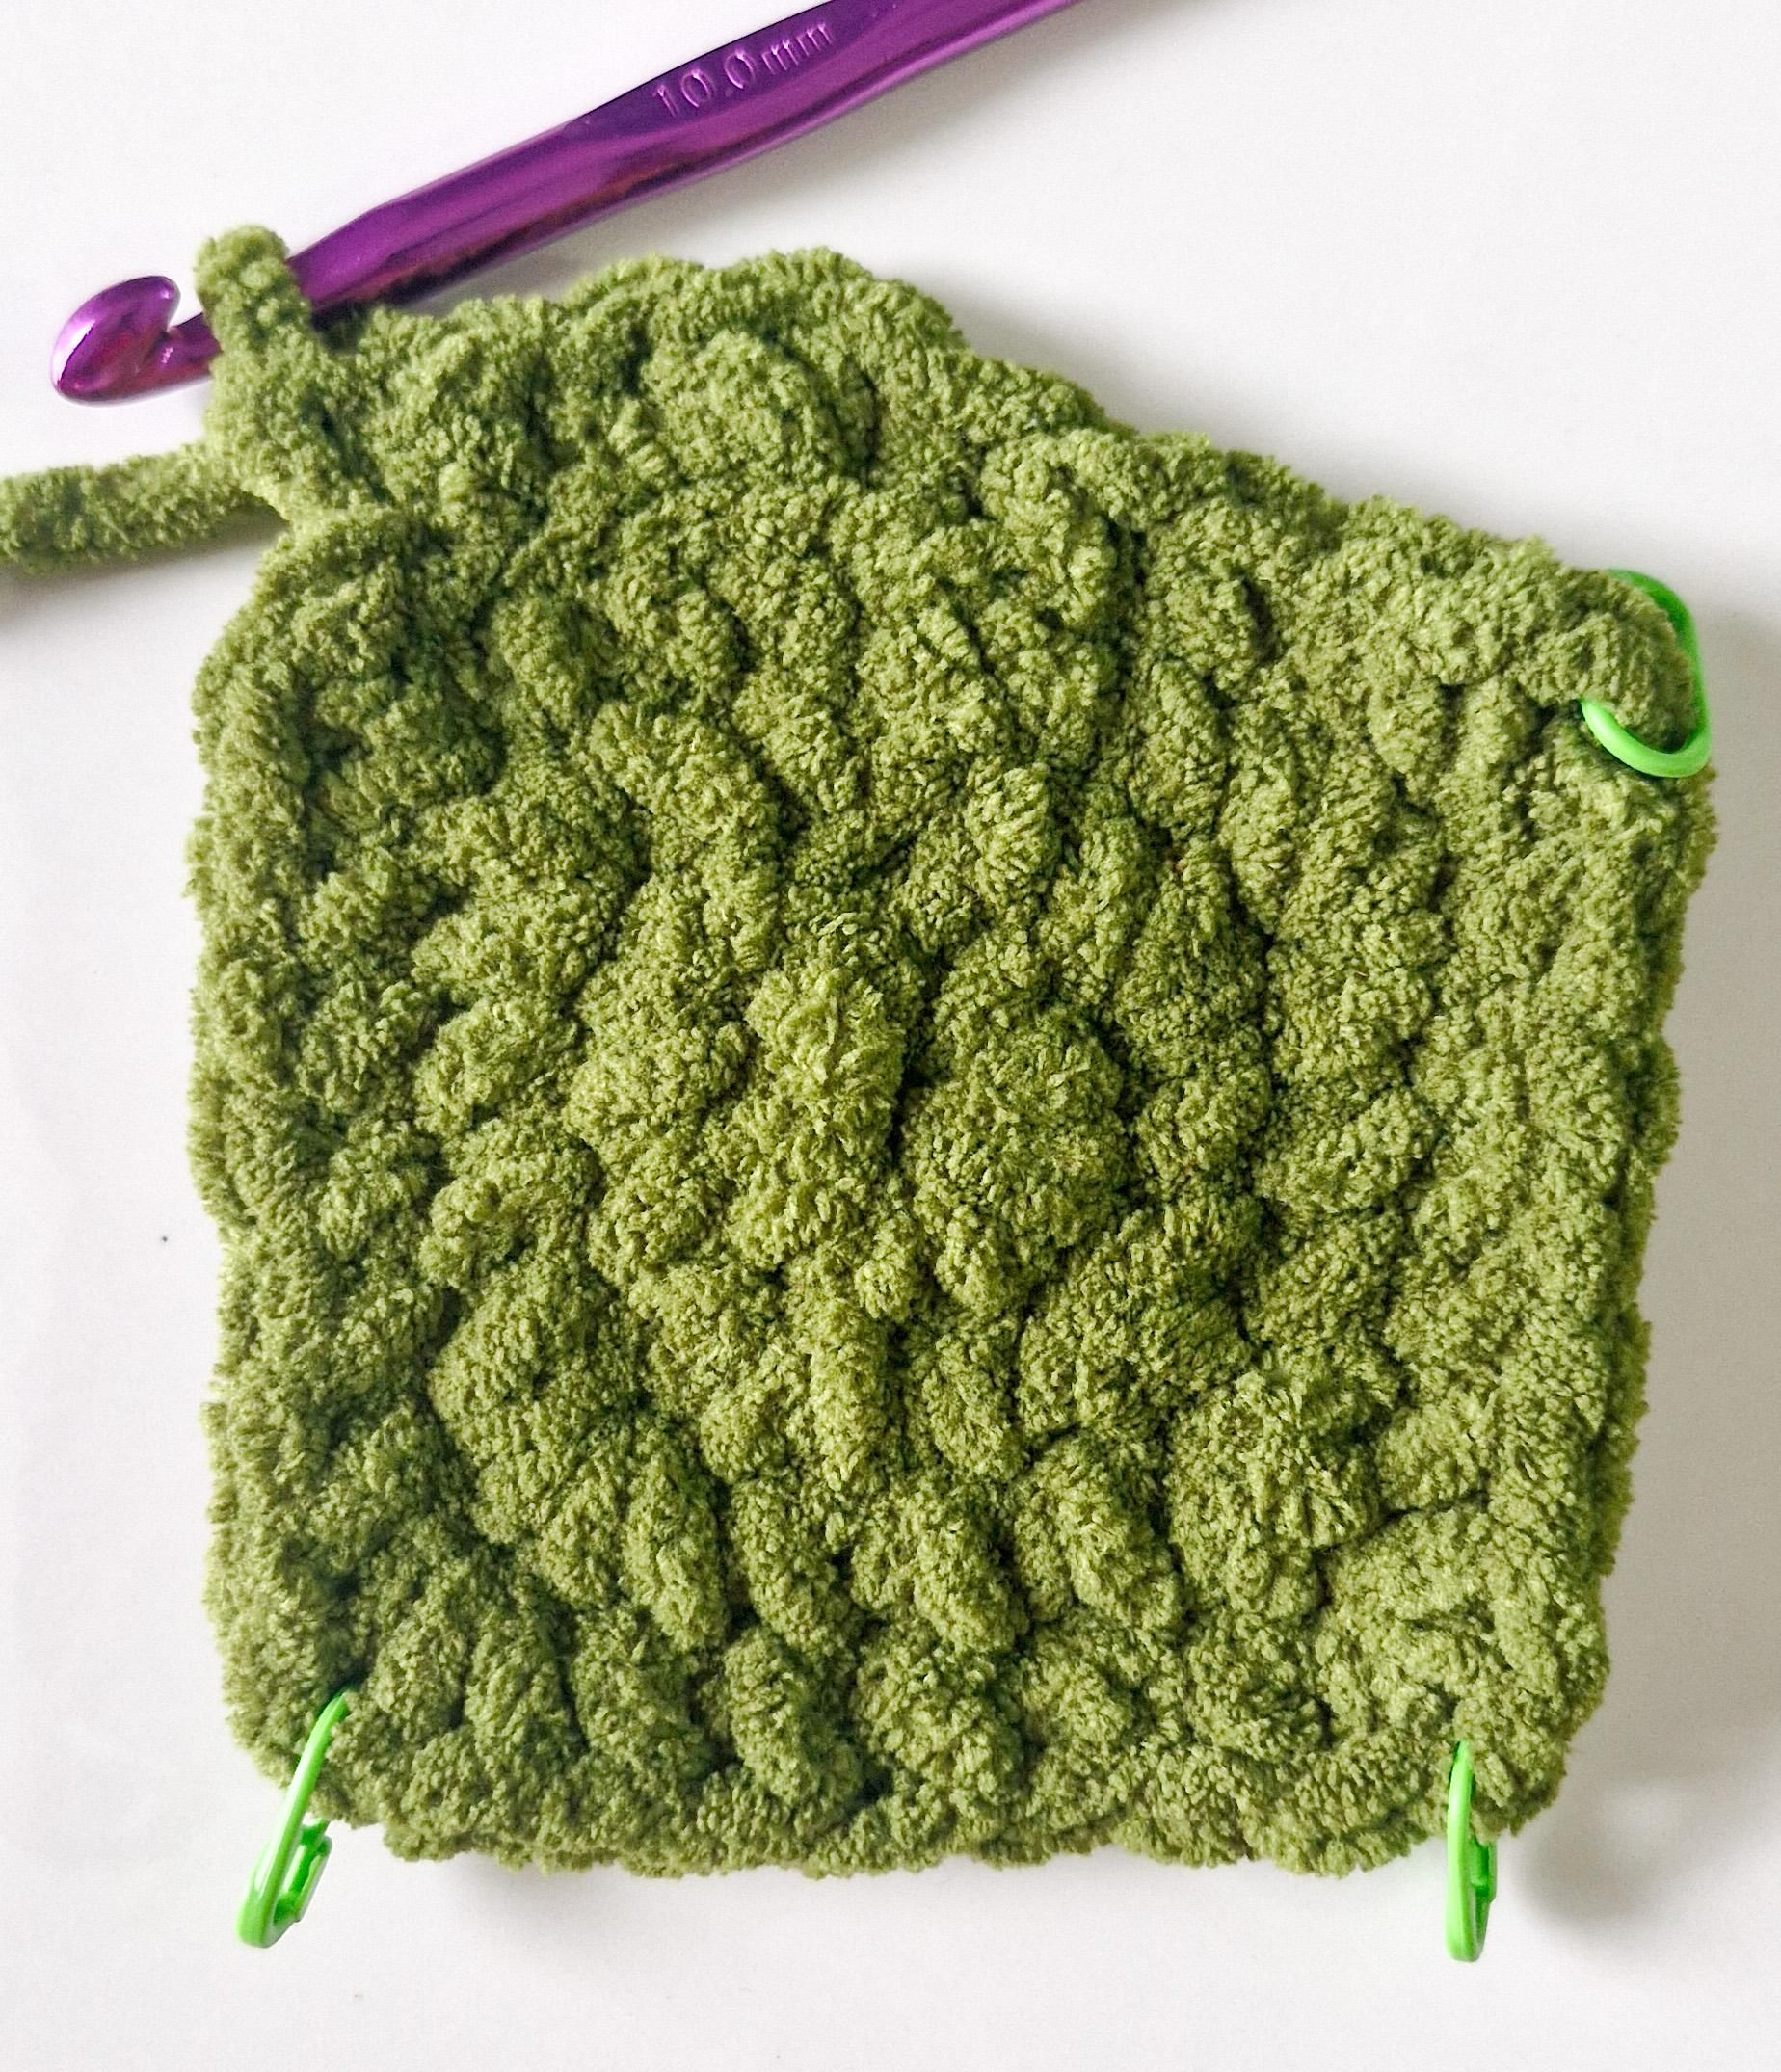
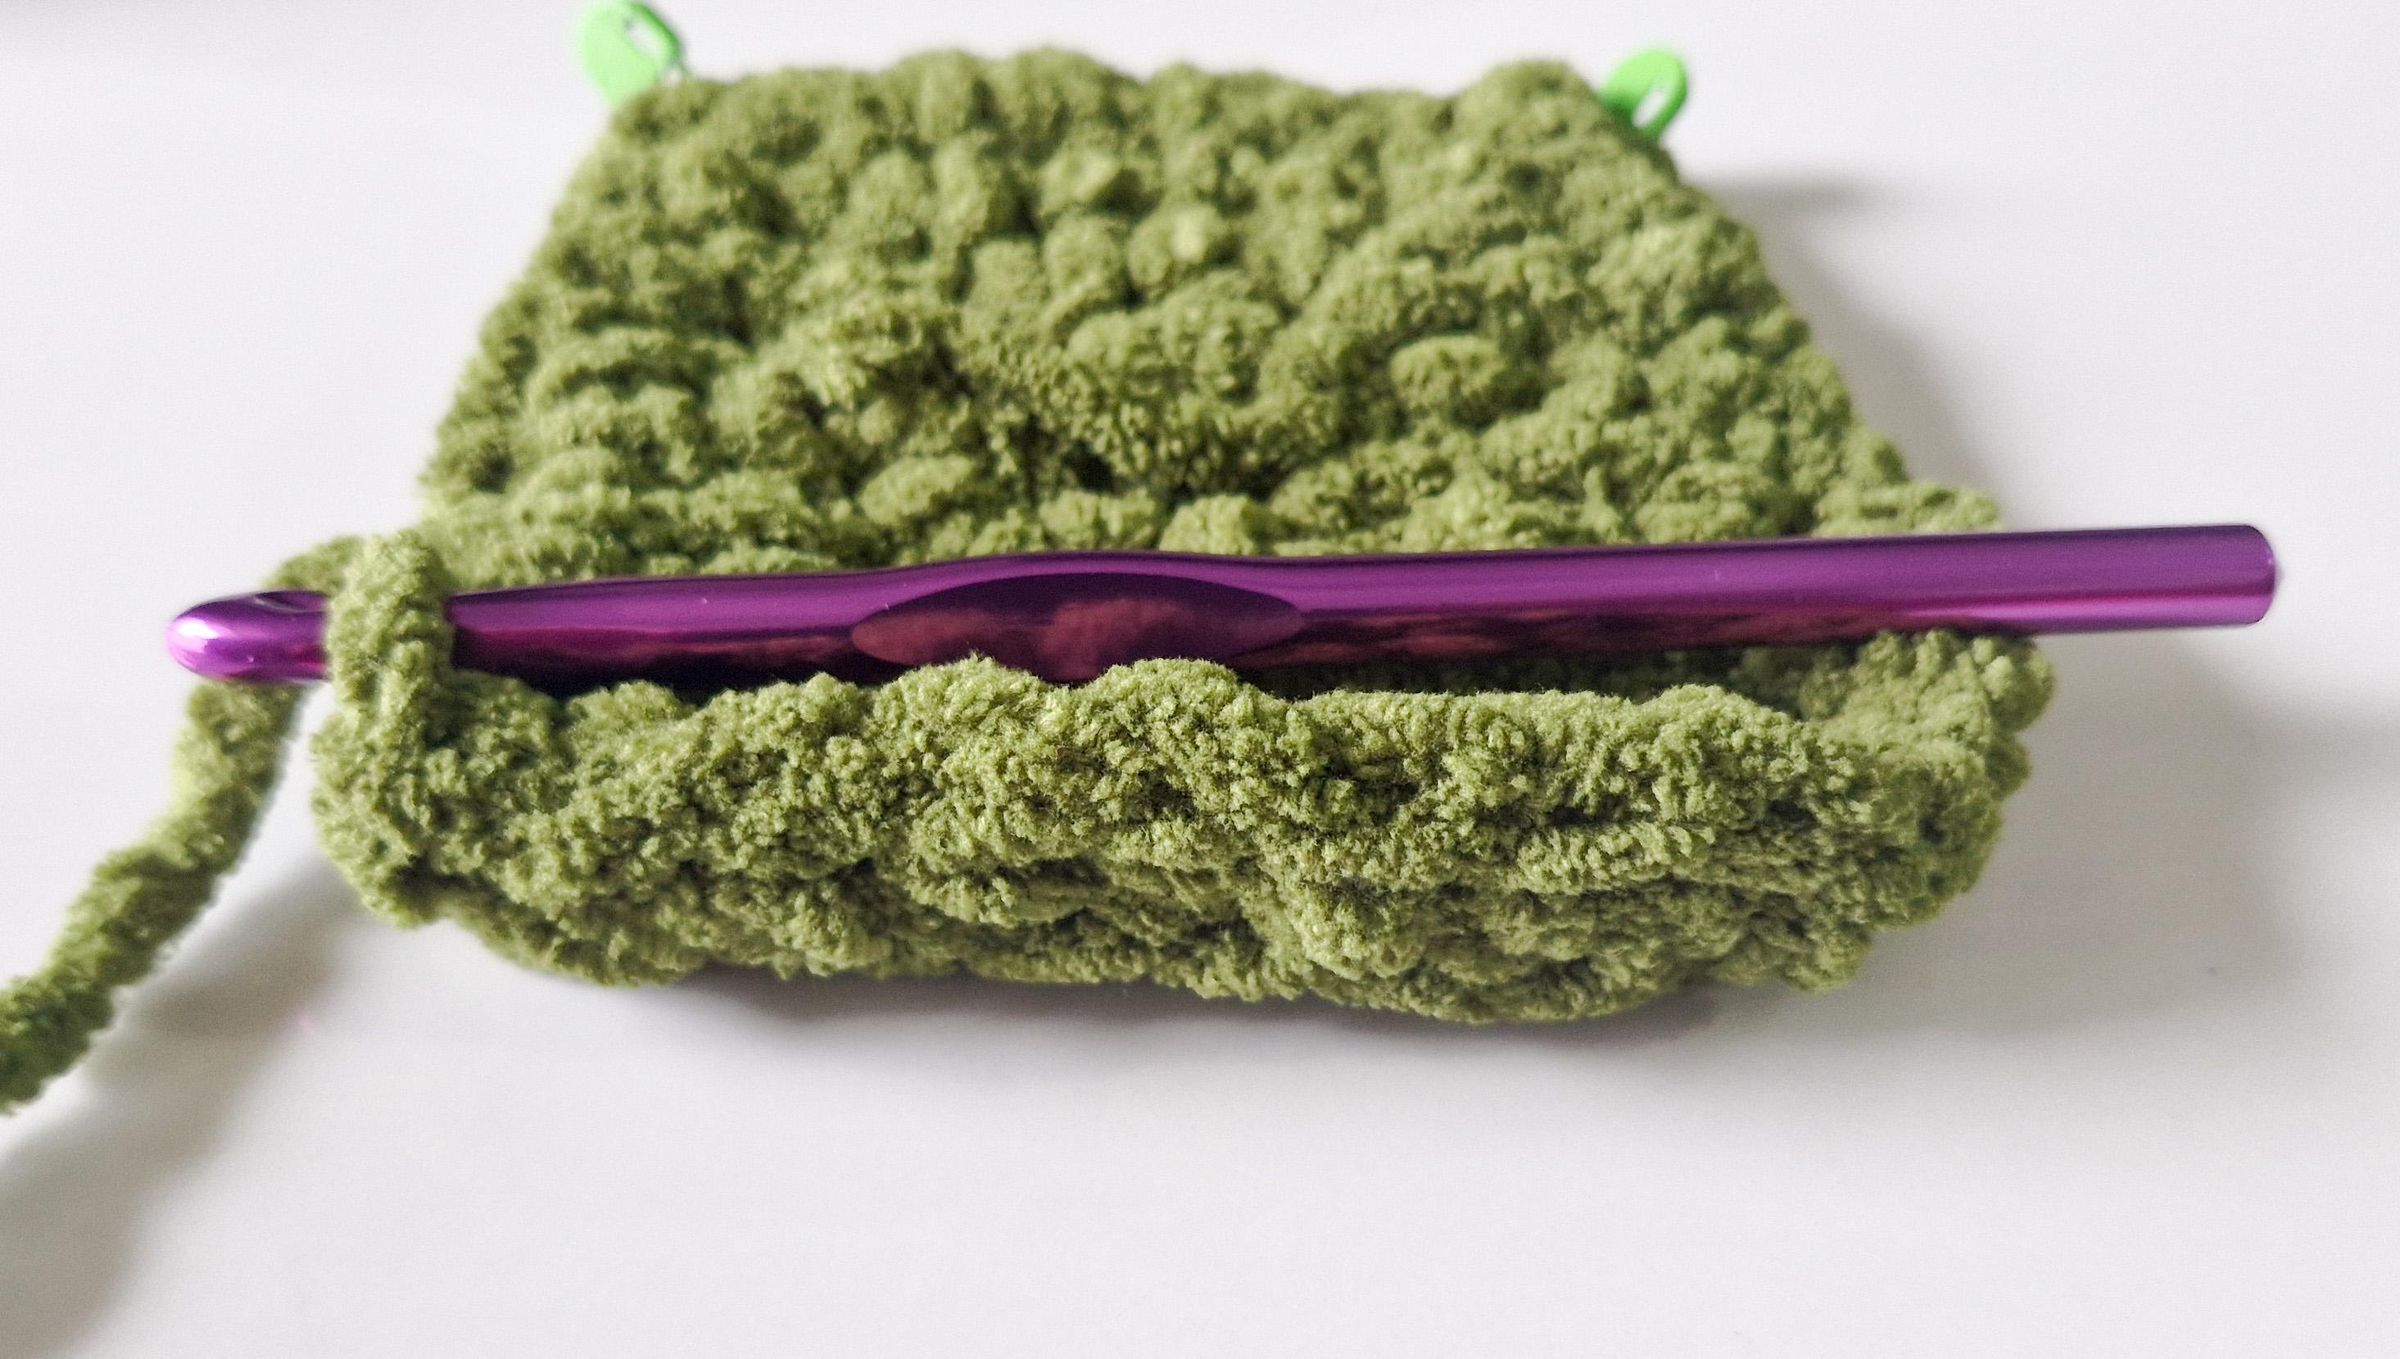
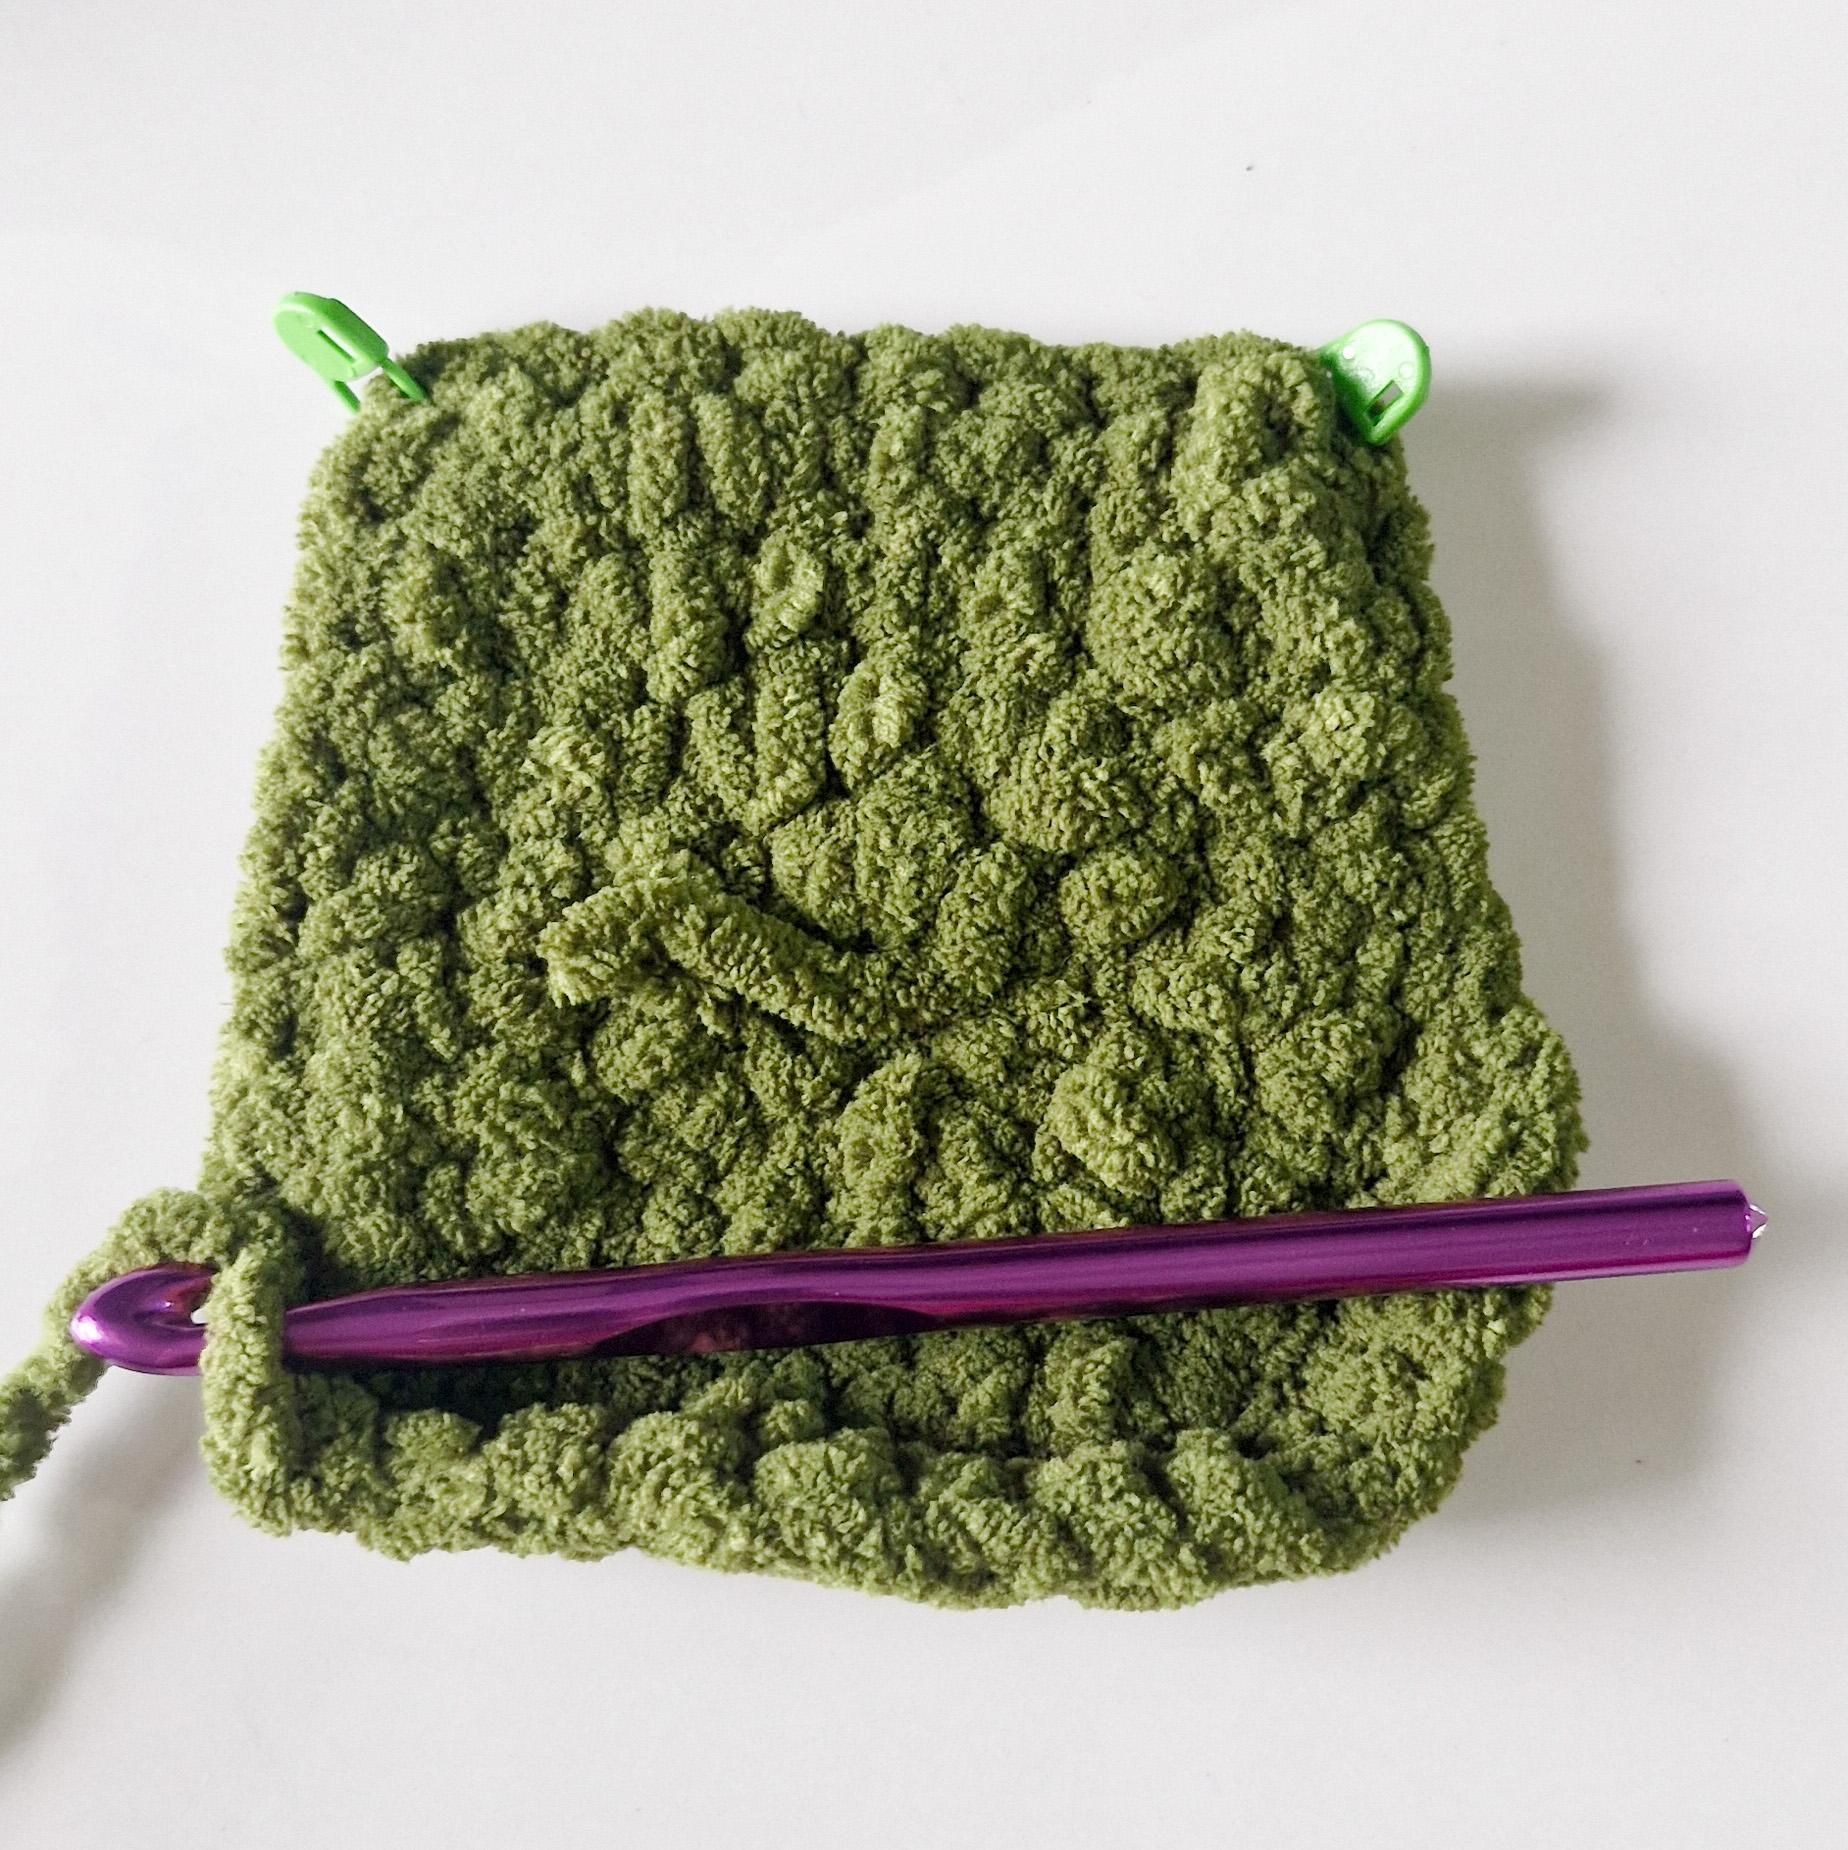
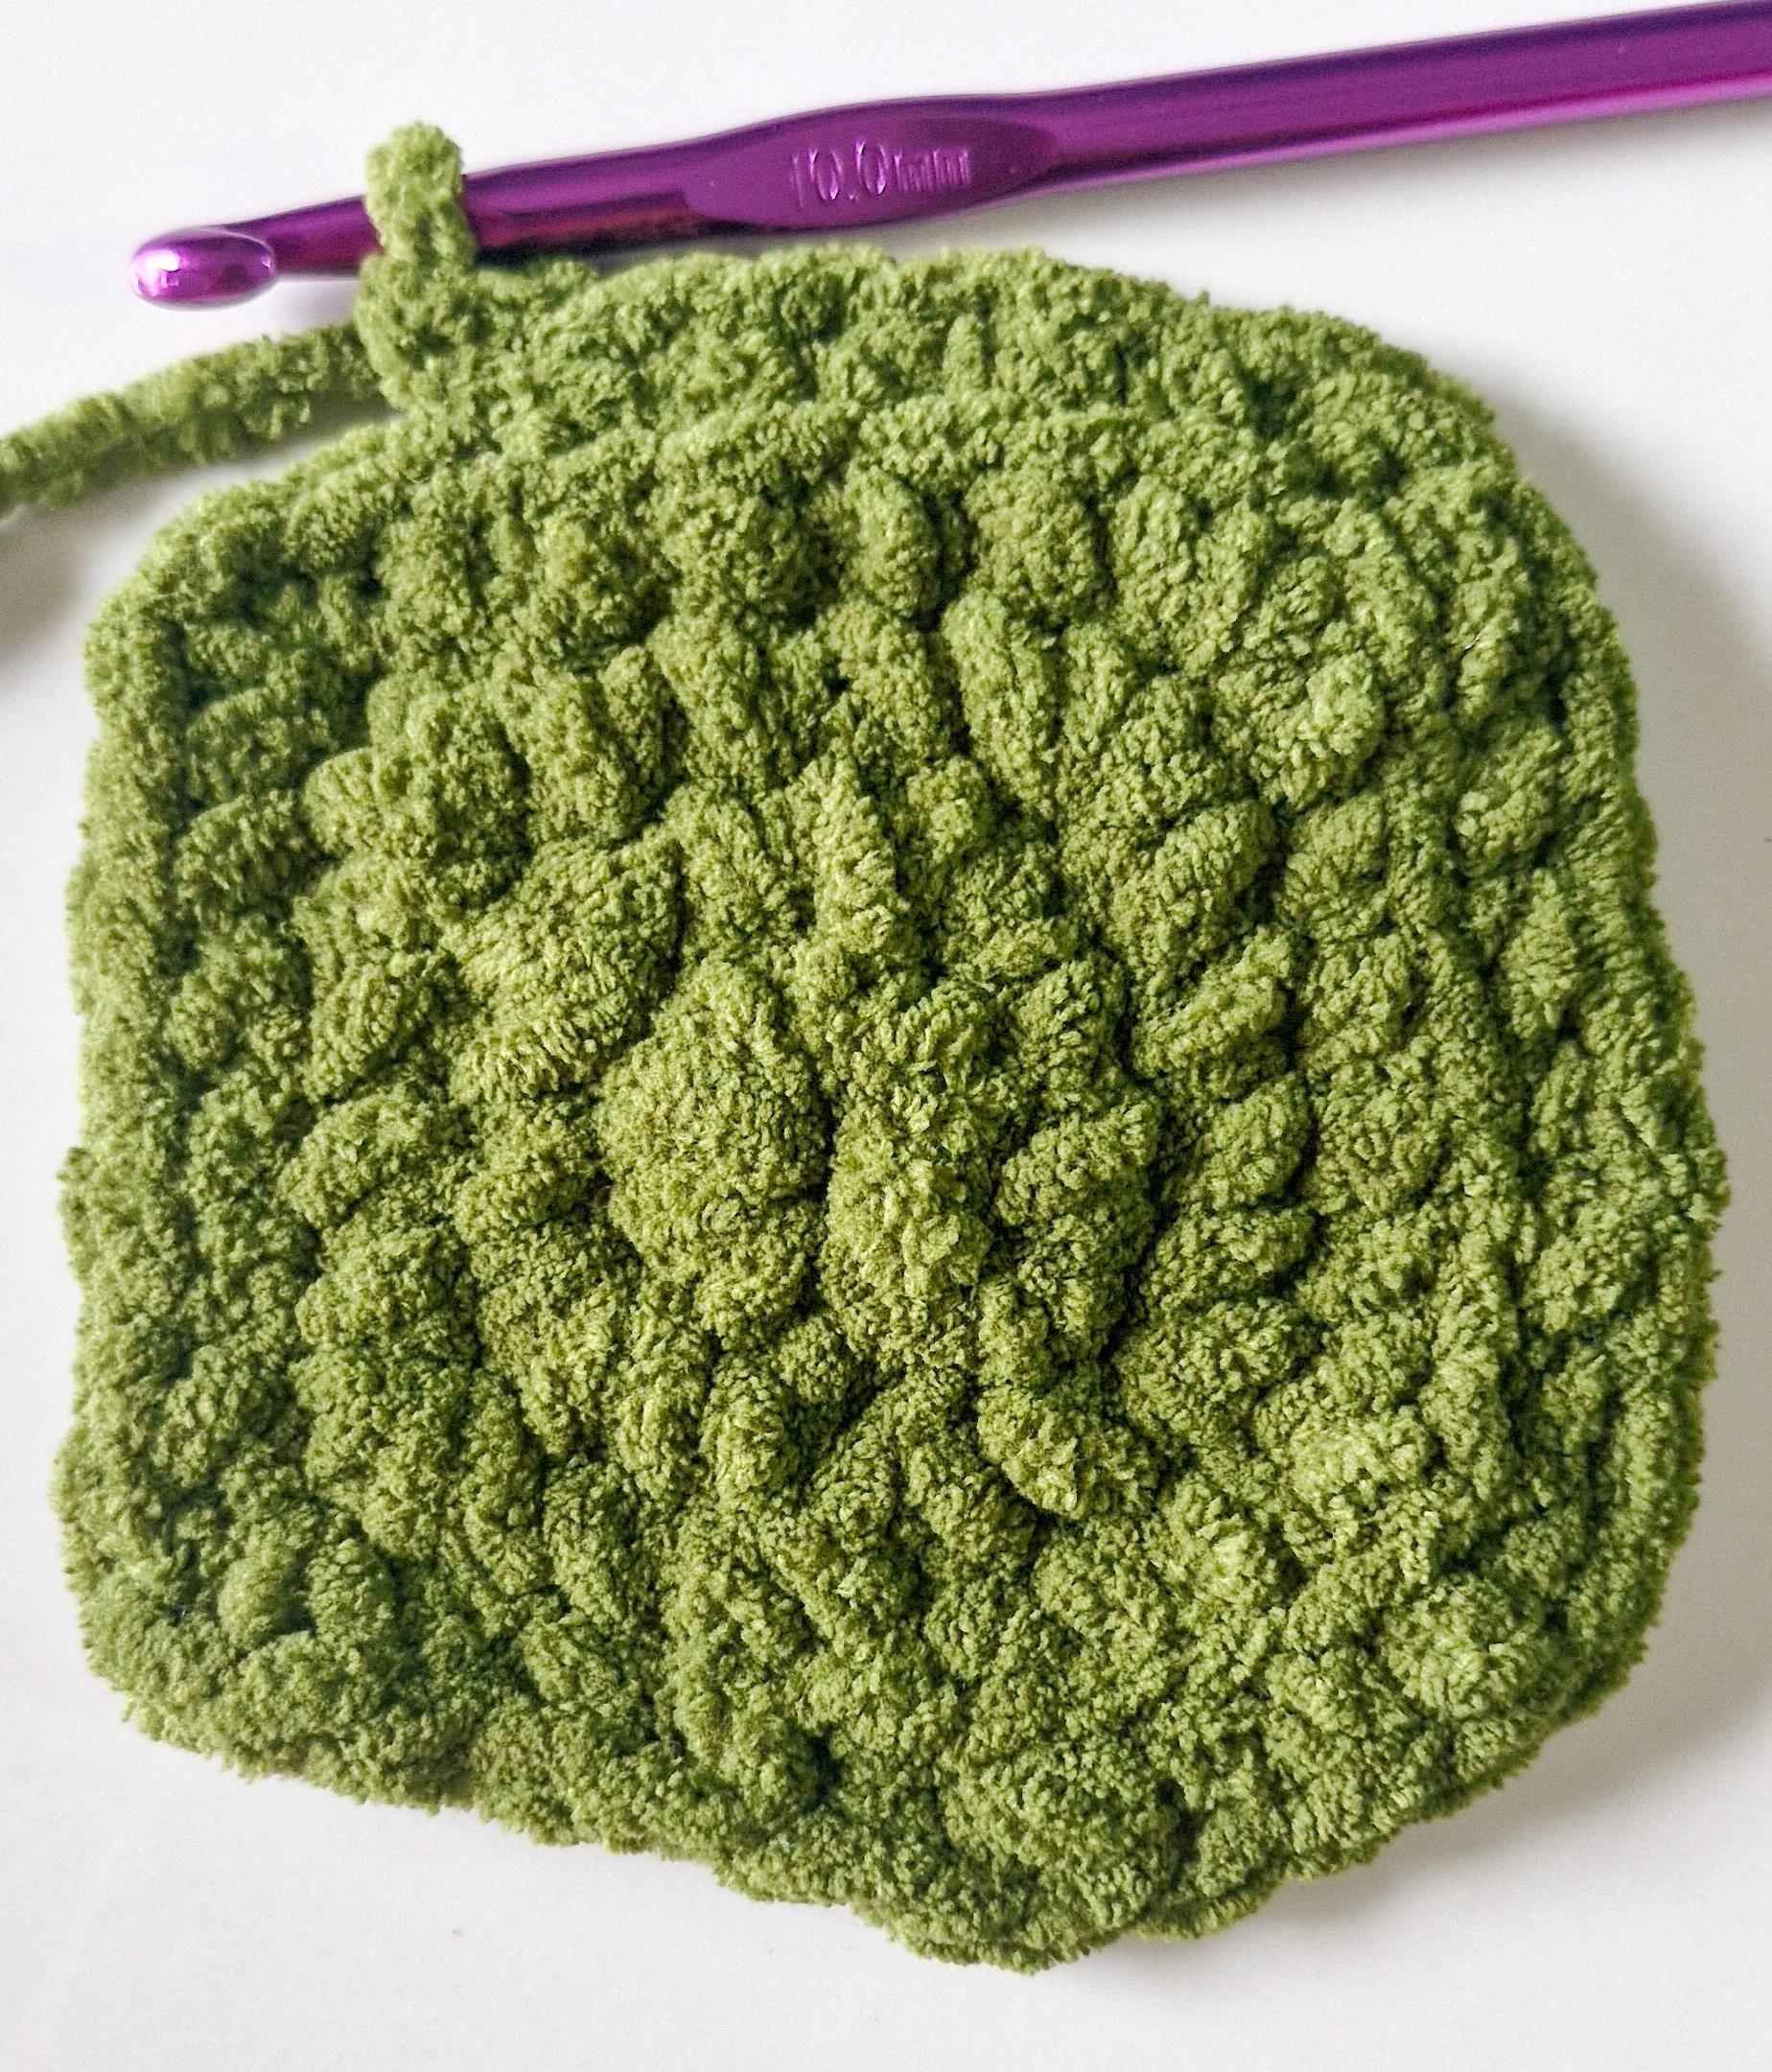
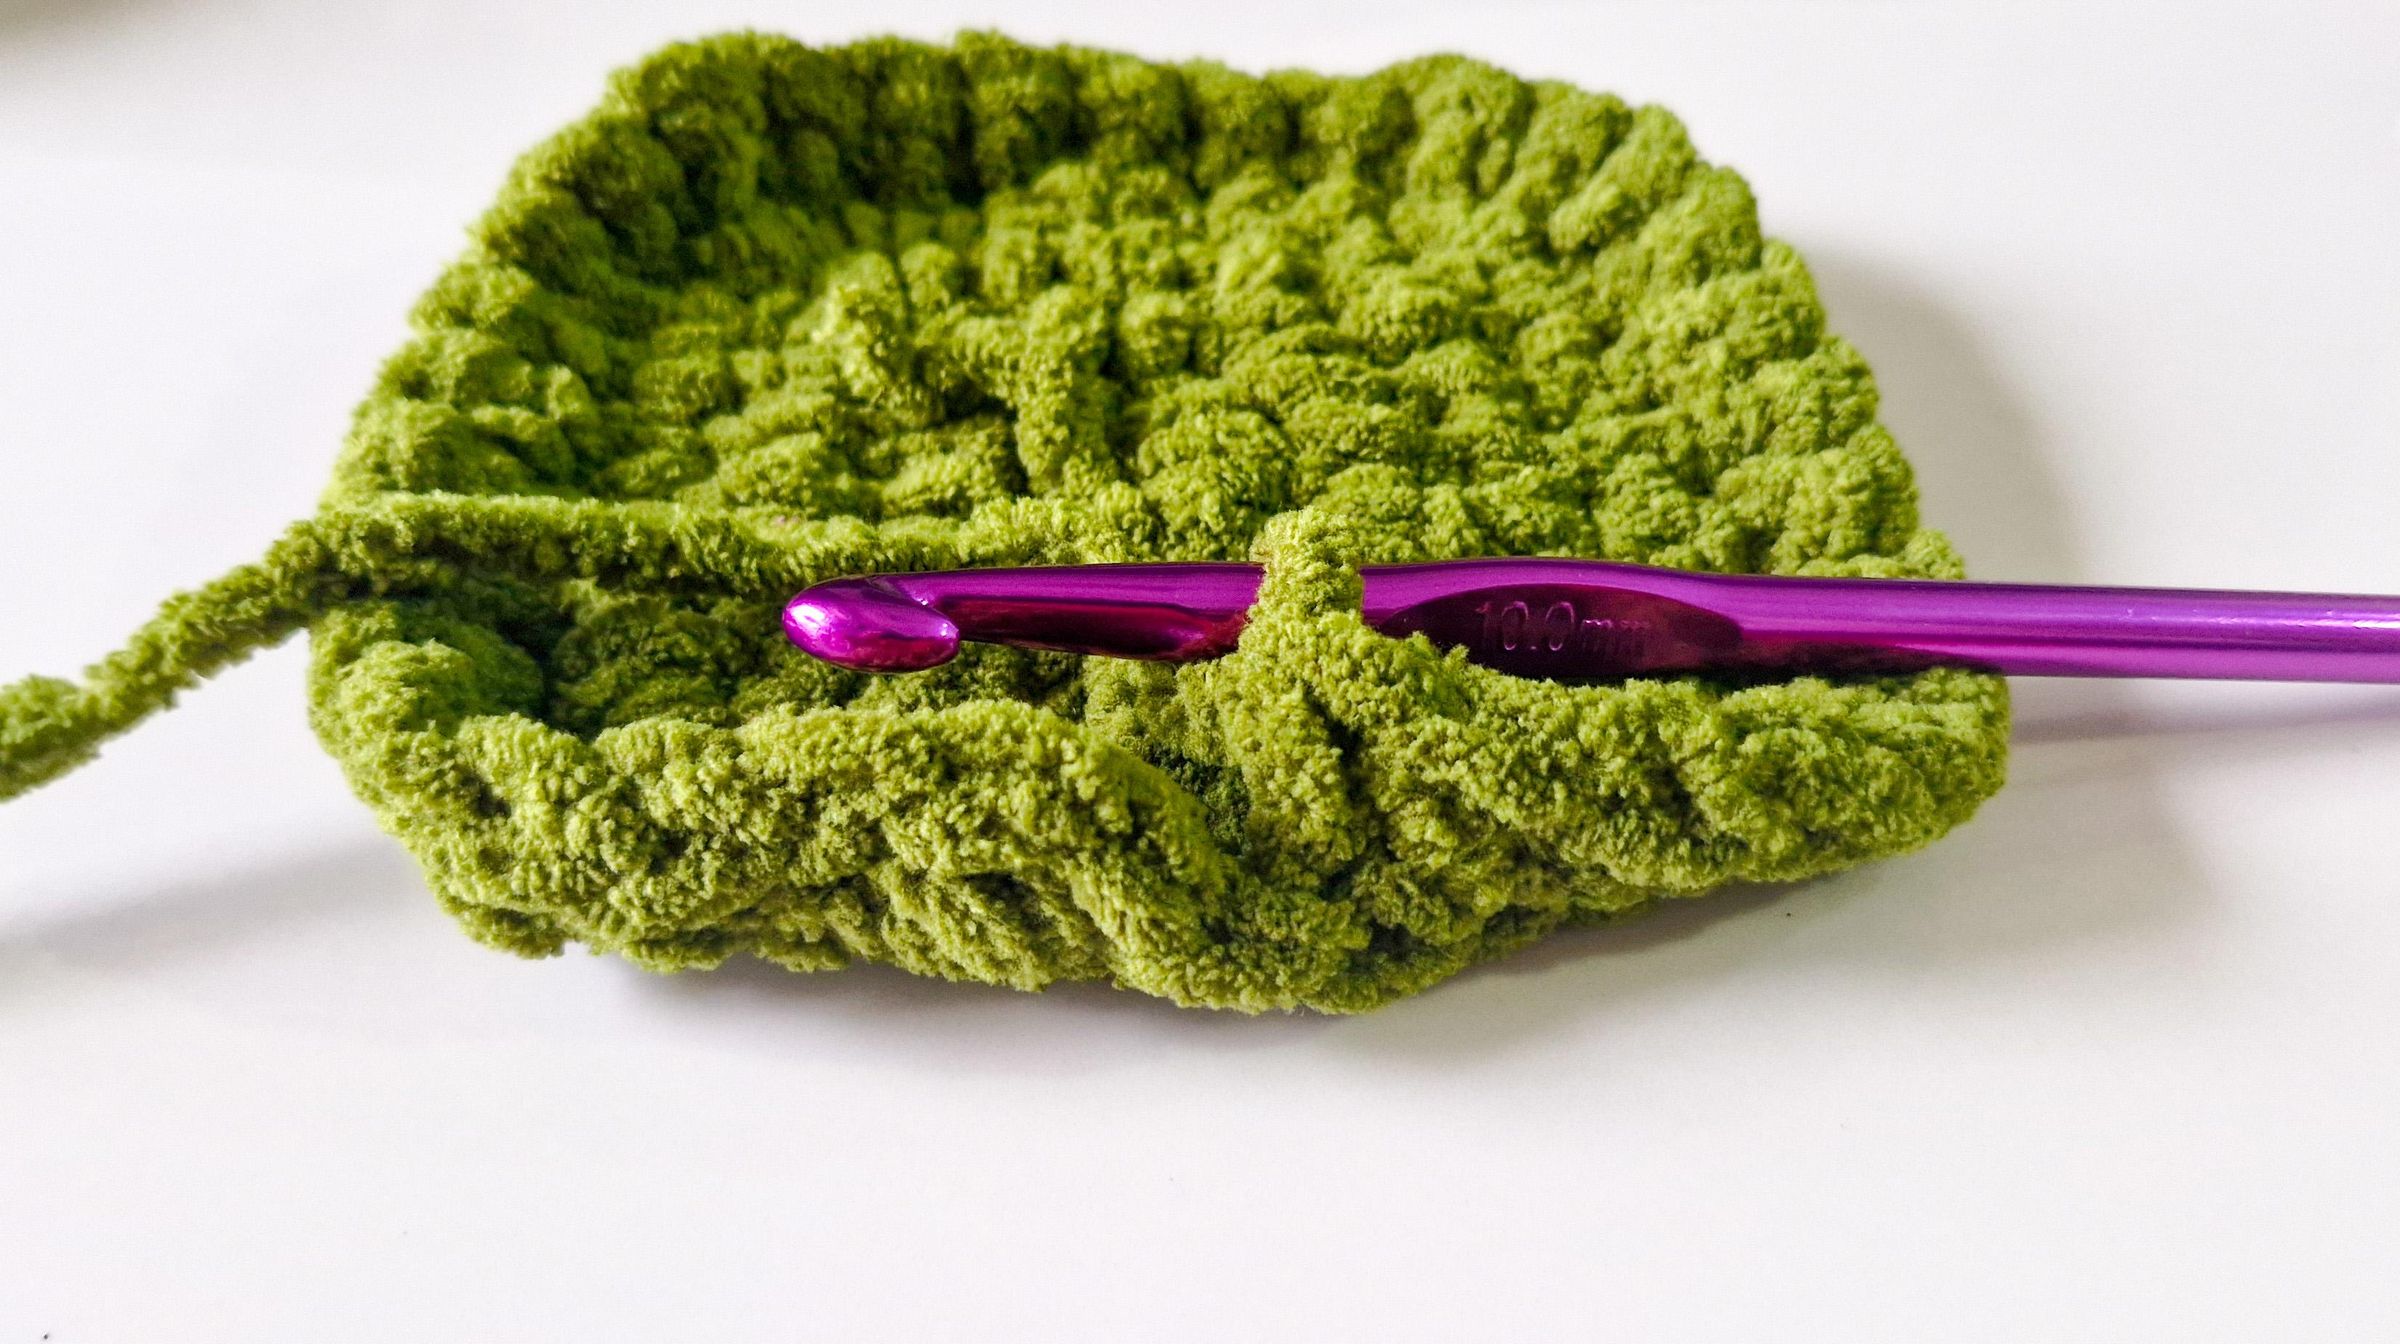
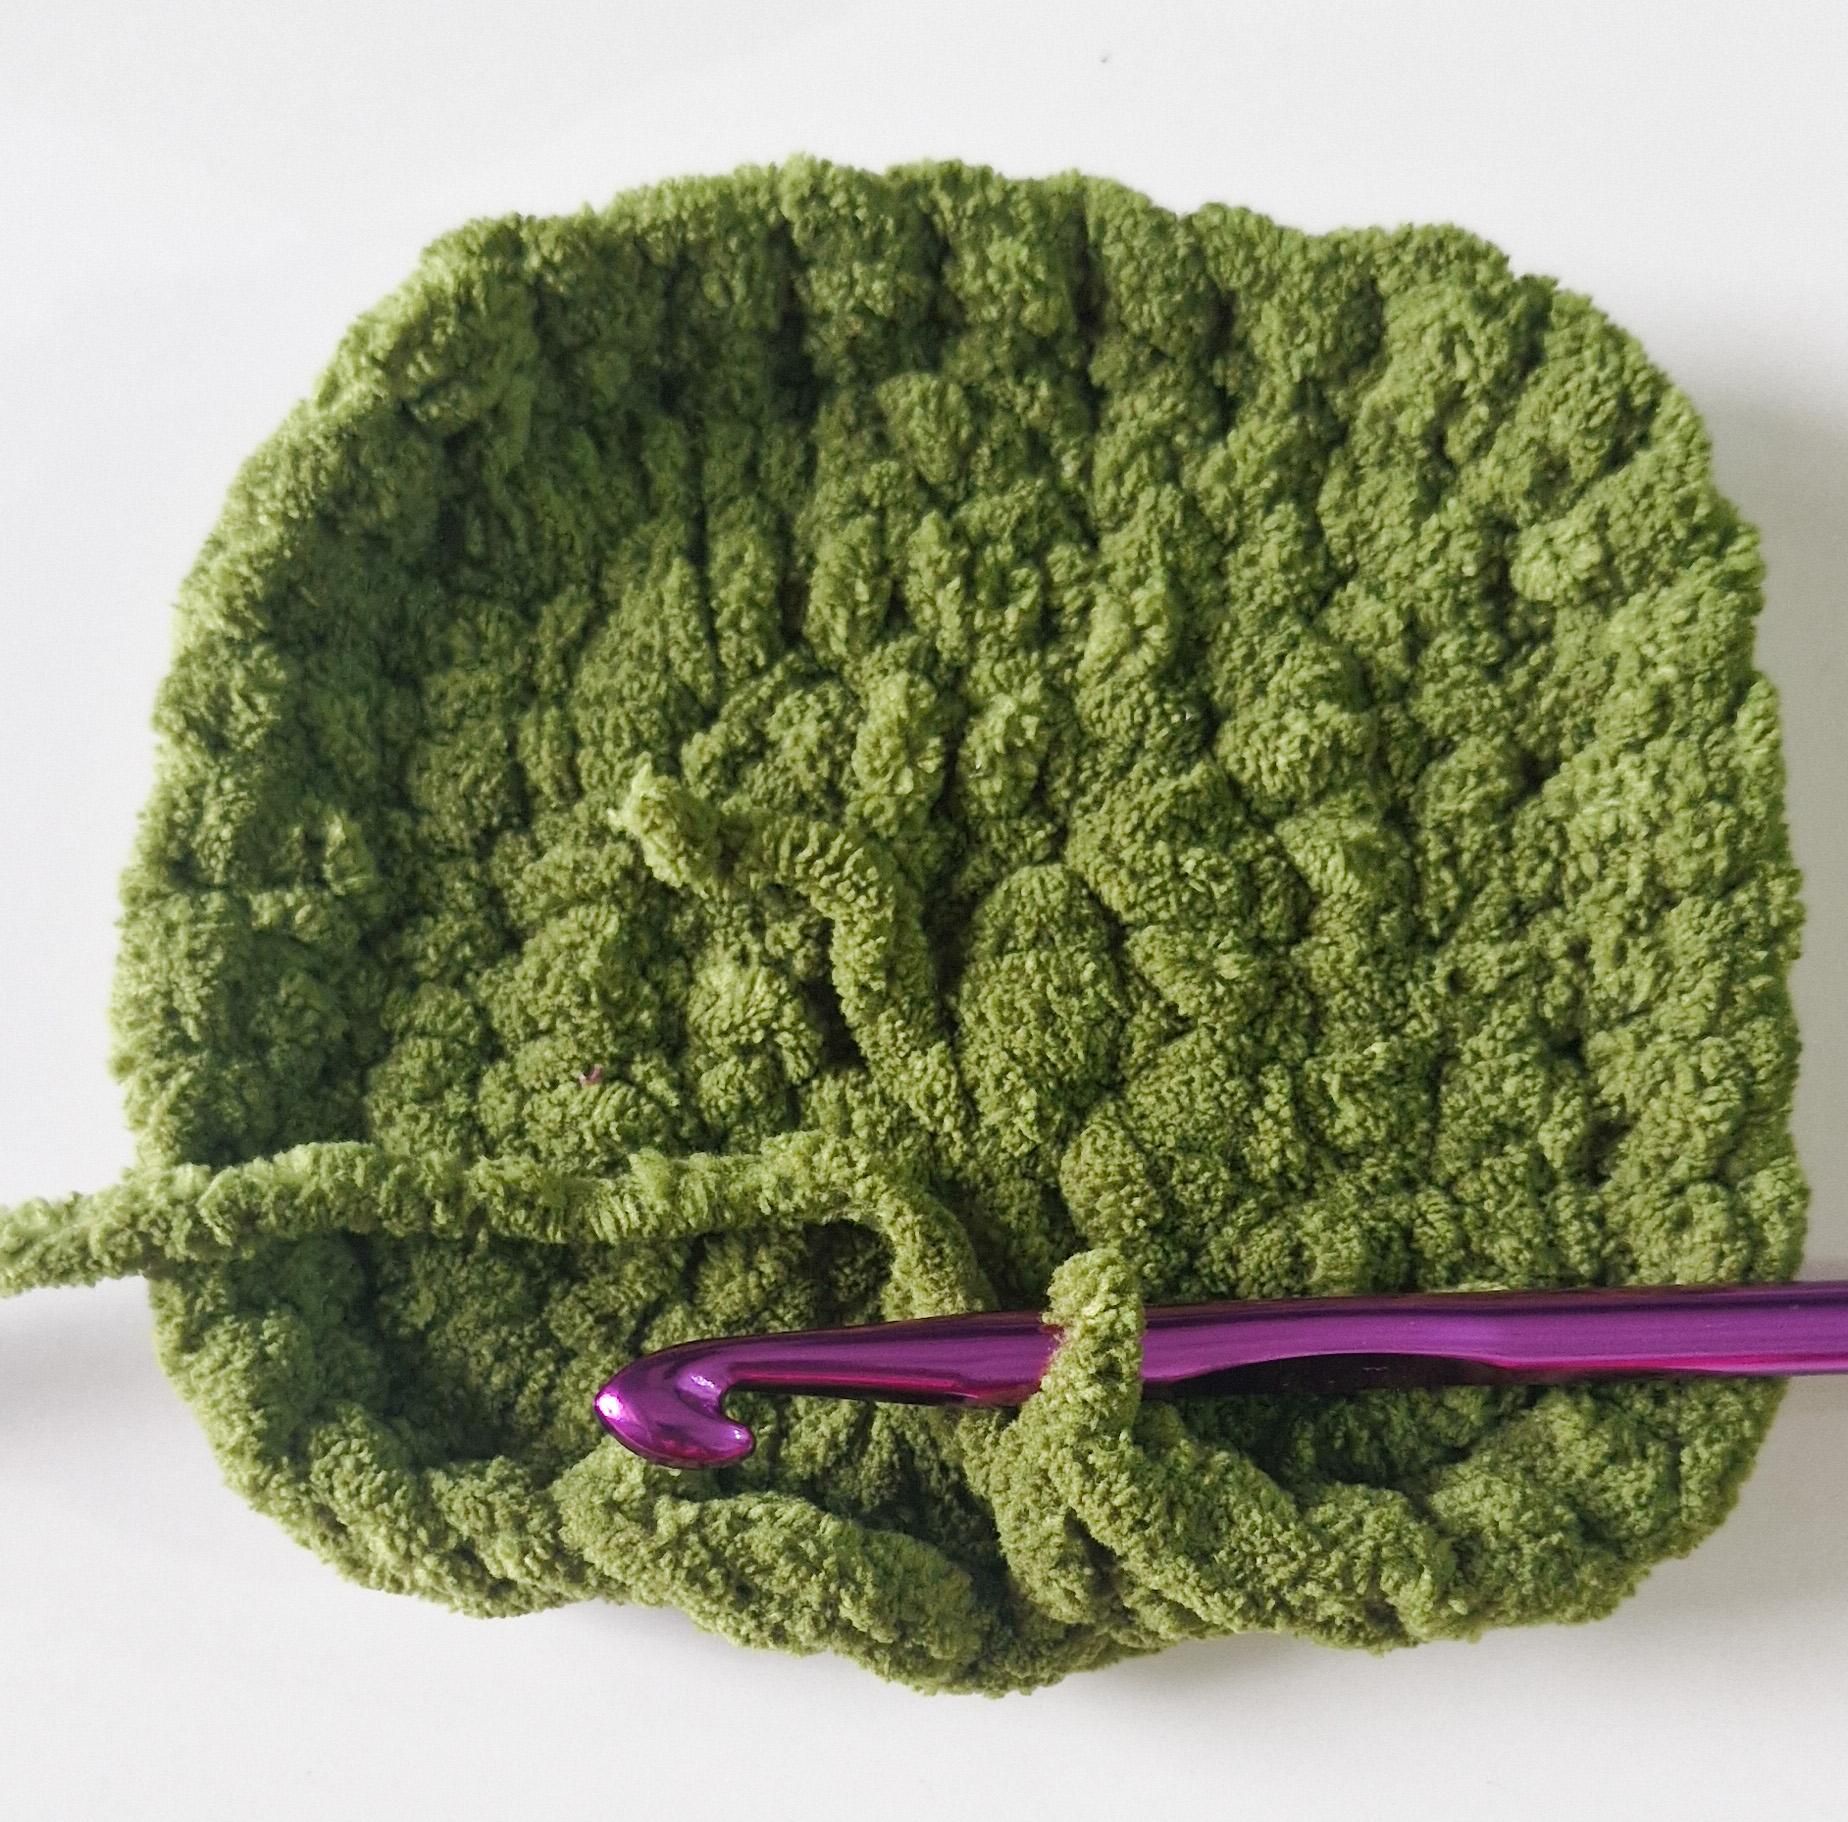
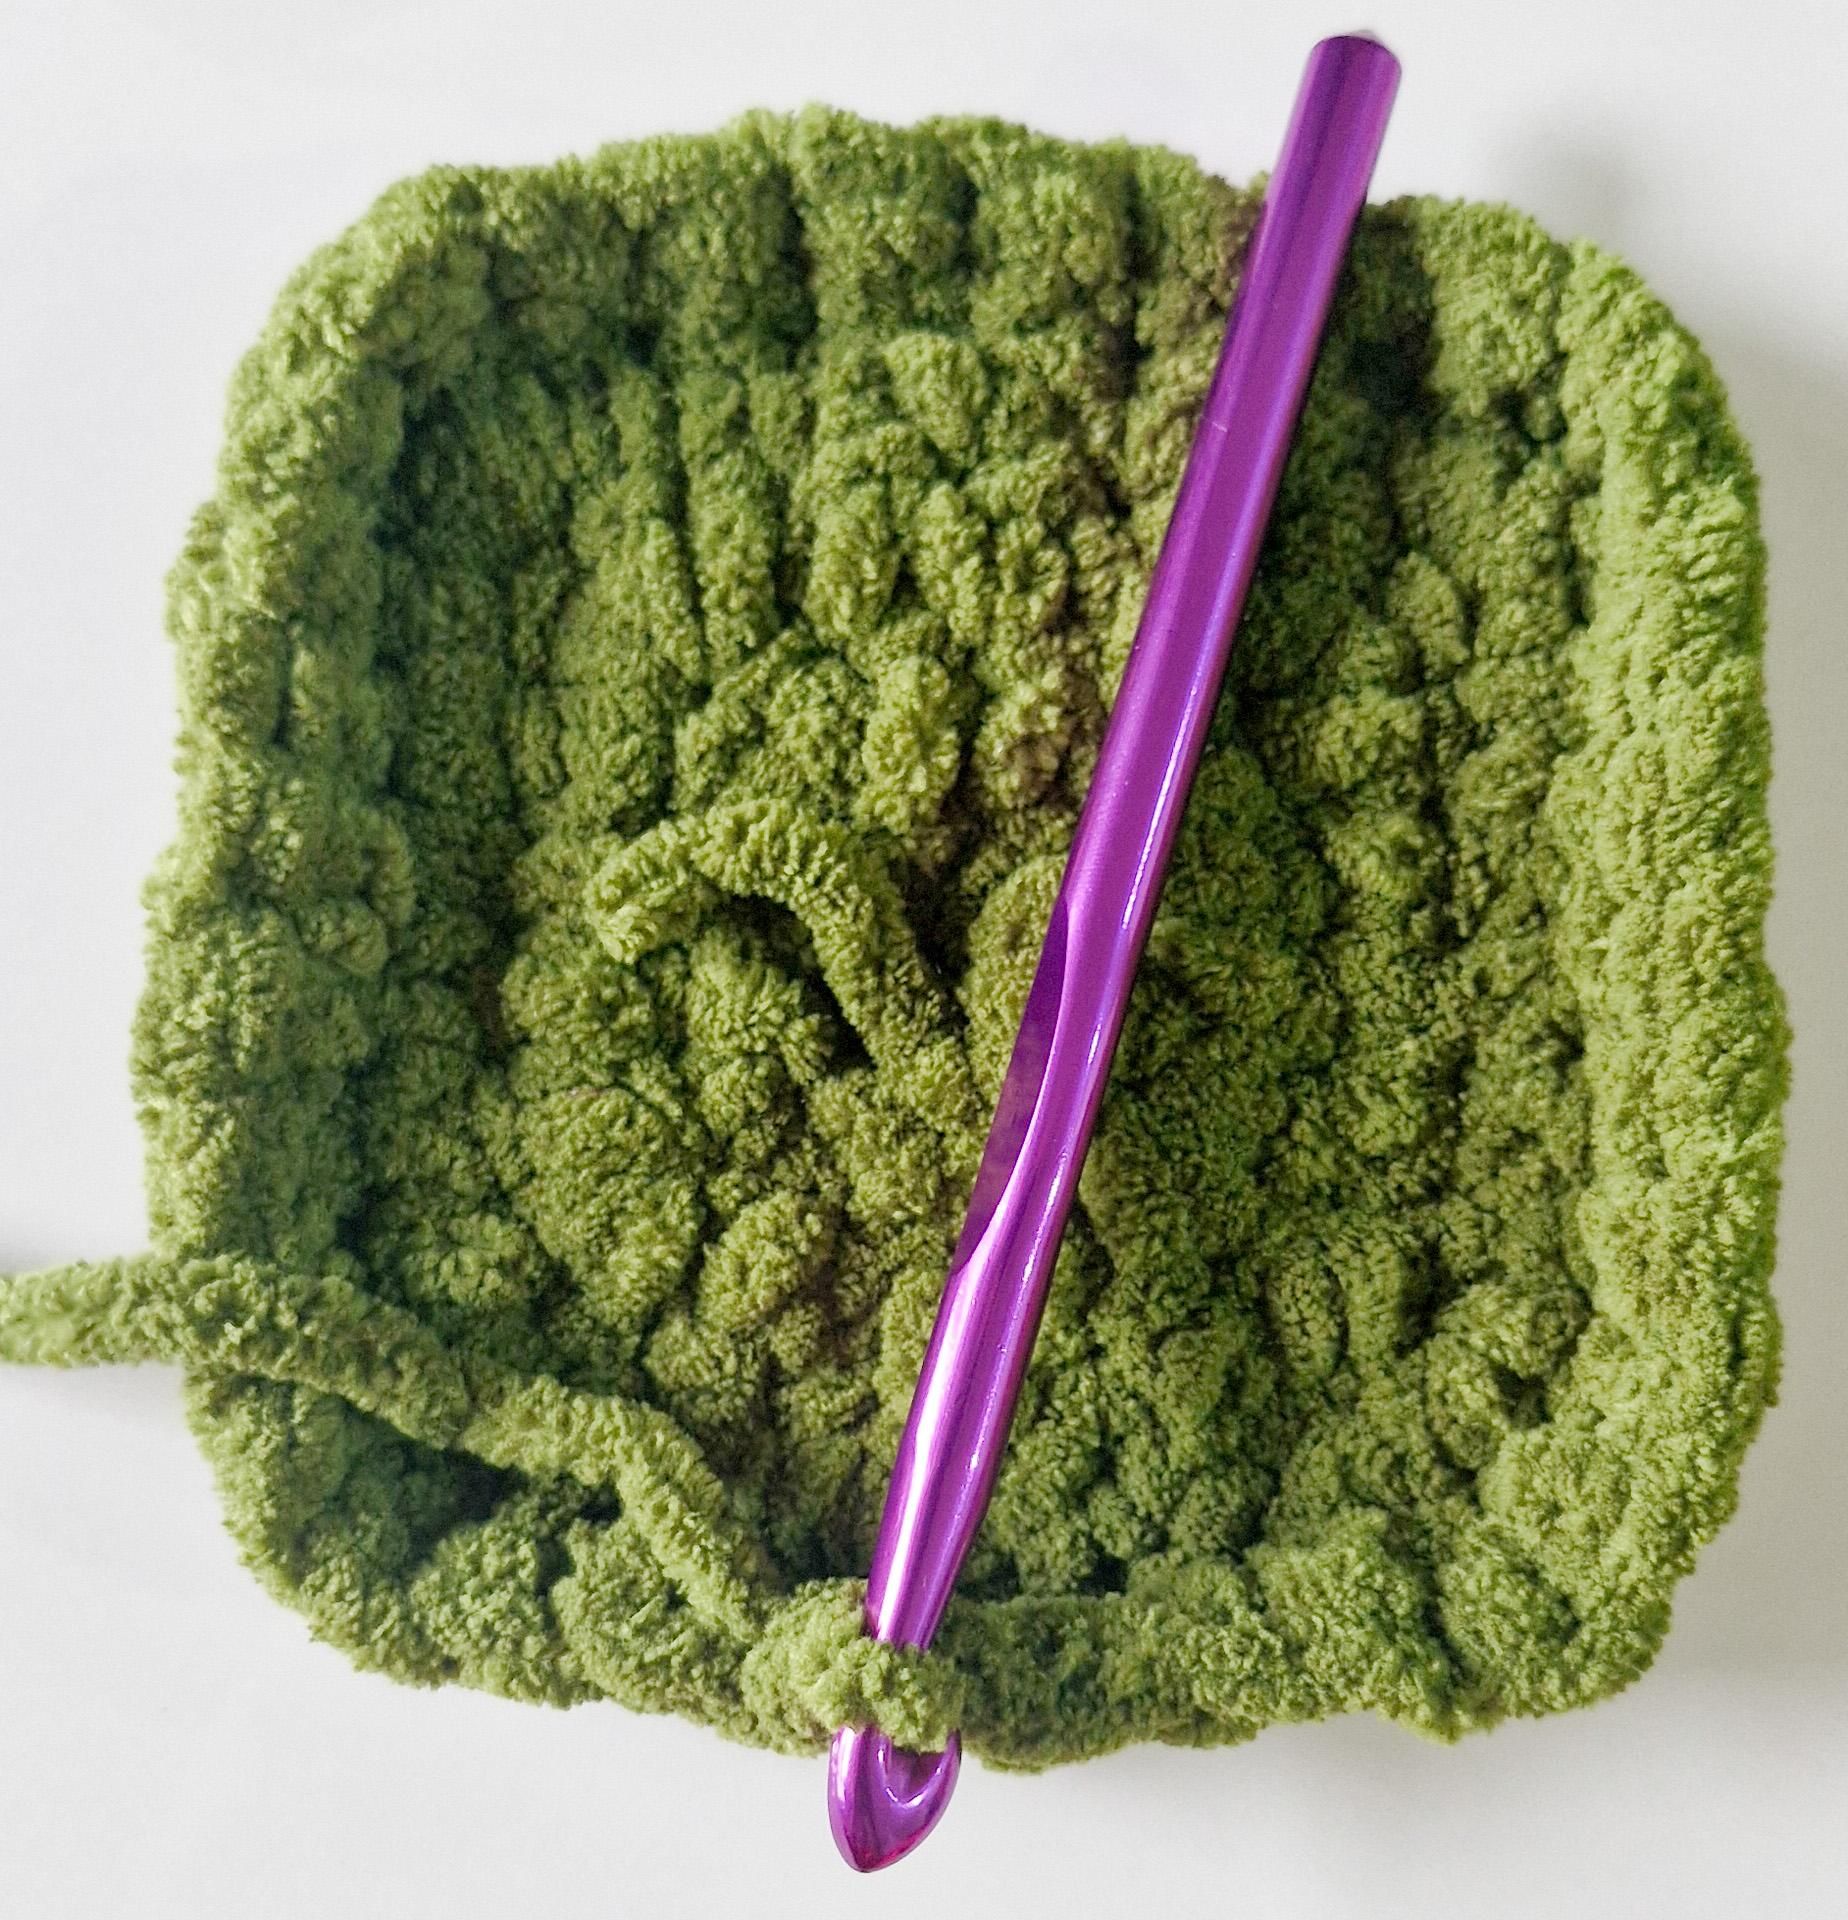
Chain 1.
1 Backloop Single Crochet in each stitch around.
This will form the turning base for the Box.
Slip stitch on top of the first Single Crochet to end the round.
Make the slip stitch in both the loops.
Round 6:-
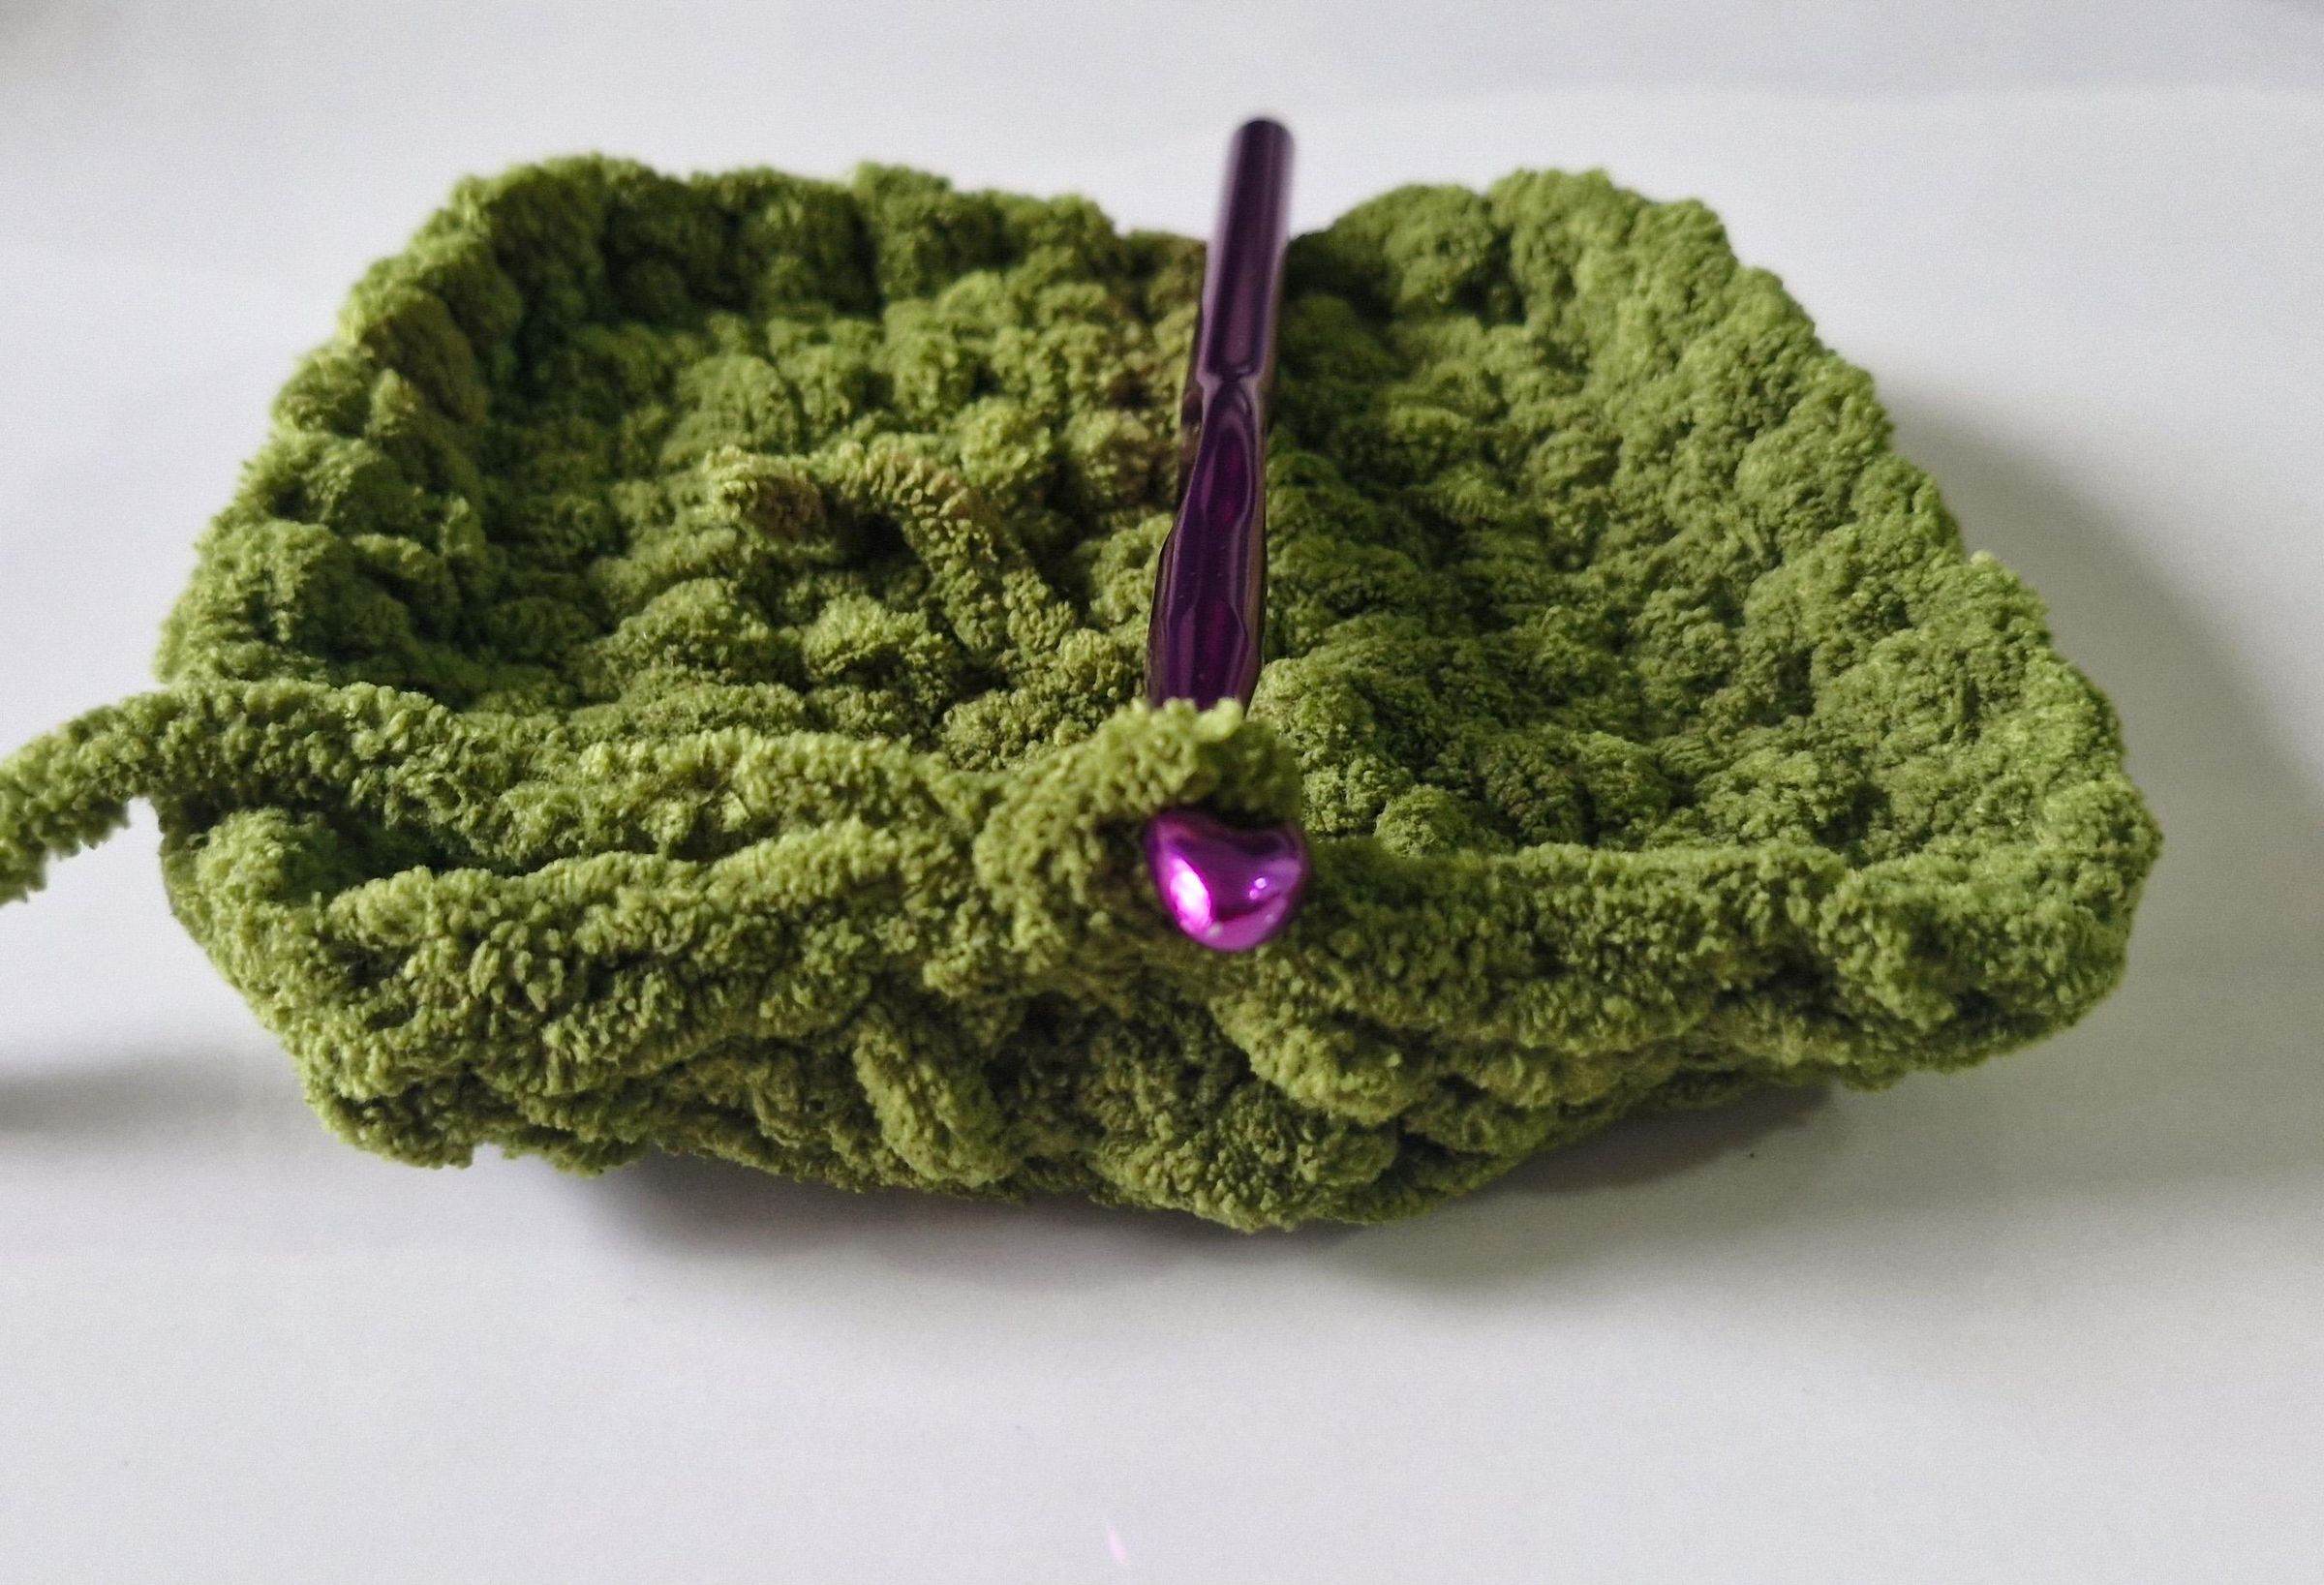
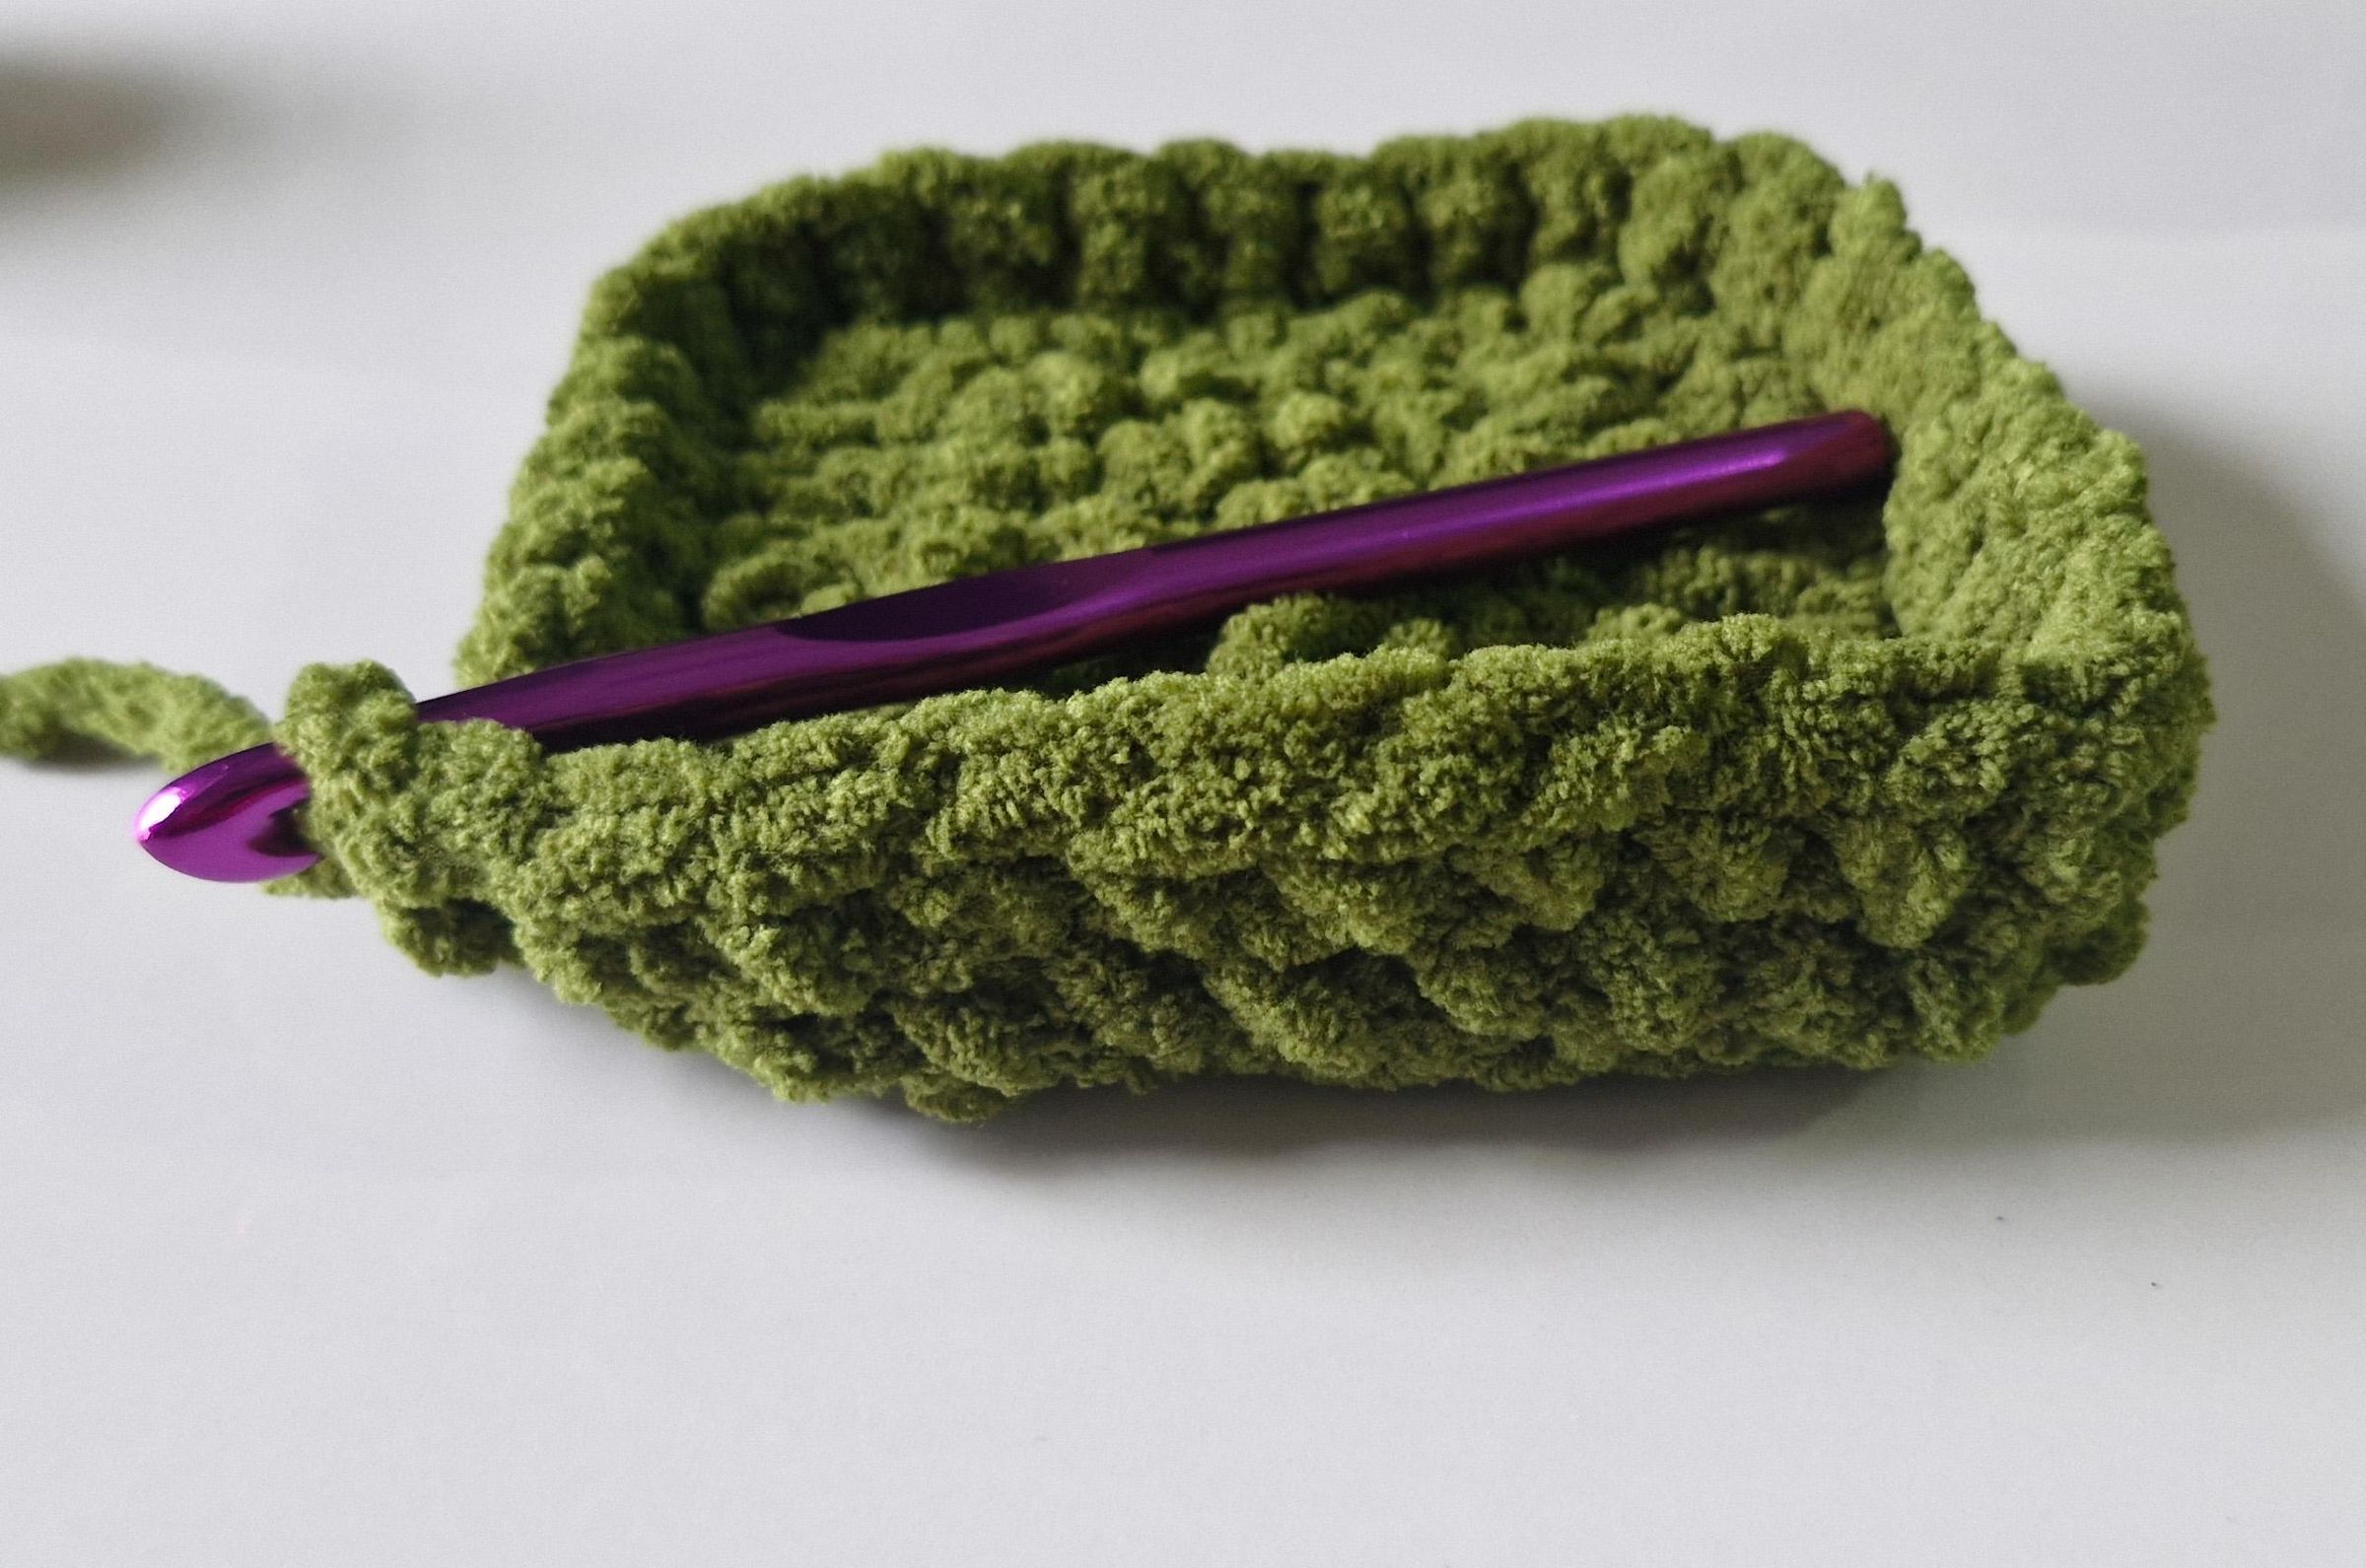
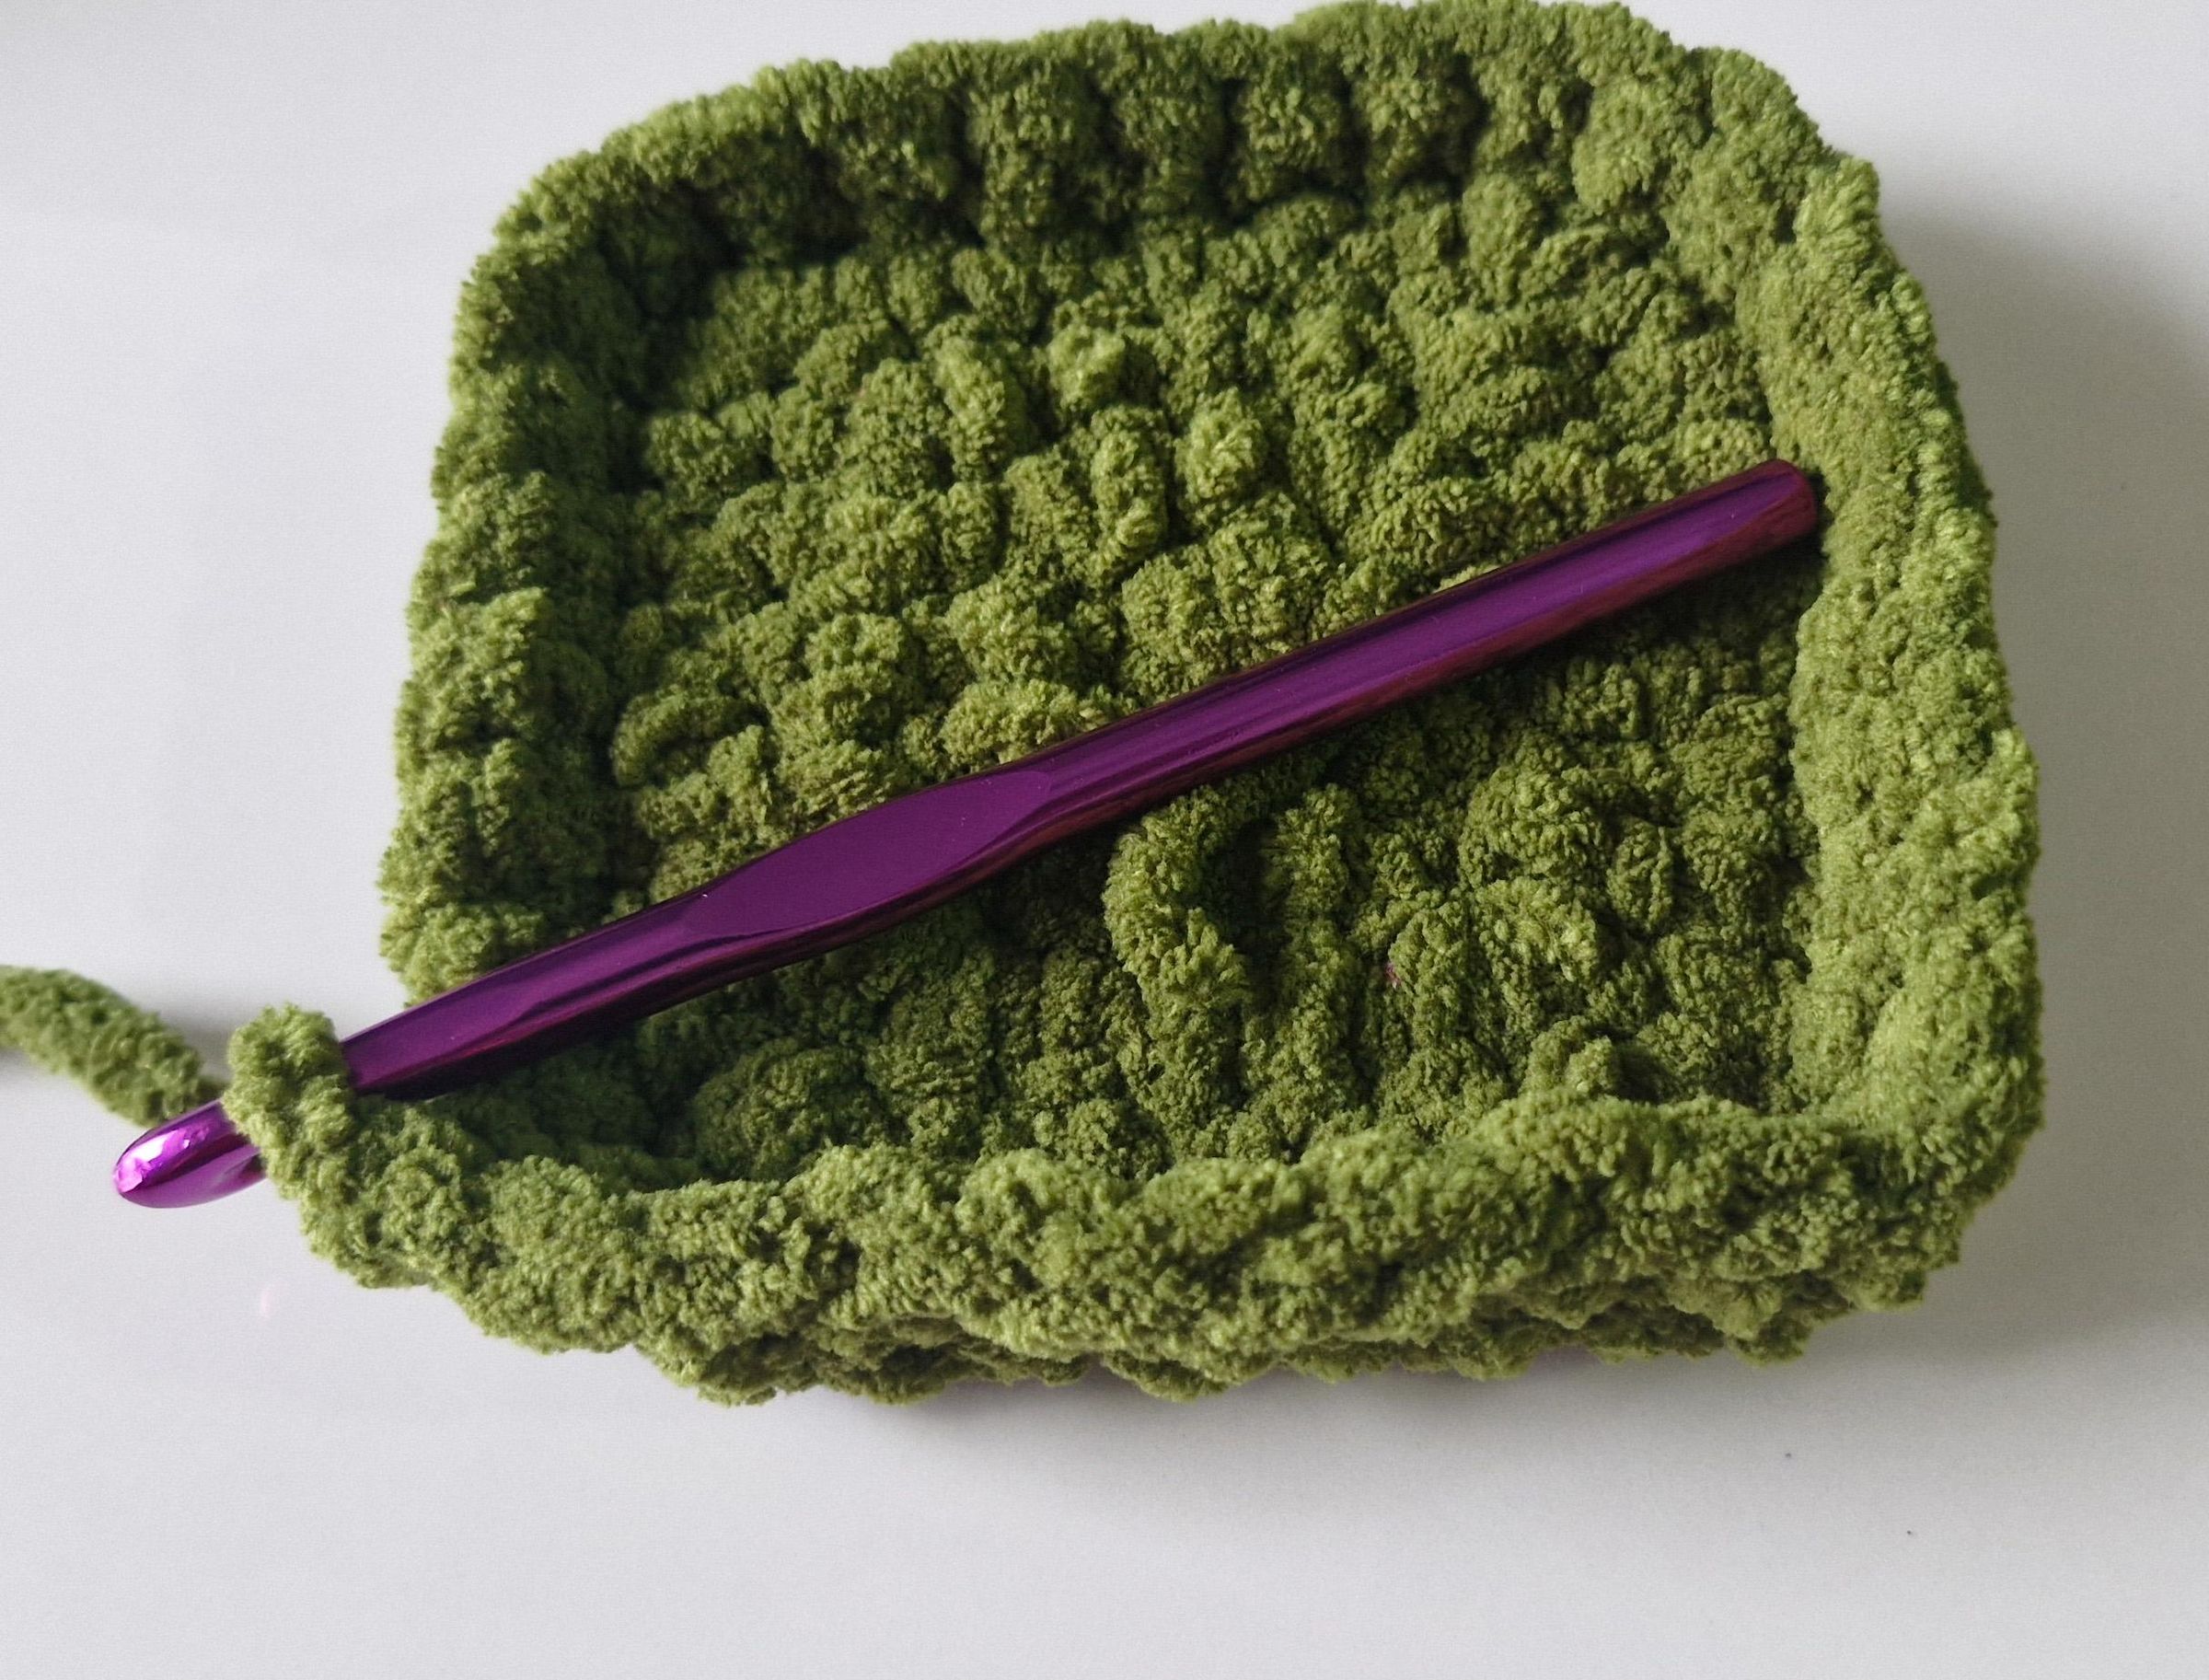
Chain 1.
1 Single Crochet in each stitch around.
Once you reach the end , Do not make a Slip Stitch. We will be working in continuous rounds.
Round 7 Onwards:-
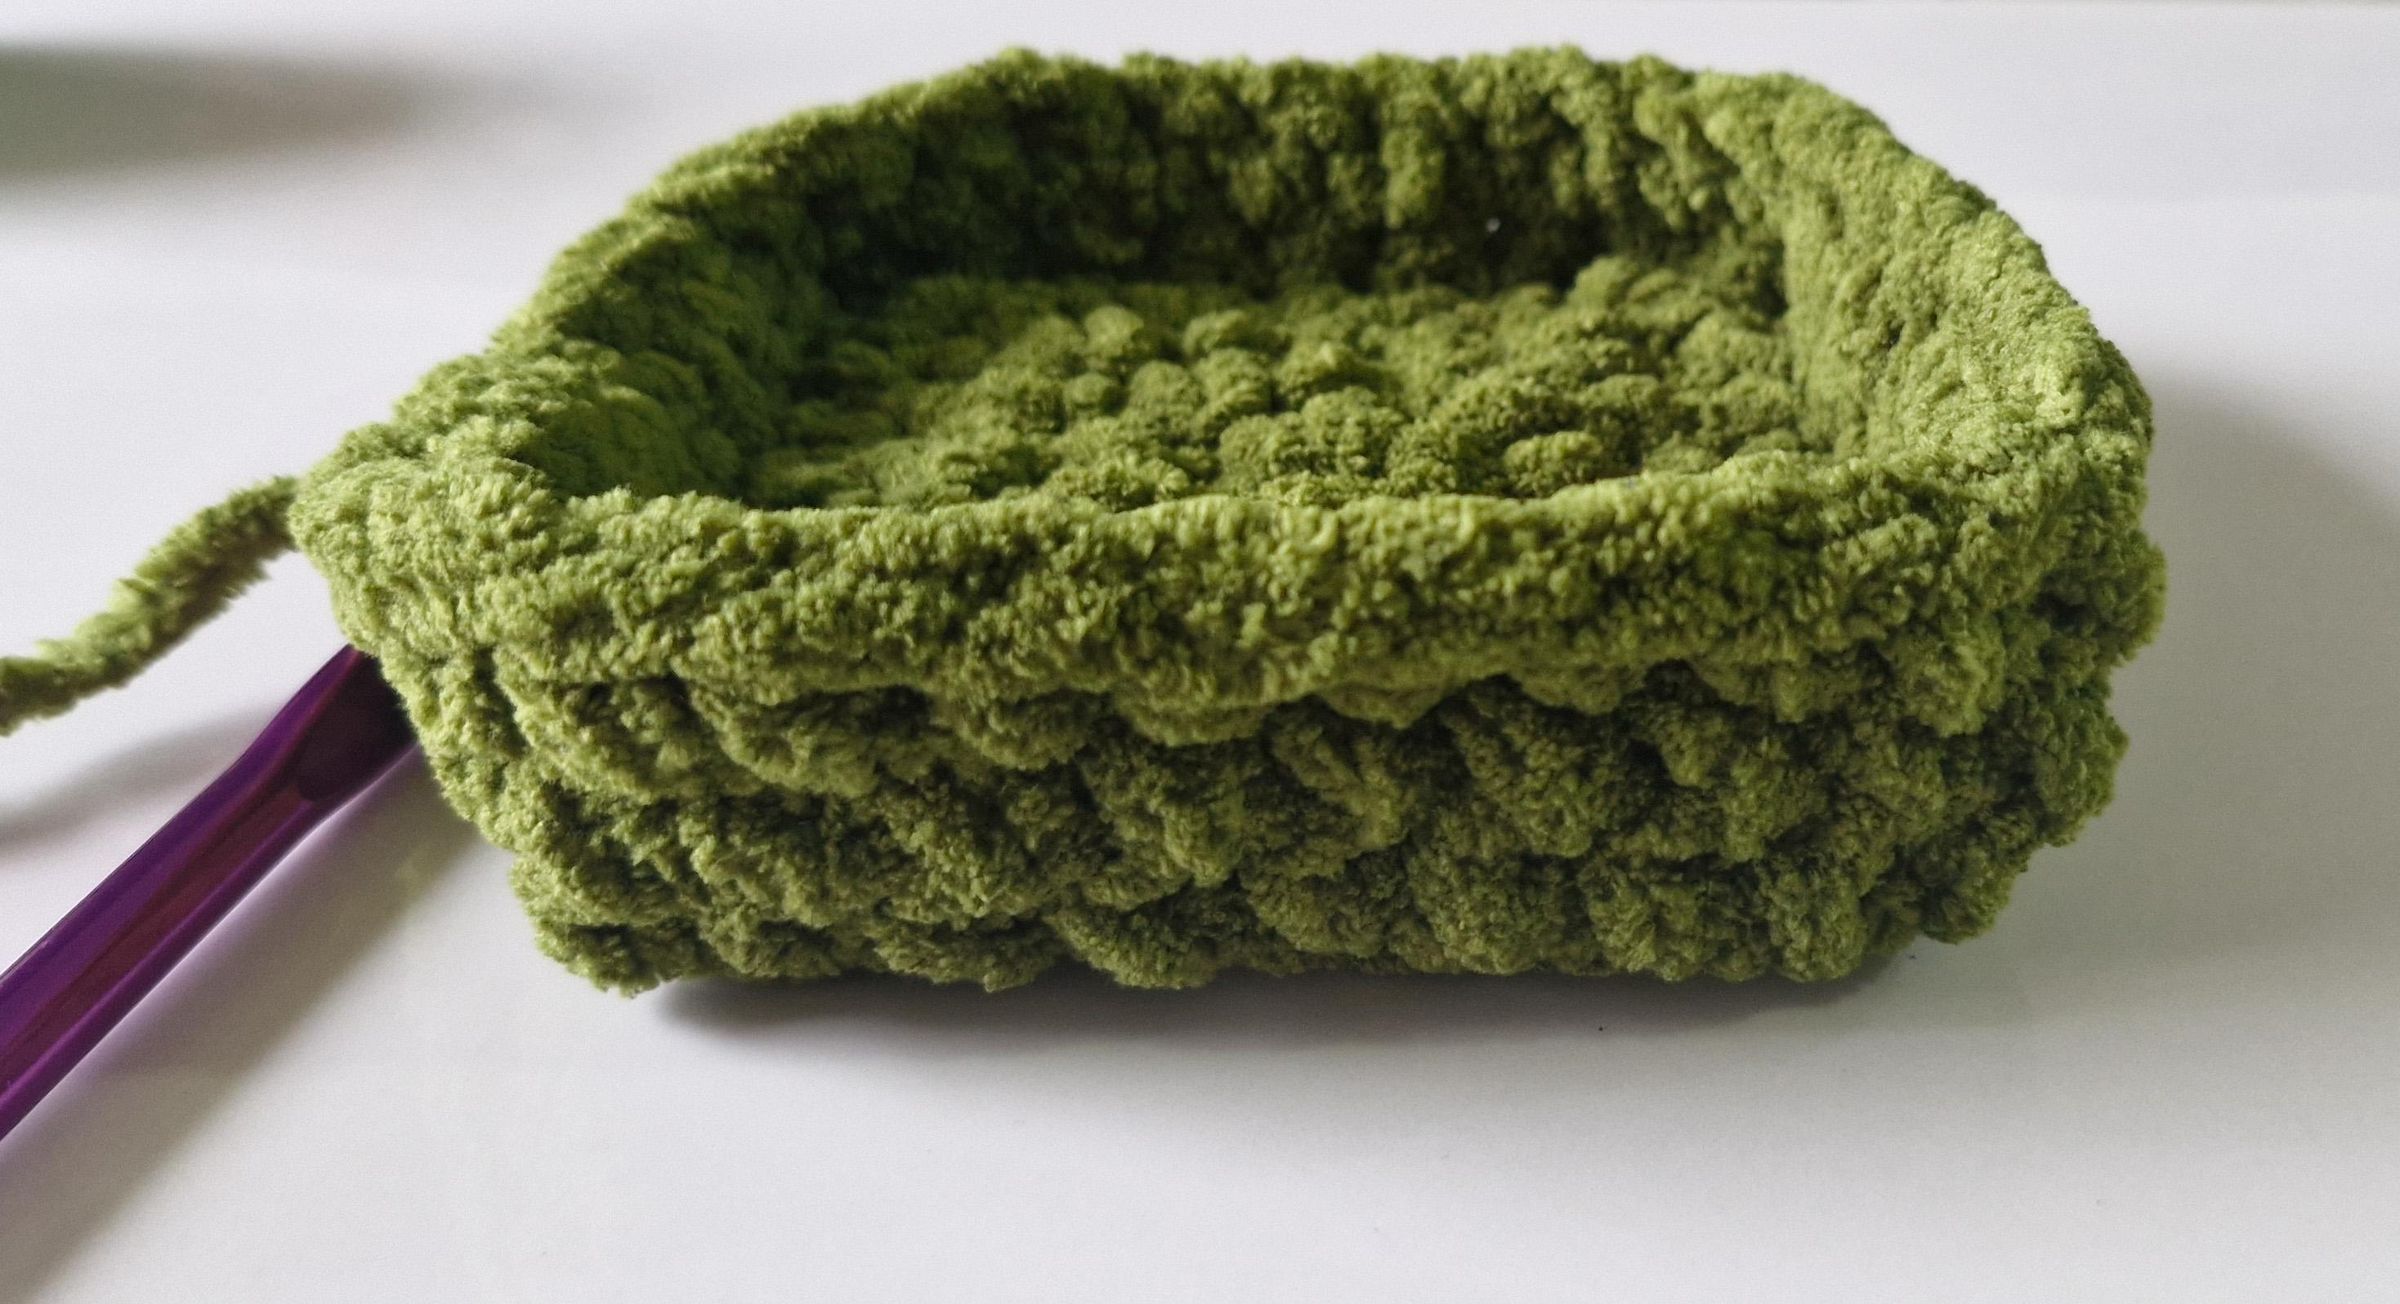
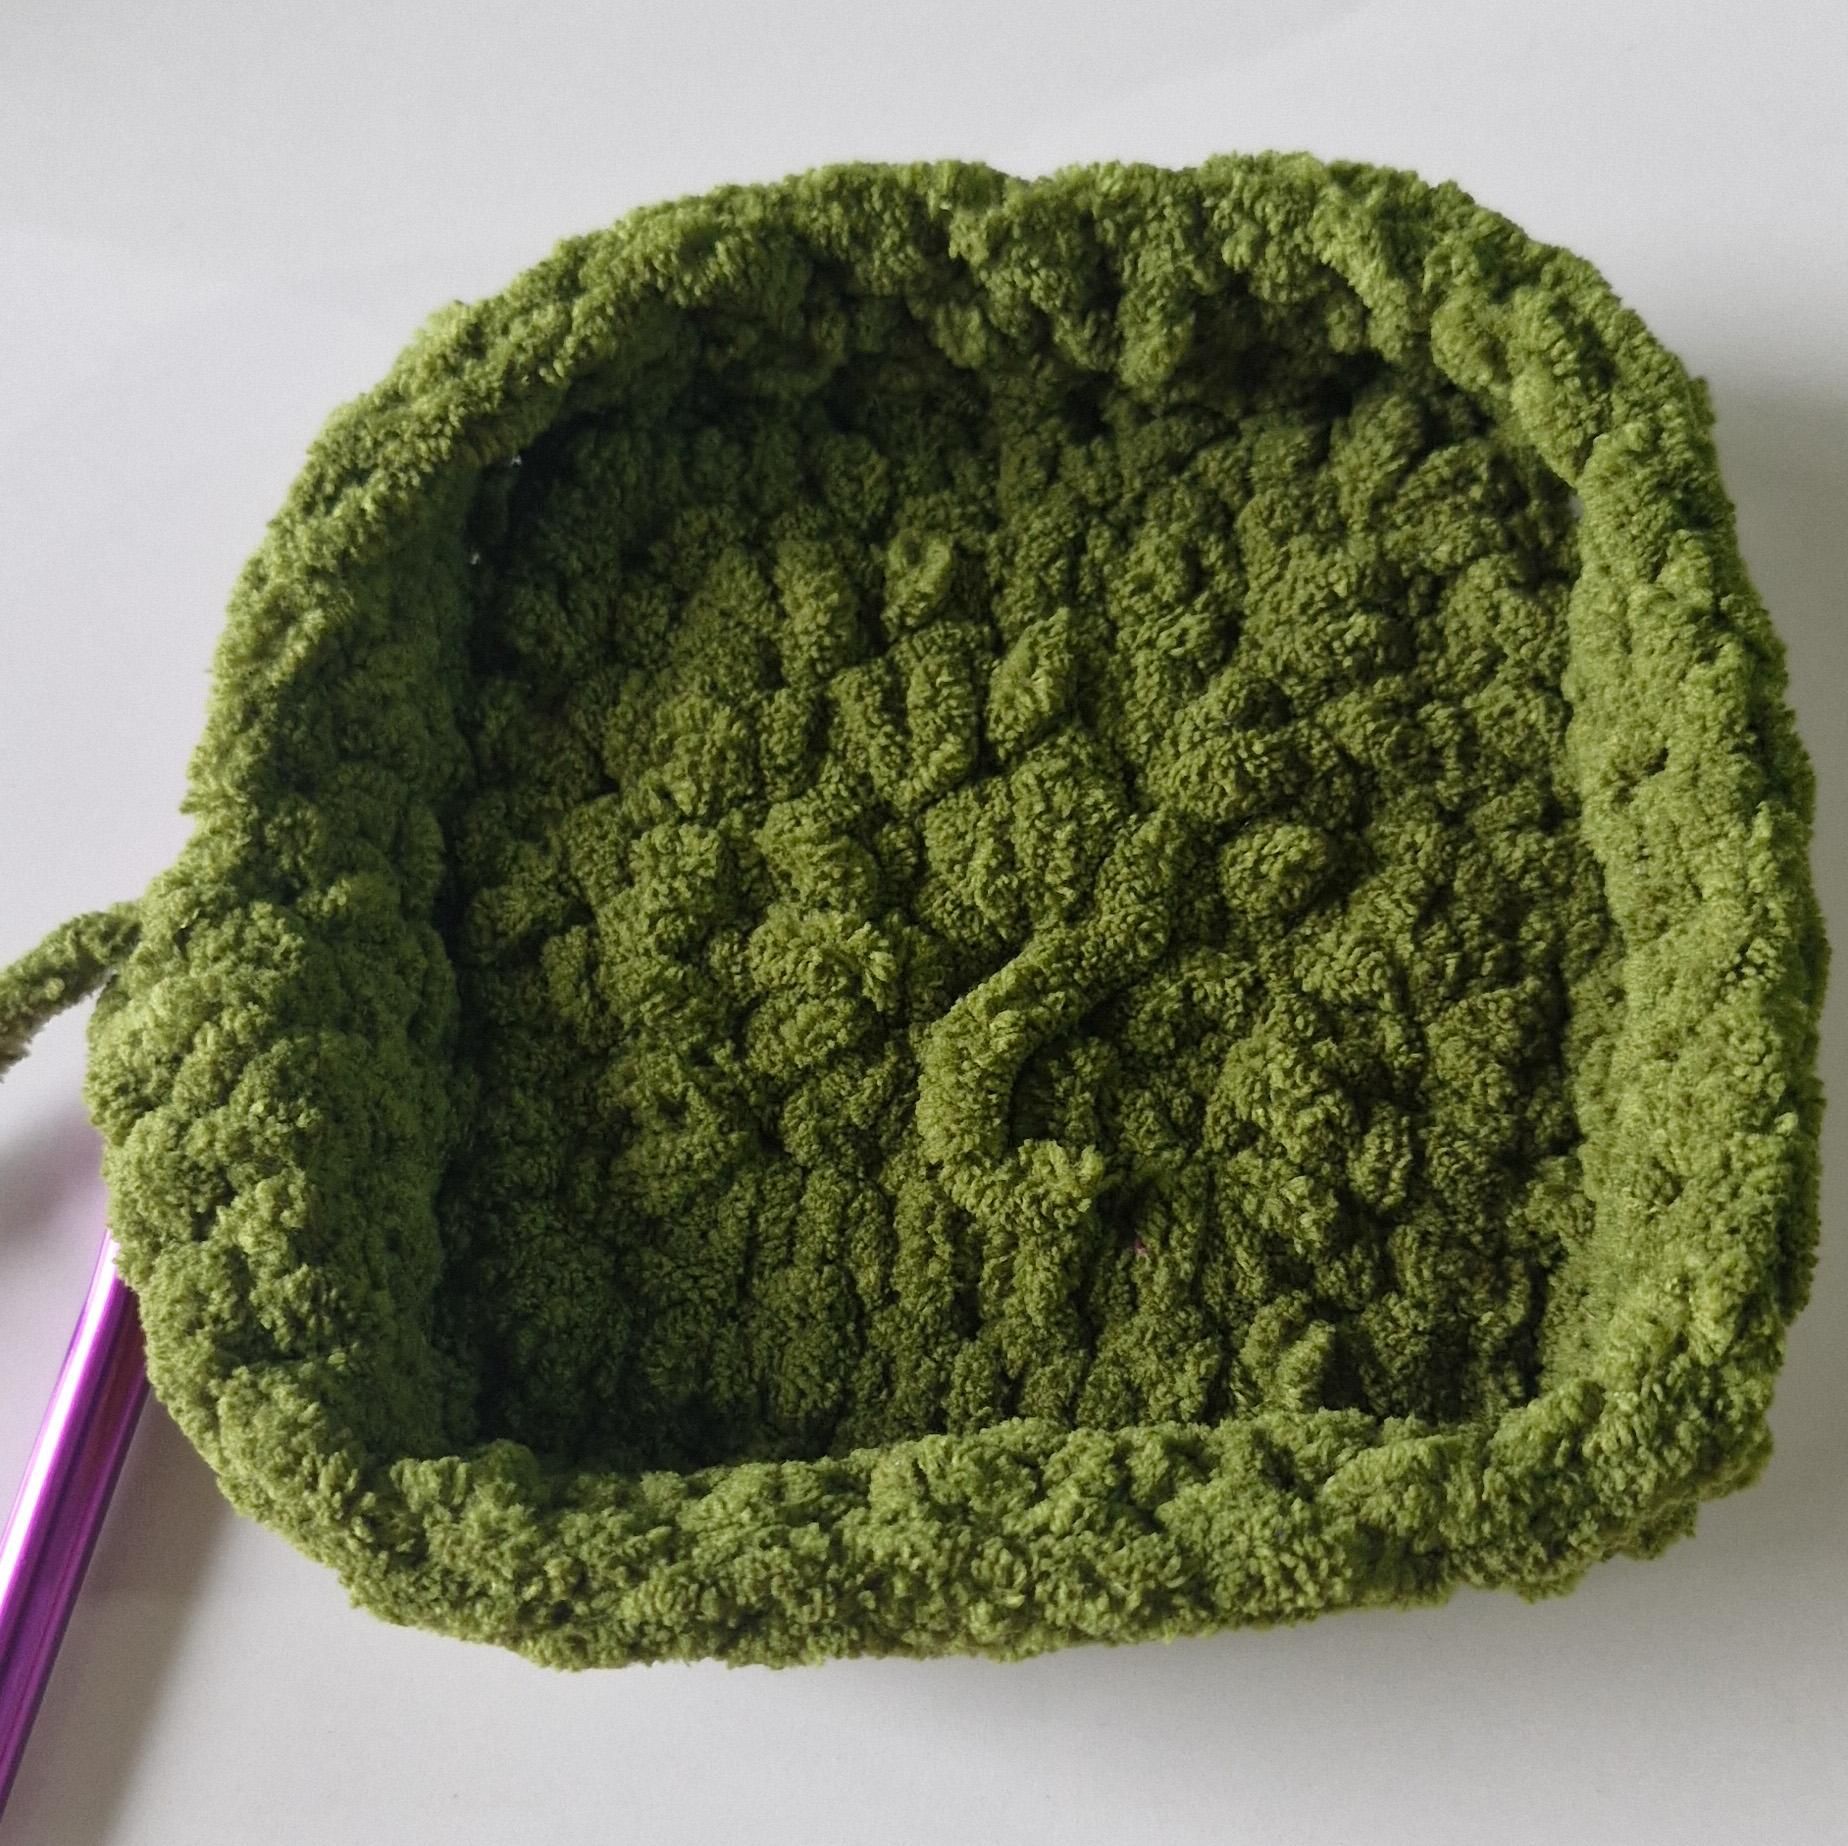
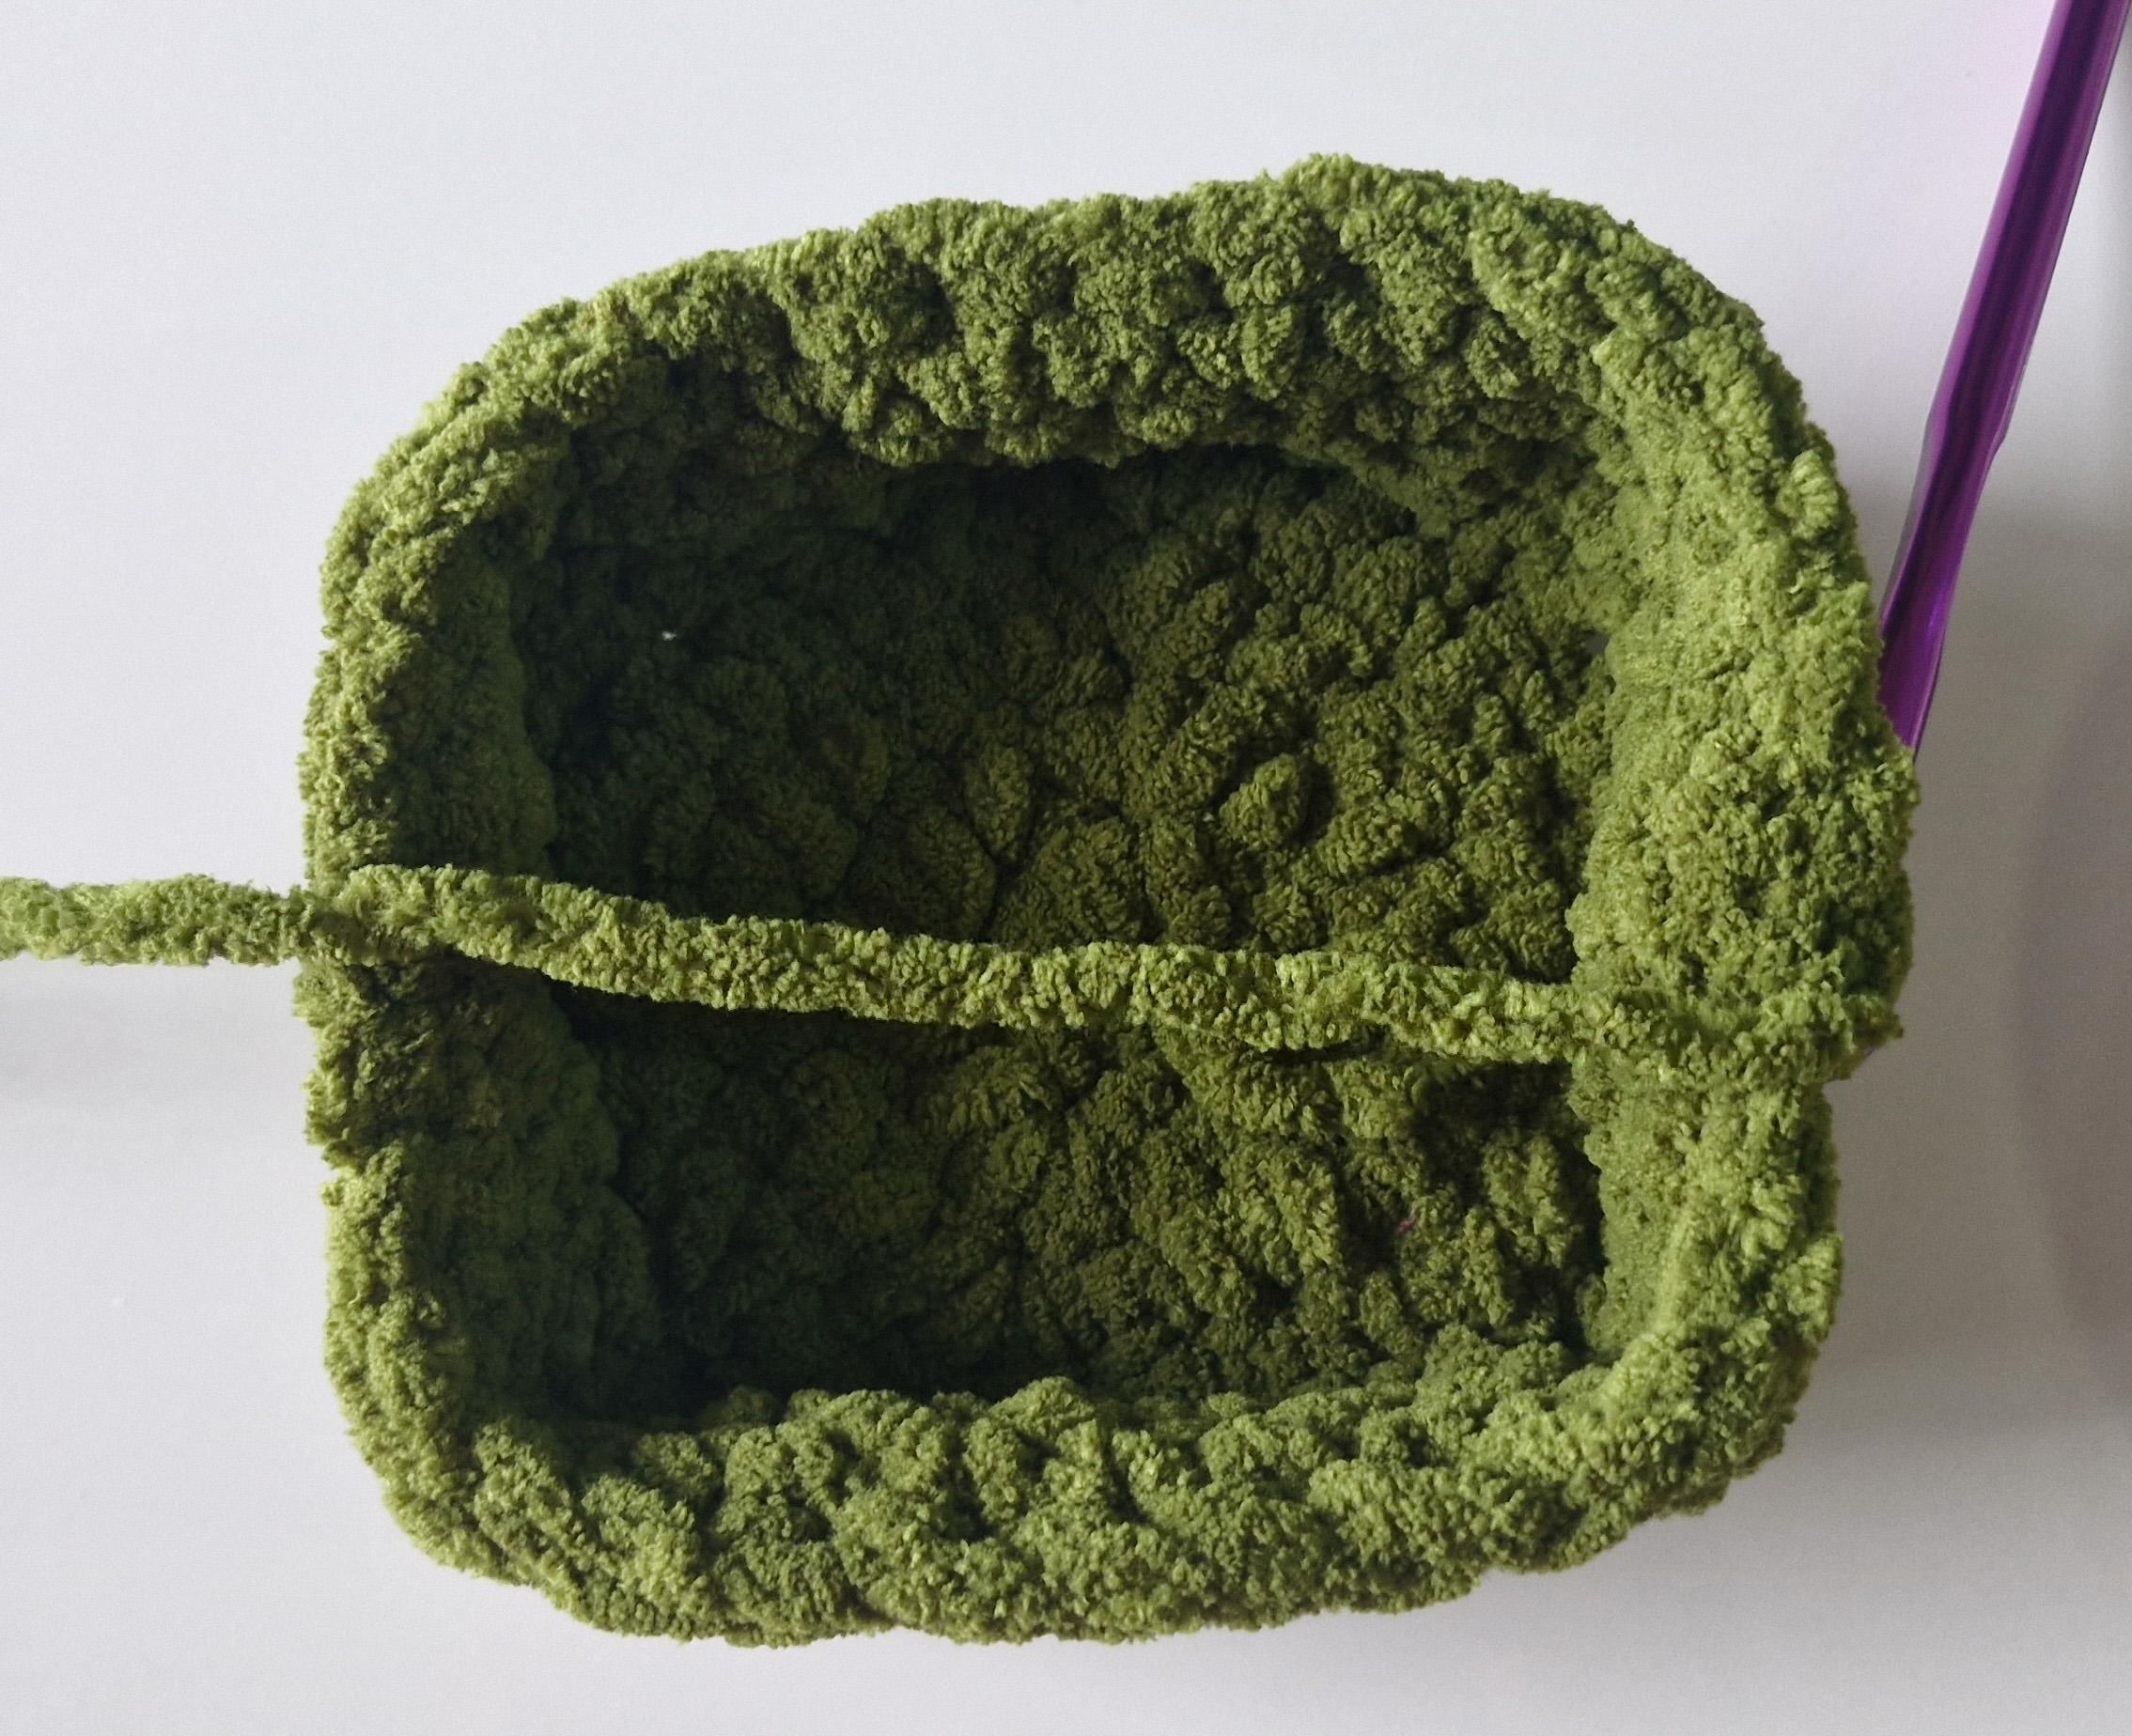
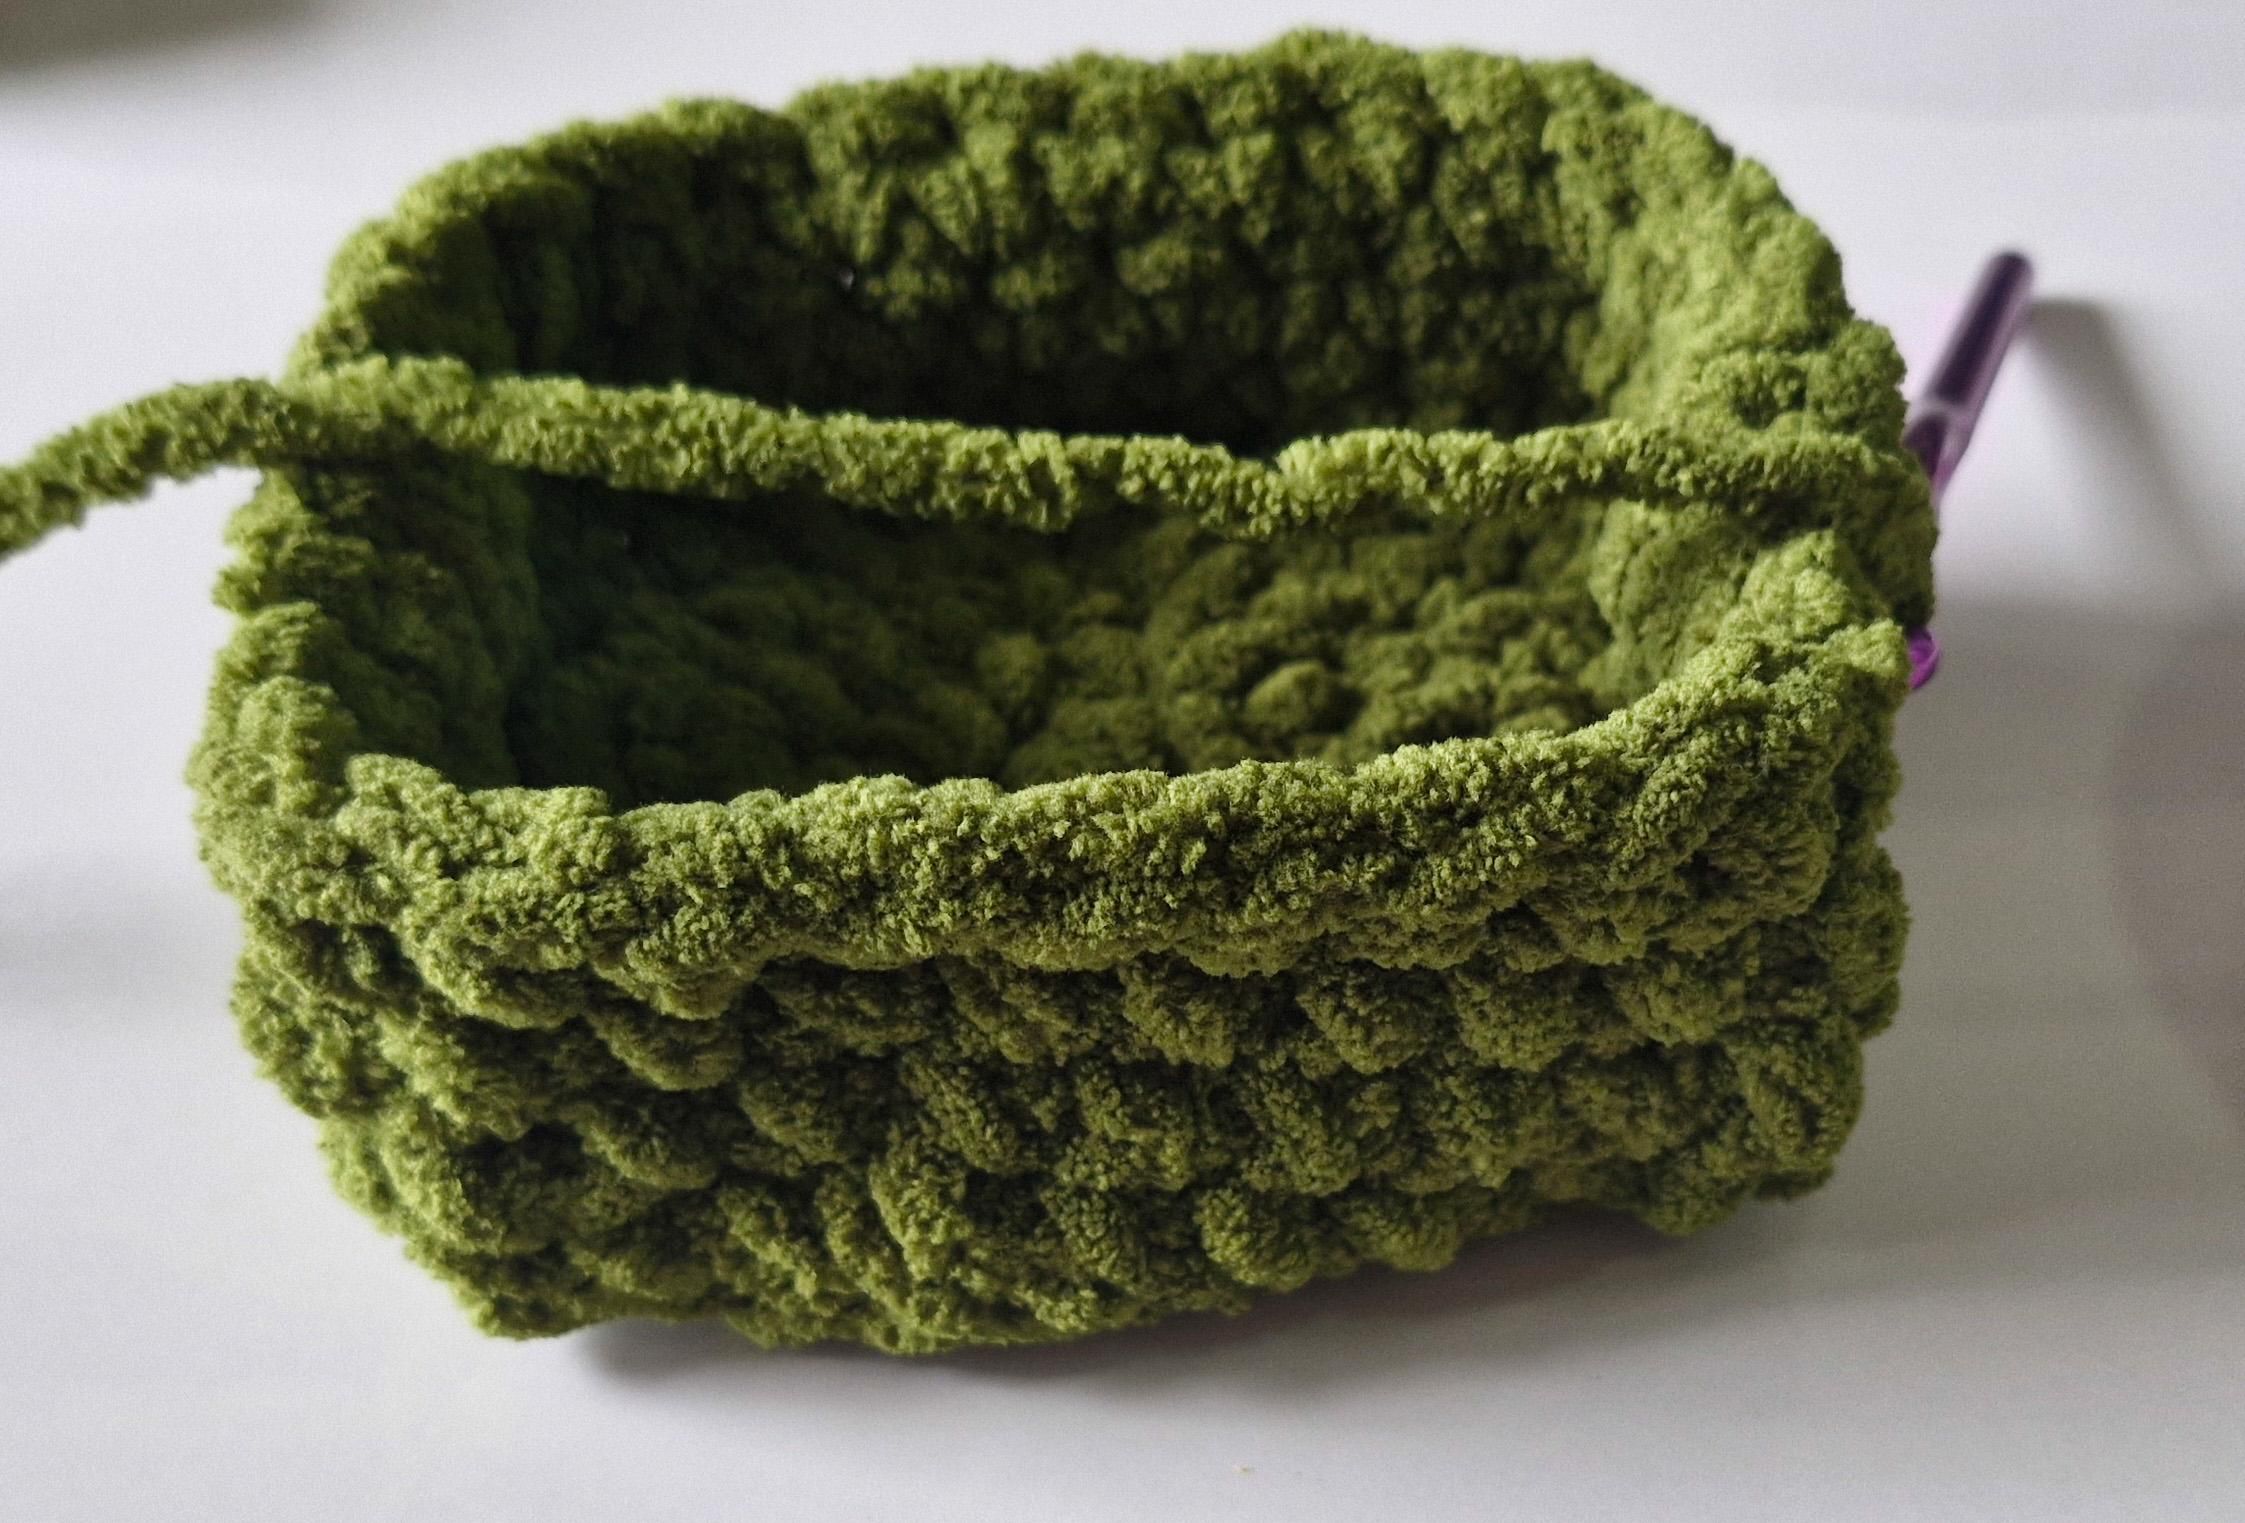
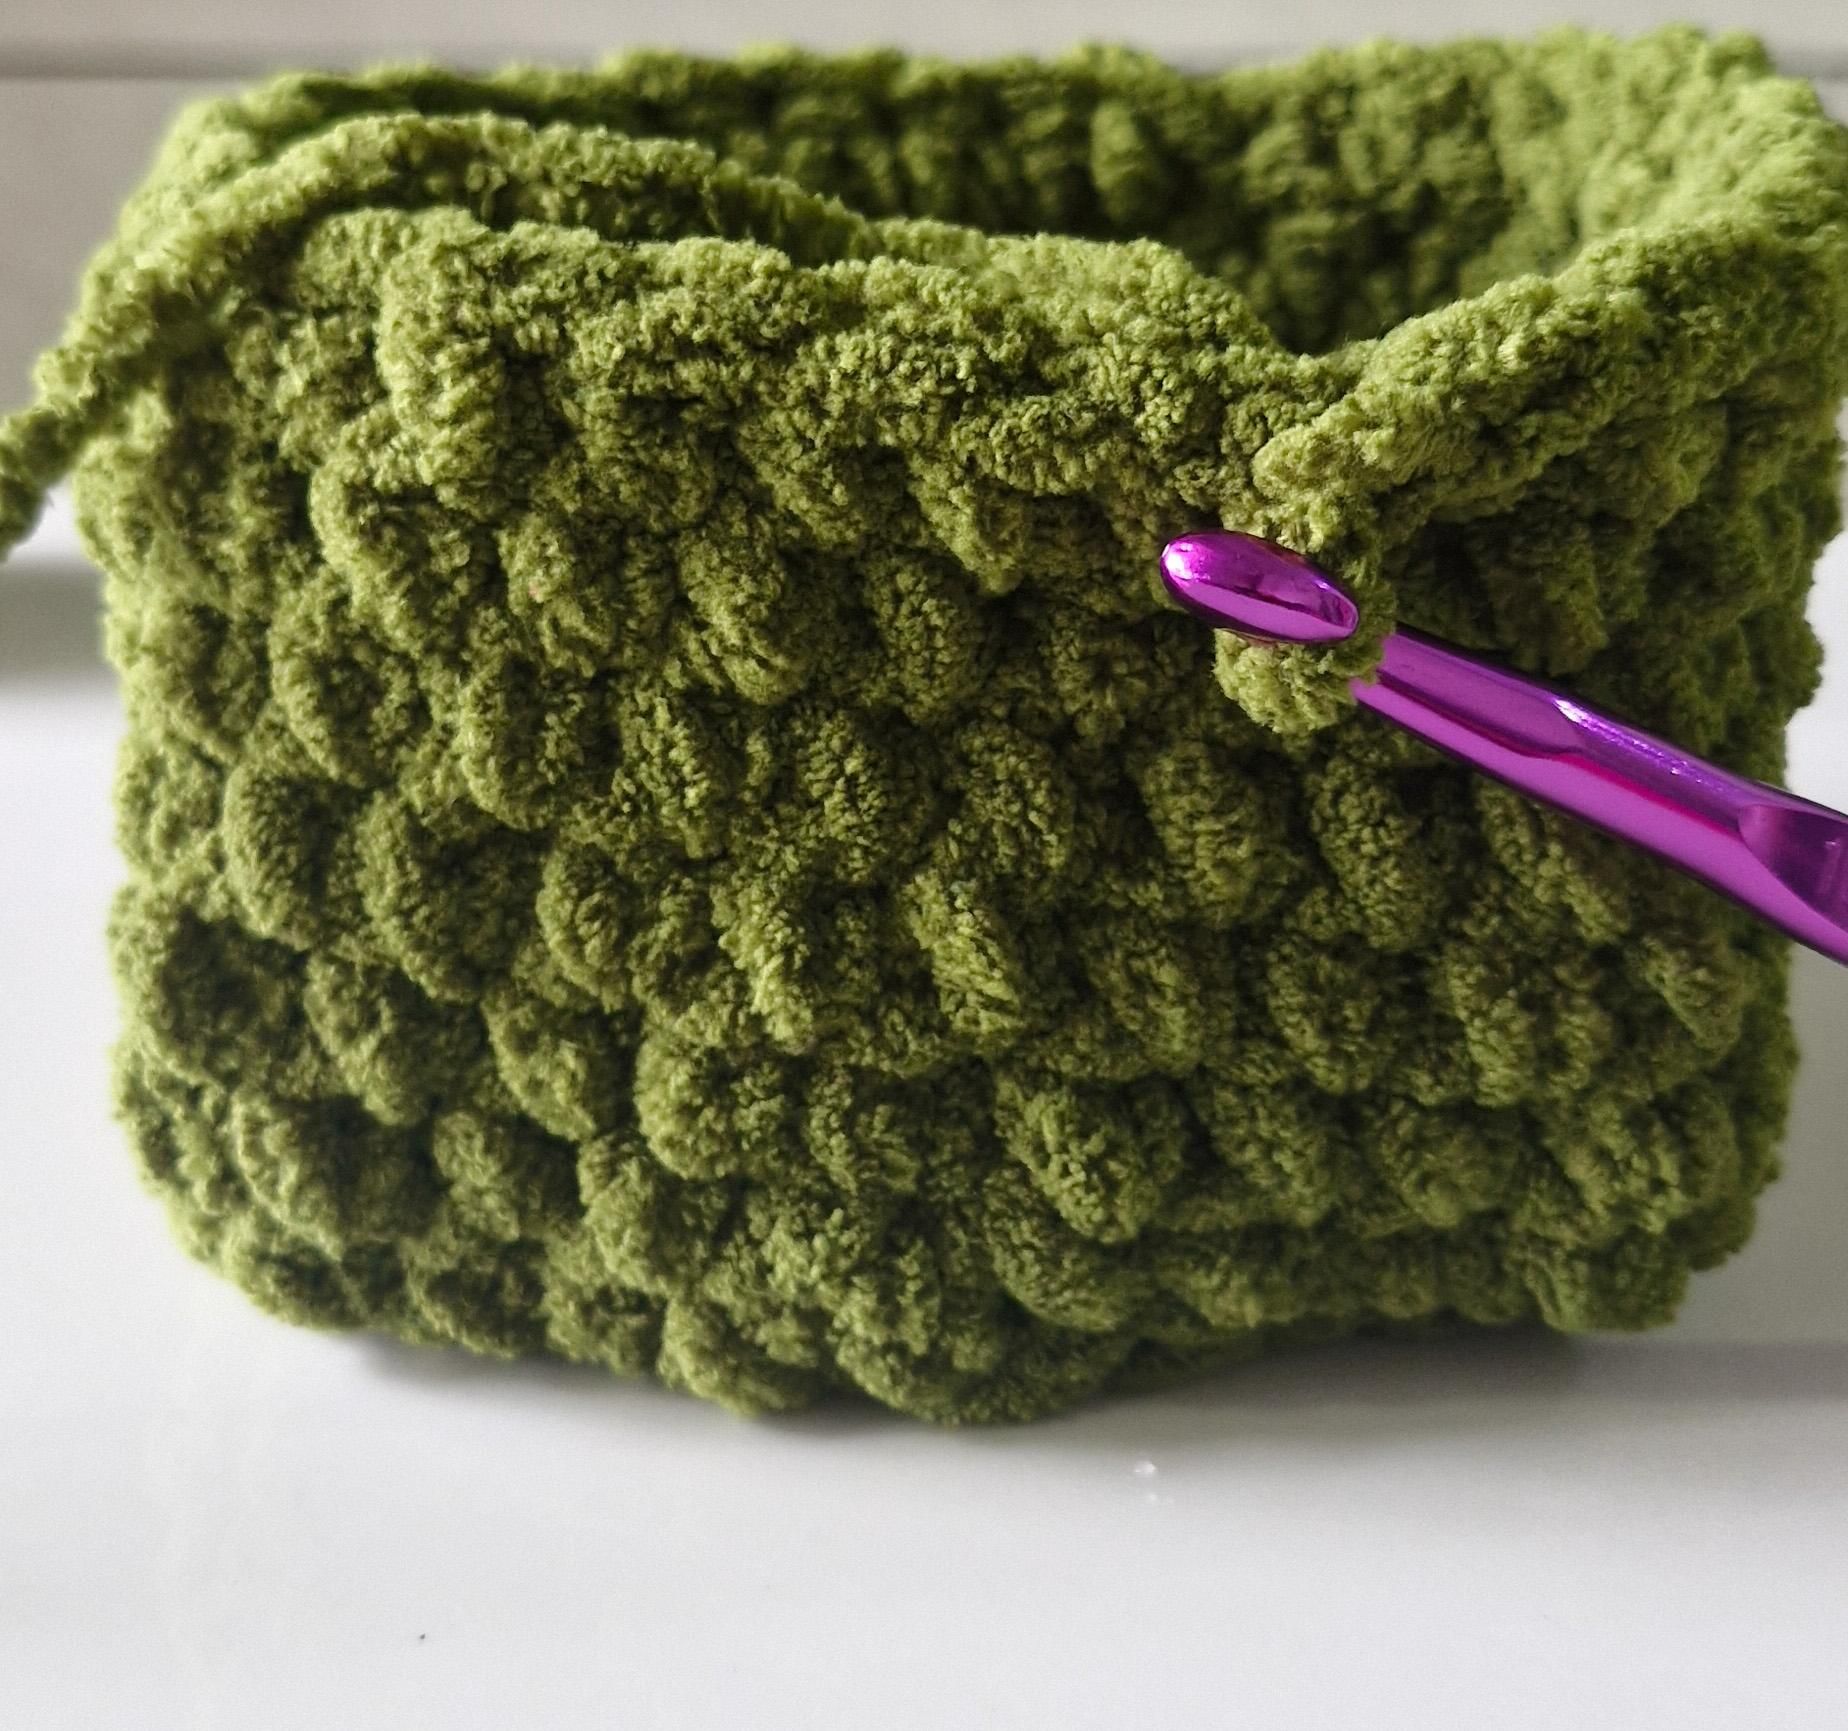
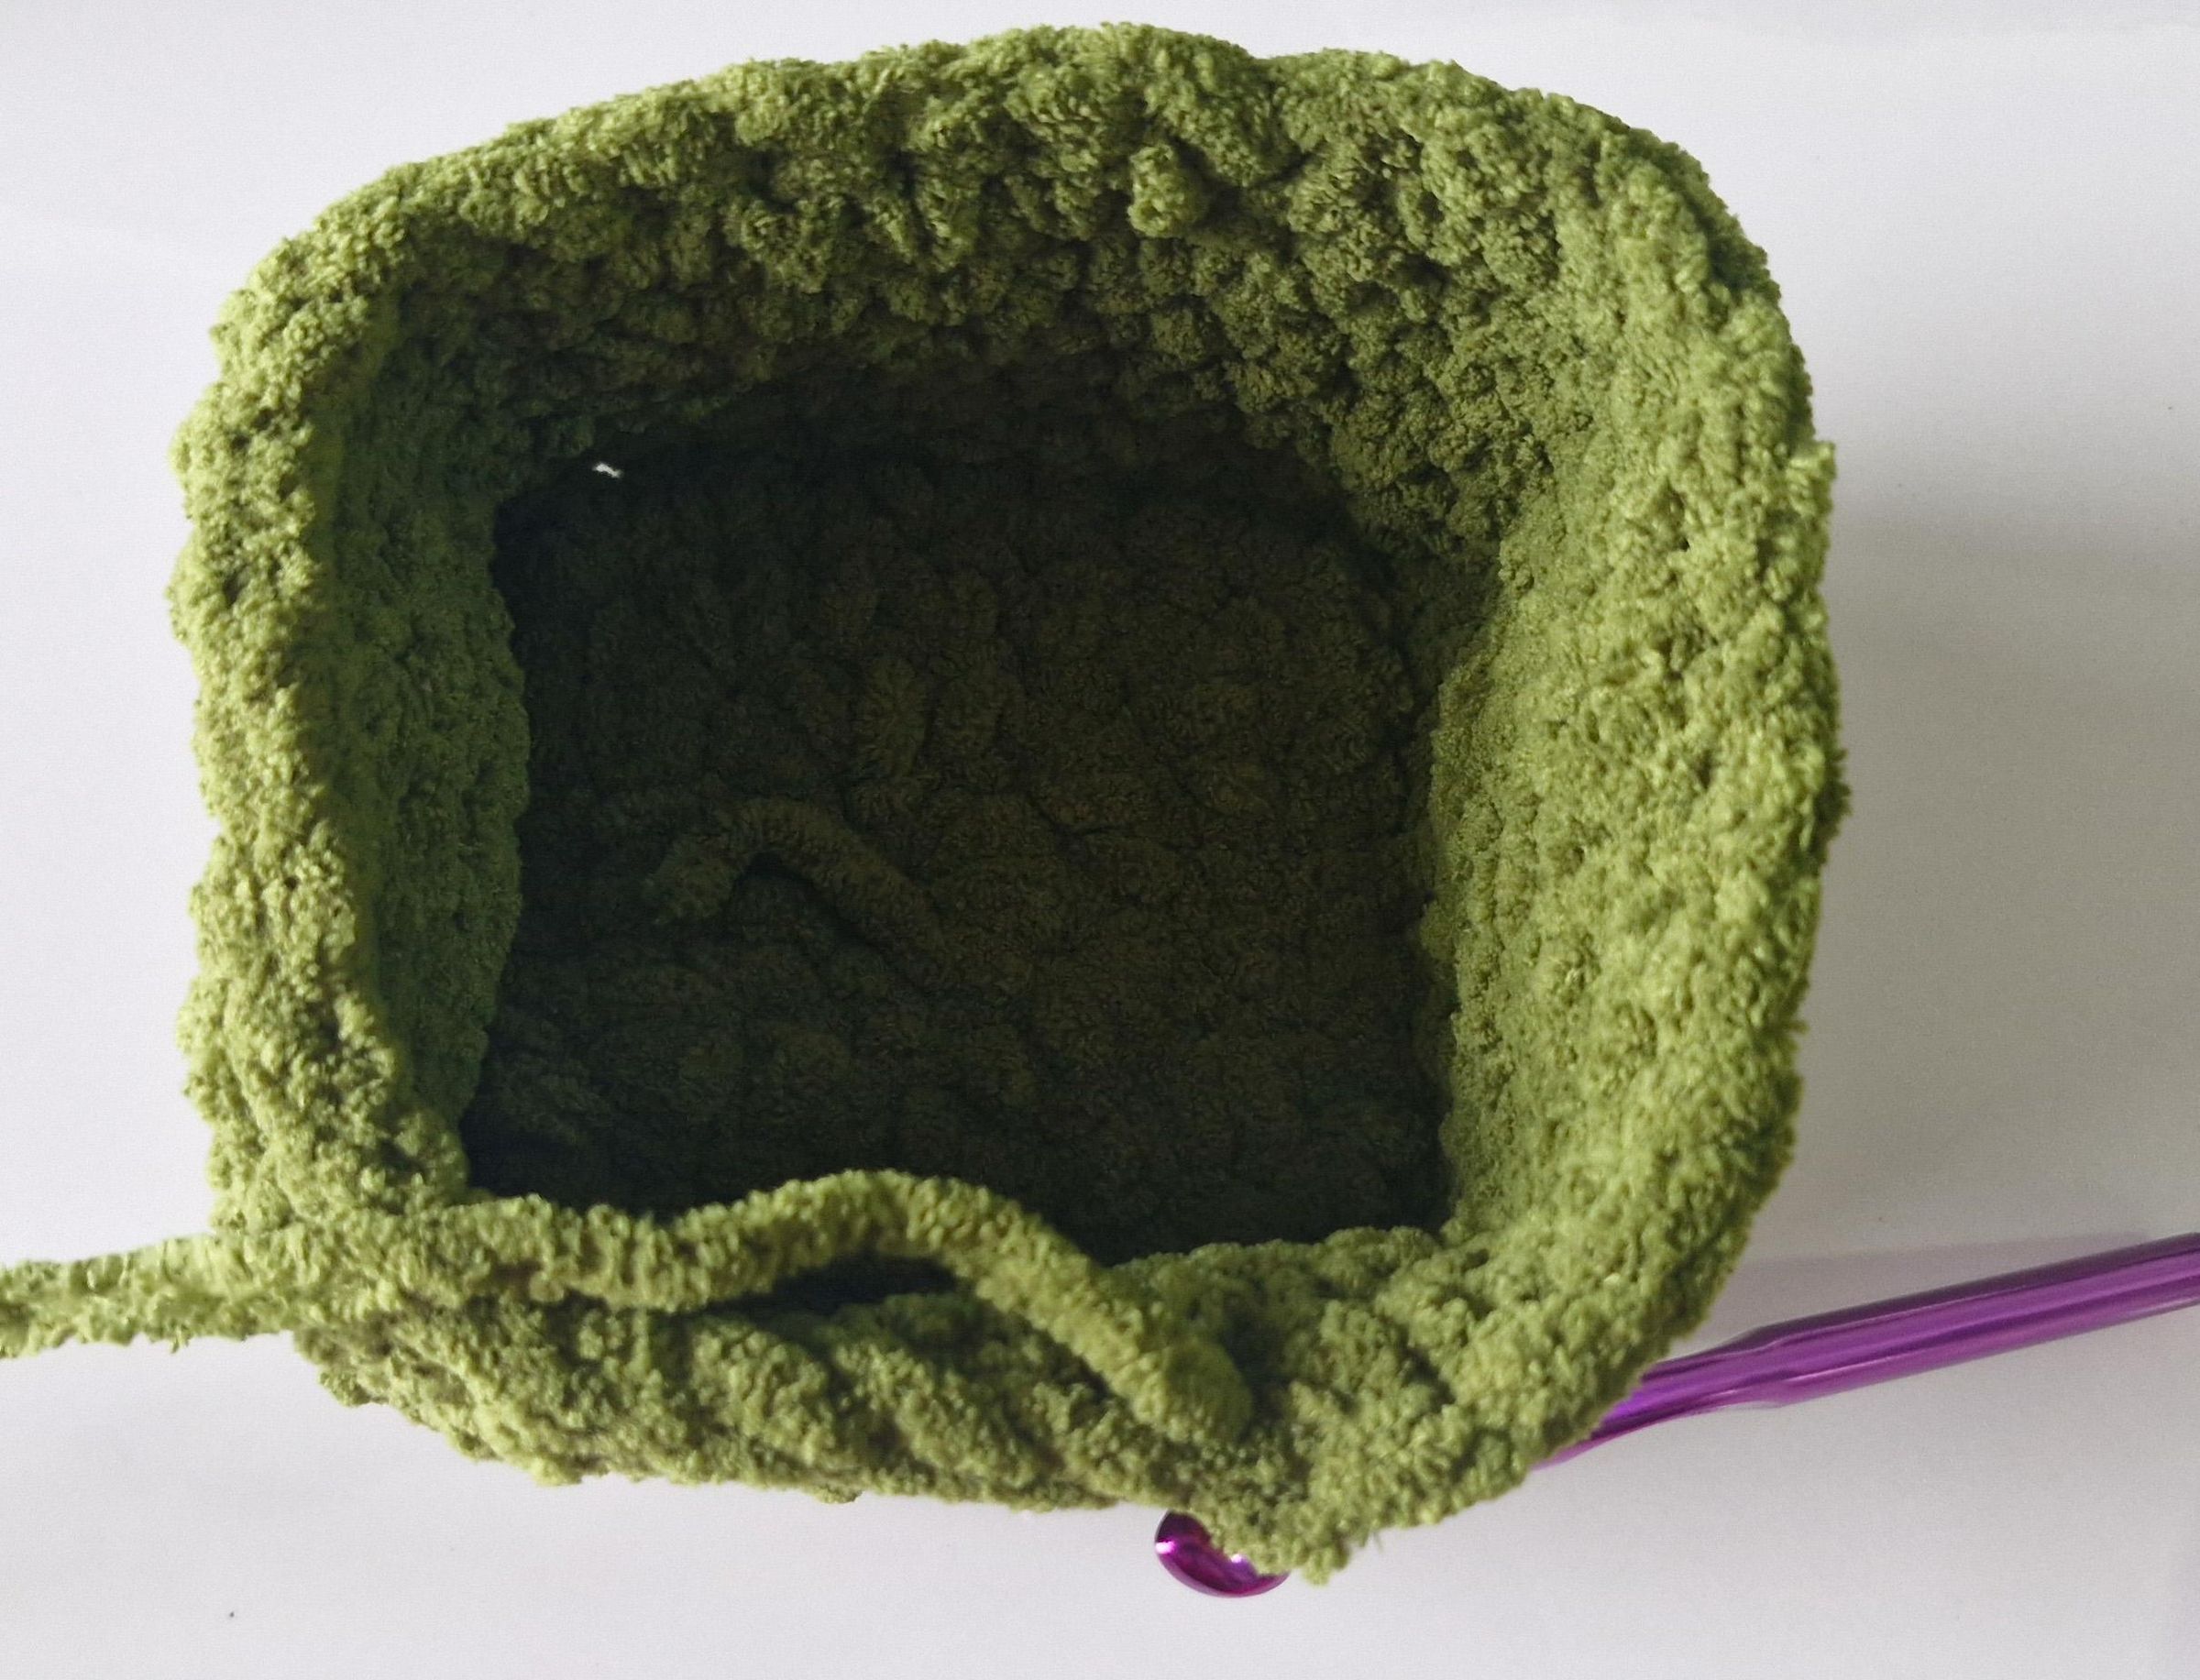
1 Single Crochet in each stitch around untill its around 4 Inches in size.
Once you reach the end , Slip Stitch on top of the 1st Single Crochet .
Joining and Stuffing:-
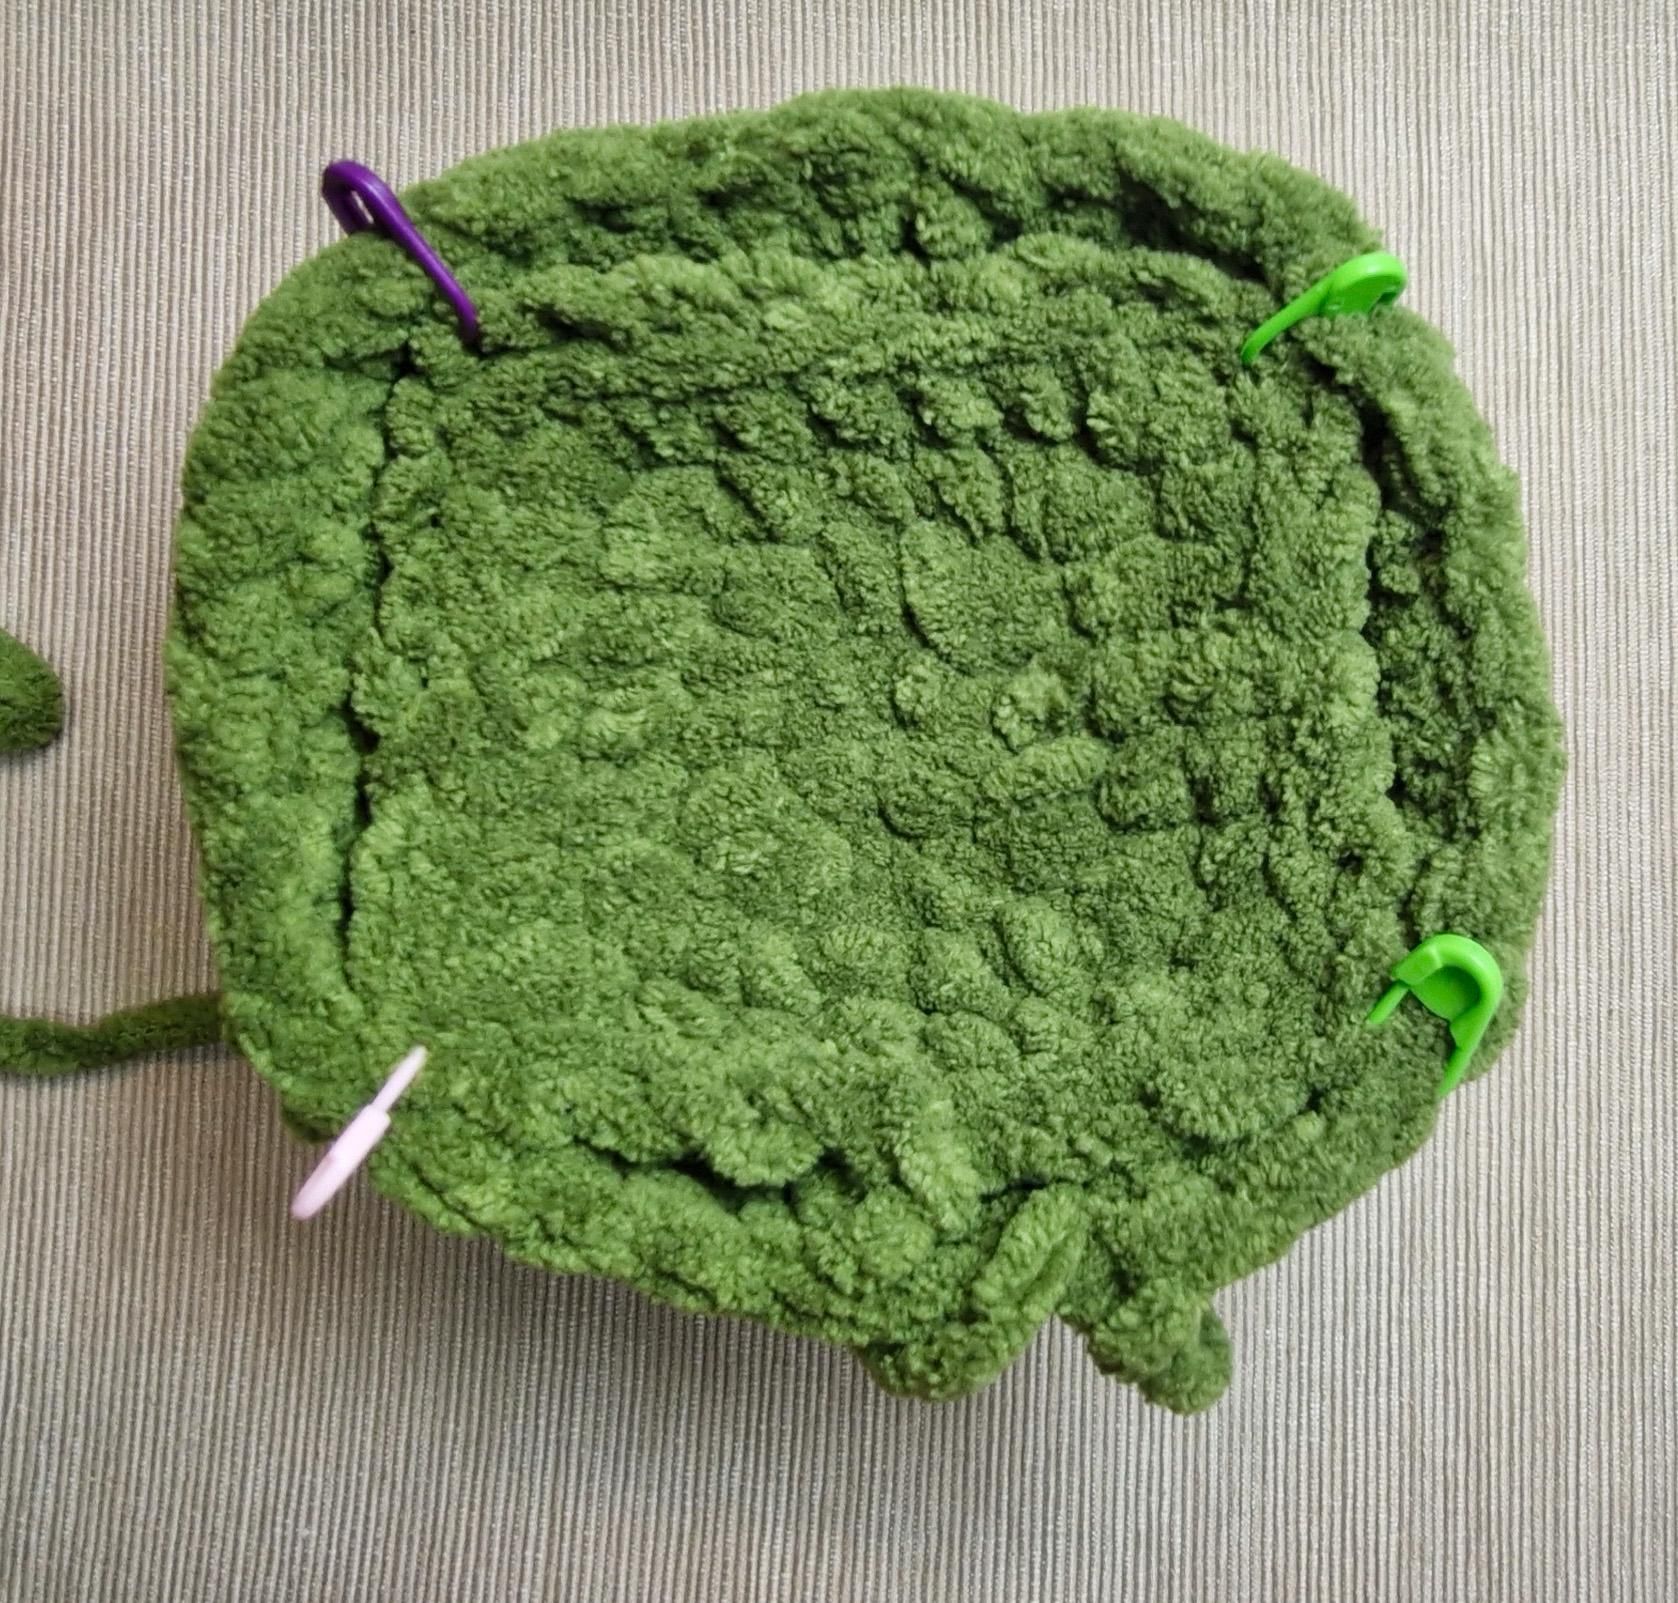
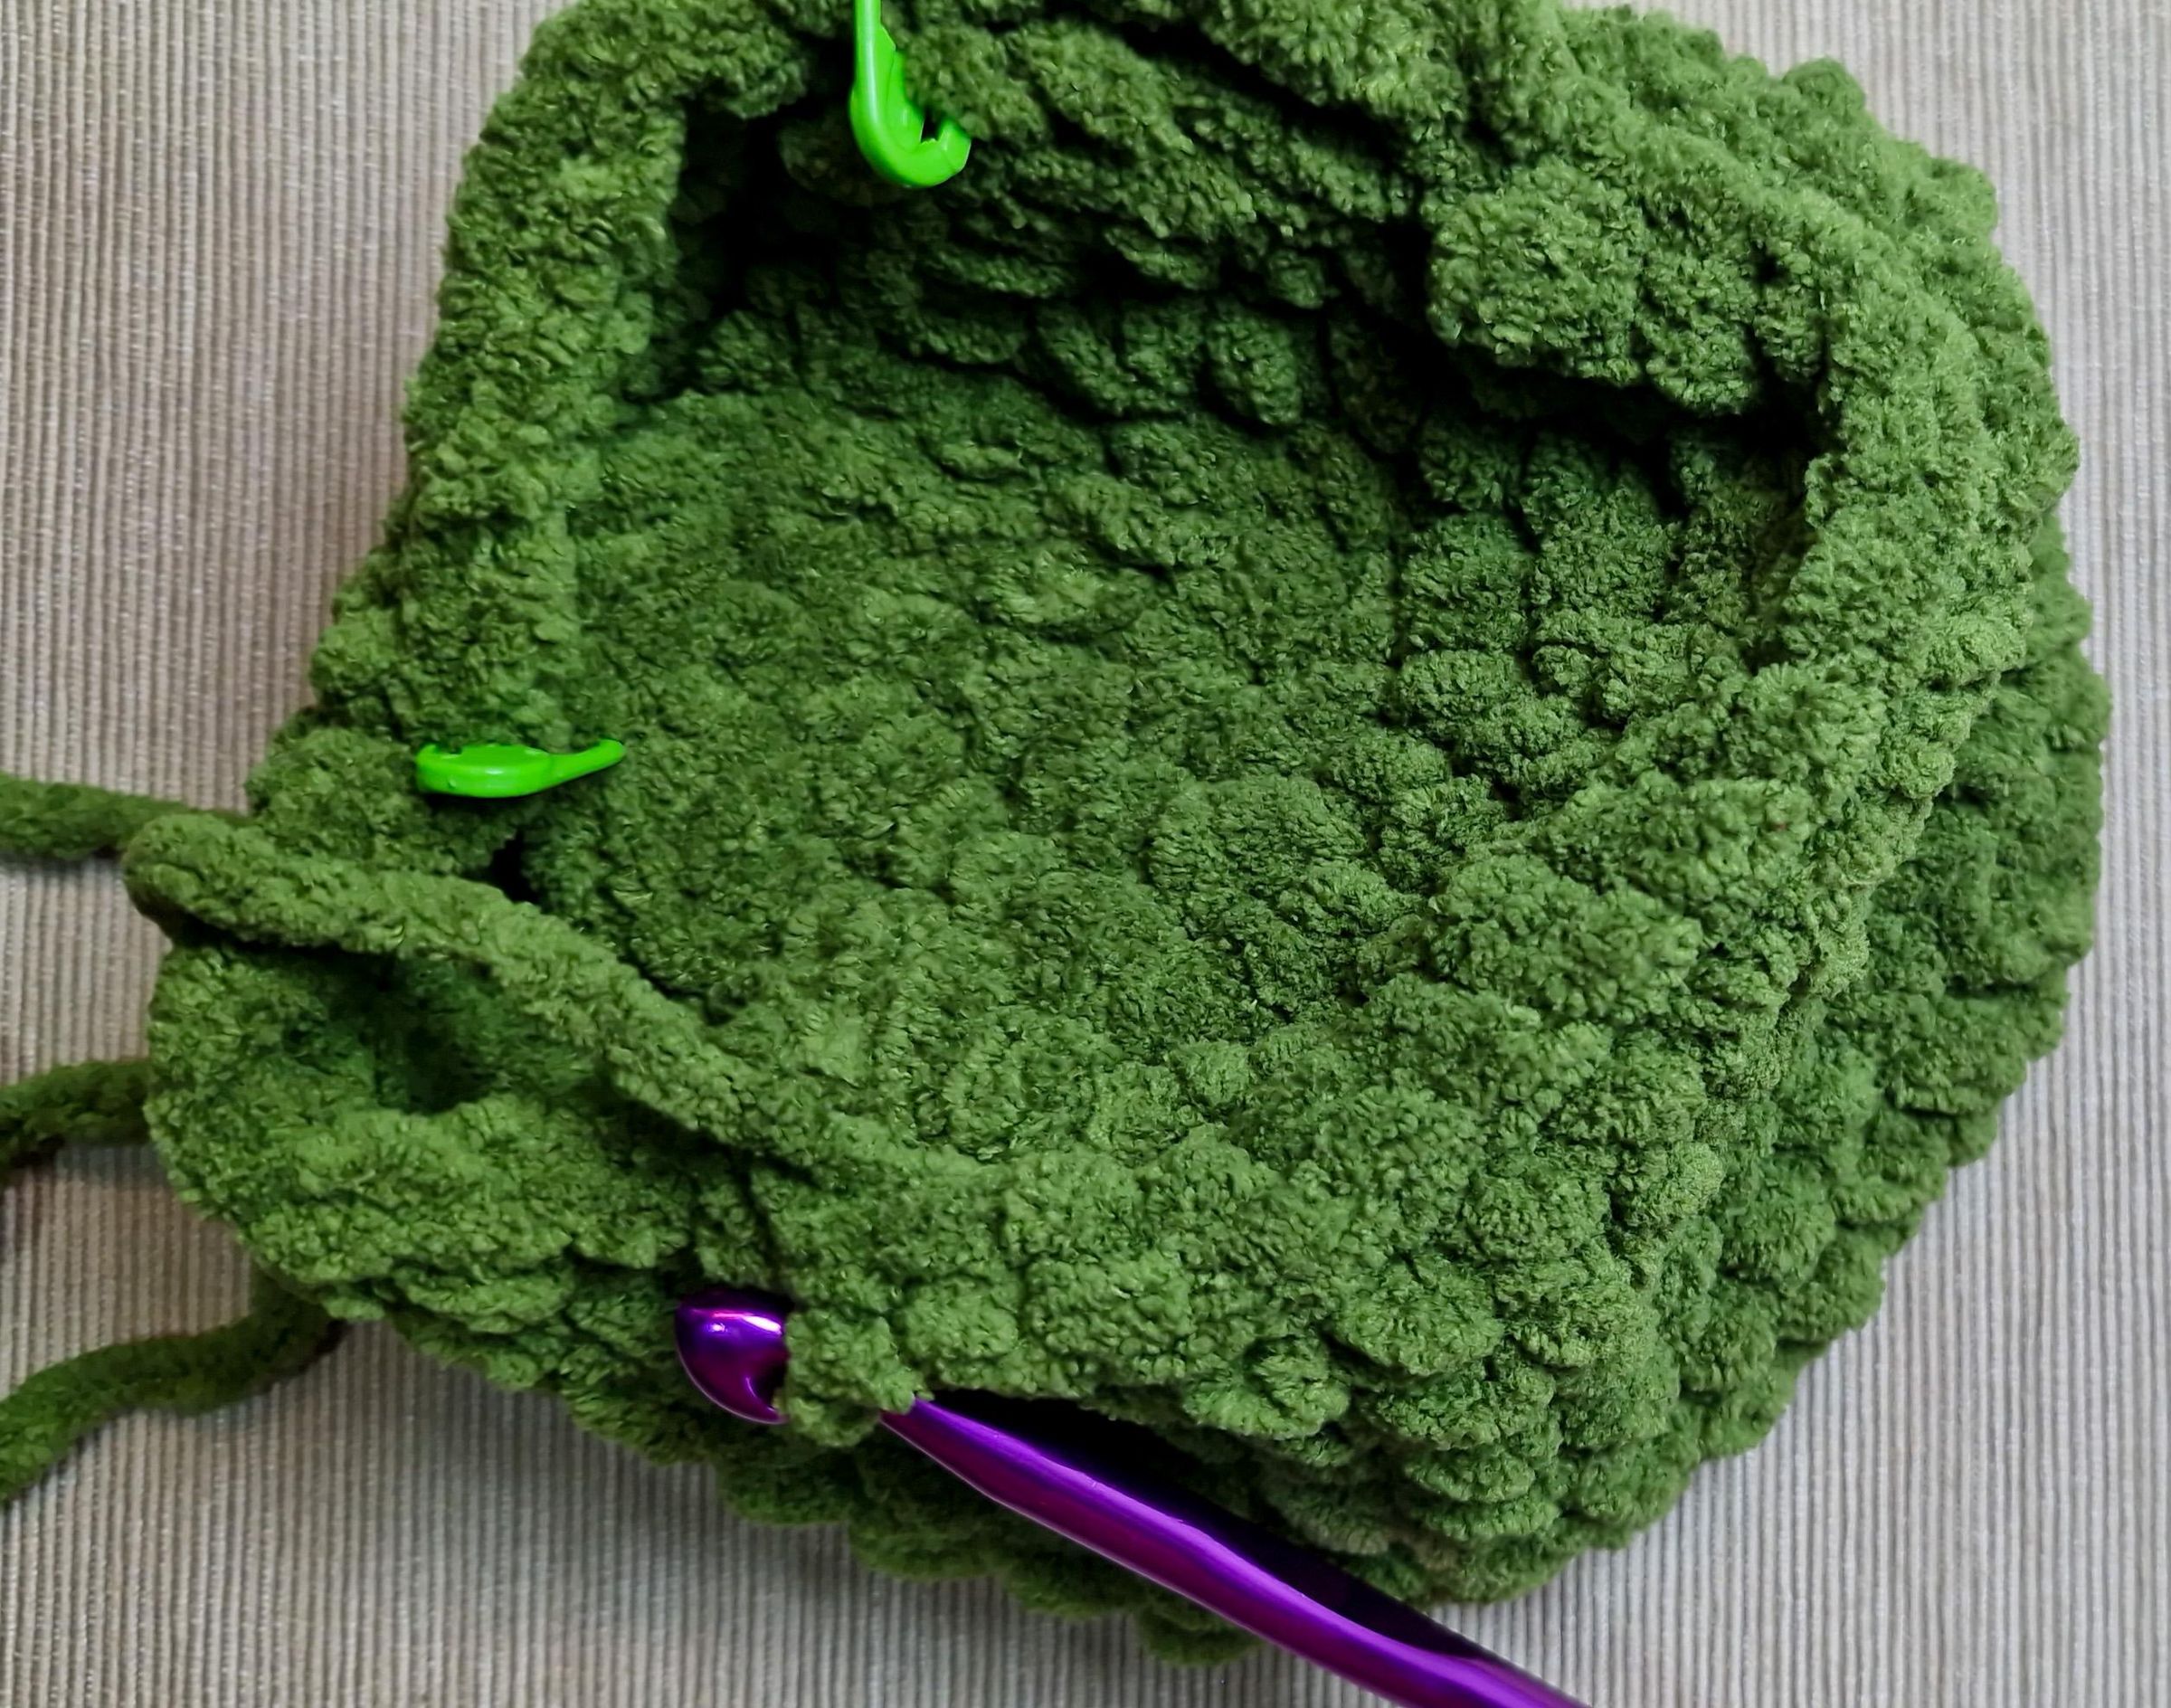
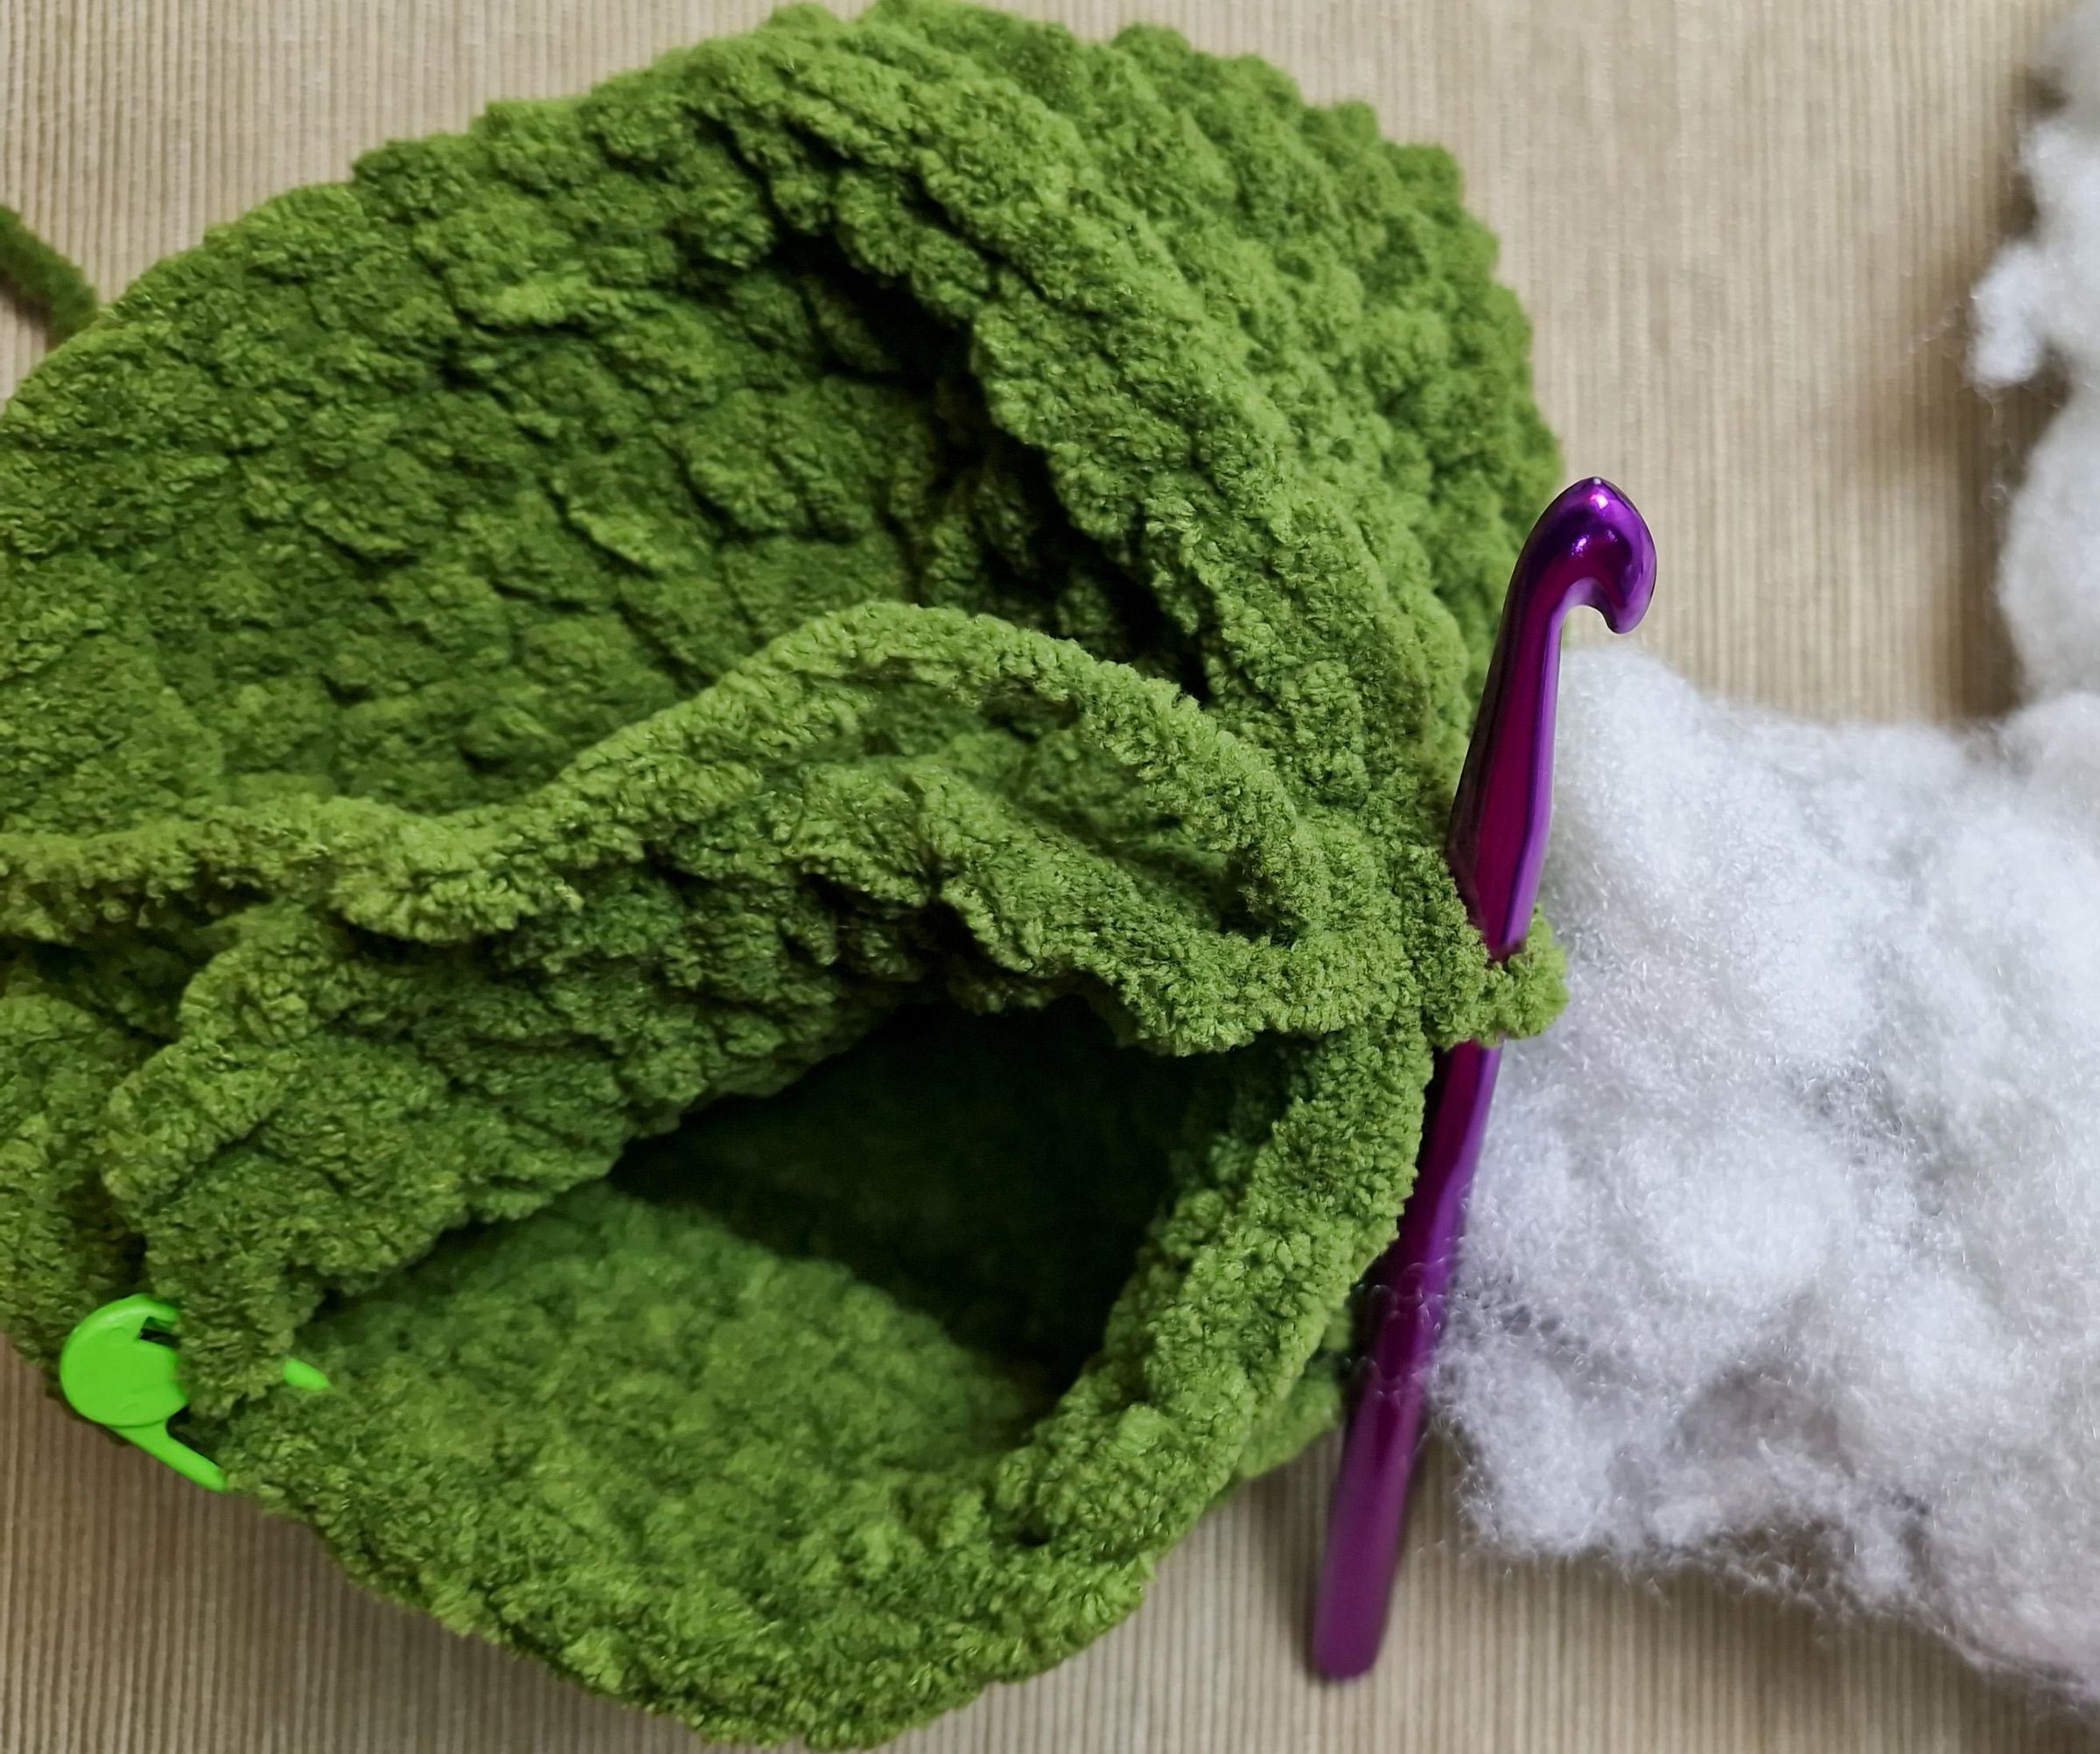
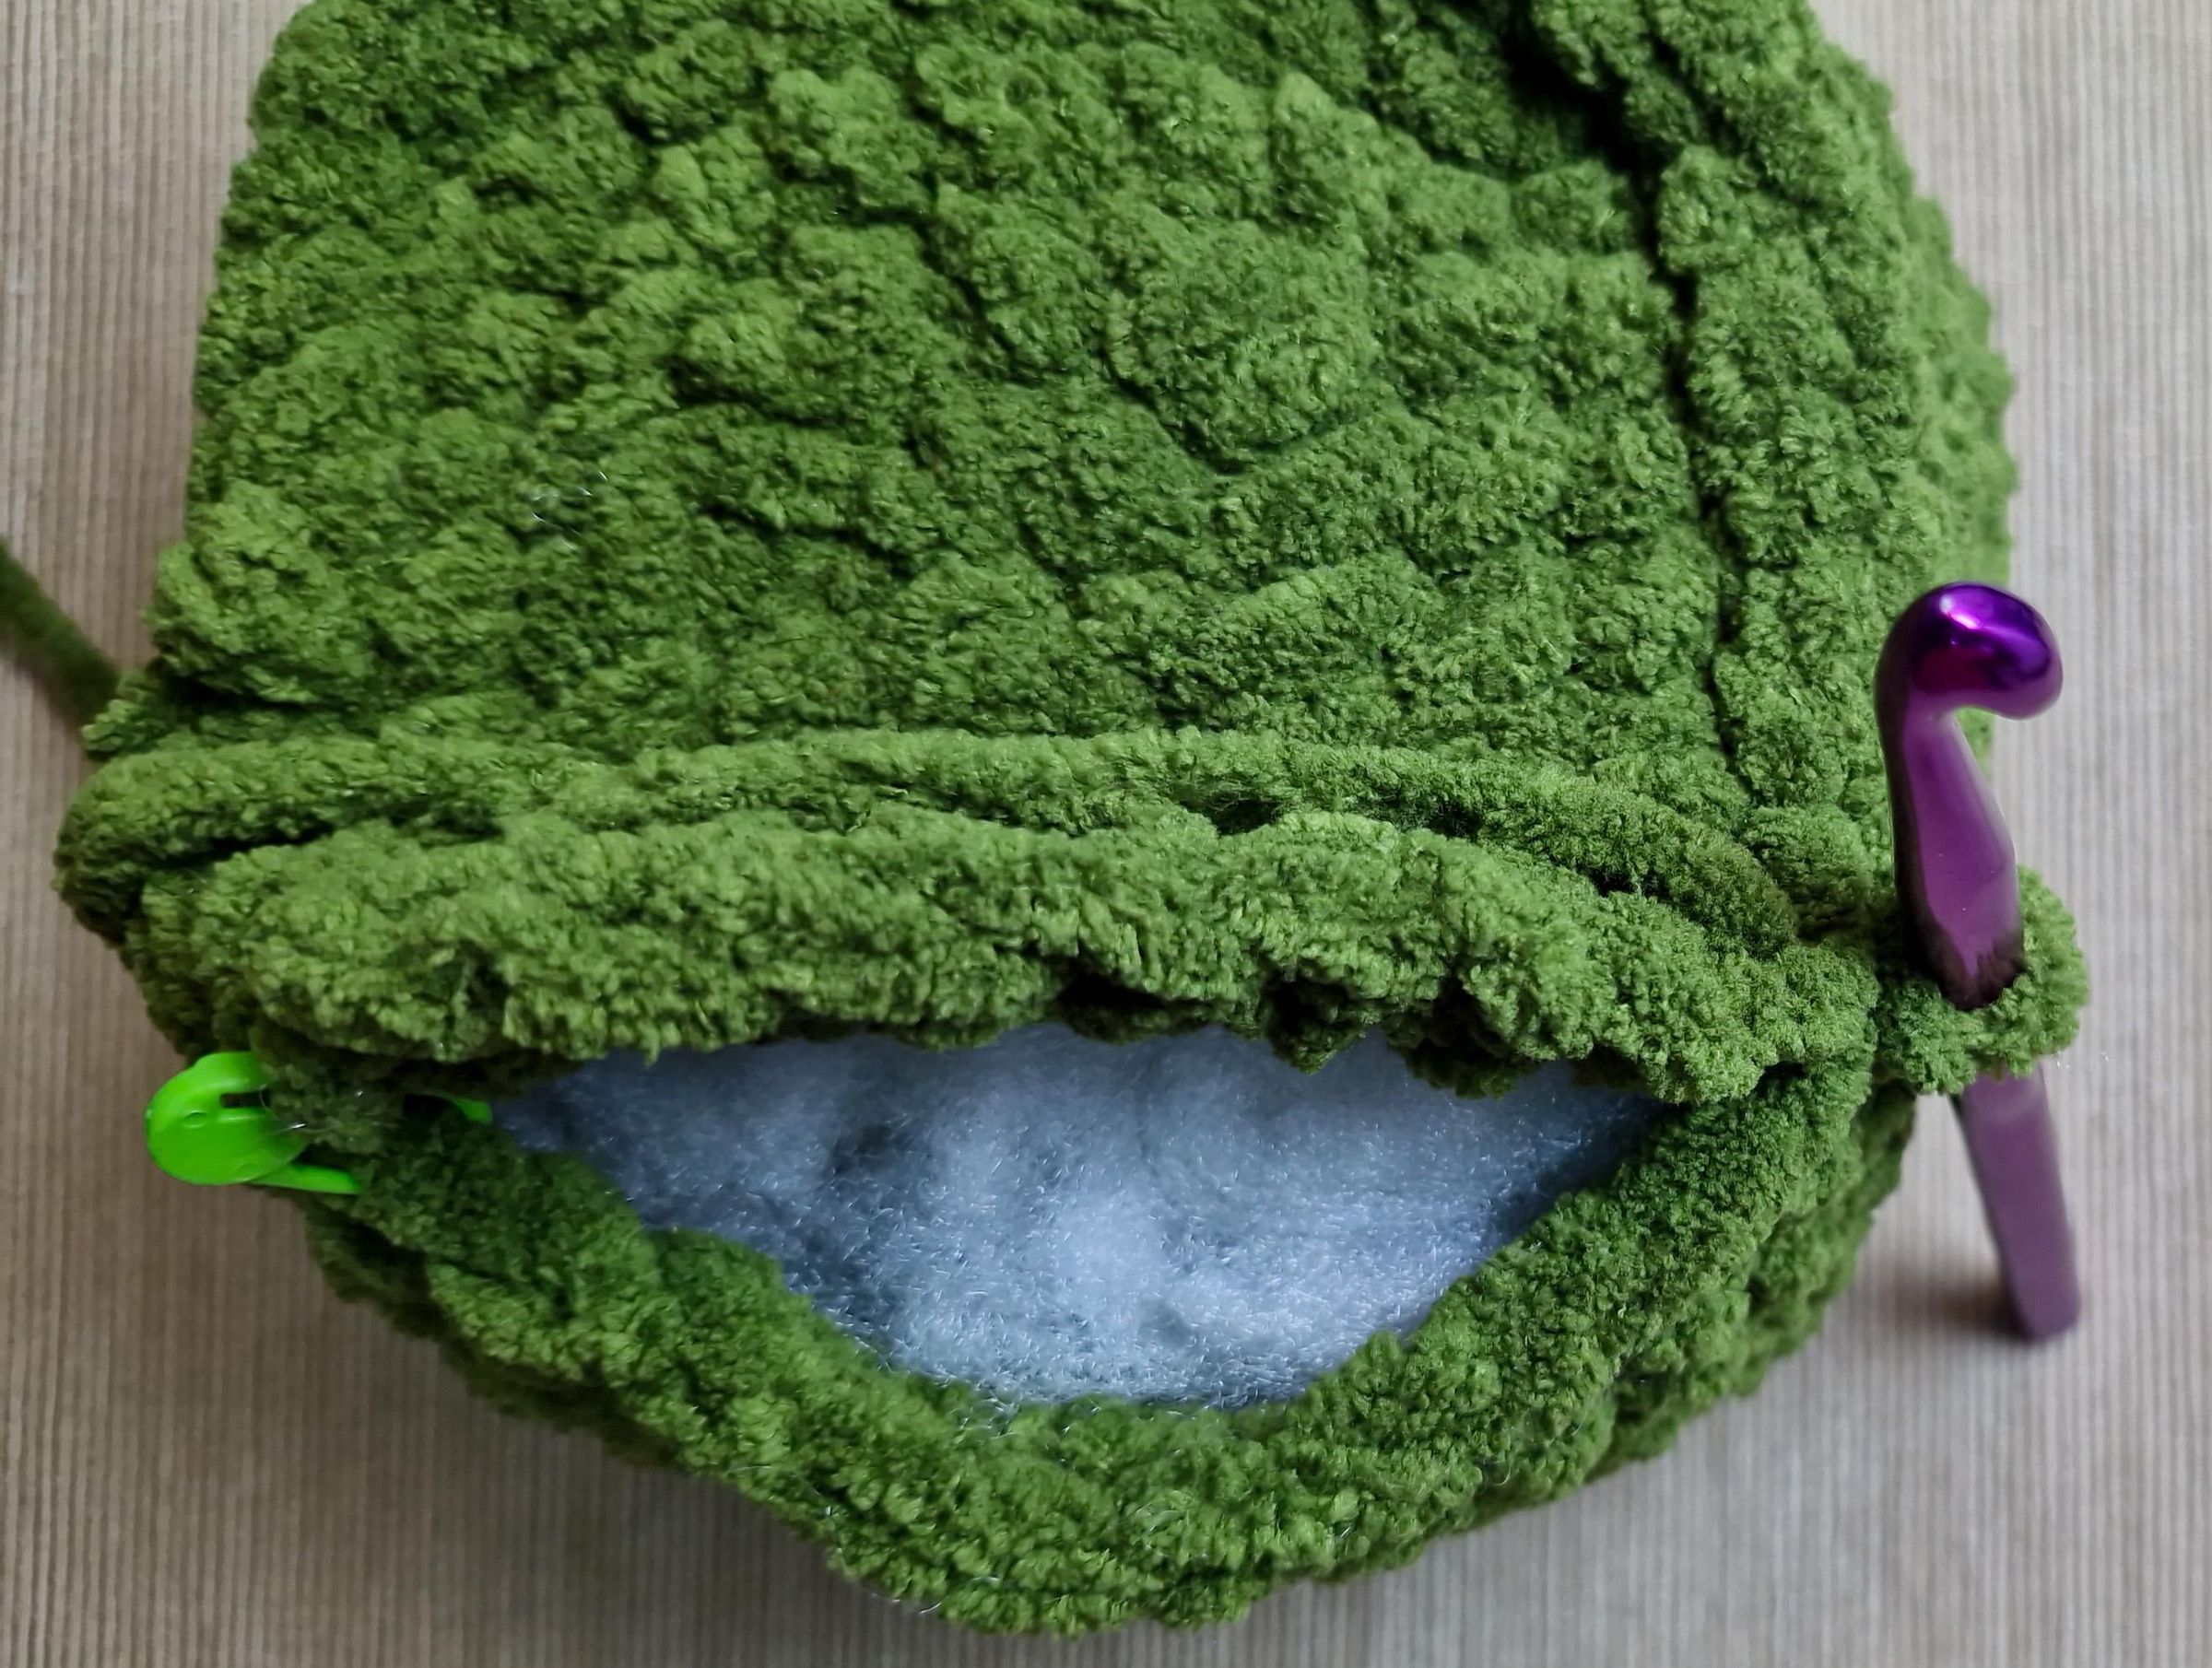
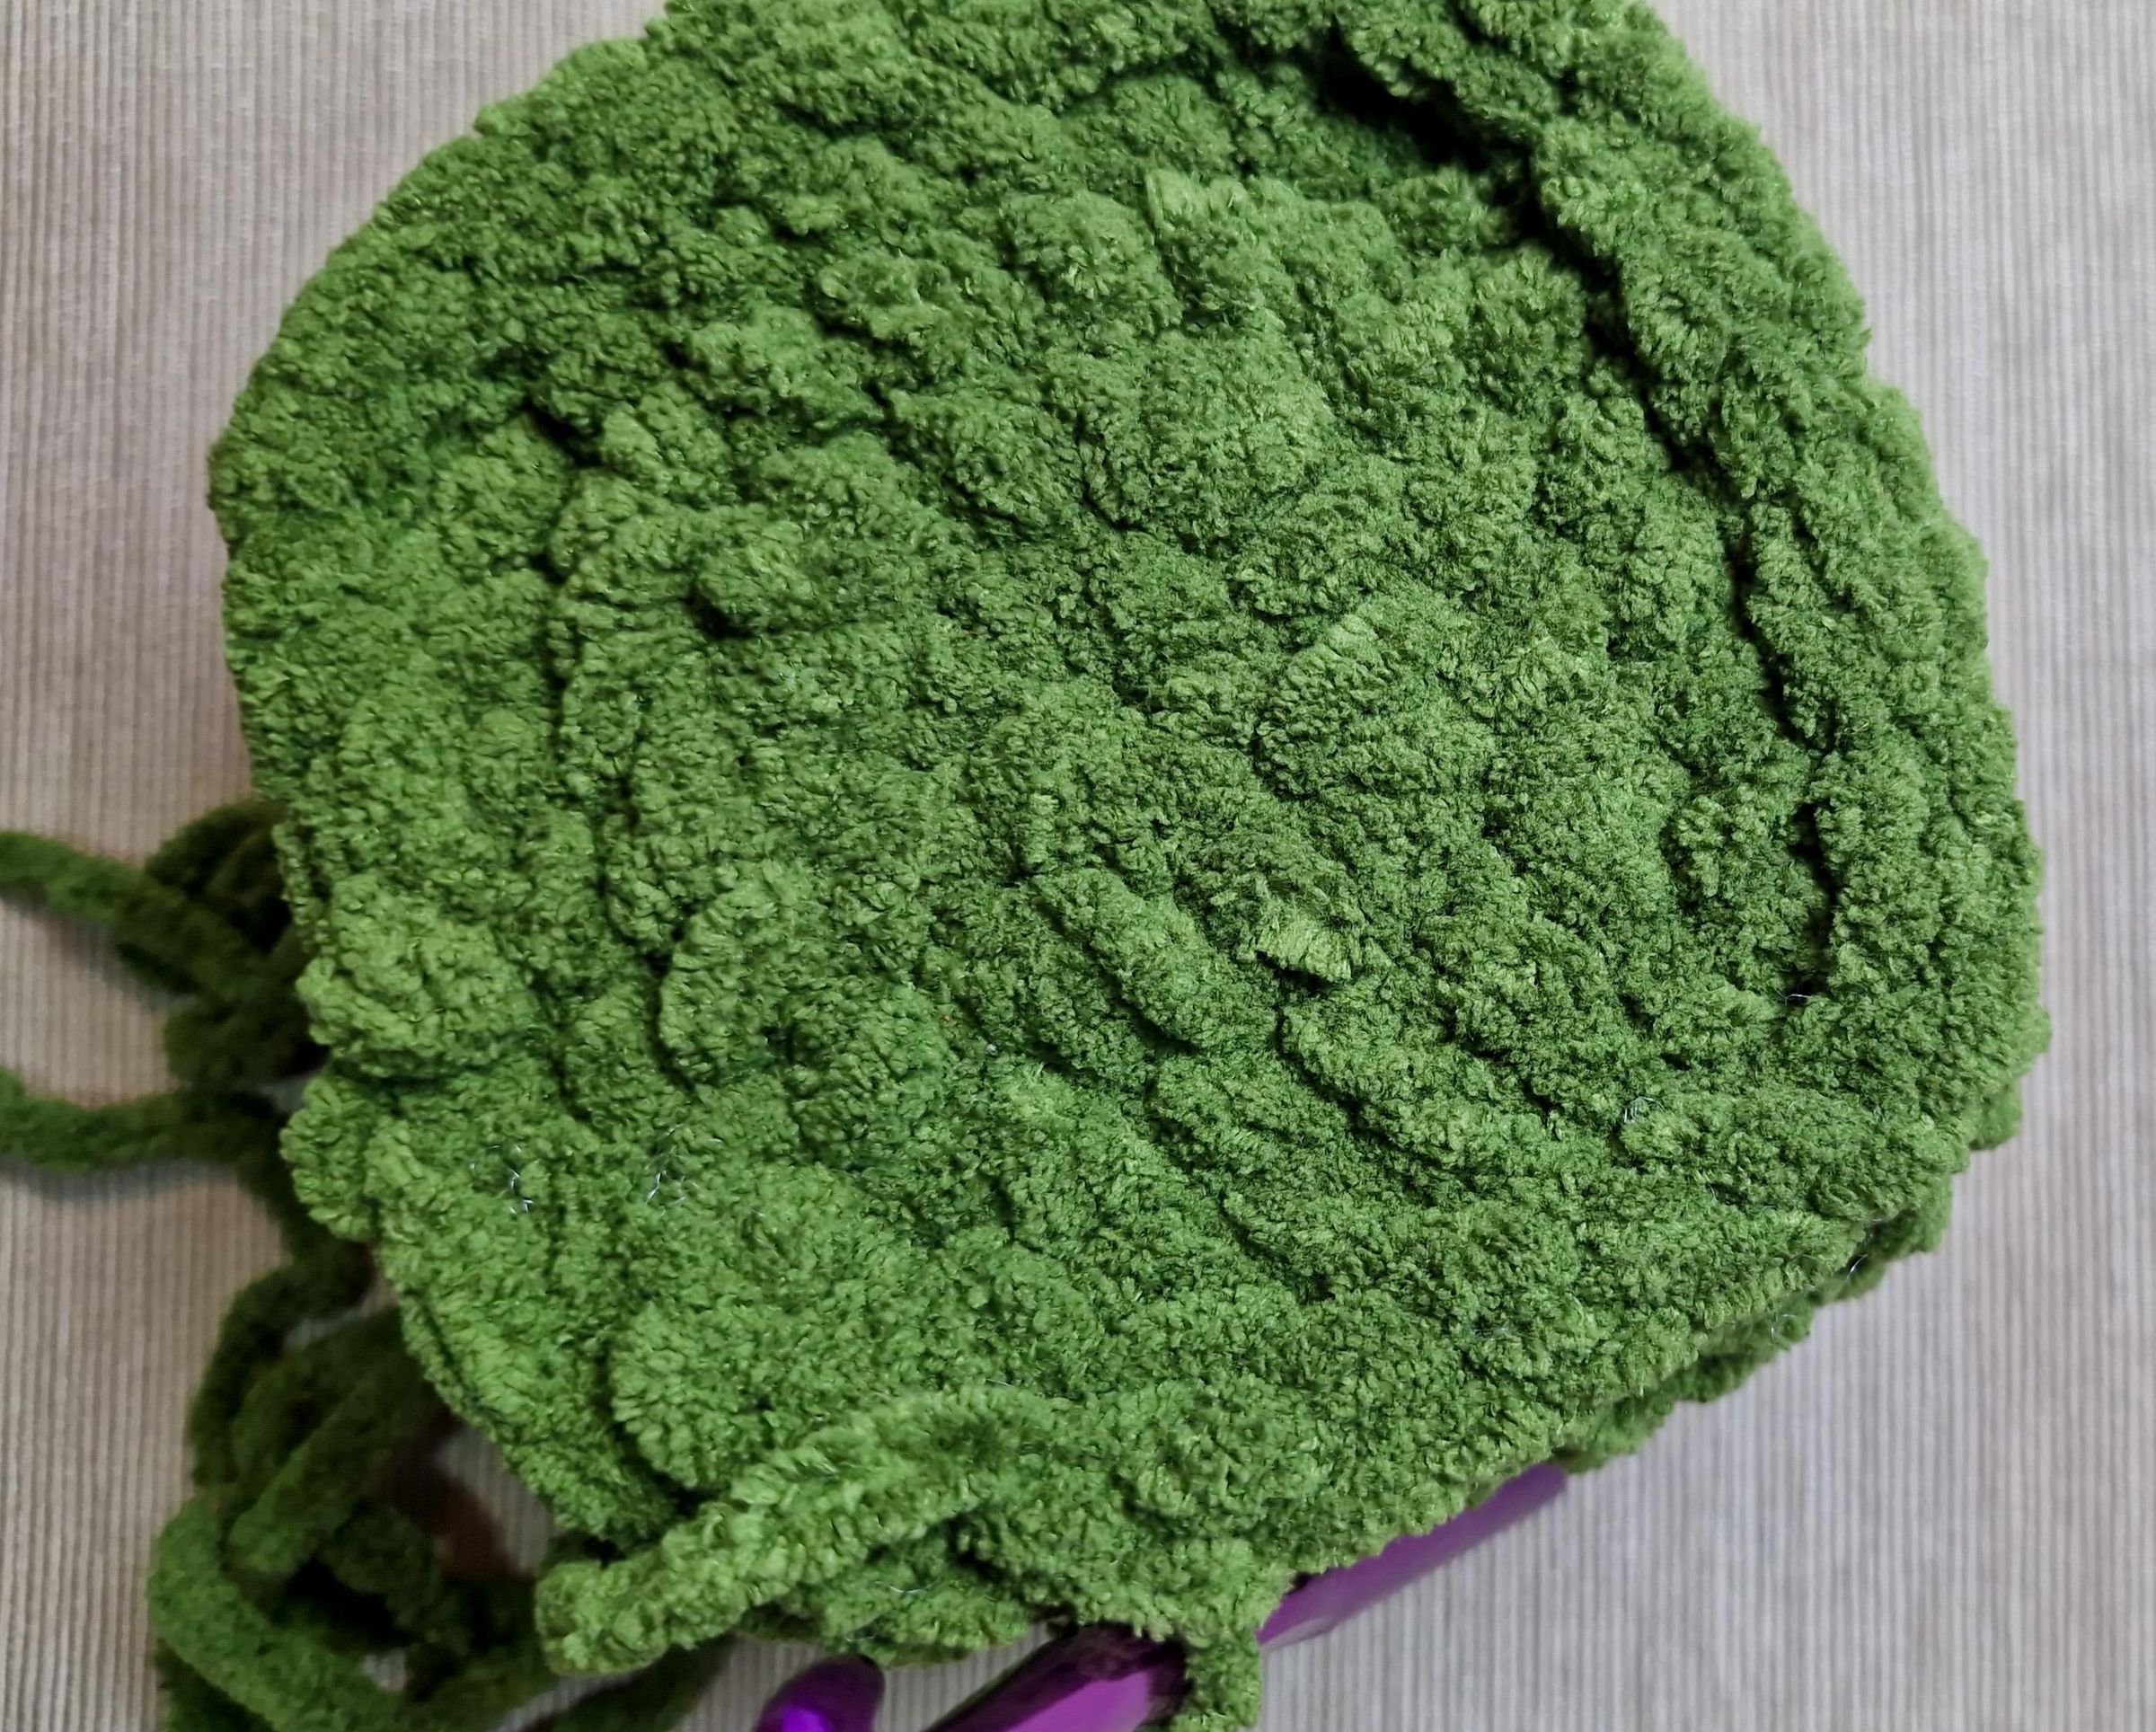
Take the top of the box made earlier and place it on top and mark the corner stitches with Stitch Markers.
This will make it easier to cast the joining stitches.
Join both the pieces with Slip Stitches.
Once you have a small opening left, fill it up with fiberfill.
Continue with slip stitches to close the opening and weave off.
Decoration:-
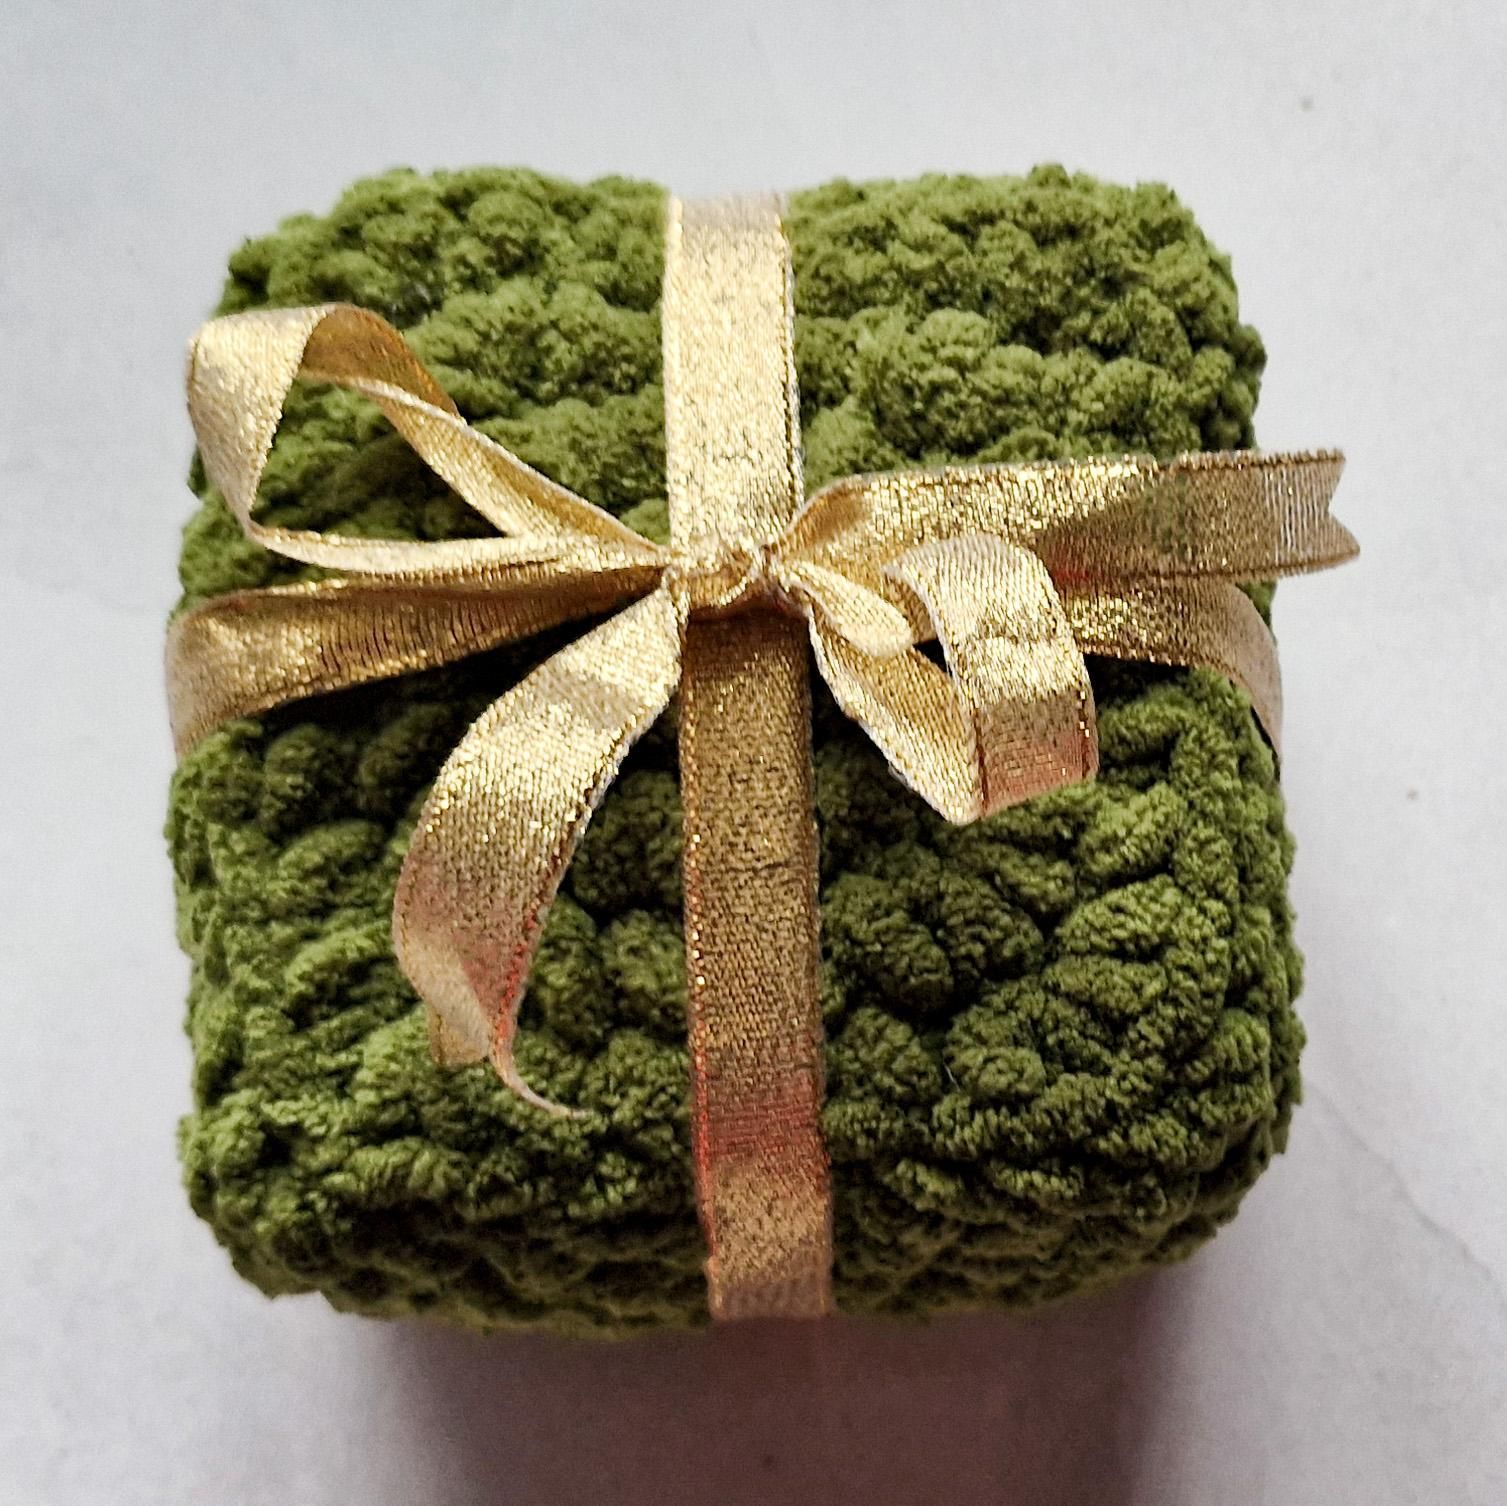
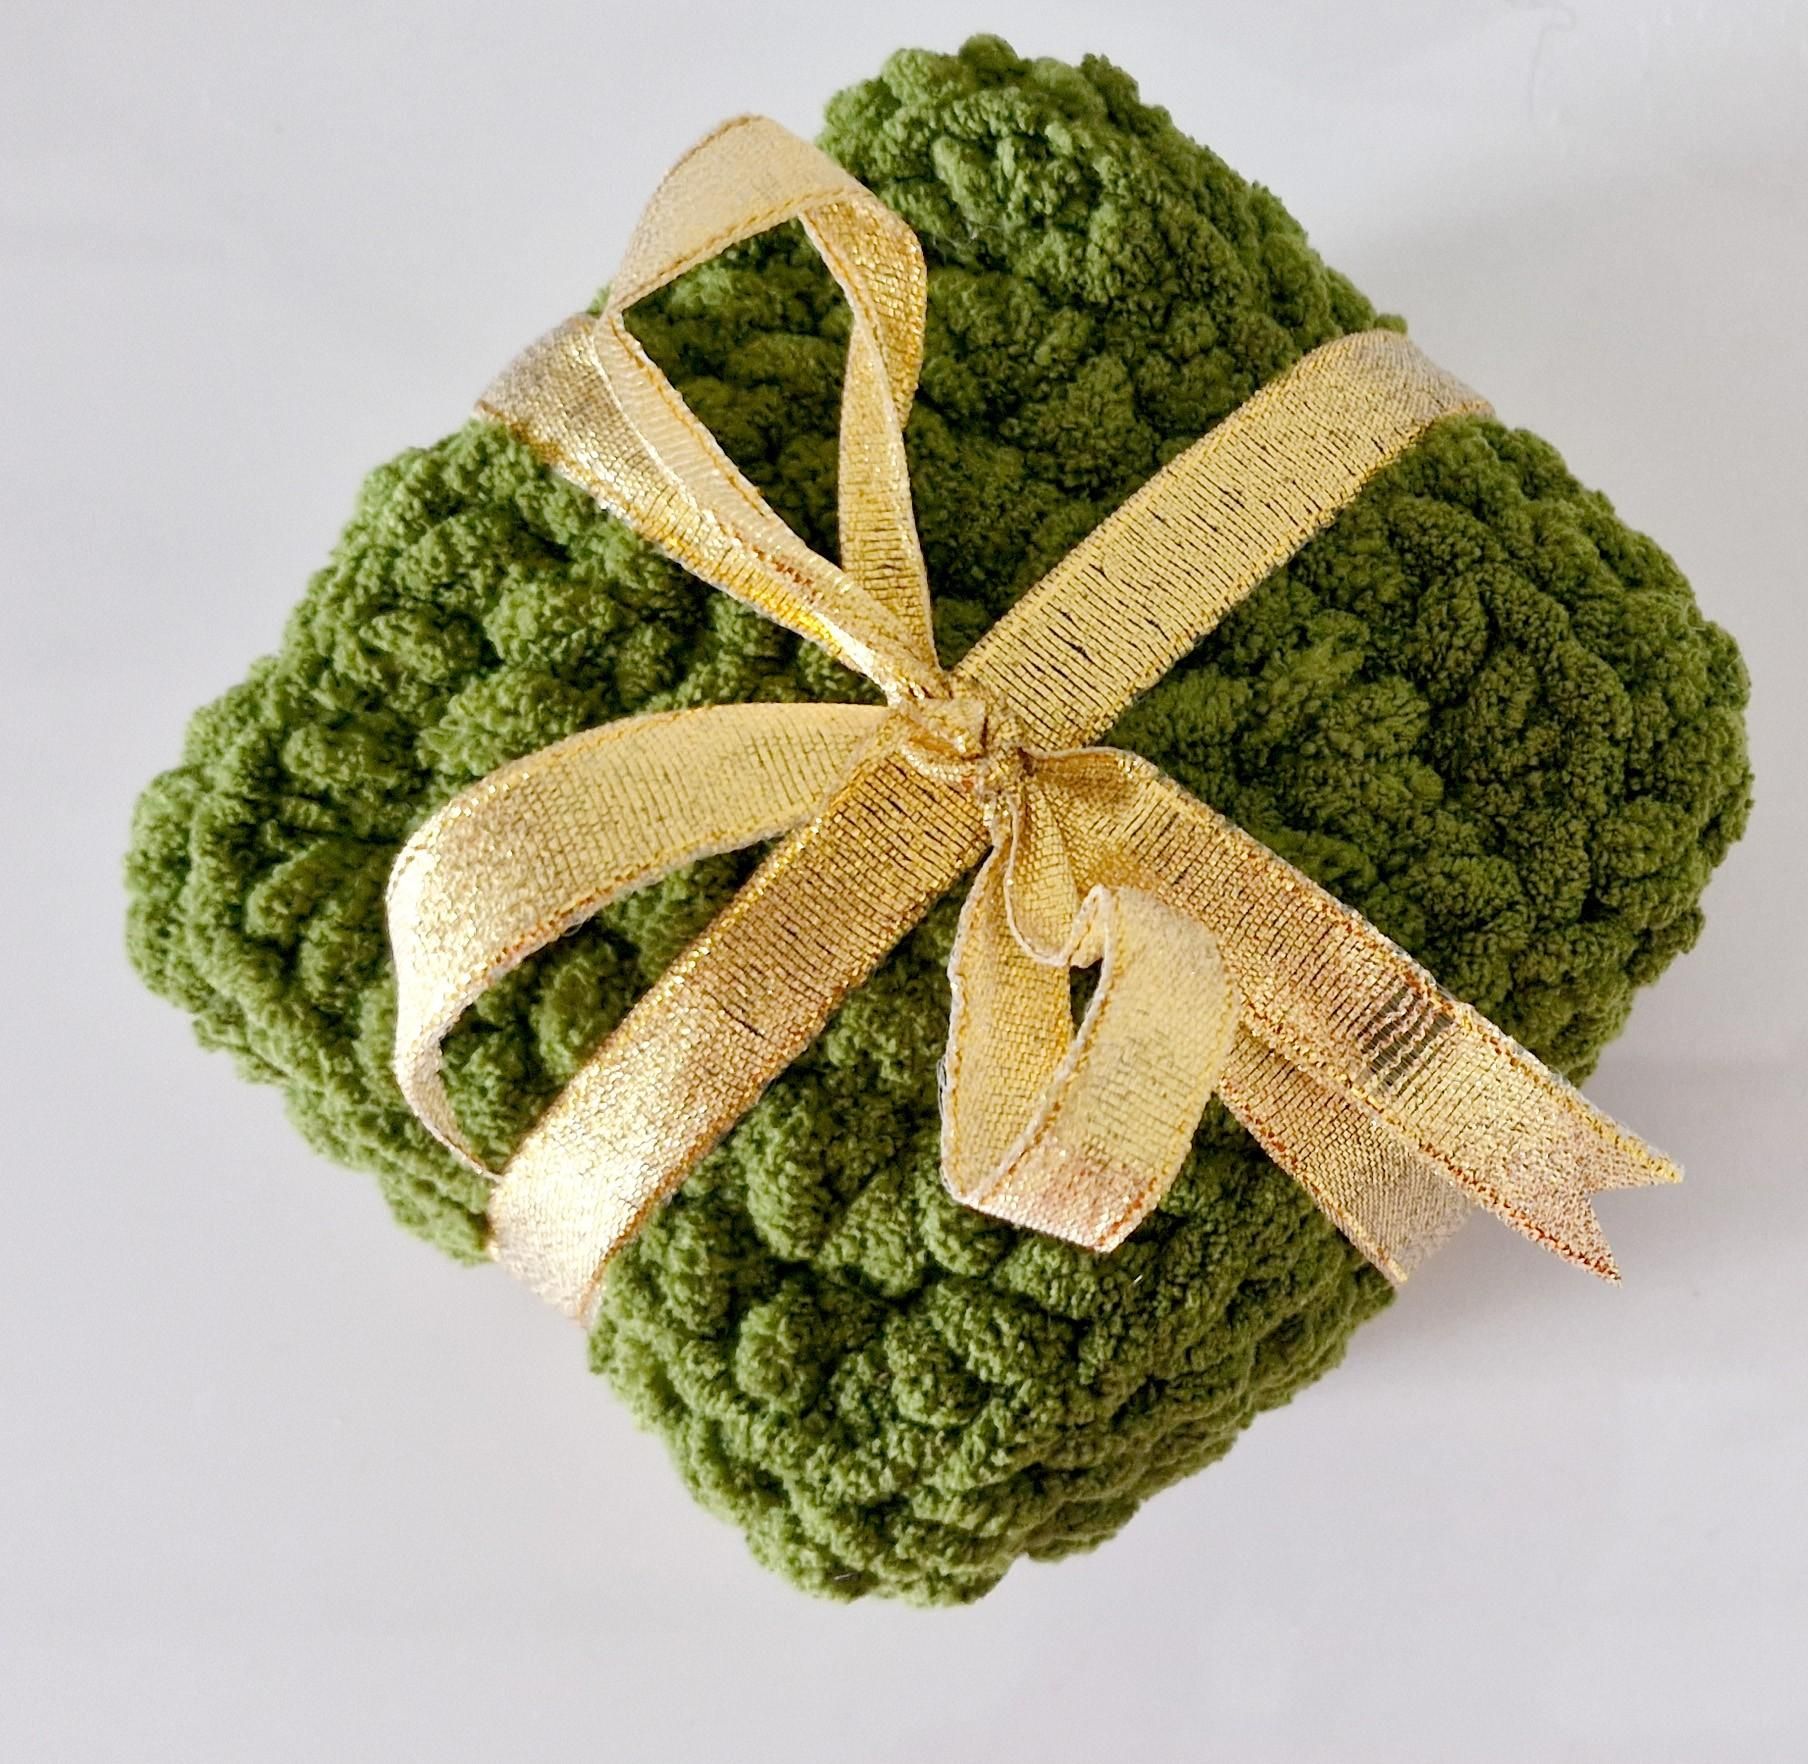
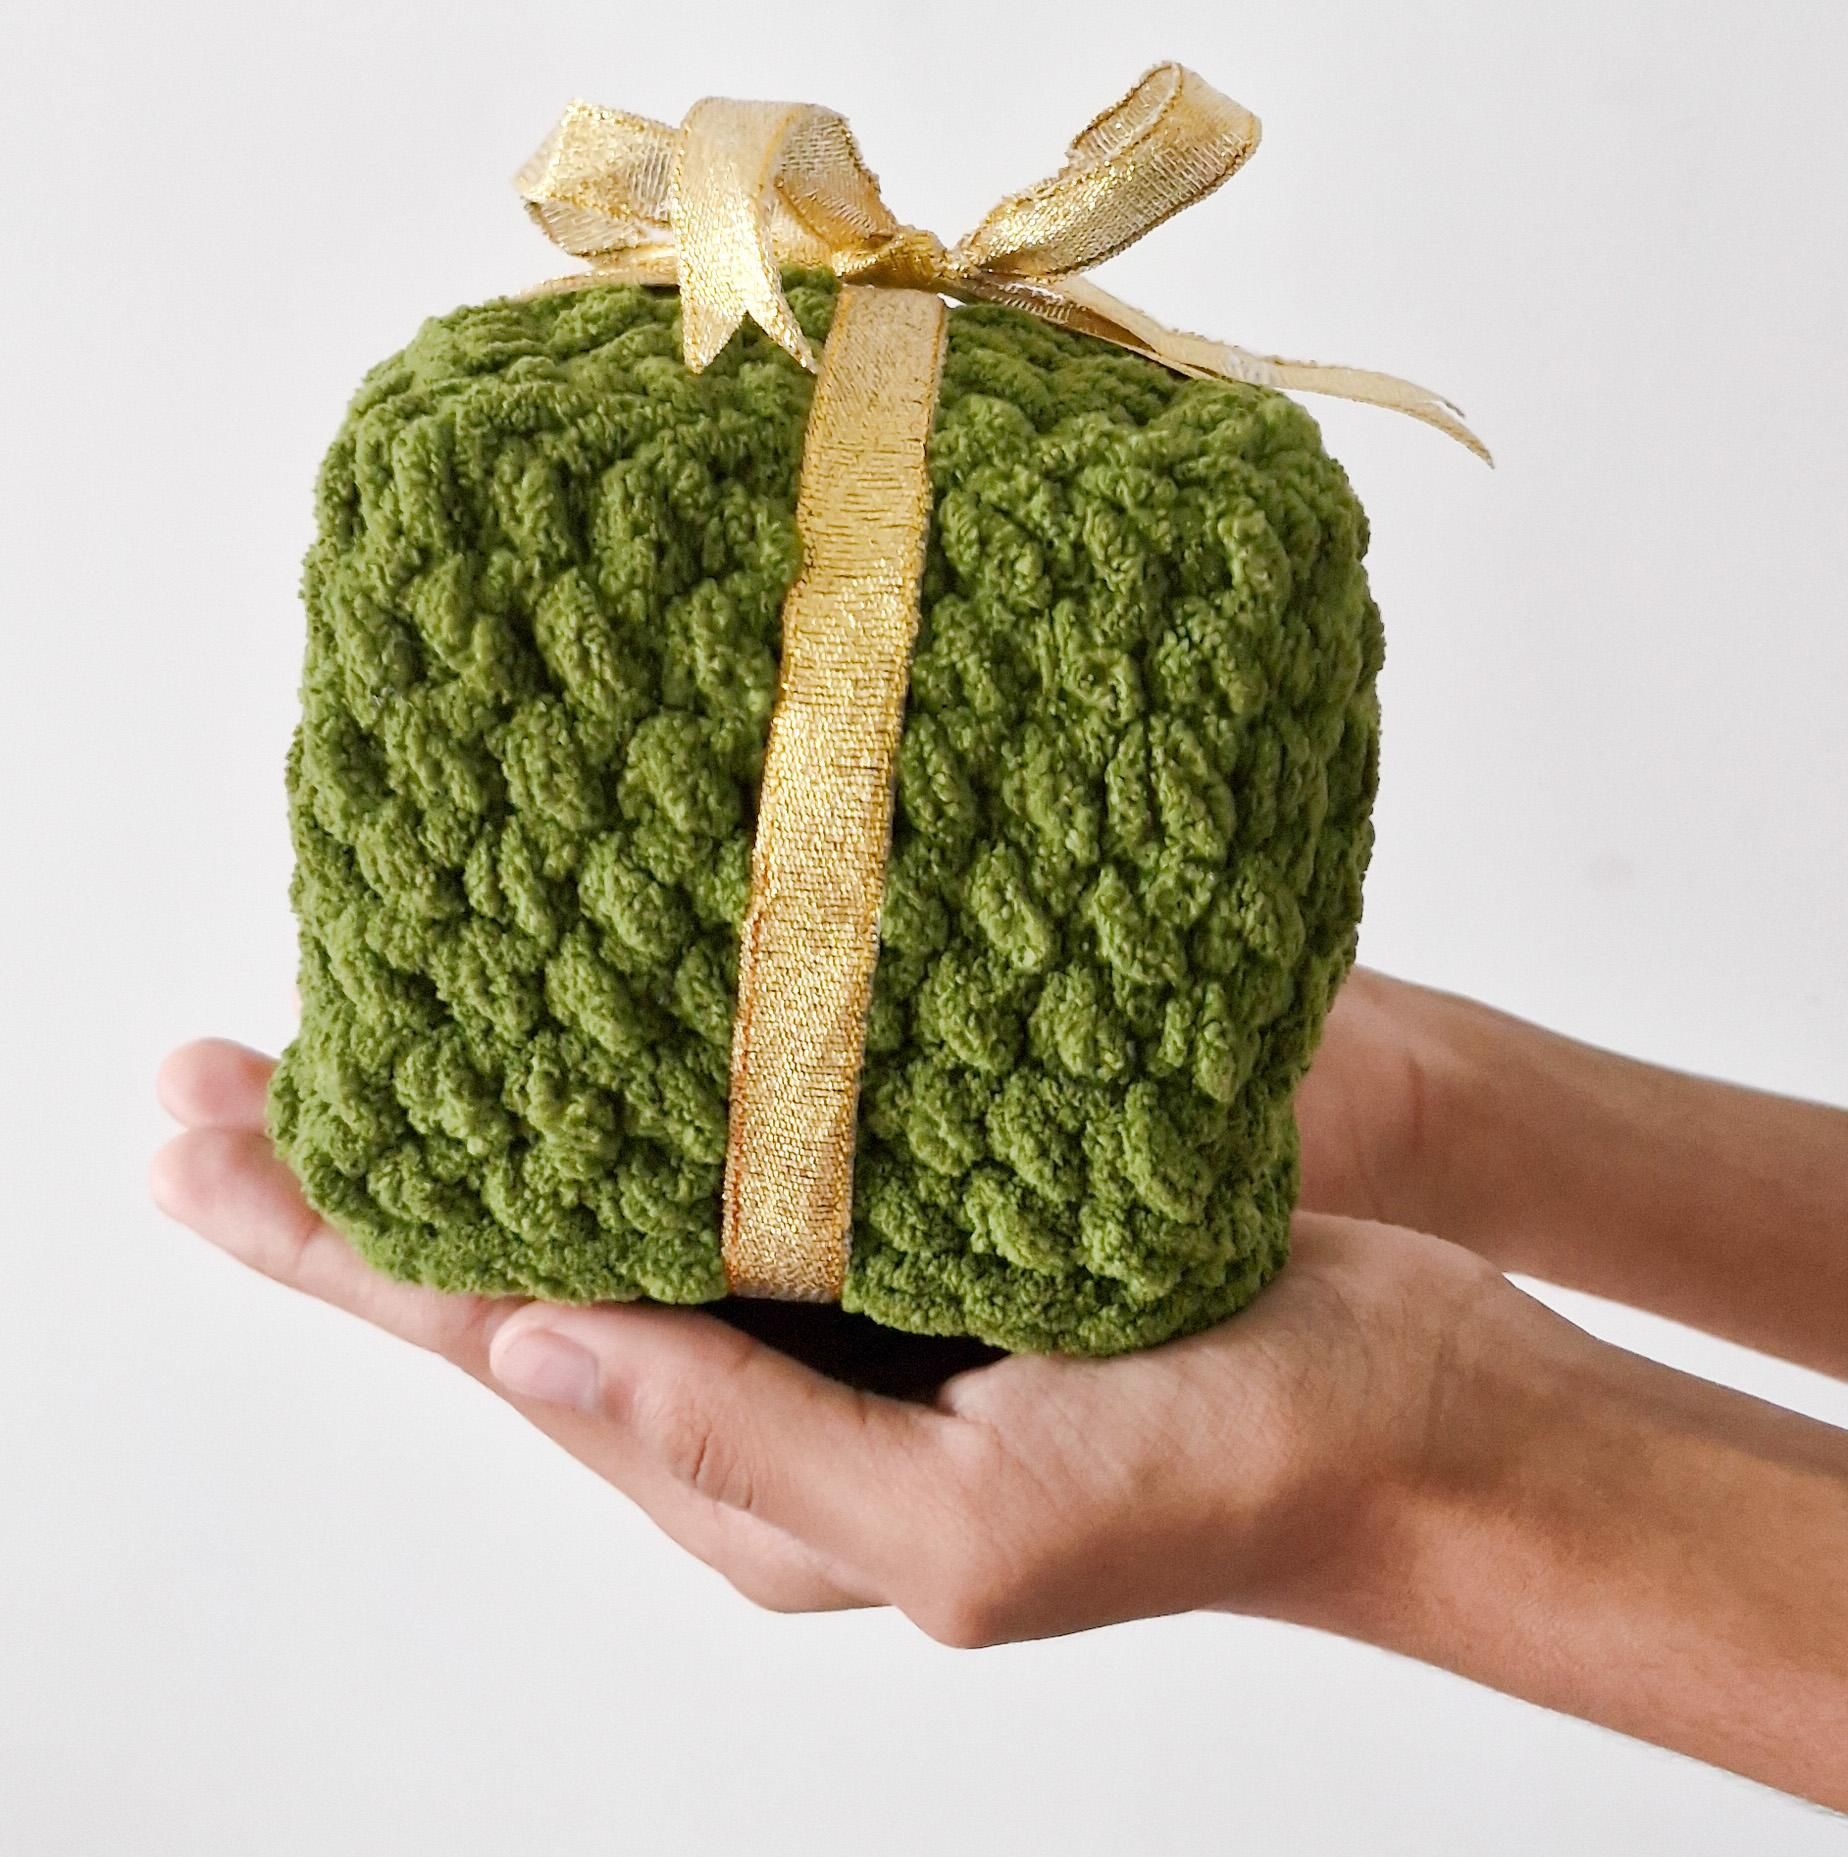
Use a long piece of Satin or Golden Ribbon or Golden String to make the bow tie.