Clothes Drying Rack
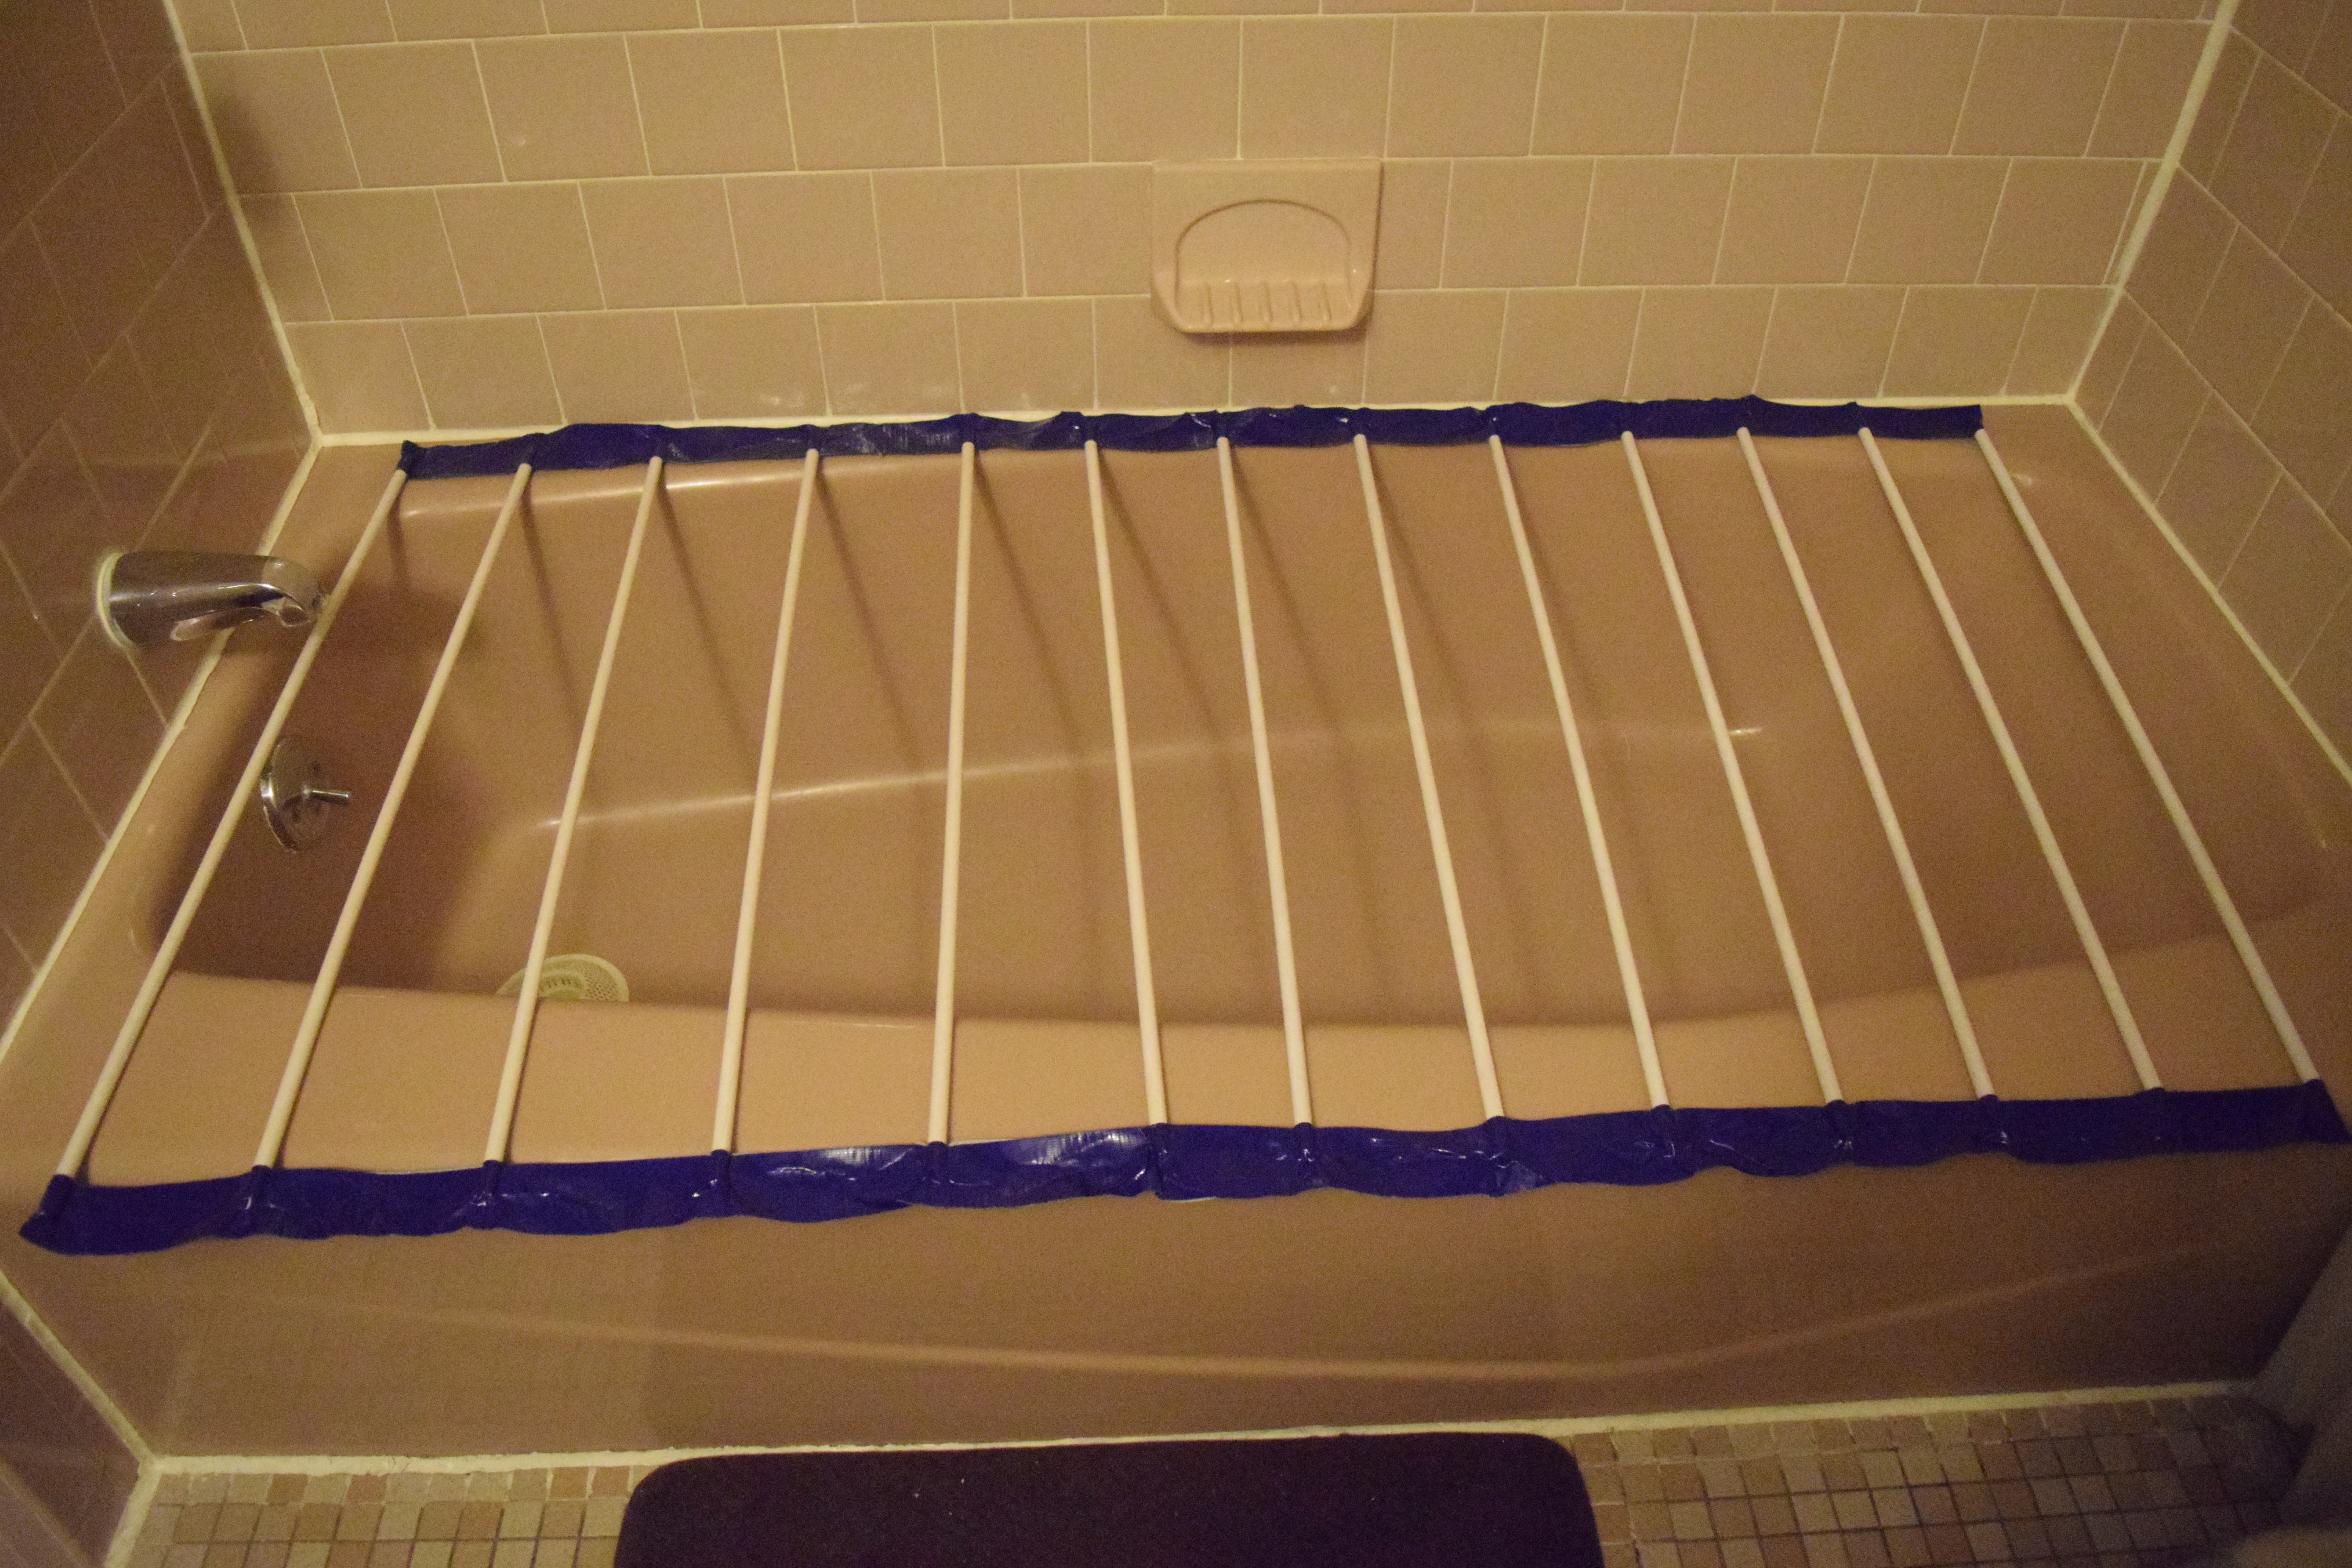
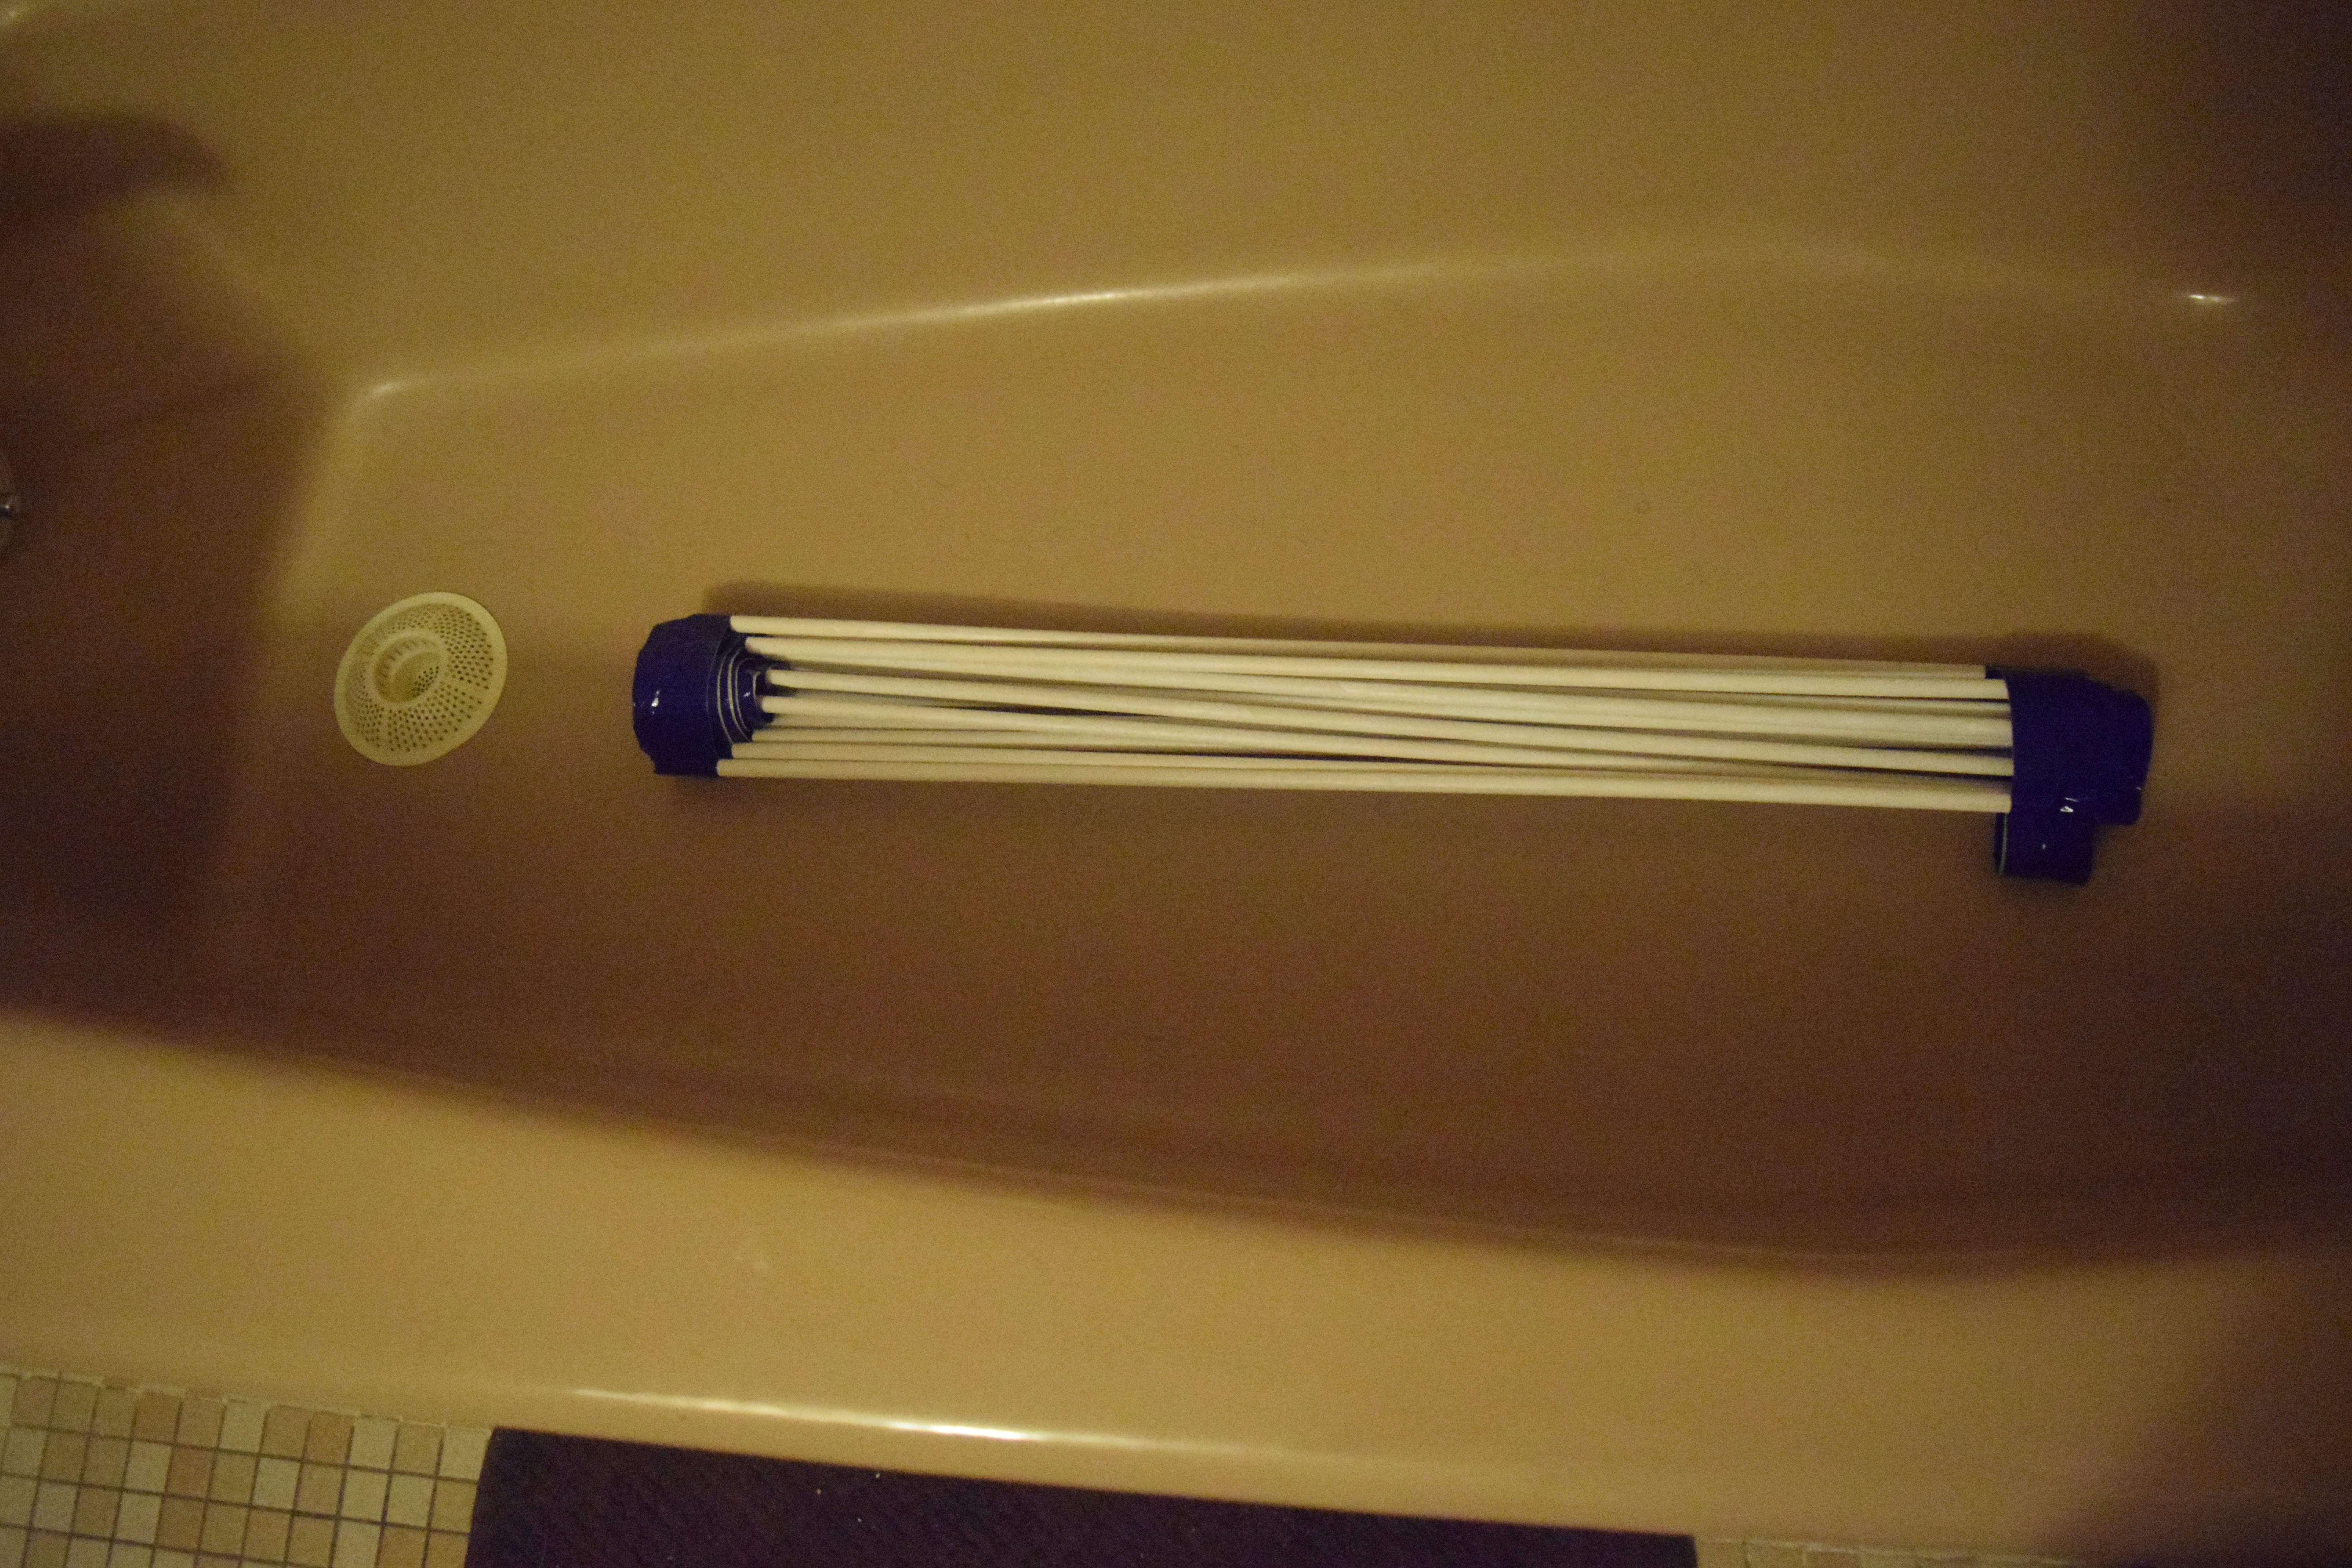
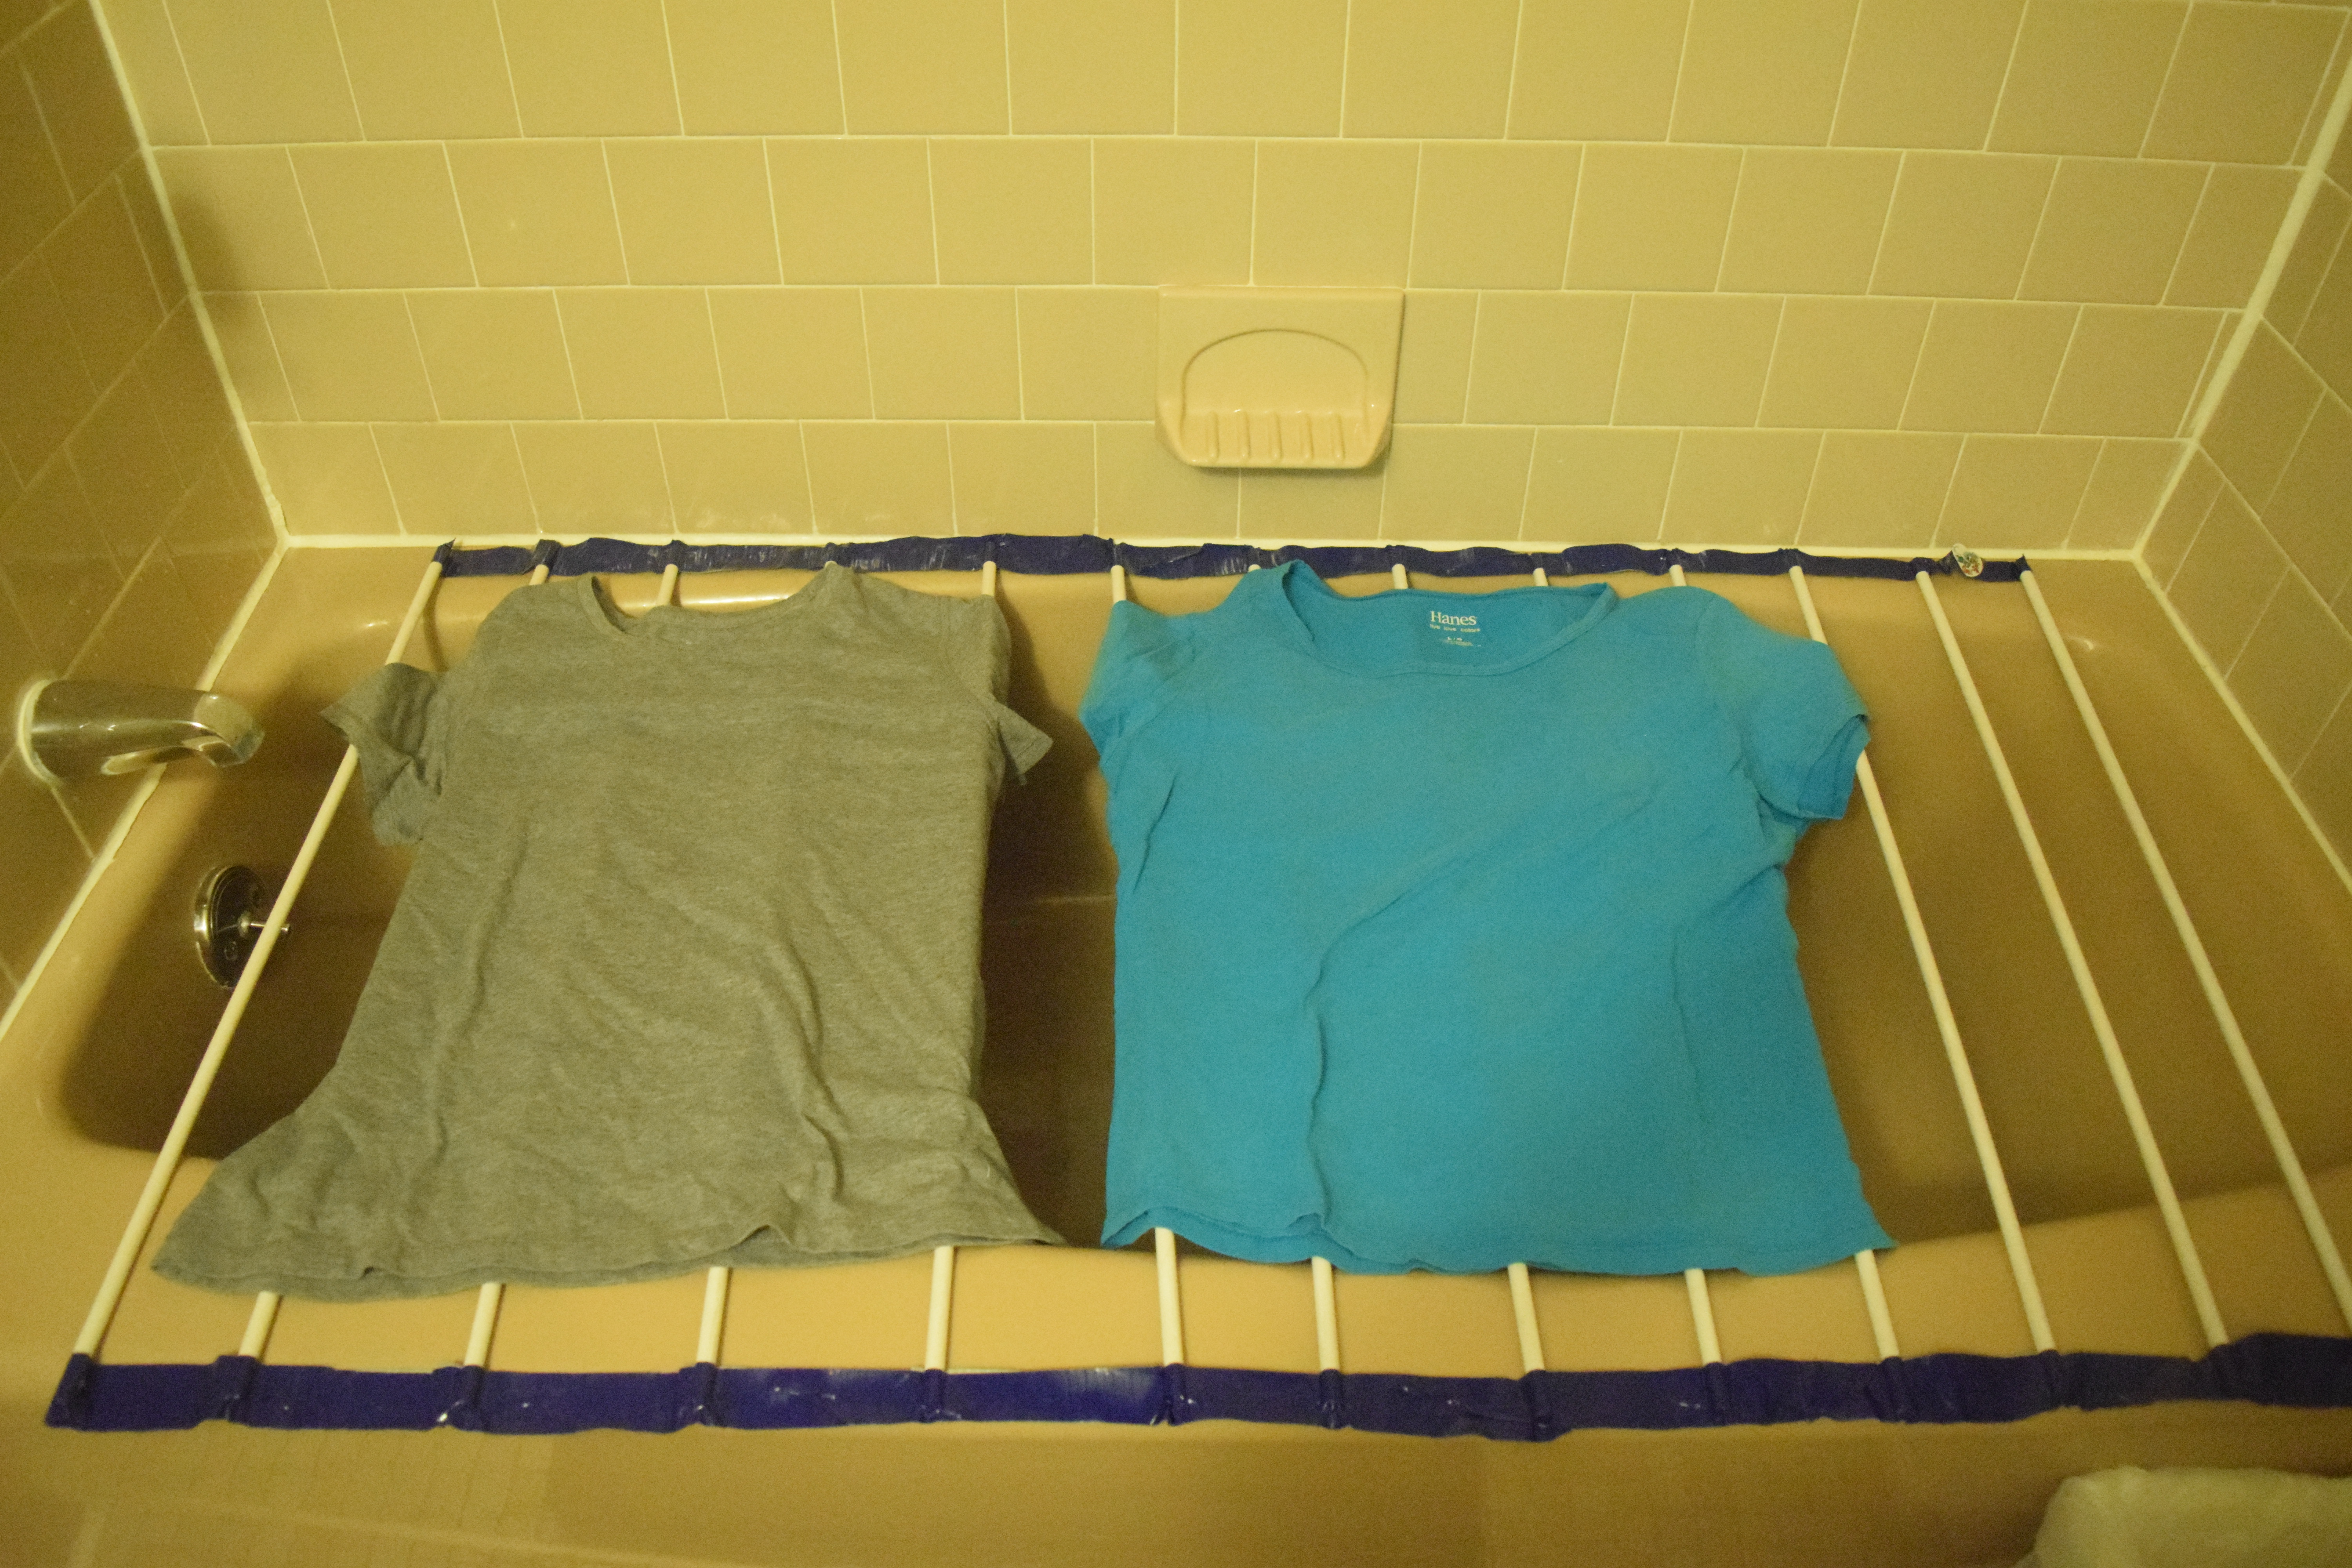
NOTE: This design can only work for bathtubs with at least two rims opposite each other, so the rods have something to rest on.
This compact and portable rack will help you dry clothes over your bathtub. It is especially useful for clothes that need to air dry. At only $19, it is cheaper than most portable drying racks that can be found on Amazon. It also doesn't take up any extra space when it is used, unlike most clothes drying racks, which usually unfold into tables. It can also be scaled up or down depending on your bathtub's measurements. I included the measurements I used in my design, but I will also walk you through how to customize your project in each step.
The cost breakdown is here:
- $0.57 for the each of the wooden dowels * 14 dowels = $7.98
- $7.66 for the duct tape = $7.66
- $3.36 for the paint = $3.36
Total = $19
The whole project took me 4 hours to complete (not including drying time), but I was taking pictures and writing down the steps as I went.
Materials
You will need:
- 14 3/8 inch by 36 inch wooden dowels (depending on the size of your bathtub, you may need more or less; see Customization Note 1 below)
- 20 feet of duct tape
- 8 ounces of white acrylic paint
- Newspaper (to cover your work space)
- Paintbrush
- Cup with water (to rinse your paintbrush)
- 5 Cardboard tubes from the center of paper towel rolls or toilet paper rolls (depending on how many dowels you have, you may need more or less; see Customization Note 2 below)
- PVC pipe cutter (or something else that can cut the dowels)
- Measuring tape
- Scissor
- Pen
- Marker
- Invisible tape
- Enough paper to make two 5 feet by 1 inch strips
Customization Note 1: Measure your bathtub the long way (along the longest side) using the tape measure. Divide this length by 4.5 to get the amount of dowels you will need. If the number you calculated is not a whole number, round up.
Customization Note 2: Divide the number of dowels you need by 3. If your number is not a whole number, round up.
Measure Your Bathtub
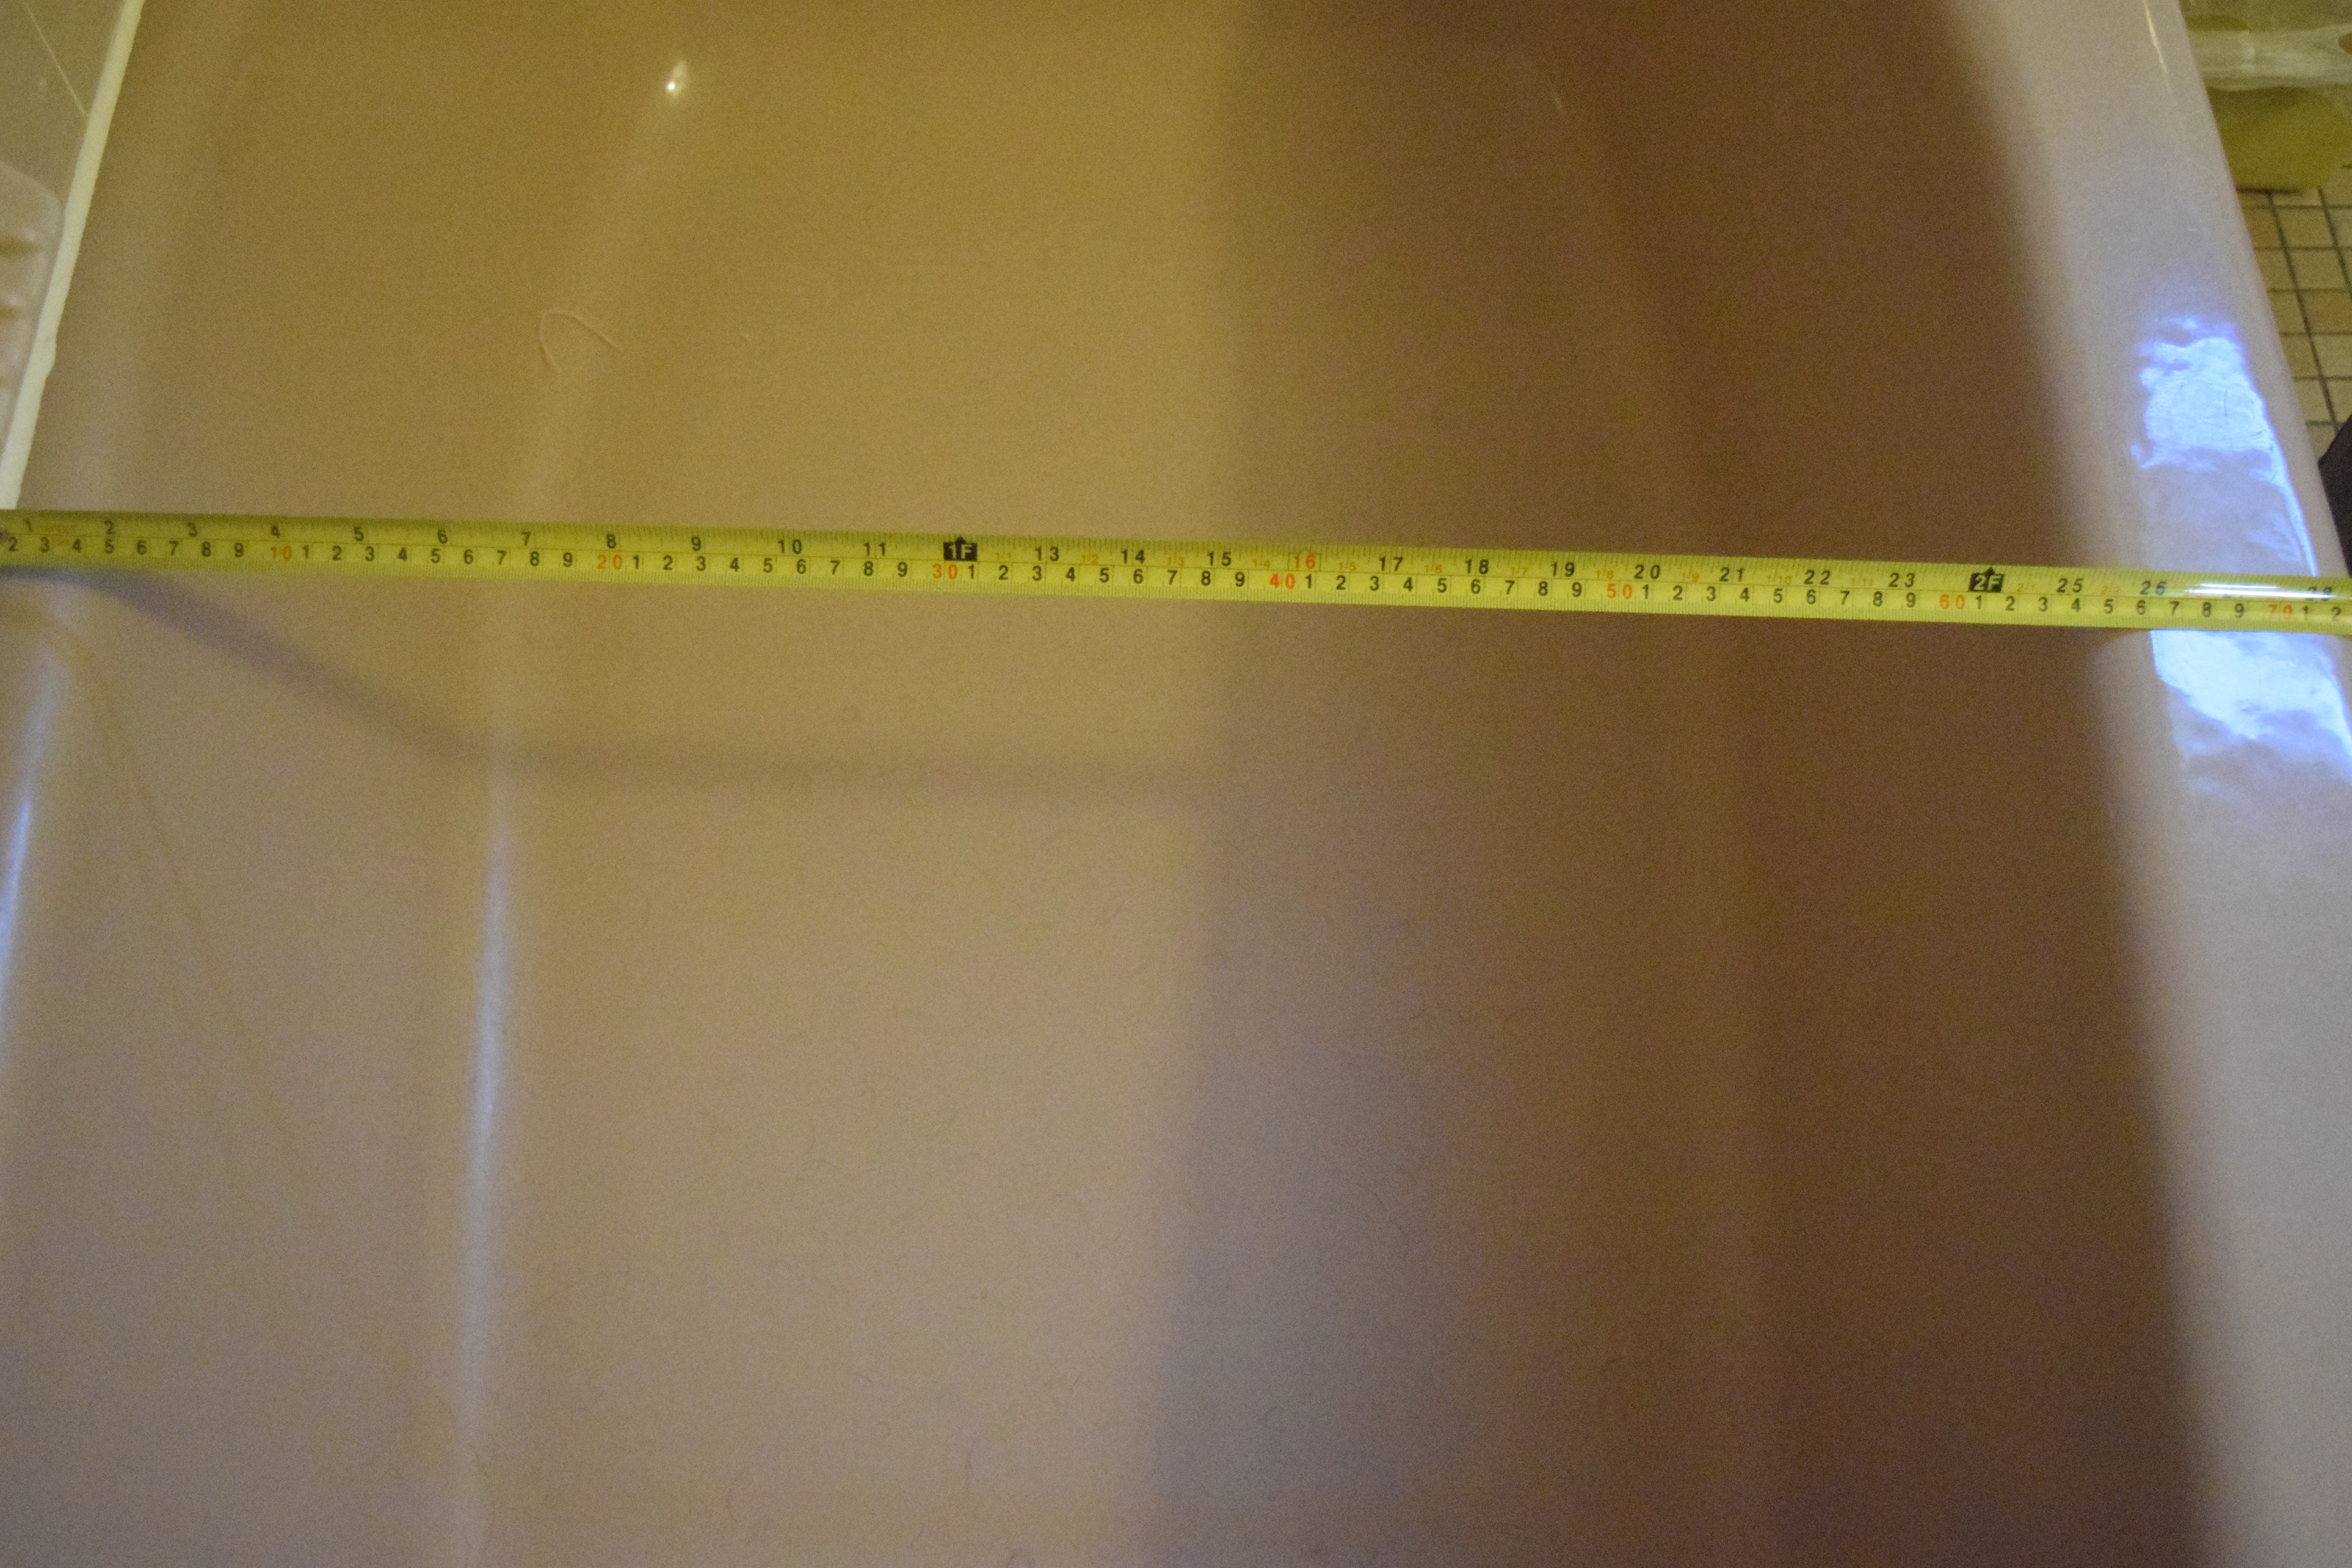
Measure your bathtub the short way using the tape measure. This measurement, which we will call the width of your bathtub, is very important for future steps. Write it down. My bathtub was 29 inches wide.
Measure and Cut Your Dowel
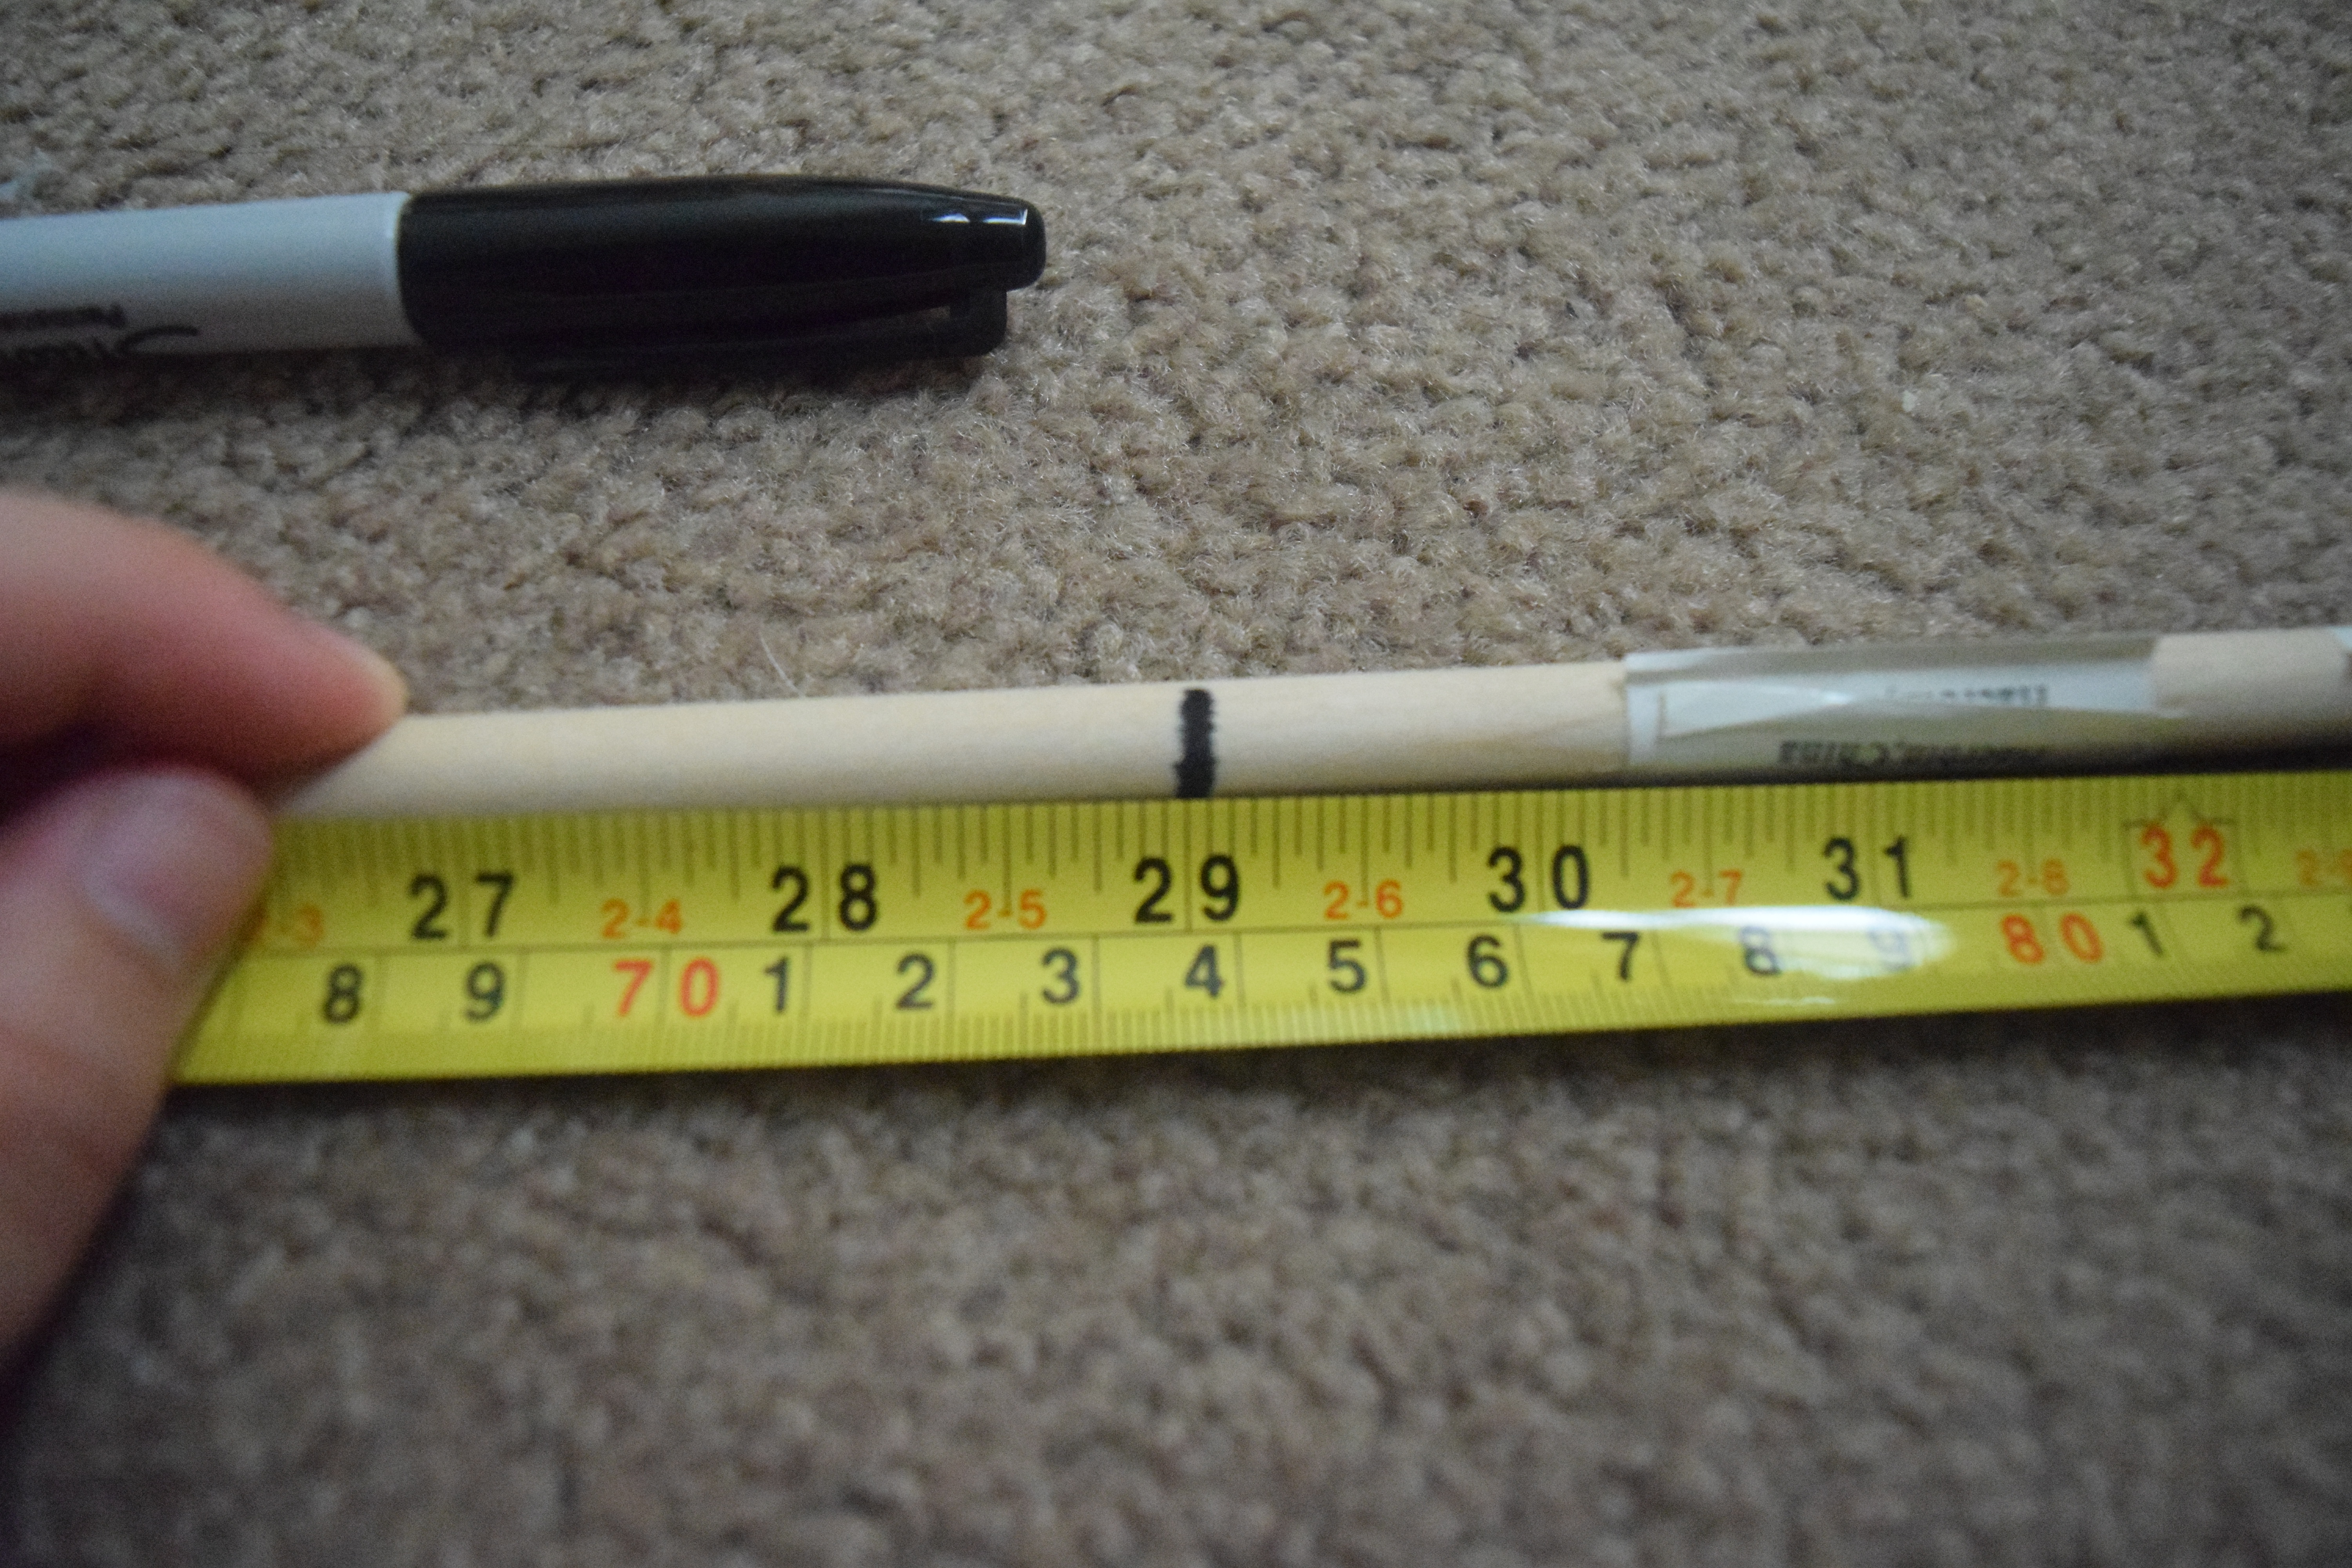
Measure out and mark the distance of the width of your bathtub on one of your dowels with the tape measure. My width is 29 inches. Cut the dowel at the mark with the PVC pipe cutter. Make the cut as straight as you can; try to not to cut at an angle. Discard the shorter length of the dowel.
Fine-tuning the Length of Your Dowel
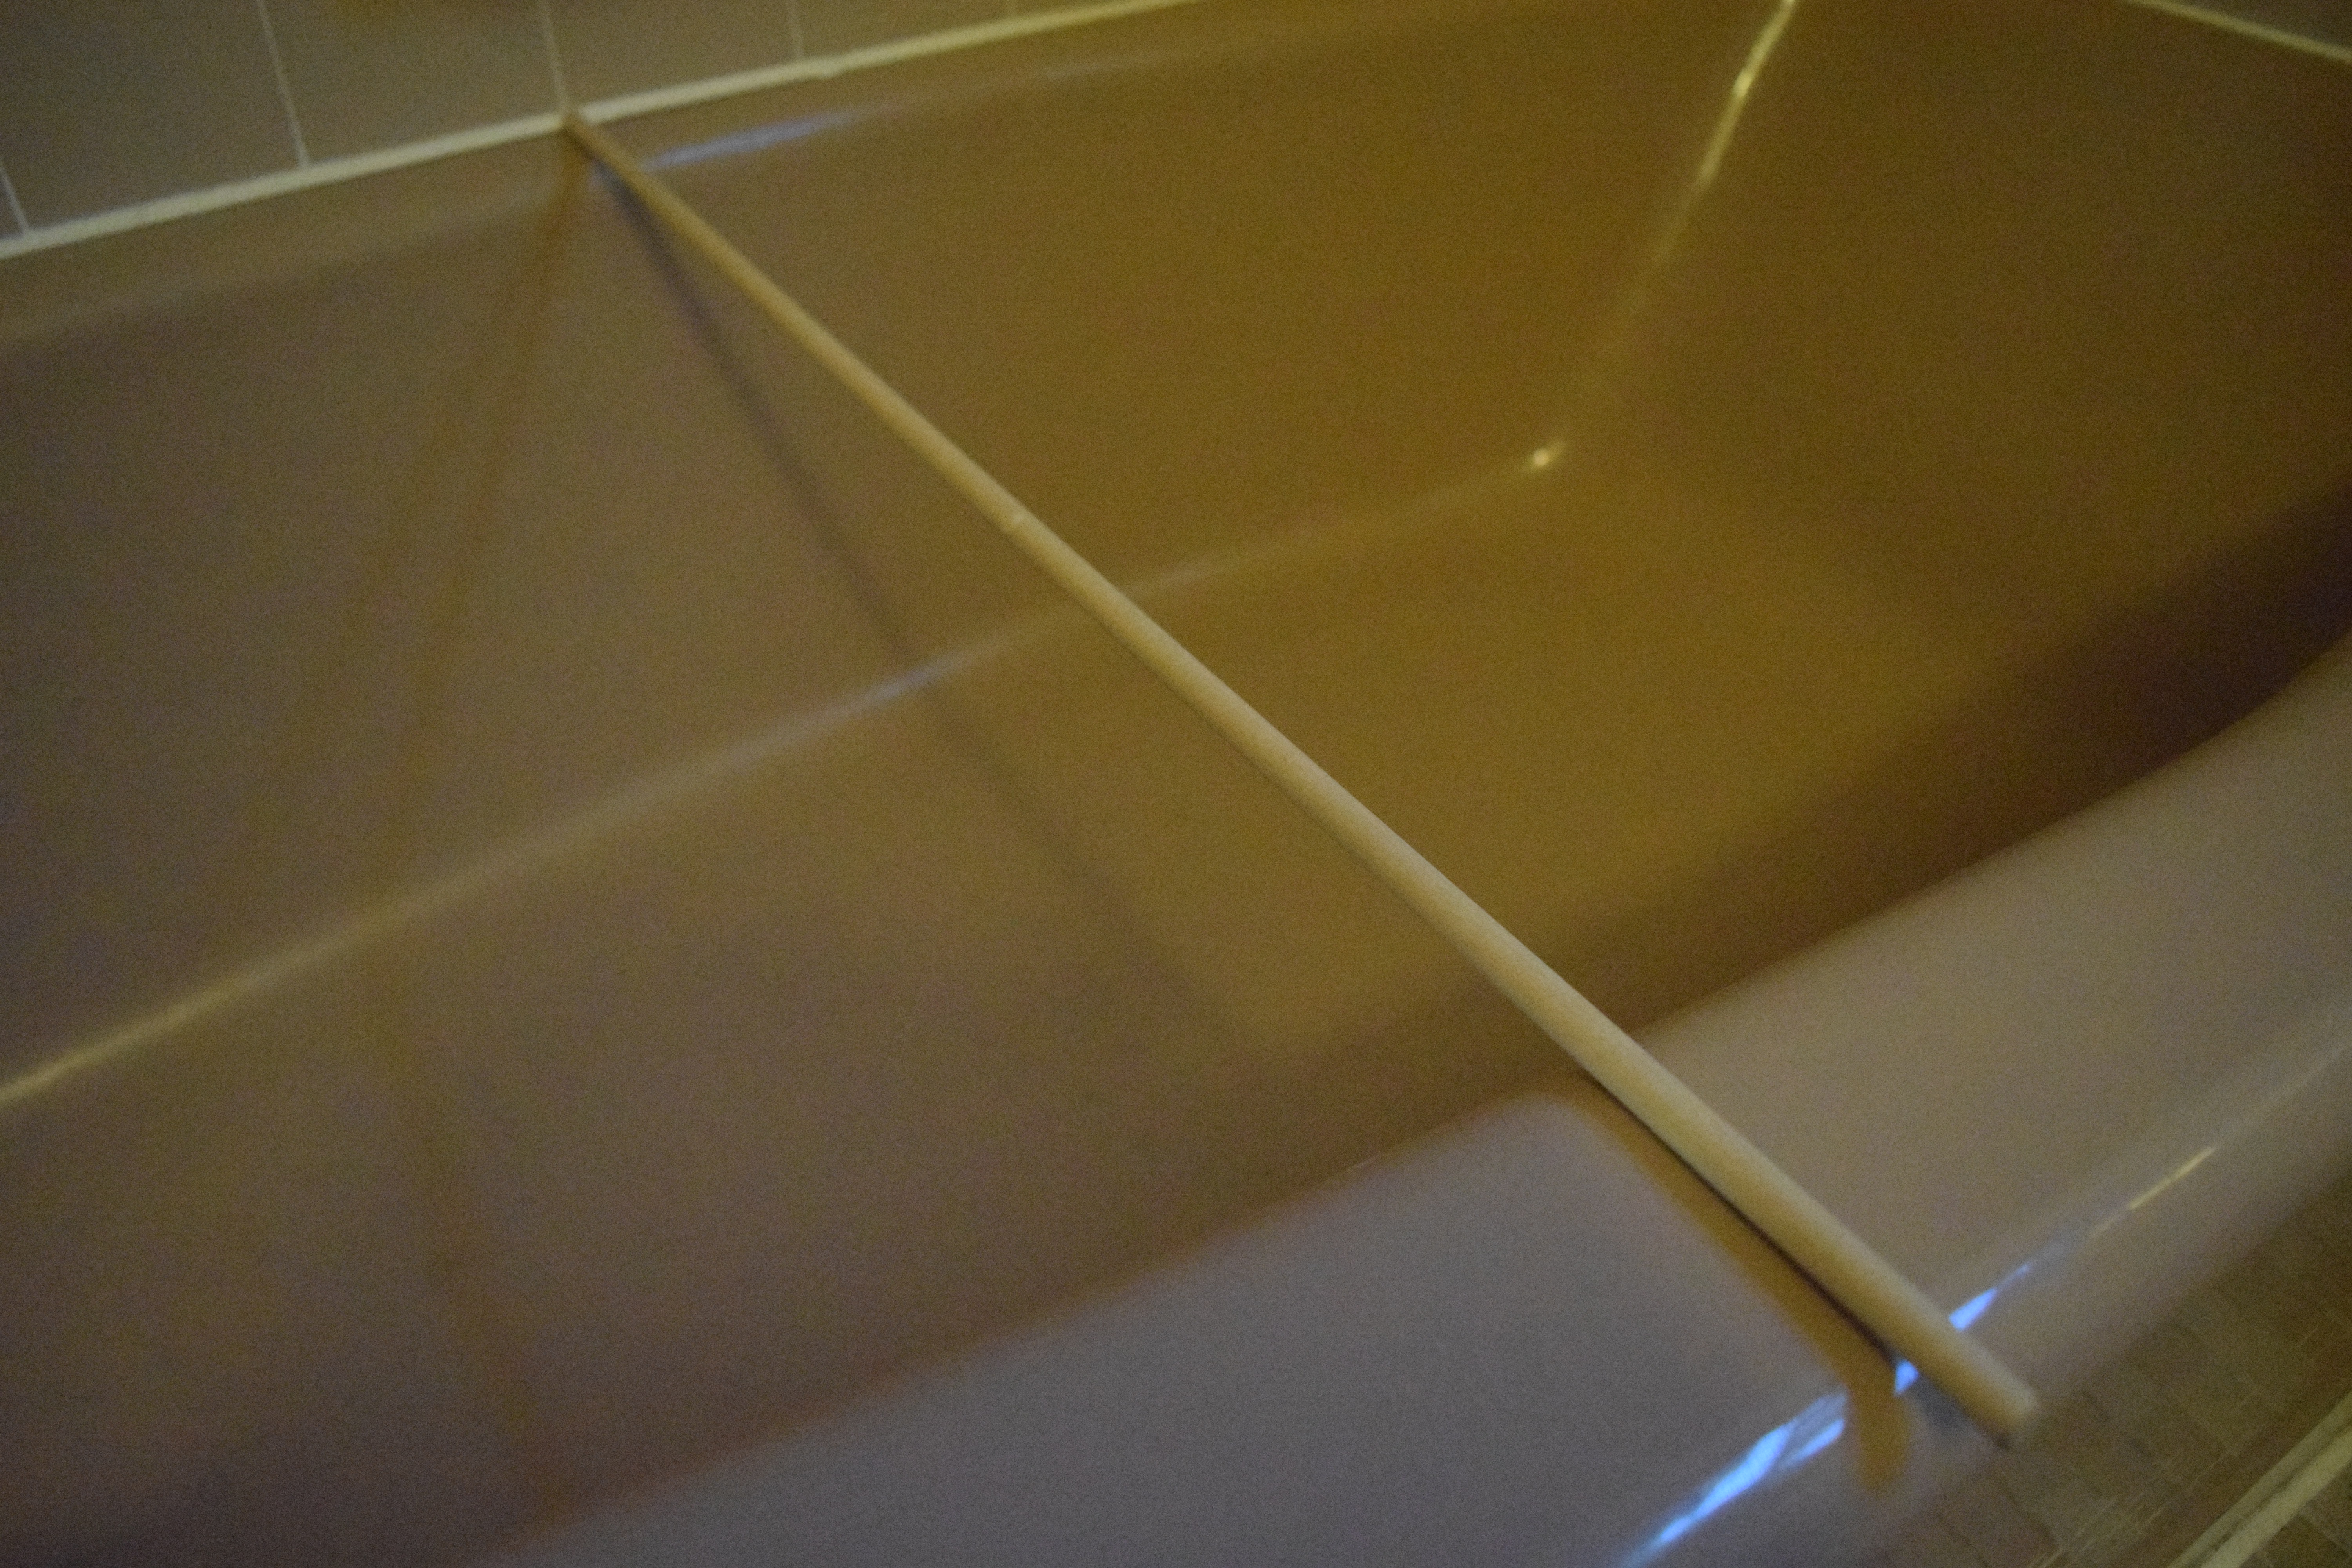
Check the length of your dowel by putting it on your bathtub to see if you need to add or subtract from the length of your dowel. Adjust as needed.
Measure, Cut, and Fine-tune the Rest of the Dowels
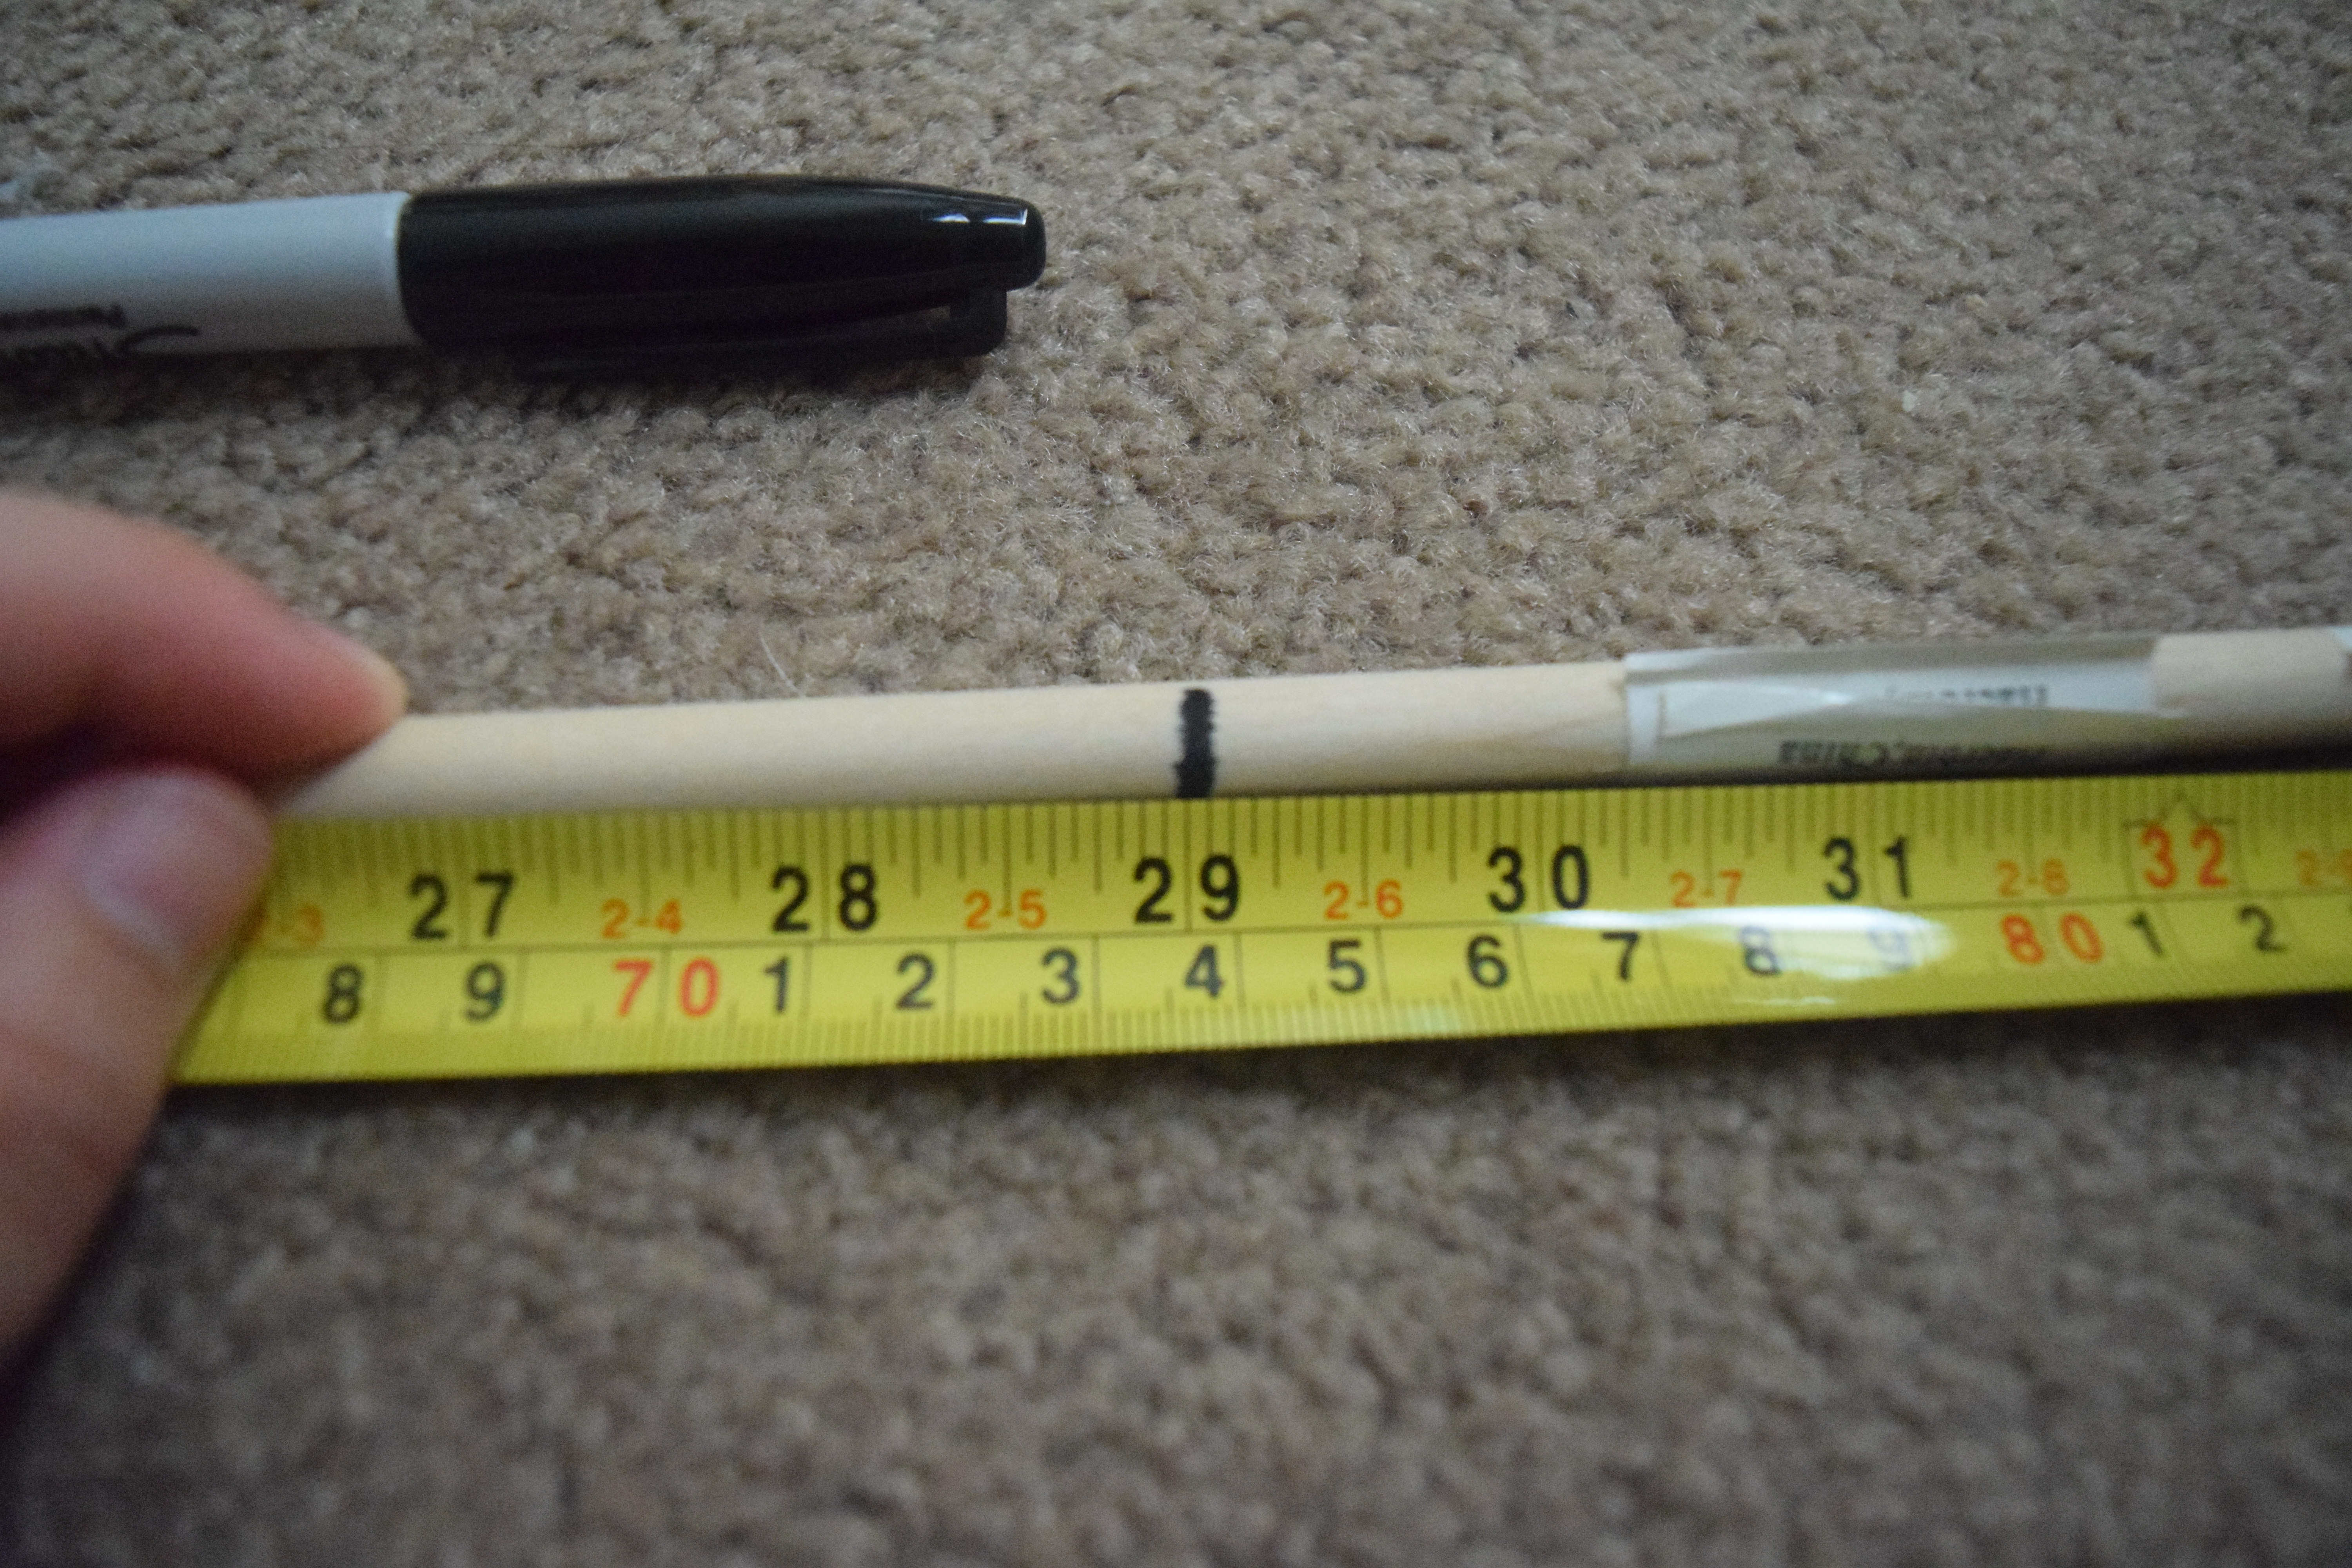
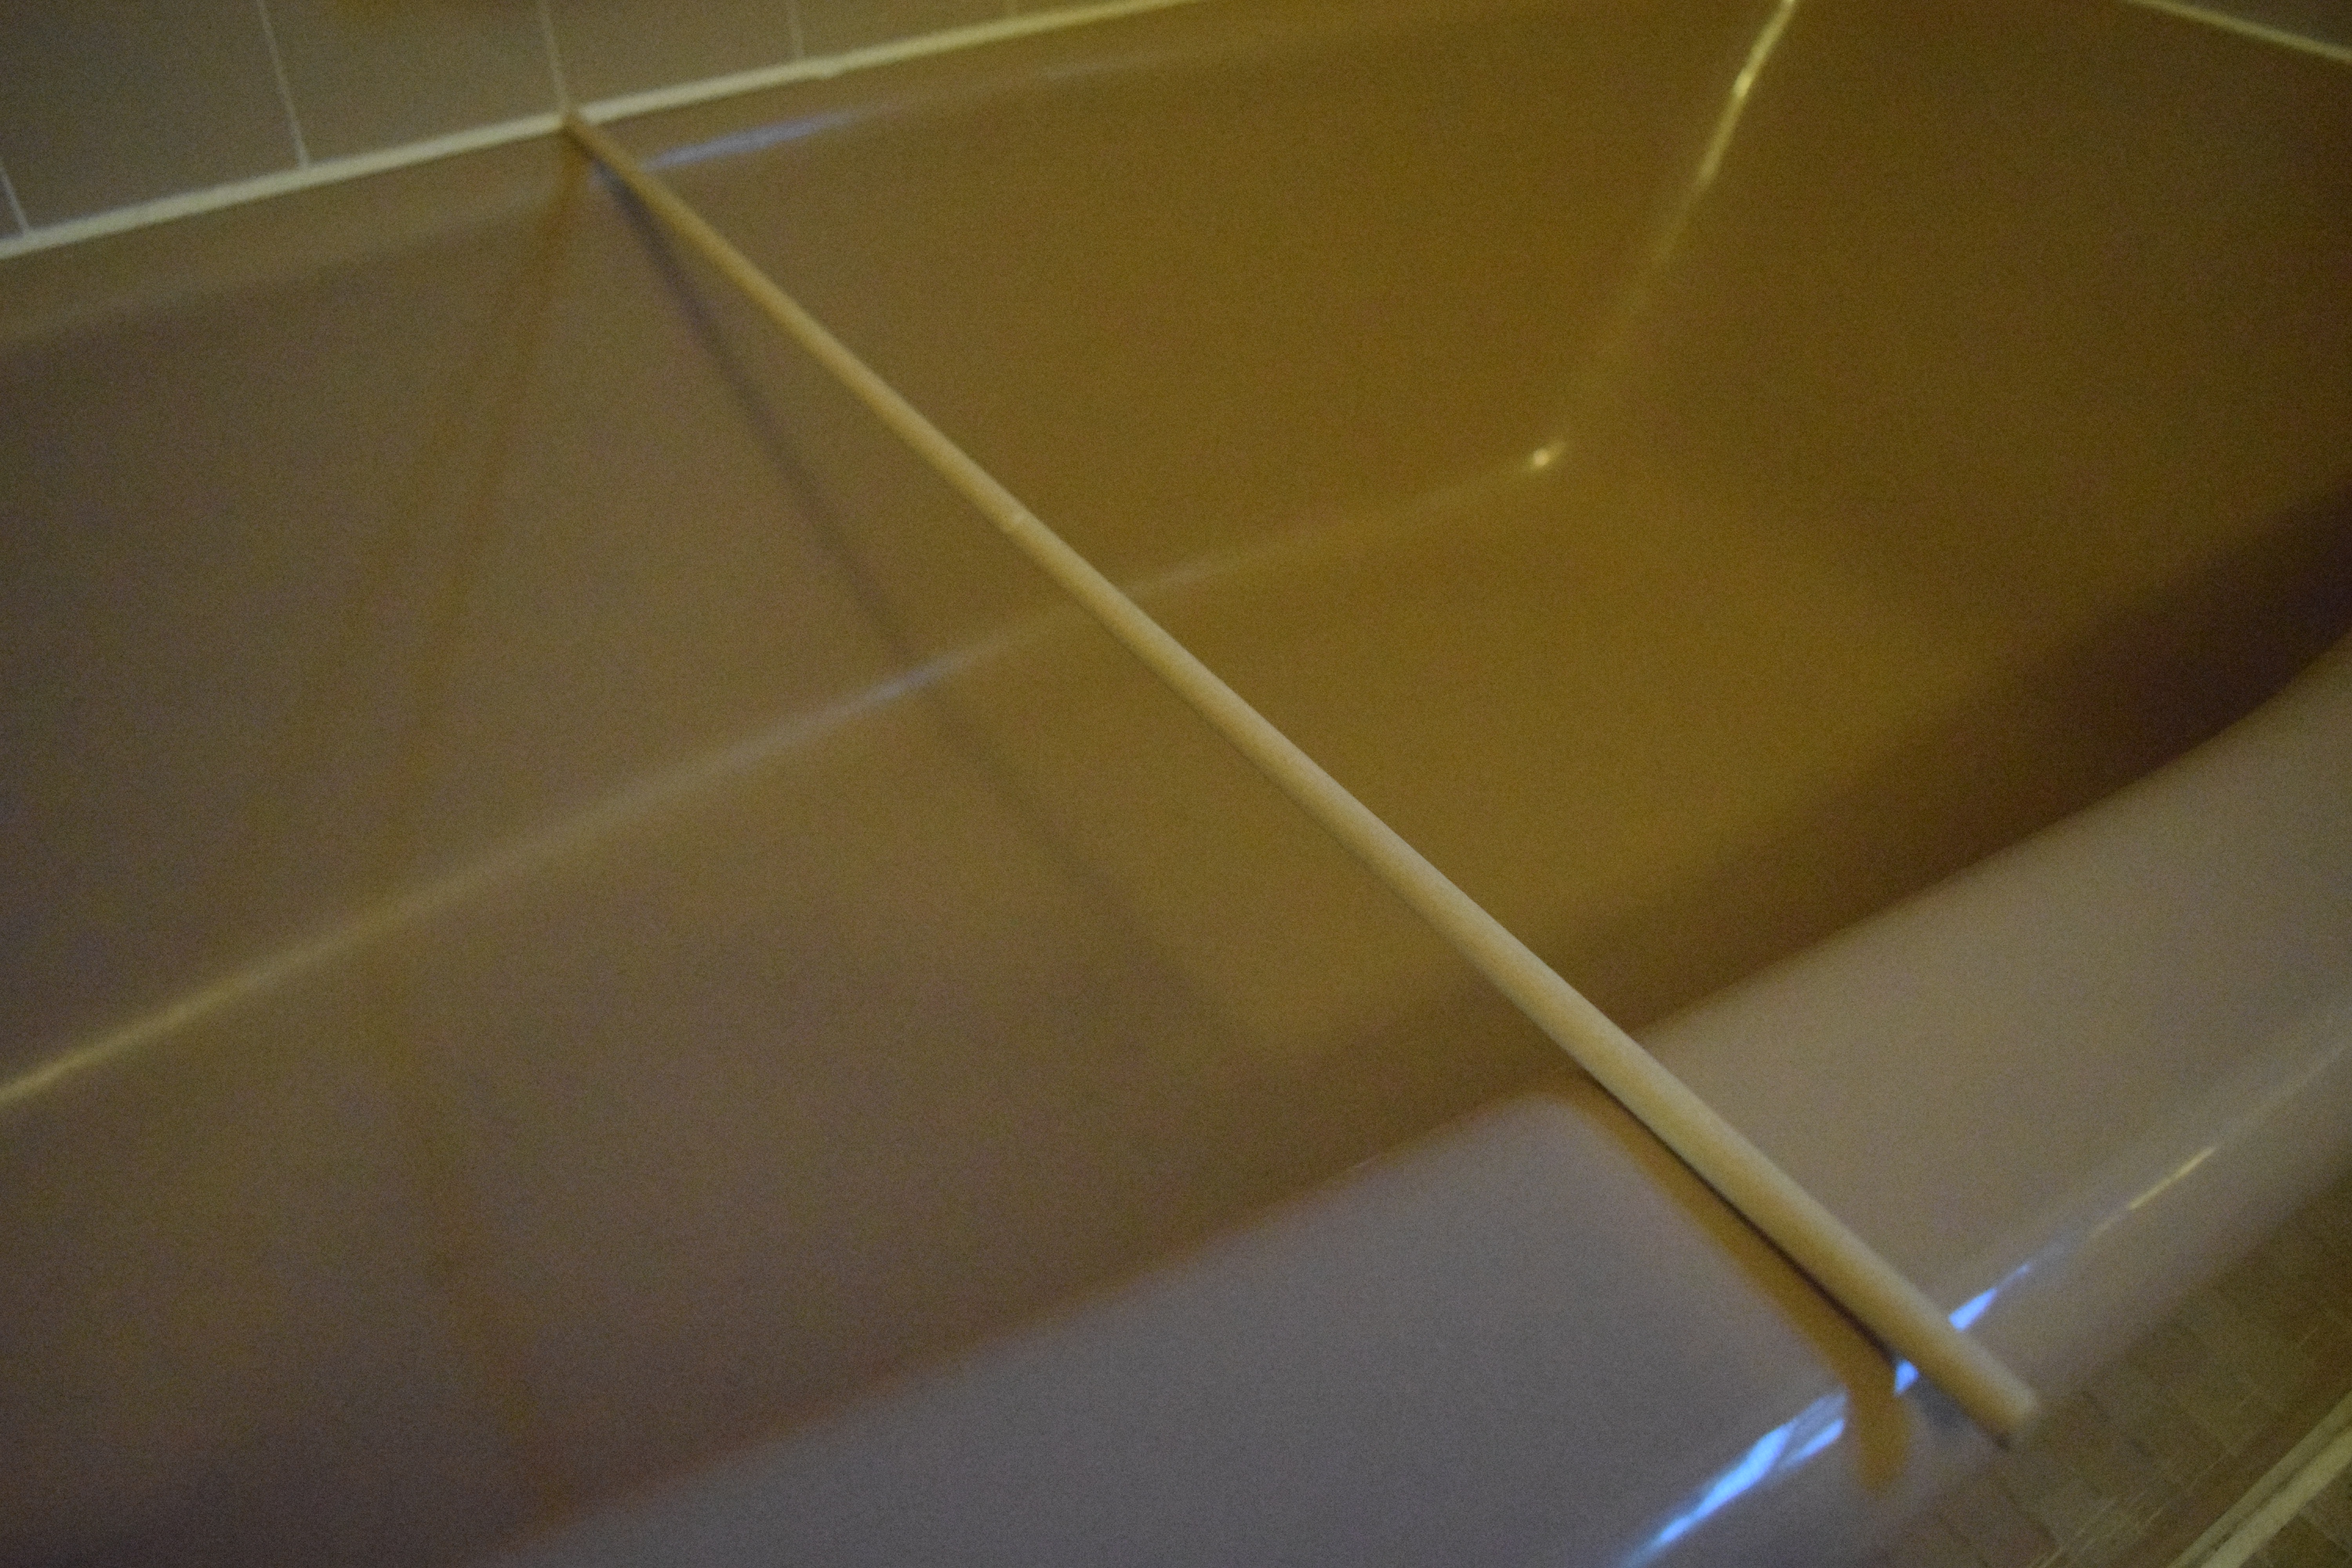
Repeat Steps 3 and 4 for the rest of the dowels:
- Measure out and mark the distance of the width of your bathtub on one of your dowels with your tape measure. My width is 29 inches. Cut the dowel at the mark with PVC pipe cutter. Make the cut as straight as you can; try not to cut at an angle. Discard the shorter length of the dowel.
- Check the length of your dowel by putting it on your bathtub to see if you need to add or subtract from the length of your dowel. Adjust as needed.
Waterproof the Dowels

Cover your workspace with newspaper. Using a scissor, cut the cardboard tubes in half the long way. Paint the dowels with your paintbrush and set them to dry on the halved toilet paper rolls. Wash the paintbrush with water when you are done. Let your dowels dry completely.
Spacing Out Your Dowels
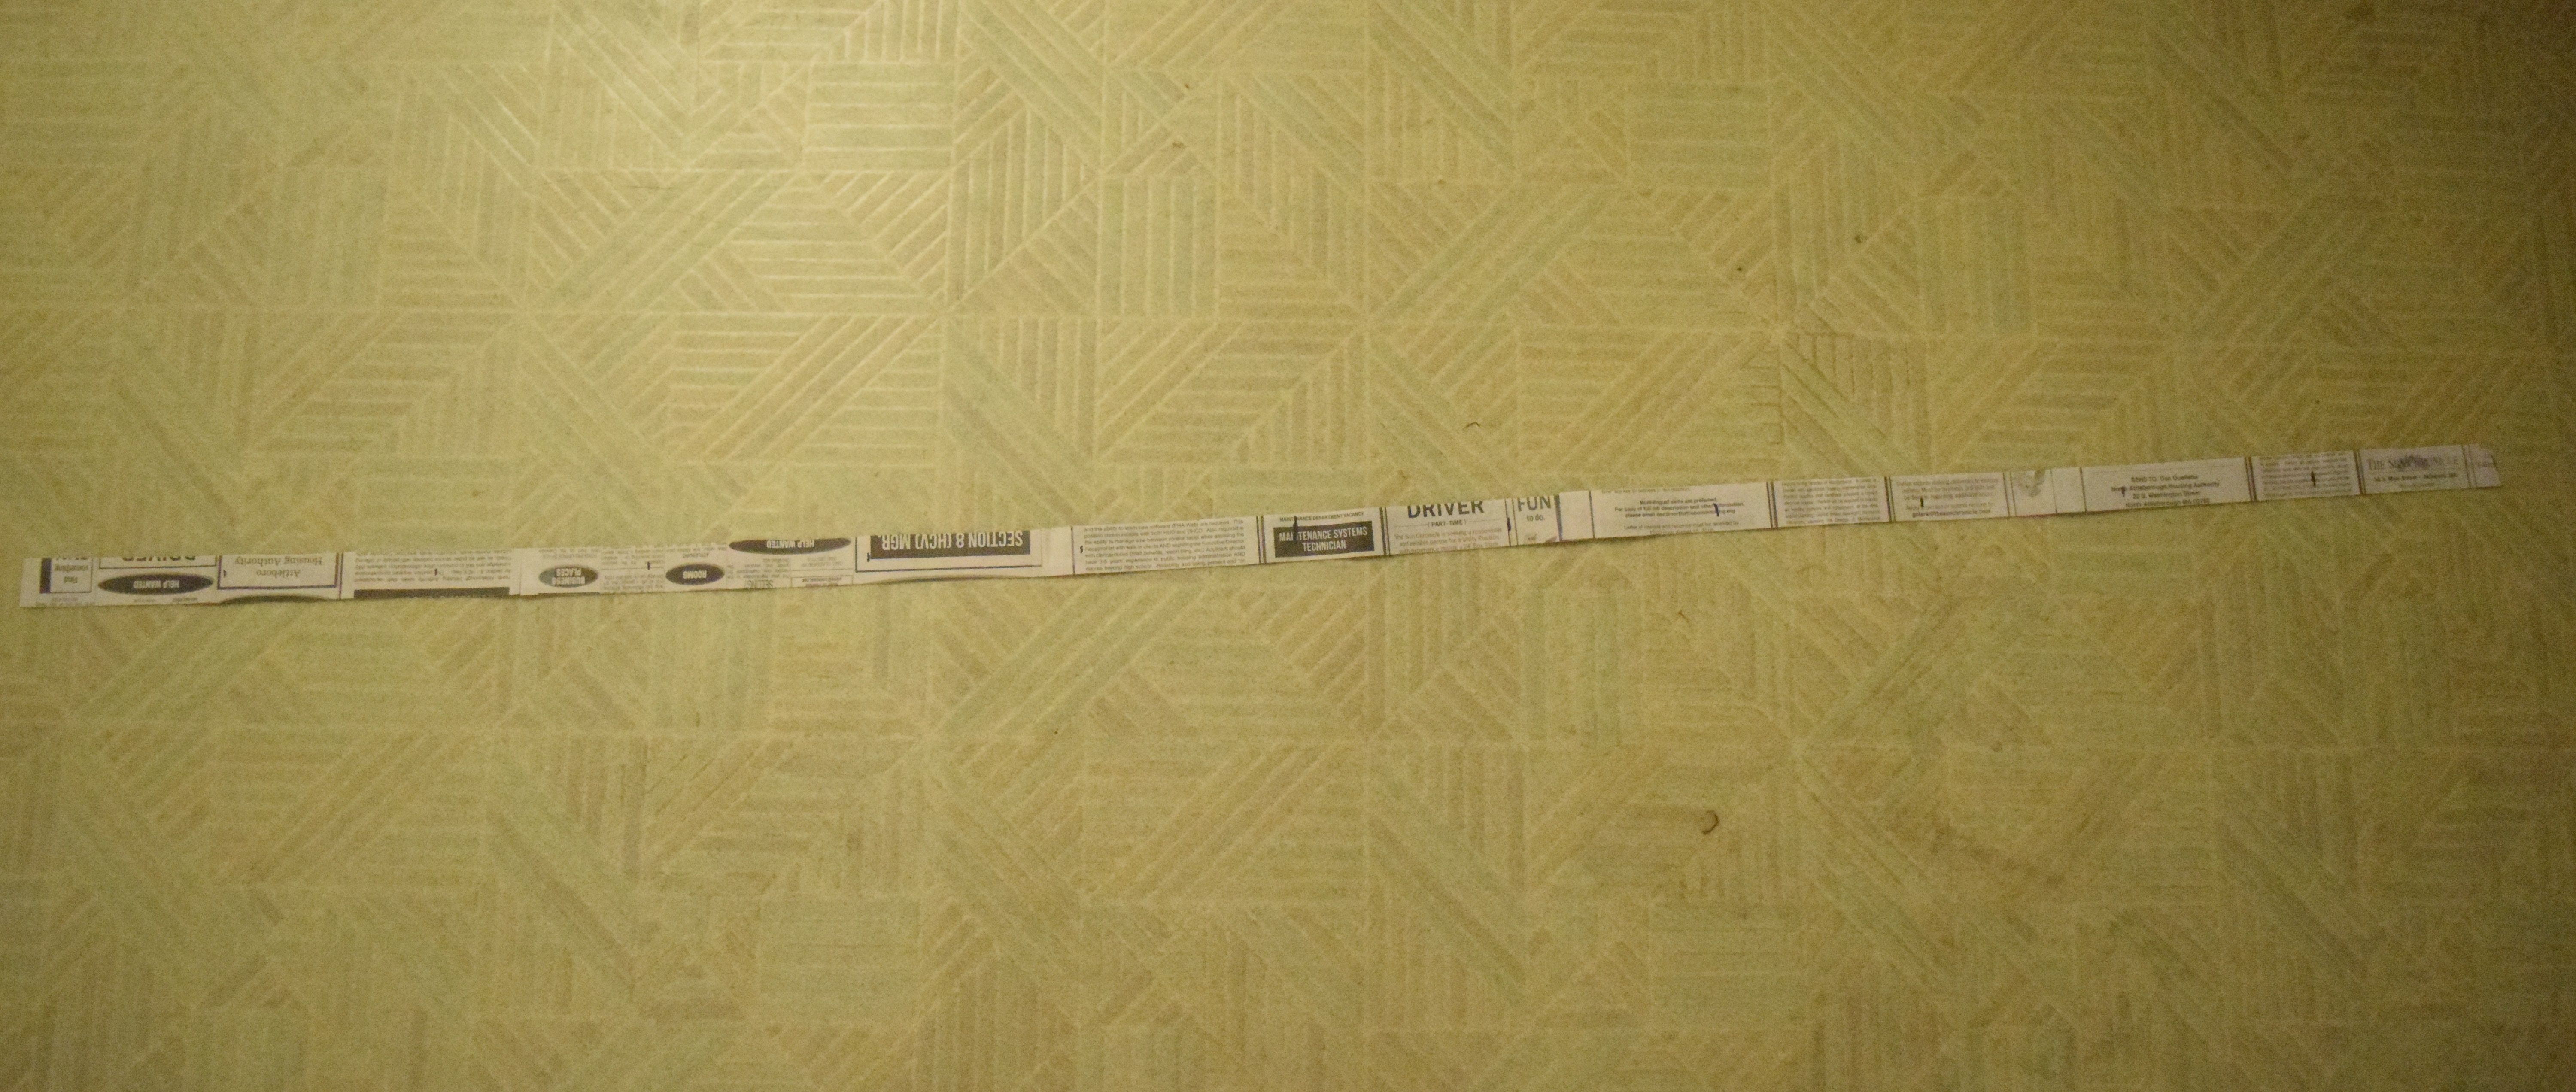
Measure out 2 strips of paper the length (the long way) of your bathtub (for me this was 5 feet by 1 inch). If needed, tape the ends of strips of paper together with invisible tape to make 5 feet. Put marks every 4.5 inches on one strip. I used newspaper to make my strips, but you can use any type of paper you want. It may be difficult to see the marks against the newspaper in the picture because they are black.
Preparing to Put Your Rack Together
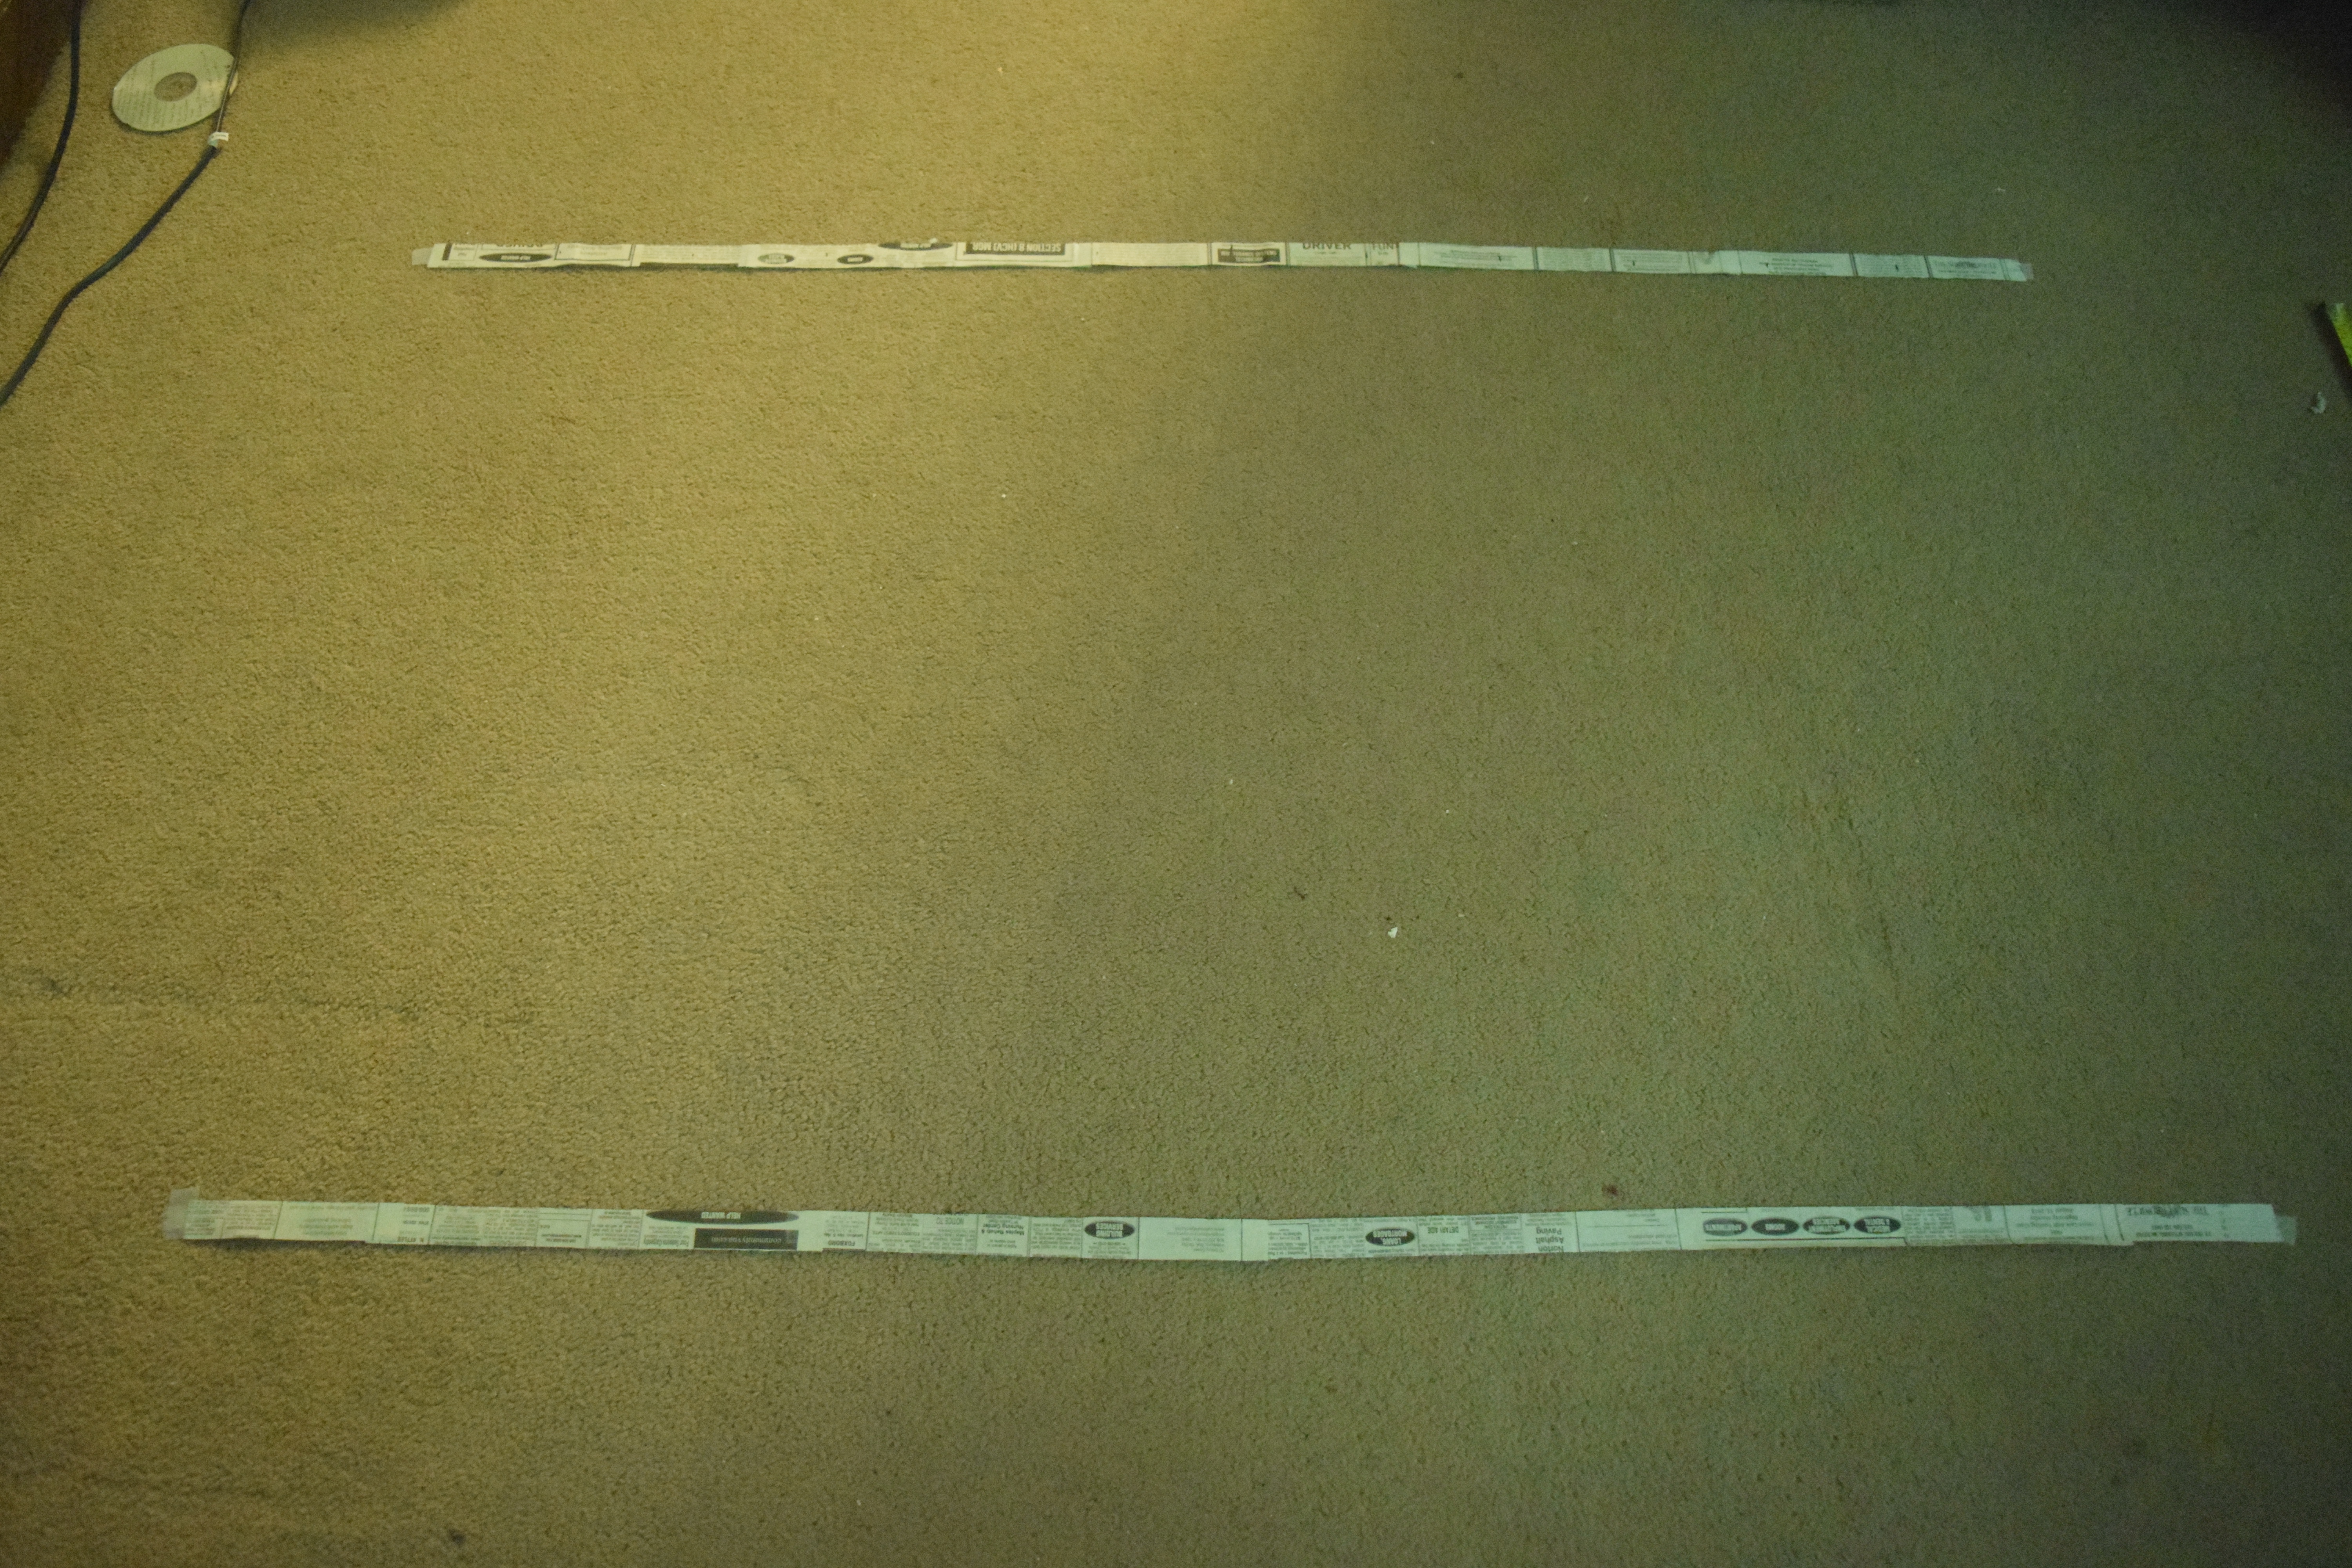
Tape your paper strips onto the floor so the distance between them equals the width of your bathtub plus twice the width of your tape, or (width of bathtub) + 2*(width of tape).
NOTE: Make sure the strips are parallel.
First Layer of Tape
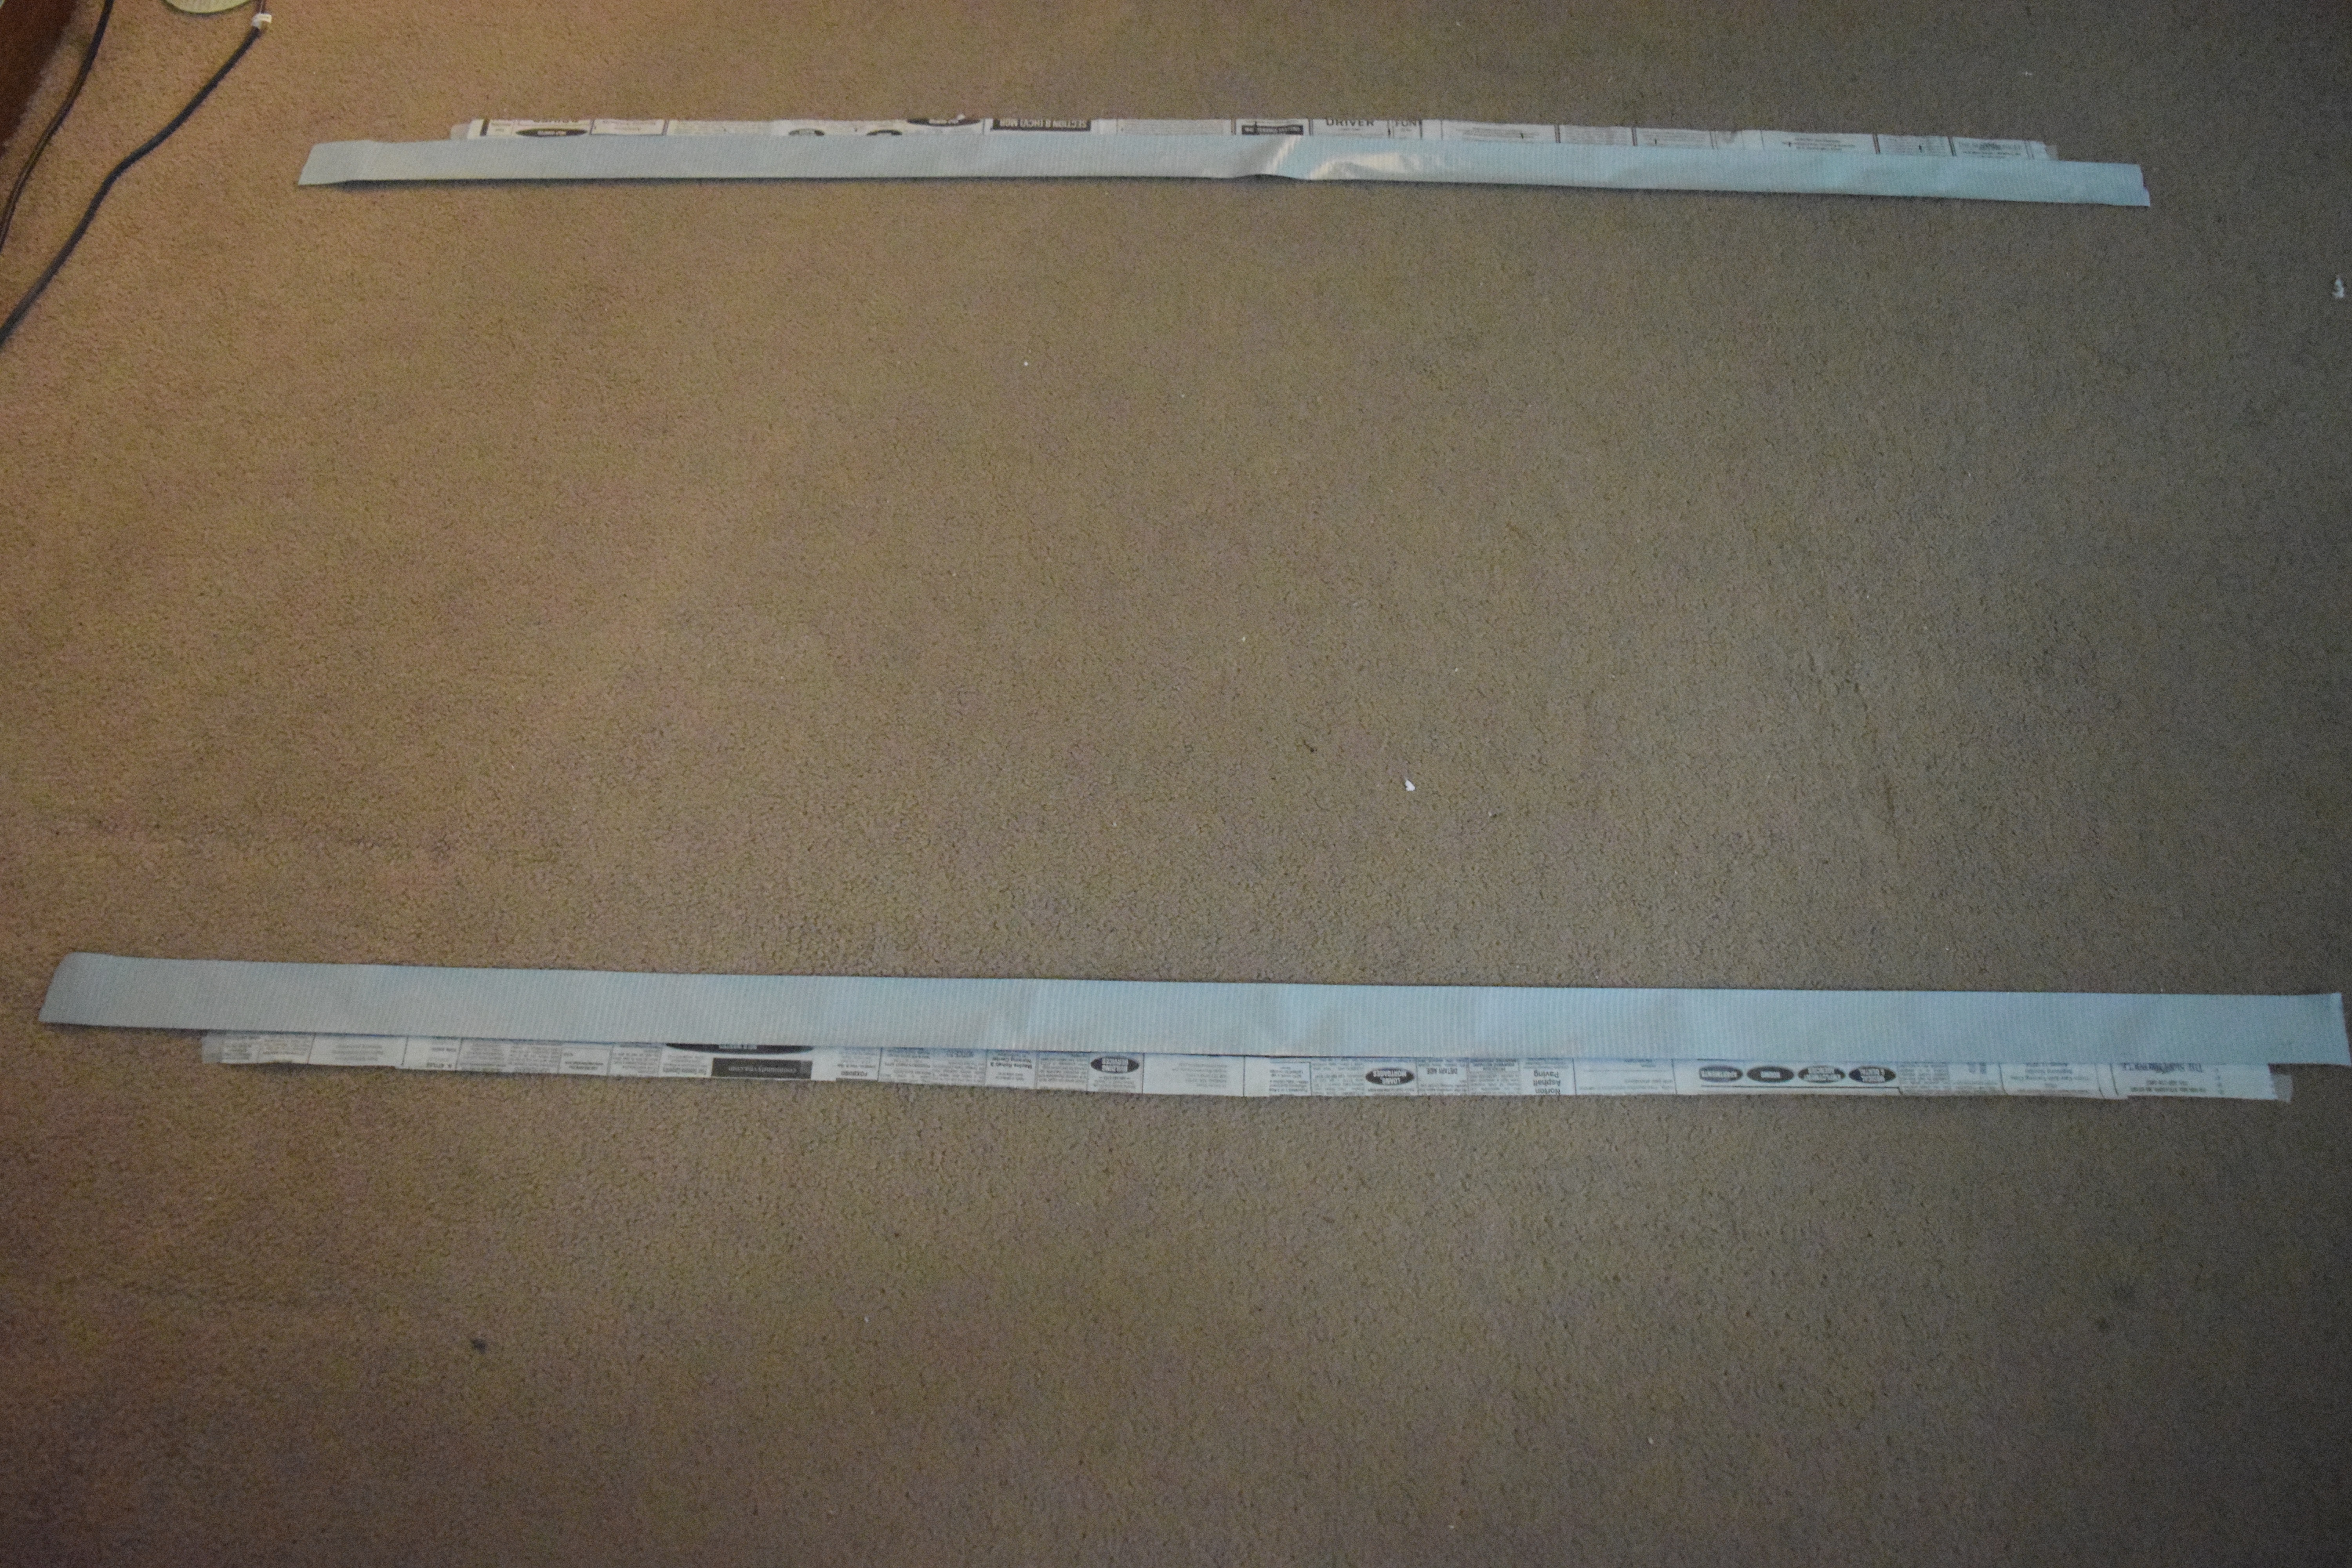
Lay two strips of duct tape, sticky side up, next to the paper strips. Make the duct tape a few inches longer than the paper strips on both sides.
Add Your Rods
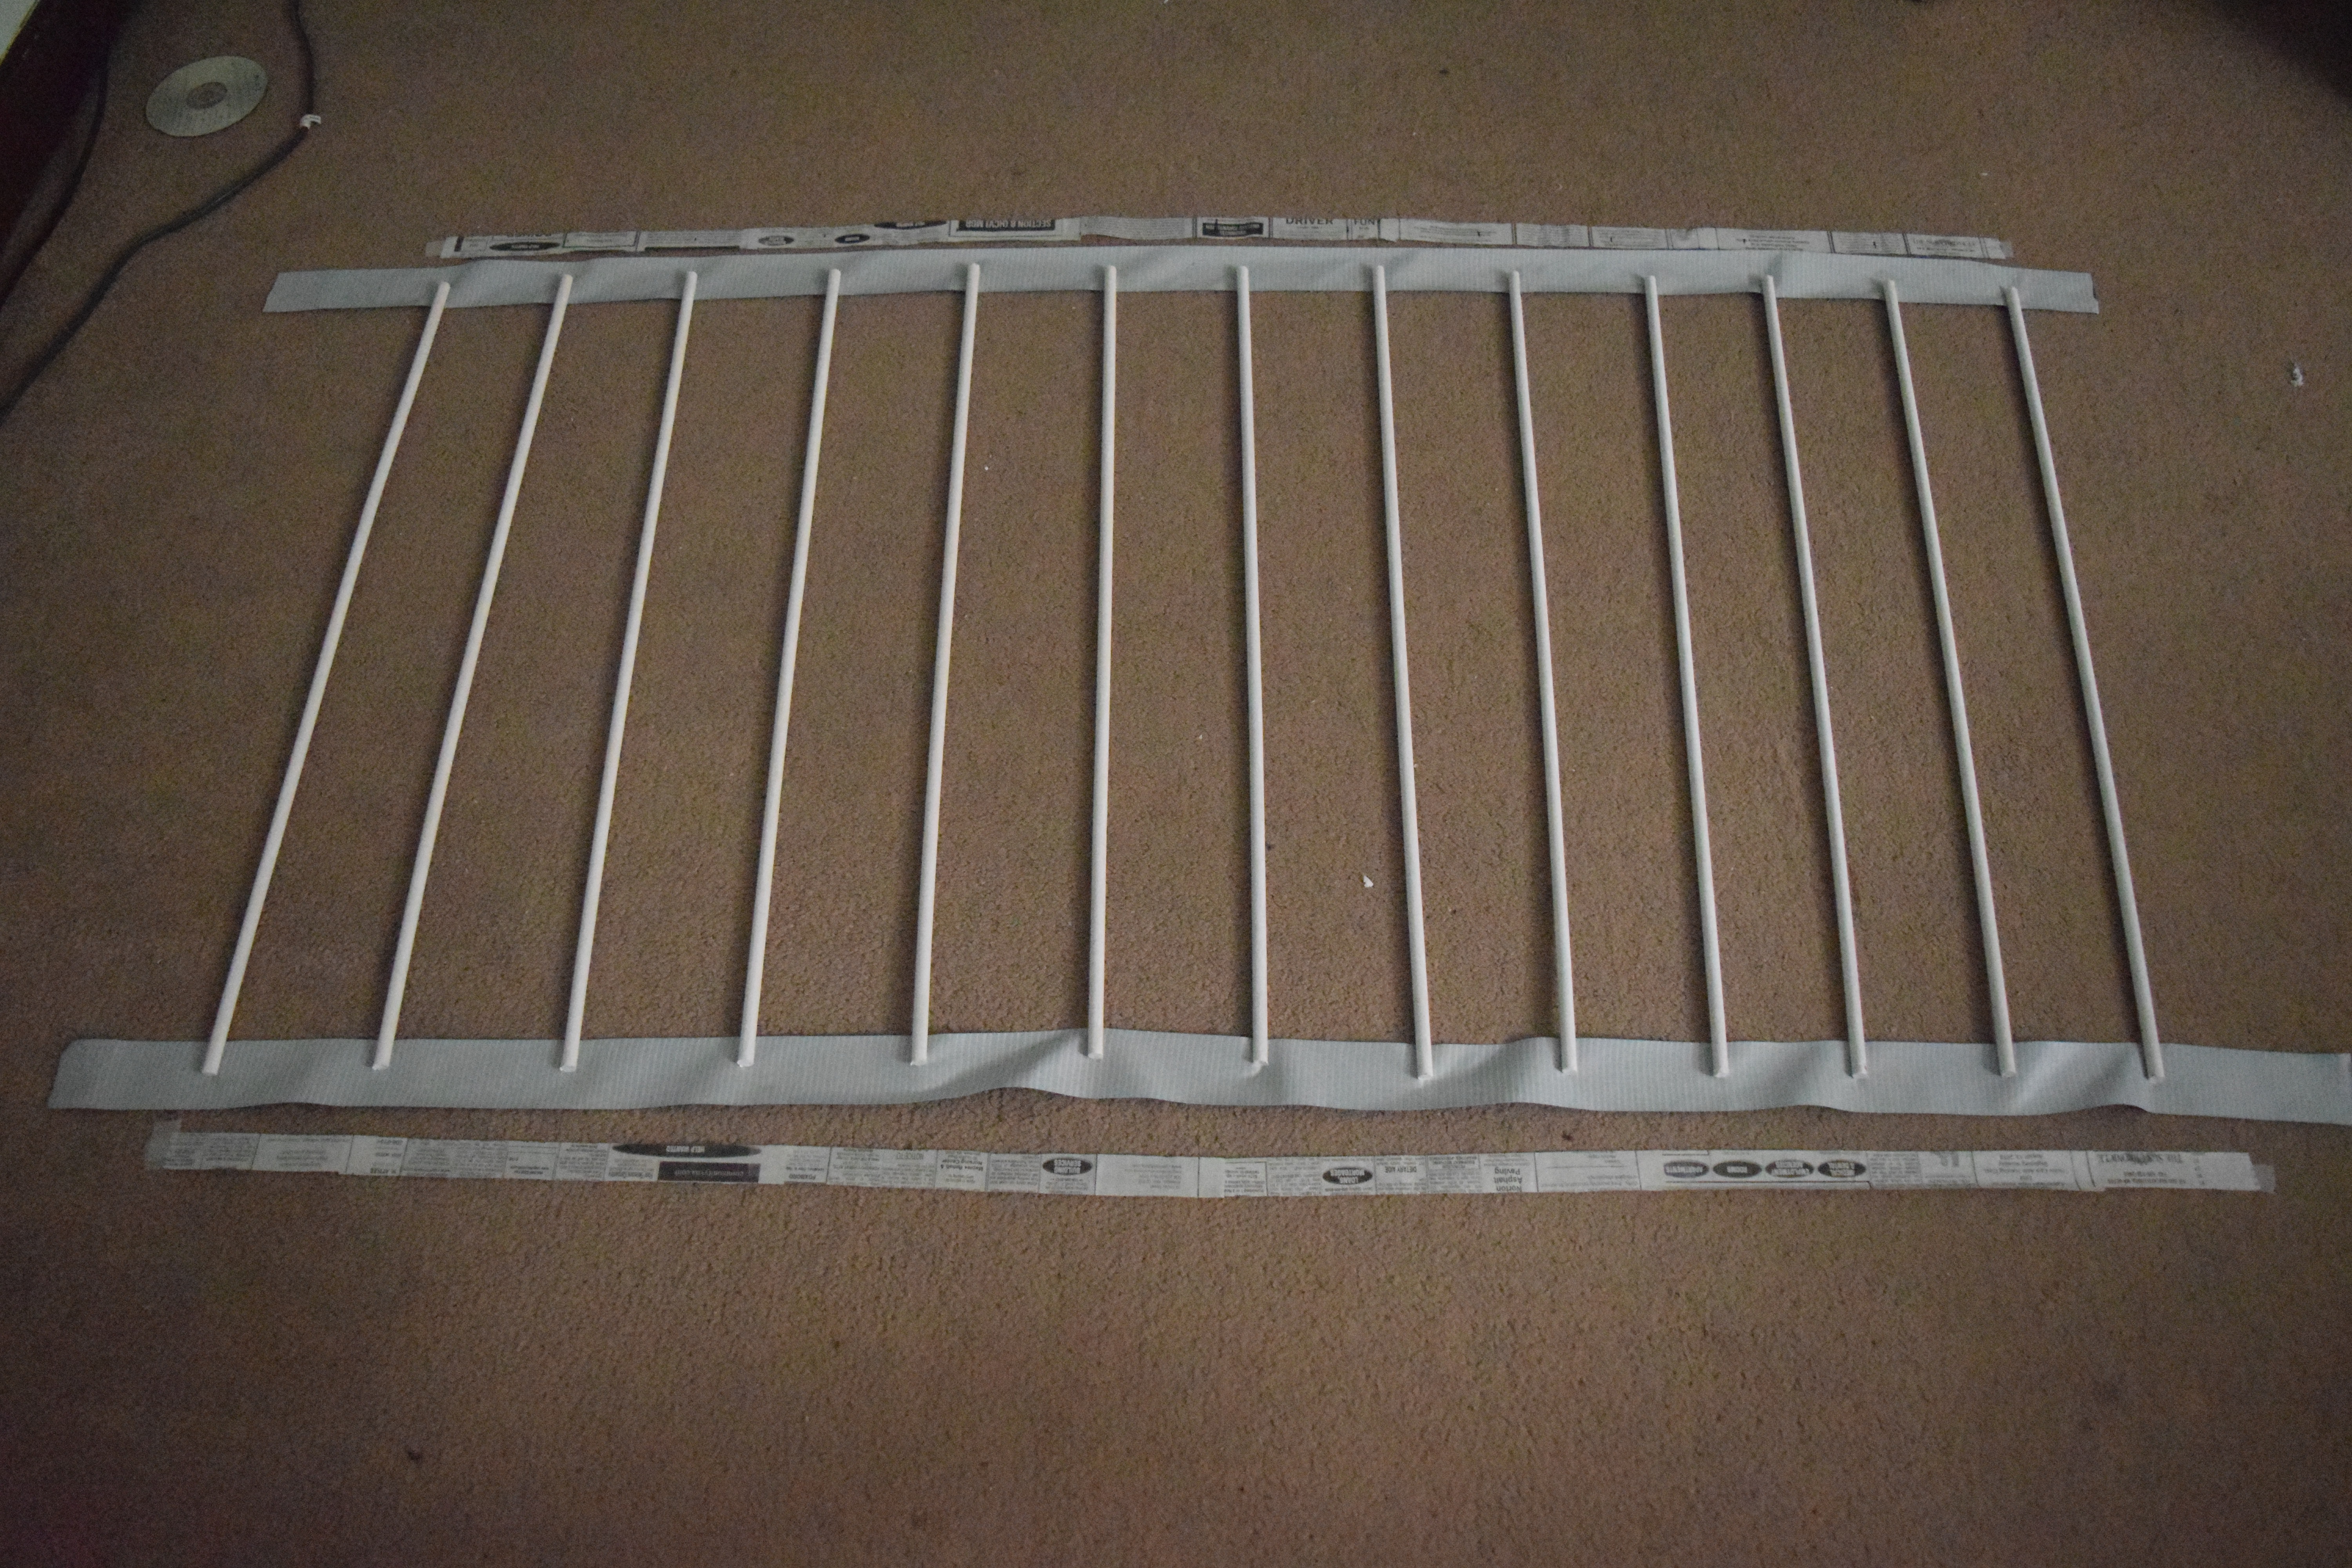
Put rods one and a half inches (1 1/2 inches) into the sticky side of your duct tape where the marks on your paper strip indicate. If the length of your rods differ like mine did, the length that each rod goes into the tape may differ, but the most important part is that the longest rods are one and a half inches into your duct tape. Make sure the rods are parallel to each other.
Fold Ends of Duct Tape In
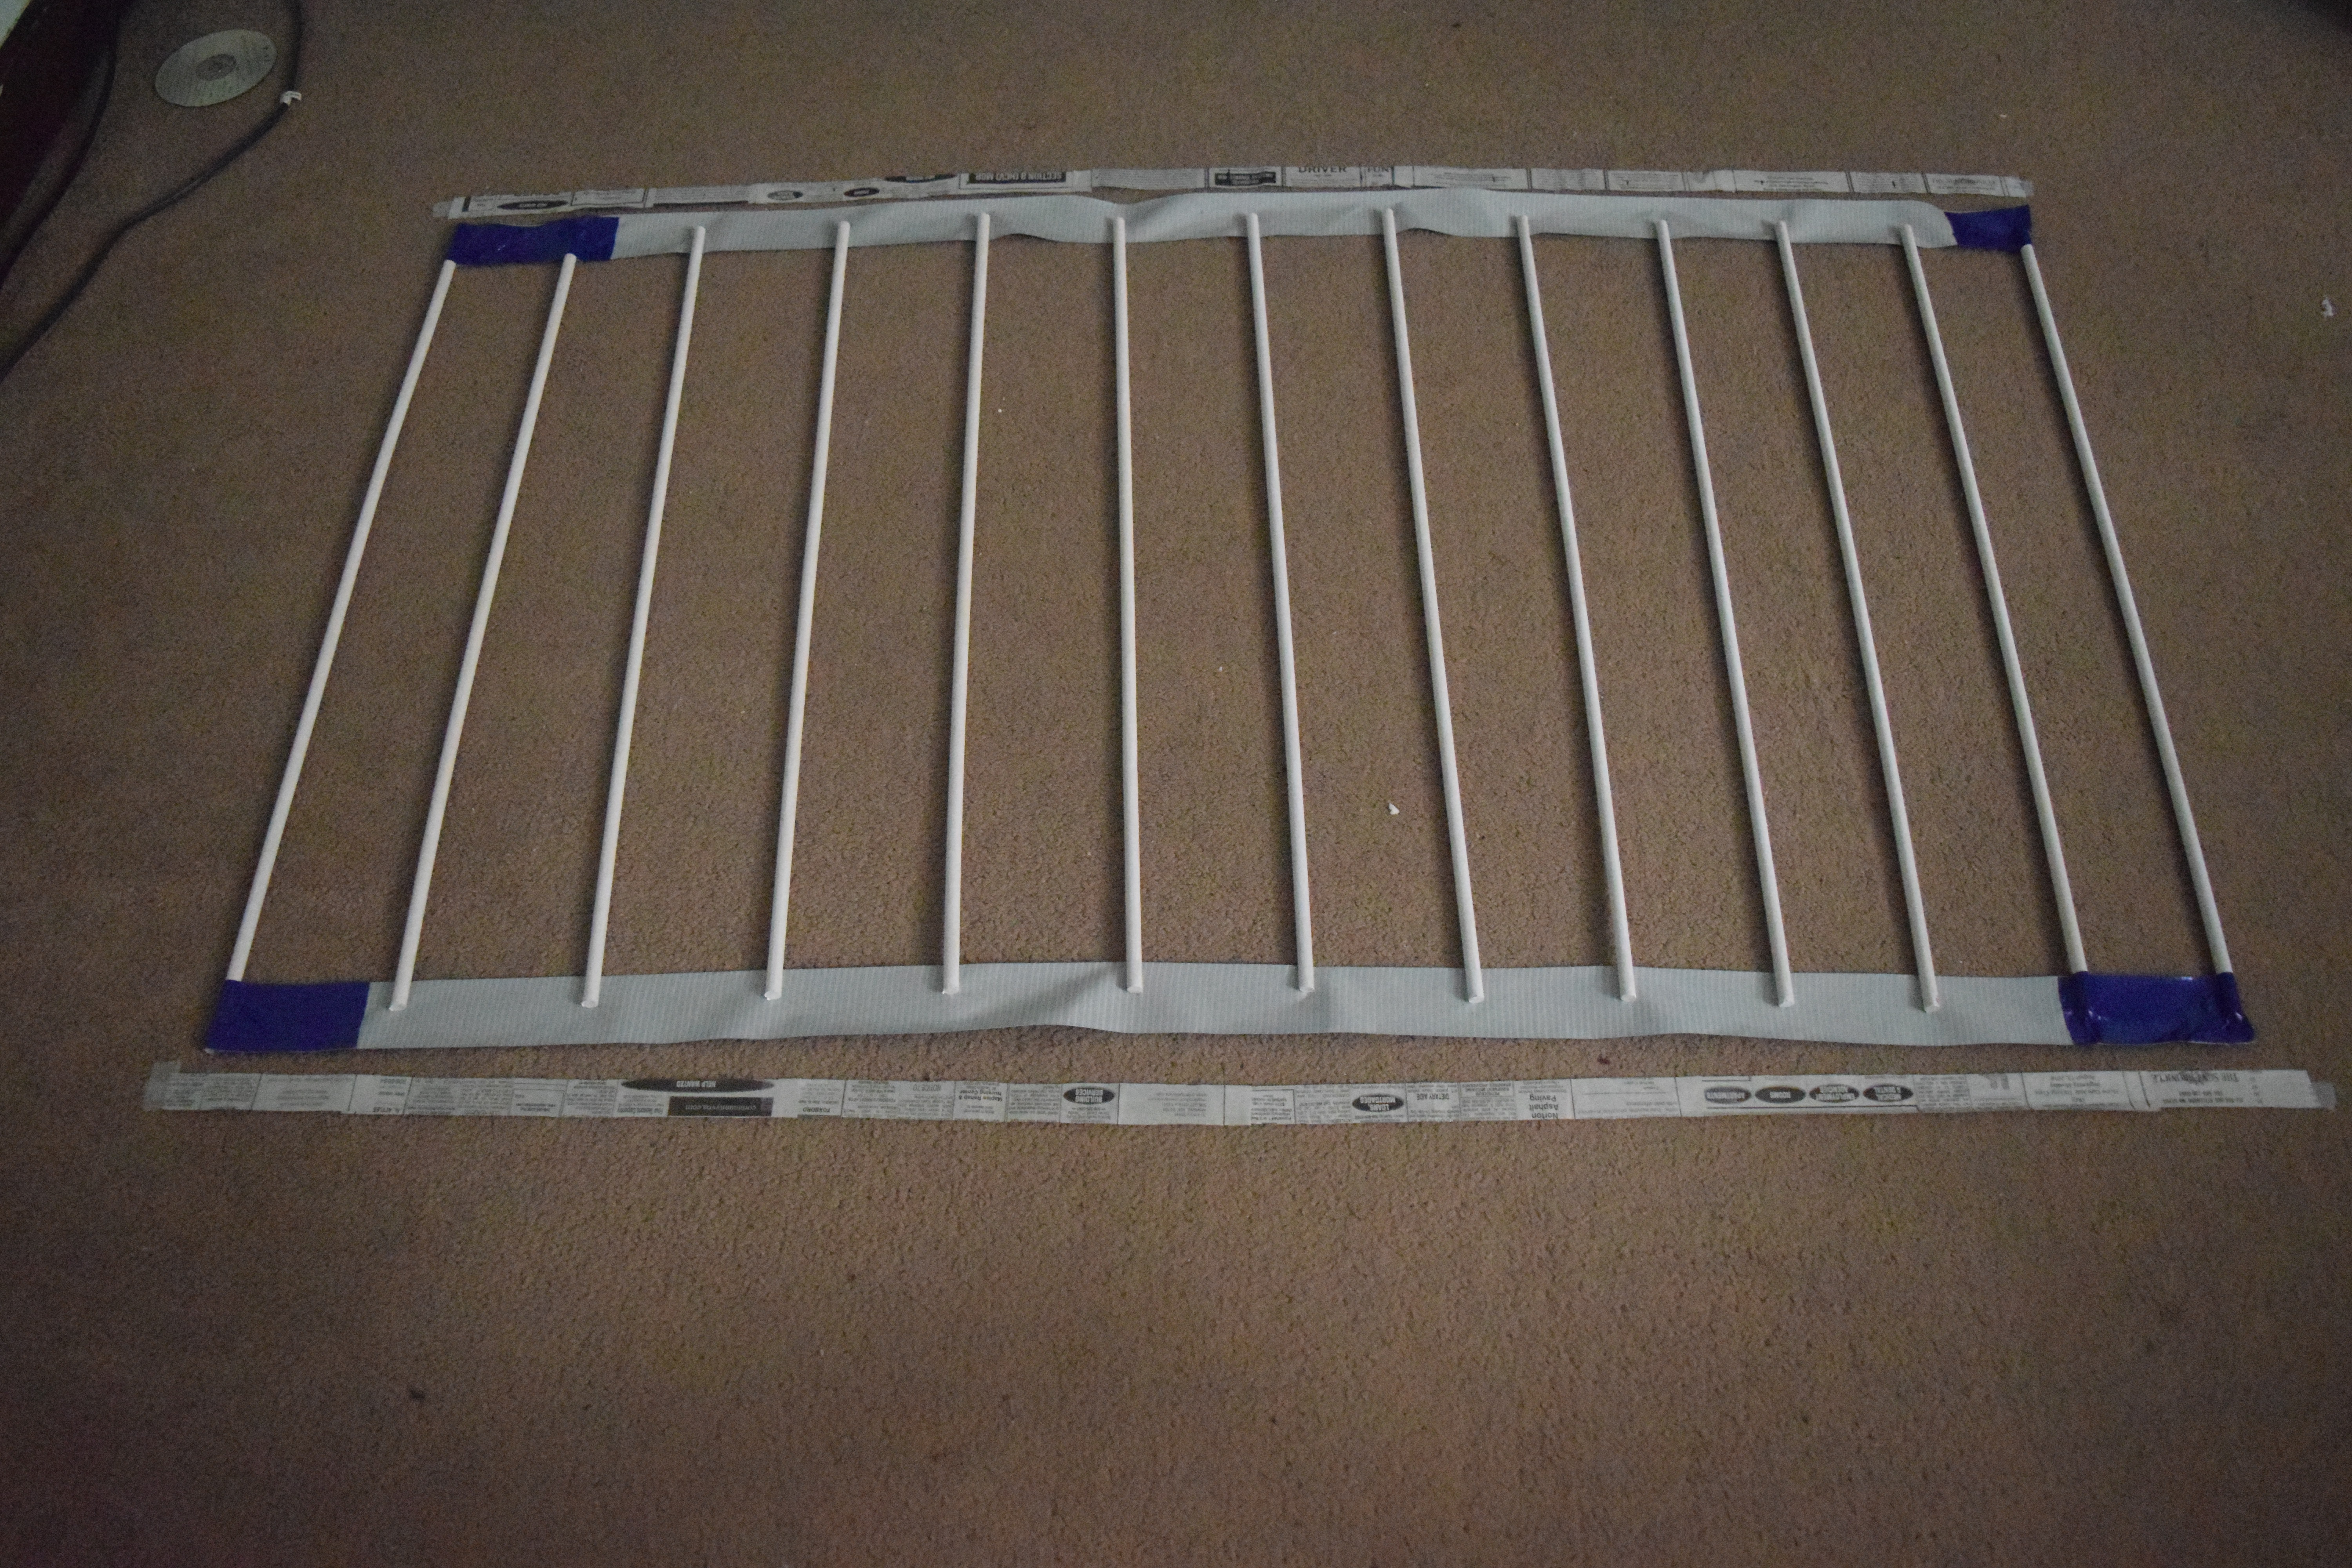
Fold the ends of your duct tape in as shown in picture.`
Add Second Layer of Duct Tape for One Side
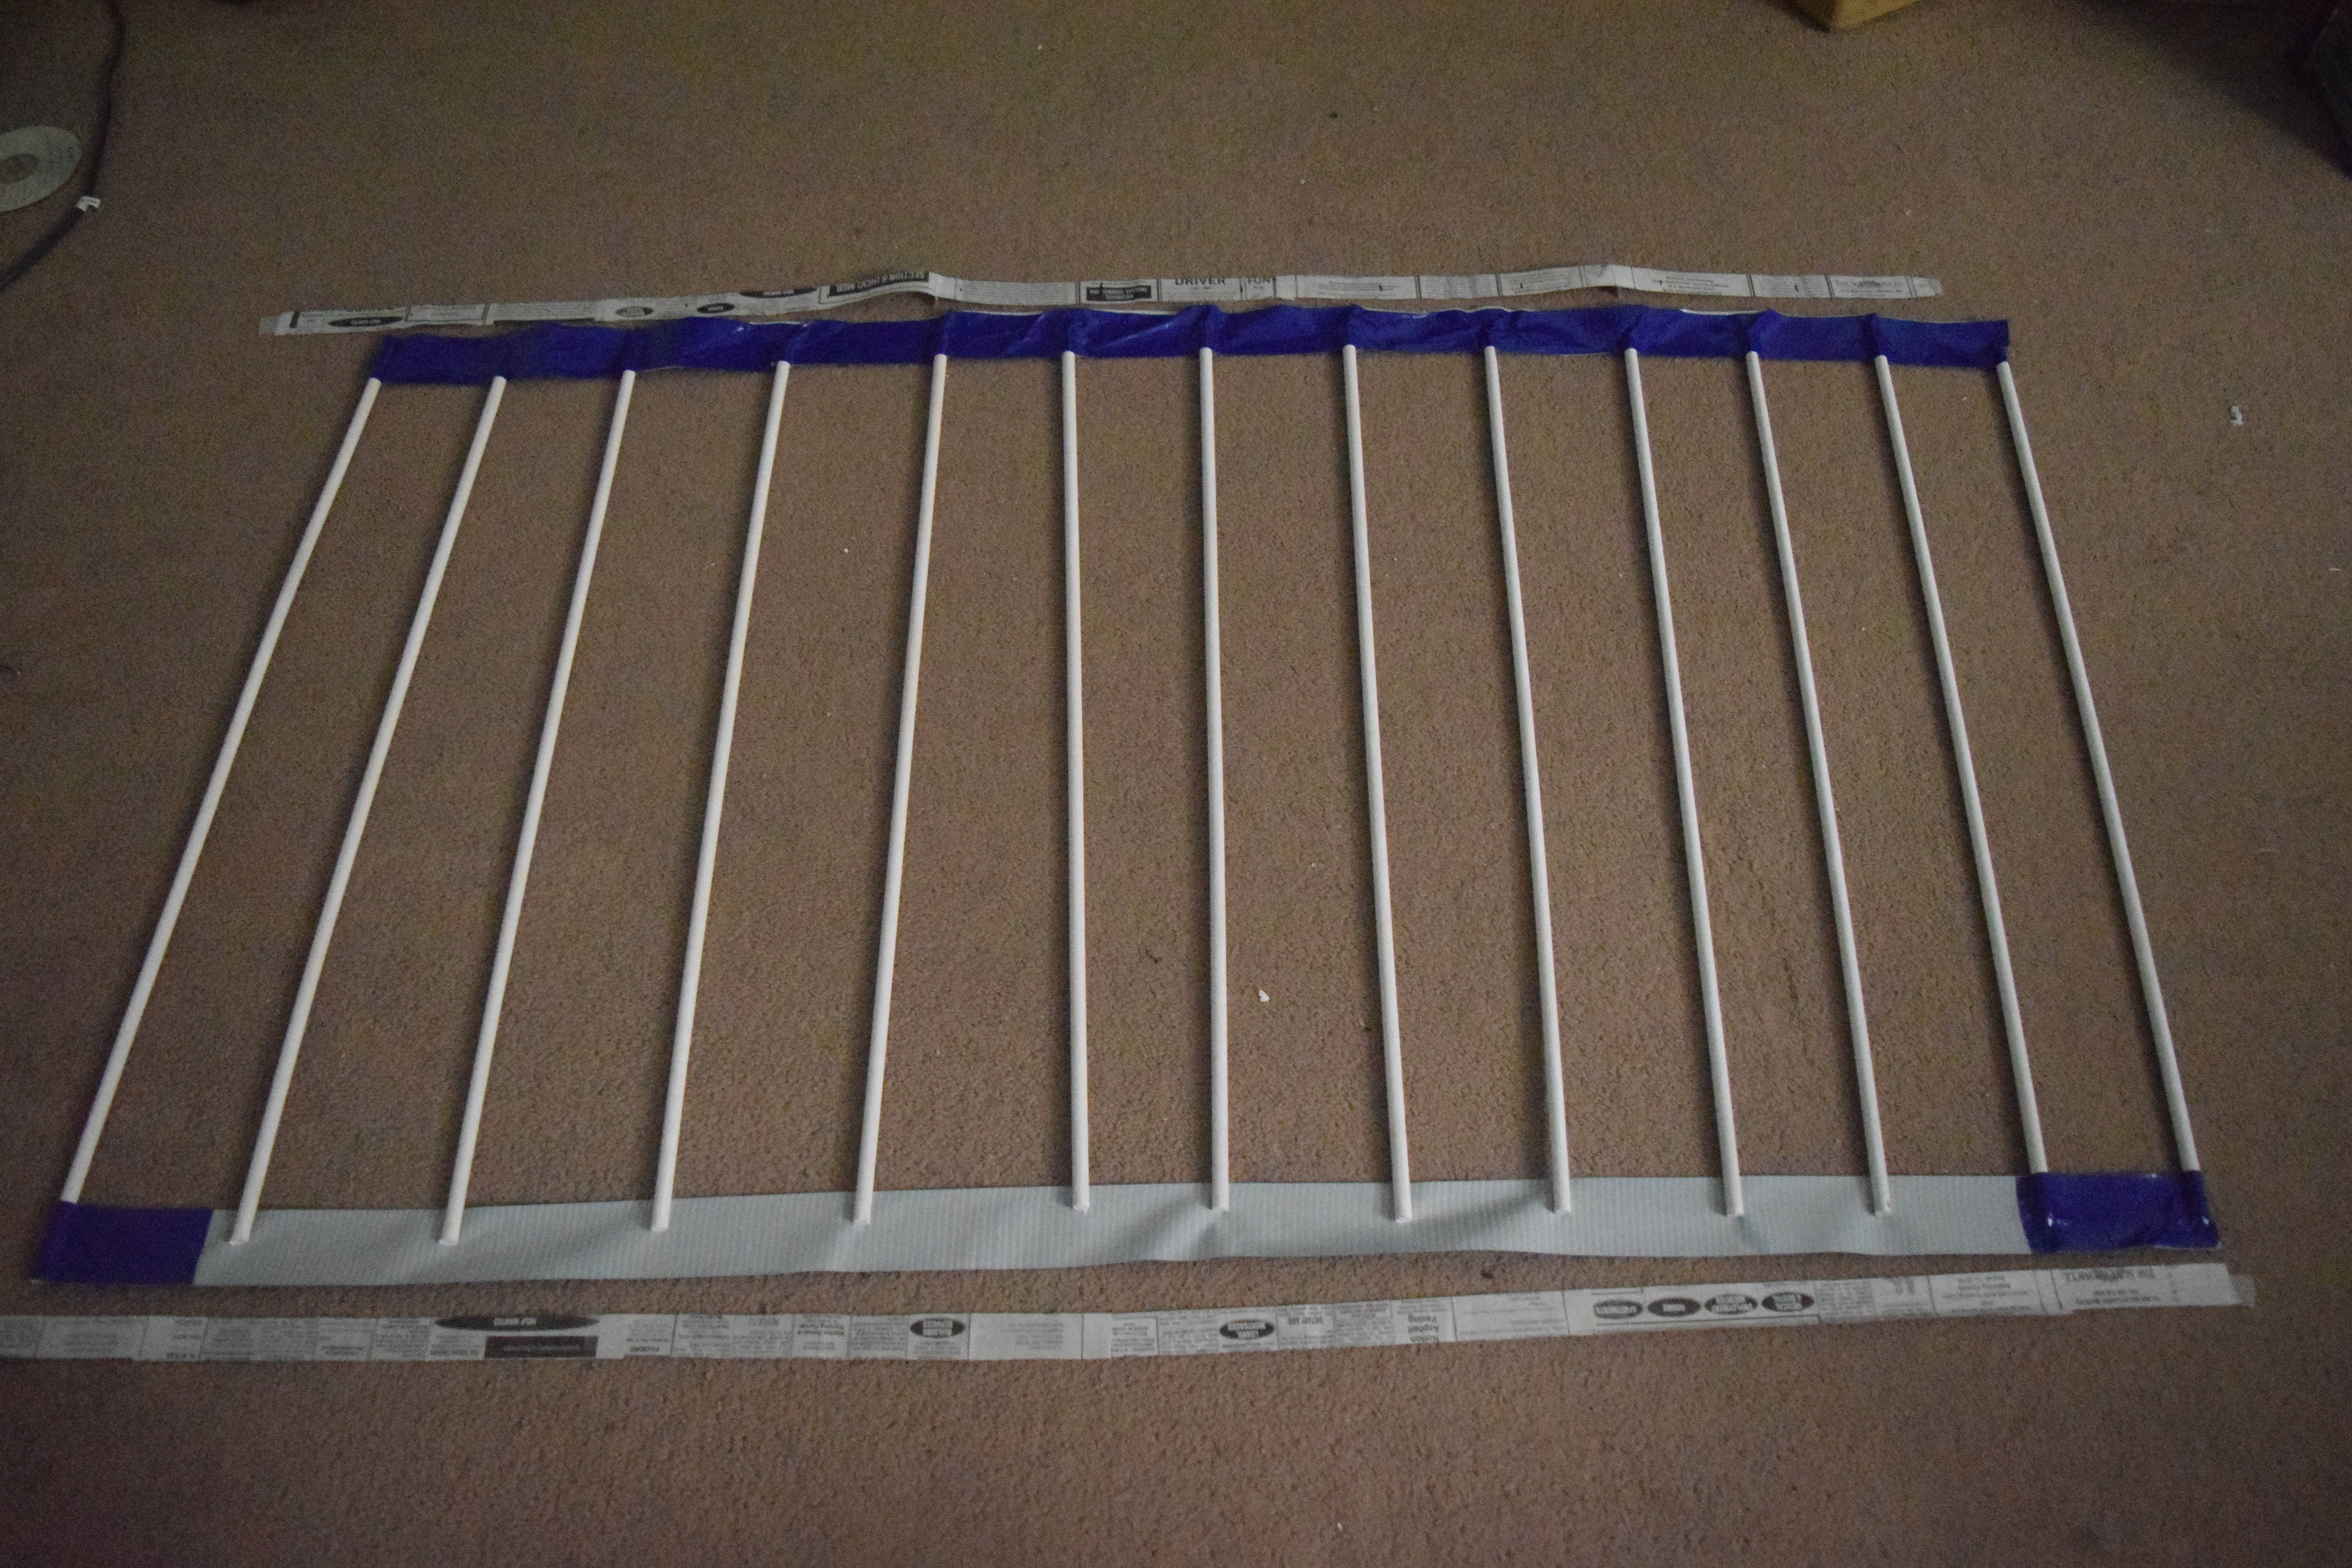
Add a new strip of duct tape over the exposed sticky side of a duct tape strip.
Crimp One Side of Rack
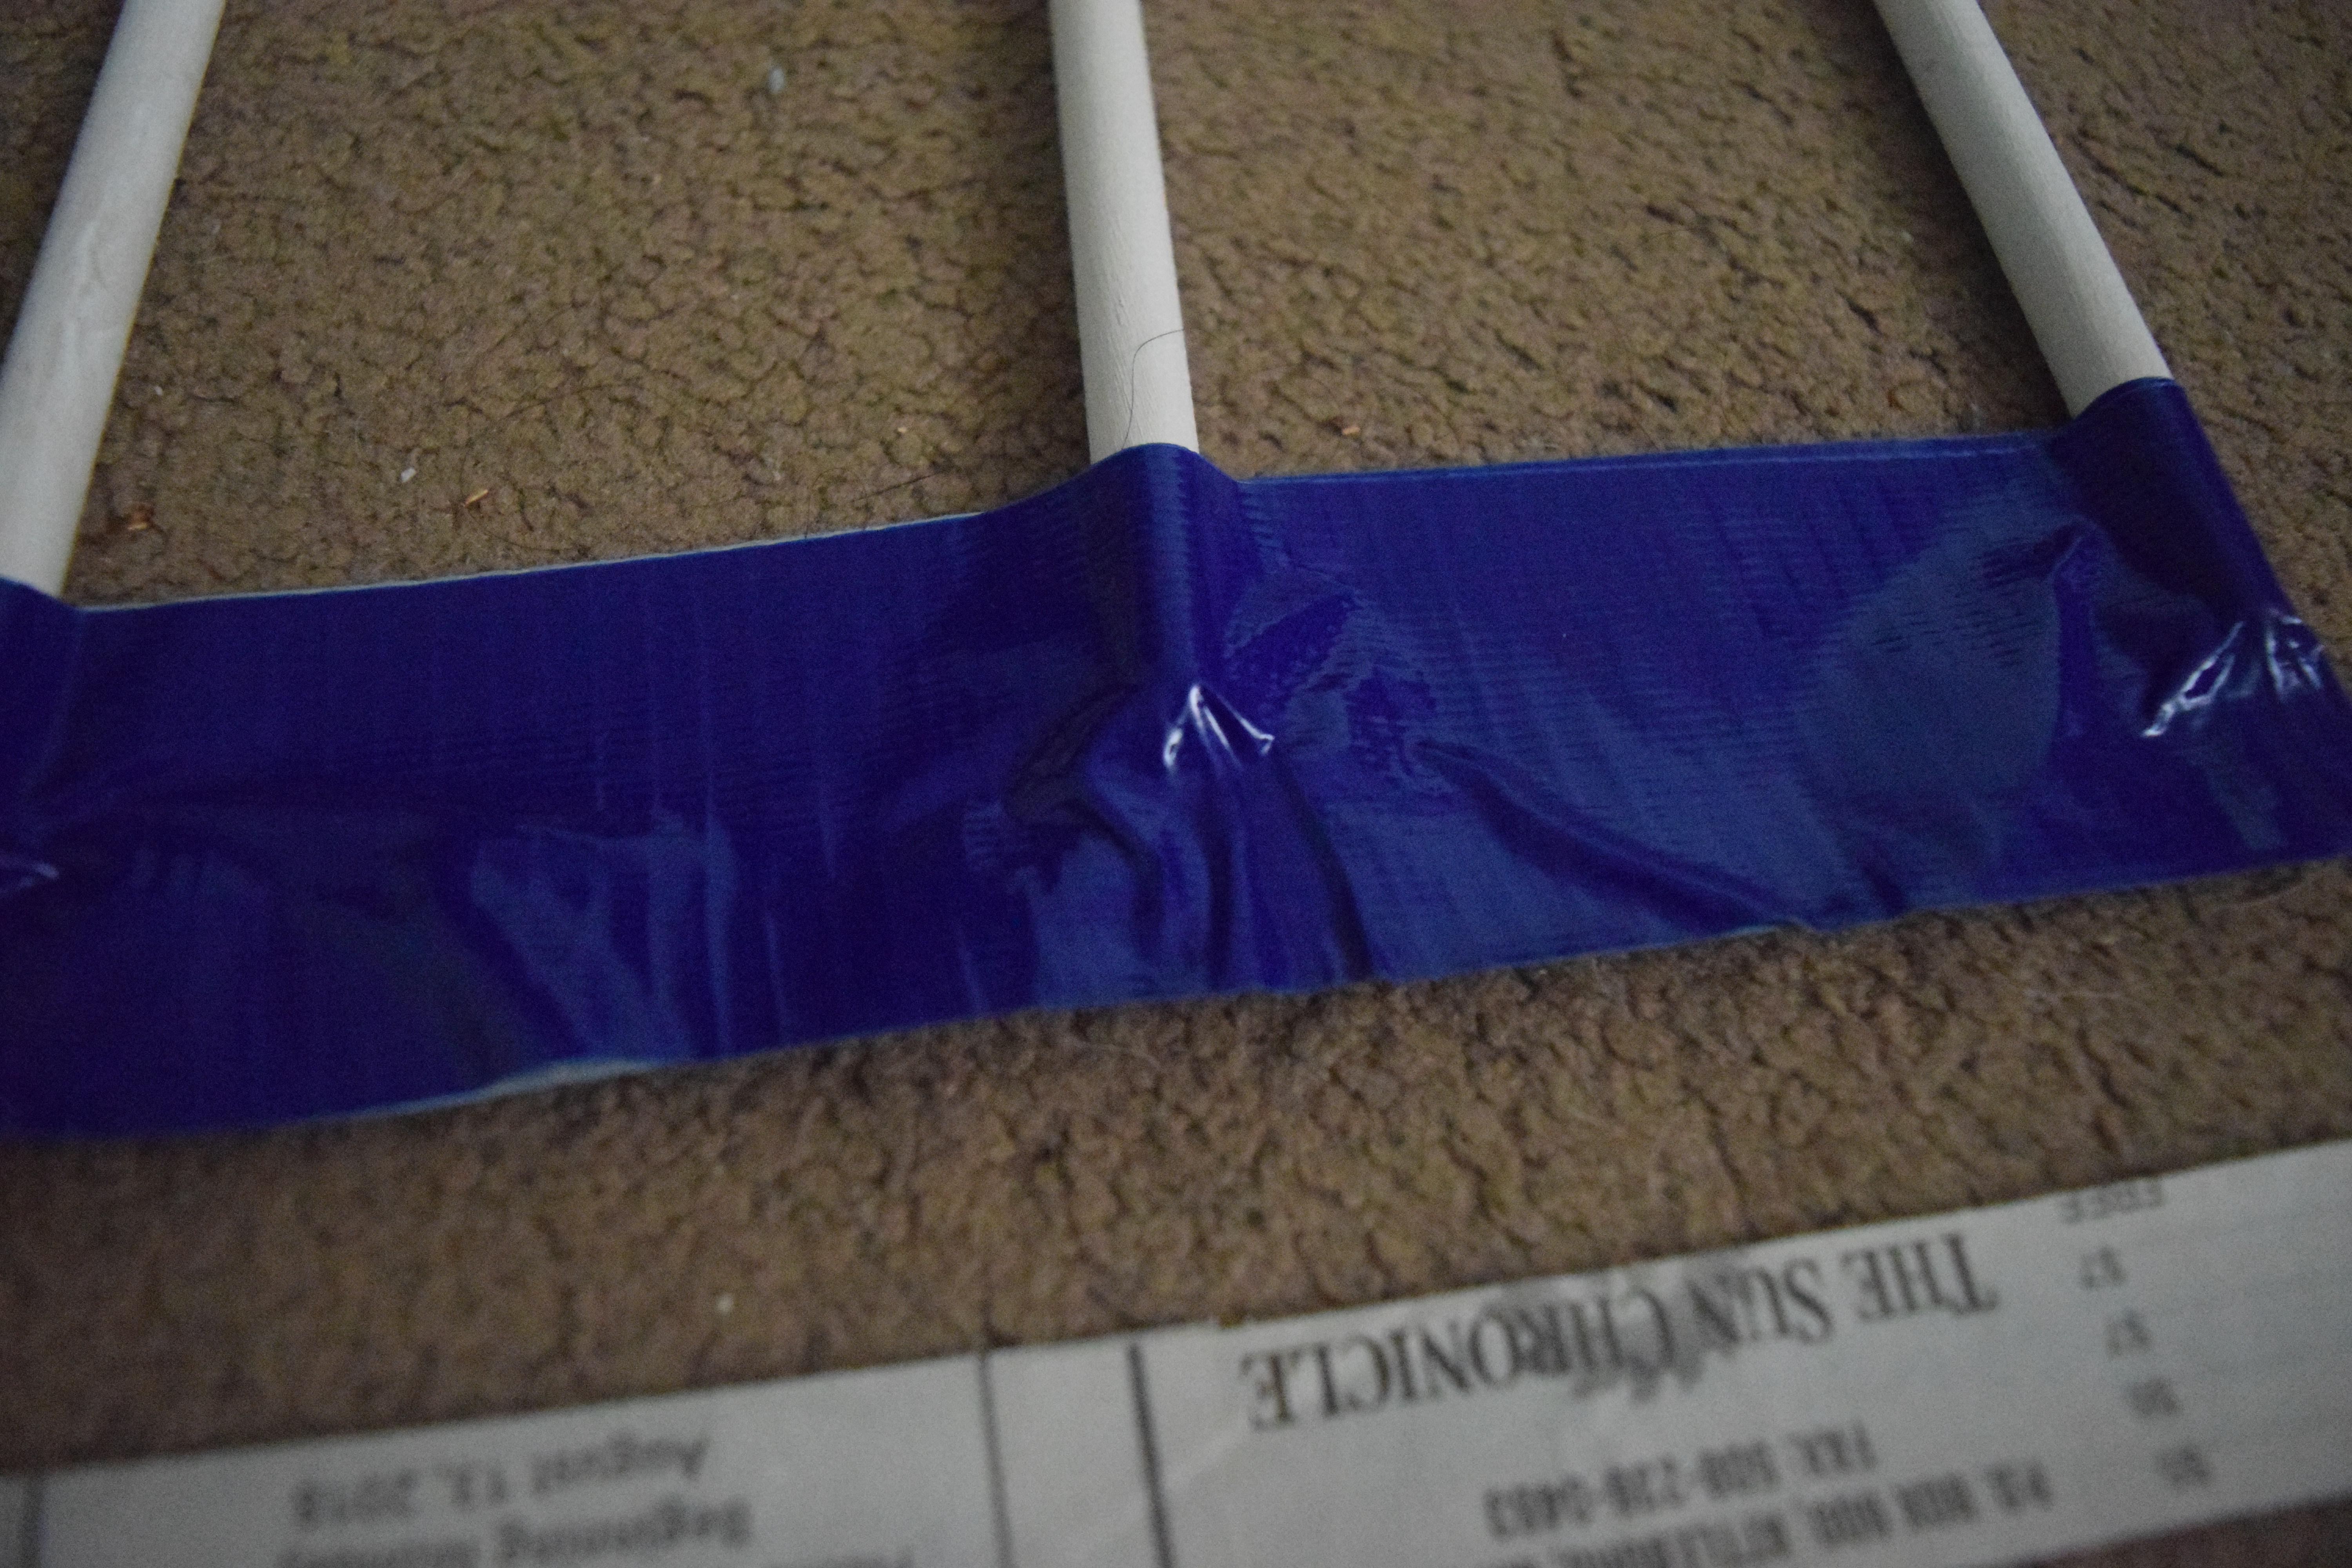
Crimp all around the edges of your rods on the side the tape was added to.
Add Second Layer of Duct Tape to and Crimp the Other Side of Rack
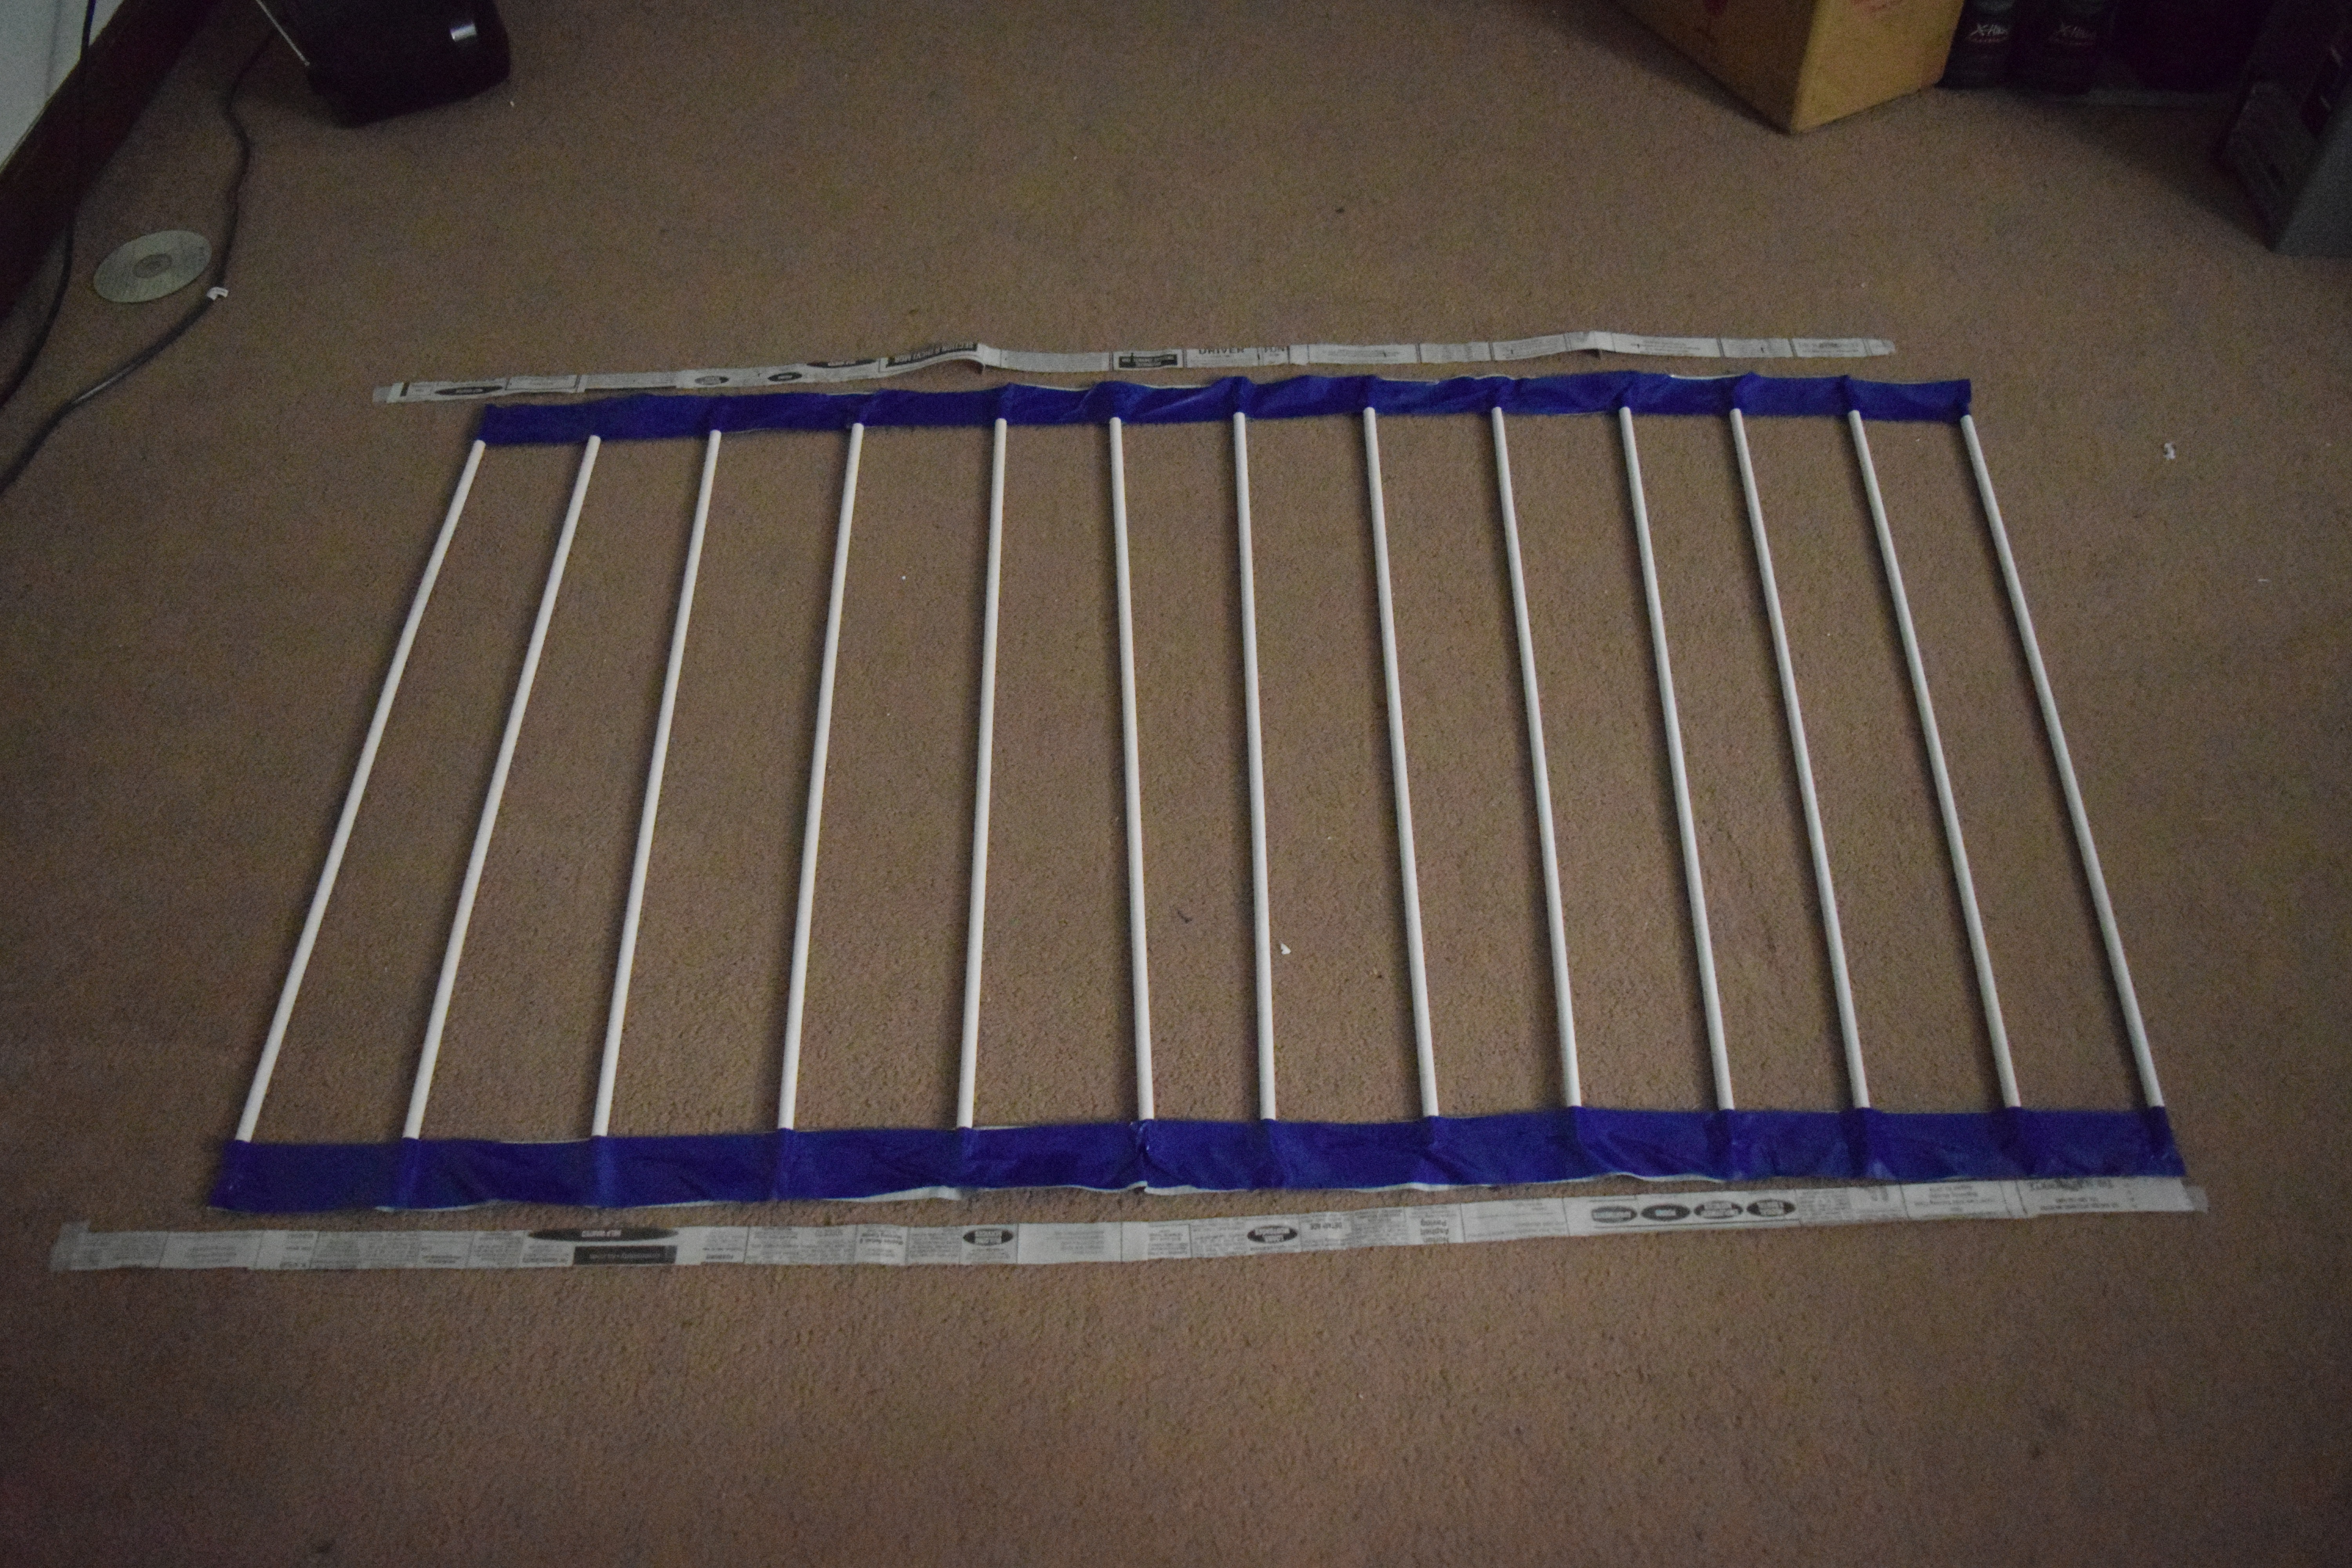
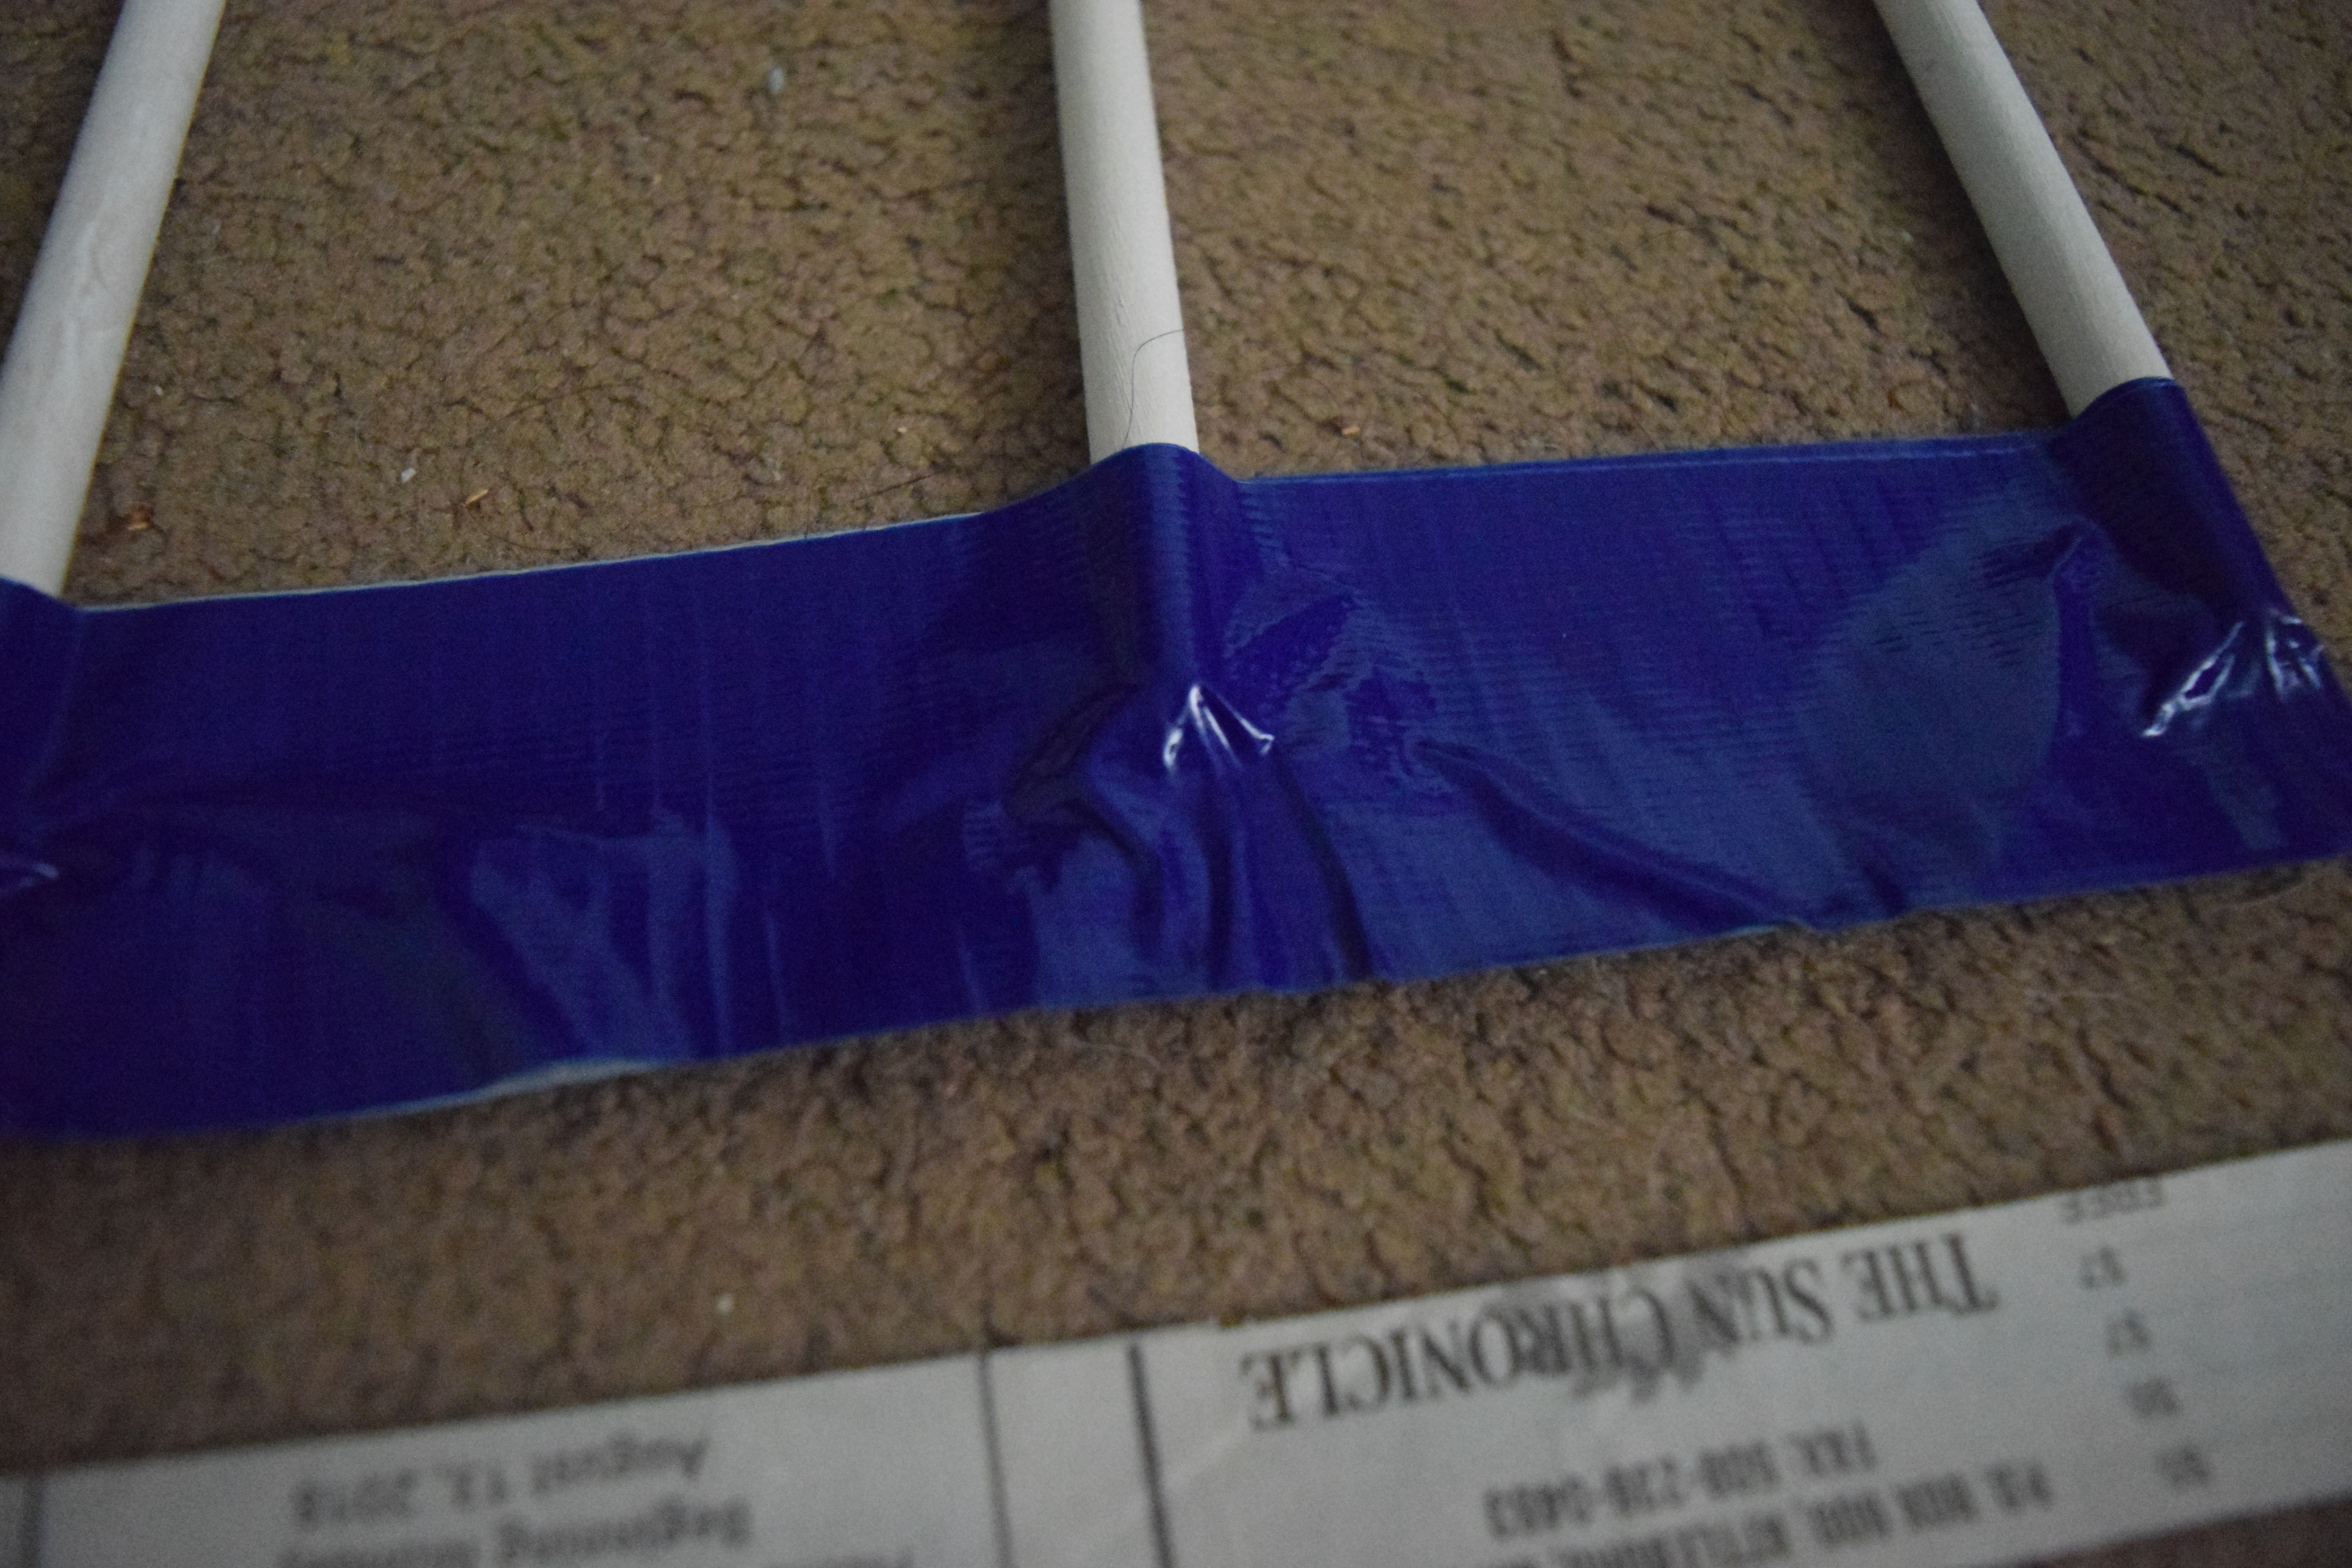
Repeat Steps 12-13 for the other strip of duct tape:
Add a new strip of duct tape on top of the other exposed sticky side of the duct tape strip.
- Crimp all around the edges of your rods.
Trim Excess Duct Tape

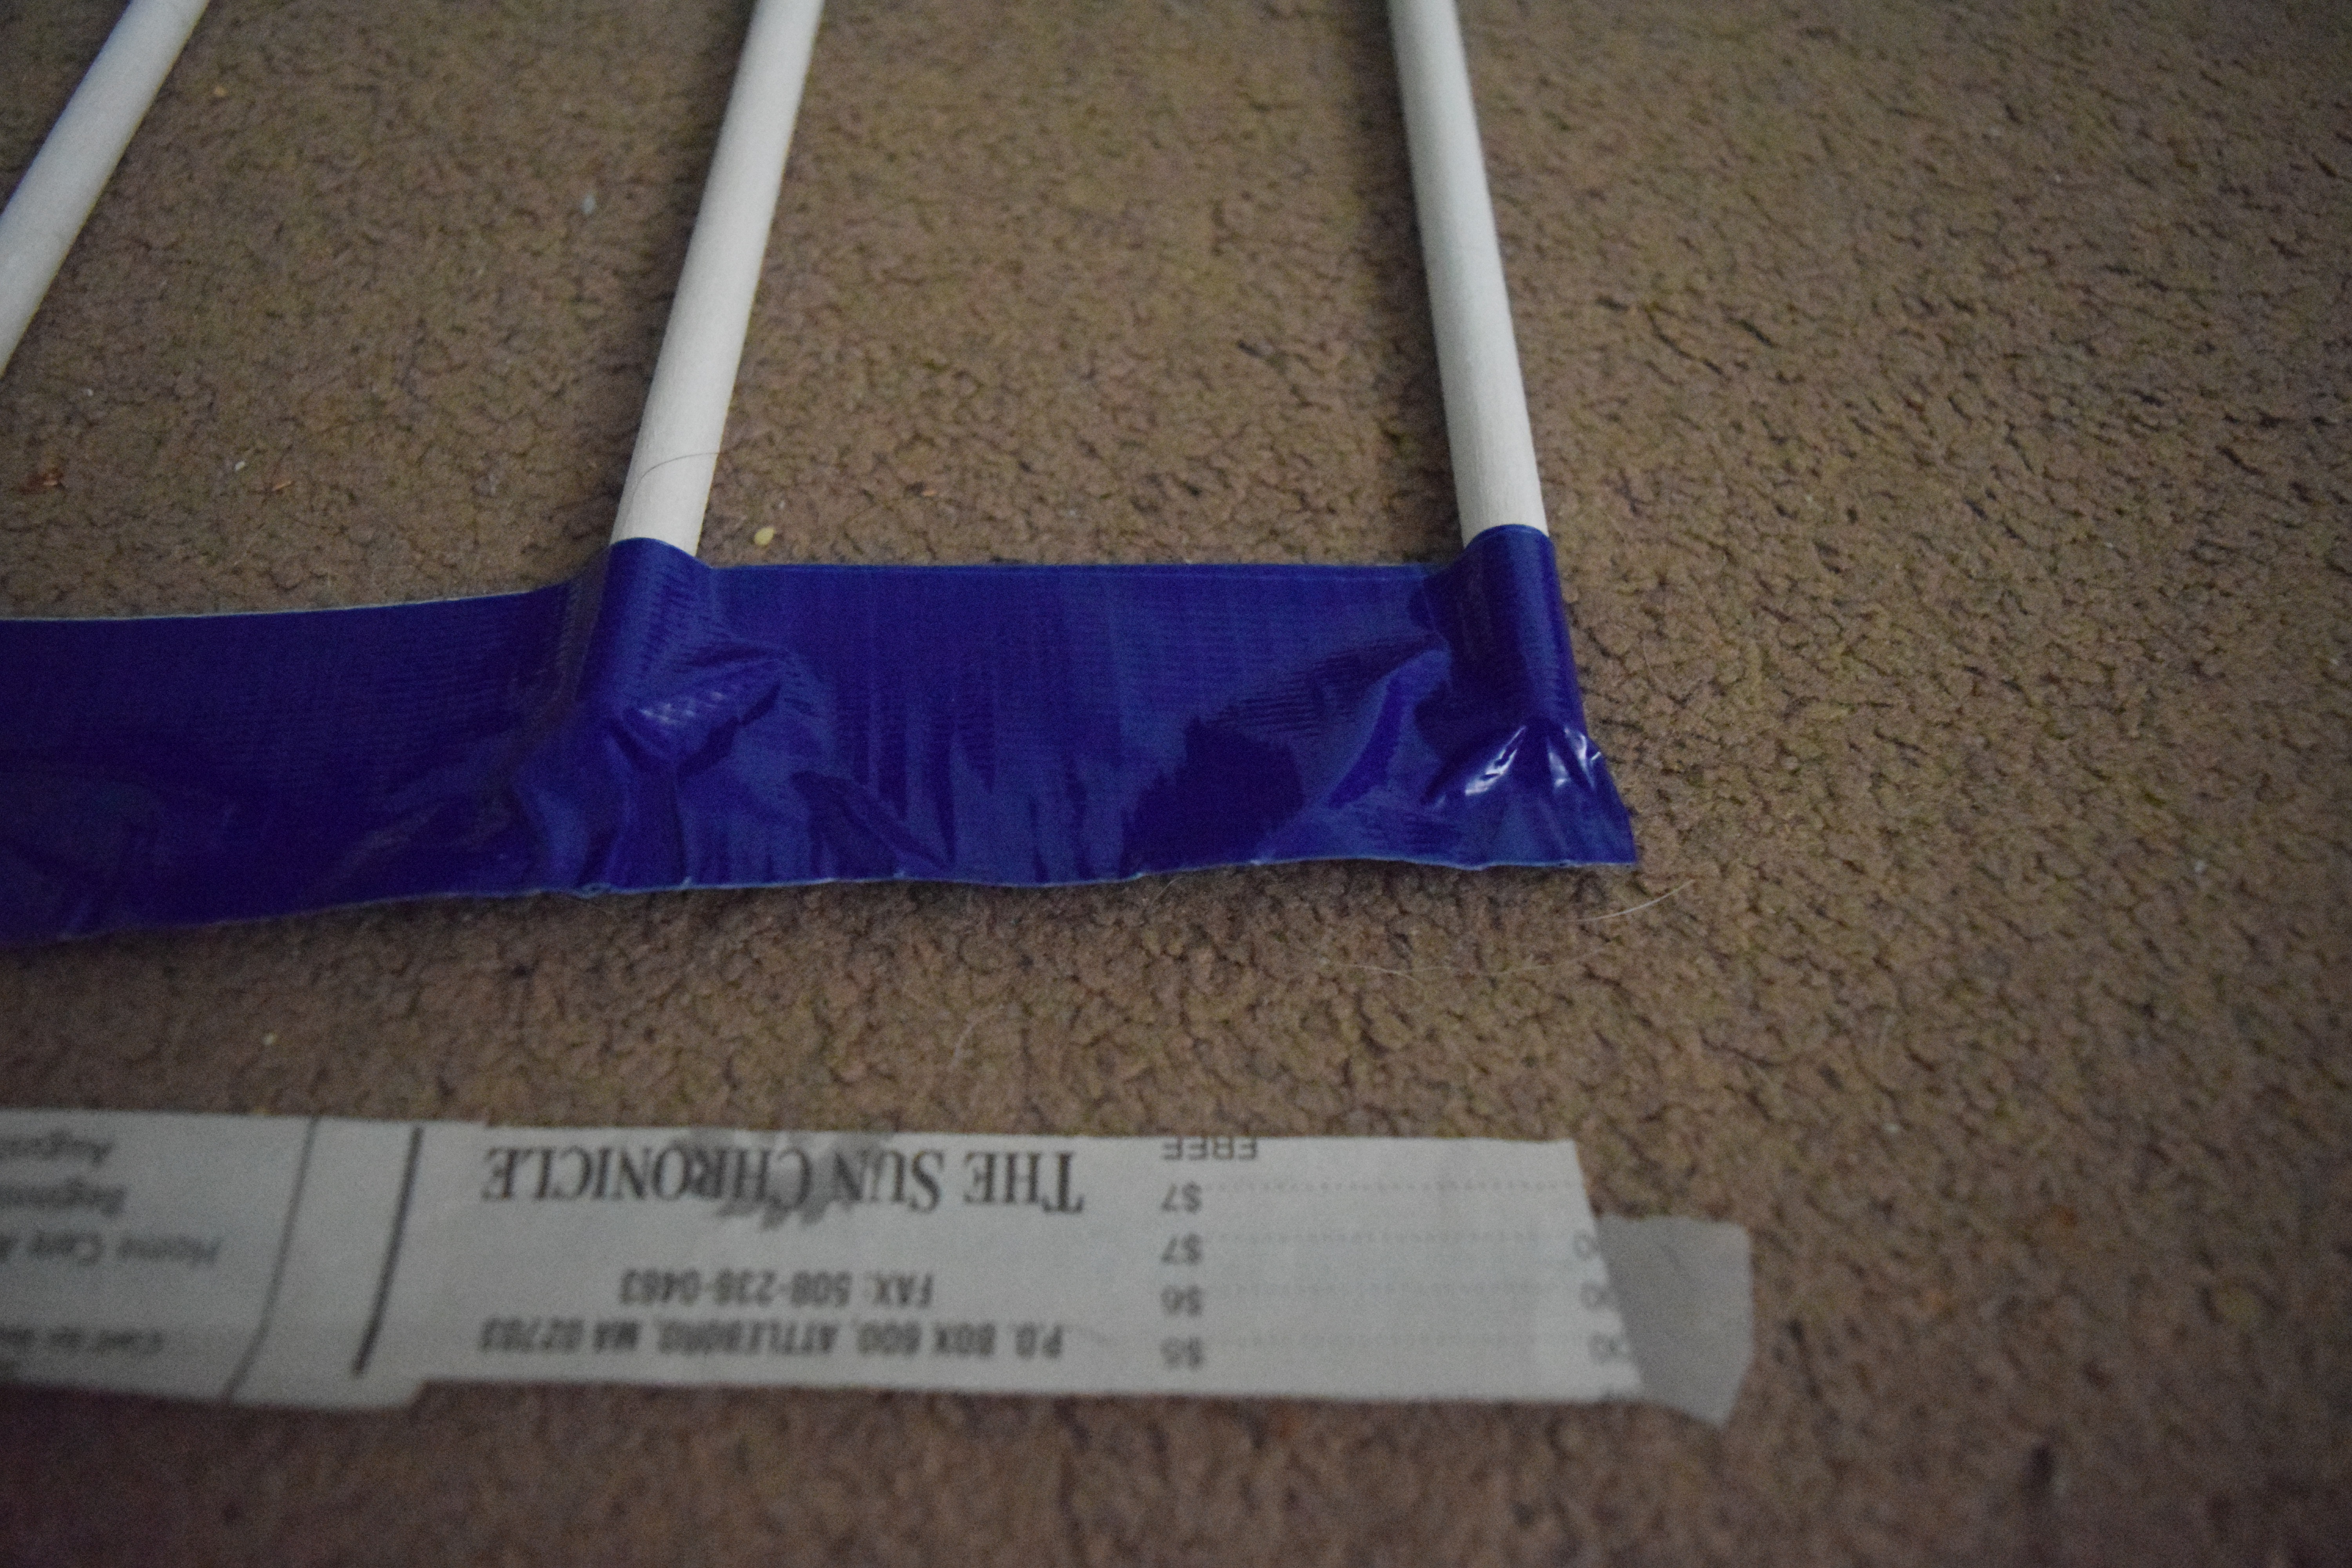
Trim excess duct tape along edges with the ends of the dowels. Test your rack. Trim down the excess duct tape until the rack is resting securely on top of the bathtub. Make sure the ends are cut smoothly. I had to cut down the duct tape until it was 1/4 inches longer than the ends of the rods.
Use Your Drying Rack!


To use your rack, place it over your bathtub. You may find it helpful to mark the top right corner so you know how to orient your rack. Put clothes on your rack and let dry. When you are done, roll it up for easy storage. Enjoy!