Collapsible Trash Can for Camping
by pollygsloan24 in Outside > Camping
84 Views, 1 Favorites, 0 Comments
Collapsible Trash Can for Camping
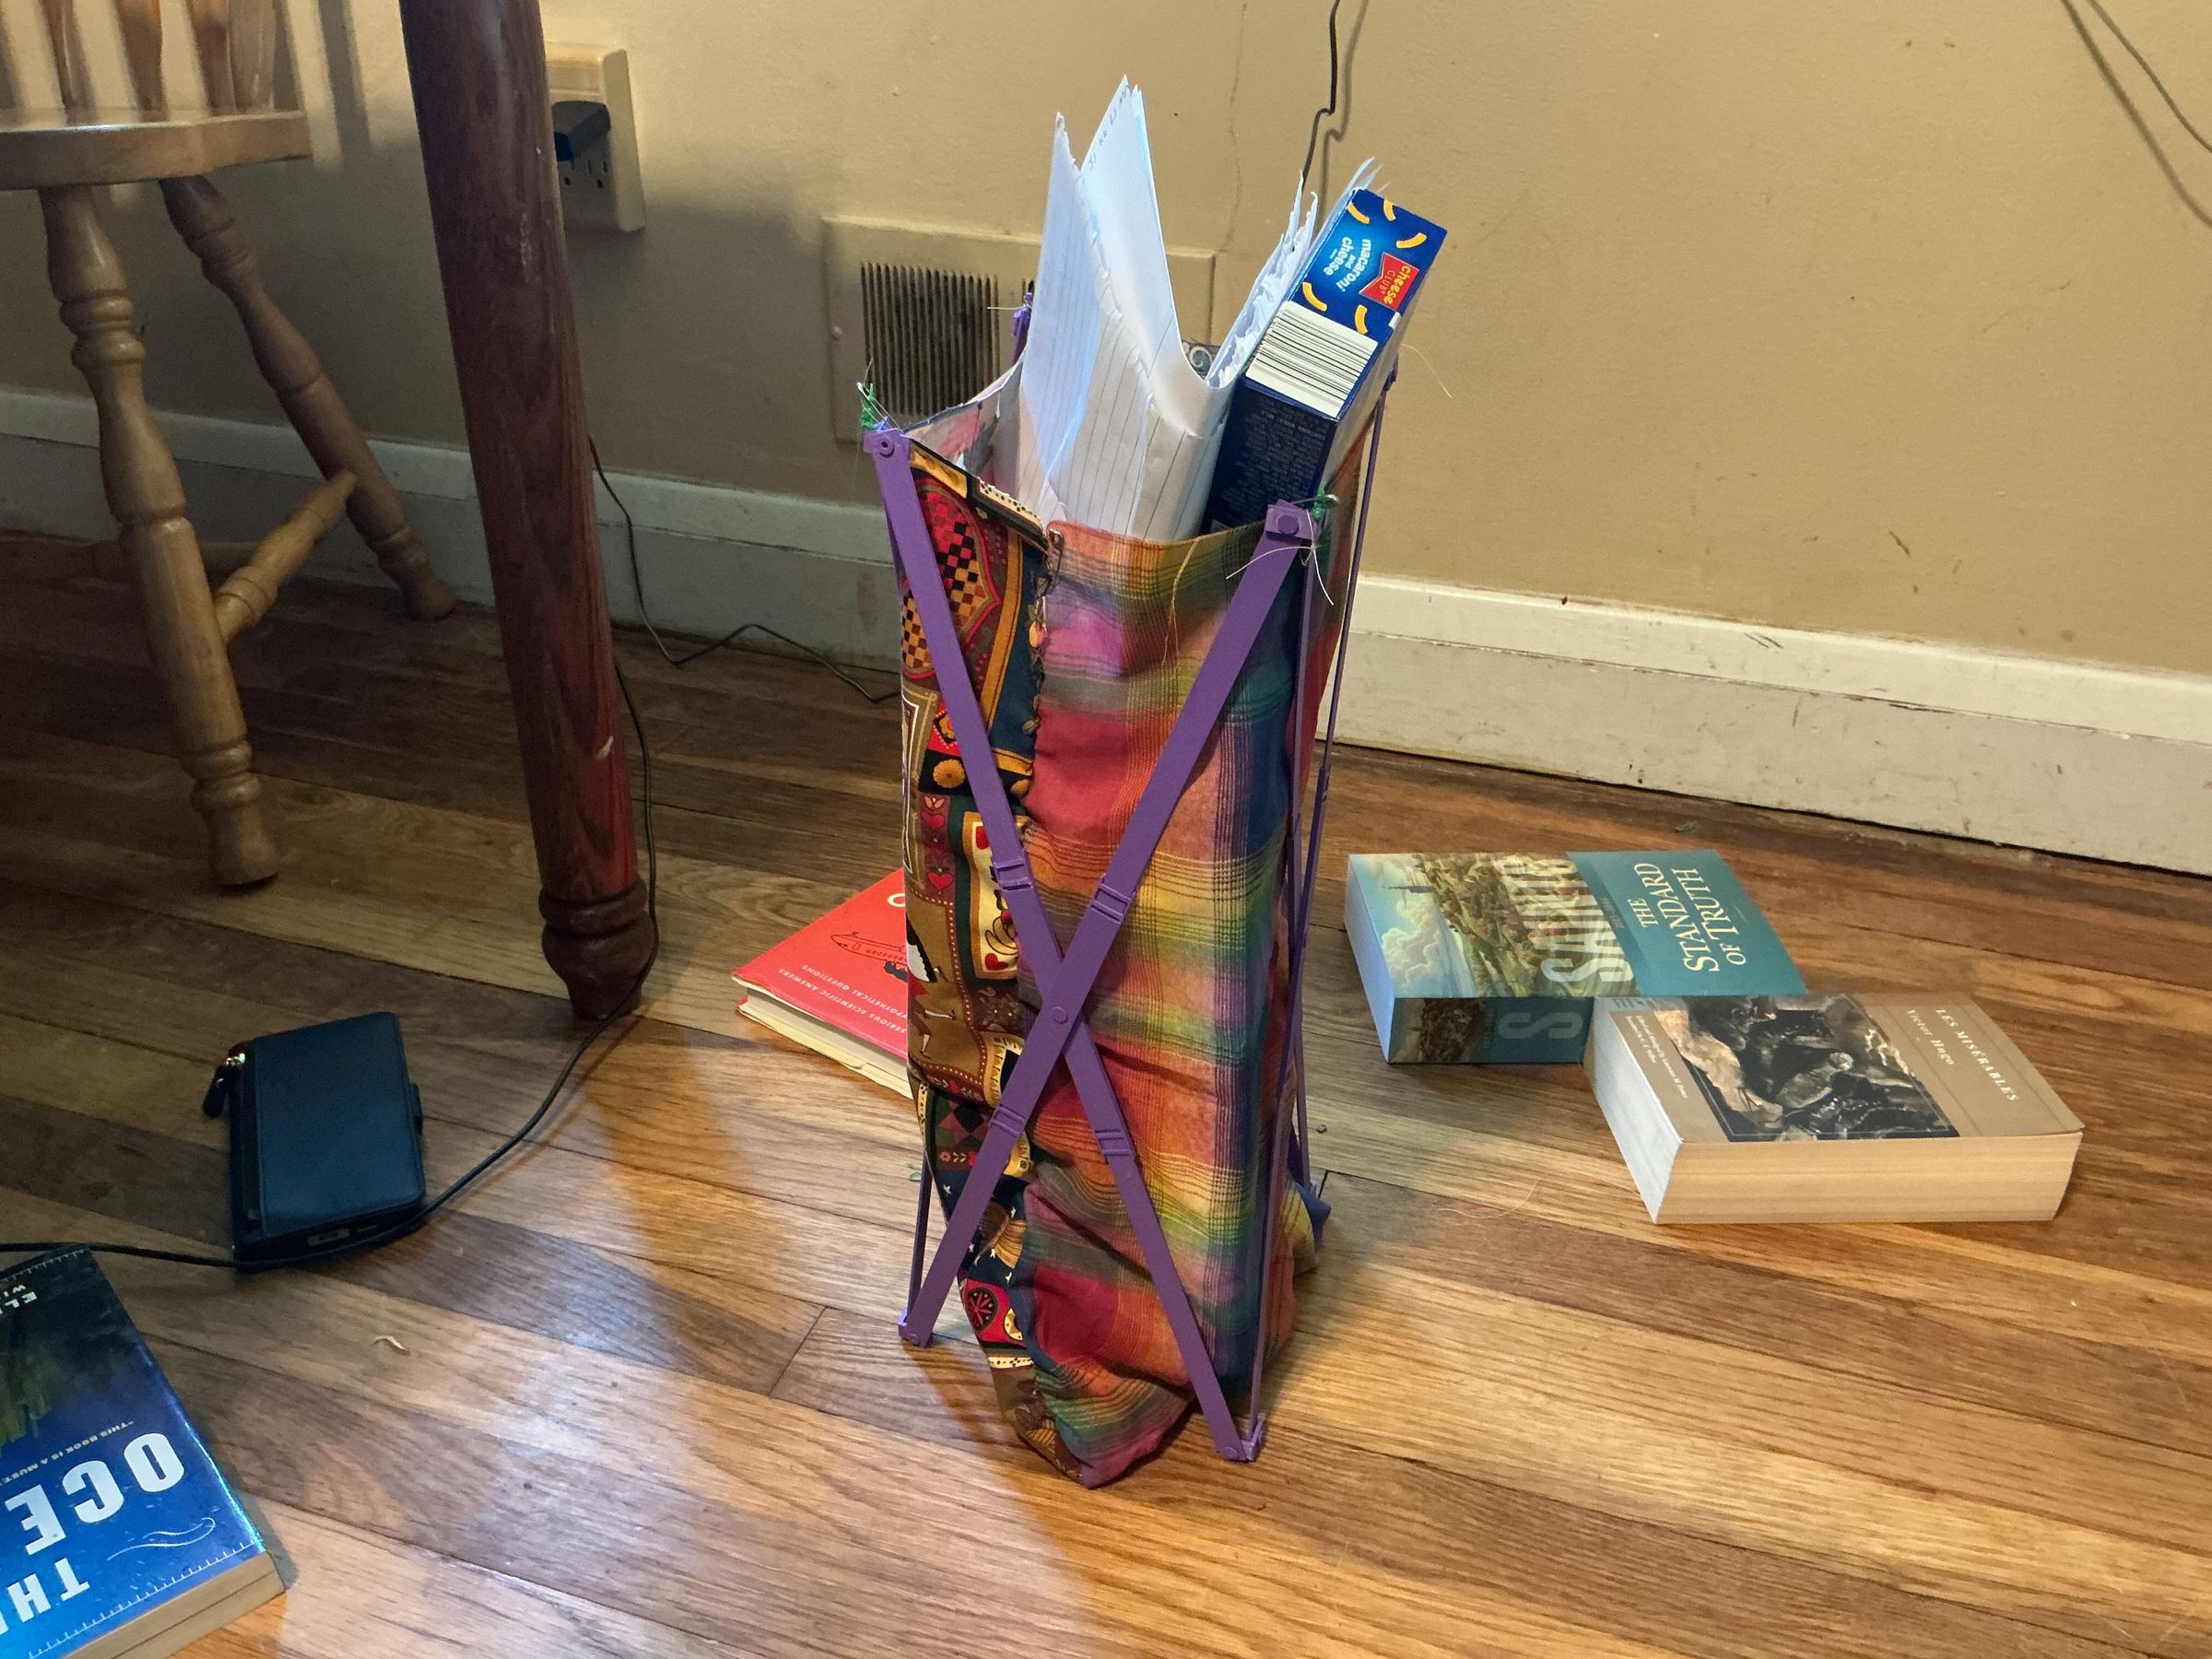
Who doesn't love a good off-grid trip?
Roughing it in the wilderness is a great way to connect with nature and gives you the thrill of being in the wild. However, this kind of living comes with costs. For one thing, you still have garbage to deal with.
Sure, you could just hang a trash bag from a branch, but I have always found it ugly and inconvinient.
This collapsible trash can allows you to enjoy off-grid living while still having a good place to store garbage. It is portable, doesn't always require trash bags, and can be easily stored.
Supplies
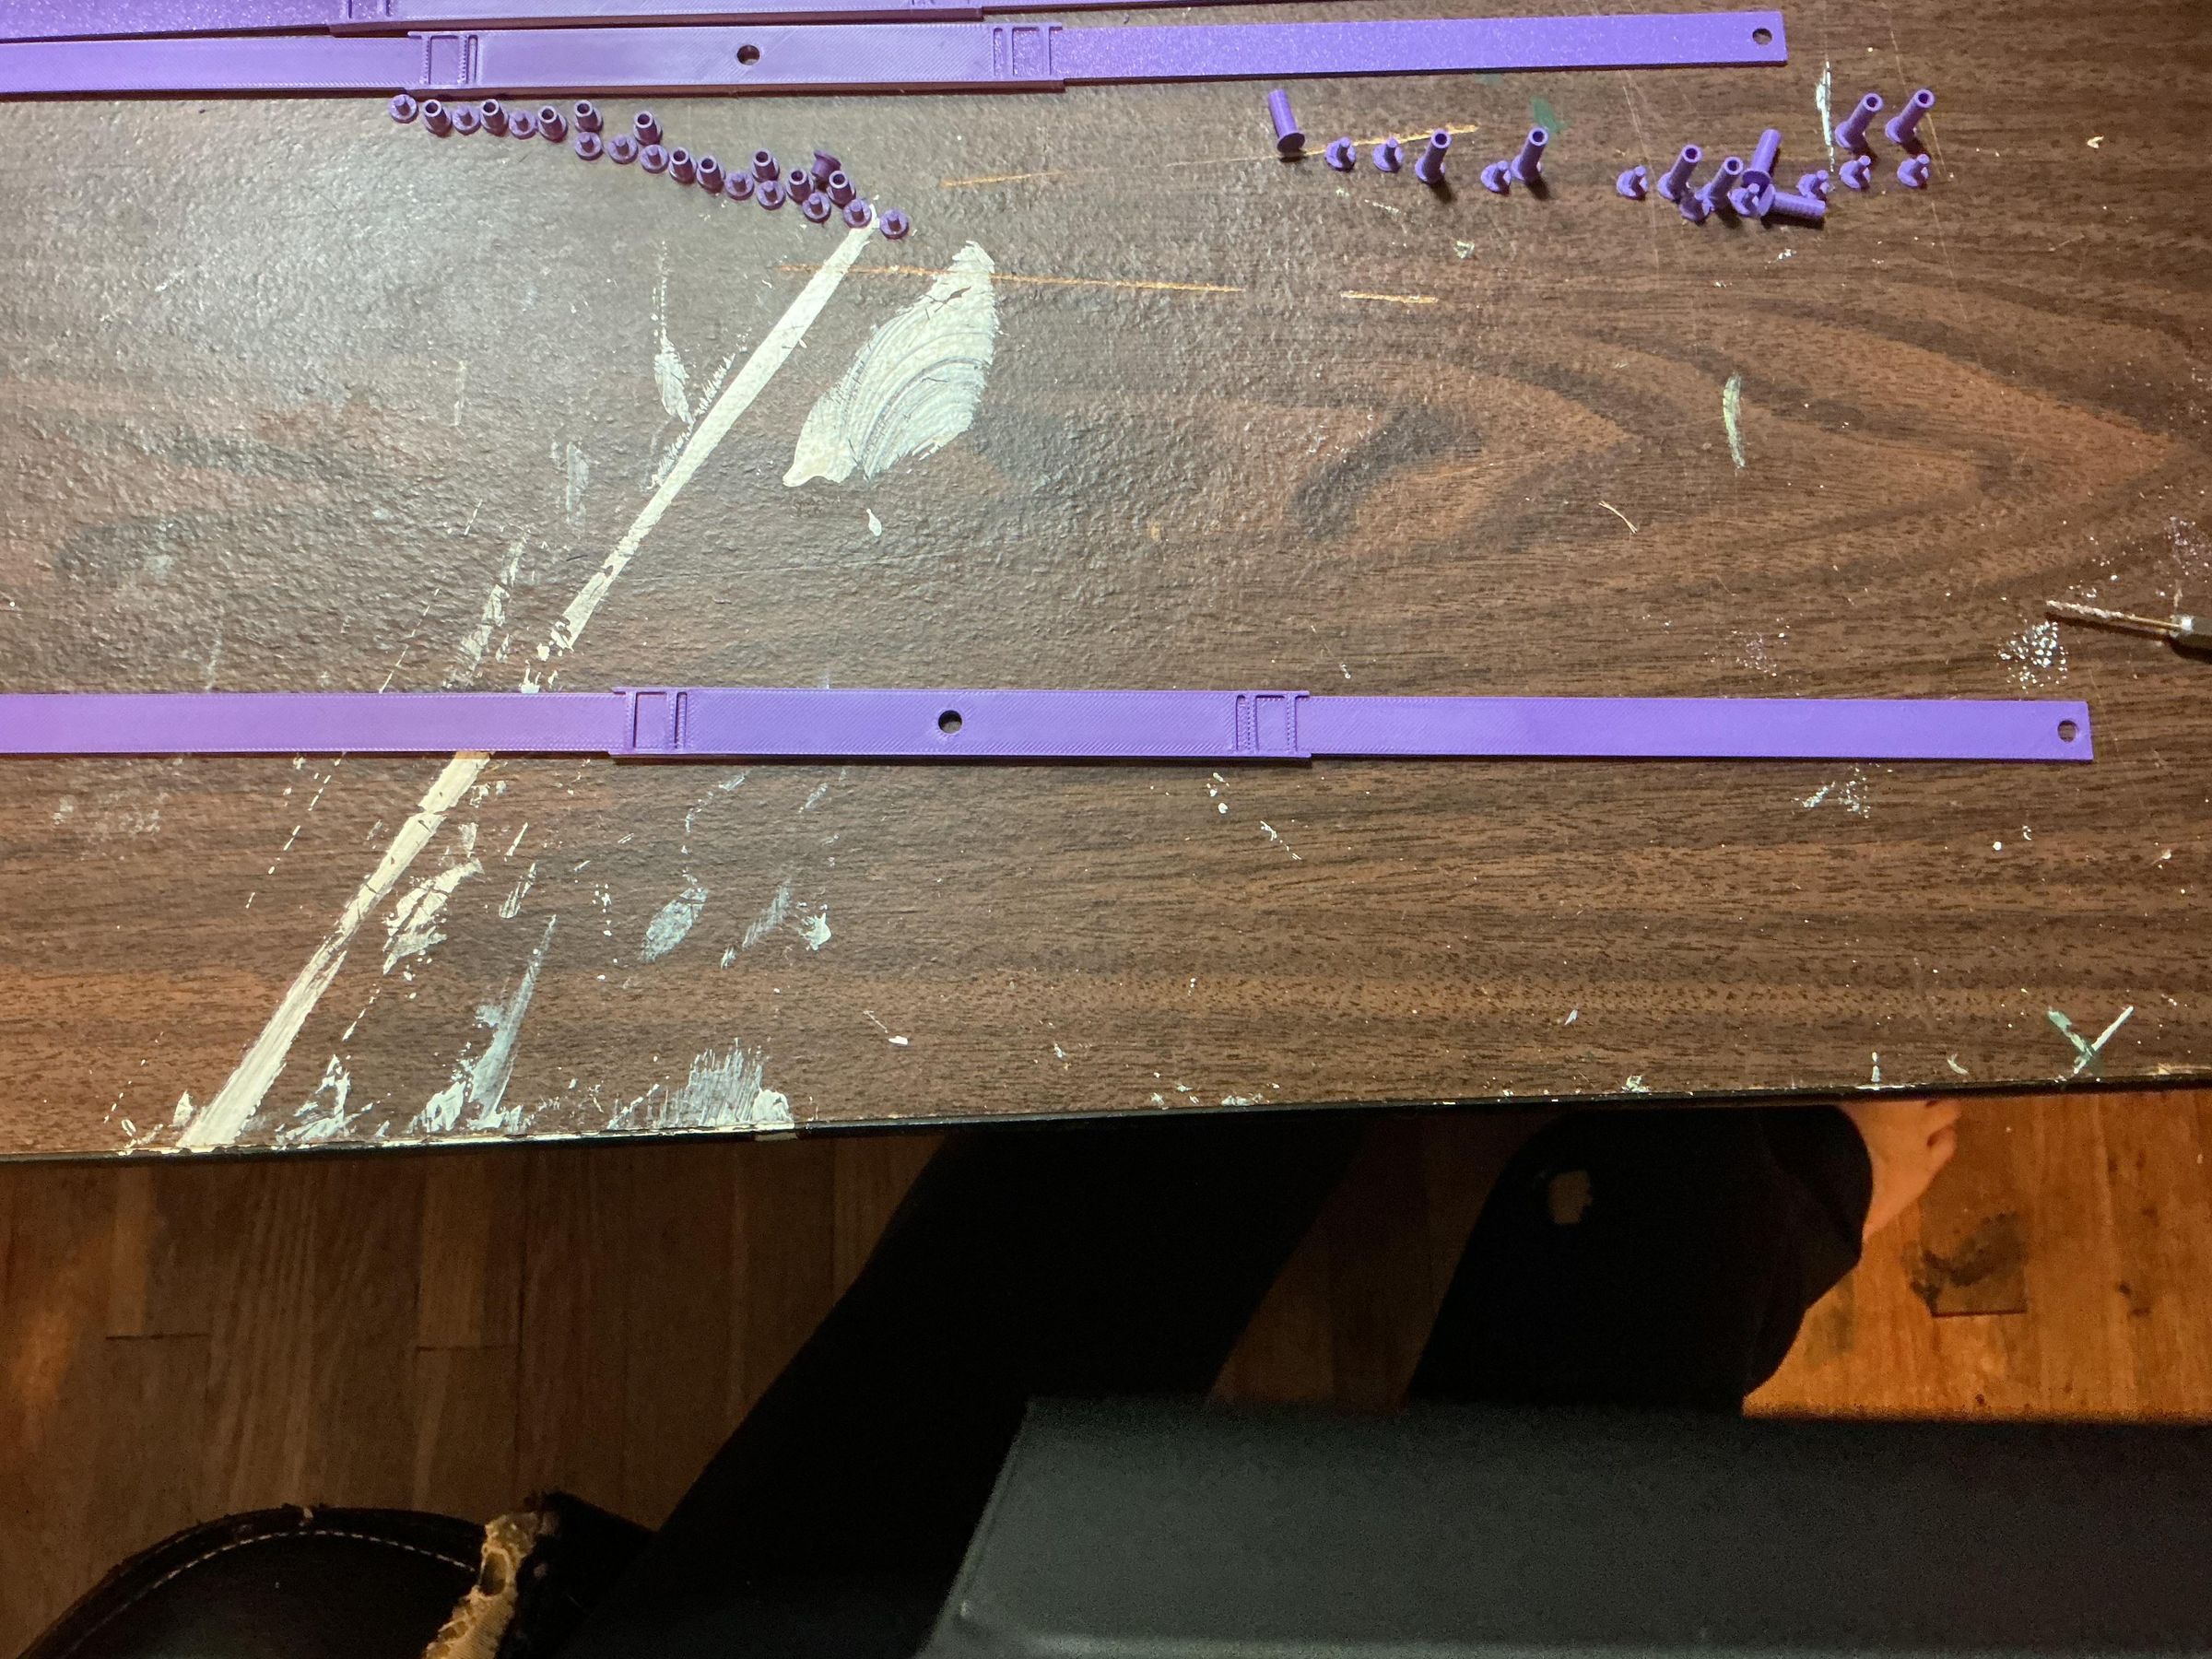

3d printer: I used Bambu mini
Fusion 360 part files (have attached)
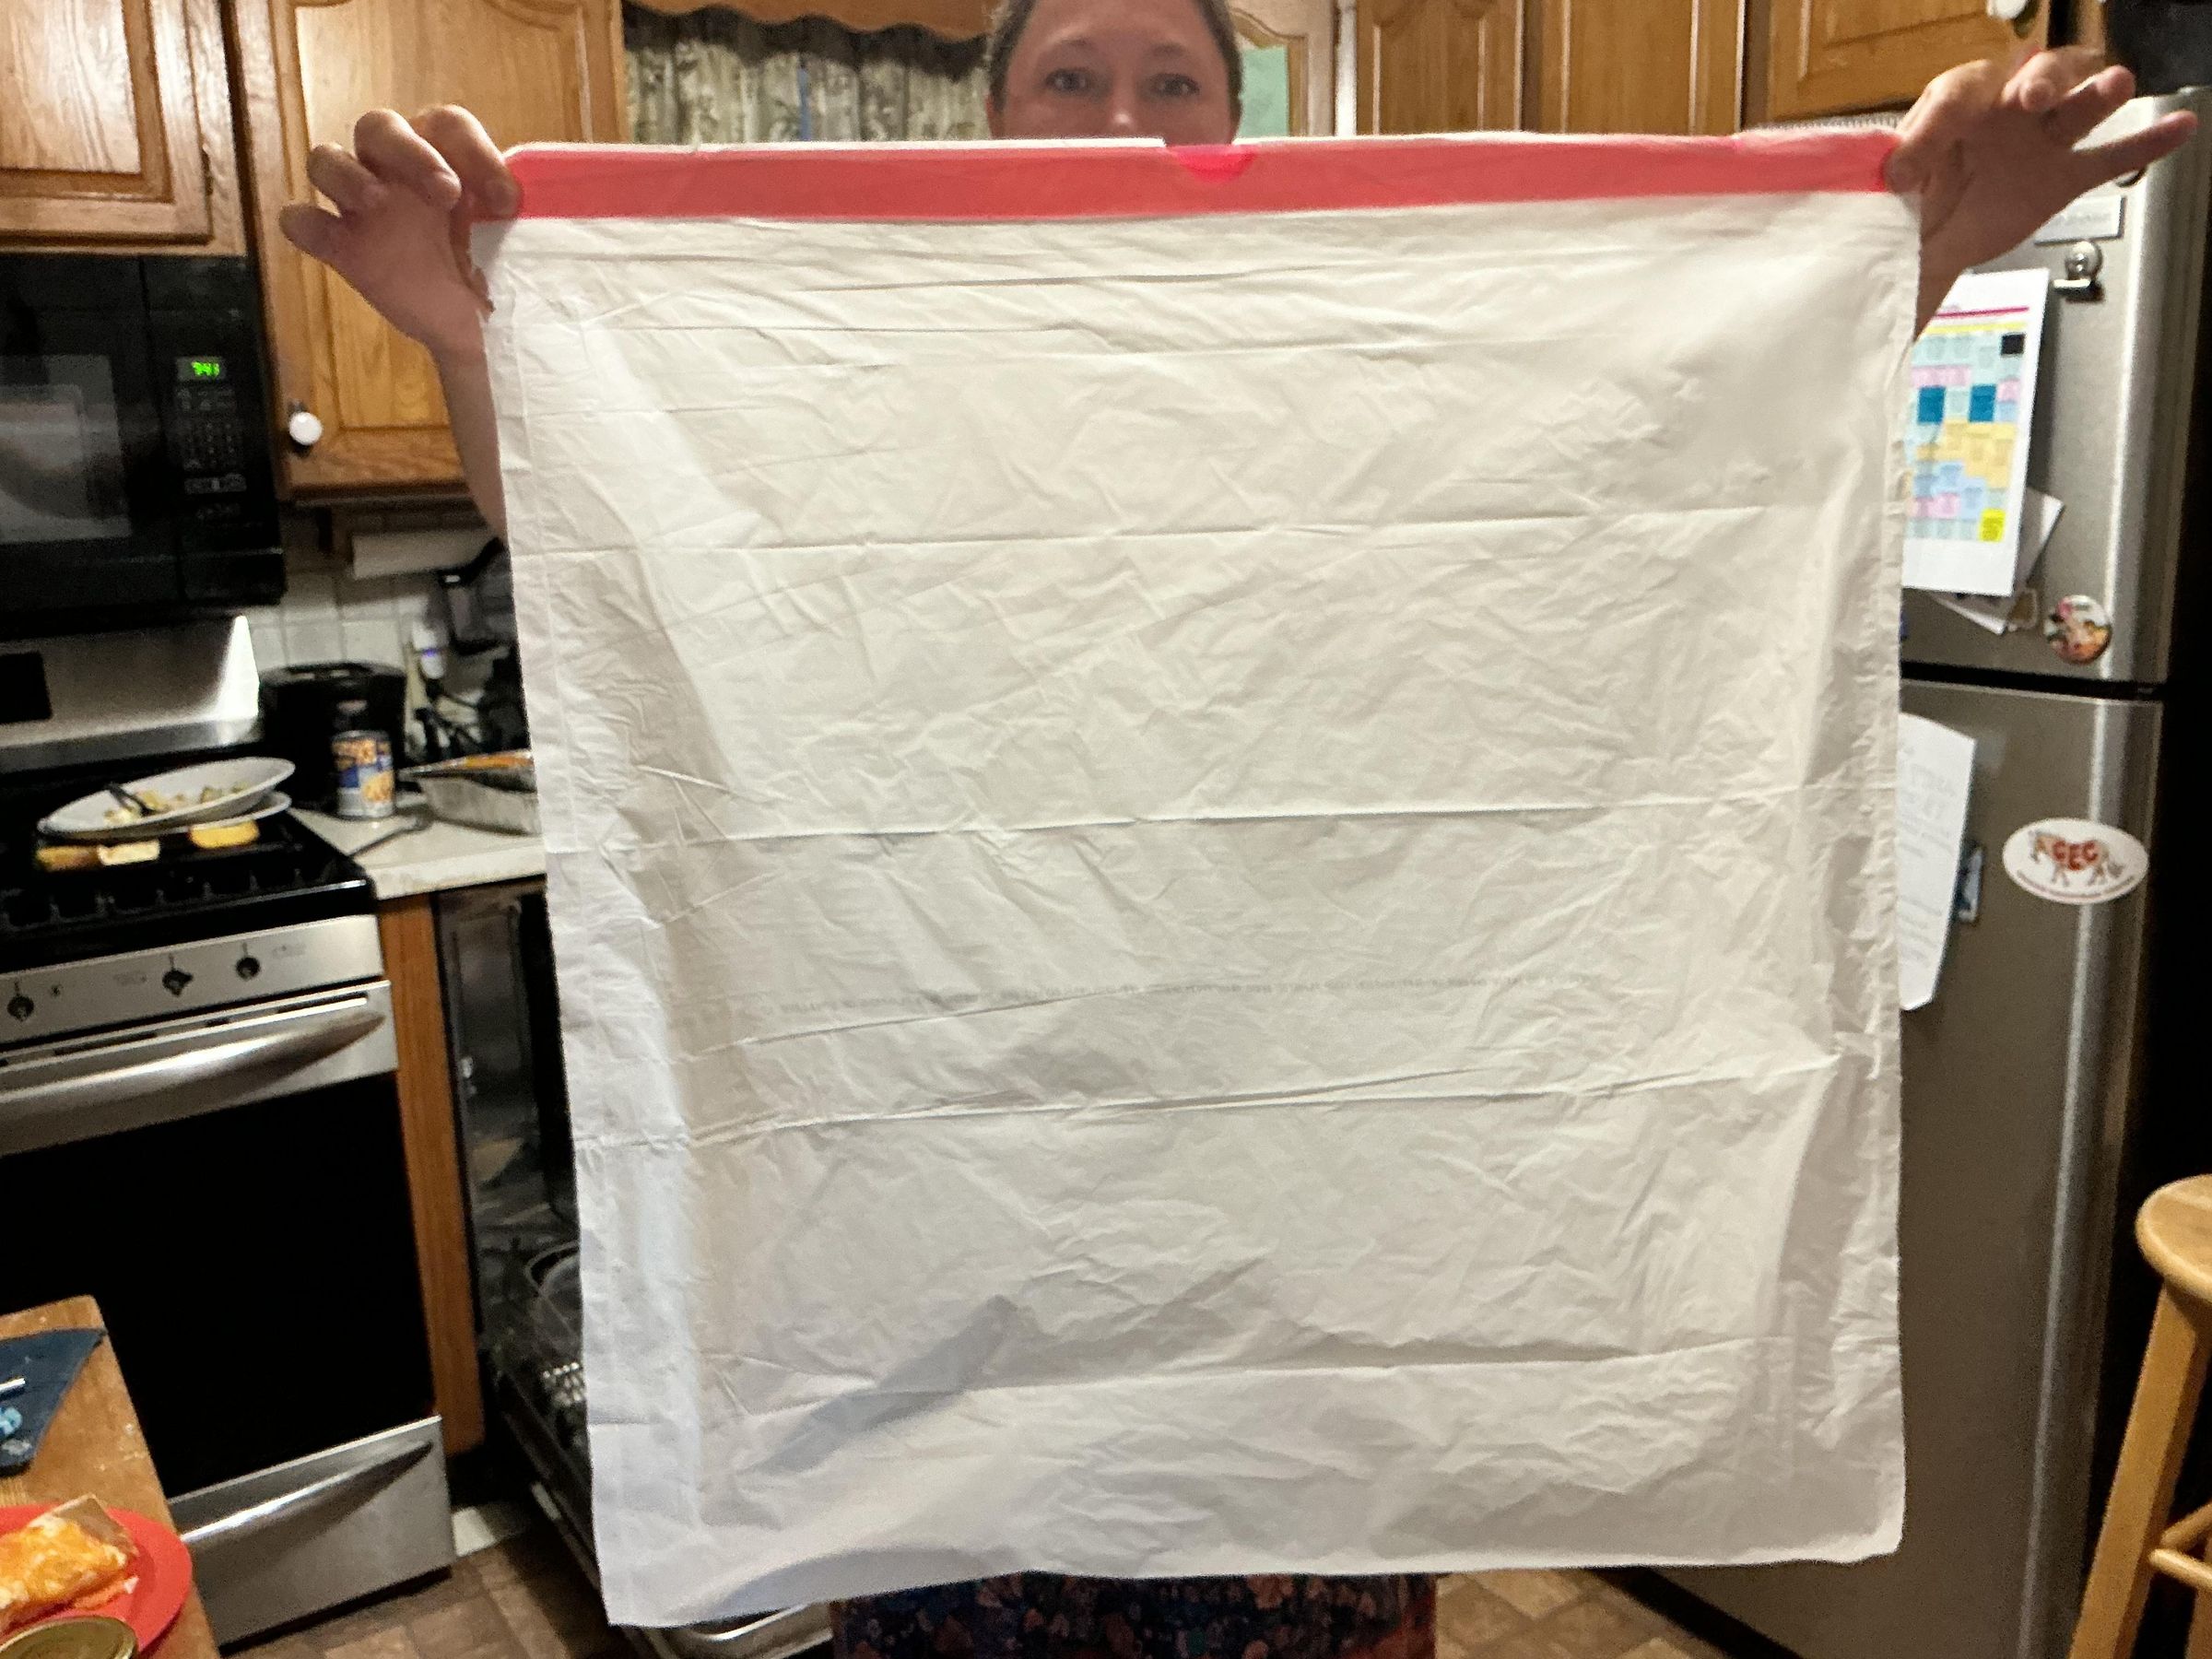
Plastic trash bag
4 safety pins
1 long piece of string or ribbon
Glue: Conditional
Optional: (For reusable recycling bag)
Sewing needle
Sewing thread
Sturdy fabric
4 safety pins
Scissors
Parts Explanation
This step is for people who would like to understand the function of each part in case they want to make alterations, or are just curious!
X Legs: When the fully constructed beams are connected together form an x. The fastener in the center hole allows independent movement of the beams. This is crucial for the trash cans capability to collapse.
Pivot: These corner pivots allow each X to fold in at the same time without the corners blocking each other. If the corners were connected rigidly, then the beams would get stuck and not be able to fold in. That is why the pivots allow free rotation of the connected beams.
Print Parts
Open the Autodesk files that I have included, and print them on your 3d printer. Separate the parts out into groups for easy assembly.
Assemble the Walls
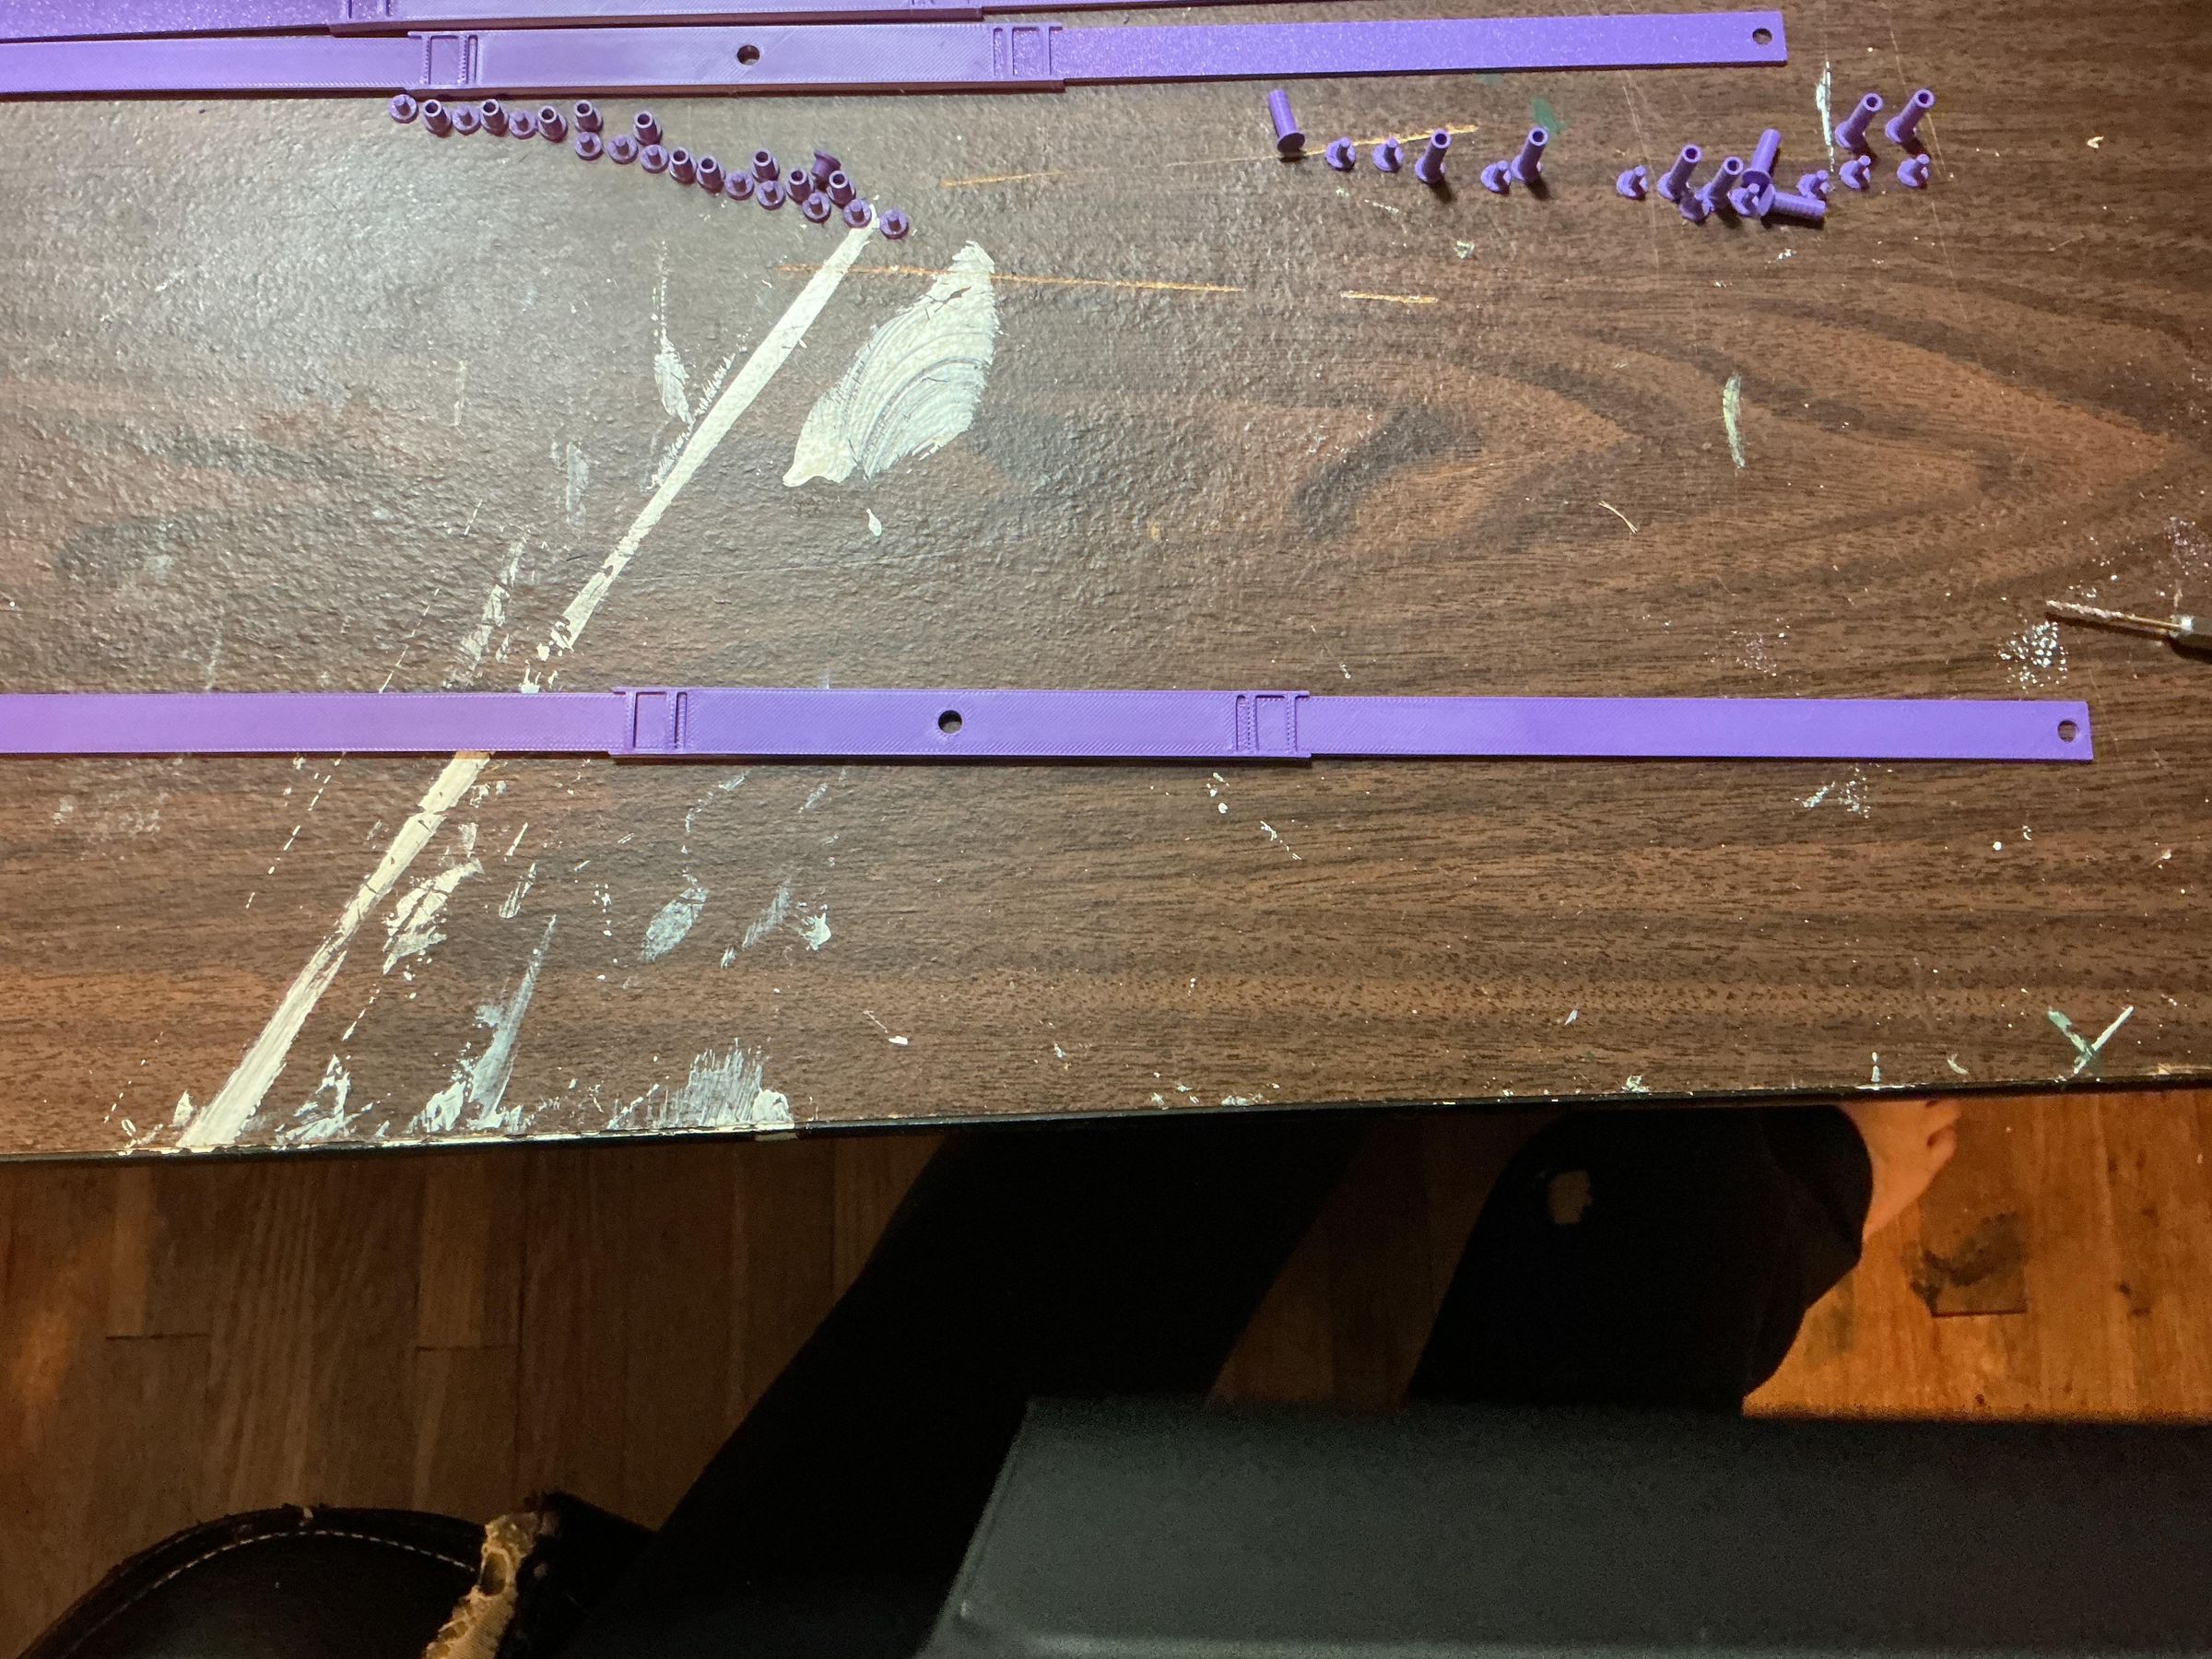
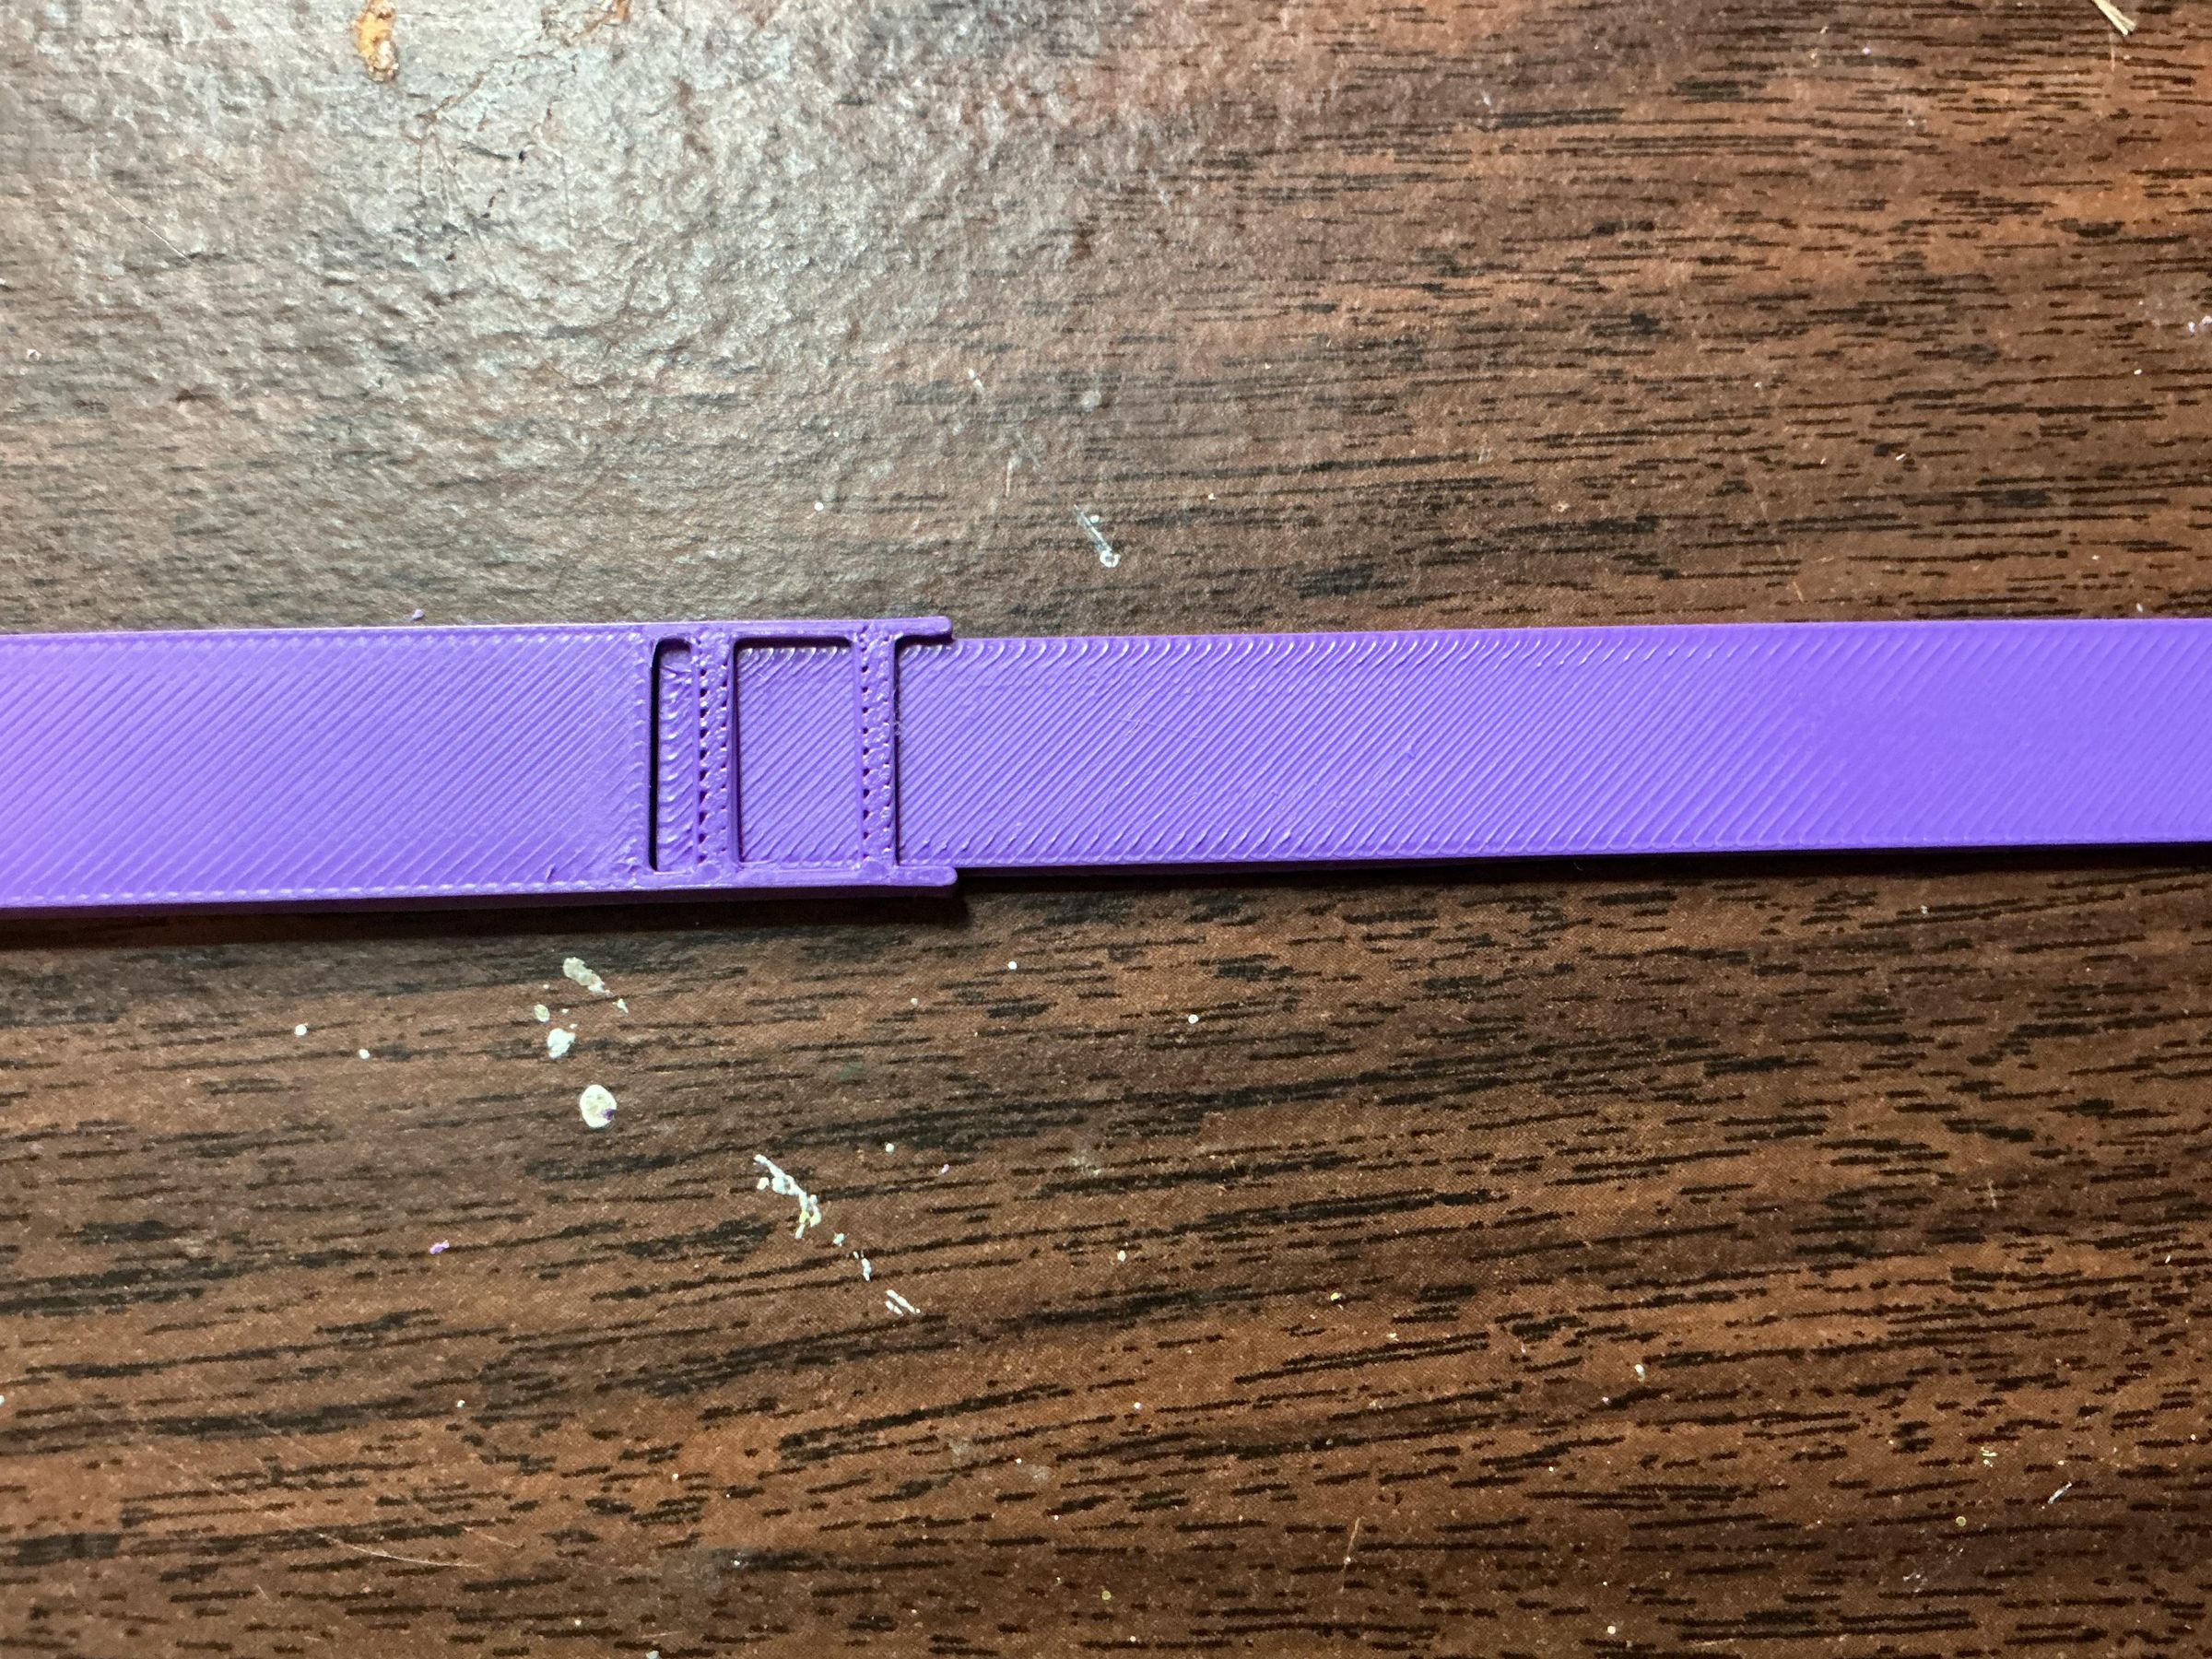
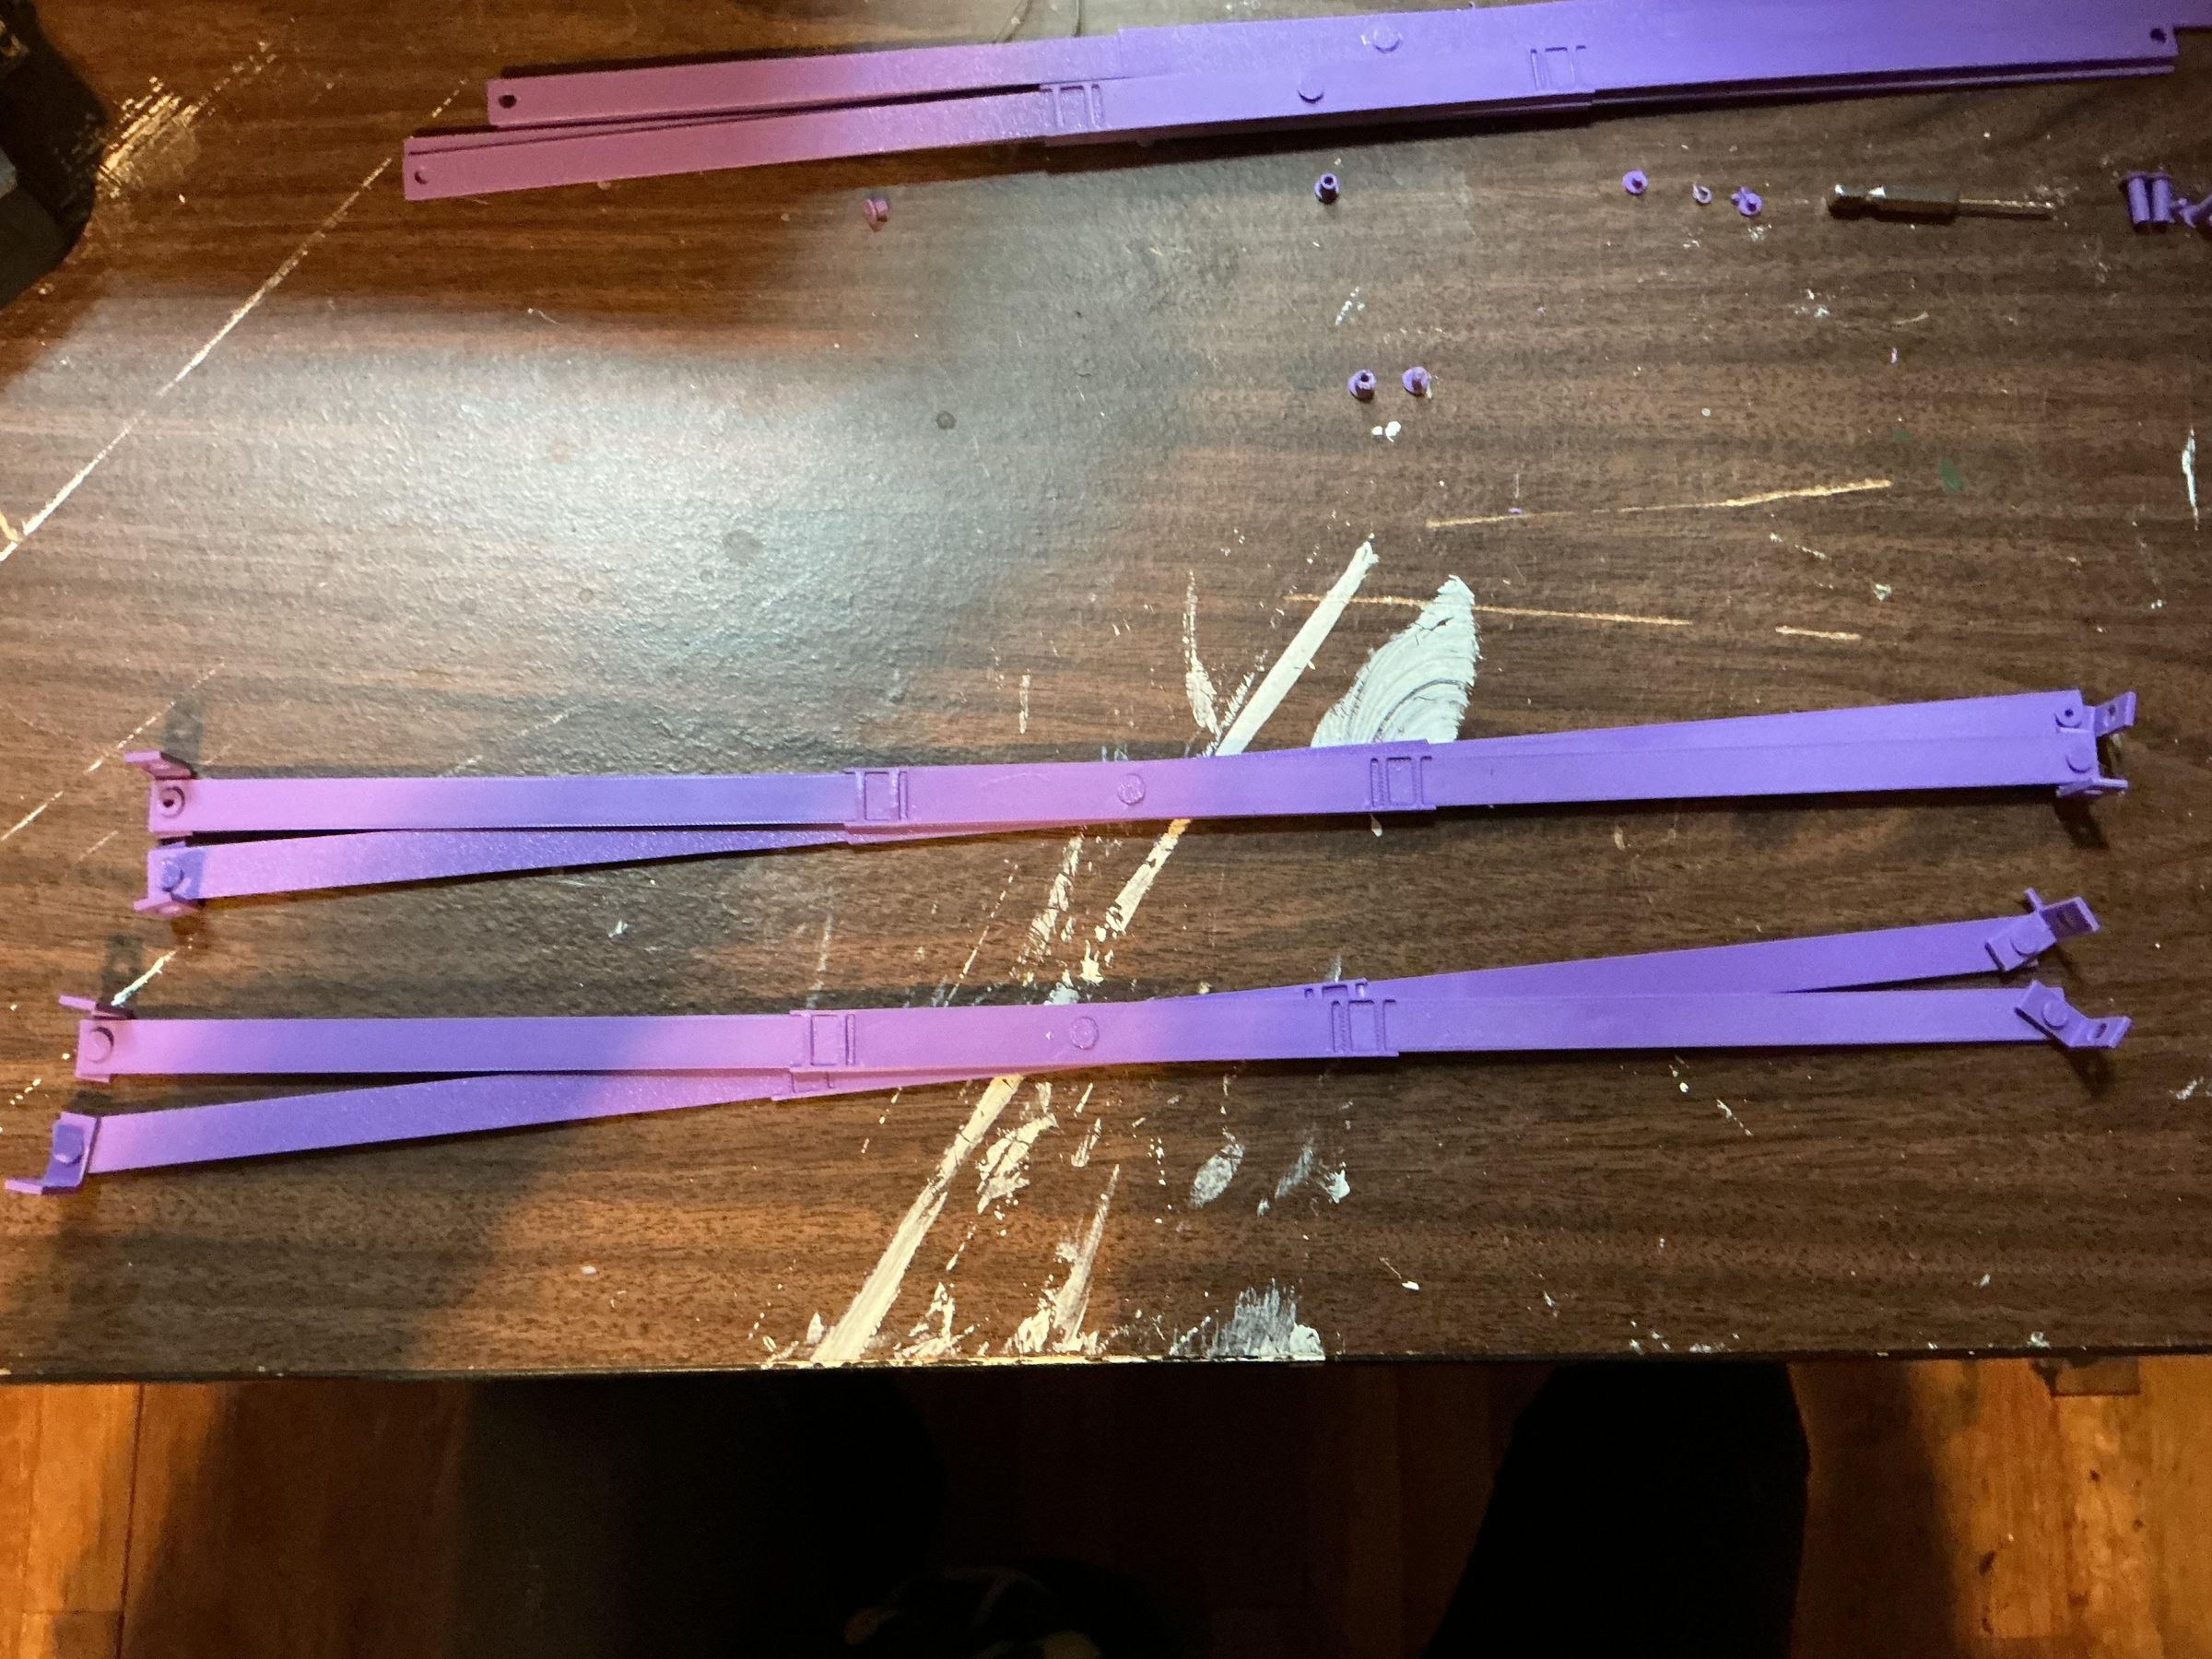
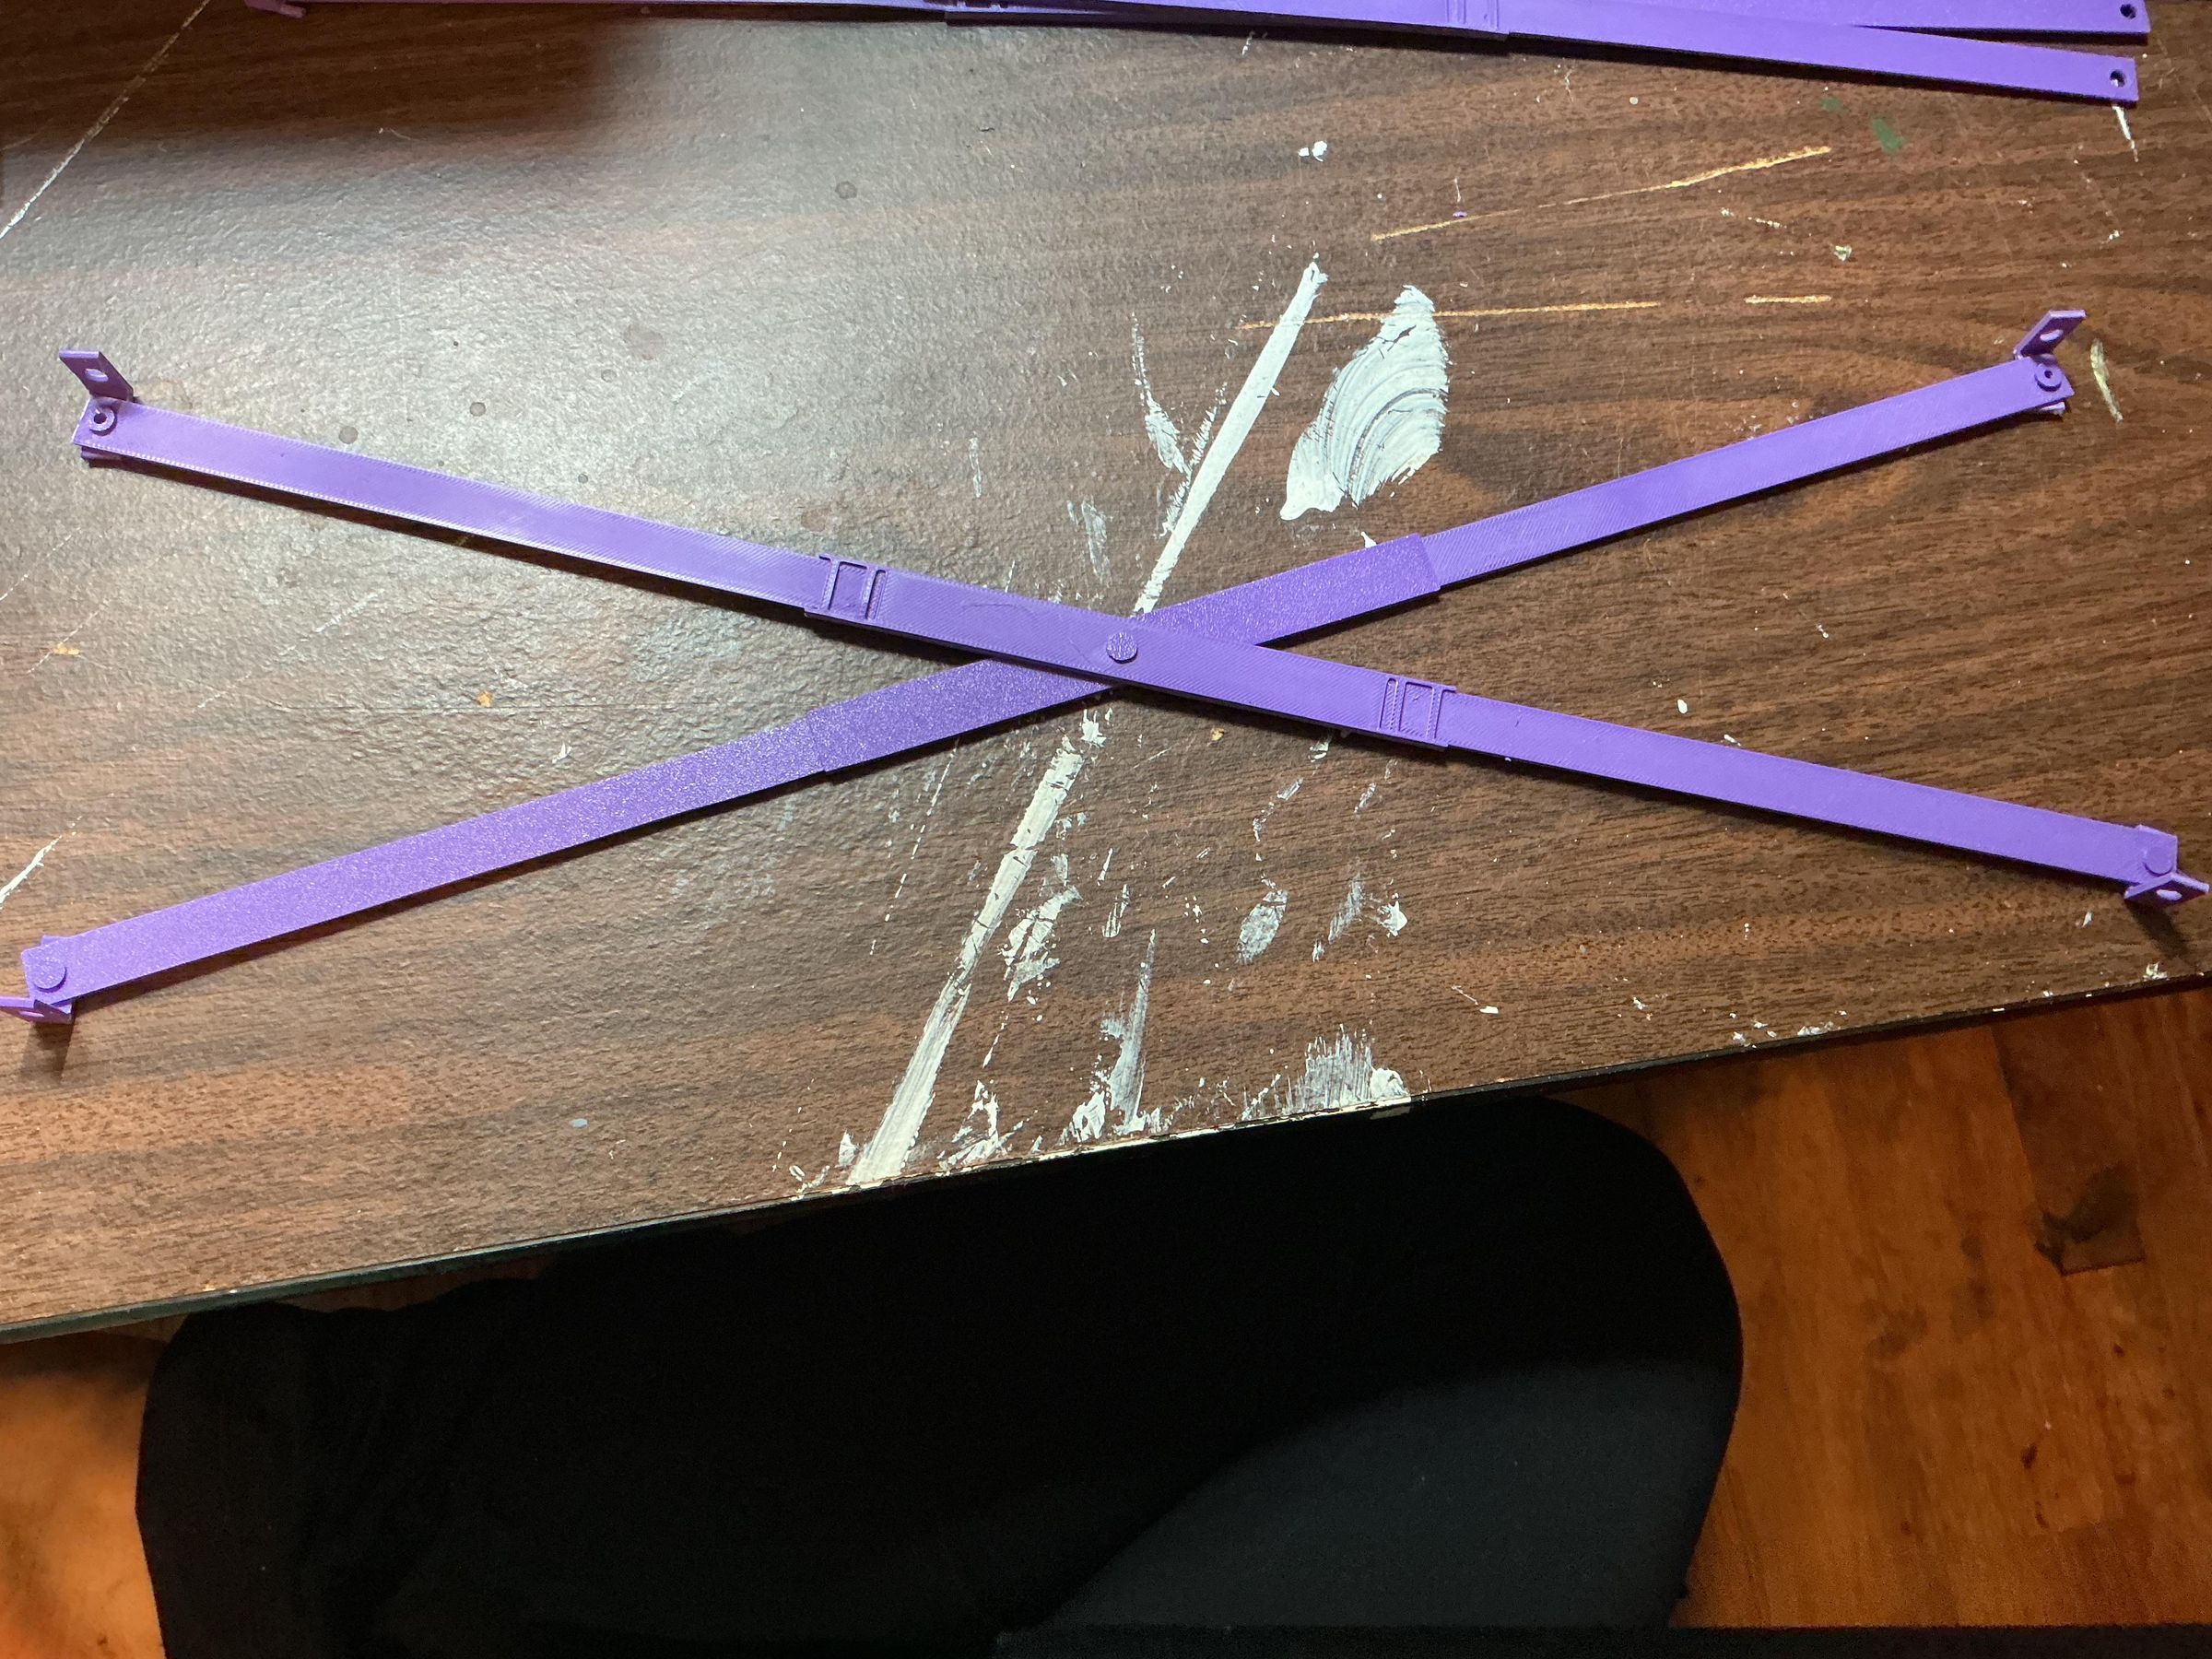
- Slide a long beam into either side of the middle beam.
- Repeat step one so that you have two separate, three-piece beams.
- Place the three-piece beams on top of one another to form an X with the middle holes lined up.
- Put a 5.6 fastener through the middle holes and stick it’s cap into the hollow tube.
- Complete steps 1-4 four times so that you have four X’s.
Note: If the caps to your fasteners are falling out of the hollow tube, put a dollop of any kind of glue into the hollow tube and then stick in the cap and hold it there until the glue dries.
Attach the Pivots
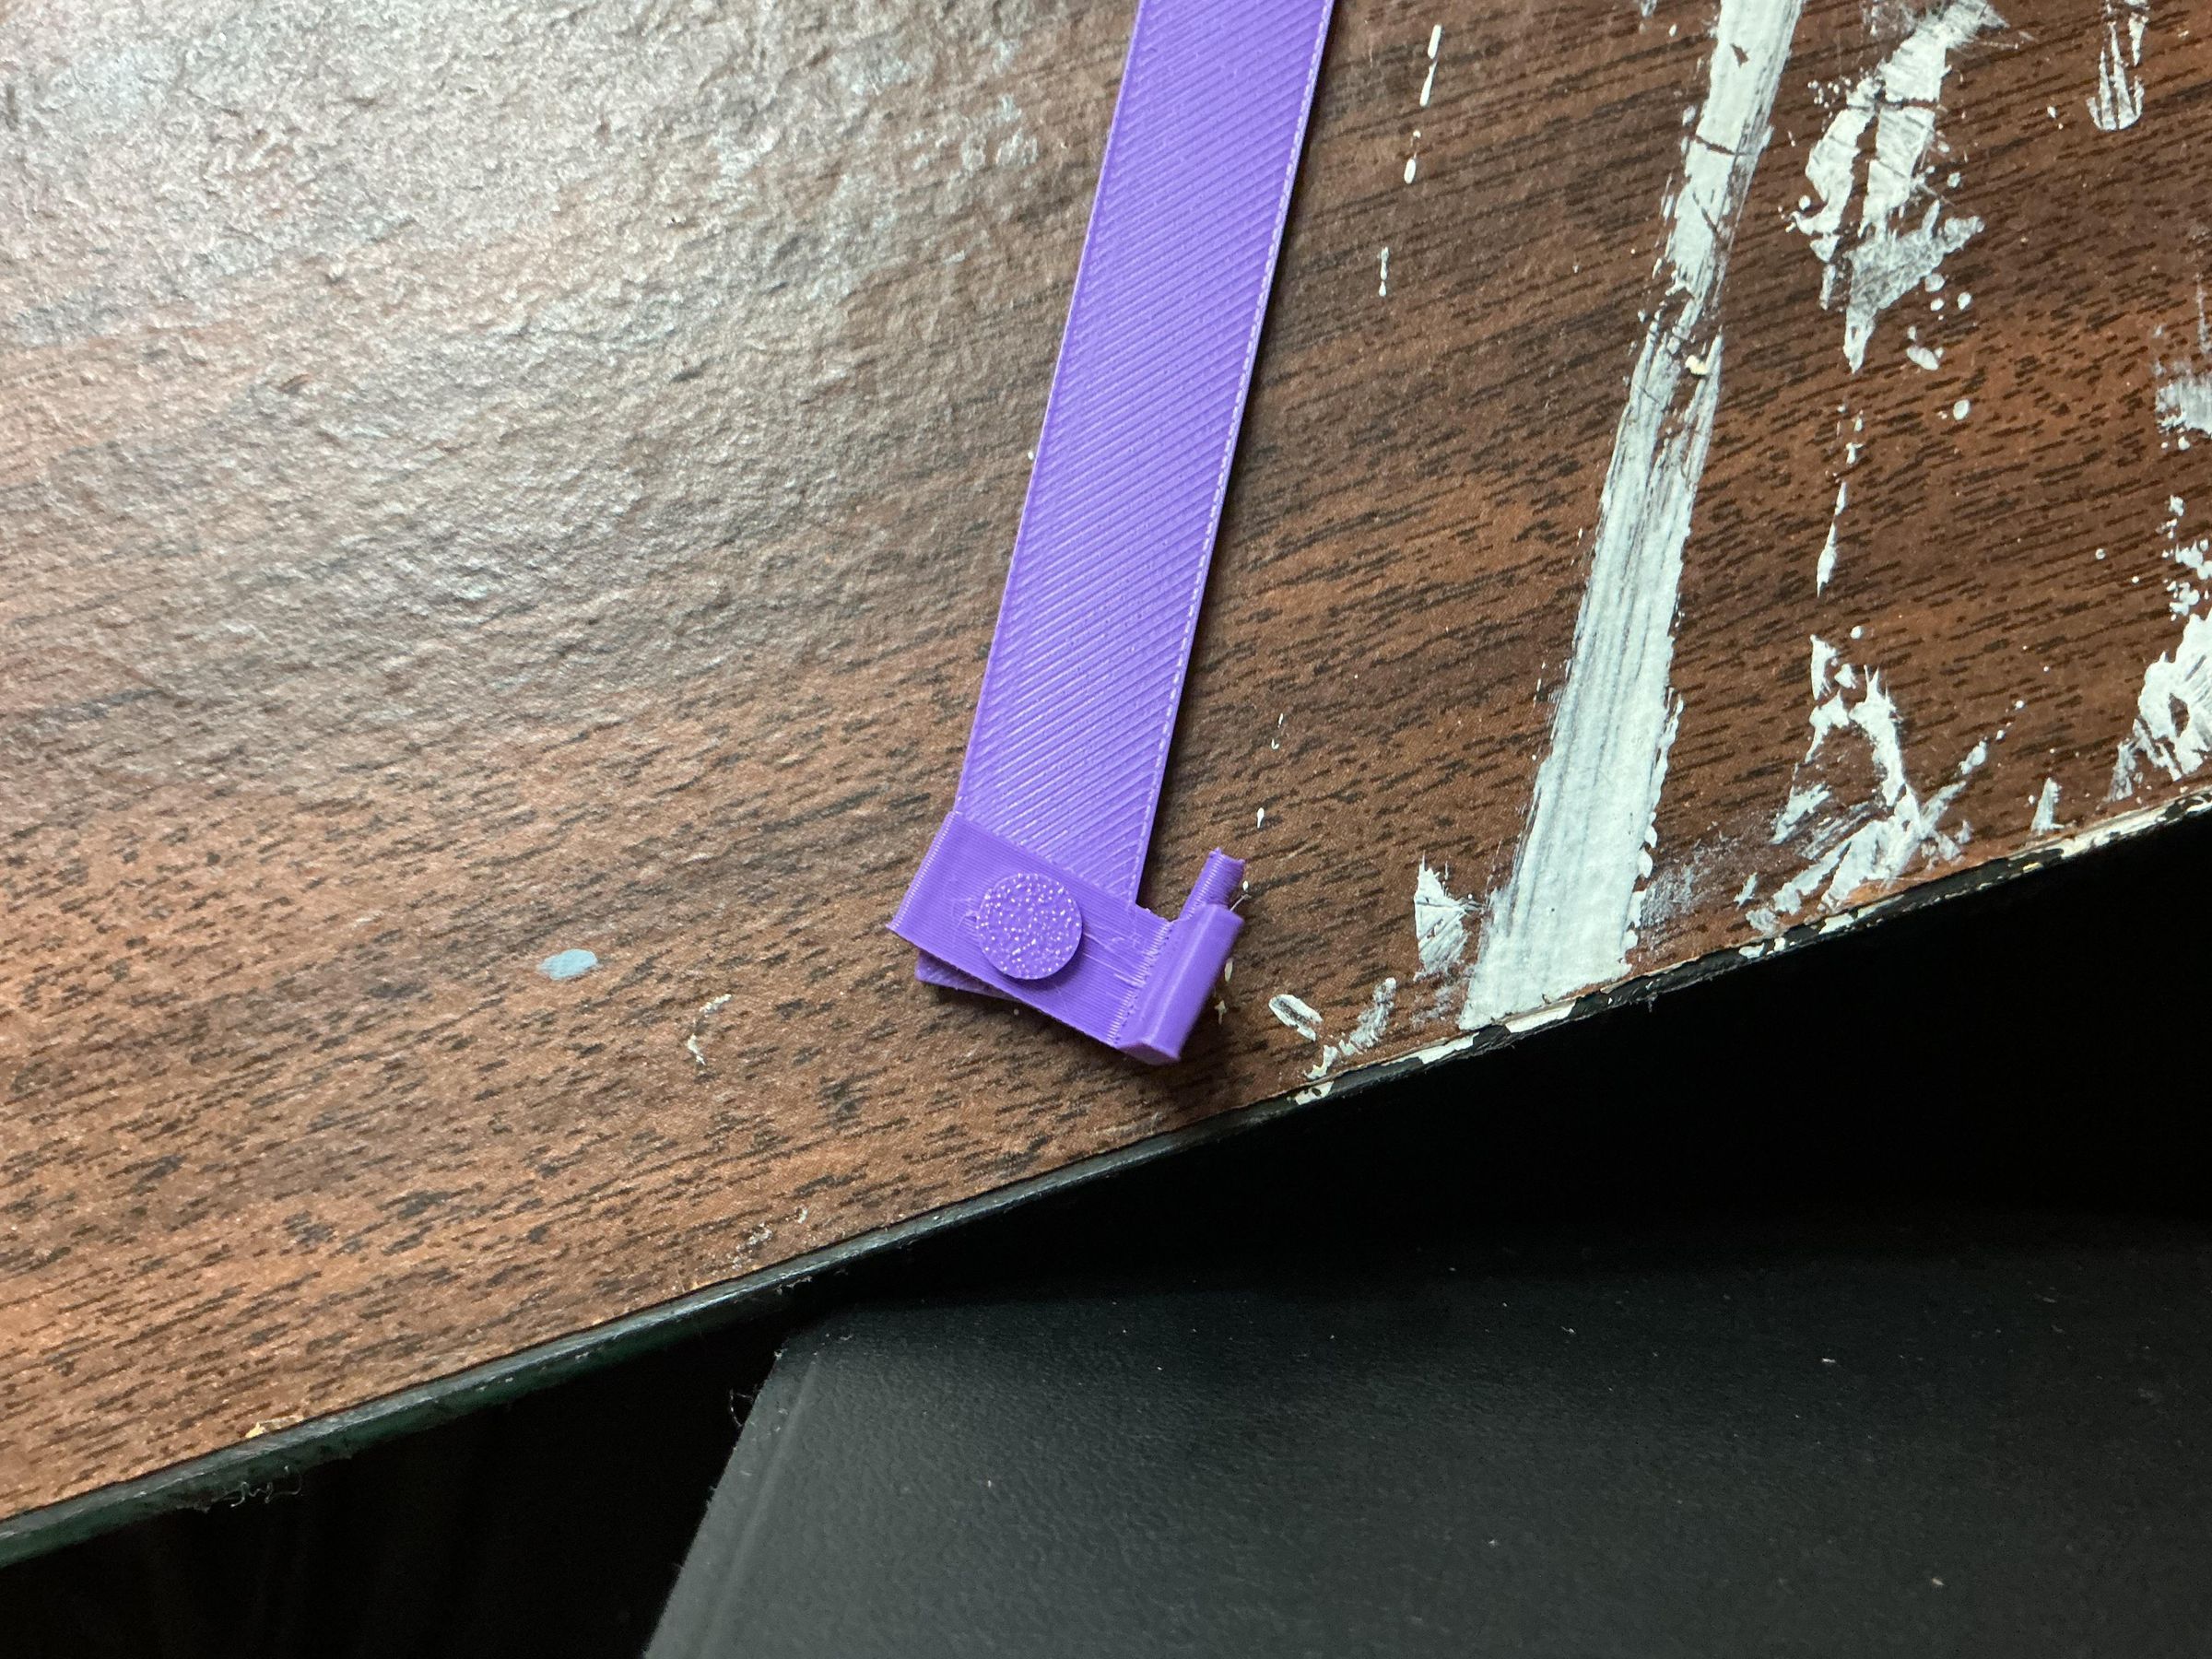
- Set aside four pivots, four 3.6 fasteners, and one X.
- Attach each pivot to each end of the X using the 3.6 fasteners.
- Complete steps 1-2 twice so that two of your x’s have pivots connected to all four corners.
Connect the X's
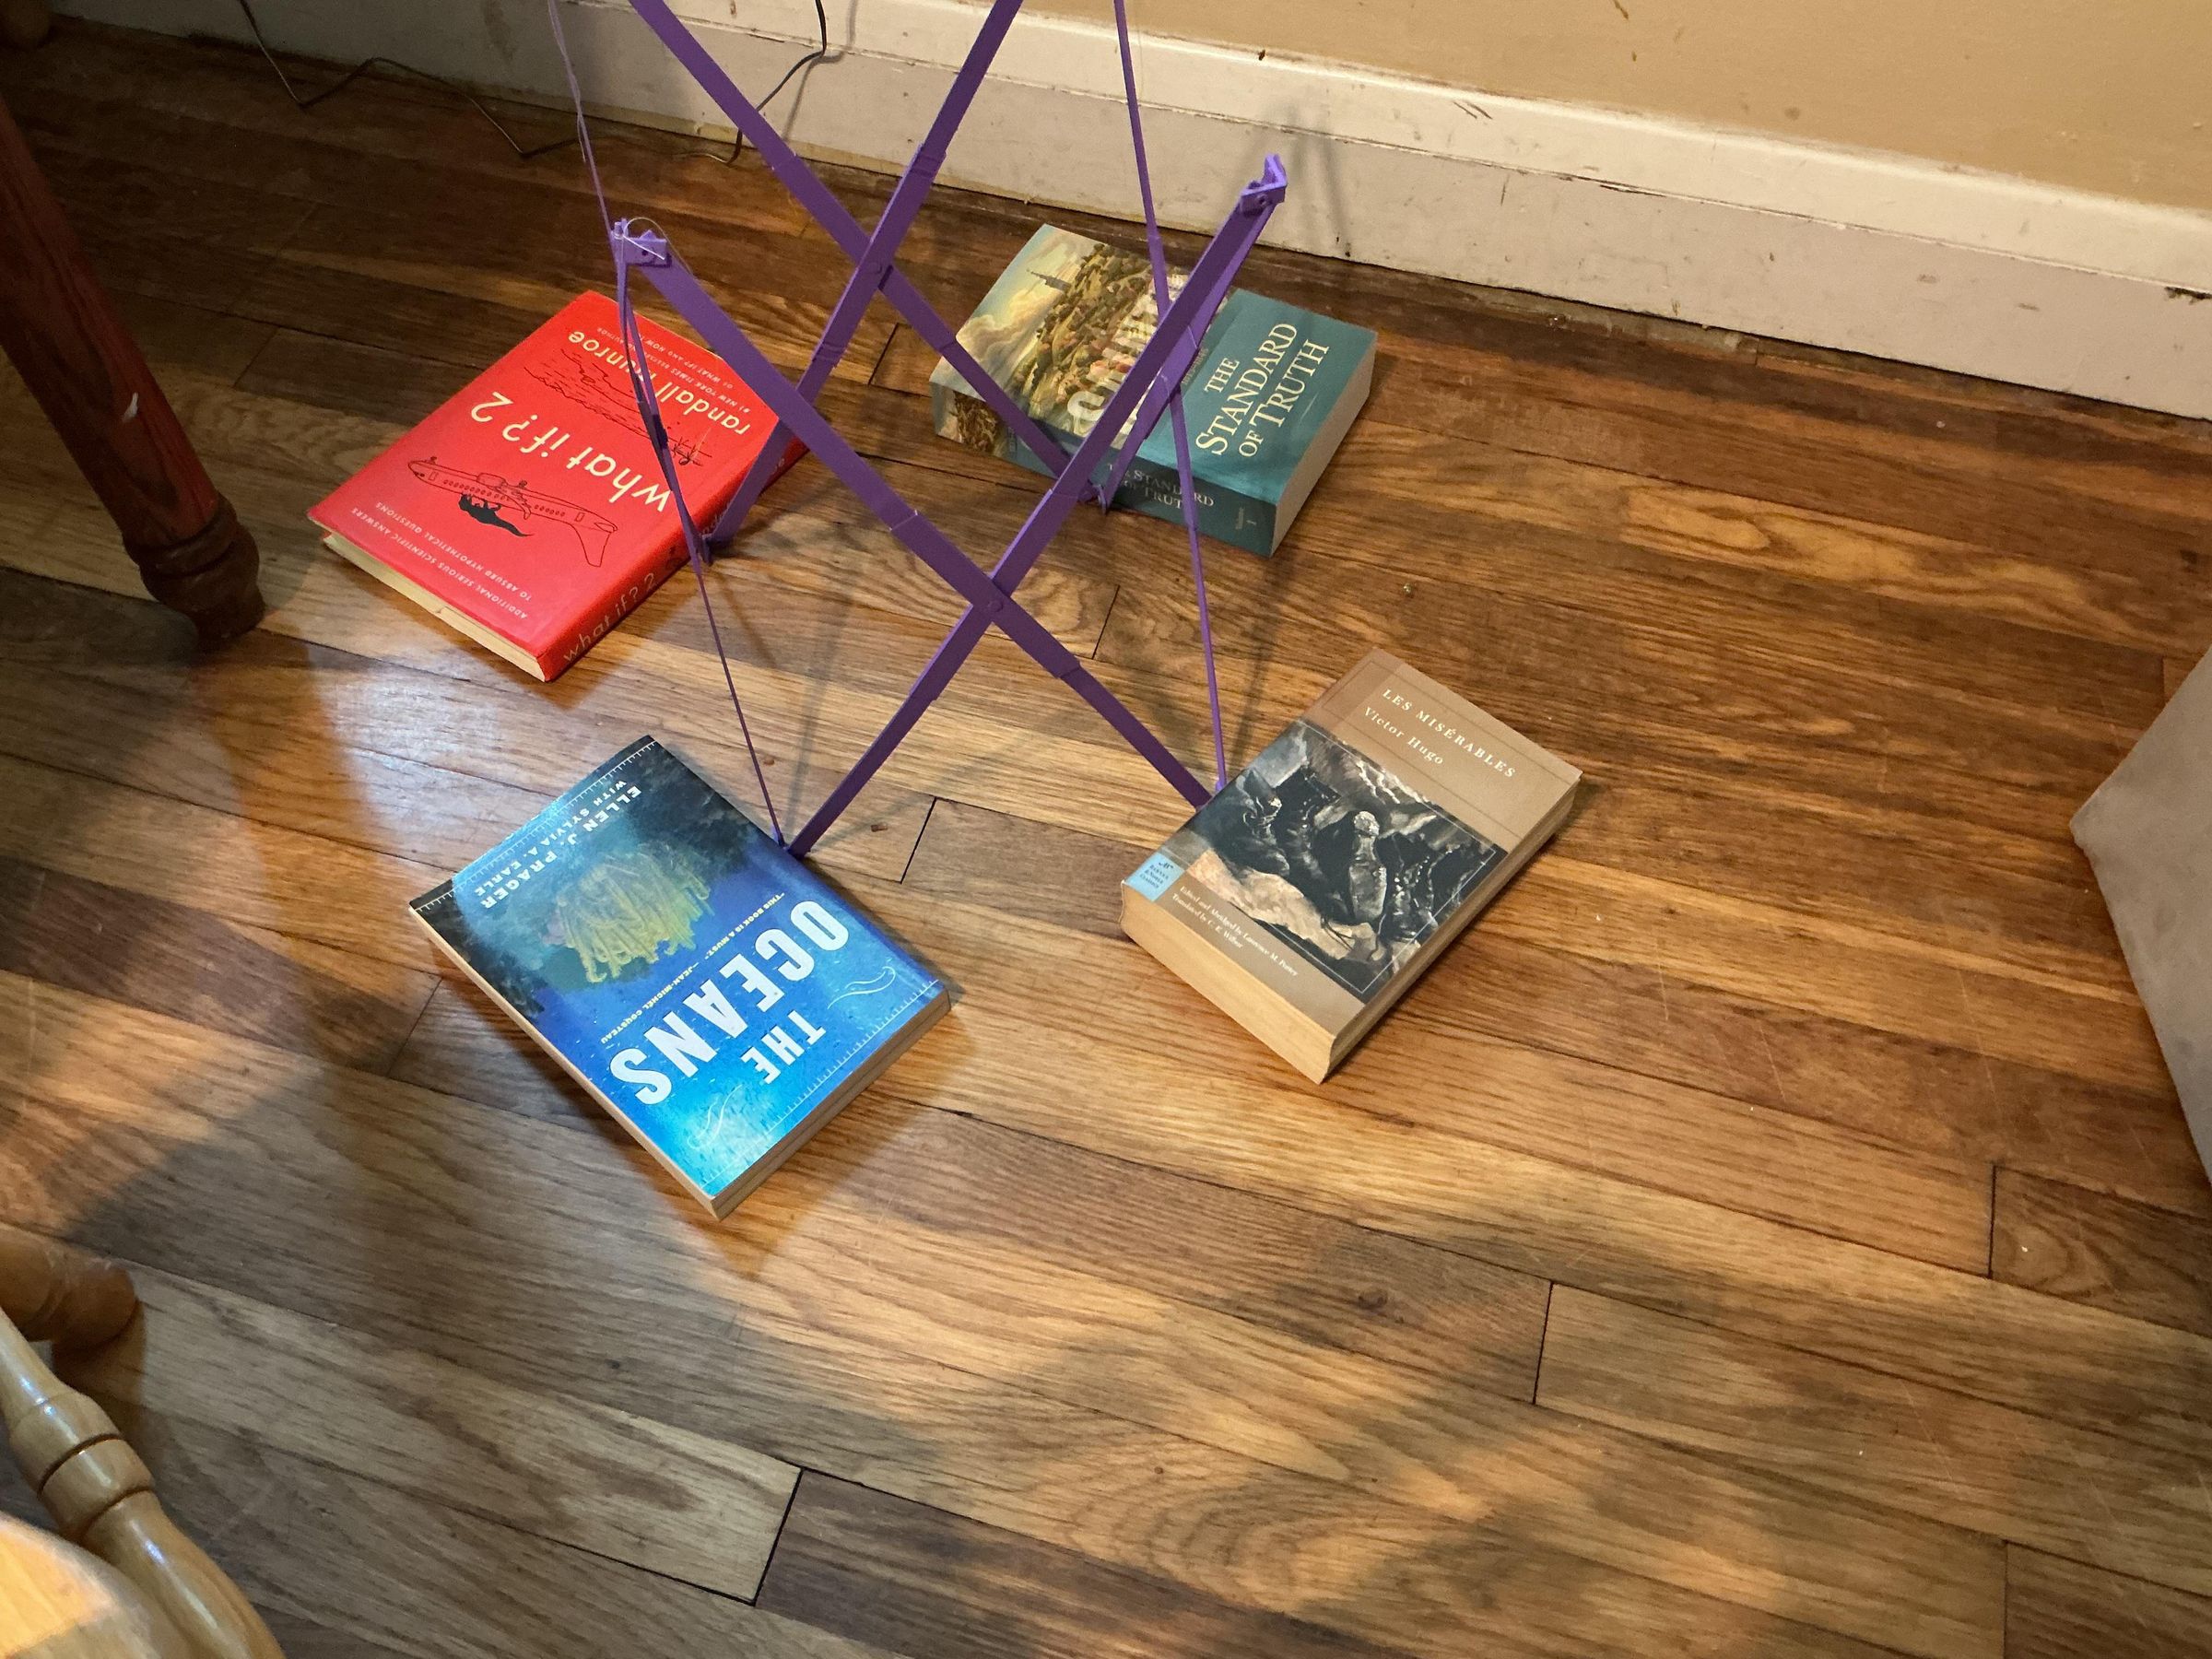
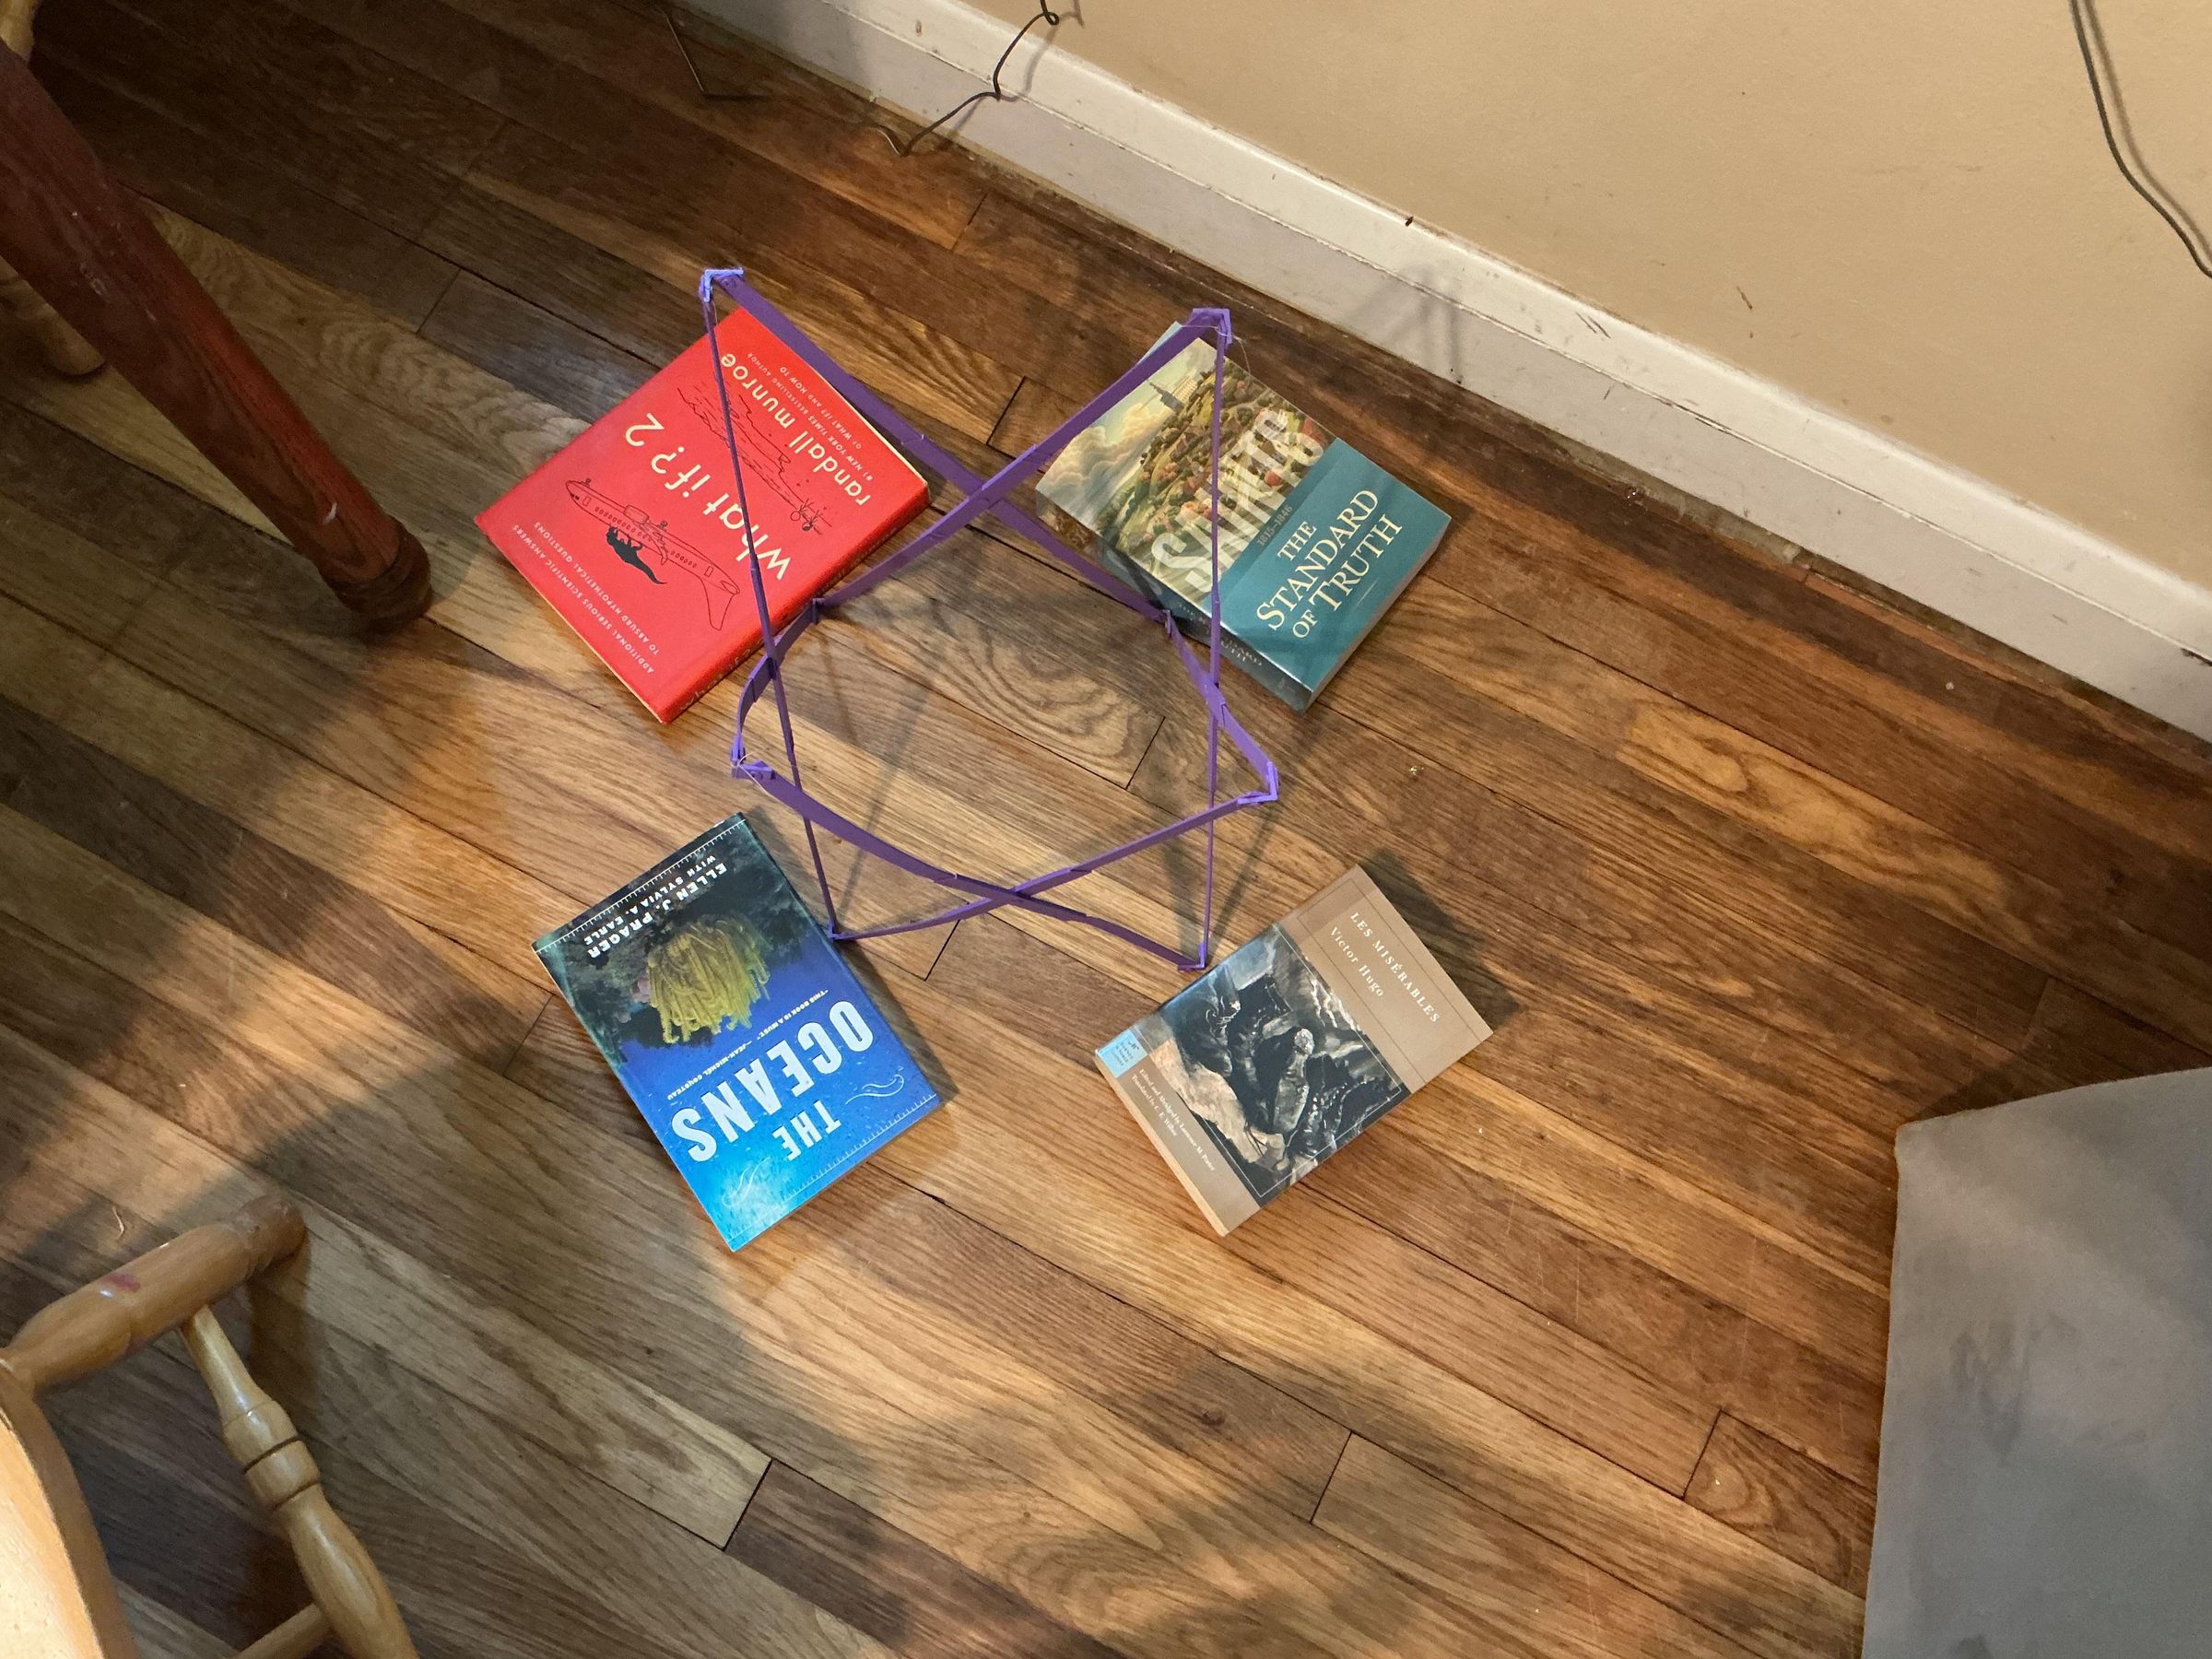
- Set aside one of your X’s with pivots, one of your X’s without pivots, and two fasteners.
- Aline the top left hole of your X without pivots to the top right pivot of your other X so that they form a right angle, or look like the corner of a box.
- Align the hole of the pivot with the hole of top left hole of the pivot and attach with a 3.6 fastener.
- Repeat steps 1-3, except with the bottom right pivot and the bottom left hole.
- Once you are finished, you should have formed 1/2 of your trash can box.
- Complete steps 1-5 twice so that you have two separate halves of your trash can box.
Attach the Two Box Halves
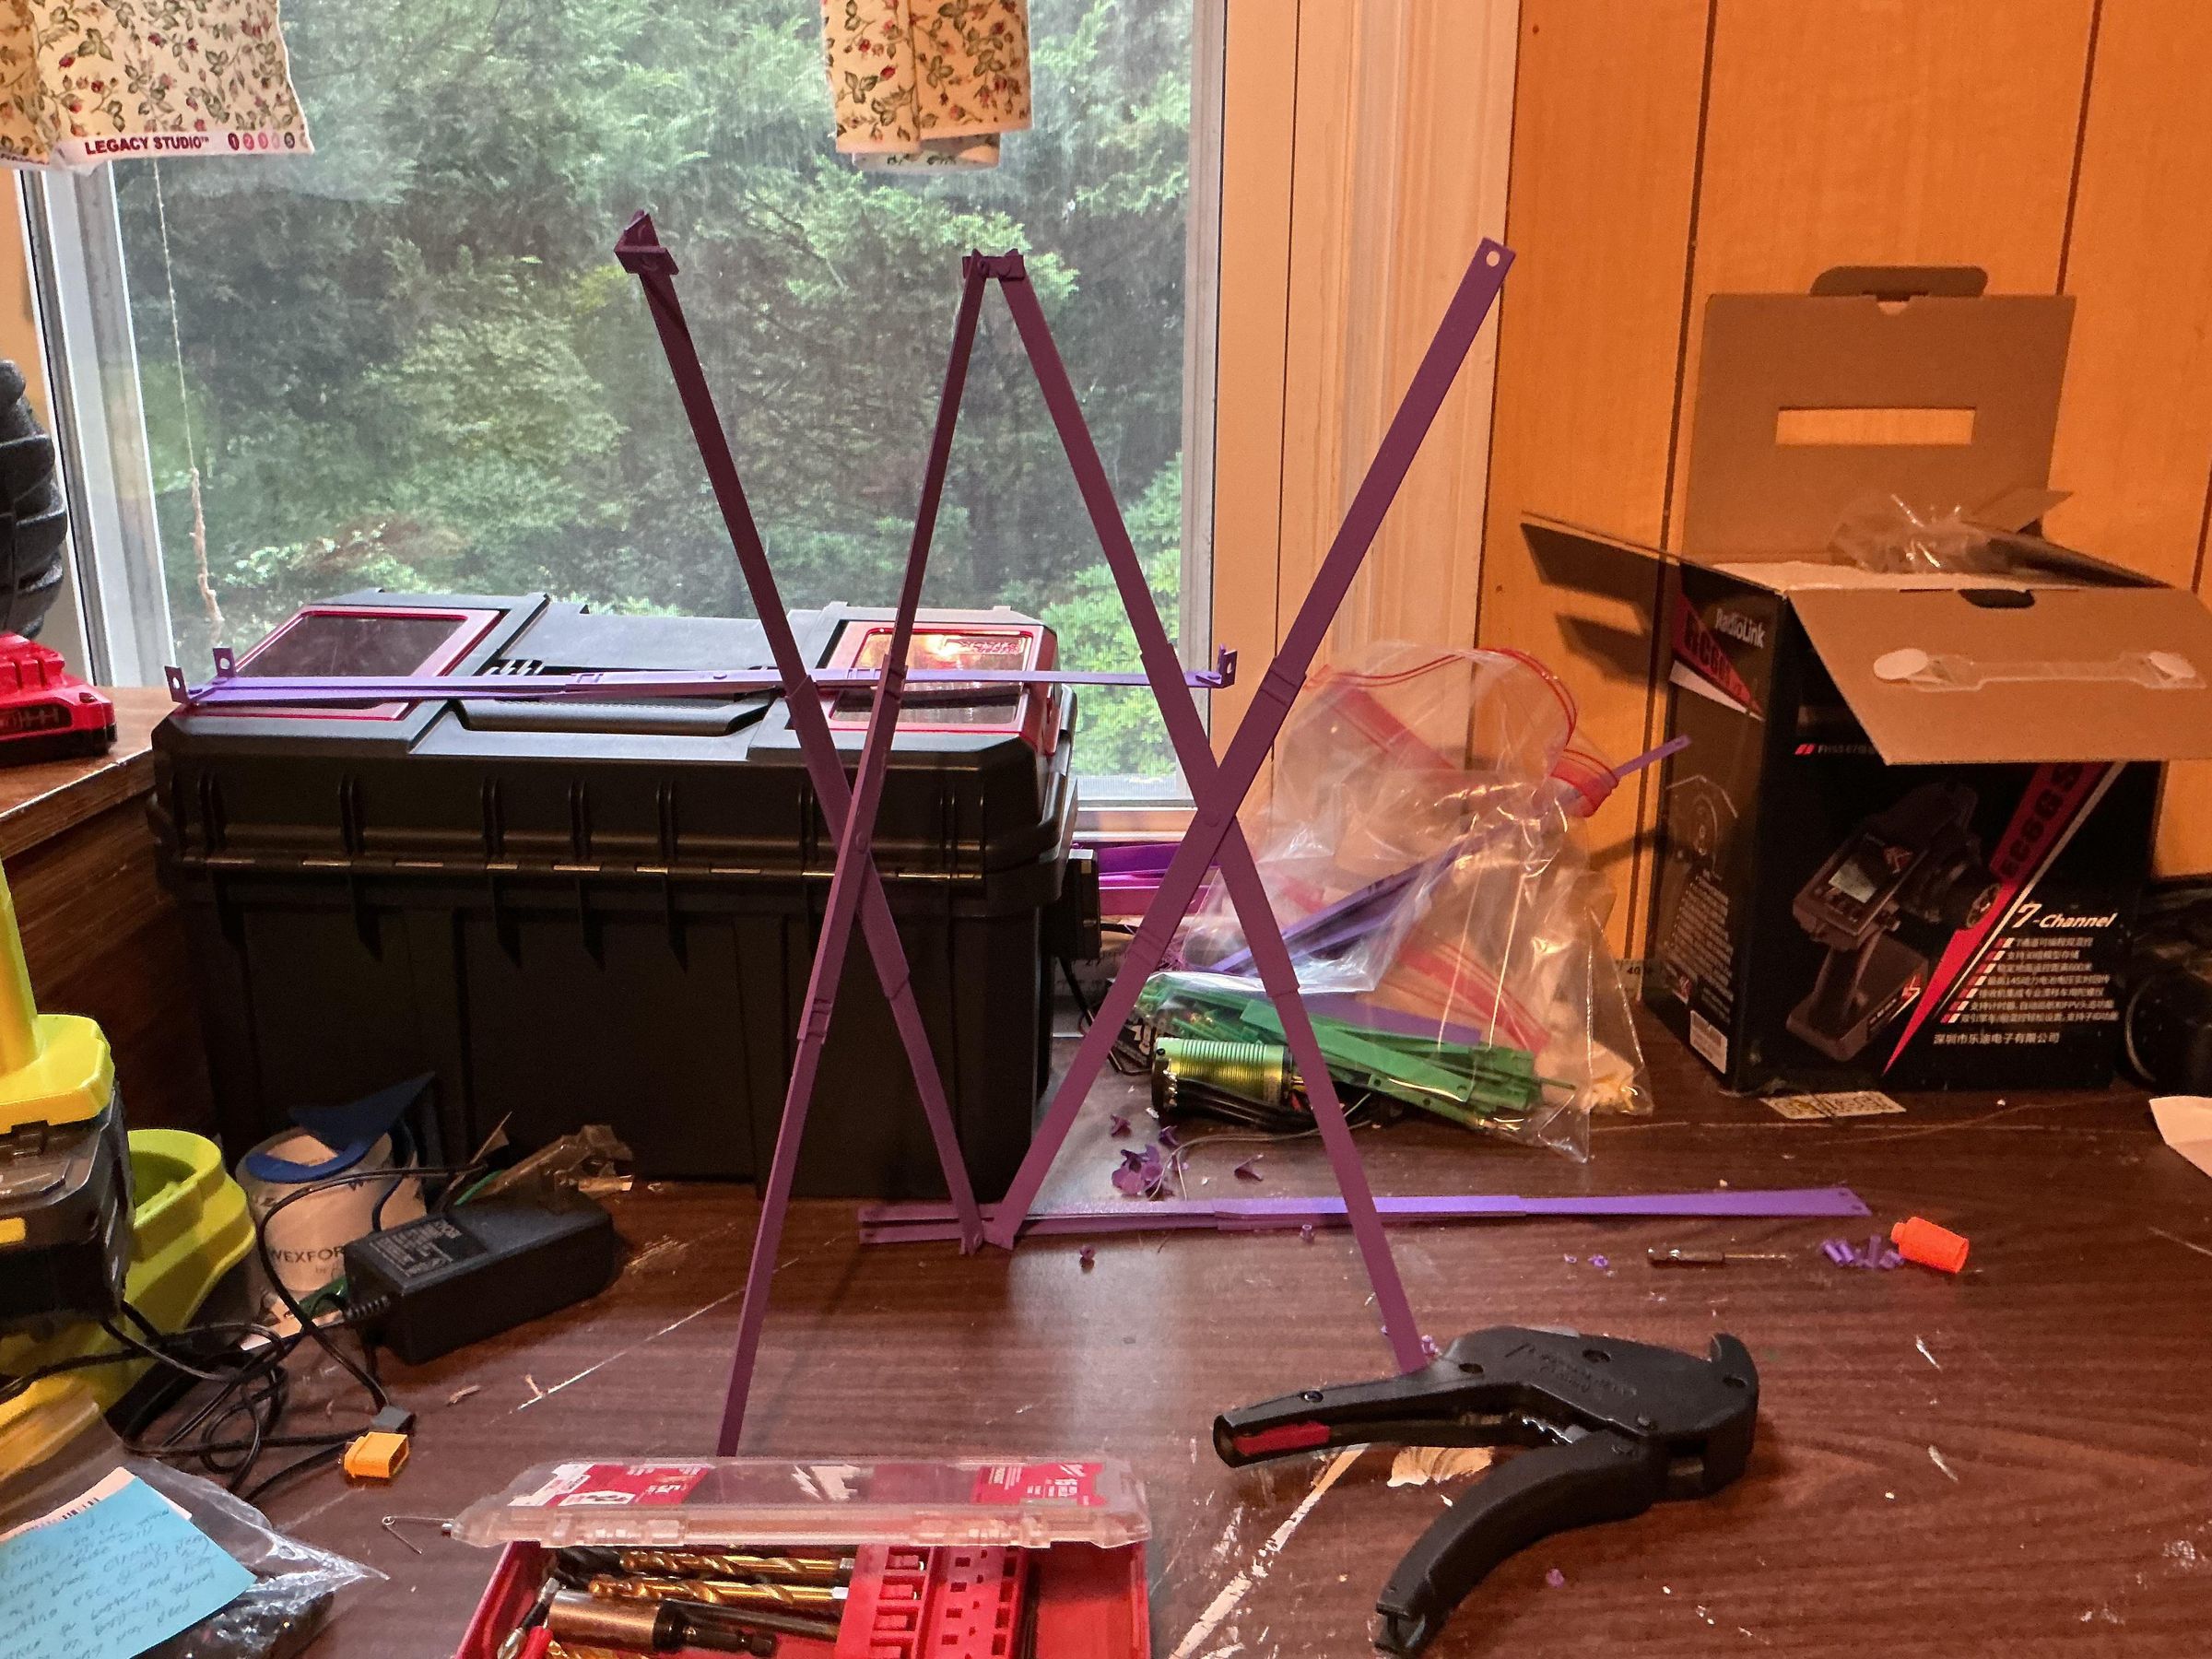
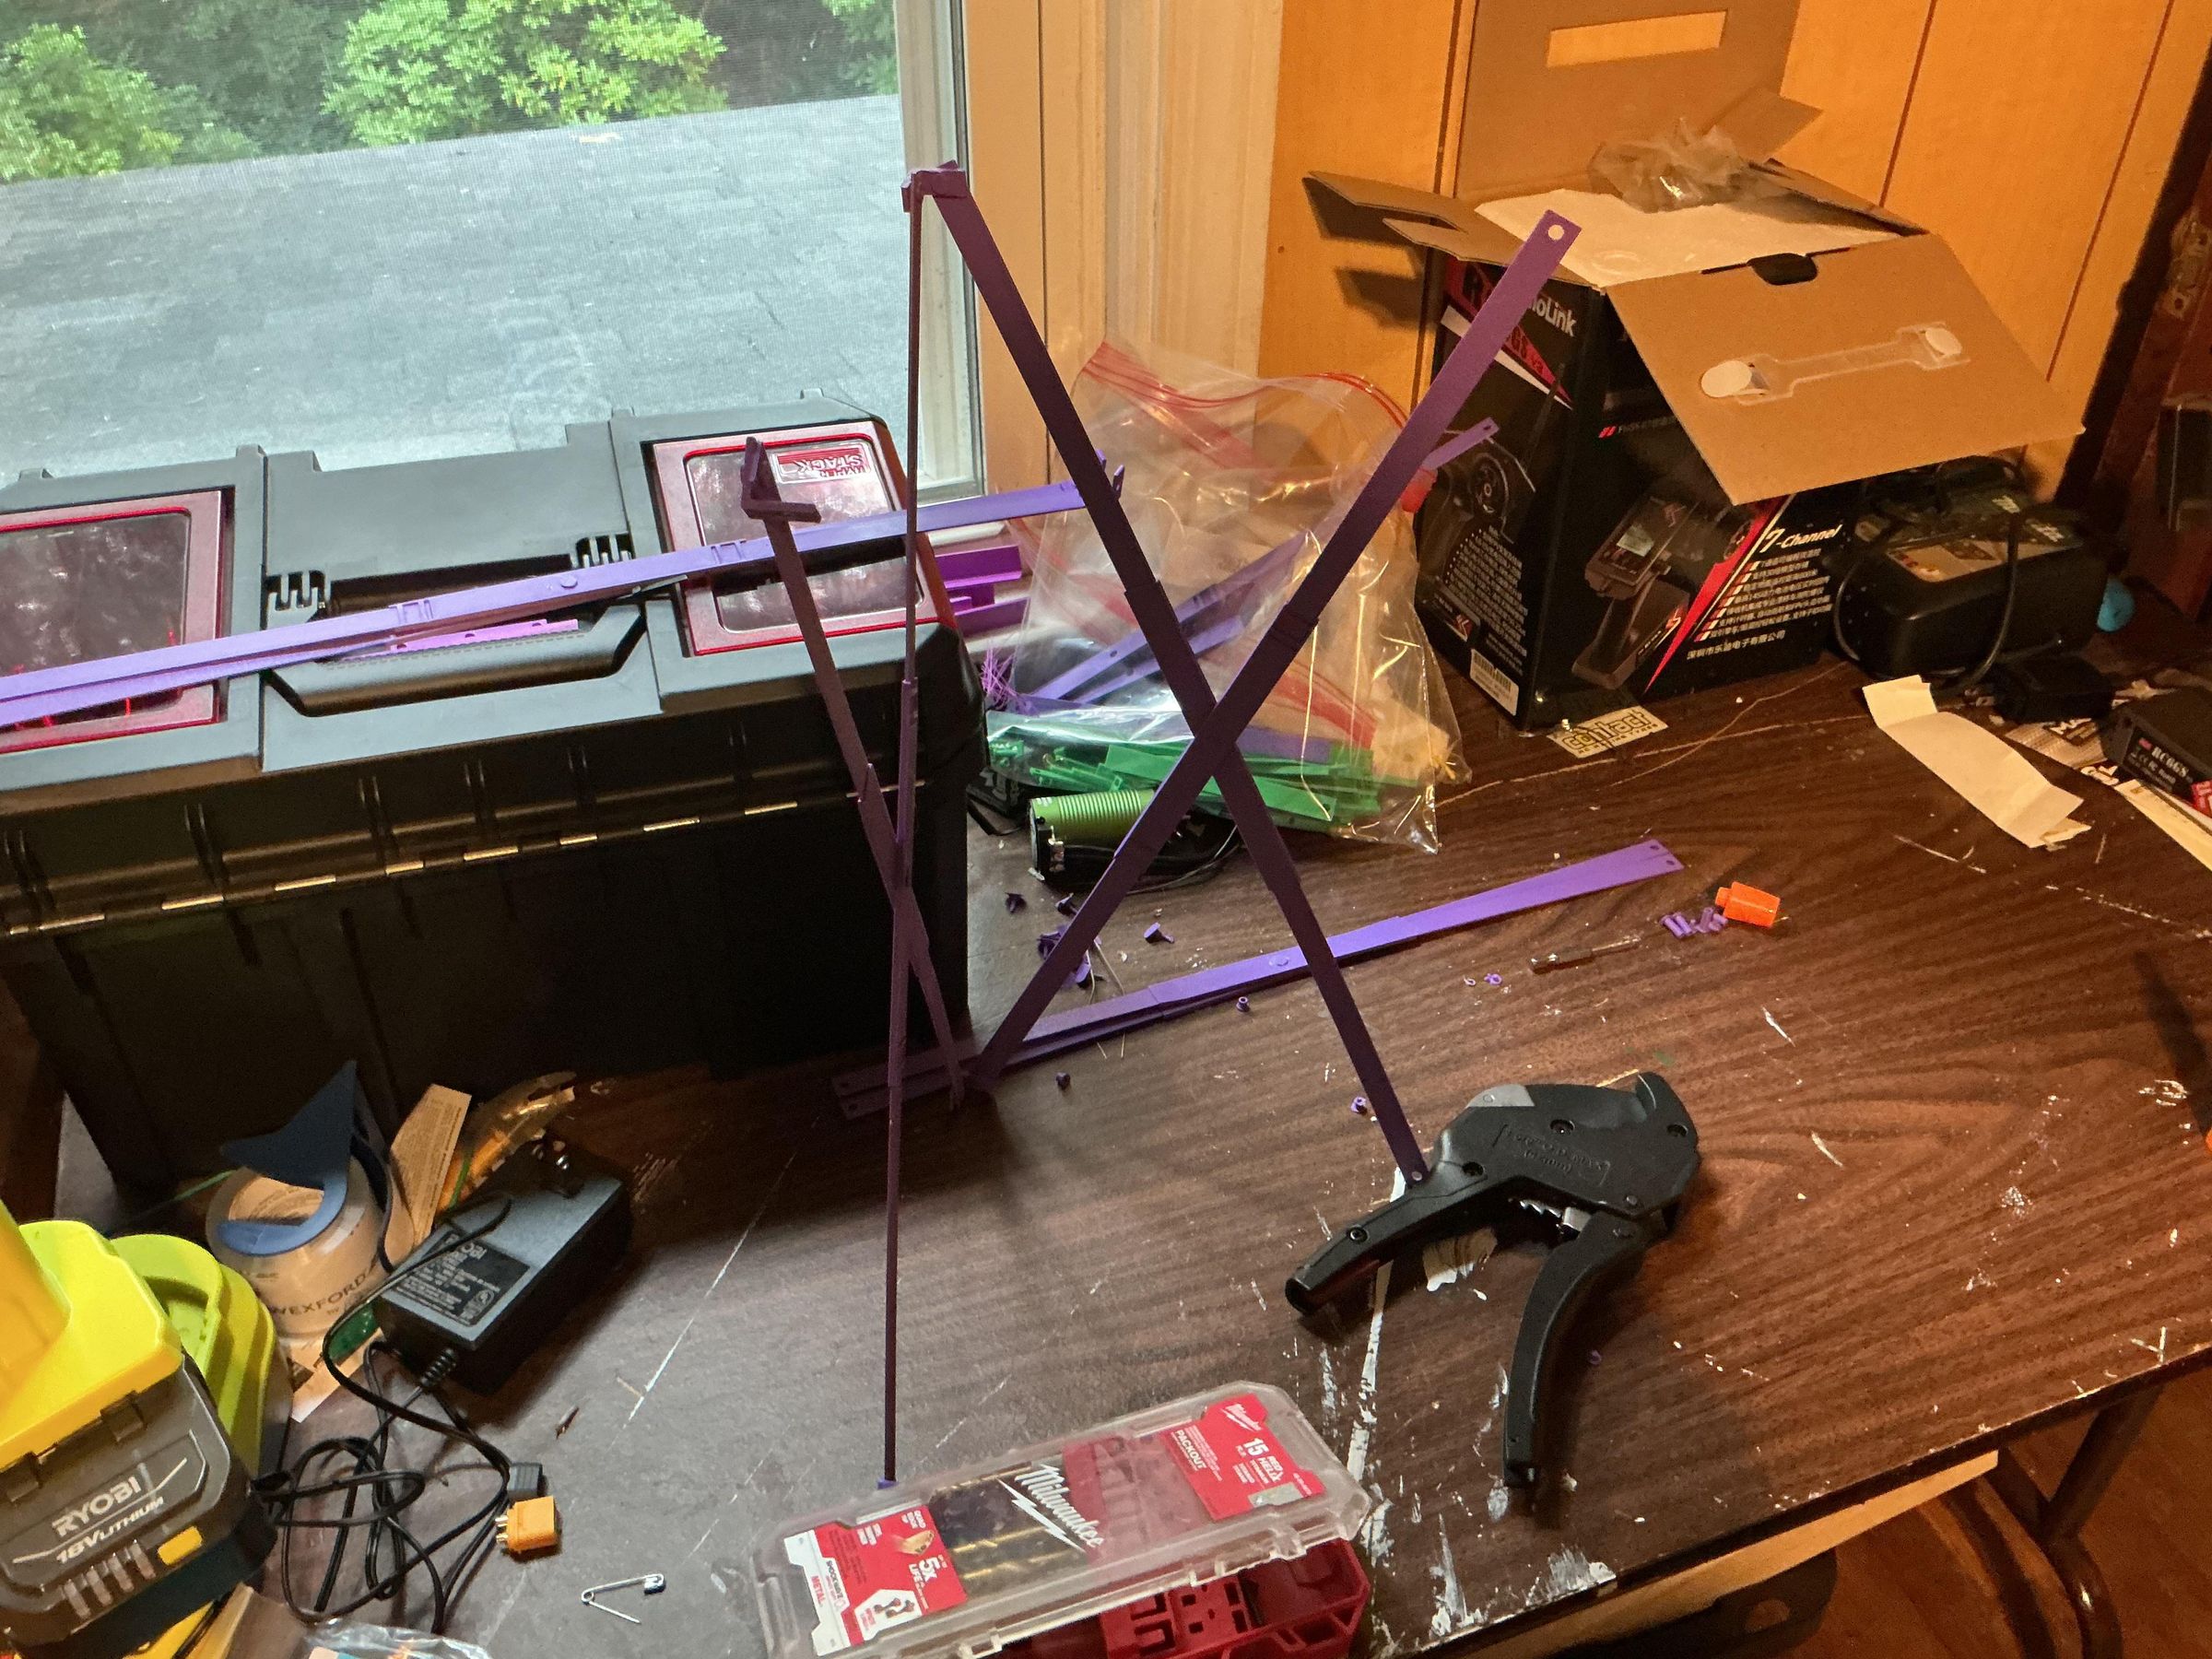
- Place books or other heavy objects at the bottom corners of each half of the box in order to keep them from collapsing. This will make the assembly much easier.
- Align the two halves so that they form the box shape
- Use the remaining 3.6 fasteners to connect the aligned corners of the two halves
Note: Make sure that when connecting the halves, the corners of the pivots are ALWAYS facing outwards. If not, you will attach the halves incorrectly. This is especially likely to happen in your halves have just collapsed, so make sure to use the heavy objects trick.
Hang Trash Bag
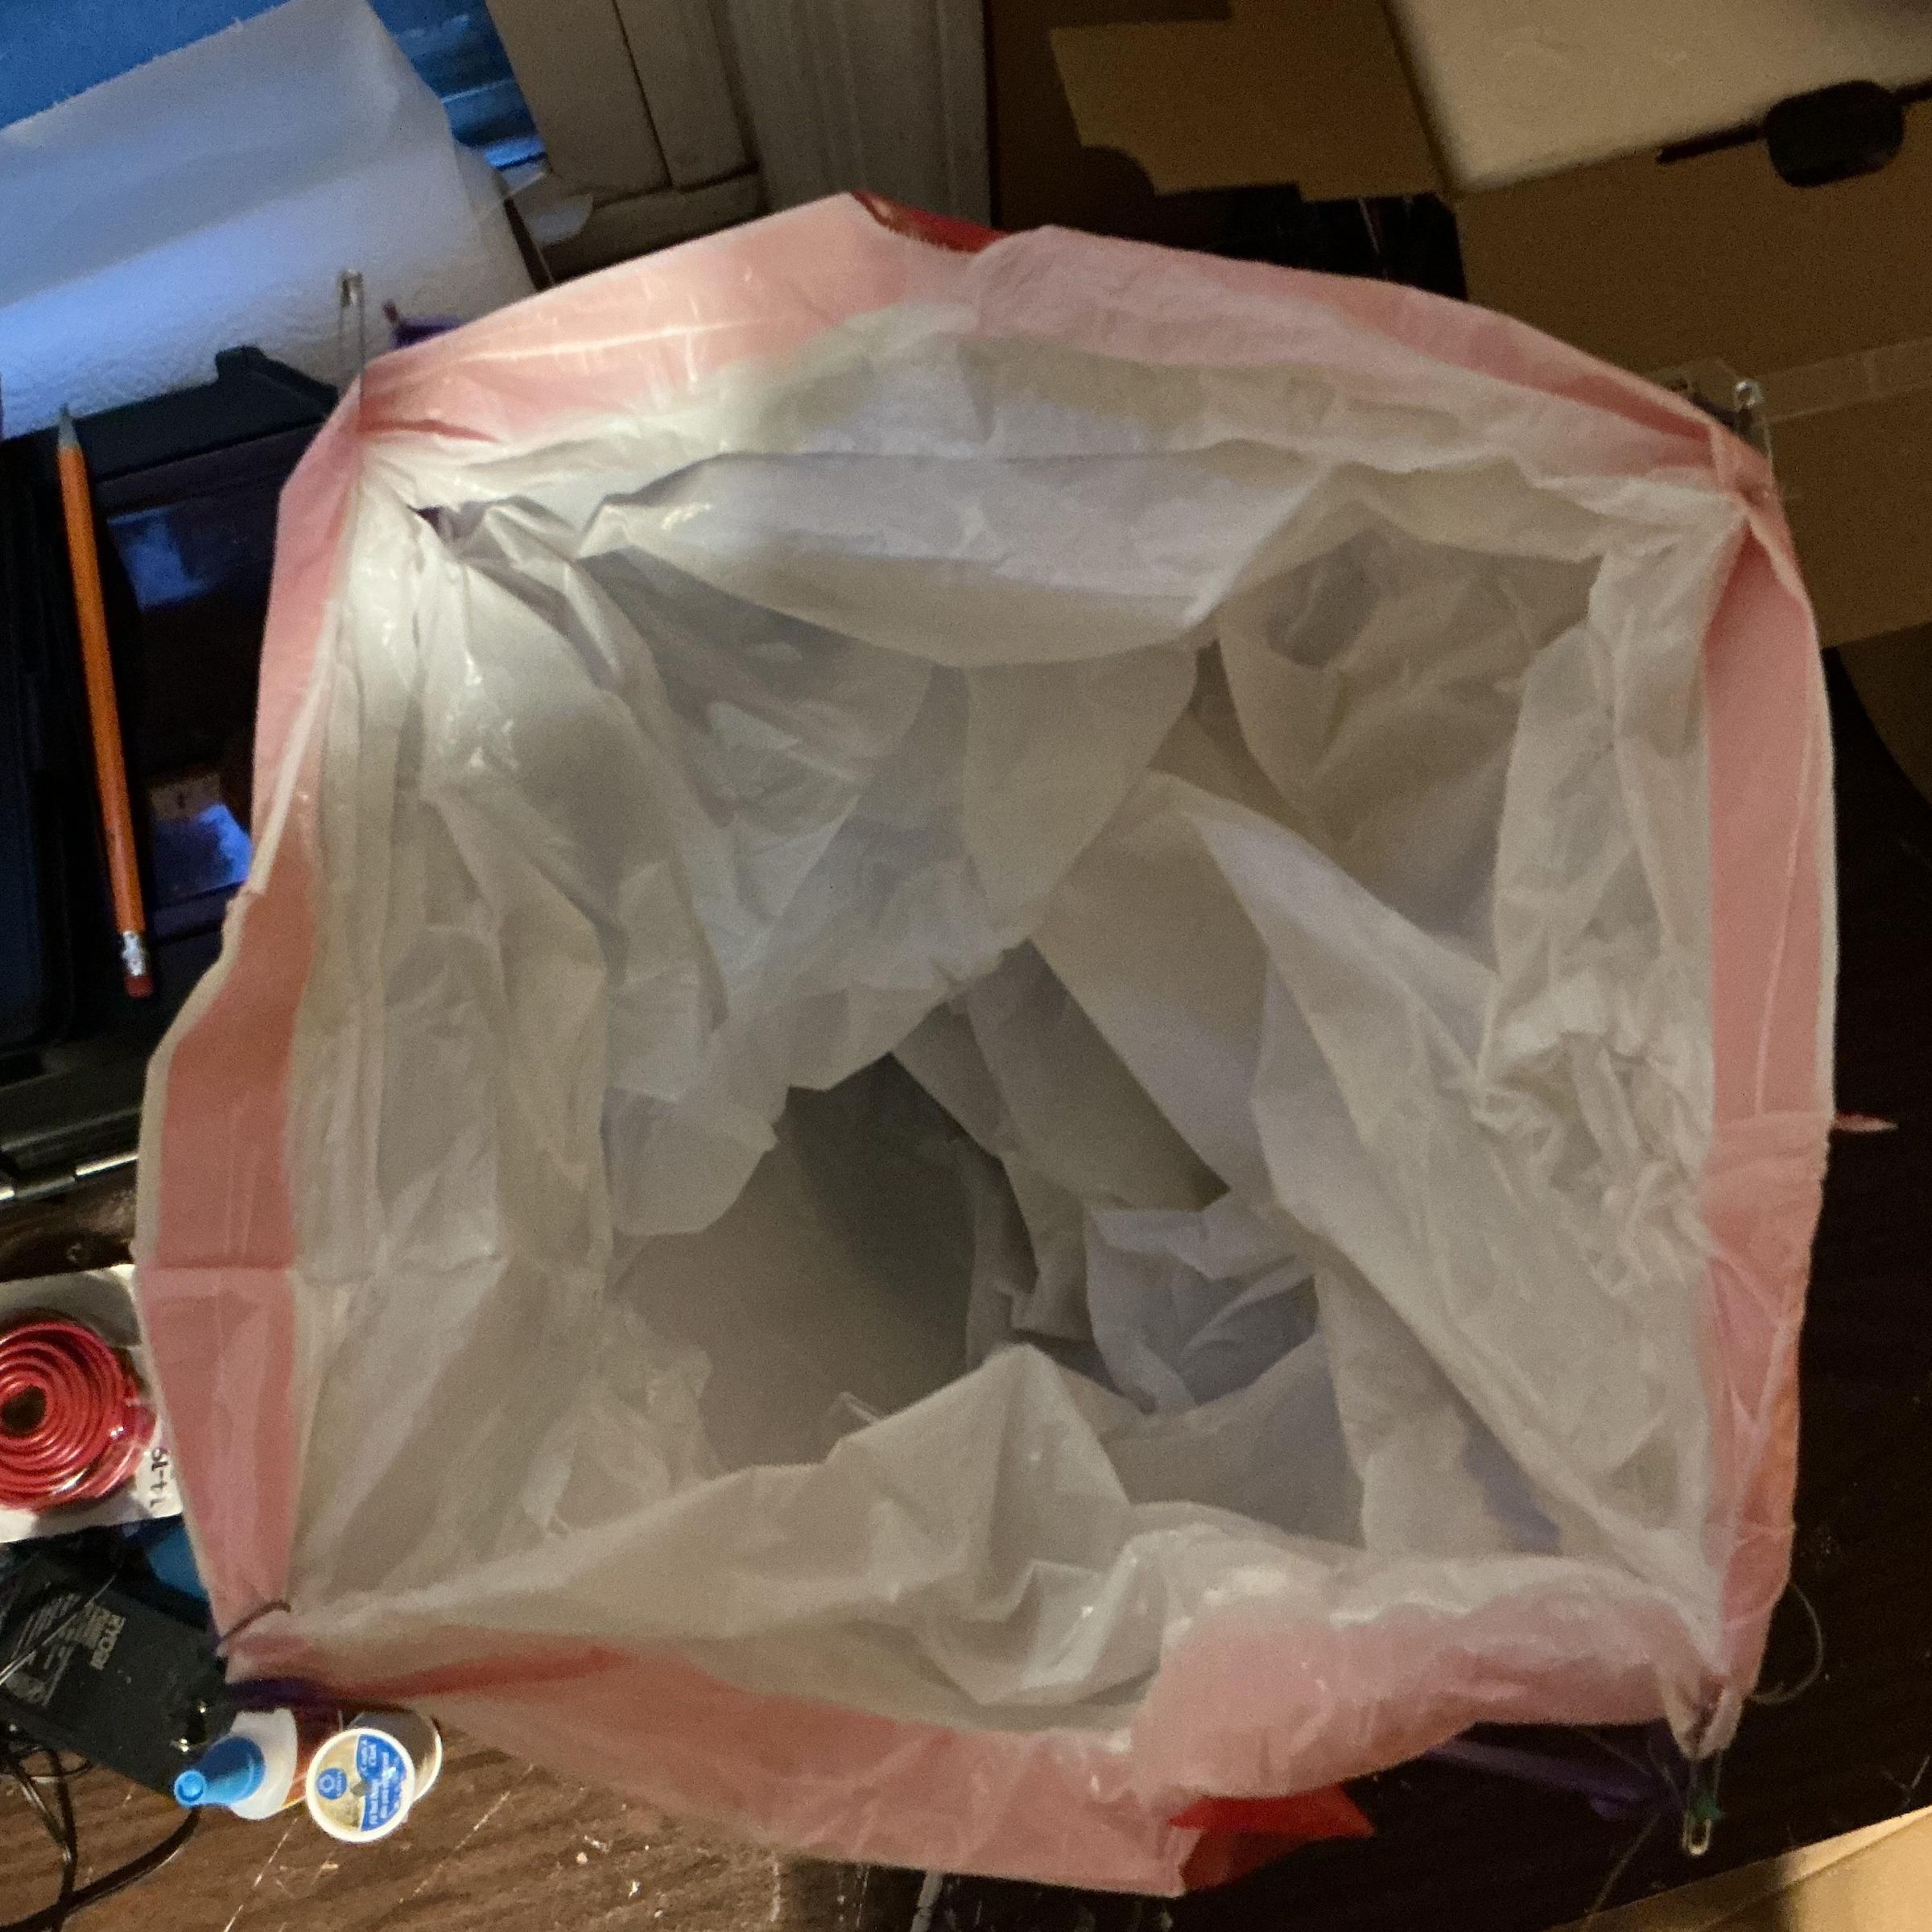
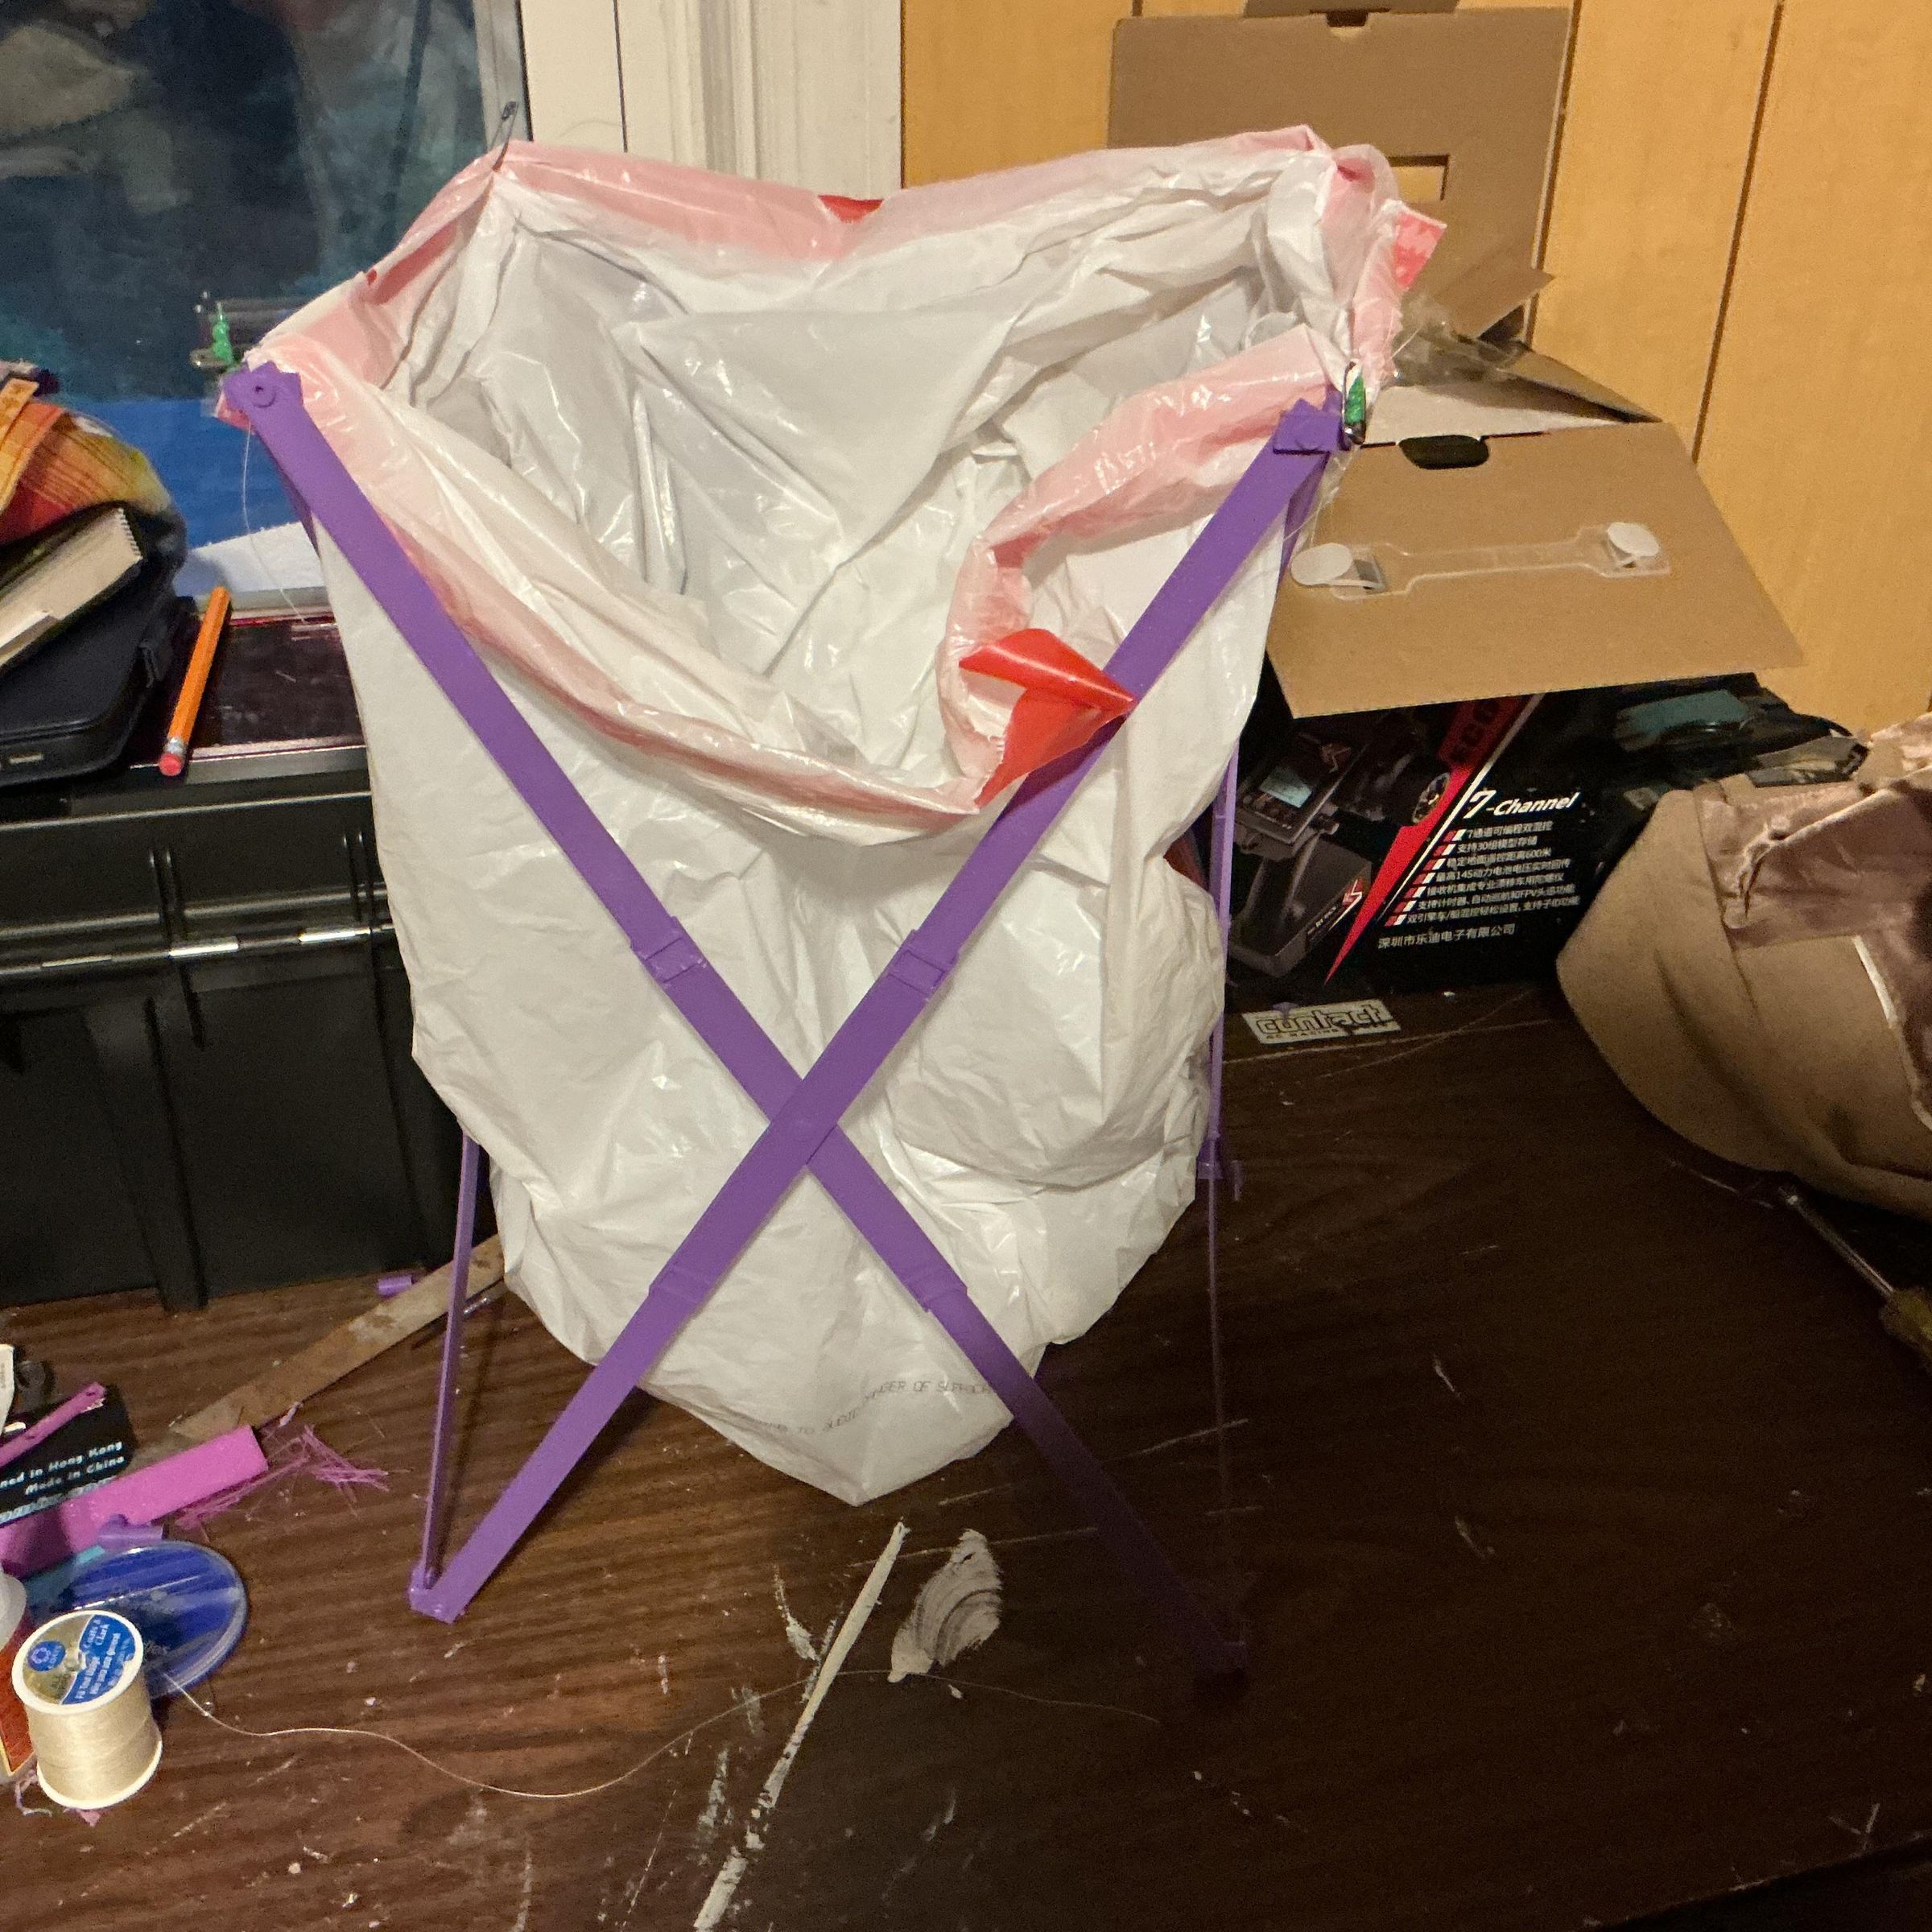
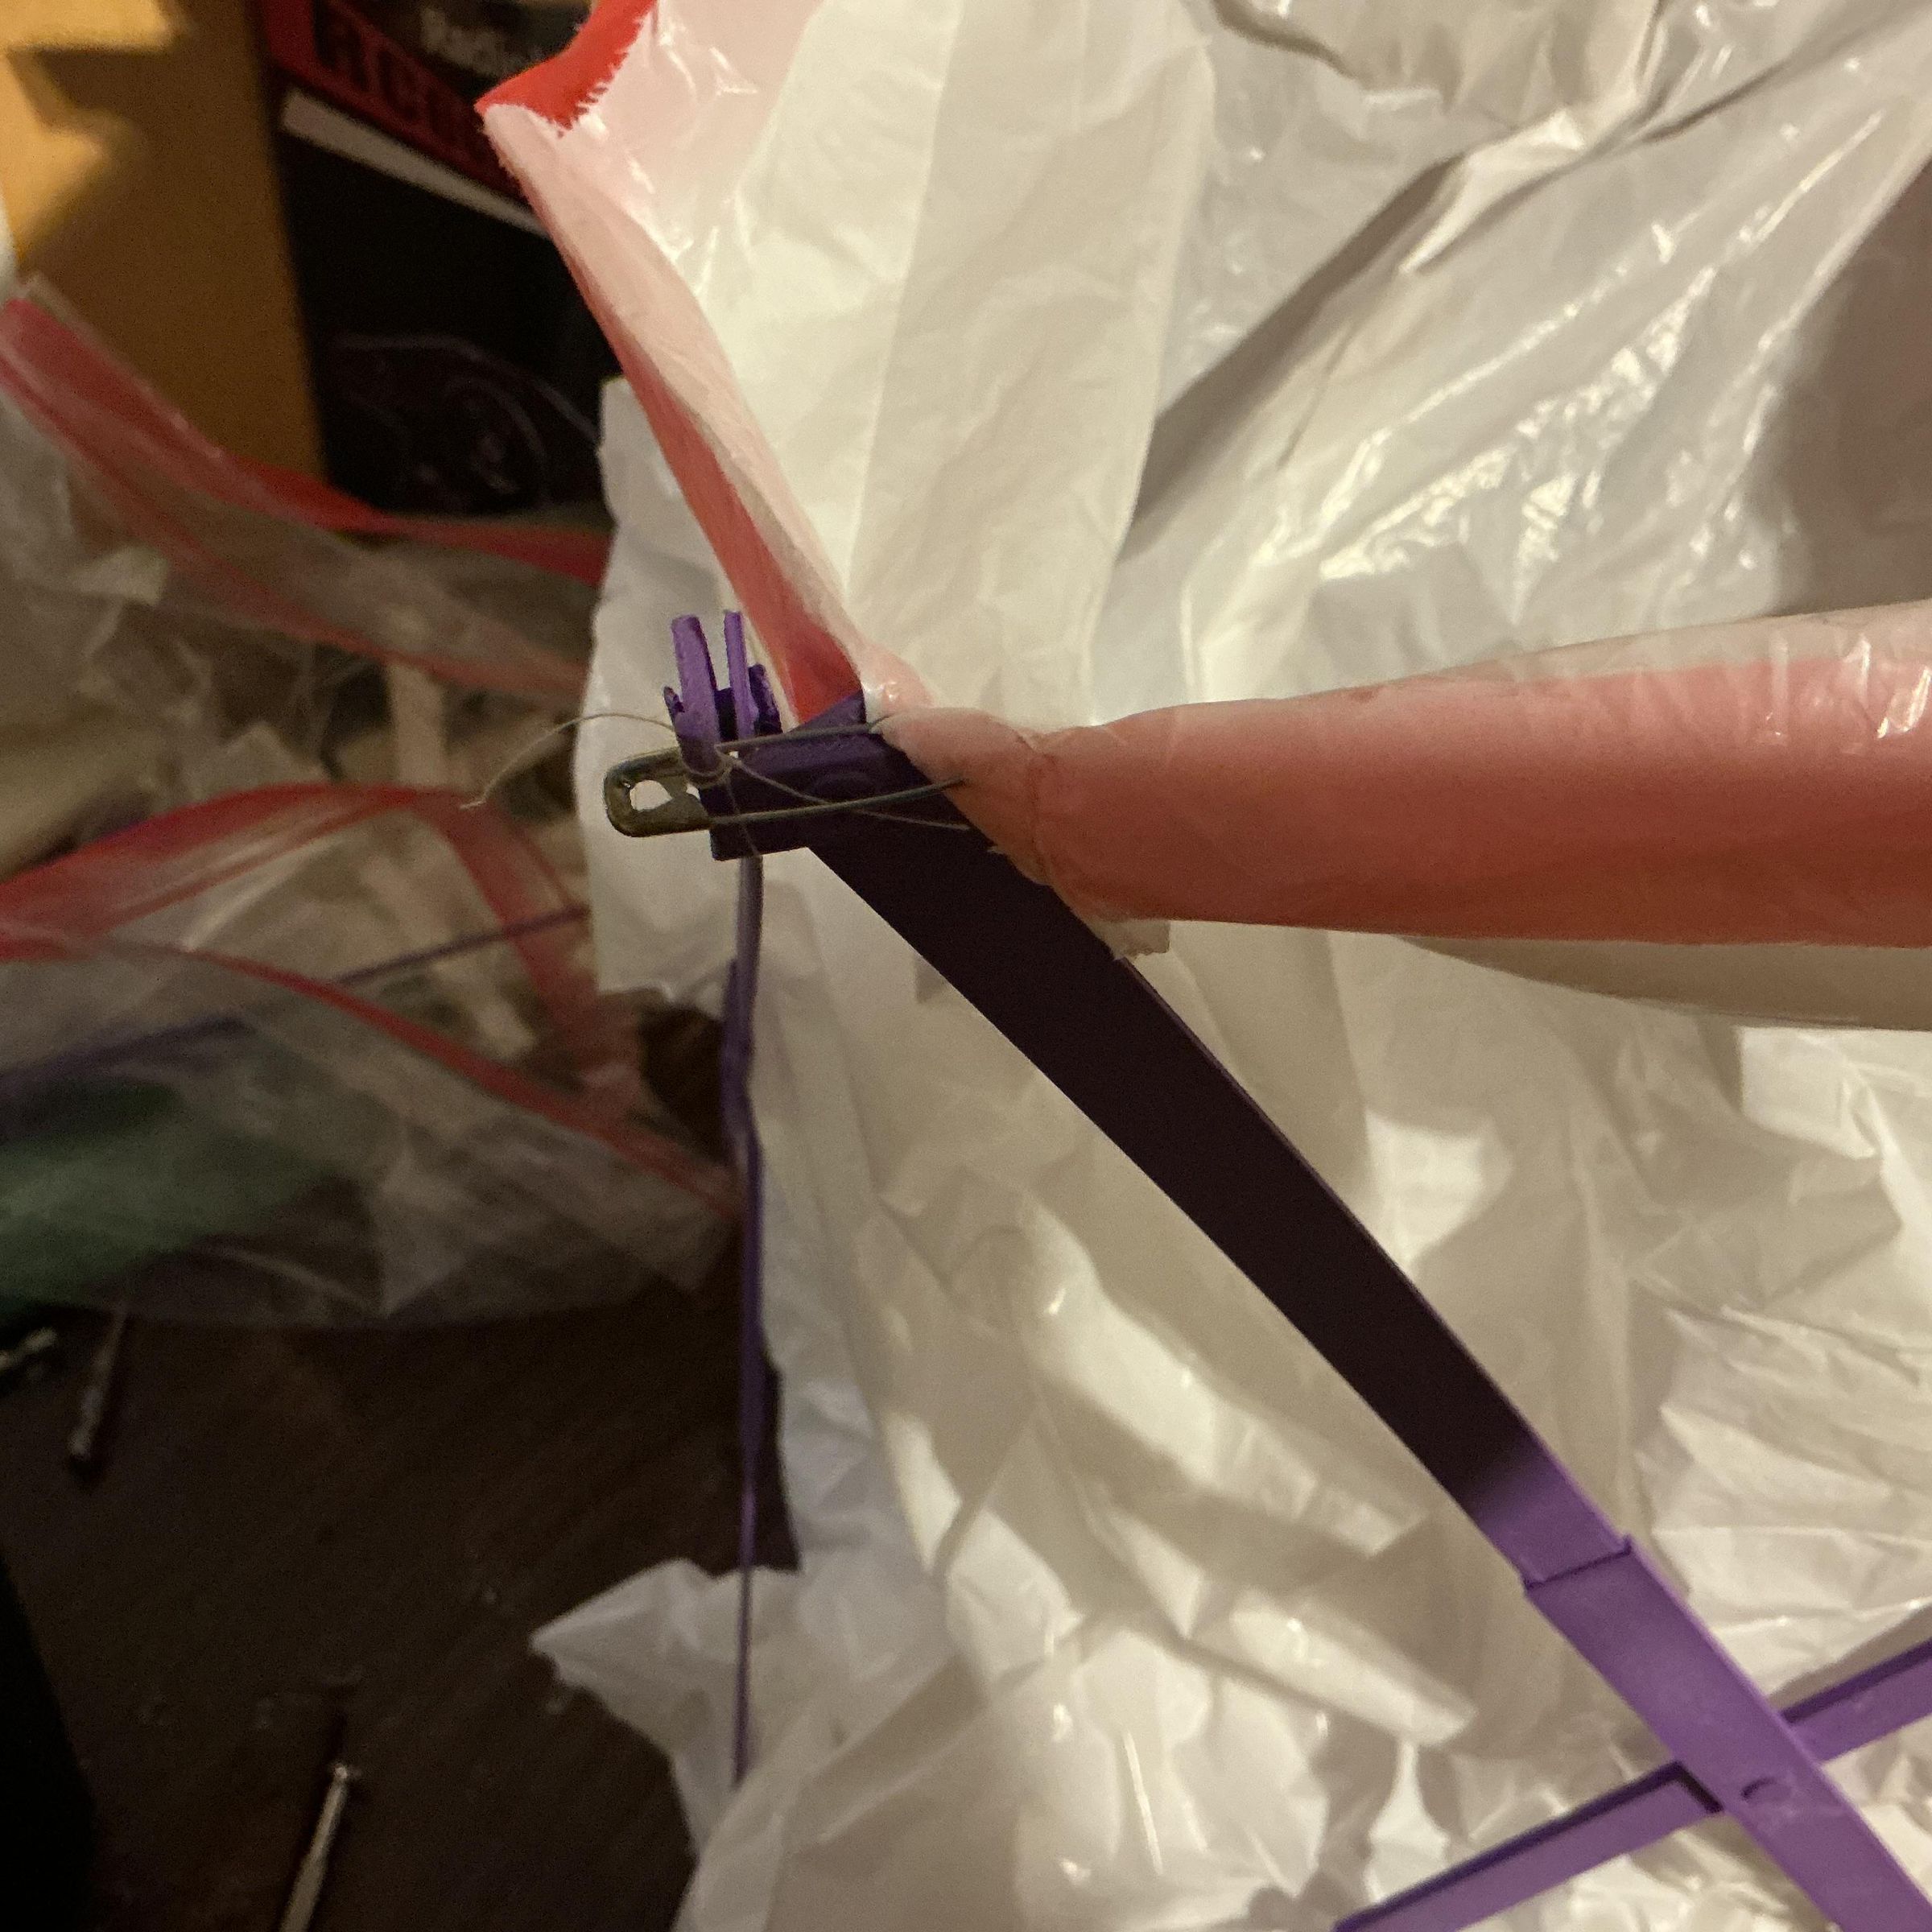
- Set aside the plastic trash bag and four safety pins.
- Attach the safety pins to top edges of the trash bag in a rectangle formation. The shortest sides of your rectangle will be the width your collapsible trash can extends to.
- Hang the safety pins over the hooks of the top pivots.
- Note: the reason why some of the hooks on my trash can look different, or there are no hooks in some of the pictures, is because they did not print correctly the first time. I later added them with a 3d pen.
Reusable Bag?
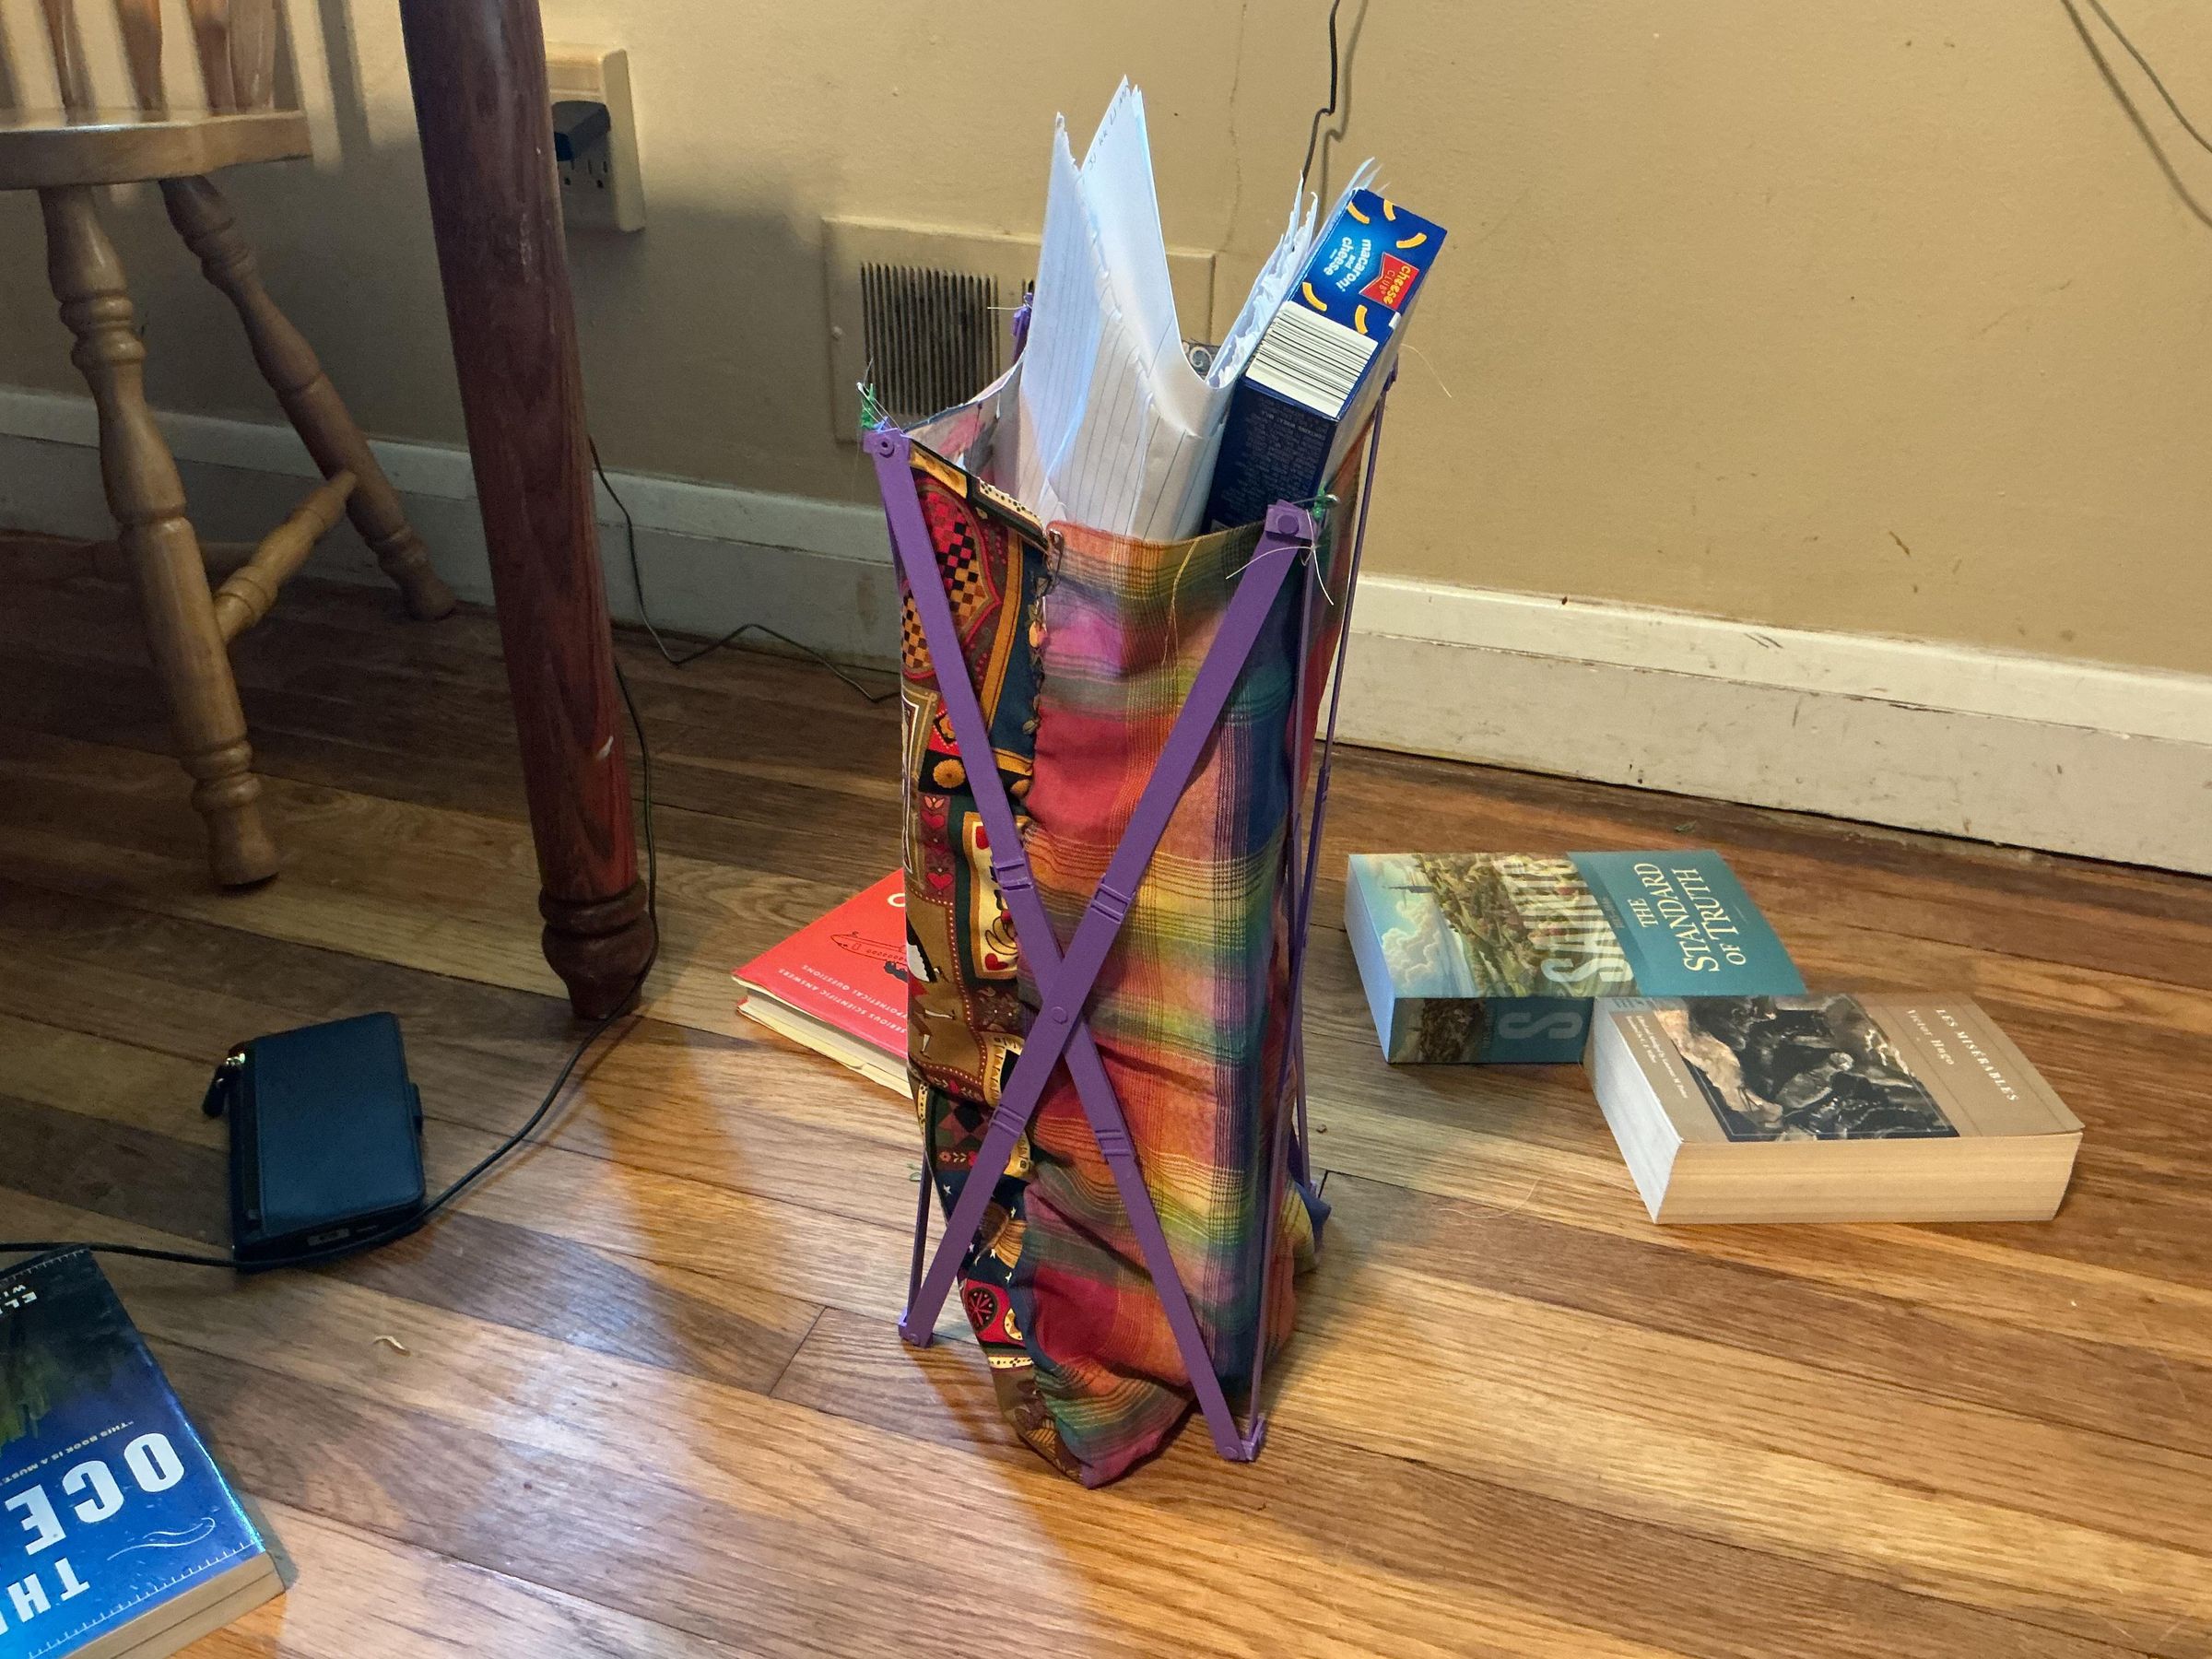
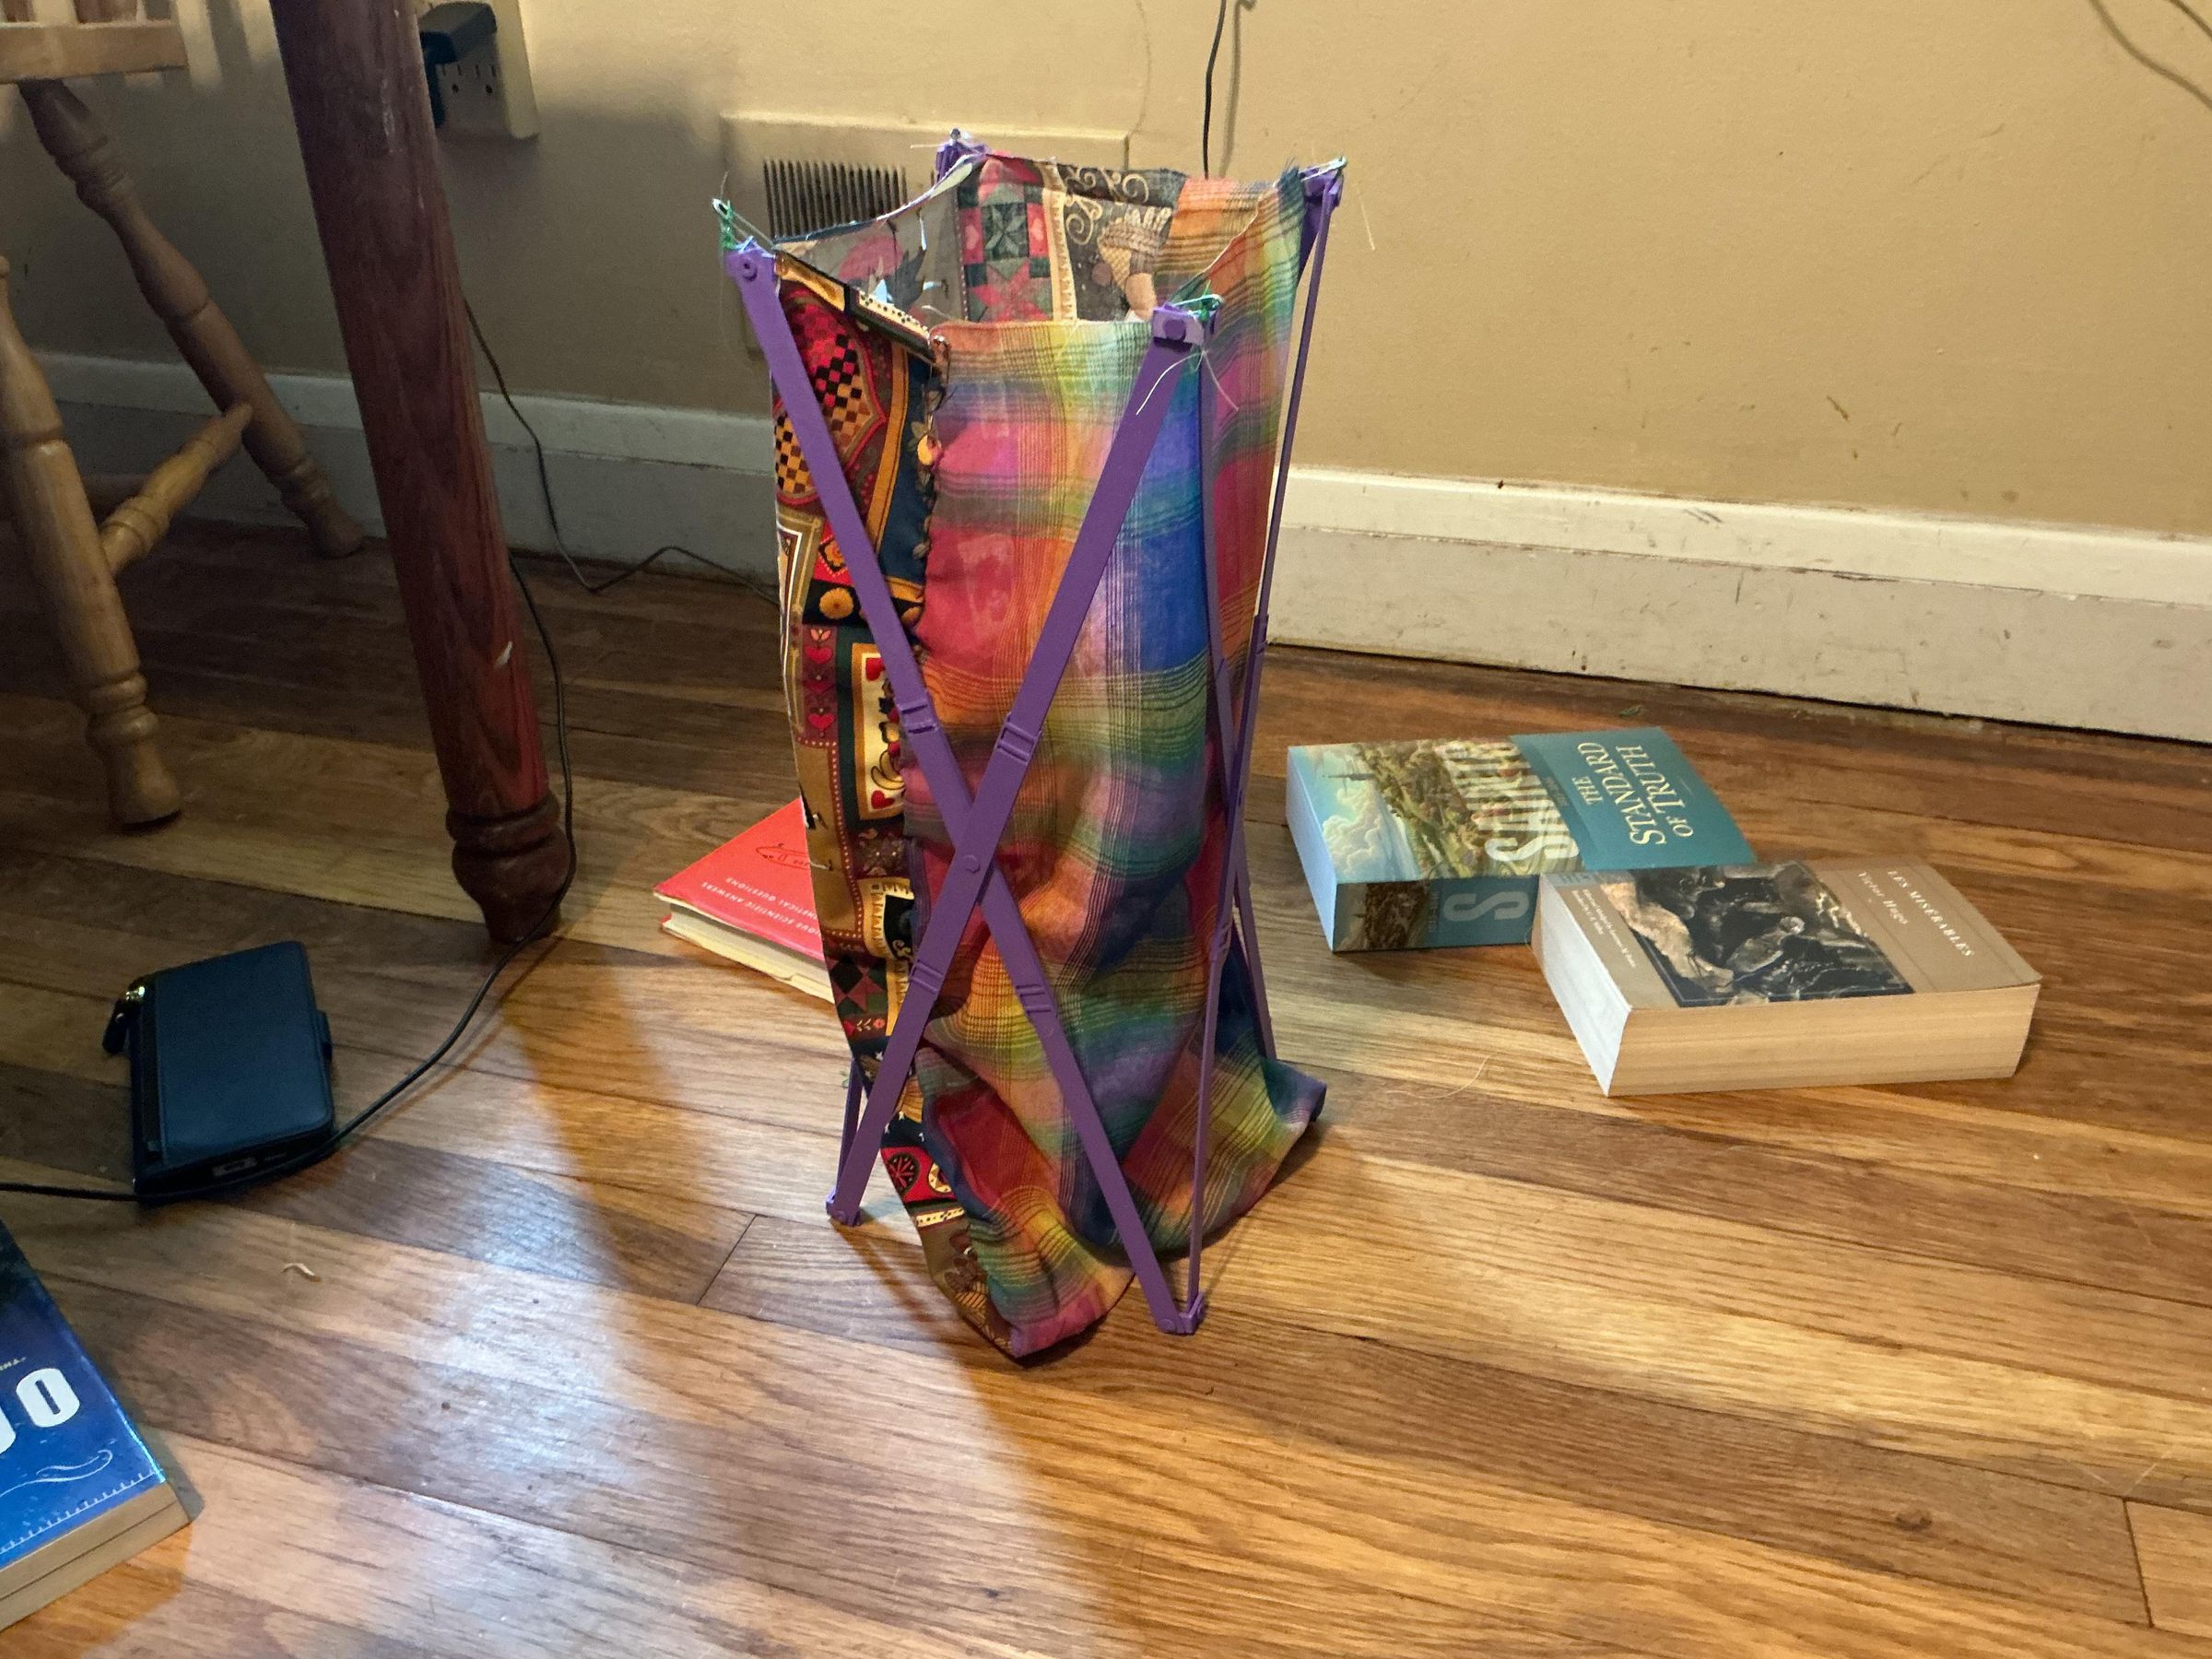
If you would like to use this as a recycling bin rather than a trash can, I would recommend creating a fabric trash bag that you could wash. This would minimize waste, which is good for the environment as well as convenient for off-grid living. Except for the last step, the rest of the instructions apply to making the reusable bag. If you do not want to make it, simply skip to the final step.
Make Fabric Lining

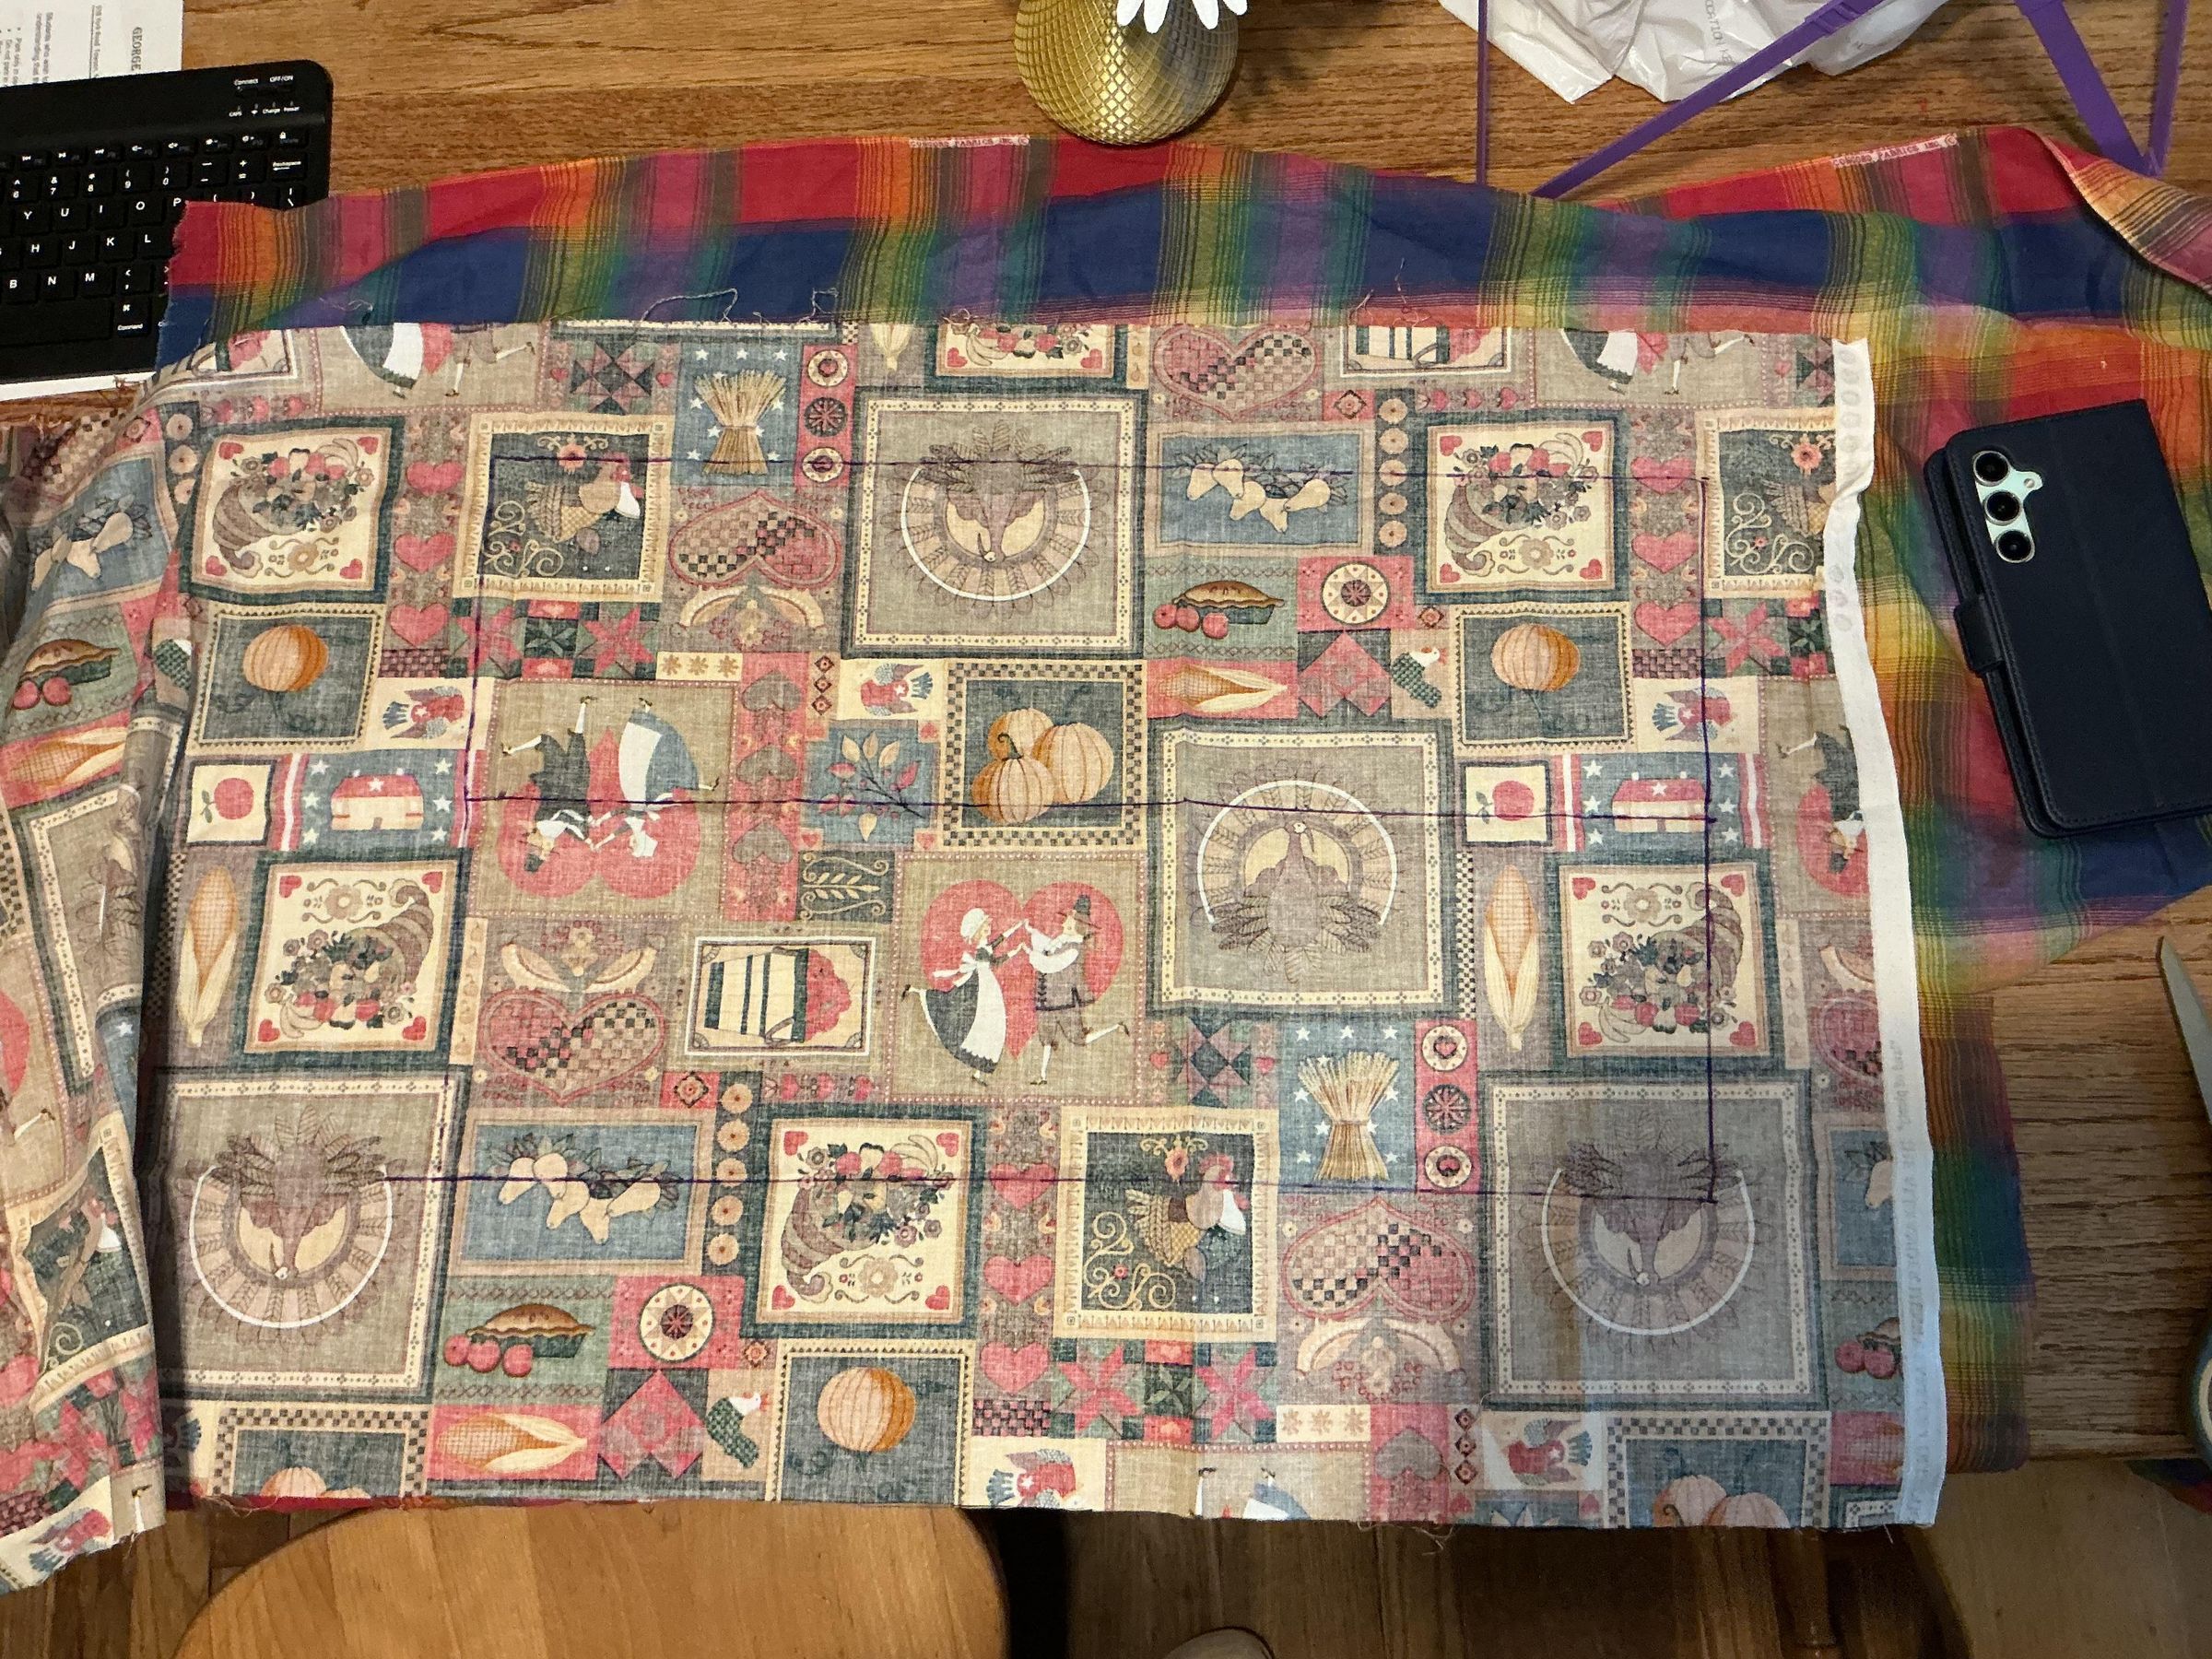
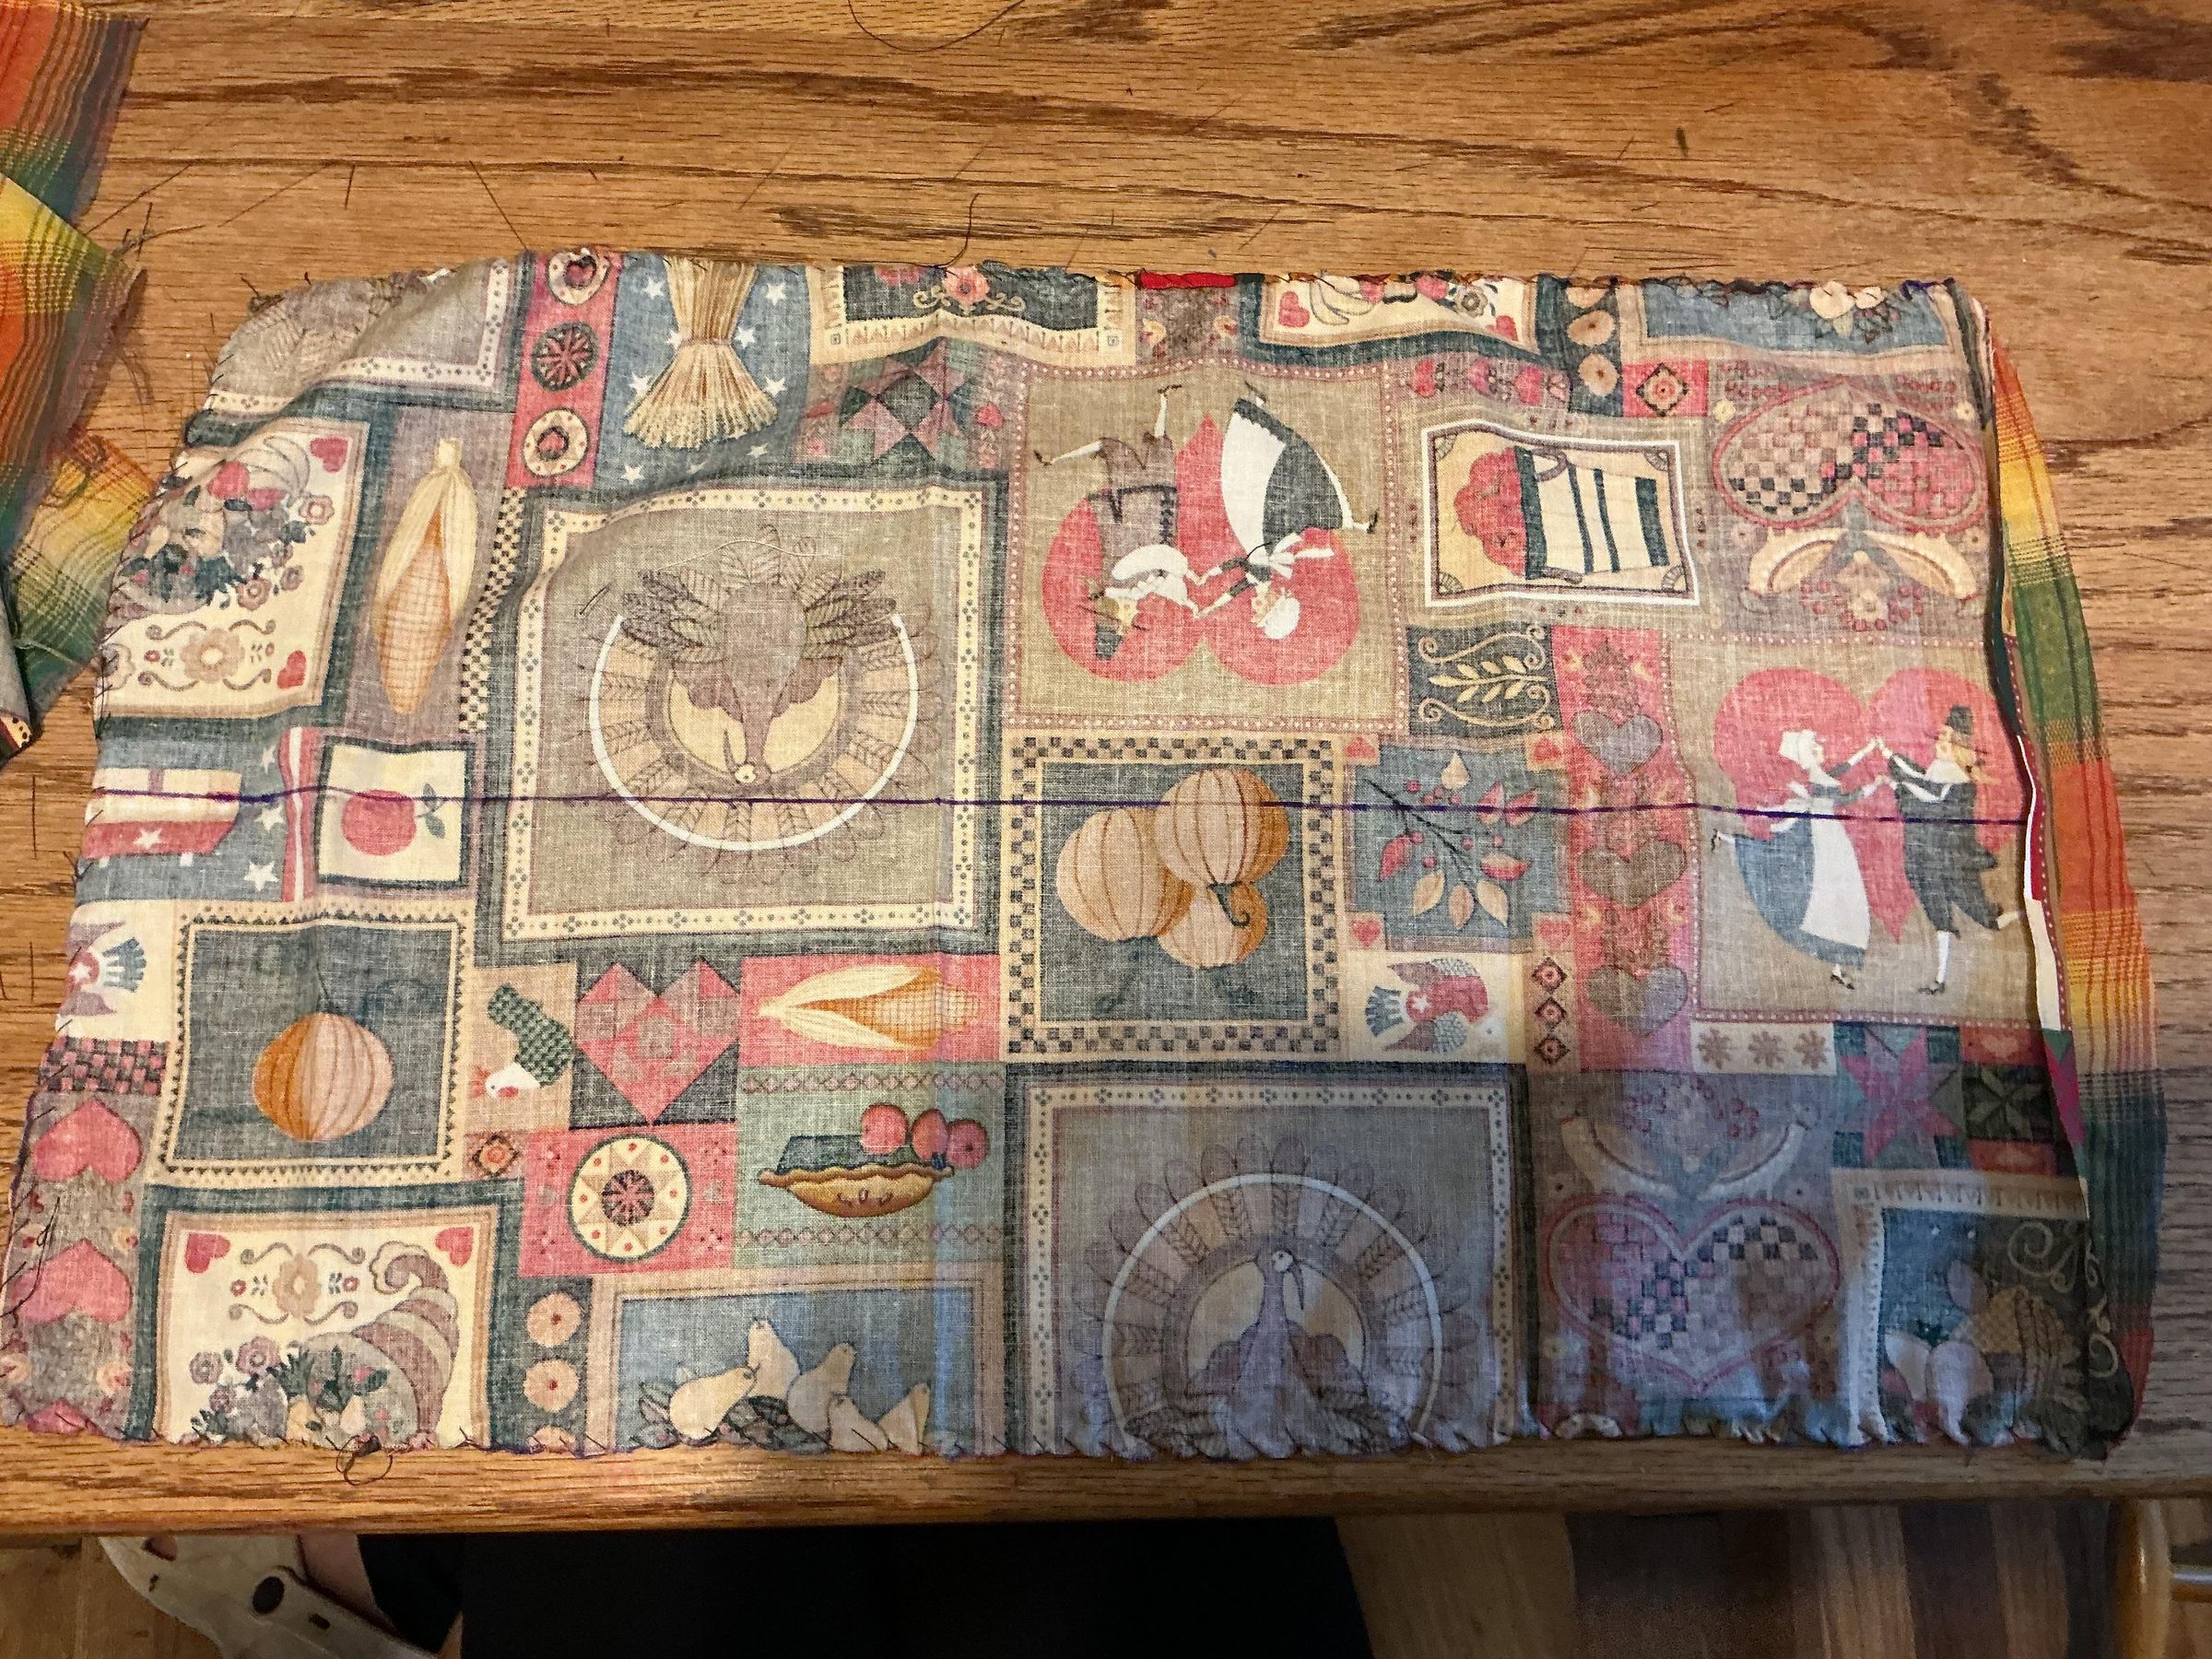
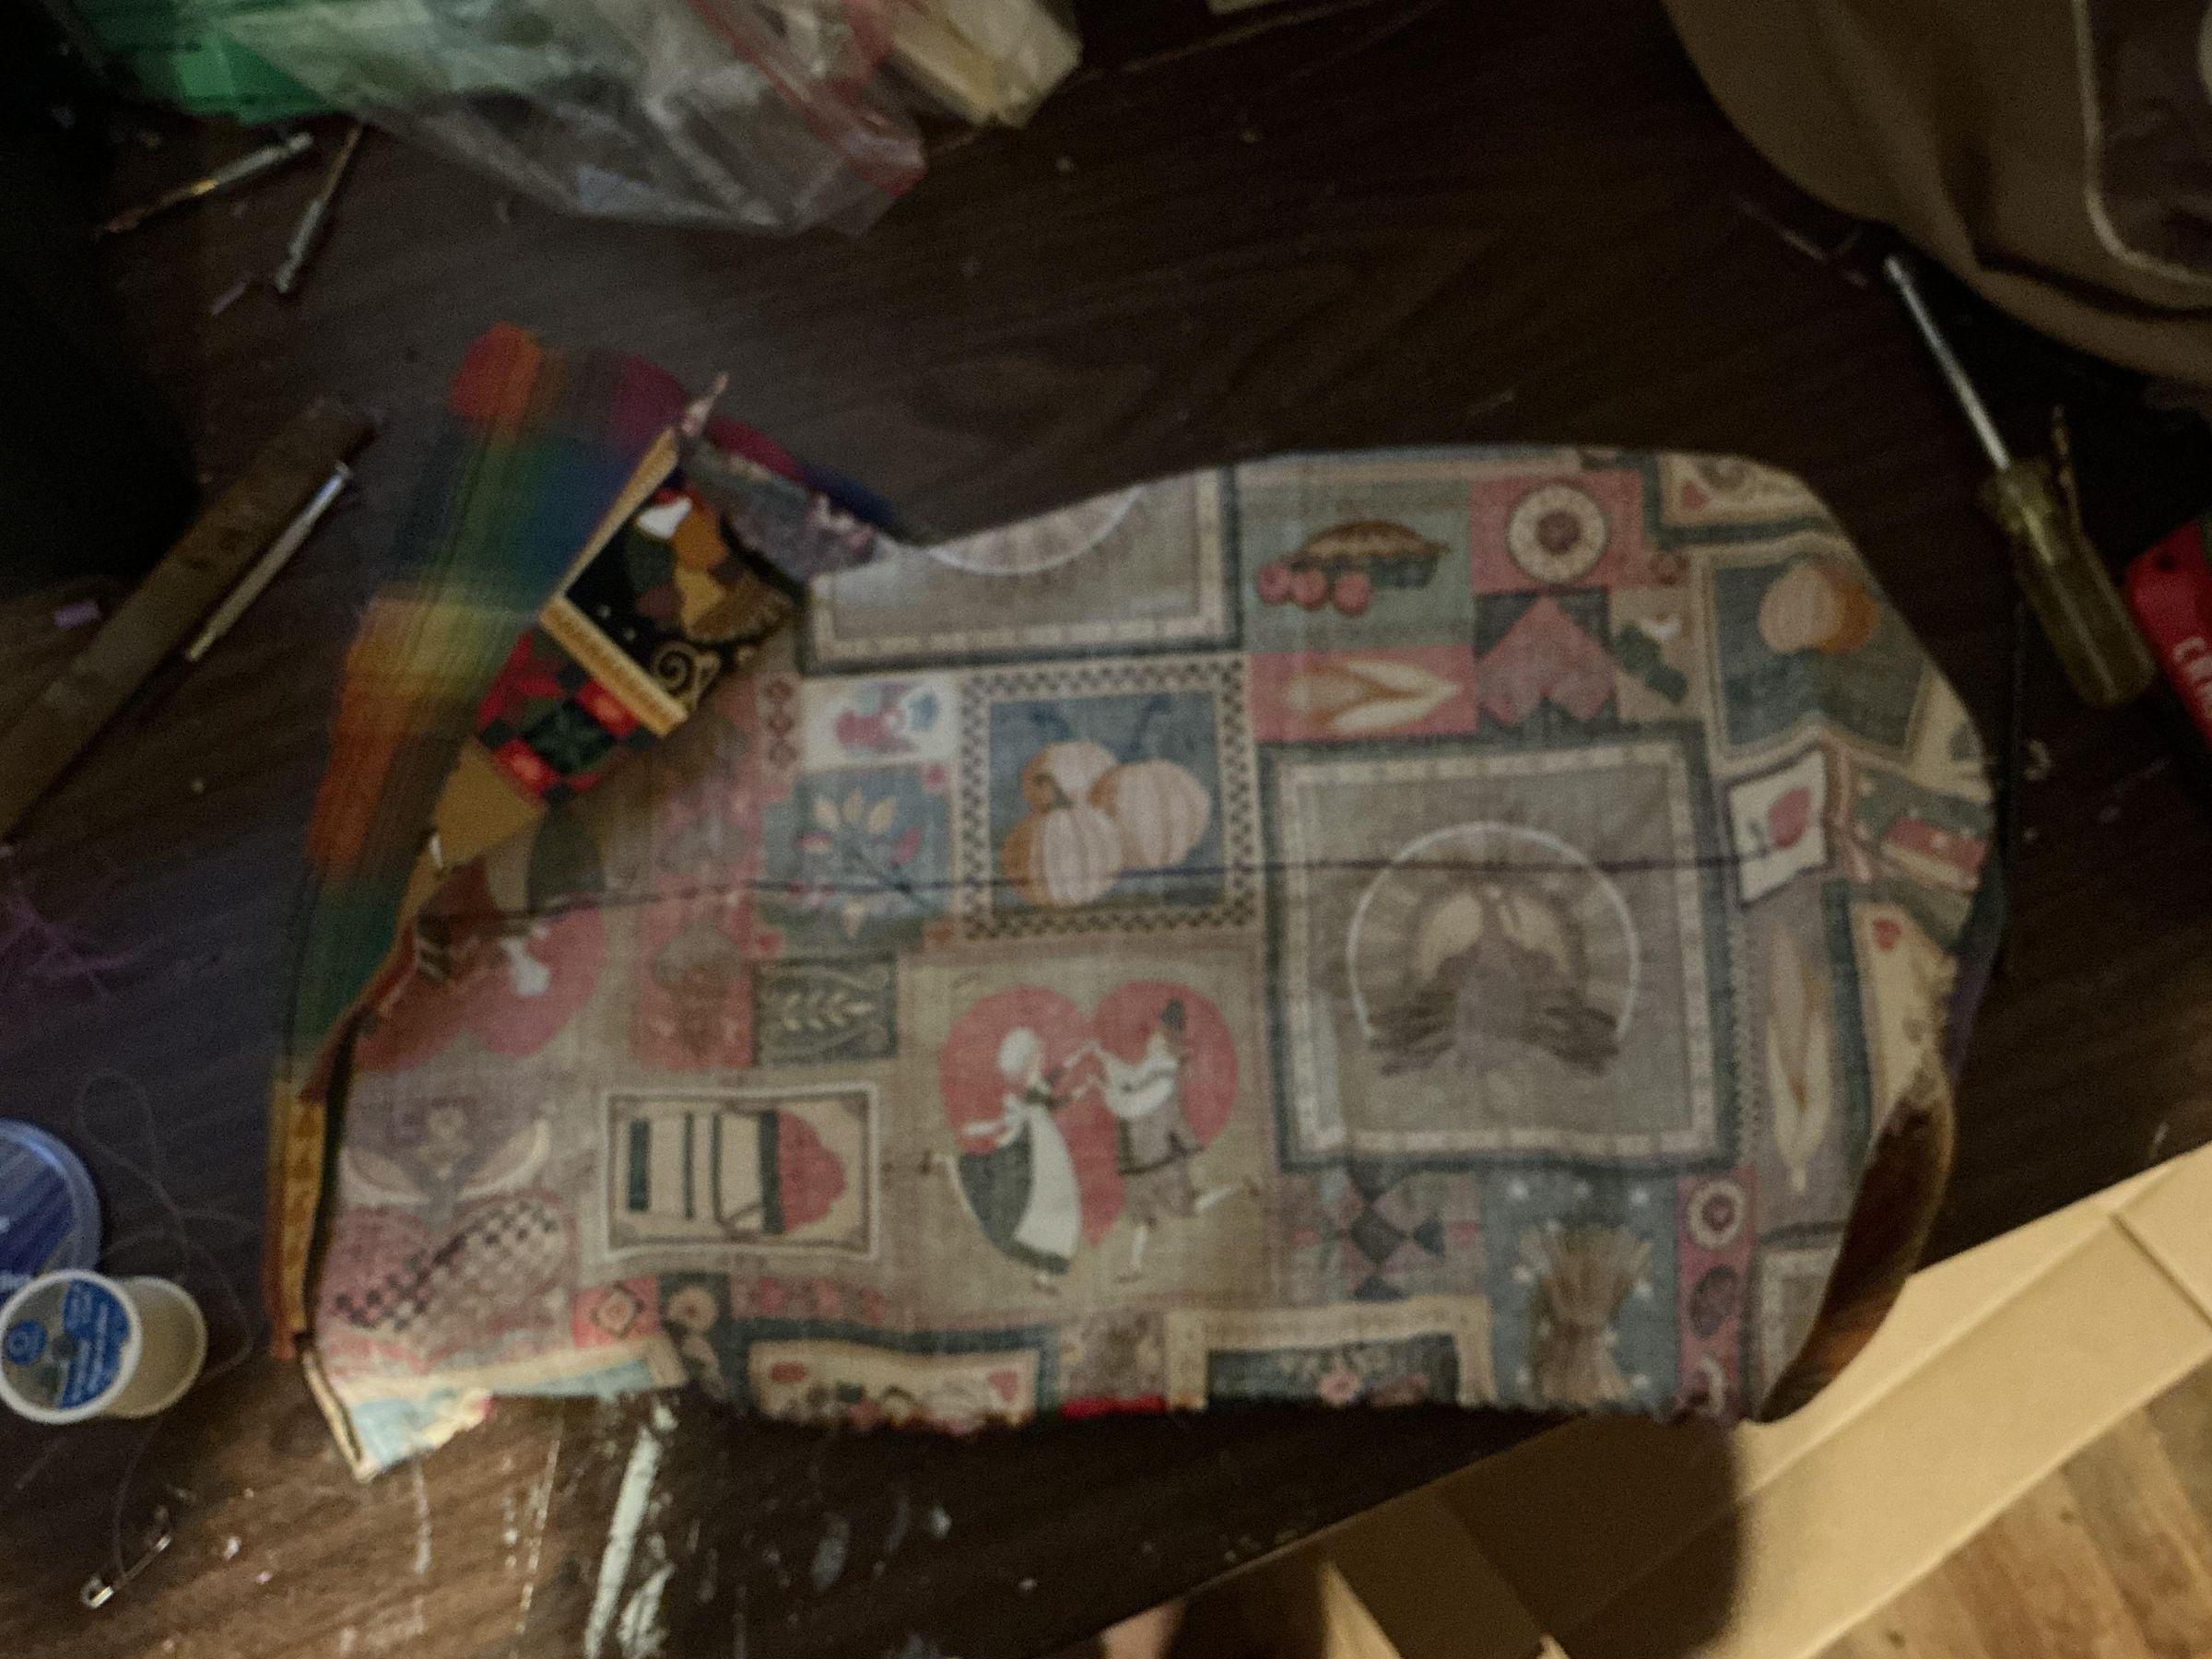
- Align two sheets of fabric, on directly on top of the other, and draw a rectangle with dimensions: 30cmx42cm but feel free to adjust these if you want a wider recycling bin)
Note: Make sure the dull part (inside part) of the fabric is facing outwards since you will turn your bag inside-out at the end.
- Cut out the rectangle template so that you have two fabric rectangles of the same size (leave them aligned with each other)
- Use the needle and thread to sew along the edges of the two fabric rectangles, but make sure to leave one of the short sides open to be the top of the recycling bag.
- Turn the bag inside out.
- Attach the safety pins and hang like a normal trash bag. Wash it regularly!
Lets Go Off Grid!
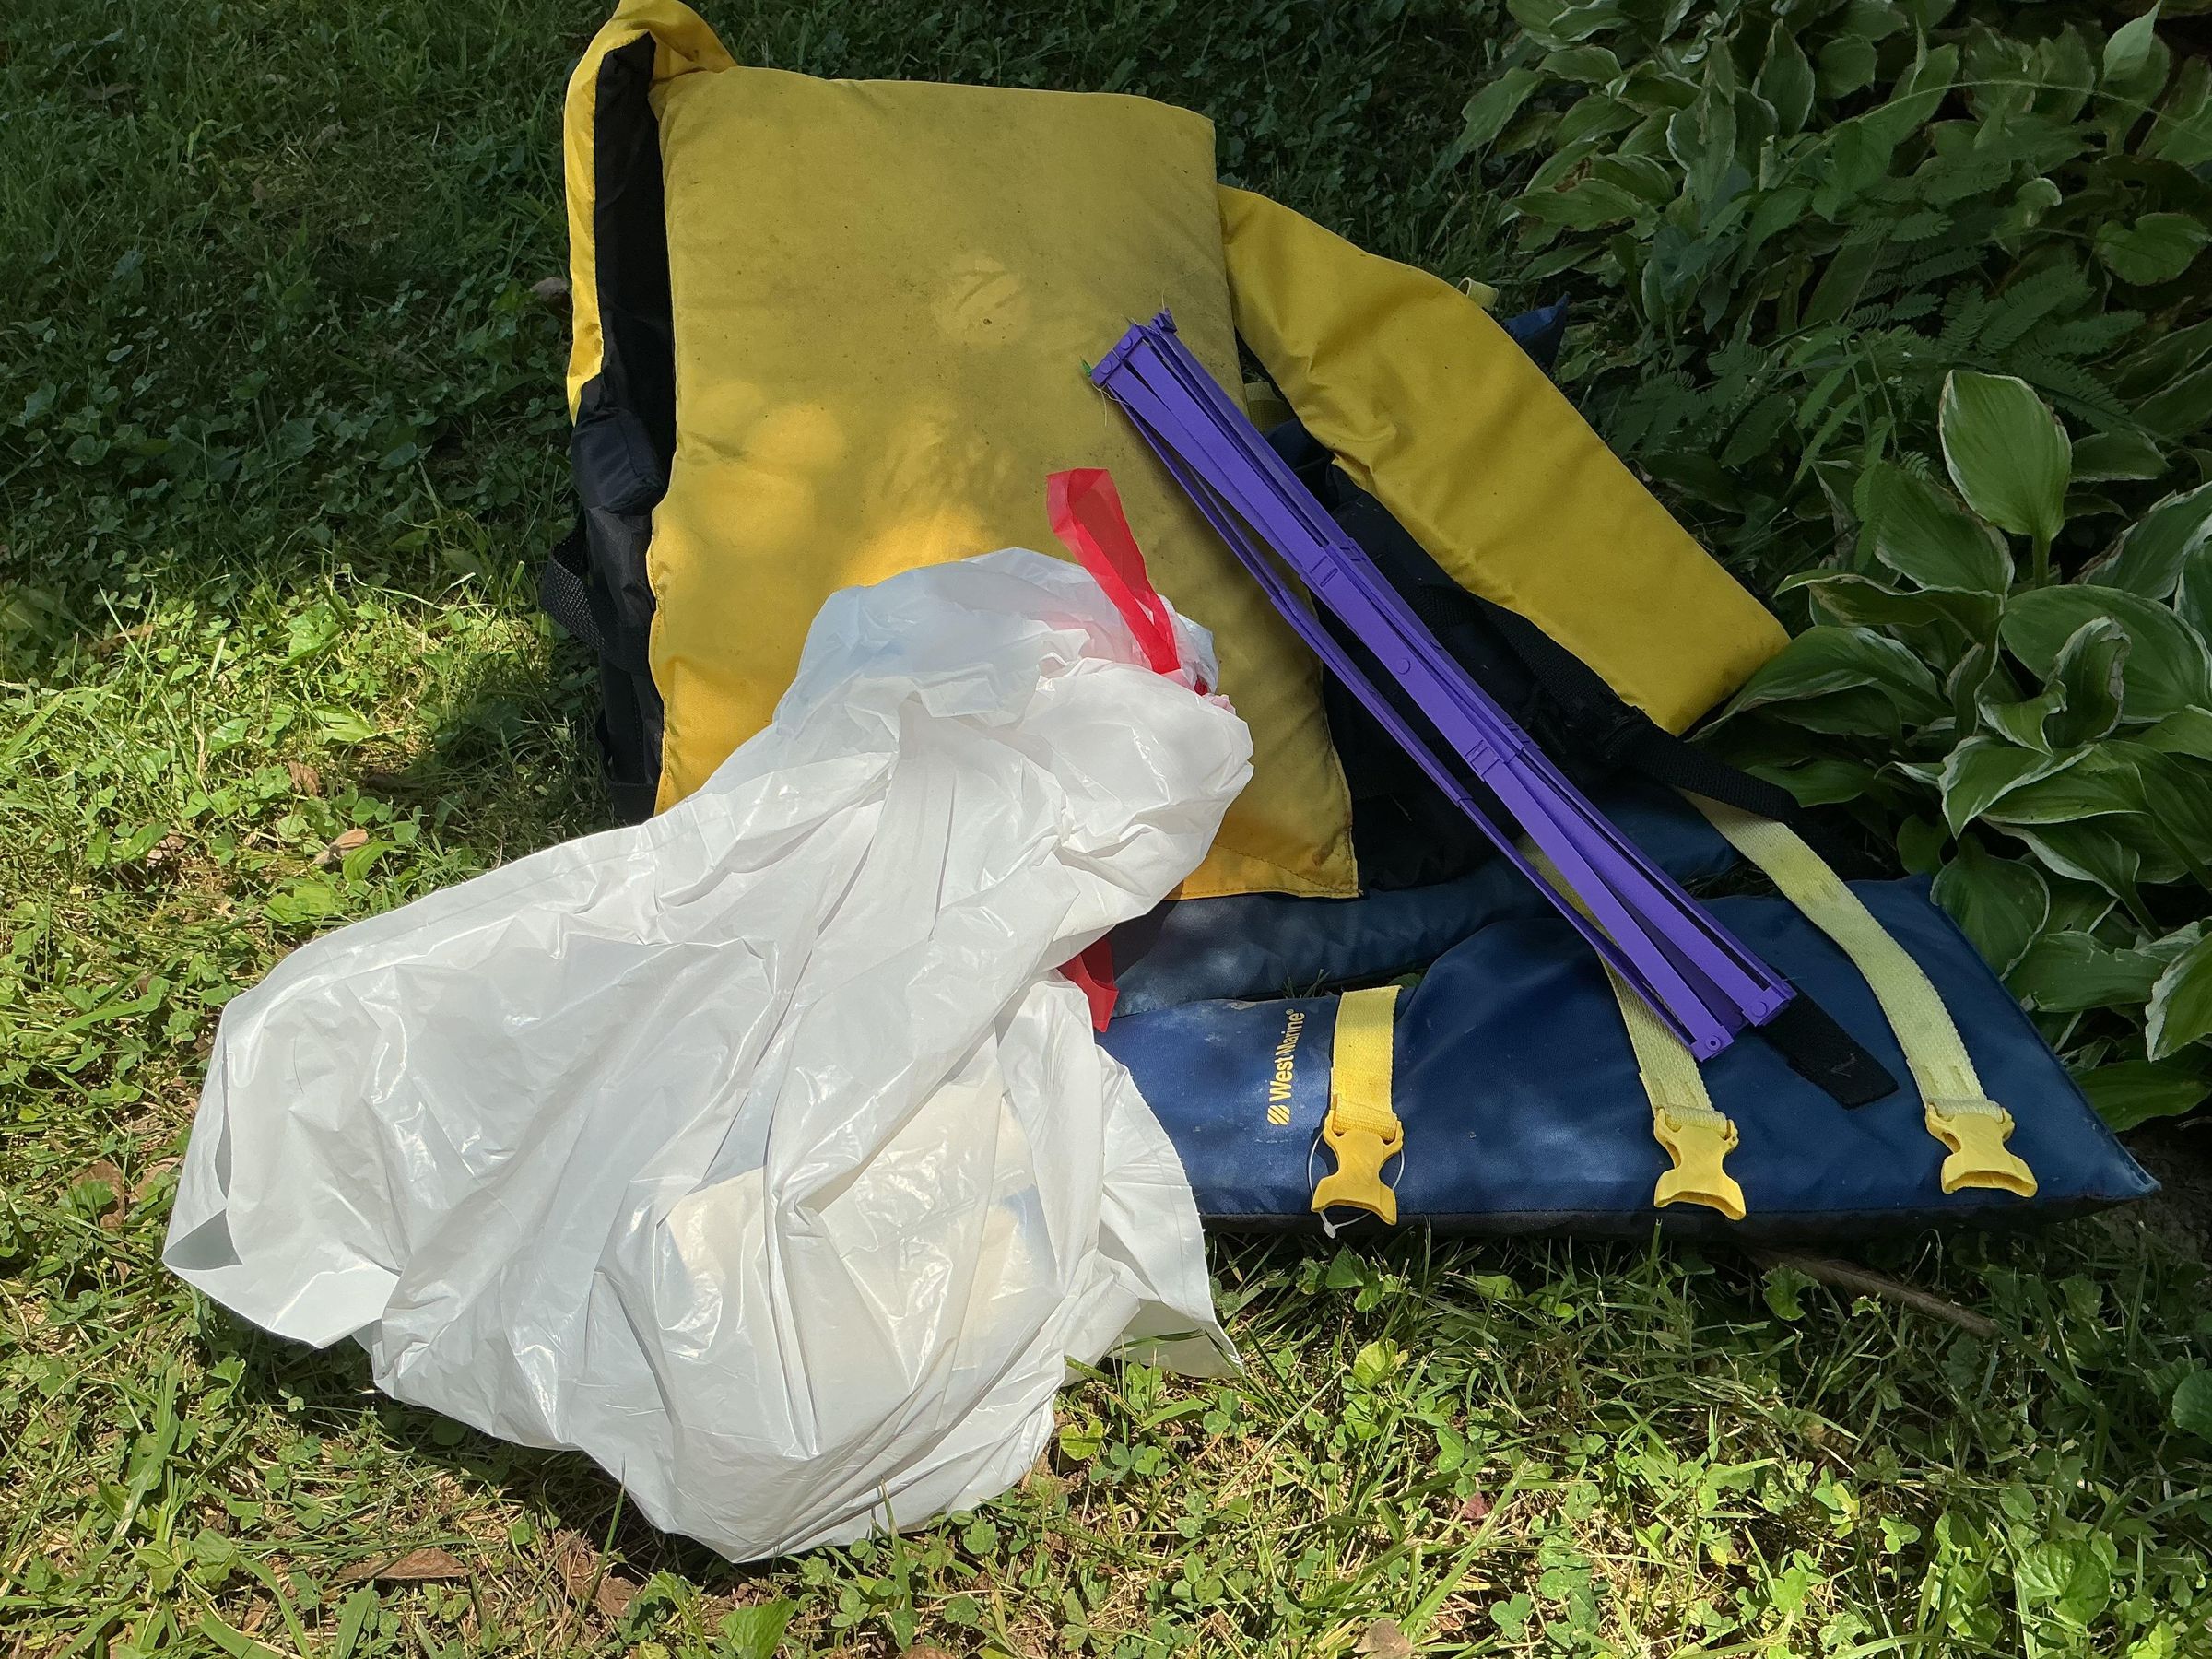


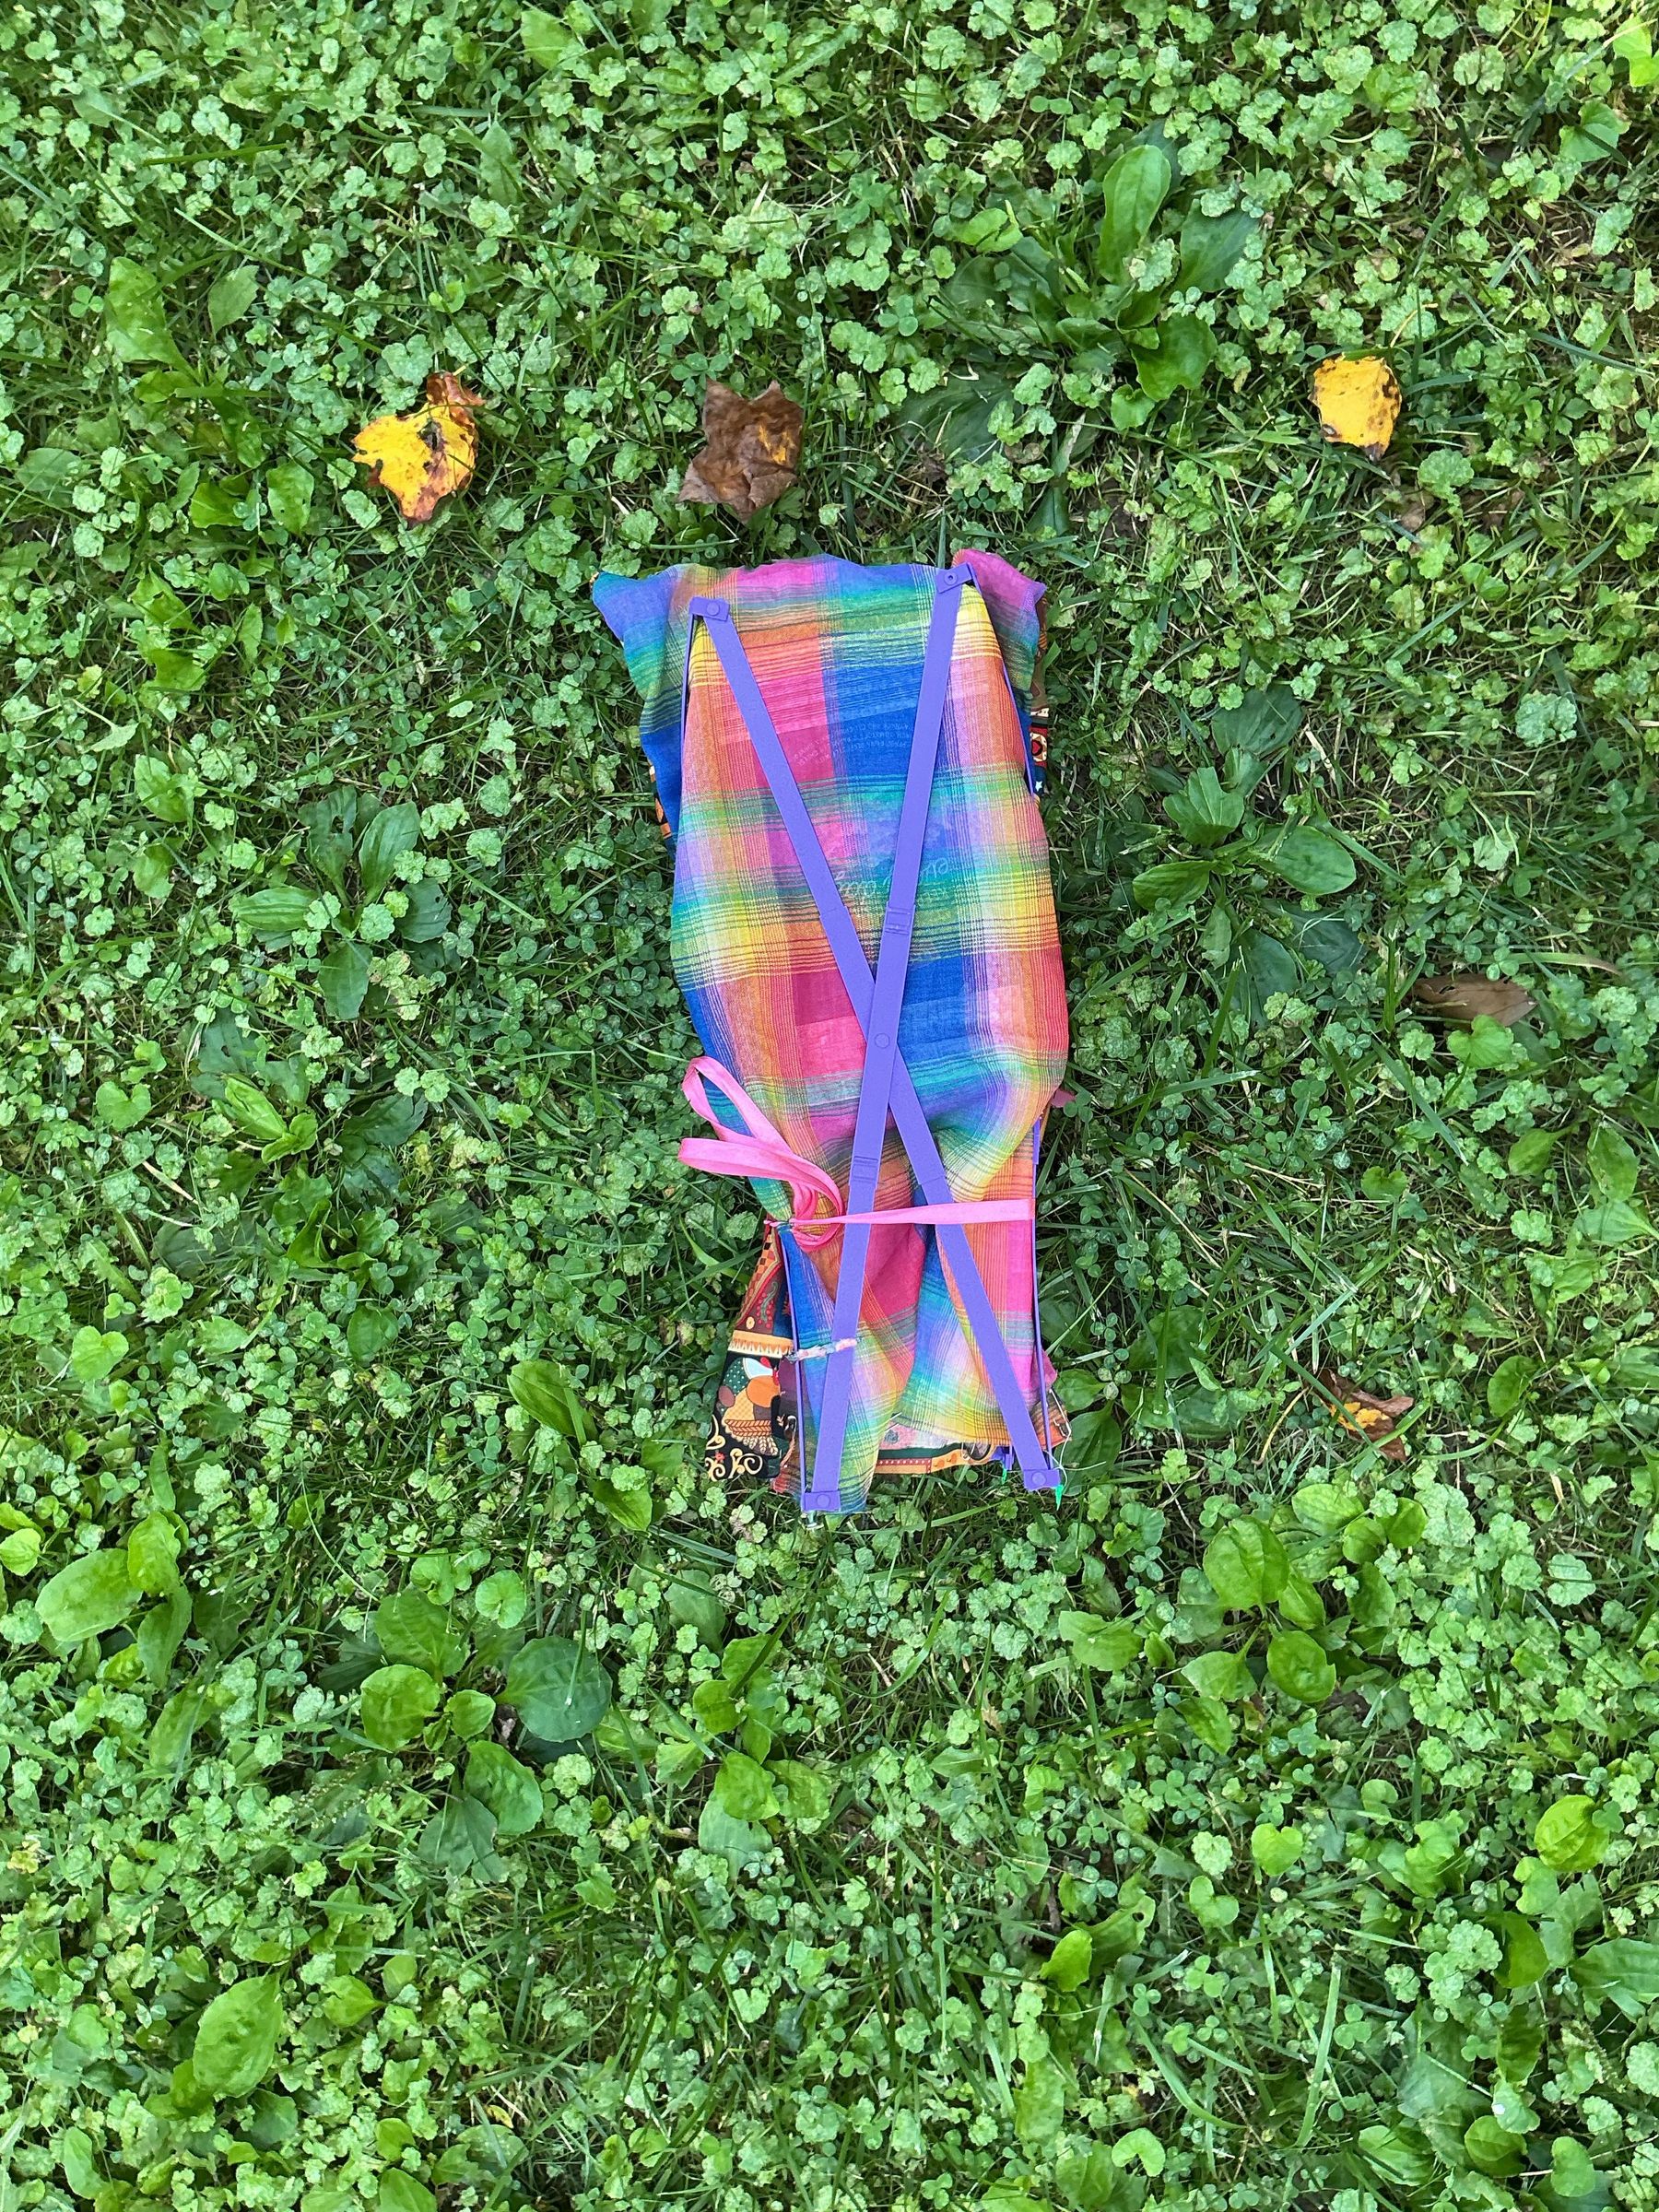
Now your trash (or recycling) bin is ready for the road! Take it on camping trips, mountain hikes, beach cook-outs, anywhere you think you could use it. Collapse it for easy transportation, then when it is full, collapse it as much as you can and tie the ribbon around the top to prevent the trash from spilling out. At least until you return to civilization to find an actual trash can.
Happy off-griding!