Color Mapping for Laser Cutting @ TechShop
by techshop_android in Workshop > Laser Cutting
31130 Views, 93 Favorites, 0 Comments
Color Mapping for Laser Cutting @ TechShop

Purpose: vector cut multiple depths in a single file
Tools: CorelDRAW X5, EPILOG laser cutter
Also known as pen tables, setting up color mapping can reduce cut time and just make life easier by running one job instead of two or three (and potentially mixing up your settings). This is especially useful for projects where you wish to scribe a surface in order to line up another piece, and rastering would be a waste of your time.
For example, if you want to make a topographical map, set a chosen contour line to red and give red a value to cut all the way through your material. Set the next contour above this to blue and give blue a value that would barely cut the surface. Set the third contour up to red again. Repeat this process for each contour and you will get minimal strips (saving material) and provide a guideline for lining up the next piece (maintain consistency and remove guesswork). This is made possible through utilization of the Color Mapping function.
Open

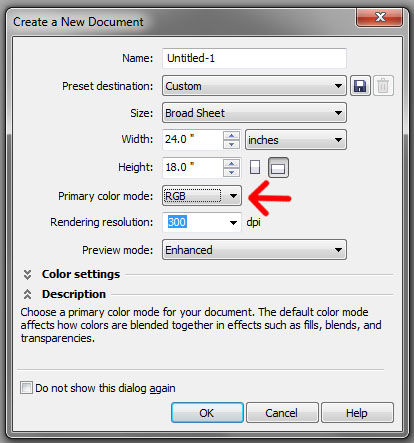
To start, open a new Corel file and set “Primary color mode” to “RGB”. Might seem simple, but running through this whole process in “CMYK” only to be unsuccessful is less than fun (trust me).
Applying Color

Import your work and select the vector lines you wish to assign a cut value. In the lower right corner, double-click the square next to the pen icon. From the new “Outline Pen” window, select a color from the drop menu – a basic primary color will work best. Click “OK” and ensure that the colored box in the lower right corner is properly registered as RGB (instead of CMYK).
Oops

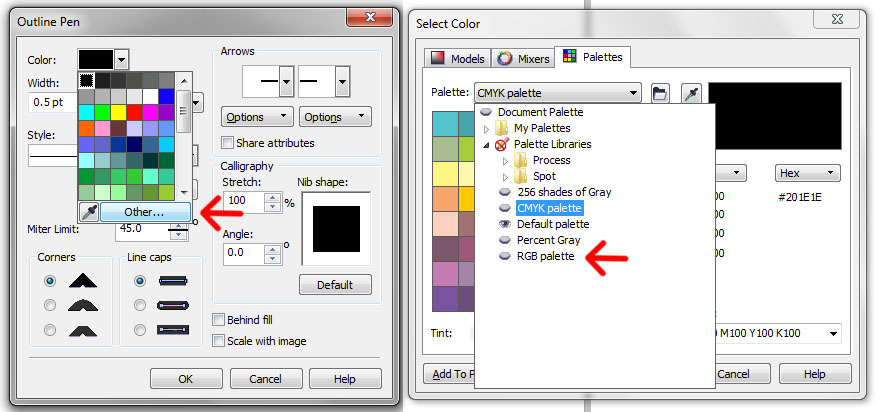
In the event you messed up one or both of the previous steps, fear not! While correcting a mistake might burn time, it is doable. Go back into the “Outline Pen” window and the color drop menu. Instead of selecting a color, click “Other”. In here change the “Palette” drop menu from <what it shouldn't be> to “RGB palette”. You are now back on track without starting completely over.
Matching Colors

Please note that the actual color of the line is what matters and not the layer that the line is on. Once your file is ready to go, “Print” and go into the “Properties” menu for the Epilog settings. Instead of the “General” tab go into the “Color Mapping” tab at the top [1]. Check the box to enable Color Mapping [2]. You will see the basic six RGBYMC color options already available. You may add your own specific colors, but the numerical value or your linework must match exactly with the print menu (don't attempt to guess or just eye it) – hence why using the defaults is recommended. Set the speed / power / freq. settings like normal for each correlating color and hit the apply arrow [3].
You have effectively compressed multiple cut files into one easy to use (and less to remember) job.
You have effectively compressed multiple cut files into one easy to use (and less to remember) job.
Burn It With Lasers!

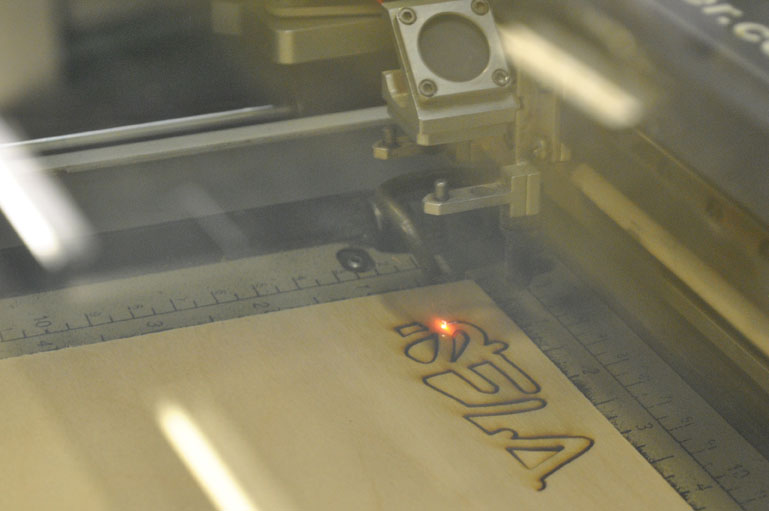
Click “OK”, make sure your vectors are set to “Hairline” and get cutting!
For more resources, tools, and training, head over to TechShop!
0100001001100101011000110110
00010111010101110011011001010
01000000110100101110100001001
11011100110010000001100011011
01111011011110110110000101110
For more resources, tools, and training, head over to TechShop!
0100001001100101011000110110
00010111010101110011011001010
01000000110100101110100001001
11011100110010000001100011011
01111011011110110110000101110