Conference Room Monitoring Using Particle Photon
by Ruchir Sharma in Circuits > Electronics
2783 Views, 14 Favorites, 0 Comments
Conference Room Monitoring Using Particle Photon

Introduction
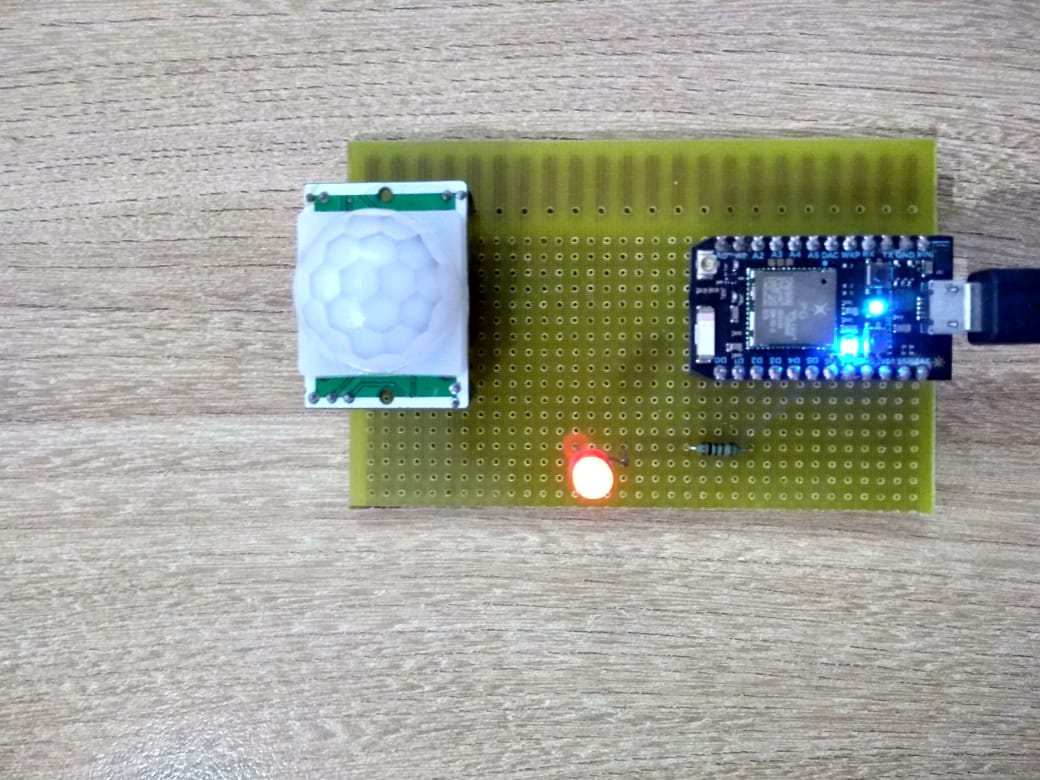
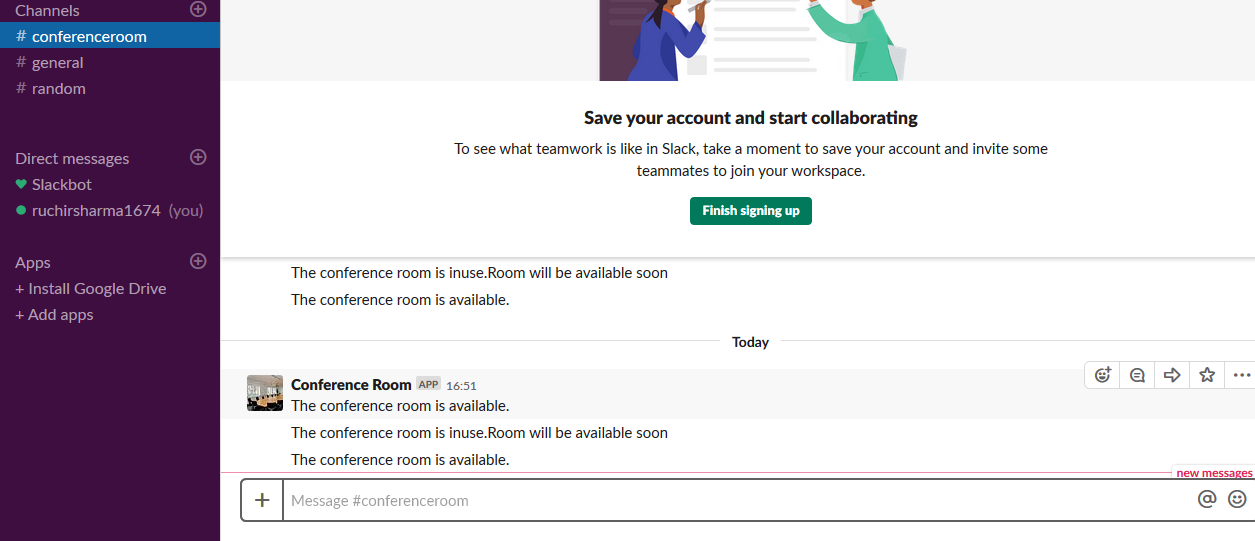
In this tutorial we are going to make conference room monitor using Particle Photon. In this Particle is integrated with Slack using Webhooks for getting real time updates of whether a room is available or not. PIR sensors is used to detect subtle changes in infrared light to sense people.
Firstly, setting up Slack
Secondly, setting up Particle
Component Needed
Hardware
- Particle Photon ==> $19
- PIR sensor ==> $7
- LED ==> $ 2
Software
- Particle Web IDE
- Slack
Total cost is around $28
Setting Up a Slack Incoming Webhook
A Slack Incoming Webhook listens for data from an external source and then posts it to a Slack channel.
- First go to https://slack.com/intl/en-in/ then enter your email address. You will see page like this

- Create a new workspace. You will see page like this
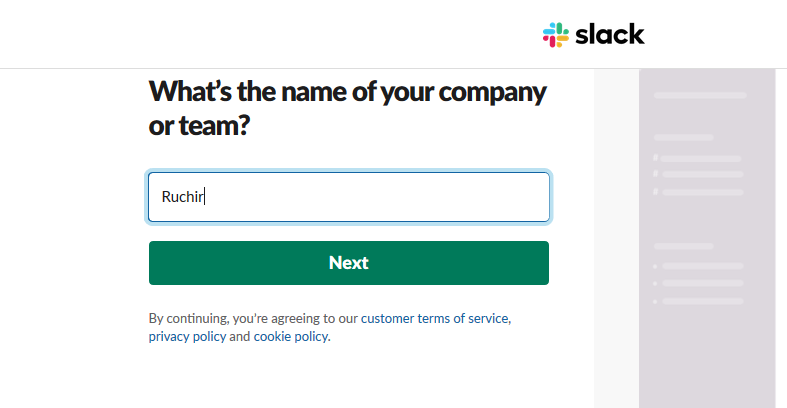
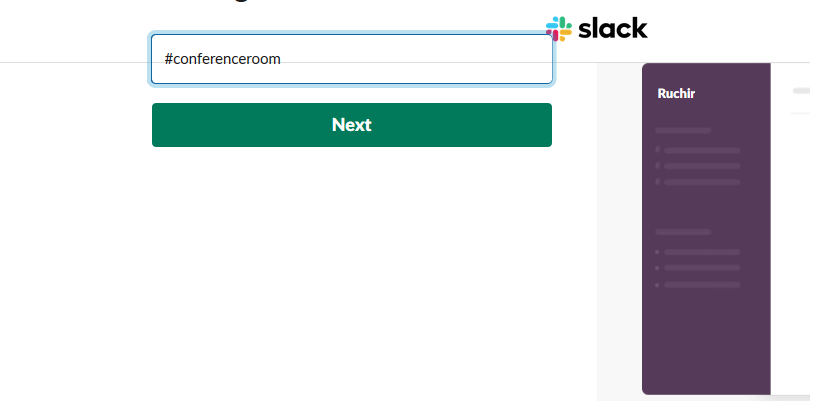
- Make a channel for the Webhook to post in. I created a channel name called #conferenceroom.
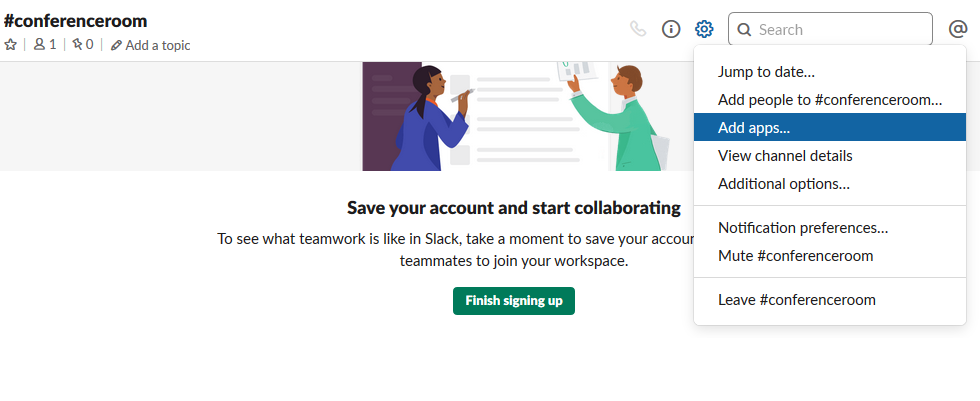
- Next, click the gear icon and choose “Add an app”.
- Now, create the Webhook itself. Type incoming webhooks into the search box, then click Incoming WebHooks.

- Click on the incoming webhooks you will see page like this
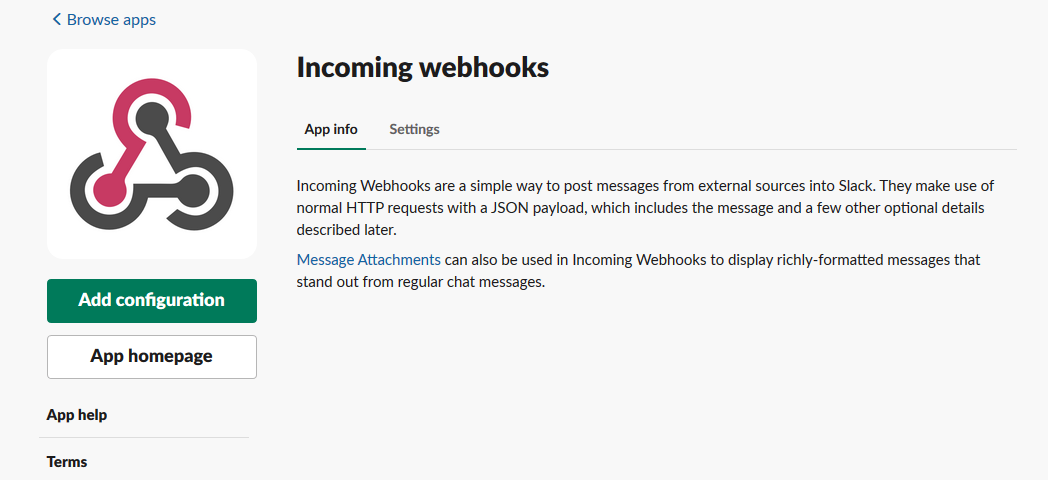
- Then click on "add configuration". You will see page like this

Choose a channel to post to. In this case, it’s #conferenceroom

- Locate your Webhook URL. This URL send data to via the Particle Device Cloud.
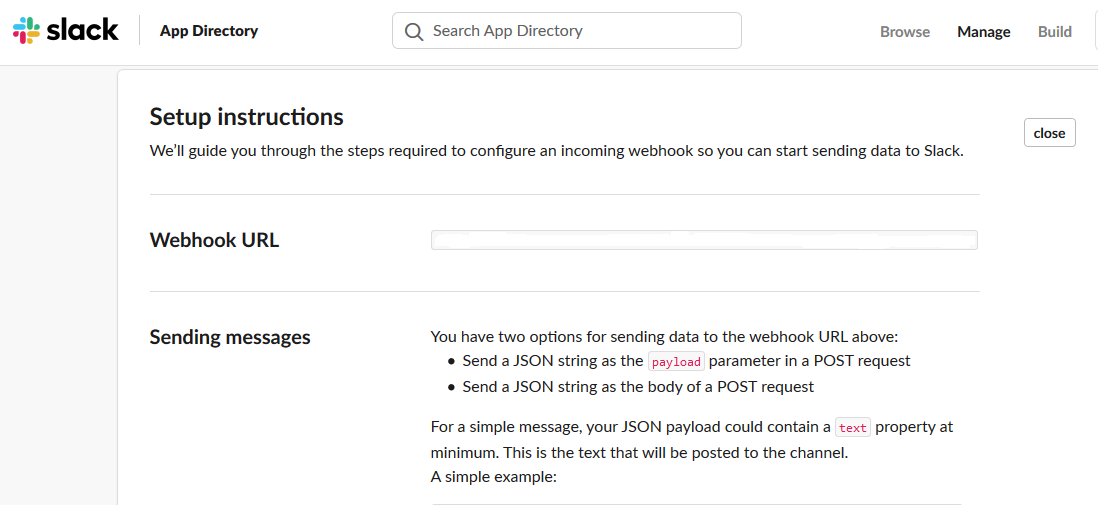
- Scroll down to Integration Settings and give your webhook a descriptive label, name, and icon, then click Save Settings.
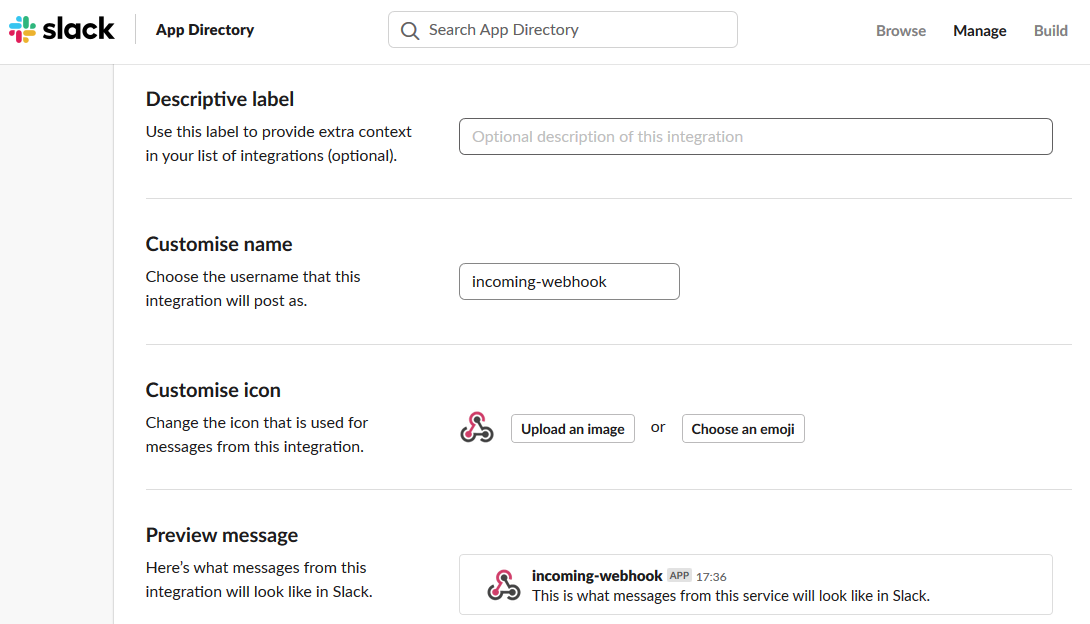
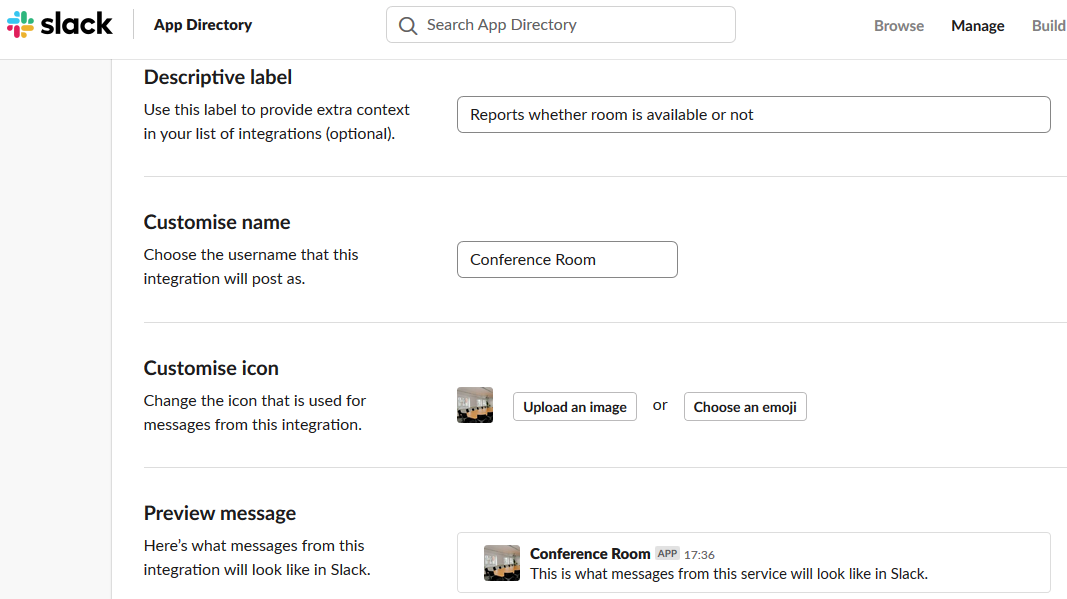
We are done with Slack setup.
Particle Photon
Photon is a popular IOT board.The board houses STM32F205 120Mhz ARM Cortex M3 microcontroller and has 1 MB flash memory, 128 Kb RAM and 18 mixed signal general purpose input output (GPIO) pins with advanced peripherals. The module has on-board Cypress BCM43362 Wi-Fi chip for Wi-Fi connectivity and Single band 2.4GHz IEEE 802.11b/g/n for Bluetooth. The board comes equipped with 2 SPI, one I2S, one I2C, one CAN and one USB interface.
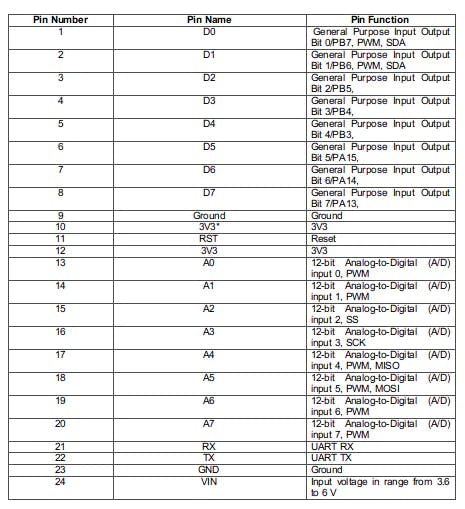
It should be noted that 3V3 is a filtered output used for analog sensors. This pin is the output of the on-board regulator and is internally connected to the VDD of the Wi-Fi module. When powering the Photon via VIN or the USB port, this pin will output a voltage of 3.3VDC. This pin can also be used to power the Photon directly (max input 3.3VDC). When used as an output, the max load on 3V3 is 100mA. The PWM signals have a resolution of 8-bit and run on a frequency of 500 Hz.
Pin Diagram

Pin Description
Particle Web IDE
For writing the program code for any Photon, developer needs to create an account on Particle website and register the Photon board with his user account. The program code then can be written on Web IDE at the Particle's website and transferred to a registered photon over the internet. If the selected Particle board, Photon here, is switched on and connected to cloud service of the Particle, the code is burnt to the selected board over the air via internet connection and the board starts operating according to the transferred code. For controlling board over the internet, a web page is designed which uses Ajax and JQuery to send data to the board using HTTP POST method. The web page identifies the board by a device ID and connects to the Particle's Cloud Service through an access token.
How to connect photon with Internet
1. Power your device
- Plug the USB cable into your power source.
- As soon as it is plugged in, the RGB LED on your device should begin blinking blue.If your device is not blinking blue, hold down the SETUP button.If your device is not blinking at all, or if the LED is burning a dull orange color, it may not be getting enough power. Try changing your power source or USB cable.
2. Connect your Photon to the Internet
There are two ways either you use web application or mobile app
a. Using web application
- Step 1 Go to setup.particle.io
- Step 2 Click on setup a Photon
- Step 3 After clicking on NEXT, you should be presented with a file (photonsetup.html)
- Step 4 Open the file.
- Step 5 After opening the file connect your PC to the Photon, by connecting to the network named PHOTON.
- Step 6 Configure your Wi-Fi credentials.Note: If you mistyped your credentials, the Photon will blink dark blue or green. You have to go through the process again (by refreshing the page or clicking on the retry process part)
- Step 7 Rename your device. You will also see a confirmation if the device was claimed or not.
b. Using smartphone
- Open the app on your phone. Log in or sign up for an account with Particle if you don't have one.
- After login, press the plus icon and select the device you'd like to add. Then follow the instructions on the screen to connect your device to Wi-Fi. If this is your Photon's first time connecting, it will blink purple for a few minutes as it downloads updates. It may take 6-12 minutes for the updates to complete, depending on your internet connection, with the Photon restarting a few times in the process. Do not restart or unplug your Photon during this time.
Once you have connected your device, it has learned that network. Your device can store up to five networks. To add a new network after your initial setup, you'd put your device into Listening Mode again and proceed as above. If you feel like your device has too many networks on it, you can wipe your device's memory of any Wi-Fi networks it has learned. You can do so by continuing to hold the setup button for 10 seconds until the RGB LED flashes blue quickly, signaling that all profiles have been deleted.
Modes
- Cyan, your Photon is connected to the Internet.
- Magenta, it is currently loading an app or updating its firmware. This state is triggered by a firmware update or by flashing code from the Web IDE or Desktop IDE. You might see this mode when you connect your Photon to the cloud for the first time.
- Green, it is trying to connect to the internet.
- White, the Wi-Fi module is off.
Web IDE
Particle Build is an Integrated Development Environment, or IDE that means that you can do software development in an easy-to-use application, which just so happens to run in your web browser.
- To open build, login to your particle account and then click on Web IDE as shown in image.
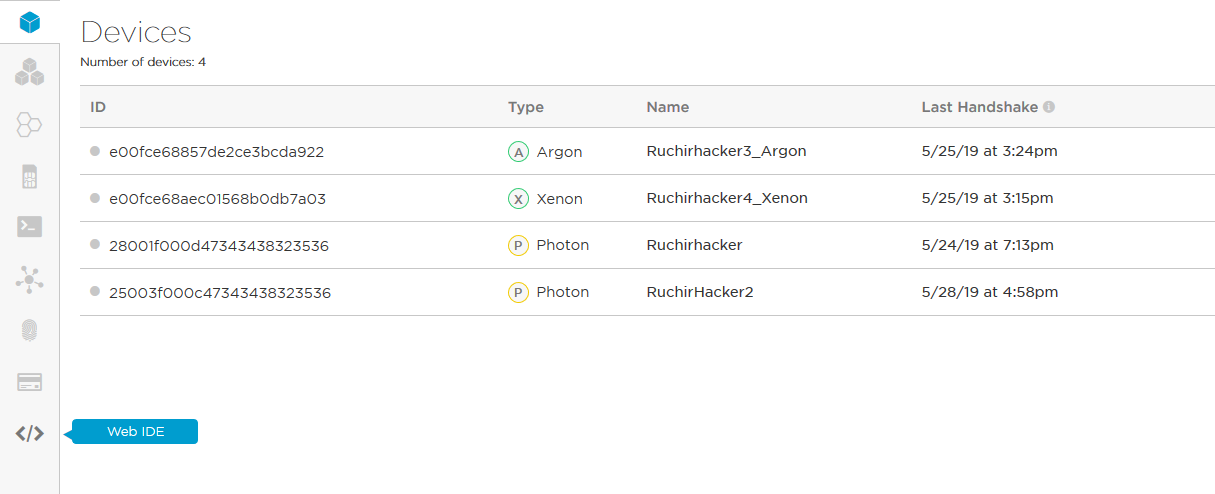
- Once you clicked you will see console like this.
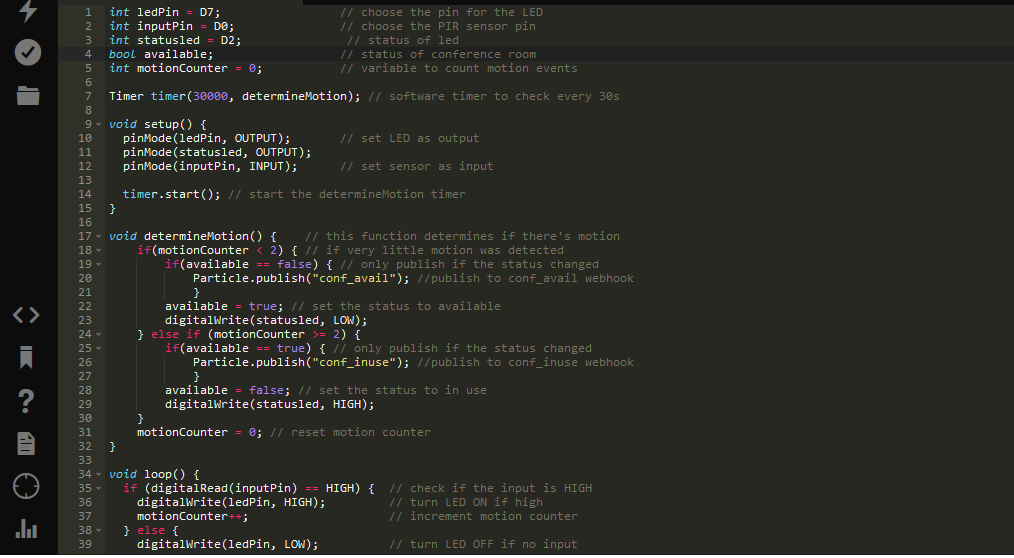
- To create a new create app, click on create new app.

- To verify the program. Click on verify.

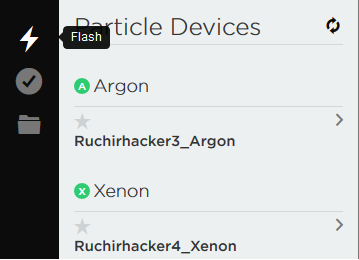
- To upload the code, click on flash but before doing that select a device.If you have more than one device you have to make sure that you have selected which of your devices to flash code to. Click on the "Devices" icon at the bottom left side of the navigation pane, then when you hover over device name the star will appear on the left. Click on it to set the device you had like to update (it won't be visible if you have only one device). Once you have selected a device, the star associated with it will turn yellow. (If you only have one device, there is no need to select it, you can continue.

Create a Particle Webhook
Many Slack integrations require dedicated web servers running PHP scripts to process information to and from Slack. However, in our case we just use a Particle webhook to tell the Slack webhook whether the conference room is available or not.
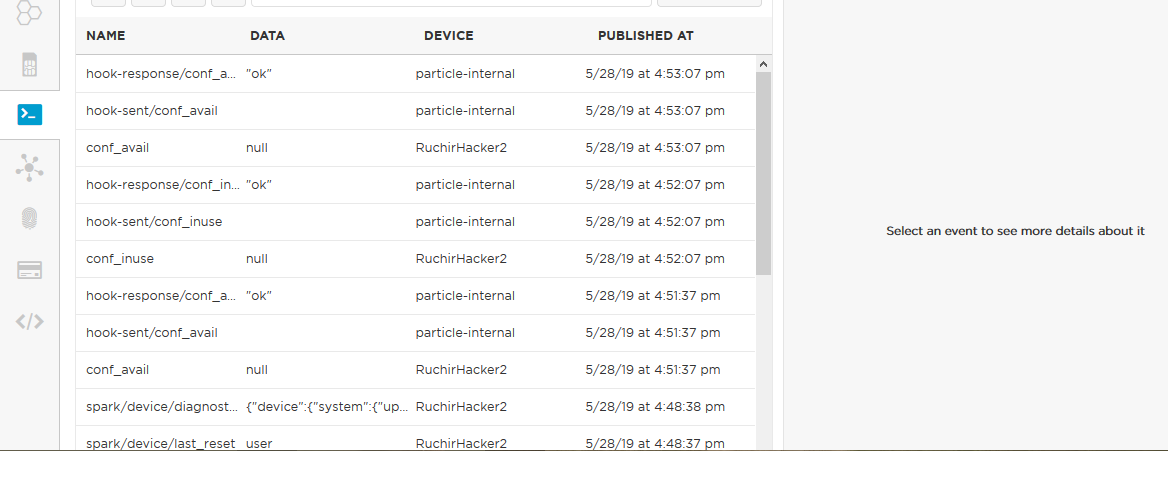
We need two webhooks one for conf_avail and second for conf_inuse (you can use any name).
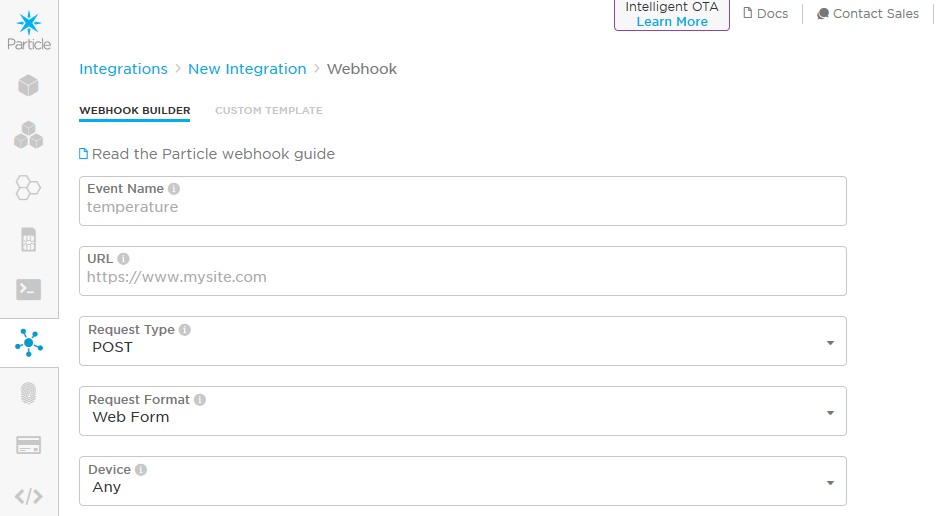
- Go to the Particle Console and click the Integrations tab, then click New Integration.

- Click Webhook to start the Webhook Builder.

In the Webhook Builder under Event Name enter conf_avail. Paste your Slack webhook URL under URL. Change Request Format to JSON
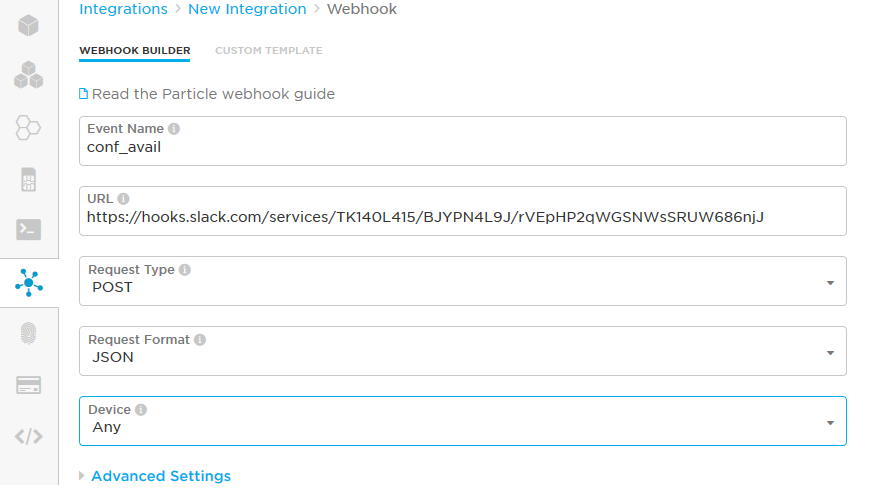
Expand Advanced Settings and choose Custom under JSON Data. Paste the following code
{ "text": "The conference room is available."}
Repeat same steps for conf_inuse


Note :- The name of the event being published matches the event name parameter in the webhook.
Circuit Diagram
Particle Photon ==> PIR sensor
- Vin ==> Vcc
- GND ==> GND
- D0 ==> Output
Particle Photon ==> LED
- D2 ==> +Ve (Anode)
- GND ==> -Ve(Cathode)

Program
Downloads
Result


