Create a Vehicle for an Established Scene: the SpaceBurger Delivery Ship
by JakeAnderson02 in Design > Animation
2428 Views, 11 Favorites, 0 Comments
Create a Vehicle for an Established Scene: the SpaceBurger Delivery Ship


Hello everyone! My name is Jake Anderson, a Game Design & Immersive Technology major at Lesley University in Cambridge Massachusetts! In this project, I will teach you how to design and create a vehicle using an existing 3D scene. At the end of the Instructable you will know how to do the following:
- Concept your design through sketching and low-poly modeling.
- Use Vizcom AI to create your own datasets and rapidly iterate on your design.
- Model and UV the model in Autodesk Maya.
- Use Sketchbook for IPad to generate color palettes for you model.
- Create PBR materials in Substance Painter.
- Bring your model into an environment using Unreal Engine 5.
Supplies
This project requires a sketchbook and a computer that can run the following programs:
Autodesk Maya or 3ds Max
Substance Painter
Unreal Engine 5
Photoshop (or photo editing software of your choice)
We will also be using Sketchbook (previously owned by Autodesk) for IPad, however this step is optional.
Finding an Environment

The first step to designing something for an environment is knowing what the environment is! You can use an environment you have created in the past or find one online, just make sure you know what the copy write is before downloading! For this project I got the Nova Space Burgers Environment by Leartes Studios. This was free to download on Black Friday.
Early Concepting


Now that you know the environment you are building for, it's time to concept. I had an engine model I created for another project that I knew I wanted to use, so that is what I designed the body of the craft around. For this design, I wanted to go for something a little more stylized and silly, as I feel it matches the vibe the Space Burger brand gives off. I used my Autodesk branded Leuchtturm1917 notebook to come up with silhouettes and shapes that I felt fit the vibe.
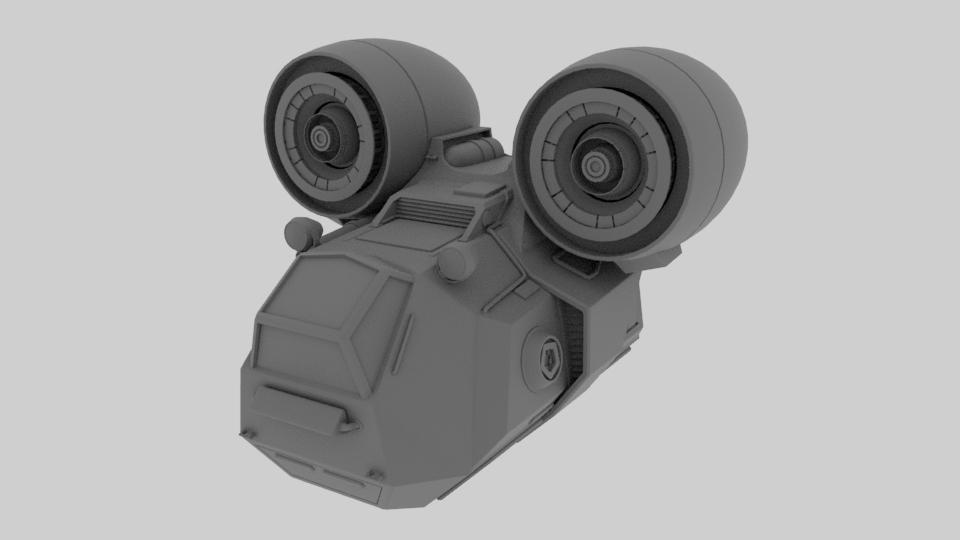
From there I did some initial blocking out in Autodesk Maya to get a feel for the object in 3D space.
Note: Reference images and material is always a must! I like to use PureRef as a place to gather all my images.
Rapid Concepting With Vizcom AI


With the ever growing presence of artificial intelligence, I feel it is important to show some ways AI can be used to assist in the creative process. I believe it is important to use an AI model that does not scrape from the internet and assists the user in the creative process, not replaces it. I found Vizcom AI to be the right tool for this job. It only uses images you feed it as a data set, no internet scraping involved. All of the user data on it is secure and your creations do not get used for training data by the company.
Here are the steps to creating rapid prototypes with this software:
- Upload a picture of your sketch or graybox model. This shape will be used by the software to generate the images.
- Choose or make reference images for the AI to use as a data set, these images can be added to the "Reference" section on the right hand side.
- Choose how much influence the reference or base image has using the sliders.
- Click the "Generate" button.
- Repeat as many times as needed to get desired results.
Modeling & UVs


Now its time to model! Using your reference material, refine your original design. My go-to program for modeling is Autodesk Maya. I believe it has the strongest UV editing capabilities and a great multi-cut tool. 3ds Max is another great option for modeling.
As you work, your model will evolve with you. I found myself constantly making tweaks both big and small as the model developed. Remember to ask for critique from others. I asked for critique after any big change or road block I ran into. Getting feedback from others will help you get a different perspective on the model, allowing you to spot mistakes you might have overlooked.
Here are some points to consider when modeling:
- Its all about balance, it might look weird if you don't have a smooth transition form big to small details.
- Having a strong silhouette means a strong model.
- Build the model as if it was being built in real life. What pieces connect and what does not?
Remember to make a low and high poly version, this will be used for baking in a later step.
Once the low poly model is complete you can UV unwrap it using the UV tools provided in Maya.
Texture Concepting


Before moving on to texturing, you might want to get a general idea of colors in a sketching program. For this I used Sketchbook, a software previously owned and developed by Autodesk. This software is available for free on the IPad which came in handy as I was traveling. Using a portable device like an IPad makes it easier to bring your design to others for feedback.
Texturing


Now it is time for texturing! Use your reference material and your color pallet to make some sweet textures! I used texture to reinforce the stylized feel of the model. That meant I left out some of the finer detail and texture one would expect on a real life model. Instead, these textures are simplified, where there are scratches or color changes, the transition to them are thick and blotchy, instead of small and fine.
Here are some things to consider when texturing:
- Is your model stylized or realistic?
- How busy do I want the model to look, usually a busy model might not read well
- How dirty is this model? Has it been left rotting for years or is it brand new?
- Where do I want the viewers eye to land?
At the end of texturing, export you textures in the desired format.
Bringing It All Together

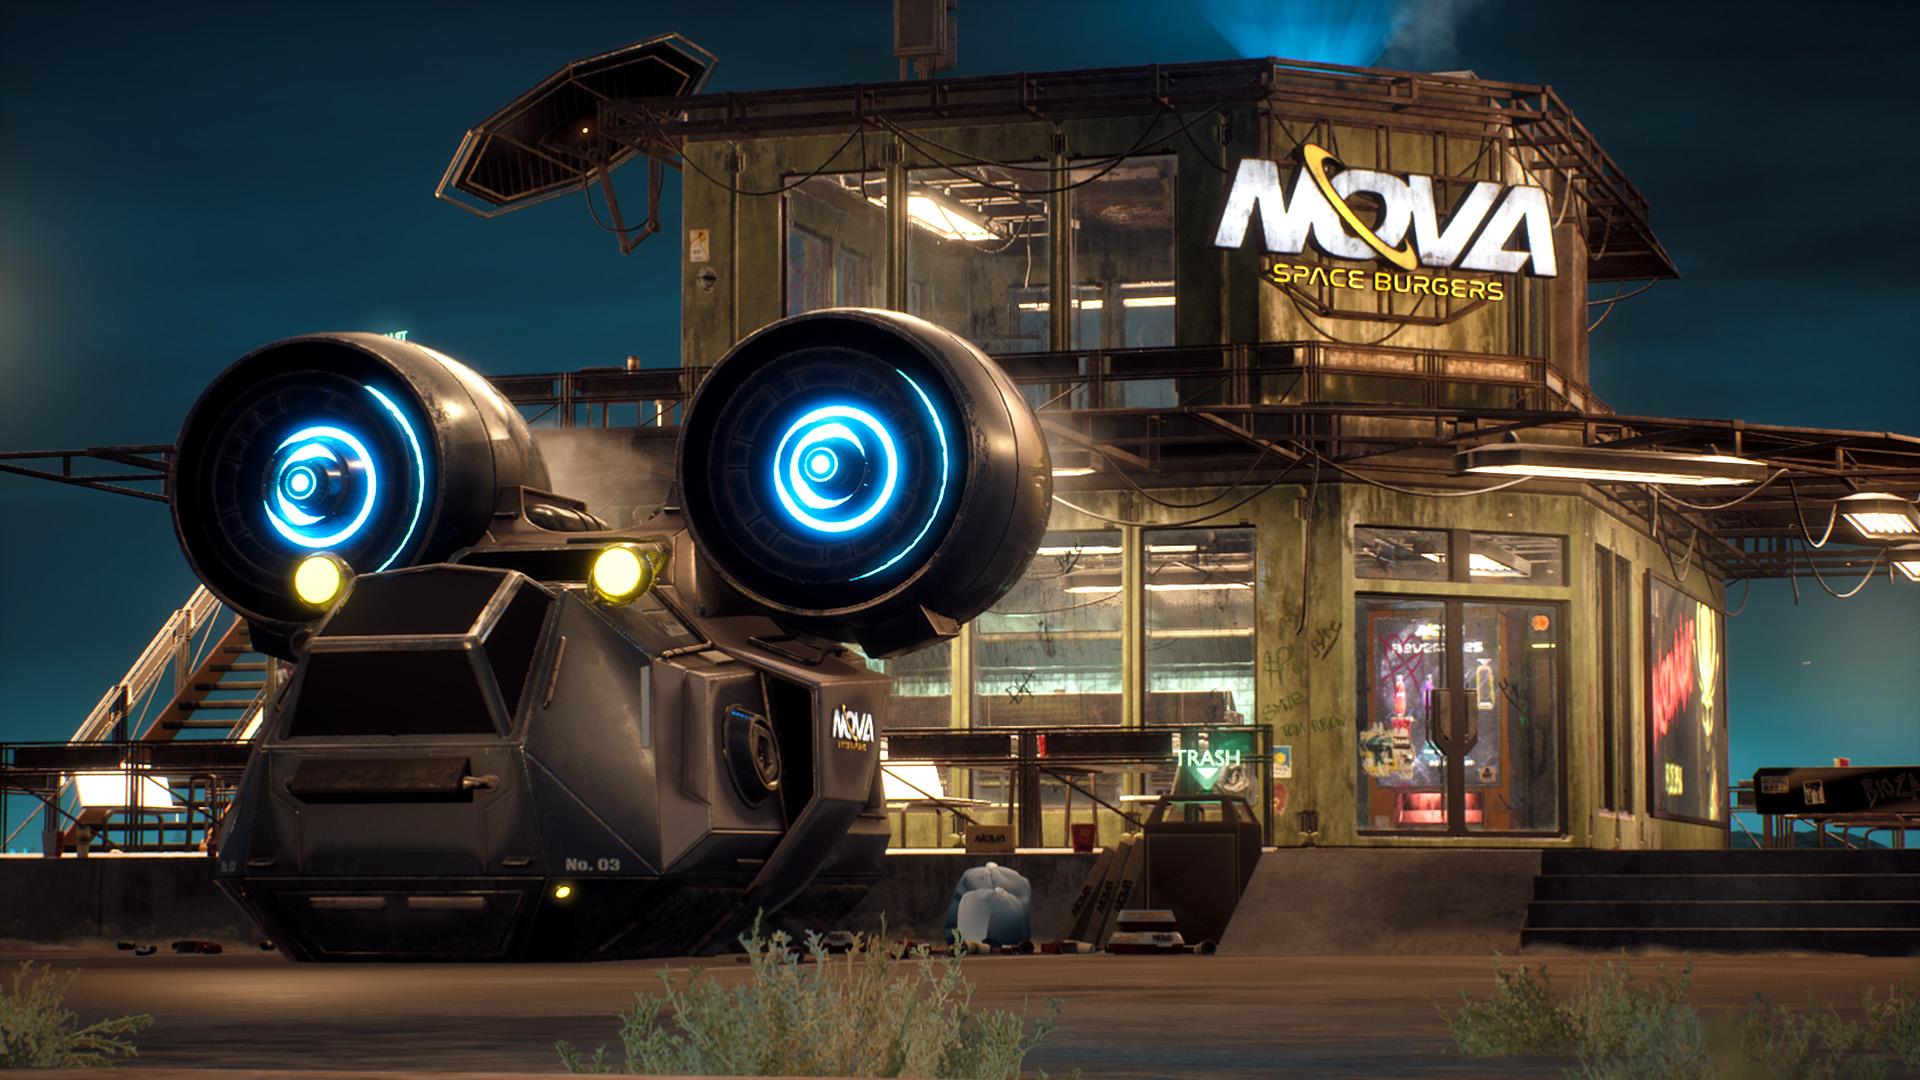
Now it is time to bring it into the environment you choose! For this I will be using Unreal Engine 5. After importing your model, add any other assists like decals and VFX to your model to really make it pop. I added the Nova Space Burger logo and some engine VFX I got from the Unreal Marketplace.
Now you have a cool vehicle you can use to your heart's content!
I hope you have a fun time walking through this process with me. If you have any questions do not hesitate to contact me. Good luck with your modeling adventure!
Bonus Step: Camera and Animation


As a quick bonus step you can use the Unreal Engine sequencer to render out still or animated shots of your creation. Simply go to the top of the browser and click "Add Level Sequence" to get started. If you model is composed of more than one asset, you can combine them all in a blueprint and animate the blueprint actor.
Photoshop or another photo editing software can then be used to clean up the images.
Final Results


