Creating 3D Plywood Models From 2D Images
by MrErdreich in Workshop > Laser Cutting
14187 Views, 167 Favorites, 0 Comments
Creating 3D Plywood Models From 2D Images

When someone says "3D Model" your first thought is probably 3D printing. However, there are many ways to make a 3D model, methods and techniques in cutting and gluing pieces together that go back to the ancient days of model making way before 3D printing was a thing.
One of my favorite ways to make 3D models, signs, or artwork is by laser cutting pieces of plywood and gluing them together. A laser cutter is a computer numerically controlled (CNC) machine that uses a beam of light to cut and engrave materials. There's lots of different types of lasers out there from cheap diode to industrial fiber machines. I am using a 40 watt, CO2, Universal Laser cutter / engraver in this Instructable. Though any CO2 laser would do for this application.
Through this Instructable, I will share my methods and techniques in tracing 2D images in order to create pieces and layers that can then be cut out to create a physical model!
Choosing a Design Program

The first step is to prepare and create your design for cutting! Many laser cutters can cut and engrave, allowing us to engrave details onto the wood in addition to cutting it out. Laser cutting requires a path to follow, so I will be using a vector program for the majority of the design process and most vector programs allow you to combine vector and raster images to cut and engrave using a laser. There are tons of vector programs out there and these programs allow you to create outlines and path files, rather than image files comprised of pixels (raster). This is important for CNC production as a CNC machine follows the path of a vector file to cut our your designs.
Adobe Illustrator is the industry standard, but pricey with monthly subscription fees. Gravit Designer and InkScape are popular free alternatives. In my makerspace, my students use Gravit Designer because it is free, user friendly, and chromebook compatible. Check out my collection of Gravit Designer tutorial videos here!
Methods for Creating Your Design


There certainly isn't one way to create a layered model. There are some programs out there that will slice a 3D model into layers, like the Slicer app for Fusion 360. This technique is easy to do, but the result is of a very particular style and requires a 3D file rather than a photograph. I often find that tracing the image manually, then duplicating and separating into layers is more tedious, but more effective in achieving any style you want, especially a more detailed and realistic model based upon a photograph.
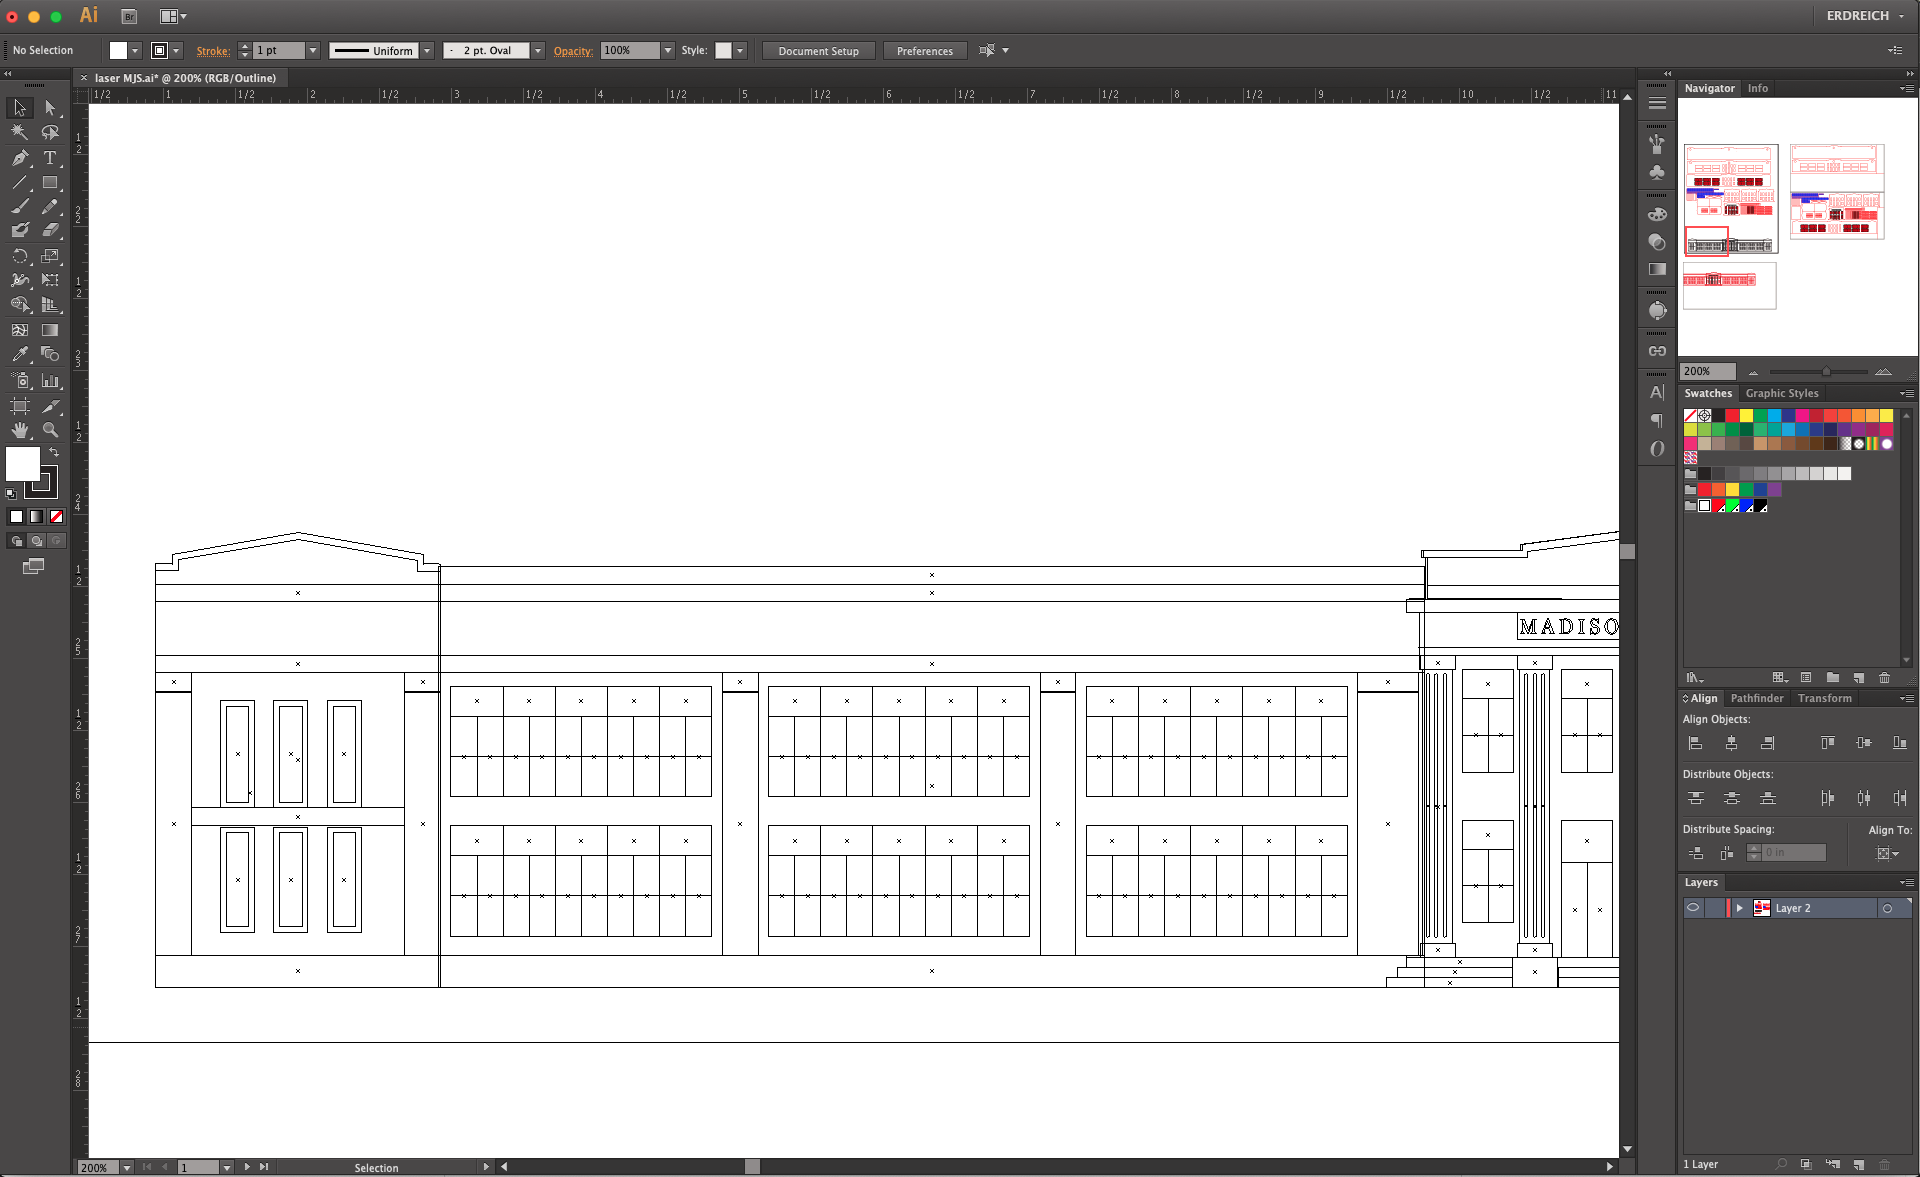
After choosing your image, scale it to be the desired size. Next, trace the outline of the subject in your image using a combination of shapes and pen tool to create your vector outline. This outer shape will be the starting layer of our model that everything is attached to.
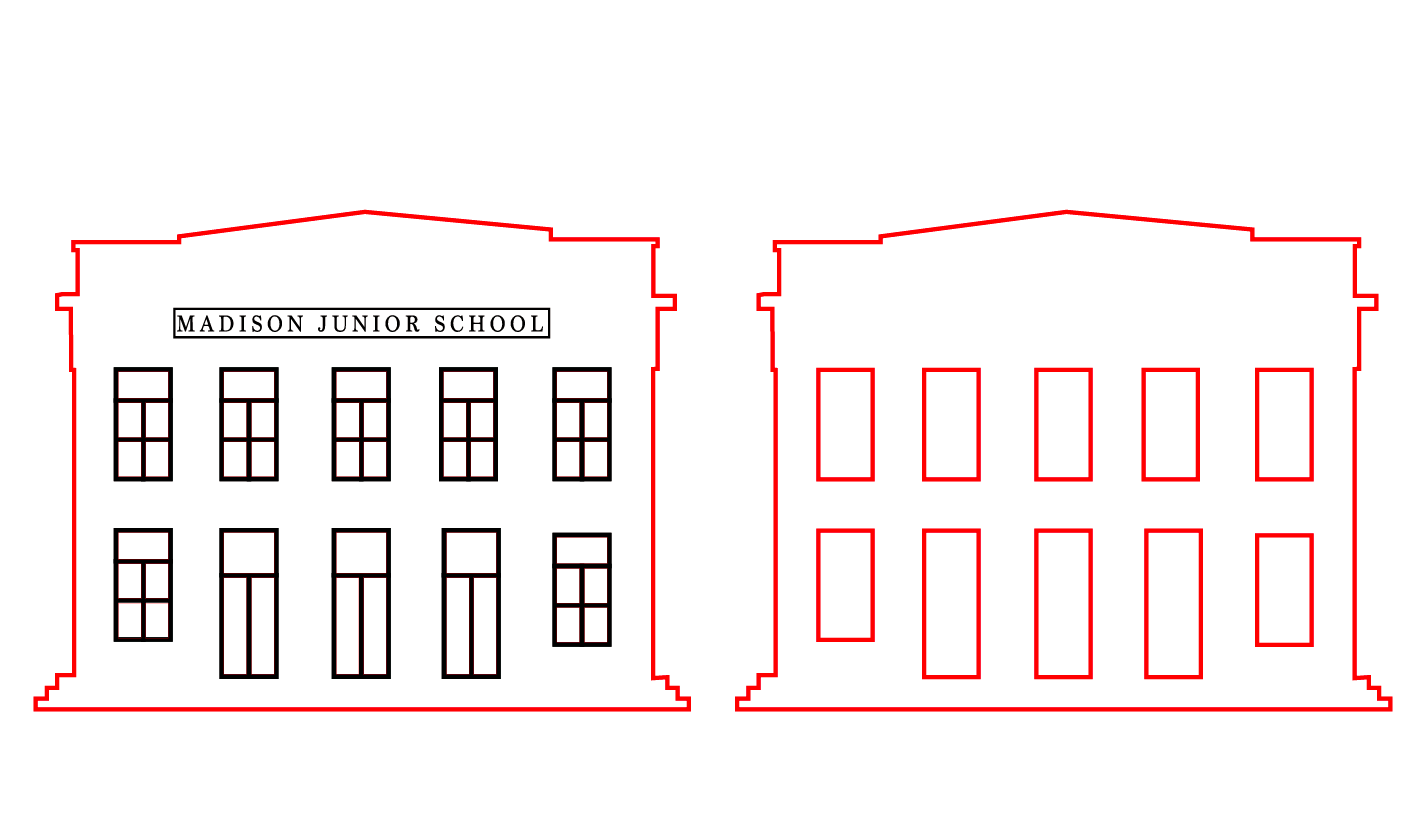
Next, trace all defining features of your design so they are their own shapes. In my example, I traced the different sections or the building, columns, stairs, windows, and so on. You can also add some filled shapes or text to enhance your design that will be engraved rather than cut. I use a red stroke for the cut lines and a black fill for the engraved sections.
Additionally, you may also be able to add vector engraved sections as well. Vector engraving are etched lines (not cut all the way through) that are great for adding some subtle details and complexity to your design. These are often designated by a blue or green stroke depending on your laser specifications (mine are blue). Vector lines also make for great template lines that can help you line up your layers during gluing.
Creating Layers


Once your entire image is traced, it's time to start thinking about the depth of your model. This can be challenging as you are looking at a 2D design. The depth of your design will come from the thickness of your material stacked together. For example, if you want your model to be 2" thick, and you are using 1/8" plywood, you would need to have 16 layers. However, I avoid choosing a desired thickness and instead let the design determine its own thickness.
Start from the top layer working your way down to the bottom. Select the front-most parts of your design, then make a copy of them and move them off to the side of your art board. Next, choose the features that would be behind the front layer, along with the front layer pieces as well, and copy them off to the side. This now gives you two layers. If you want a feature to stand out more, you would copy that feature multiple times to create multiple layers of it so it extrudes farther from other layers (see the copies of the columns and front facade in my images).
Continue this method until you've reached your bottom layer, which should be the outer profile of your image you started with. If you plan to wall mount your model, you could create keyhole wall hanger holes across multiple layers (pictured in a later step). Once you've completed your layers, arrange them to fit onto as few sheets as possible to save material and to prepare the design for manufacturing.
Cutting Your Pieces


Every laser manufacturer offers its own CAM program to control the machine. For my Universal, sending my design is as easy as pushing print from my vector design program once I set my design to be the correct color and stroke weight. For cutting, I set my lines to be no fill, pure CMYK red stroke, and a line weight of 0.001 pts. For vector engraved lines, I set my lines to be no fill, pure CMYK blue stroke, and a line weight of 0.001 pts. And for raster engraving, I set my shapes to be pure CMYK black fill and with no stroke.
For plywood stock, most sheets will work fine however I have found that some brands use glues that flare up and cut poorly on a laser. Michael's Craft Plywood works well, as does most sheets of wood from Home Depot...but not all. Johnson Plastics sells wood that is specifically designed for laser cutting, but its pricey. For teachers who need to order through a PO system like me, I find that these sheets from Nasco work well and are offered for a reasonable price with good performance on a laser.
Once prepared, send your design to the laser and cut away!
Gluing Your Layers


Once cut, organize your pieces and start to assemble your design! For larger signs with a lot of surface area, I often use wood glue. This is a strong option, but takes time and pressure to set properly.
For smaller applications like the building in this example, I use Loctite Liquid Professional Super Glue. This glue works well for just about any material and sets in minutes with a strong bond. That being said, test fit and ensure proper installation before gluing as you'll only have a few seconds to make adjustments before its permanent!
Layer by layer, glue your pieces in place to create your model. I often find working from the front-most or detailed layer to the back is easier and more effective in creating a solid finish. Once glued, its time to move onto the finishing step! With some designs, it can be difficult to color different sections. Depending on your design, it may be easier to sand, stain, or paint before gluing.
Finishing


Whether you add your finish before, or after gluing, there are endless ways you can finish your model! In general, I prefer minwax stains. With tons of color tones, you can combine stains to make beautifully unique pieces. Alternatively, you could choose to paint your model, or leave it natural.
Butcher Block Oil is a really easy to use sealer that keeps your wood looking natural, but sharp and is easier to work with for students in classrooms. If you want to add some color, mix some stain into your oil to dye and seal your model simultaneously!
Conclusion

I could really go on an on in this Instructable with all the different combinations and possibilities you could do and I would only scratch the surface as to what's possible. This method does take some practice and tinkering to make the end product look right. Tracing a 2D image is impossible to capture all of the detail, so it's up to the designer to determine what stays and goes in creating the finished product.
I hope you find this Instructable helpful and inspiring as you make awesome creations! Thanks for reading and happy making!