Creating & Coloring Different Kinds of Pokeballs - Colors of the Rainbow
by lorik565 in Design > Digital Graphics
1776 Views, 2 Favorites, 0 Comments
Creating & Coloring Different Kinds of Pokeballs - Colors of the Rainbow


Pokémon had been one of my favorite game series growing up as a child and I would constantly try to catch as many Pokémon as I could. However, featured in the games are many many varying types of Pokeballs, each with different rates and features, making usage of each respective ball situational. Usually when I would play however as a really young child, I wouldn't even focus on which would be the best to use in a given moment, and would just pick whichever one I thought looked the best. Regardless, there's no doubt that within this item there is a large assortment of different color palettes and design features, utilizing different shades and placements of pretty much every color there is.
For that very reason, I felt that recreating my favorite Pokeballs from my childhood would be a fun and nostalgic idea for this competition. Being as there are so many different kinds of Pokeballs with so many different colors, there is certainly no shortage of material to work with here. I decided to make these balls using CAD software, as it would allow to me replicate their designs extremely efficiently (As I'd work in a 3D space) and add texture/material as well, creating a more polished look in the end. The following is are my processes and a guide of how YOU TOO, can make and create Pokeballs.
**Make sure to check the conclusion for the final product & more**
Supplies
.png)
For this project, I used 2 softwares (Which are free for students to use):
- AutoDesk Inventor
- AutoDesk Fusion
These 2 softwares will give you all you need to design the Pokeballs, but if you'd like to actually bring these creations to life, you will also need a 3D printer - but of course this is totally optional.
Creating the Base of a Pokeball


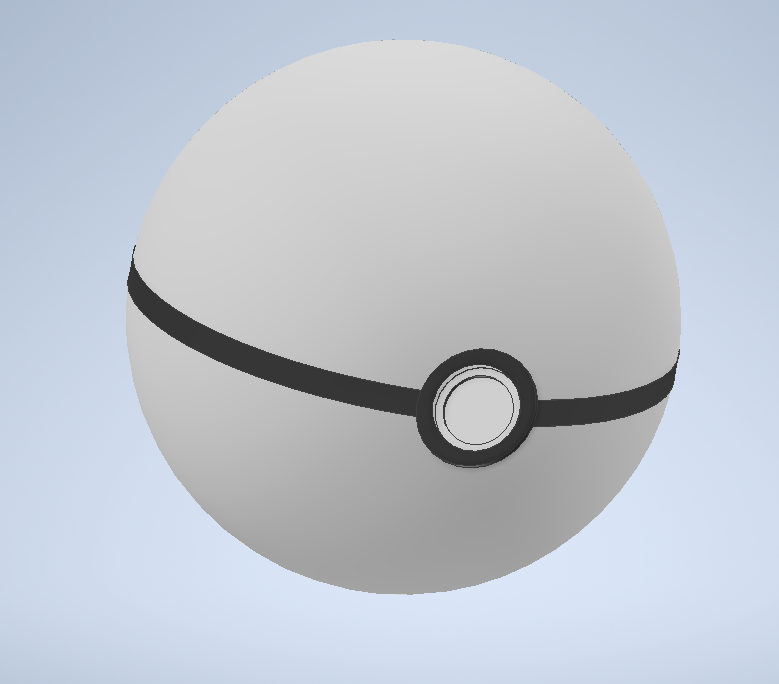

With me wanting to create a lot of different kinds of Pokeballs, which all have the same base shape and frame, it would make no sense for me to redo the initial creation of the ball every time. Because of this, I used Inventor to create a template that I would then be able to edit and customize for every ball that I intended to make. The process of making this ball template is as follows:
1) First you need to create a sphere. To do this, you can either use the freeform sphere command or do what I did, which involves using the revolve command. If you're going to do the latter, you first need to sketch a circle with the diameter that you want your final sphere to have, which in my case was just 1 Inch. From there, you need to cut that circle in half using a line and trim combo, until you have a semi-circle that was half of your original circle. Once you have that, you can use the revolve command and revolve around your straight line you have on your semi circle. Voila, your sphere is done.
2) The next step here is to make the black line that goes around the outside of the ball. To make this, I drew a sketch from the mid plane of the sphere, and drew another circle that was the same diameter as the sphere. From here, what I did was extrude that circle up both side by just 0.05 inches, so that the line was noticeable but not too big. Once I did that, all I did was color it black, as most Pokeballs feature this black line
3) Following that, you need to make the center button. This is pretty easy, and it goes as follows; You need to offset a plane until its tangent with the outside of you sphere and line. On that plane, you then need to draw a circle and cut it into the sphere (Not too much, just a little). You will now have a divot in the ball. In that circular hole, you should then sketch a smaller circle and extrude it back out, making a button. Last step from there is repeat what you just did and draw and extrude another smaller circle on the one you just did, making a trigger for the ball to open. Then all you need to do is color as needed.
If you follow these 3 simple steps, you too can have a Pokeball base that you can edit to your liking. Now, we are ready to create all the different kinds of balls! From every step hereon out where I make a new kind of Pokeball, its me using and changing this very template.
**Make sure to edit this Inventor File and then save your new ball as a different file (Save As), to make sure you have the template for future use as well**
Standard Pokeball


_______________________________________________________
Color of a Standard Pokeball: Red Top, White Bottom, White Button, Black Mid-Stripe
---
Unique Designs: N/A
_______________________________________________________
Premier Ball


_______________________________________________________
Color of a Premier Ball: White Top, White Bottom, White Button, Red Mid-Stripe
---
Unique Designs: N/A
_______________________________________________________
Great Ball

_______________________________________________________
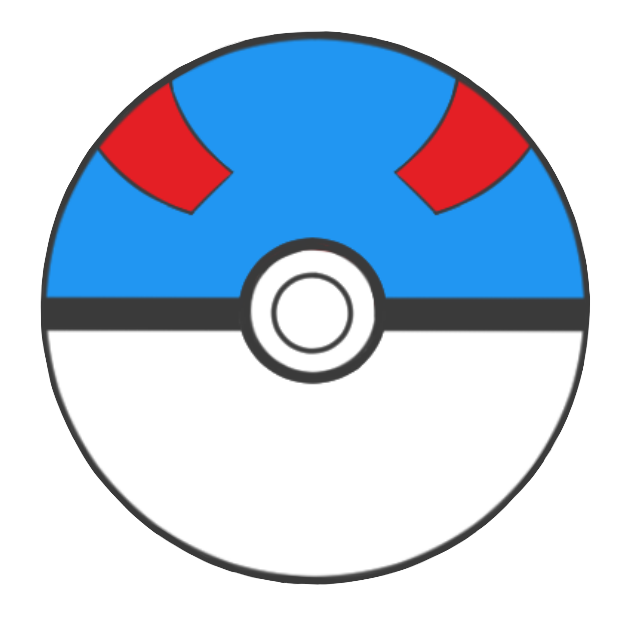
Color of a Great Ball: Blue Top, White Bottom, White Button, Black Mid-Stripe
---
Unique Designs: 2 Red strips at the top
- You can make this by drawing a 2 sketch of rectangles, and using the 3D Sketch command "Project to Surface"
_______________________________________________________
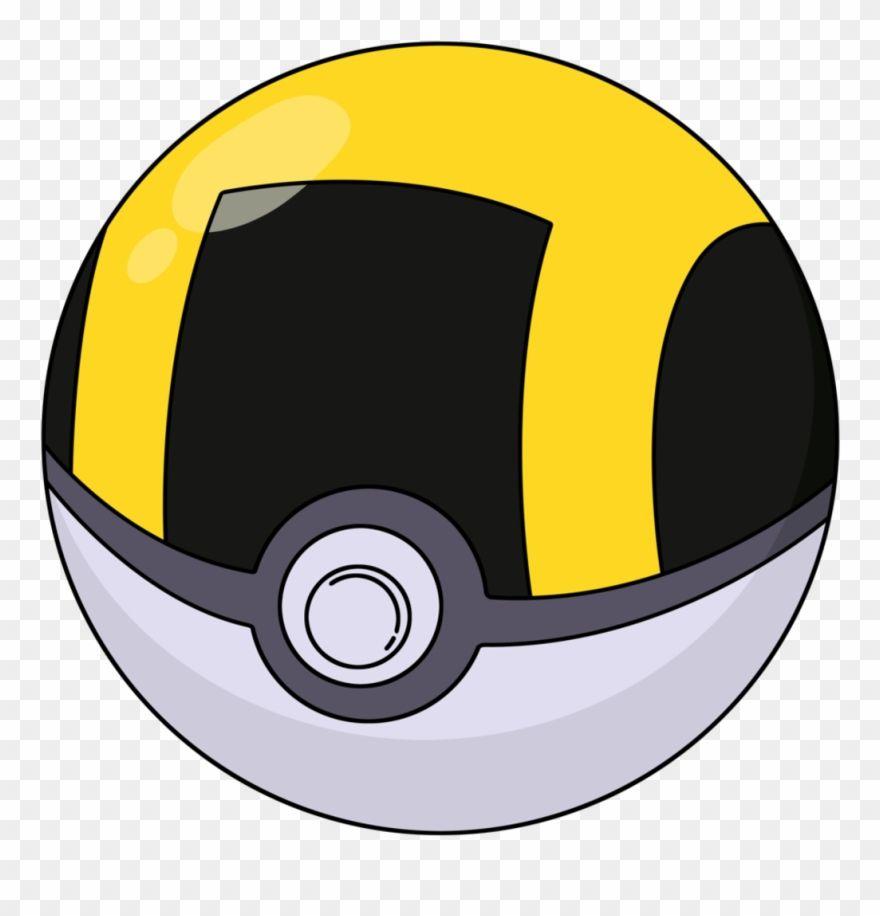
Ultra Ball

_______________________________________________________
Color of an Ultra Ball: Black Top, White Bottom, White Button, Black Mid-Stripe
---
Unique Designs: "H" like Yellow print at the top
- The process is the same as the Great Ball, using "Project to Surface"
_______________________________________________________
Master Ball

_______________________________________________________
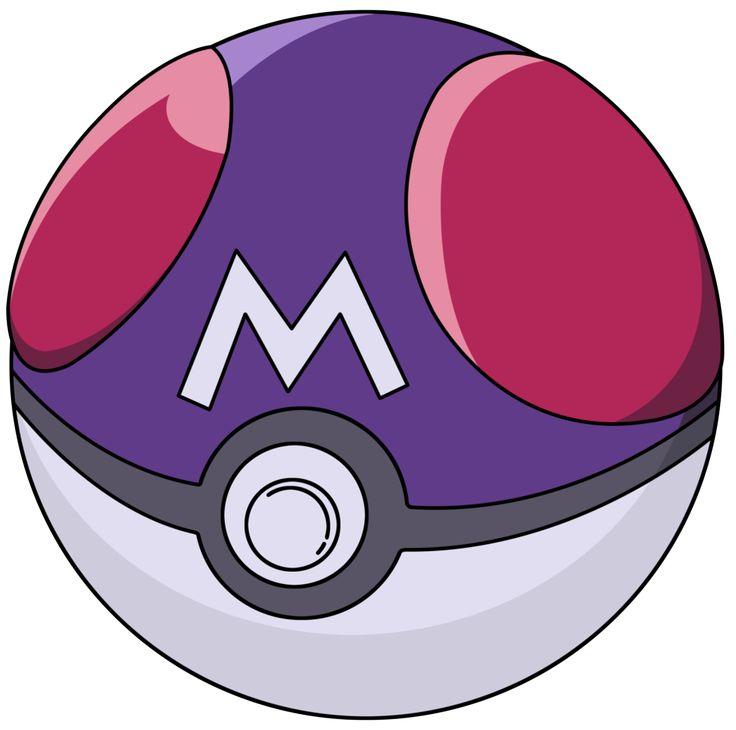
Color of a Master Ball: Purple Top, White Bottom, White Button, Black Mid-Stripe
---
Unique Designs: Burgundy "Bubble Like" Corners, "M" in the middle
- I did the same process to make both of these features. I offset a plane at an angle until it was tangent with the ball facing upwards. I then drew out the general shape I wanted each feature to be, and cut it into the ball. From there I had 3 flat surfaces on the ball, and redrew the exact same shape I wanted on those surfaces, but this time extruded back out instead of cutting in. This allowed the features to actually be apart of the ball, rather than just "attached" to the ball.
_______________________________________________________
Quick Ball


_______________________________________________________
Color of a Quick Ball: Blue Top, Blue Bottom, White Button, Black Mid-Stripe
---
Unique Designs: Yellow pattern on the top and bottom of the hemispheres
- I repeated the same process I did for the master ball above. I offset a plane, drew and messed around with the look of the large yellow design until it looked good, cut it into the ball and finally redrew and extruded the design back out.
_______________________________________________________
Timer Ball


_______________________________________________________
Color of a Timer Ball: White Top, White Bottom, White Button, Black Mid-Stripe
---
Unique Designs: Greyish "hat", Red emblem, Red sideburns
- For what I call the "hat", I offset a plane until tangent with the top, cut a bit of the sphere out and re-made the top of it again, allowing it to be considered a new object and therefore letting me change he color. And as you may expect, the 3 red parts were done using an angled work plane, cutting in and then extruding out, just like how I've done before.
_______________________________________________________
Heal Ball


_______________________________________________________
Color of a Heal Ball: Pink Top, Pink Bottom, Violet Button, Baby Blue Mid-Stripe
---
Unique Designs: Beige Pattern from the top and bottom
- The same cutting and extruding technique was used once more. It is a simple process, but really effective when trying to add some kind of design to a curved surface. The purpose of cutting first is so you can have a flat surface to work on, as you can't start a sketch on a curved one. By making the flat surface myself, I allow any design I need to create to happen.
_______________________________________________________
Rendering and Imaging
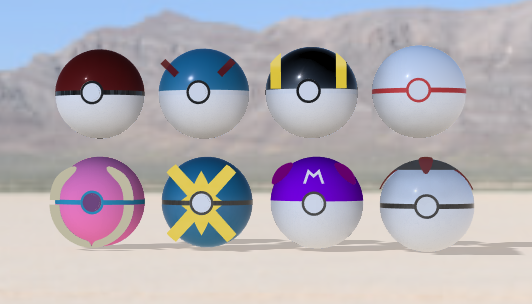


For the final step, I decided to import all of these files into Autodesk Fusion to render and add texture to the Pokeballs. To start, I played around with the glossy and matte options that I was able to give the balls. I made some of the Pokeballs with shiny metals, some with a grainy paint and some with miscellaneous materials. I just tried to get creative with the look of the balls and didn't want all of them to look too similar to one another, although the different colors definitely prevent that from happening anyway.
Once I had the look of the Pokeballs, I went into the "Design" tab to try to render and give them a nice background to sit in front of. I used the featured backgrounds that Fusion has to offer, and was stuck between three;
- A mountainous plain
- A townscape
- A cherry blossom backdrop
I couldn't decide which of these 3 to choose, and ultimately went through with all 3, as they each give a different and unique feel to the objects. I moved around the camera angle and order of the balls as well until I got some pictures that I felt encapsulated a colorful environment and creation well. With this done, the guide and steps are all done.