Creating a 6022 Aluminum Alloy With Optimal Properties
by goshawks in Workshop > Science
133 Views, 0 Favorites, 0 Comments
Creating a 6022 Aluminum Alloy With Optimal Properties
Goal: Control all design and processing variables to create an alloy that meets the following criteria:
- Maximized 0.2% offset yield strength (YS)
- Maximized total elongation (%EL)
- Maximized electrical conductivity
- Composed of at least 90% Aluminum (Al)
- Final material thickness of 2-3 mm
Alloy Selection:
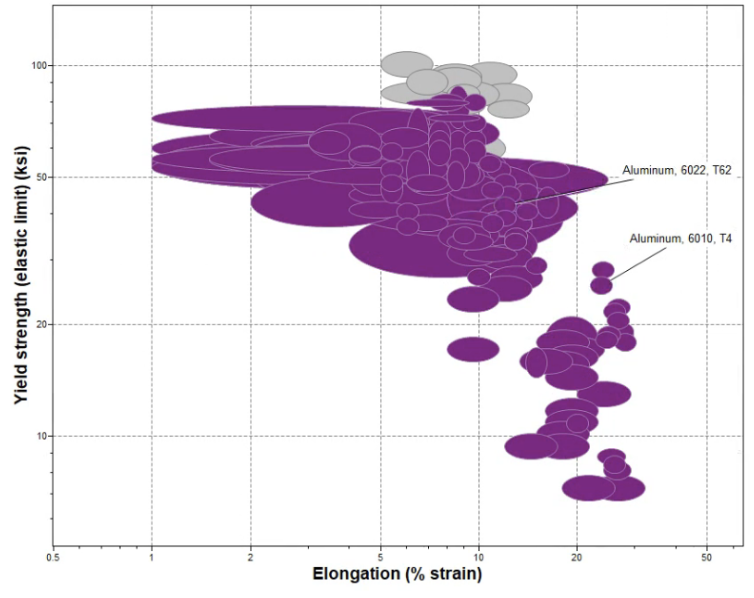
- Use Granta software to filter and narrow down which Al alloy is believed to meet the criteria. Include processability, YS, %EL, and electrical conductivity.
- The selection was narrowed down to 2xxx, 6xxx, and 7xxx series Al alloys due to their usage in high-strength, high-performance utilizations. The 7xxx alloys had much higher strength, but not as great processability, while the 6xxx series had higher elongation, electrical conductivity, and better processability.
- After narrowing it down to the 6xxx series, a 6022 Al alloy was chosen.
Supplies
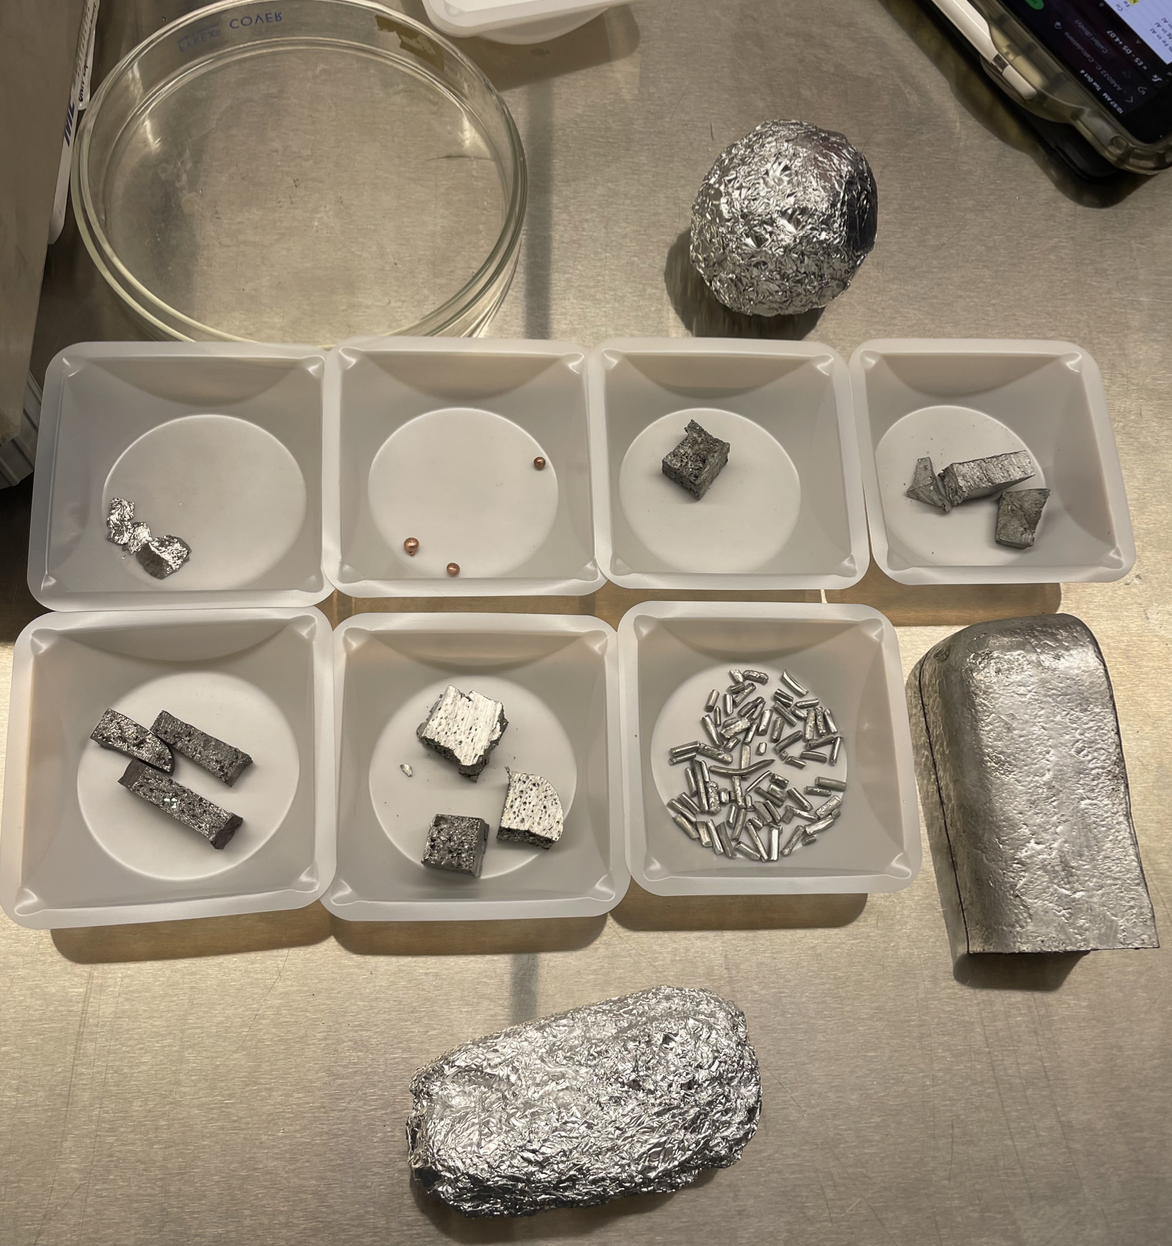
Sort, weigh, and add the following elements into a crucible.
- Aluminum (Al)
- Copper (Cu)
- Iron (Fe)
- Magnesium (Mg)
- Manganese (Mn)
- Silicon (Si)
- Chromium (Cr)
- Titanium (Ti)
- Zinc (Zn)
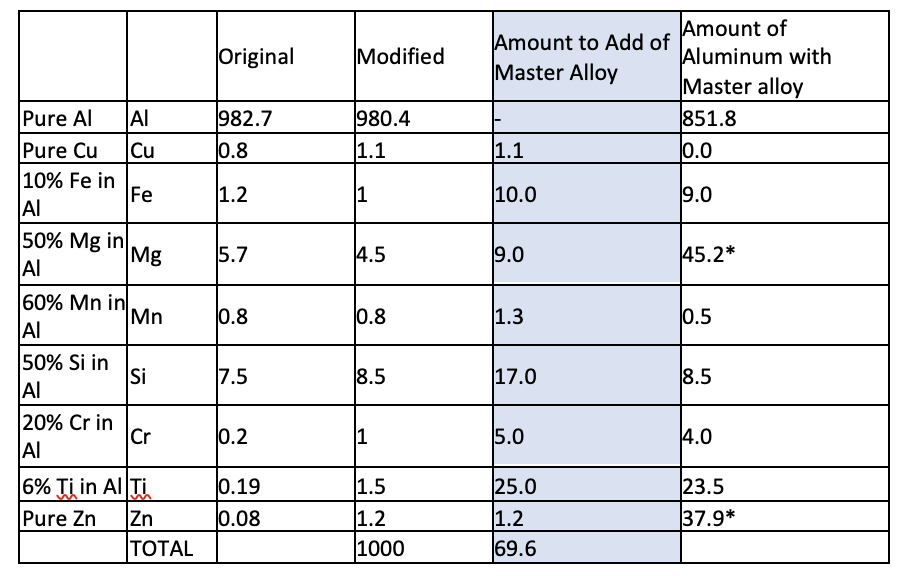
Wrap the zinc and magnesium in aluminum foil to avoid a reaction with the oxygen in the air. The table above shows the exact amount (grams) of each element to be melted in the crucible (including adjustments for the aluminum foil and other alloyed components).
Casting
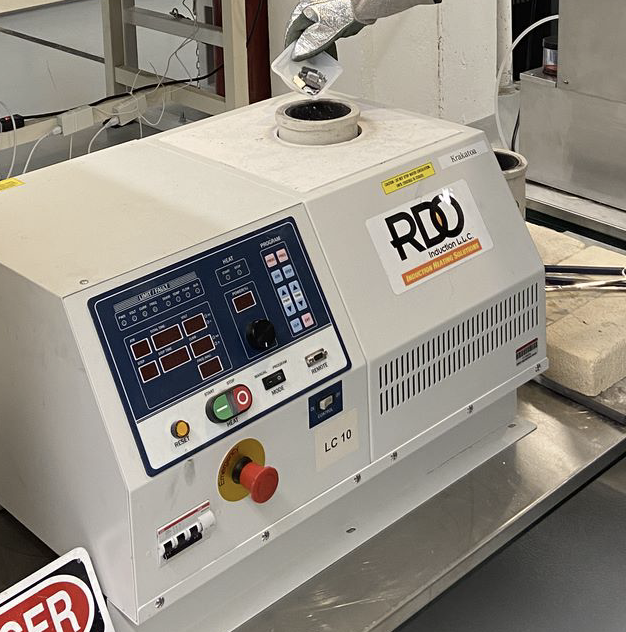
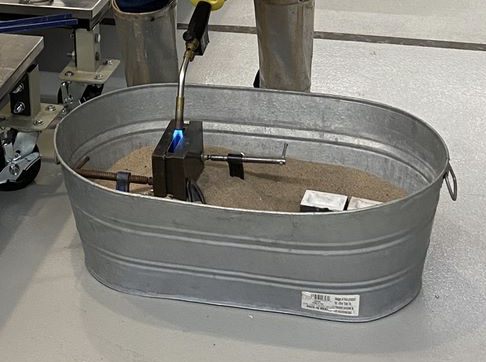
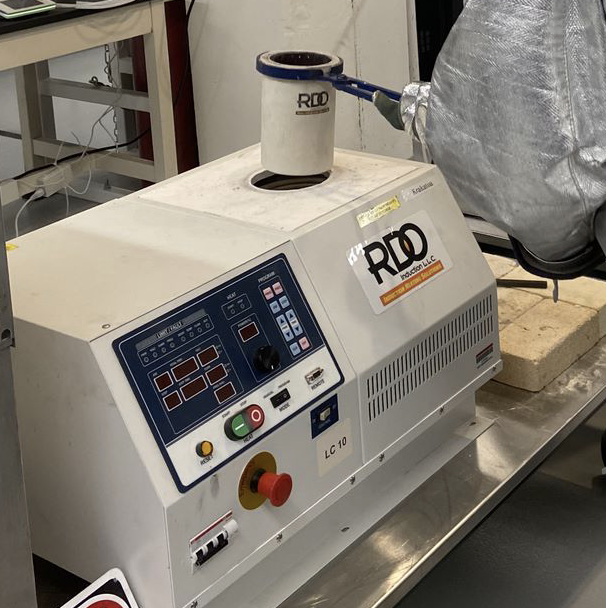
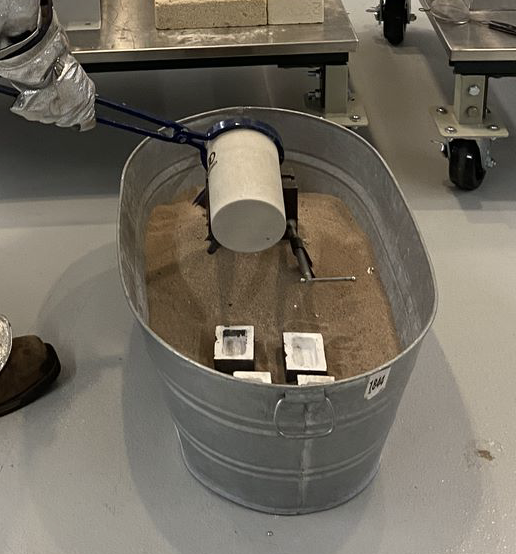
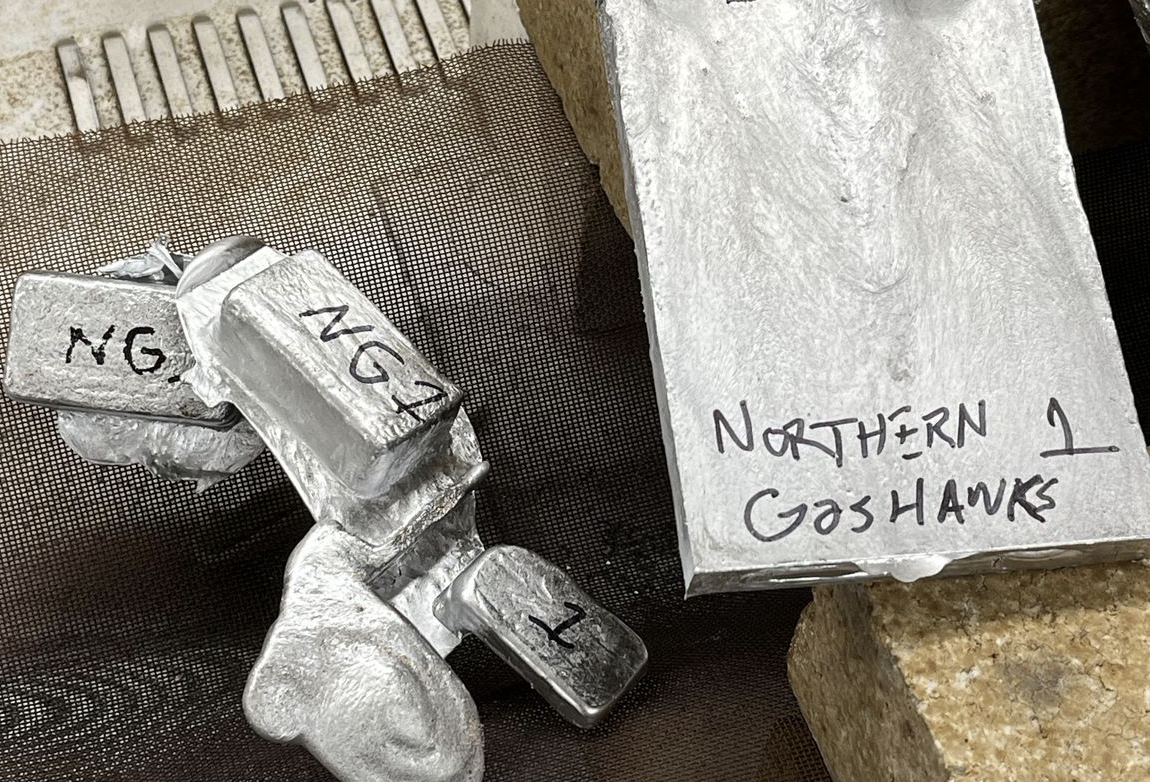
Add all materials, except Mg and Zn, into the preheated crucible. Once all the metallic components are melted, add the wrapped Mg and Zn and submerge under the molten metal to ensure no reaction with air occurs. Heat the mold with a torch before carefully pouring the molten metal into the casts. Wait until the casts are completely cooled and solidified.
Homogenization
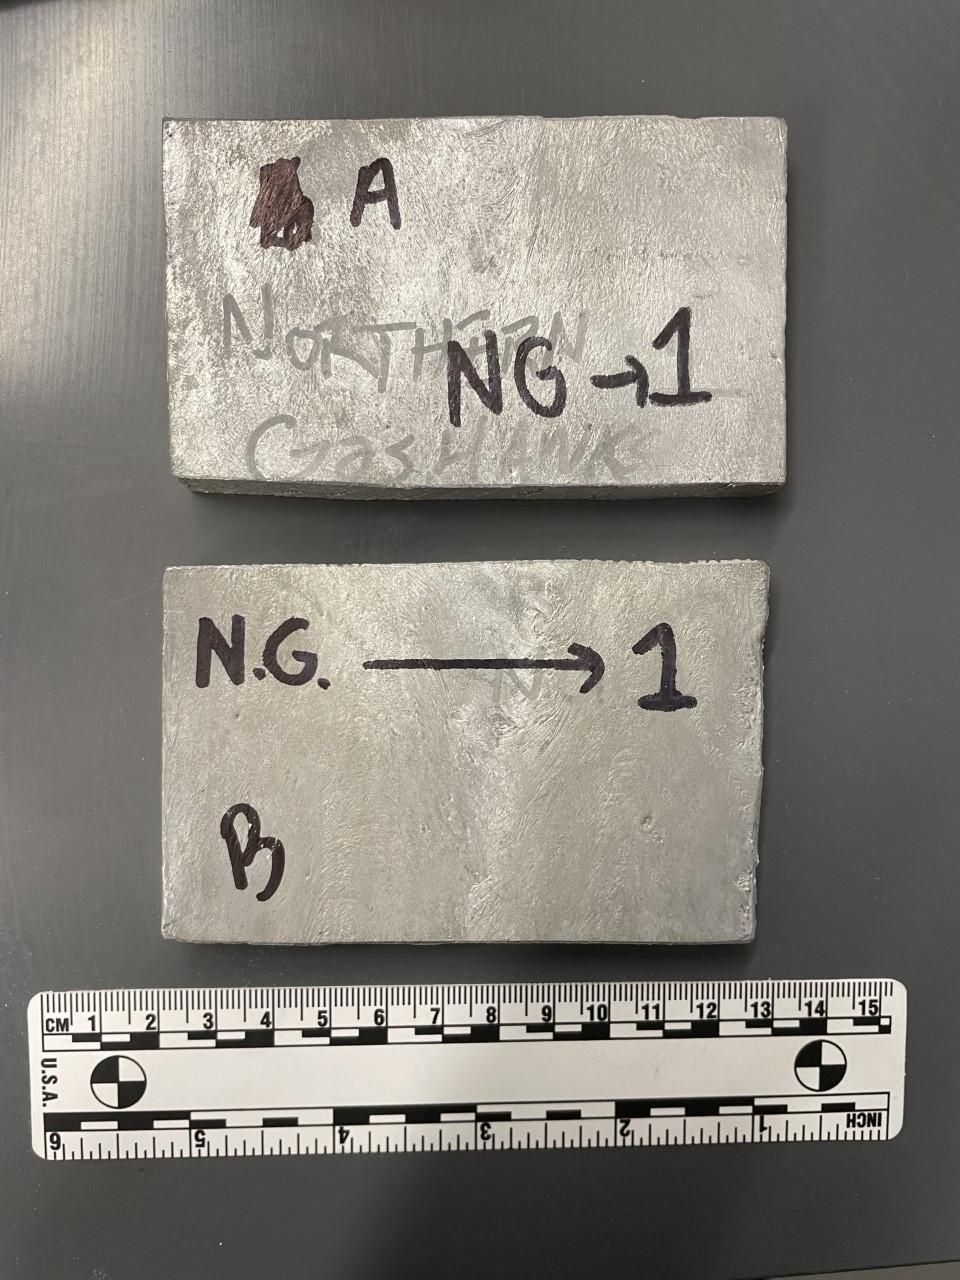
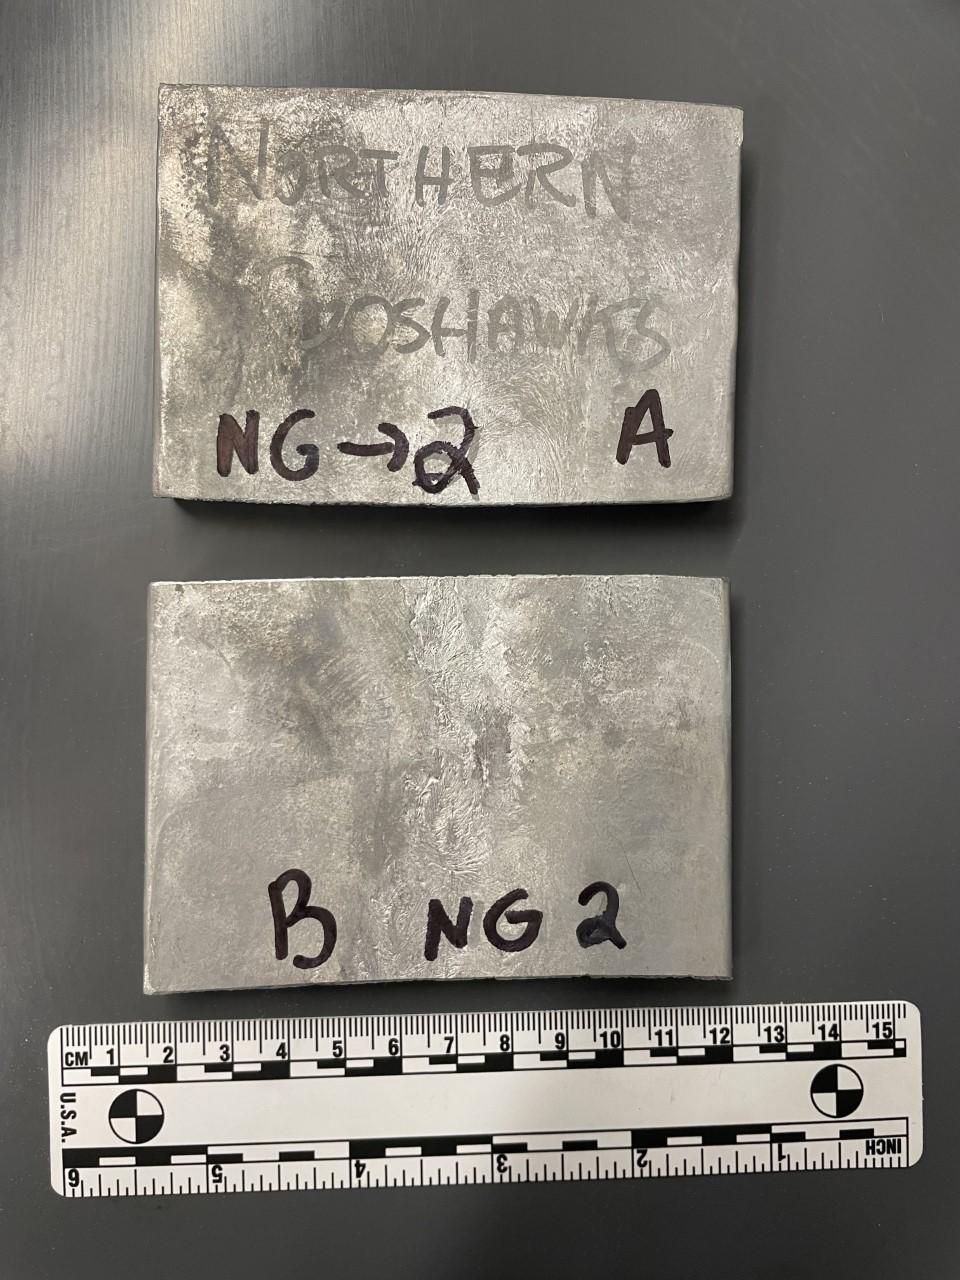
Homogenization creates an even mixture of all elements within the sample, reduces brittleness, and prepares the alloy for rolling. To perform homogenization, place the samples into a preheated furnace of 560°C for 12 hours. Once complete, they should remain inside the furnace to naturally cool to room temperature.
Hot Rolling
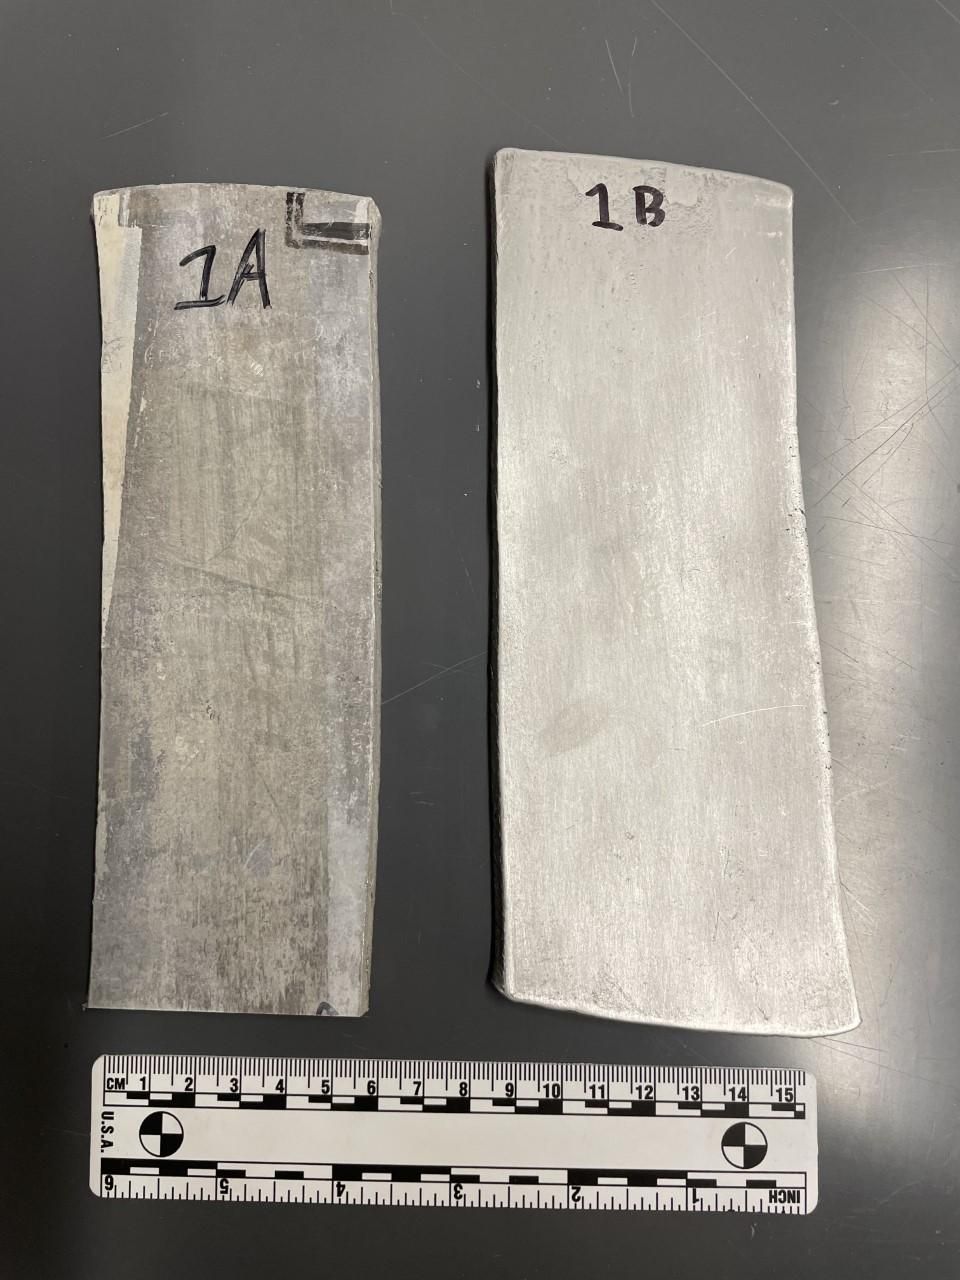
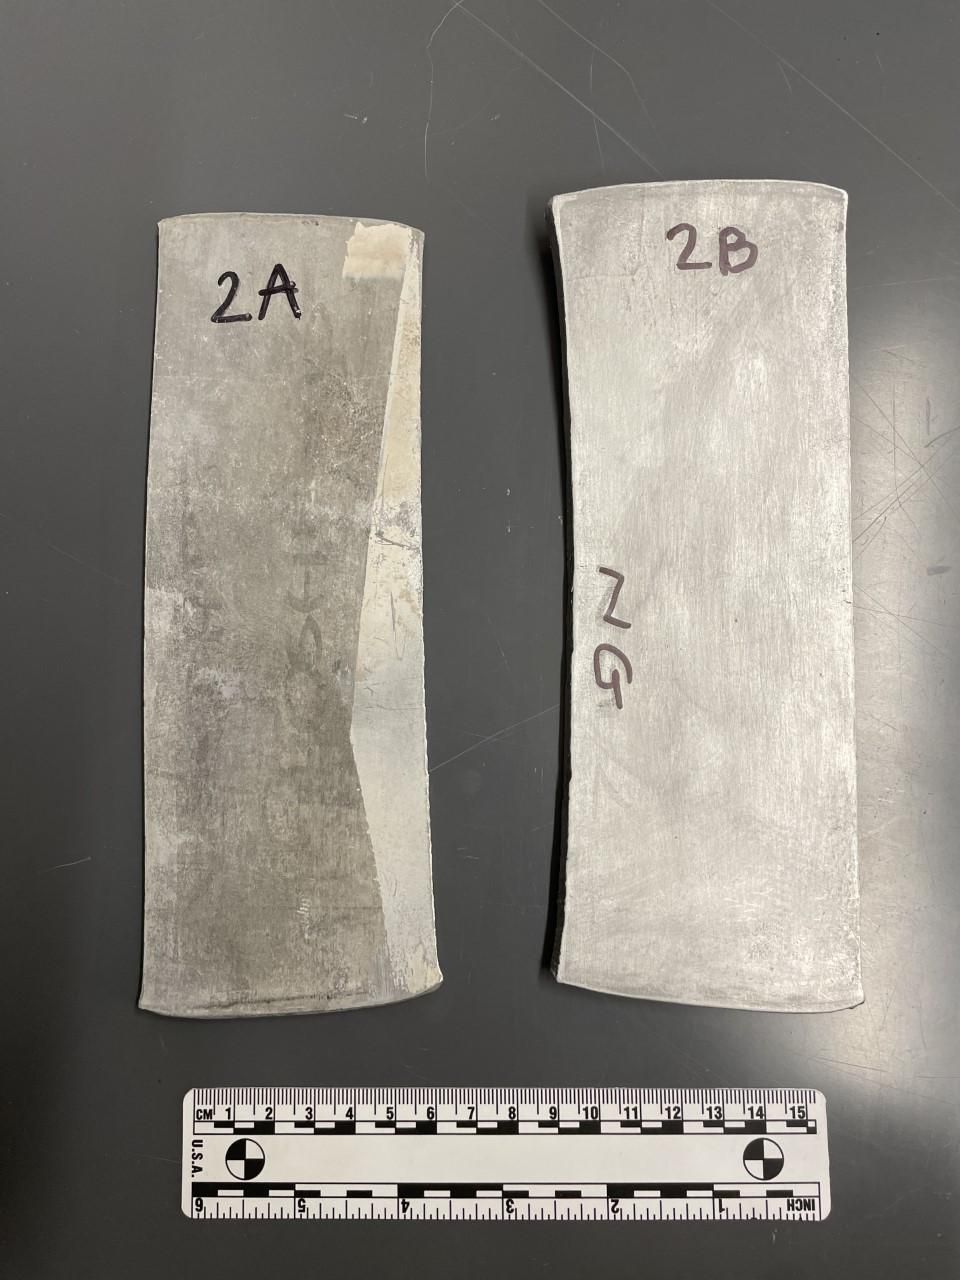
After homogenization, the width, length, and thickness of each sample are measured. All samples are heated to 500°C in a furnace between each pass through the mill. The speed of rolling is set to 70%.
To achieve the target thickness of 6 mm from an average of 12.3 mm thick samples, the samples go through five different reductions:
- An initial 7% reduction to rid the samples of their elastic region.
- A 10% reduction
- 2 15% reductions
- A 7% reduction to achieve ~6mm thickness
Note: The reductions were chosen to avoid overloading the rolling mill.
Once the target thicknesses are achieved, the samples naturally cool to room temperature. The resulting samples are shown above.
Cold Rolling
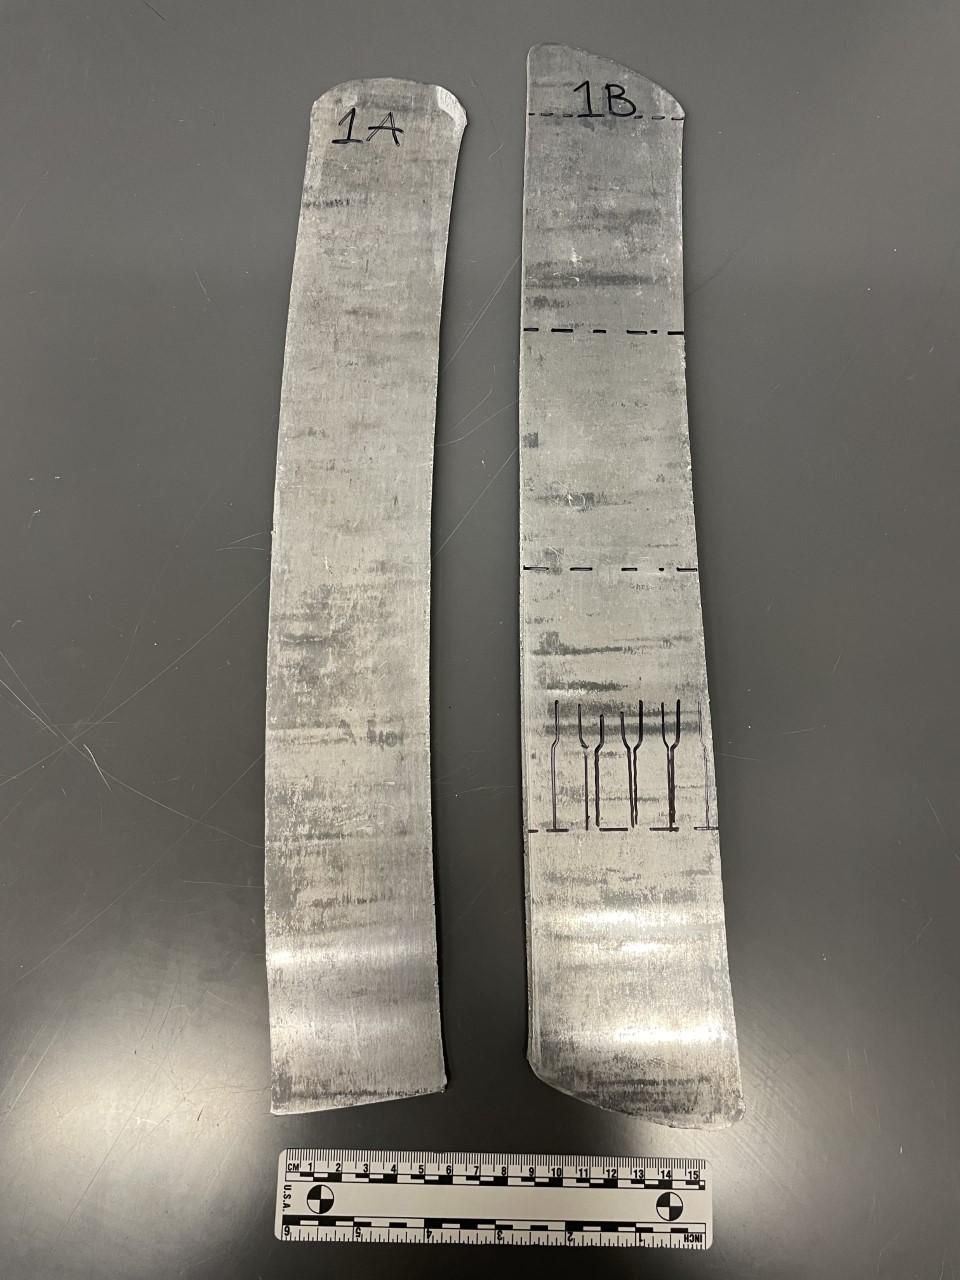
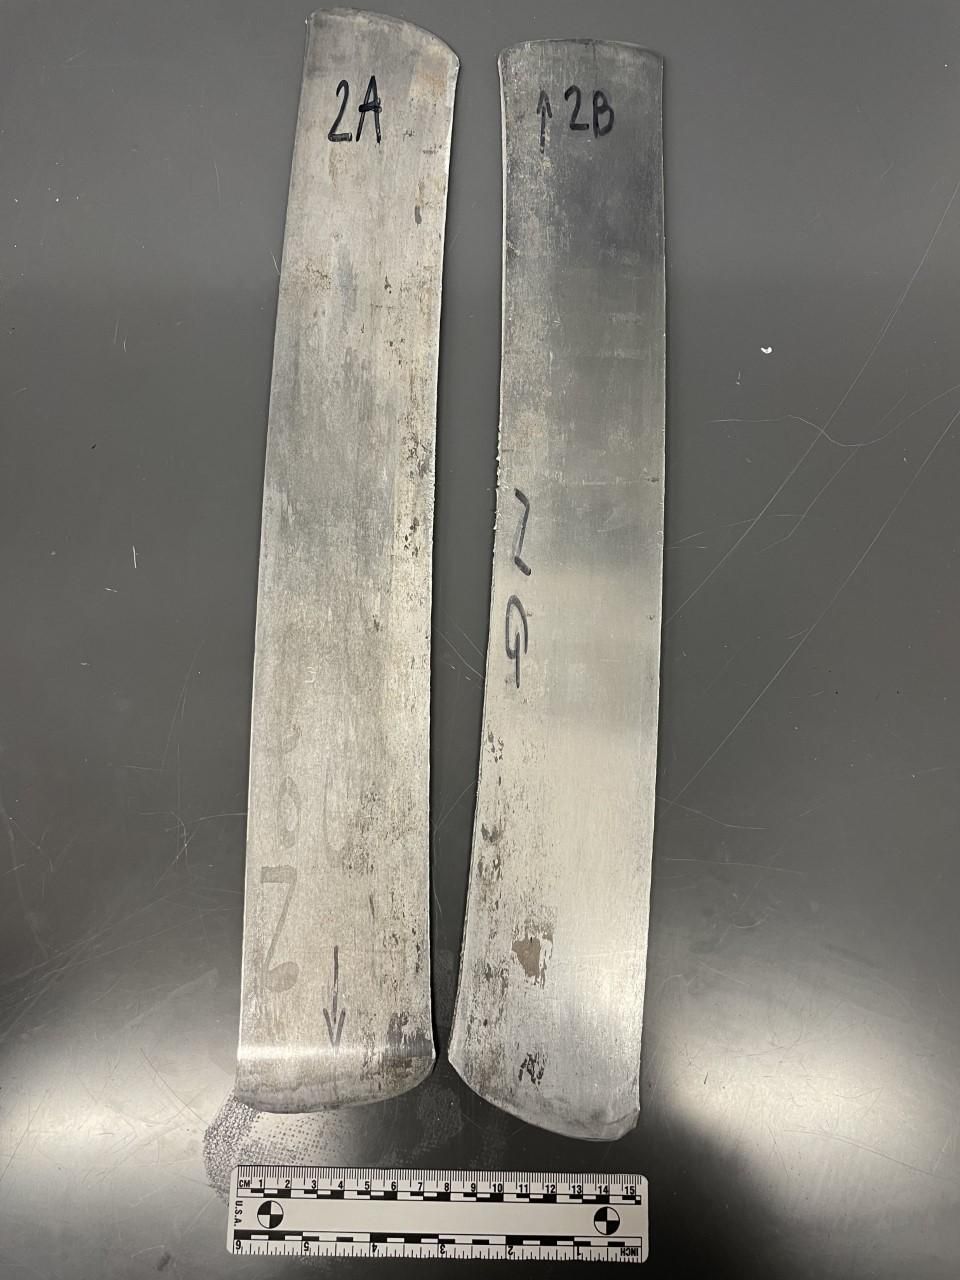
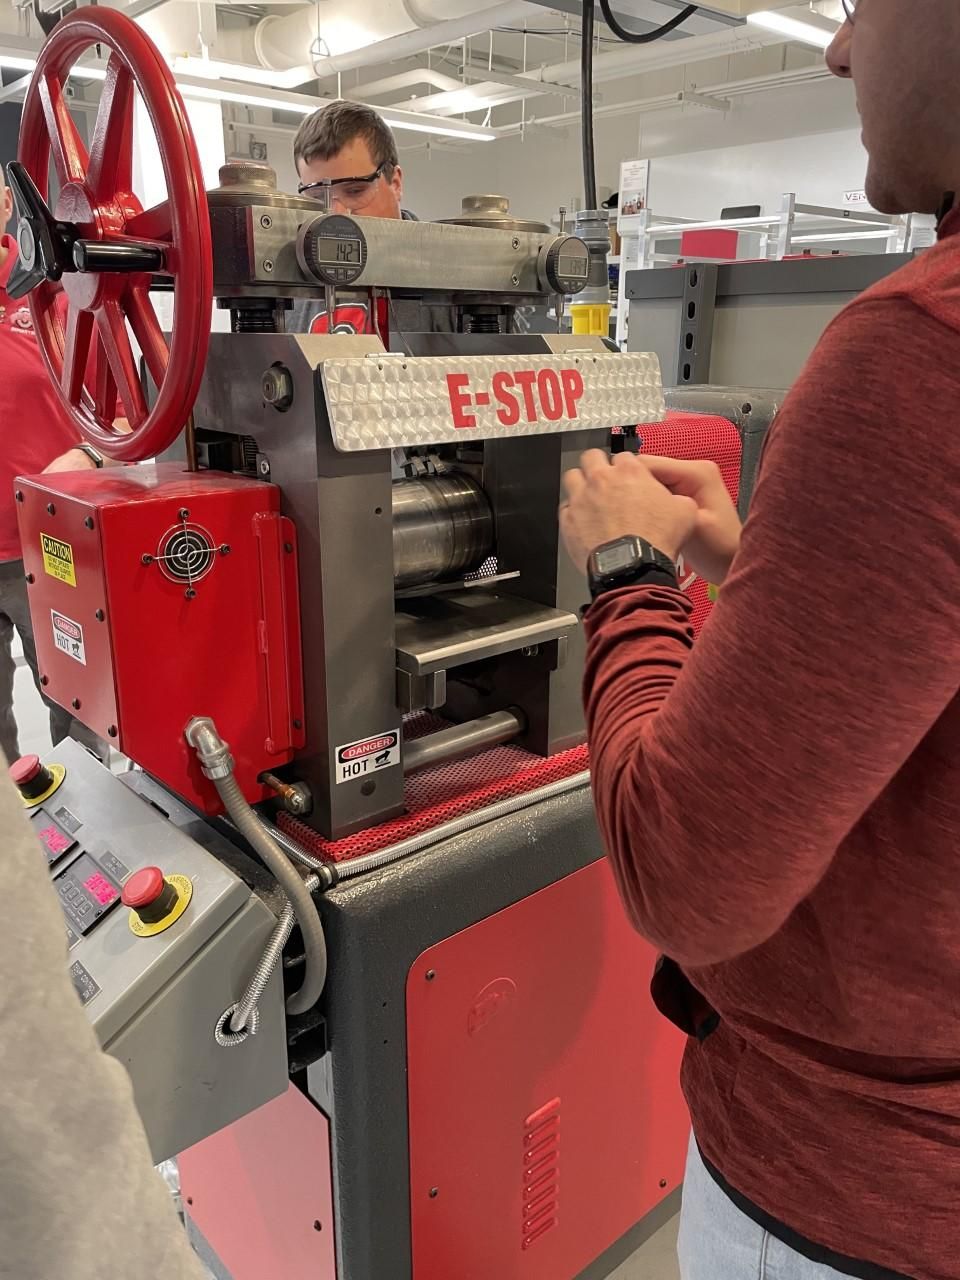
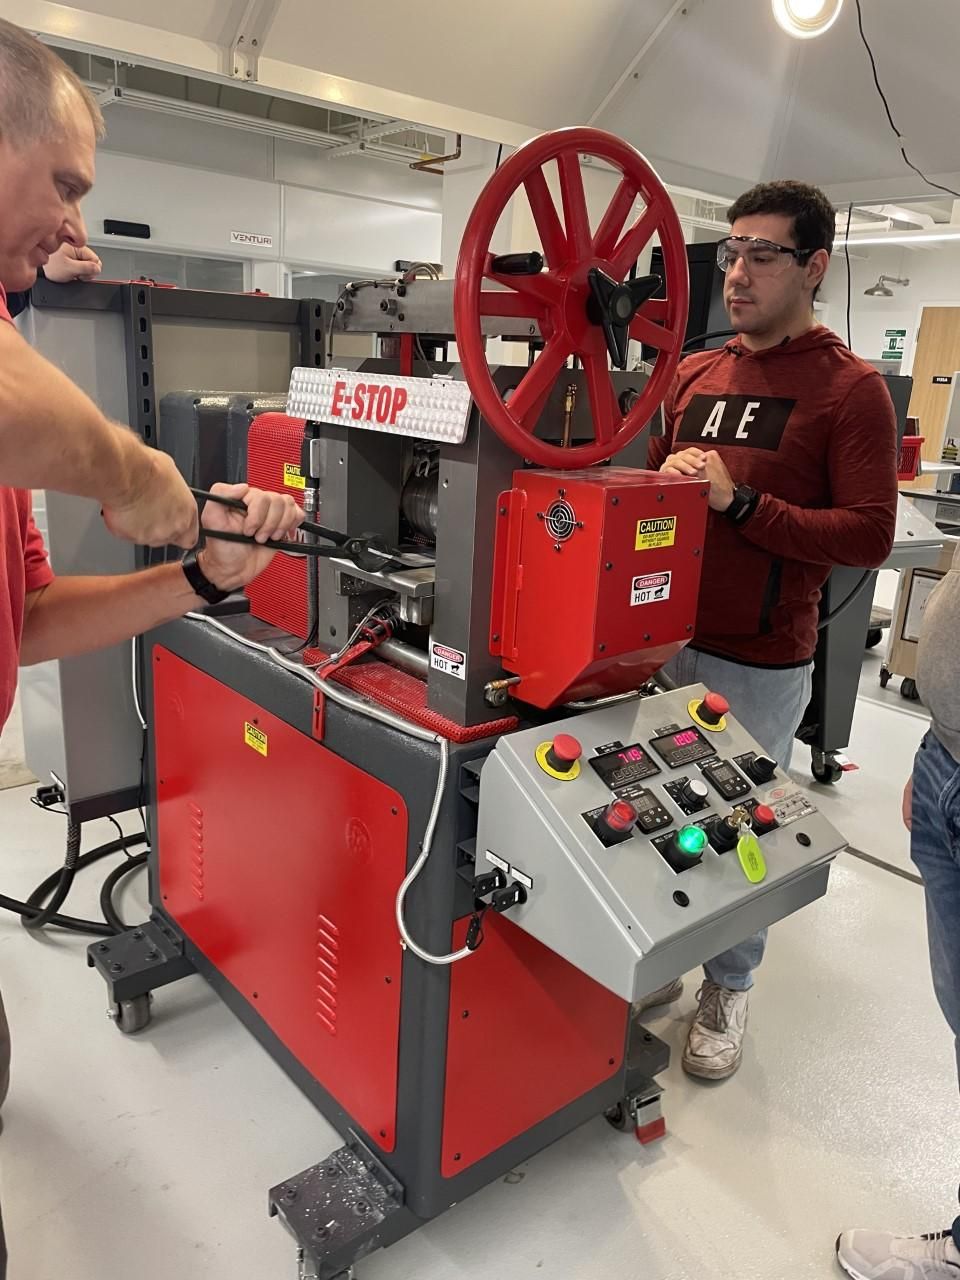
Cold rolling is then conducted to achieve the final thickness (~2.5mm) and to harden the material. Rolling begins at the pass line at 50% speed. The first reduction is set at 0.2mm, and the remaining reductions are set at 0.1mm to avoid cracking.
Solution Heat Treat
Two different solution heat treatments were performed: 560 °C for 20 minutes and 520 °C for 45 minutes.
Pre-heat two different furnaces to 560°C and 520°C. Cut the samples into four-inch blocks and label each sample with the respective sample number, letter, and additional marking for identification.
Once the samples are cut and labeled, place all three 1A and 2A samples into the furnace at 560°C. Set a timer for 20 minutes.
Place the three 2B and 1B samples into the other furnace at 520 °C. Set an additional timer for 45 minutes.
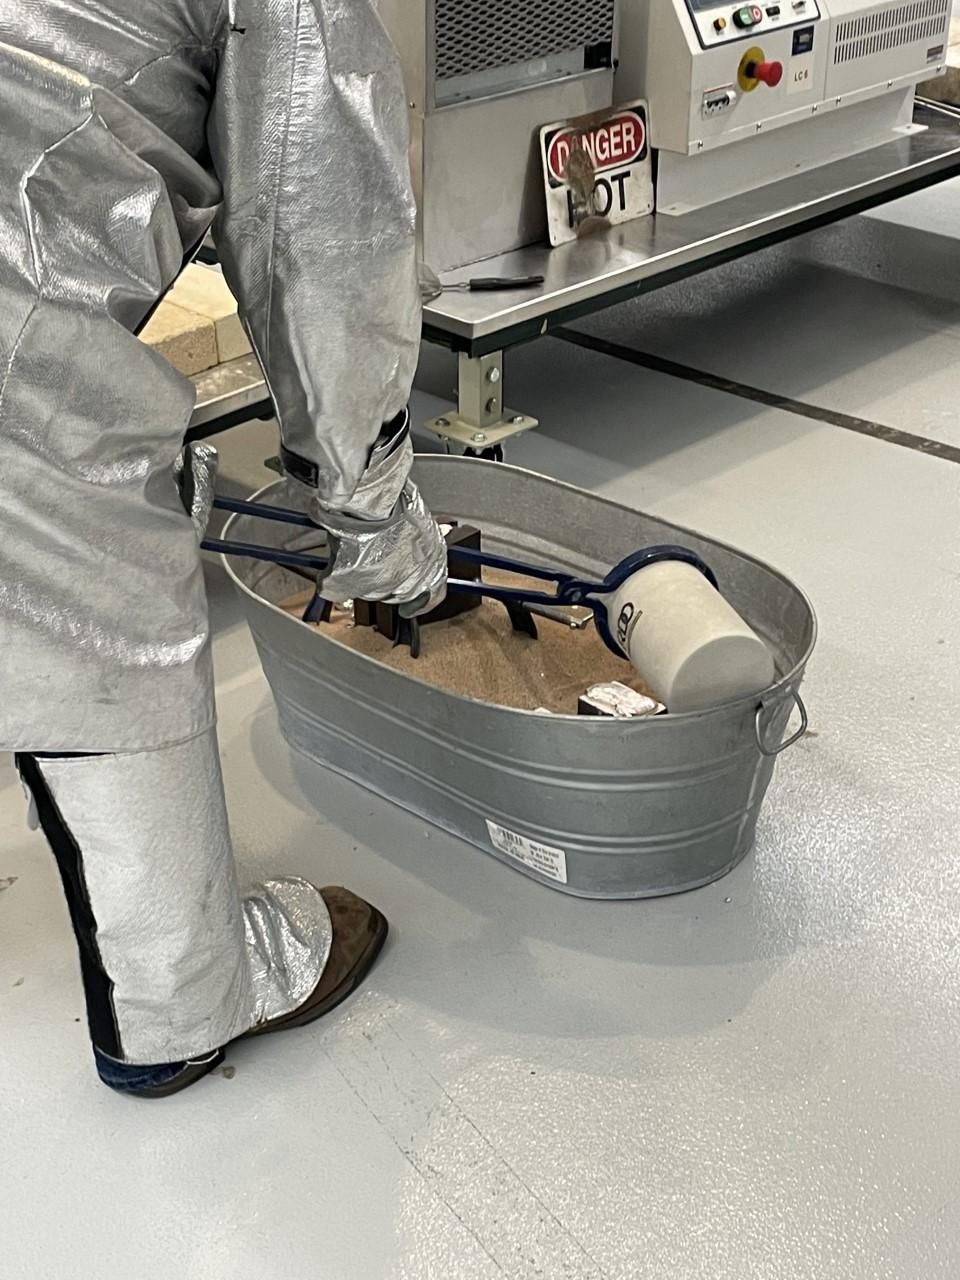
Before the timer goes off, be prepared for immediate quenching. Use a large tub of room temperature water. When the timer is done, use tongs and grab one sample at a time. Dip into the water and swirl for around 10 seconds.
Artificially Aging
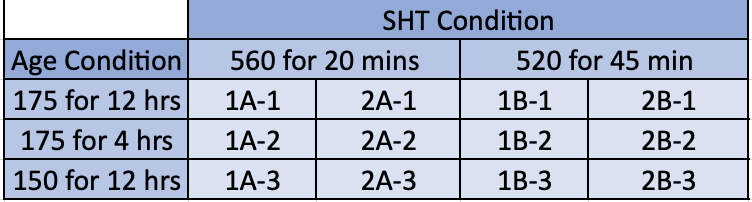
Utilize three different age conditions on each sample (see table above).
Based on the table, each sample should be placed into the respective furnace for the set time and temperature. Once complete, the samples are air-cooled.
Testing
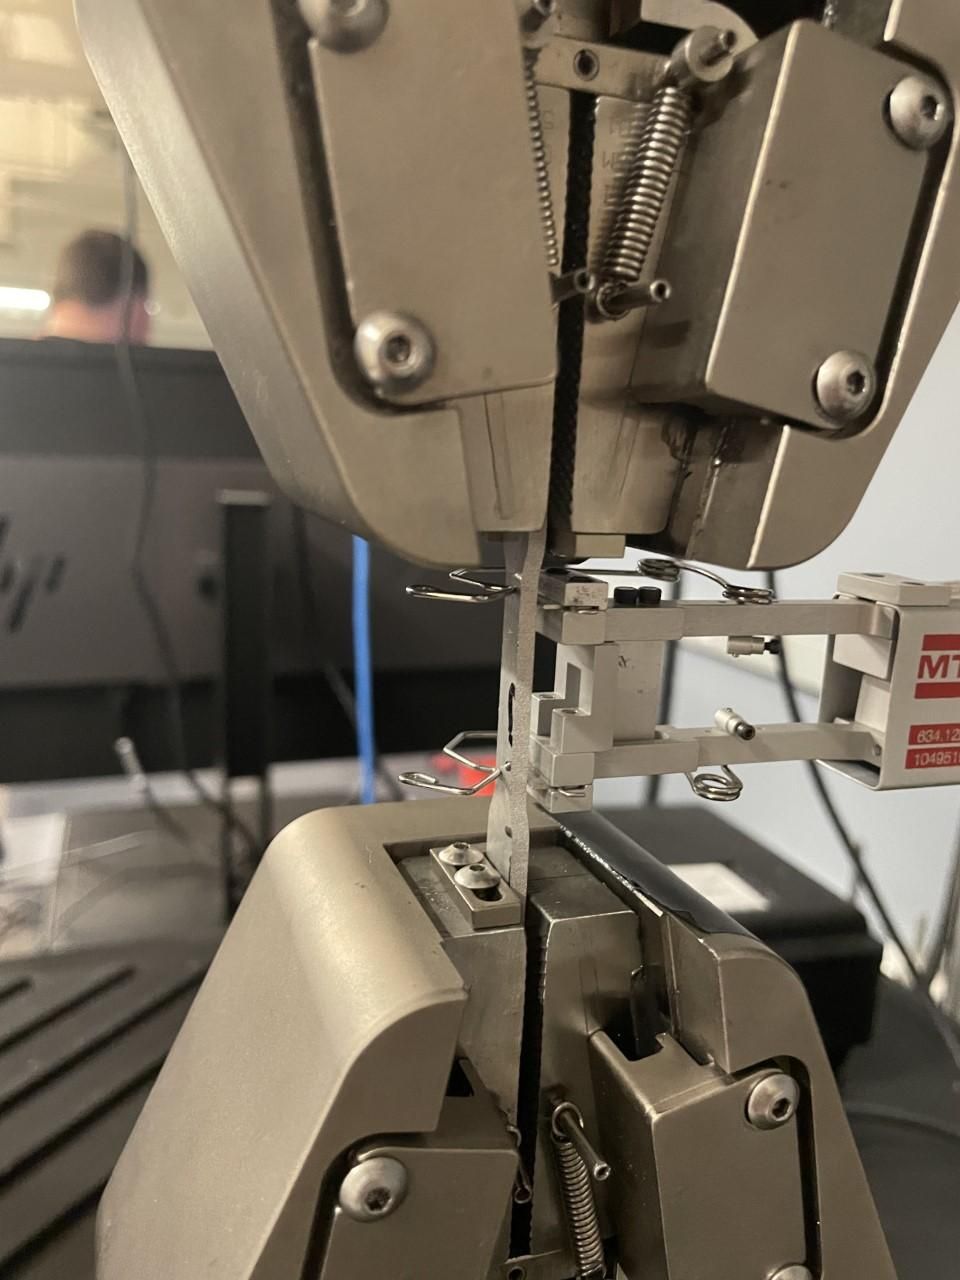
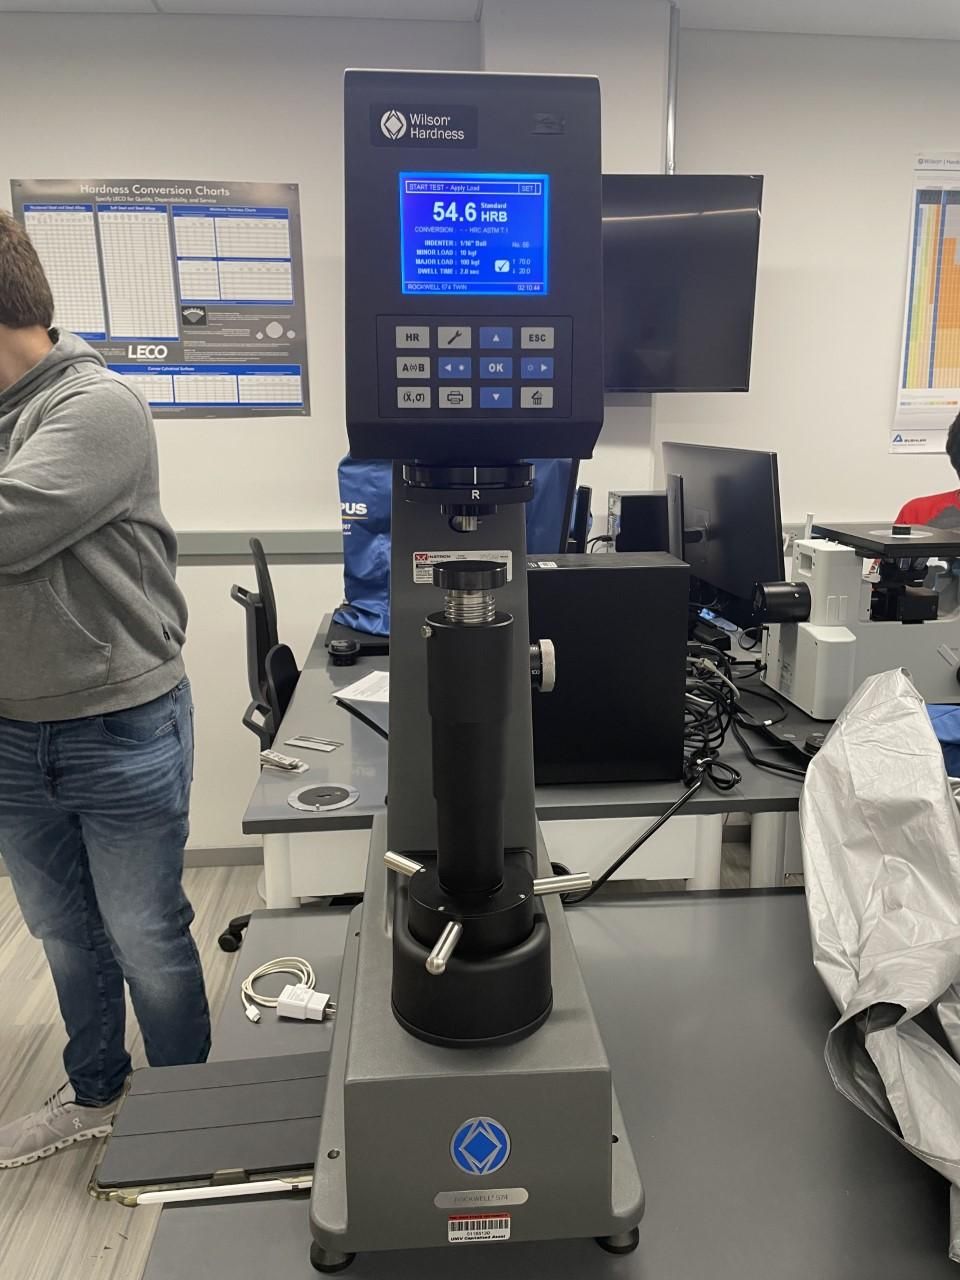
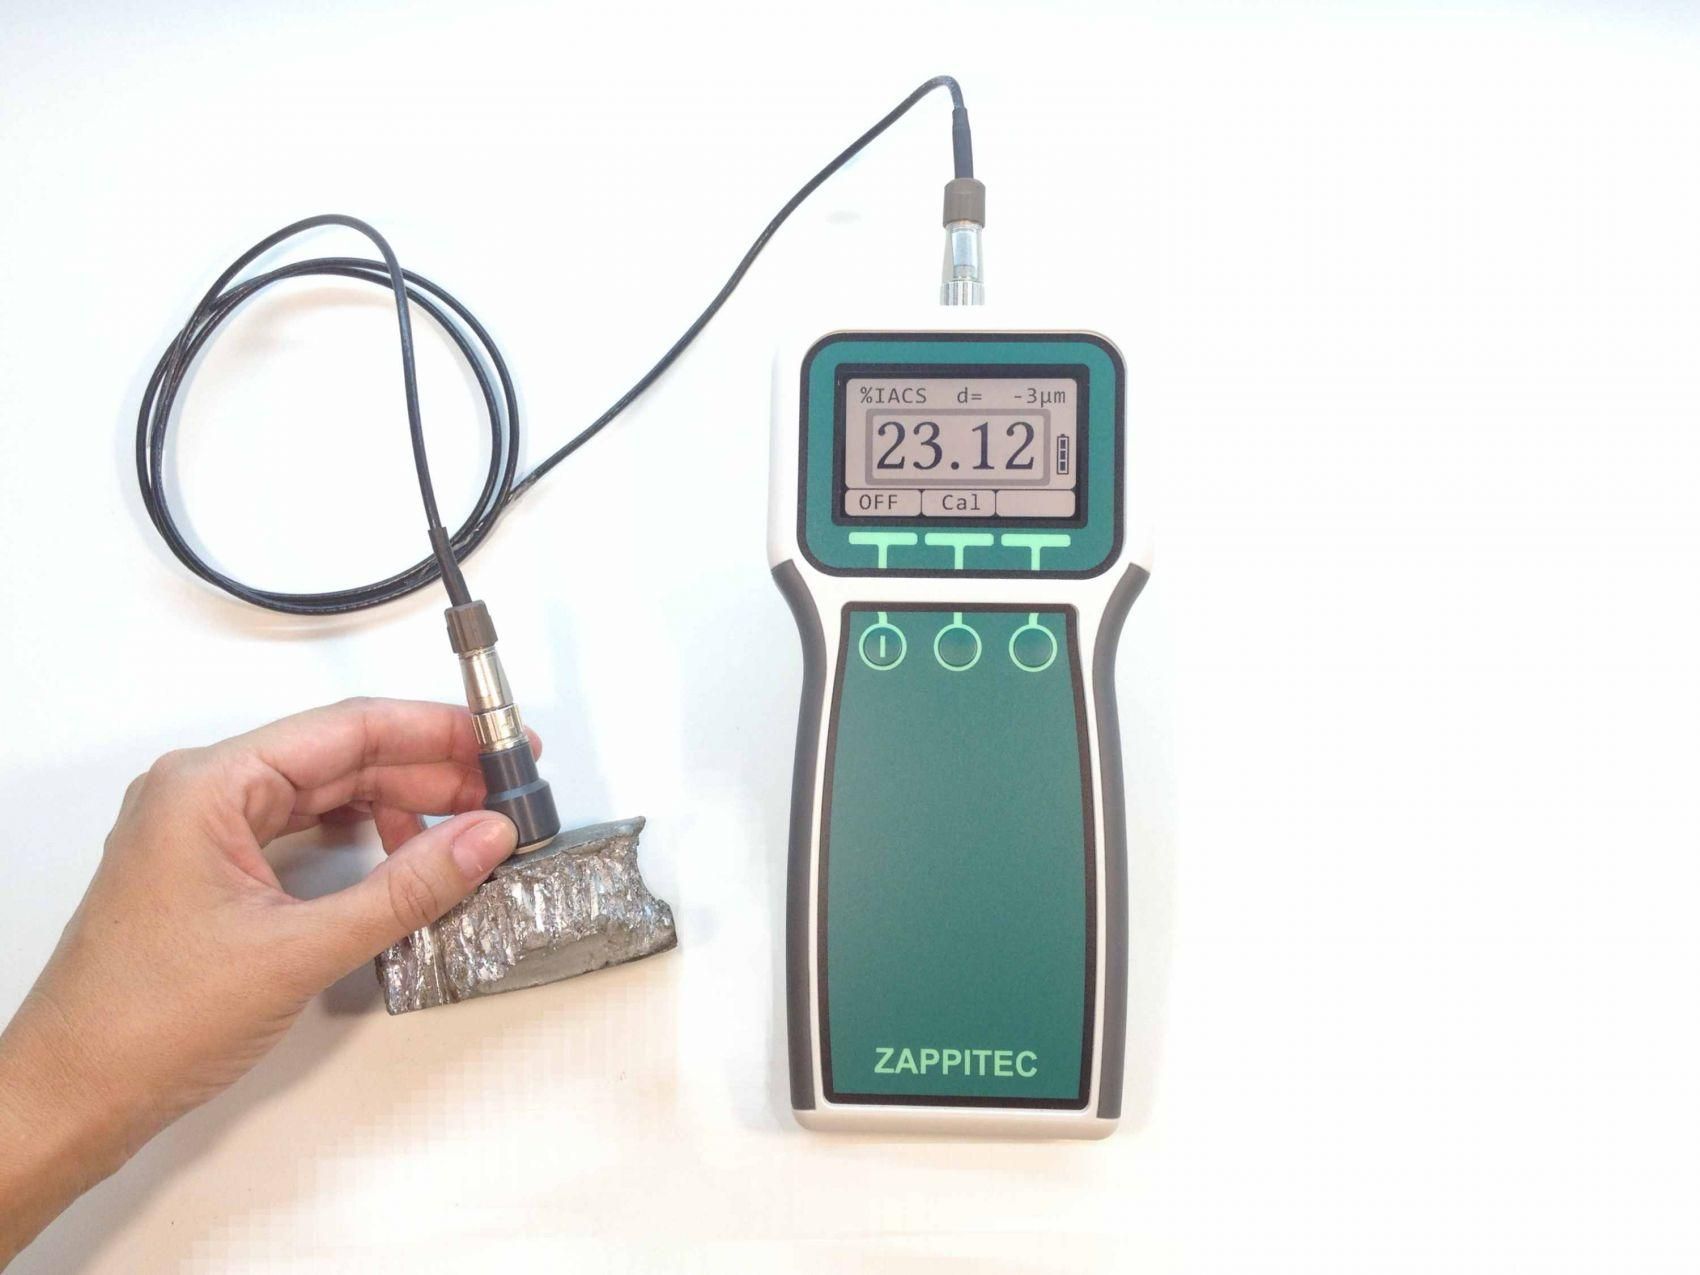
Three different tests are performed on all samples to assess electrical conductivity, yield strength, and elongation.
Electrical Conductivity:
- Use 320-grit paper and grind the surface of the sample
- Use 400-grit paper and grind the surface of the sample
- Wipe the surface with Ethanol
- Use the electrical conductivity reader to record 10-15 data points for each sample
Hardness Testing:
- Calibrate the Rockwell Hardness Tester with a test block.
- Record 3-5 hardness measurements for each sample using HRB.
Note: Hardness testing correlates to the sample's yield strength.
Elongation:
Tensile testing is used to measure the ductility of the samples.
- Test at least one tensile bar for each sample, if more data is desired for any of the samples, another bar can be tested, leaving one for final testing.
- Along with a value for elongation, yield strength (in MPa) is also measured during tensile testing.
Final Testing Results
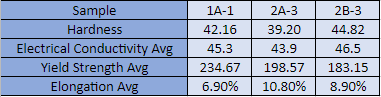
After casting two different molds of the 6022 aluminum alloy and using different SHT and aging procedures, juxtapose the three overall highest-scoring samples in each testing category. The samples selected to be compared were:
- Sample 1A-1
- Sample 2A-3
- Sample 2B-3
Making the Final Decision
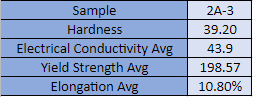
After narrowing the selection from 12 samples to three, perform an additional tensile test for each of the three high-scoring samples, providing additional data to make a final decision.
Based on the contest's scoring style, it was determined that a sample recorded slightly above overall average scores has the best chance to win. After comparing each sample, it was decided that Sample 2A-3 would meet these standards.
Comparing Microstructures
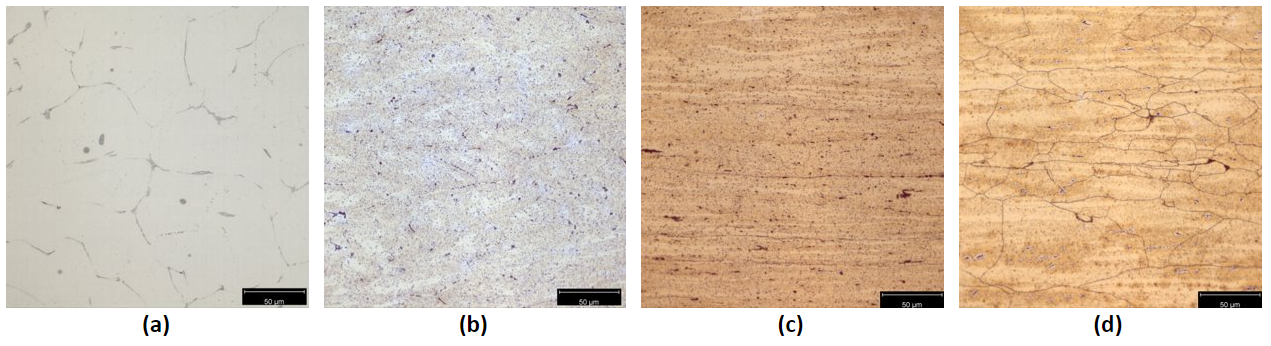
After making the final decision on the competition sample, remember to review micrographs taken at different stages throughout the TMP procedure. In this case, micrographs are shown at 500x magnification. The micrographs above represent:
- (a) As-cast sample from mold A
- (b) Sample after HR and etching
- (c) Sample after CR and etching
- (d) Sample 2A-3 after SHT and etching
Utilize these images to support the reasons each thermomechanical process was used when creating the 6022 aluminum alloy.