Cross-Stitch Pattern “Wolf” (A Striking Geometric Design Full of Character)
by Wizardi in Craft > Embroidery
4 Views, 0 Favorites, 0 Comments
Cross-Stitch Pattern “Wolf” (A Striking Geometric Design Full of Character)
About the Design:
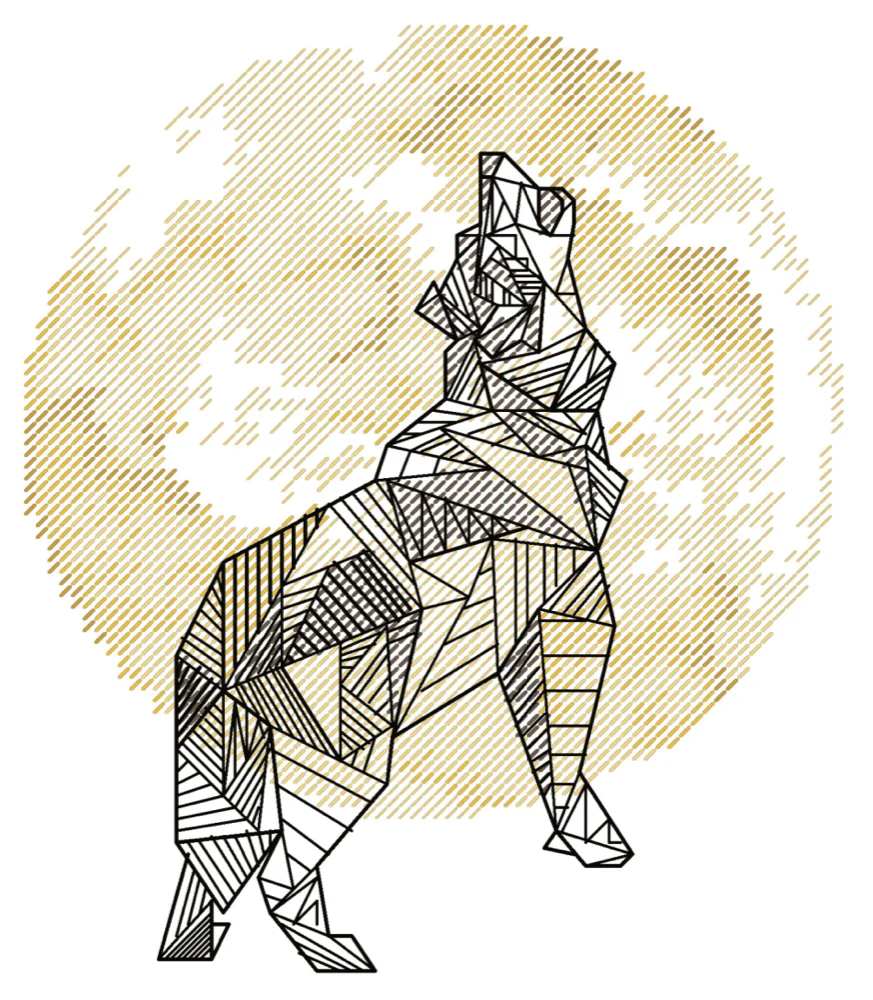
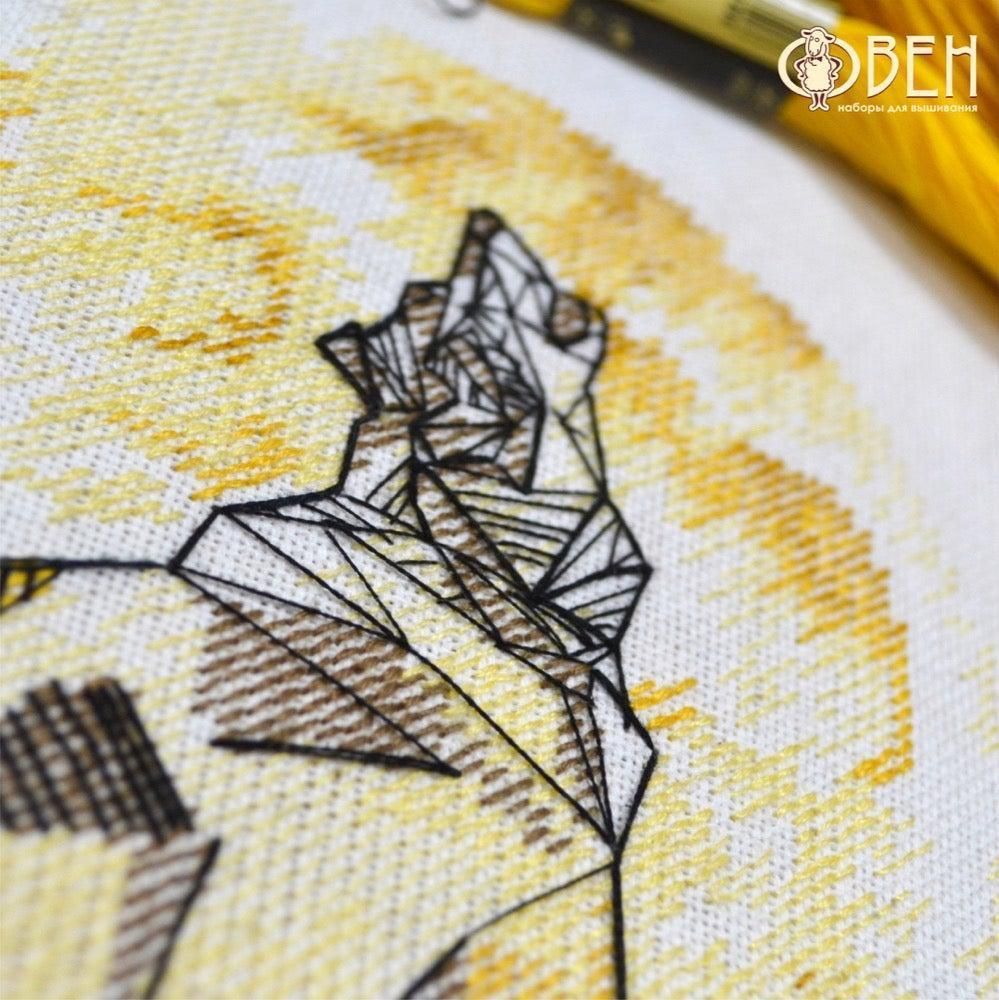
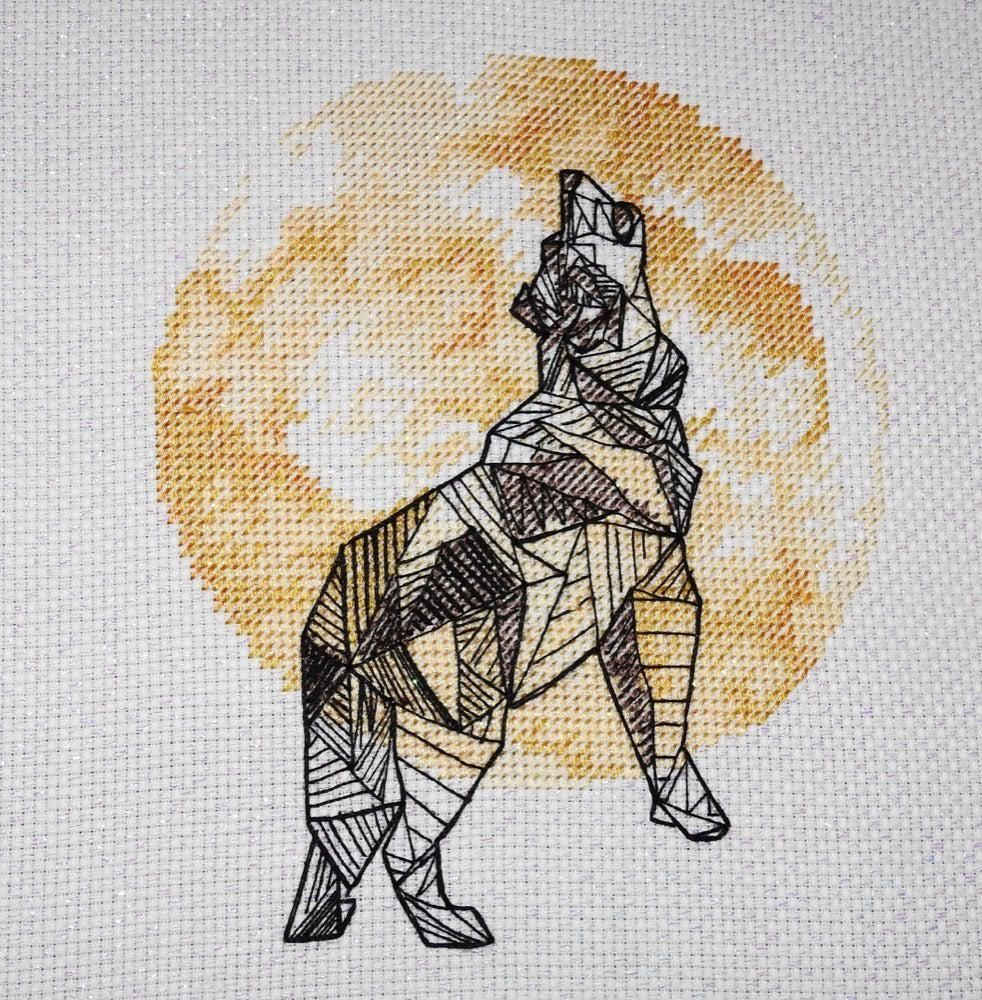
This embroidery piece is a powerful visual statement! A howling wolf in a bold geometric style stands out against the warm, glowing full moon. The design combines classic cross-stitching with bold backstitch outlines. It’s perfect for intermediate stitchers or confident beginners ready to try something a little more detailed.
You can get a free pattern here: https://wizardi.com/products/wolf-counted-cross-stitch-chart-free-for-subscribers?_pos=1&_psq=wolf&_ss=e&_v=1.0
Supplies
What You'll Need :
Fabric:
- White or off-white Aida fabric, 14ct or 16ct
- Minimum fabric size: 10×10 in (25×25 cm) to allow for framing margin
Floss:
Warm earthy tones and a sharp black outline:
- DMC 310 – Black (for outlining)
- DMC 738, 739, 782, 783, 3852 – Moon (golden/yellow tones)
- DMC 801, 434, 437, 435 – Wolf (browns and creams)
One skein of each color should be enough for this project.
Tools:
- 7–8 inch embroidery hoop
- Embroidery needle (size 24)
- Scissors
- Printed or digital pattern chart
- (Optional) Water-erasable fabric marker
Extra Tips:
- Make a copy of the pattern to mark off progress.
- Use a floss organizer with labeled slots.
- Take breaks to rest your eyes and hands
Prep Your Fabric
- Find the center by folding your fabric in half both ways.
- Mark the center lightly with a dot or removable marker.
Stitch the Moon
- Start with the background moon. It's best to complete the full moon first to define the area around the wolf.
- Use the color blocking method – stitch one color section at a time.
- Work outward from the center to keep the fabric even and taut.
Tips:
- Keep your thread tension consistent.
- Secure thread ends neatly on the back, under nearby stitches.
Stitch the Geometric Wolf
- Begin with the darker color blocks to establish structure.
- Gradually add medium and lighter shades.
- Be consistent with your stitch direction (all top stitches should lean the same way).
Backstitch Outlines
- After completing the cross stitches, use DMC 310 (black) in 1 strand to backstitch all the geometric lines.
- Outline each shape within the wolf and parts of the silhouette.
Tip: Keep your stitches short and clean — long ones may sag or snag.
Finishing Touches
- Check your piece for missed stitches or loose threads.
- Gently iron the finished embroidery from the back using a cotton cloth for protection.
Display Ideas
- Hoop finish: Leave in the hoop as-is or back it with felt for a clean look.
- Frame it: Classic wooden frame under glass adds a gallery feel.
- Gift it: Perfect for nature lovers, wolf fans, or fans of geometric/Scandi aesthetics.
🎉 You Did It! 🎉
Congratulations! Your “Wolf” embroidery is complete. Be proud of your creation — share it online and inspire others to pick up their needle and thread!
You can find more of our patterns at https://wizardi.com/collections/cross-stitch-patterns?pb=0