Custom 3D Printed Dice Towers

Hi there! Welcome to my Swamp (Instructable) where we'll be taking a quick look at how to make a dice tower so pleasing that even Lord Farquad may join in on your next RPG session!
Much like an onion the engineering design process has many layers which we'll peel back together one by one. It's no problem if you're a little green to engineering, there isn't anything too complicated in here!
Supplies
* 3D CADing Software
* Access to a 3D printer
*Sand paper (optional for finishing)
*XTC 3D (optional for finishing)
*Safety Supplies (for finishing)
Imagination!

To get what you want first you gotta know what you want. While making a whole vision board for a dice tower may be a little extreme, do take a moment to search yourself for inspiration. Maybe it could be related to a favorite movie franchise or character or a RPG campaing you're DMing (In my case all three :0).
Once you have a general direction it's time to set your scope. How complex do you want to make this project? This is a good place to take stock of how much time you want to devote to the project and how much technical skill you possess. For something quick and easy try to find a simple 2D shape or pattern to go off of. If you're in for a challenge and have more 3D modeling skills it may be interesting to explore a 3D shape.
For this instructable I'll stick to a simple 2D tower.
Starting the Model

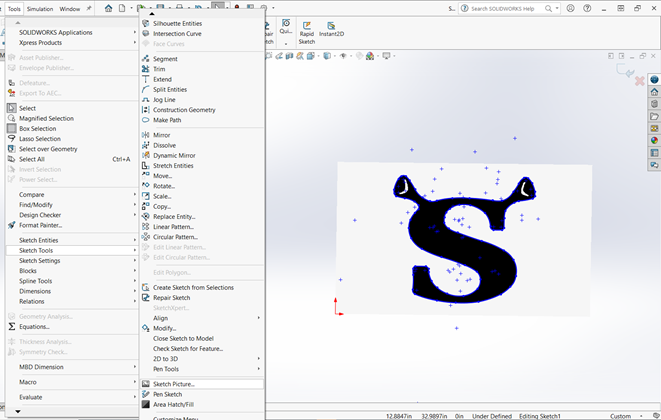
As someone with a fairly low dexterity stat, for a project like this I'll find a picture on google images to use for a basis. In this case I found a nice jpg of the classic Shrek S. From there I downloaded the image, booted up my Solidworks and kicked off into a sketch.
The first trick here is once you're in the sketch go to Tools->Sketch Tools->Sketch Picture and find your photo. Then just zoom in and trace the shape using arcs until you're all closed up. Extrude that shape to the thickness you desire for the outer wall. I typically do about 1/8".
**Important note be sure to check out the dimensions on your image to be sure that it's a size that works for you.
Routing the Path of Destiny


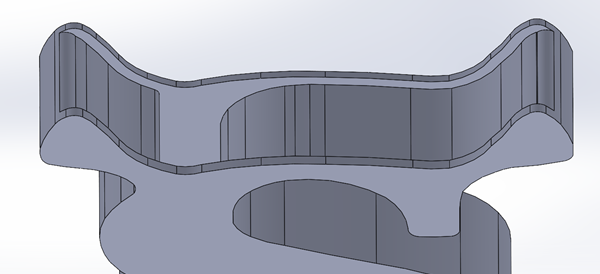
Next visualize and sketch out the internal path that the dice will fall through. Pay careful attention to the size of dice you plan to use to be sure that there it will fit through the path. A good place to start is a standard D20 measures 20mm from face to face.
Take some time to give consideration to where the journey starts and ends. When you're rolling quickly or multiple die at once for a big encounter you might appreciate having spent more time designing a kind of open path or funnel as opposed to plopping them in a small hole one by one. Further when the die come out the bottom it can be nice to give them a little holding pen to keep them from running off. A useful note here is be careful not to make the pen too small or have the walls too short other wise the dice may bounce out. A rolling die won't be likely to roll over a wall of half it's diameter, but to account for bounce giving it some extra height to be safe is a good idea.
Test It Out in CAD (Optional)

If you're feeling worried about whether your dice will fit you can run this little test! To do this we'll make a basic dice model and use Solidworks move
First create a new part to represent the die. I used a basic cube sized at 20mm per side to represent a D20. Next create an assembly with the tower and the block. Next create a section view so you can see inside. Lastly use the Move and Rotate Component tools with the collision detection and stop at collision checked off and try to maneuver it through. It can be a slightly annoying challenge so consider just testing the portions you're concerned about. :)
Ready to Print!


Now it's time to bring your tower to life! Export your file as an stl and open up your favorite slicer (I'm using Cure 4.6 with a Creality CRX). I stuck with my usual settings for PLA with one primary change: I changed Support Placement to Touching Buildplate. This allowed me to avoid the ordeal of removing internal support. The texture of the bottom of the top wall is then of course pretty rough, but I don't think the dice mind too much as they bounce through.
For help with dialing in your settings for the best bridging, definitely check out this ALL3DP article on it!
https://all3dp.com/2/bridging-3d-printing-tips-tricks-for-perfect-bridges/
Finishing


Basic finishing should be pretty quick, carefully remove any support material and you're ready to roll! When removing support remember to use the appropriate safety precautions such as safety glasses.
*Optional Finishing Options:
If you're looking to go the extra mile to add some color or shine here are a few options.
Sanding:
The most common finishing that we all know and (maybe not) love is sanding. Start with a low grit, around 400 may be a good place to start. Once the texture is uniform move up to a higher grit and repeat until you get to your desired look!
*Be careful with the dust that is produced when sanding, you don't want to breathe that in or get it in your eyes!
XTC 3D
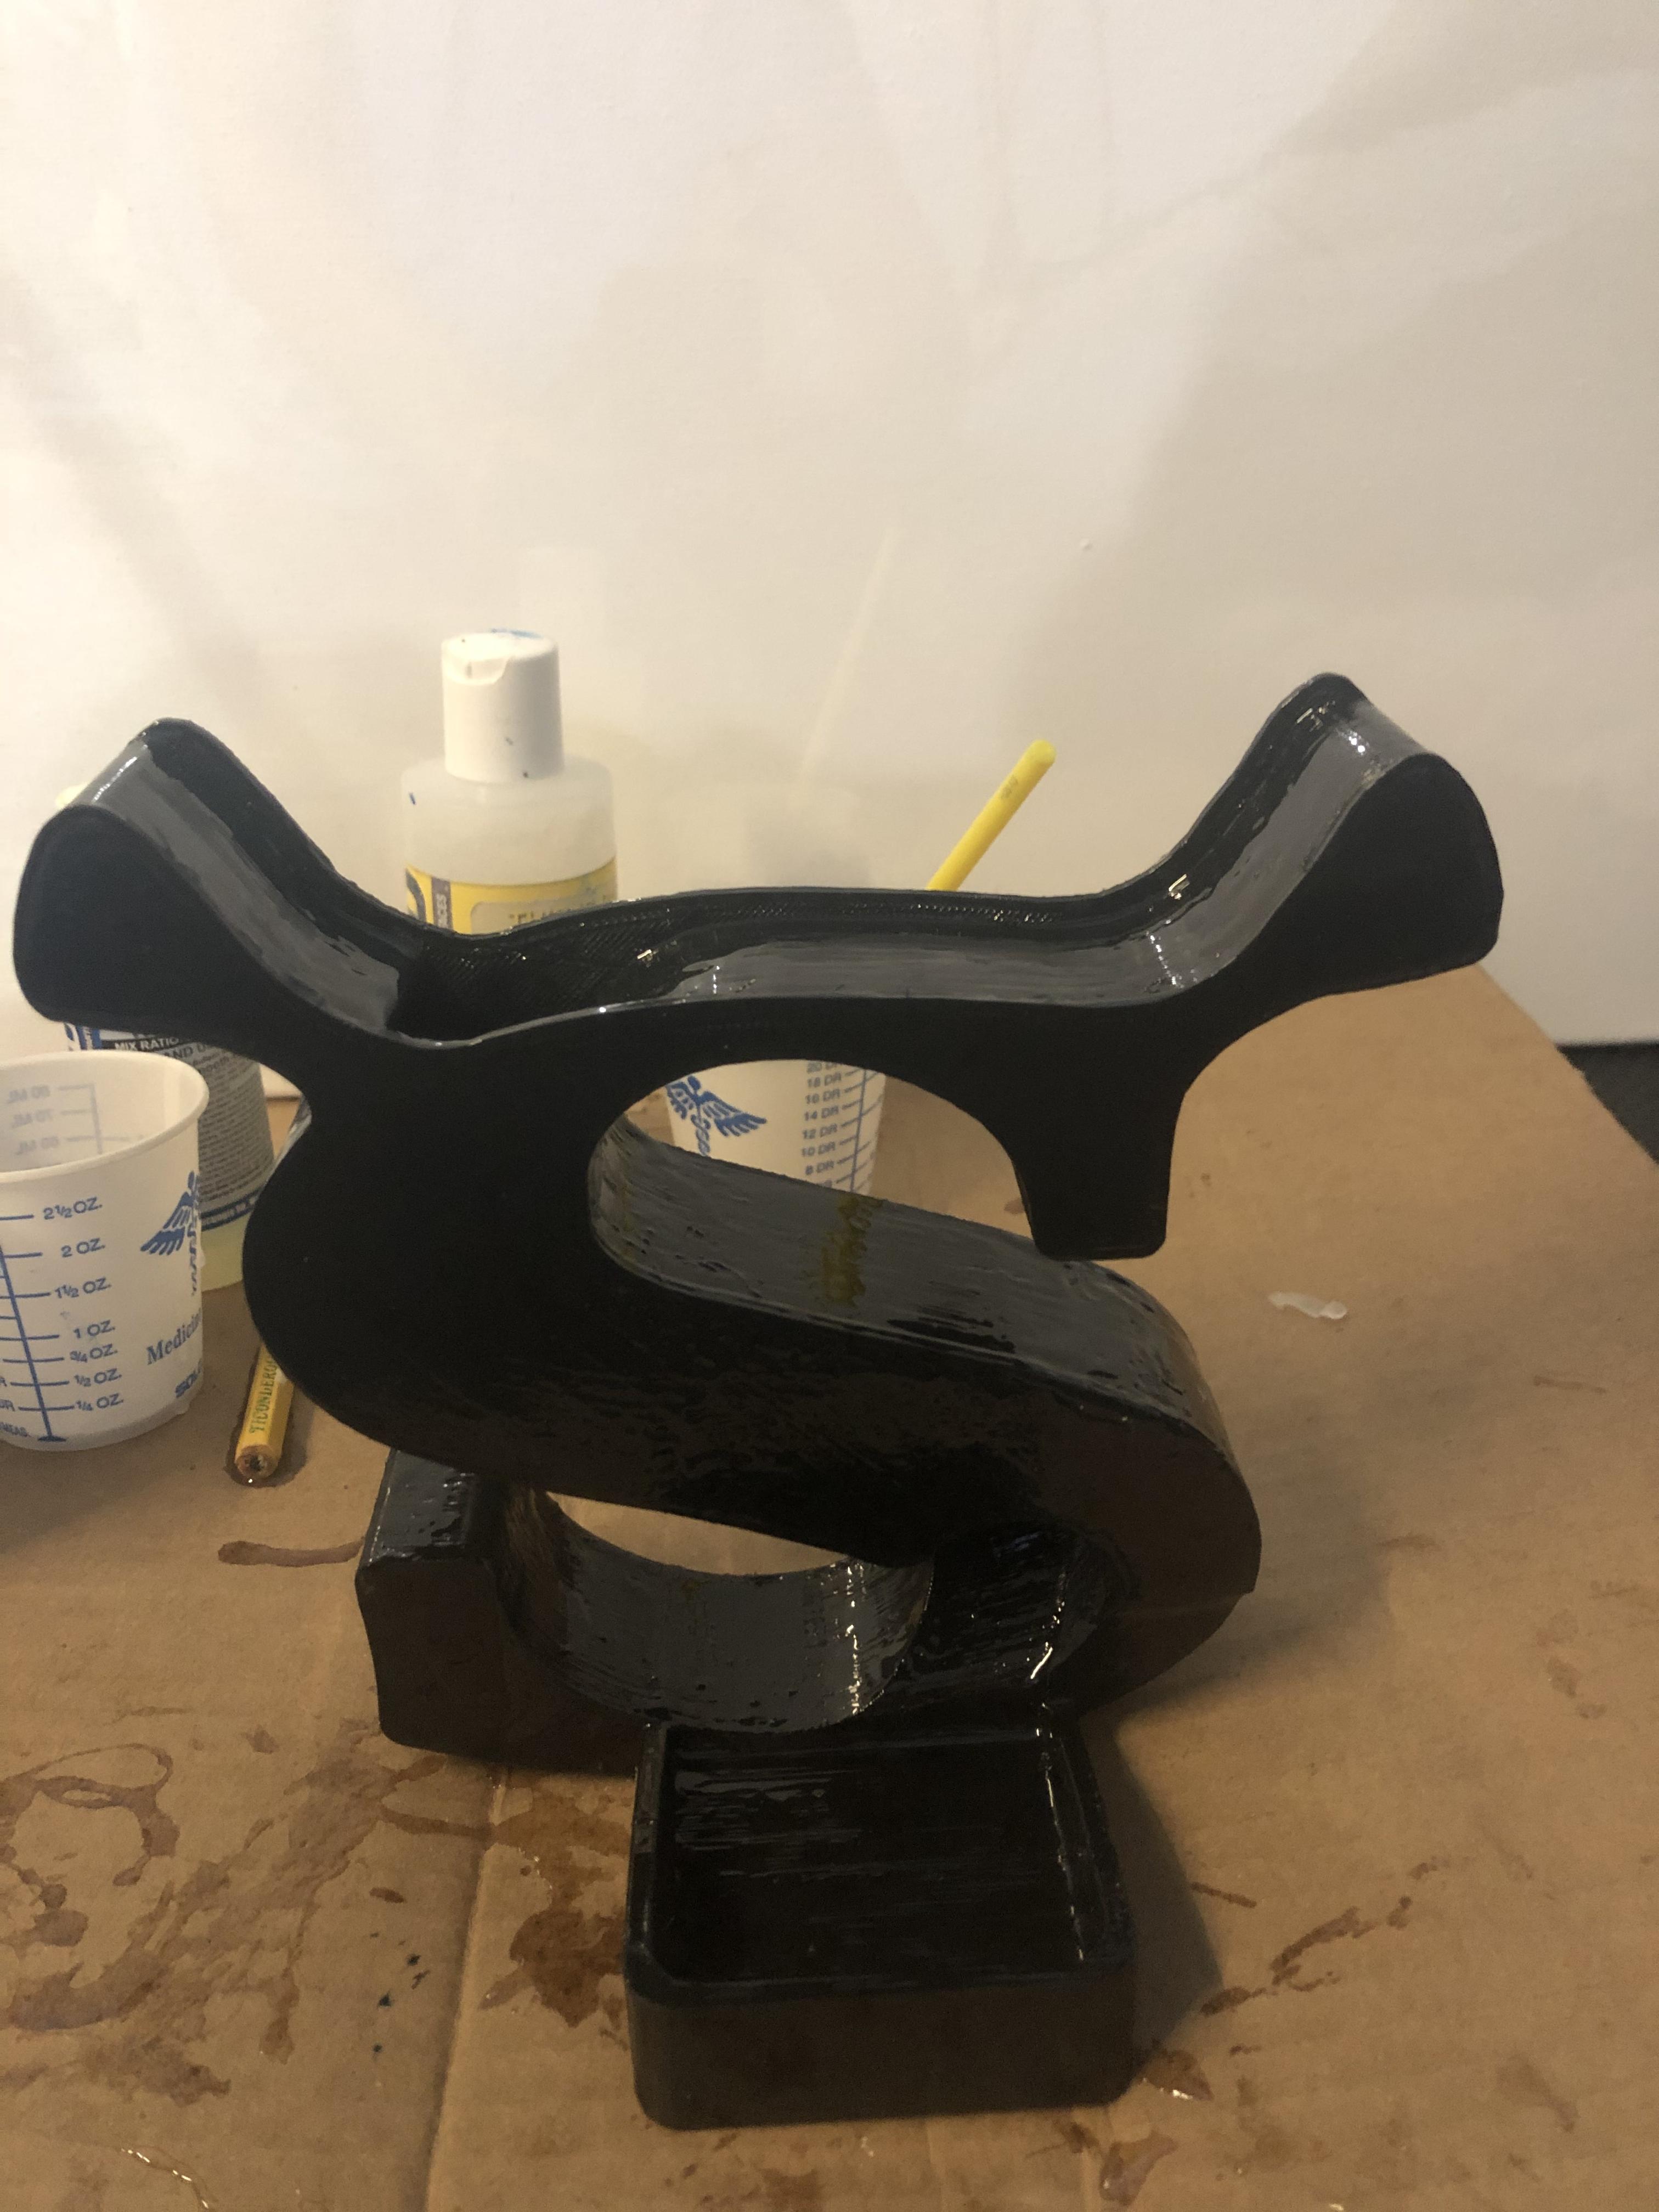
A second option which I did for this model is using Smooth-On's XTC 3D which is a brush on resin product to fill in the bumps between layer lines. This process is less work intensive to get a nice sheen, but can create an uneven surface if you're not careful! For best results stick with one flat surface at a time and use a paintbrush to distribute a thin layer evenly over the surface. You can go over it with a second layer after it dries if it's not to your liking.
*Be sure to work in a well ventilated area and wear nitrile gloves, protective clothing and eyewear for safety. Use small amounts at a time as the resin cures through an exothermic process which can create a lot of heat and accelerate if too much is mixed in a small container.
**Note if you notice holes or pits you may be brushing on too little of the resin.
Thanks!!
I'll add my Solidworks and Stl files here in case you would like to print it out or modify it :)
I hope this was helpful and have a shrektastic day!