Custom A-Pillar Speaker Pods
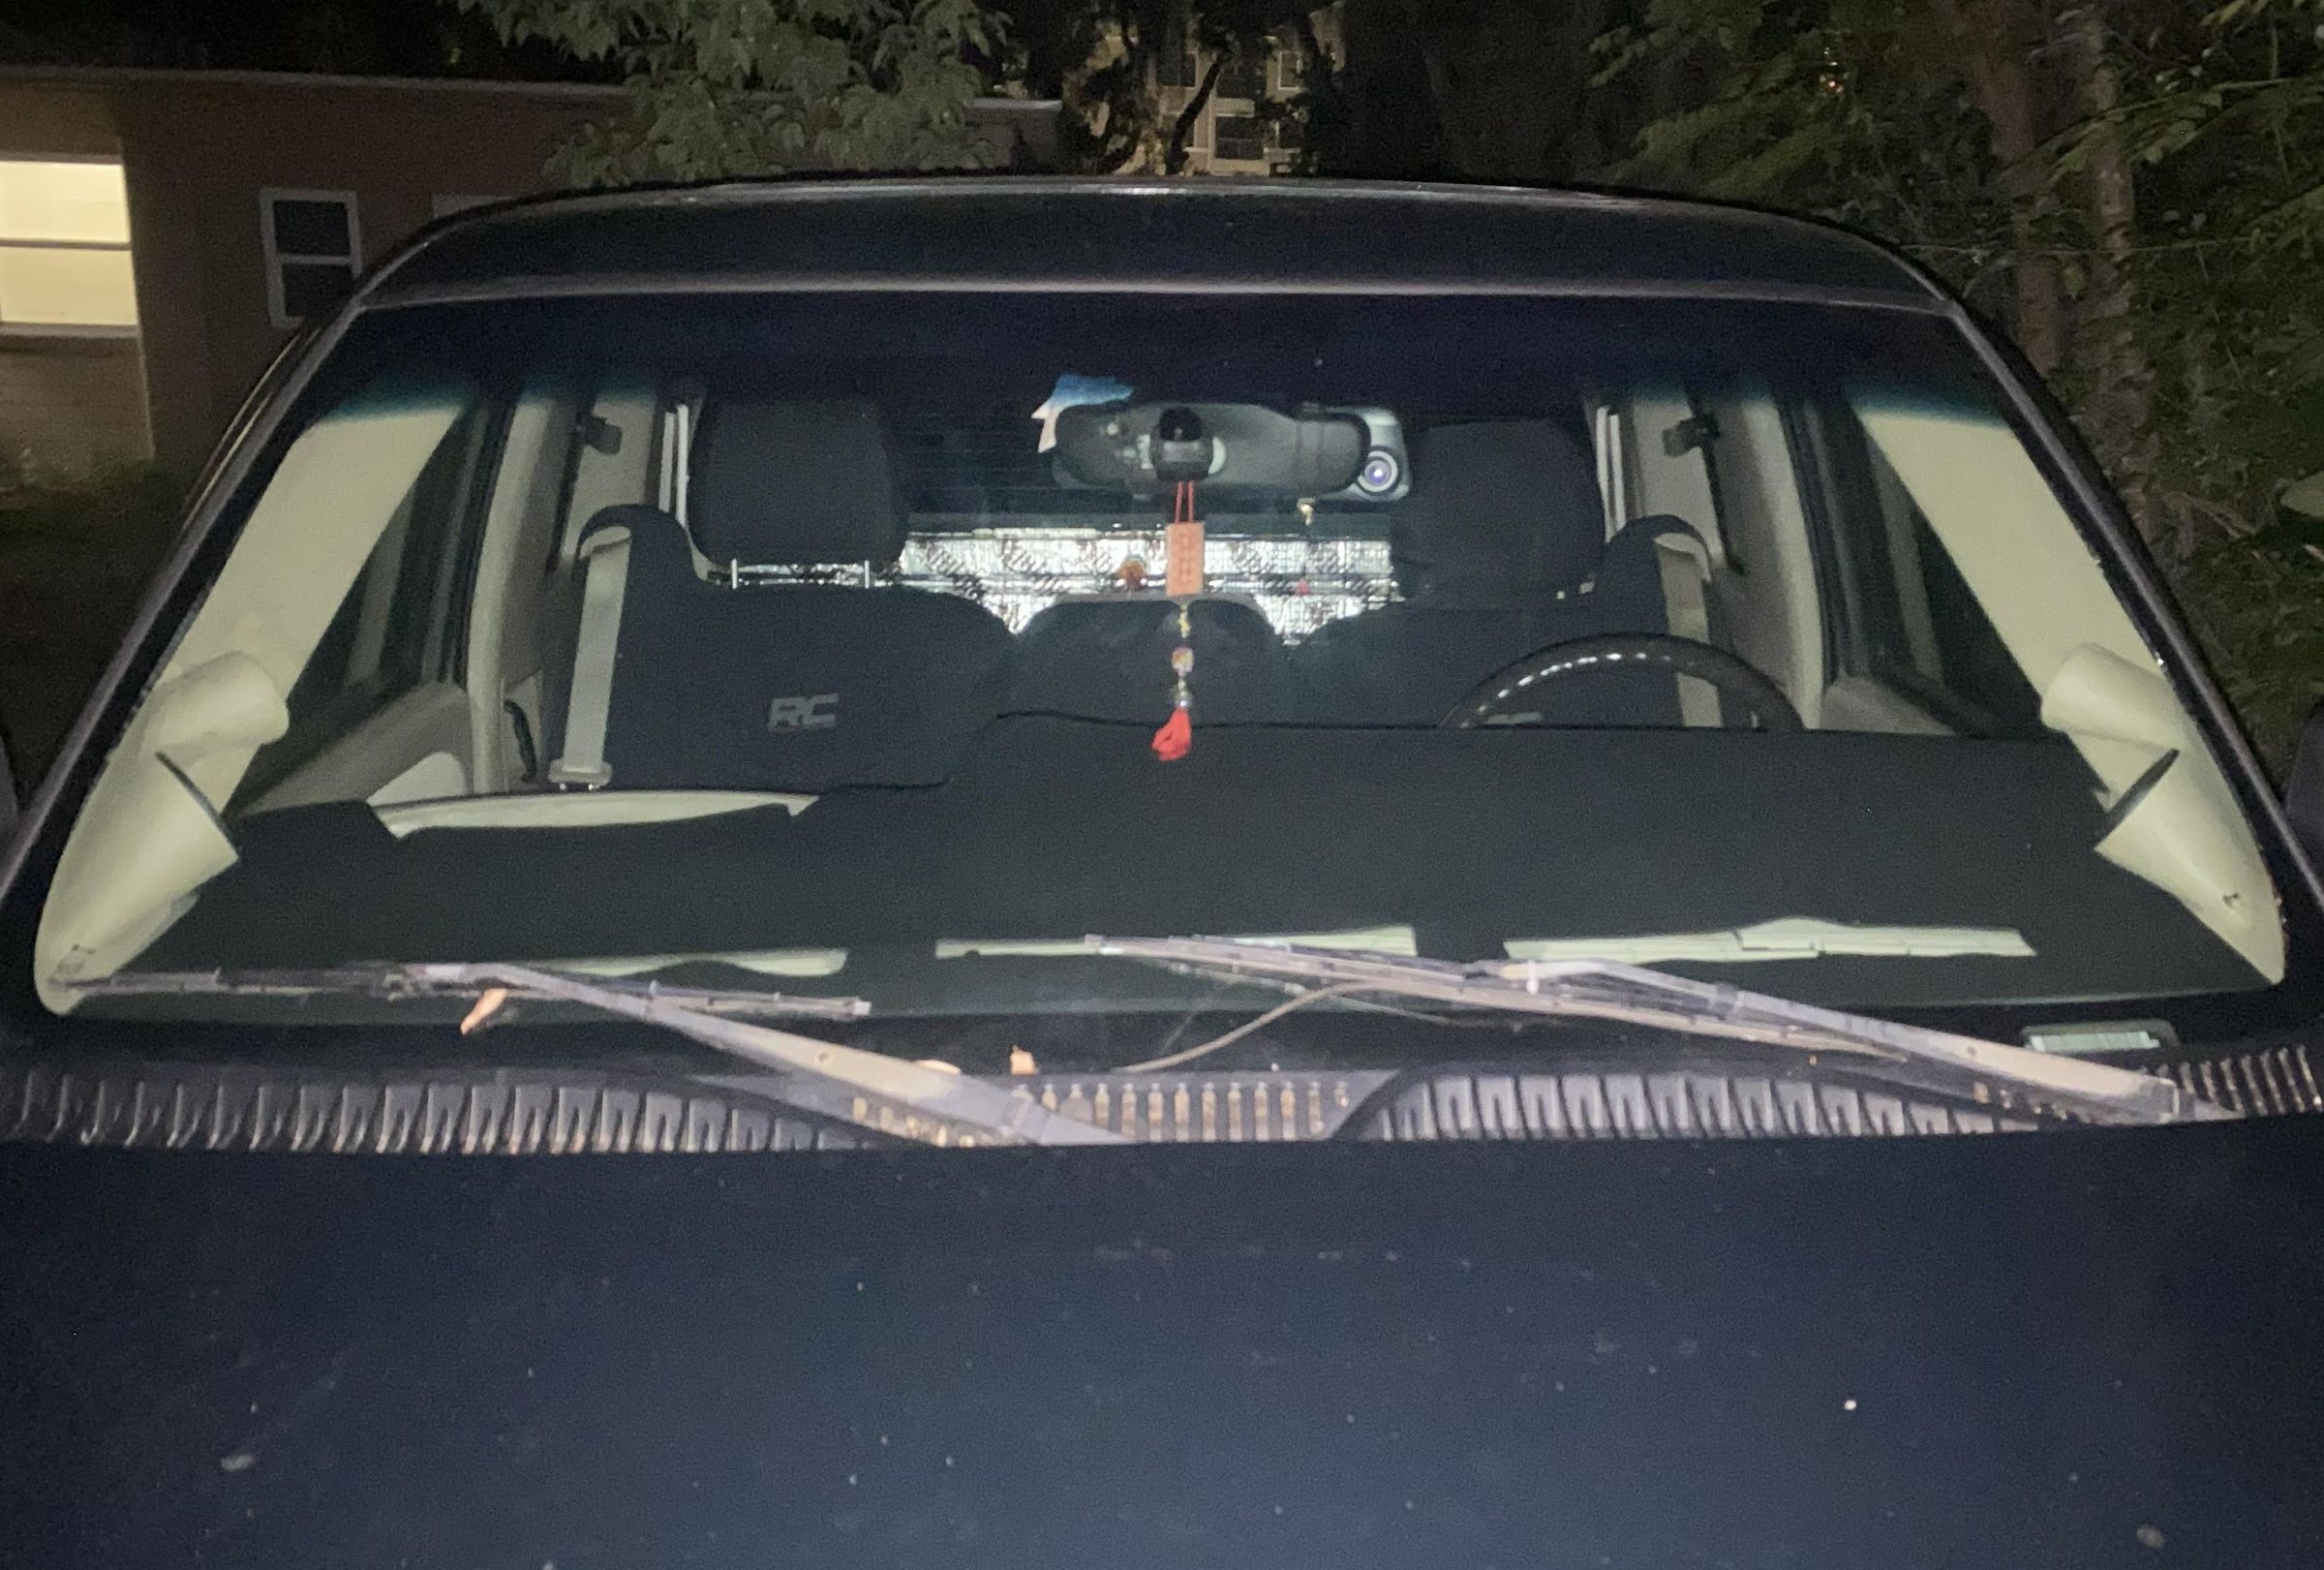
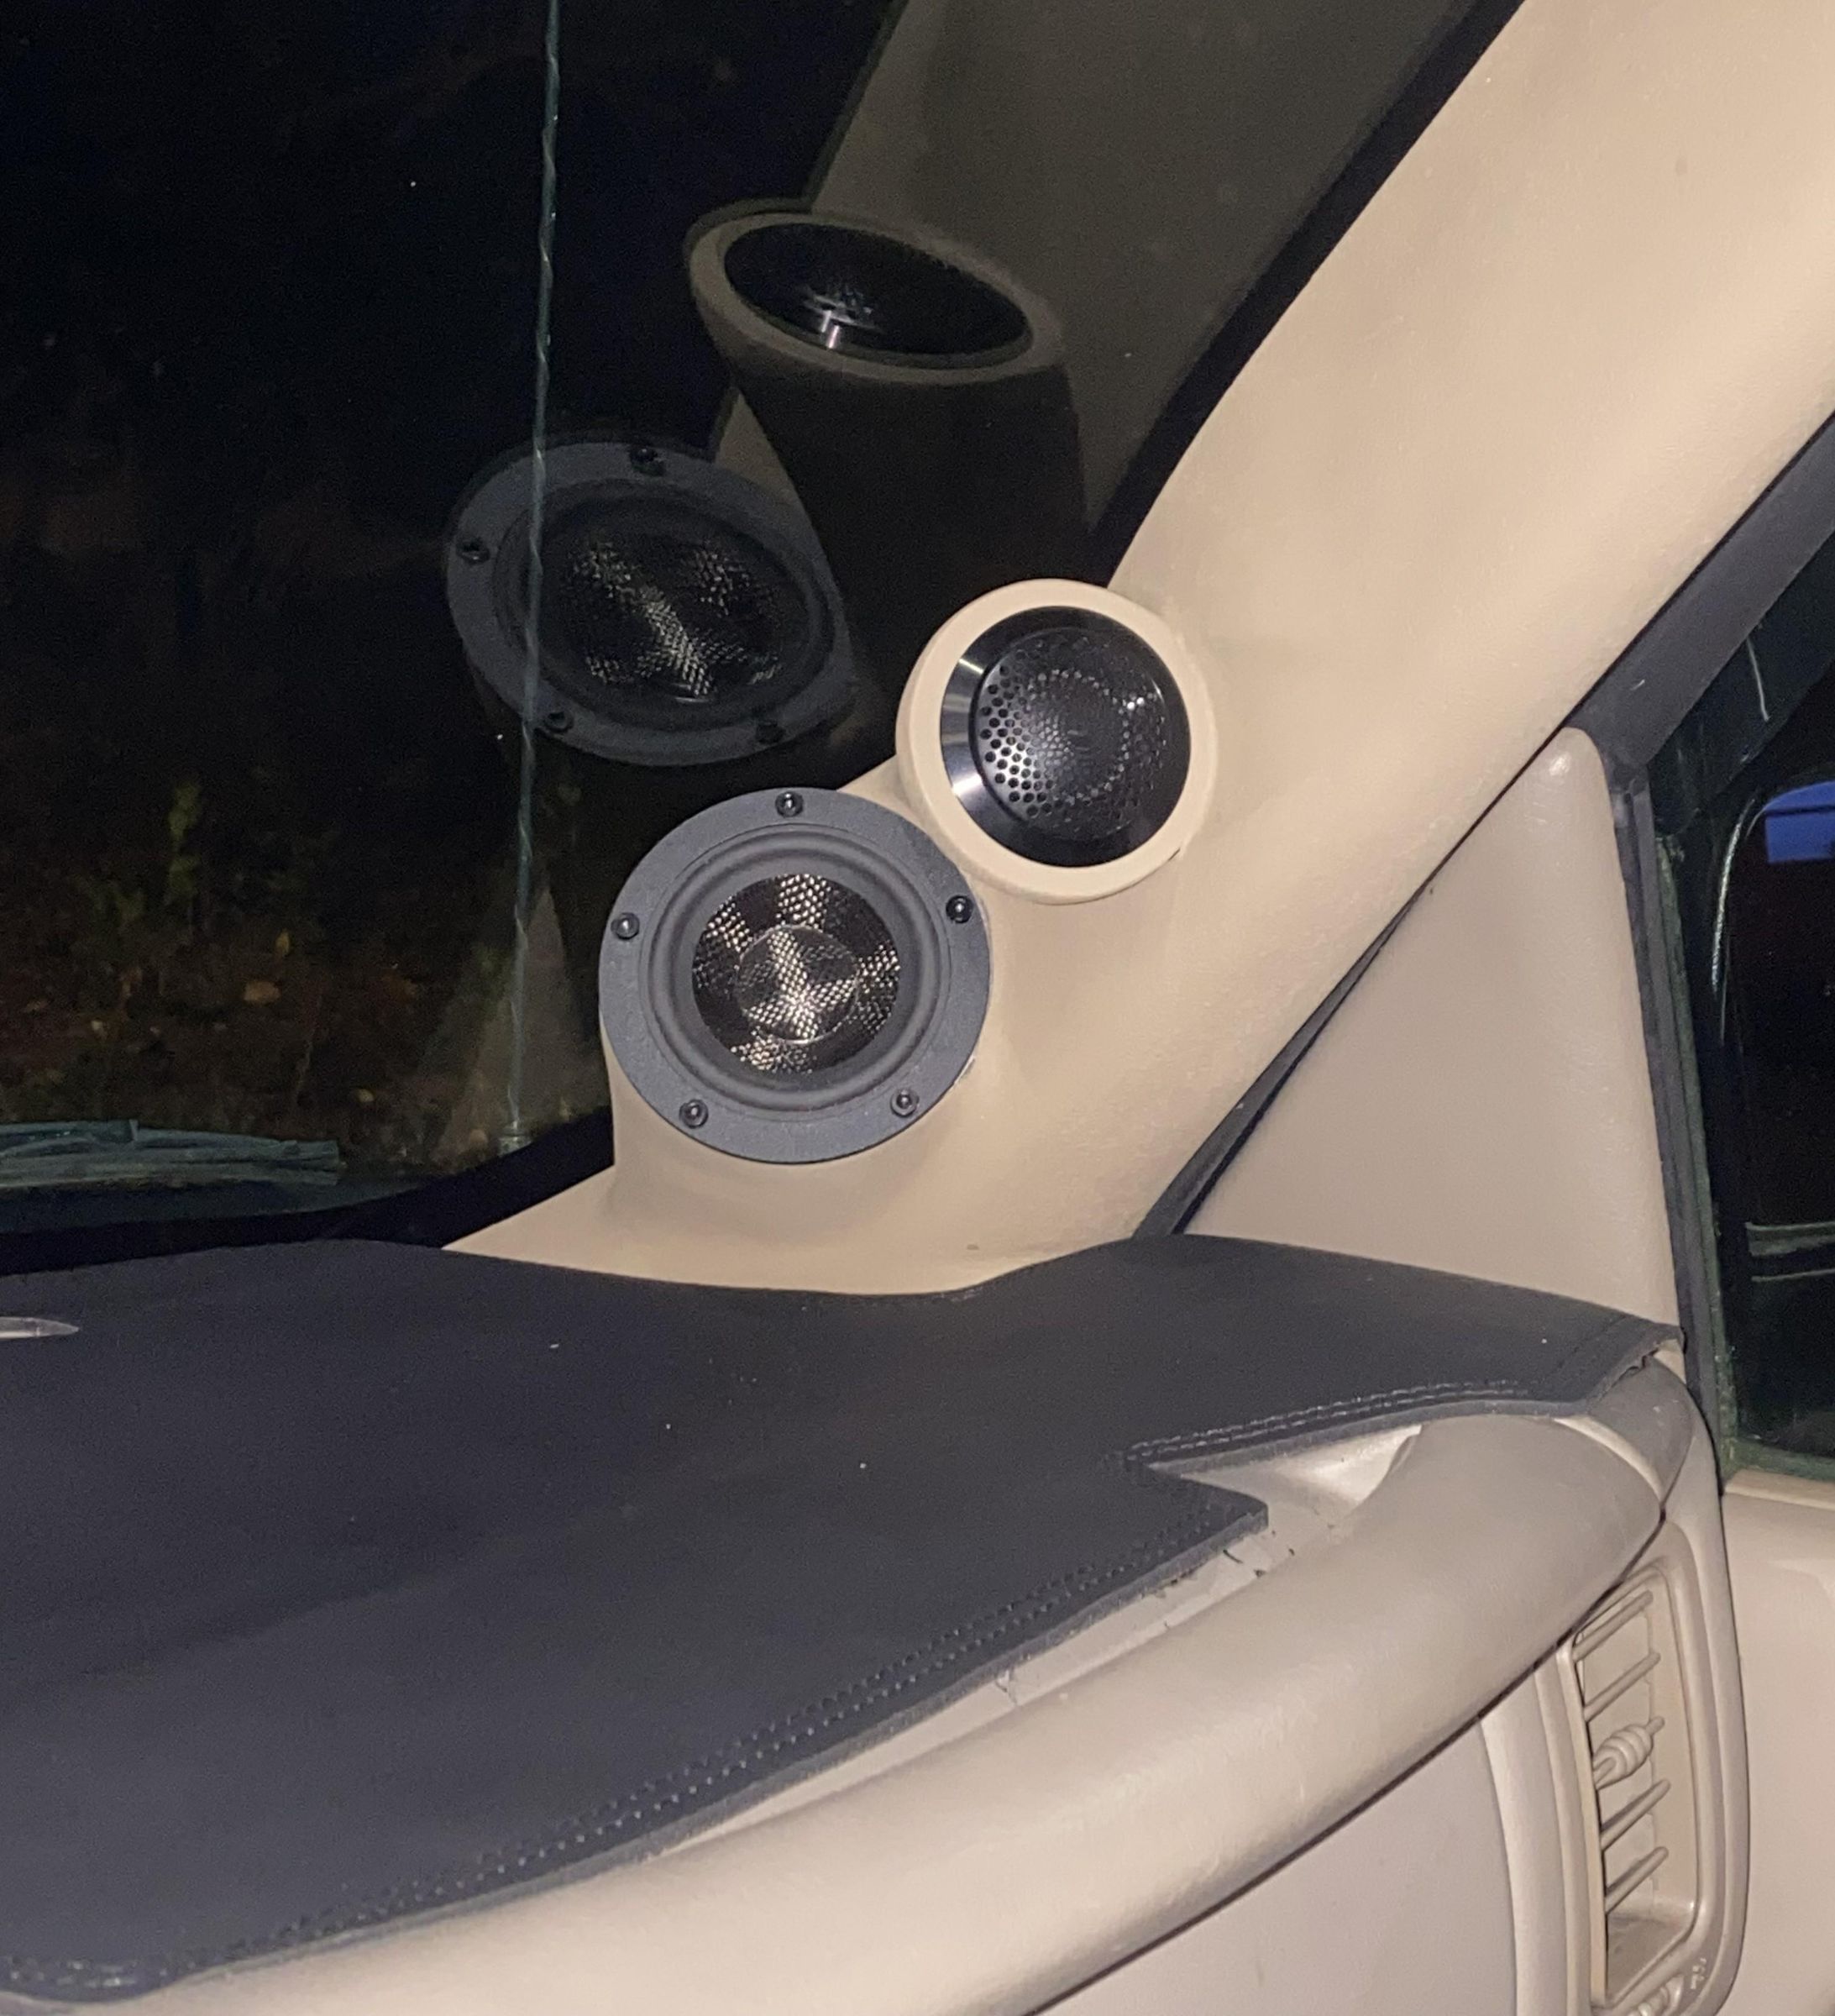
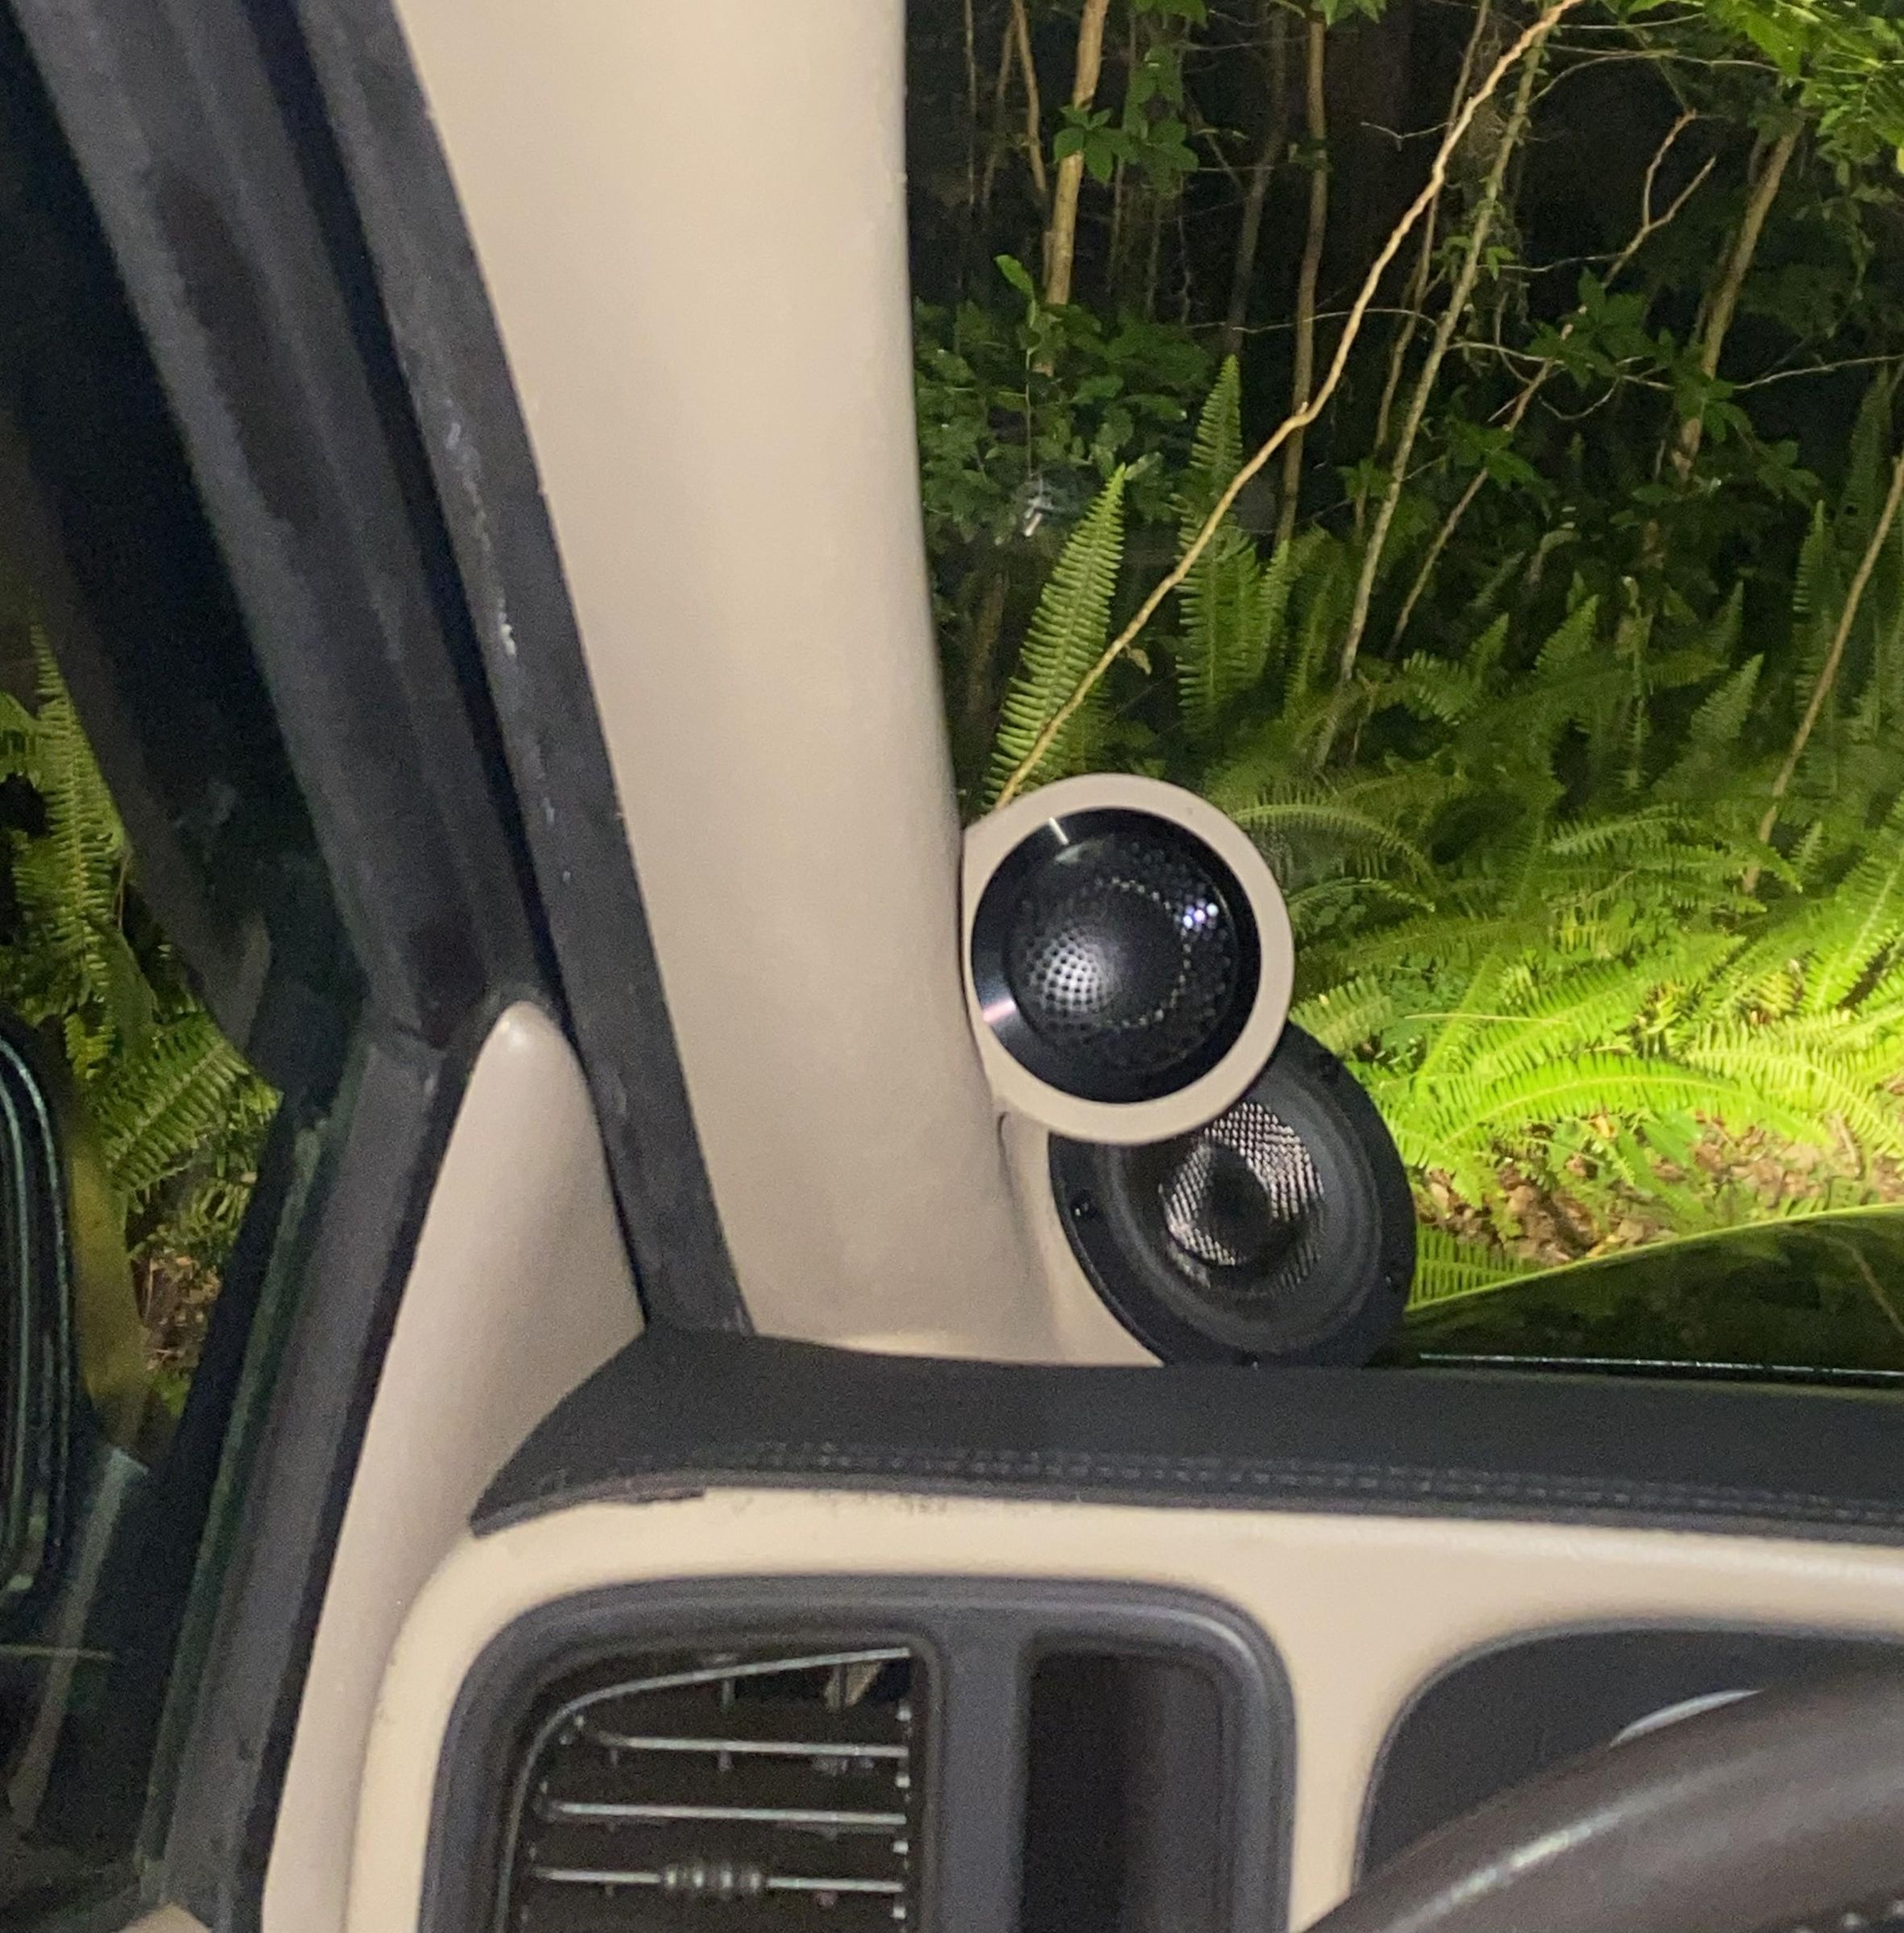
These are A-Pillars that I modified to hold a tweeter and midrange speaker for my three-way car stereo front stage. I did not want to hide the speakers, but wanted them to only protrude slightly to ensure an unobstructed view of the road.
Supplies
Stock A-Pillars
3D-Printed Speaker Rings
Bamboo Skewers
Hot Glue
Cardboard
Epoxy Resin
Bondo Glass
Texture Spray
Spray Paint
Create Structure
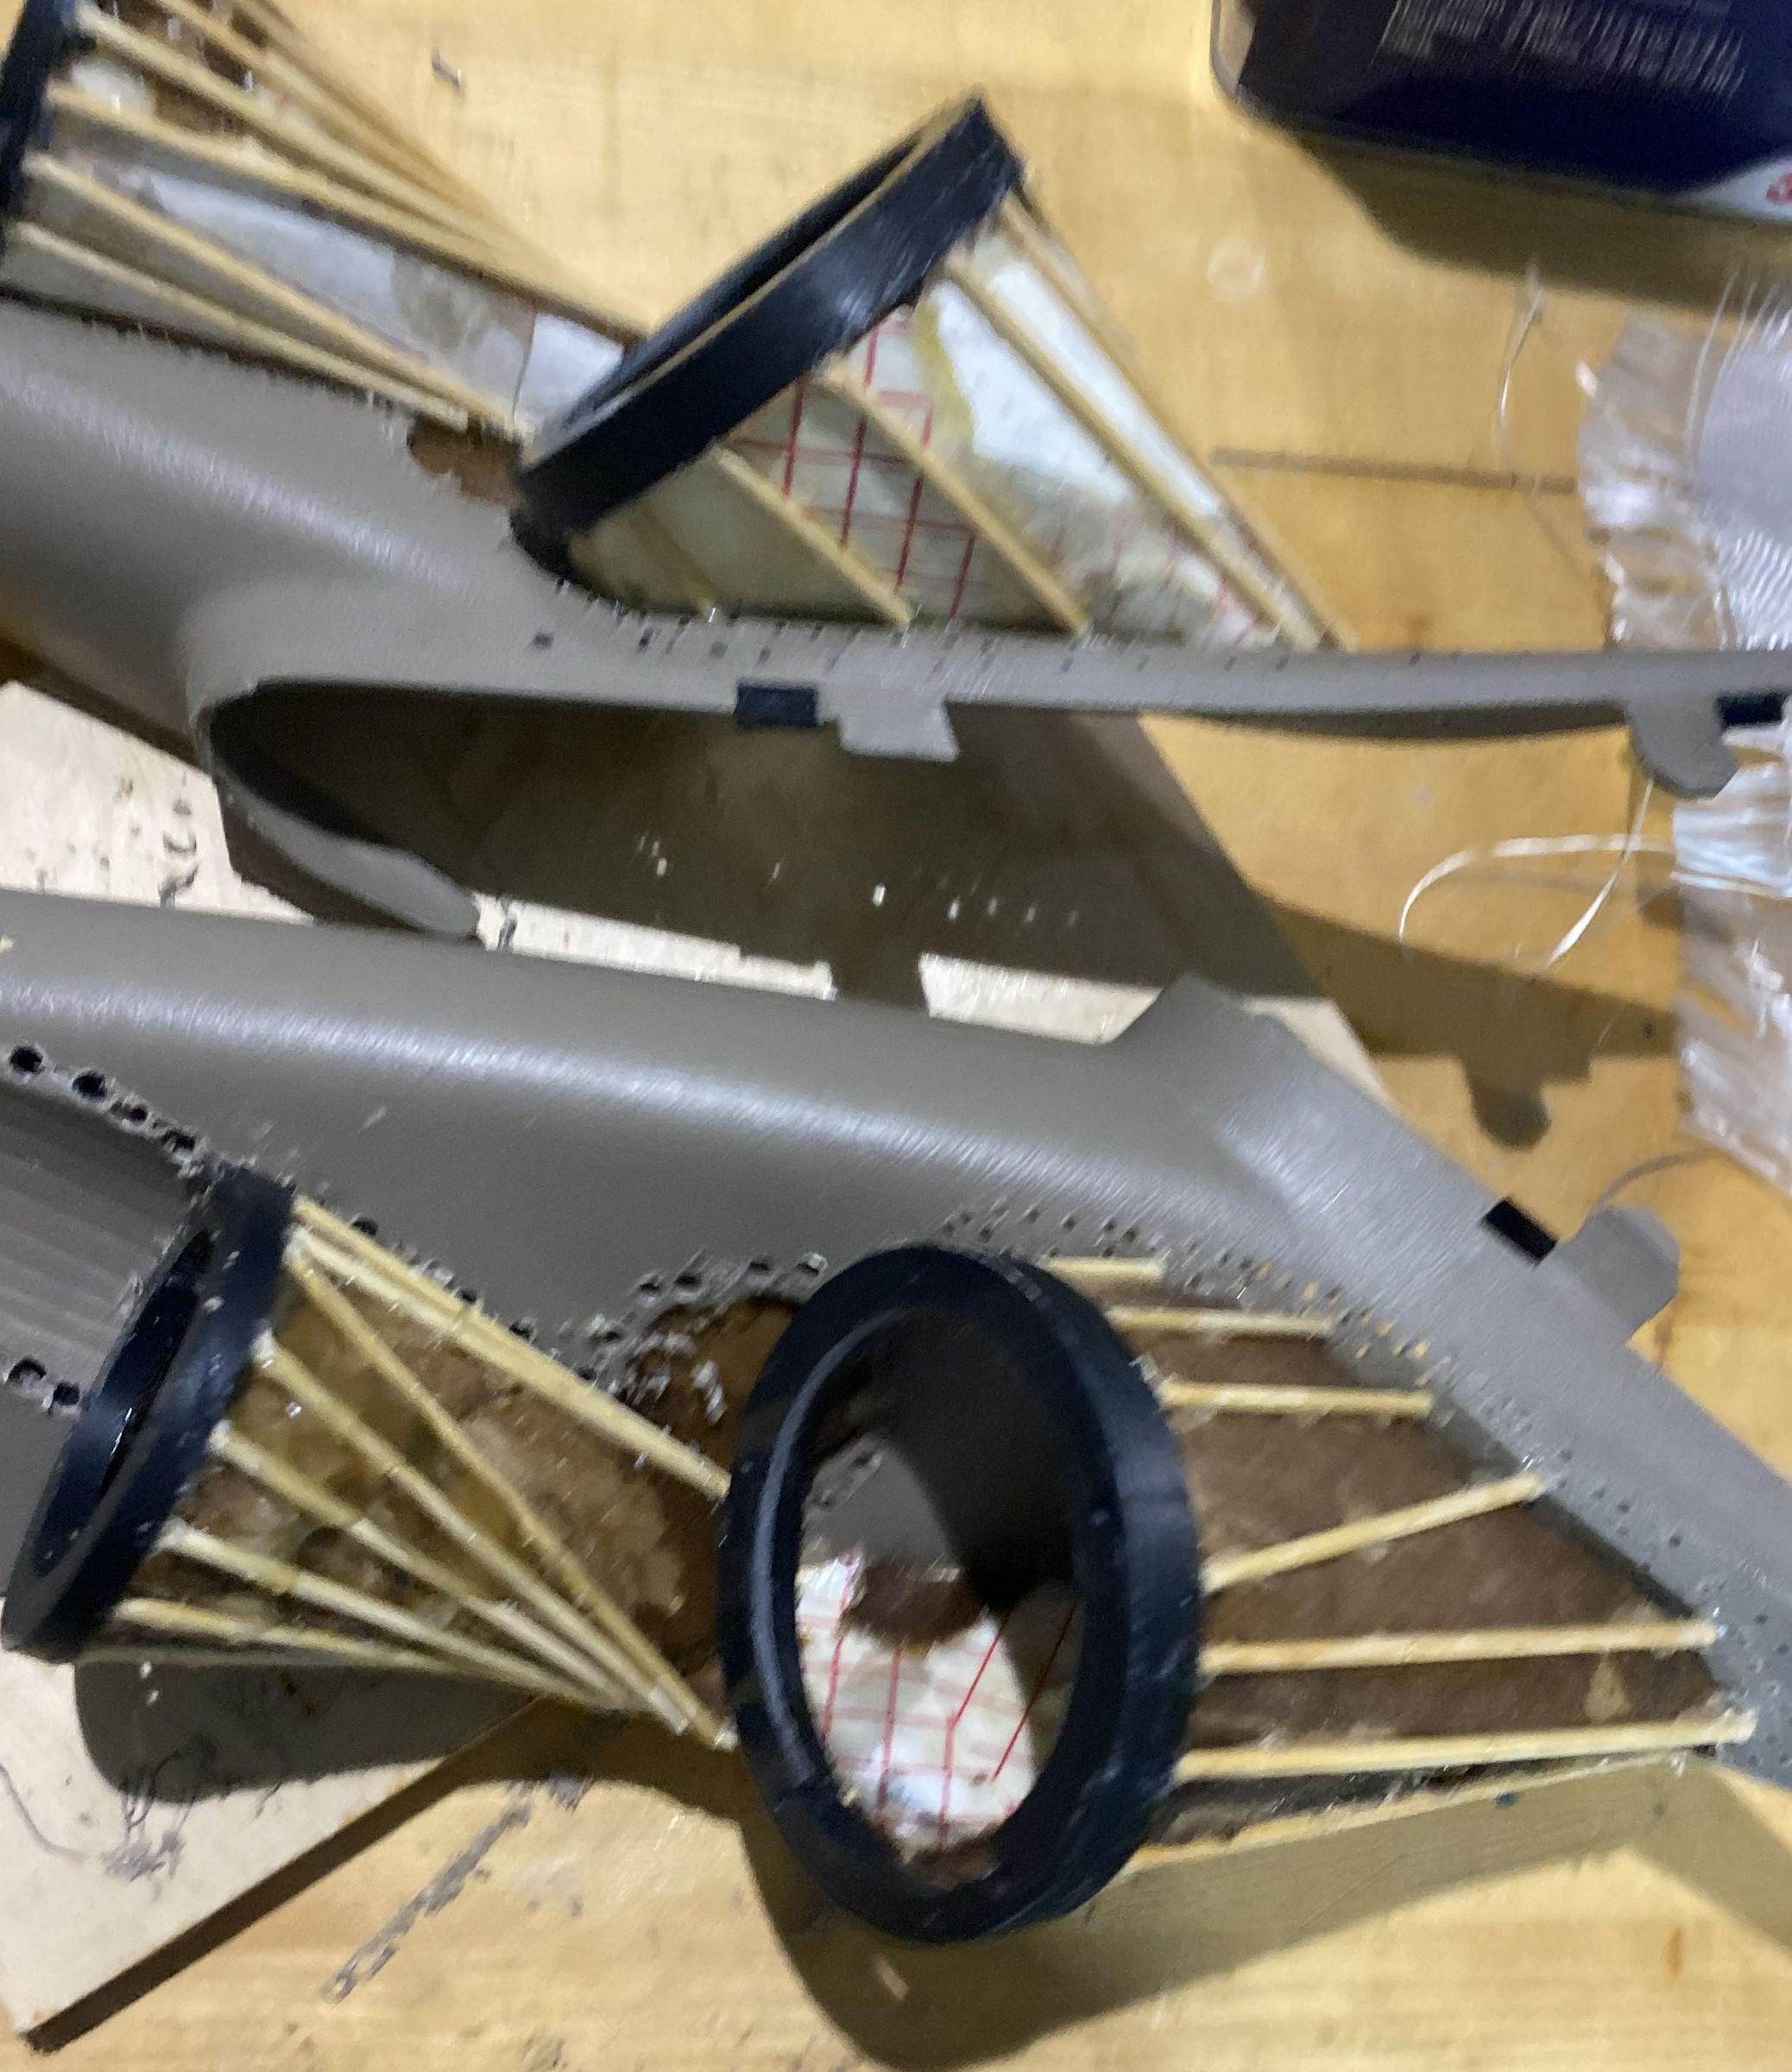
The true first steps were to design and print speaker rings, then aim the speakers to figure out what position and orientation produced good sound quality. However, that was boring and there are no images to show from those steps.
To create the basic form of the speaker pods, sections of the A-pillars were cut out so that the speakers could be recessed into the wall slightly. Bamboo skewers and hot glue were used to orient the speaker rings as precisely as possible. Once the skeleton and rough profile were established, some scrap cardboard and epoxy was glued into the wall to provide a surface for Bondo Glass.
Fiberglass Reinforced Body Filler
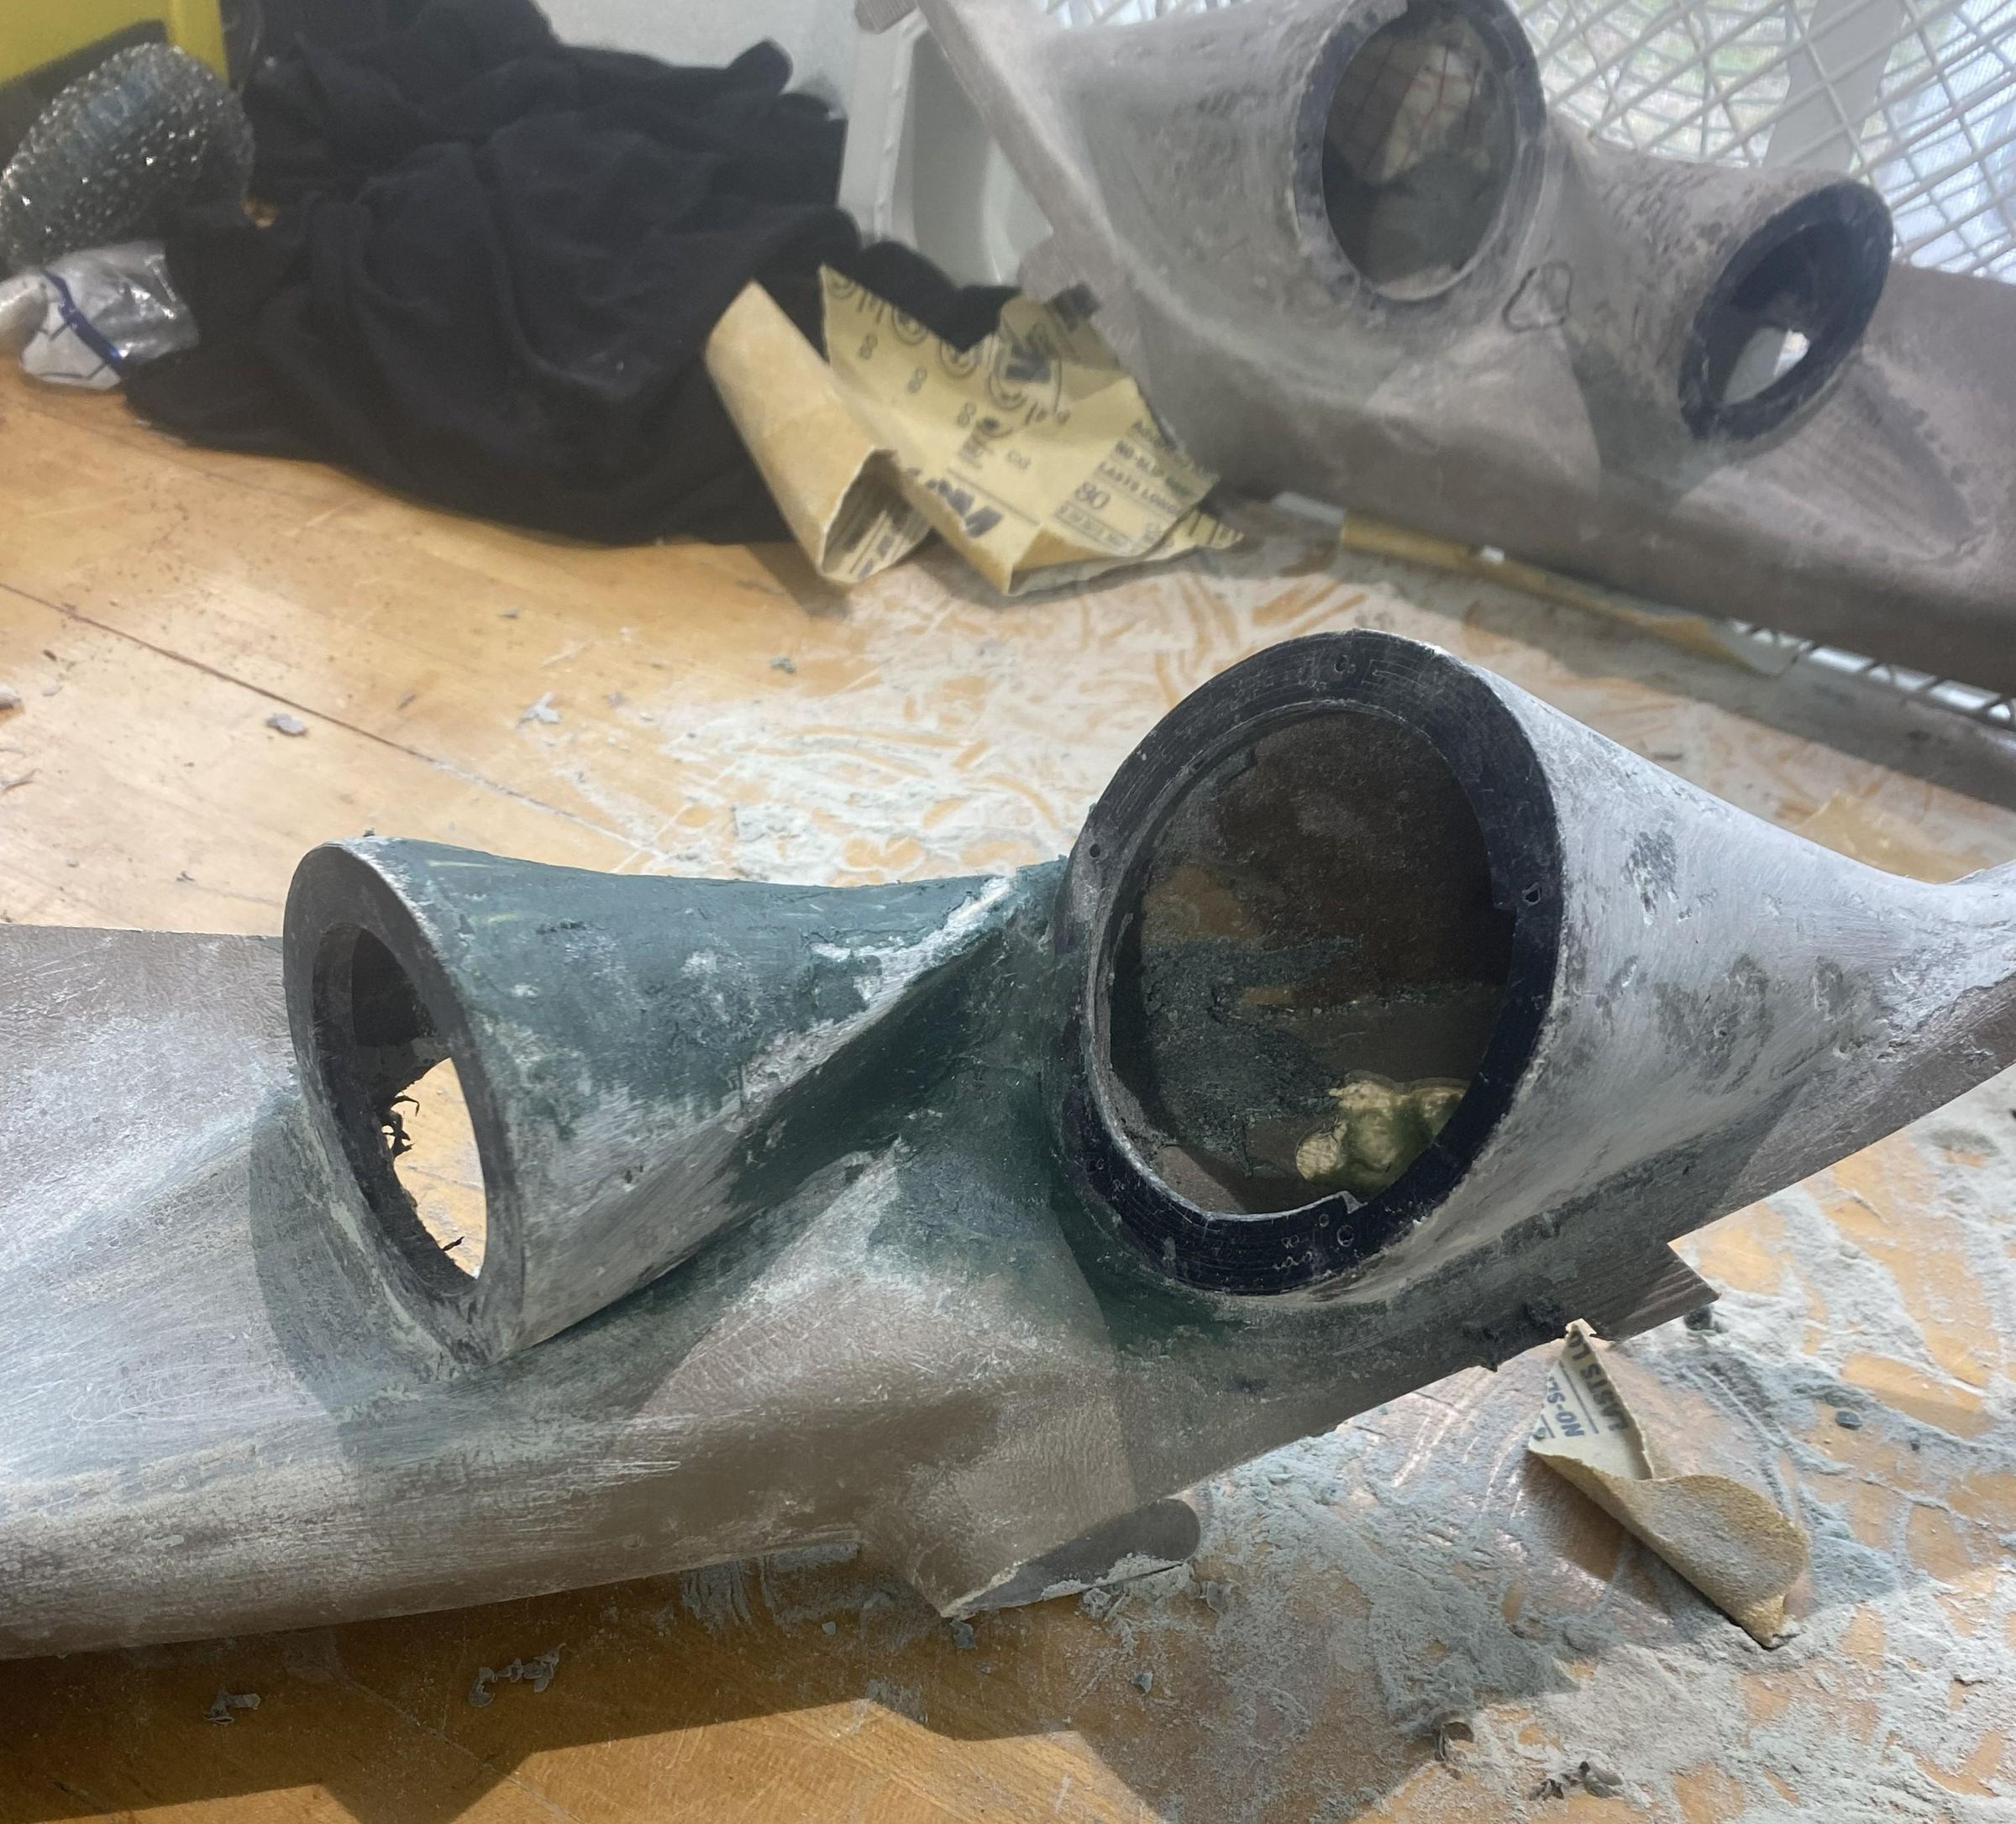
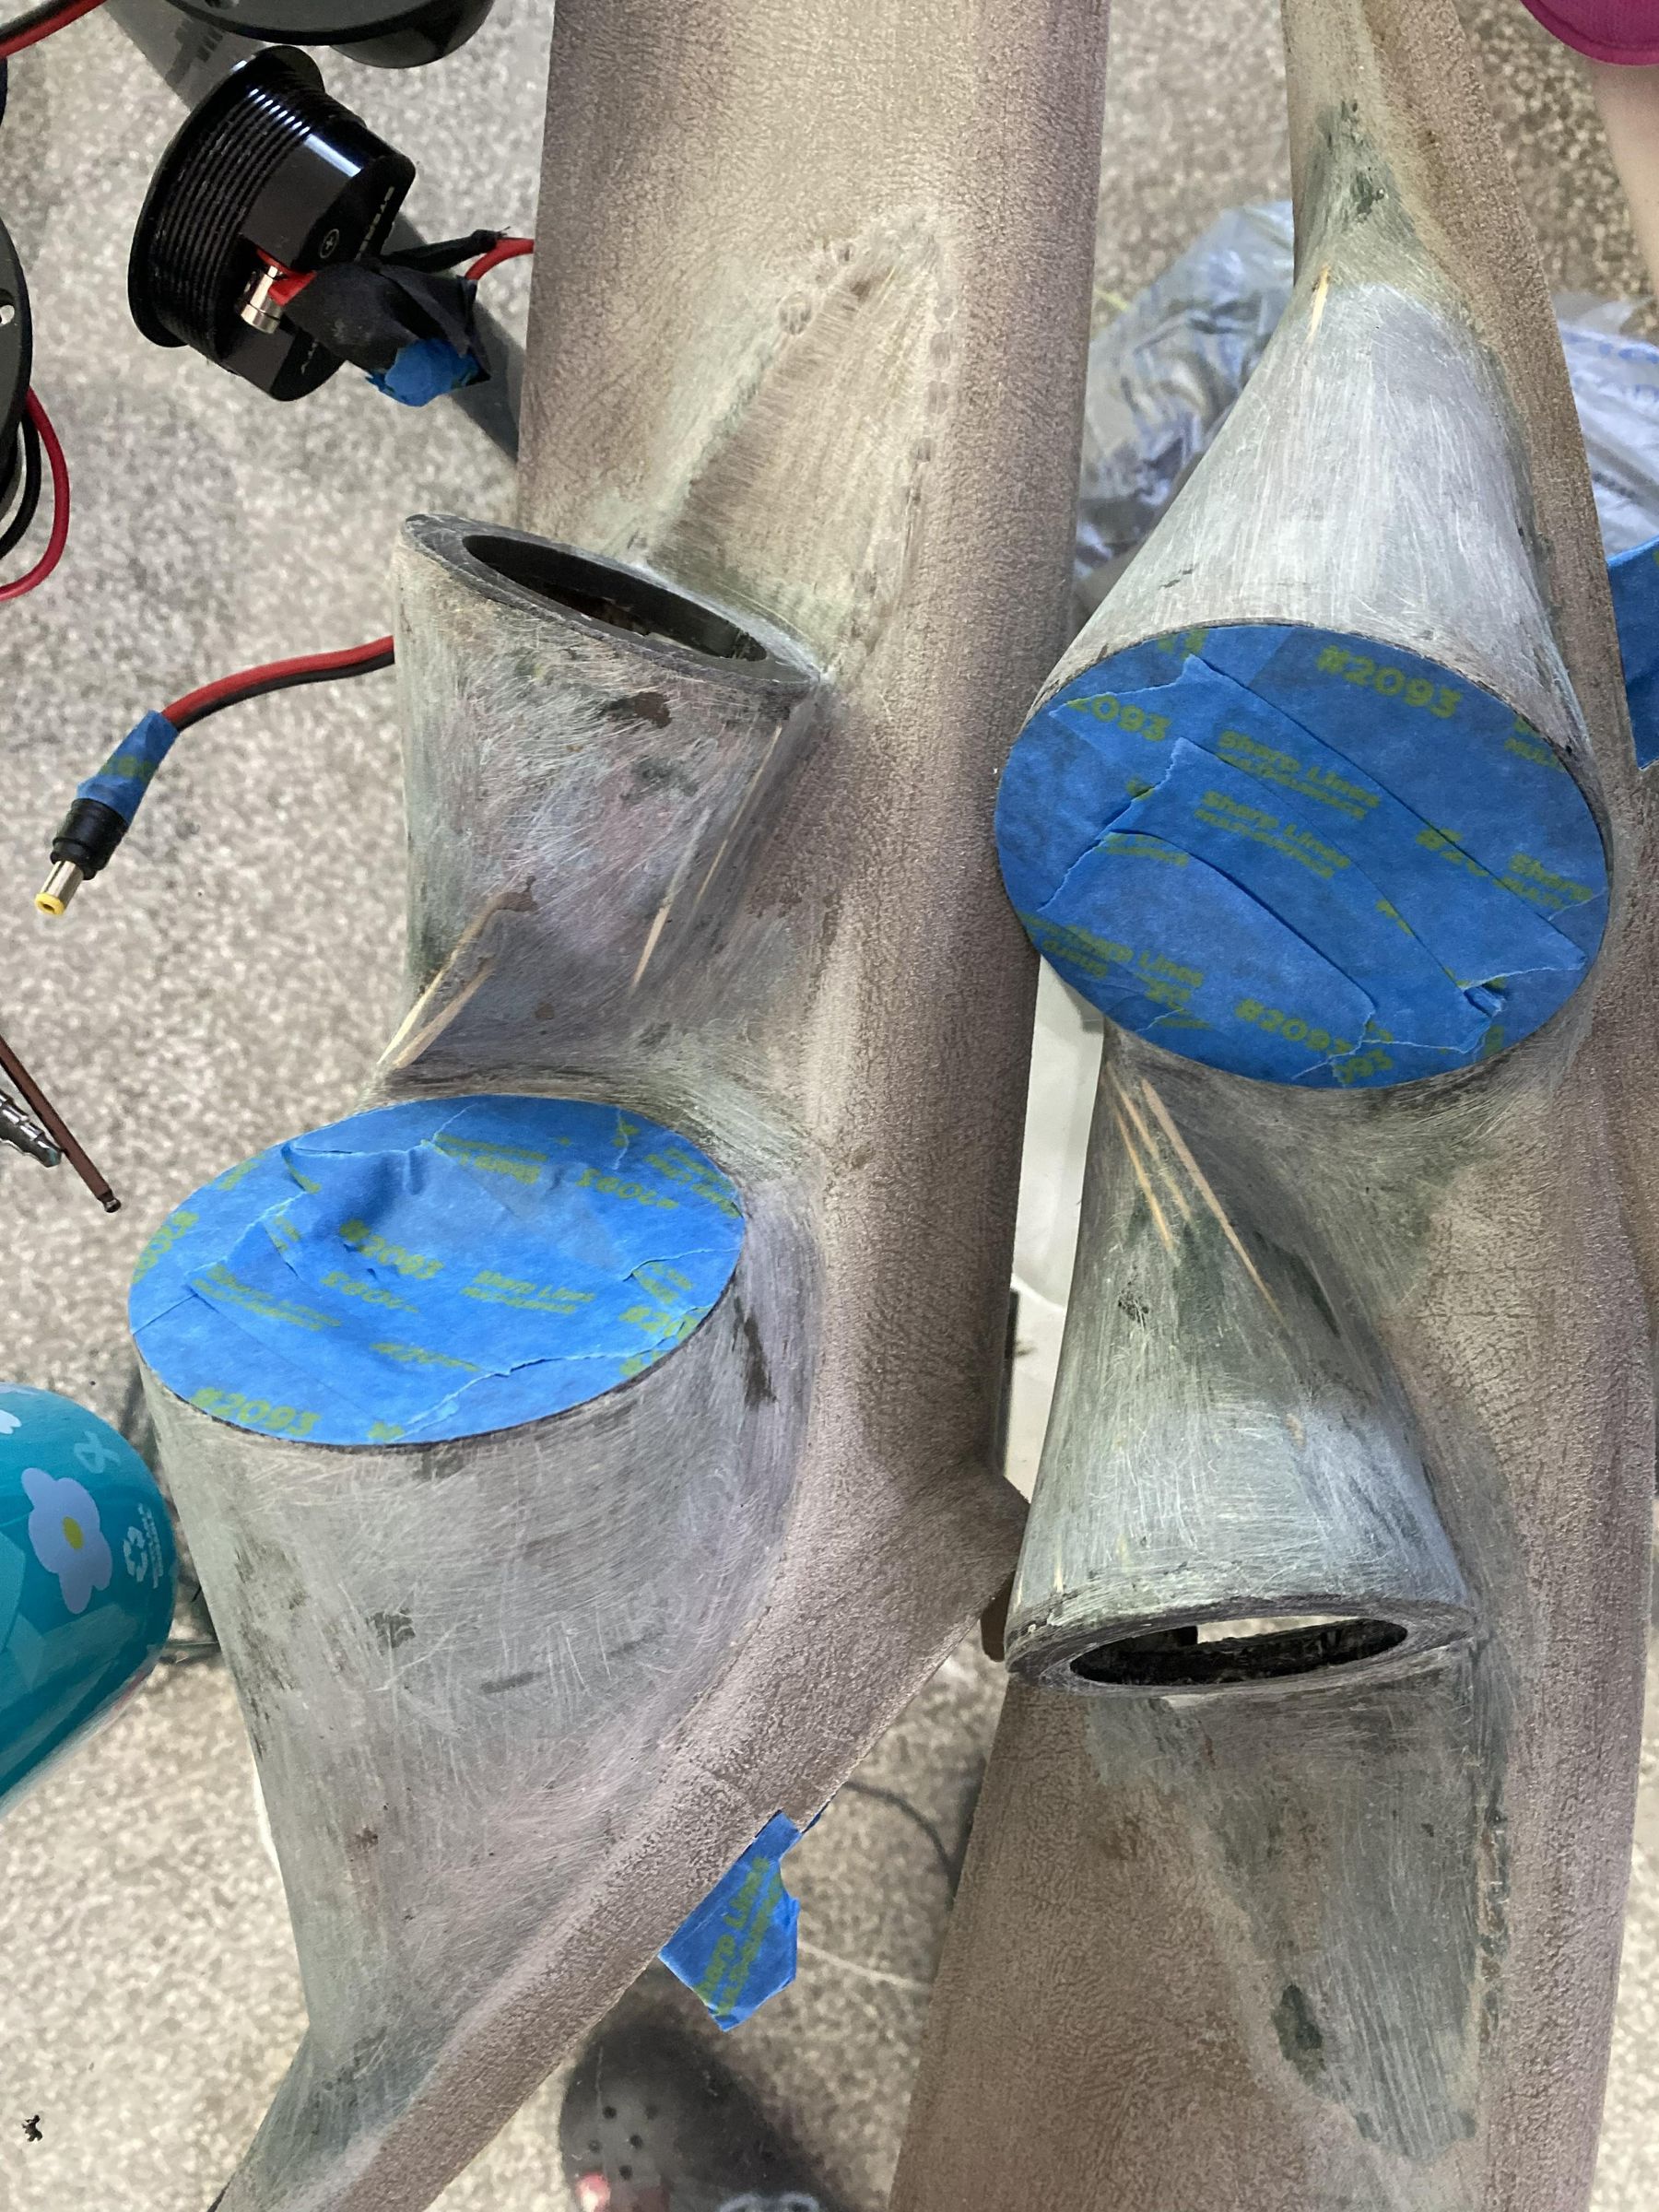
I should have laid down some layers of fiberglass and epoxy resin, but I had none at the time.
This step consisted of filling the walls with Bondo Glass, sanding it down, and repeating. After many cycles of sanding the rough spots and refilling the small holes, the surface was ready for finishing.
Finishing
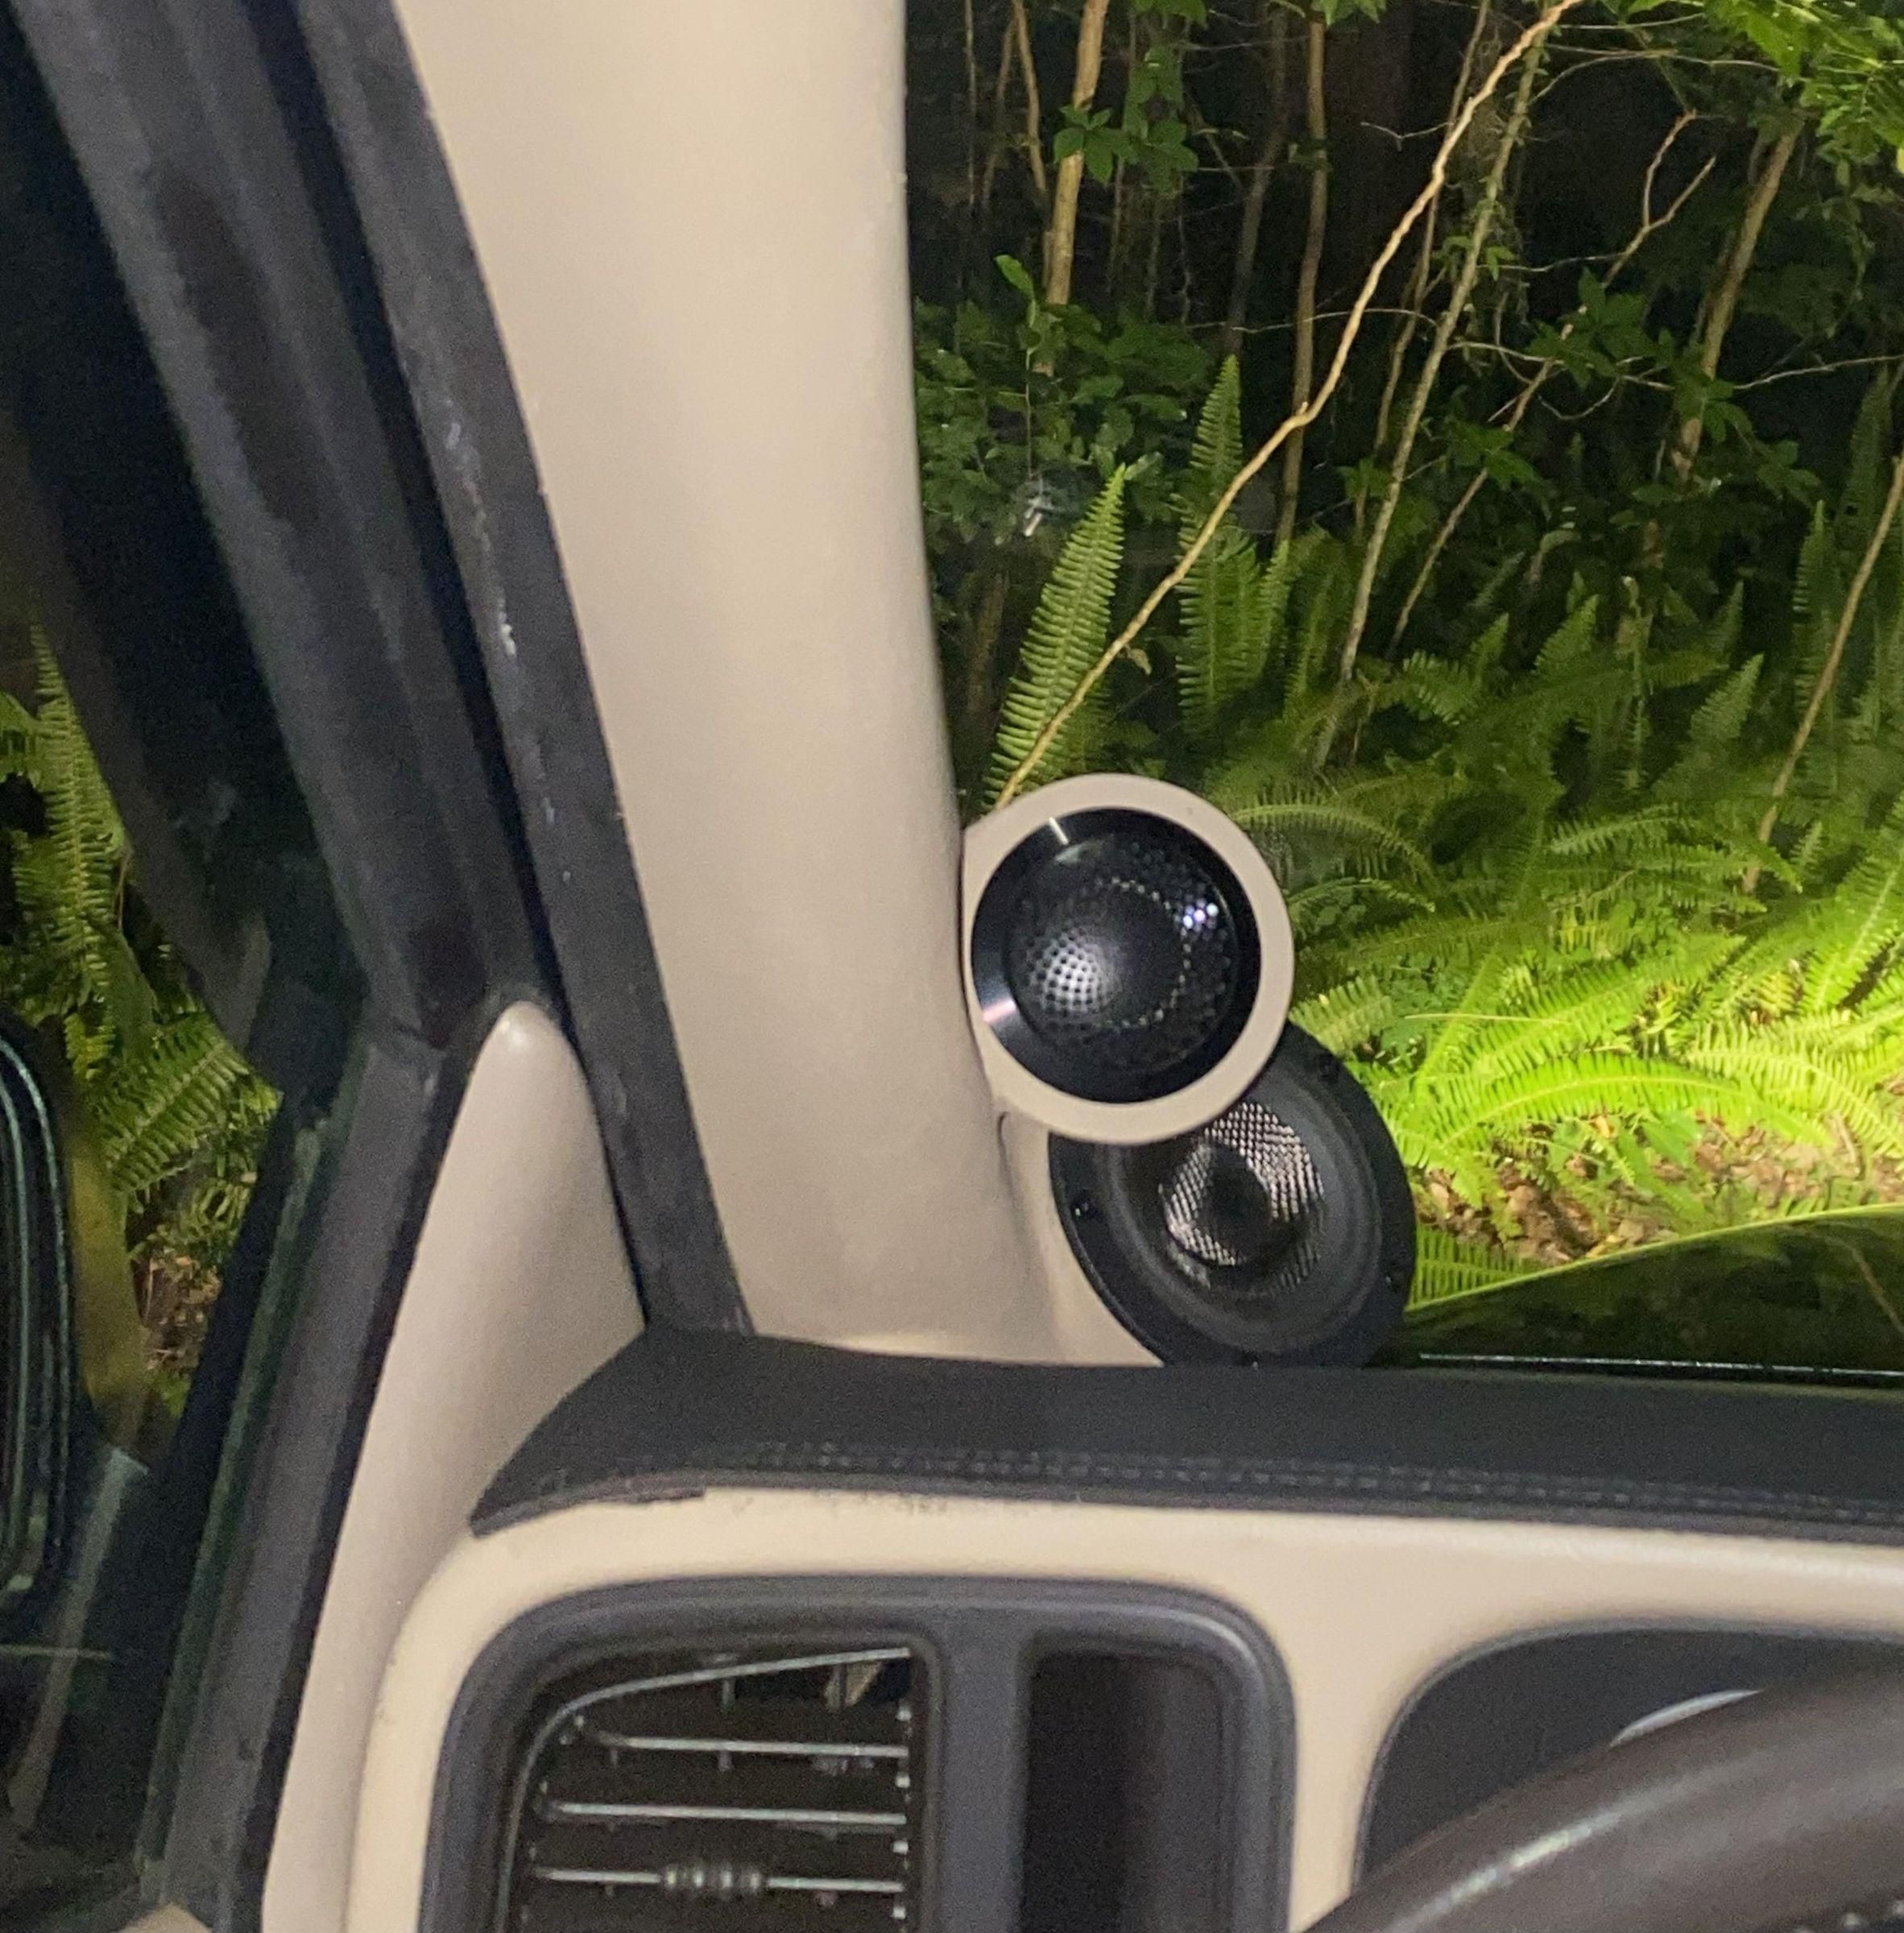
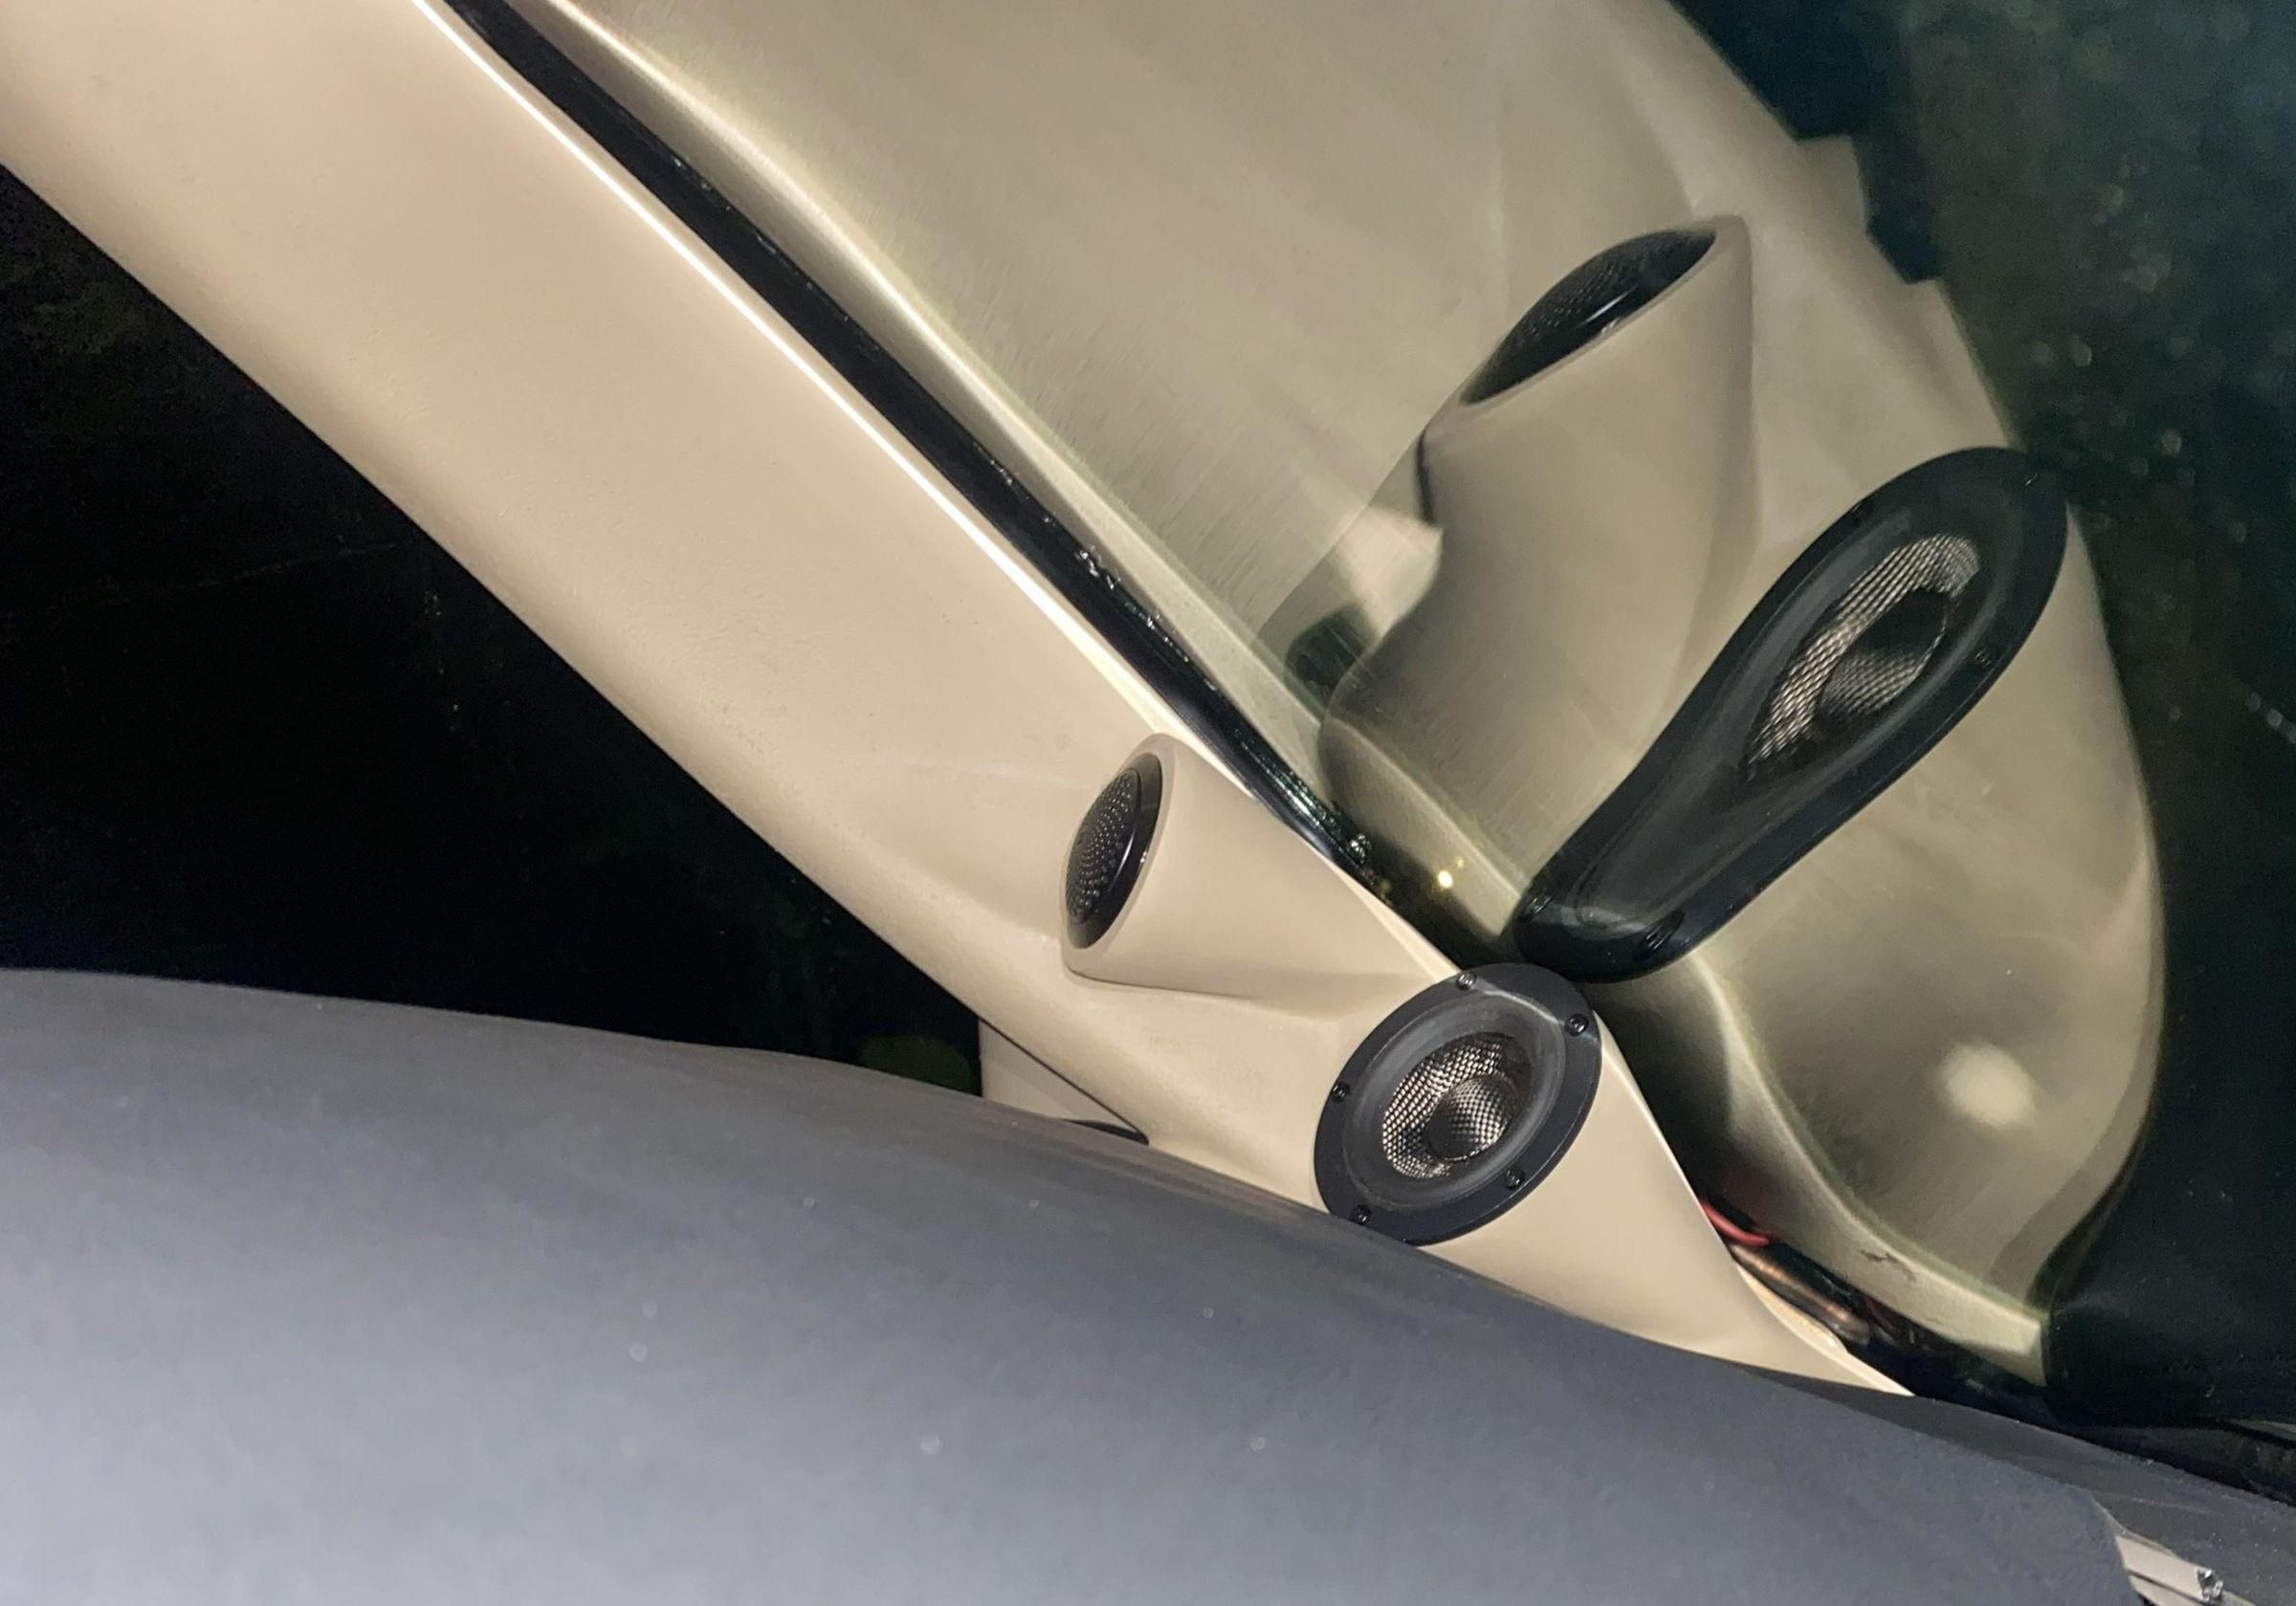
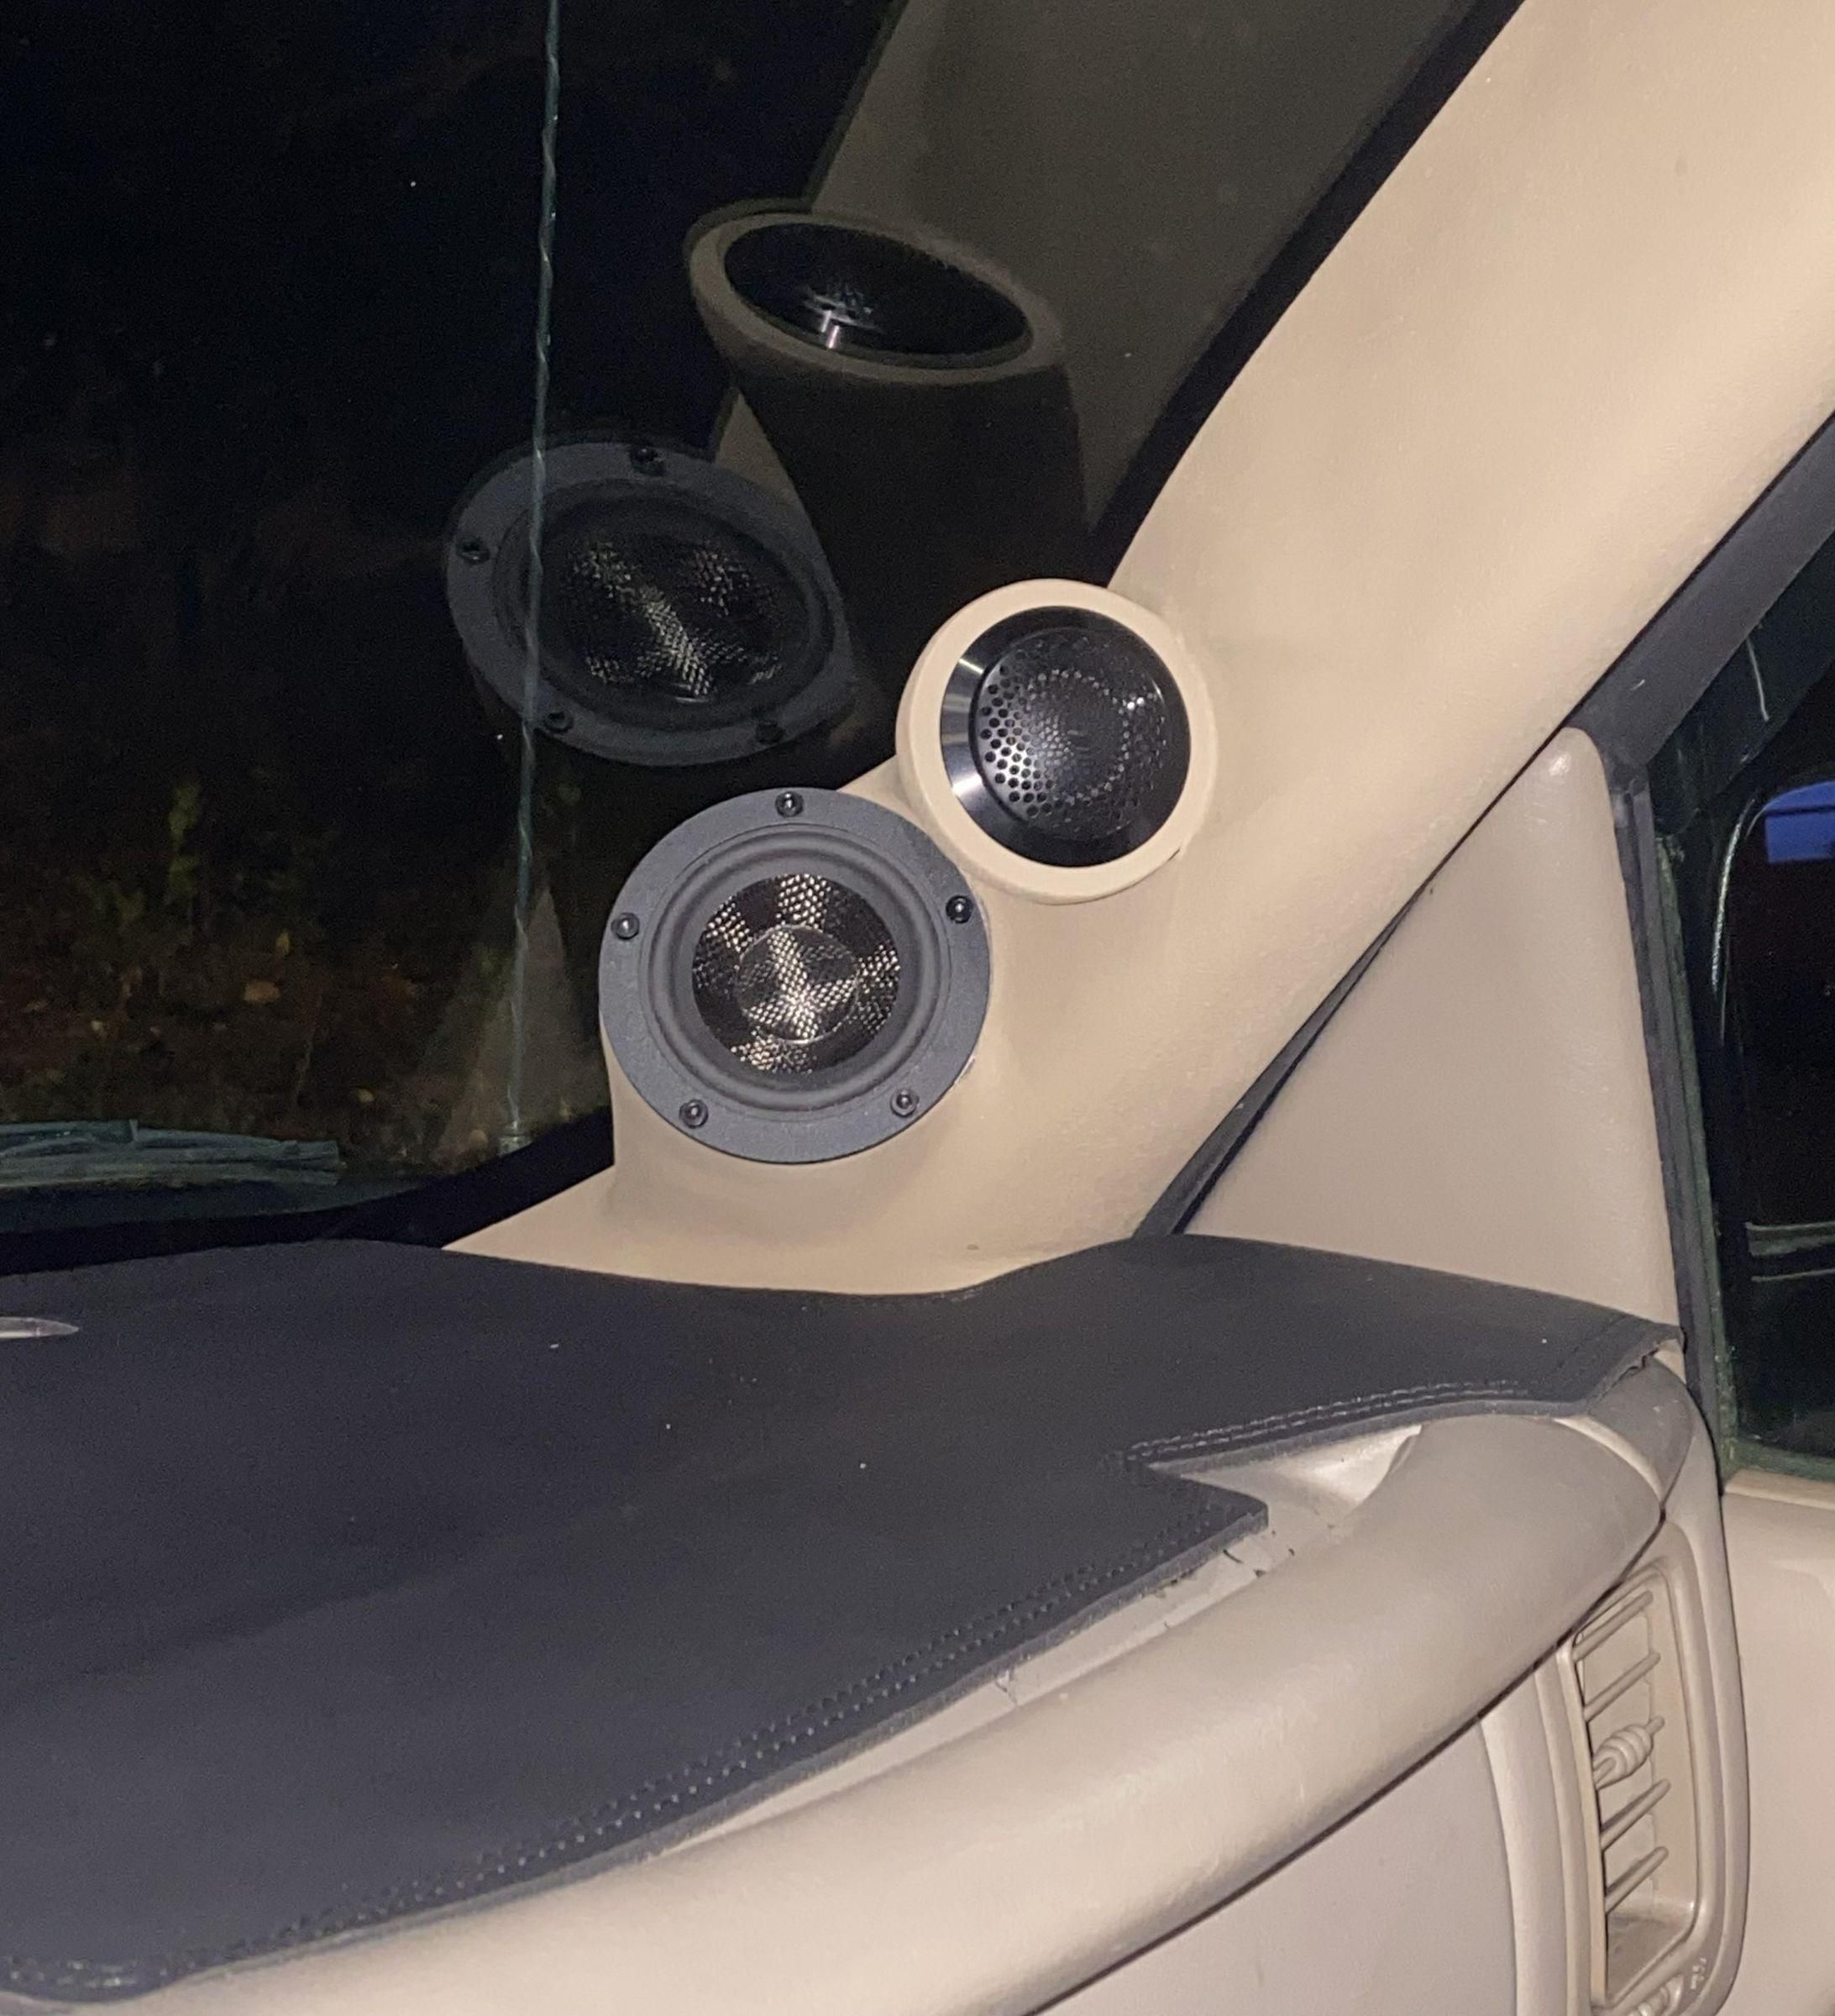
The OEM texture was replicated using a texture spray and primer. I then spray painted both to match the interior as closely as possible. I had to run wires through my dashboard which was uncomfortable, but not difficult. The speakers were then installed into the pods and electrical connections were soldered before the pillars were snapped back into place.
After some time digital time alignment and EQ by ear, the sound stage sounded pretty good.
Unfortunately, my decision to skip the fiberglass and epoxy resin step backfired. While these speaker pods have been structurally fine for the past 2 years, visible cracks between the body filler and plastic pillar material formed within a few days in the summer heat.
Months after this project was complete, acoustic analysis using Room EQ Wizard software revealed that destructive wave interference from windshield sound wave reflection caused a severe dip in output from the 3" mid-range speakers between 1200 and 1500 Hz. Pushing more power to the speaker would not solve this issue, but adjusting the crossover frequency from my 6.5" speakers in the kick panels easily and effectively filled the void.