Custom Catan Frame and Tiles
by sjbrown in Living > Toys & Games
48297 Views, 141 Favorites, 0 Comments
Custom Catan Frame and Tiles

A recurring frustration when playing Settlers of Catan (a registered trademark. I am in no way affiliated) is that the cardstock pieces tend to warp, especially the outer water pieces that form the frame. This causes some annoyance when playing because the tiles start shifting around. I started a project to solve this problem by laser-cutting a frame to hold the pieces.
I made it at TechShop San Francisco, where I had access to Epilog 60W laser cutters, so parts of this tutorial will be specific to using those, but if you're familiar with a different brand, it should be no problem to translate.
(Thanks to scoochamaroo for inspiring me to make this Instructable)
Acquire Resources


2 sheets of birch plywood 12x24 inches, 3mm (1/8th of an inch) or so thick
https://www.google.com/search?tbm=shop&q=birch+plywood+12x24
Medium tack tape - I use TransferRite 582U 12-inch
https://www.google.com/search?tbm=shop&q=transferrite+582u
(if you're ok with a smoky patina, or doing lots of sanding, you can omit this)
1 piece of 18x22 inch "backing" material
Either leather, wool felt, synthetic felt (aka "eco-fi") or Pellon interfacing (found at fabric stores). Make sure it is safe to use in your laser cutter.
Sandpaper - 320 grit is what I use.
Glue - I use a combination of Liquid Nails "Small Projects" for the edges and Gorilla Glue for larger areas
Something to clean off dust - either a vaccuum cleaner with small attachments, or compressed air.
Vector source files (attached - see the next step) and a laser cutter.
Prepare the Files

If you don’t already have it, download Inkscape at http://inkscape.org. Inkscape is a free, Open Source software program for manipulating SVG files.
Open catan_board1_instructable.svg in Inkscape. Open the “Layers” tool by selecting “Layer->Layers…” from the menu. By clicking on the “eye” icons in the Layers tool, make only the following layers visible:
cuthexes
cutframe
cutports
Now select “File->Save As…” from the menu. With the dropdown box, change the file extension from “Inkscape SVG (*.svg)” to Portable Document Format (*.pdf)”. Then change the name to “board1_cut.pdf” and click Save.
Next, make only the following layers visible:
etch
etchframe
cutpips
Select “File->Save As…” like you did before and save this one as “board1_etchcut.pdf”
Do the same steps with catan_board2_instructable.svg to create the files “board2_cut.pdf” and “board2_etchcut.pdf”.
If you want to get artistic, this step is your chance. Draw your own designs or use photographs to adorn your tiles. (You can also buy the designs seen in some of the photos here at my website)
The SVG source files are inside this attached zip file:
Downloads
Prepare to Board


Optional step:
Before sanding, put some tung oil or danish oil on the boards to give the wood grain more contrast. (see Step 7 for more commentary on stain & varnish). Any liquid will cause the fibers of the wood to swell and "stand up" slightly. That's why you should do this before sanding. I apply 1 light coat of wipe-on tung oil. Wait overnight while it dries in a warm, dust-free environment
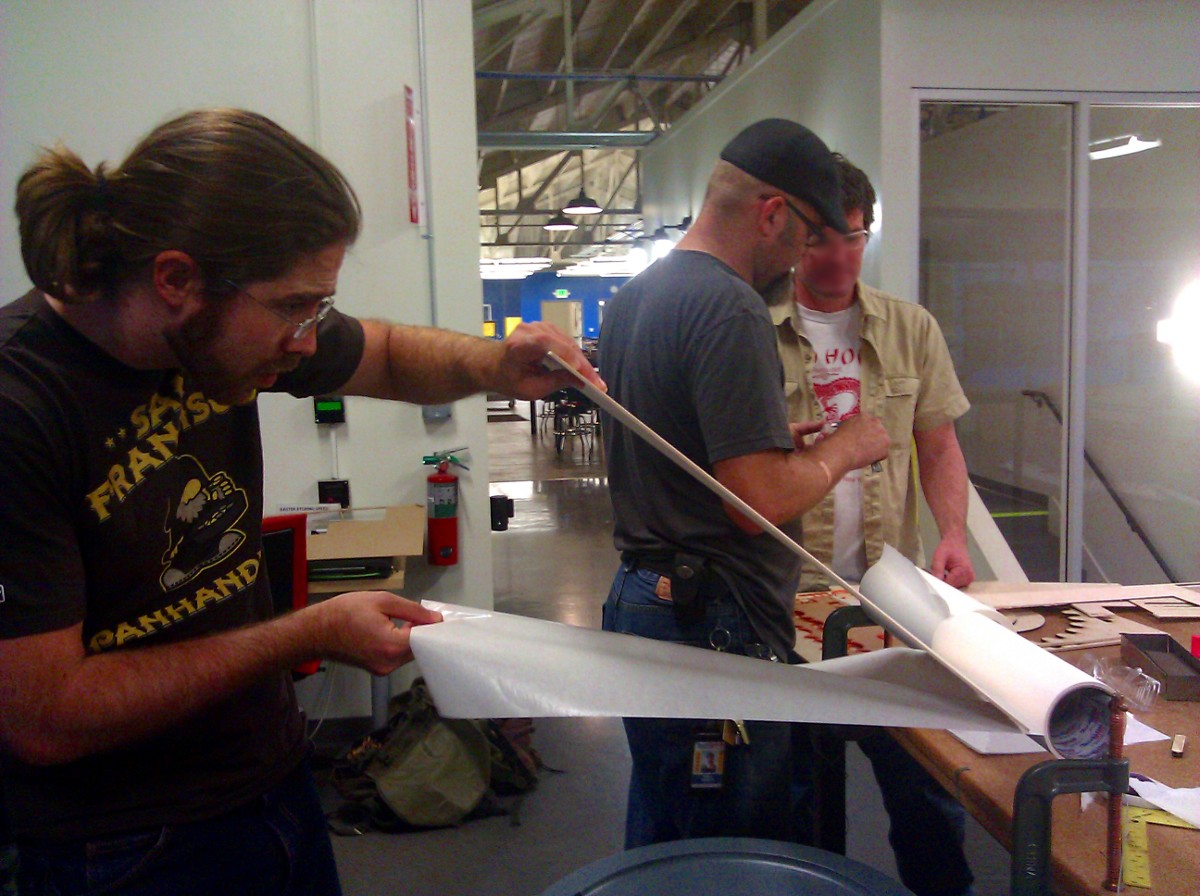
Apply the tape to the boards. I like to use a board to measure out the tape, then cut along the edge of the board. To adhere the tape, I press the tape from the center towards the edges. You can use something with a straight & smooth edge to help, like a credit card or scrap piece of acrylic or wood.
Why tape? The tape (or "contact paper" as it is sometimes known) prevents a smoky patina from forming on the wood. See the comparison photo here. Some people prefer the smoky look, so you can always leave it off.
If you don't want the laser to leave a bit of smoky stain on the back, you can tape the backside of the board too.
Fire Ze Lazzors


Vector:
600dpi
24 speed
90 power
Raster:
600dpi
70 speed
90 power
Floyd-Steinberg dithering
Do all the remaining steps necessary to prepare your laser cutter (you should have been trained on your laser cutter, I’ll leave it up to you to determine if you’re using it correctly)
Load, Lock, and Burn


Sometimes wood is warped or bowed, take whatever actions are appropriate for your laser cutter to make the wood flat against the bed (some laser cutters have vacuum suction, sometimes you have to use weights or tape the board down). Focus your laser.
Load board1_cut.pdf in Corel Draw. Do a vector cut.
Load board1_etchcut.pdf in Corel Draw. Do a raster etch.
Next, with board1_etchcut.pdf still loaded, do a vector cut. This will cut out the pips and the robber.
Why cut the hexes and frame first and then cut the pips (circles) on a later pass? Cutting out the big shapes lets them fall onto the bed, minimizing the bad effects of a warped board. But don't cut small, circular pieces before etching, because those can start rotating mid-etch due to the vibration of the machine.
Remove the first board and all the pieces, then place the second board into the laser cutter bed. Make the wood flat and re-focus.
At 600dpi, the etching and cutting takes about 45 minutes per board on the Epilog 60W machine. (So plan on 1.5 hours for both boards)
Go through the same process with board 2 as you did with board 1:
Load board2_cut.pdf in Corel Draw. Do a vector cut.
Load board2_etchcut.pdf in Corel Draw. Do a raster etch.
Next, with board2_etchcut.pdf still loaded, do a vector cut.
Leather Cut


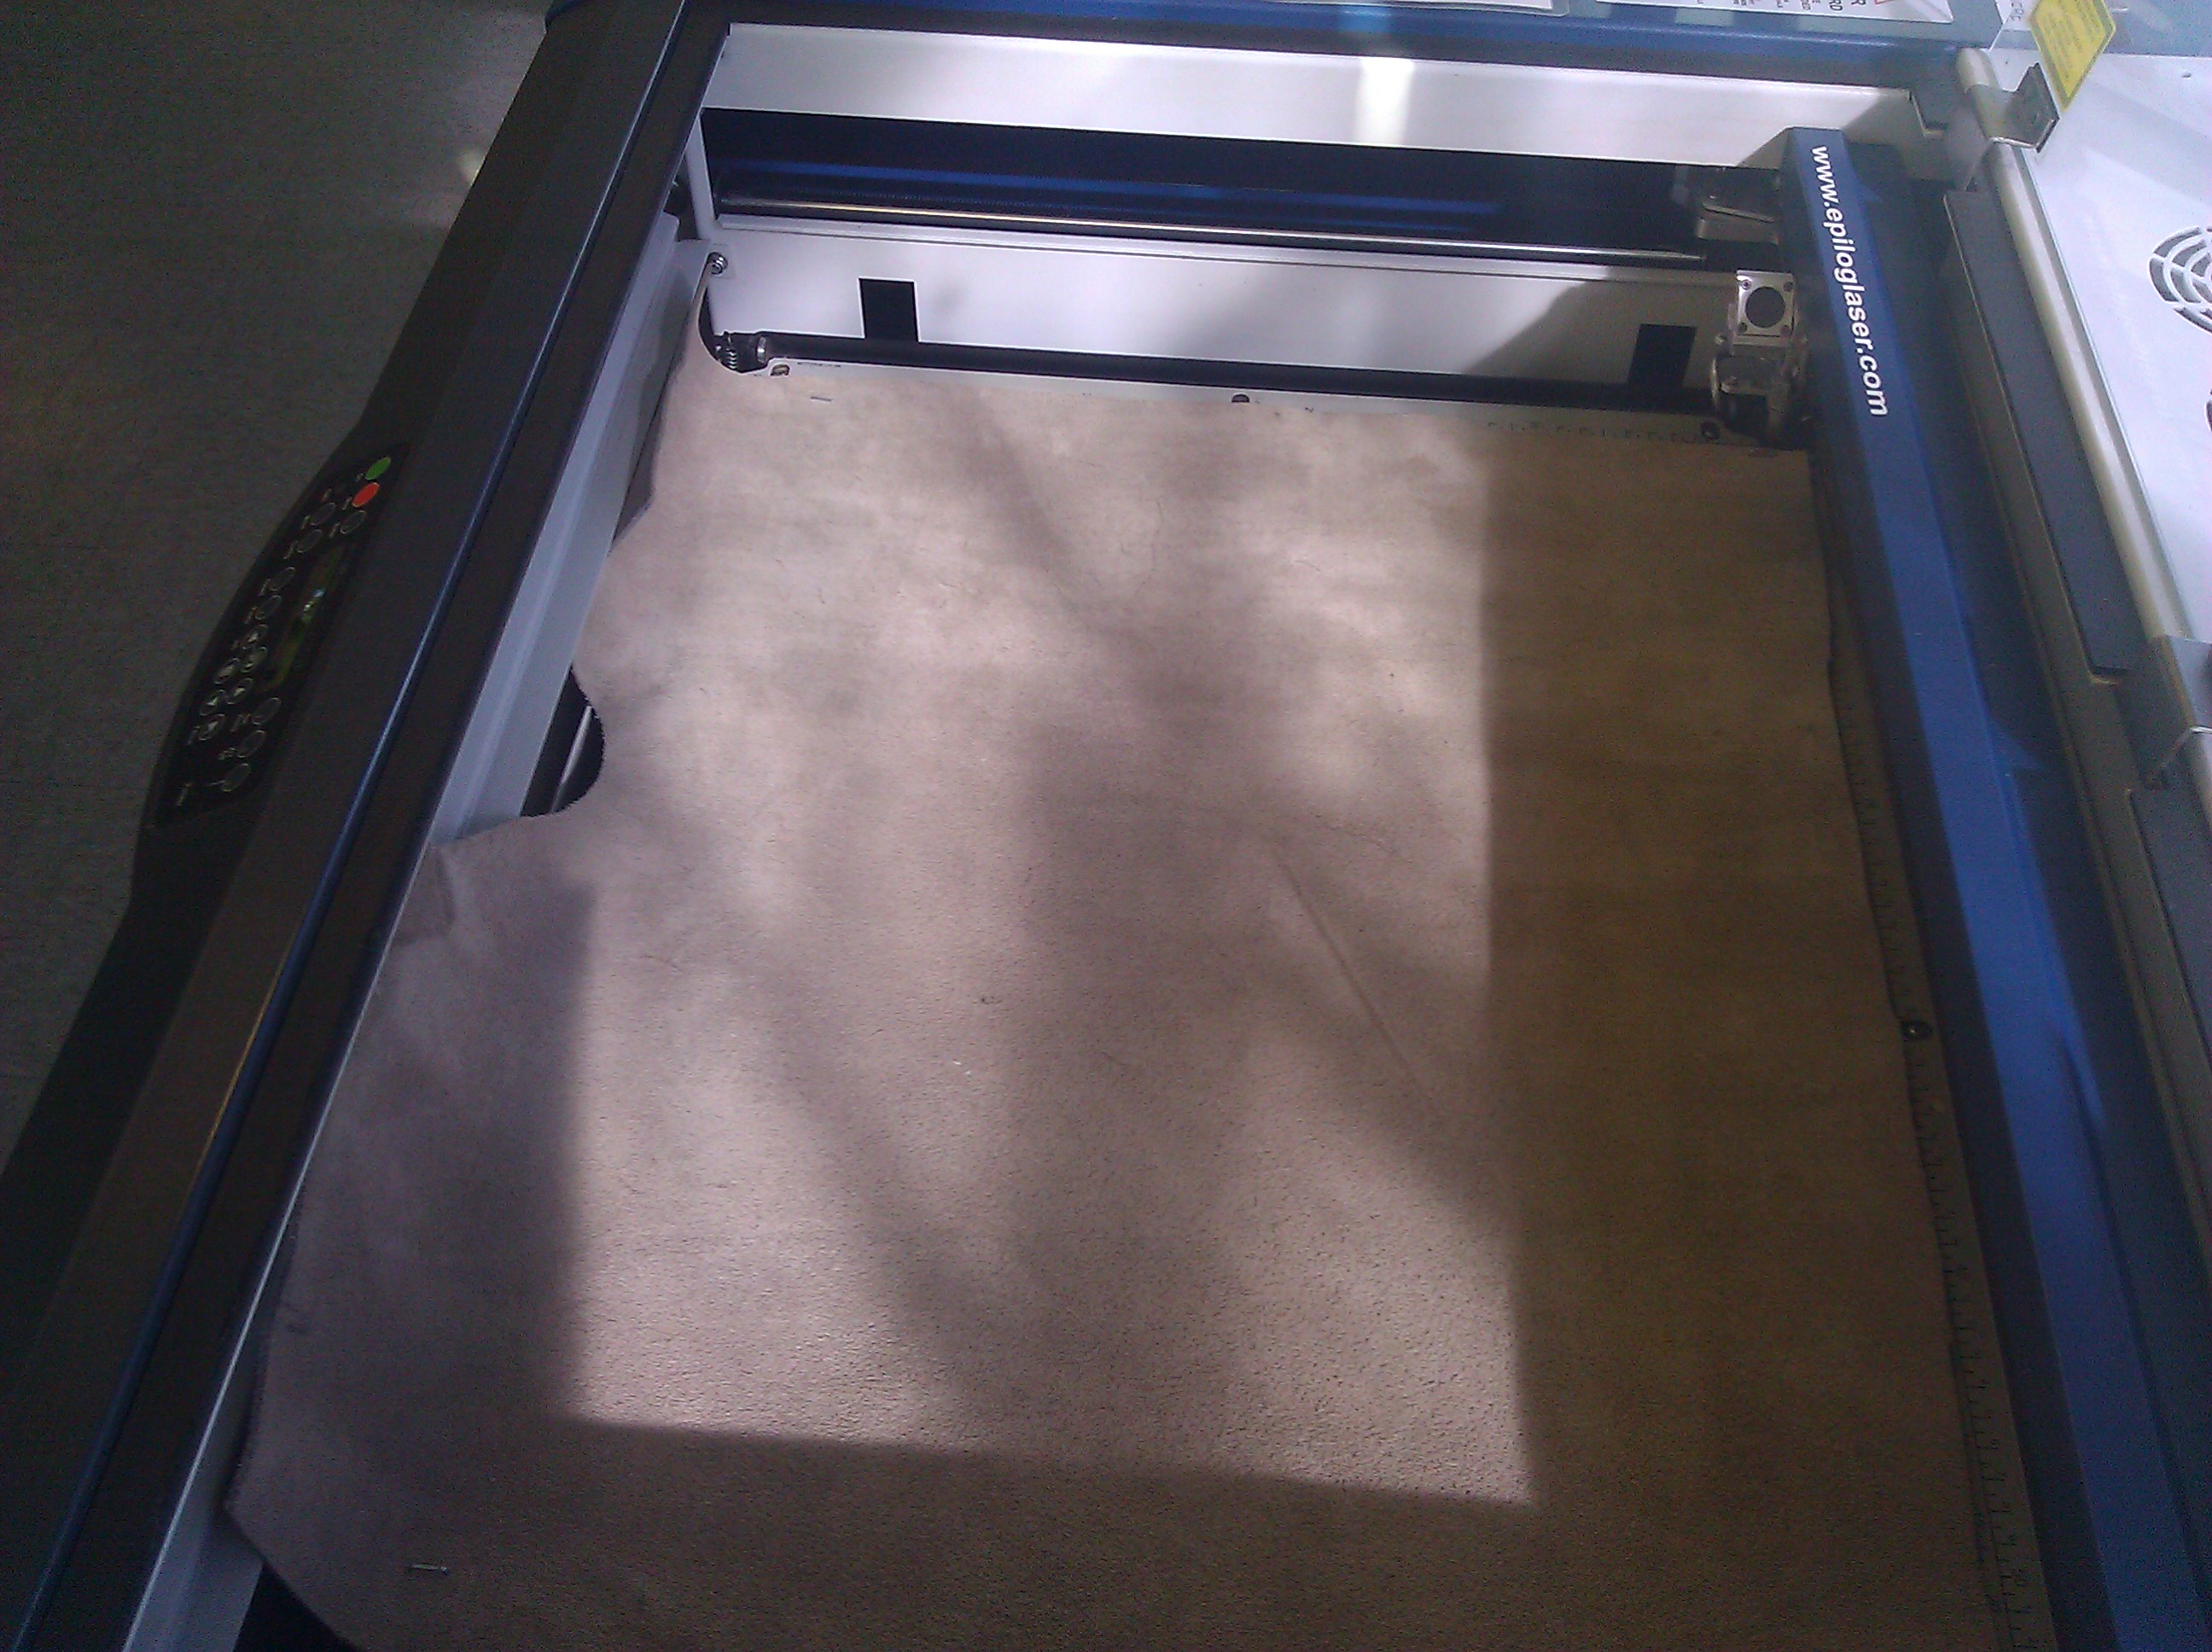
A thick enough backing, like leather, should lay flat on its own. You may find that weights or pieces of tape are needed to keep your backing flat.
Make sure all the exhaust fans are going. Leather and wool are quite stinky when cut.
In Inkscape, open leather_instructable.svg. Then save it as a PDF file. When you open up the PDF in Corel Draw, you will see that there are two colors of vector, one large black rectangle and many green marks that trace out hexagons. The green hexagon marks are registration marks. They help you line up the board to the backing during the gluing.
The black rectangle should be cut all the way through, and the green hexagon marks should only be burned in very lightly.
You can do this in the Epilog driver software by turning on Color Mapping. (see photo) Switch to the Color Mapping tab, enable Color Mapping with the checkbox, and edit the colors. Select the first color, pull the R slider from 255 to 0, set the speed, power, and freq sliders to cut the backing, then click the Apply button ">>>". Next, select the green color, and change the speed, power, and freq sliders to merely mark the surface of your backing and click the Apply button.
After the leather is cut, clean the edge with a damp cloth.
Like a Beautiful Banana


I have found plastic, paint-scraping "razor blades" to be invaluable to this process, but your fingernails can also work (or to coin a phrase, "fingernails will work in a situation where ideal resources are not available").
A sharp, clean blade will help for intricate details, but be careful to not gouge the wood.
Optional Step:
Now is the time when you can stain your wood pieces. Personally, I steer clear of the color, instead preferring the natural wood tones. A photo of a green-stained sheep piece is included here to get a sense of what your color might look like. If you stain, it should be the bottom layer, so don't put tung oil on during Step 3.
Stained or not, I like to give the boards a little extra shine on top.
As a final finishing step, apply spray-on polyurethane. I like the “gloss” level rather than “matte”. Wait 5-10 minutes between coats. Let it dry for several hours after the last coat and wipe it down (in the direction of the grain) with a clean cloth. Two coats of polyurethane gives it a nice shine at certain angles but doesn’t build up too much and look "plasticy".
Glue: It's Not Just for Sniffin'


Do the next bit with moderate quickness and high precision. Getting a friend to help is highly recommended.
After the fold test, make a bead of Liquid Nails glue around the border of the frame and put a drop or an “X” at every hexagonal intersection. In the "open areas", either apply more Liquid Nails, or (and I recommend this) use a few splotches of Gorilla Glue. Note: Gorilla glue expands significantly as it dries, so don't put any of it too close to areas that will be visible.
Clamp it back down to the leather, and do the next frame piece. While there is still some fluidity in the glue, do another fold test. If it doesn’t fold, you may have to try again. If using wool, you may have to stretch it and clamp it a bit to make sure it meets up with the edge nicely.
Clean up any glue around the edges that is seeping out.
Let the glue dry overnight. Put a couple tiles into the middle of the board so that you'll be sure the board will be able to accommodate tiles after the glue is dried. I usually put some books on top of it to weigh it down as it dries.
Play and Display


