Custom Hat Using Heat Transfer Vinyl
by Made Studio in Craft > Fashion
843 Views, 12 Favorites, 0 Comments
Custom Hat Using Heat Transfer Vinyl

In this tutorial, we will be walking you through how to use Made Studio's hat heat press to customize a baseball cap with heat transfer vinyl.
Supplies

Tools used in this tutorial:
- Cricut Maker 3
- Cricut Sticky Mat
- Laptop
- Vinyl Weeding Tool
- Vevor Hat Heat Press
- Scissors
Materials used in this tutorial:
- Heat Transfer Vinyl
- Blank White Baseball Cap
Download and Setup Cricut Design Space Software
Go to https://help.cricut.com/hc/en-us/articles/360009428814-Downloading-and-Installing-Design-Space to download Cricut Design Space.
Open a New Project

Click "Upload" in Your New Project Canvas

Click "browse" and Select the Image That You Are Printing

TIP: This type of transfer does not work very well with thin, small, and fine details. Choose an image or design that is large, block, and easy to read.
Select "Simple" After Uploading Image

Use Selection Tool to Remove Background of Image

Select "Cut Image" and Click Upload

Select the Image and Click "Add to Canvas", Resize Image As Necessary

Click "make It" in Top Right Corner

Follow Steps As Instructed in Cricut Design Space

Stick Heat Transfer Vinyl Onto Sticky Mat Shiny Side Down
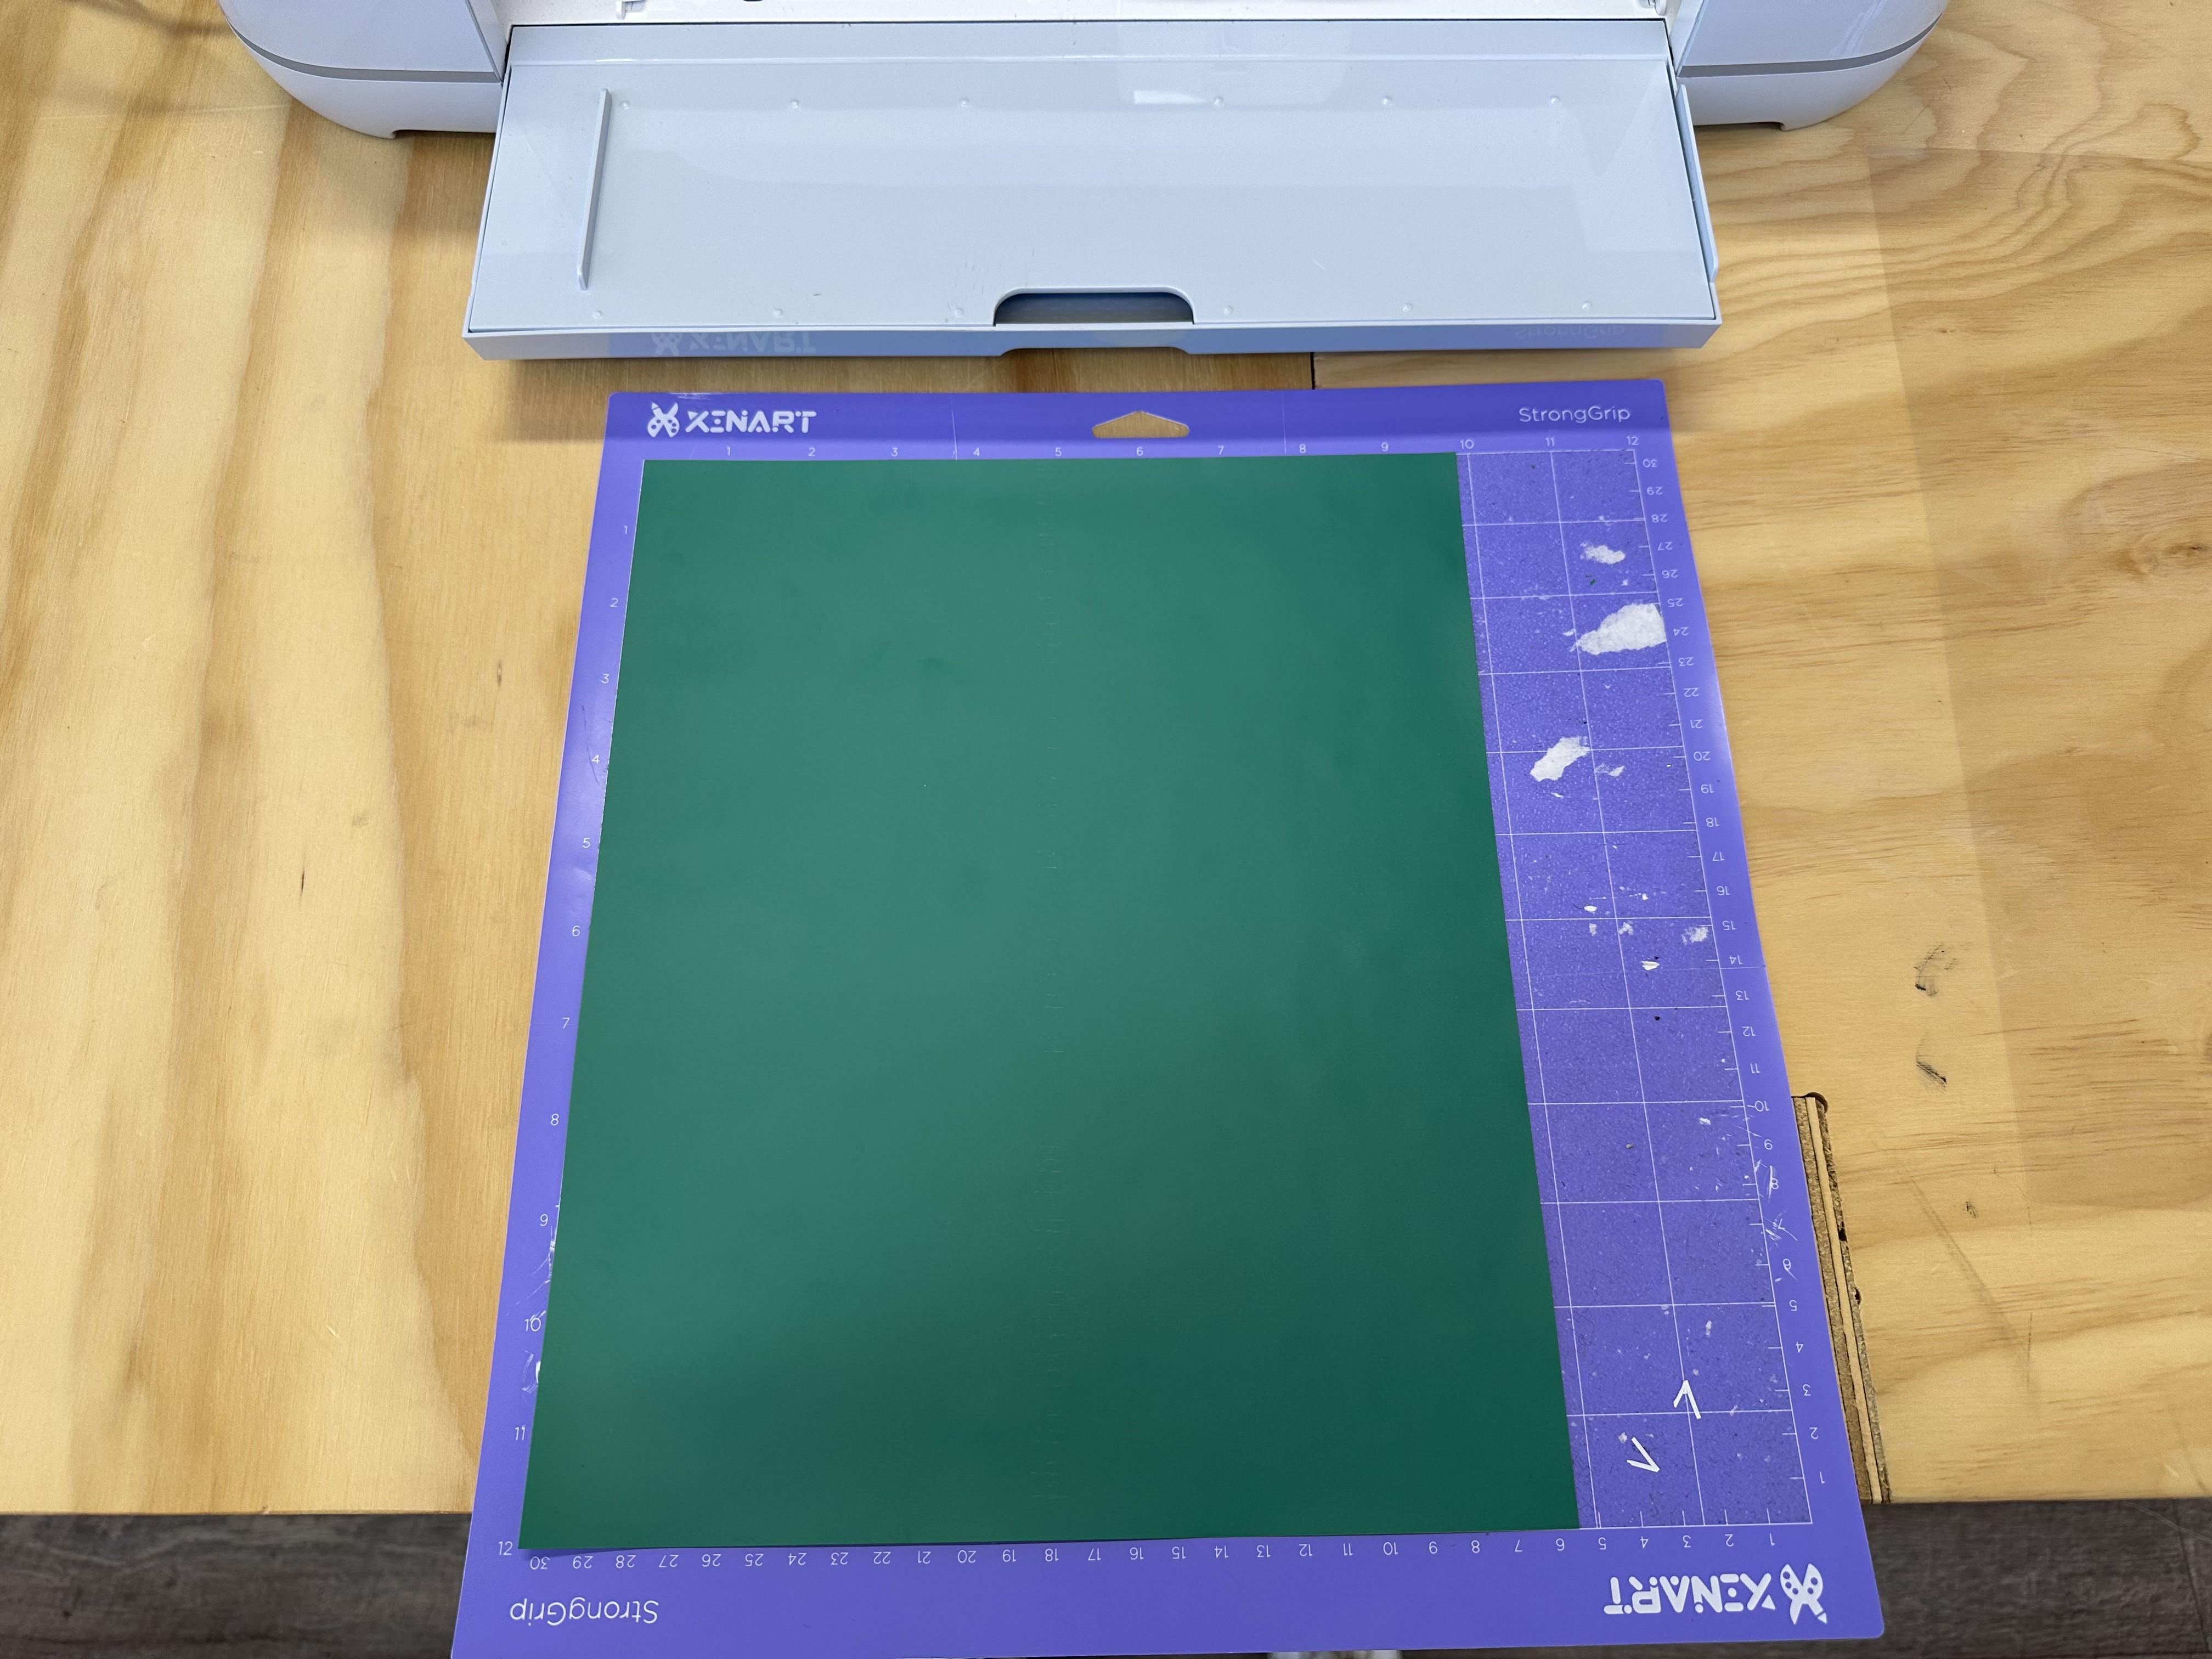
Load and Run Cut Program


TIP: Before unloading the mat, use a weeding tool to check if the vinyl cut all the way through.
Cut Out the Section of the Vinyl Using Scissors


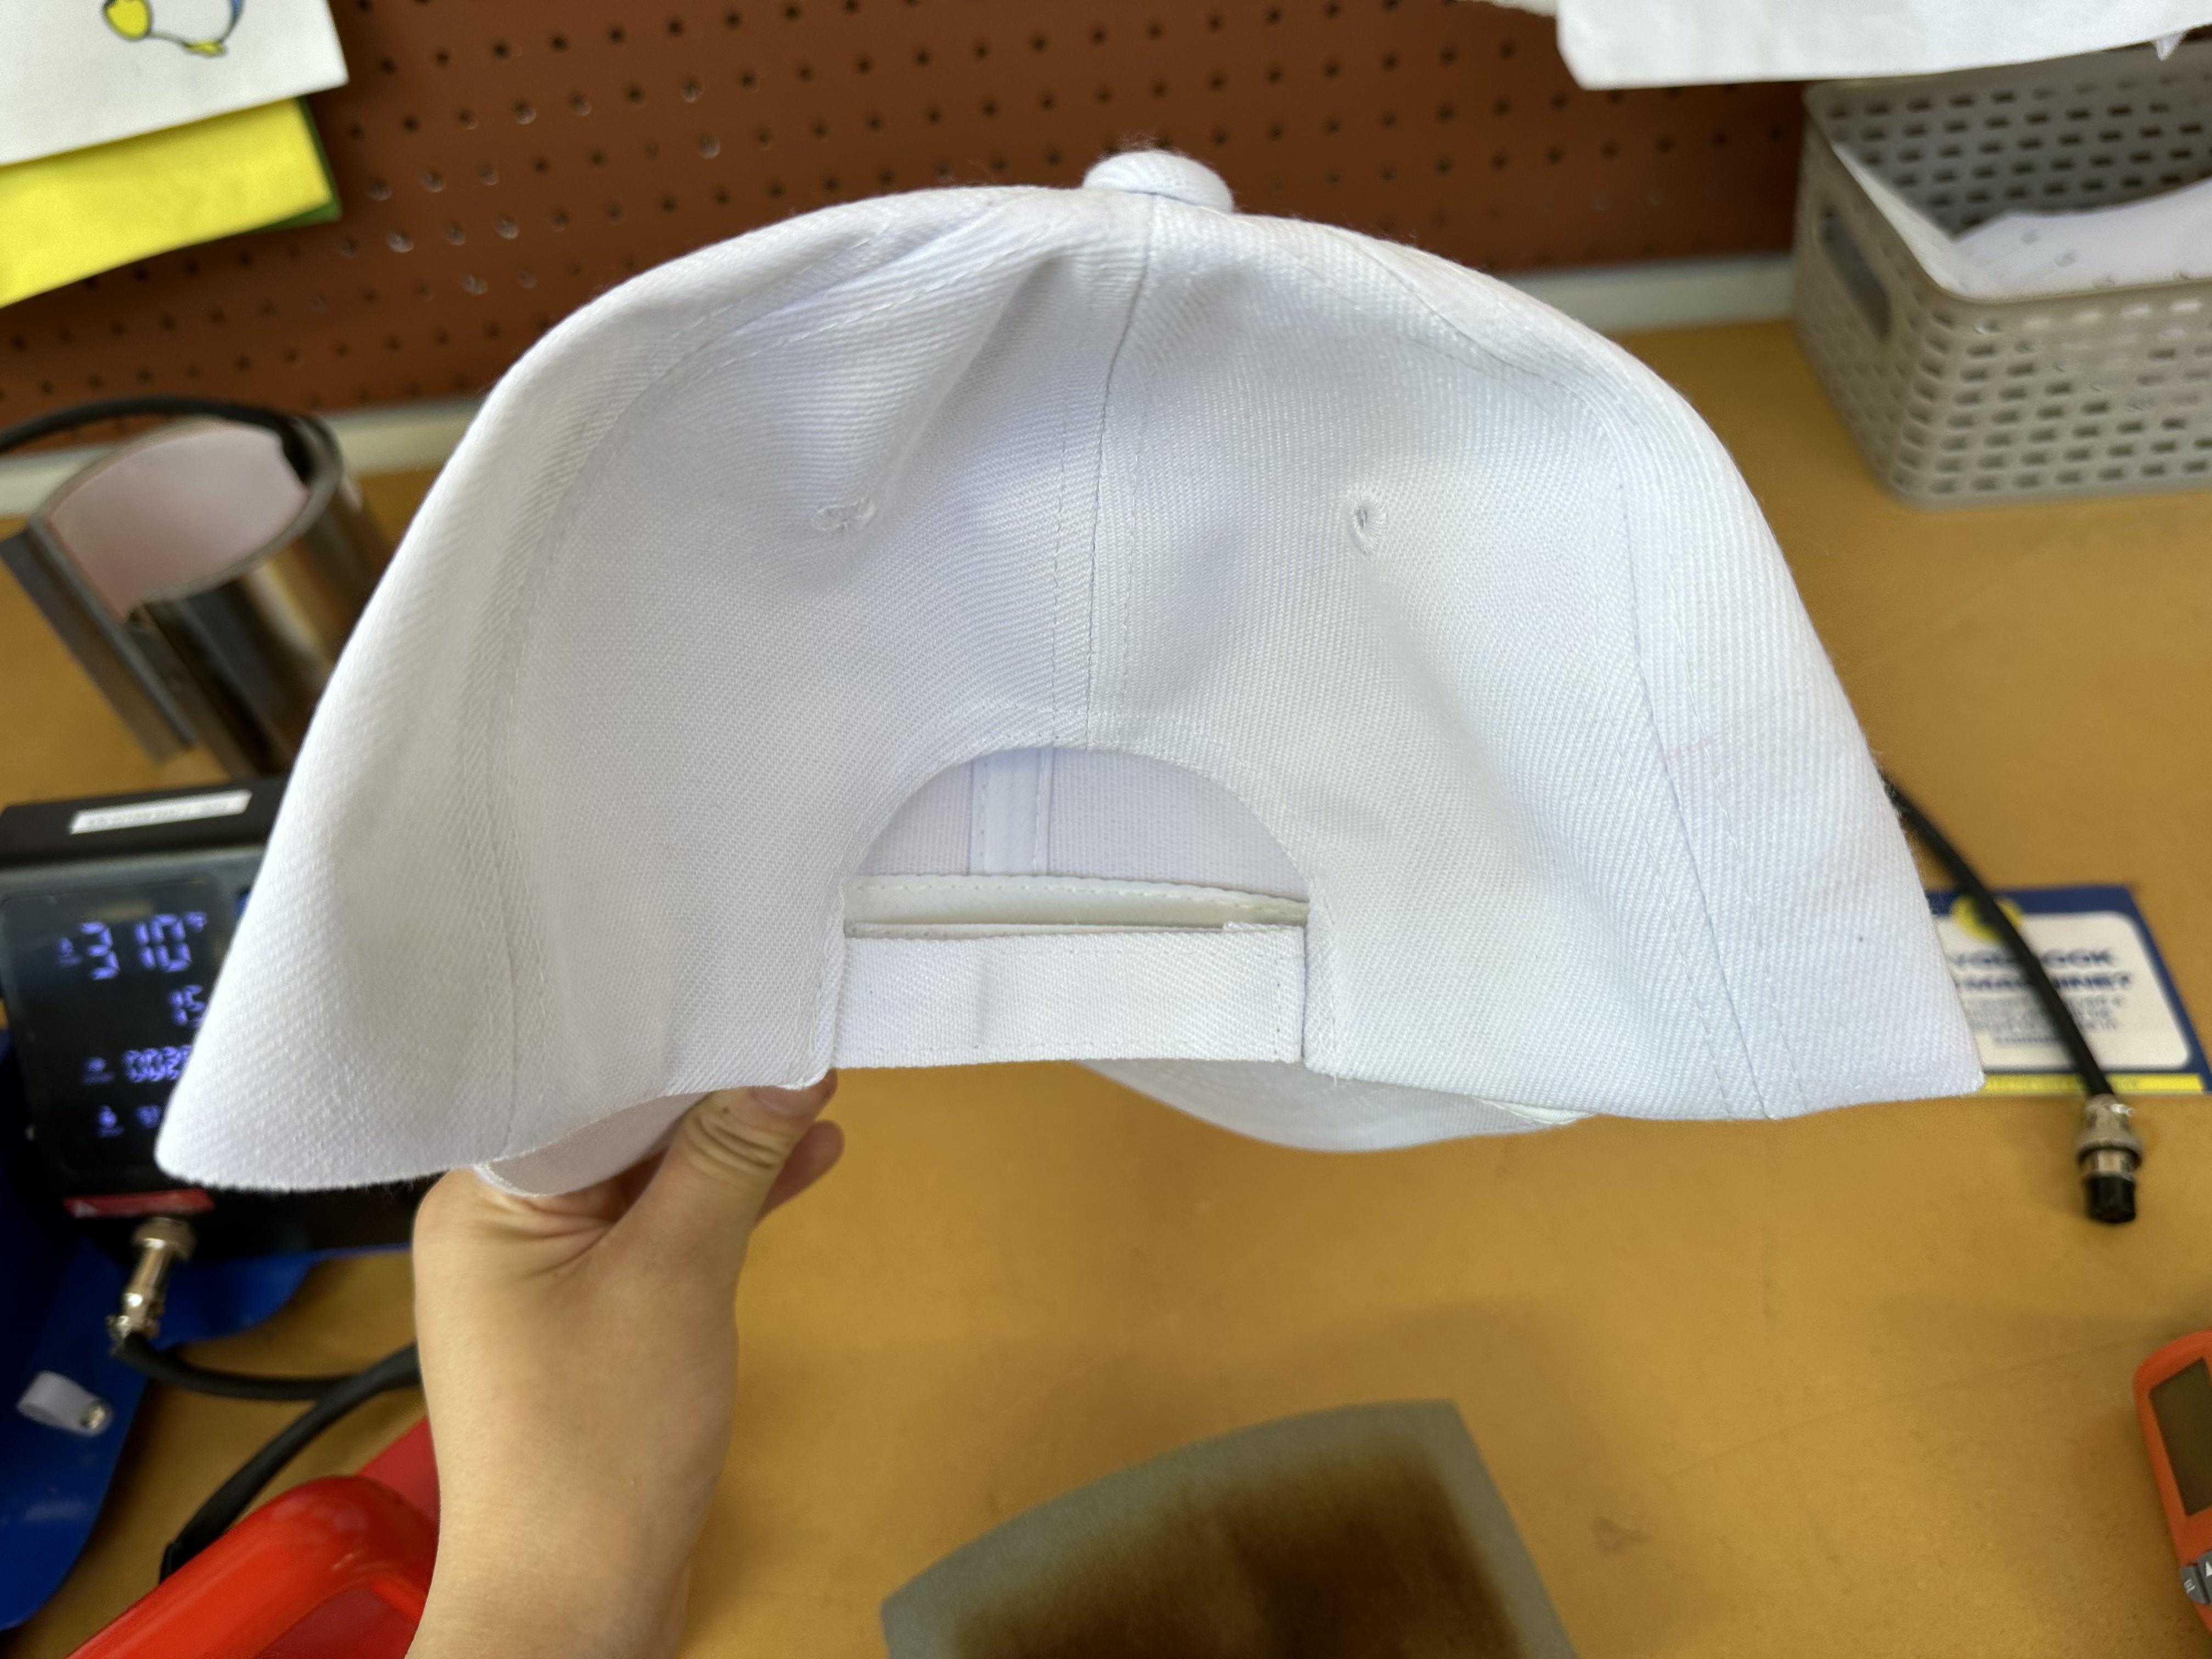
Fold Baseball Cap Back and Place on Top of Hat Press Stand

Preheat the Hat Press to 350 Farenheit
TIP: Use a temperature gun to confirm the temperature of the heat press, it may not always match the display.
Place Vinyl Cut Out on to Hat

TIP: Use sublimation tape to secure edges of the vinyl down.
Use Hat Press to Press for 5-8 Seconds

TIP: Rub the press back and forth on the hat to insure even heating. Apply as much pressure as possible.
Let Hat Completely Cool Before Peeling Plastic Off
TIP: It is normal for some parts of the vinyl to lift up. Use a pair of tweezers to keep those piece in place while peeling.