Customizable Grave Decorators
by pollygsloan24 in Workshop > 3D Printing
518 Views, 1 Favorites, 0 Comments
Customizable Grave Decorators
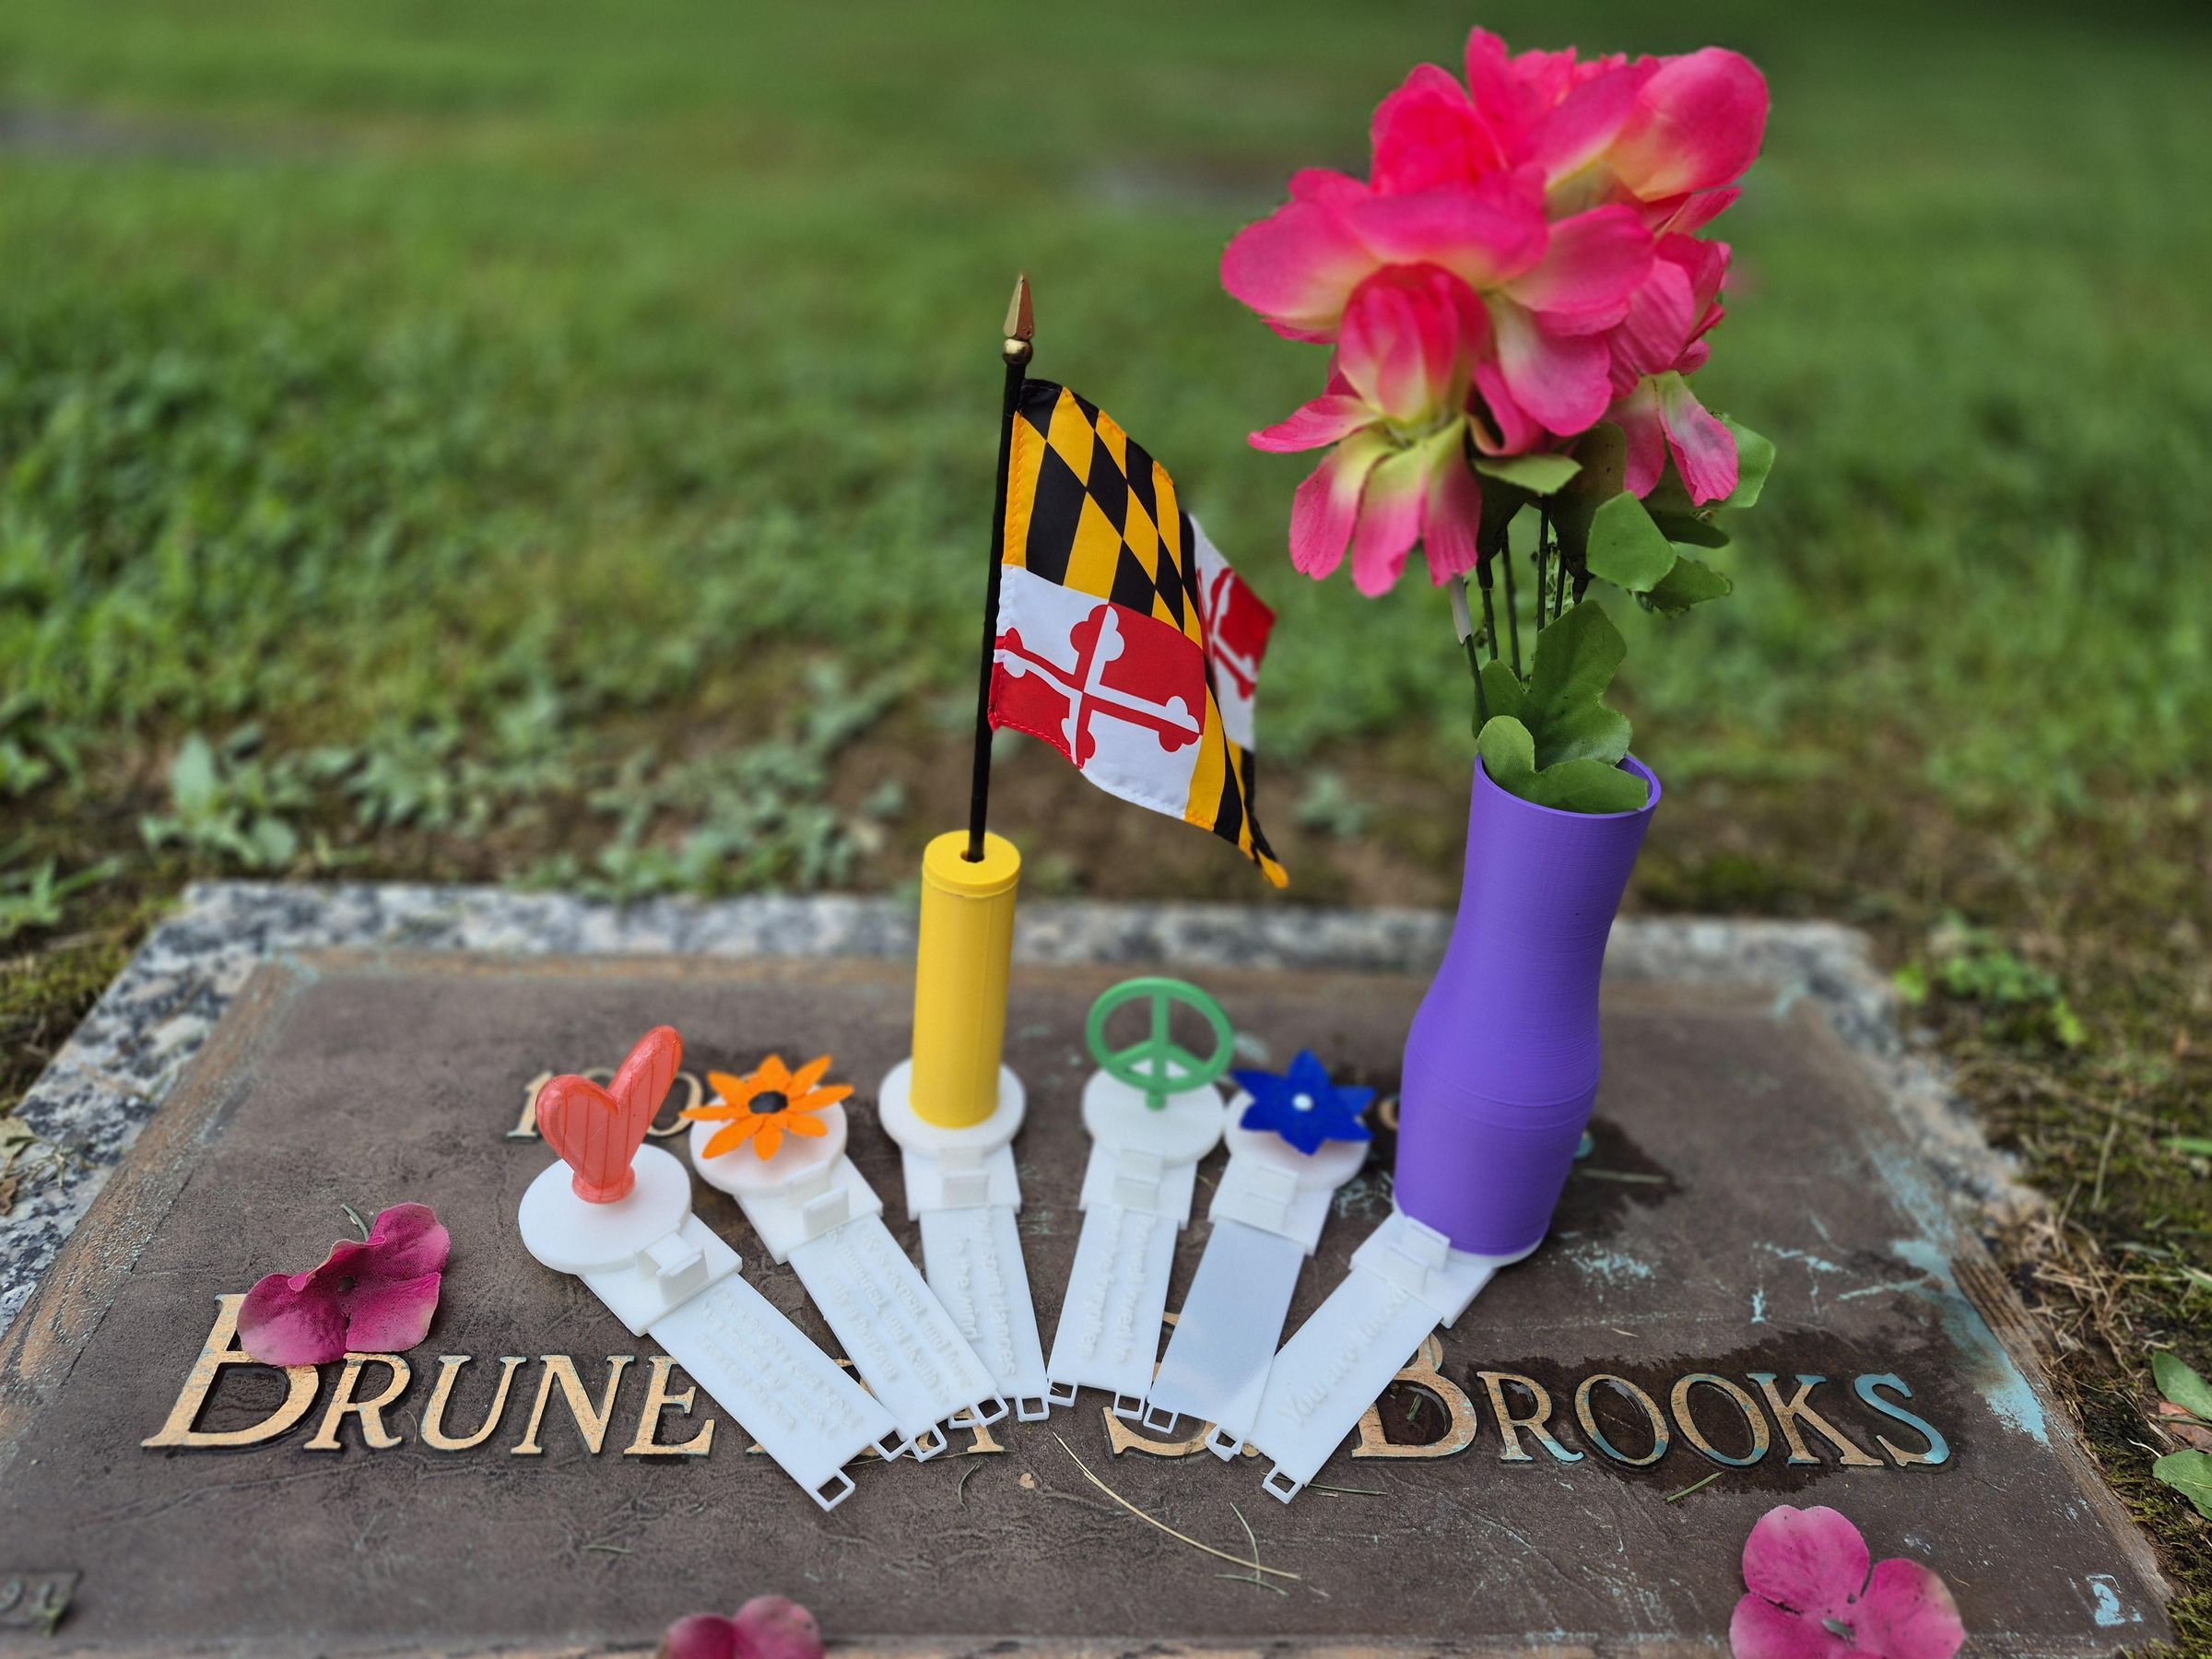
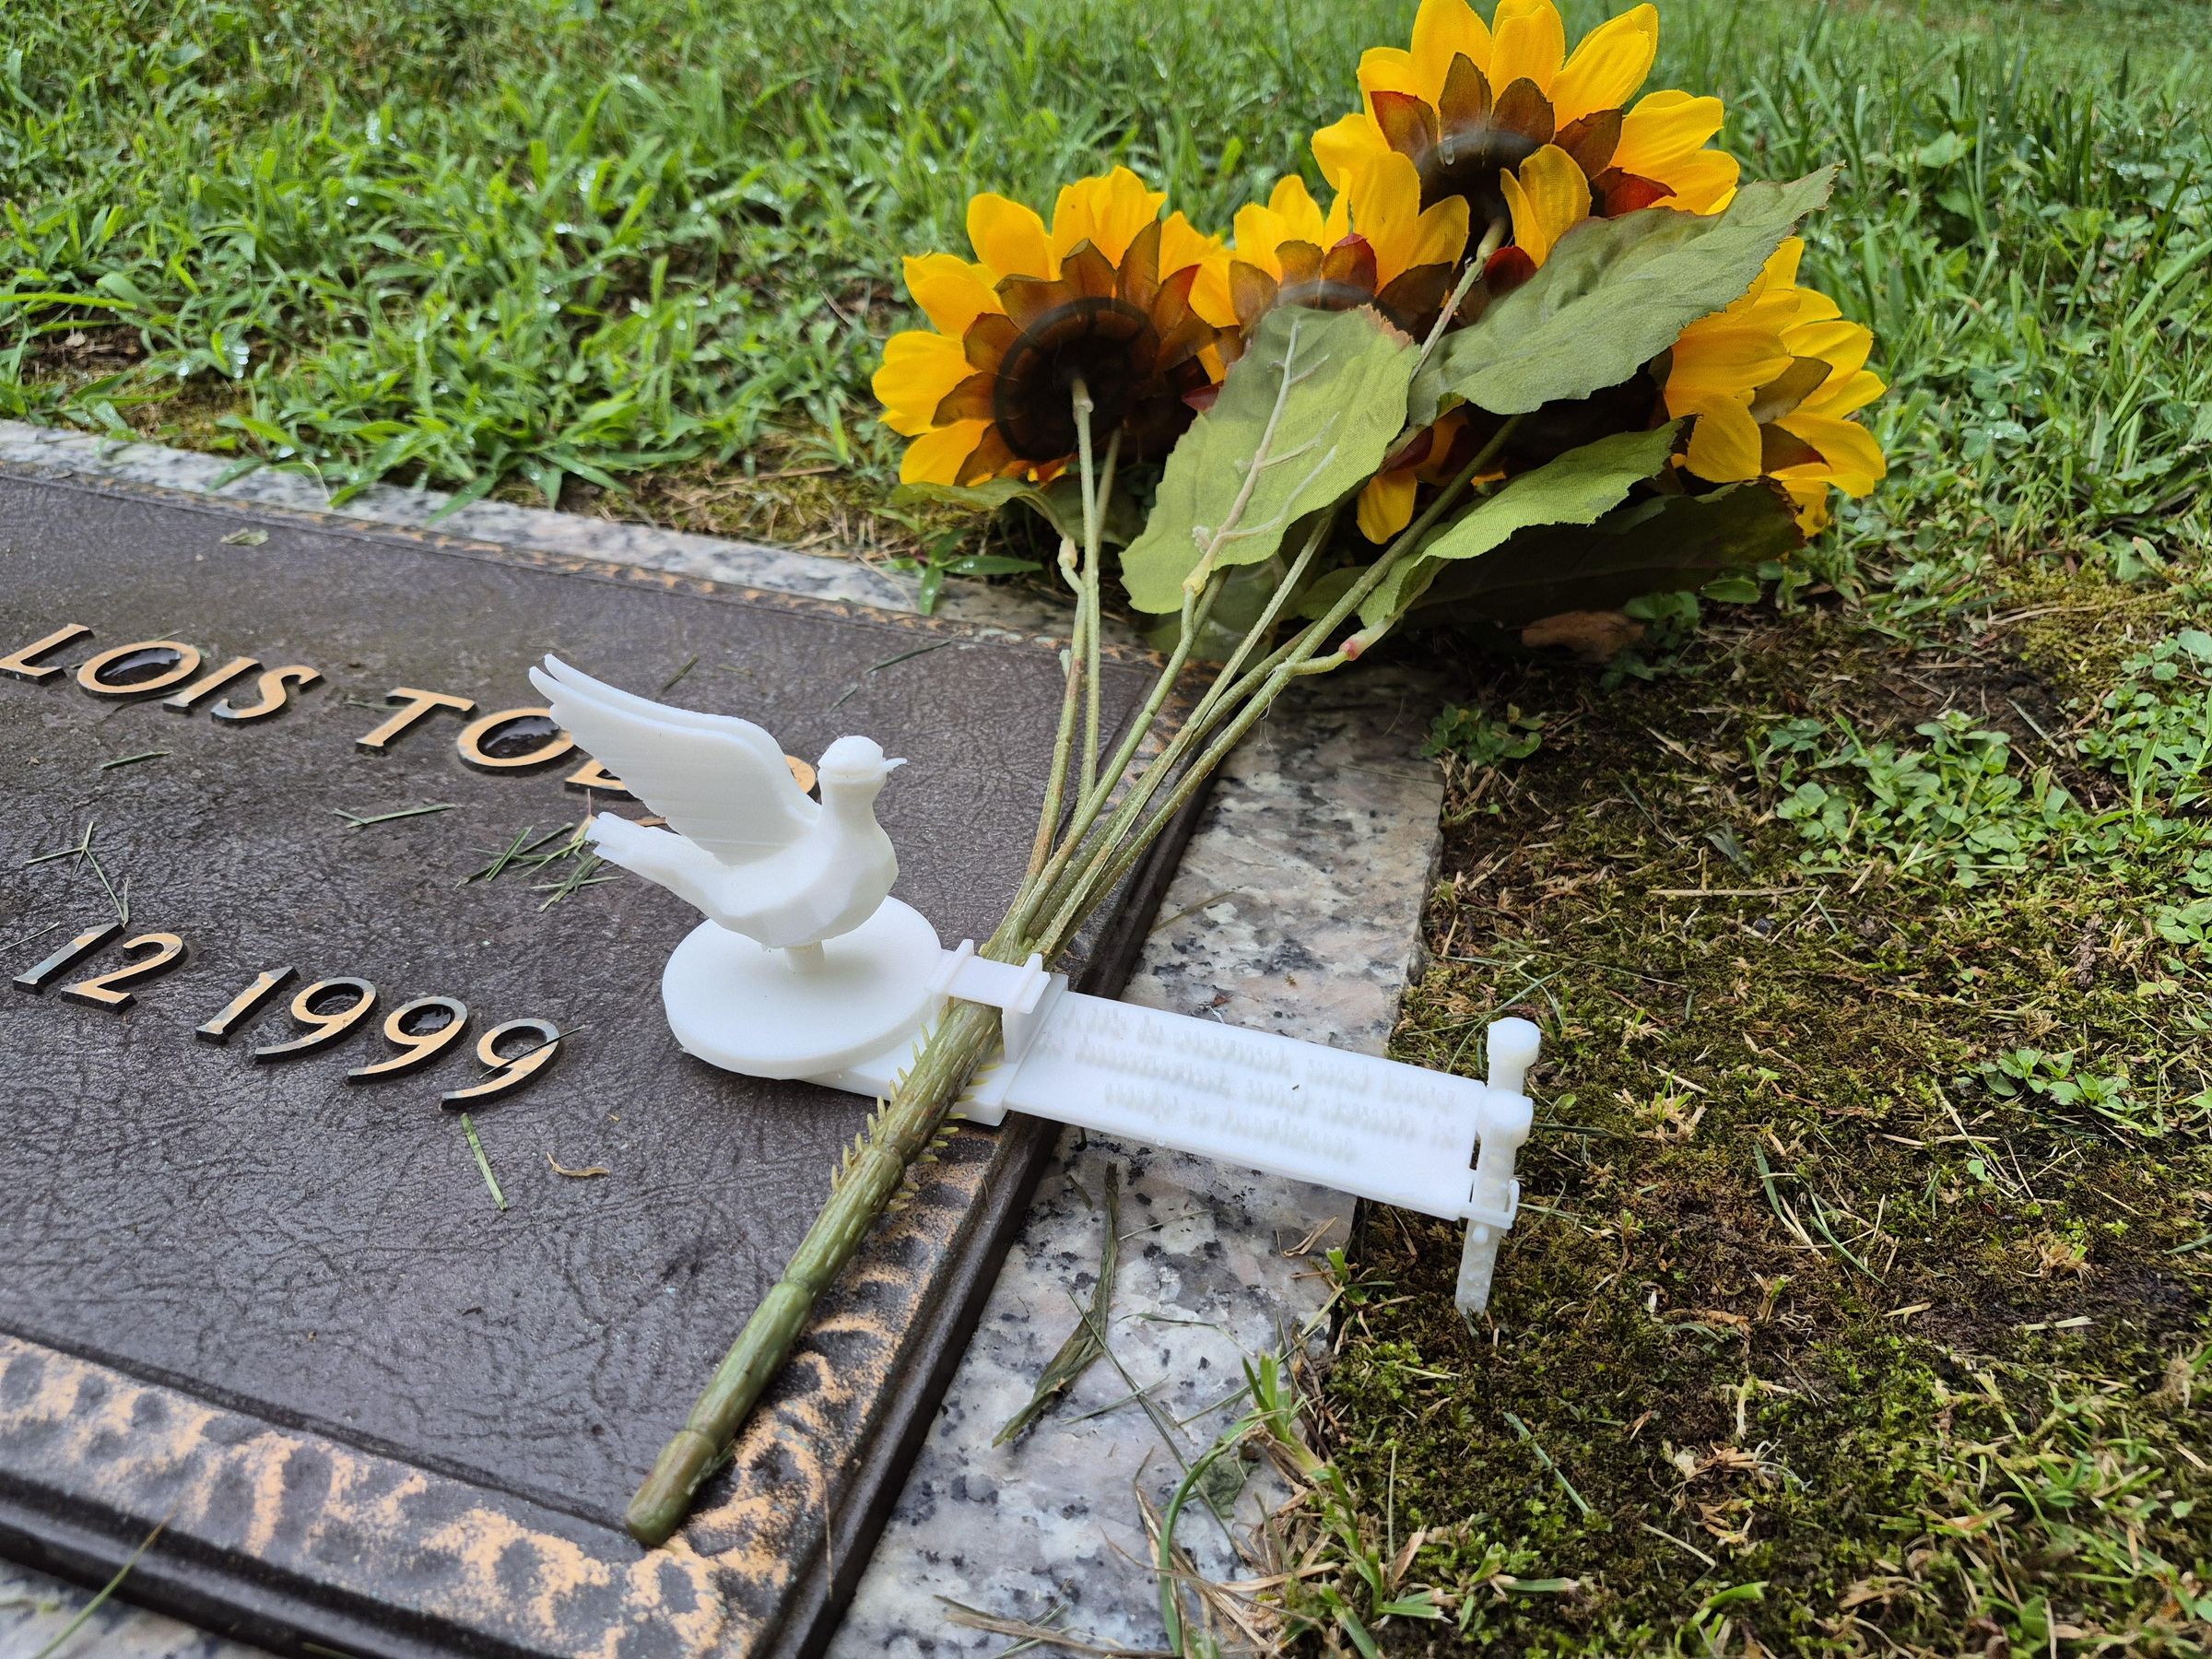
Honoring our late loved ones is incredibly important, and this build is aimed to help people do that. These grave decorators are designed to hold bouquets, flags, and commemorative objects. They are also customizable so that you can design the grave decorator to suit the person you want to honor, and even change it afterwards. These grave decorators add color to cemeteries as well as bring you and your family together, should you choose to make these together.
Supplies
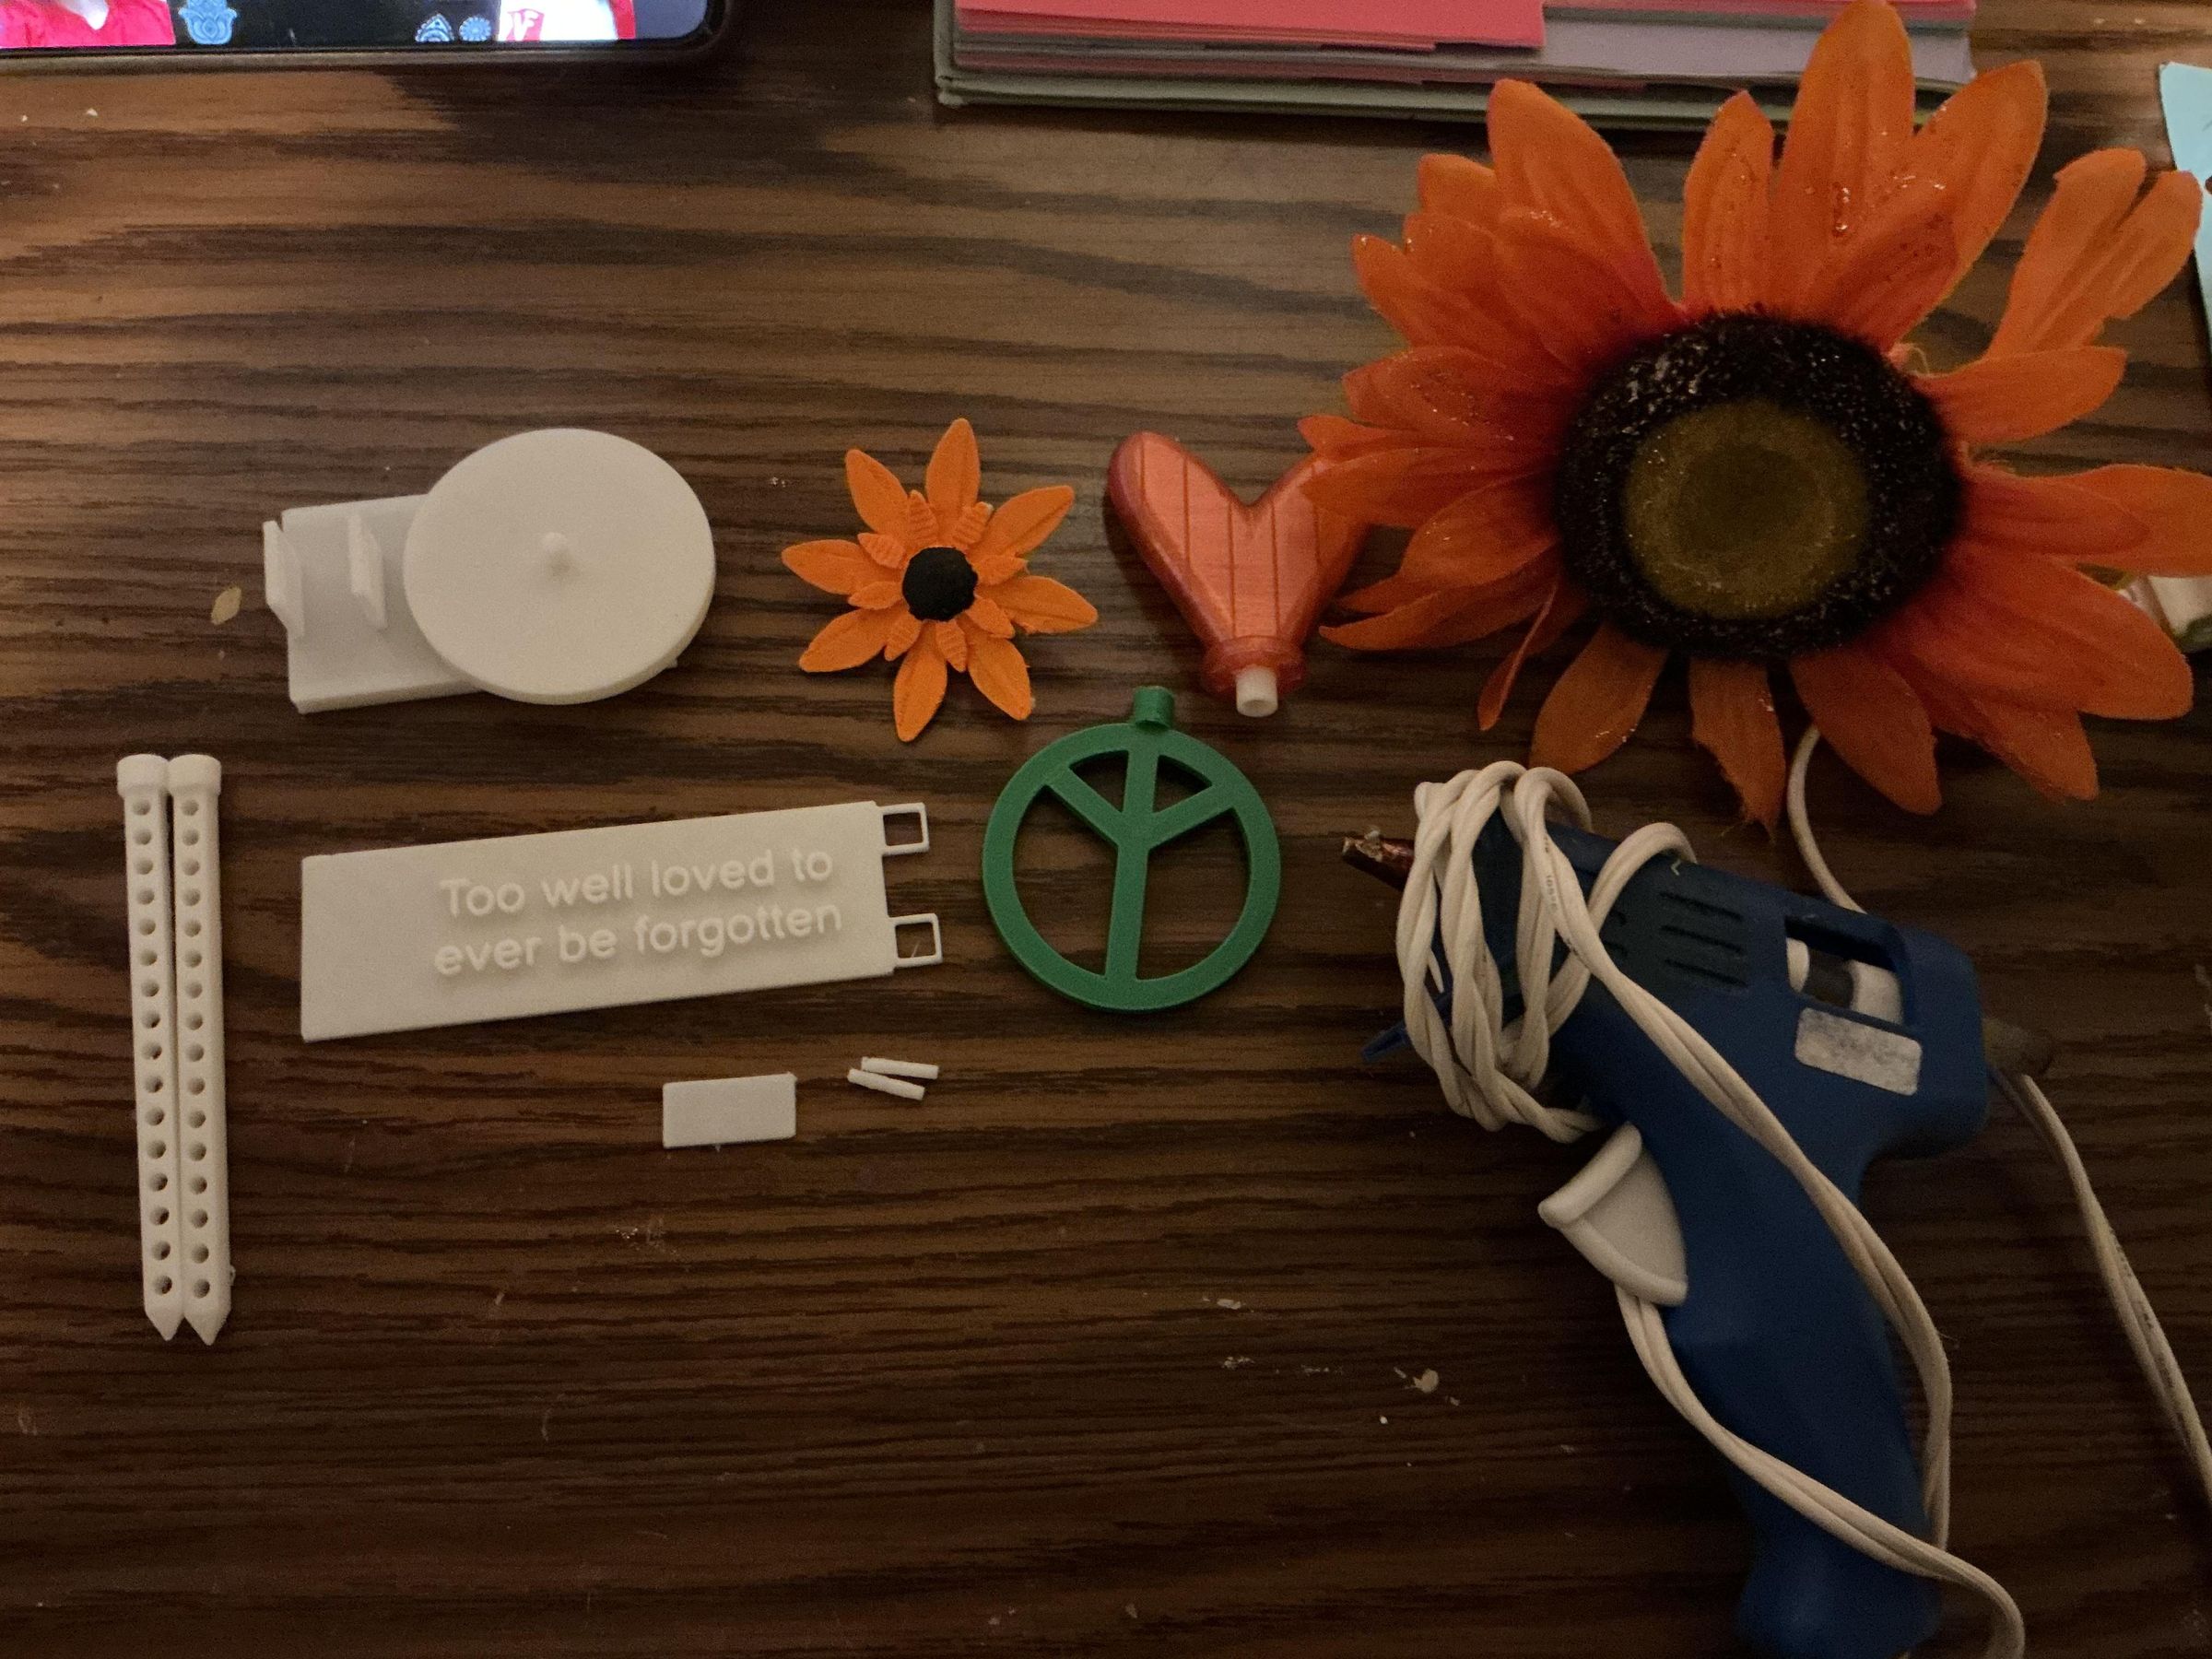
3d printer: I used a Bambu mini
3d modeling software: I used Fusion 360 for the actual grave decorator and Blender for a few of the customizable objects
Hot glue gun
Bouquet (optional)
Decorating supplies (optional): Stickers, markers, paint, ect...
Environmental Impact
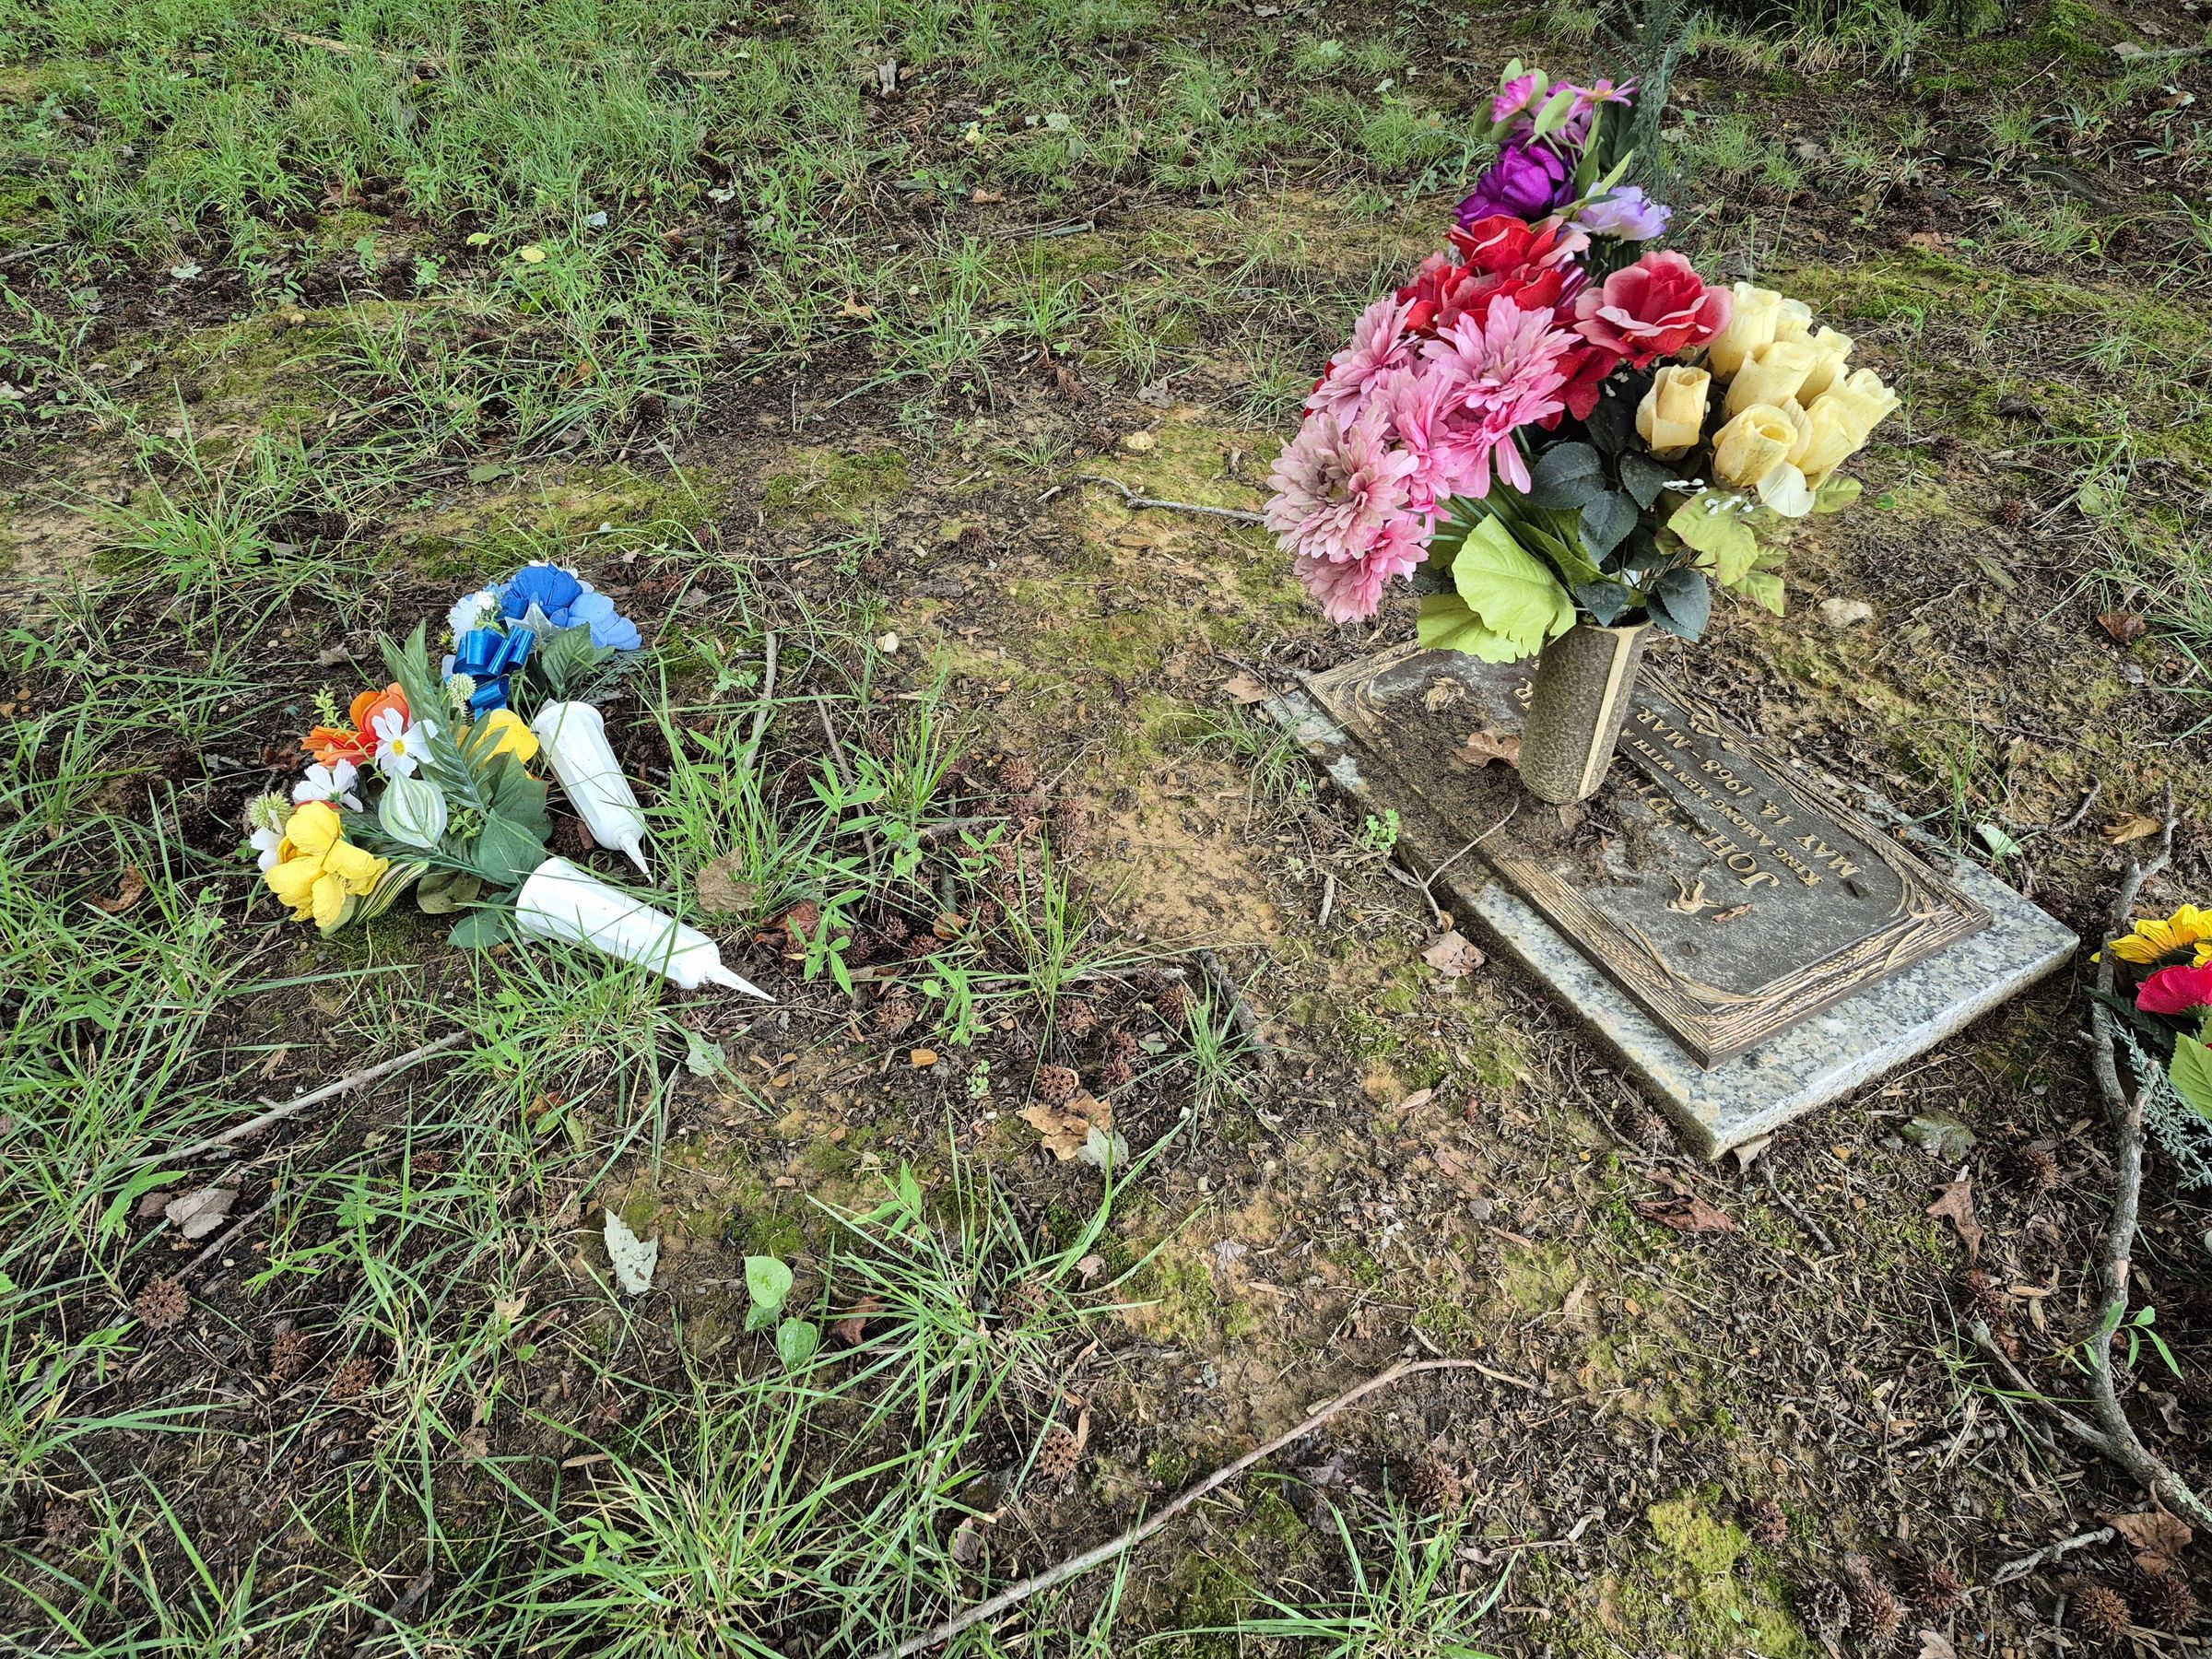
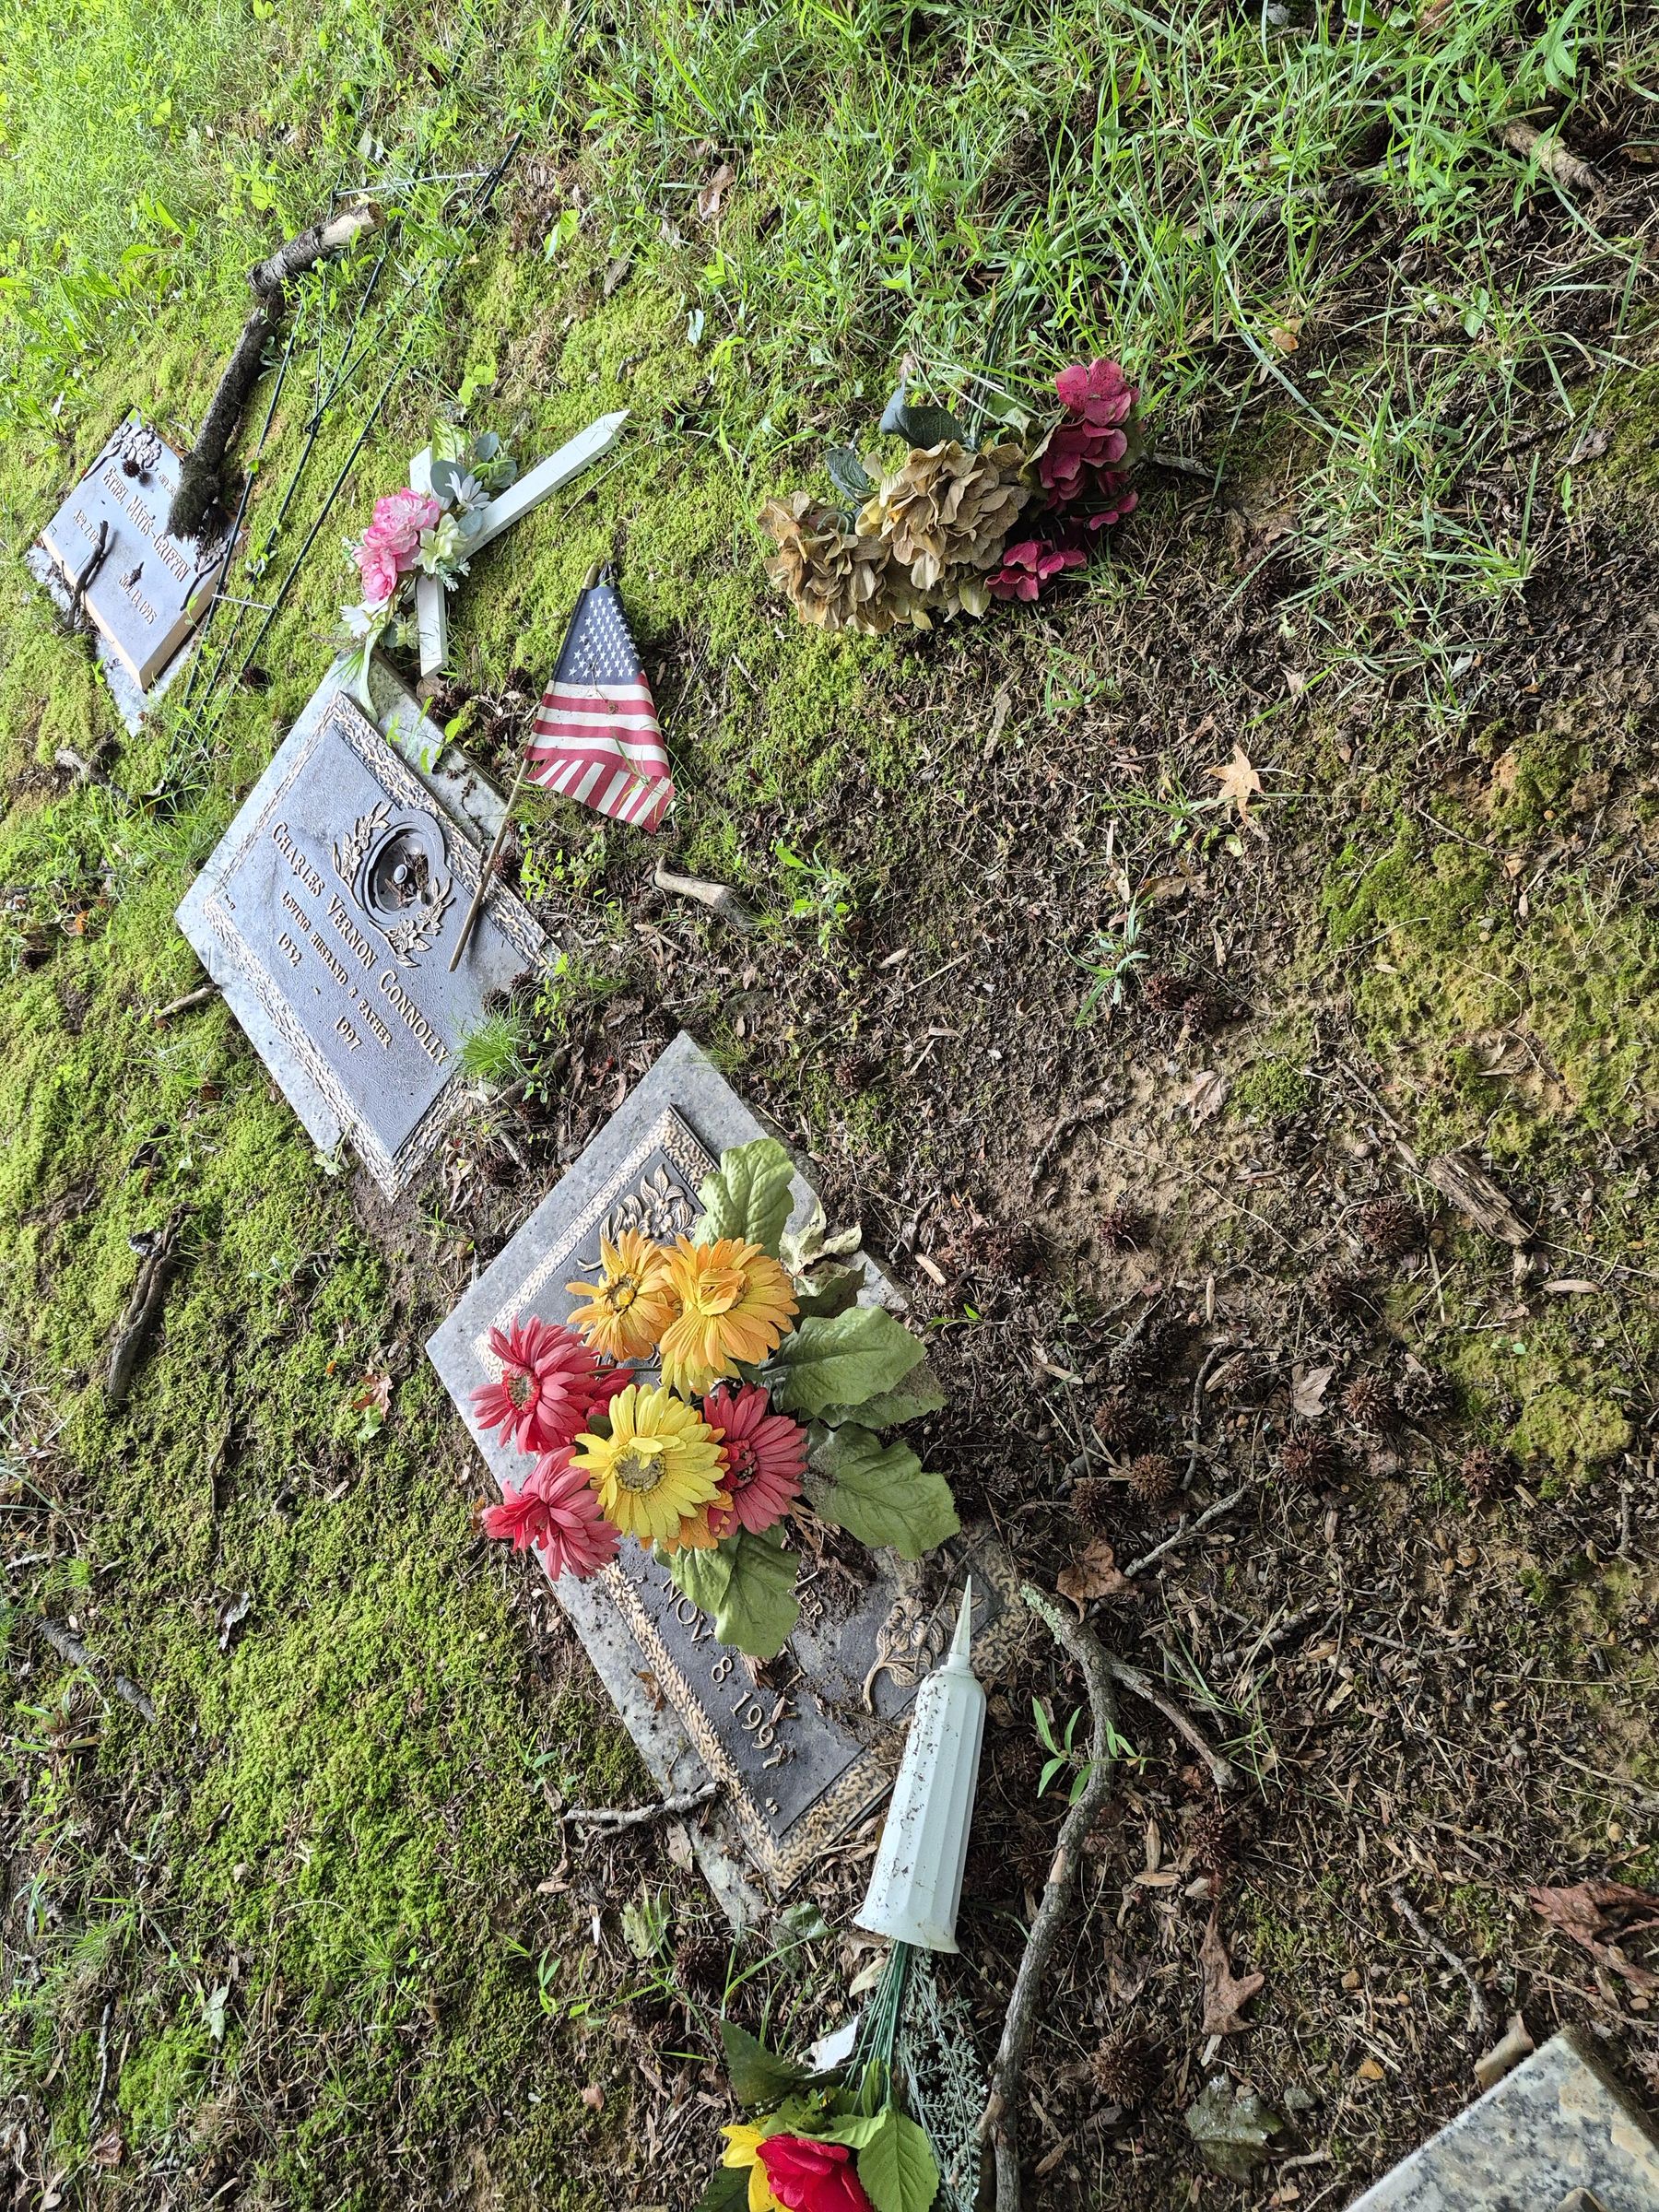
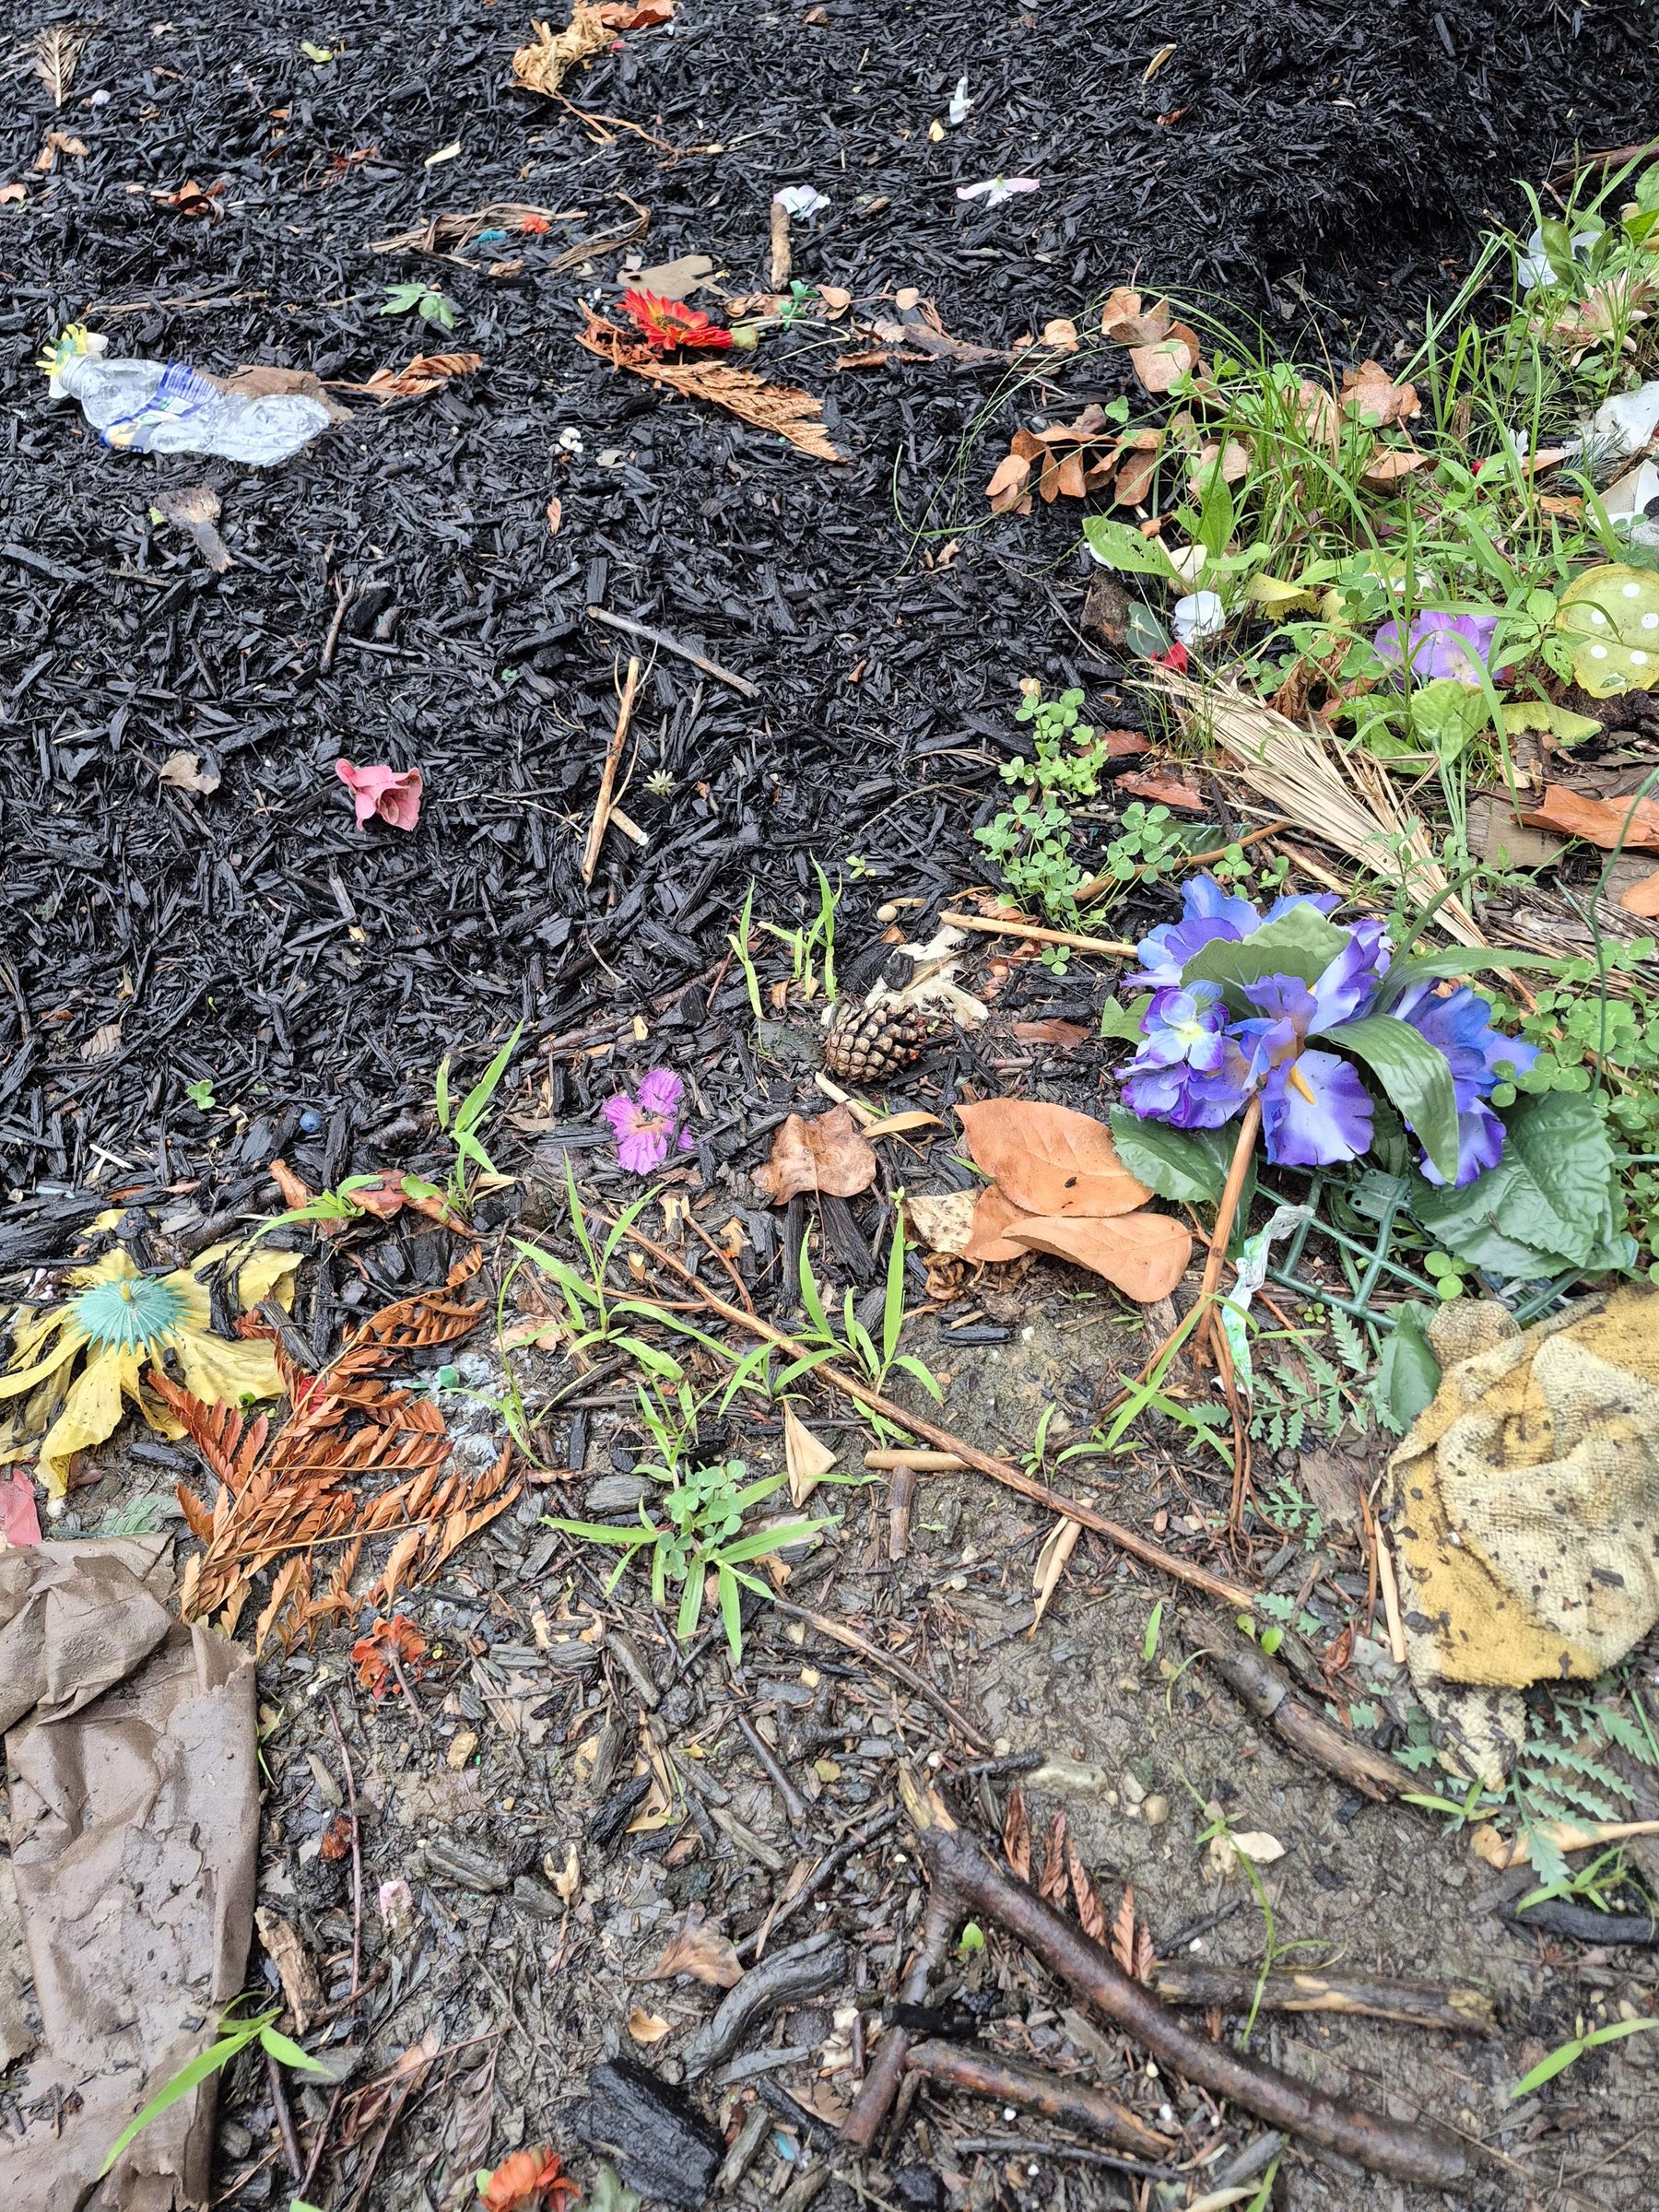
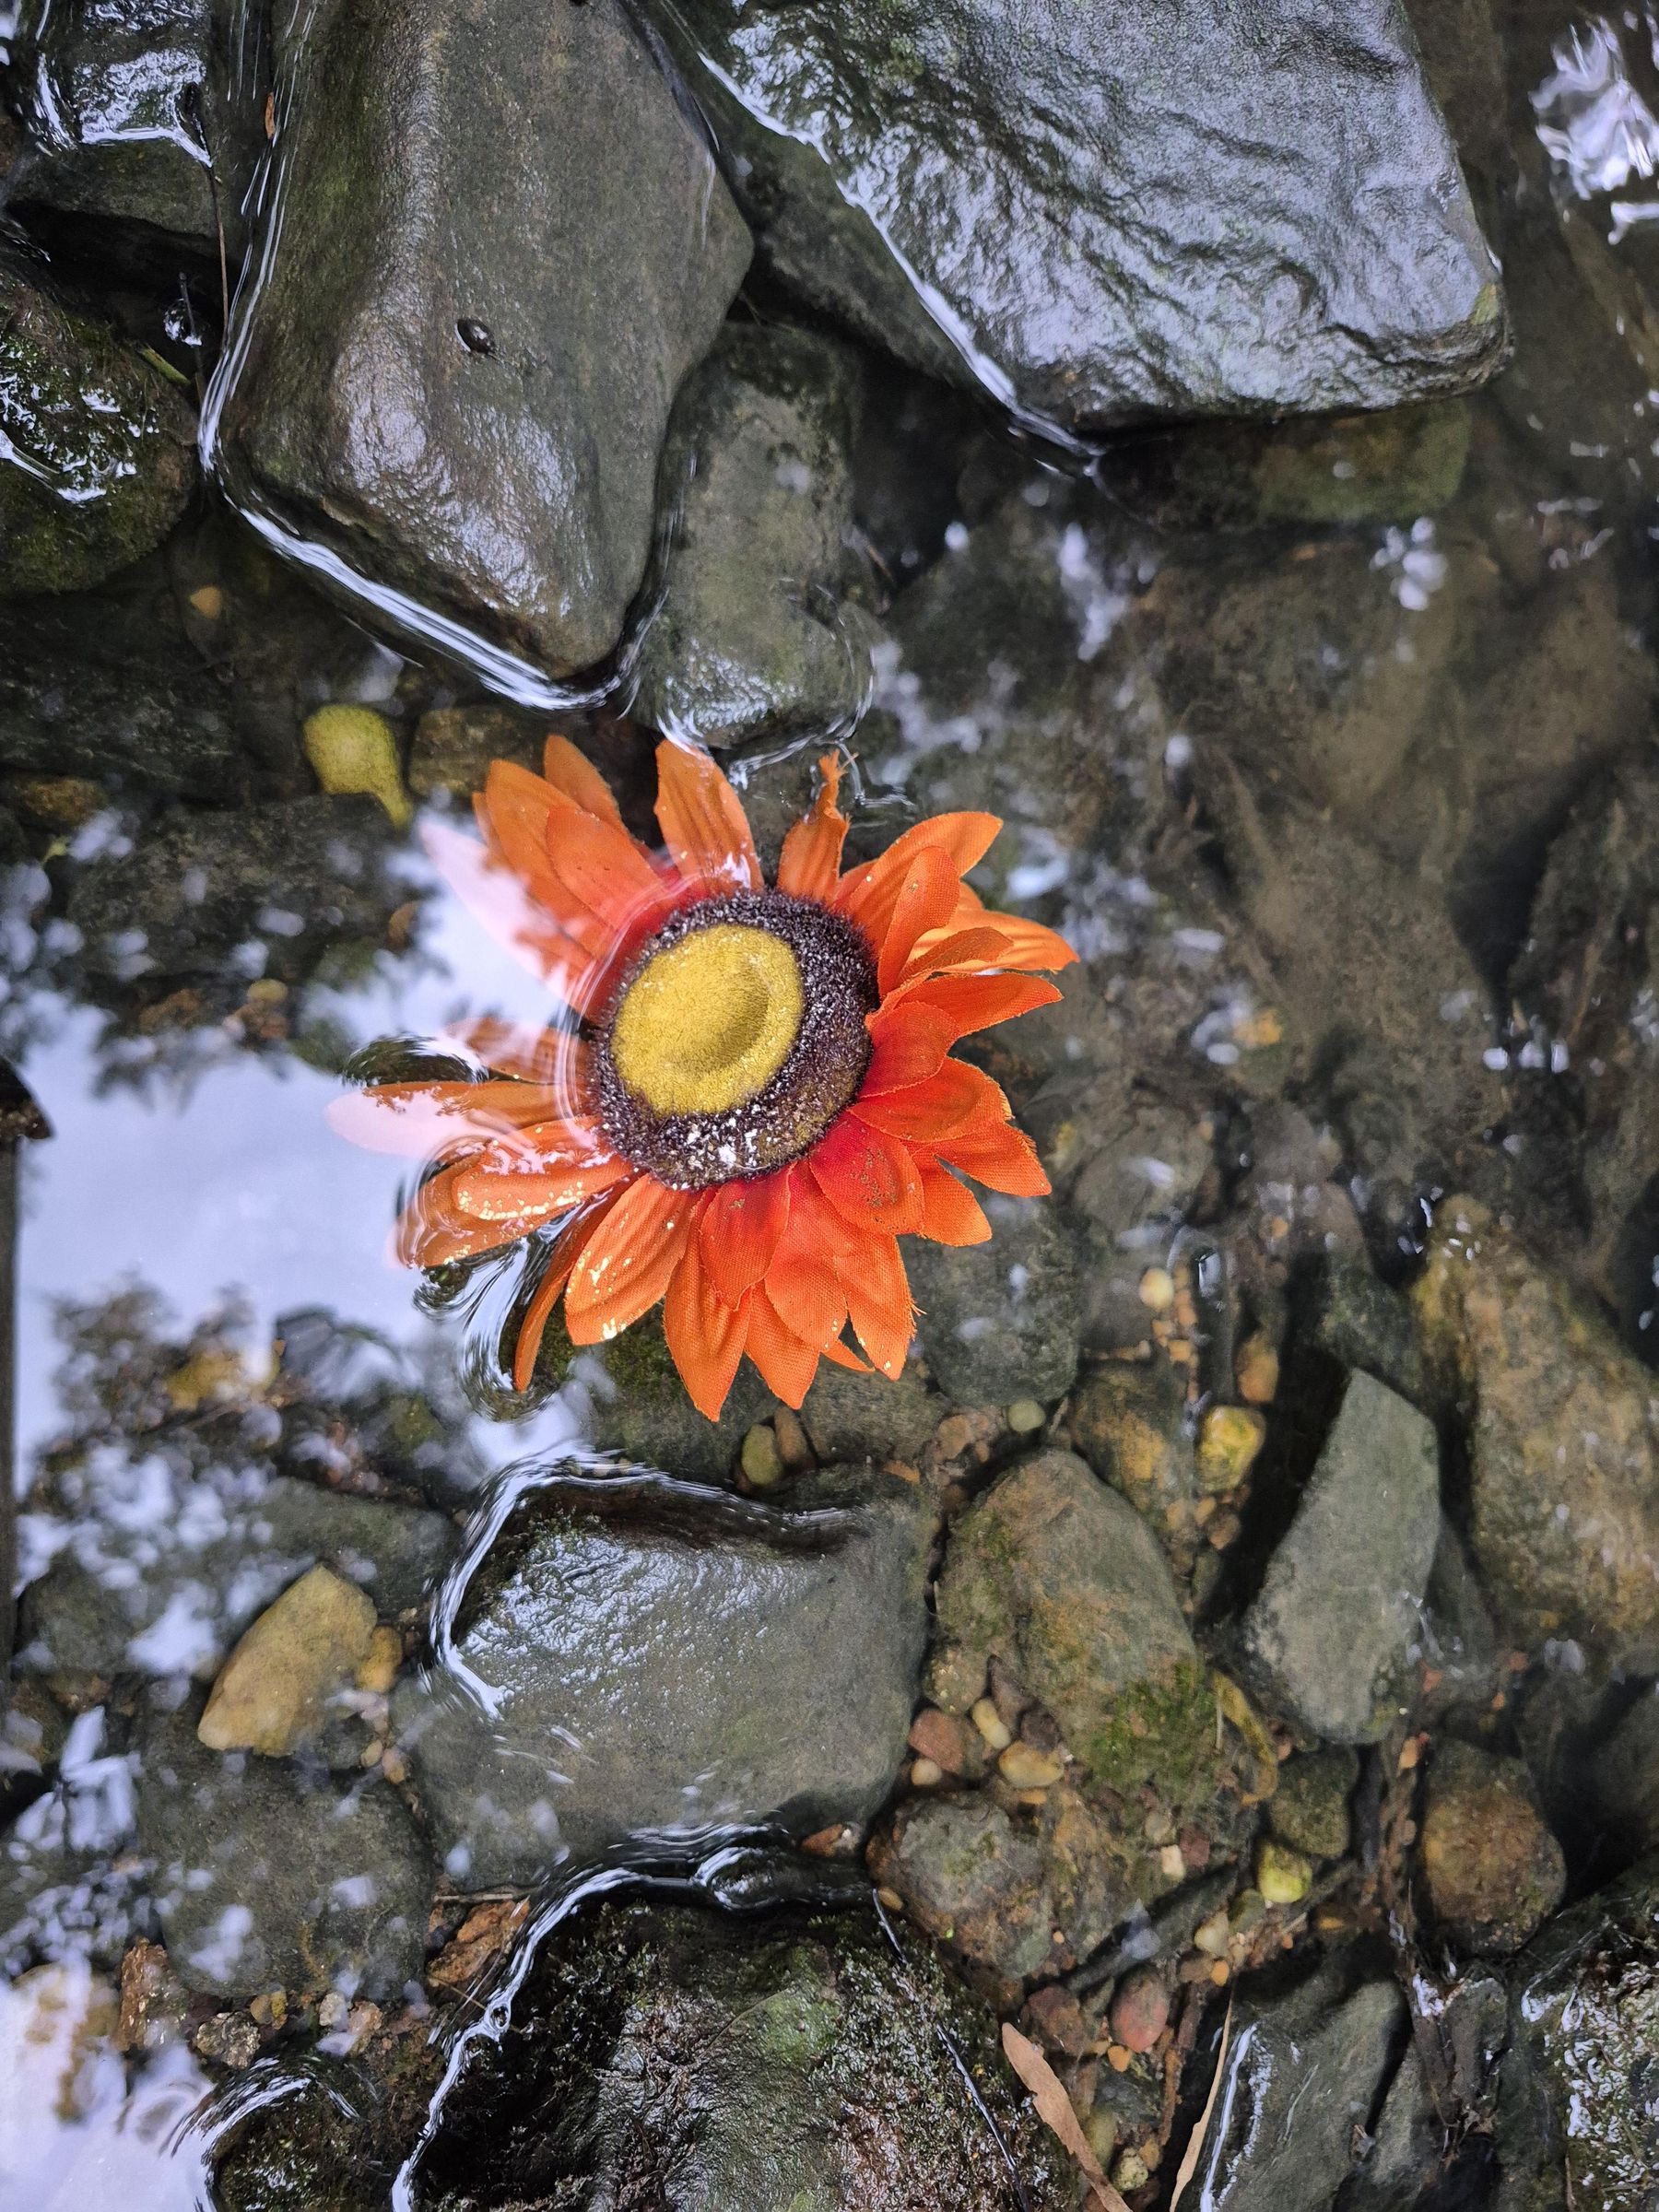
The reason I designed these was because I noticed that bouquets would often get blown off of gravestones and end up in my local river as litter. There are some bouquet holders for gravestones already, but they do not always work. These grave decorators prevent flowers from becoming litter, and allow gravestones without statues or vase-holders to have beauty.
Notes on the Design
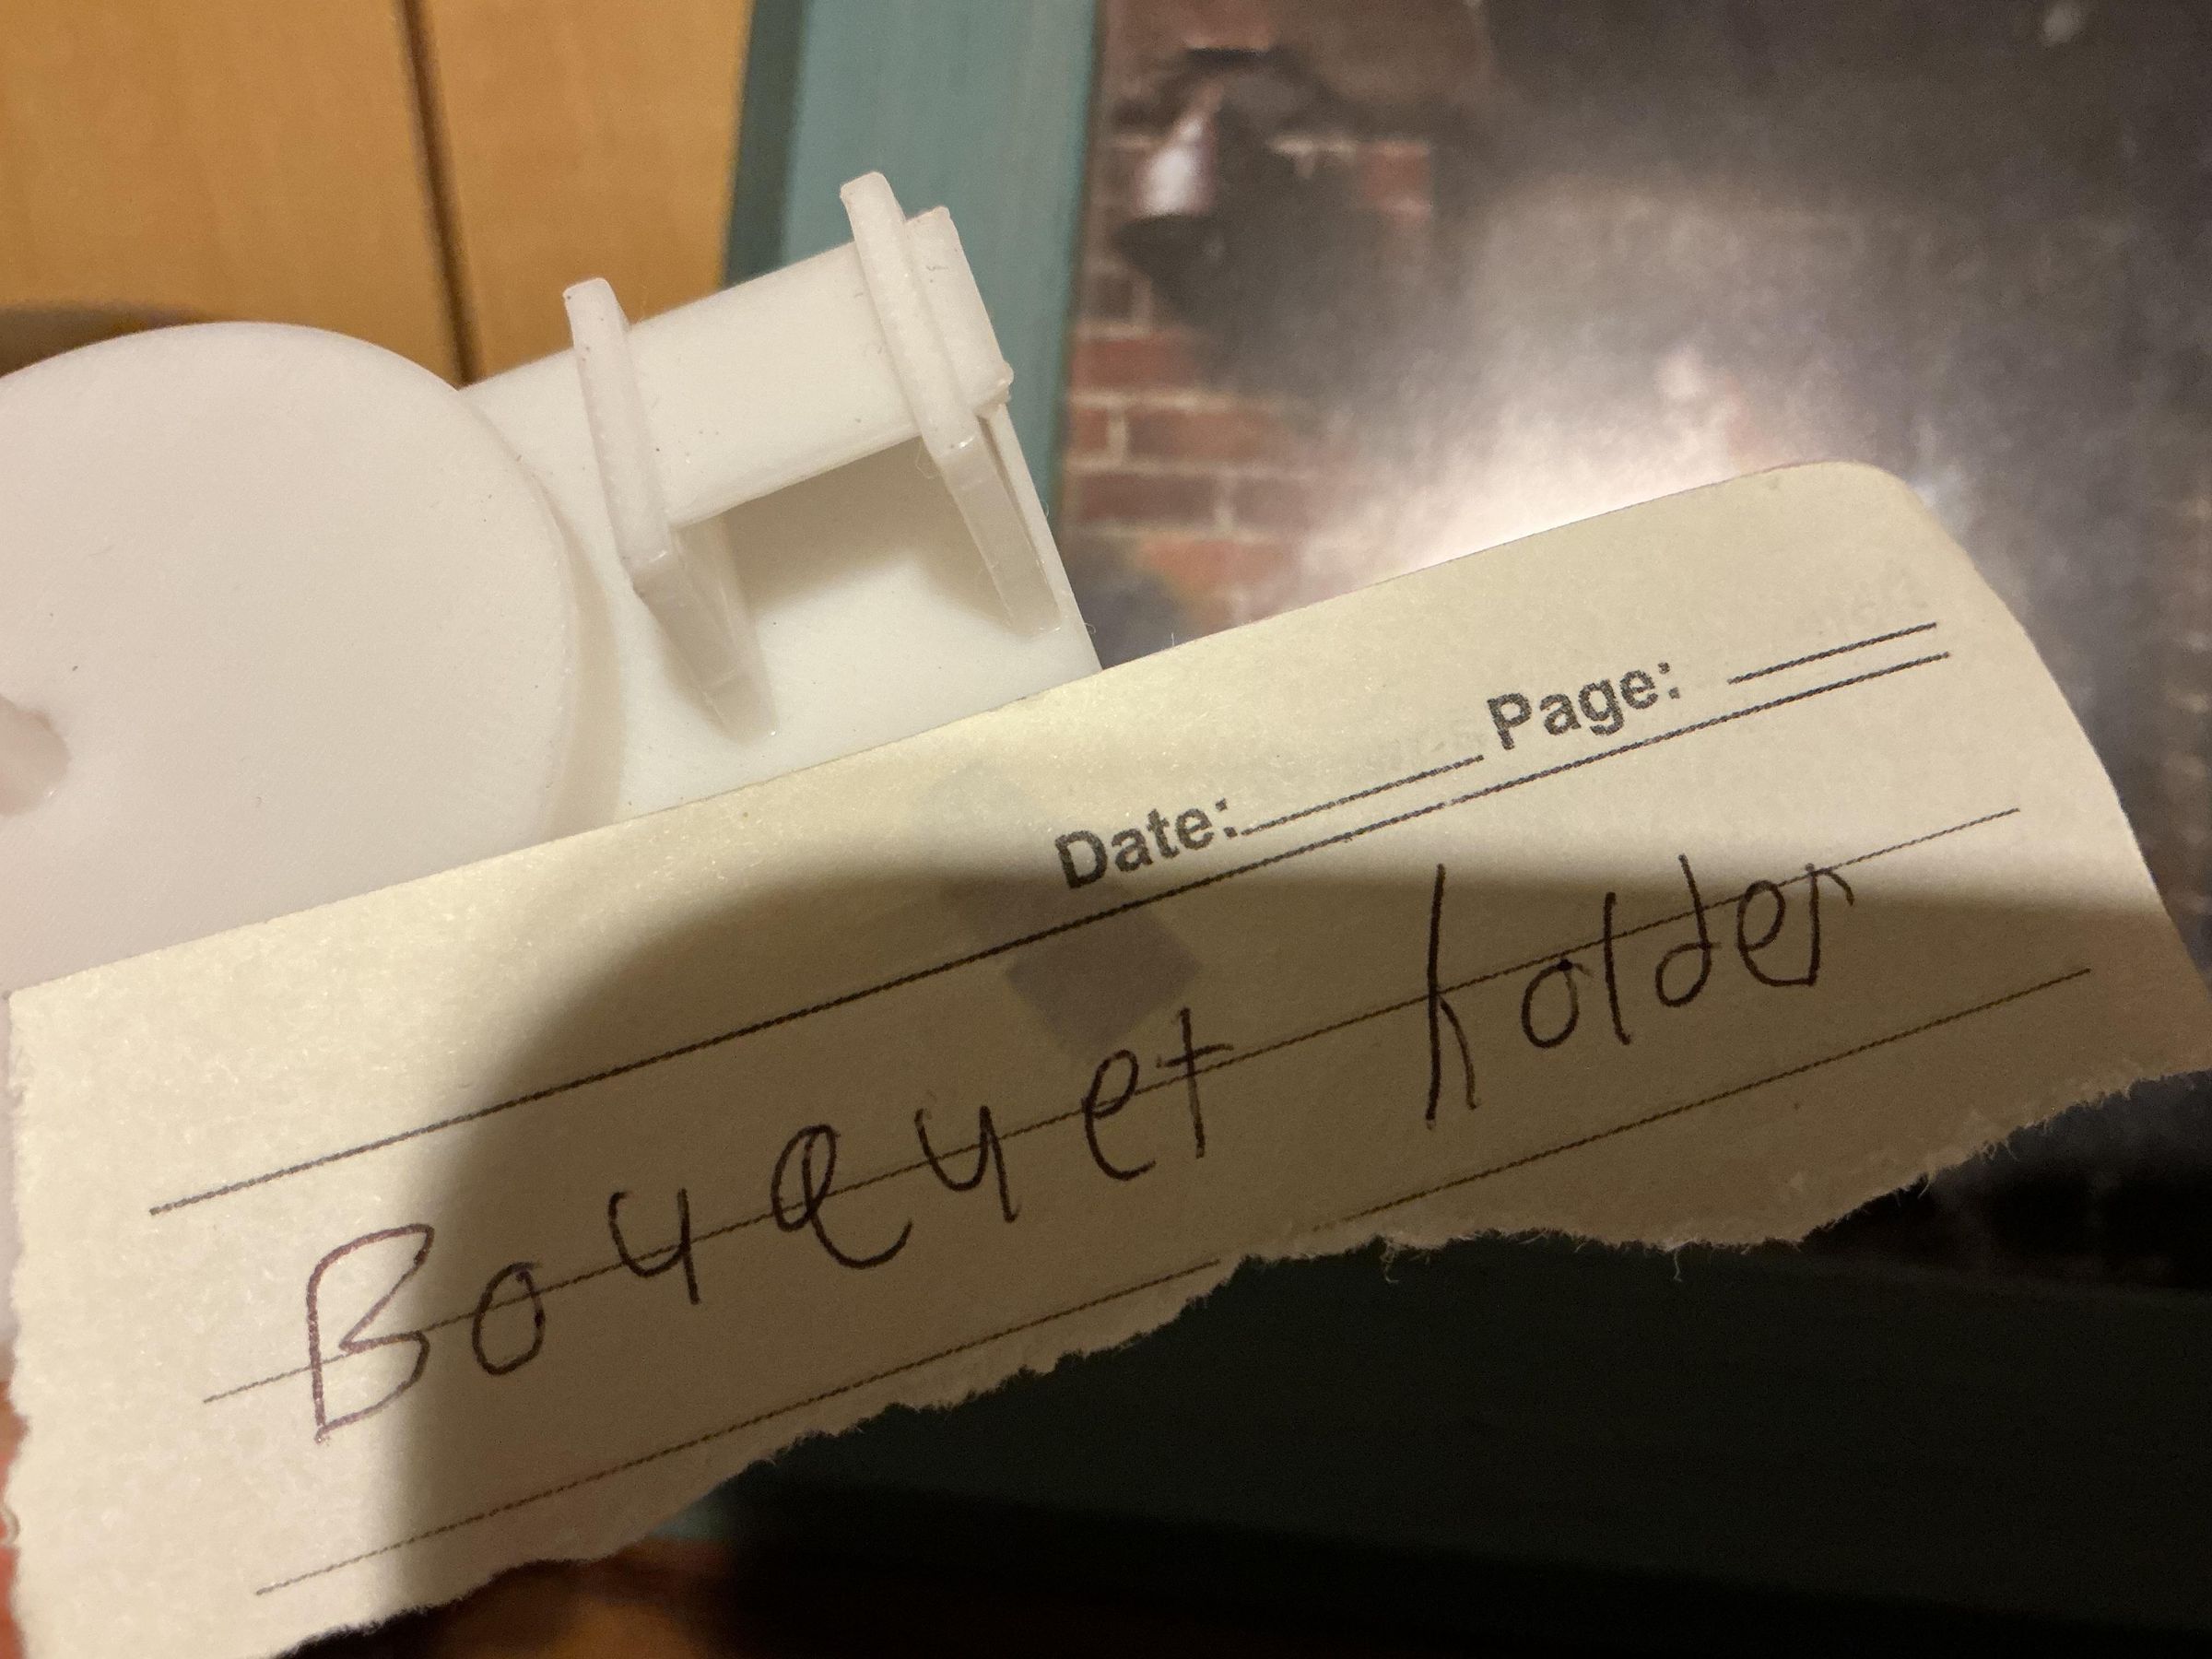
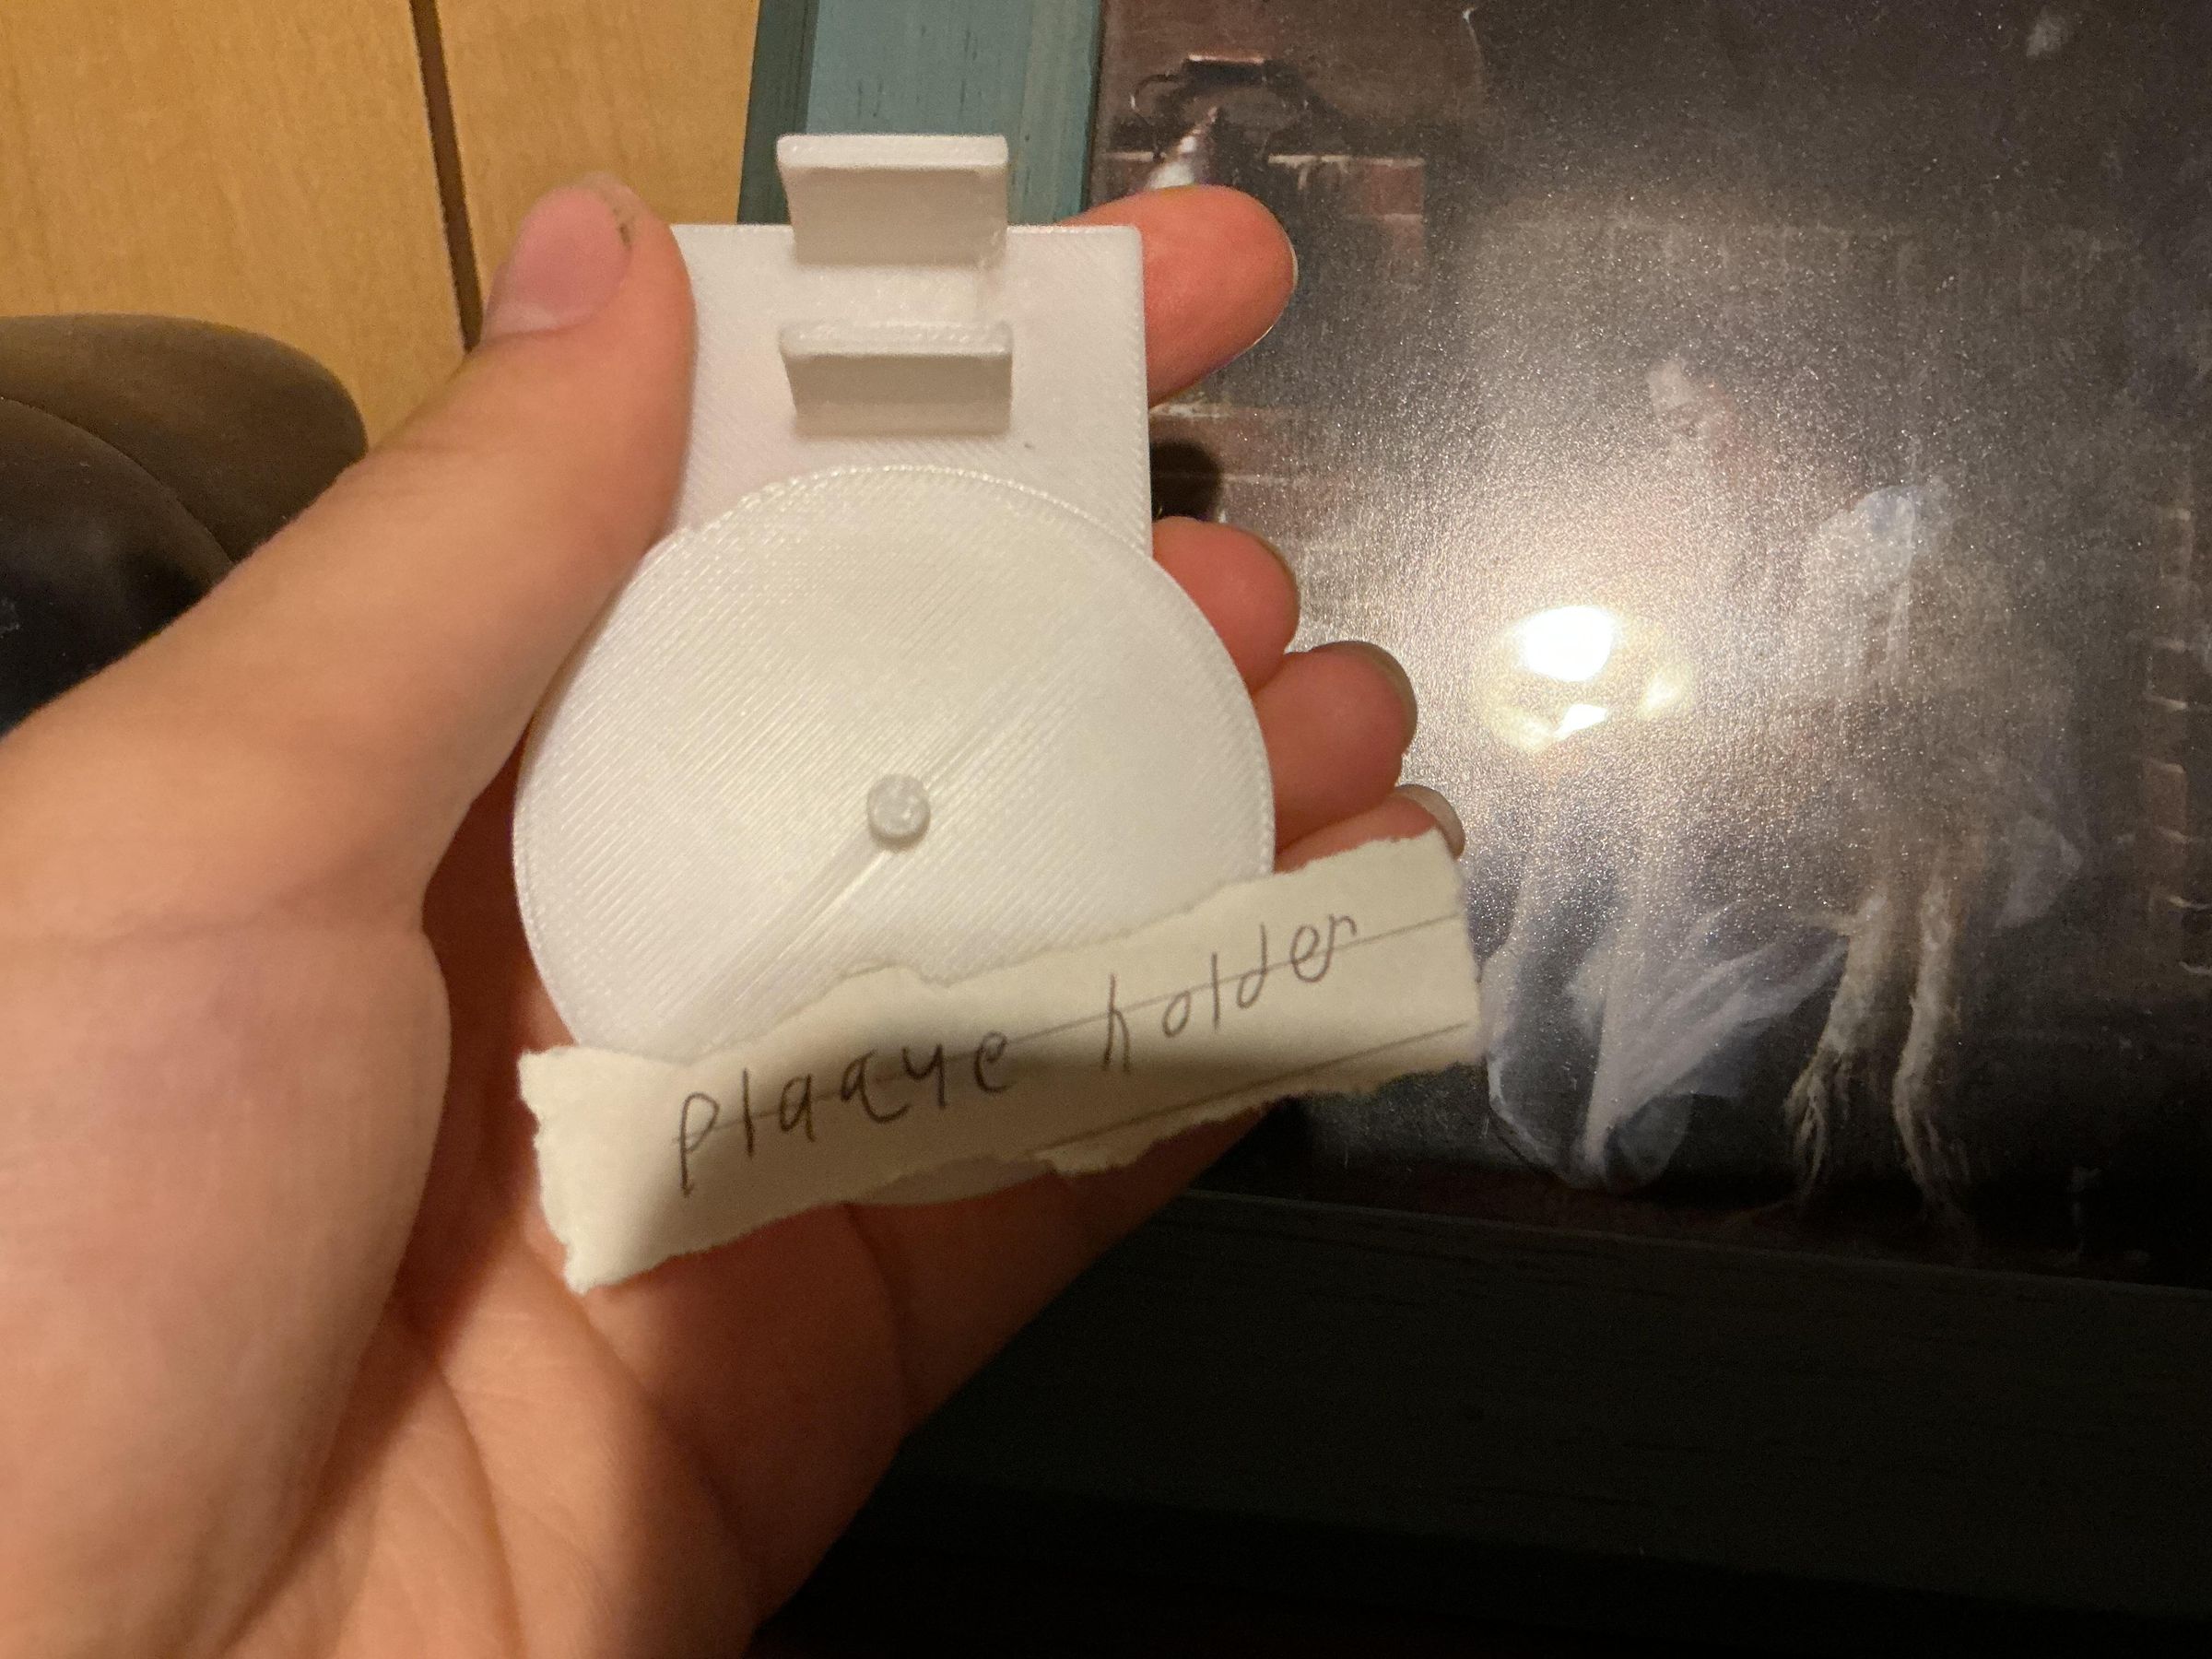
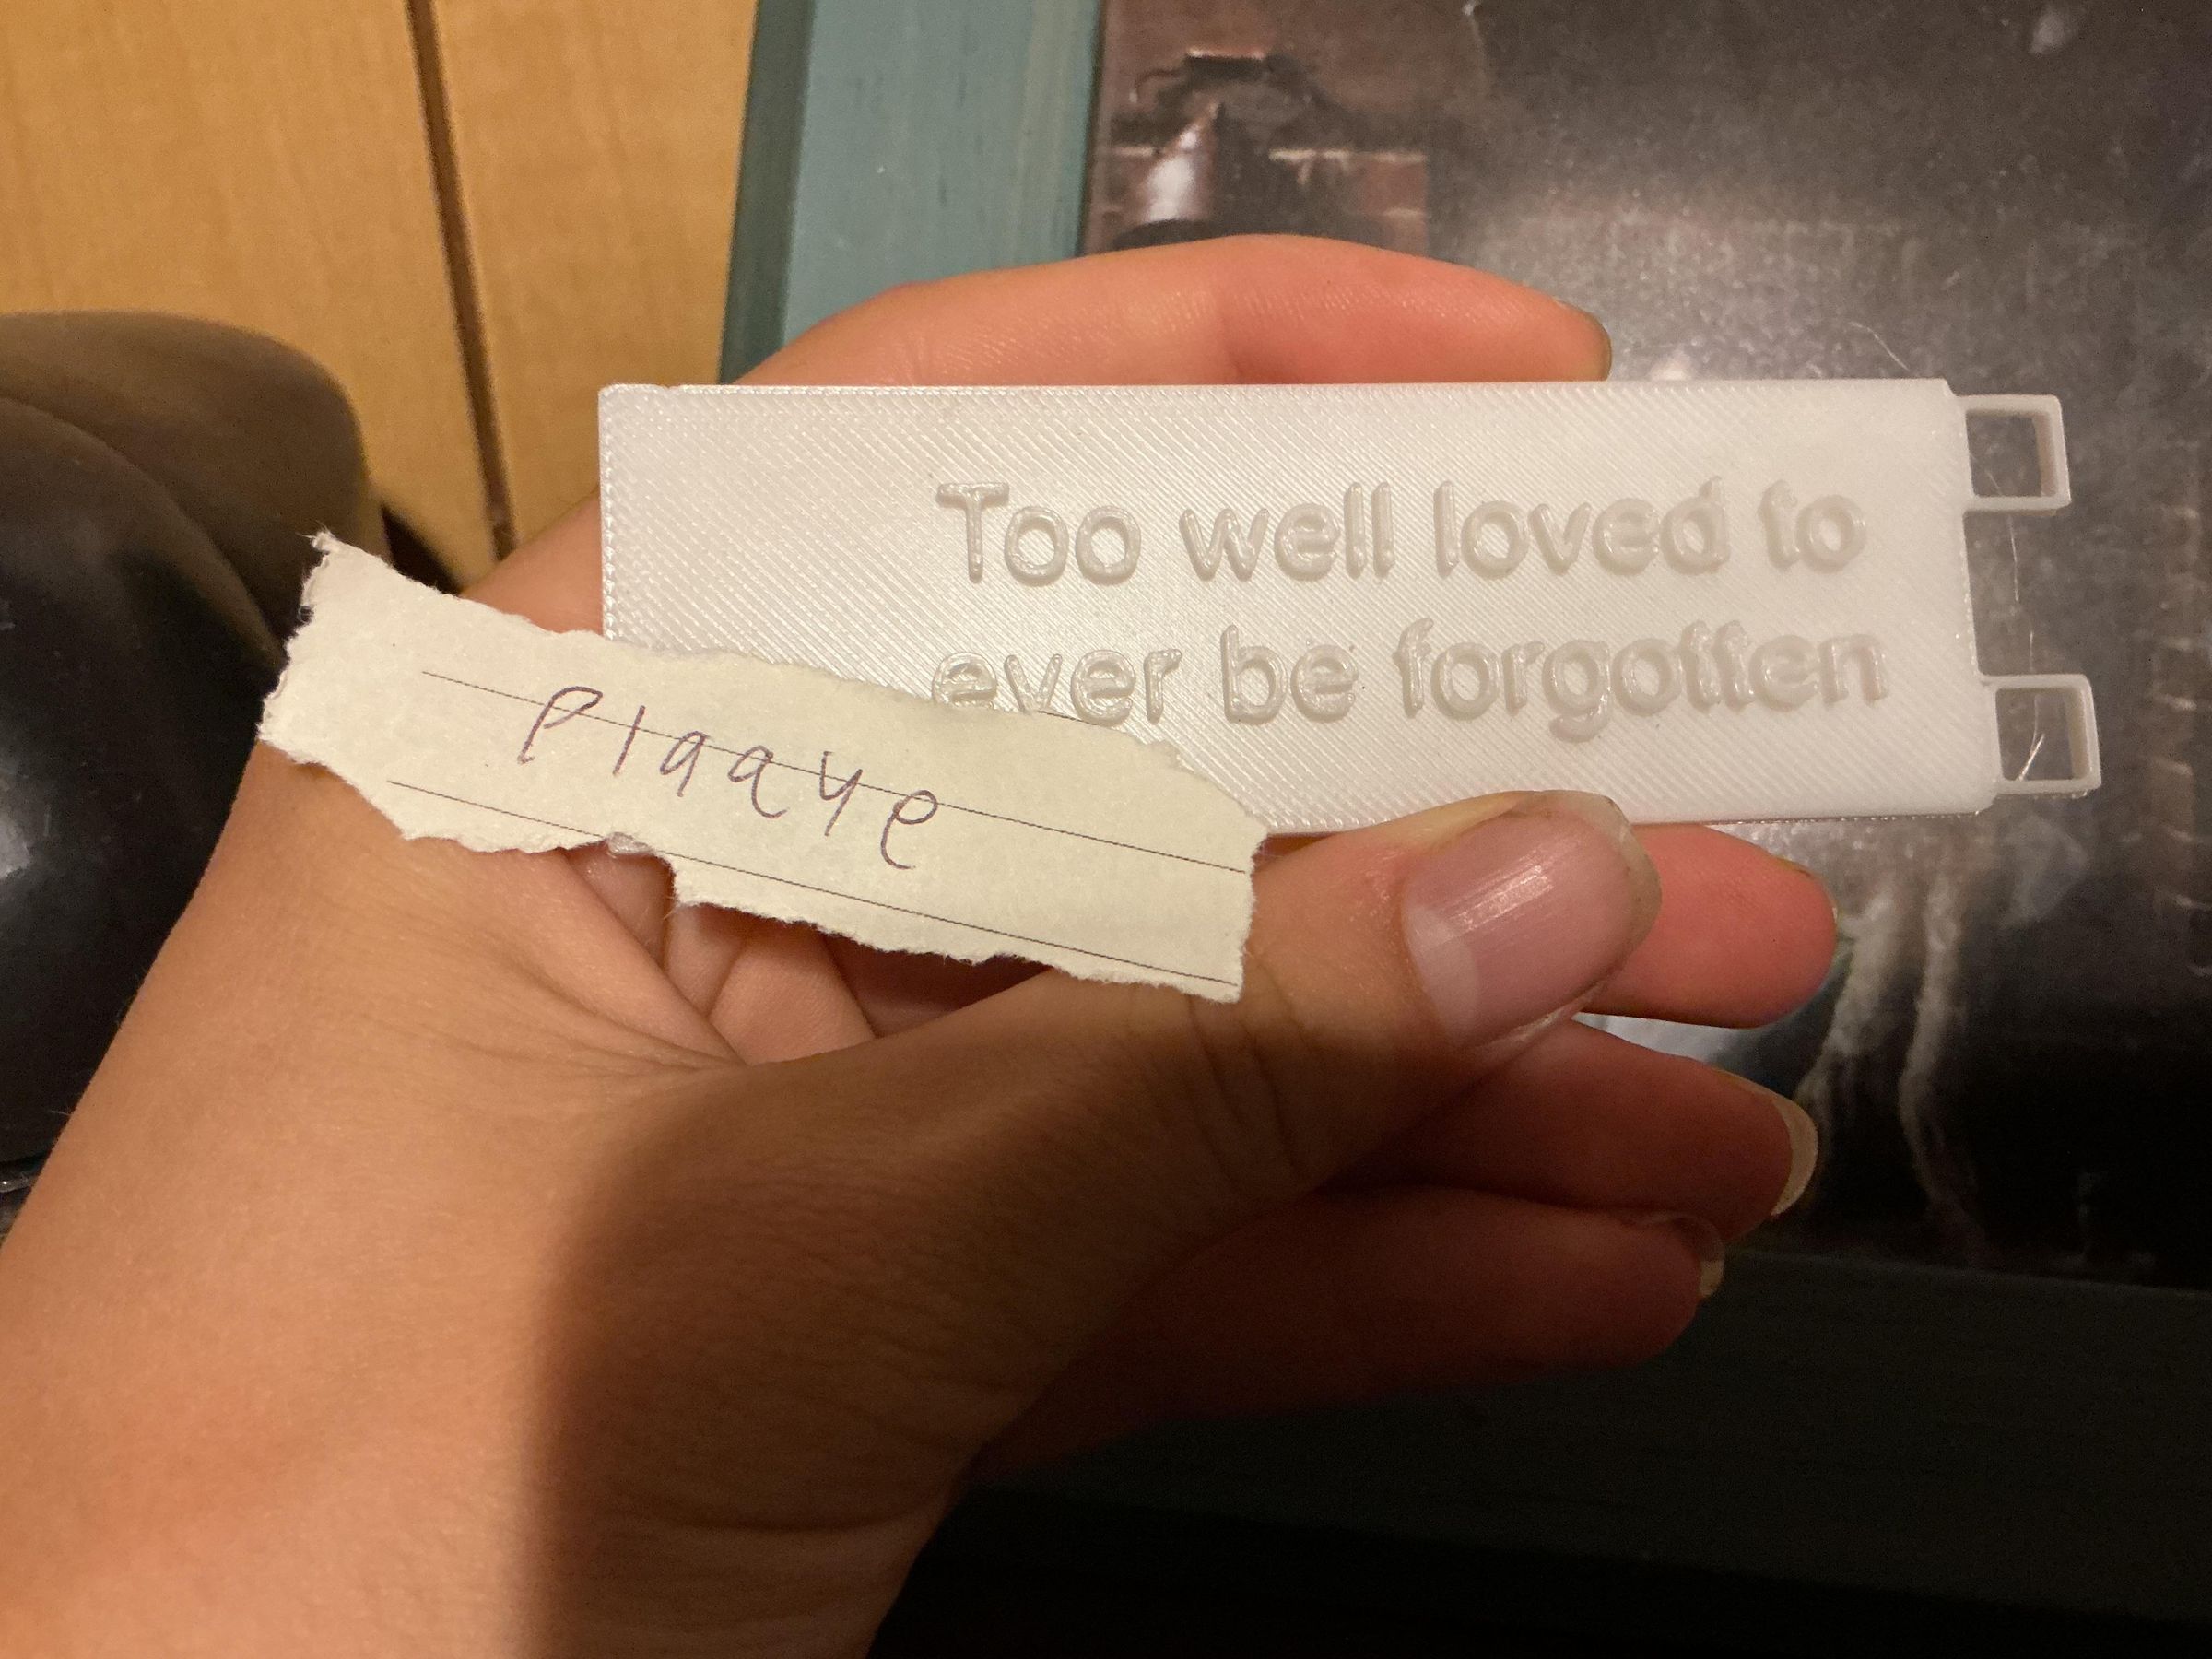
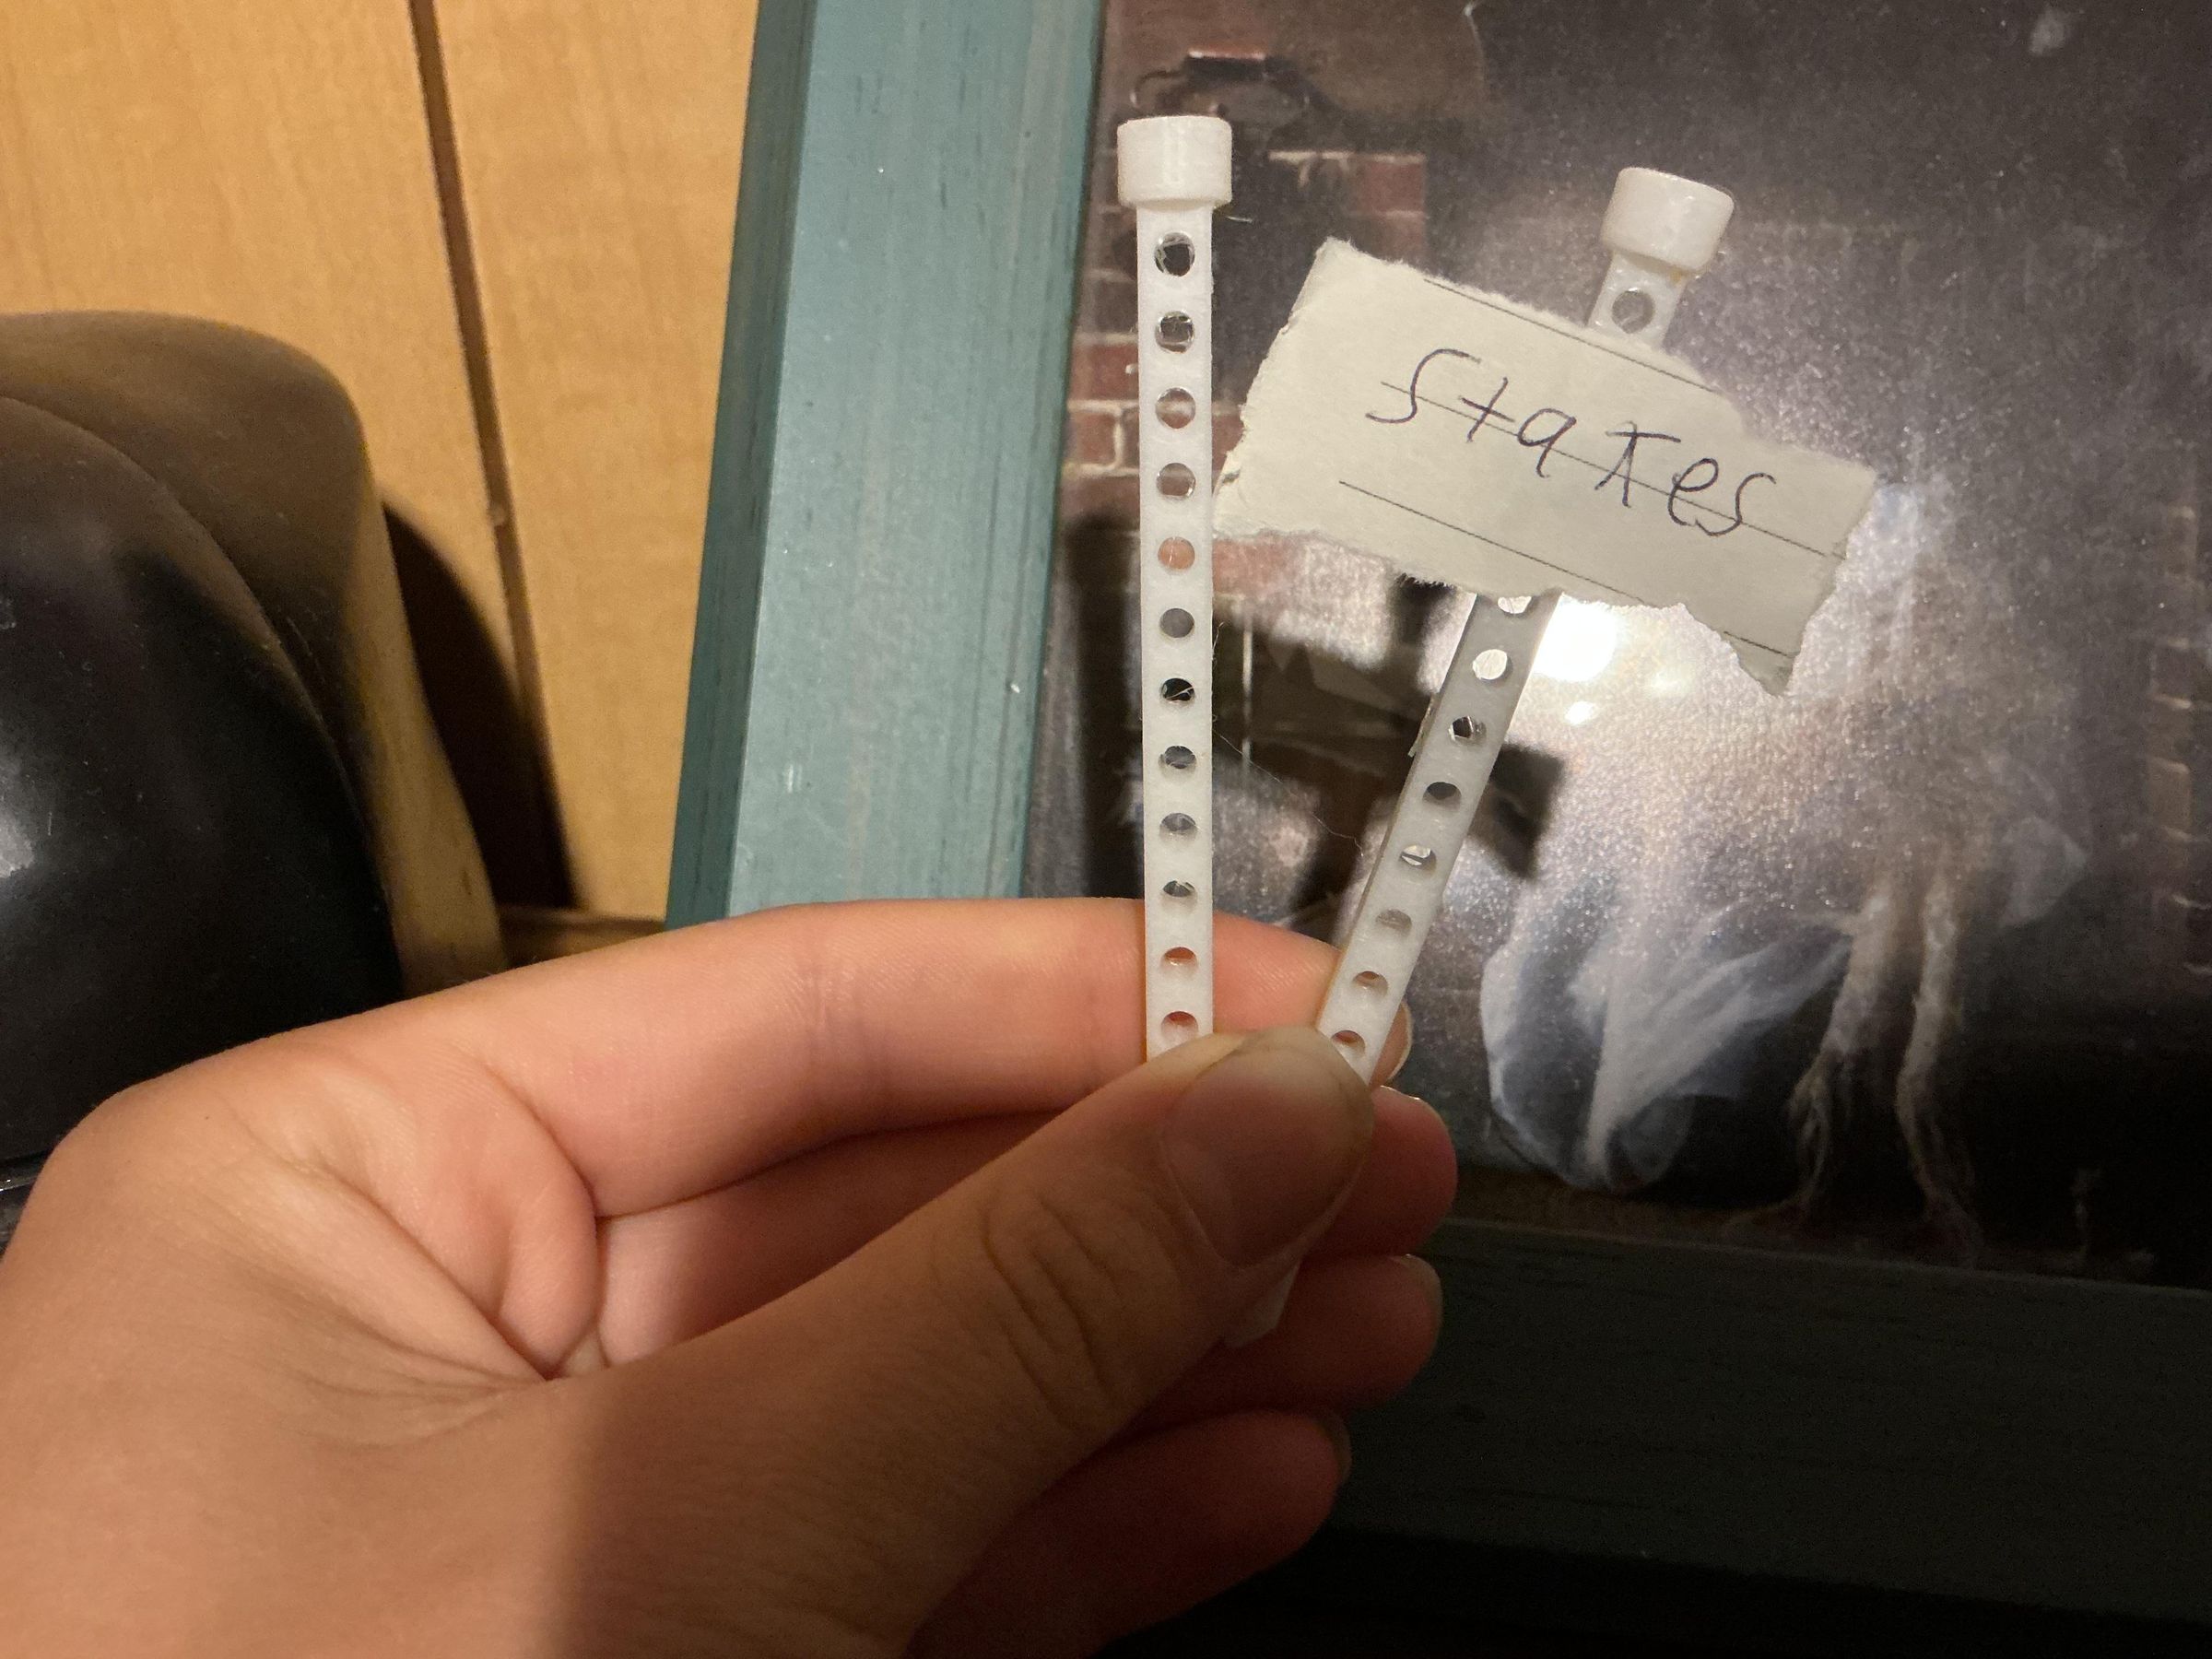
When I was first designing these I took measurements of the gravestones in my local cemetery to determine their ideal length and the placement of the bouquet holder. For most gravestones set into the ground, the grave decorator should not quite extend to where the name would be. If the gravestone you are making this for is different to the gravestones in the photo, you may need to modify some of the components, such as the stakes. I will explain in the steps how to do this.
Parts explanation:
Bouquet holder: This component keeps bouquets in place so that they don't get blown away. I placed it on the plaque holder so that the flowers would be on the gravestone. The reason for this is because it can make it difficult for the grounds keepers when there are flowers laying around and not on the graves. Often, they will have to throw these away.
Plaque: This gives the grave decorator length, but also allows you to include a custom message or quote. It slides into the plaque holder using tiny skids at the bottom of the plaque holder.
Plaque holder: This is where you can stick on your customizable object. The nub in the middle is to allow you to switch out the objects while making sure the current one stays on.
Stakes: These keep the grave decorator firmly pressed onto the gravestone, and makes it less likely that it will get thrown away by the grounds keepers. The purpose for the little cylinders is to stick them above and below where the square holes of the plaque meets the stake. This prevents it from sliding up or down the stakes.
Customize Stake Length
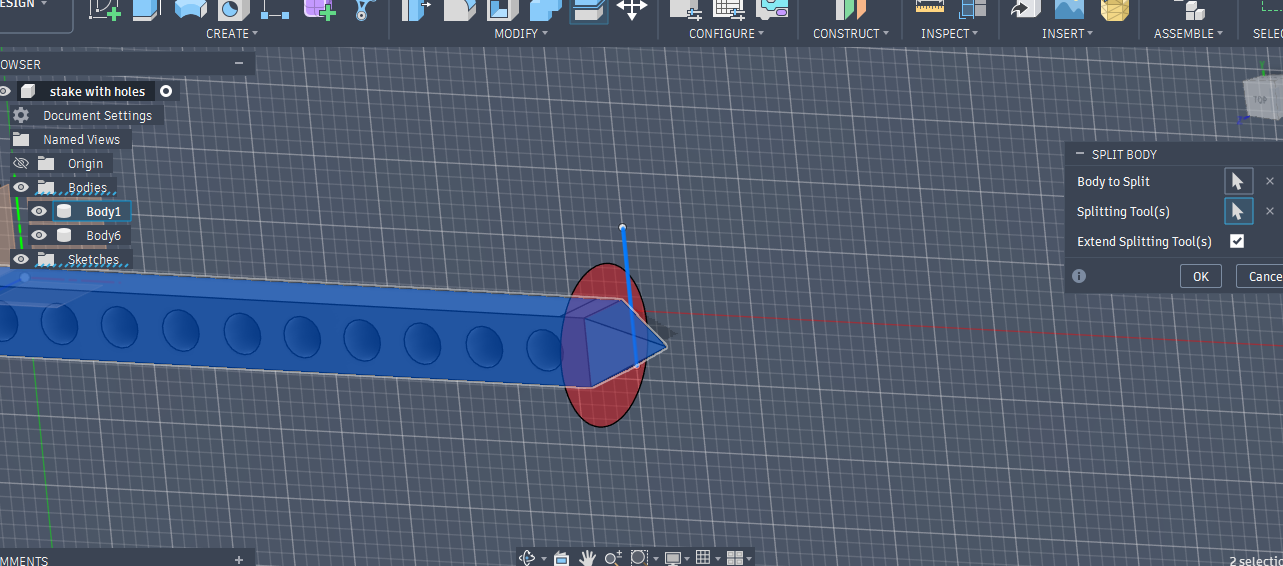
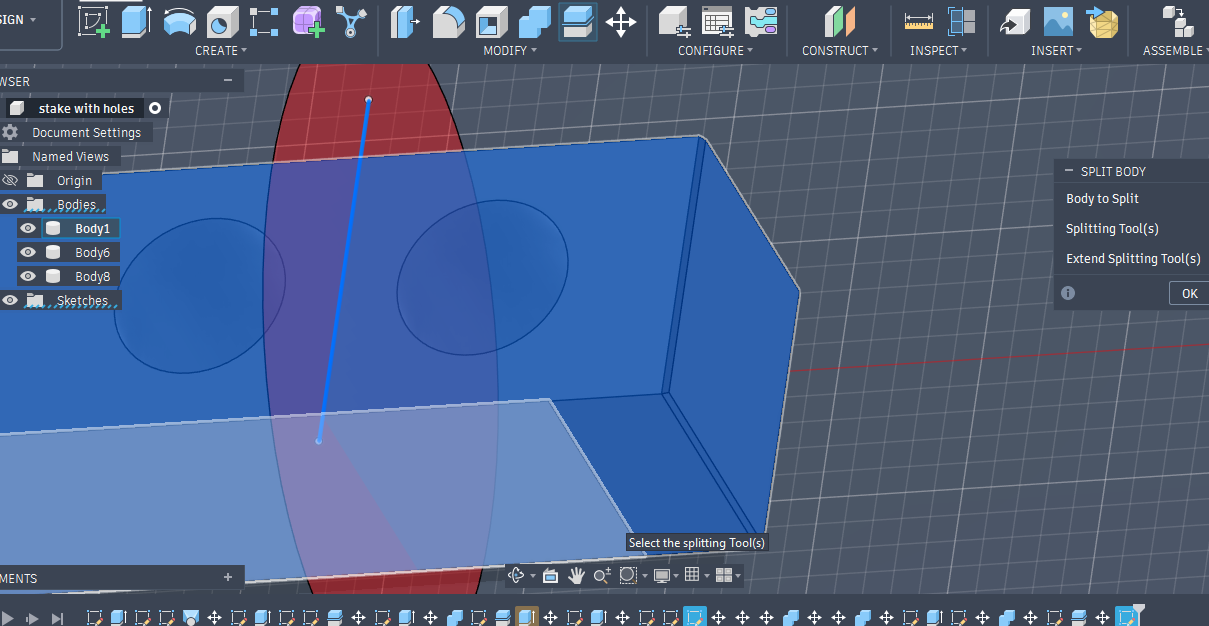
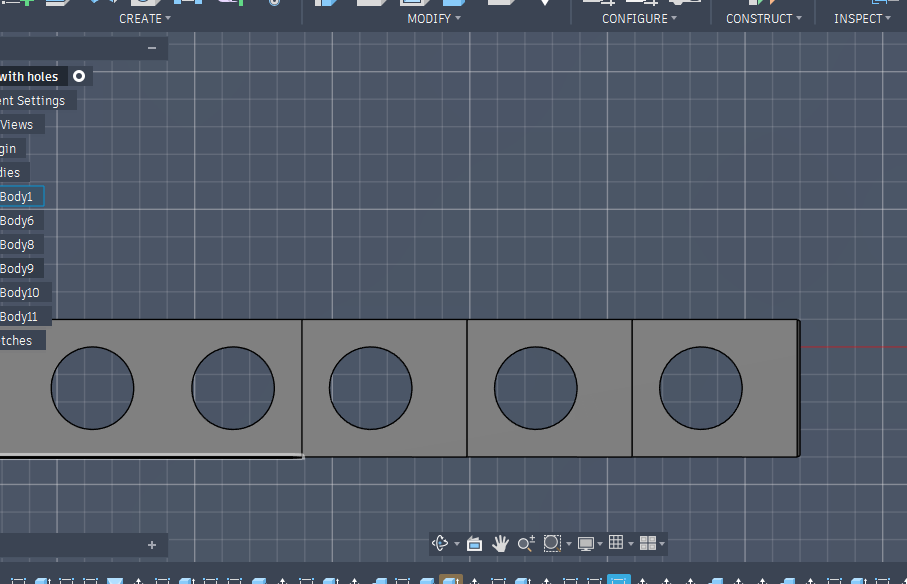
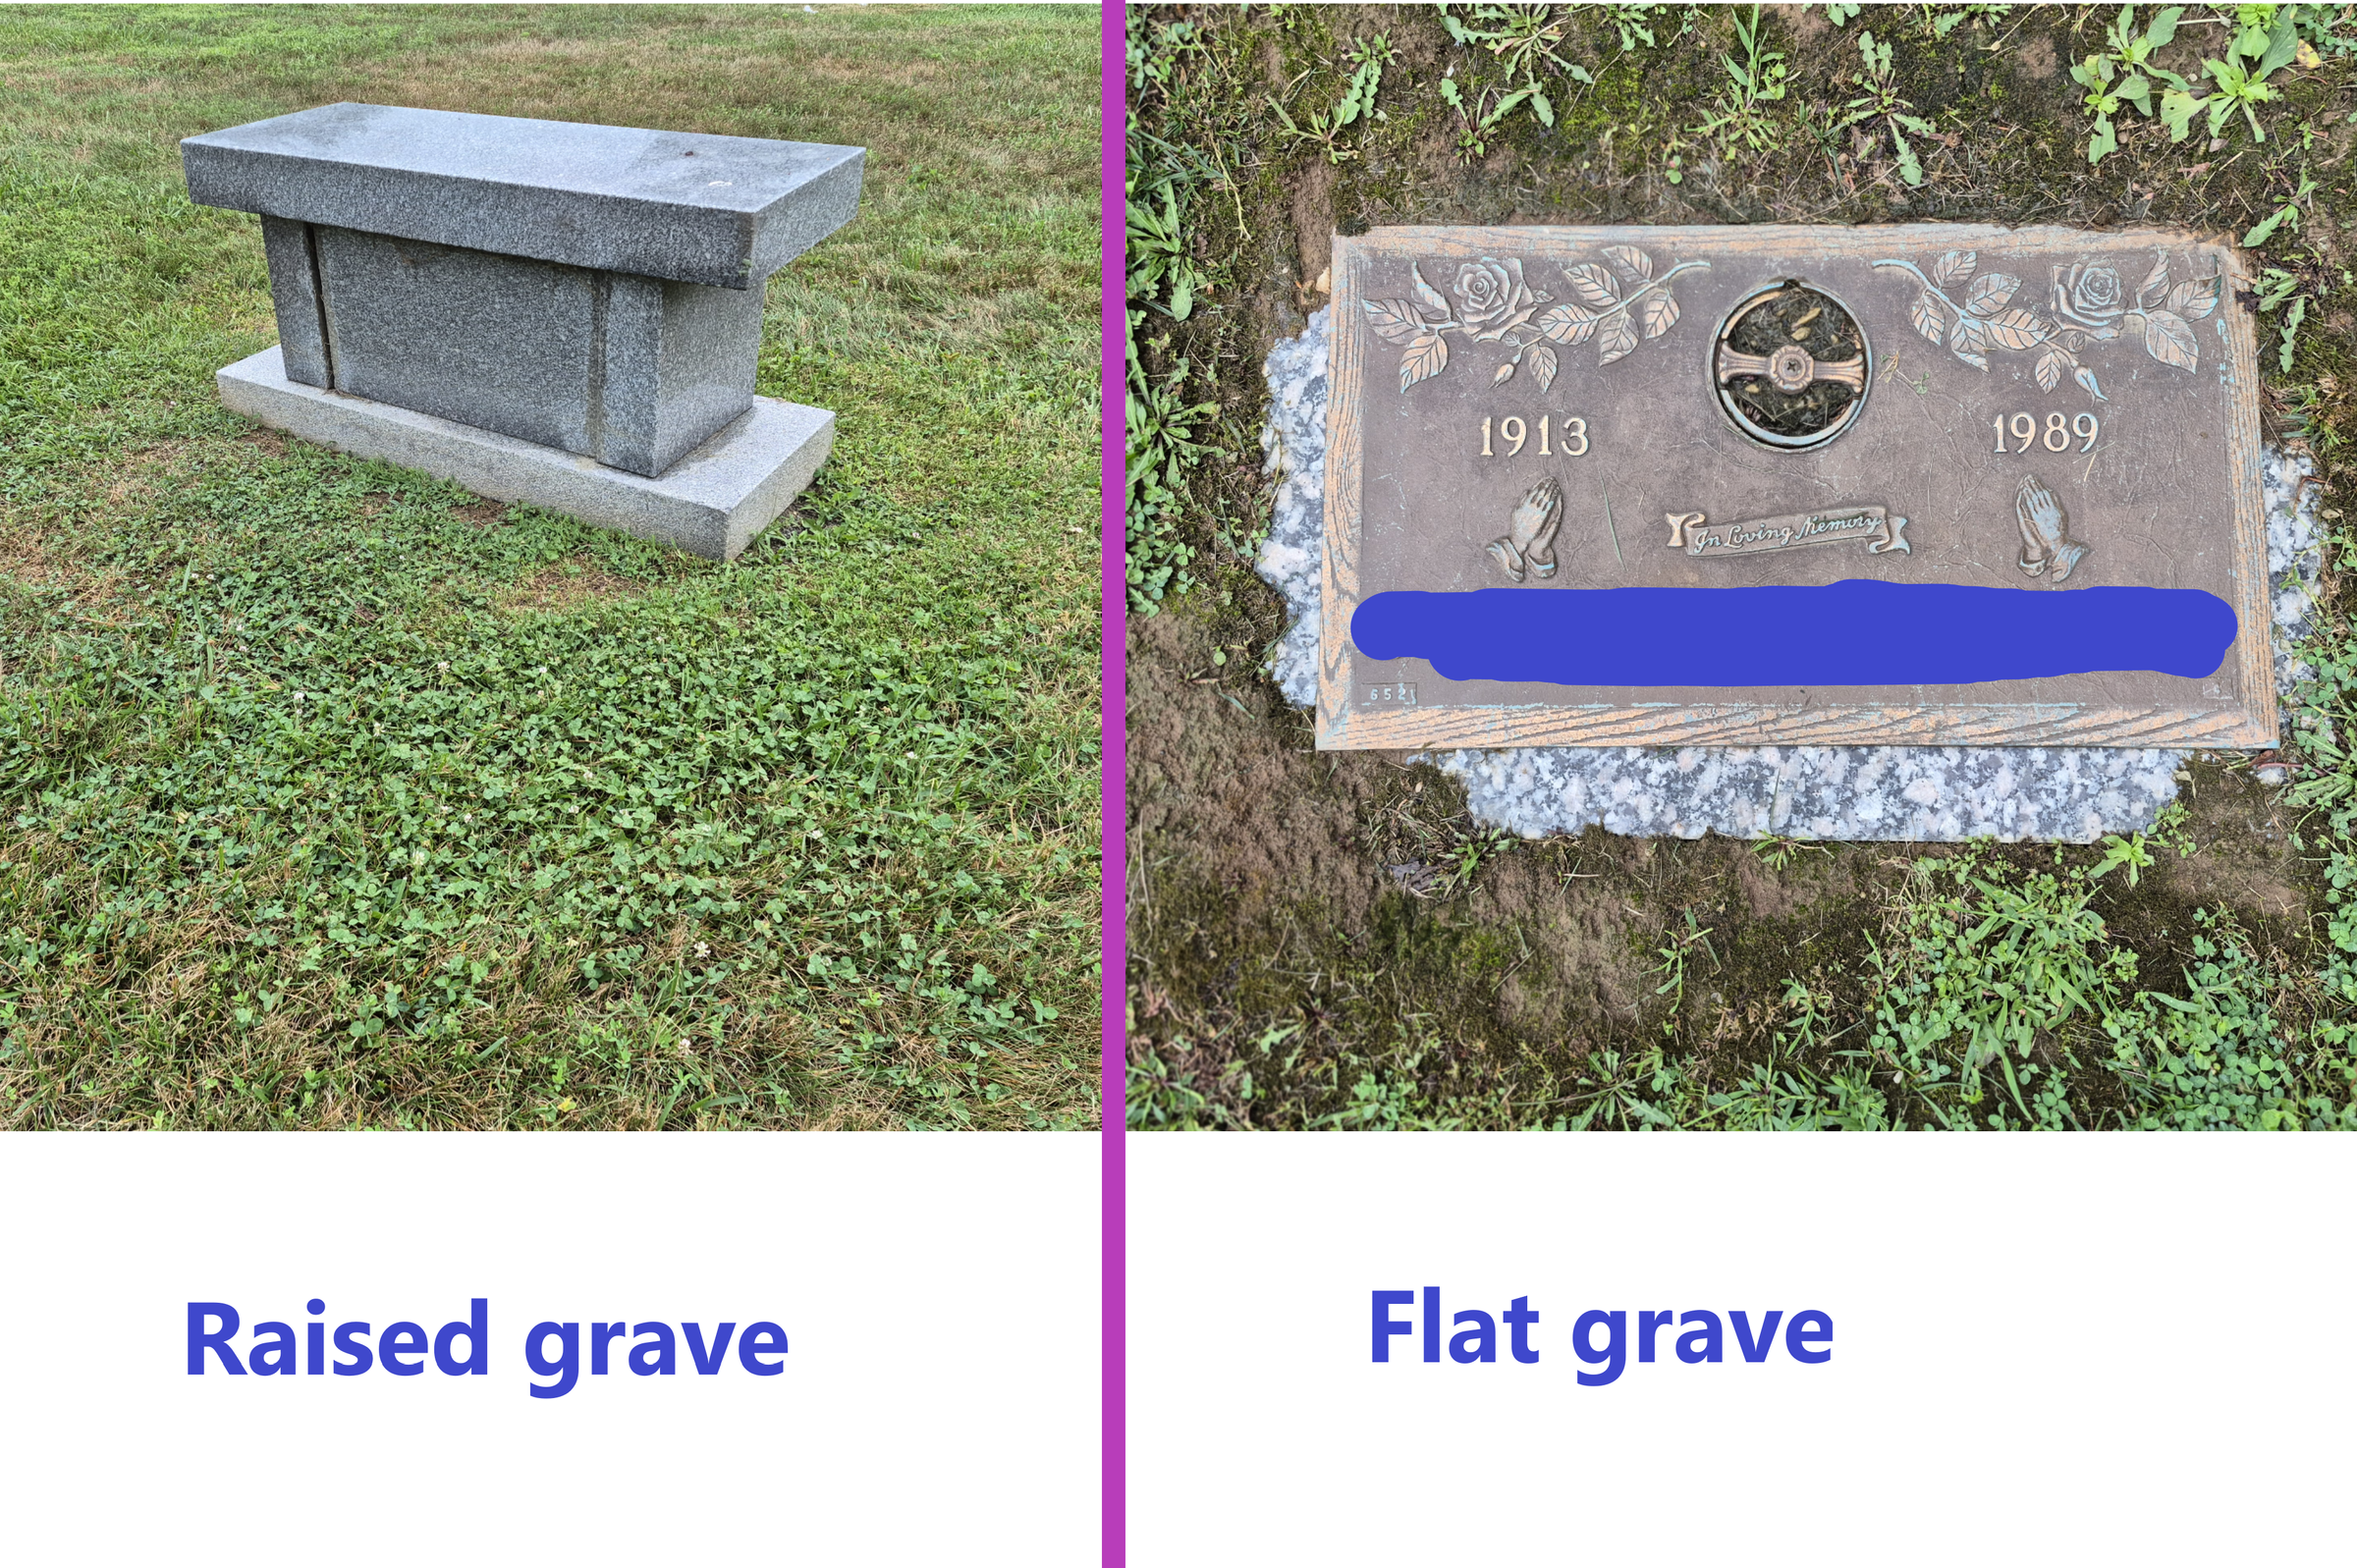
The stakes are the thing that hold the grave decorator against the gravestone. If the gravestone is set into the ground then you can just stick the stakes in through the square holes at the end, but it can be more difficult if the gravestone is raised above the ground. In this case, adjust the height of the stakes so that they are at least 3cm taller than the height of the gravestone. If you are using fusion 360, then do the following:
- Draw a line above the pointed end of the stake
- Use the cutting tool to make the pointed end of the stake a new body
- Move the pointed end downwards the necessary distance to make the stake the right height
- Draw new vertical lines connecting the new and old body
- Draw a line across the stake that encompasses at least one hole
- Use the cutting tool to make this a new body
- Copy this new body and drag it down as many times as you need until the stake is the correct length
- Move the pointed end of the stake to it’s new position
Feed the longer stakes through the square holes of the grave decorator and stick them as far as you can into the ground. Stick the tiny cylinders through the holes directly below where the grave decorator meets the stake. This should keep it in place.
Customize Plaque
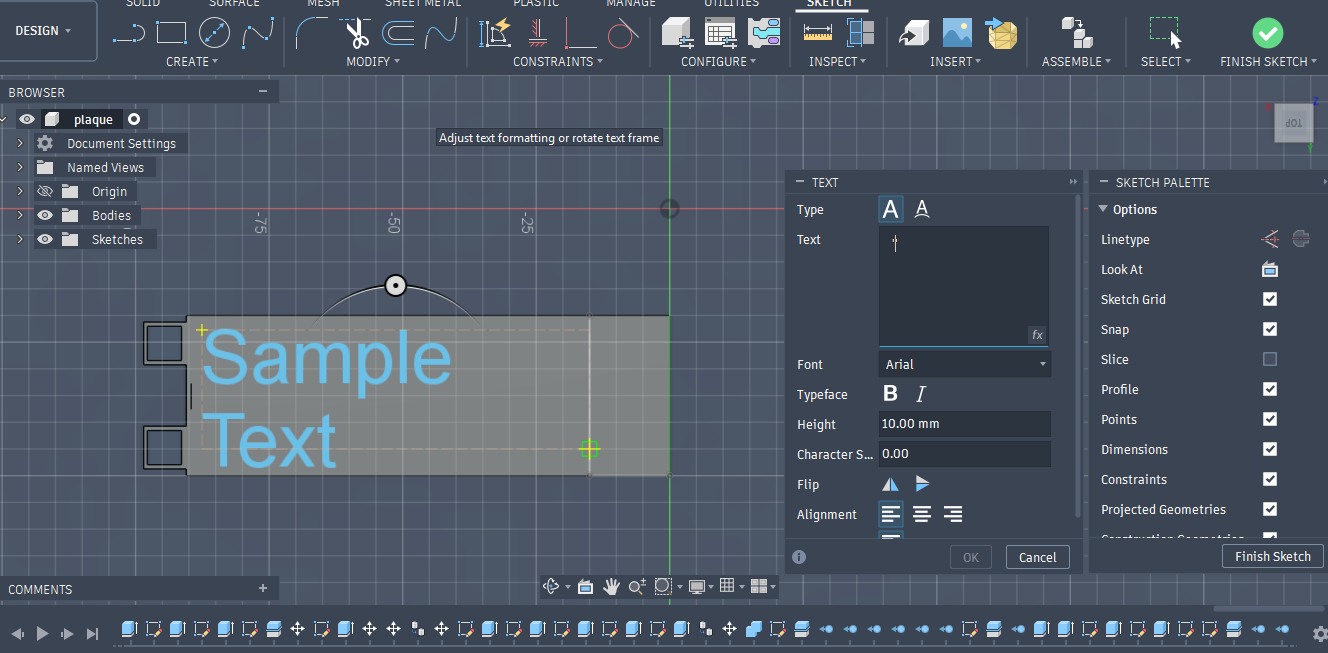
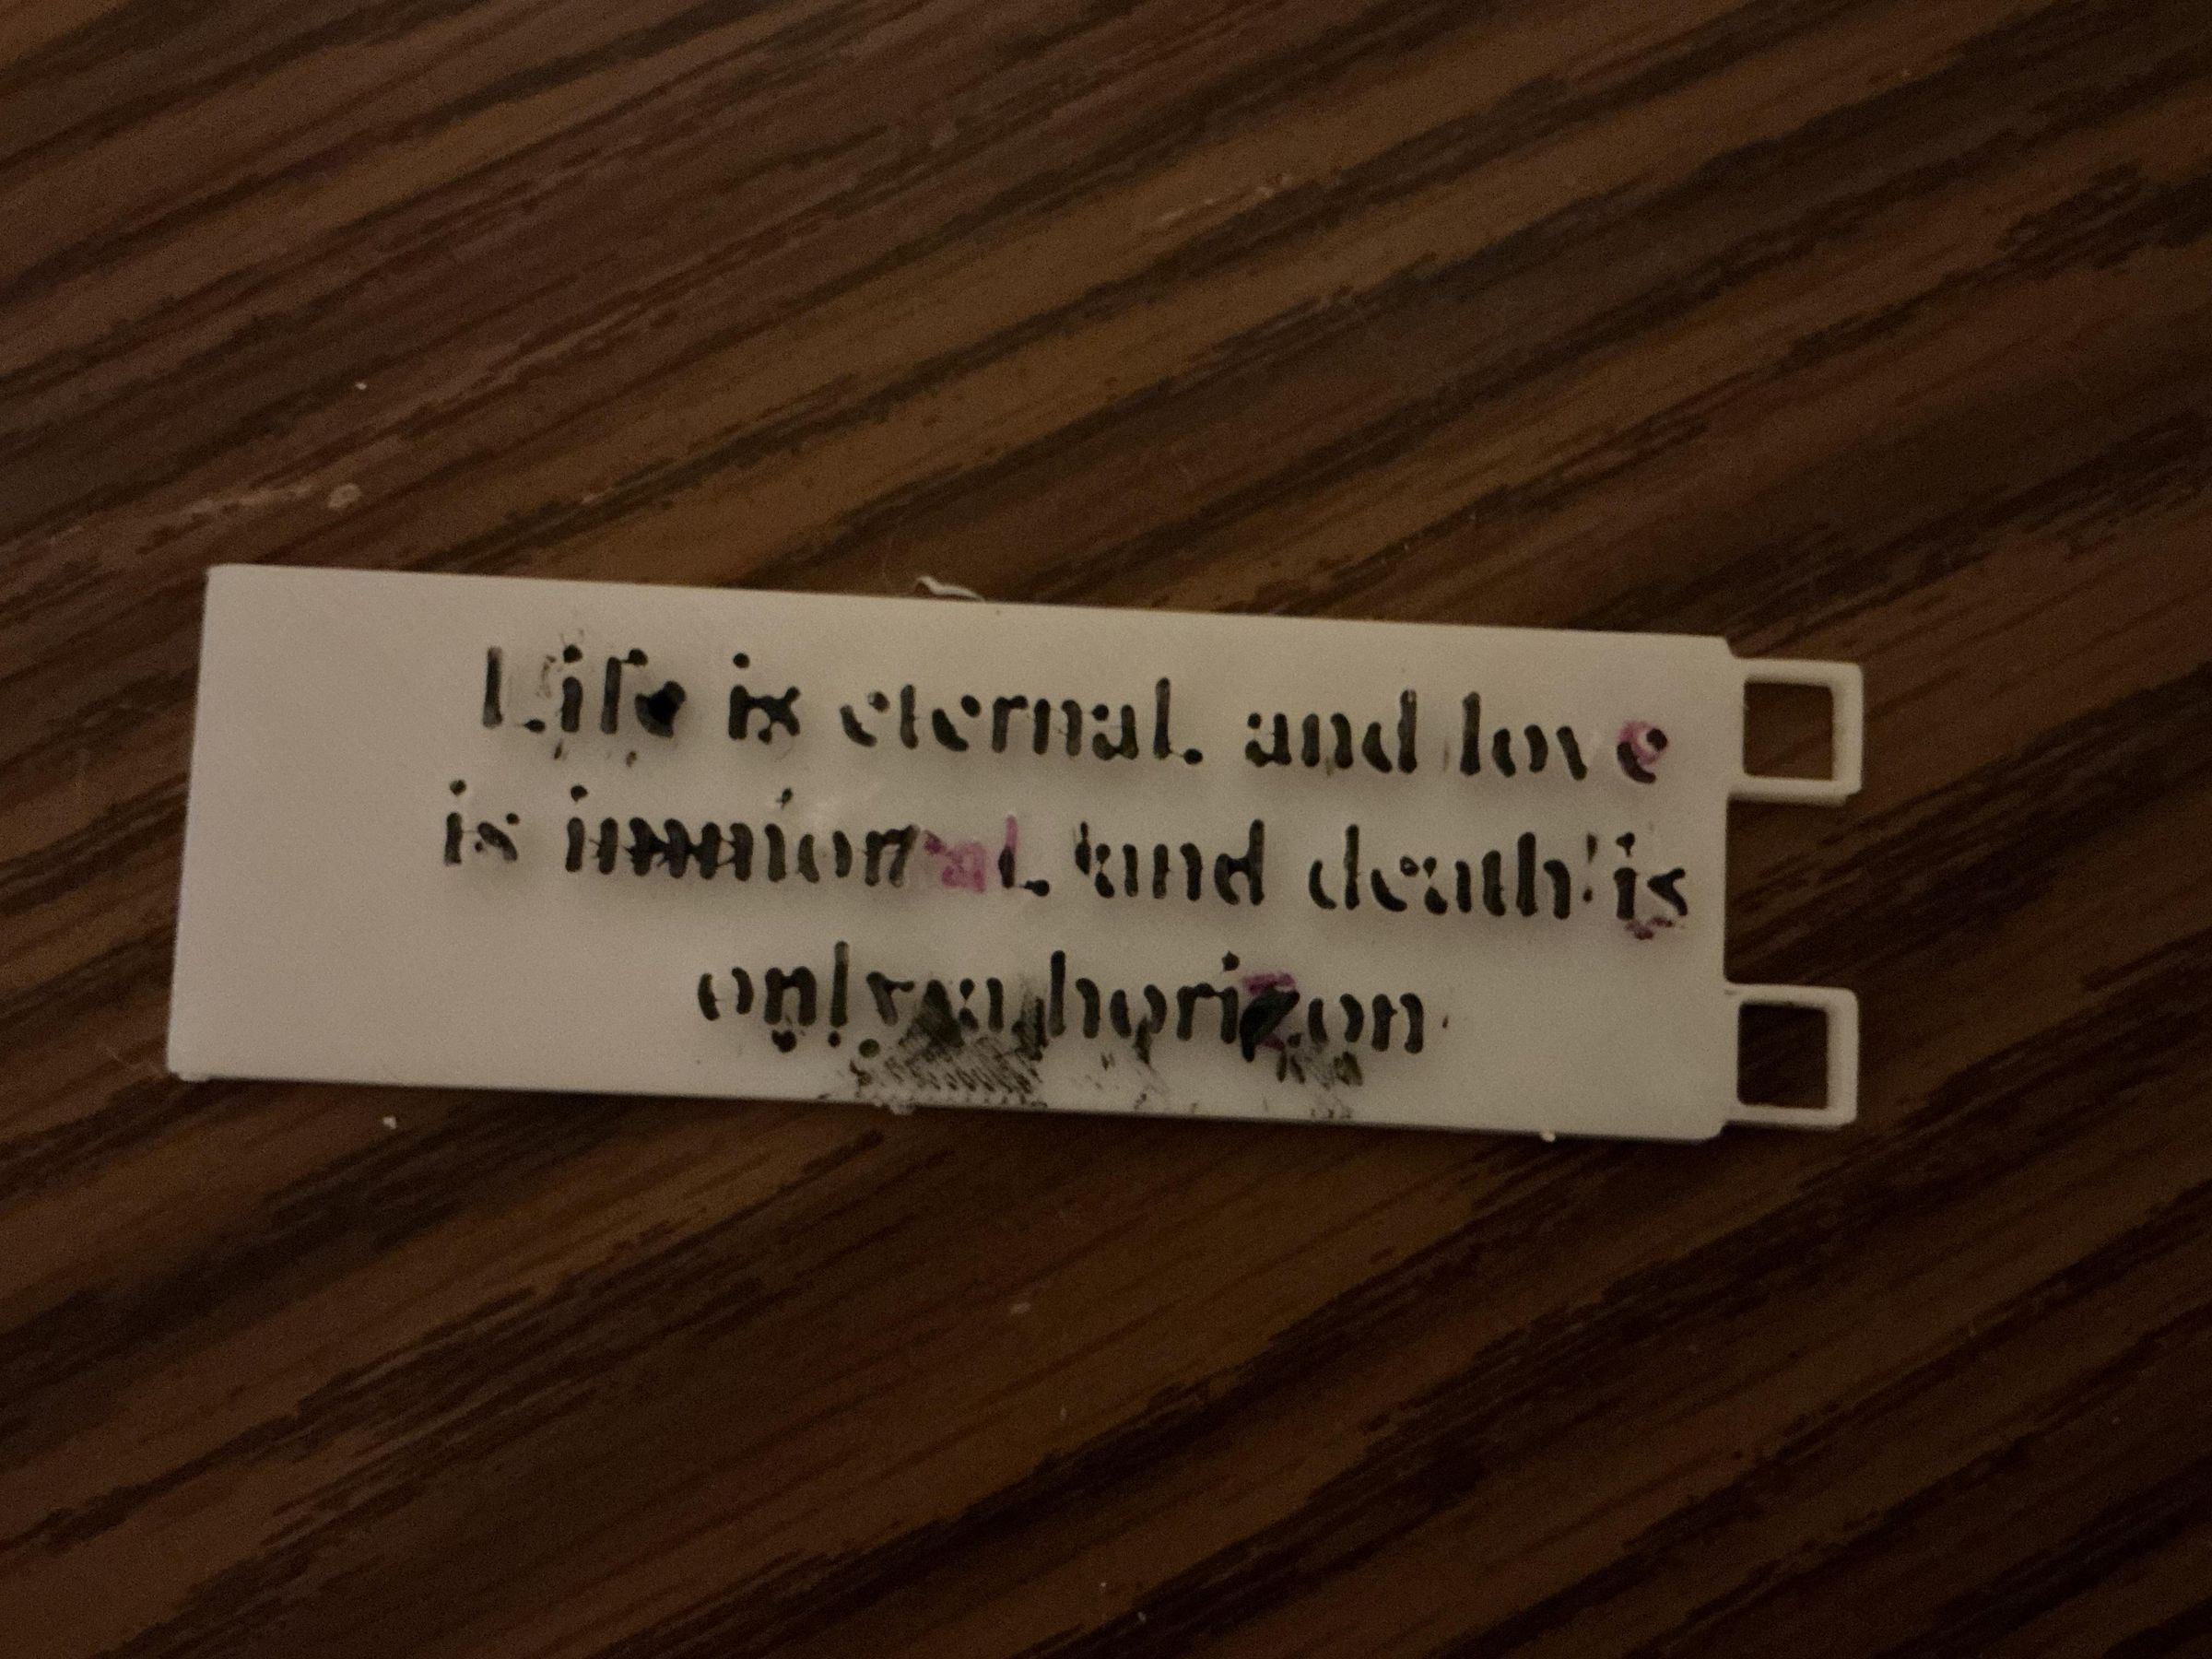
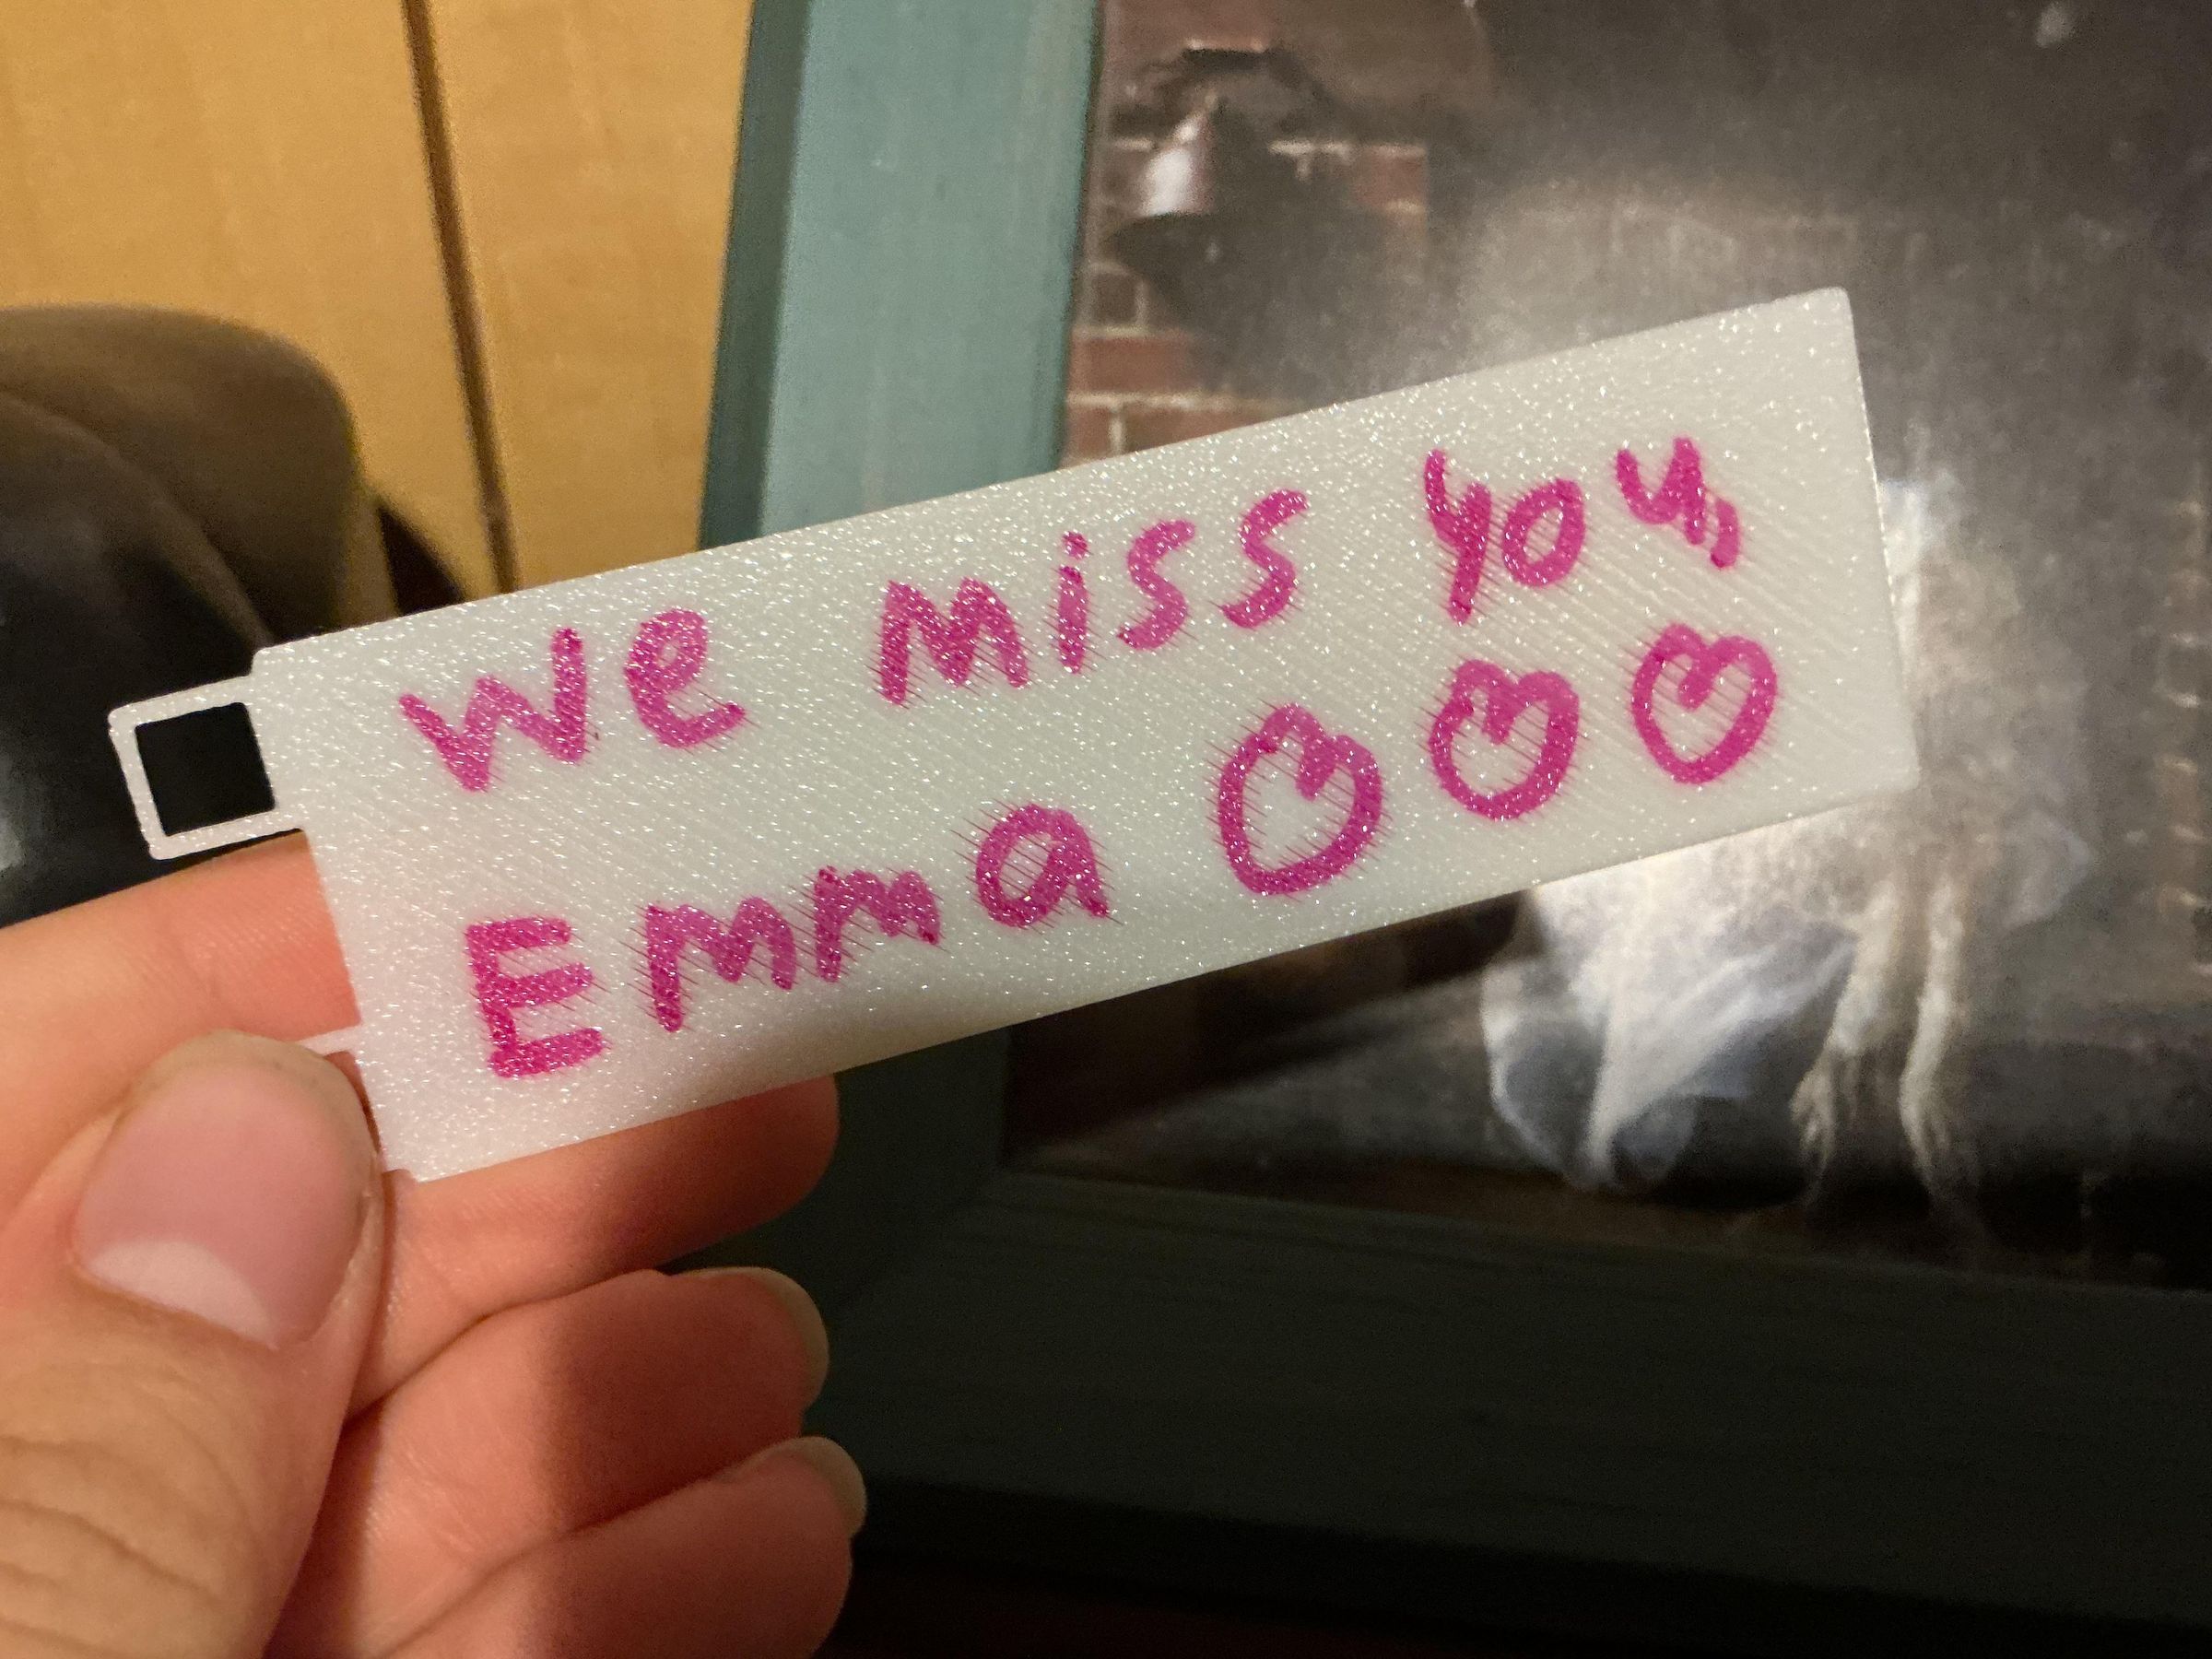
The plaque can be customized if you have 3d modeling software that allows you to input text. Simply choose your desired message, write it on the plaque (I recommend Arial font), and extrude it either outwards on inwards 2mm. If you do not have software that allows you to input text, then you can print a blank plaque and write a message on it in sharpie. However, make sure to leave at least 1.5cm of space from the text to the end of the plaque without the square holes so that you will have room to stick it into the plaque holder.
If you want to use a fancy font or have a long message with small lettering, I recommend using a .2 nozzle instead of a .4.
Also, if you have trouble seeing the text you can print it in another color or paint it afterwards. However, painting it does not always go well as you can see from the photo of my own attempt.
Choose Commemorative Object
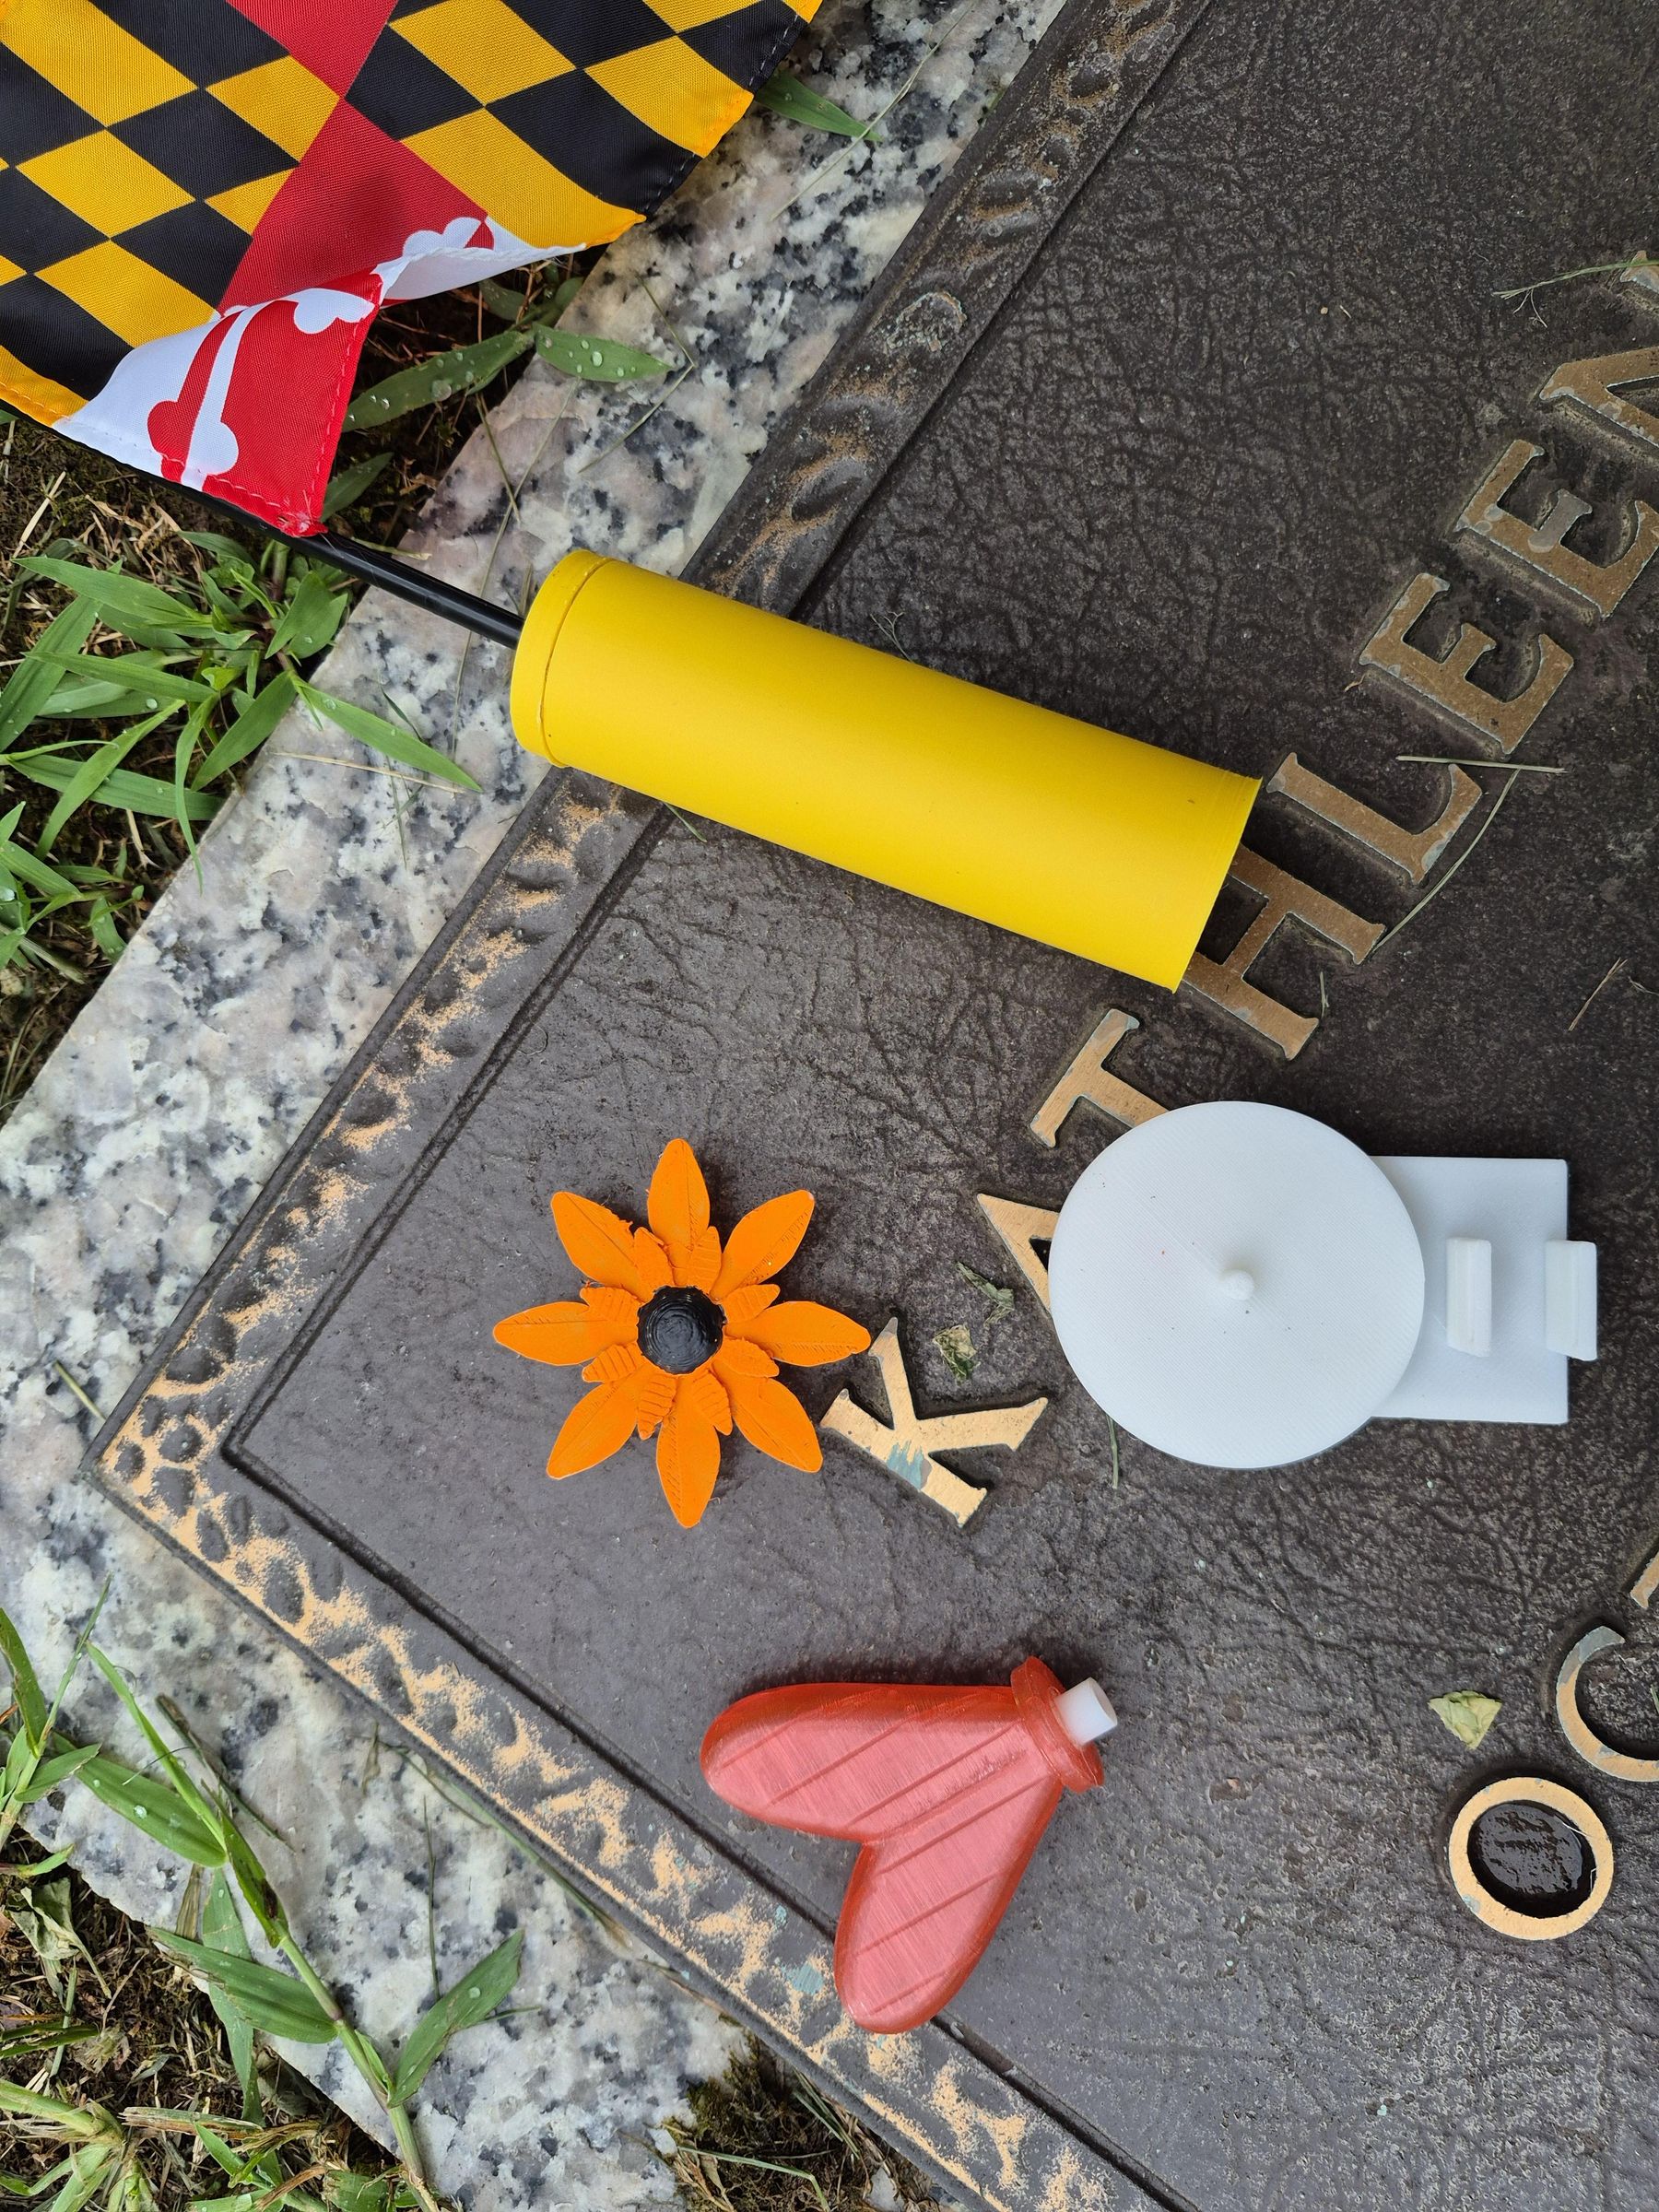
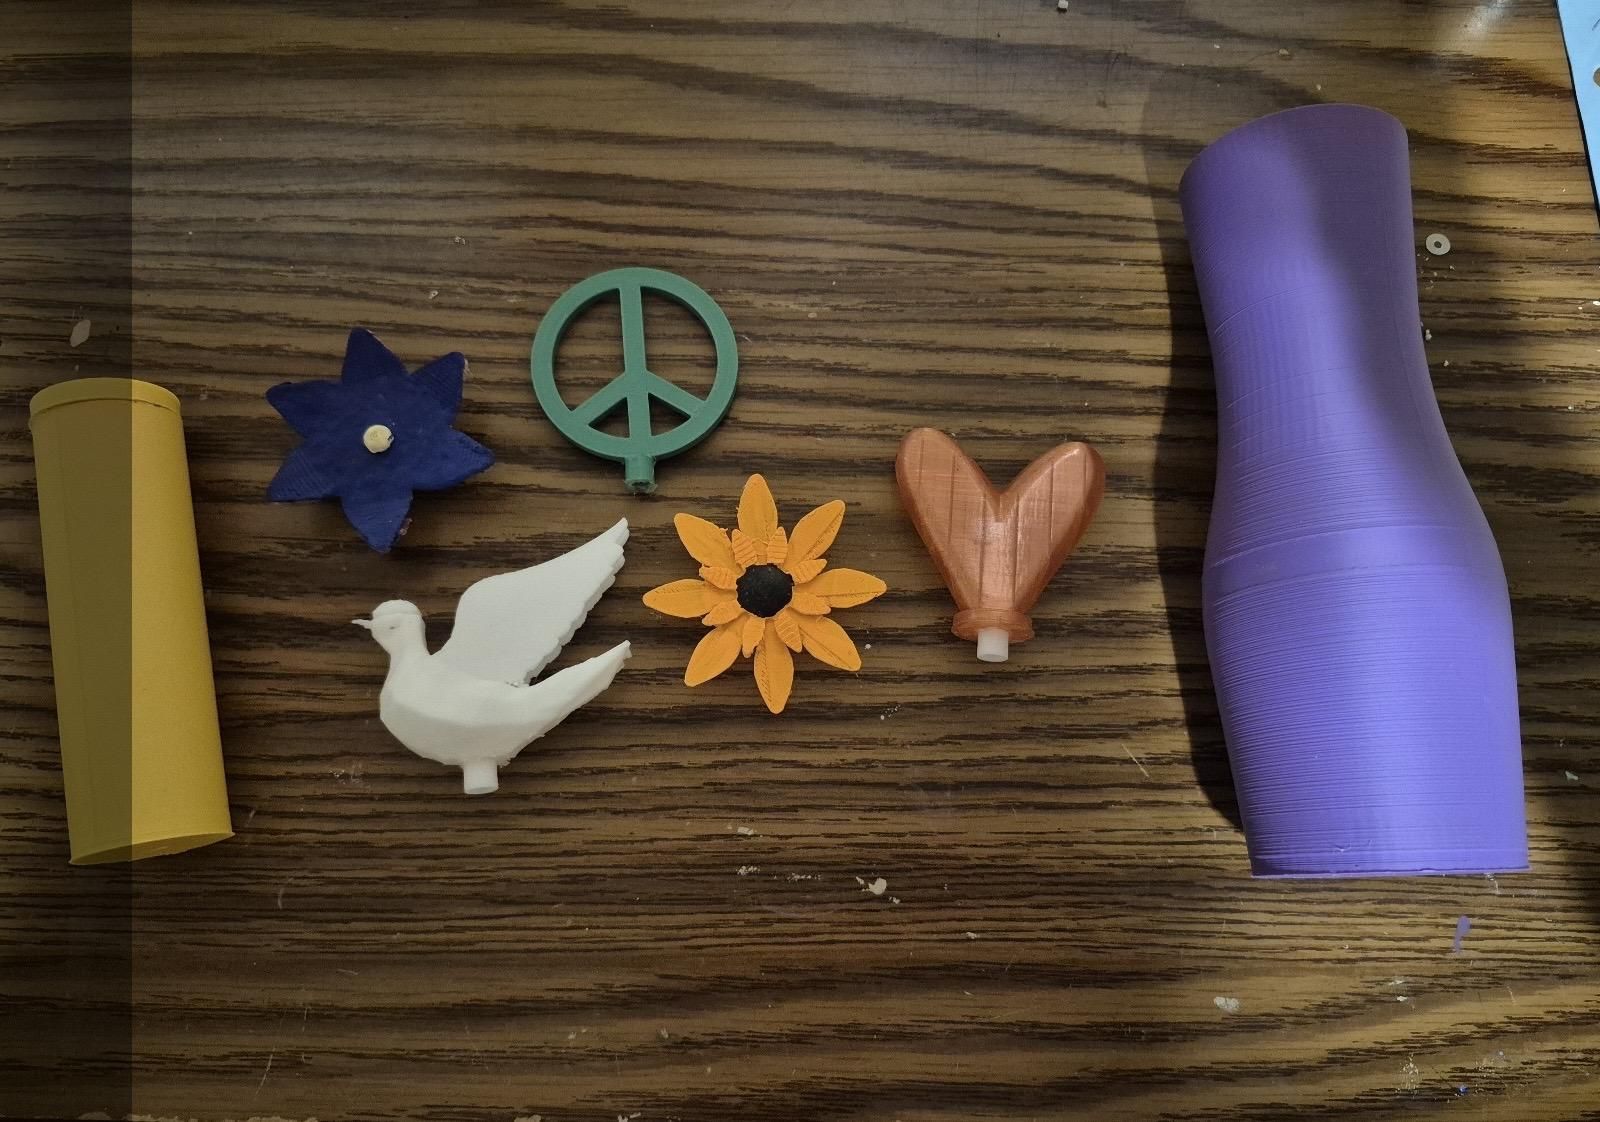
This object can either be a special object that you can attach onto the plaque holder, one of the models I have provided, or something that you design yourself. just make sure the base does not exceed 5cm, otherwise it could be blocked by the bouquet holder or prevent you from putting in bouquets. These are some of the objects I have designed:
- Heart
- Dove
- Single layered flower
- Double layered flower
- Vase
- Flag holder
- Peace Sign
You can print these as they are, alter them in your software, or print them and decorate them with paint or markers. Do whatever will make it the most beautiful and special!
If you choose to design your own object, I recommend putting a 4mm deep hole with a 4mm diameter in the middle of the bottom so that you can connect it to the plaque holder. Or, as I have done for my objects, you can print the hollow cylinder design (object bottom connector) and hot glue it onto the bottom of your object. It may also be wise- depending on the object- to create a solid cylindrical base for the object to stabilize it, which you would then put the hole in or attach the hollow cylinder to.
Print and Assemble
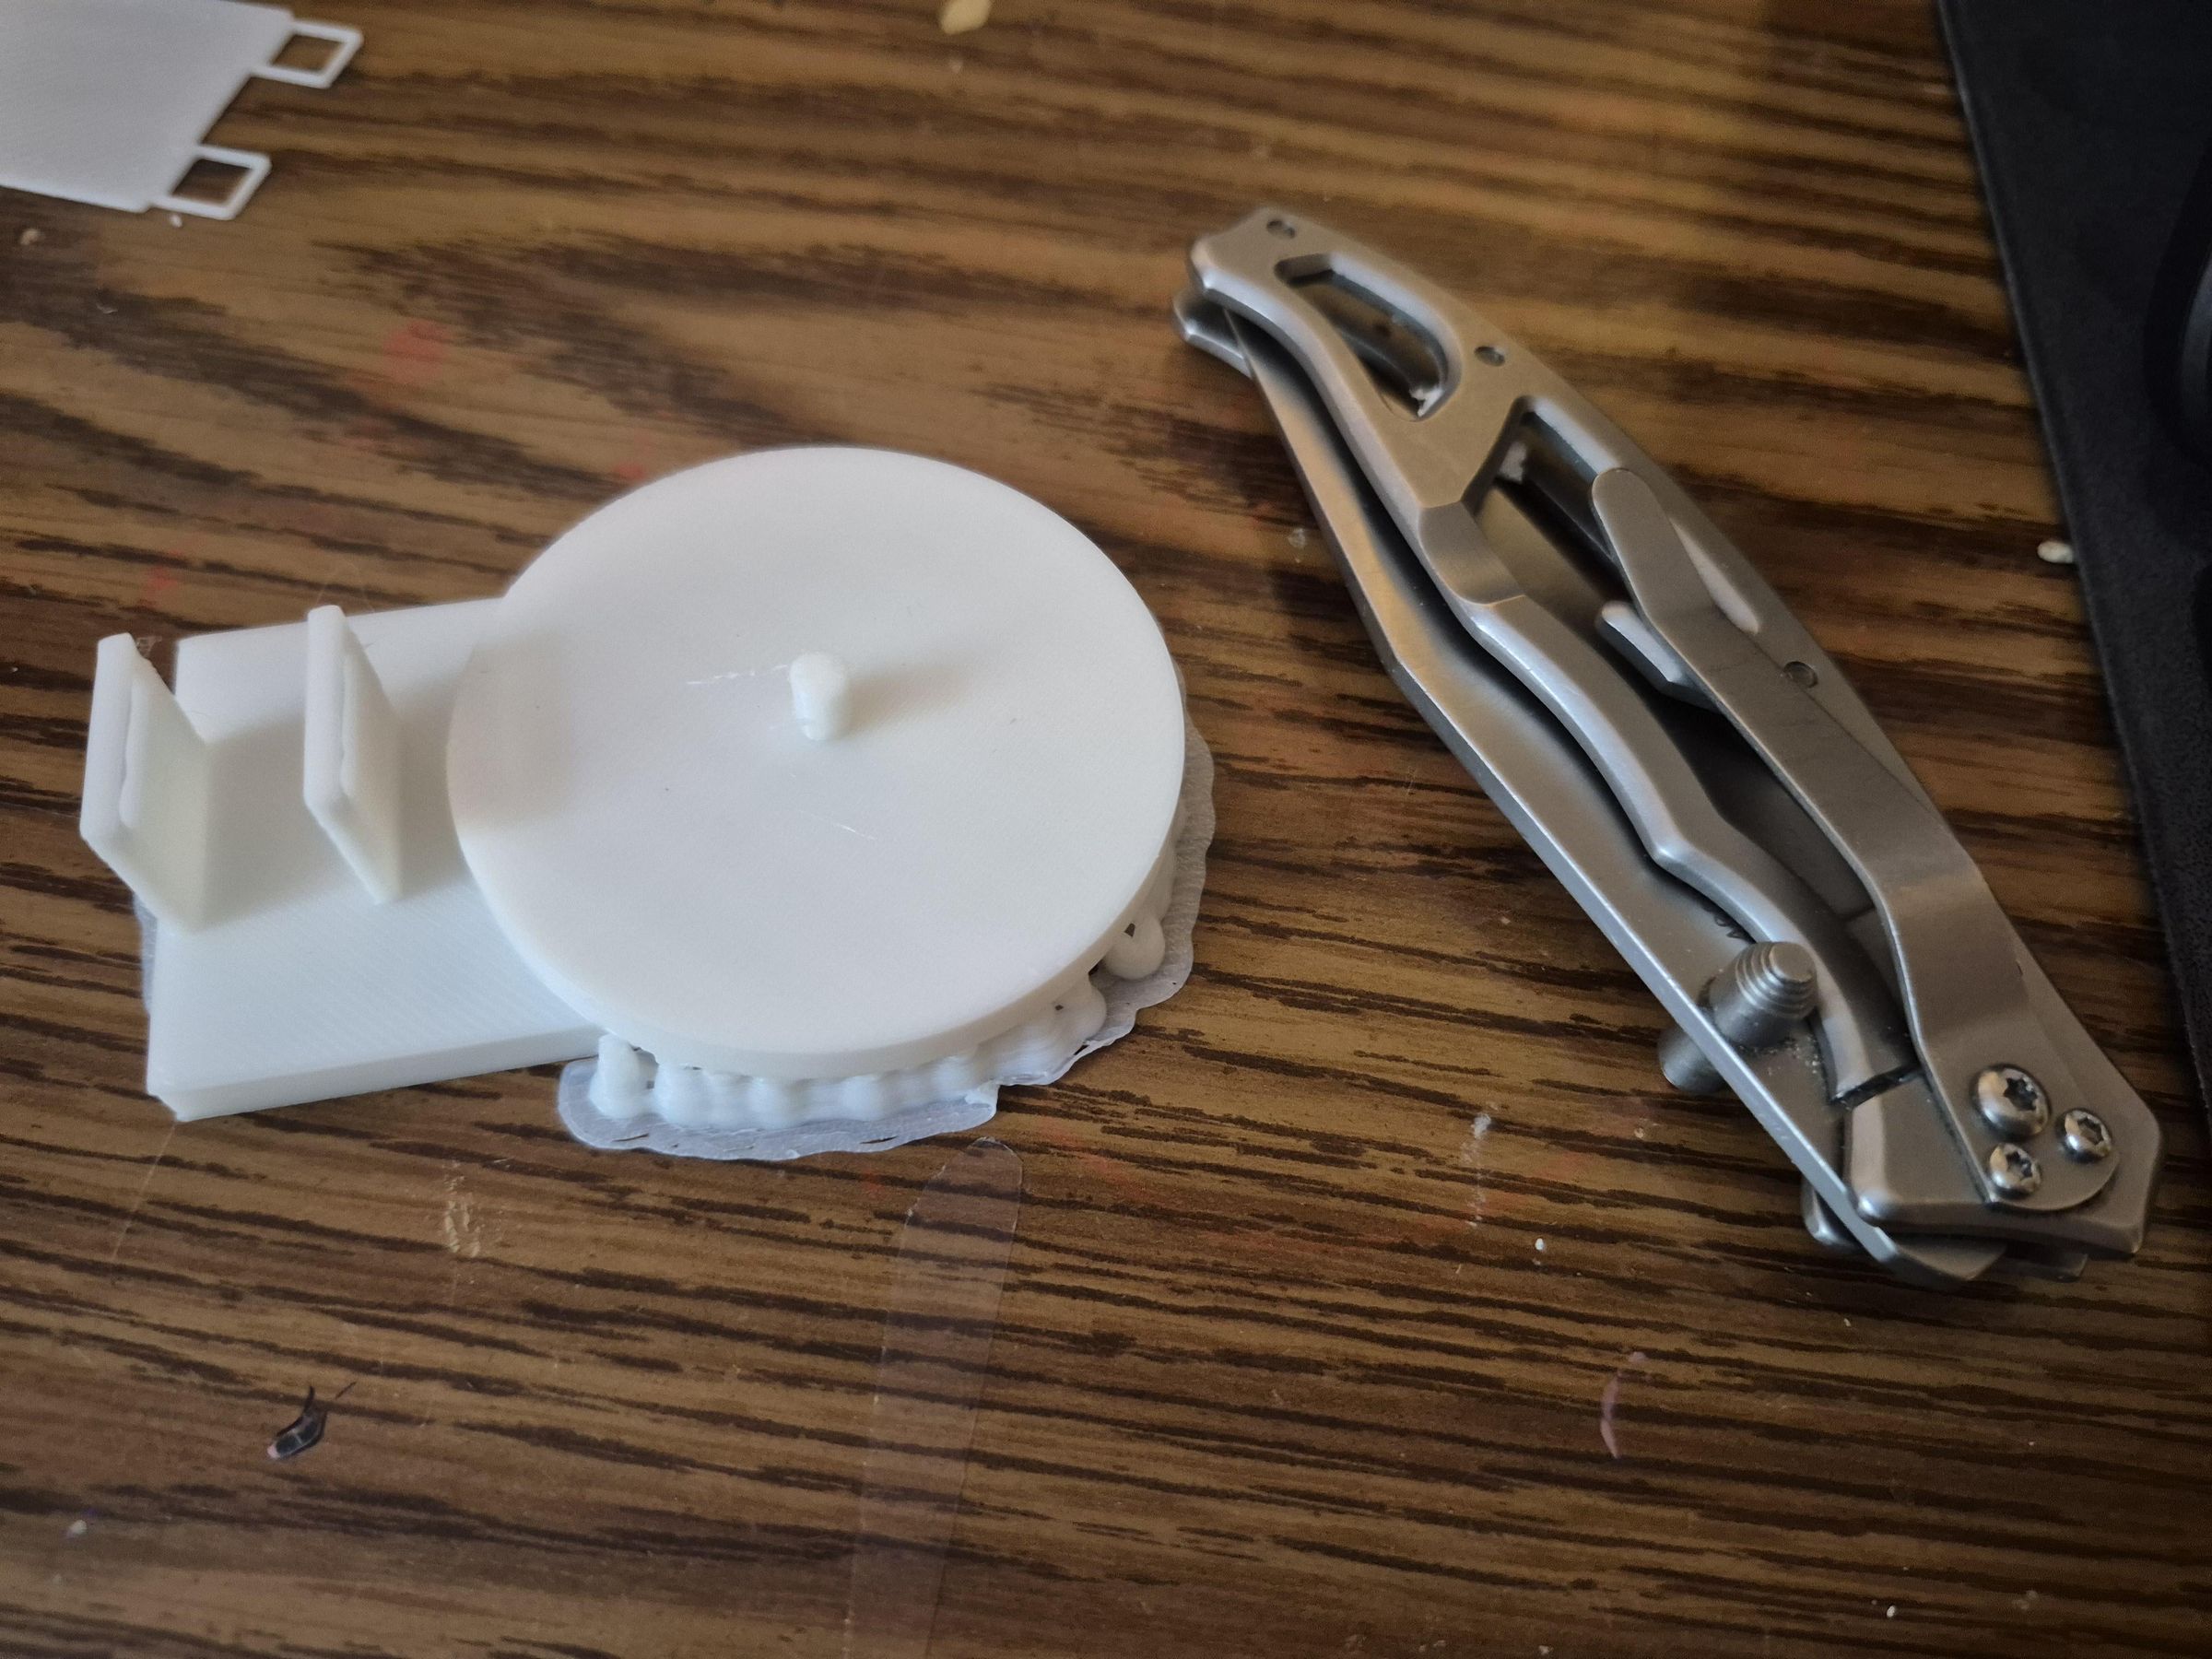
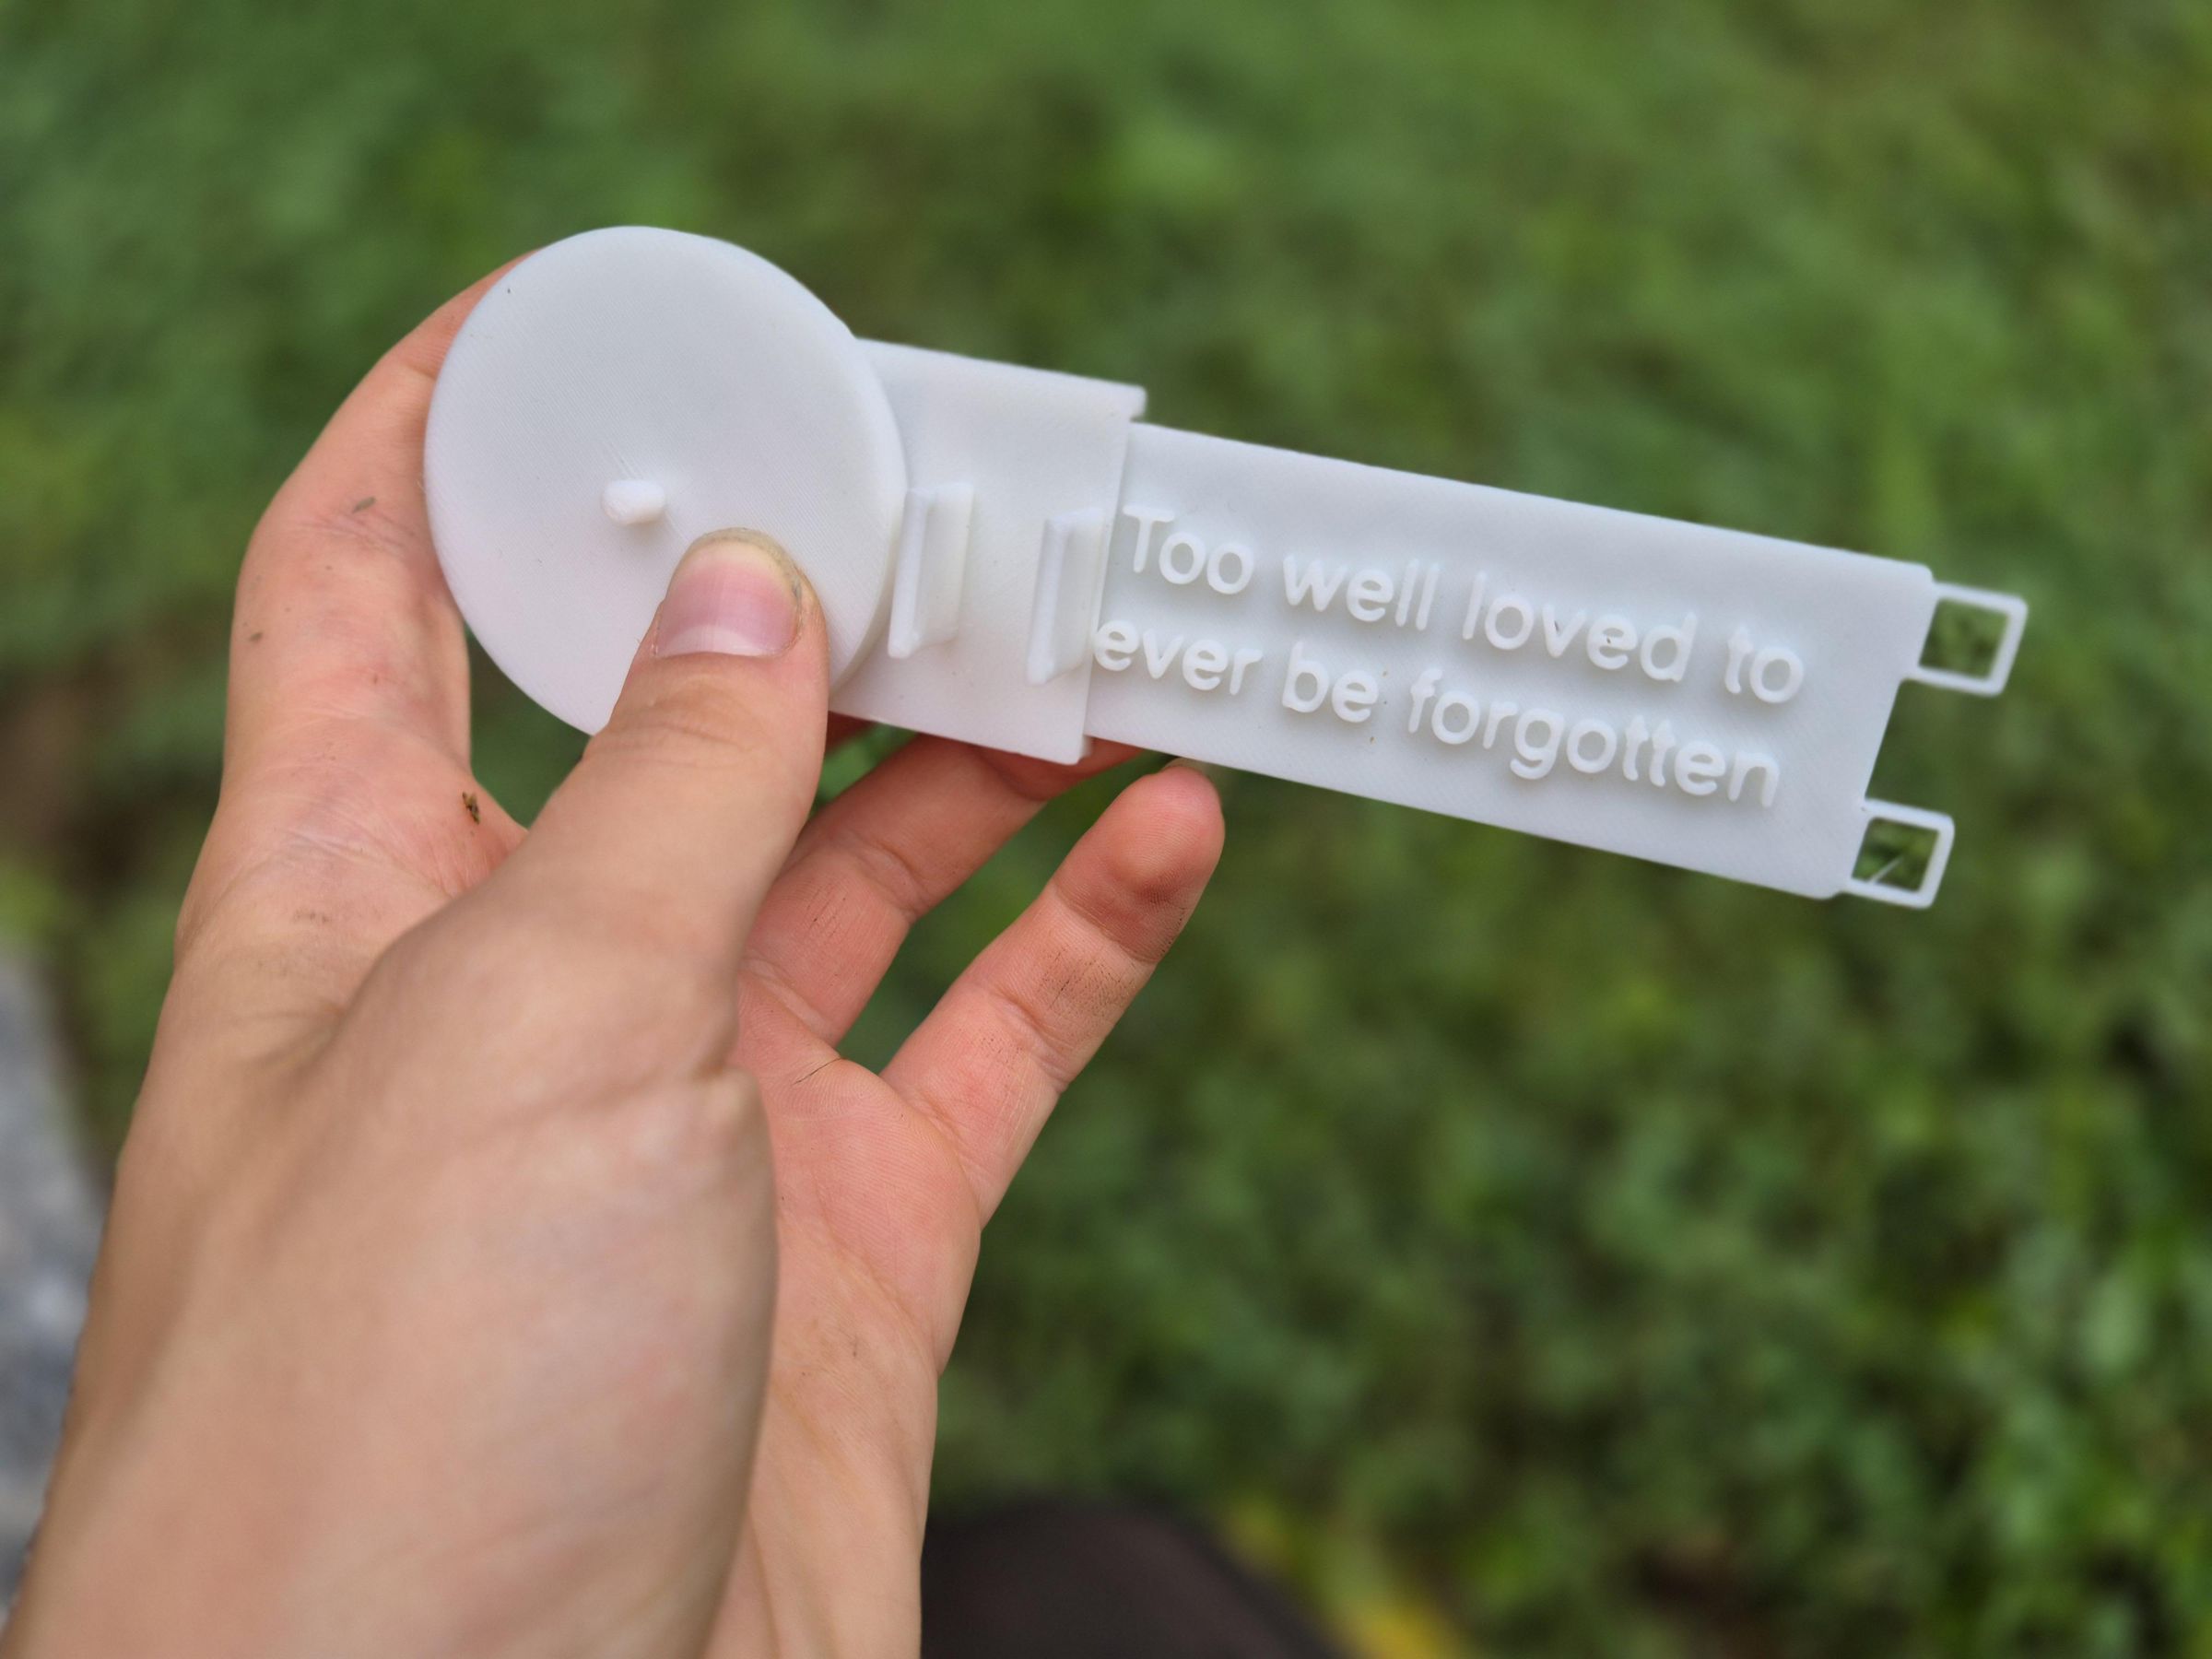
Print all parts of the grave decorator and remove any support filament with an X-Acto or pocket knife (the plaque holder will have a lot of supports on the bottom). Here are the assembly instructions:
- Insert the plaque into the plaque holder by sliding it into the bottom.
- Insert the bouquet holder top into the slits of the bouquet holder
- Choose a commemorative object and 2 stakes, as well as their respective cylinders and make sure these components fit into their places on the grave decorator
Decorate the Gravestone
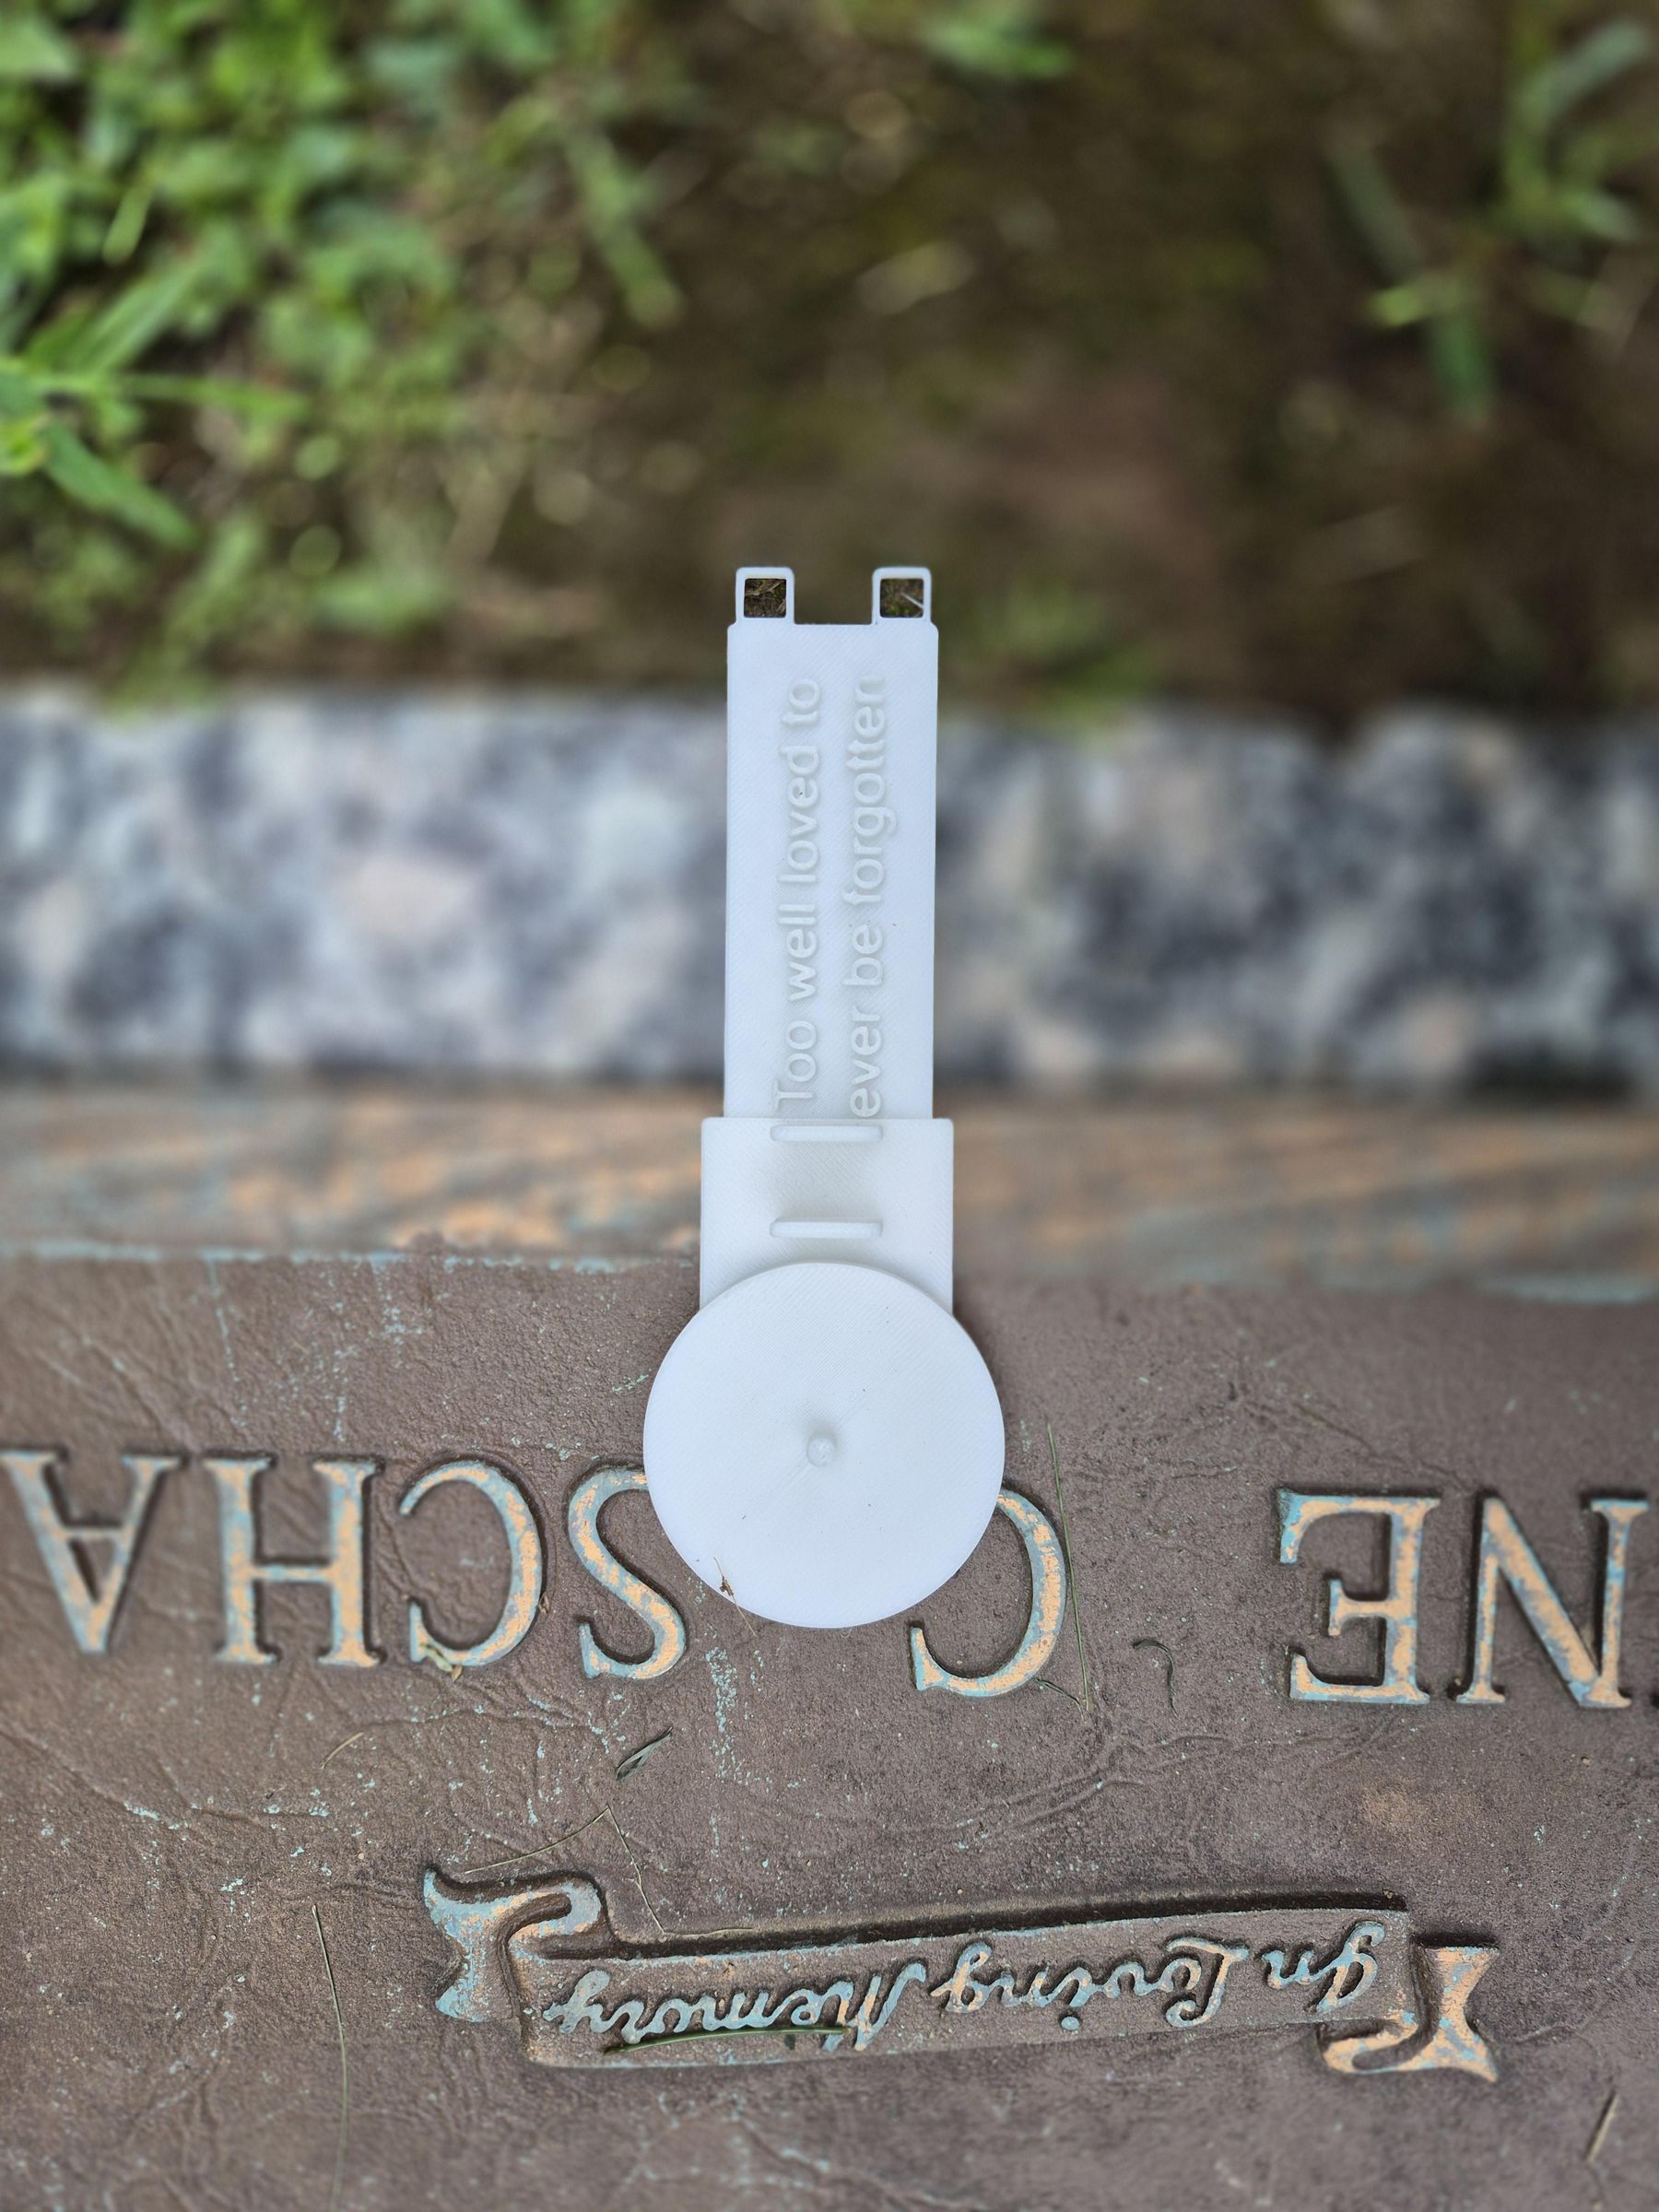
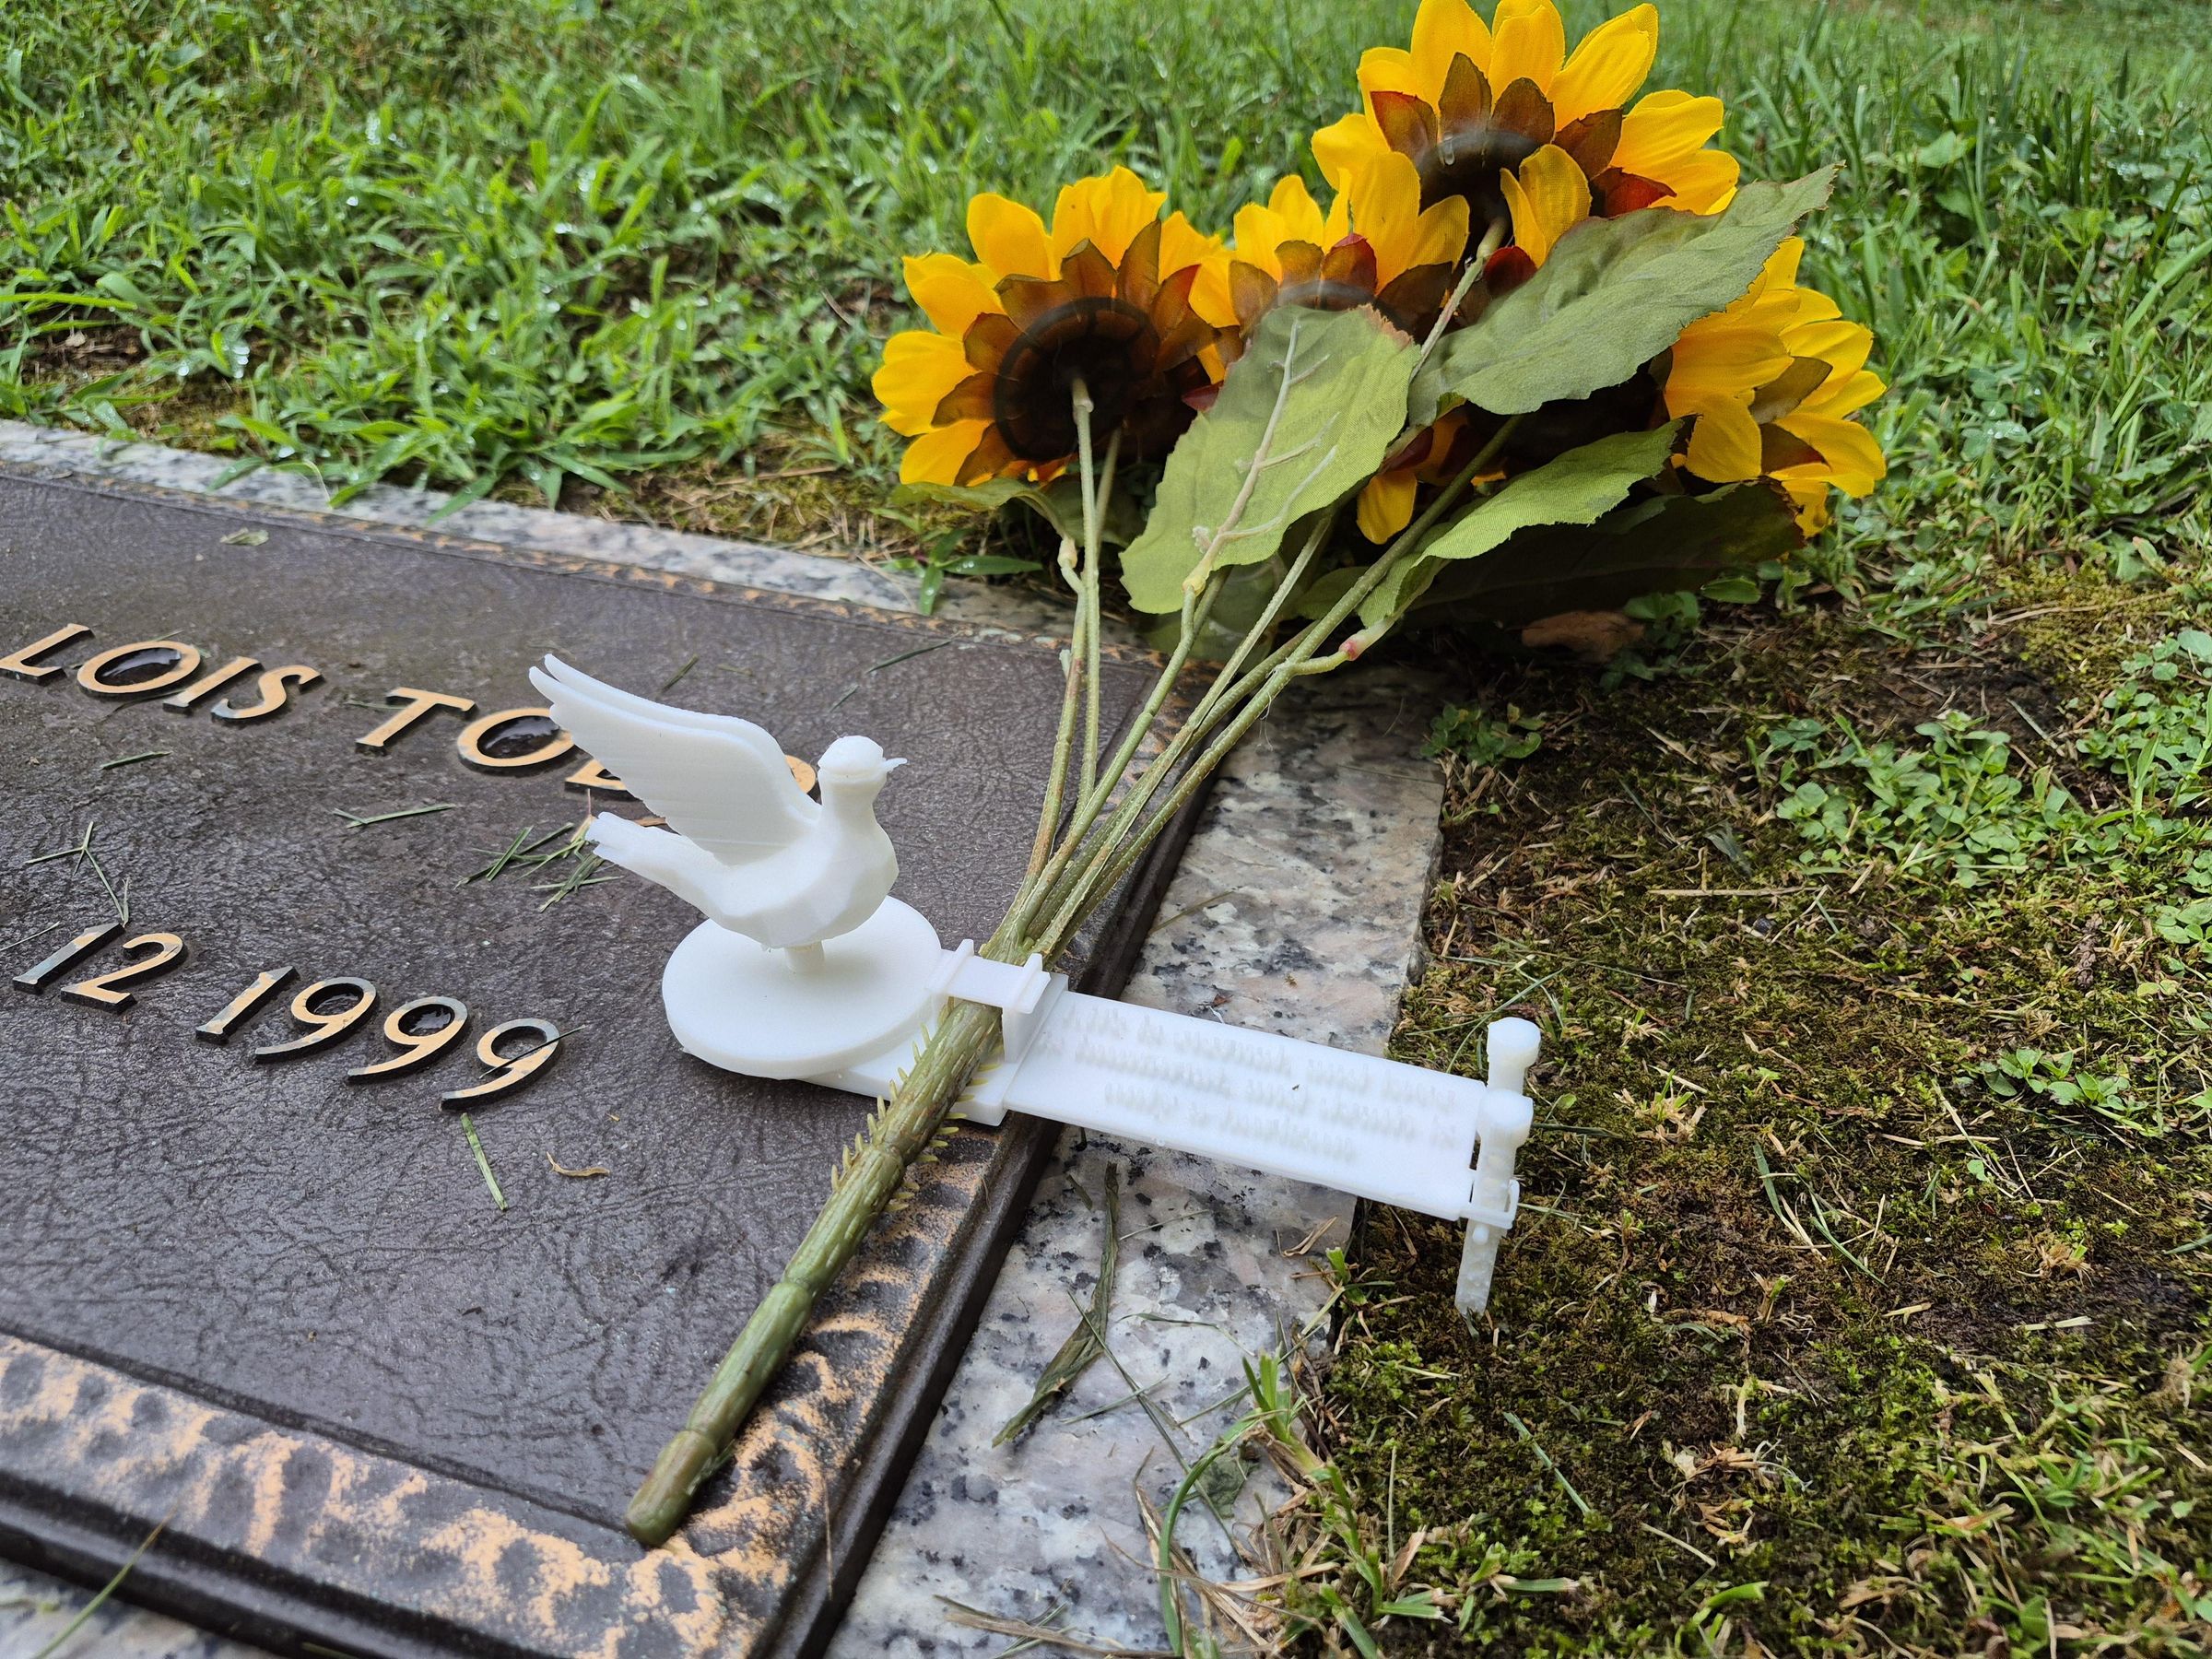
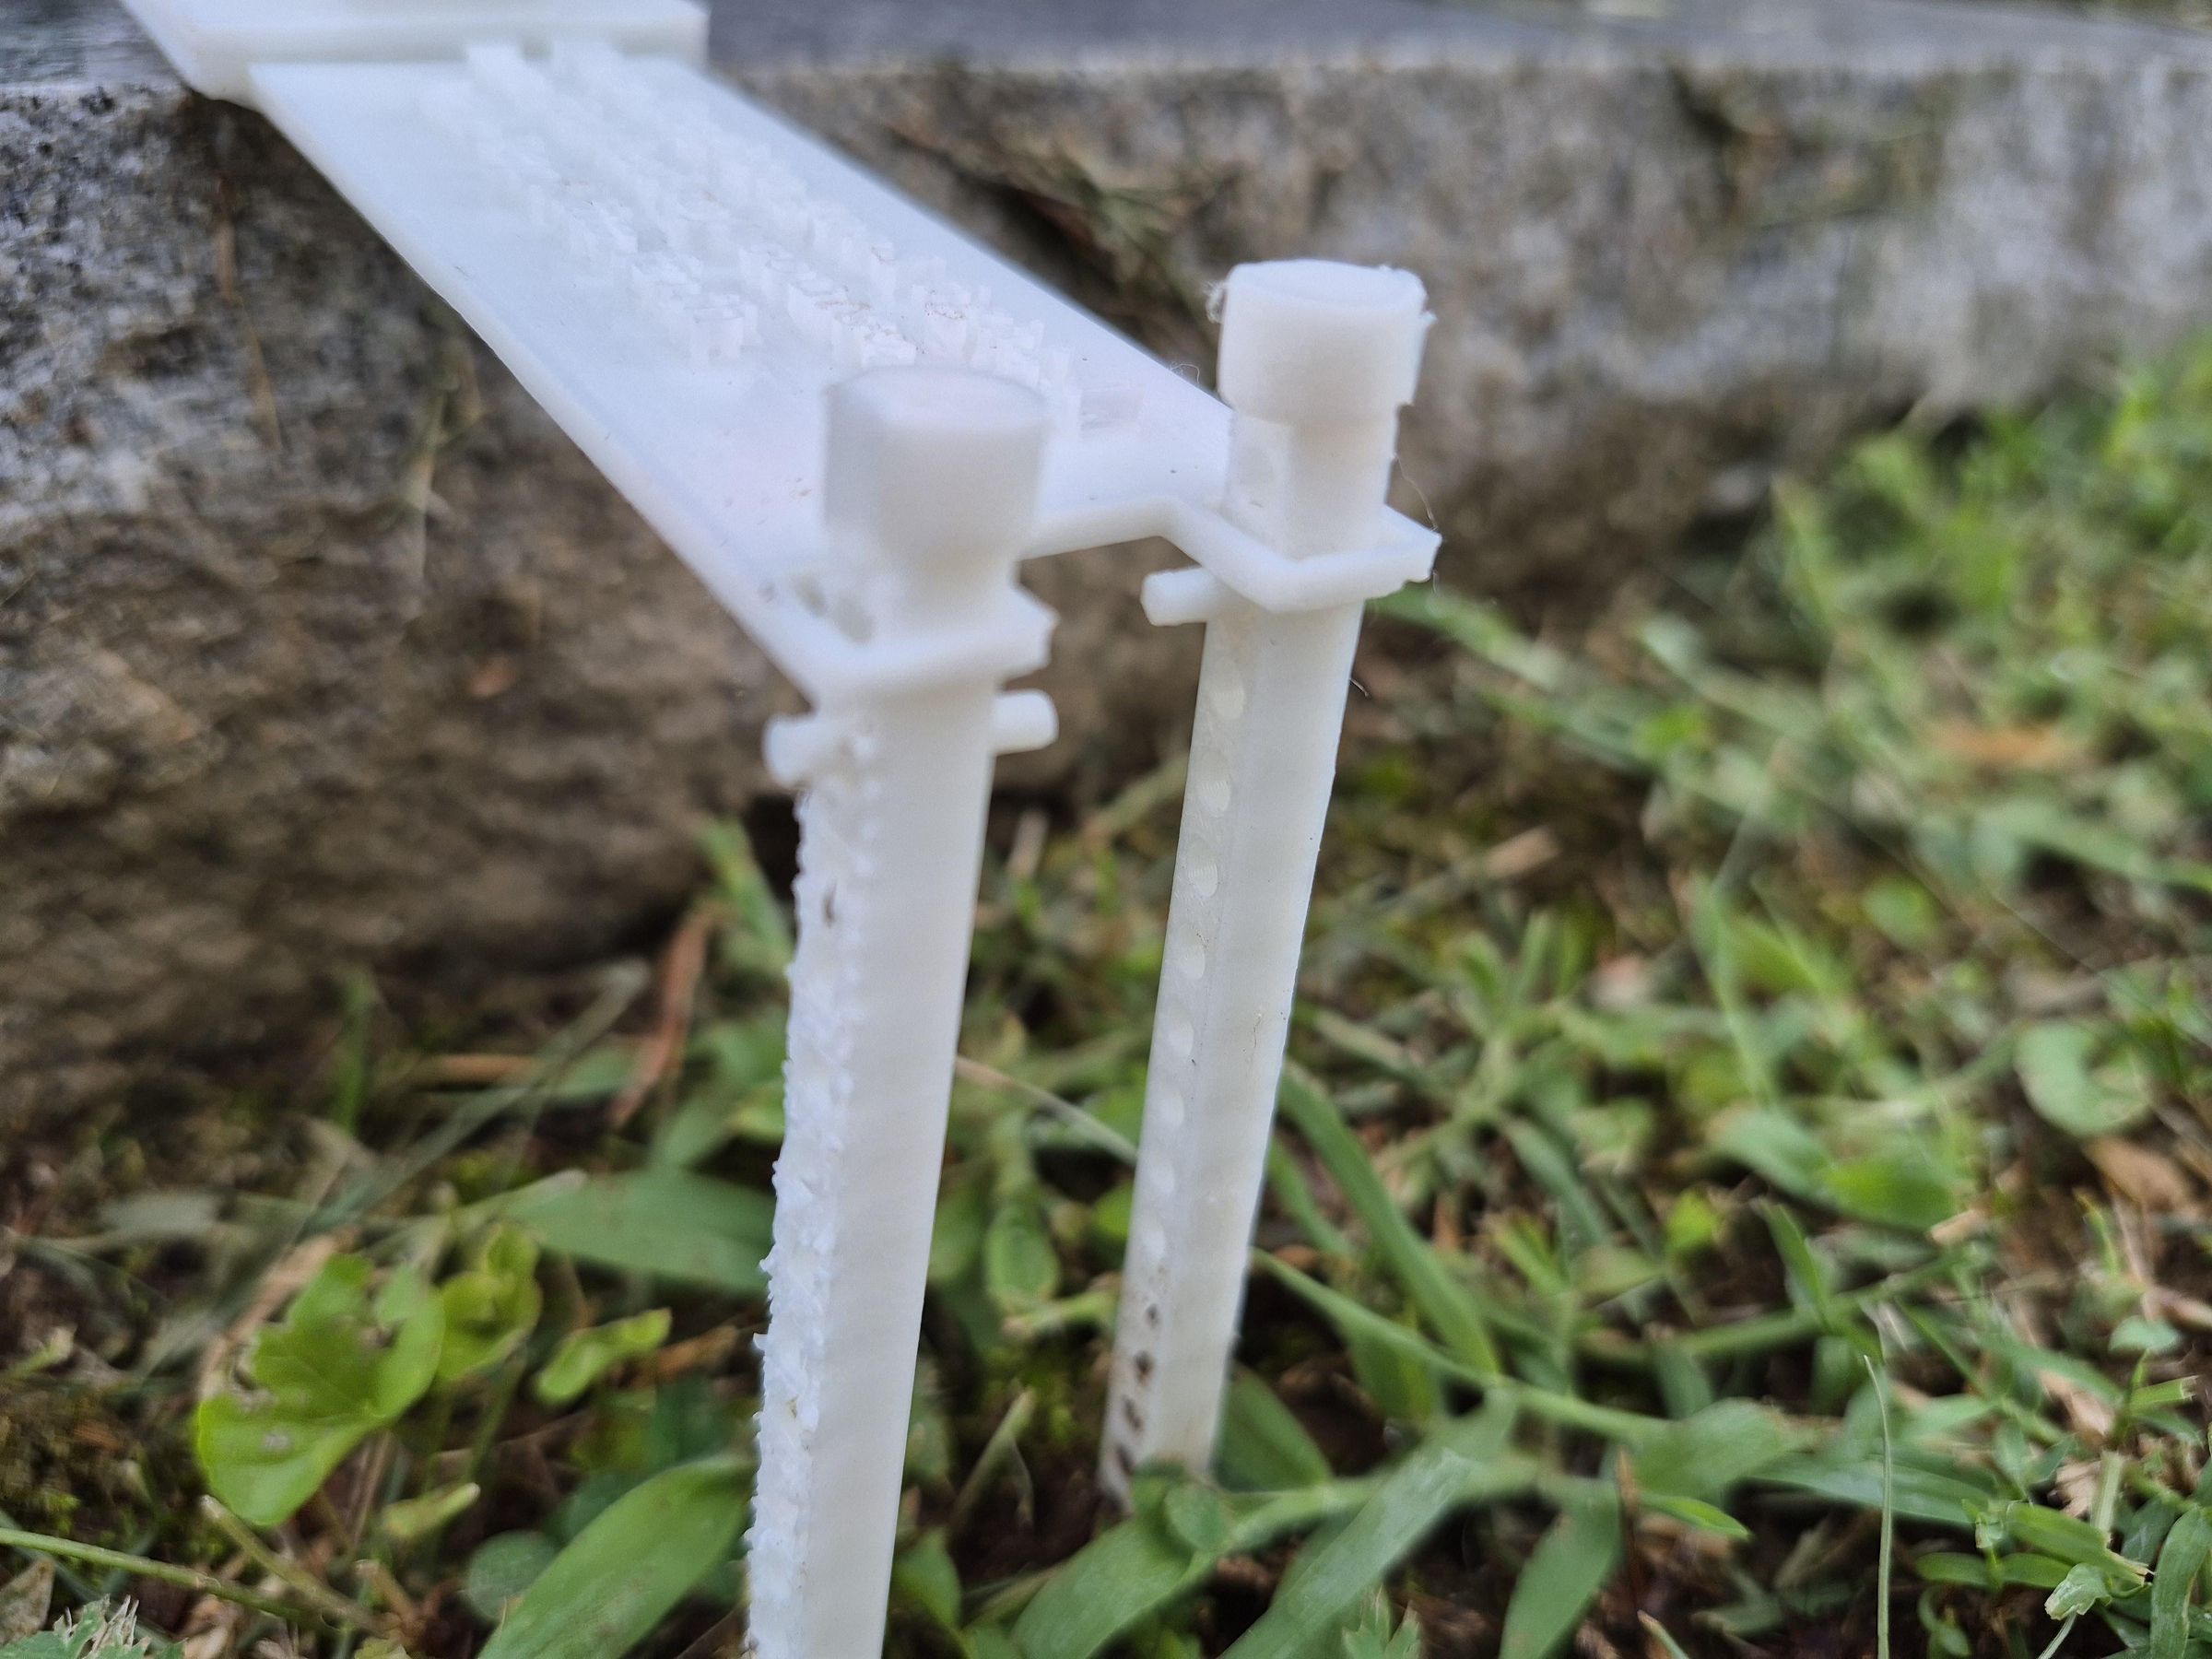
- Put the gravestone decorator on the gravestone/gravestone base so that the square holes are still sticking out over the ground
- Drive the stakes into the ground as far as they can go, then if necessary use the cylinders to prevent the gravestone decorator from sliding down
- Slide a bouquet or flag into the bouquet holder
- Place a commemorative object on the nub of the plaque holder and switch it out whenever you want
Notes for Decorating
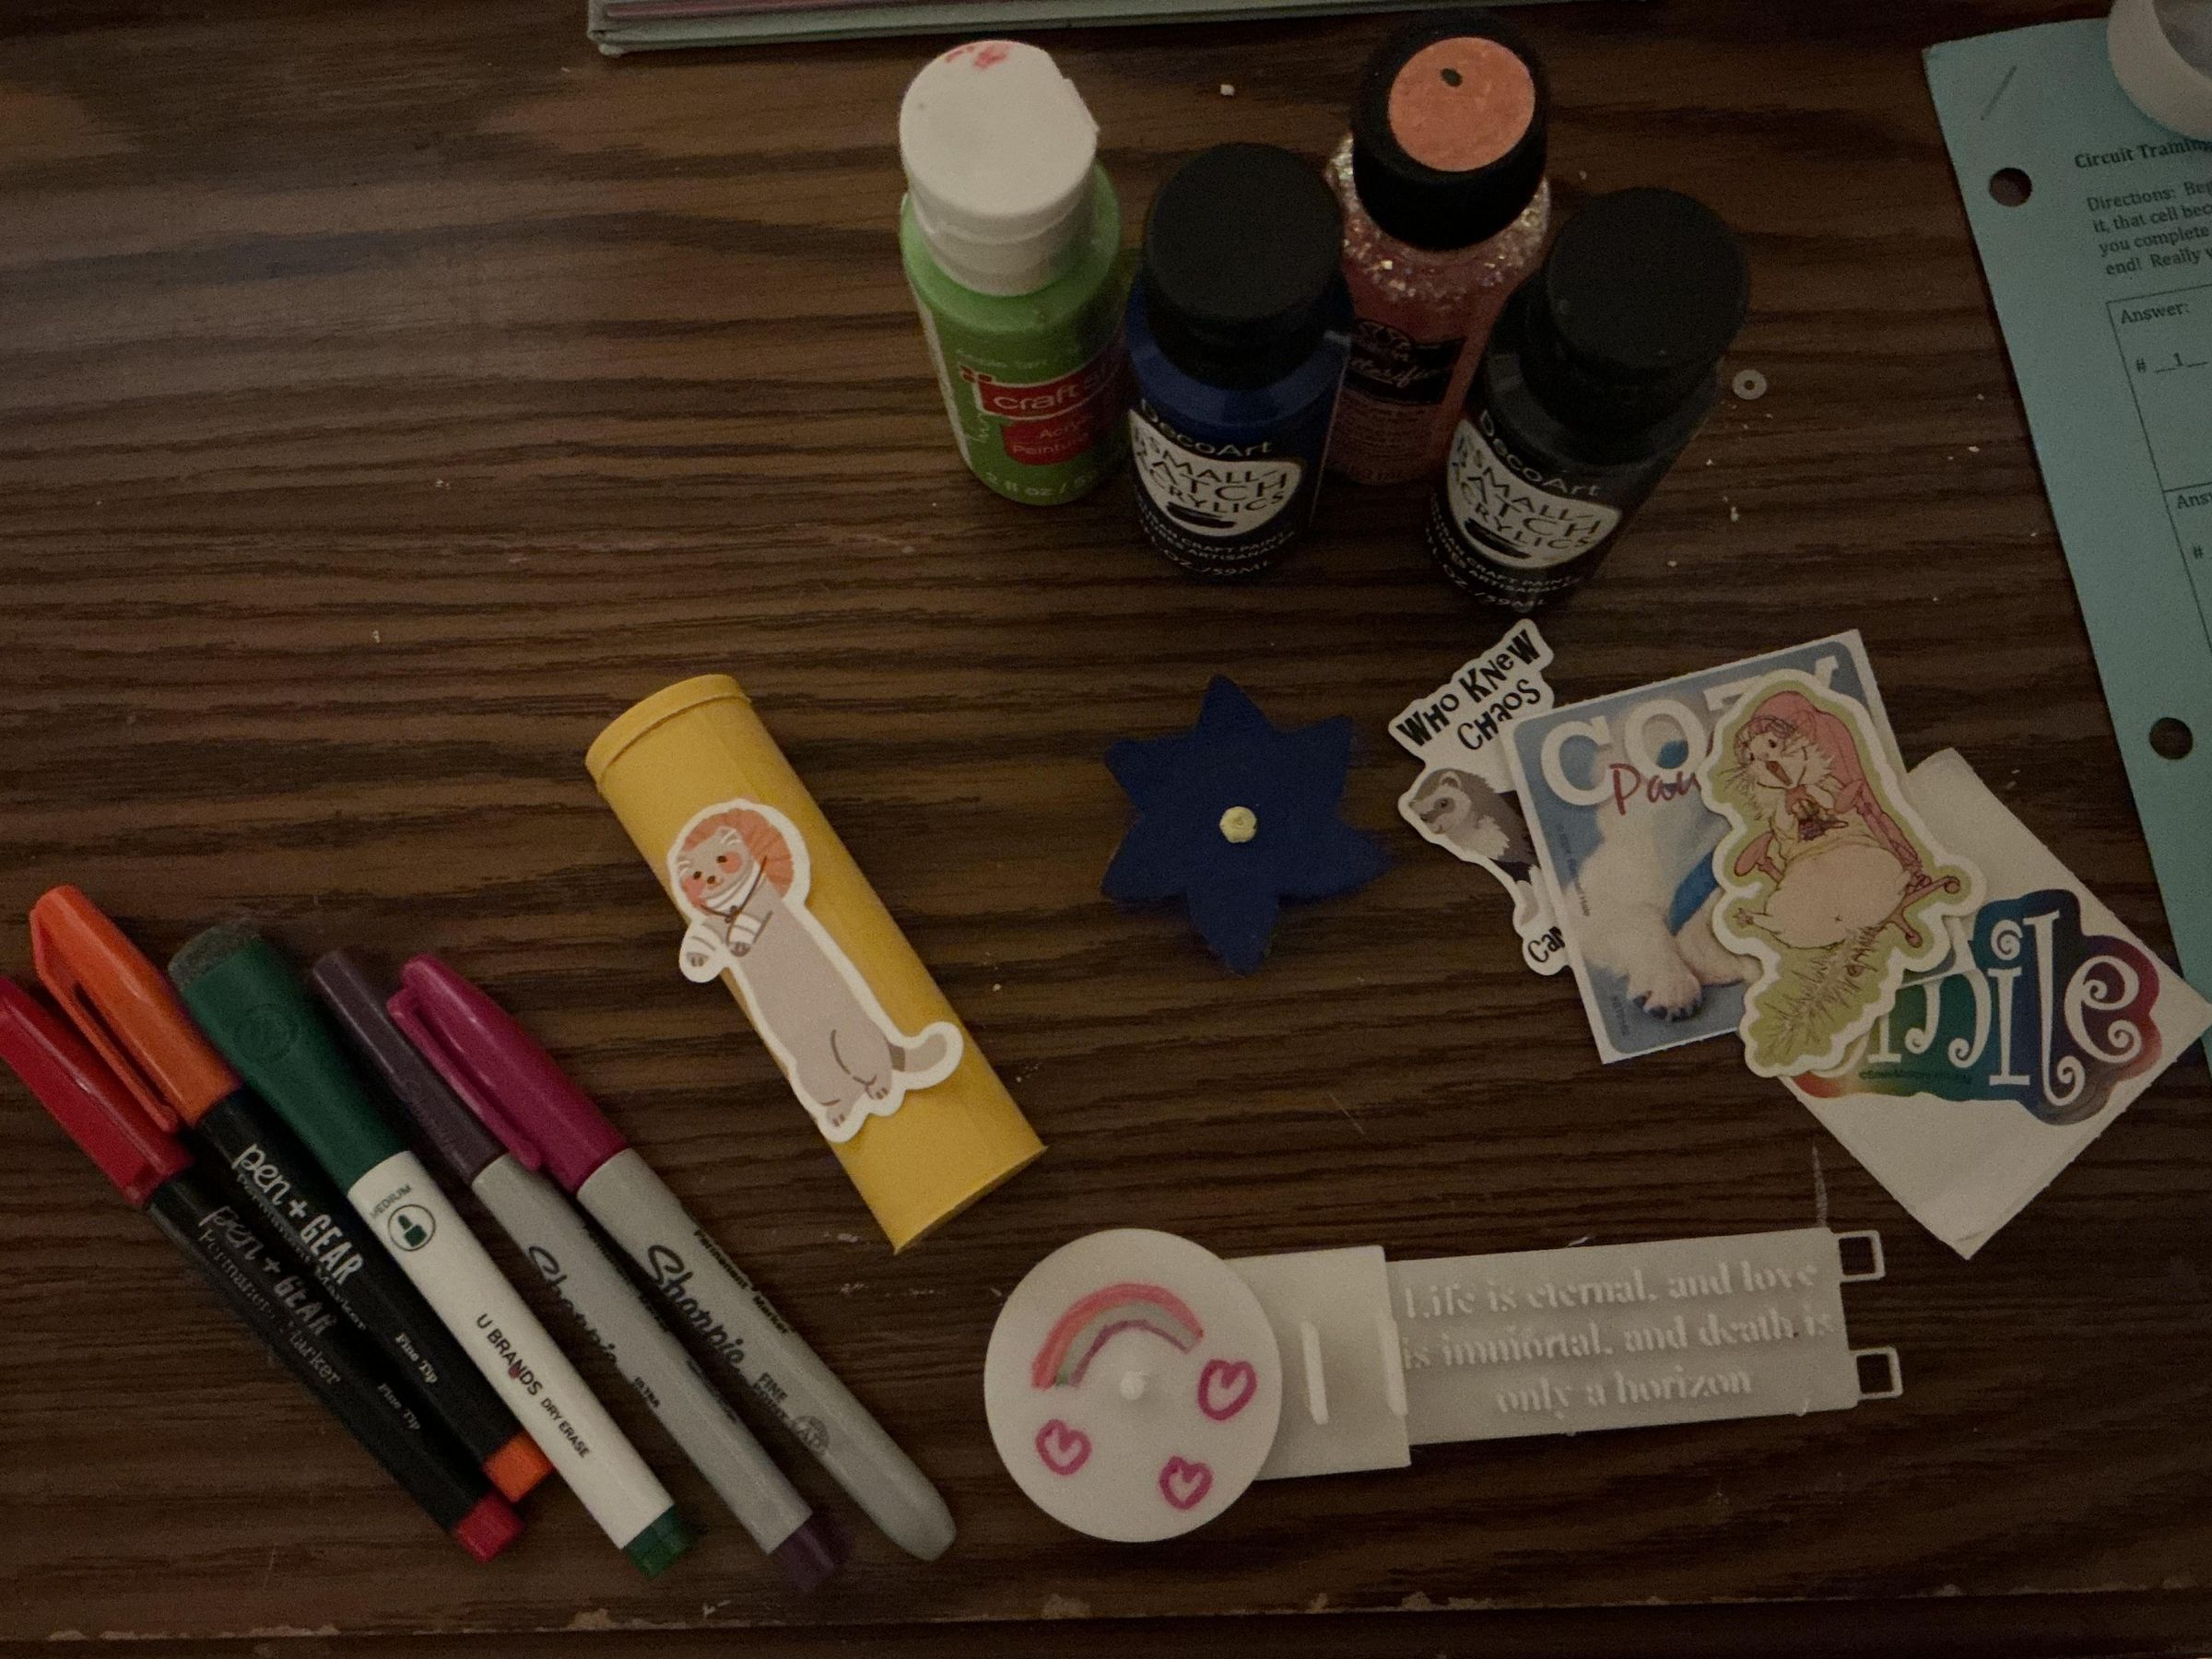
Again, the purpose of these is not just to prevent bouquets from turning into litter, but also to make gravestones and cemetery's more beautiful places and honoring our loved ones. Therefore, I encourage you to be creative with the customization of these grave decorators. Even if you don't have many online design skills, you can print these with different colored filaments, paint them, put on stickers, anything you want! If you decorate these with your family or friends, hopefully it can be a chance to bring you closer to them as well as your lost loved one.