DESHBOT LCD Calculator
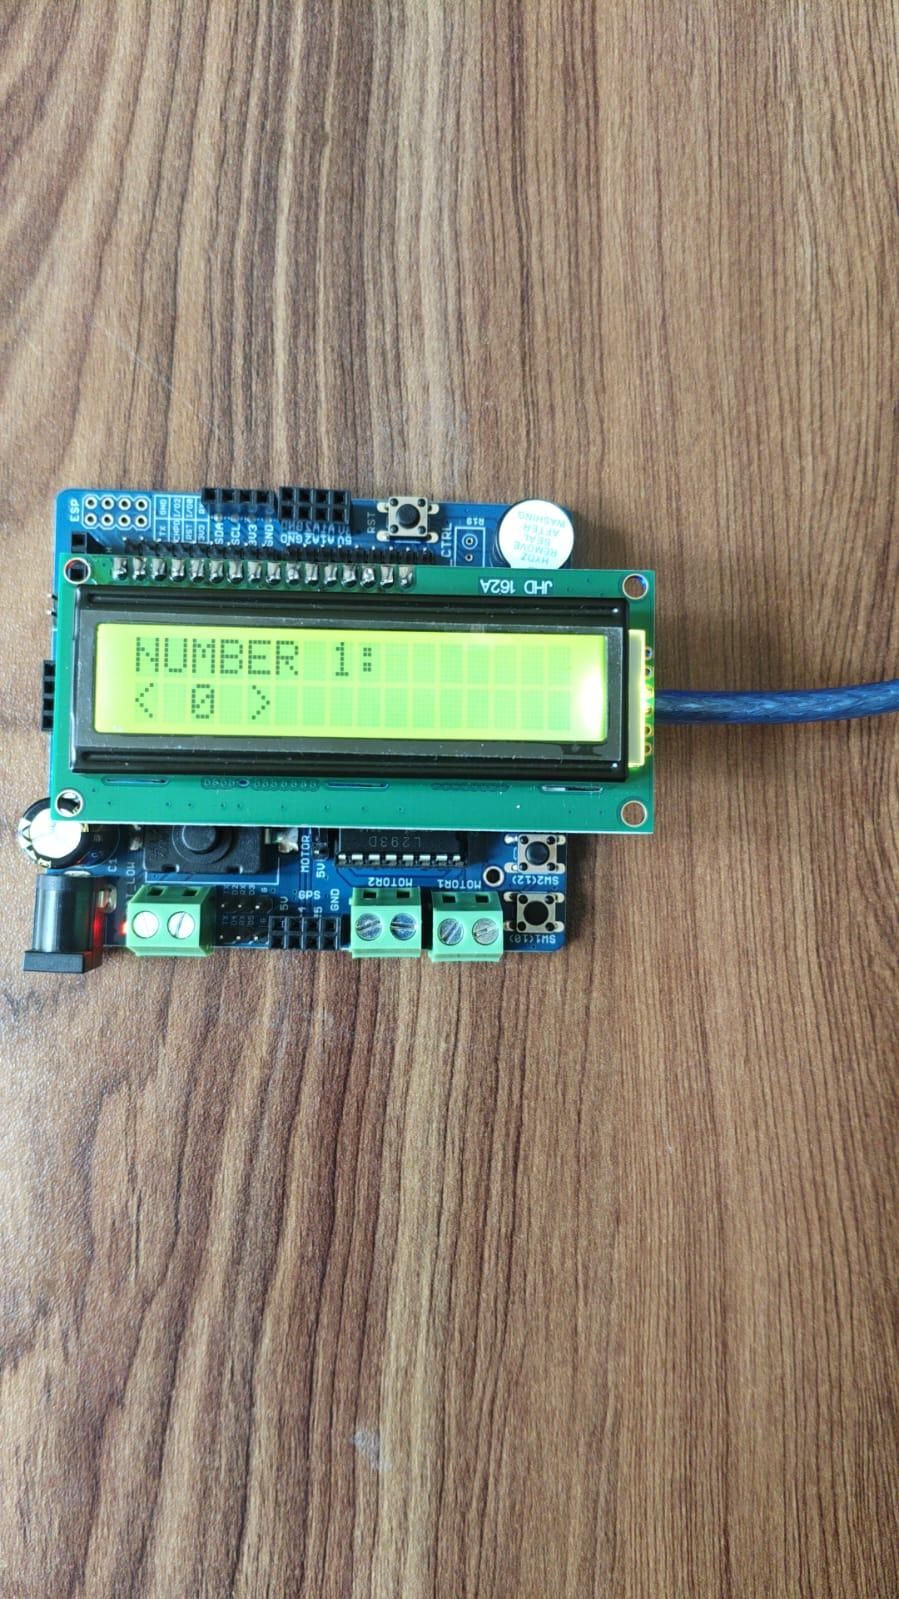
In this project, we created a simple interactive calculator using an Arduino Nano, a 16×2 LCD display, and two push buttons. The calculator allows the user to select two numbers and perform basic mathematical operations.
The two buttons are used to increase and decrease the values. A 3-second automatic selection system is used to confirm each value. After selecting the first number, operation, and second number, the Arduino automatically calculates and displays the final answer.
This project demonstrates how Arduino can be used to create an interactive calculator with a simple menu system using only two buttons.
Supplies
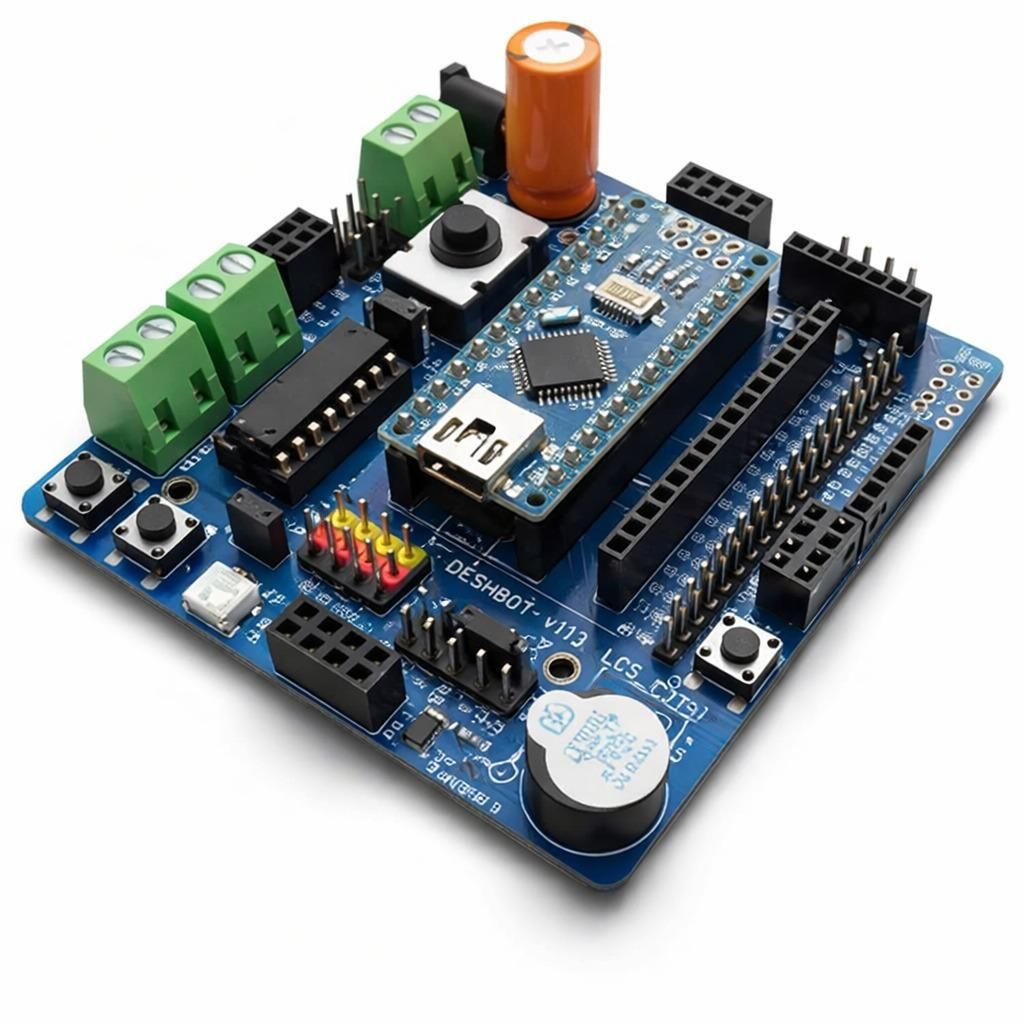
Arduino Nano
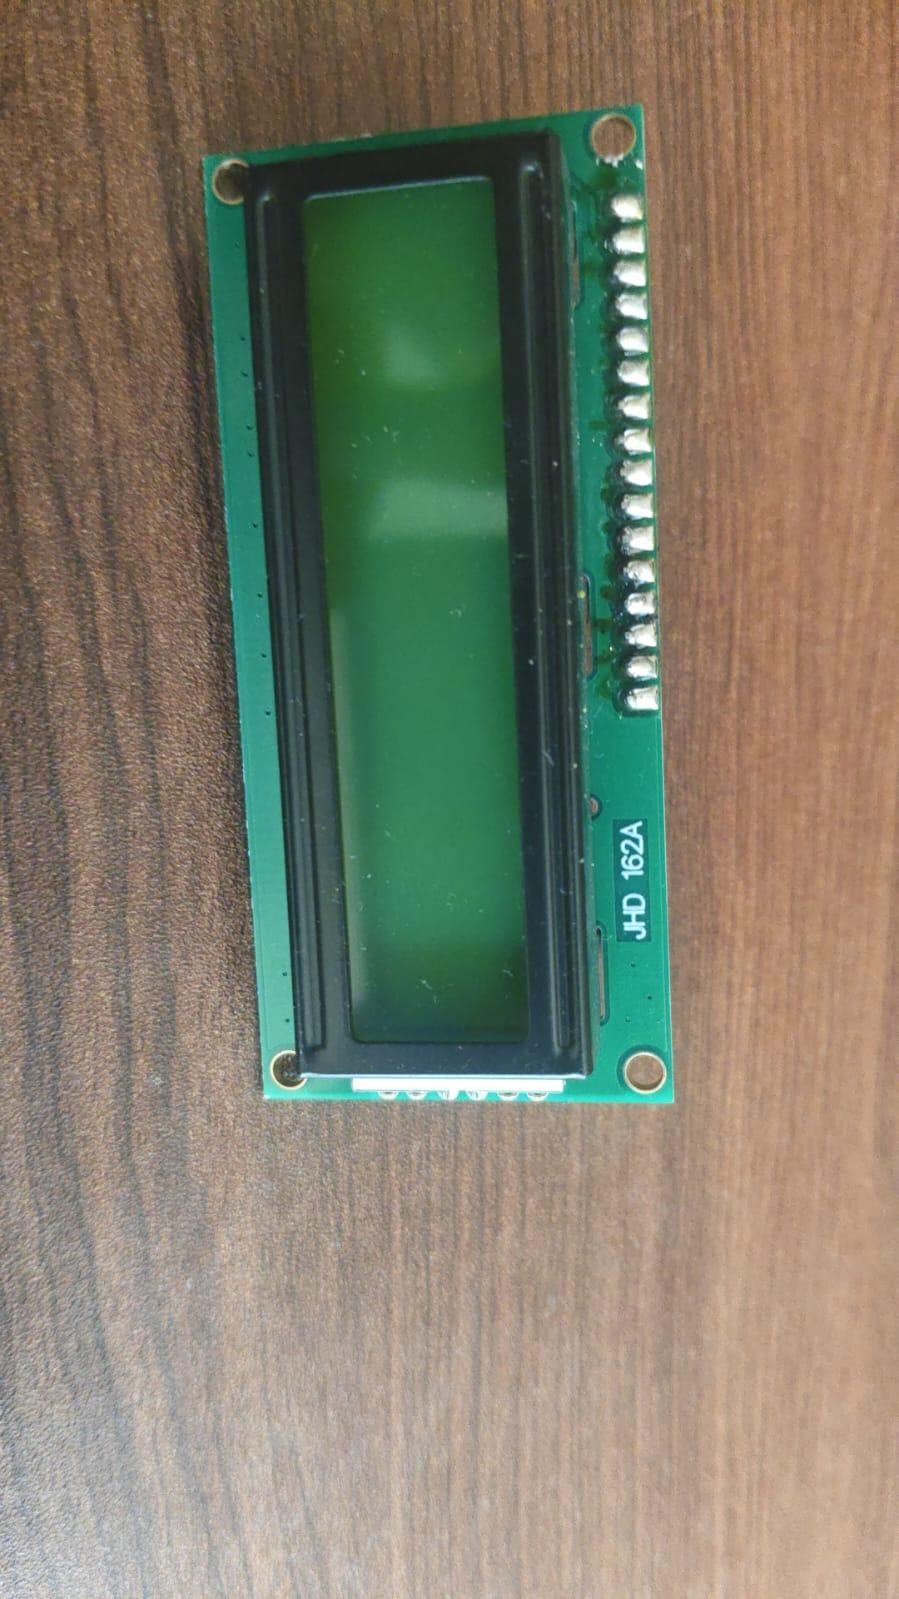
16×2 LCD Display
Two Push Buttons(inbuild in Deshbot shield )
Connecting Wires
Connections
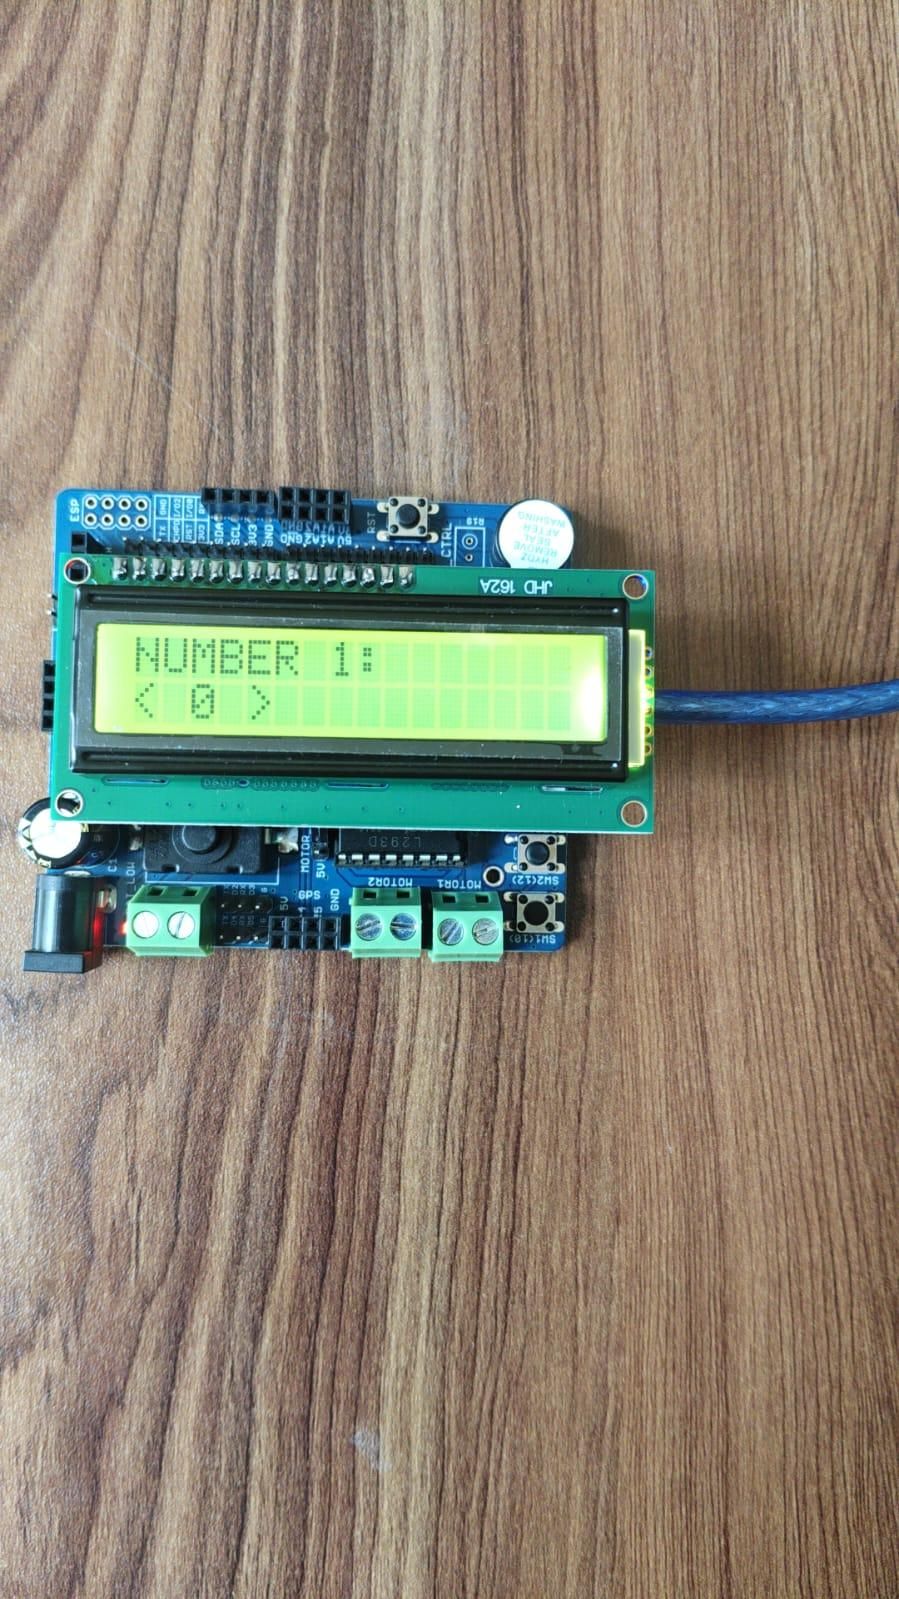
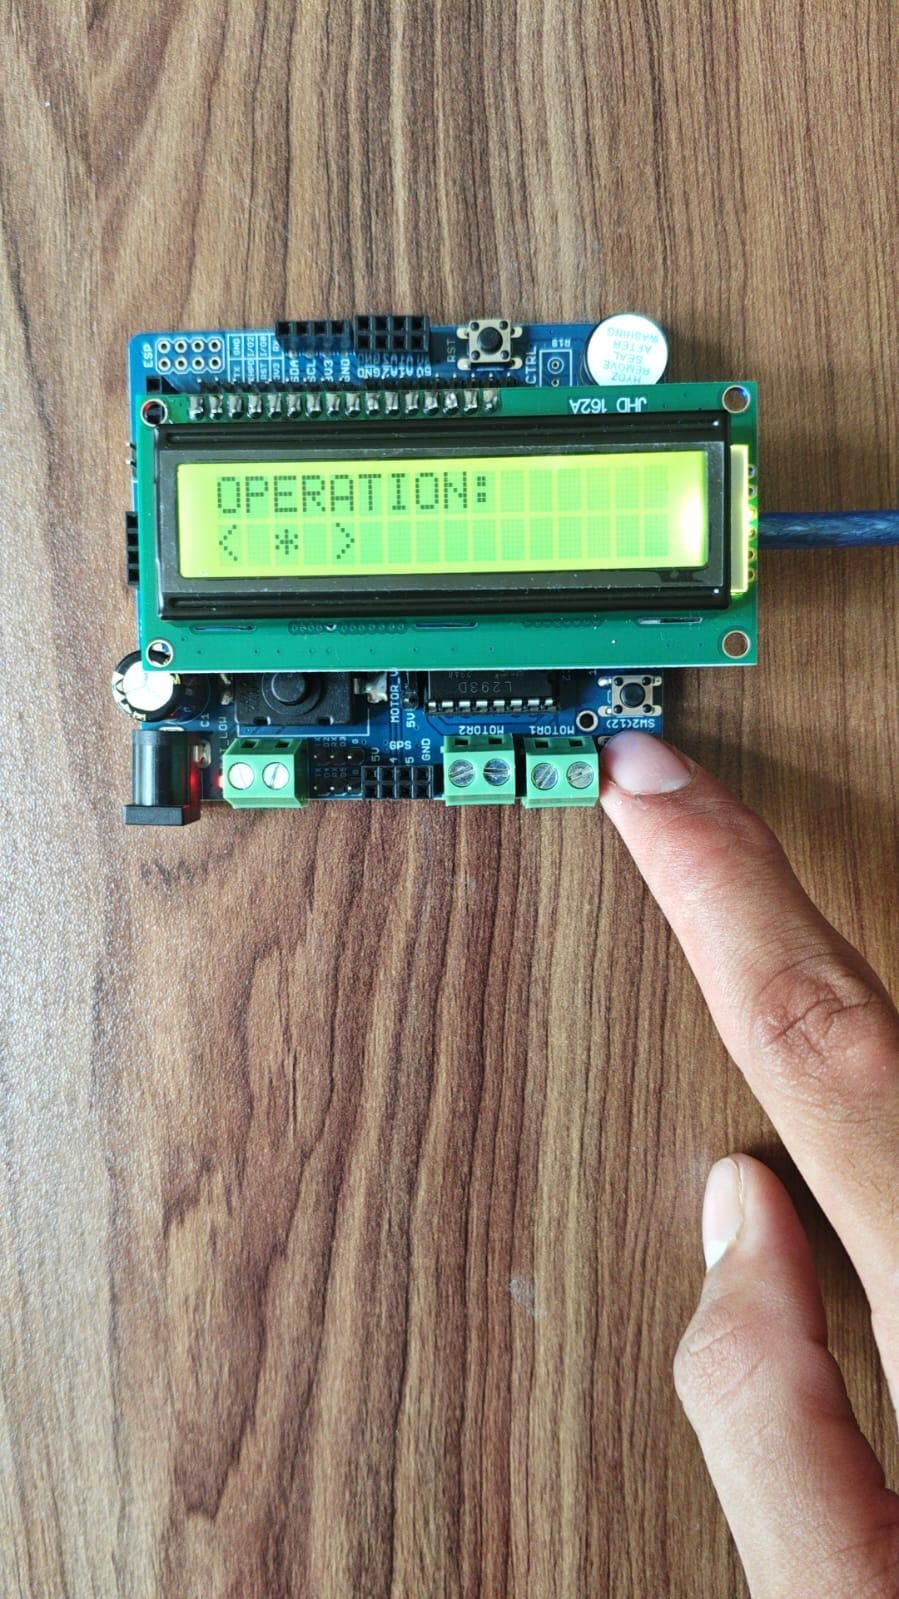
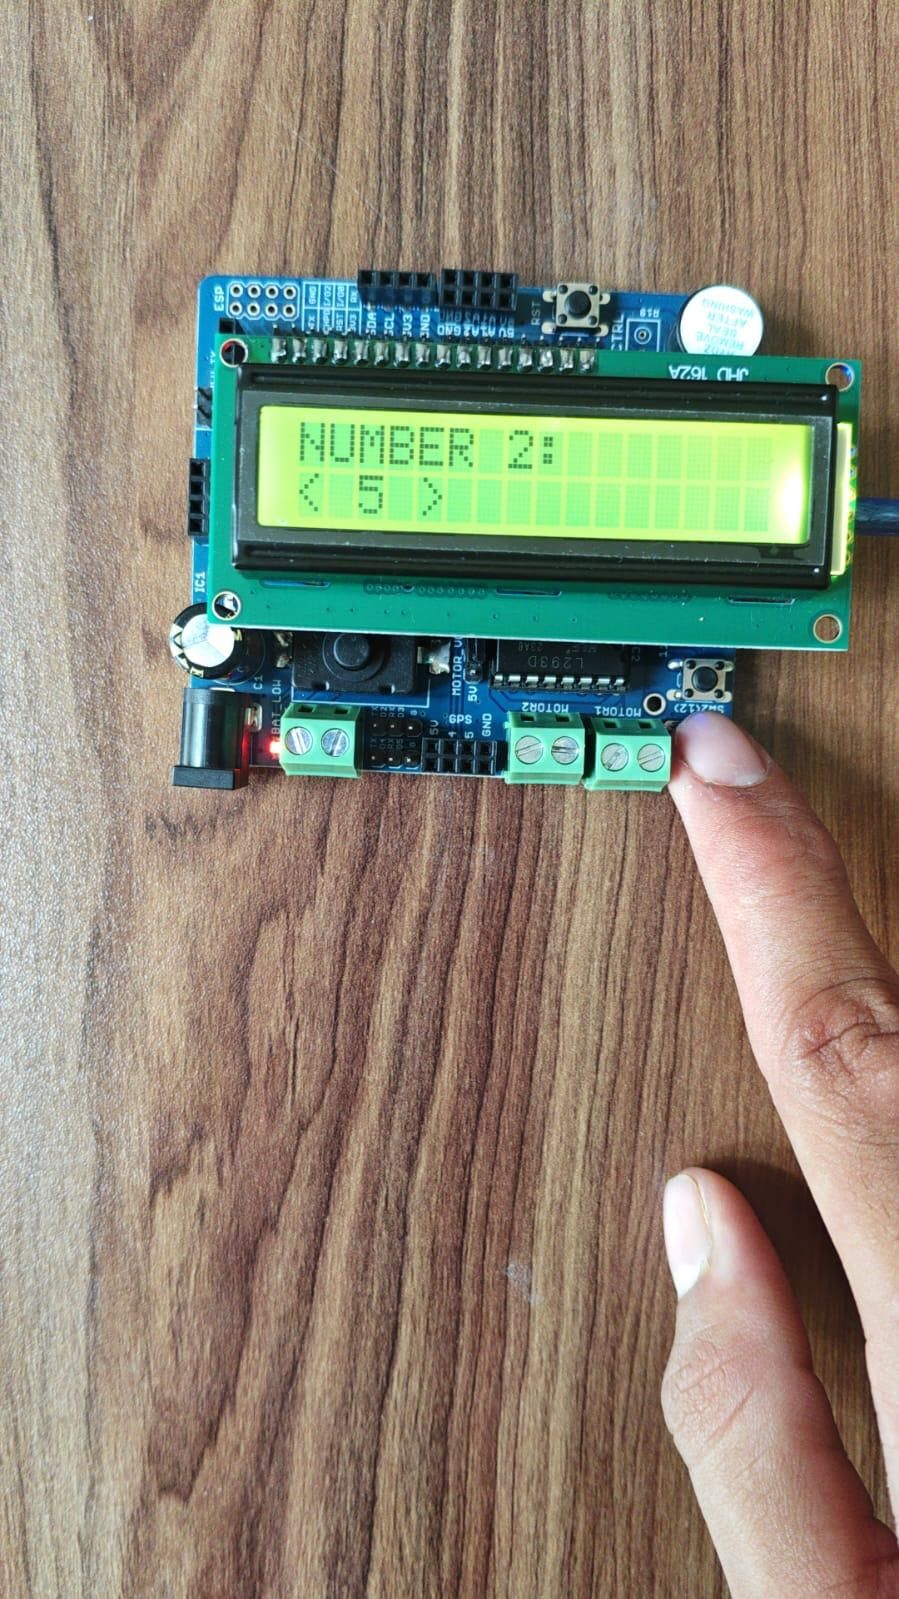
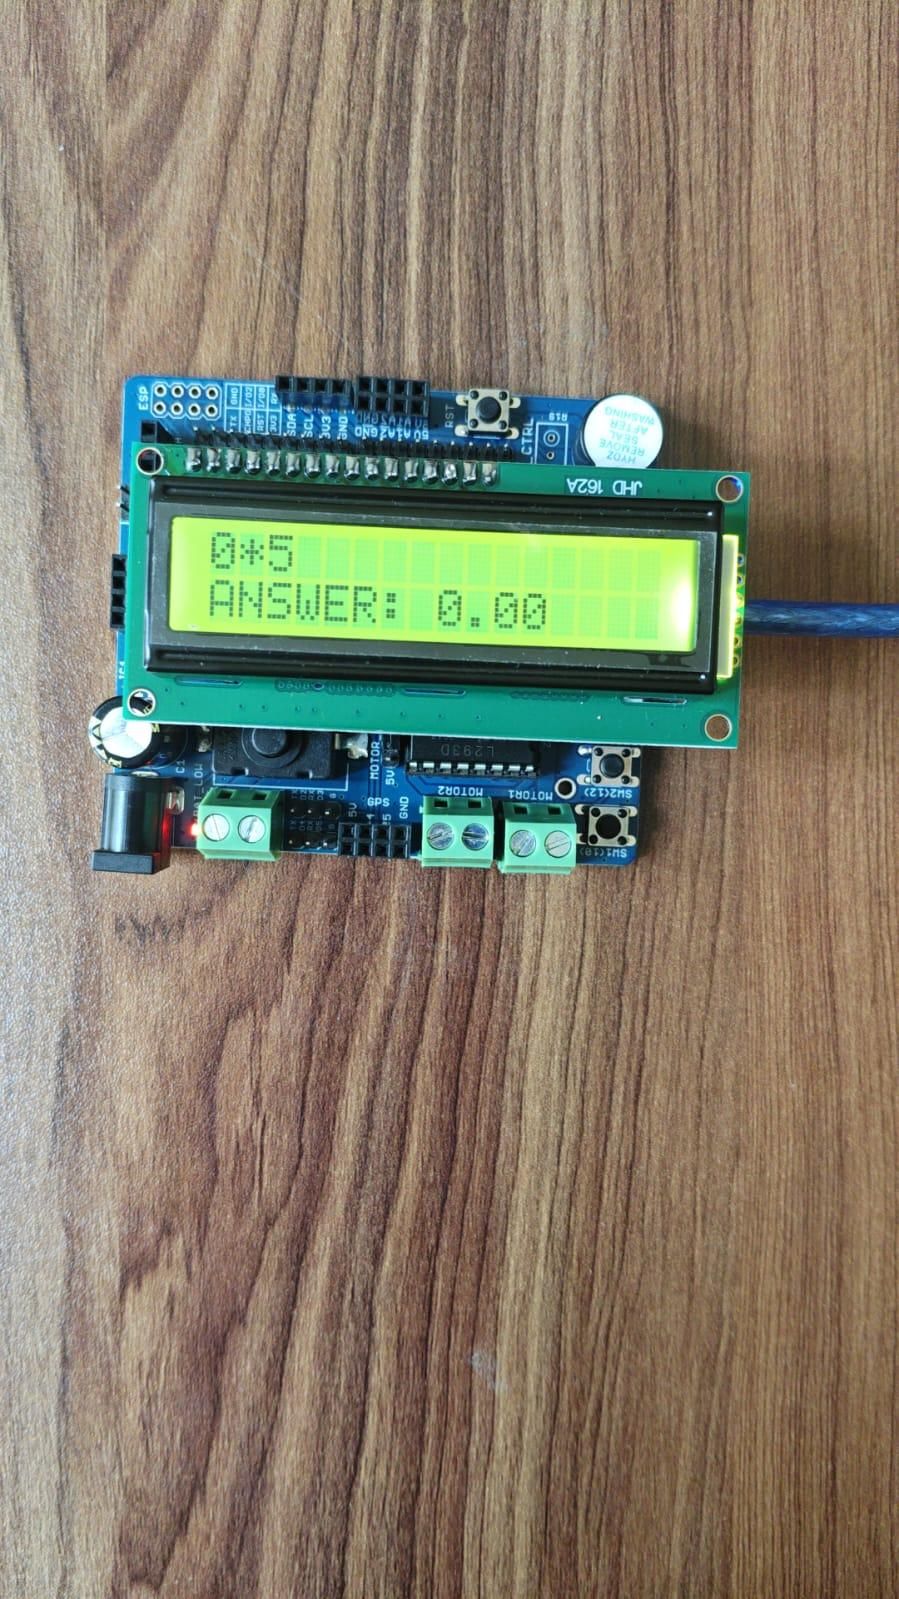
LCD Connections
- RS → A4
- EN → A3
- D4 → A2
- D5 → A1
- D6 → A0
- D7 → D13
Button (inbuild in Deshbot)
- Increase Button → D10
- Decrease Button → D12
- Other side of both buttons → GND
The buttons use the Arduino INPUT_PULLUP mode, so external pull-up resistors are not required.
Working Principle
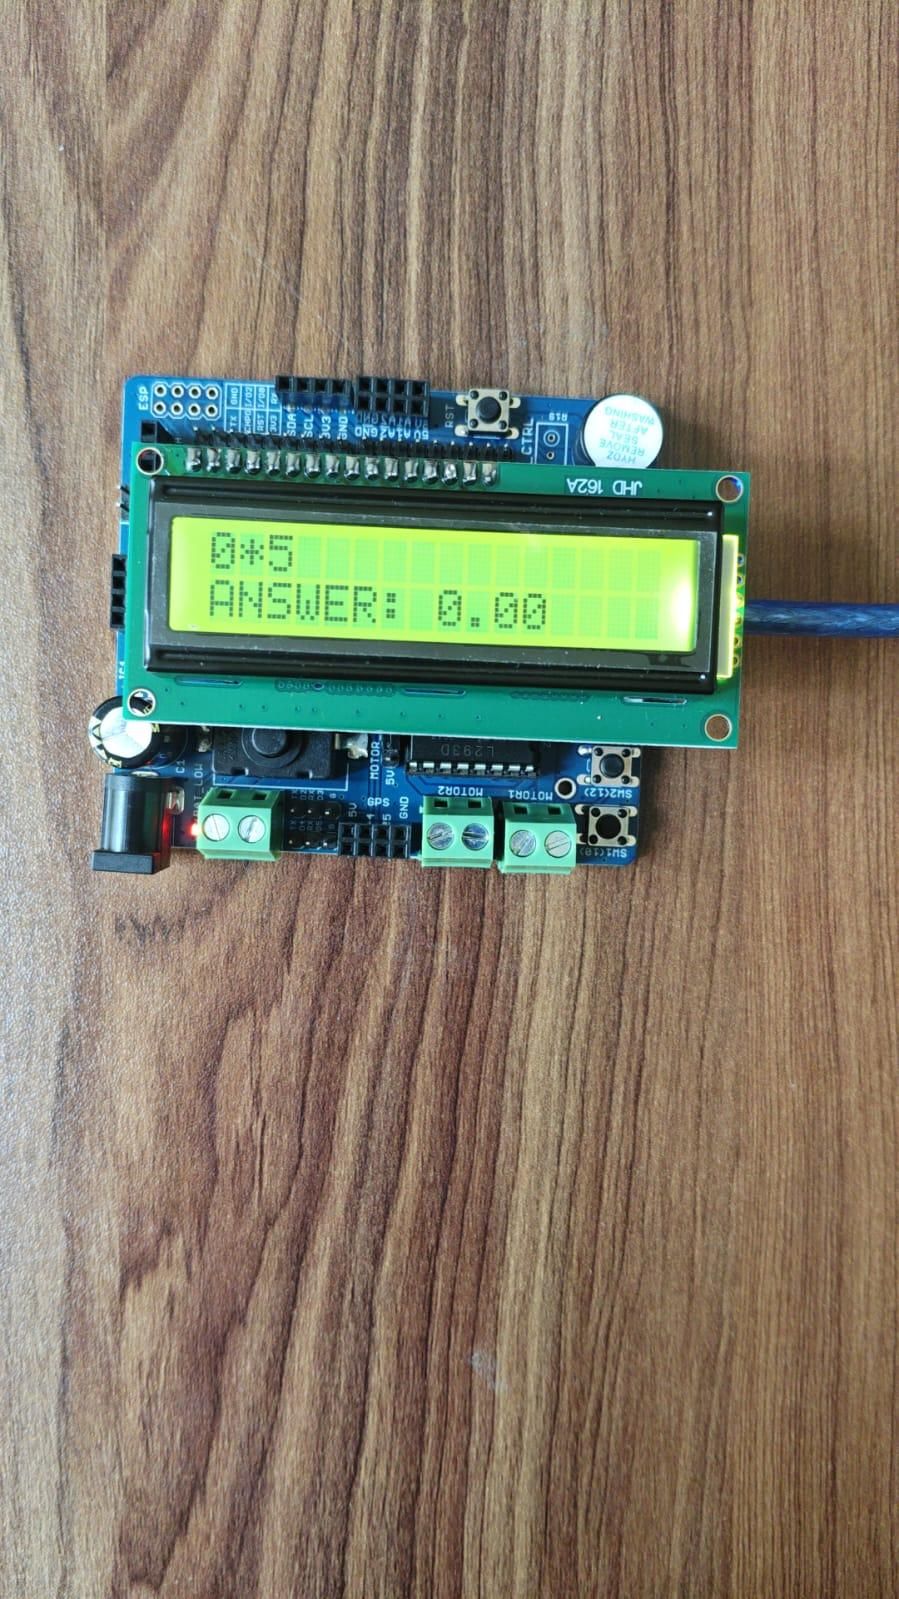
The LCD display is used to show the calculator menu, selected numbers, mathematical operations, and the final answer.
First, the user selects Number 1 using the two buttons. The D10 button increases the value, while the D12 button decreases the value. When no button is pressed for 3 seconds, the selected number is automatically confirmed.
Next, the calculator moves to the operation selection. The user can select addition, subtraction, multiplication, or division using the two buttons. After waiting for 3 seconds without pressing a button, the selected operation is automatically confirmed.
Then, the user selects Number 2 in the same way. After 3 seconds of no button activity, the Arduino performs the selected calculation and displays the answer on the LCD.
The complete working process is:
Number 1 → Operation → Number 2 → Answer
After displaying the answer, the calculator automatically resets and is ready for a new calculation.
Features
16×2 LCD display interface
Control using only two buttons
D10 button increases the selected value
D12 button decreases the selected value
Automatic 3-second value confirmation
Addition operation
Subtraction operation
Multiplication operation
Division operation
Automatic calculation
Division-by-zero error detection
Automatic reset for a new calculation
Simple and interactive menu system
Coding
The Arduino program continuously reads the two push buttons connected to pins D10 and D12.
When the increase button is pressed, the selected value increases. When the decrease button is pressed, the selected value decreases. Every button press resets the 3-second timer.
If no button is pressed for 3 seconds, the current value is automatically saved and the program moves to the next stage.
The program has three main selection stages: Number 1, mathematical operation, and Number 2. After all three selections are completed, the Arduino performs the required calculation.
The final result is displayed on the 16×2 LCD. The program also checks for division by zero and displays an error message if required.
Downloads
Conclusion
The Arduino LCD Calculator is a simple and interactive embedded systems project. It combines button input, LCD programming, timer functions, and mathematical calculations into one project.
Using only two buttons and a 3-second automatic selection system makes the calculator simple and easy to operate. This project is a useful way to learn Arduino programming, user input handling, LCD interfacing, and basic embedded system design.