DESHBOT Project – Arduino Nano Flame Sensor and 16×2 LCD Fire Detection
by devkrishnavhora in Circuits > Arduino
9 Views, 0 Favorites, 0 Comments
DESHBOT Project – Arduino Nano Flame Sensor and 16×2 LCD Fire Detection
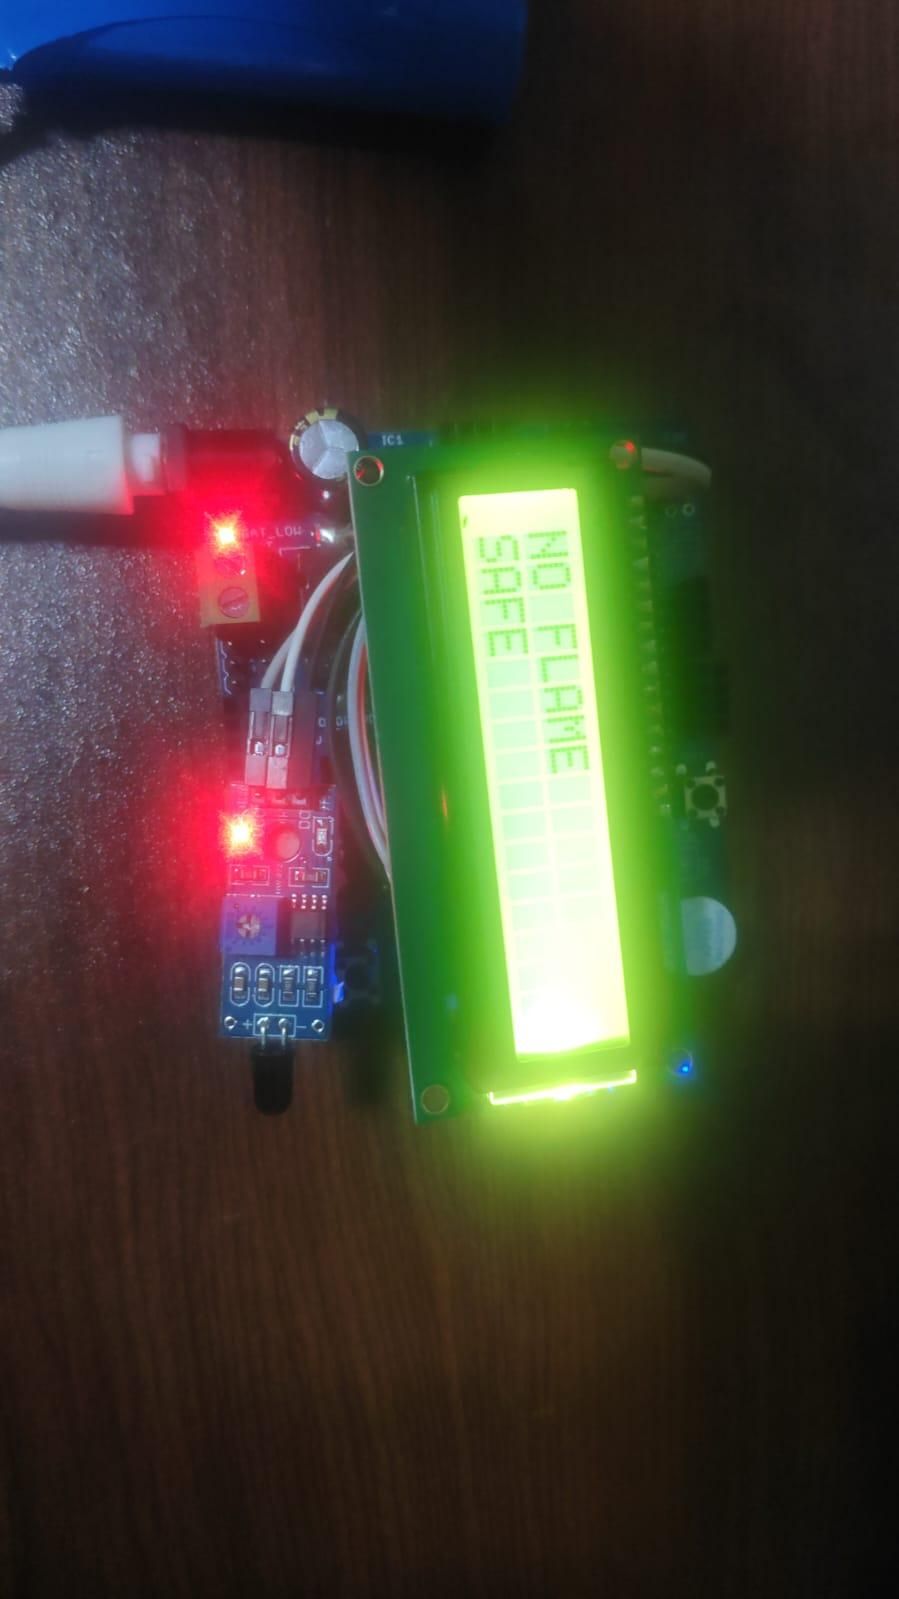
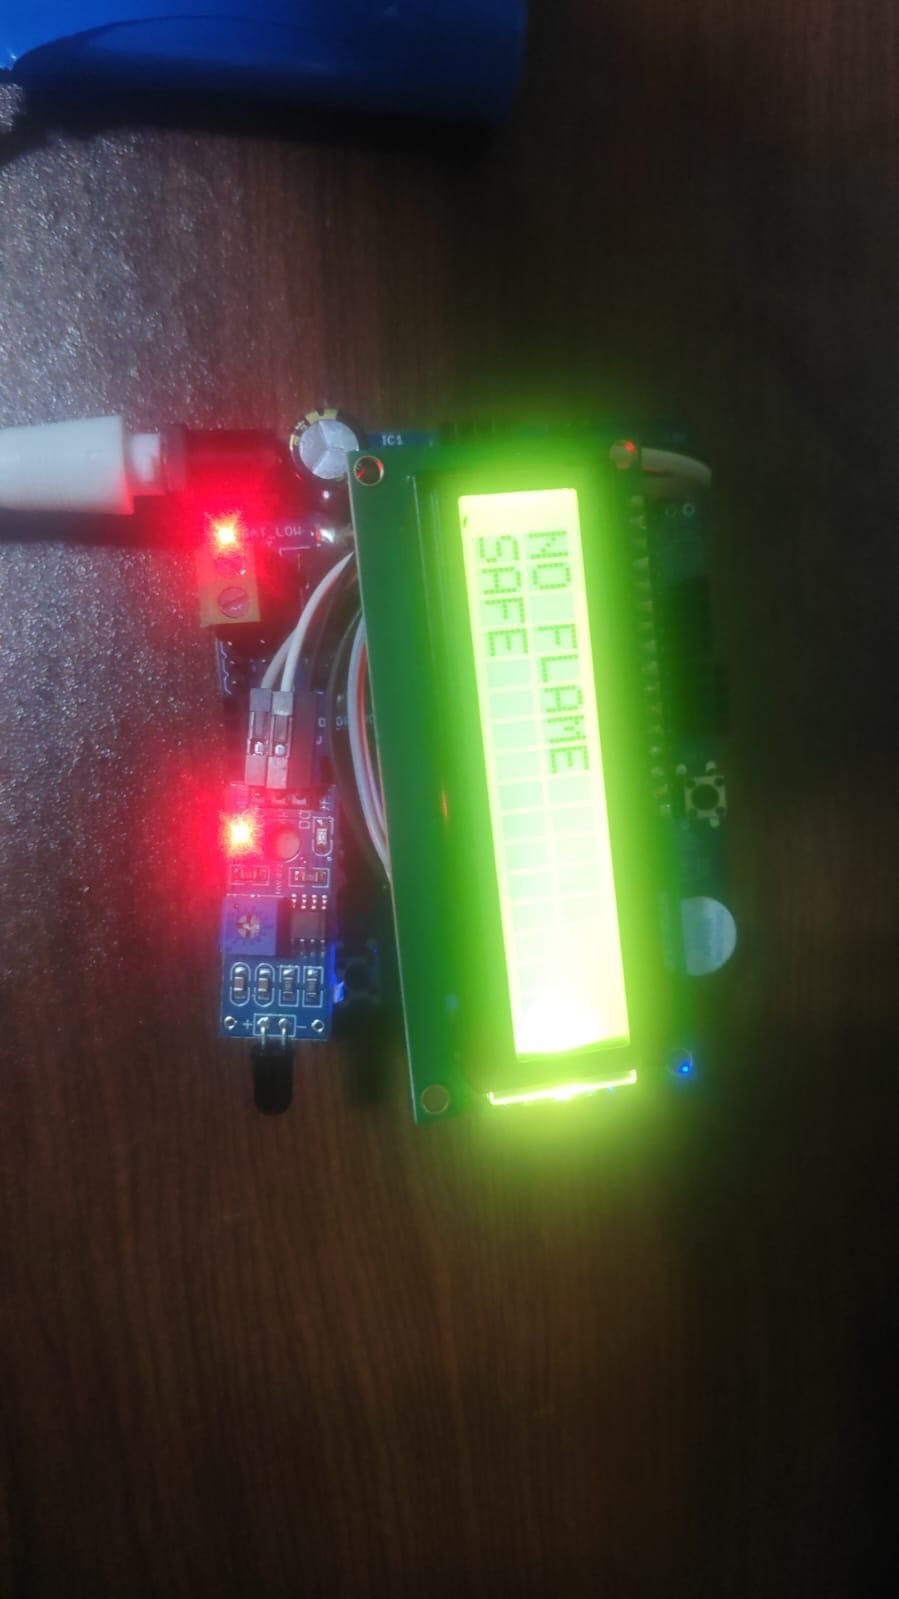
The DESHBOT project uses an Arduino Nano, DESHBOT Shield, flame fire sensor, and a 16×2 LCD display to detect the presence of fire. The flame sensor continuously monitors the surrounding area, while the LCD displays the current fire detection status.
Supplies
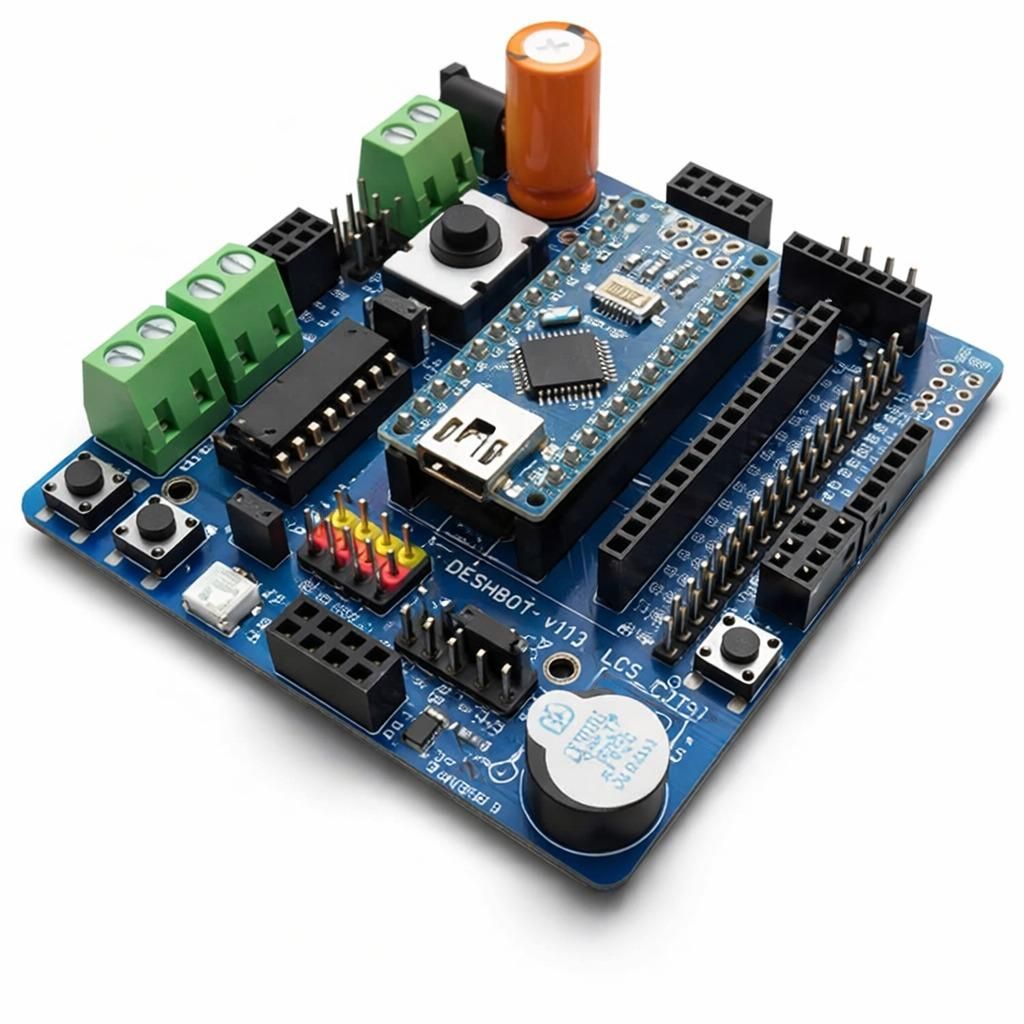
Arduino Nano
DESHBOT Shield
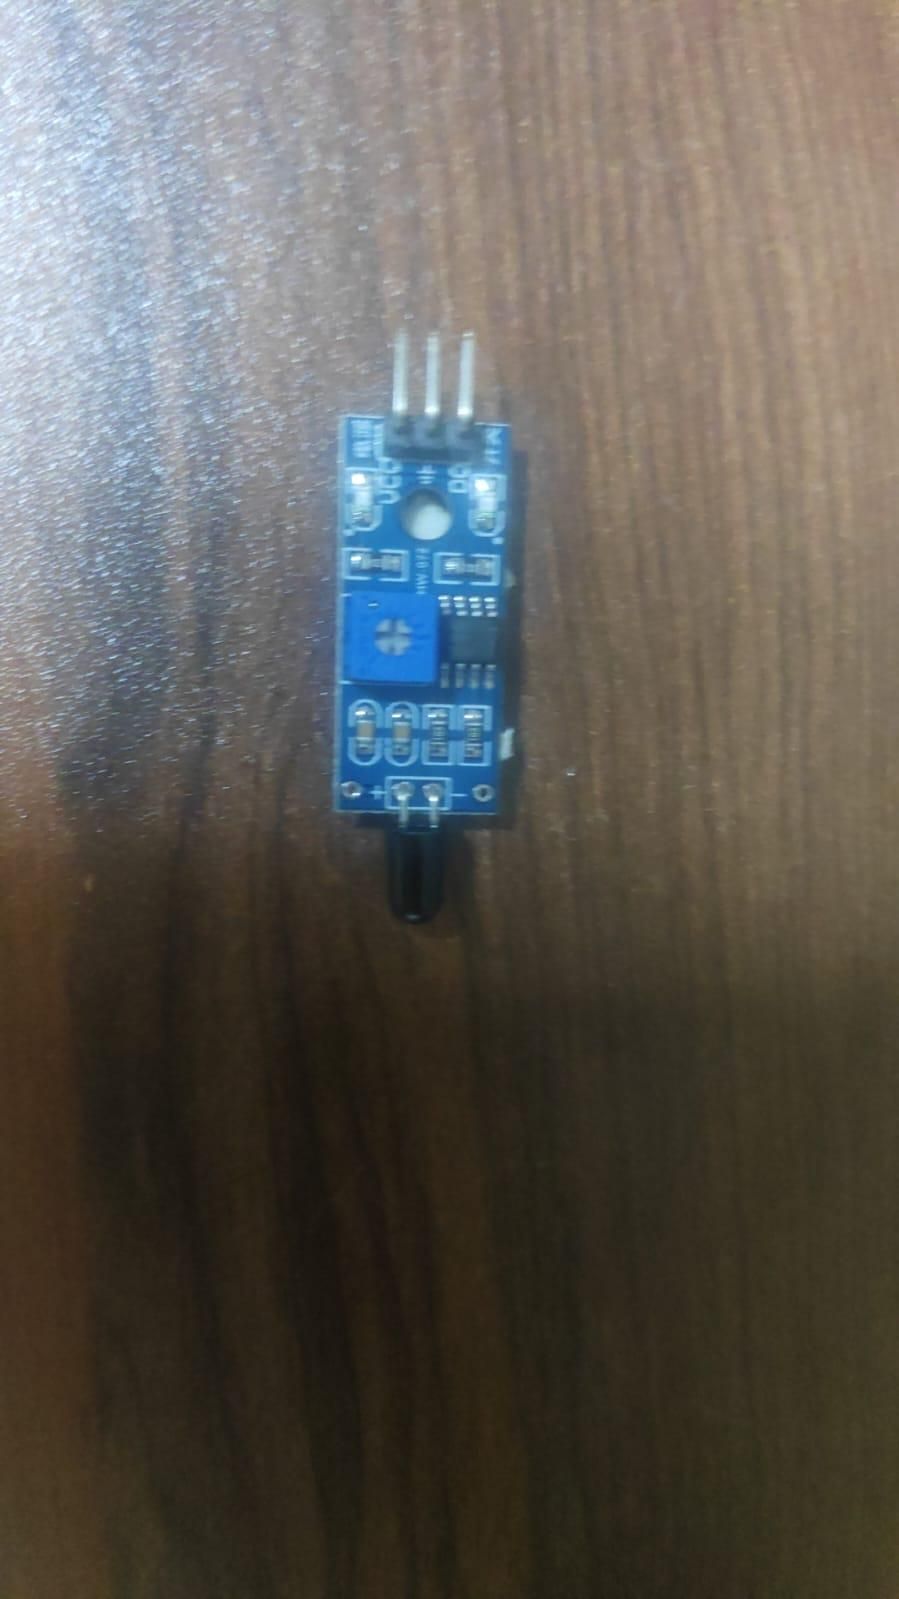
Flame Fire Sensor Module
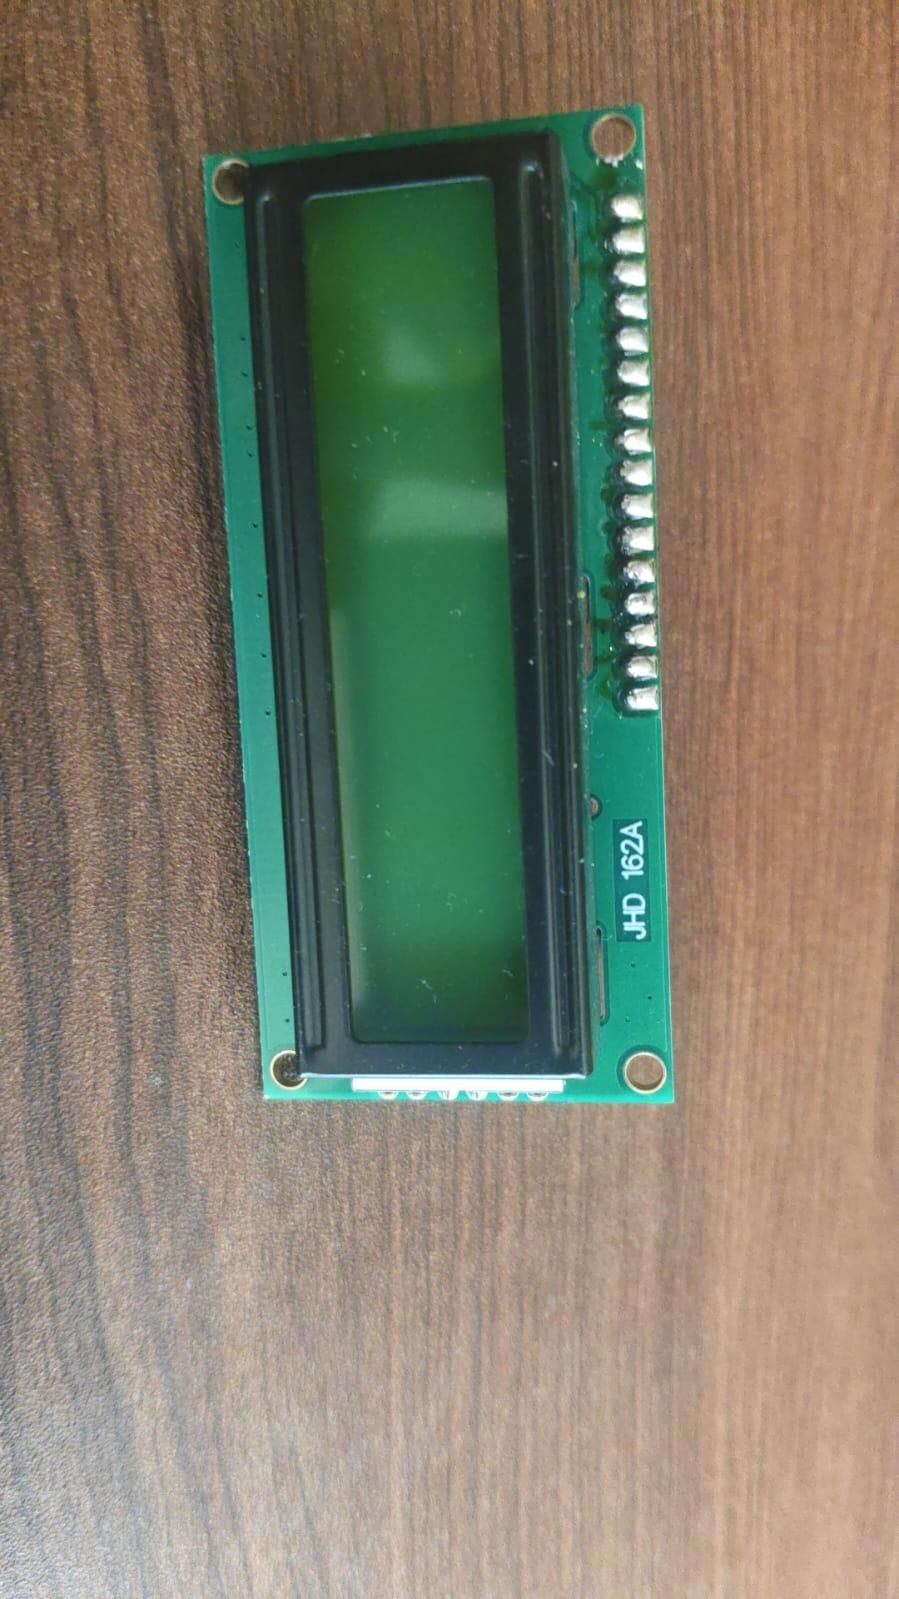
16×2 LCD Display
Jumper wires
Connect the 16×2 LCD
Connect the 16×2 LCD to the Arduino Nano through the DESHBOT Shield connections.
The LCD is used to display the current flame detection status. After connecting the LCD, check that it is properly powered and the text is visible.
The LCD will display different messages according to the flame sensor condition.
Connect the Flame Fire Sensor
The flame sensor module normally has the following pins:
- VCC → Arduino Nano 5V
- GND → Arduino Nano GND
- D0 → Arduino Nano Digital Input Pin
- A0 → Arduino Nano Analog Input Pin, if analog detection is required
For this project, the Arduino Nano continuously reads the flame sensor output to check whether a flame is detected.
The flame sensor should be positioned facing the area where fire detection is required.
Set the Flame Detection Condition
The flame sensor detects infrared light produced by a flame.
When a flame is detected:
- The system enters the FIRE DETECTED condition.
- The 16×2 LCD displays a fire warning message.
When no flame is detected:
- The system remains in the NO FIRE DETECTED condition.
- The LCD displays the normal monitoring status.
The sensitivity of the flame sensor can usually be adjusted using the potentiometer available on the sensor module.
Upload the Arduino Sketch
Open the DESHBOT Arduino Nano sketch in the Arduino IDE.
The sketch should initialize:
- The 16×2 LCD display
- The flame sensor input
- The fire detection condition
The Arduino continuously reads the flame sensor and updates the LCD according to the current sensor status.
Downloads
Fire Detected
When the flame sensor detects a flame, the LCD displays a warning message:
This indicates that the sensor has detected a flame and the DESHBOT system is in the fire detection condition.
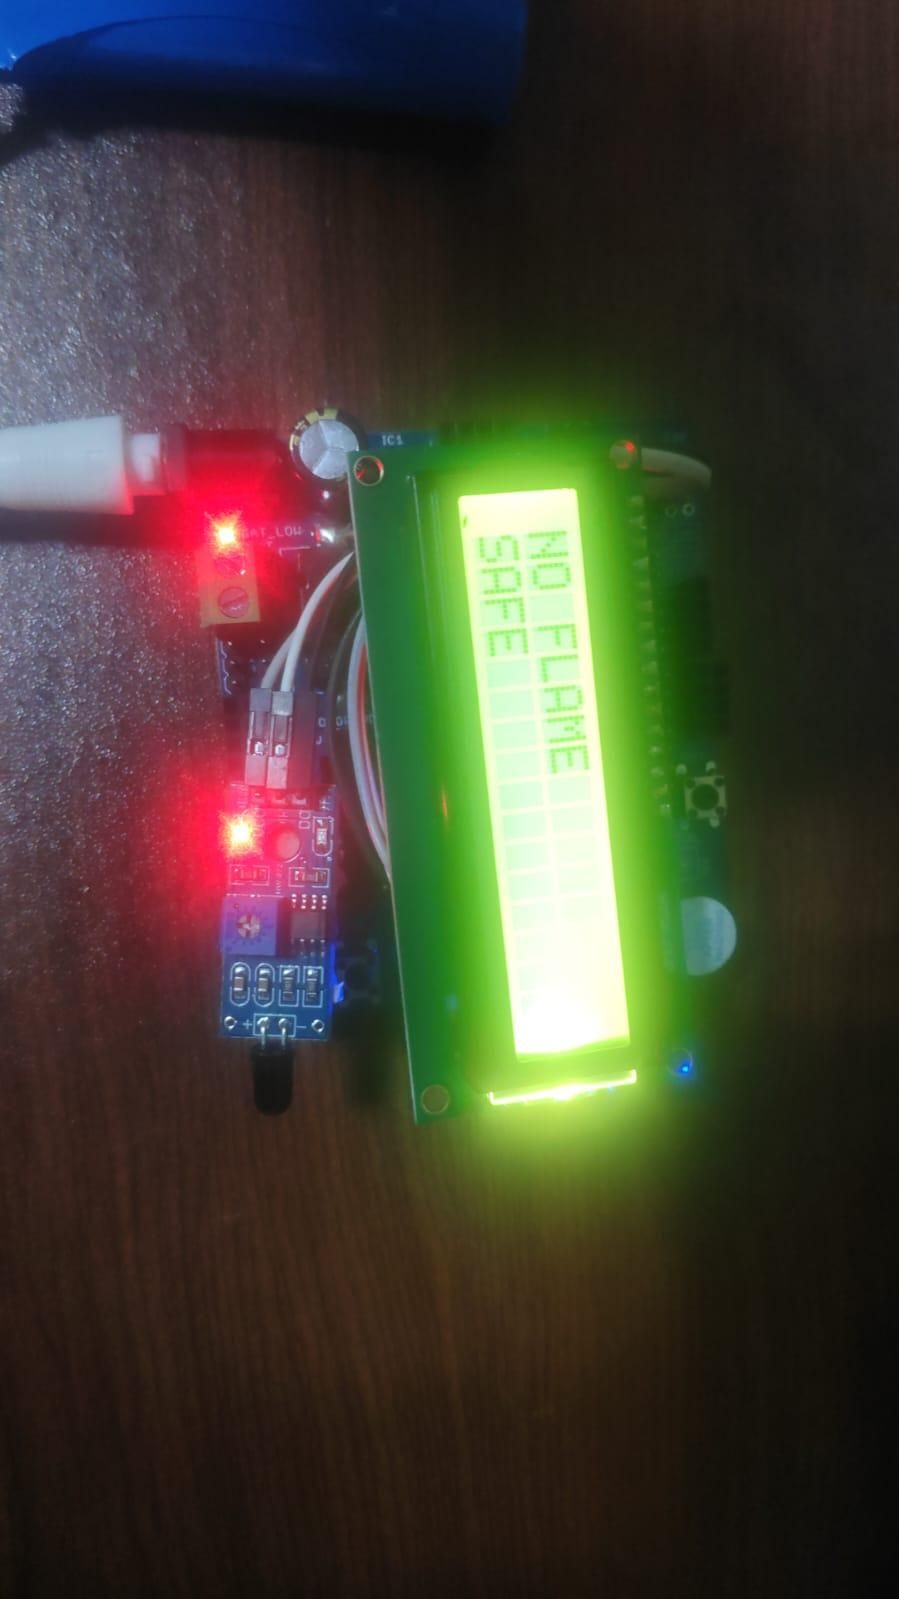
No Fire Detected
When the flame sensor does not detect a flame, the LCD displays:
This indicates that the DESHBOT system is operating normally and continuously monitoring the area for a flame.
Test the Project
Upload the completed DESHBOT sketch to the Arduino Nano.
After uploading:
- Power ON the DESHBOT system.
- Check that the 16×2 LCD is working correctly.
- Keep the flame sensor away from any flame.
- The LCD should display NO FIRE DETECTED.
- Carefully place a small flame in front of the sensor from a safe distance.
- The sensor should detect the flame.
- The LCD should change to FIRE DETECTED!
- Remove the flame from the detection area.
- The LCD should return to the NO FIRE DETECTED status.
Working Principle
The flame fire sensor detects infrared radiation produced by a flame. The Arduino Nano continuously reads the sensor output through the DESHBOT Shield.
When a flame is detected, the Arduino updates the 16×2 LCD to display FIRE DETECTED!. When no flame is detected, the LCD displays NO FIRE DETECTED.
This process continuously repeats, allowing the DESHBOT system to monitor the surrounding area and provide real-time fire detection status.
Important Note
The flame sensor module may use HIGH or LOW output logic, depending on the sensor module and its sensitivity setting. Test the sensor output before finalizing the Arduino code.
If the LCD displays the opposite status, reverse the detection condition in the Arduino sketch or adjust the sensitivity potentiometer until the sensor correctly detects the flame.