DESHBOT Project – Arduino Nano OLED GIF Animation Setup
by devkrishnavhora in Circuits > Arduino
13 Views, 0 Favorites, 0 Comments
DESHBOT Project – Arduino Nano OLED GIF Animation Setup
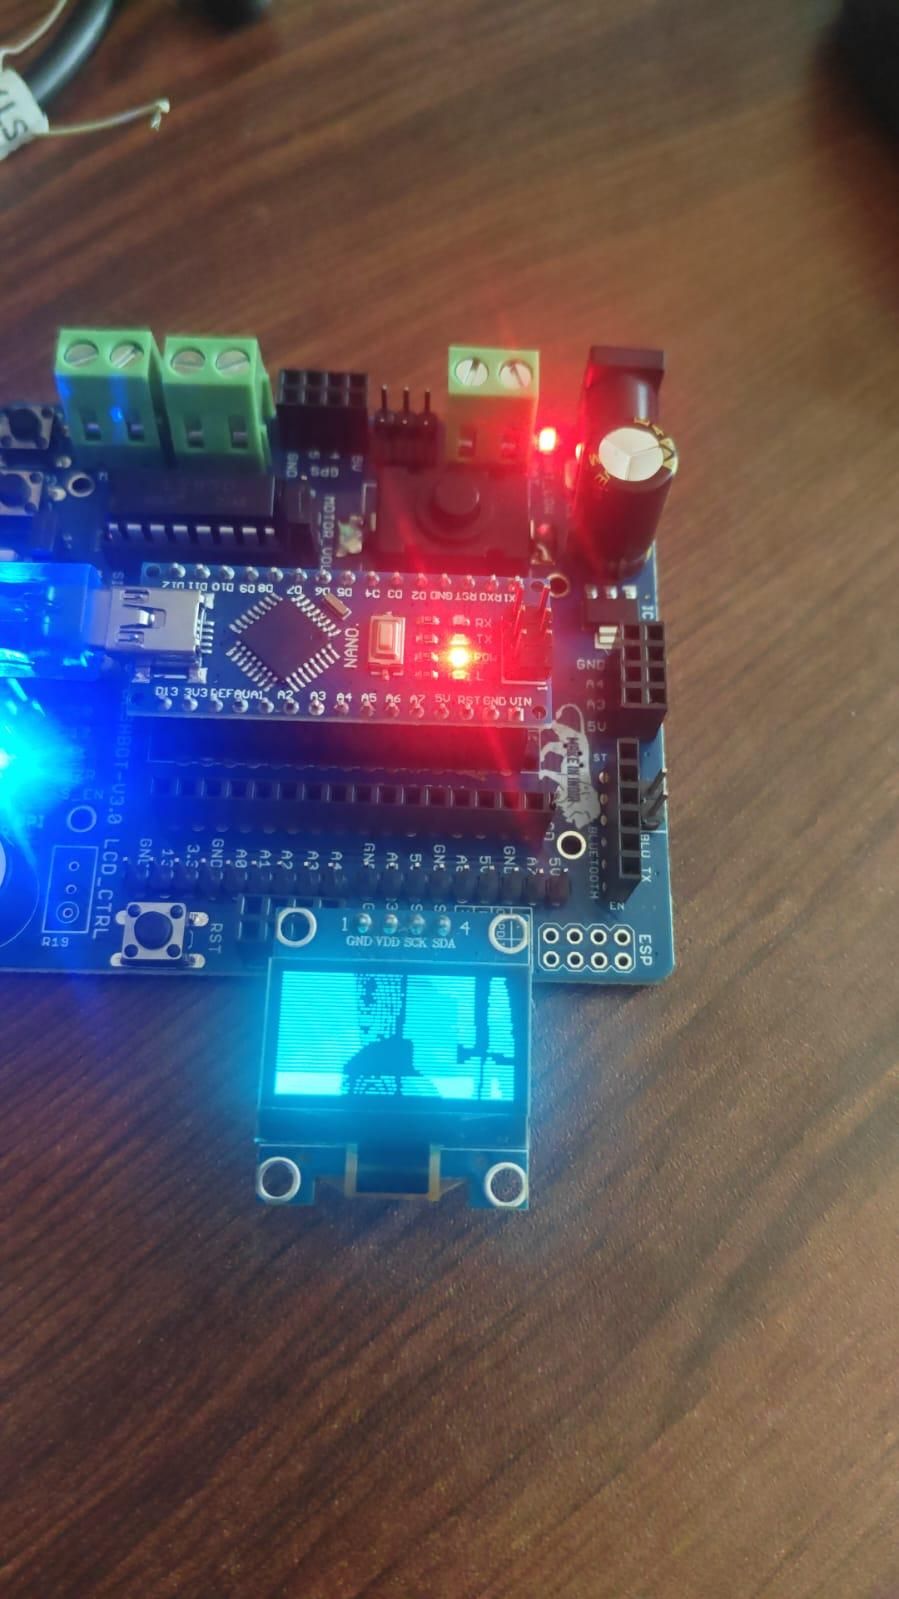
The DESHBOT project uses an Arduino Nano with an OLED display to show a GIF animation. The GIF must first be converted into monochrome bitmap frame arrays, which can then be added to the Arduino sketch.
Supplies
1 Deshbot shield
2 Arduino nano
3 oled display
4 power suply
Set Up the Components
Connect all DESHBOT components to the Arduino Nano. For the OLED display, use the I2C connection:
- OLED VCC → Arduino Nano 5V
- OLED GND → Arduino Nano GND
- OLED SDA → Arduino Nano A4
- OLED SCL → Arduino Nano A5
Install the required libraries in Arduino IDE:
- Adafruit GFX Library
- Adafruit SSD1306 Library
Open the GIF Conversion Website

GIF to OLED Animation Converter
This tool converts an animated GIF into individual bitmap arrays that can be displayed on an SSD1306 OLED.
Upload the GIF
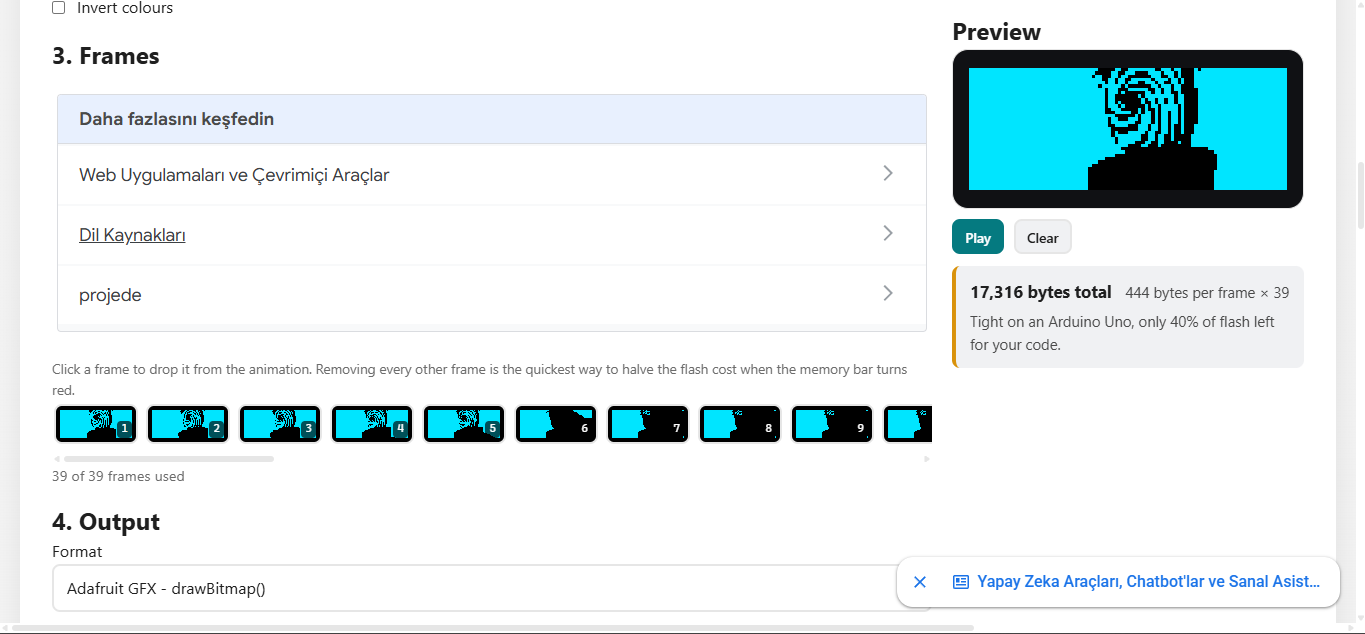
in the Choose an animation section:
- Click the upload area.
- Select the GIF file that you want to display on the DESHBOT OLED.
- Wait for the GIF frames and preview to load.
Set the Display Settings
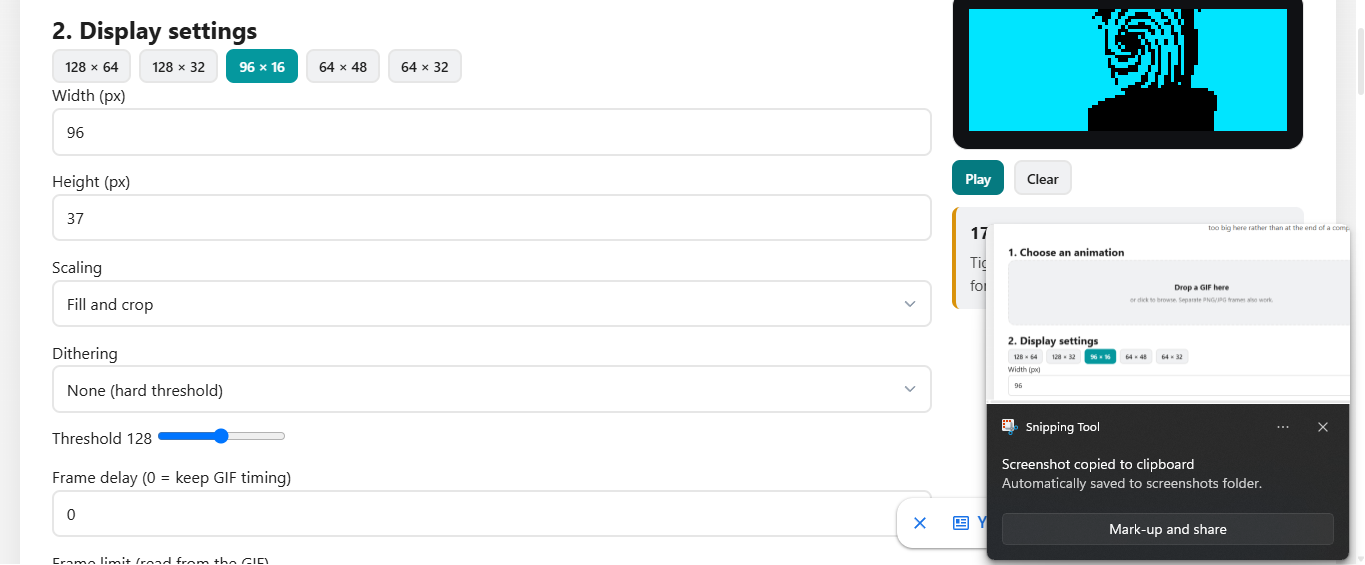
For a standard 0.96-inch SSD1306 OLED, select:
- Display size: 128 × 64
- Width: 128 px
- Height: 64 px
- Scaling: Fit or the option that gives the best preview
- Dithering: Hard Threshold for logos, robot eyes, and simple animations
- Threshold: Start with 128 and adjust if necessary
- Frame delay: 0 to keep the original GIF timing, or set a custom delay
- Frame limit: Reduce the number of frames if the animation is too large
- Invert colours: Enable only if the animation colours appear reversed
The tool supports 128×64 output, frame limiting, dithering, custom frame delay, and PROGMEM storage.
Select the Output Format
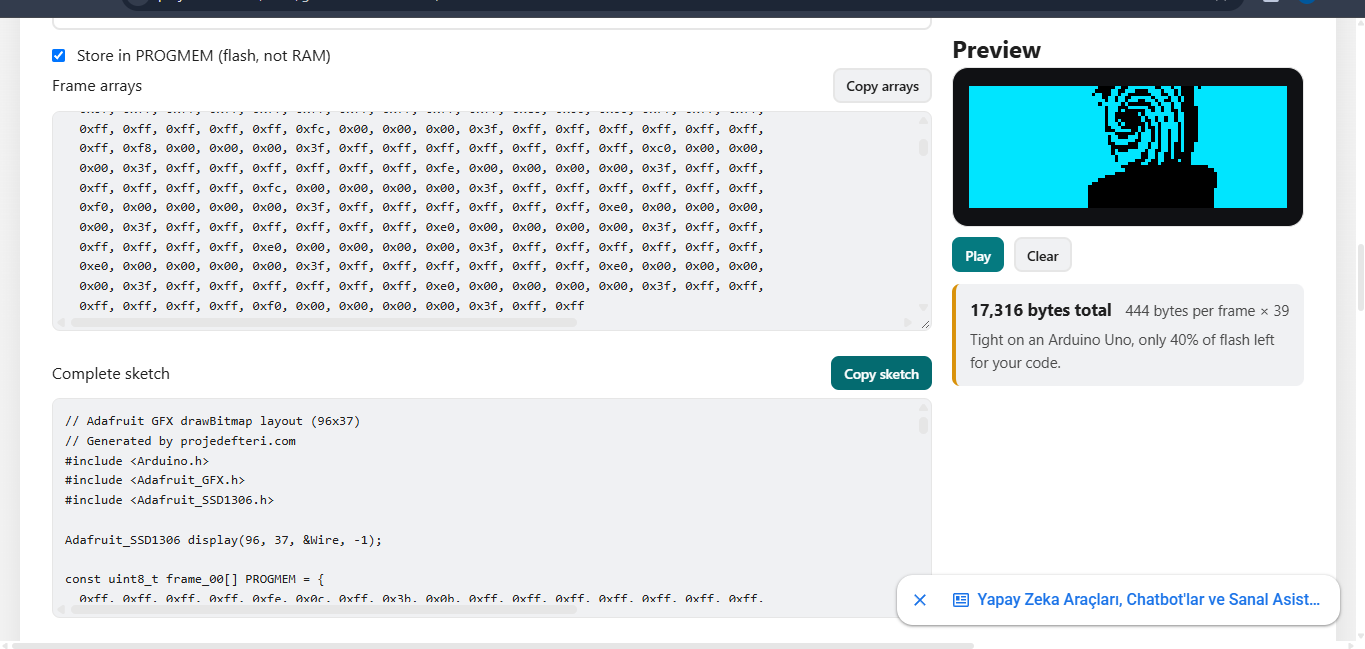
in the Output section, select:
- Format: Adafruit GFX
- Store in PROGMEM: Enabled
Adafruit GFX format is compatible with the display.drawBitmap() function used with the Adafruit SSD1306 library. PROGMEM stores the animation frames in flash memory instead of using the Nano's limited RAM.
Copy the Frame Arrays
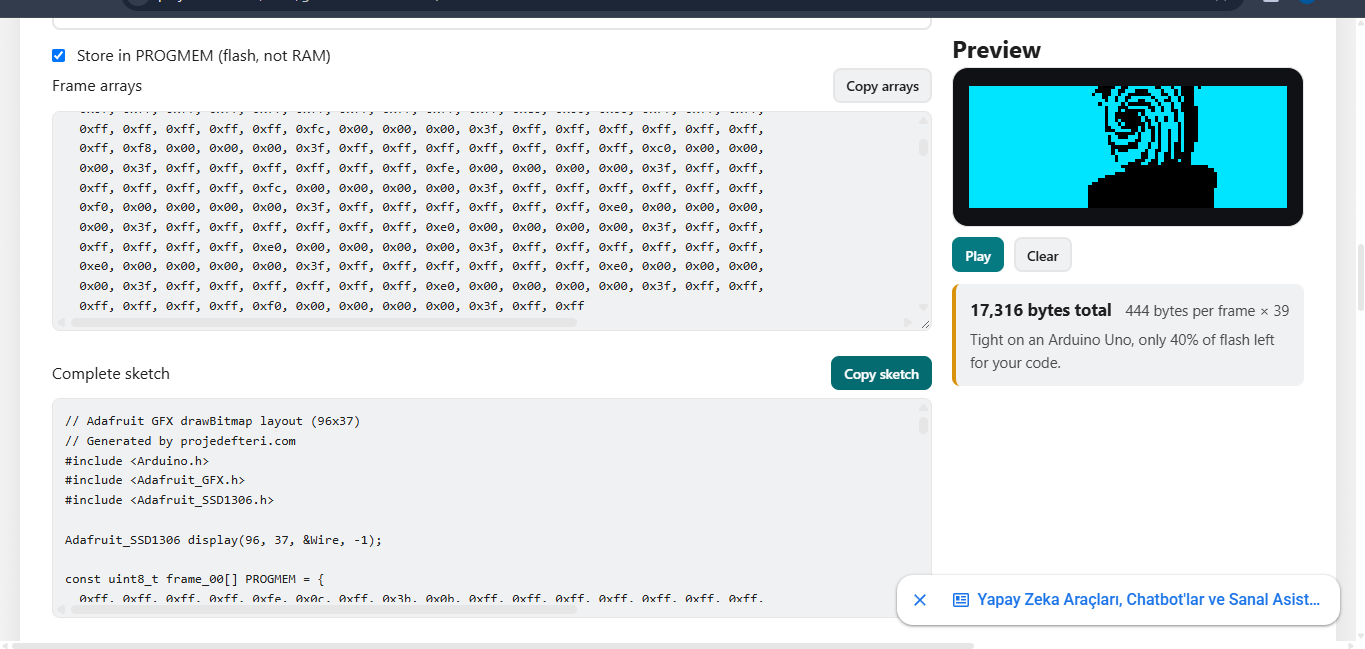
Click:
Copy arrays
The website will generate frame arrays similar to:
Copy all the generated arrays.
Paste the Arrays Into the DESHBOT Sketch
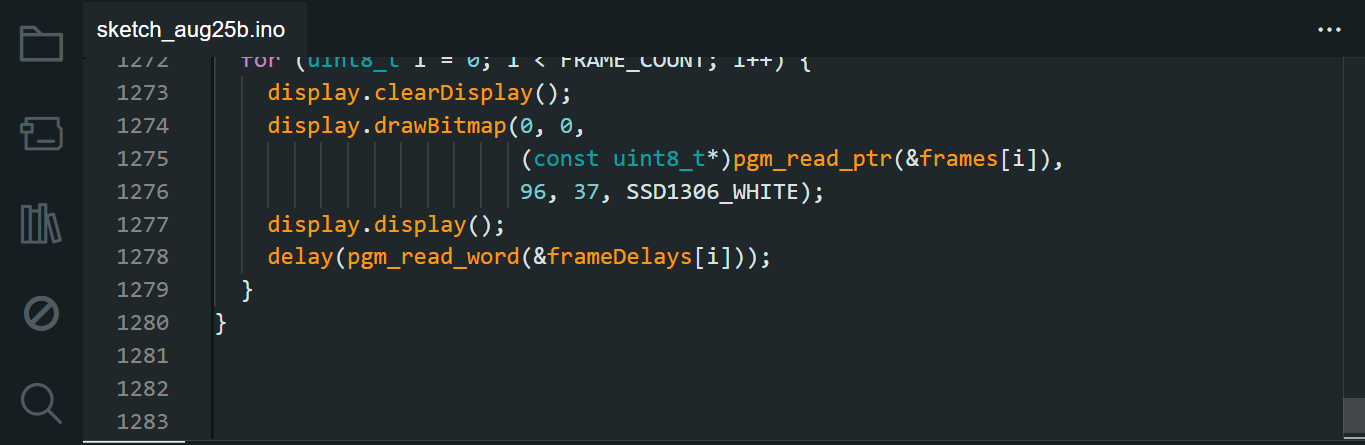
Open the DESHBOT Arduino Nano sketch.
Paste all copied GIF frame arrays near the top of the sketch, after the library includes and before setup().
Example:
If the website generates a complete animation sketch, you can also click Copy sketch and use its animation section with the DESHBOT project. The converter specifically provides both frame arrays and a complete sketch output.
Upload and Test
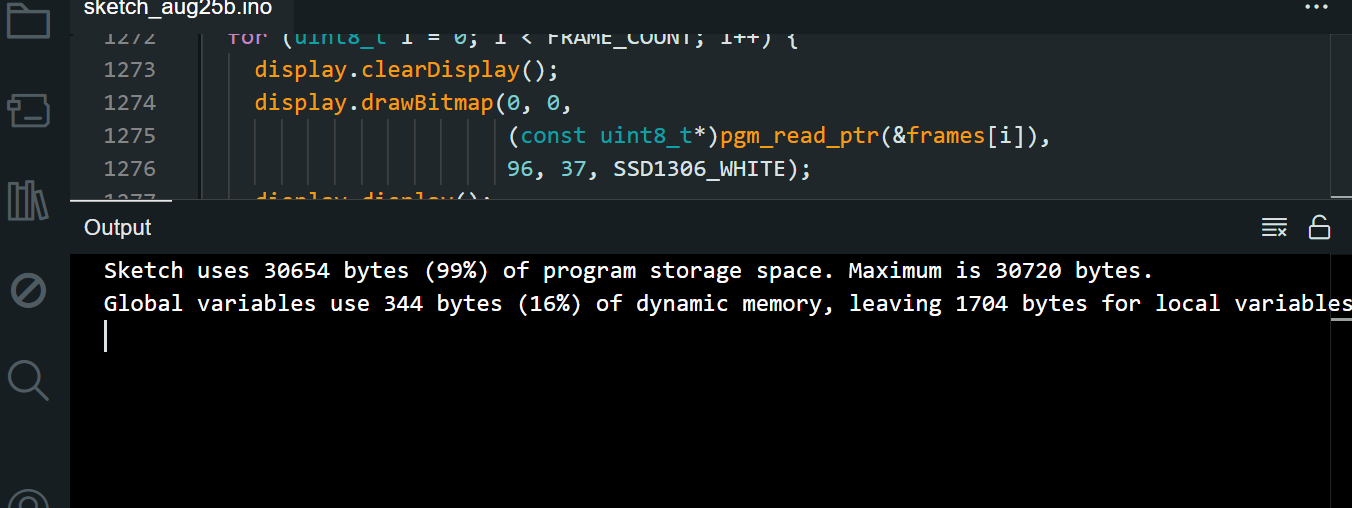
Compile the DESHBOT sketch and upload it to the Arduino Nano.
The OLED will display each bitmap frame one after another, creating the GIF animation. Keep the GIF short or reduce its size and number of frames because every 128×64 monochrome frame requires approximately 1 KB of storage, which can quickly fill the Nano's available program memory.
Important Note
For the DESHBOT project, do not manually edit the hexadecimal GIF array values. Copy the complete generated output from the converter and paste it directly into the Arduino sketch. The frame order and array names must remain correct for the animation code to work.
Final Animation Video
firts is oled and second is the gif that we uploaded if you have high power more ram microcontroller you can upladed a full episode or video