DESHBOT Shield – Bluetooth Controlled Robot
by devkrishnavhora in Circuits > Arduino
20 Views, 0 Favorites, 0 Comments
DESHBOT Shield – Bluetooth Controlled Robot
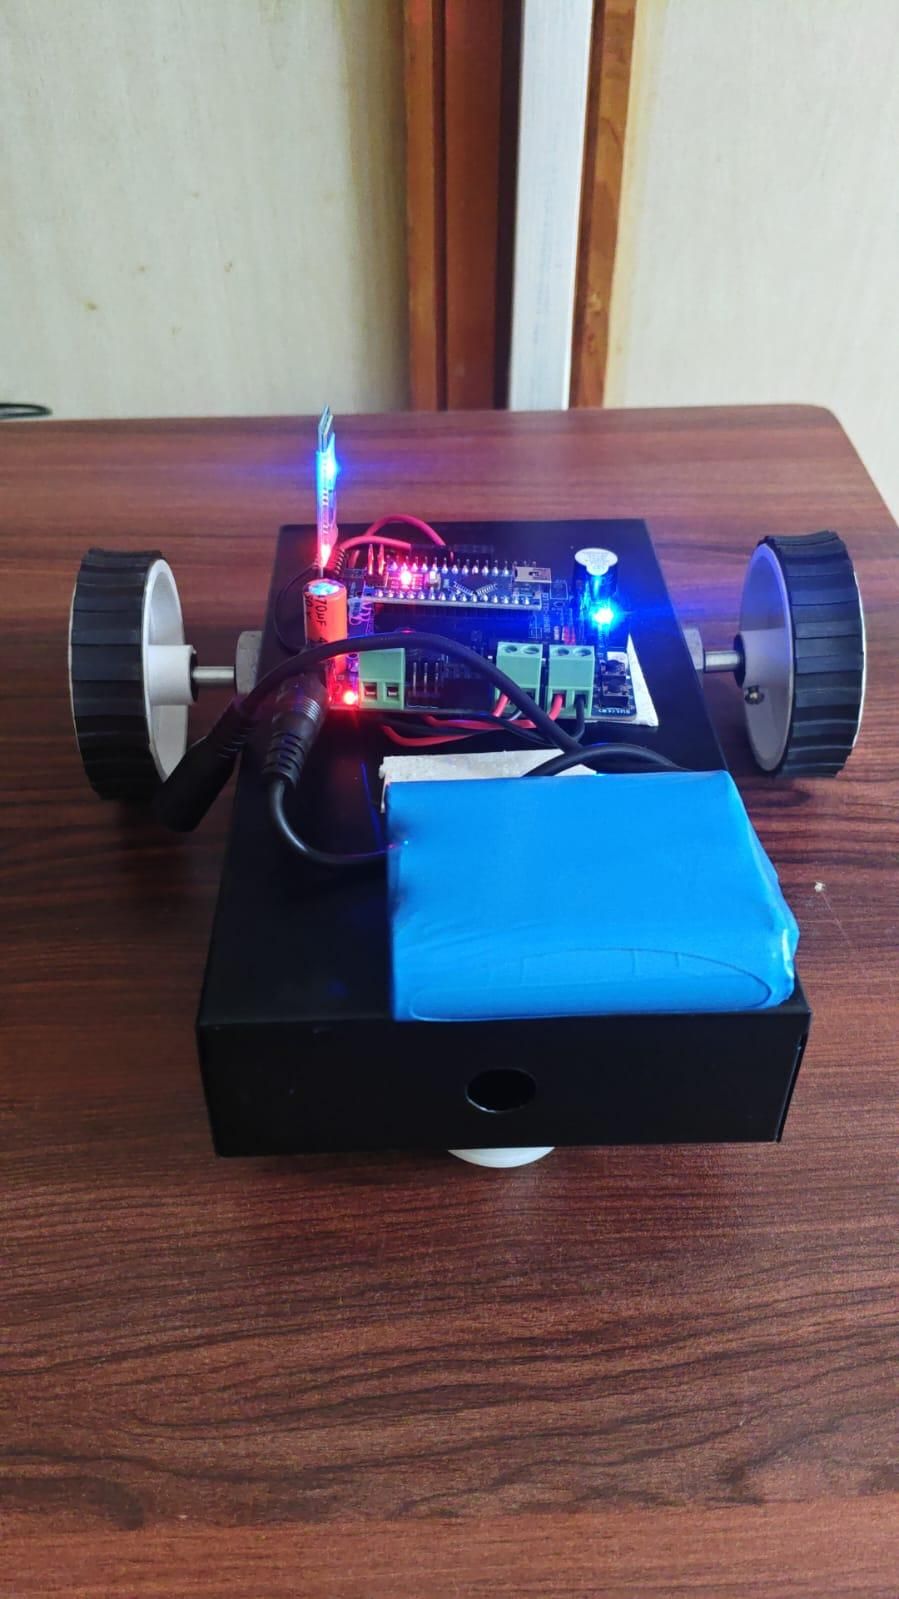
In this project, we will build a simple Bluetooth-controlled robot using the DESHBOT Shield.
The robot uses an Arduino Nano as its controller. An HC-05 Bluetooth module allows us to control the robot wirelessly from a smartphone.
The DESHBOT Shield makes the wiring easier because the motor connections and other connections are available directly on the shield.
This tutorial is written for beginners, so we will build the robot step by step.
Supplies
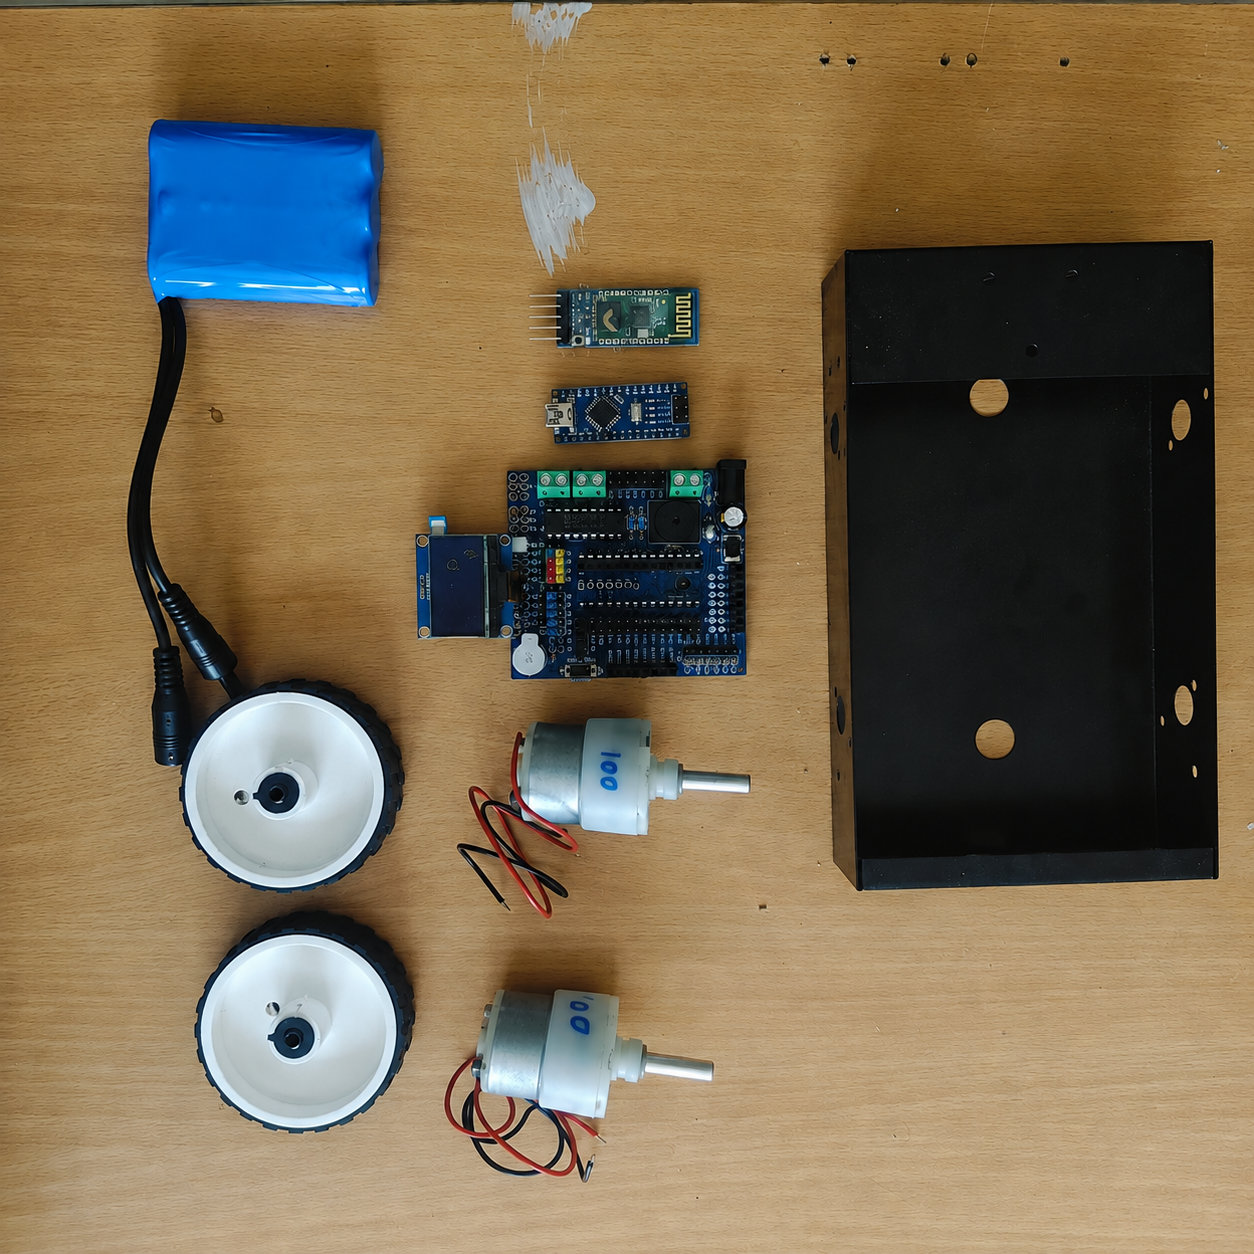
DESHBOT Shield
Arduino Nano
HC-05 Bluetooth Module
Motor driver L293D ( onboard Deshbot shield )
2 × DC gear motors
2 × robot wheels
Robot chassis
Battery pack
USB cable for programming
castor wheel
Understand the DESHBOT Shield
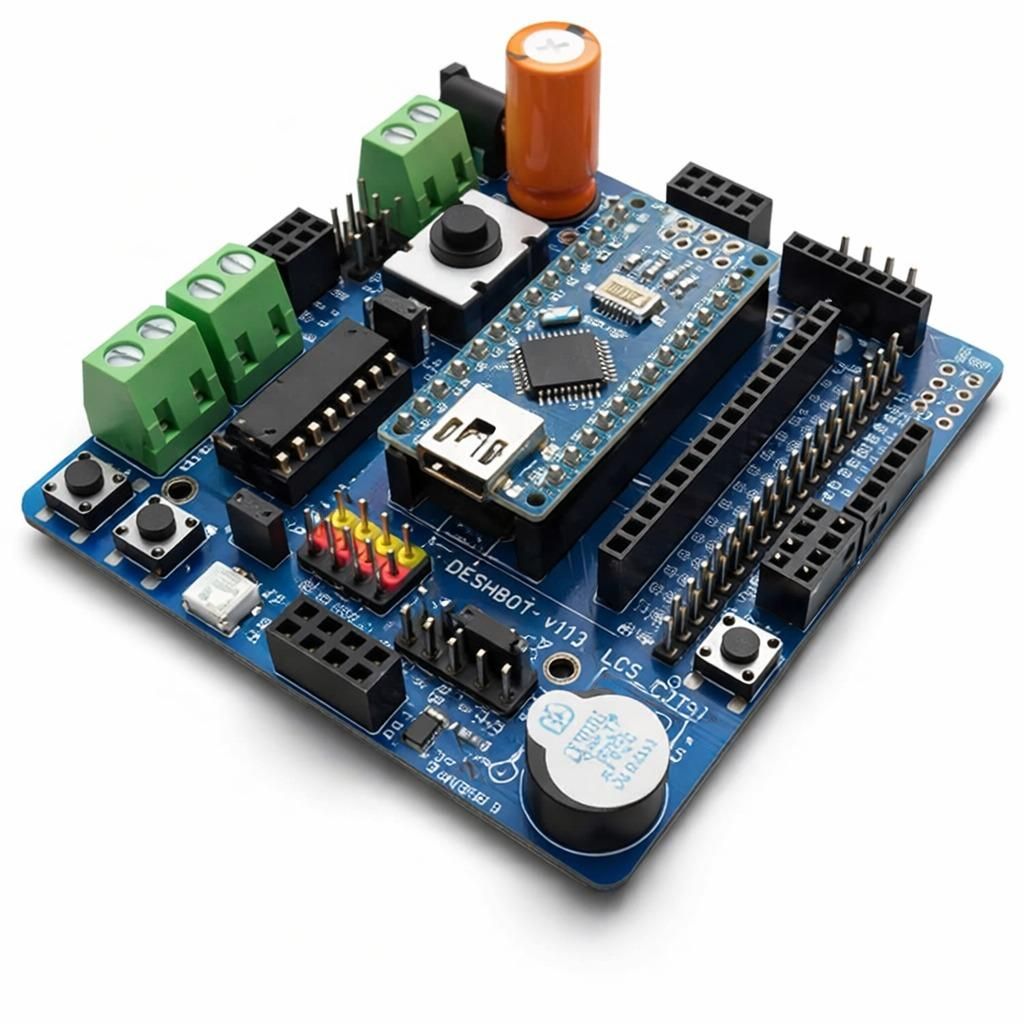
The DESHBOT Shield is the main control board of our robot.
The Arduino Nano is placed on the shield and controls the motors and Bluetooth module.
The shield provides easy connections for:
- Two DC motors
- Battery
- Bluetooth module
- Arduino pins
- Other electronic components
Before connecting anything, look carefully at the labels printed on the shield.
Insert the Arduino Nano
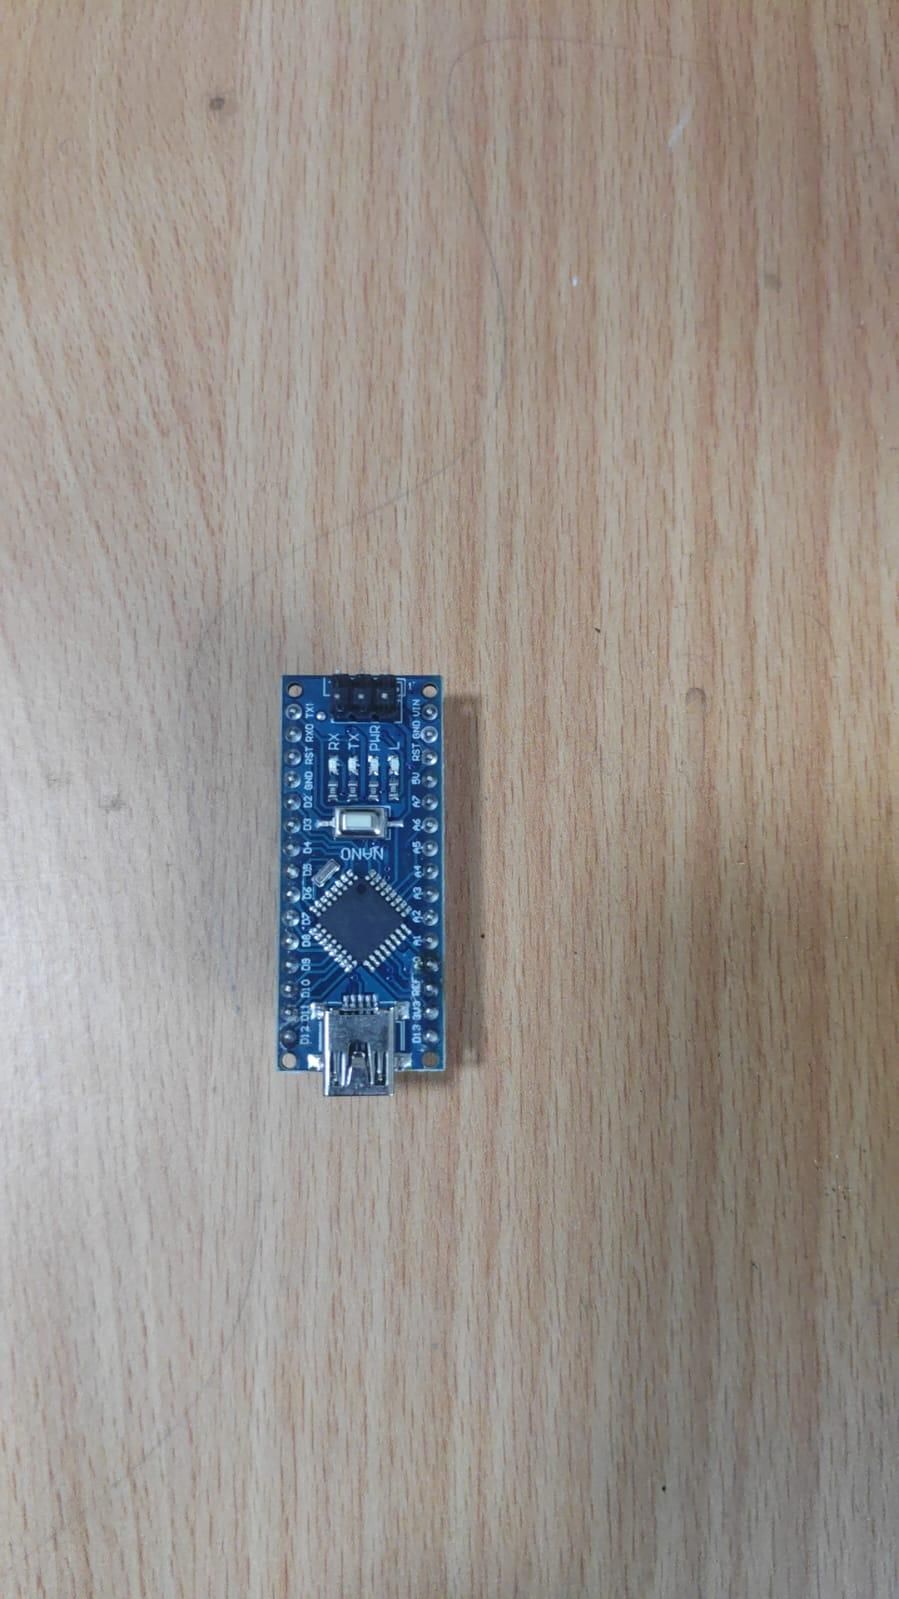
Place the Arduino Nano onto the Nano headers on the DESHBOT Shield.
Make sure all the pins are correctly aligned before pressing the Nano into the headers.
Do not force the board if the pins are not aligned
Keep the USB connector accessible so that you can connect the Nano to your computer for programming.
Connect the Two Motors
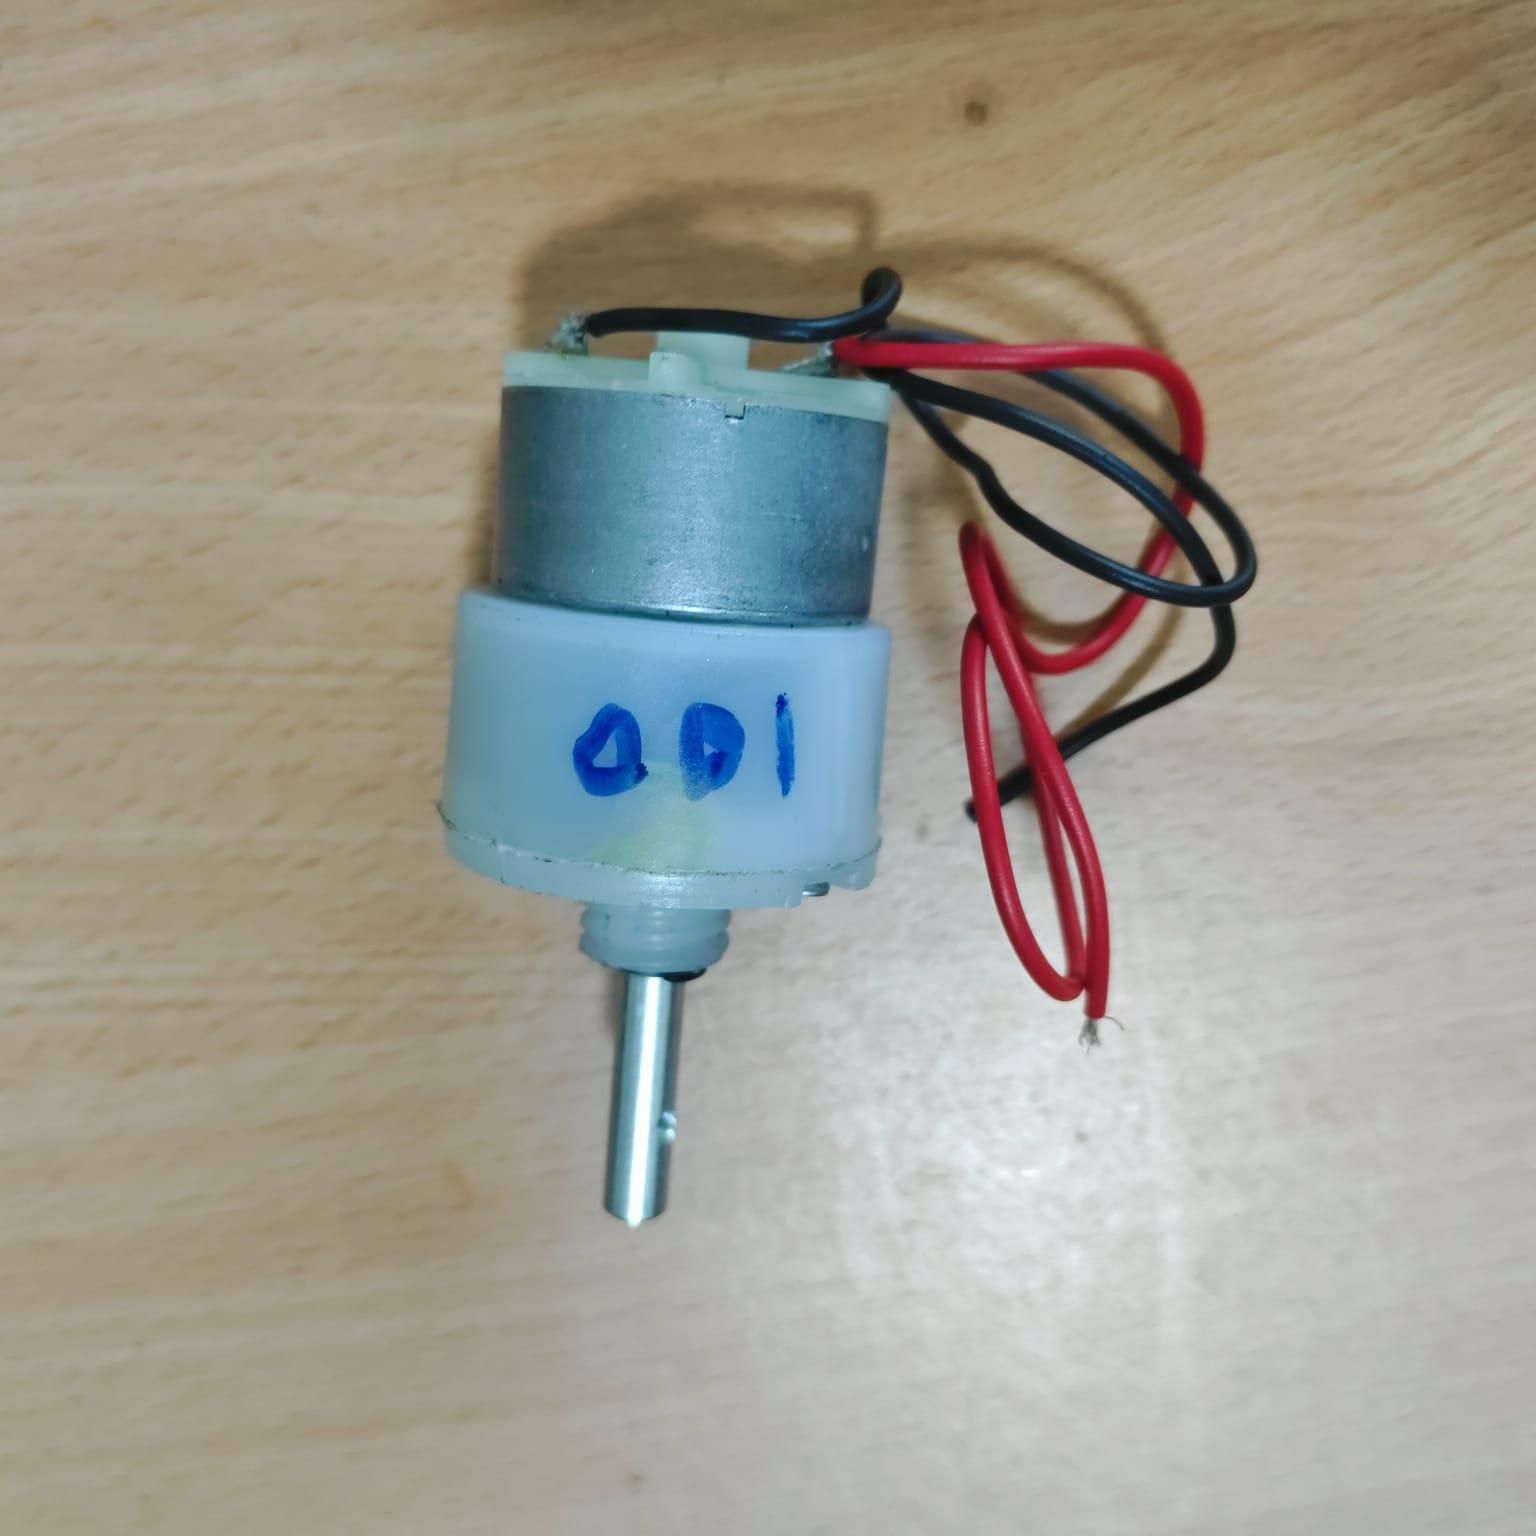
Our robot uses two DC gear motors.
We will call them:
- Motor 1 – M1
- Motor 2 – M2
According to the motor-control pins used by the program:
Motor 1
- M1A → Arduino D9
- M1B → Arduino D8
Motor 2
- M2A → Arduino D6
- M2B → Arduino D7
Connect the first motor to the M1 terminals and the second motor to the M2 terminals on the DESHBOT Shield.
Connect the HC-05 Bluetooth Module
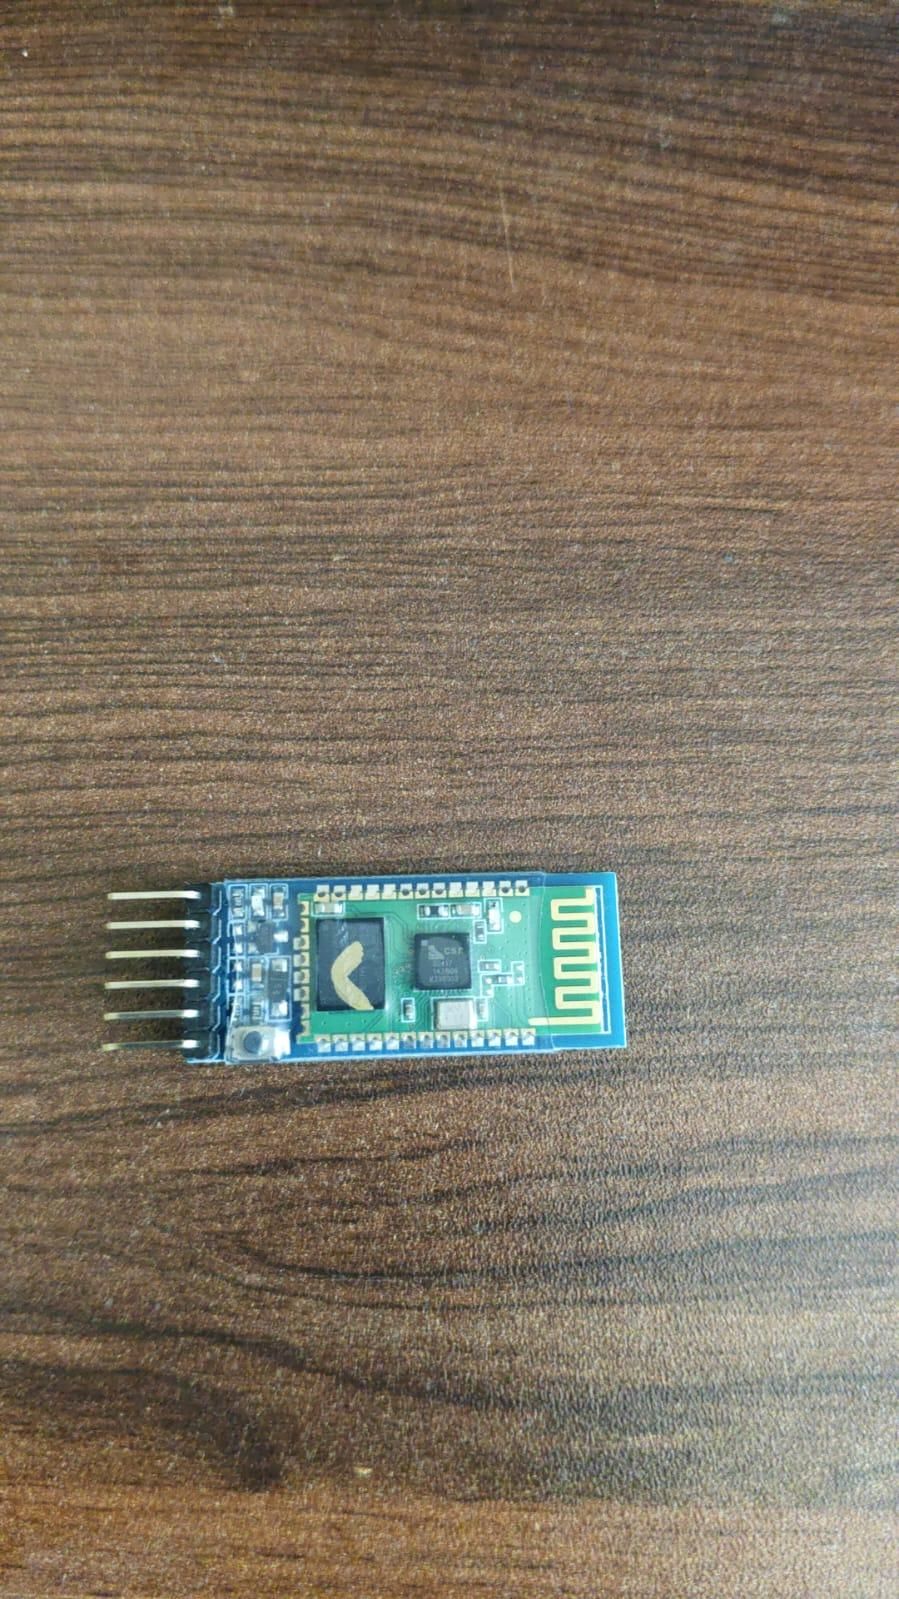
The HC-05 Bluetooth module allows us to control the robot wirelessly using a smartphone.
The important pins on the HC-05 are:
- VCC
- GND
- TXD
- RXD
Connect the module to the shield on designated Bluetooth connector.
connection with Arduino nano:
HC-05 - Arduino
VCC - 5V
GND - GND
TXD - Arduino RX pin
RXD - Arduino TX pin
Connect the Battery
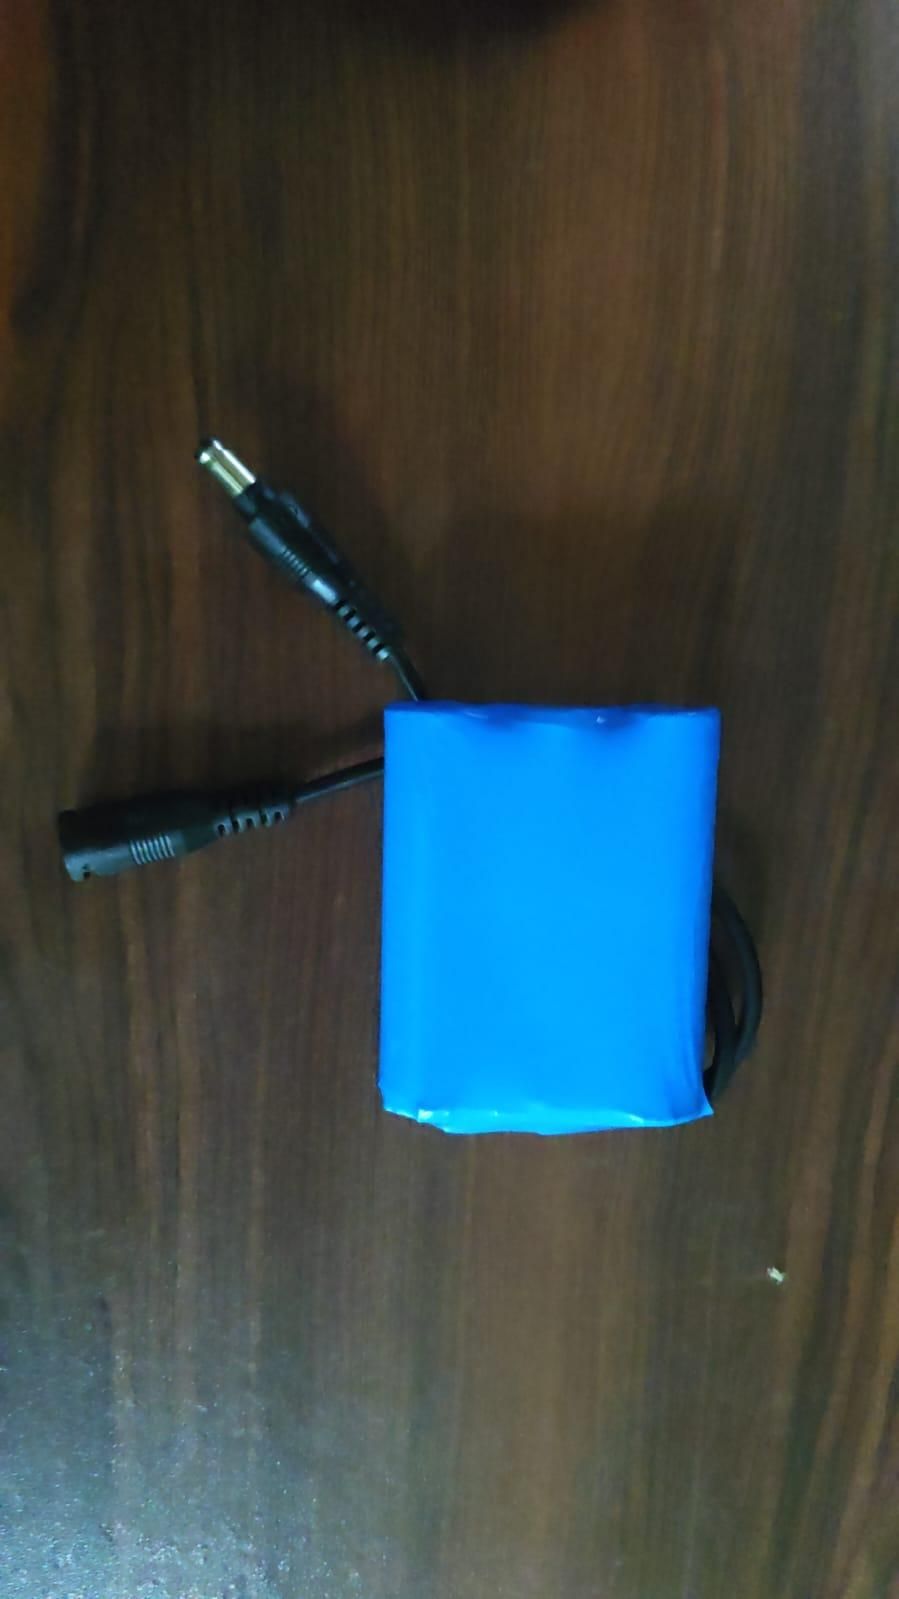
The battery provides power to the robot.
Connect the battery to the power input of the DESHBOT Shield.
Make sure the positive + and negative – connections are correctly matched.
Before switching on the robot, check:
- Battery voltage
- Positive and negative wires
- Shield power-input markings
- Motor voltage rating
Assemble the Robot
Now that the wiring and programming are complete, install everything onto the chassis.
Mount:
- Two DC motors
- Two wheels
- DESHBOT Shield
- Arduino Nano
- HC-05 Bluetooth module
- WS2812B LED
- Battery
Keep the Bluetooth module and its antenna area clear so it can communicate properly with the smartphone.
Make sure the wires are secured and cannot touch the wheels.
Check All Connections
Before powering the robot, check all the connections carefully.
Motors
- M1 motor connected
- M2 motor connected
- Motor wires are secure
HC-05 Bluetooth
- VCC connected
- GND connected
- TXD connected to Arduino RX
- RXD connected to Arduino TX
Battery
- Battery polarity checked
- Battery voltage checked
- No loose wires
- No short circuits
Install the Arduino IDE
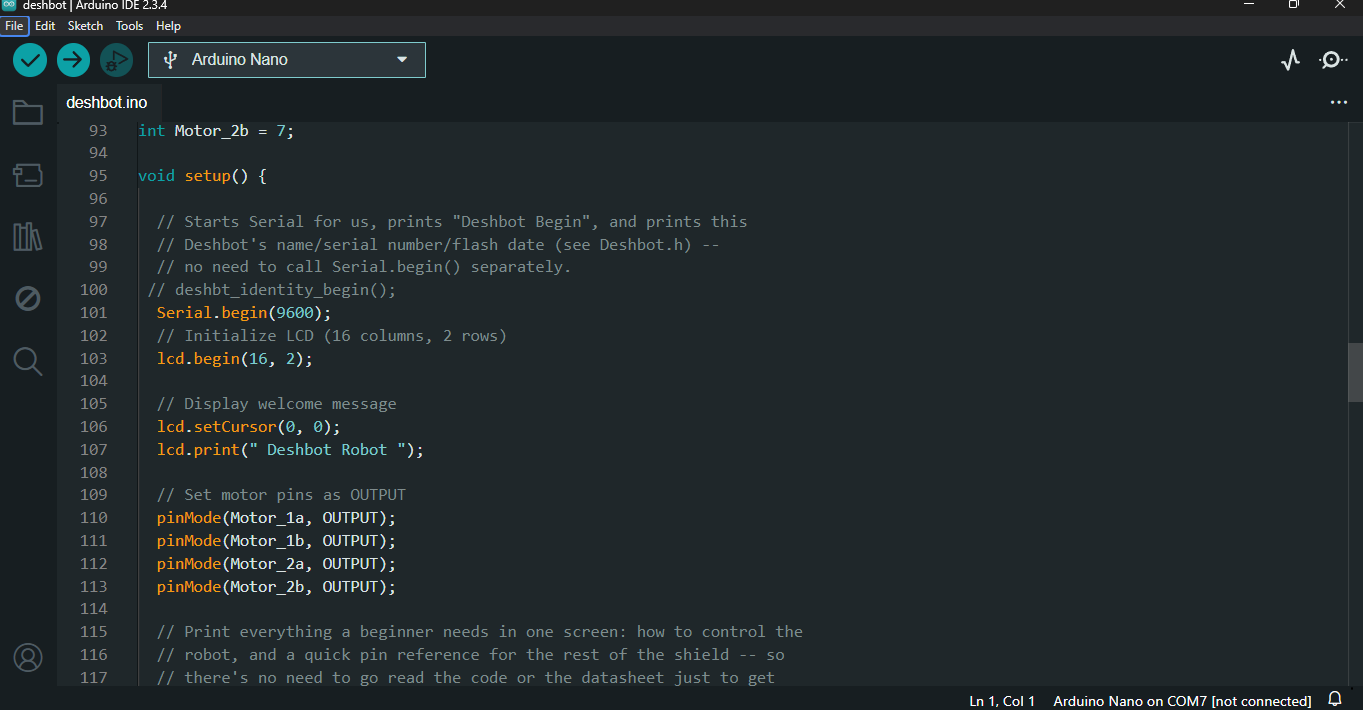
Install the Arduino IDE on your computer.
Connect the Arduino Nano to your computer using a USB cable.
Then select:
- Board: Arduino Nano
- Processor: ATmega328P
- Port: The COM port connected to your Nano
Upload the Program
Connect the Arduino Nano to your computer using the USB cable.
Open the Bluetooth-controlled robot program in the Arduino IDE.
Make sure the correct board and COM port are selected.
Then click Upload.
Wait until the Arduino IDE shows that the upload has completed successfully.
Downloads
Pair the HC-05 With Your Phone
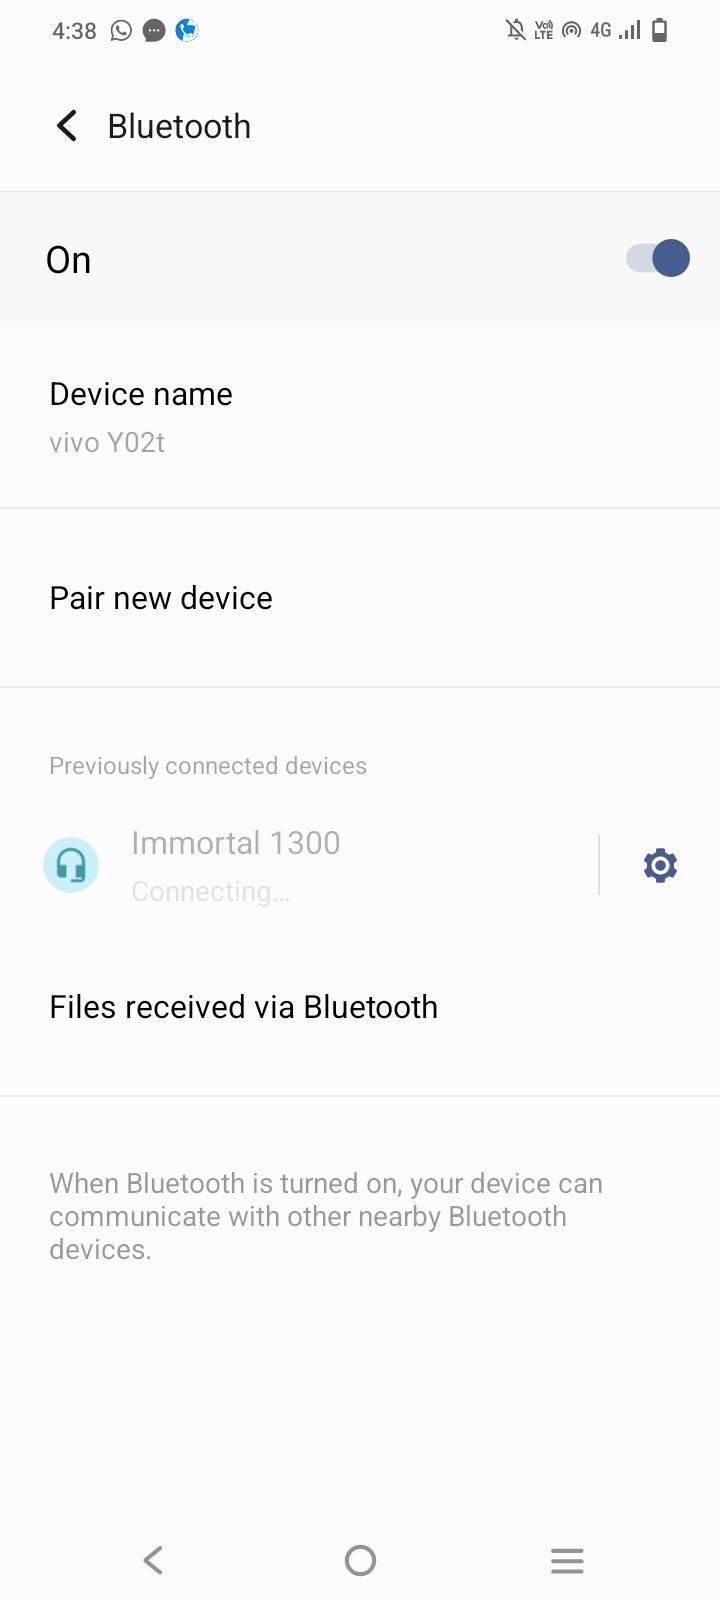
Turn on the robot.
Open the Bluetooth settings on your smartphone.
Search for available Bluetooth devices and look for HC-05.
Select the HC-05 and pair it with your phone.
If your phone asks for a pairing PIN, use the PIN 1234, configured for your HC-05 module
How the Robot Works
The HC-05 receives commands from your smartphone and sends them to the Arduino Nano.
The Arduino reads these commands and controls the two motors.
For example, the program can use:
- U→ Move Forward
- D → Move Backward
- L → Turn Left
- R → Turn Right
- C → Stop
The WS2812B LED can also show the robot's current status.
Final Result
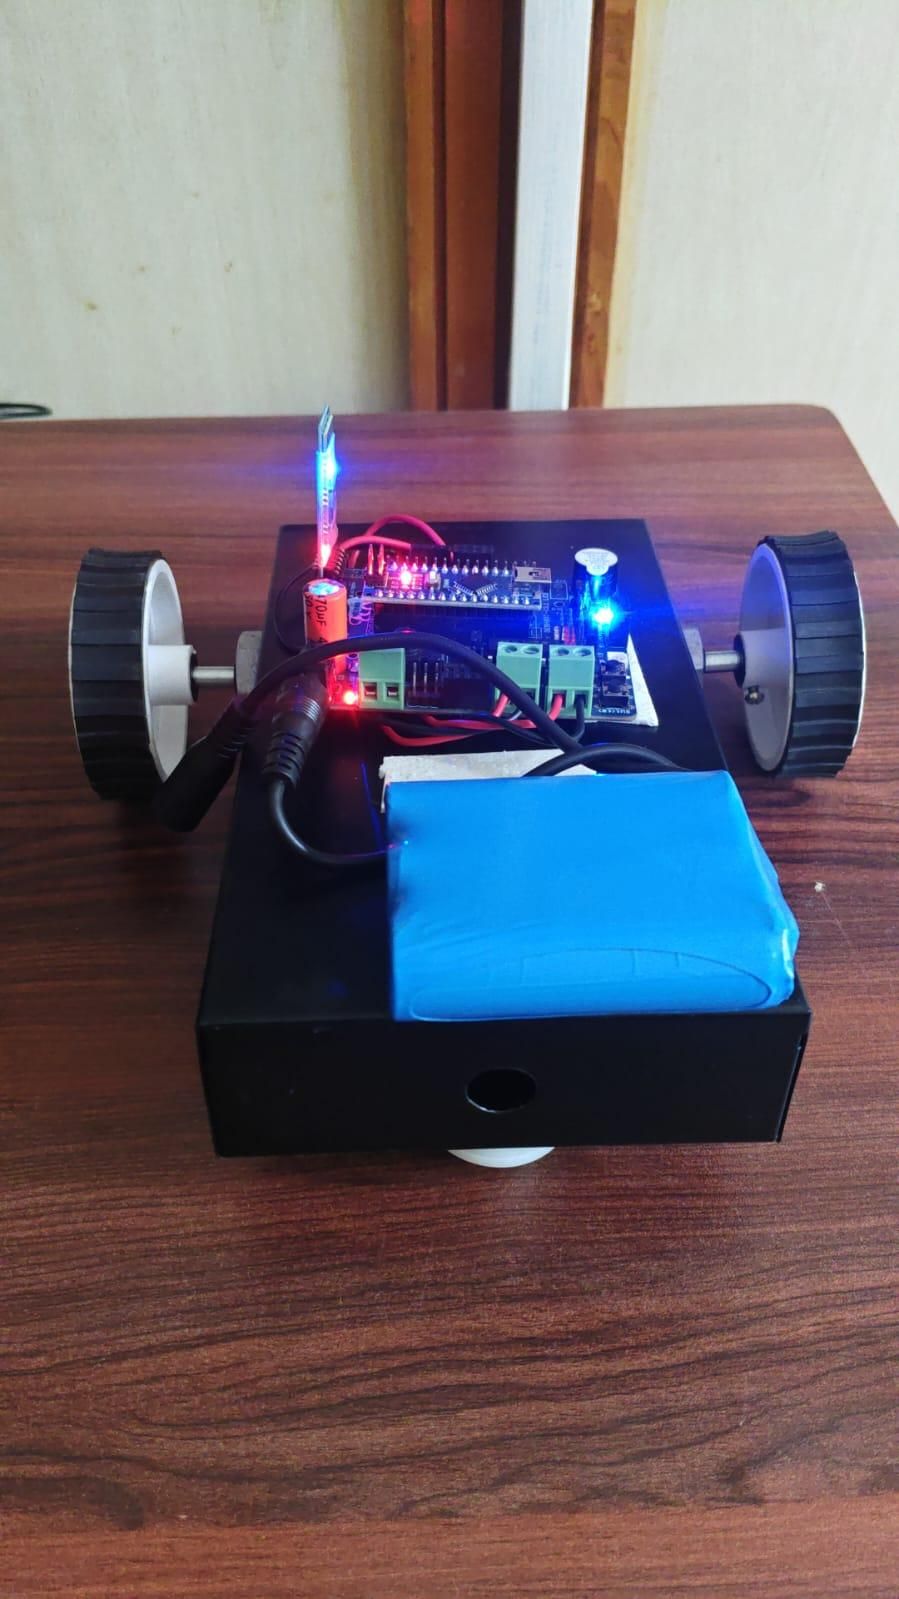
Congratulations! 🎉
Your DESHBOT Shield Bluetooth-controlled robot is now complete.
You can control the robot wirelessly from your smartphone using the HC-05 Bluetooth module.
The DESHBOT Shield makes it easier to connect the motors and Arduino, making it a useful platform for beginners who want to learn robotics and wireless control.
Future Improvements
Once the basic robot is working, you can add more features such as:
- Bluetooth-controlled RGB lighting
- Servo motor
- Robotic arm
- Line-following sensors
- Battery voltage monitoring
- Buzzer
- Additional sensors
- Phone-based graphical control
Conclusion
This project is a easy way for beginners to learn how an Arduino Nano, DESHBOT Shield, motor driver and HC-05 Bluetooth module can work together.
With the DESHBOT Shield, you can build the robot with simple wiring and later use the same platform for more advanced robotics and IoT projects.