DHT With Scrolling OLED to Measure Temperature and Humidity
by sister mariaM in Circuits > Arduino
19 Views, 0 Favorites, 0 Comments
DHT With Scrolling OLED to Measure Temperature and Humidity
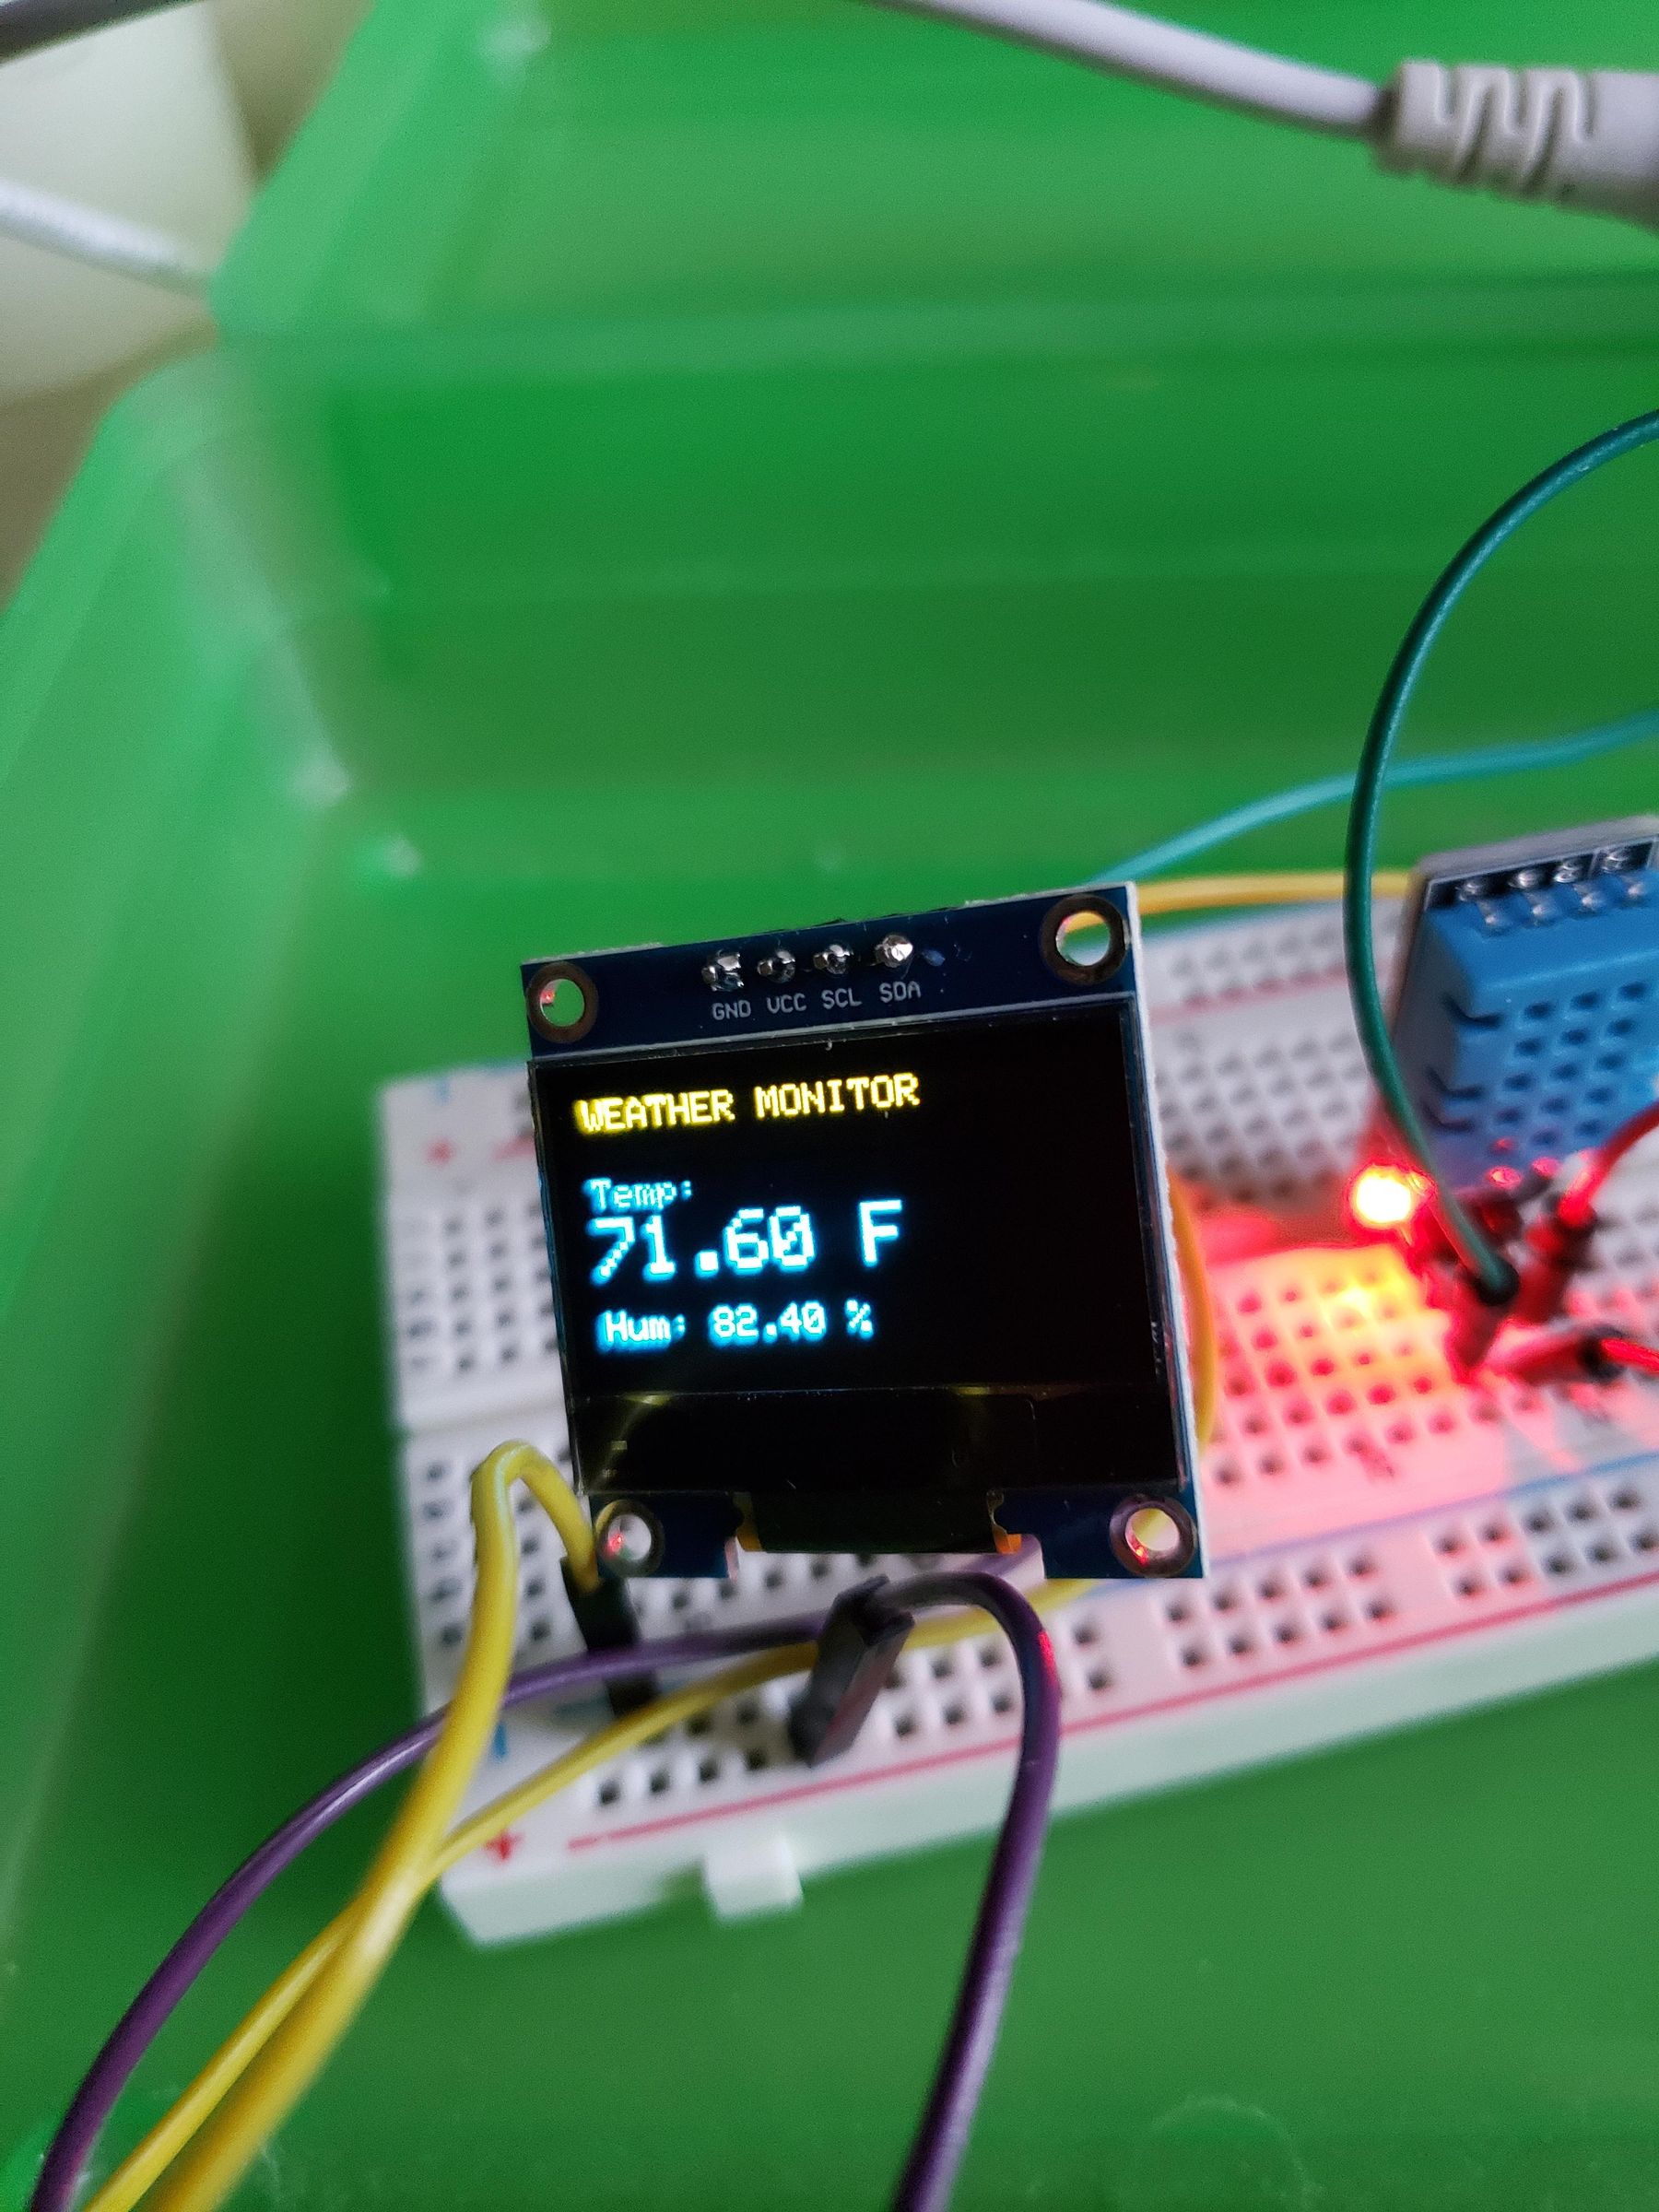
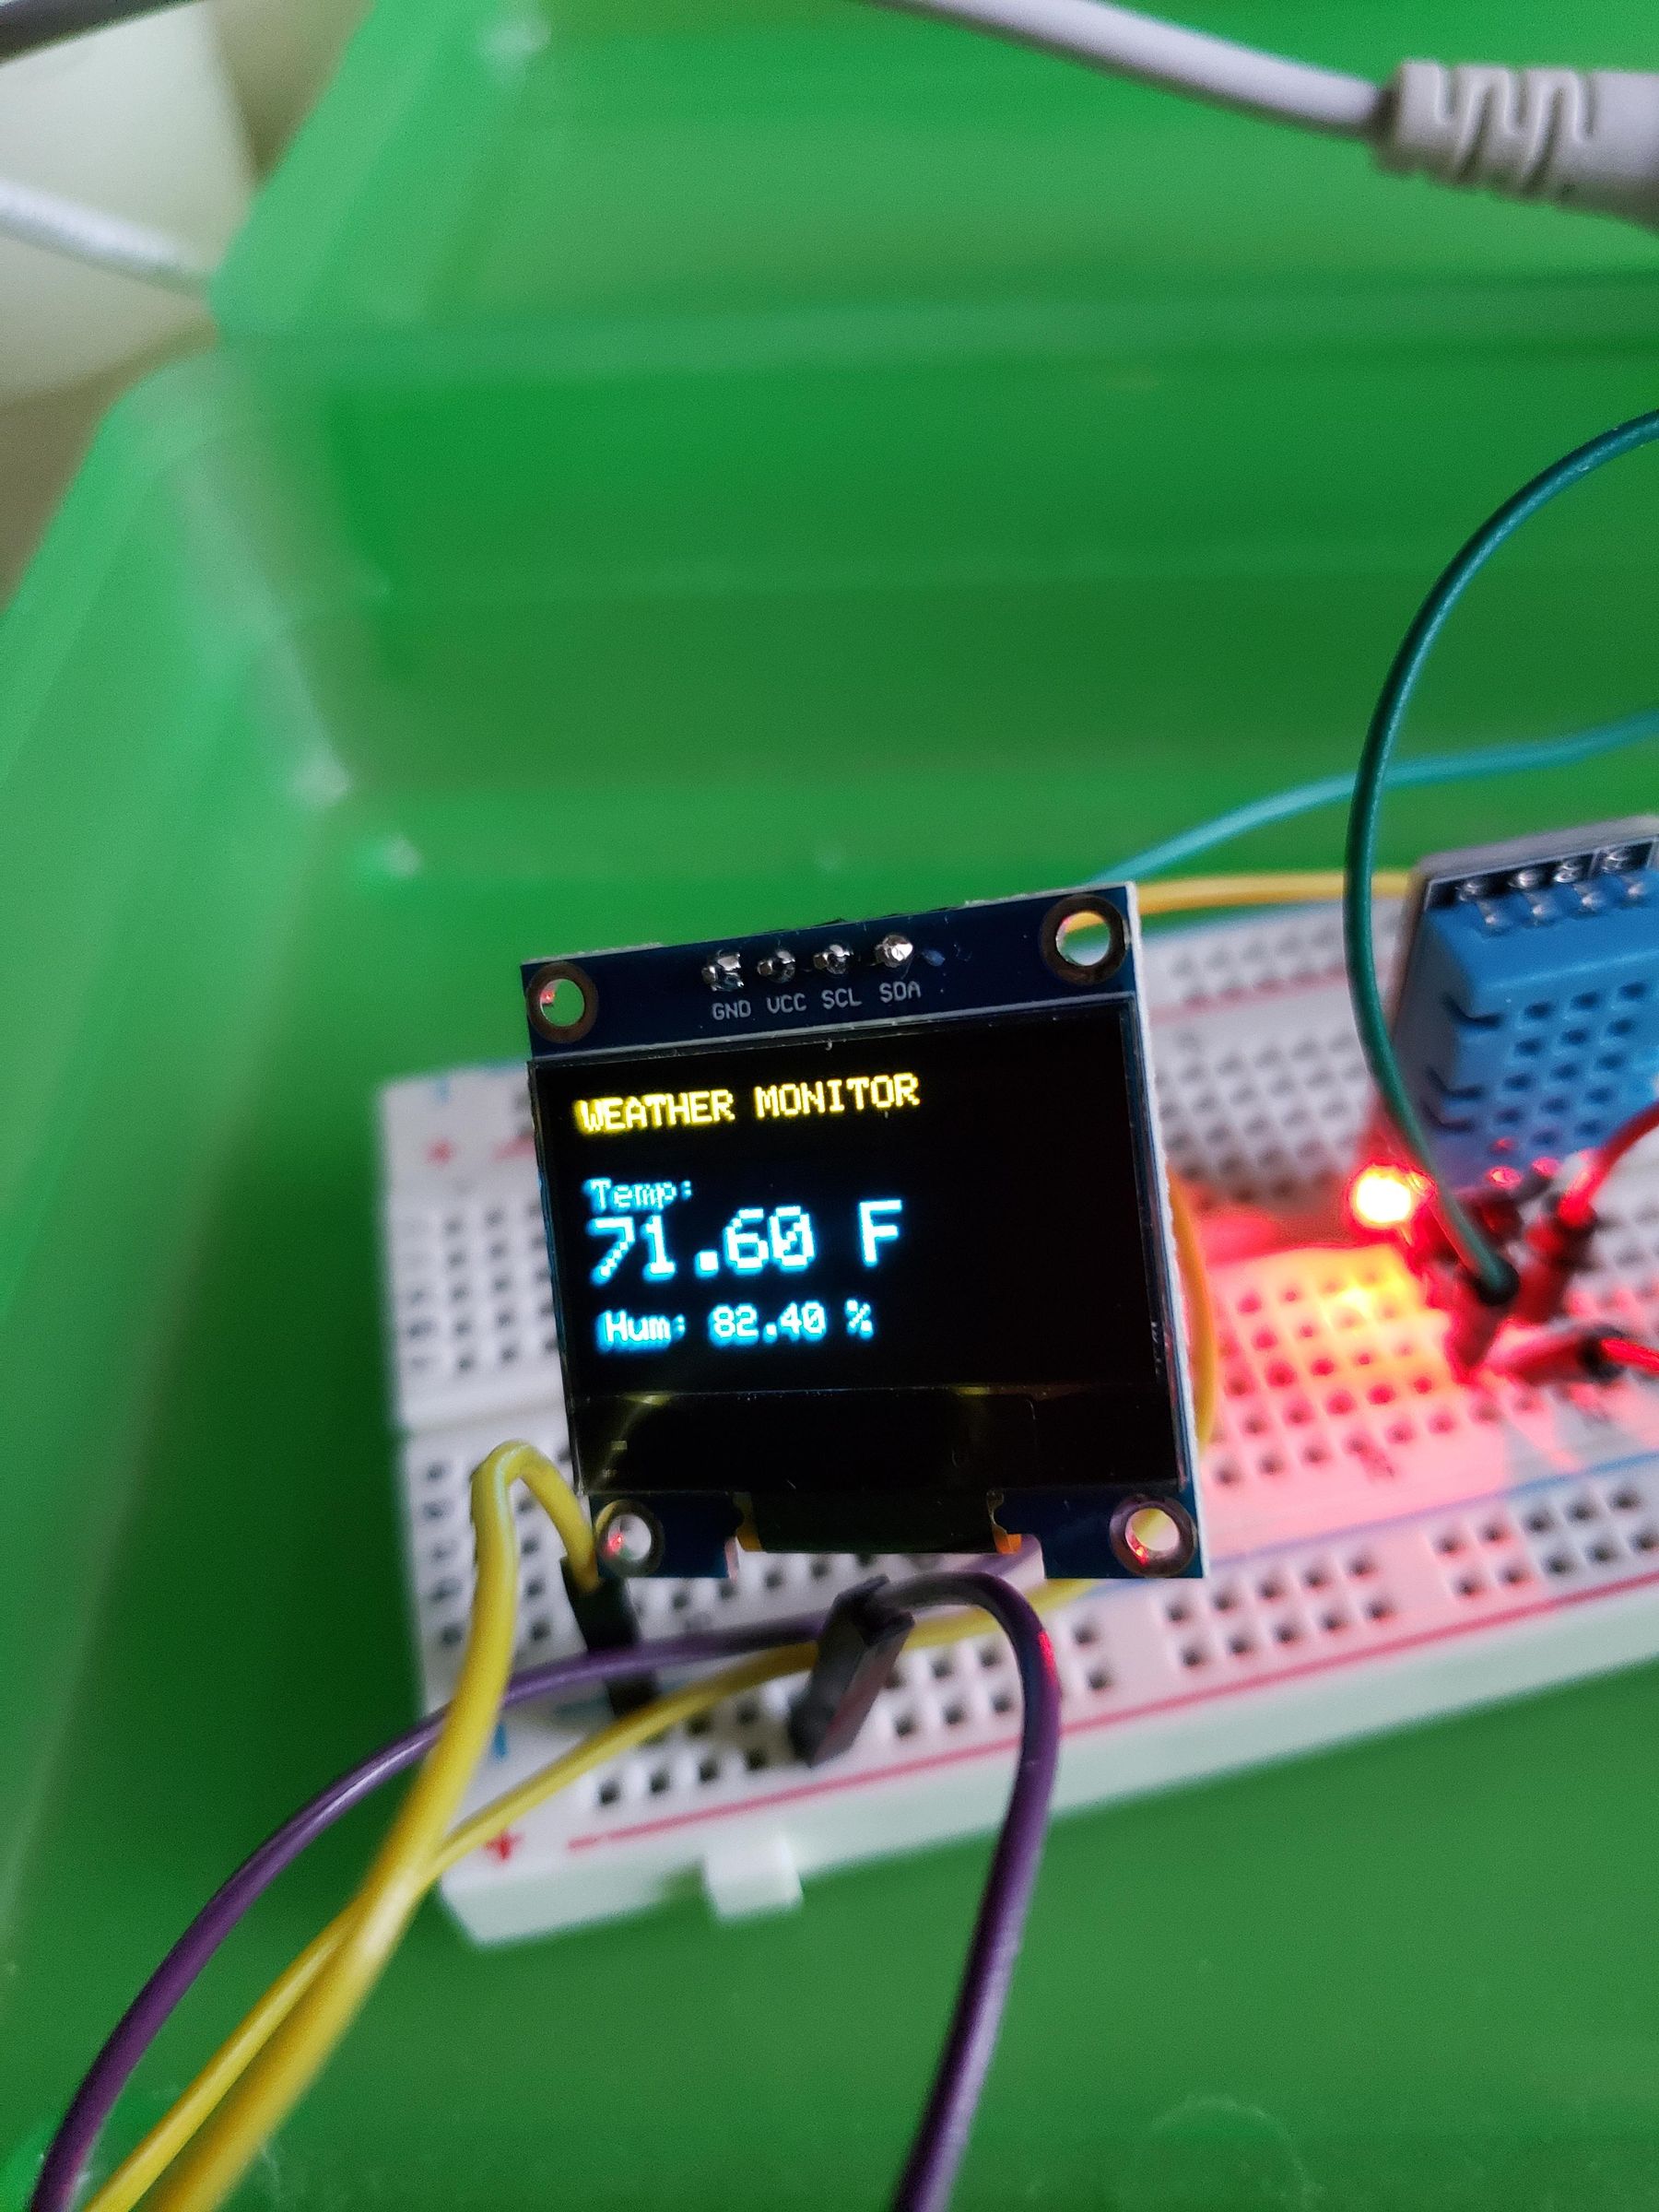
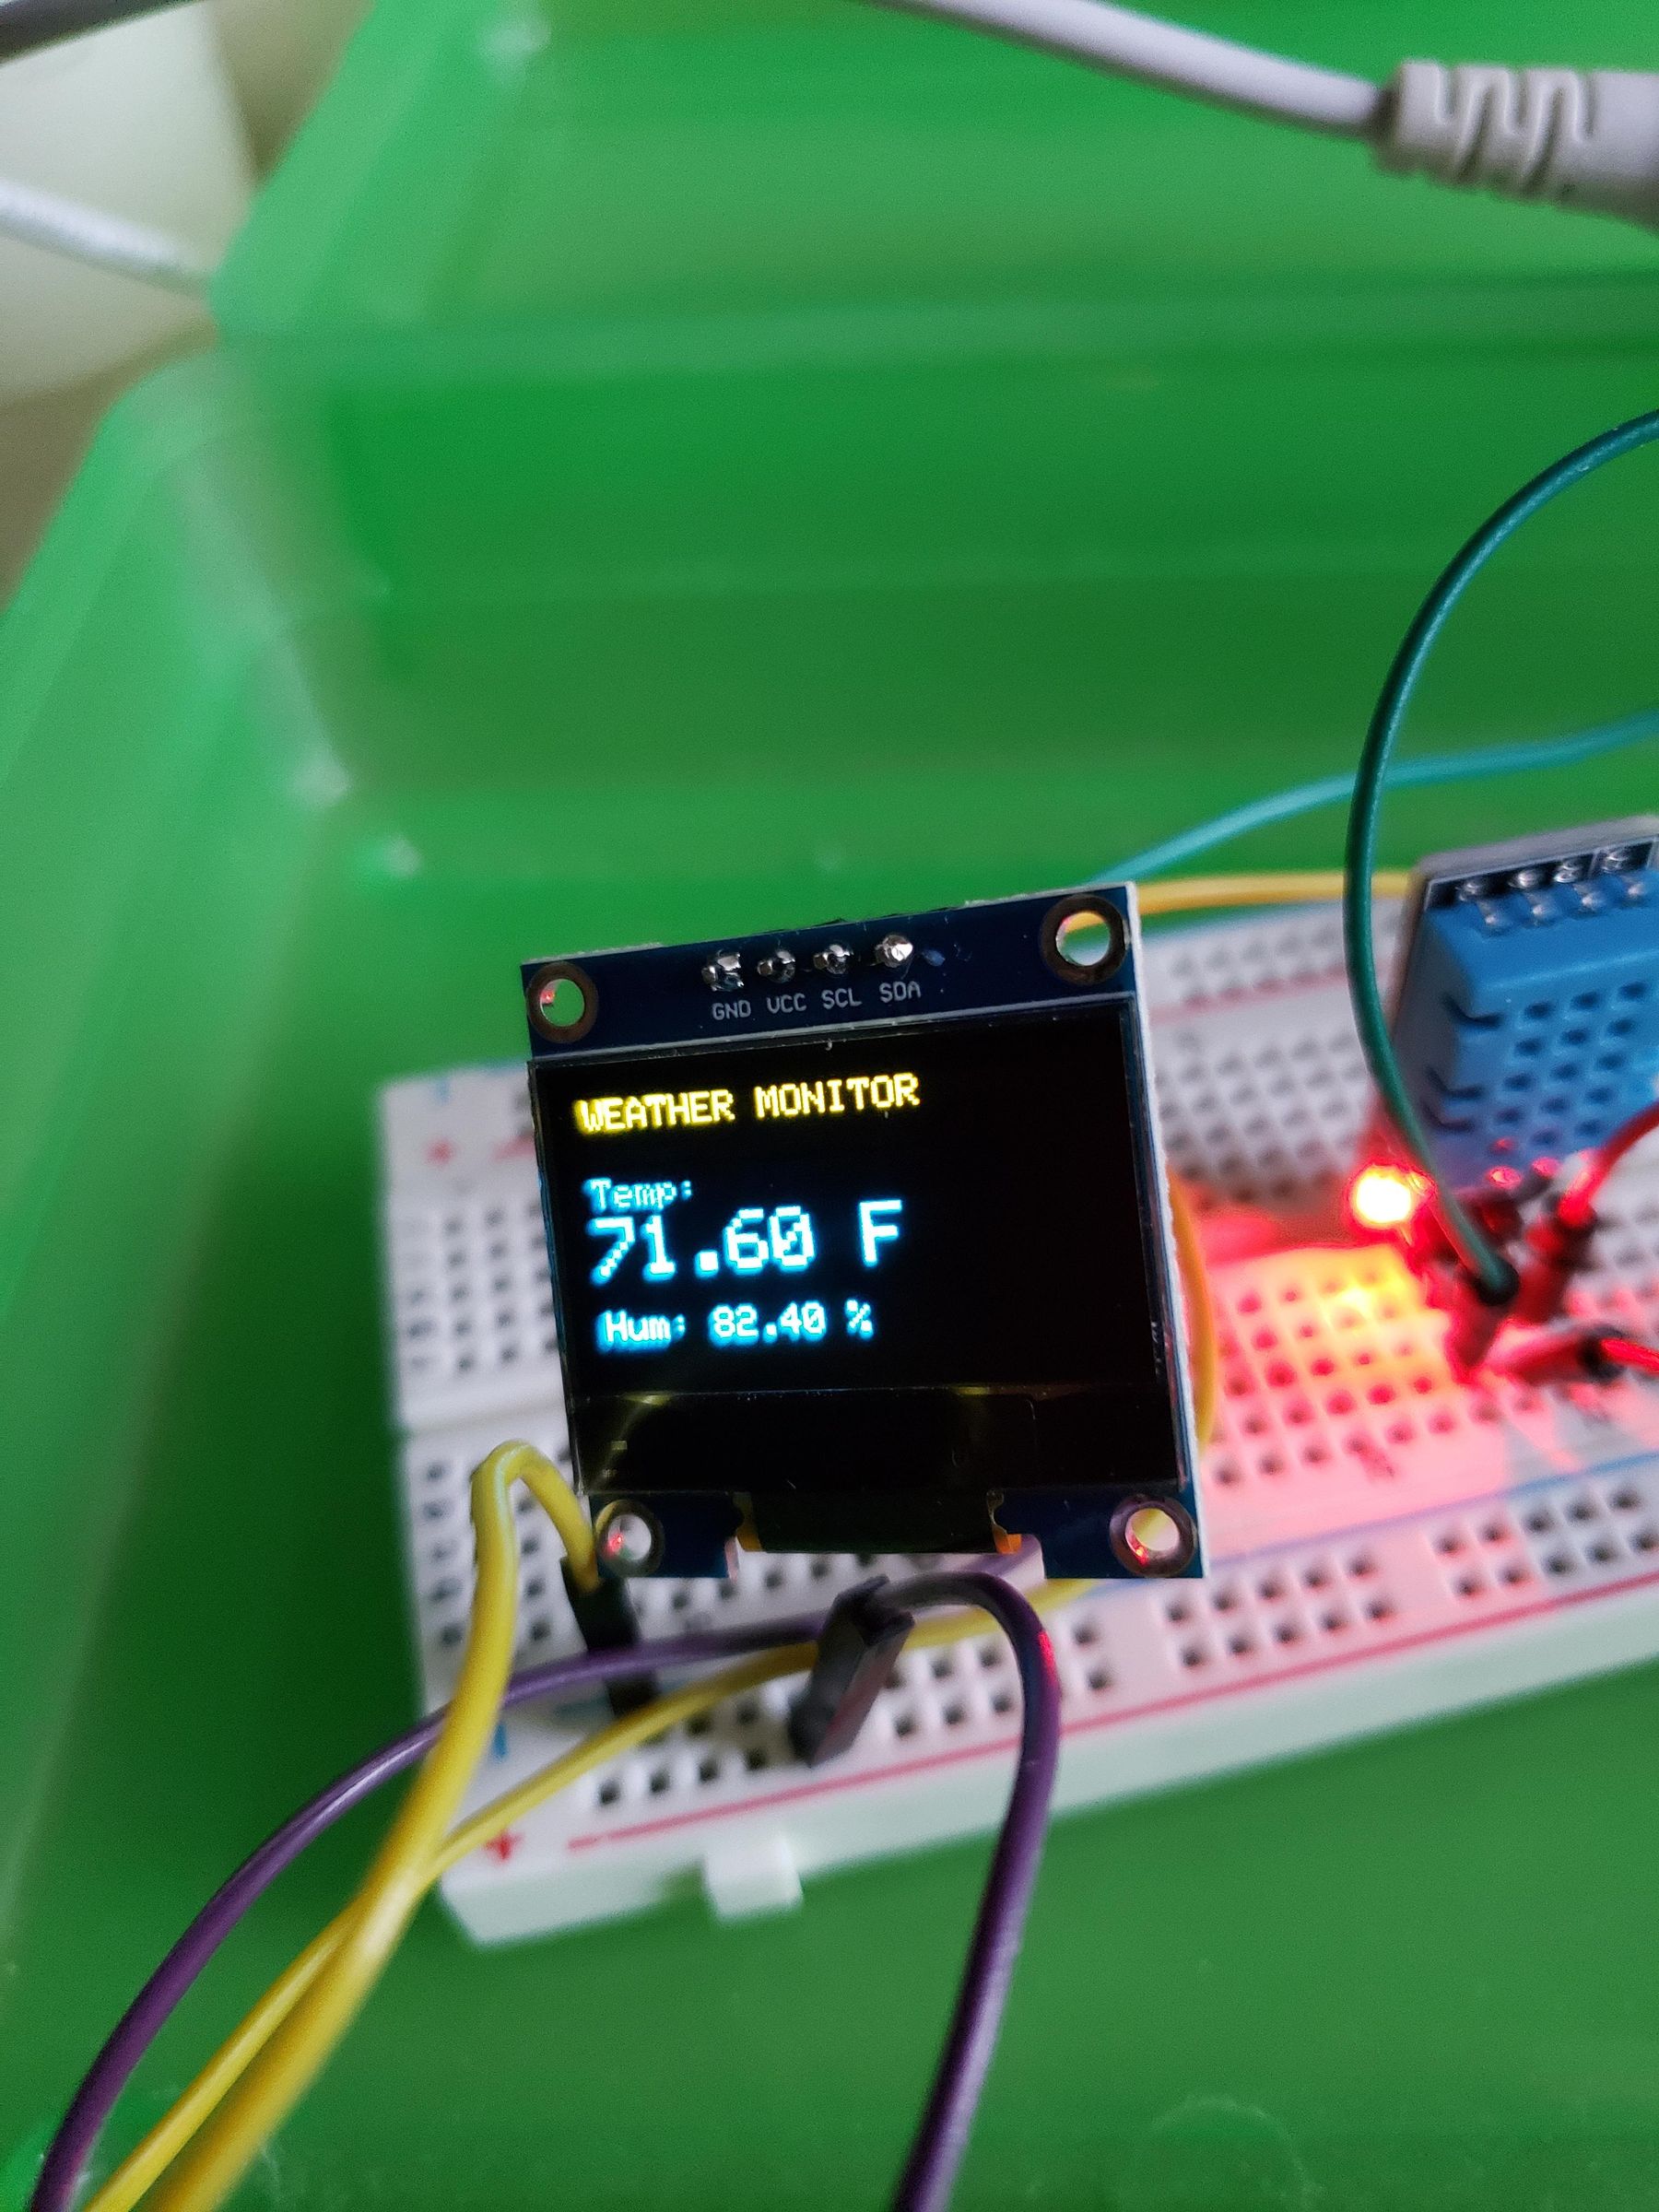
This is an Instructables about using DHT and OLED to measure temperature and humidity .
The DHT is a sensor that measure temperature and humidity .It uses a thermistor and capacitive humidity sensor .It outputs can be read by Arduino .It temperature accuracy is from -40C to 125 C.
The second component is an OLED. The OLED display uses organic compounds that emit light when a current is applied .It receives the signals from the DHT and converts them to letters or numbers or images with the Arduino.
Downloads
Supplies
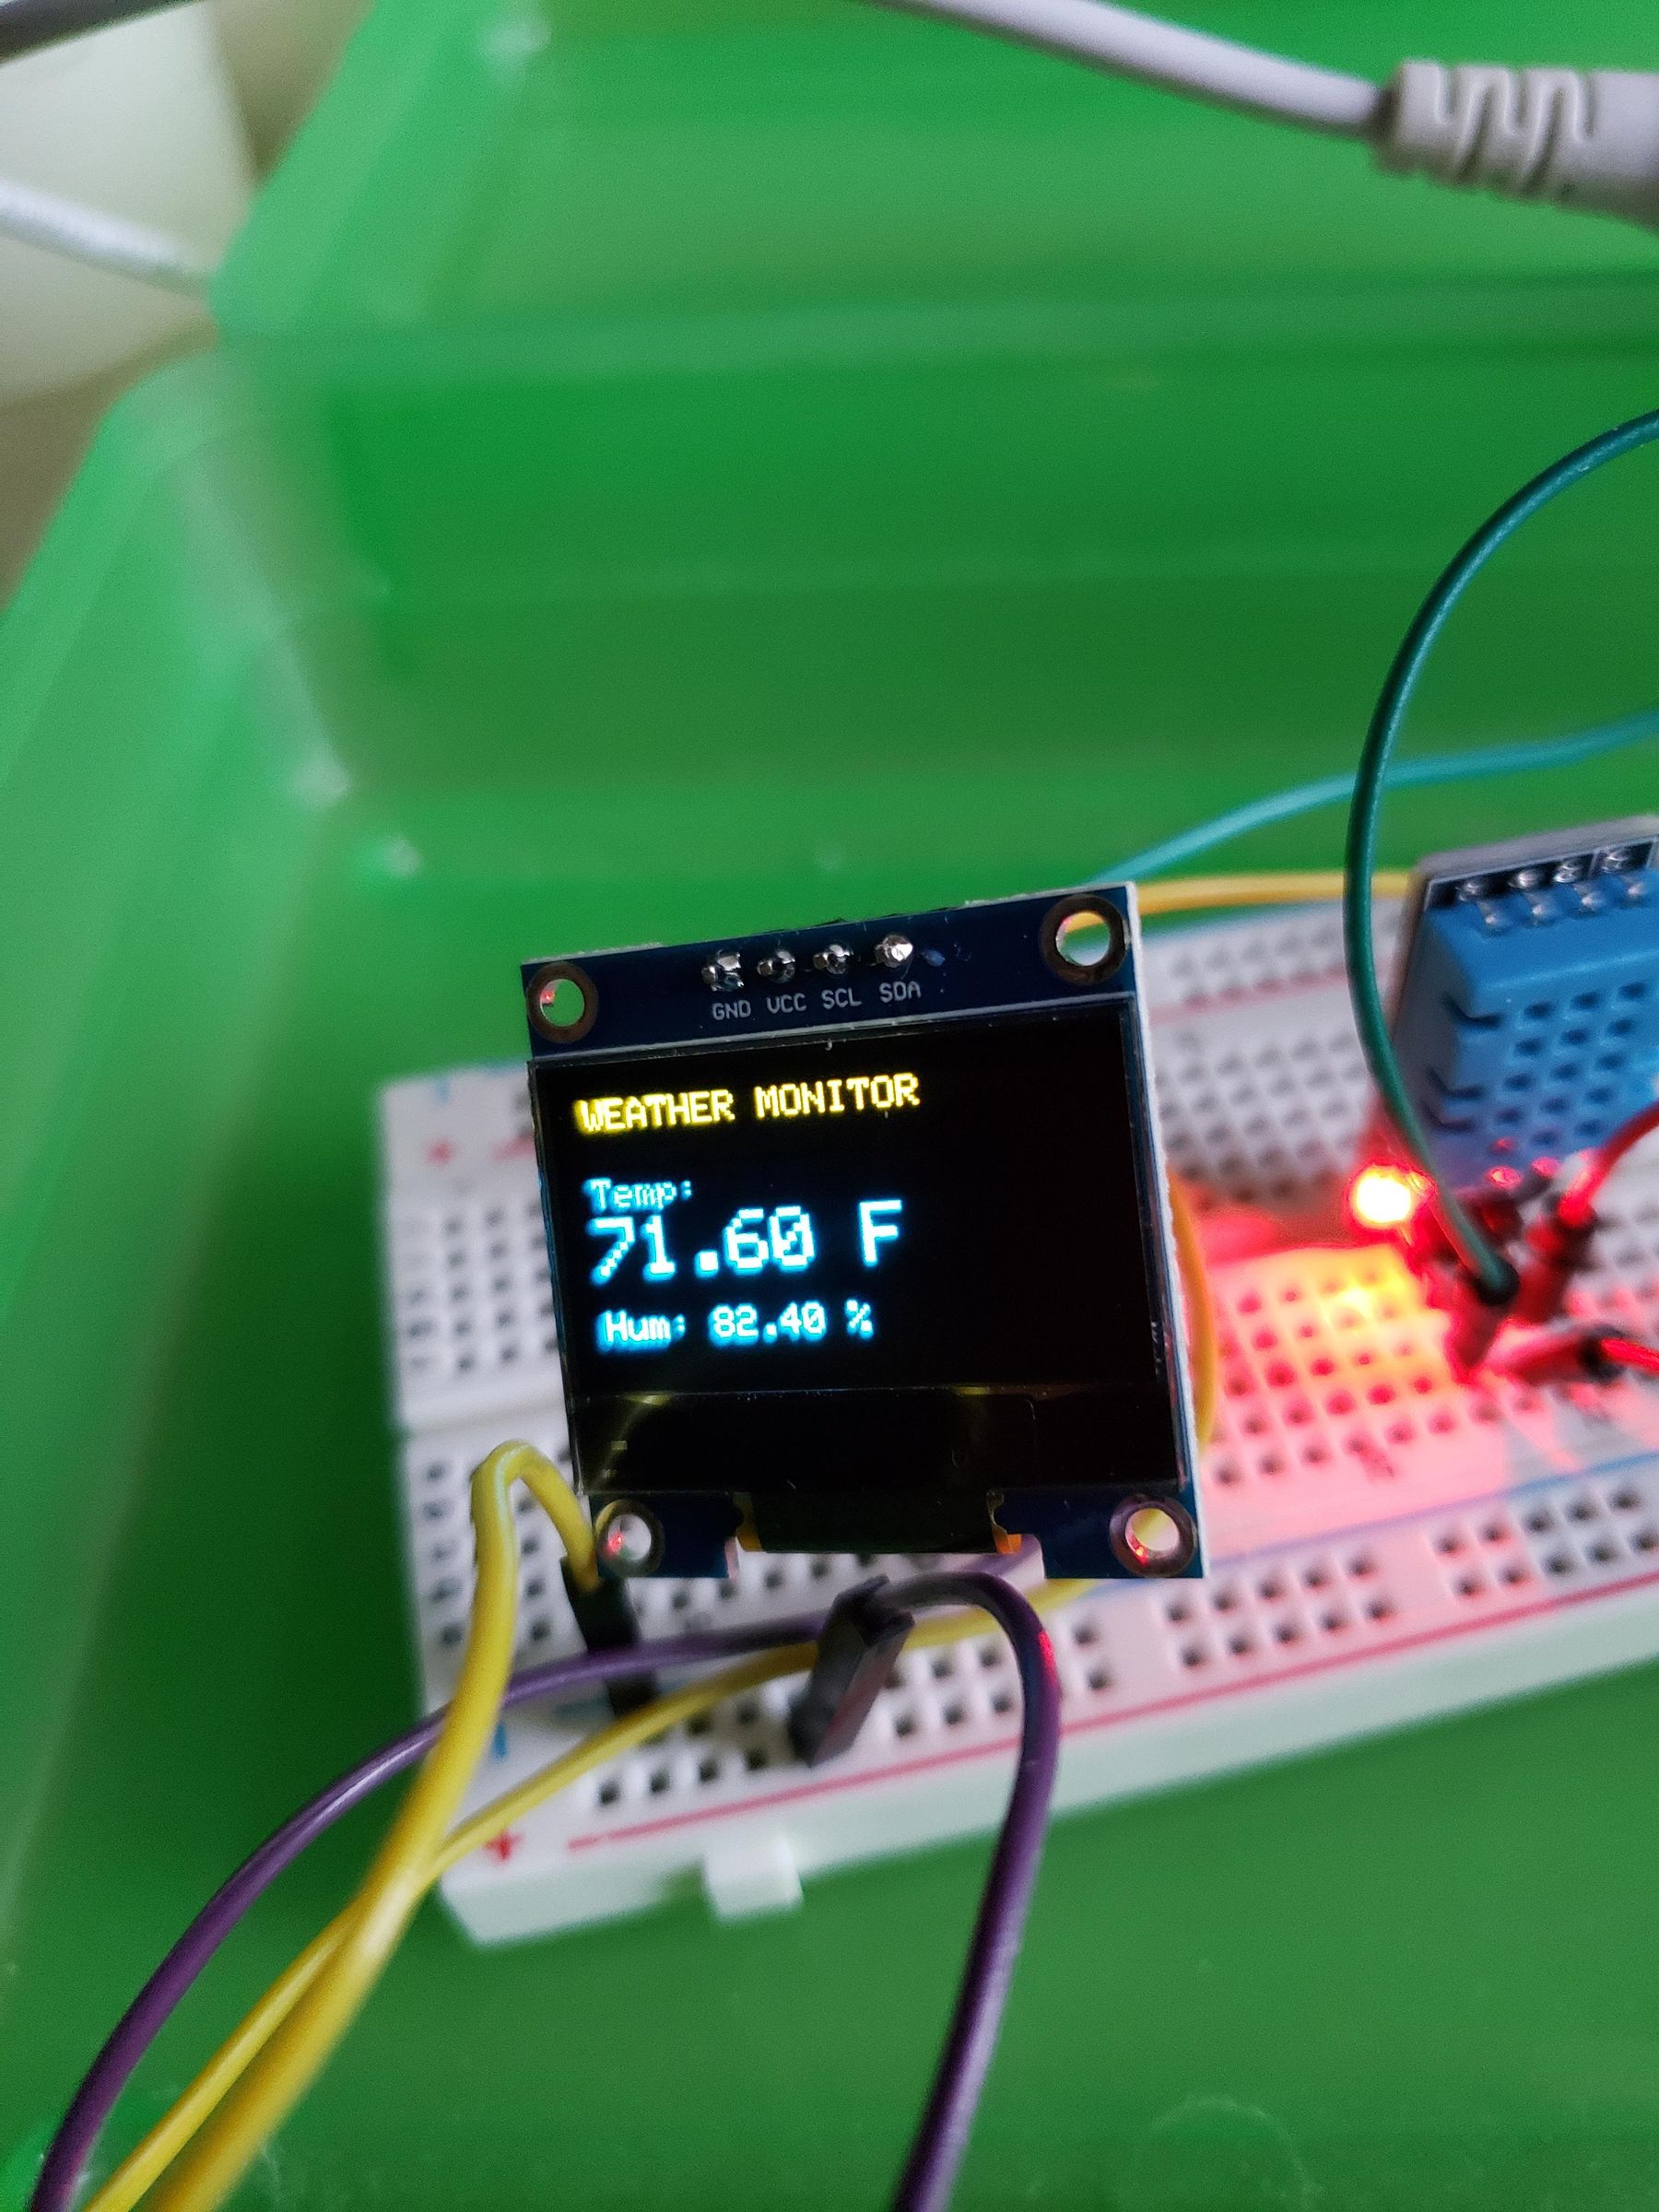
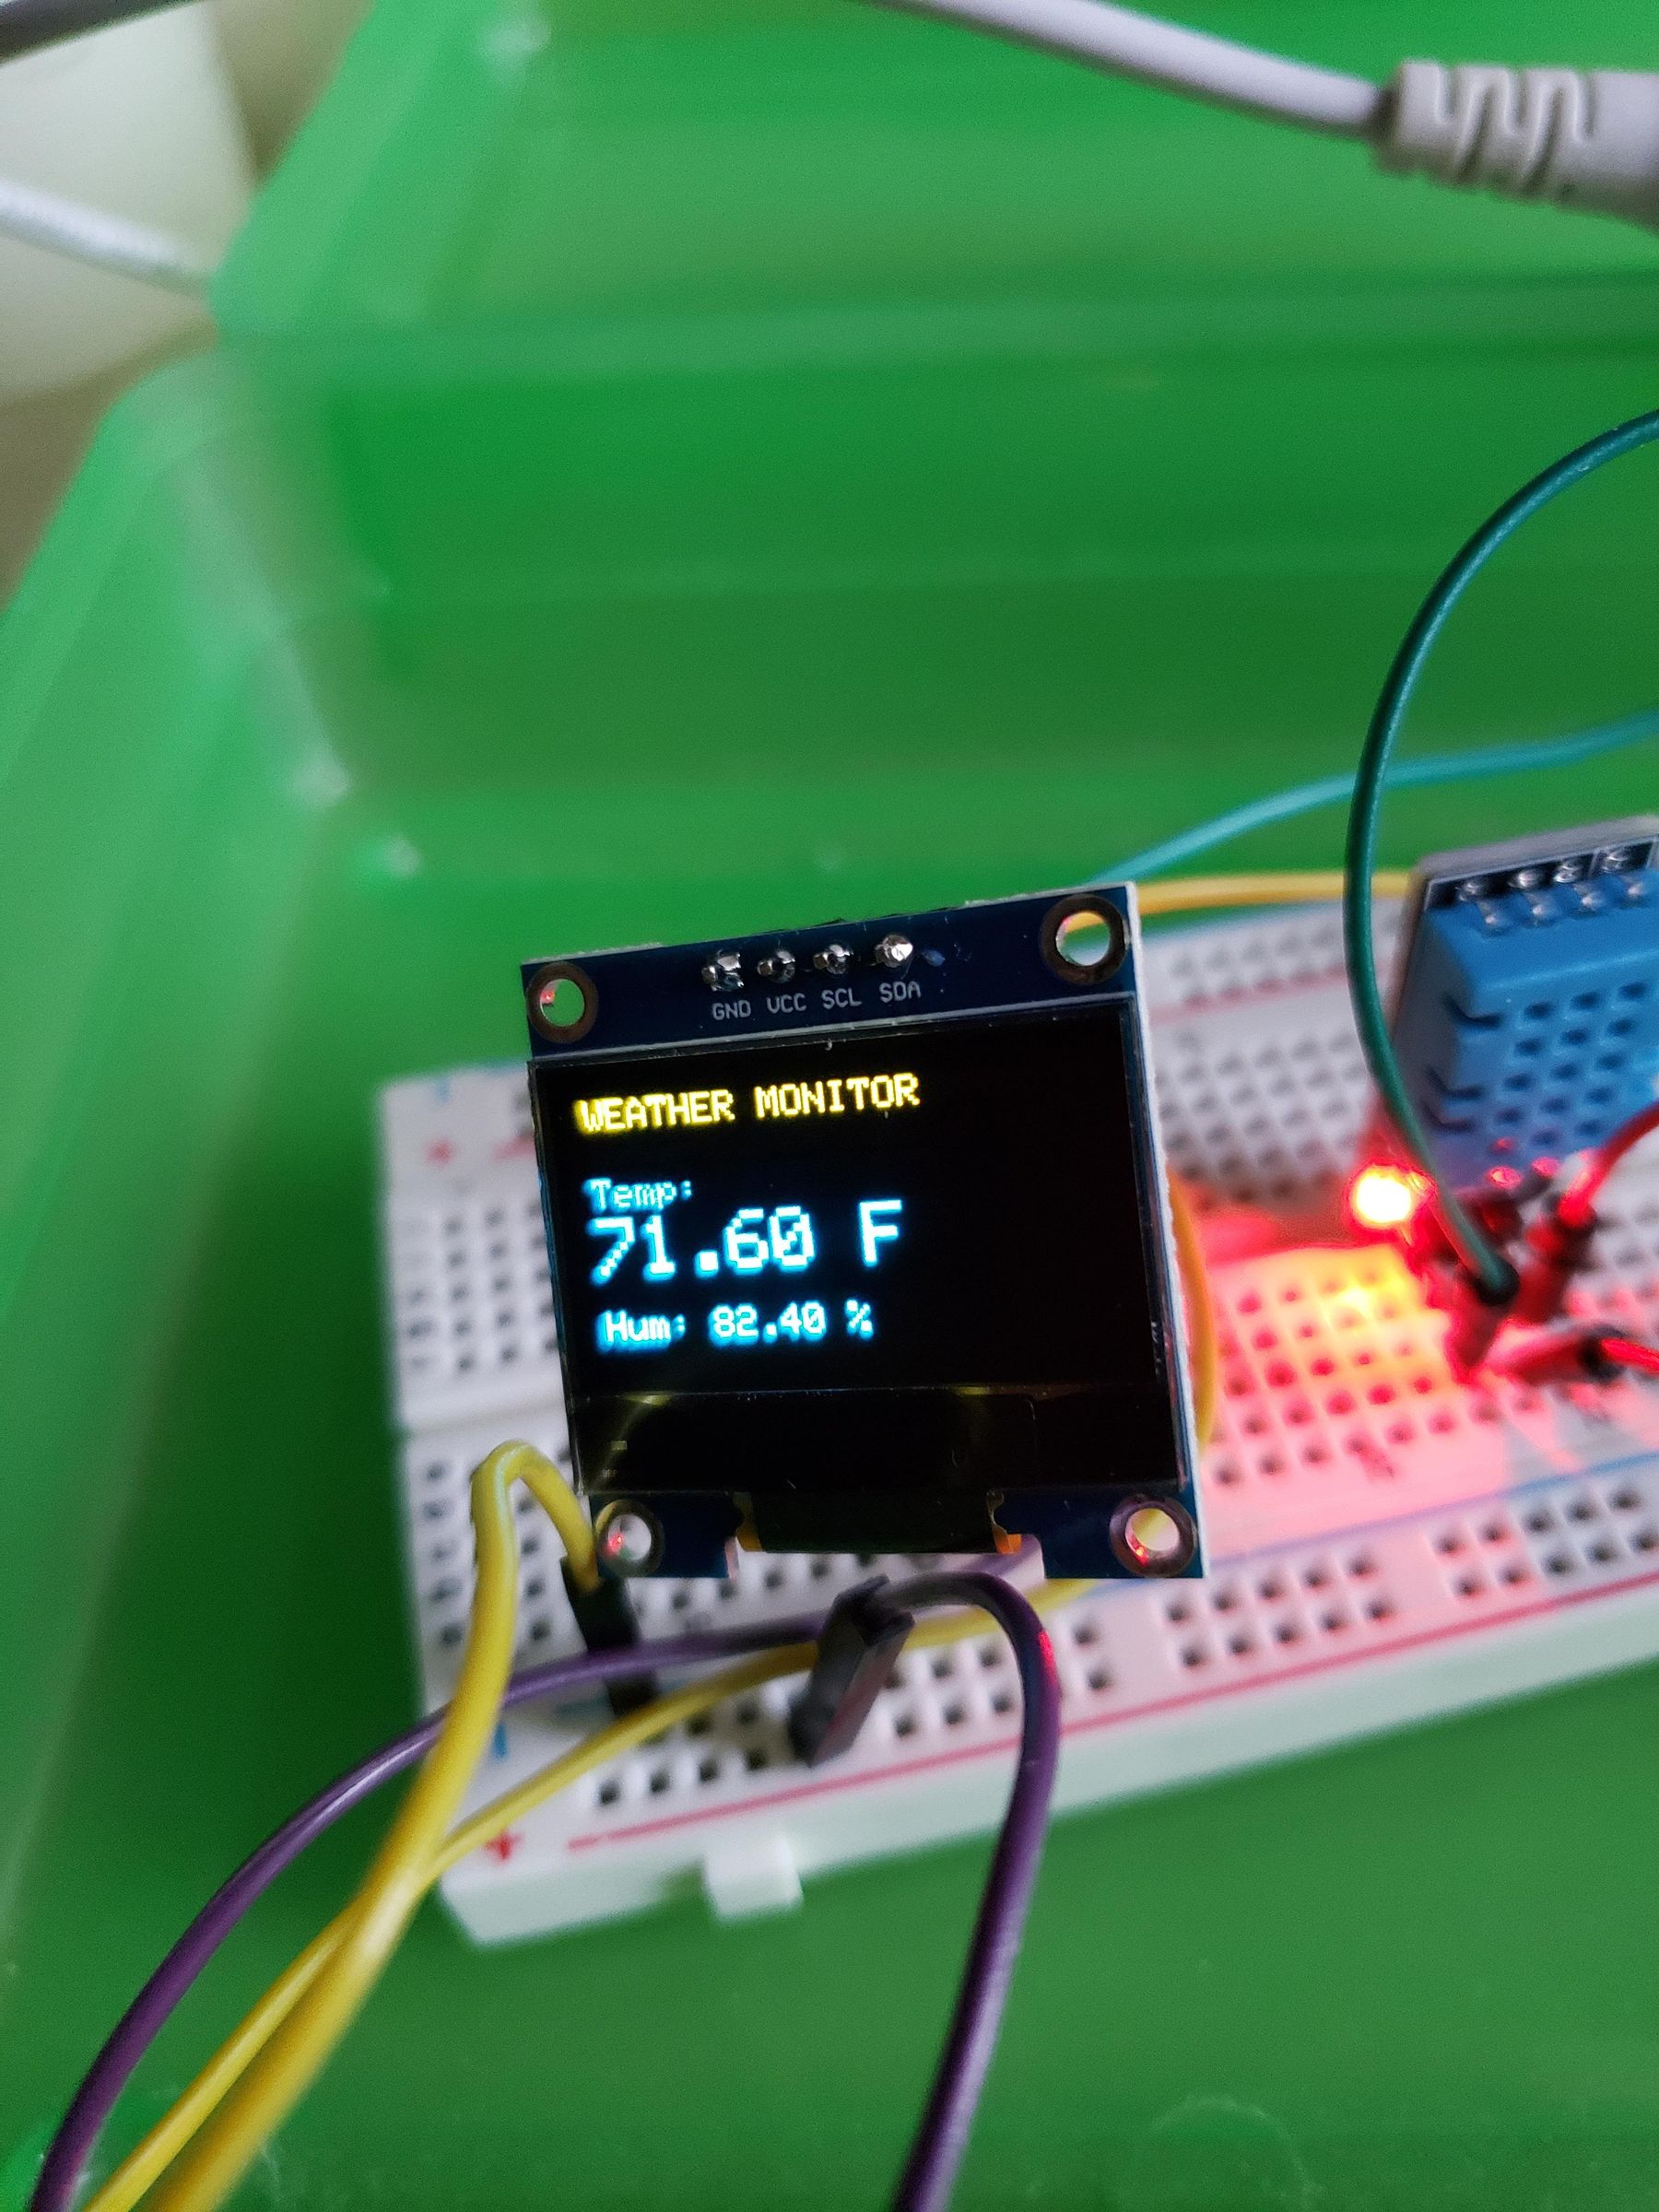
The materials used are DHT and OLED and Arduino and USB cable for Arduino or equivalent and jumper cables and breadboard. See photo
Downloads
Setting Up the Circuit
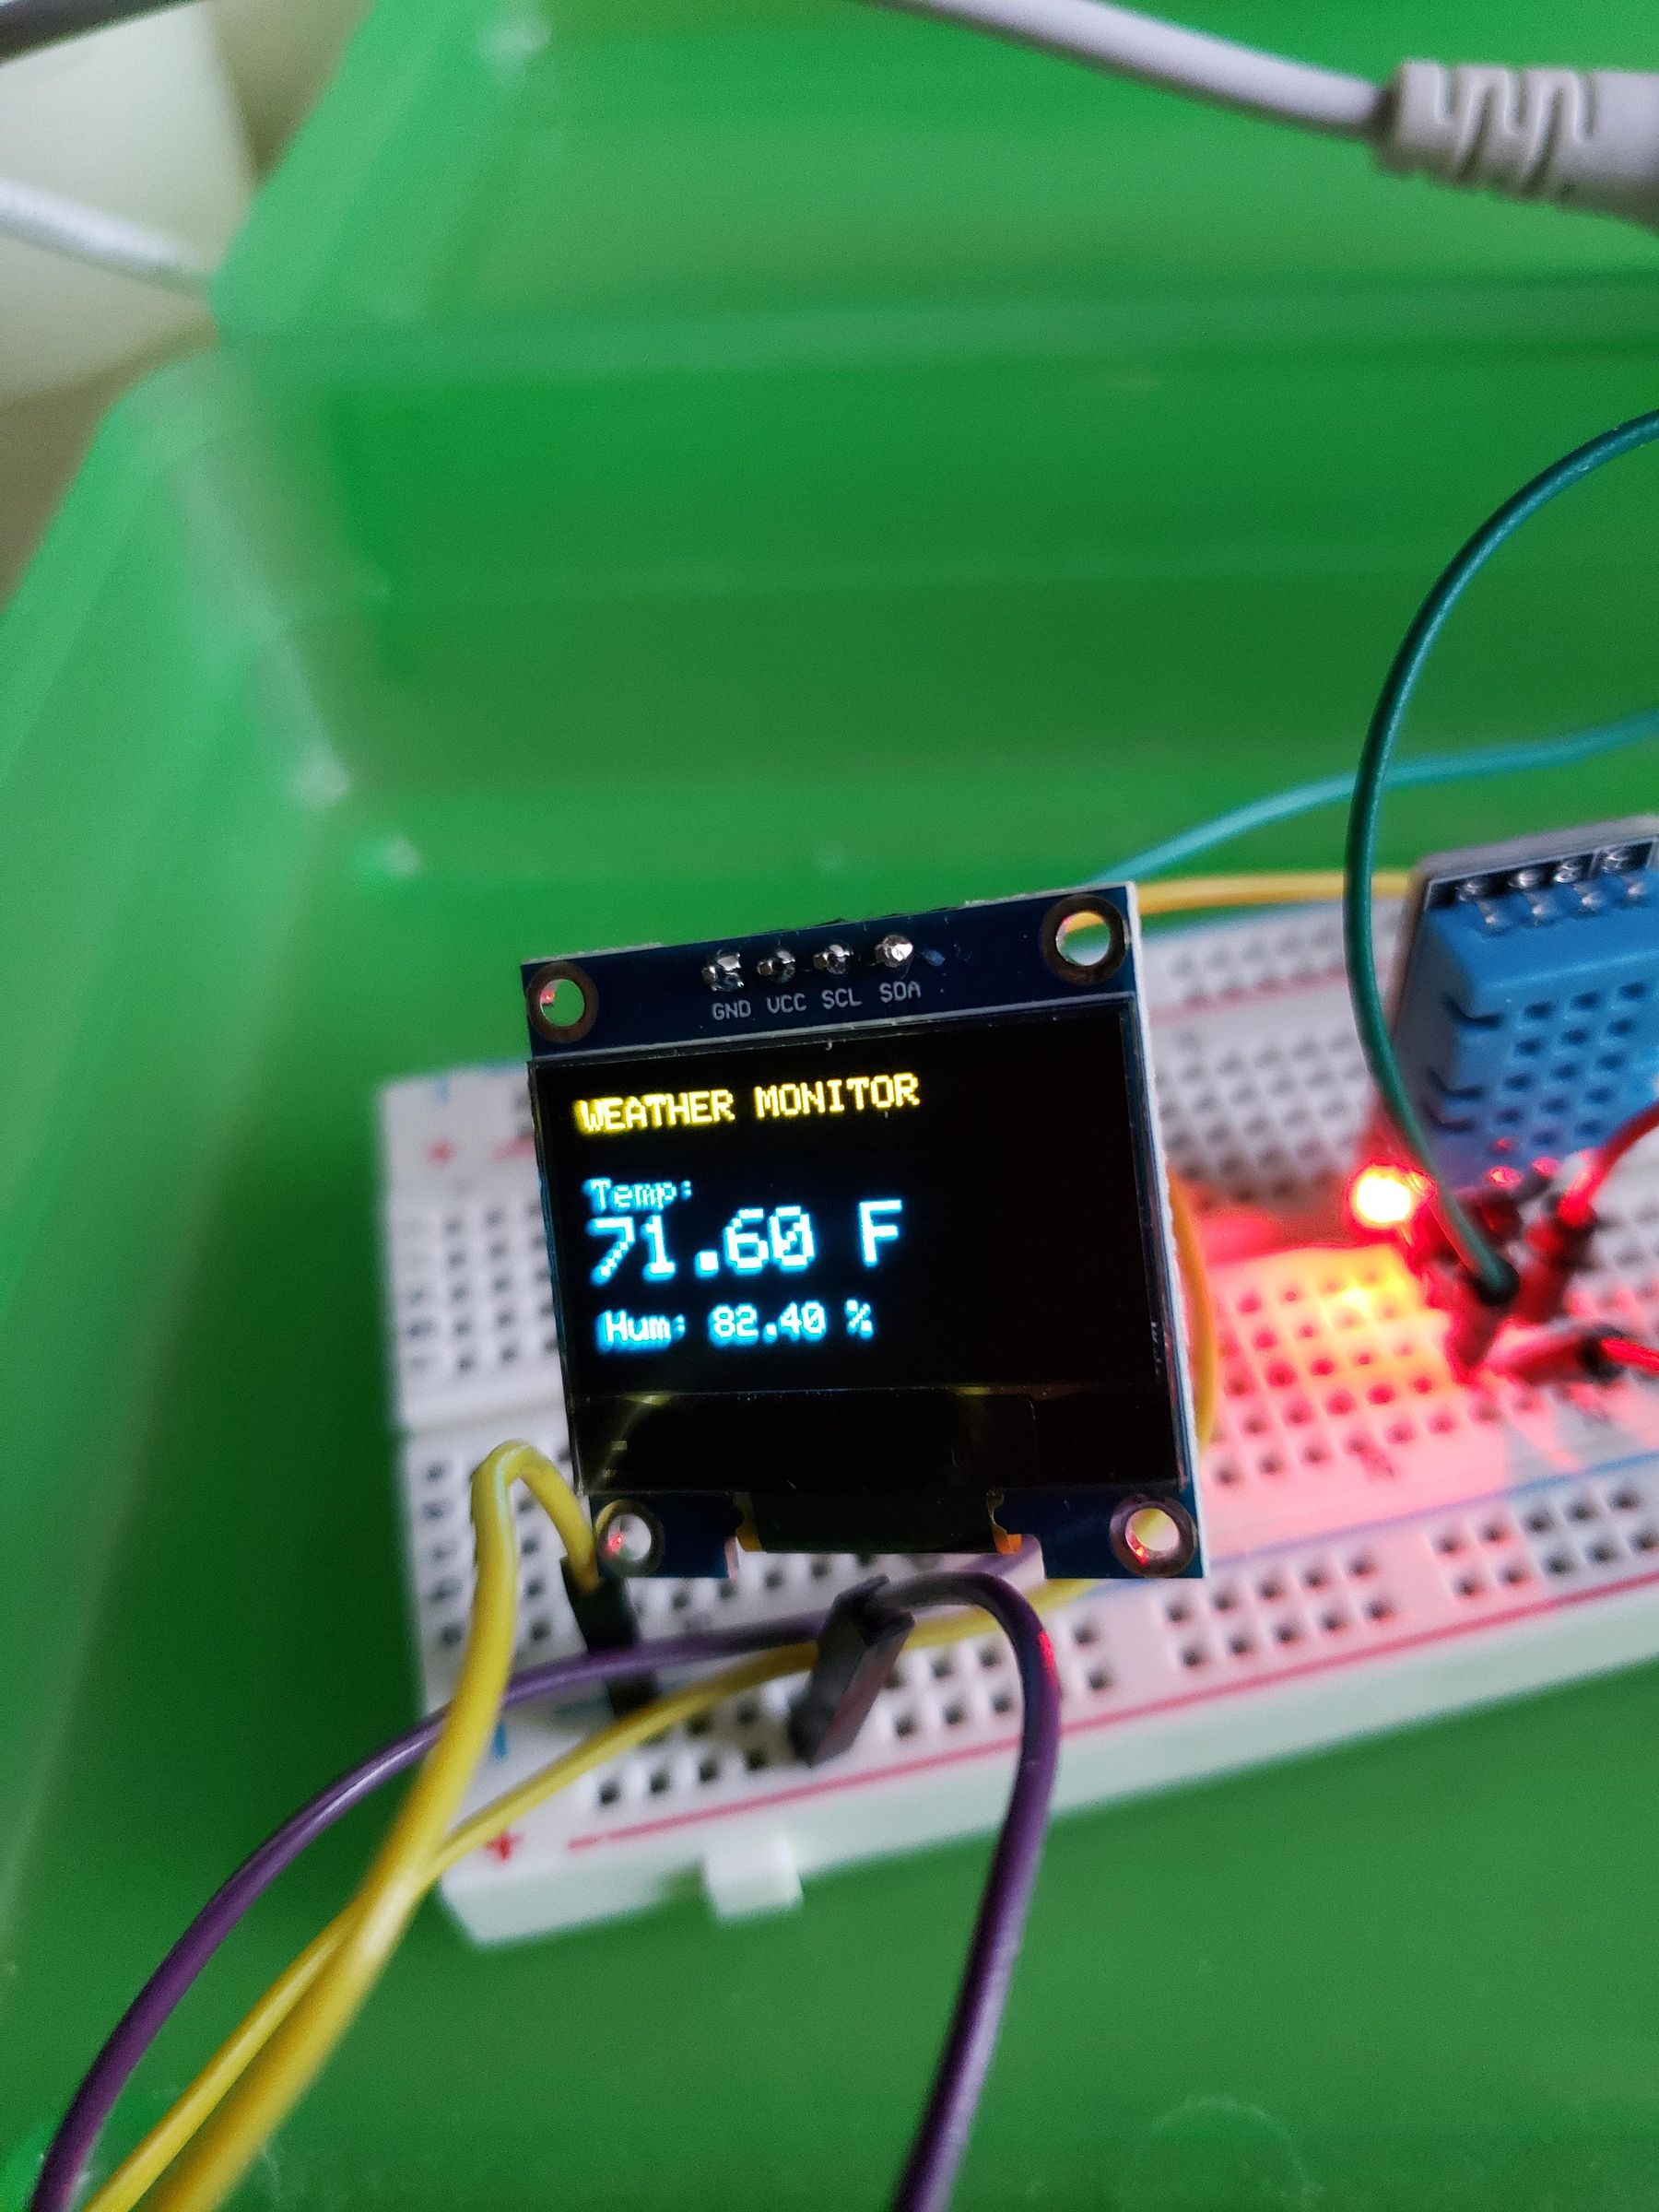
The DHT is connected to 5volts and the positive breadboard .The DHT negative is connected to the negative side of the breadboard .The sensor output is connected to Arduino 2 .
The OLED is connected to ;
SCL: Connect to SCL or (A5 on Arduino )
SDA: Connect to SCA (A4 on Arduino )
The 5 volts is connect to 5 volts and the positive side of breadboard .The ground is connected to the ground of the breadboard.
The 5 volts of the Arduino is connected to 5 volts of the positive side of the breadboard .
The ground is connected to the negative side of the breadboard .
Video and Code for the Circuit
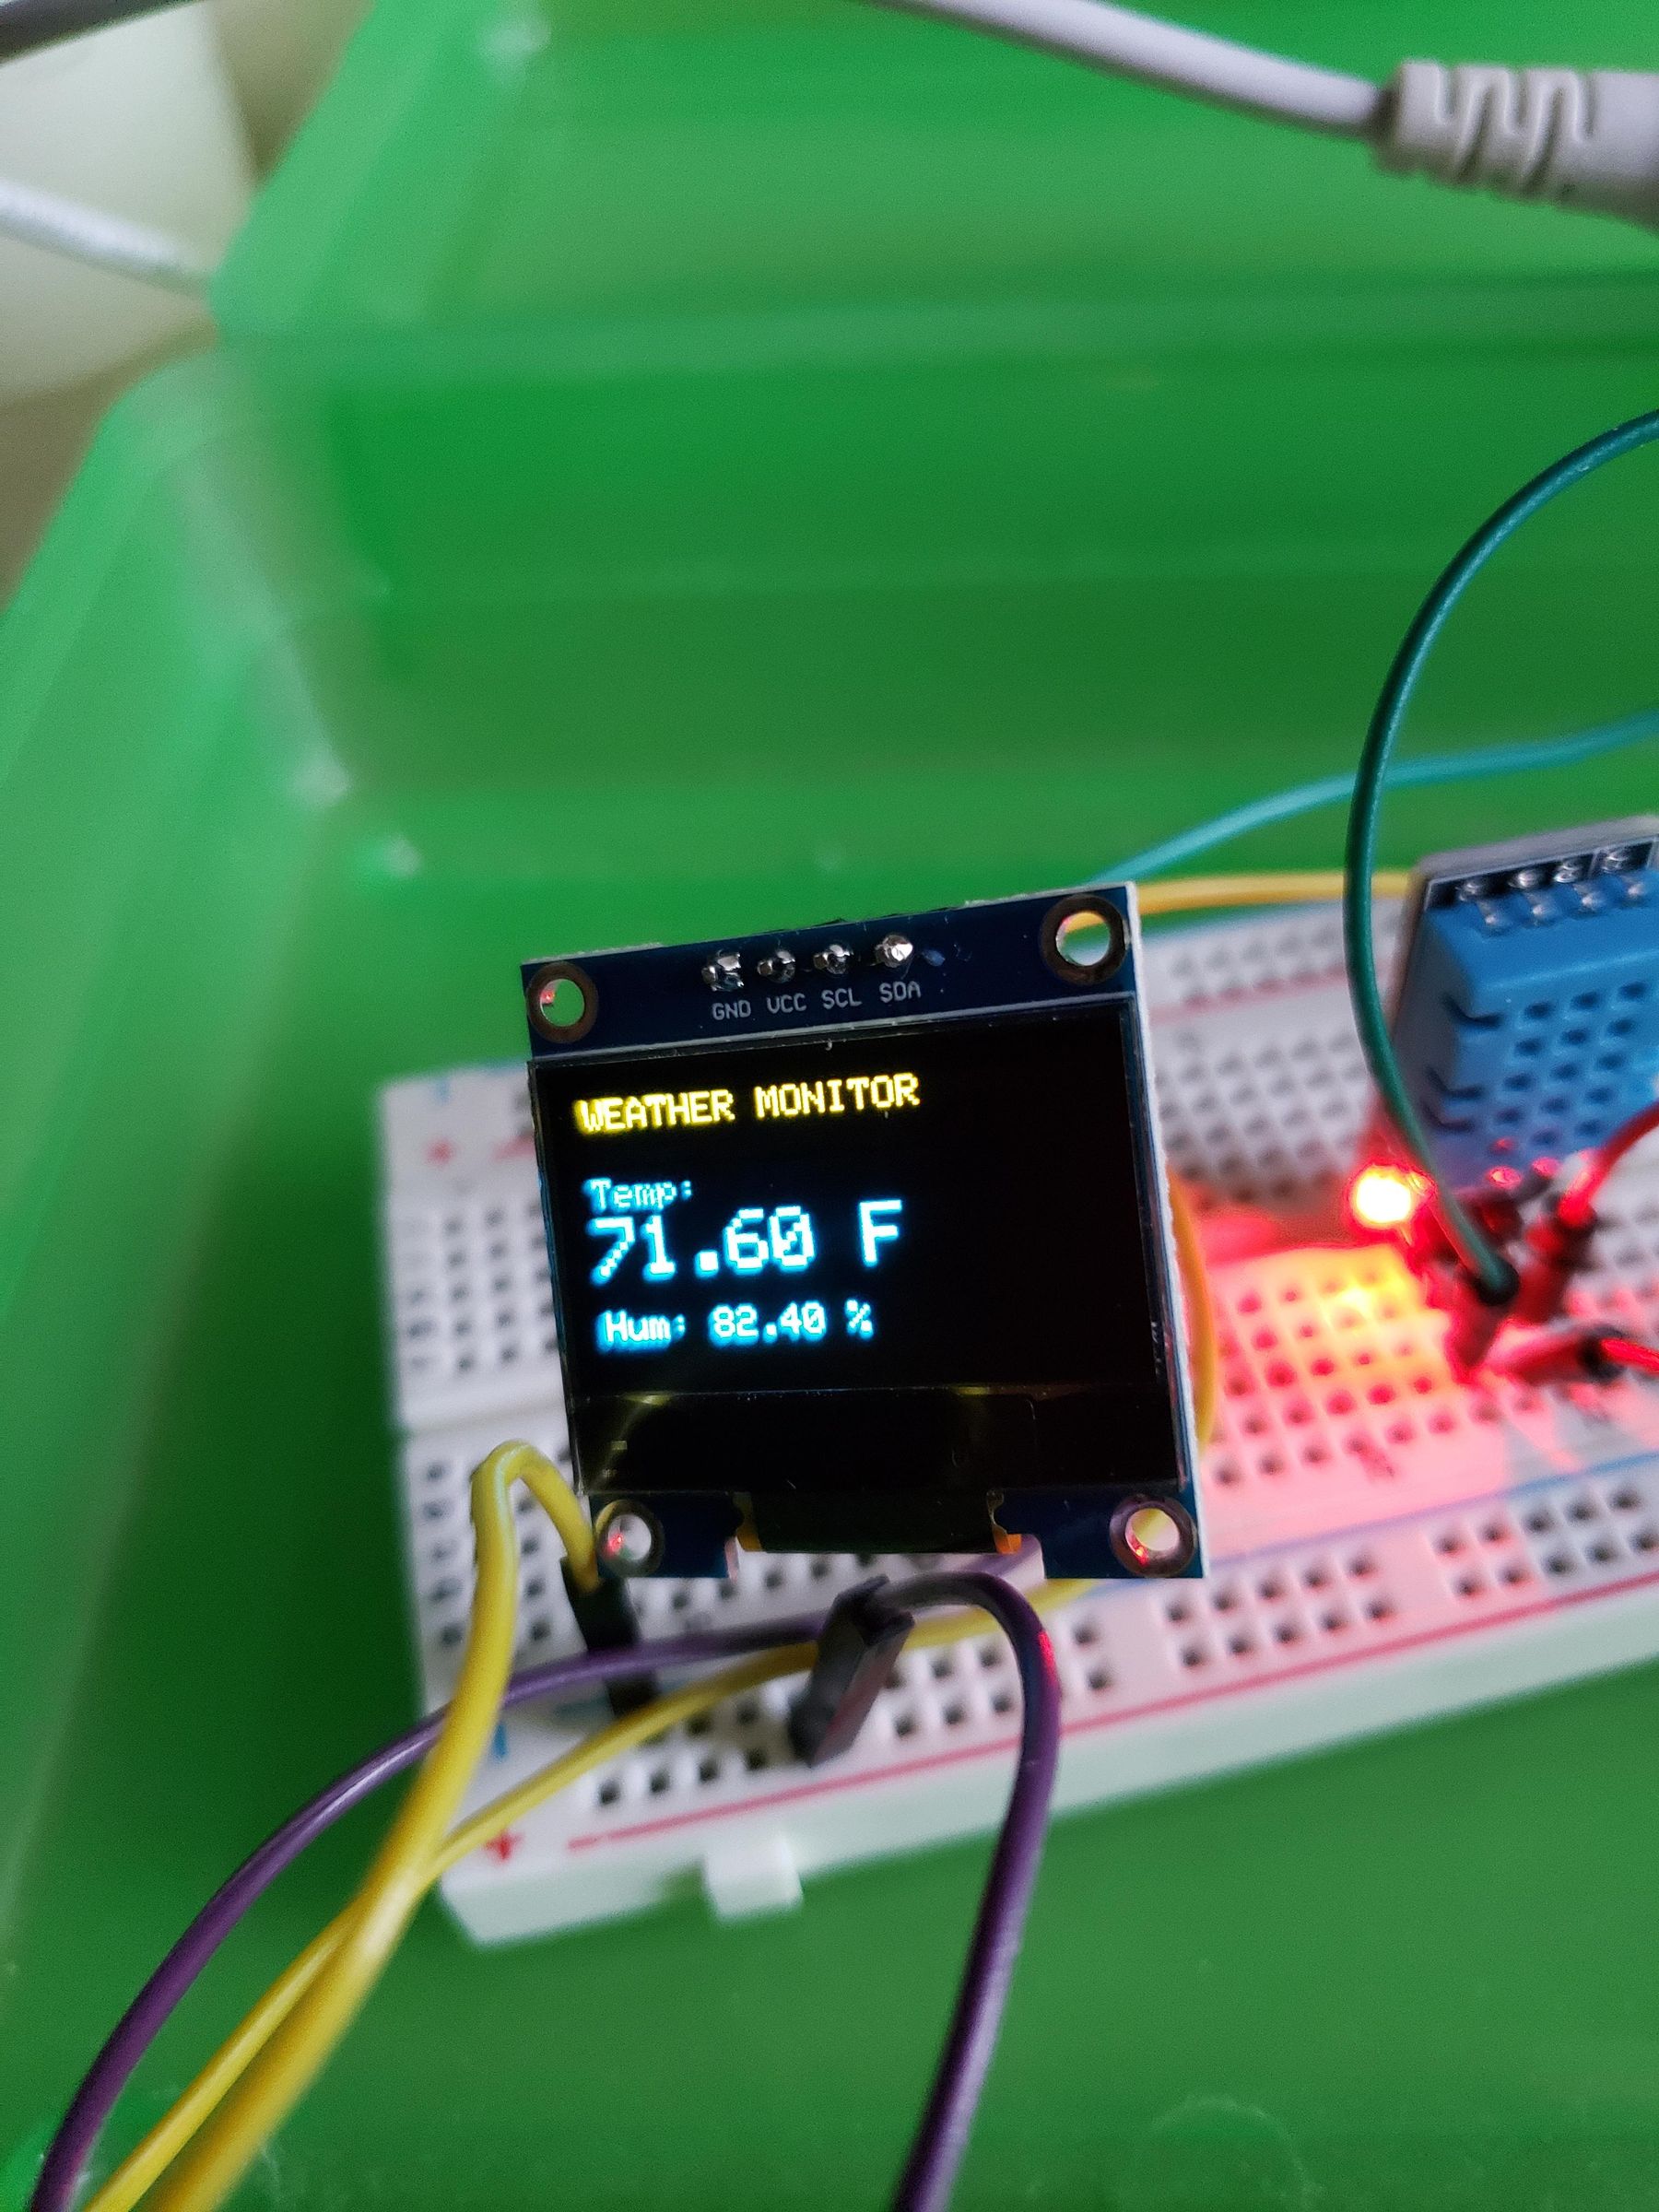
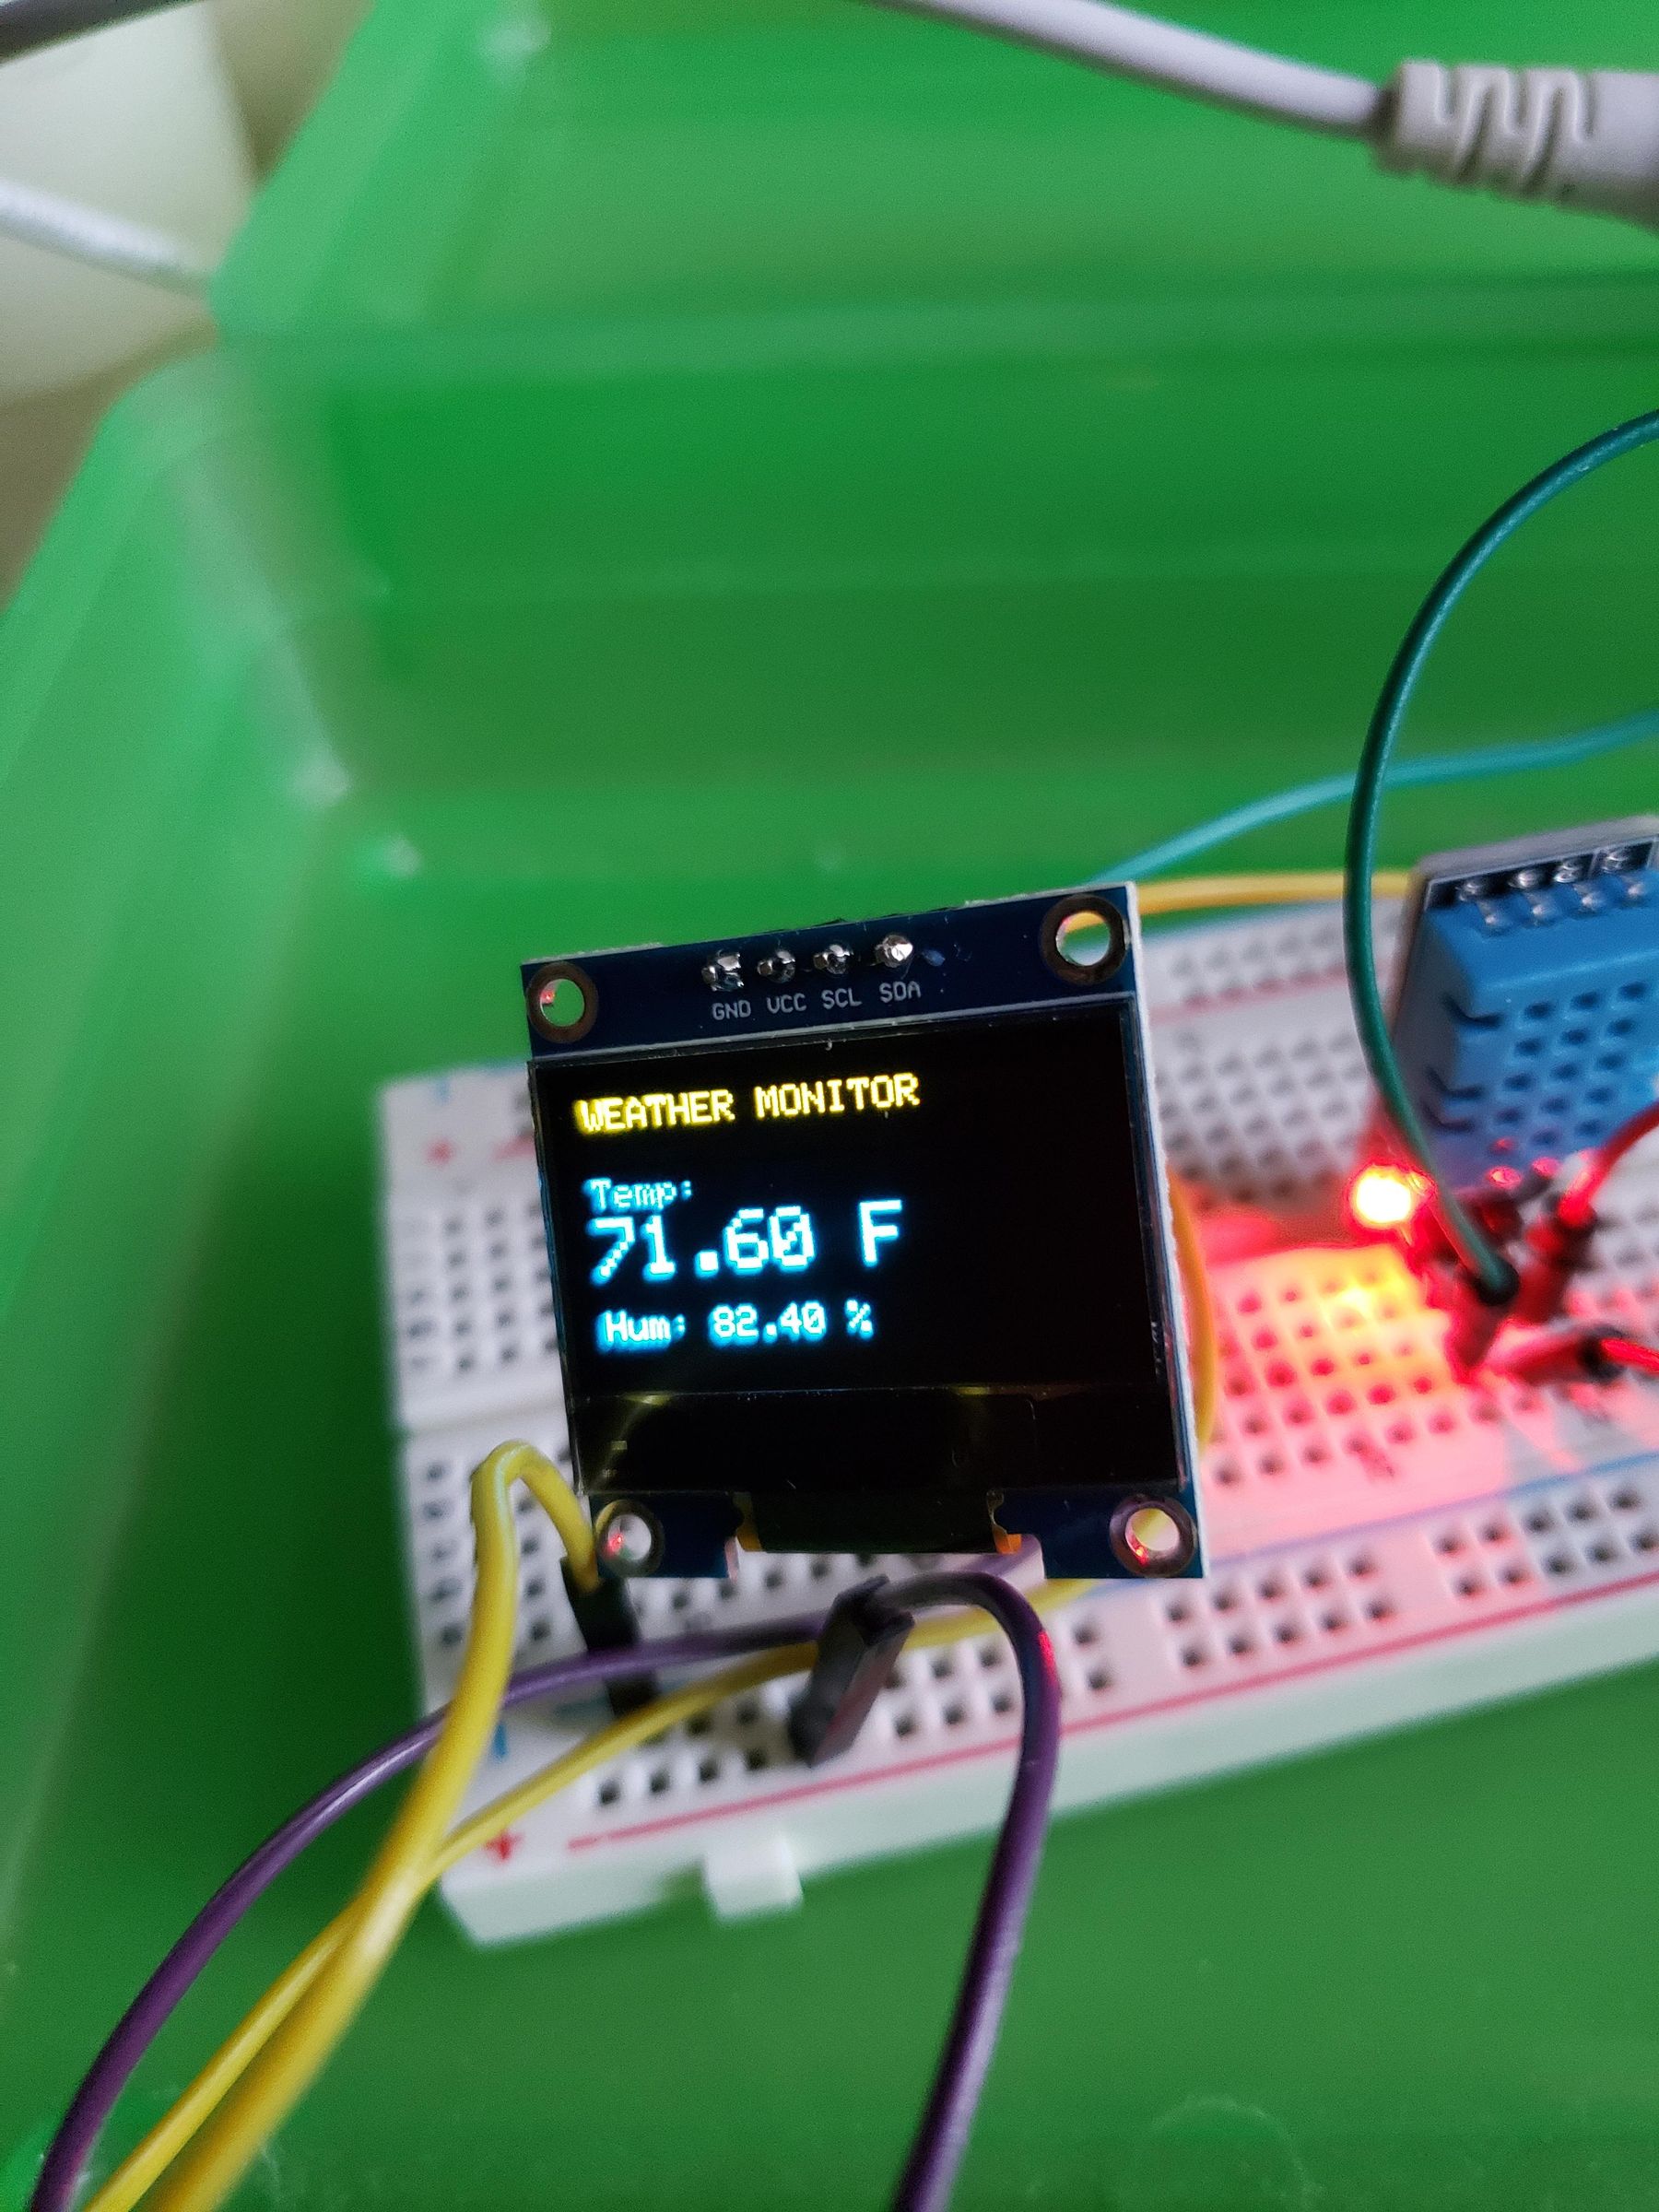
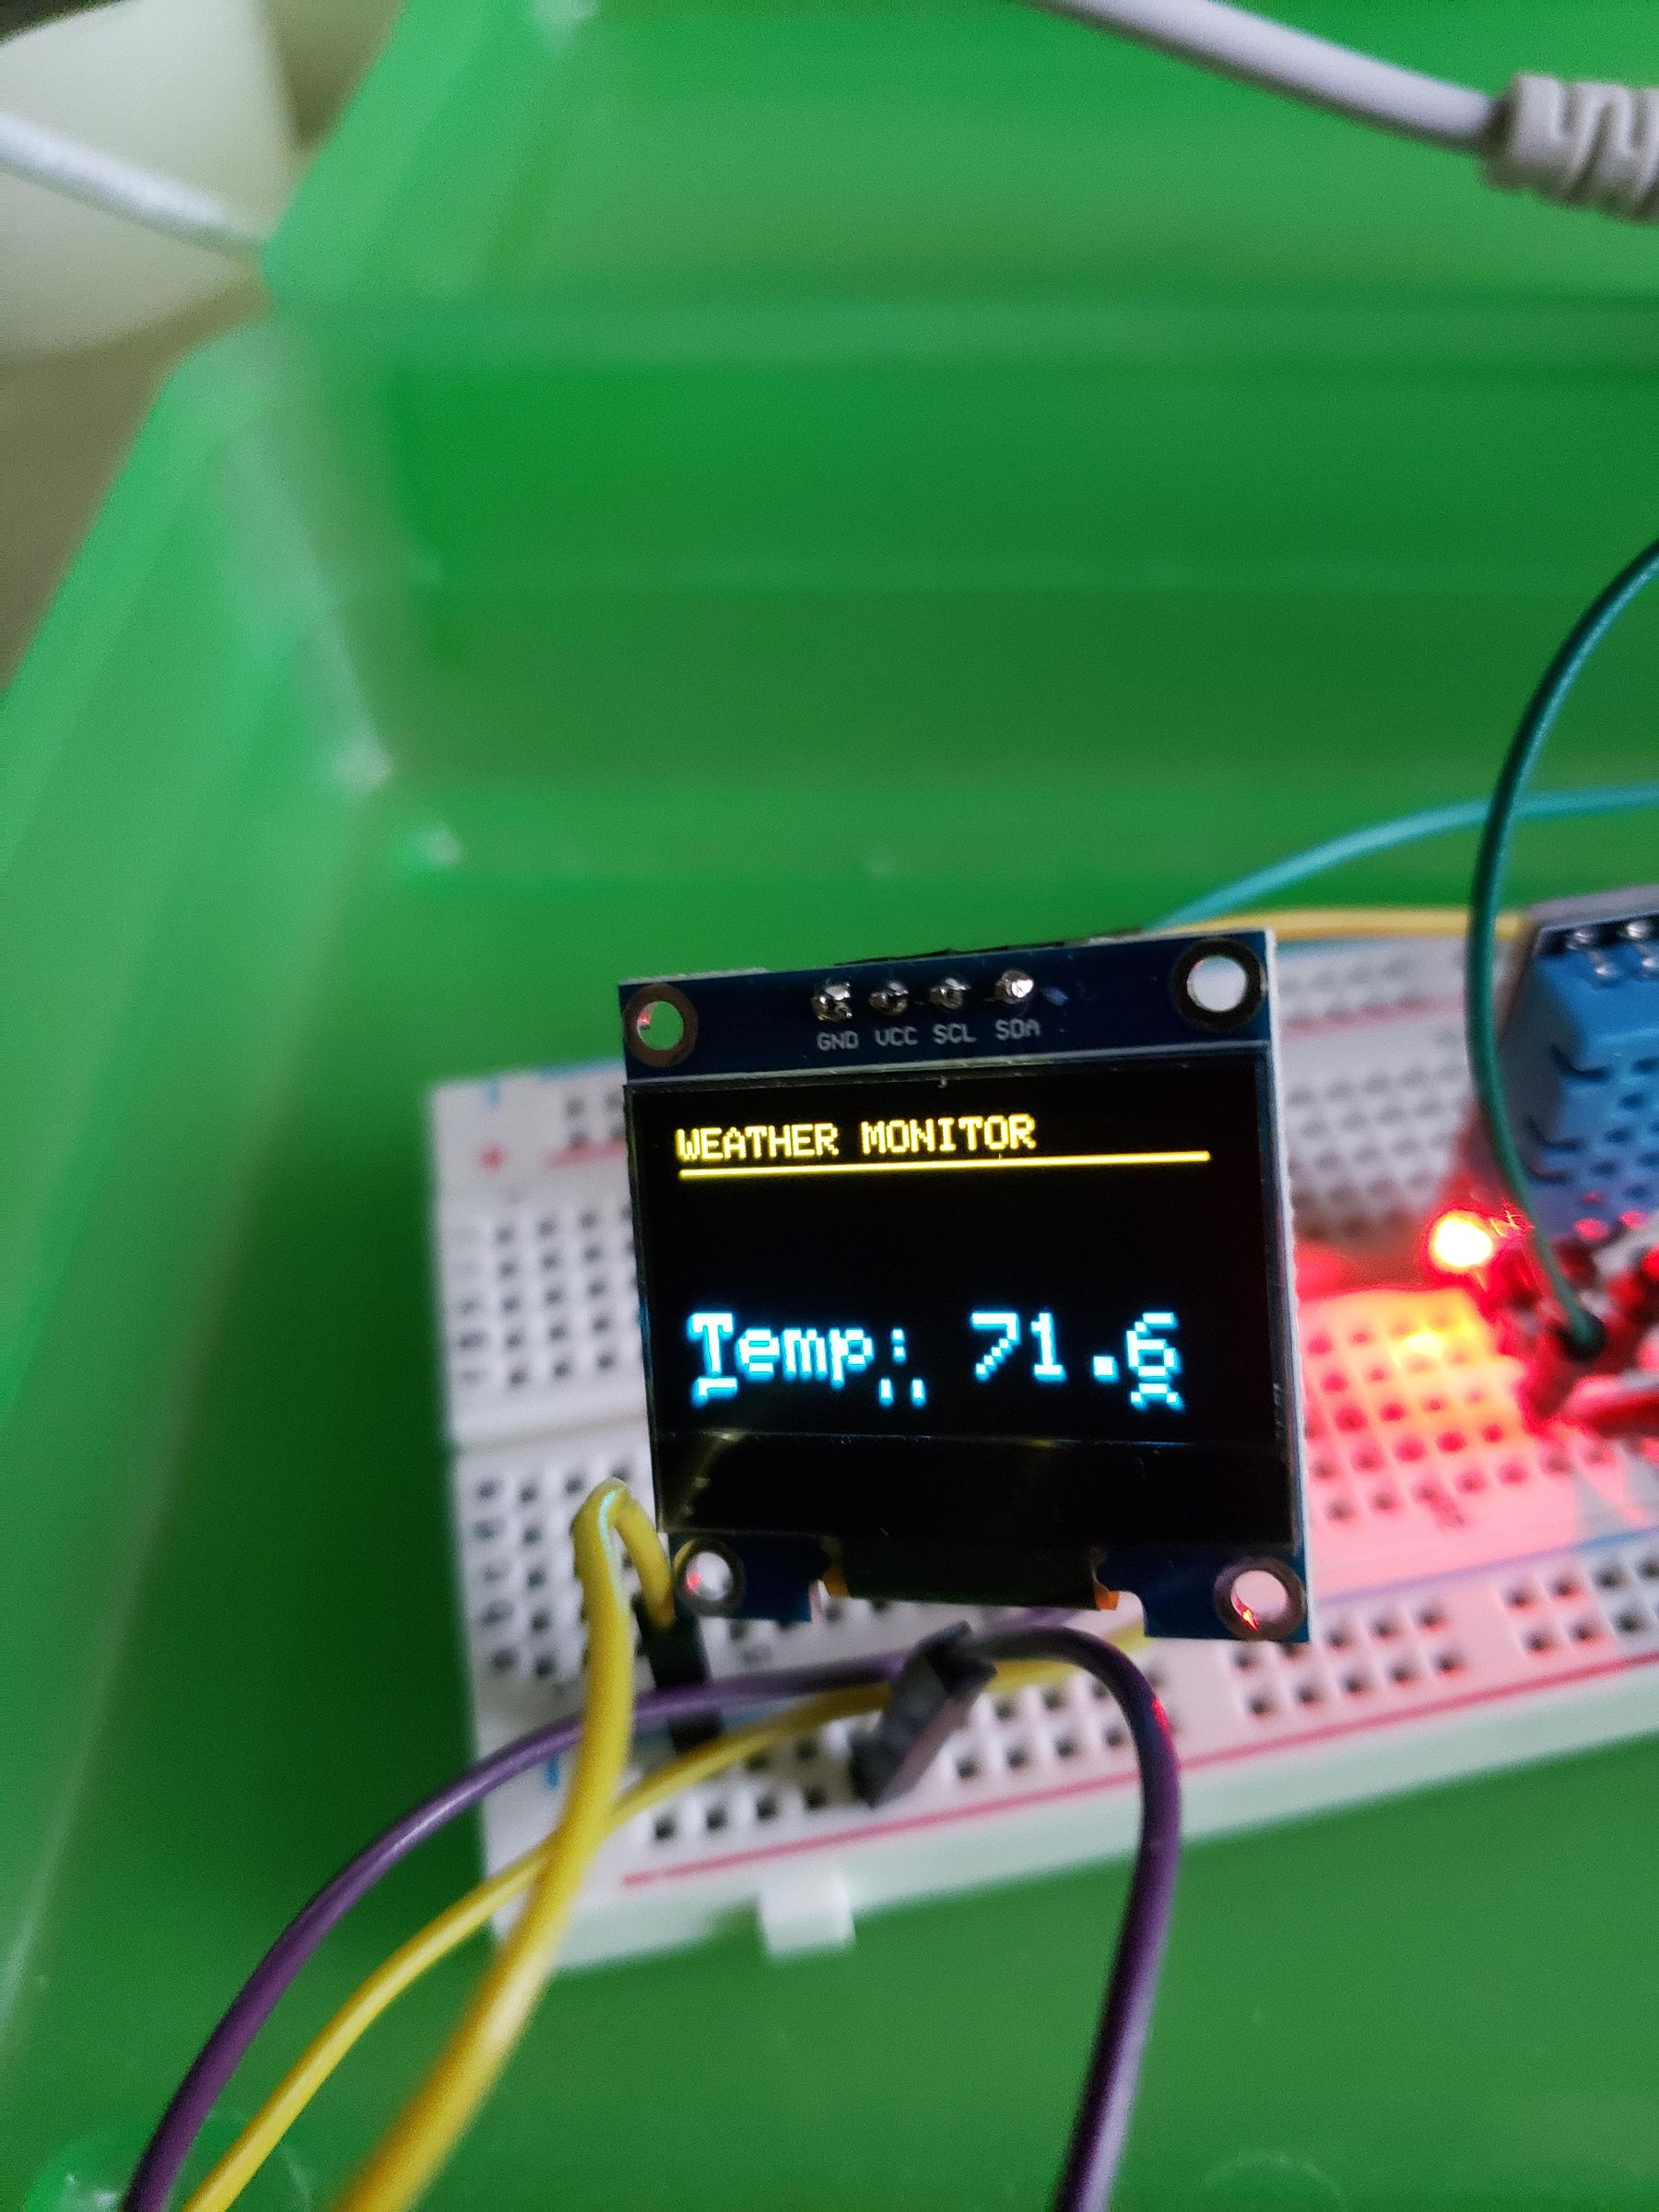
The photos about shows the moving OLED readings .
The link to the video of the circuit is ;
https://vimeo.com/1219679538
The code for the circuit is;
#include <Wire.h>
#include <Adafruit_GFX.h>
#include <Adafruit_SSD1306.h>
#include <DHT.h>
#define SCREEN_WIDTH 128
#define SCREEN_HEIGHT 64
#define OLED_RESET -1
Adafruit_SSD1306 display(SCREEN_WIDTH, SCREEN_HEIGHT, &Wire, OLED_RESET);
#define DHTPIN 2
#define DHTTYPE DHT11 // Change to DHT22 if needed
DHT dht(DHTPIN, DHTTYPE);
void setup() {
Serial.begin(9600);
dht.begin();
if (!display.begin(SSD1306_SWITCHCAPVCC, 0x3C)) {
Serial.println(F("SSD1306 allocation failed"));
for(;;);
}
display.clearDisplay();
display.setTextColor(SSD1306_WHITE);
display.setTextSize(1);
display.setCursor(10, 20);
display.println(F("DHT Sensor Ready"));
display.display();
delay(1500);
}
void loop() {
float h = dht.readHumidity();
float f = dht.readTemperature(true);
if (isnan(h) || isnan(f)) {
Serial.println(F("Failed to read from DHT sensor!"));
delay(2000);
return;
}
// --- 1. DISPLAY STATIC READOUT ---
display.clearDisplay();
display.setTextSize(1);
display.setCursor(0, 0);
display.println(F("WEATHER MONITOR"));
display.setCursor(0, 18);
display.print(F("Temp: "));
display.setTextSize(2);
display.setCursor(0, 28);
display.print(f);
display.print(F(" F"));
display.setTextSize(1);
display.setCursor(0, 52);
display.print(F("Hum: "));
display.print(h);
display.print(F(" %"));
display.display();
delay(2000); // Hold for 2 seconds
// --- 2. SOFTWARE SCROLLING BANNER ---
String scrollText = " Temp: " + String(f, 1) + "F Hum: " + String(h, 0) + "% ";
int textWidth = scrollText.length() * 12; // Width estimated at size 2 (12 px per char)
// Scroll across screen from right (128) to off screen left (-textWidth)
for (int x = 128; x >= -textWidth; x -= 4) {
display.clearDisplay();
// Top header
display.setTextSize(1);
display.setCursor(0, 0);
display.println(F("WEATHER MONITOR"));
display.drawLine(0, 10, 128, 10, SSD1306_WHITE);
// Scrolling text in center
display.setTextSize(2);
display.setCursor(x, 28);
display.print(scrollText);
display.display();
delay(30); // Speed control (lower = faster)
}
}
Conclusion
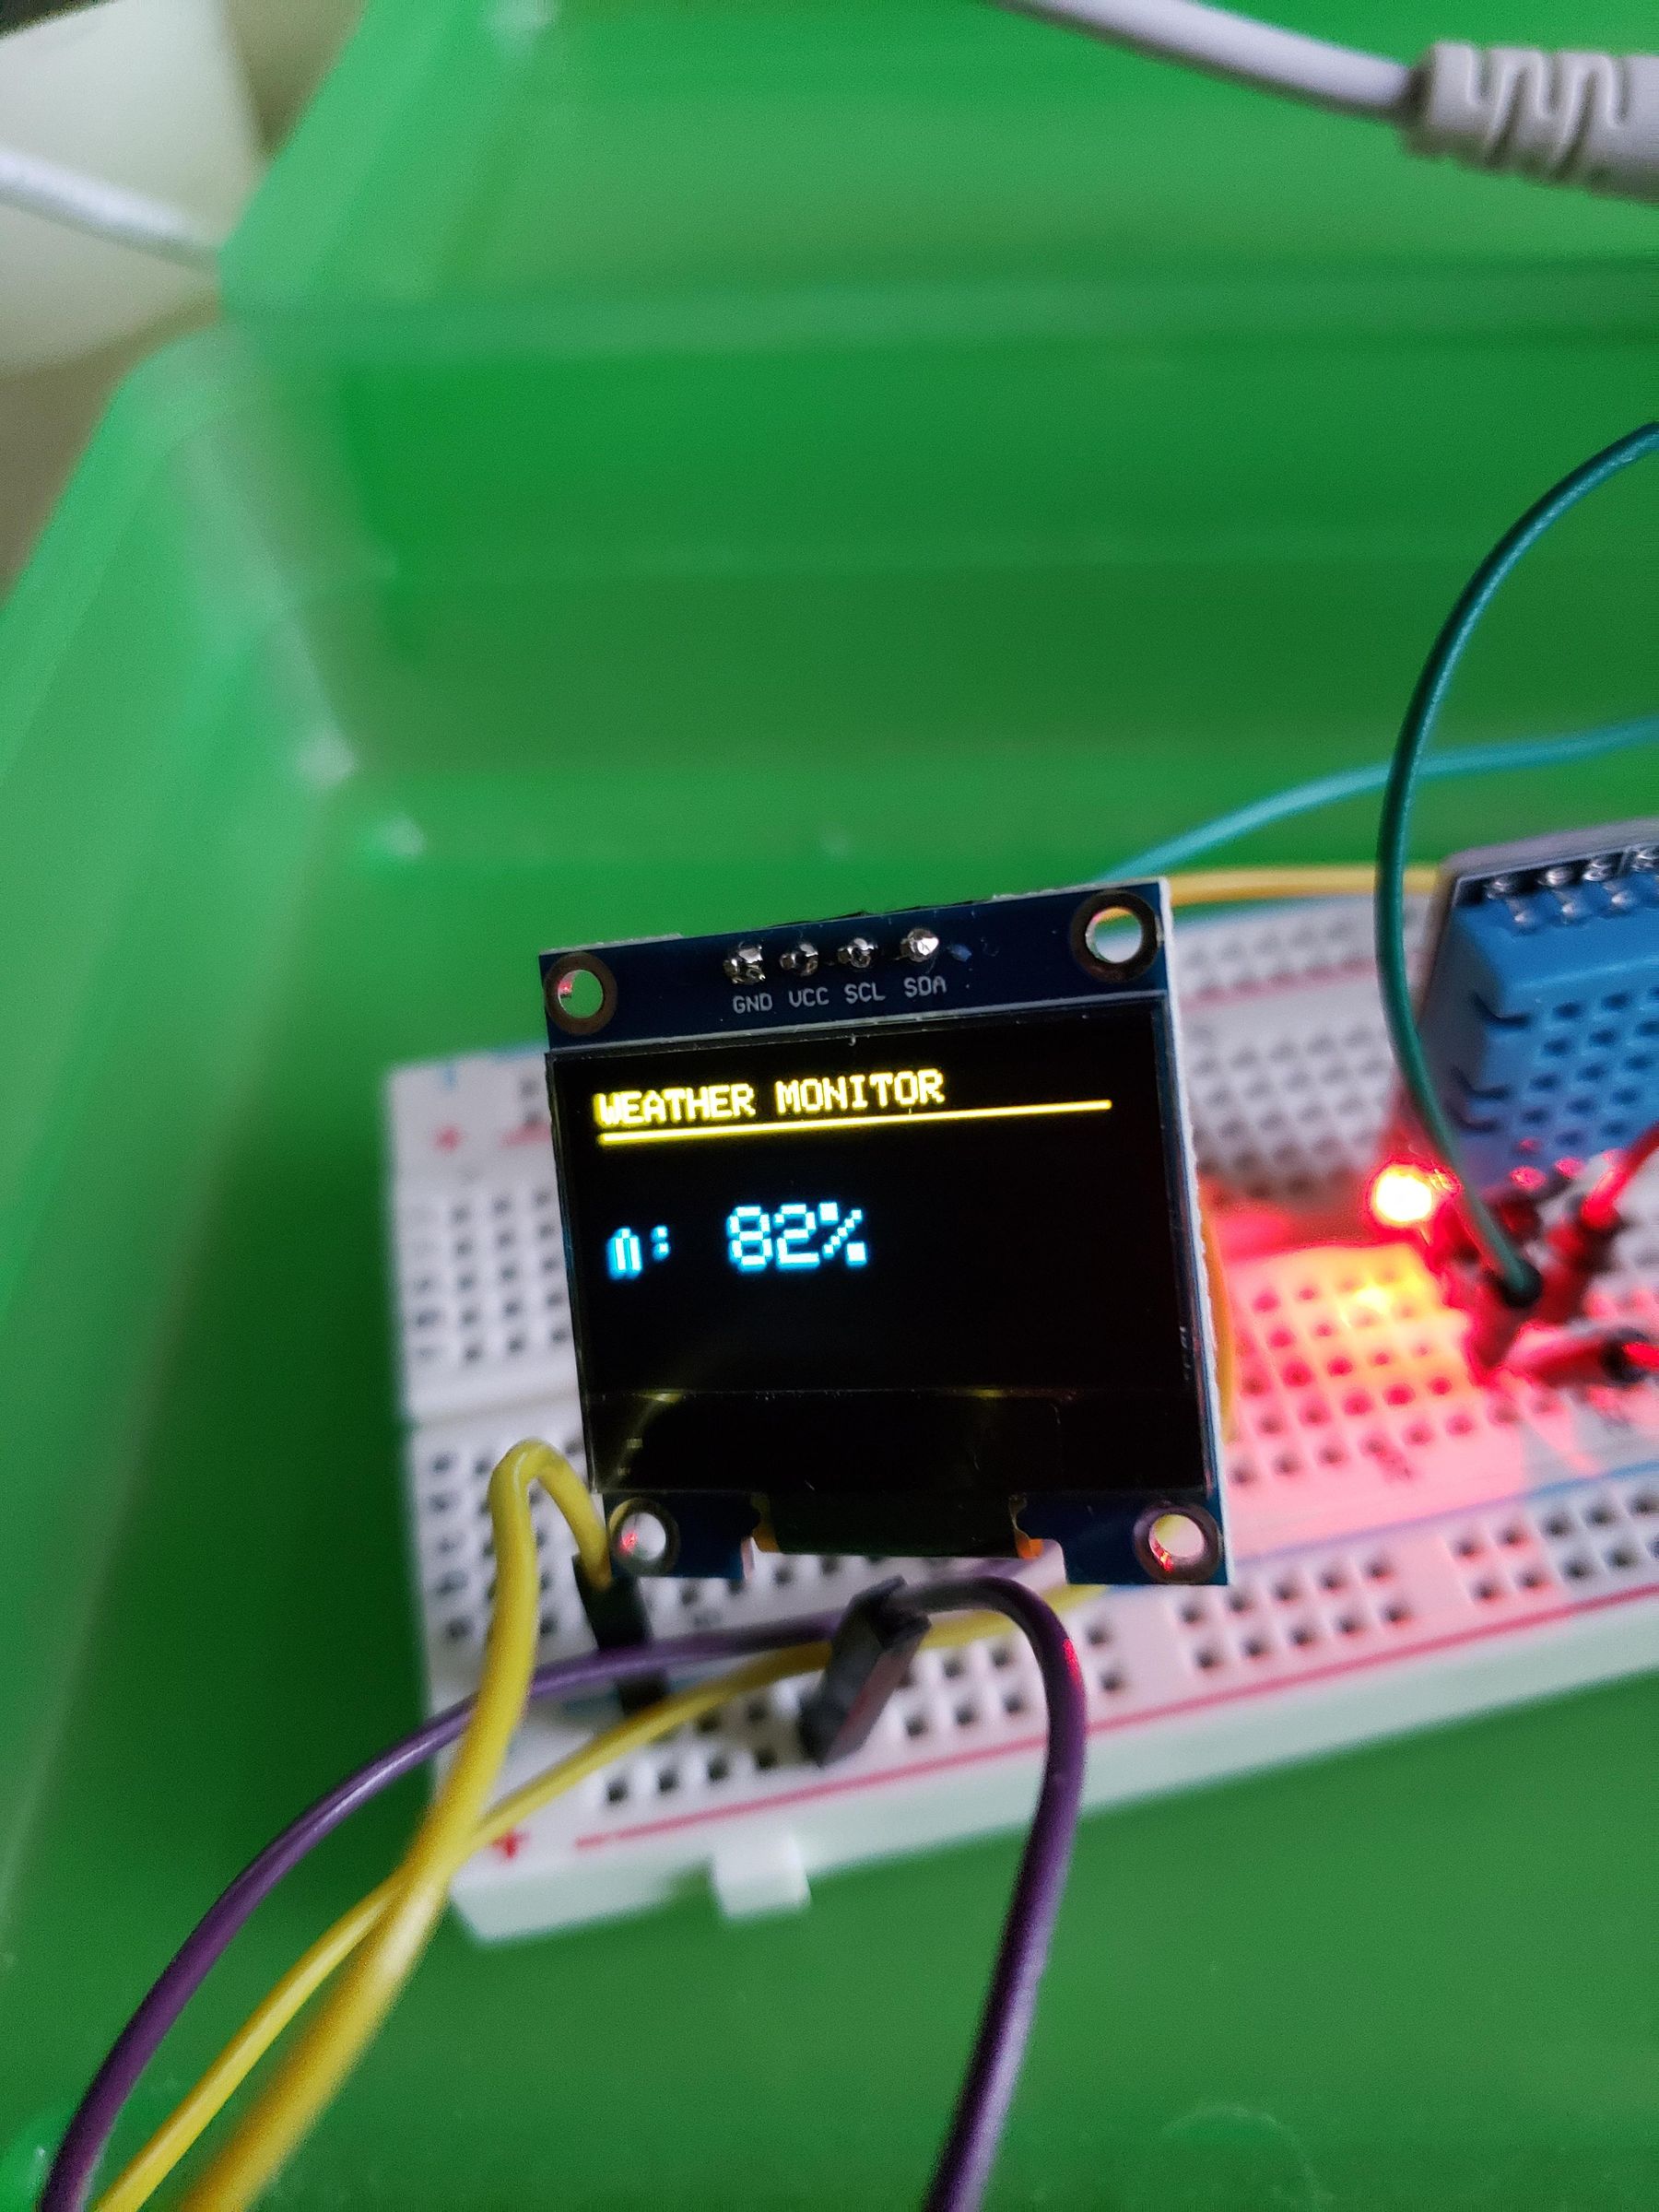
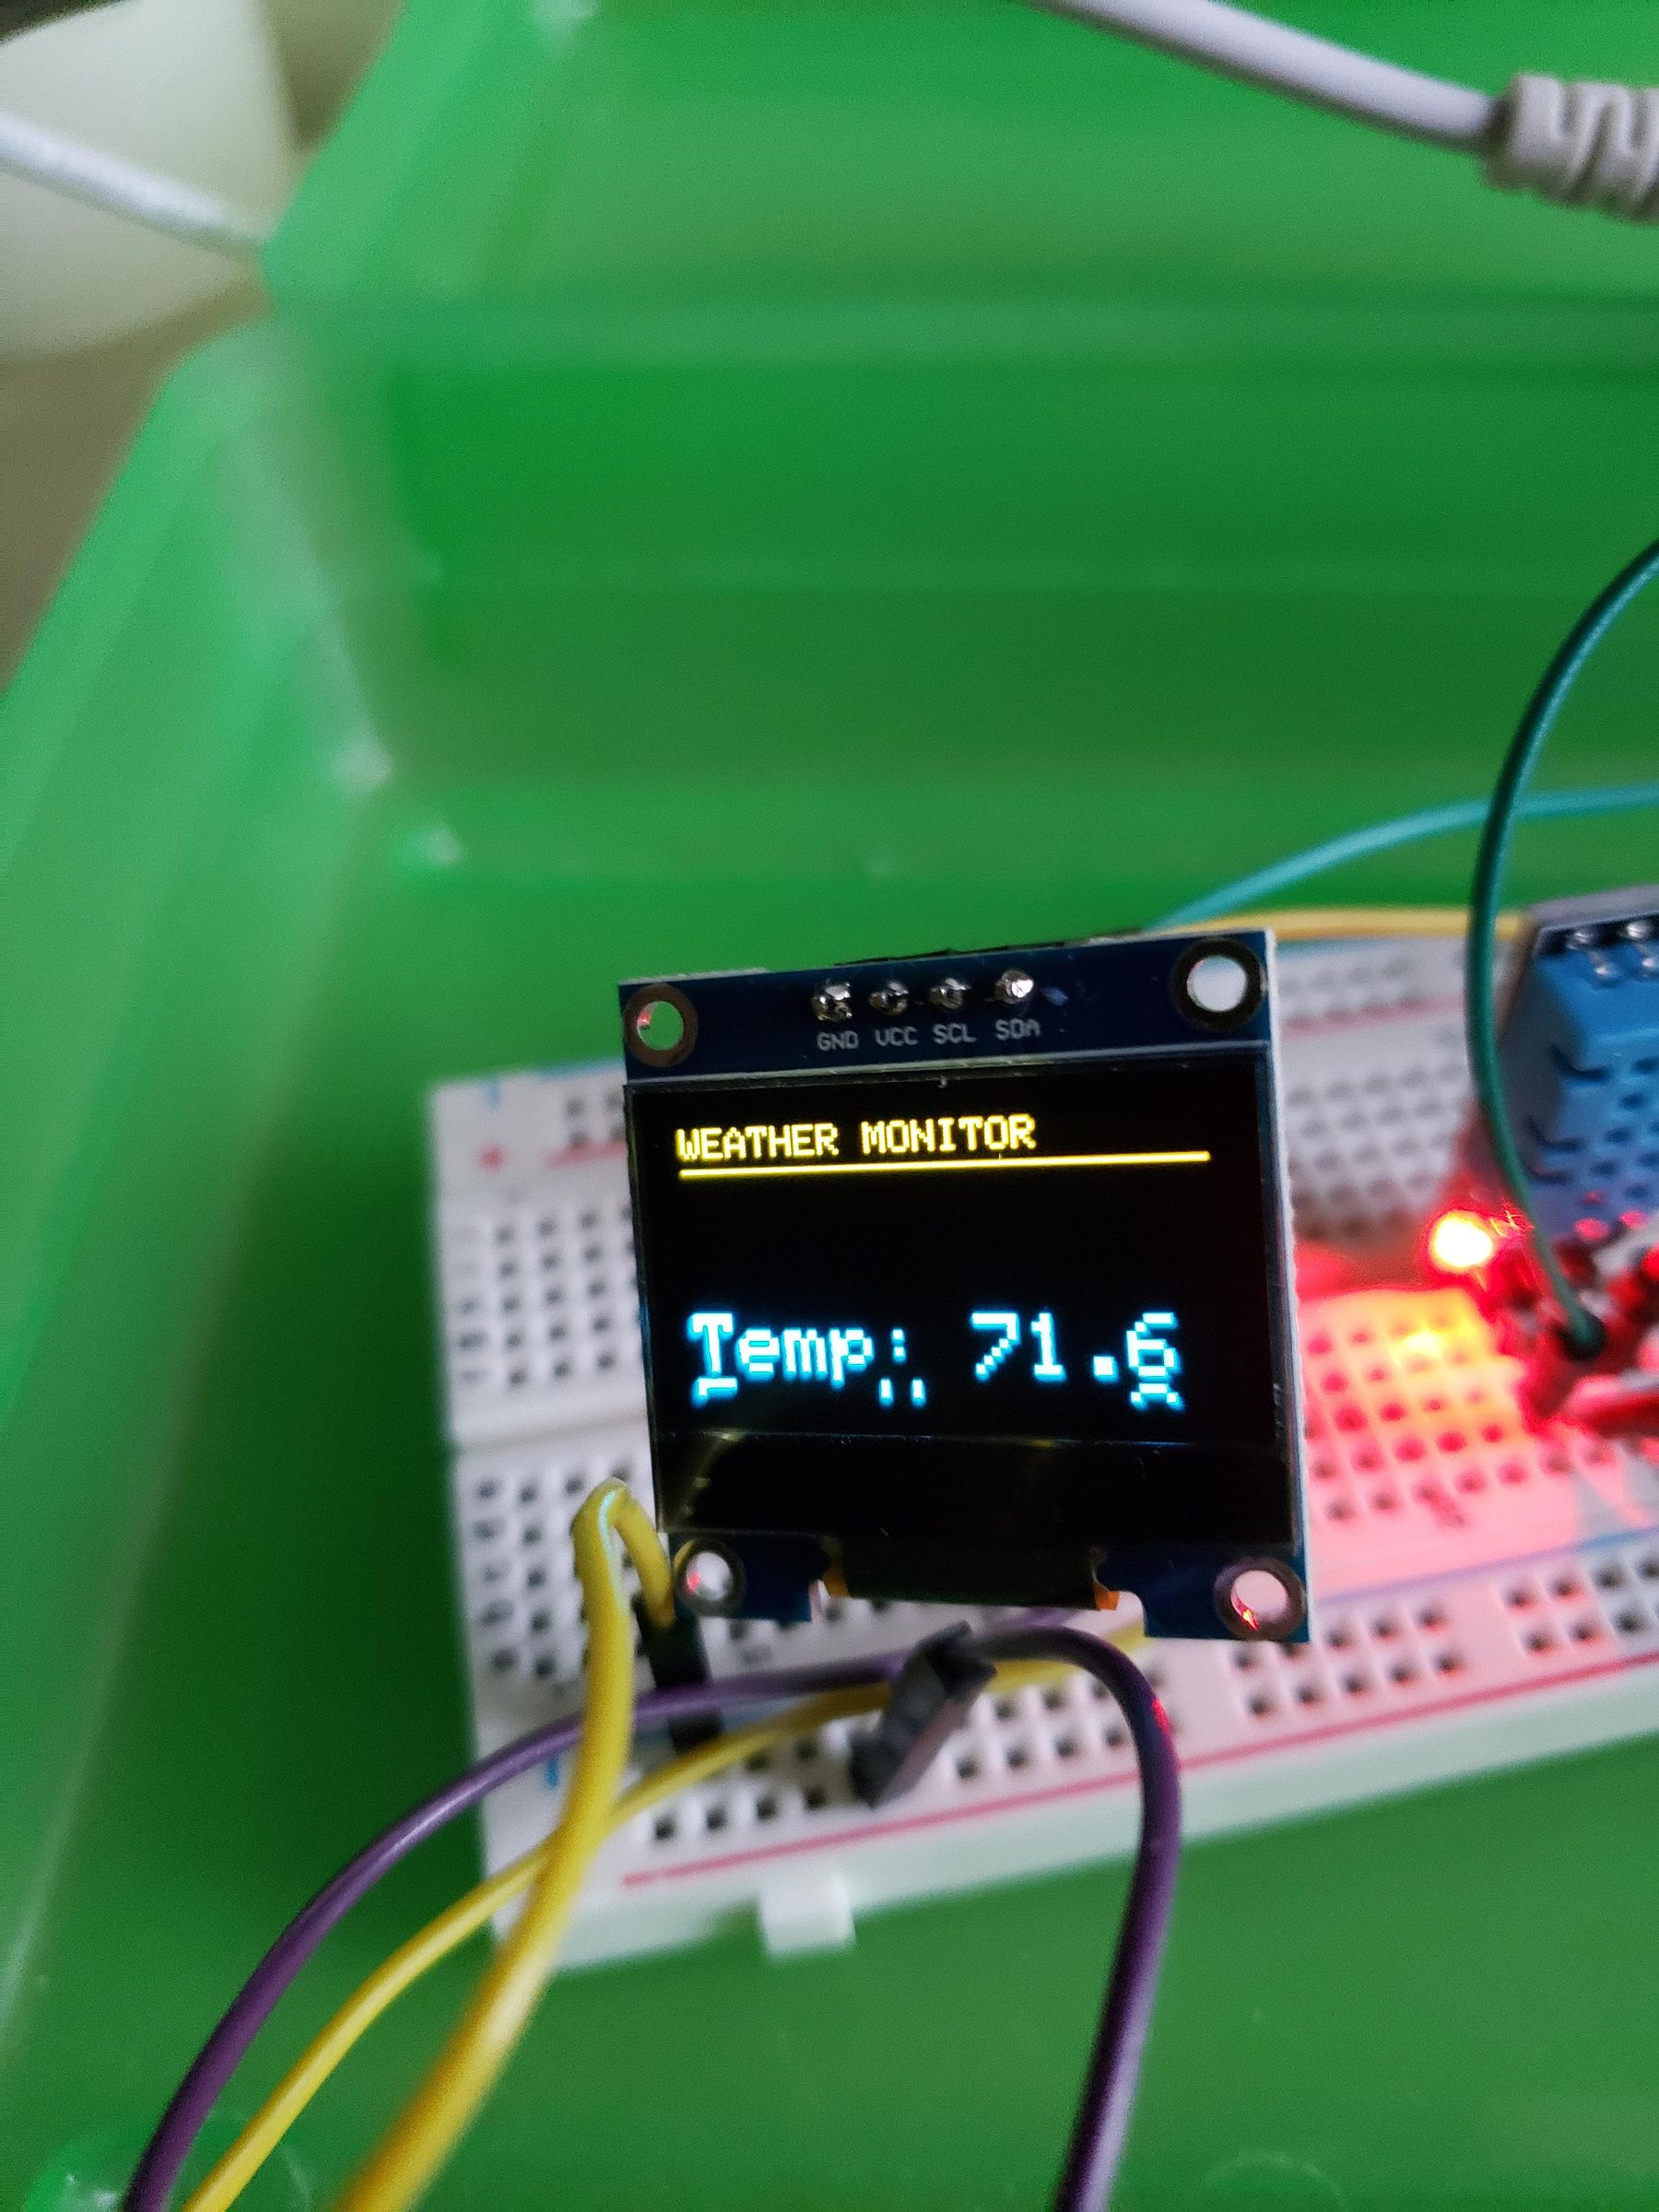
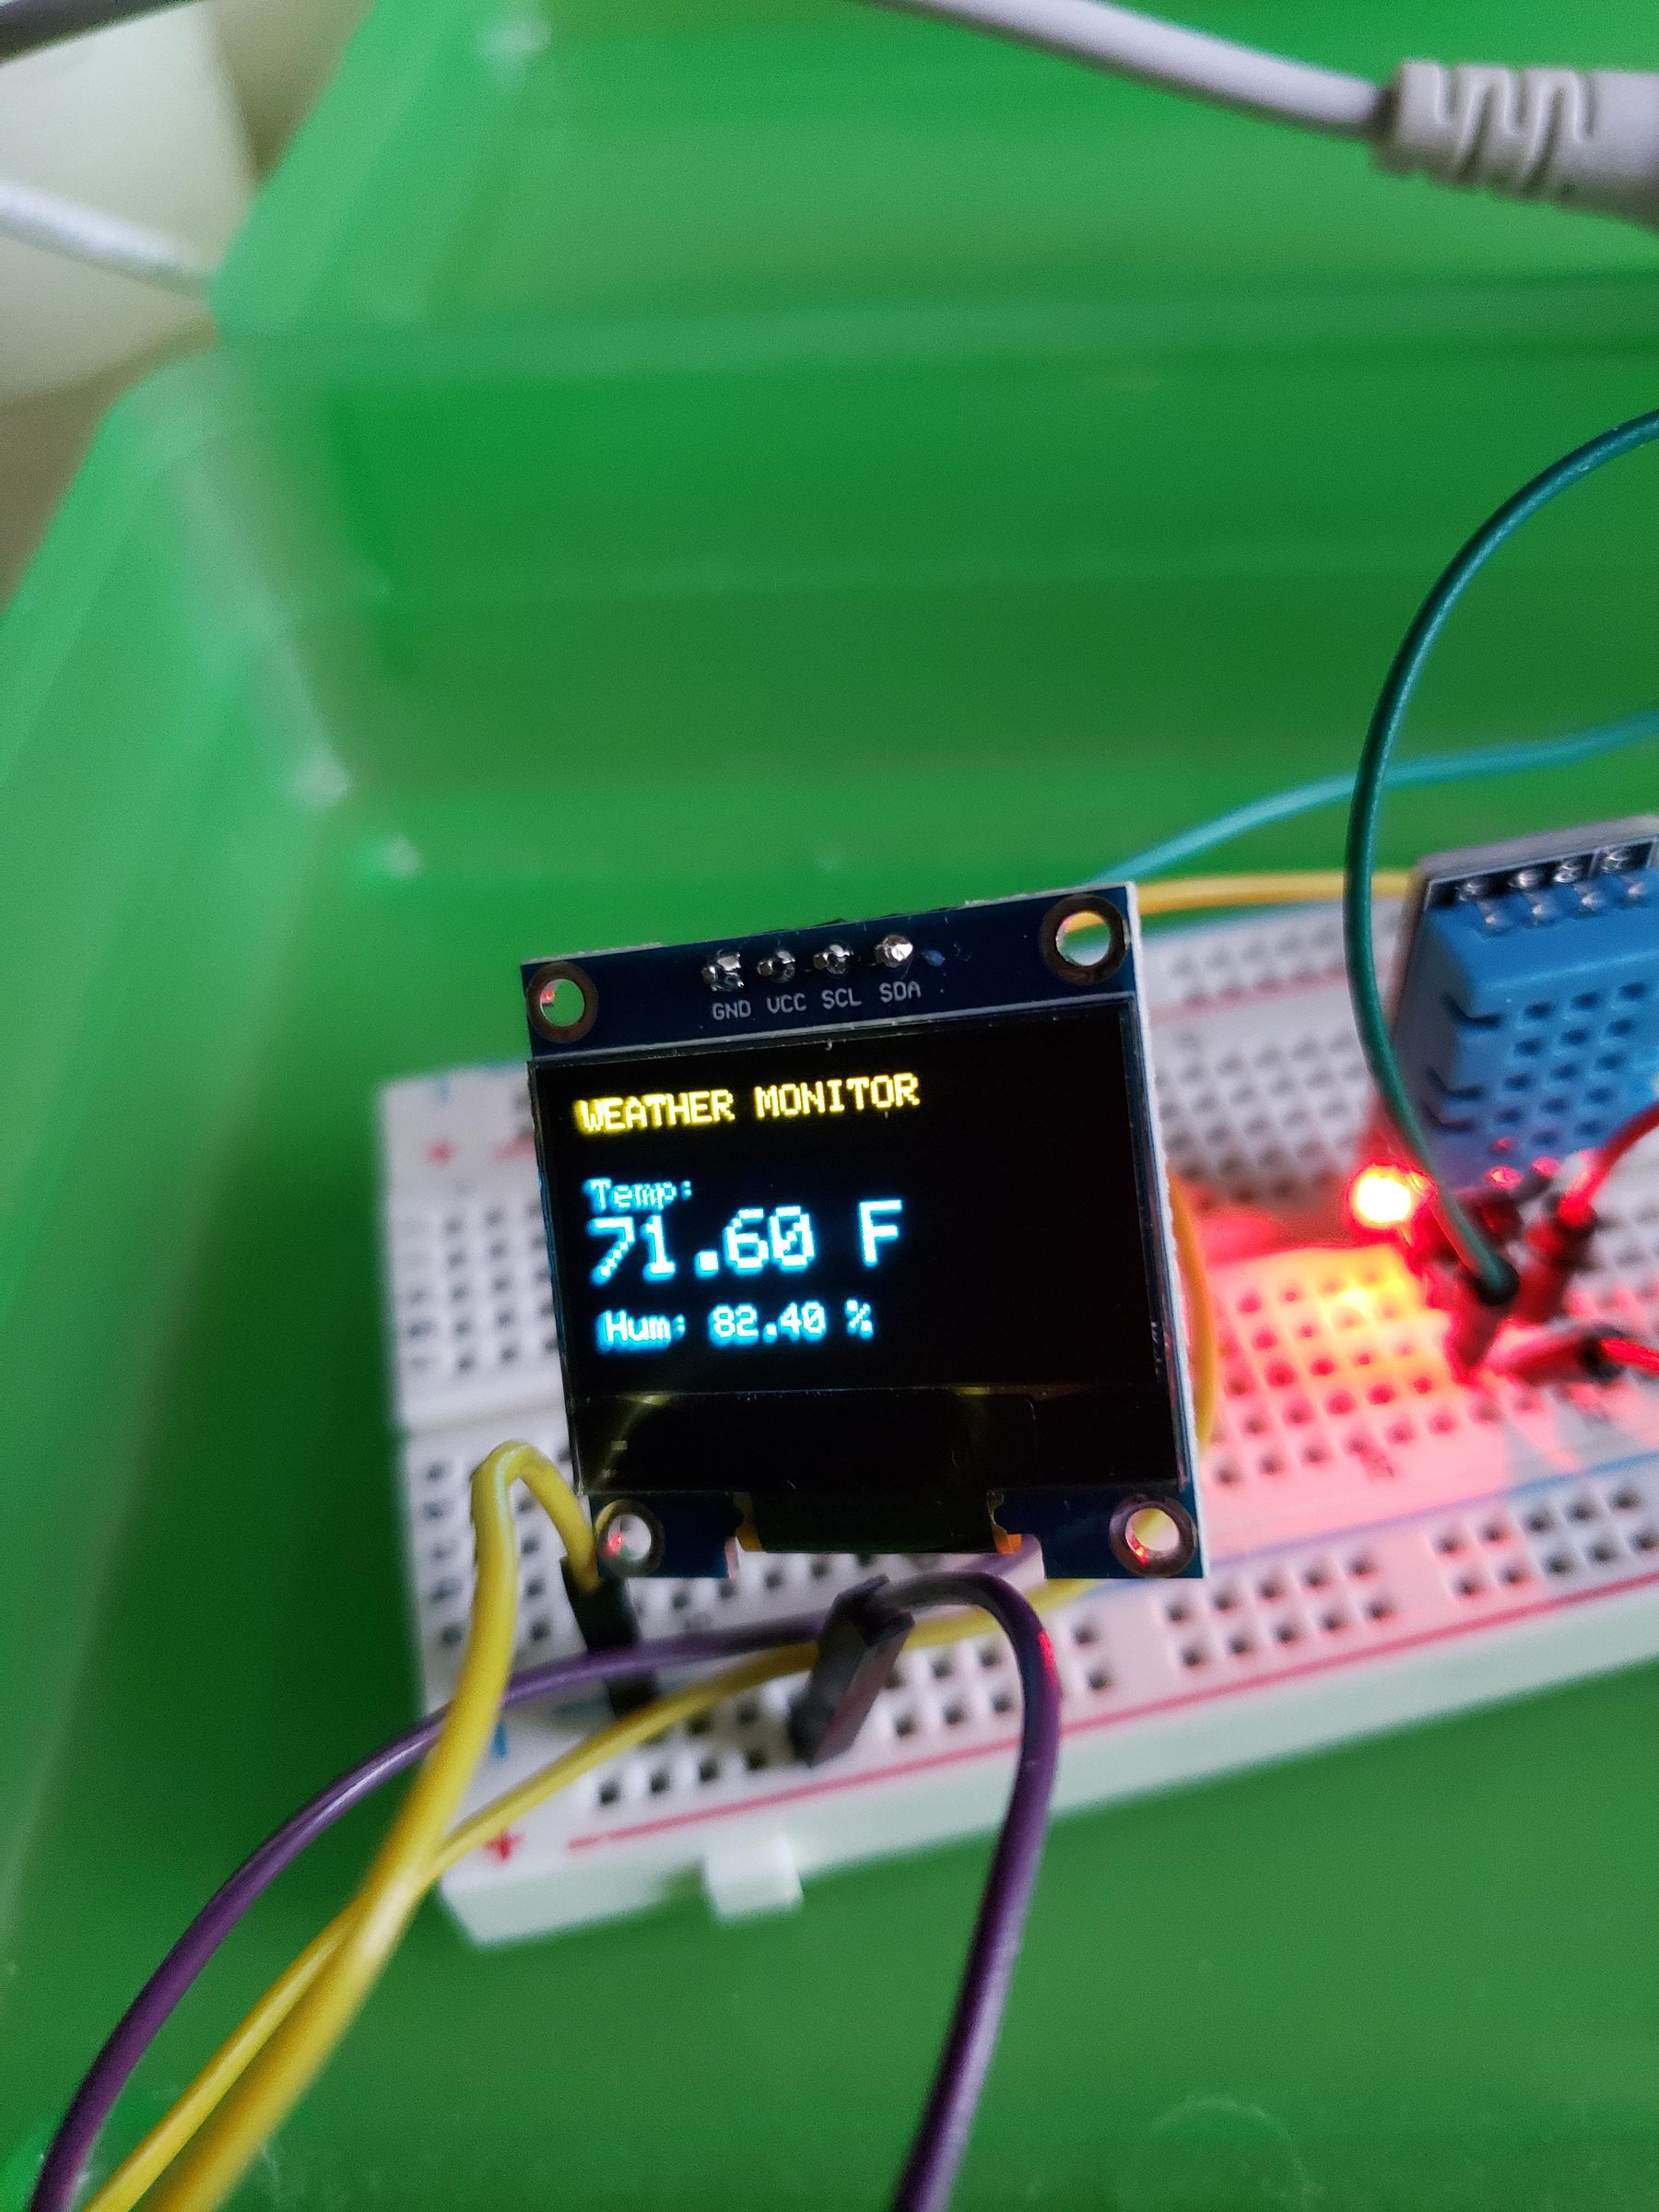
This Instructables shows how a DHT and OLED scrolling can measure temperature and humidity .I hope this helps you ,Thank you .