DIY Battery-powered Hoverboard or Segway
by NavinK30 in Workshop > Electric Vehicles
278 Views, 1 Favorites, 0 Comments
DIY Battery-powered Hoverboard or Segway
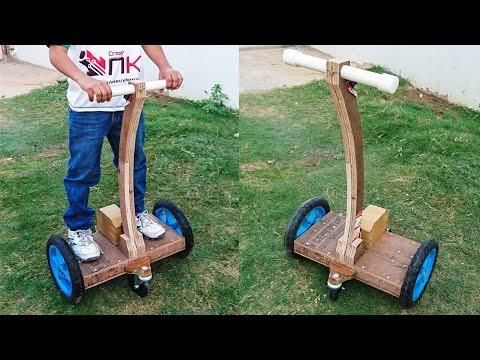
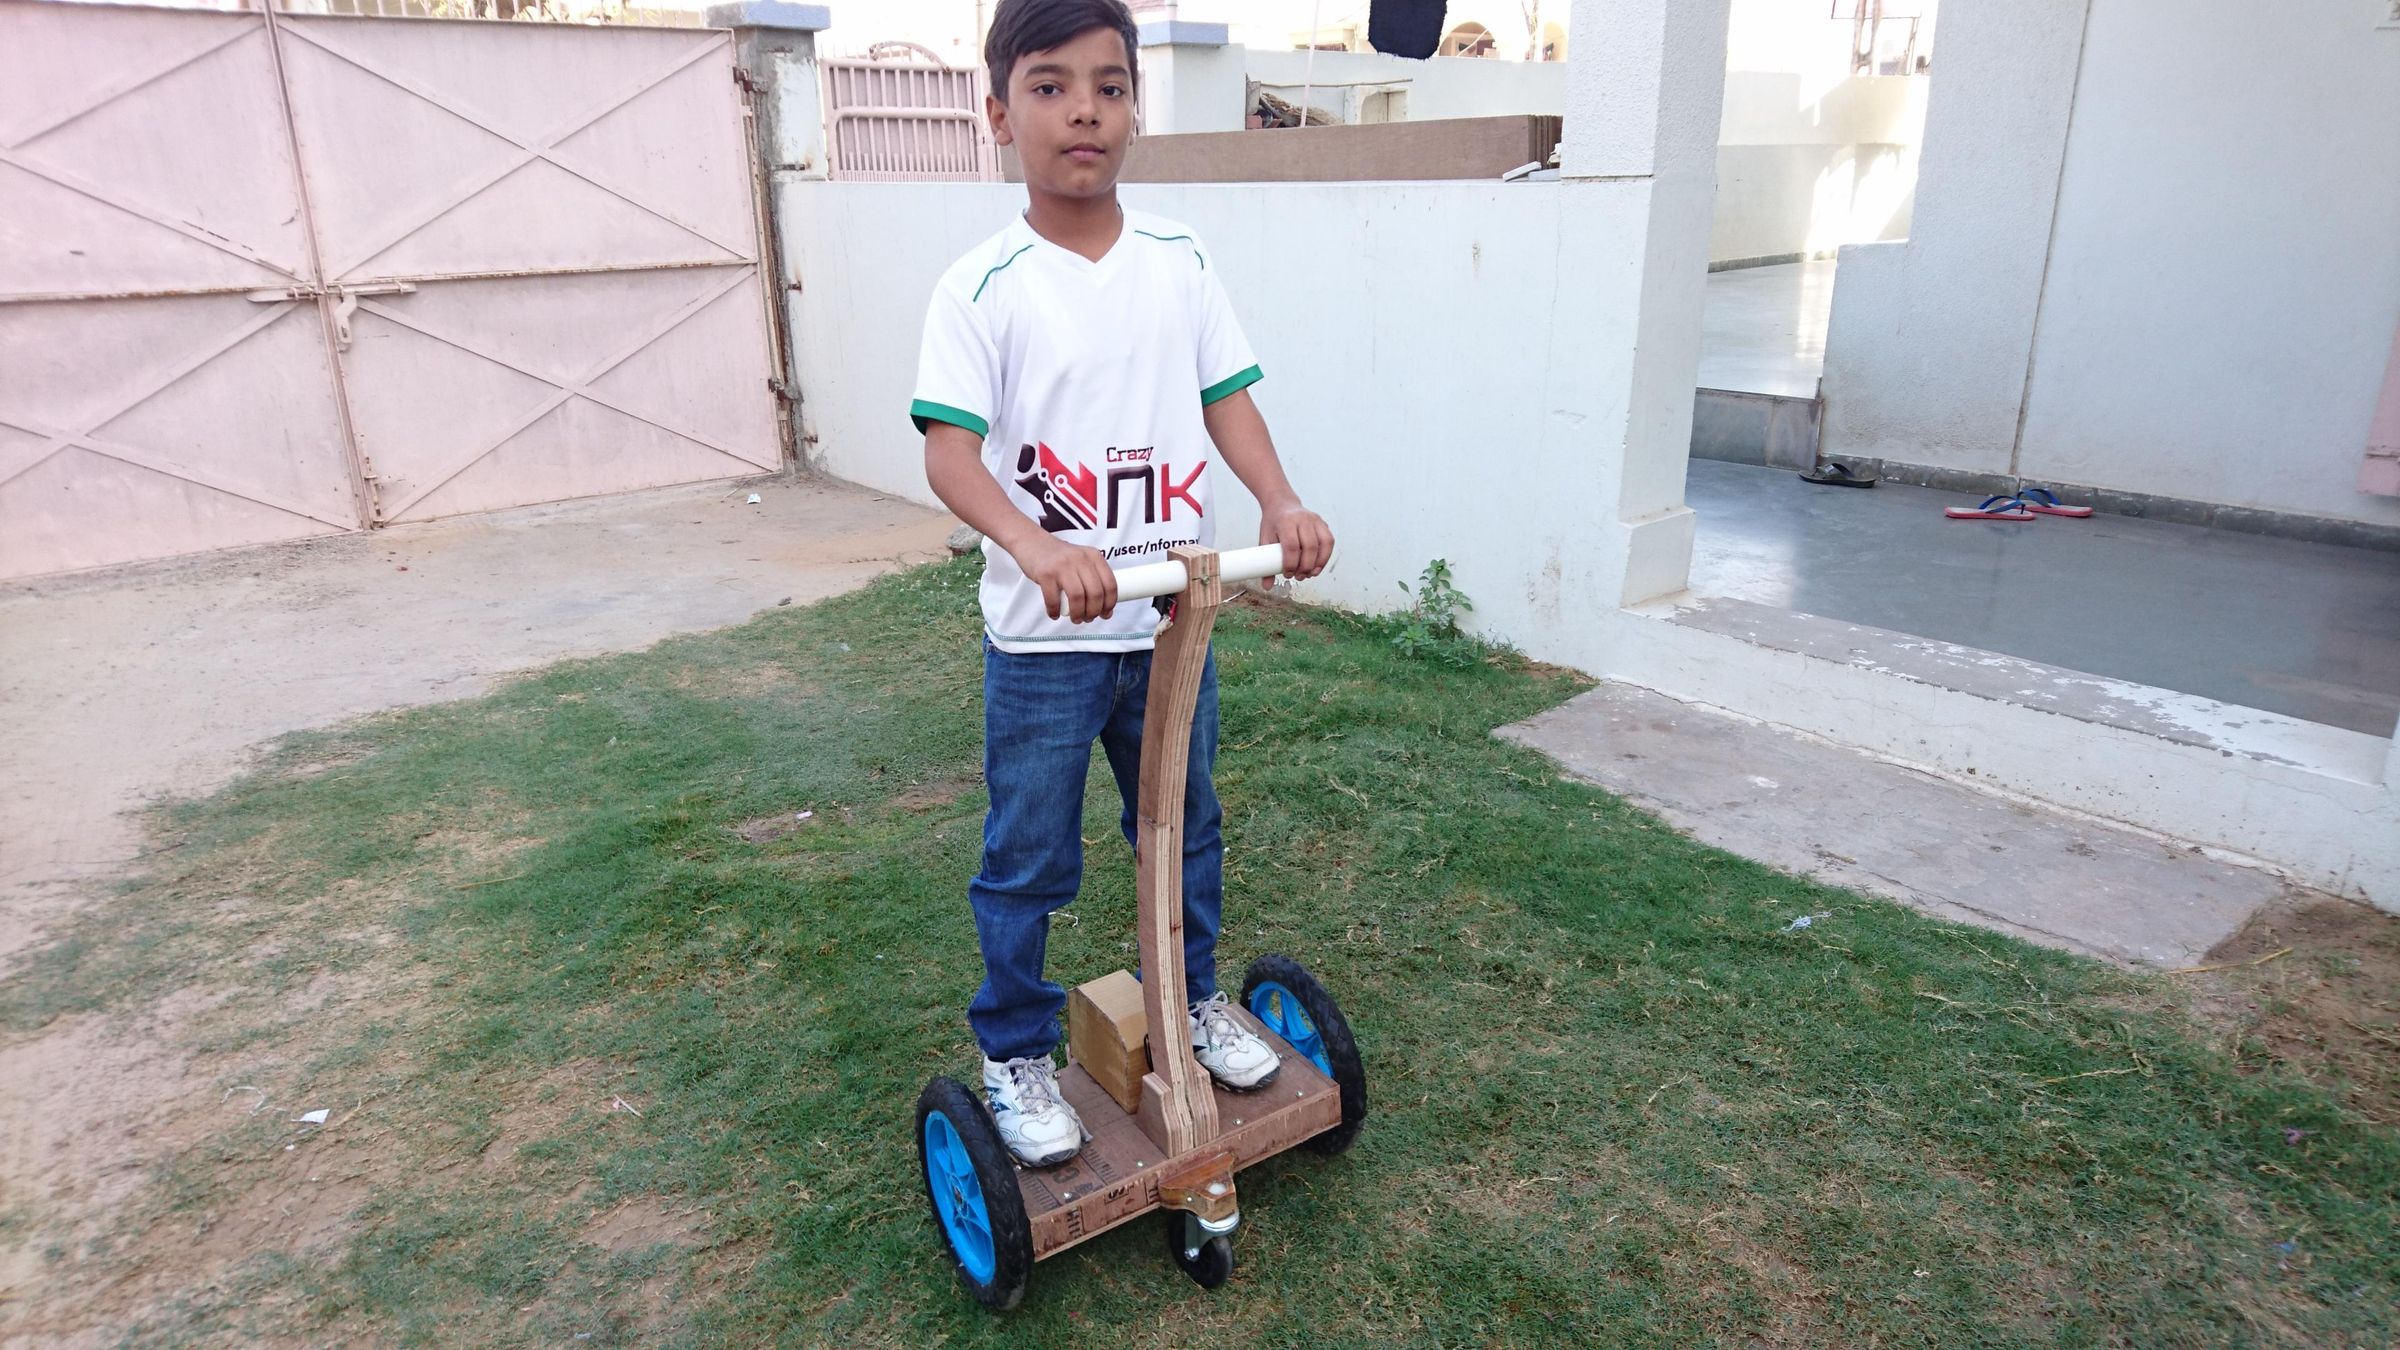
Have you ever wanted to build your own battery-powered hoverboard or Segway-style ride without spending a fortune? In this project, I'll show you how I built a simple DIY electric ride using plywood, PVC pipe, DC geared motors, bicycle wheels, and a 12V battery.
The design is straightforward, uses commonly available materials, and can be built with basic woodworking and electrical tools. While this isn't a self-balancing hoverboard, it works as a fun electric ride and is a great project for anyone interested in DIY vehicles.
This guide covers the complete build process, from cutting the wooden frame to assembling the drivetrain and wiring the electrical components.
Supplies
Main Materials
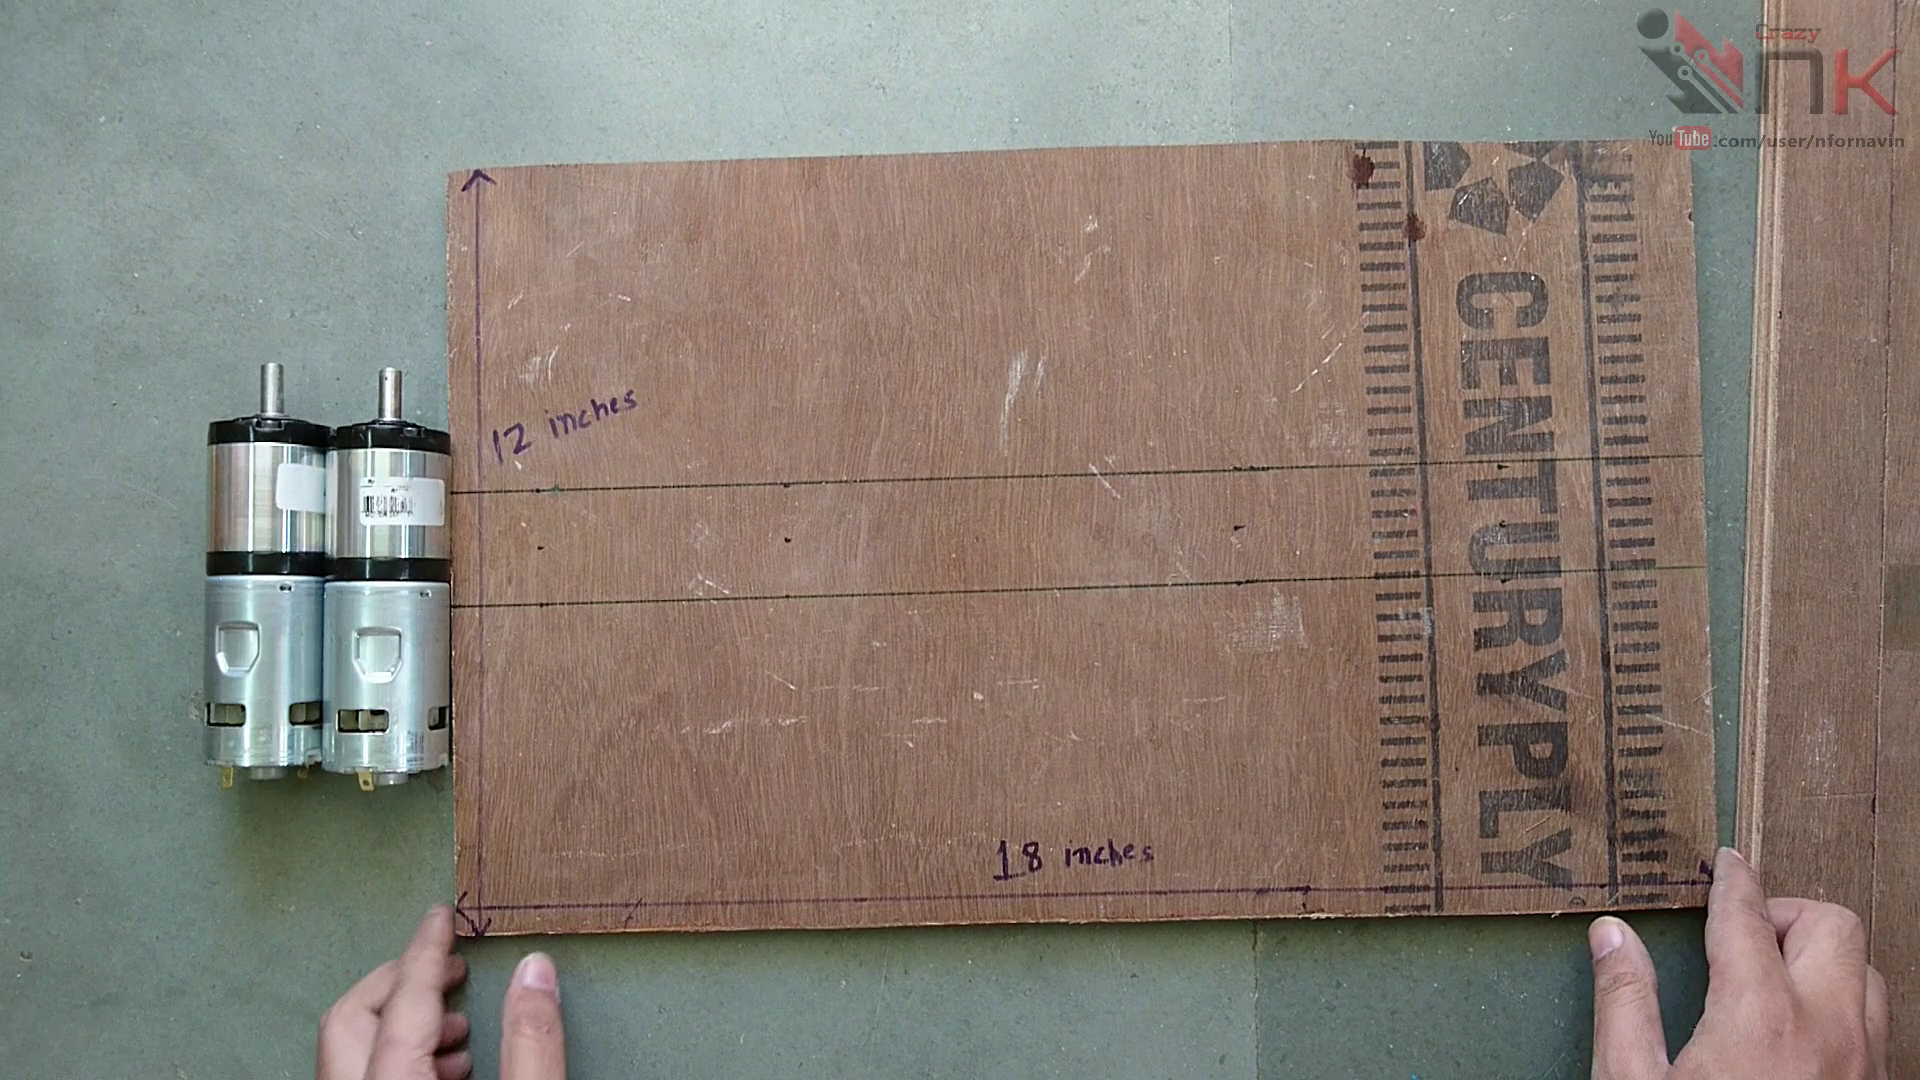
- 18" × 12" plywood sheet (base platform)
- Additional plywood strips for the frame
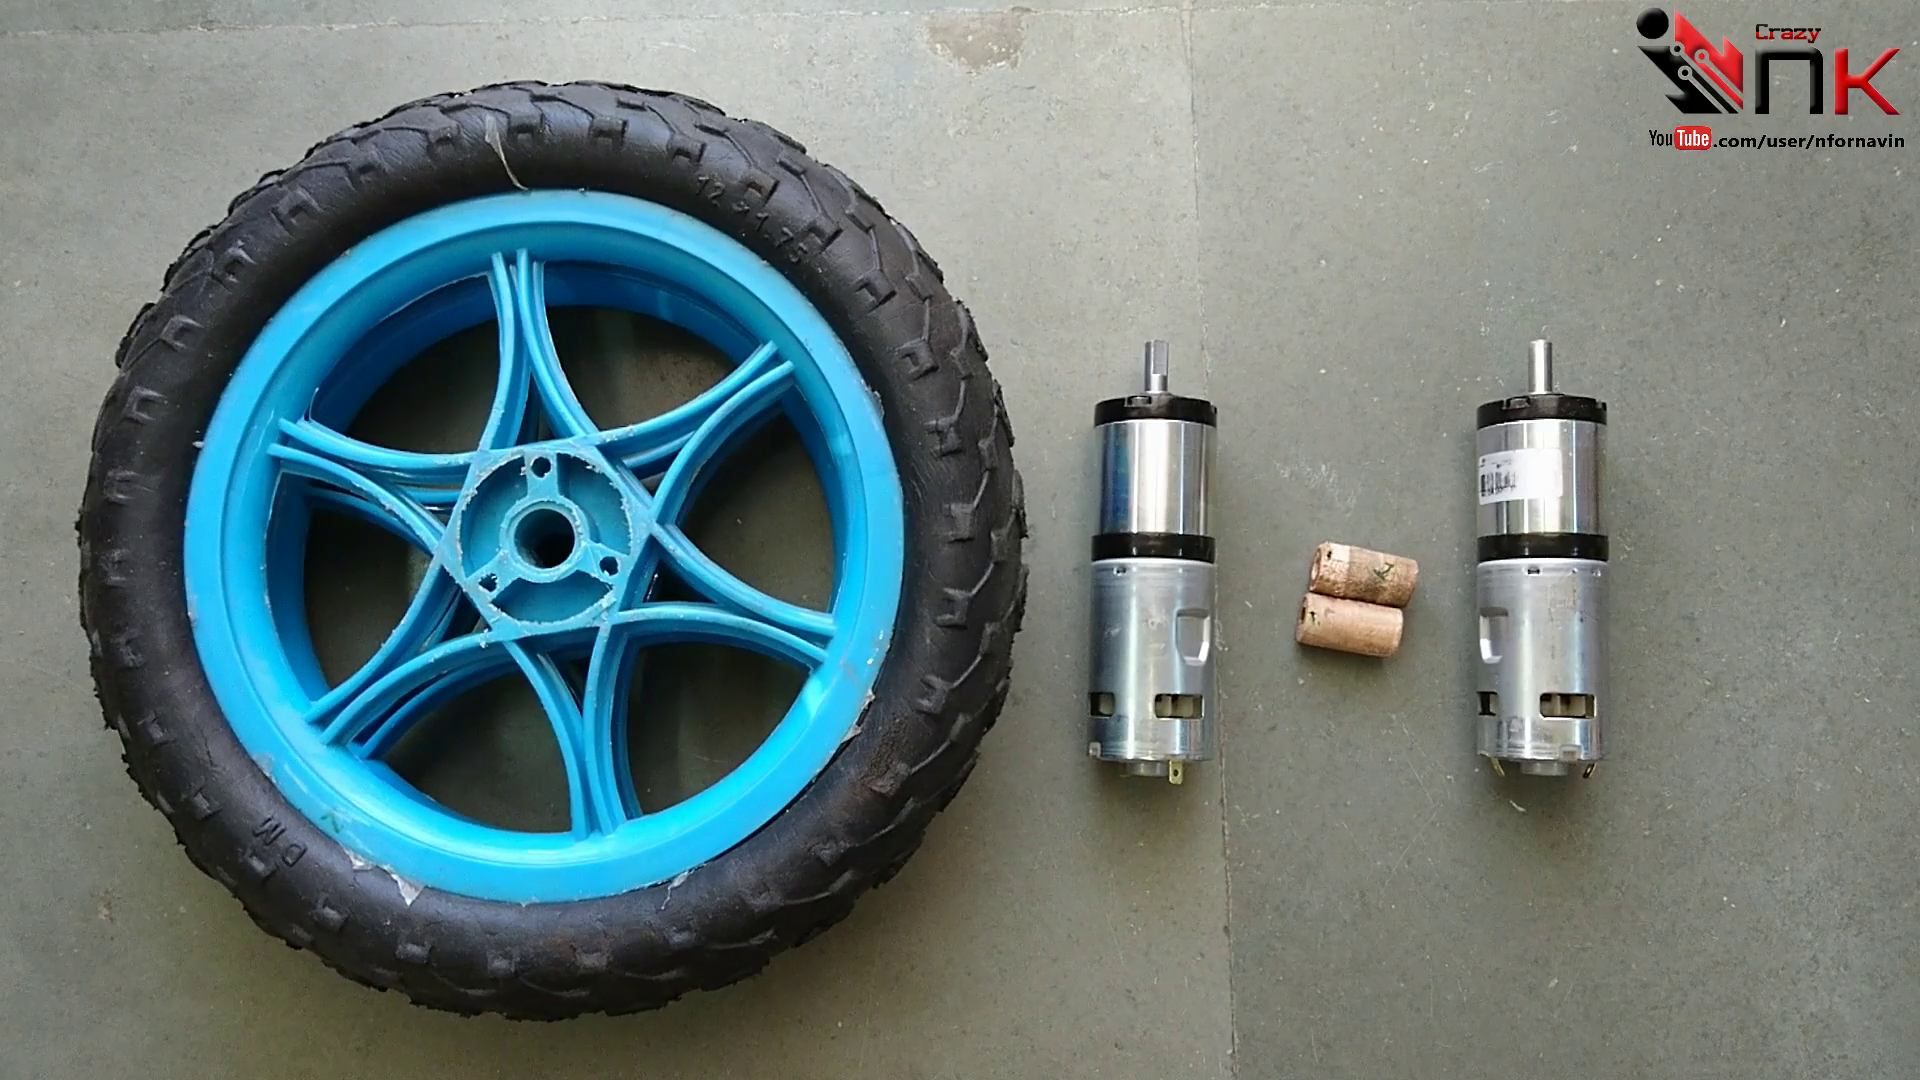
- Two 12V DC geared motors (high torque)
- Two bicycle tyres
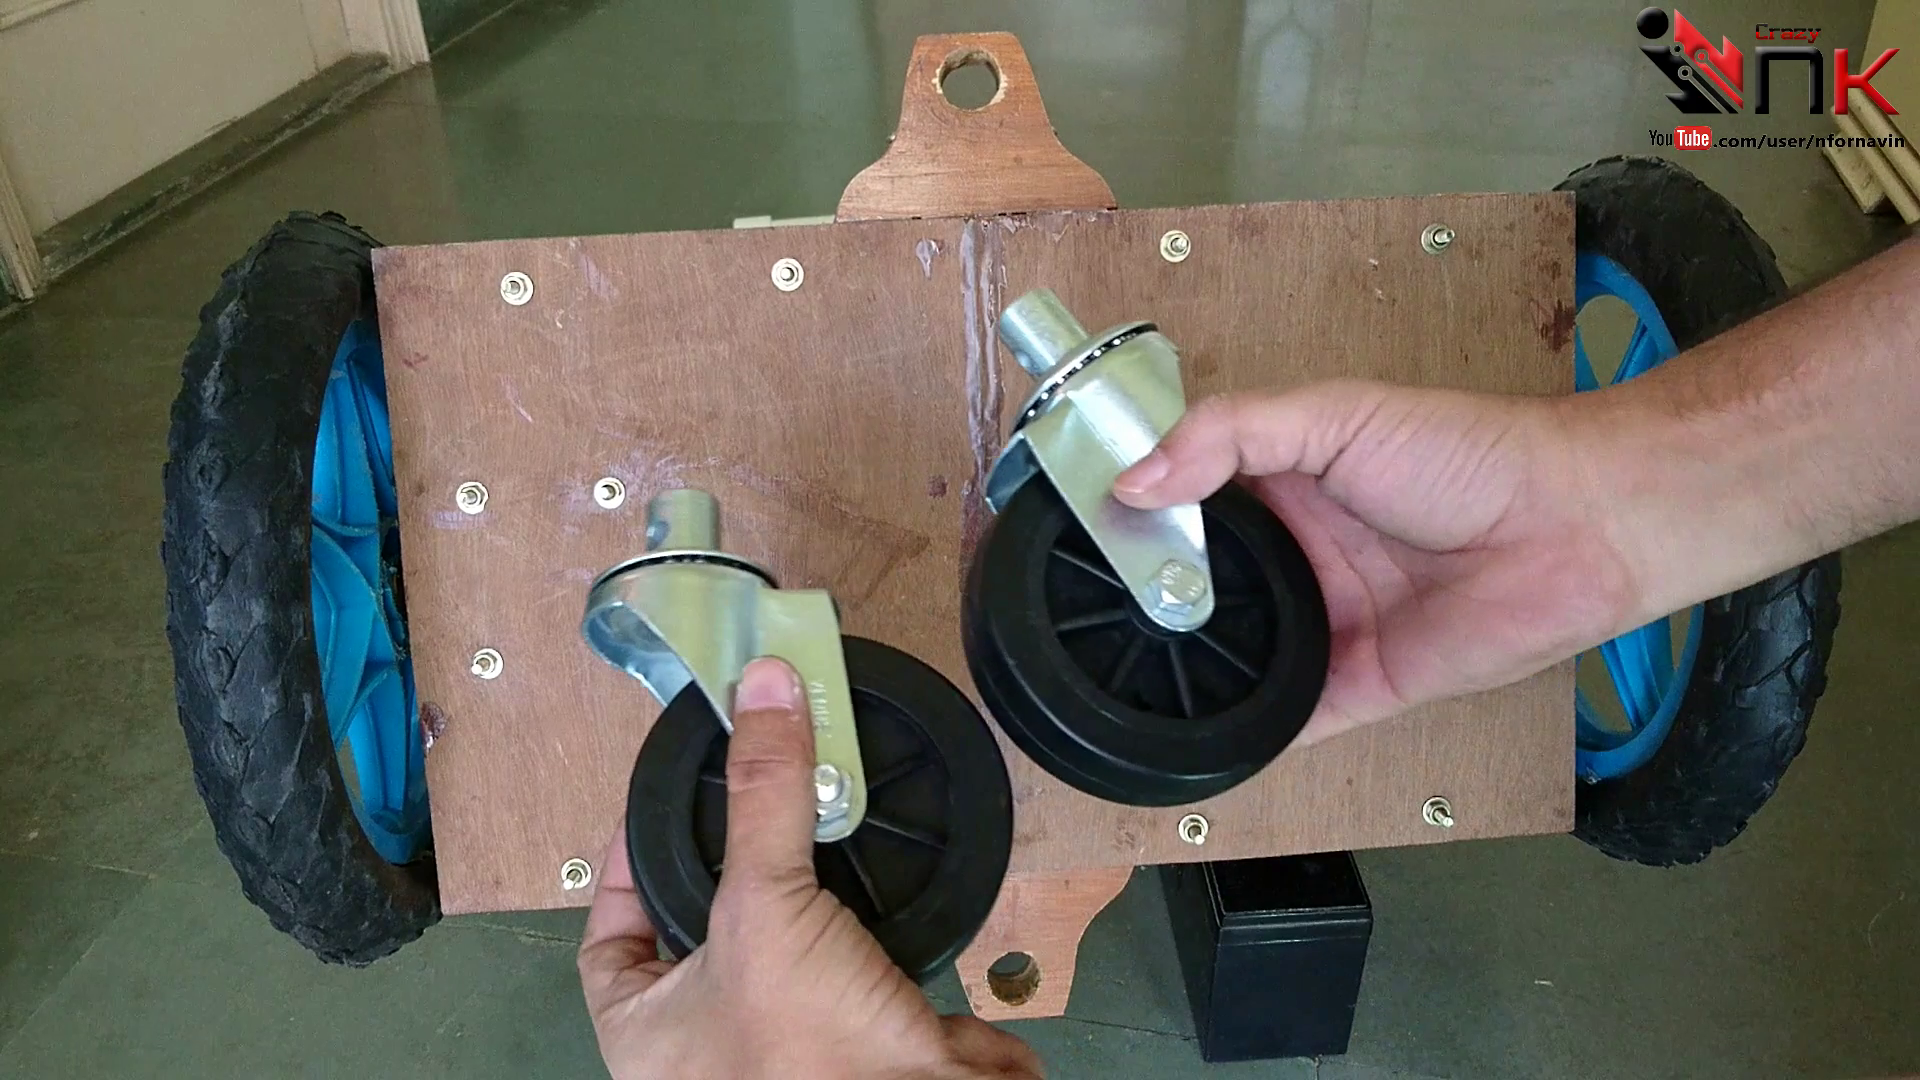
- Swivel Caster Wheels
- 12V rechargeable battery
- Heavy-duty ON/OFF switch
- 1" PVC pipe
- Two 1" PVC end caps
- Nuts and bolts (various sizes)
Build the Wooden Base Frame
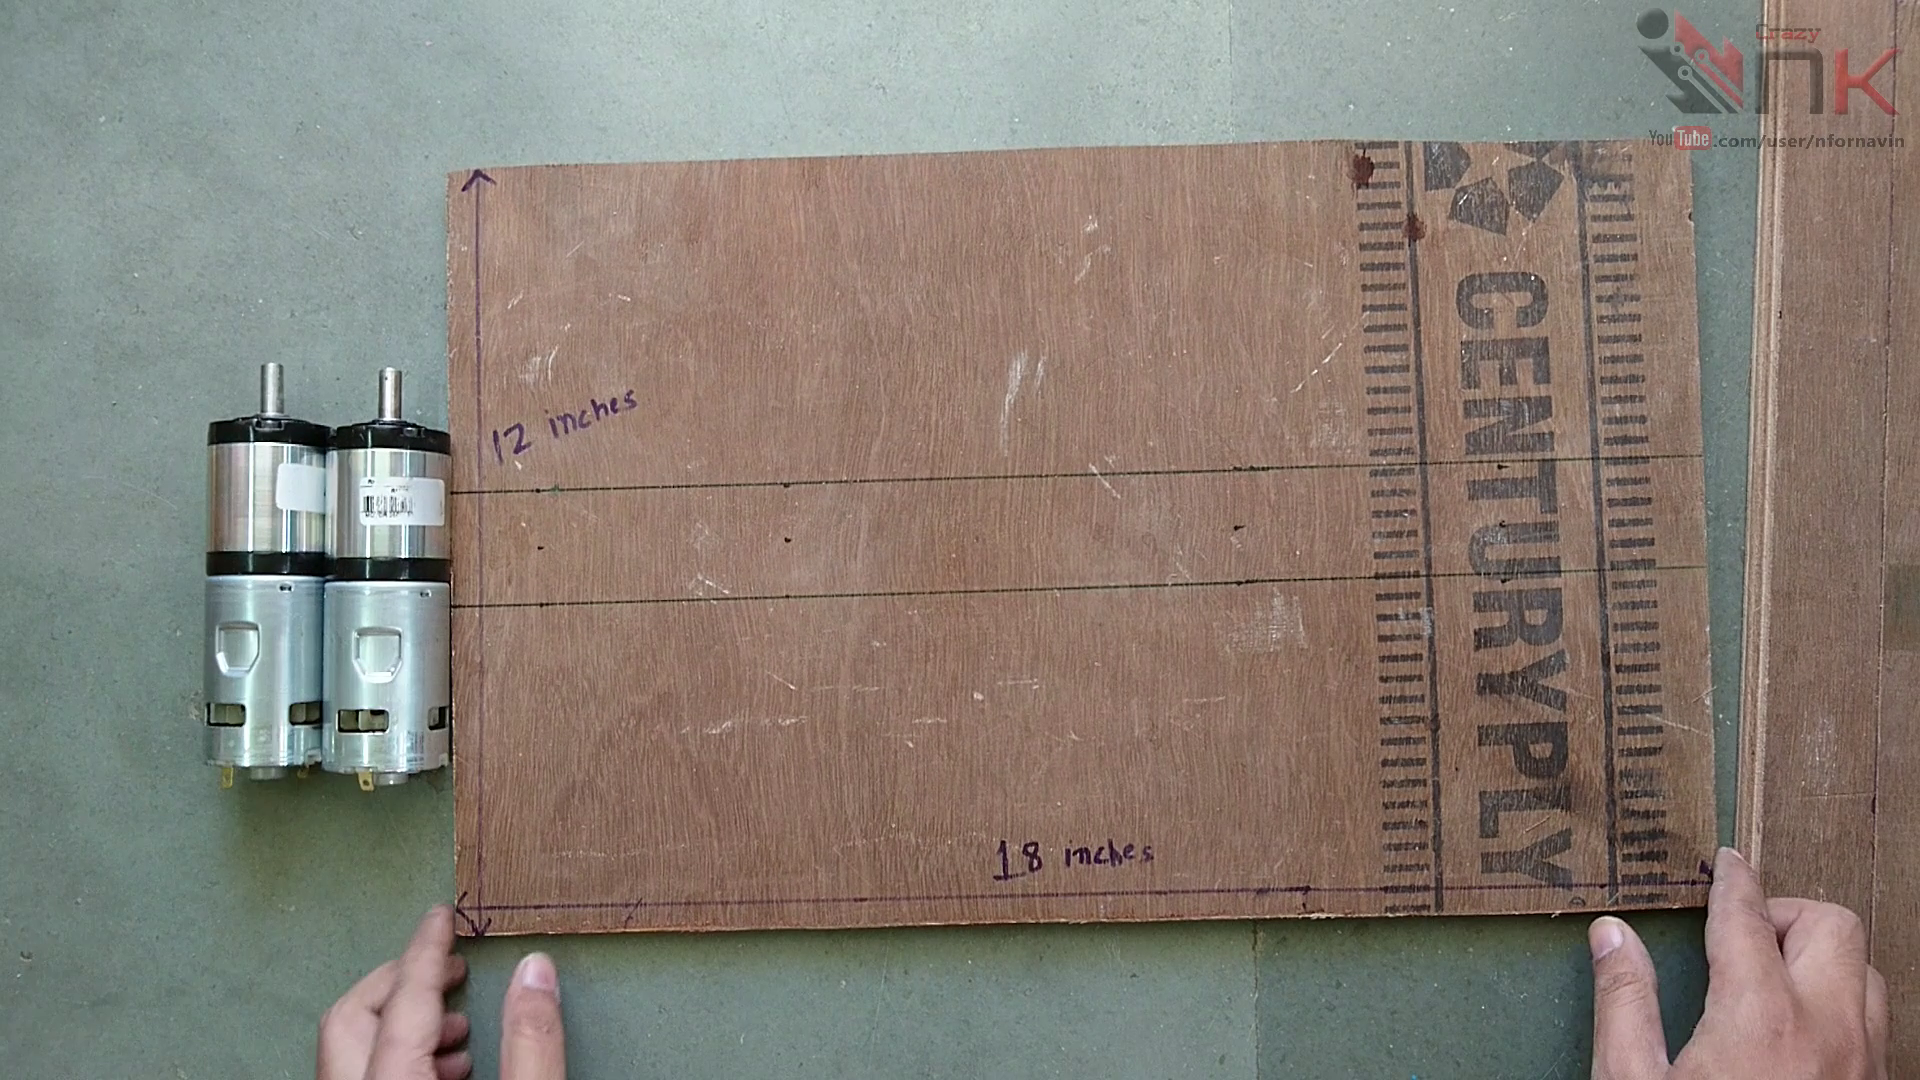
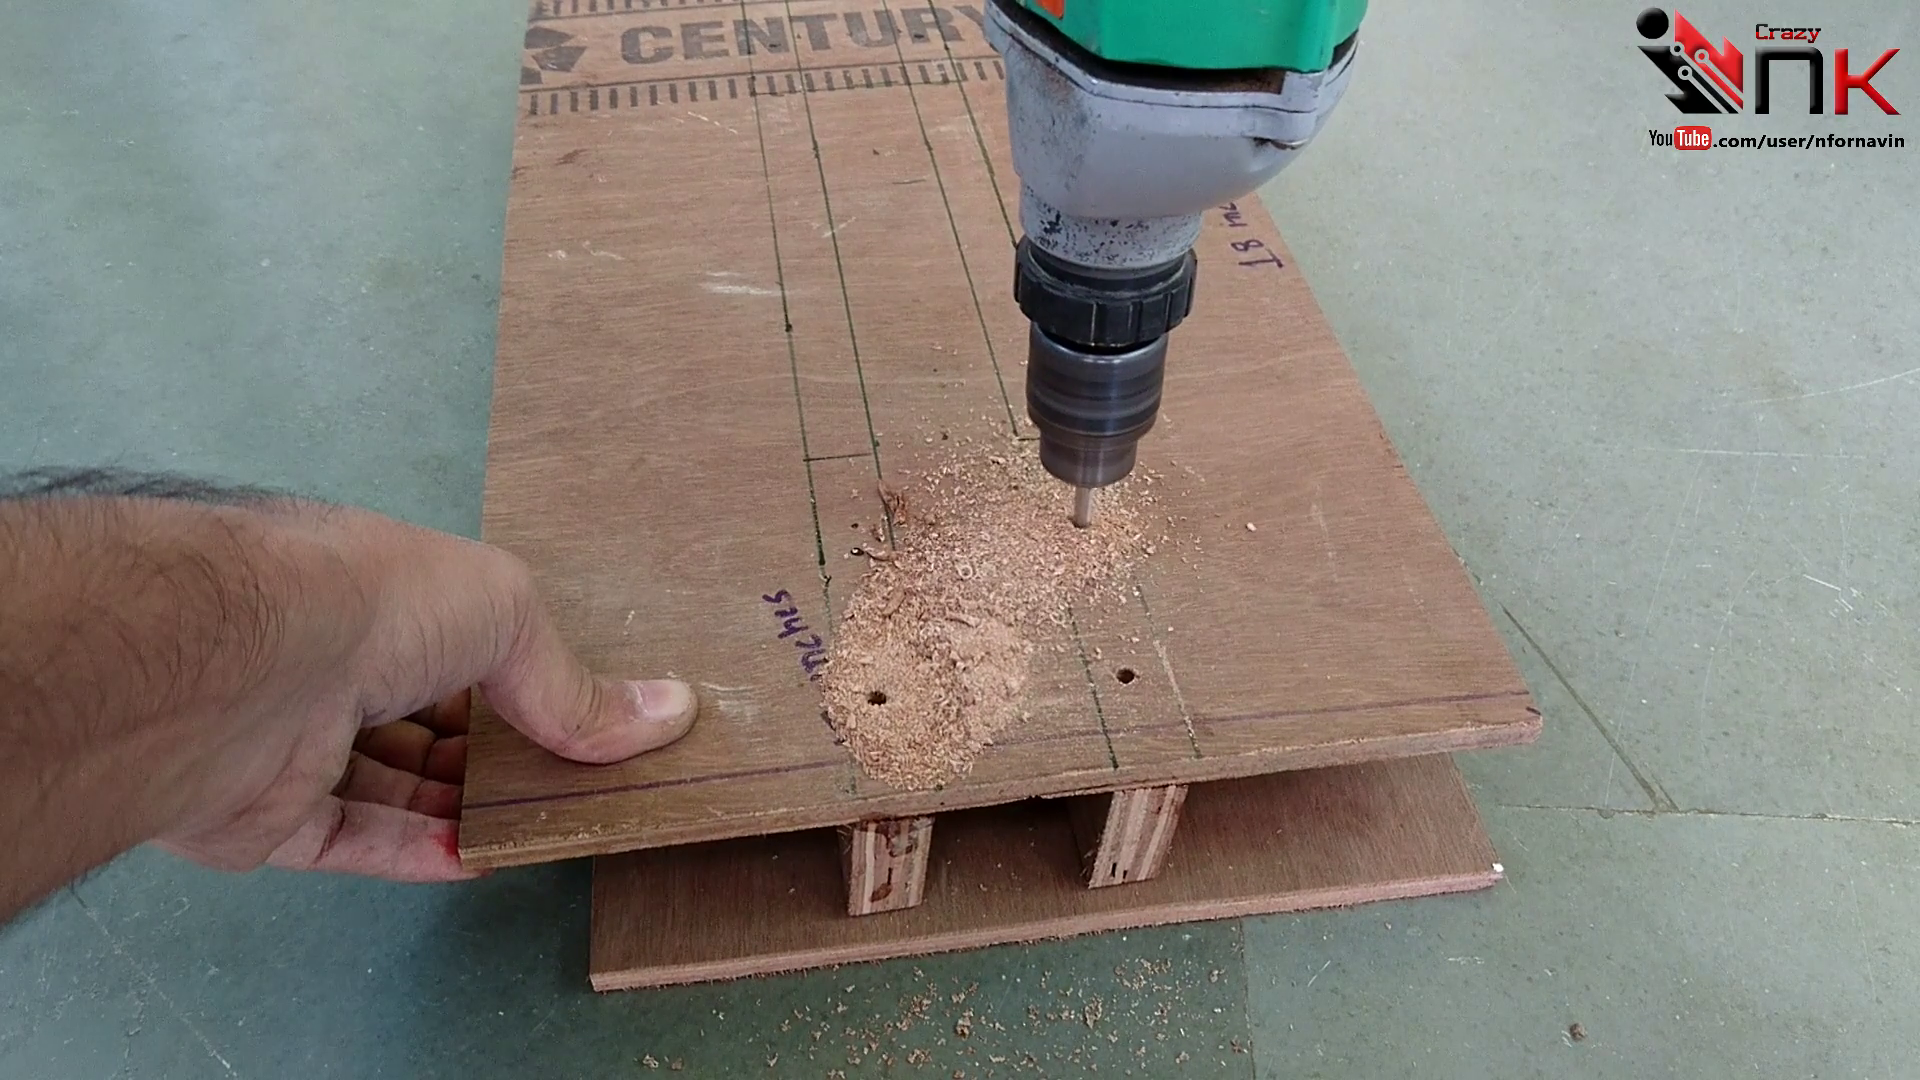
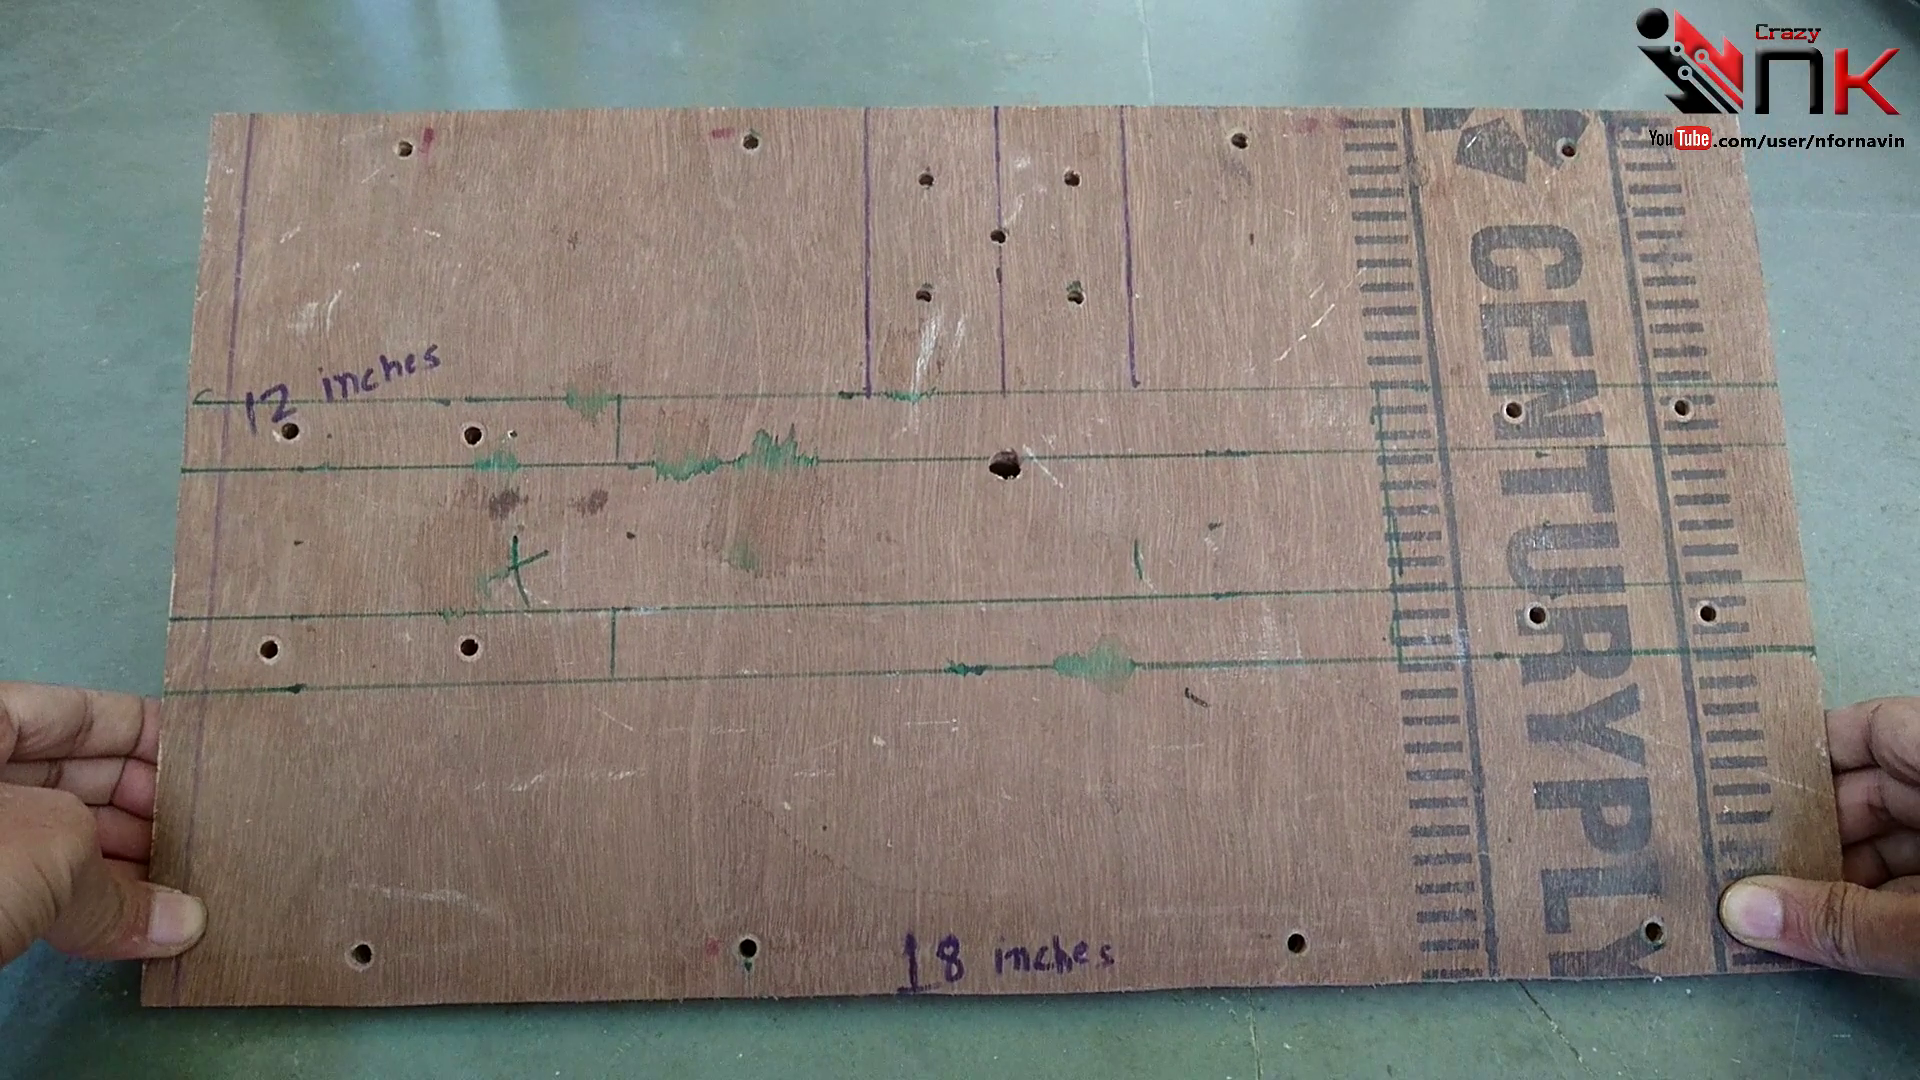
Cut a piece of sturdy plywood to 12 × 18 inches to create the main chassis of the hoverboard. Measure and mark the cutting lines carefully to ensure the base is accurately sized.
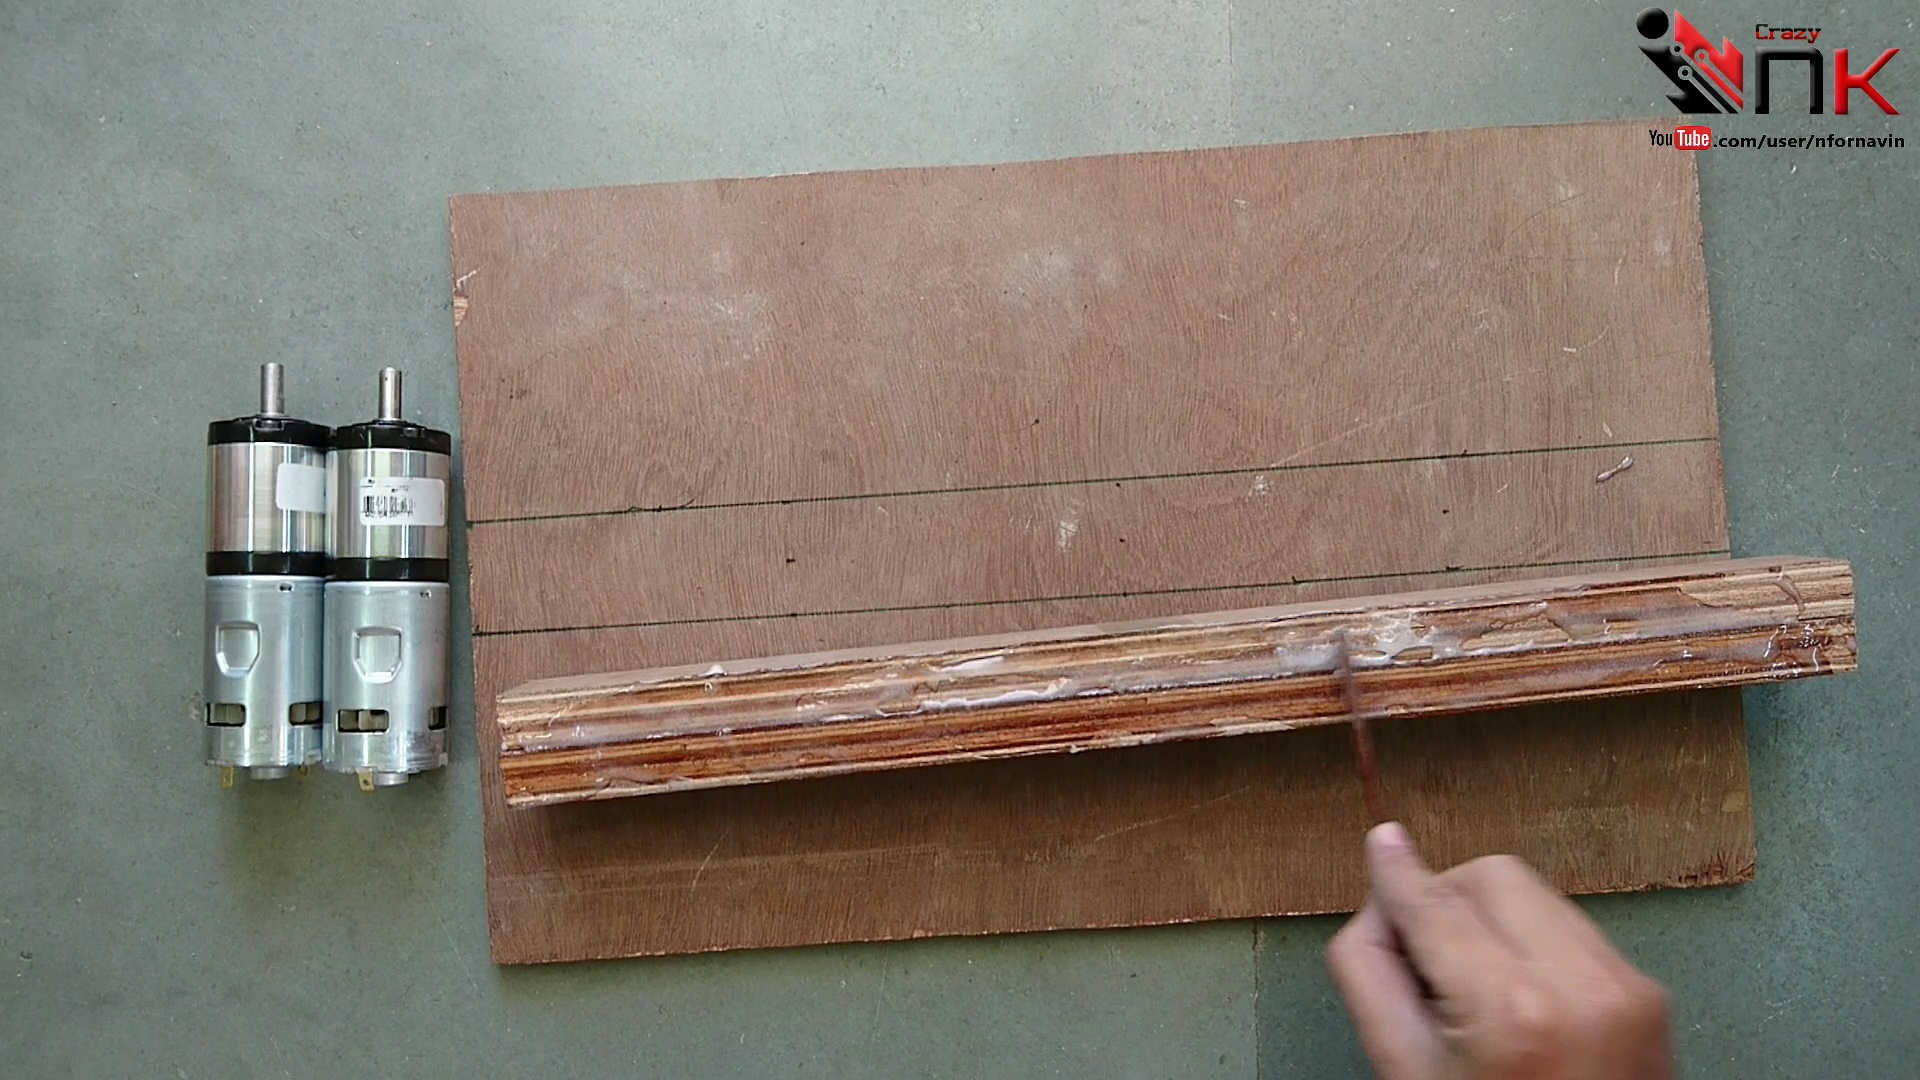
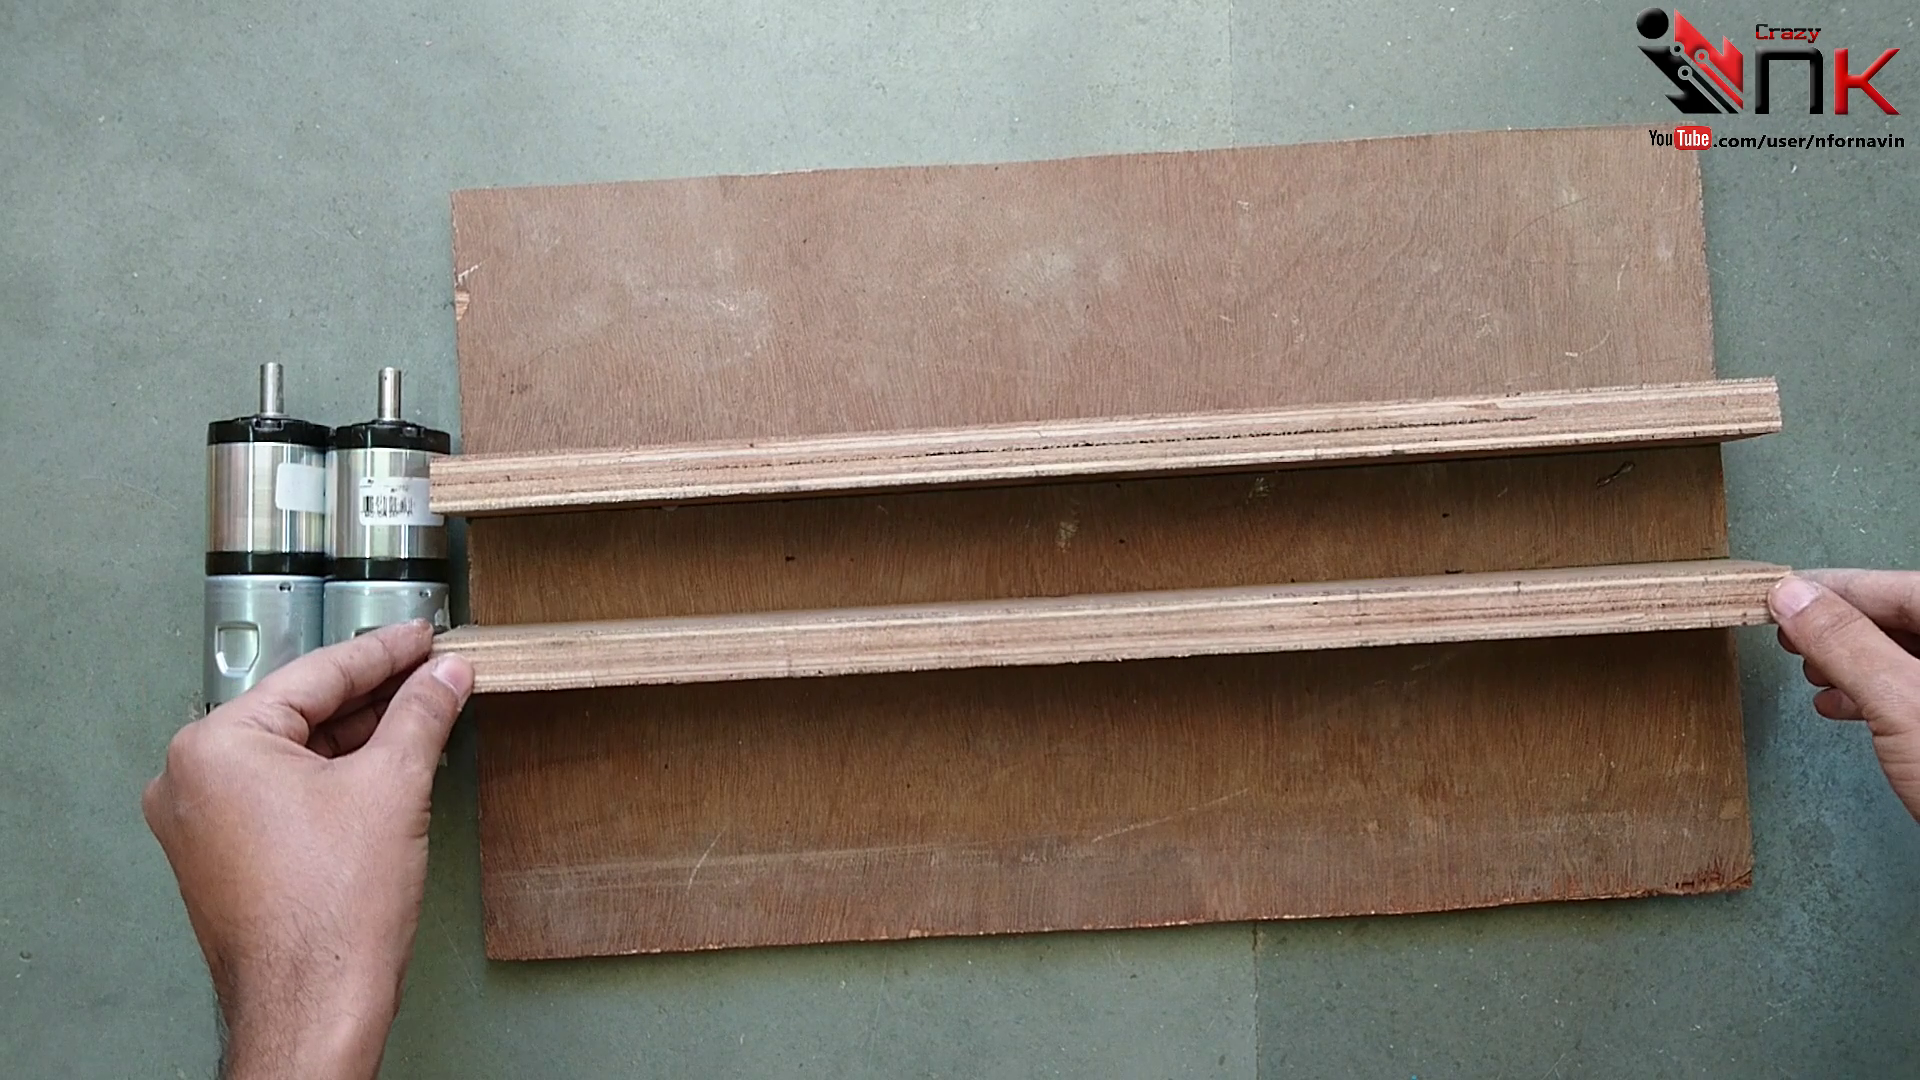
Next, position two wooden support strips where the motors will be mounted. Apply a generous amount of wood glue to the strips, align them with your guide marks, and screw them firmly to the plywood. Allow the glue to cure completely before moving on.
Once the glue has dried, mark the mounting hole locations and drill the required holes through both the plywood and the support strips.
Build the Handlebar Support
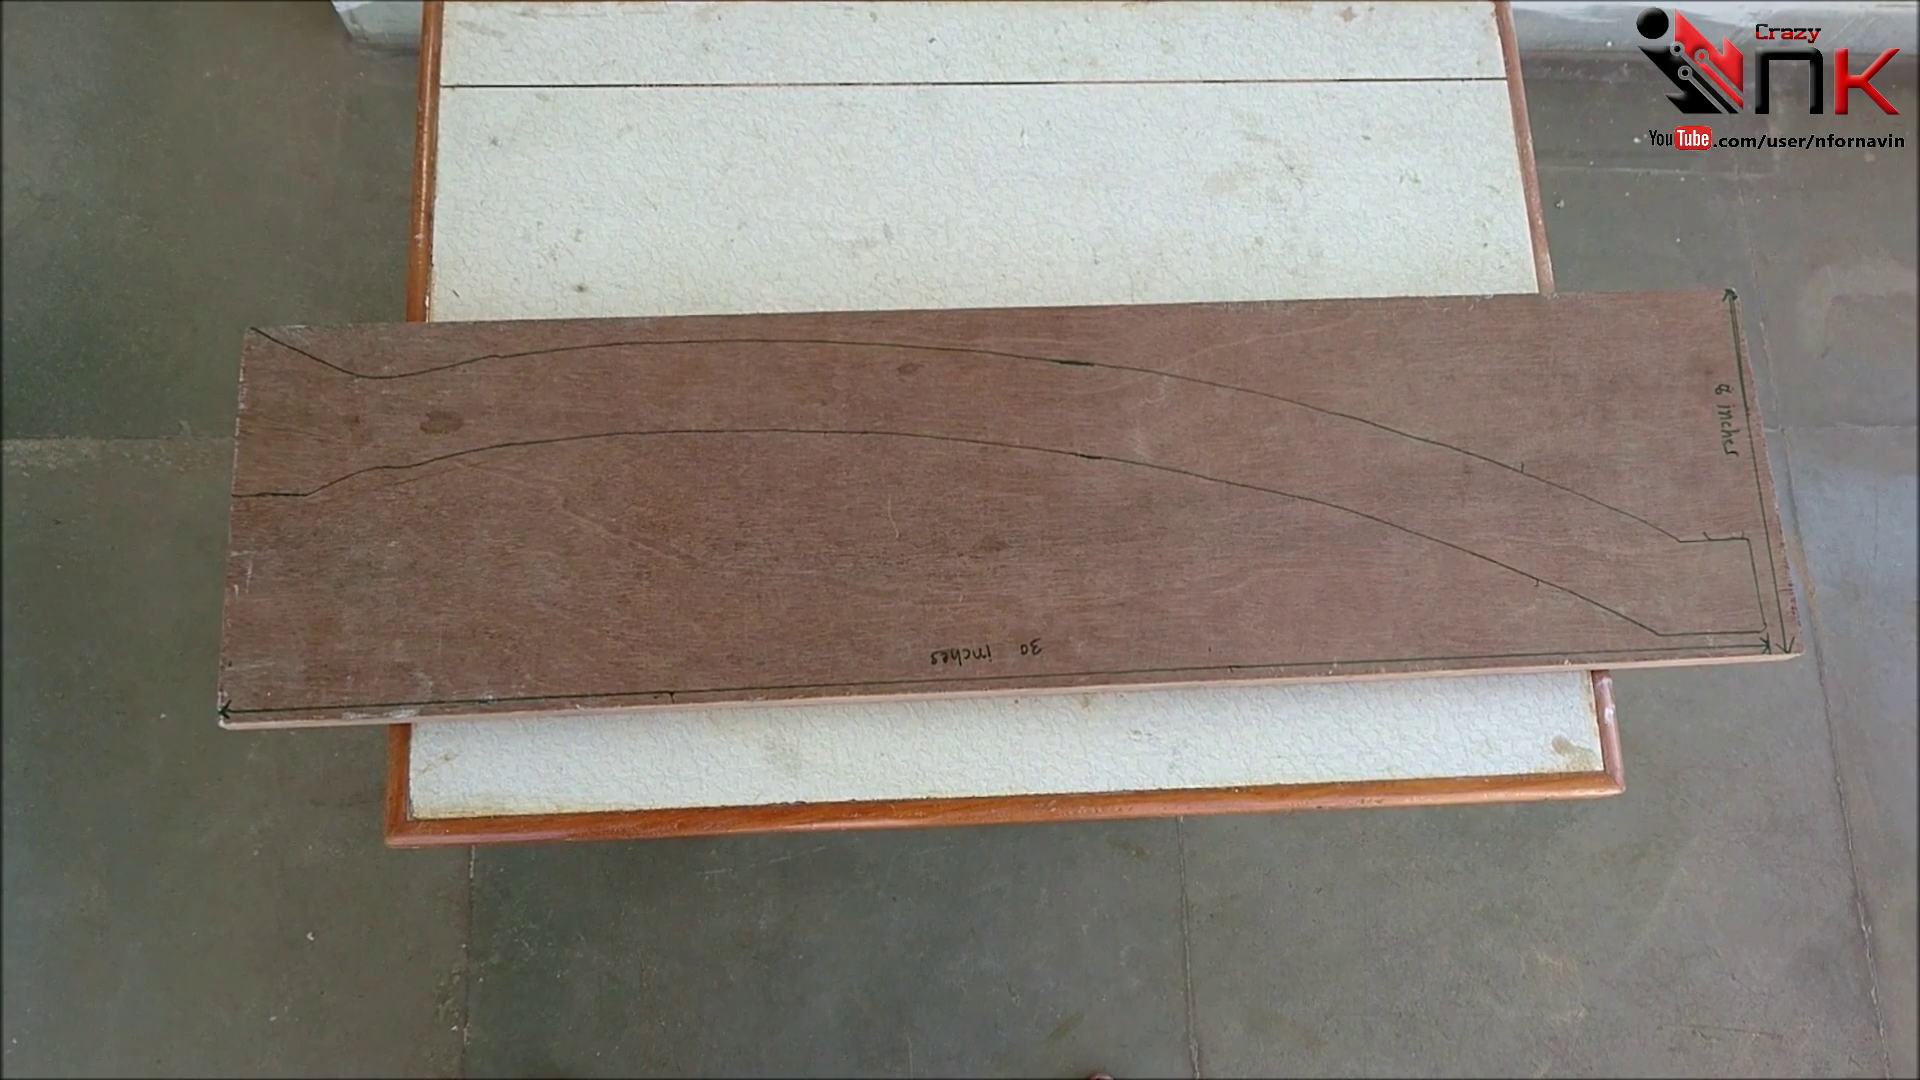
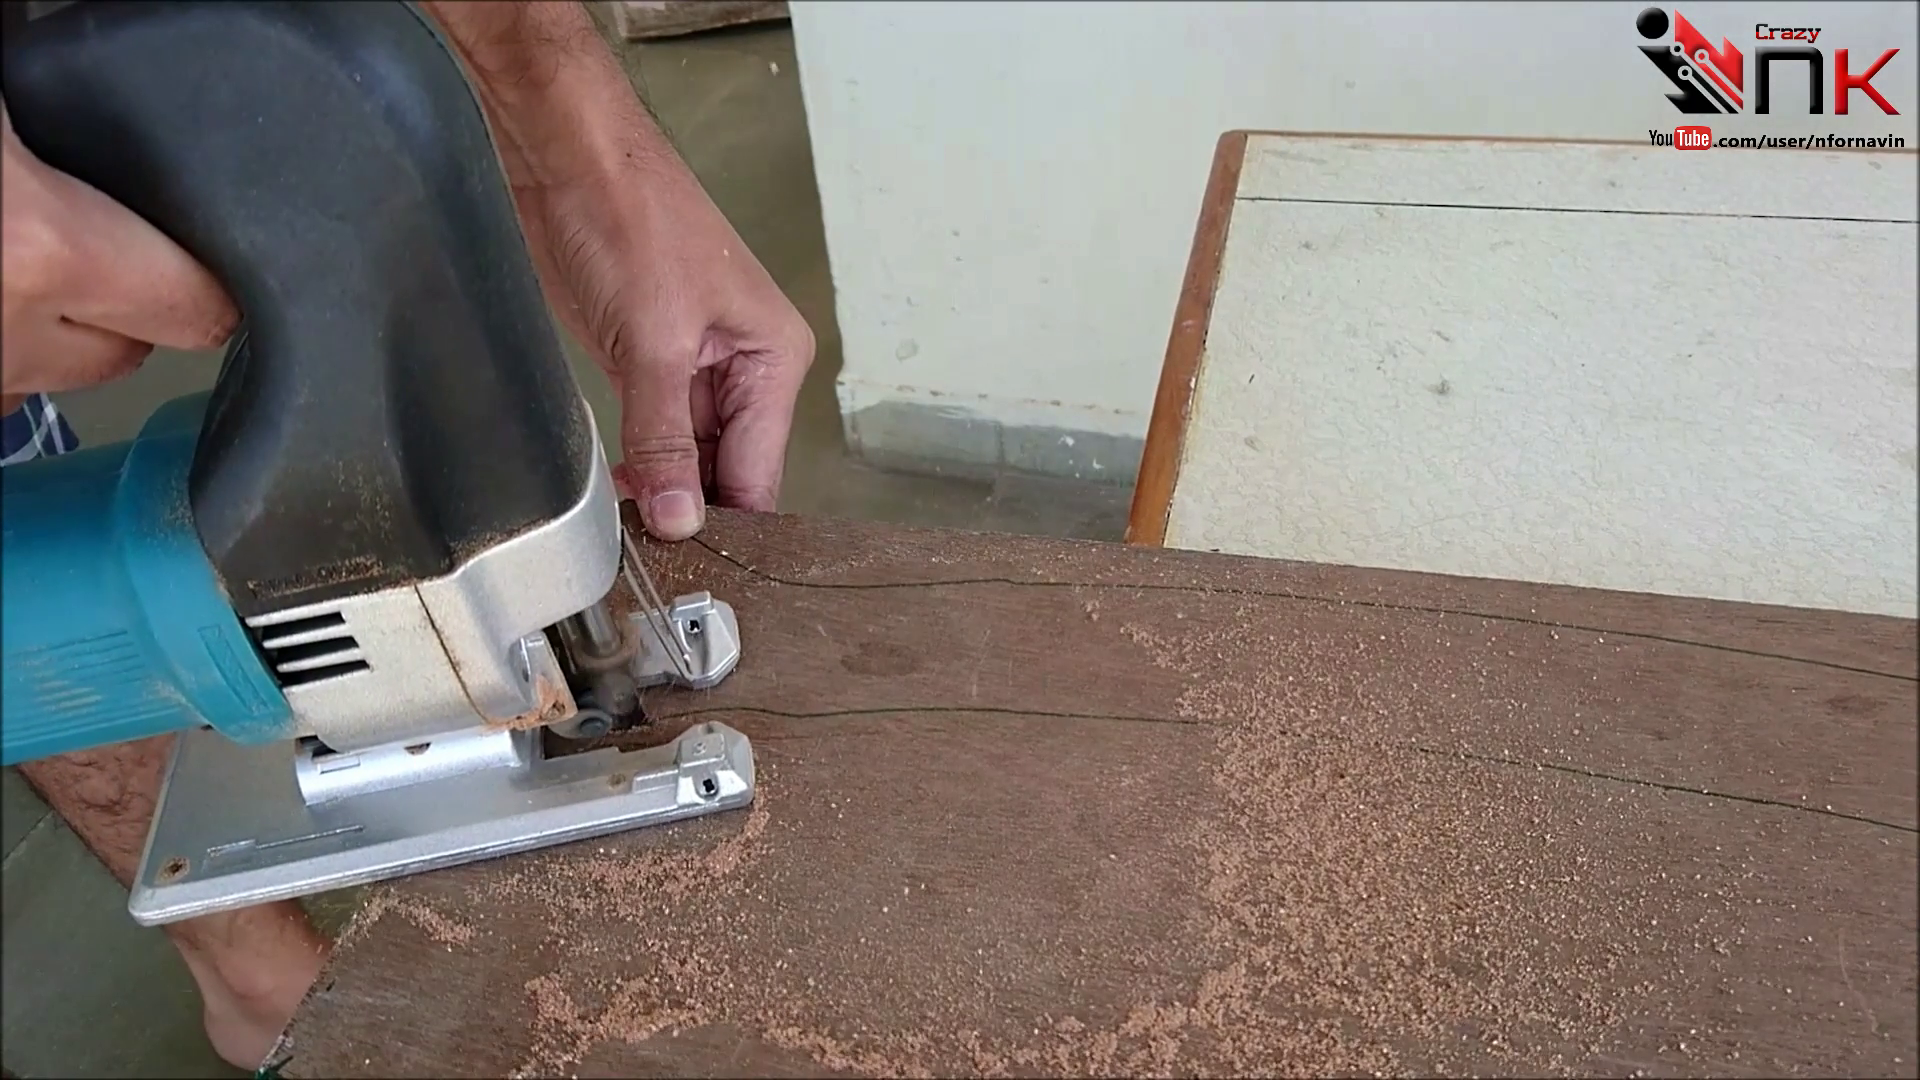
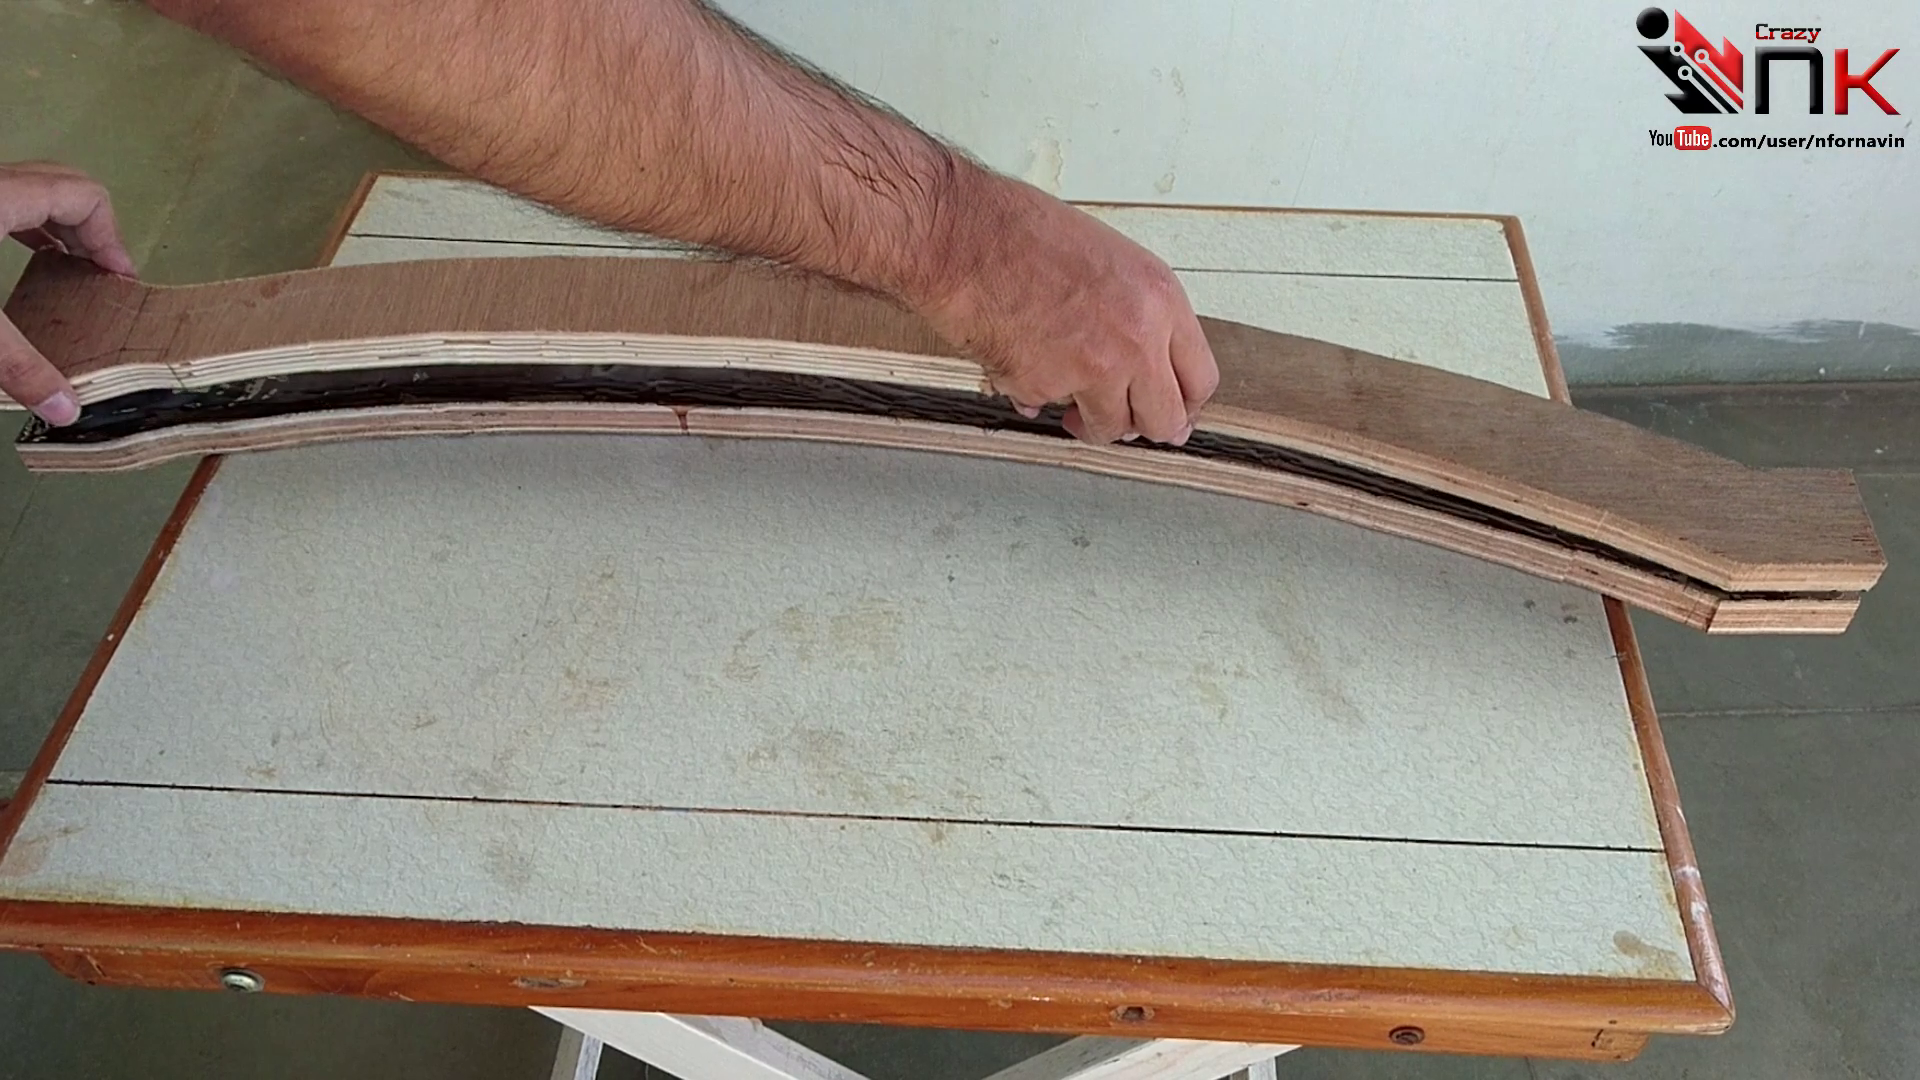
Cut a piece of plywood measuring 30 × 6 inches for the Handle. Draw the curved profile on the plywood, then carefully cut it out using a jigsaw. Repeat the process to make a second identical piece.
Apply wood glue evenly between the two pieces and clamp them together until the glue has fully cured. Laminating the two layers creates a much stronger steering column that can better withstand the forces applied during riding.
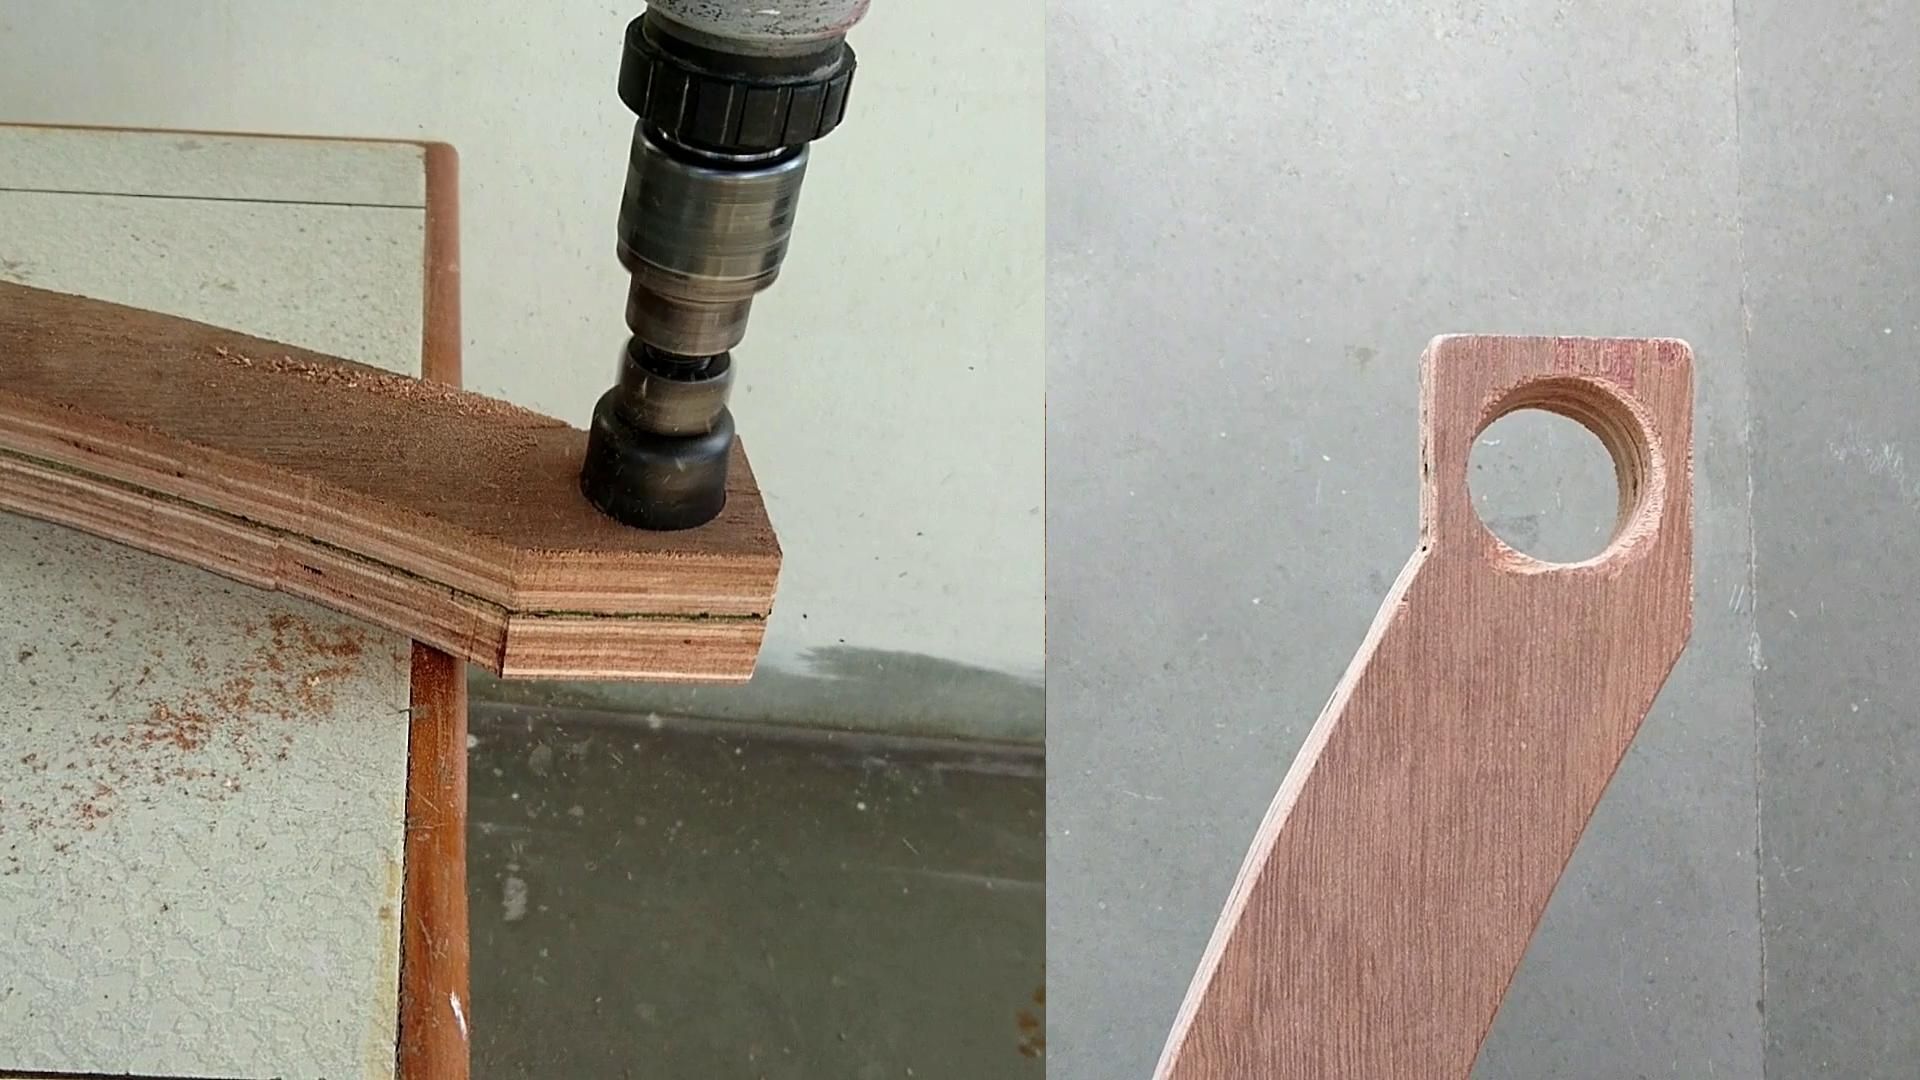
After the glue has dried, mark the center at the top of the steering column and use a hole saw to drill a clean hole sized to fit the 1-inch PVC pipe. This opening will securely hold the PVC handlebar in the next assembly step.
Assemble the Handlebar and Attach the Steering Column
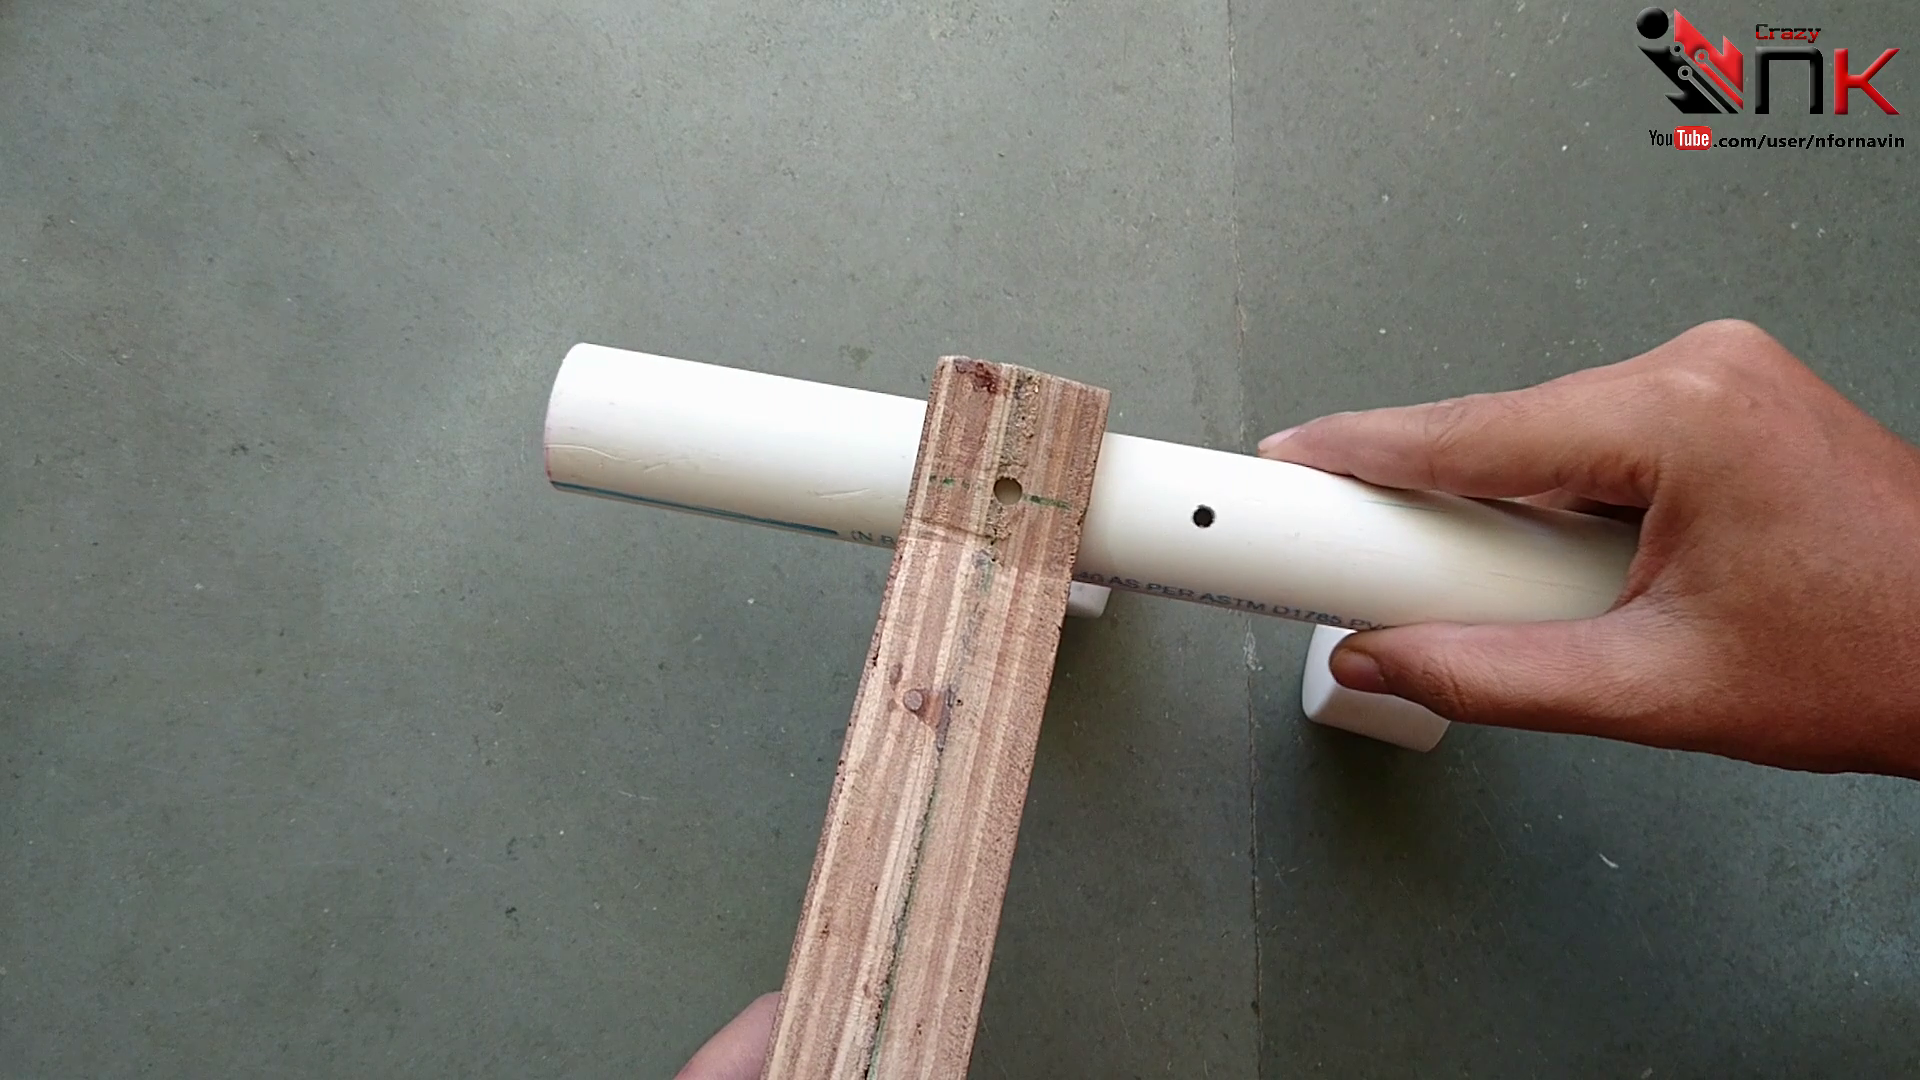
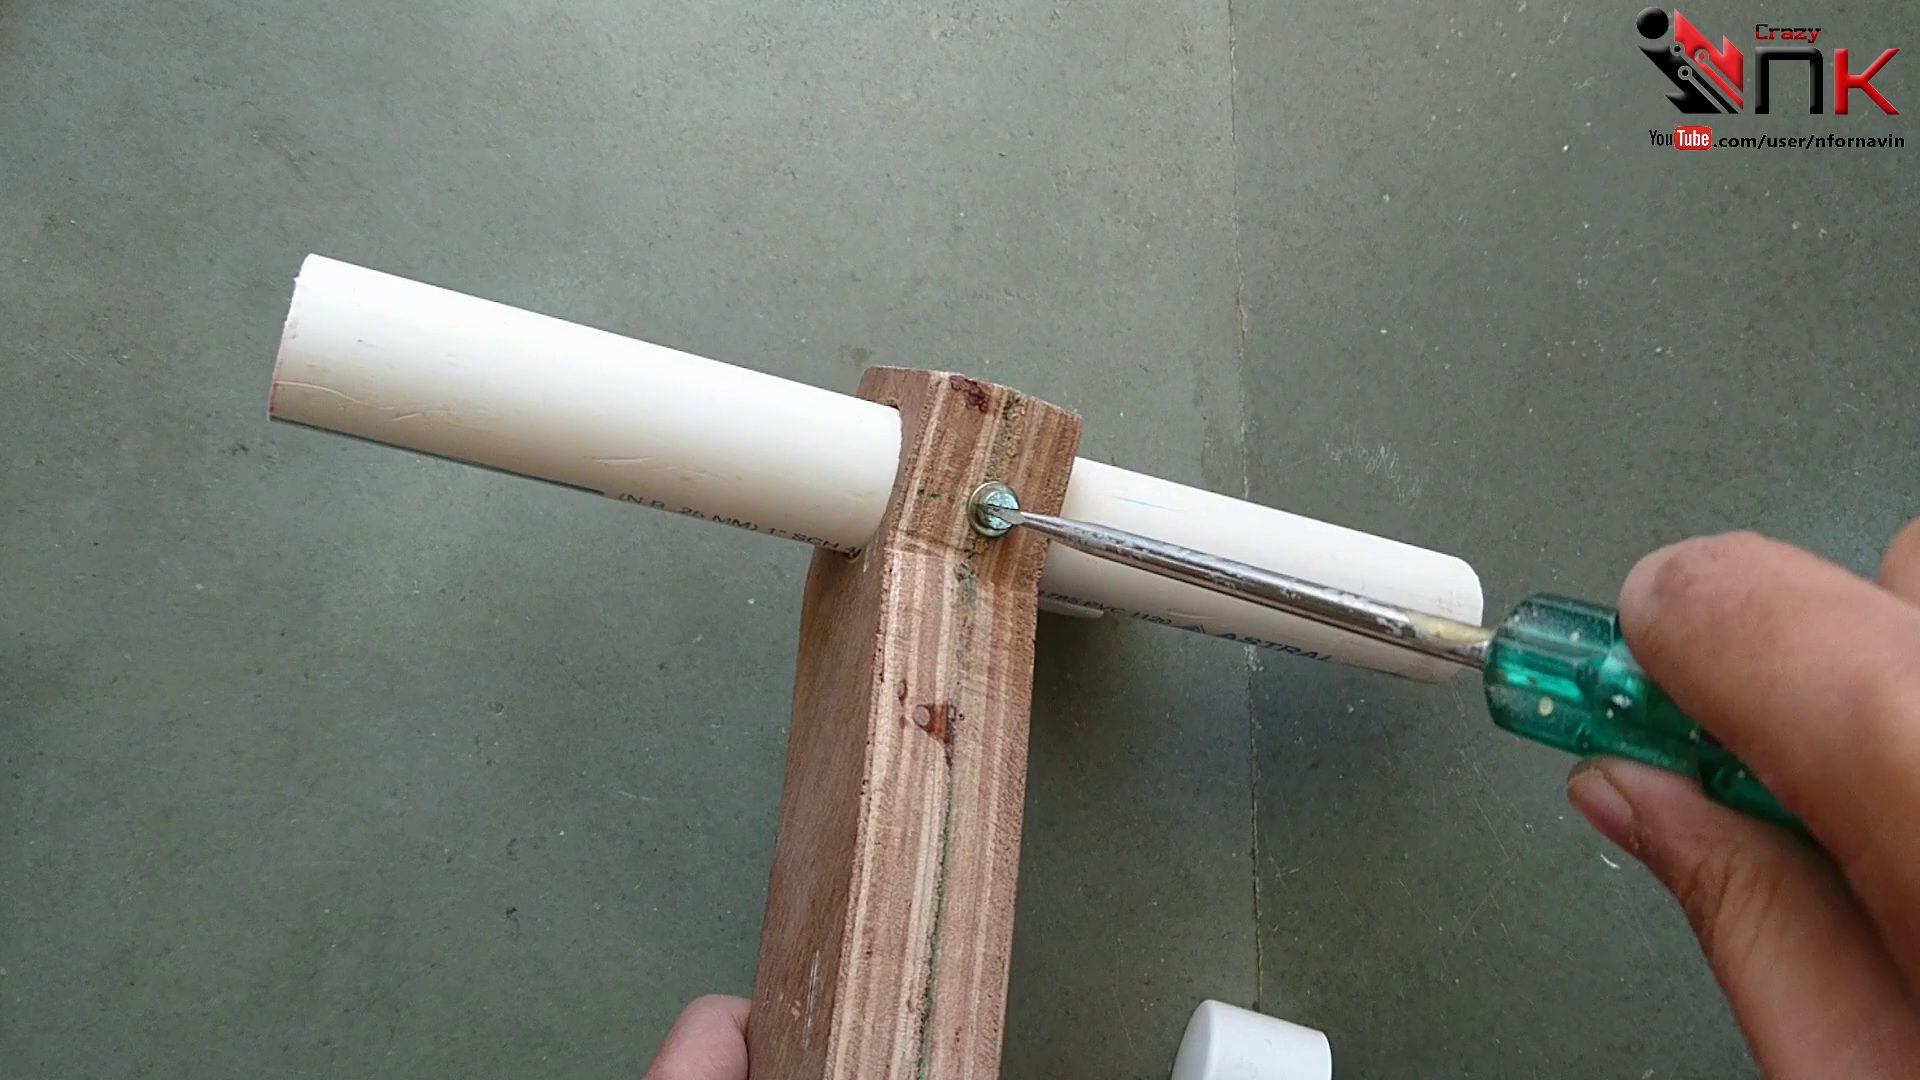
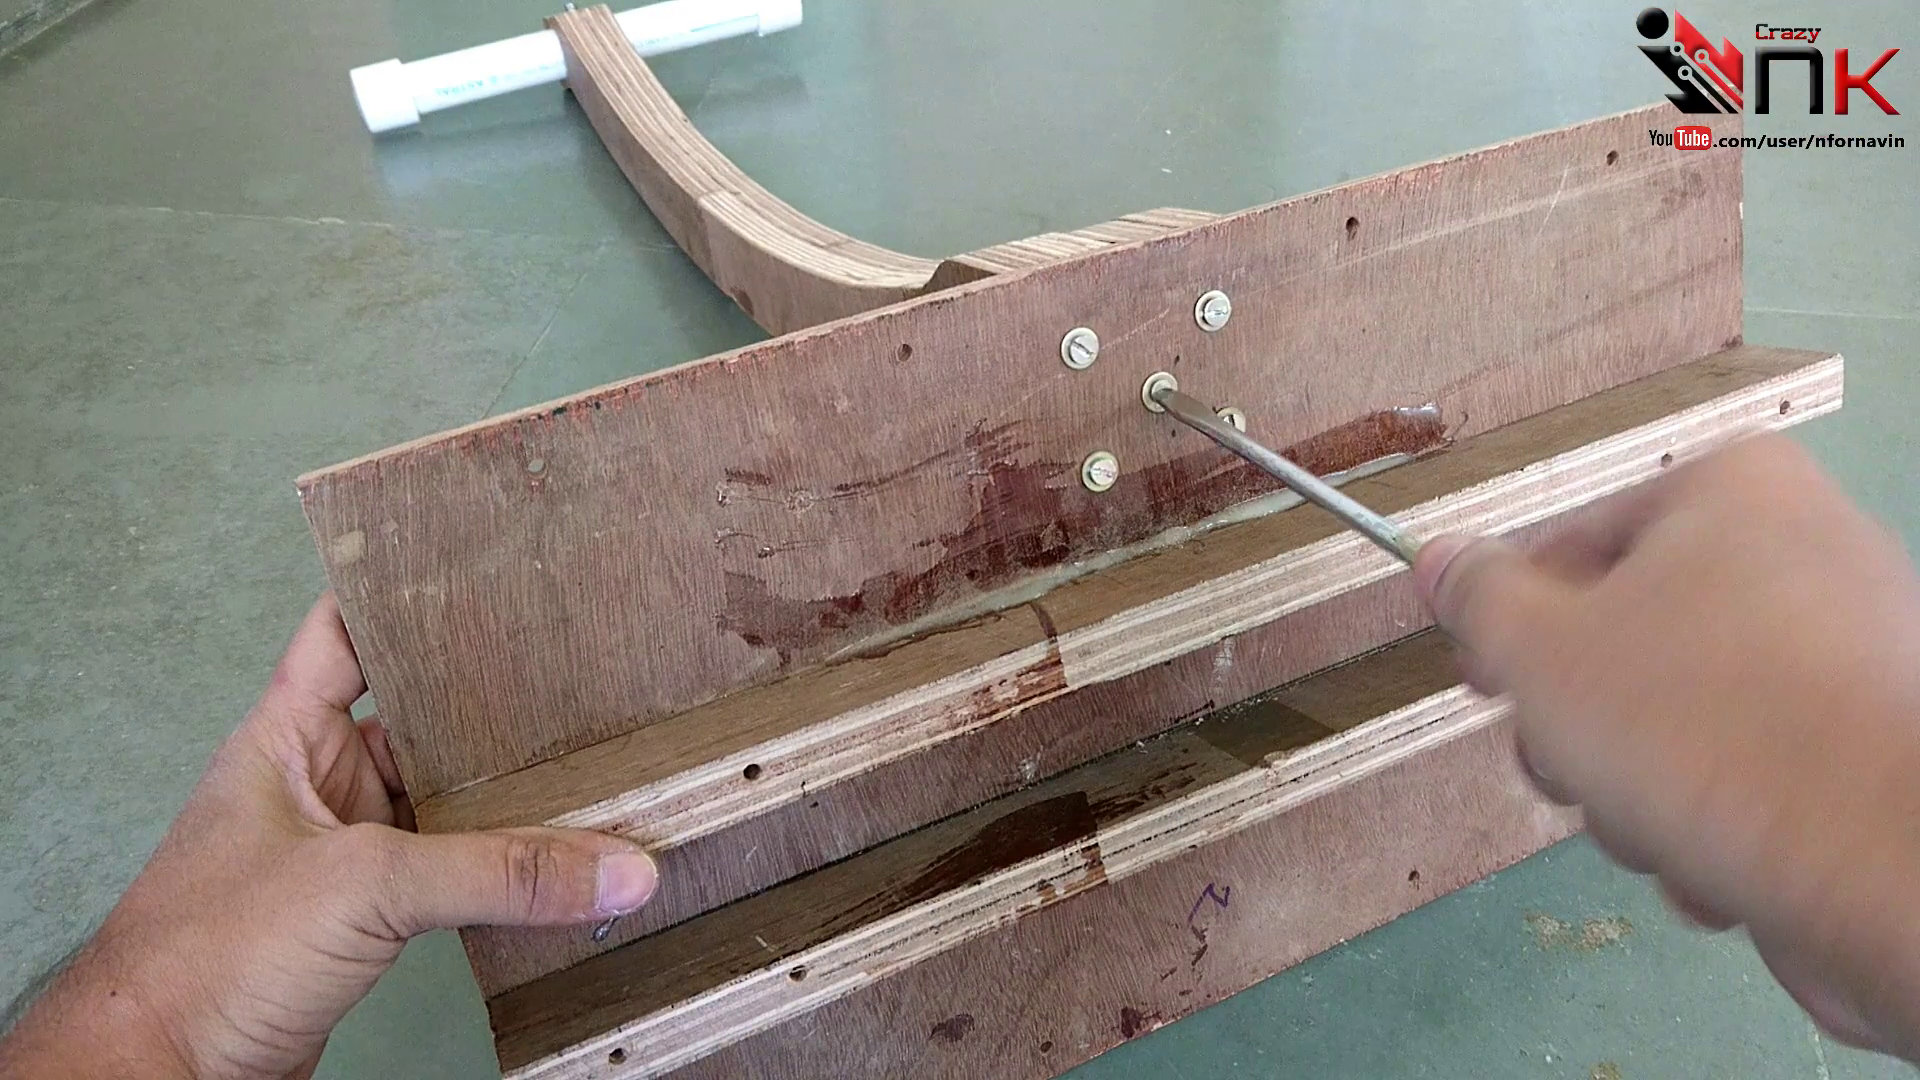
Insert the 1-inch PVC pipe through the hole at the top of the wooden steering column, making sure it is centered evenly on both sides. Drill a pilot hole through both the wood and the PVC pipe, then secure the handlebar with a long screw to prevent it from rotating during use.
Next, press a PVC end cap onto each end of the pipe. These caps provide a cleaner finish while covering the sharp pipe edges.
Position the completed steering column at the center of the plywood base, aligning it with the layout marks made earlier. Fasten it securely from the underside using heavy-duty wood screws, ensuring the column is straight and firmly attached.
Prepare the Motor and Wheel Assemblies
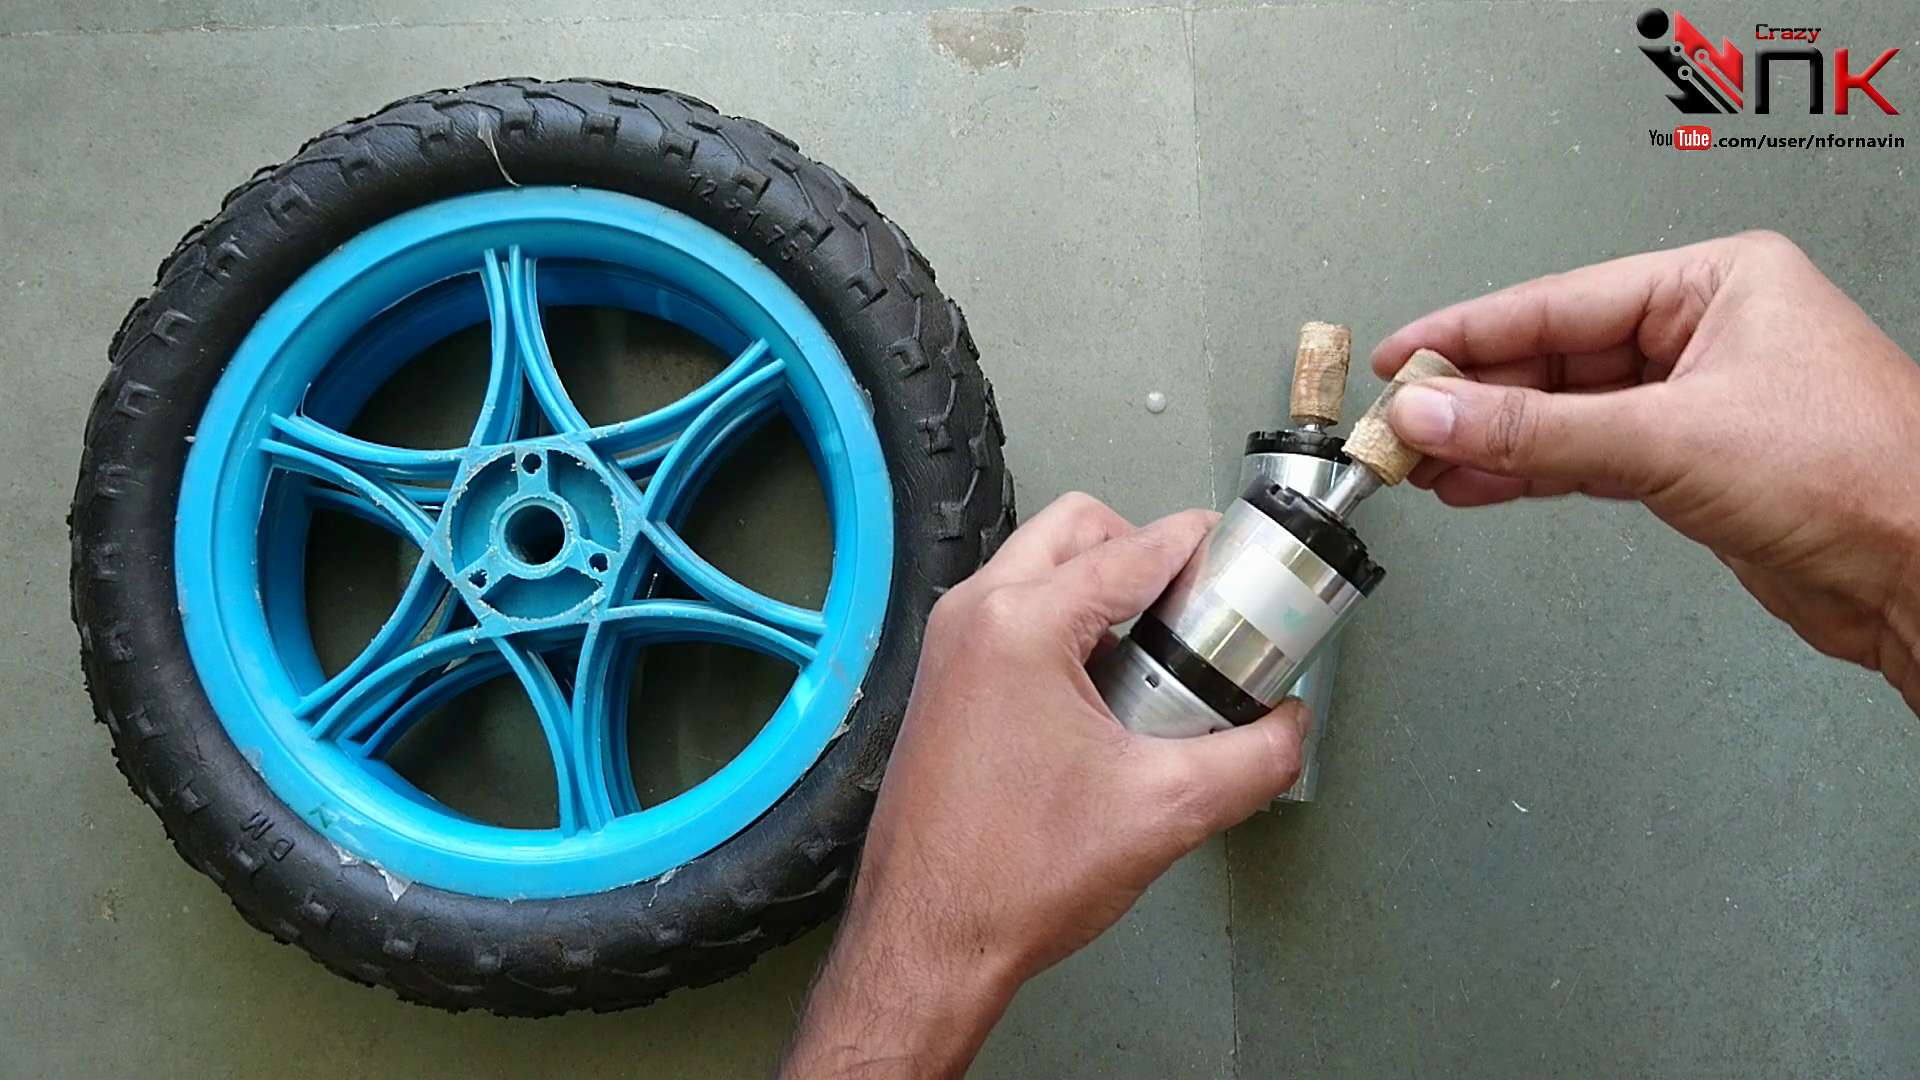
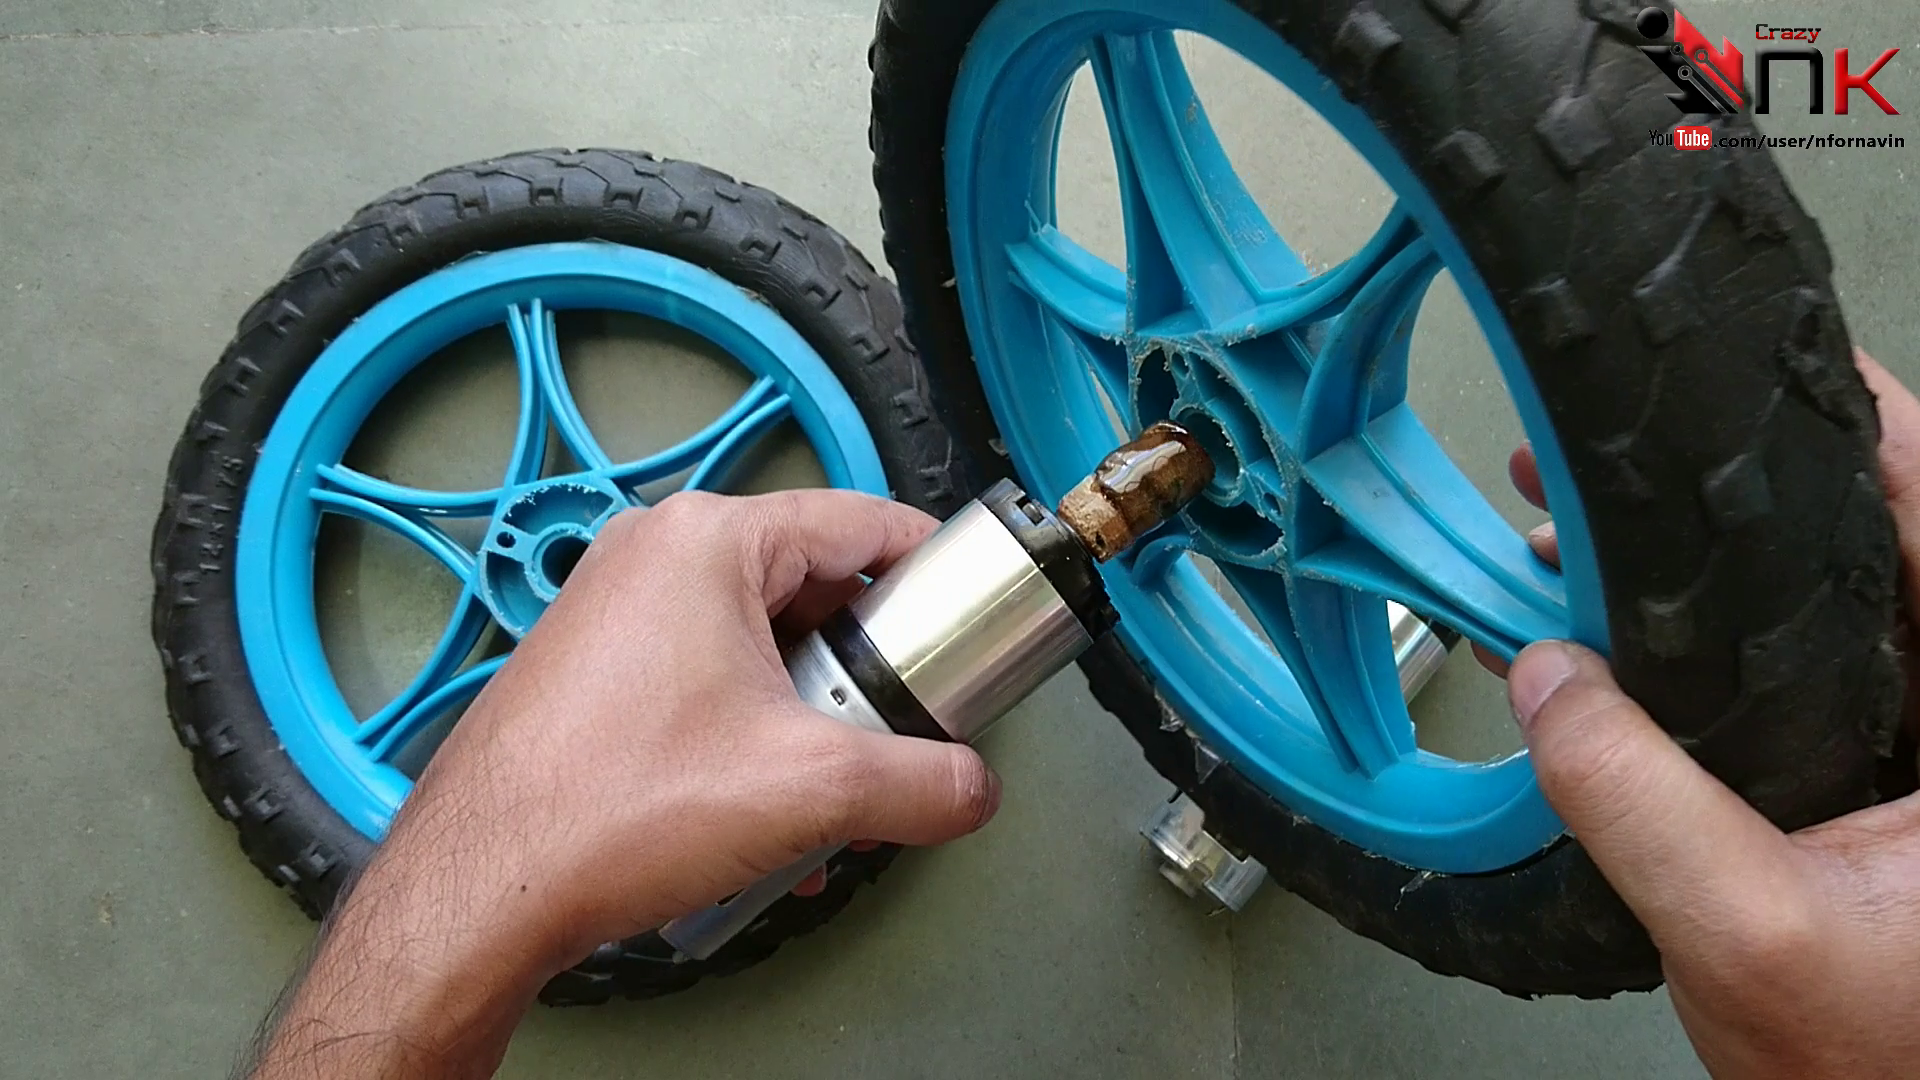
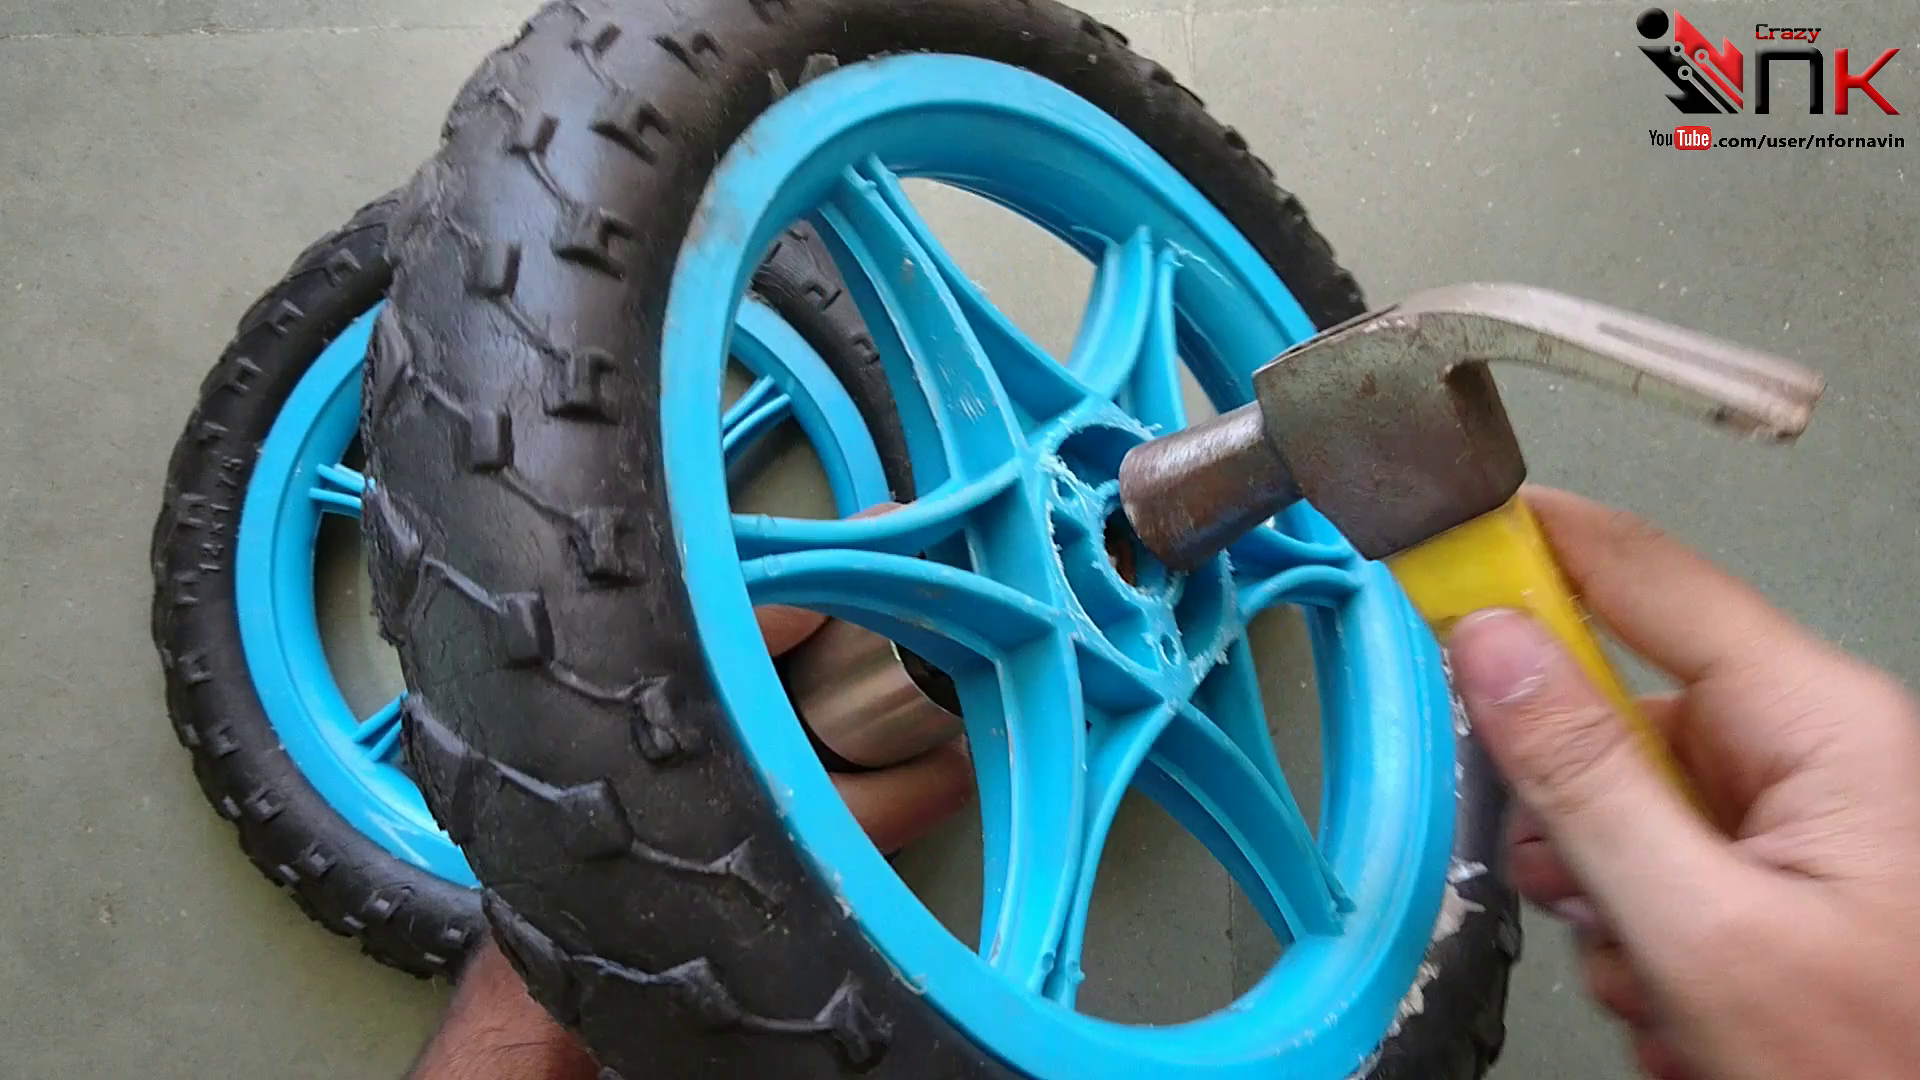
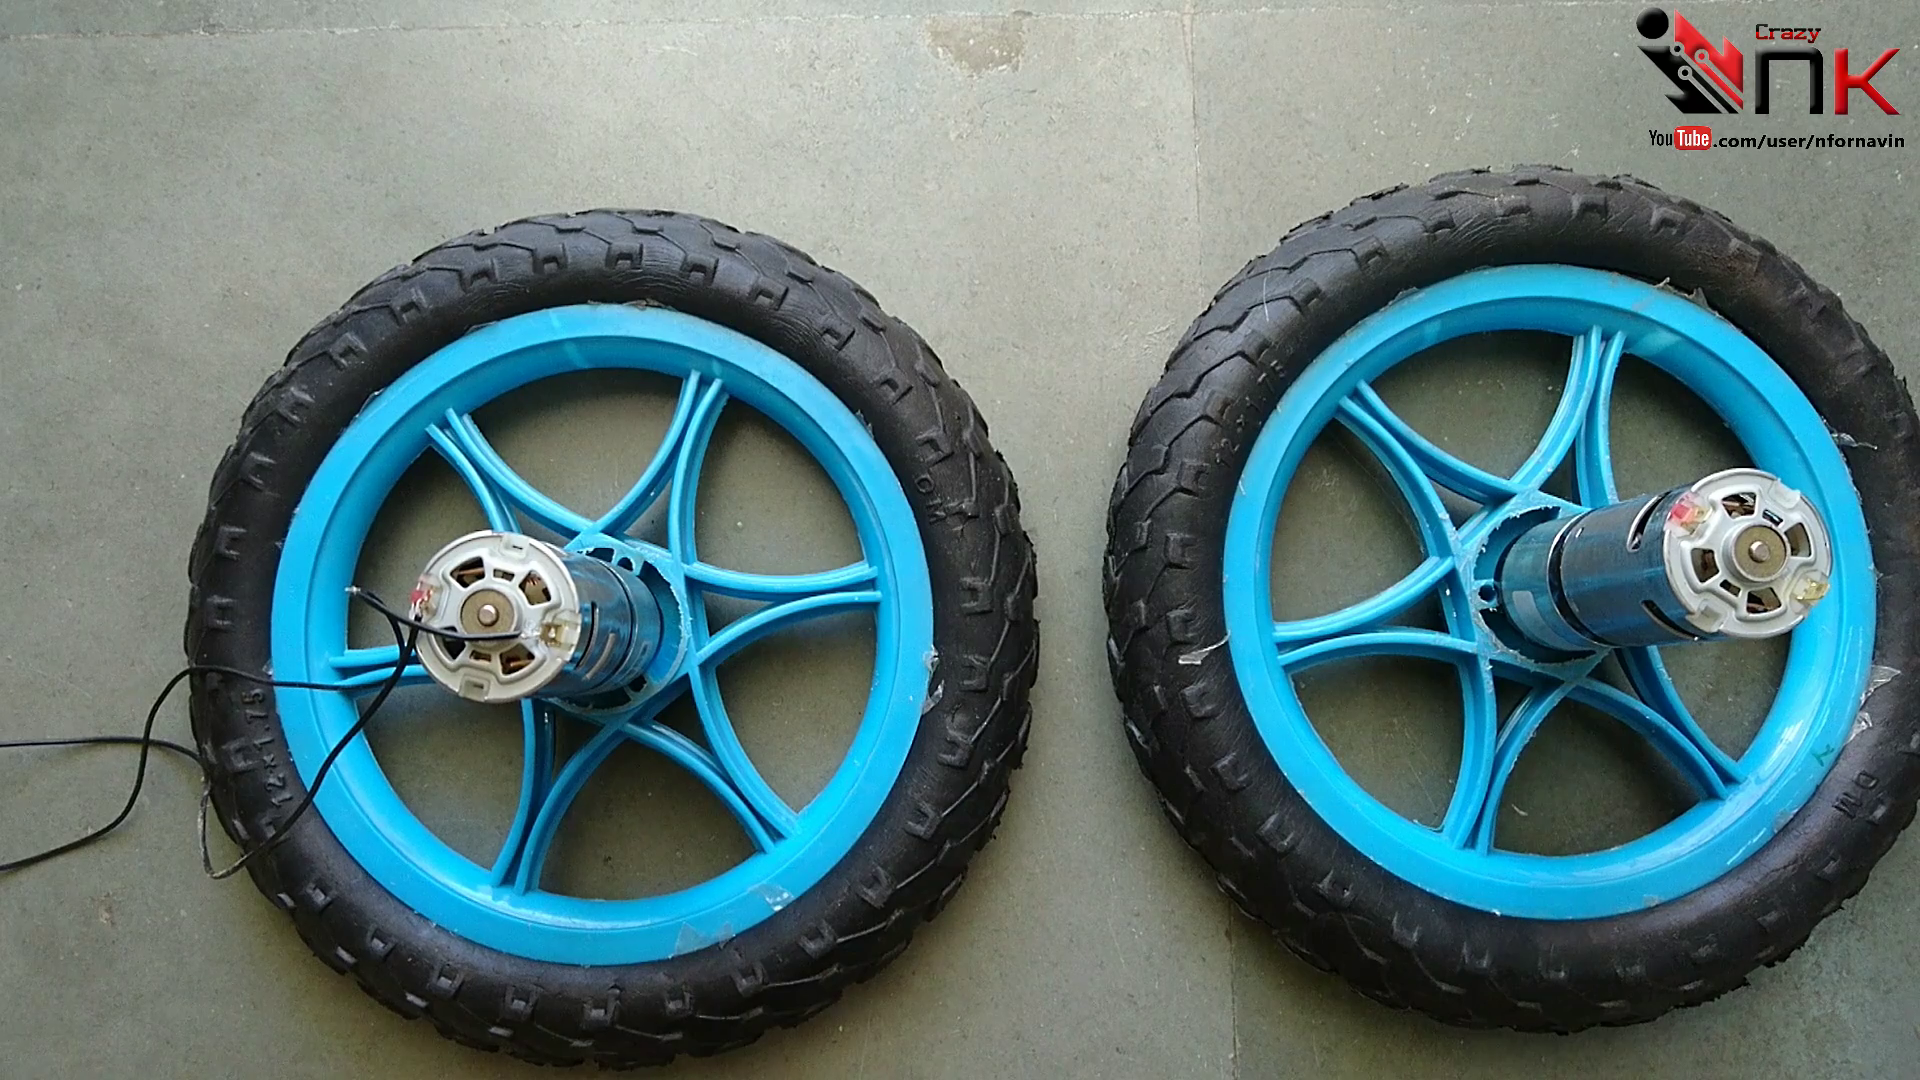
To connect the motors to the wheels, first fit a suitable adapter or DIY wood spacer onto each motor shaft to ensure a snug fit inside the wheel hub. The adapter should eliminate any play between the motor shaft and the wheel for reliable power transfer.
Carefully align the motor shaft with the center of the bicycle wheel hub and press it into place. If necessary, use a rubber mallet or gently tap it with a hammer until the motor is fully seated. Avoid striking the motor directly, as this could damage the shaft or internal components.
Repeat the same process for the second motor and wheel. Once completed, you should have two sturdy motor-and-wheel assemblies ready to be mounted onto the wooden chassis.
Preparing the Underside and Mounting the Caster Brackets
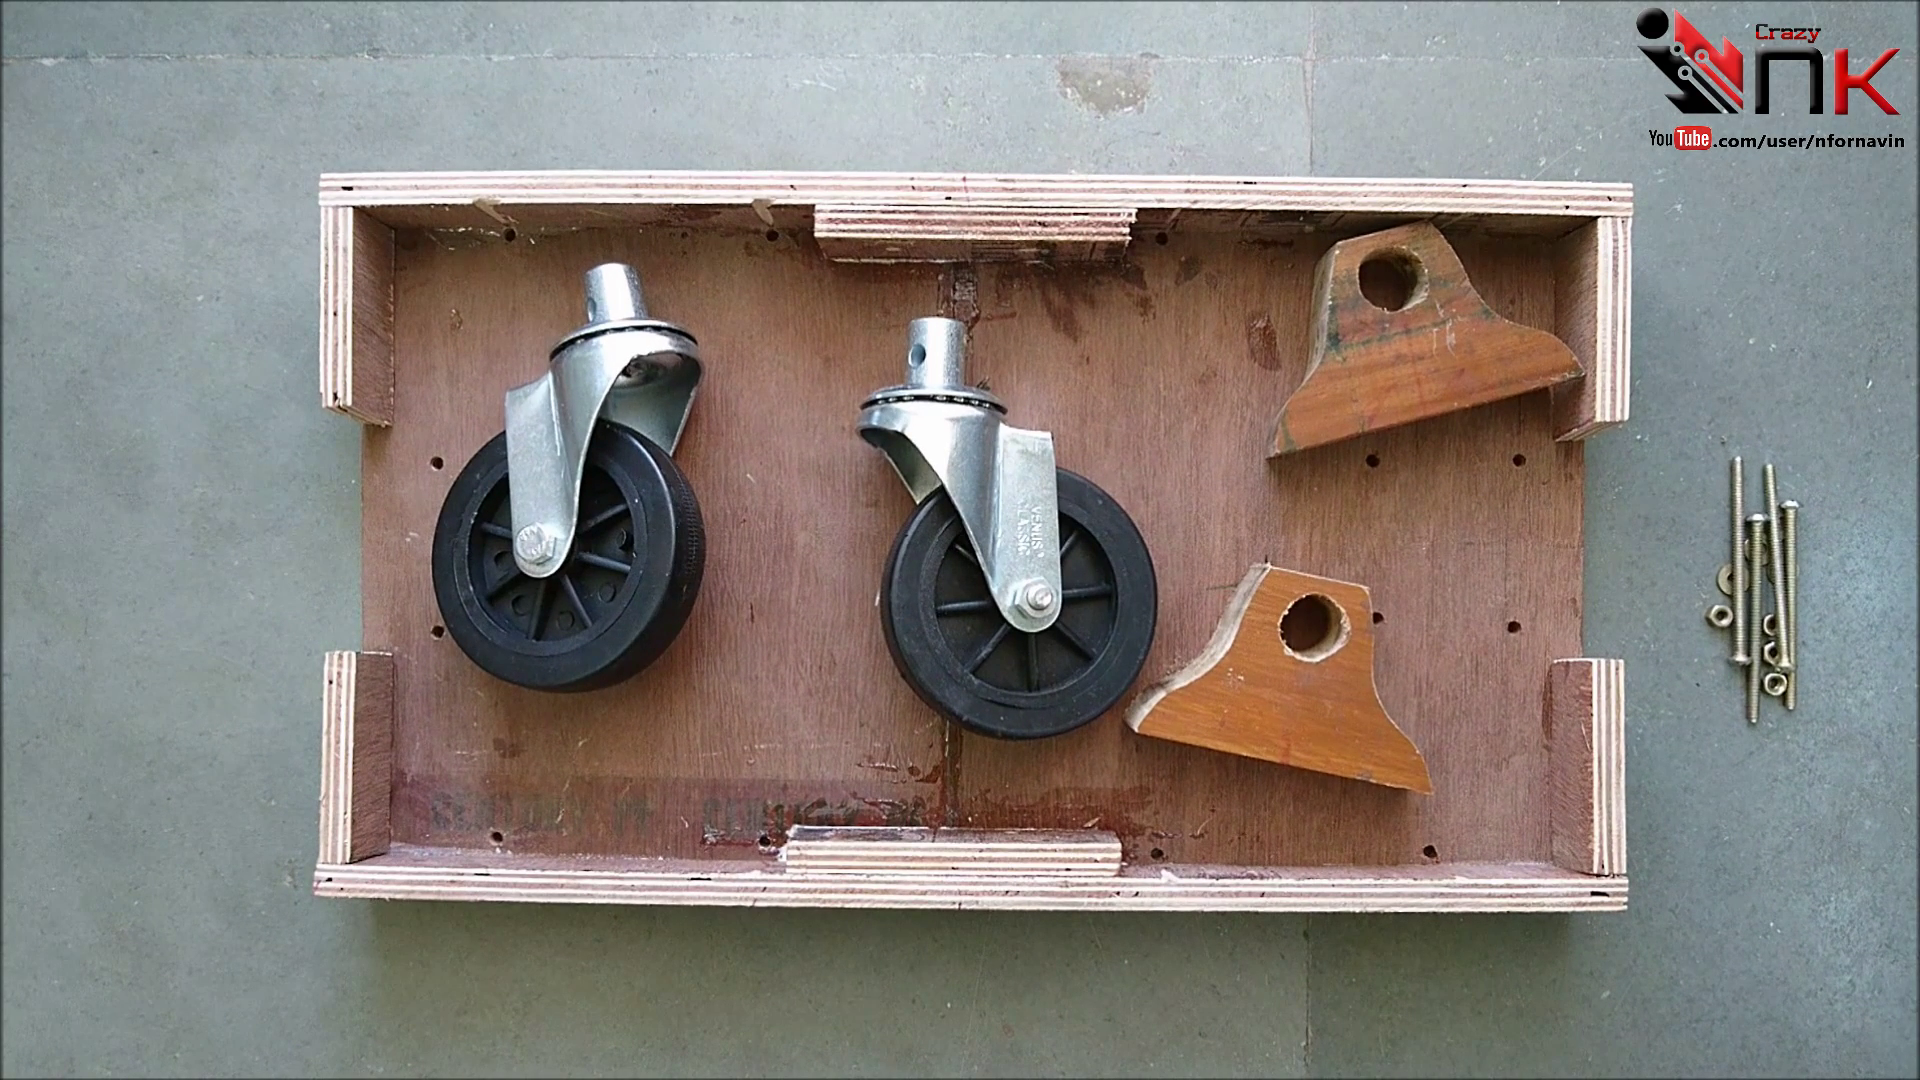
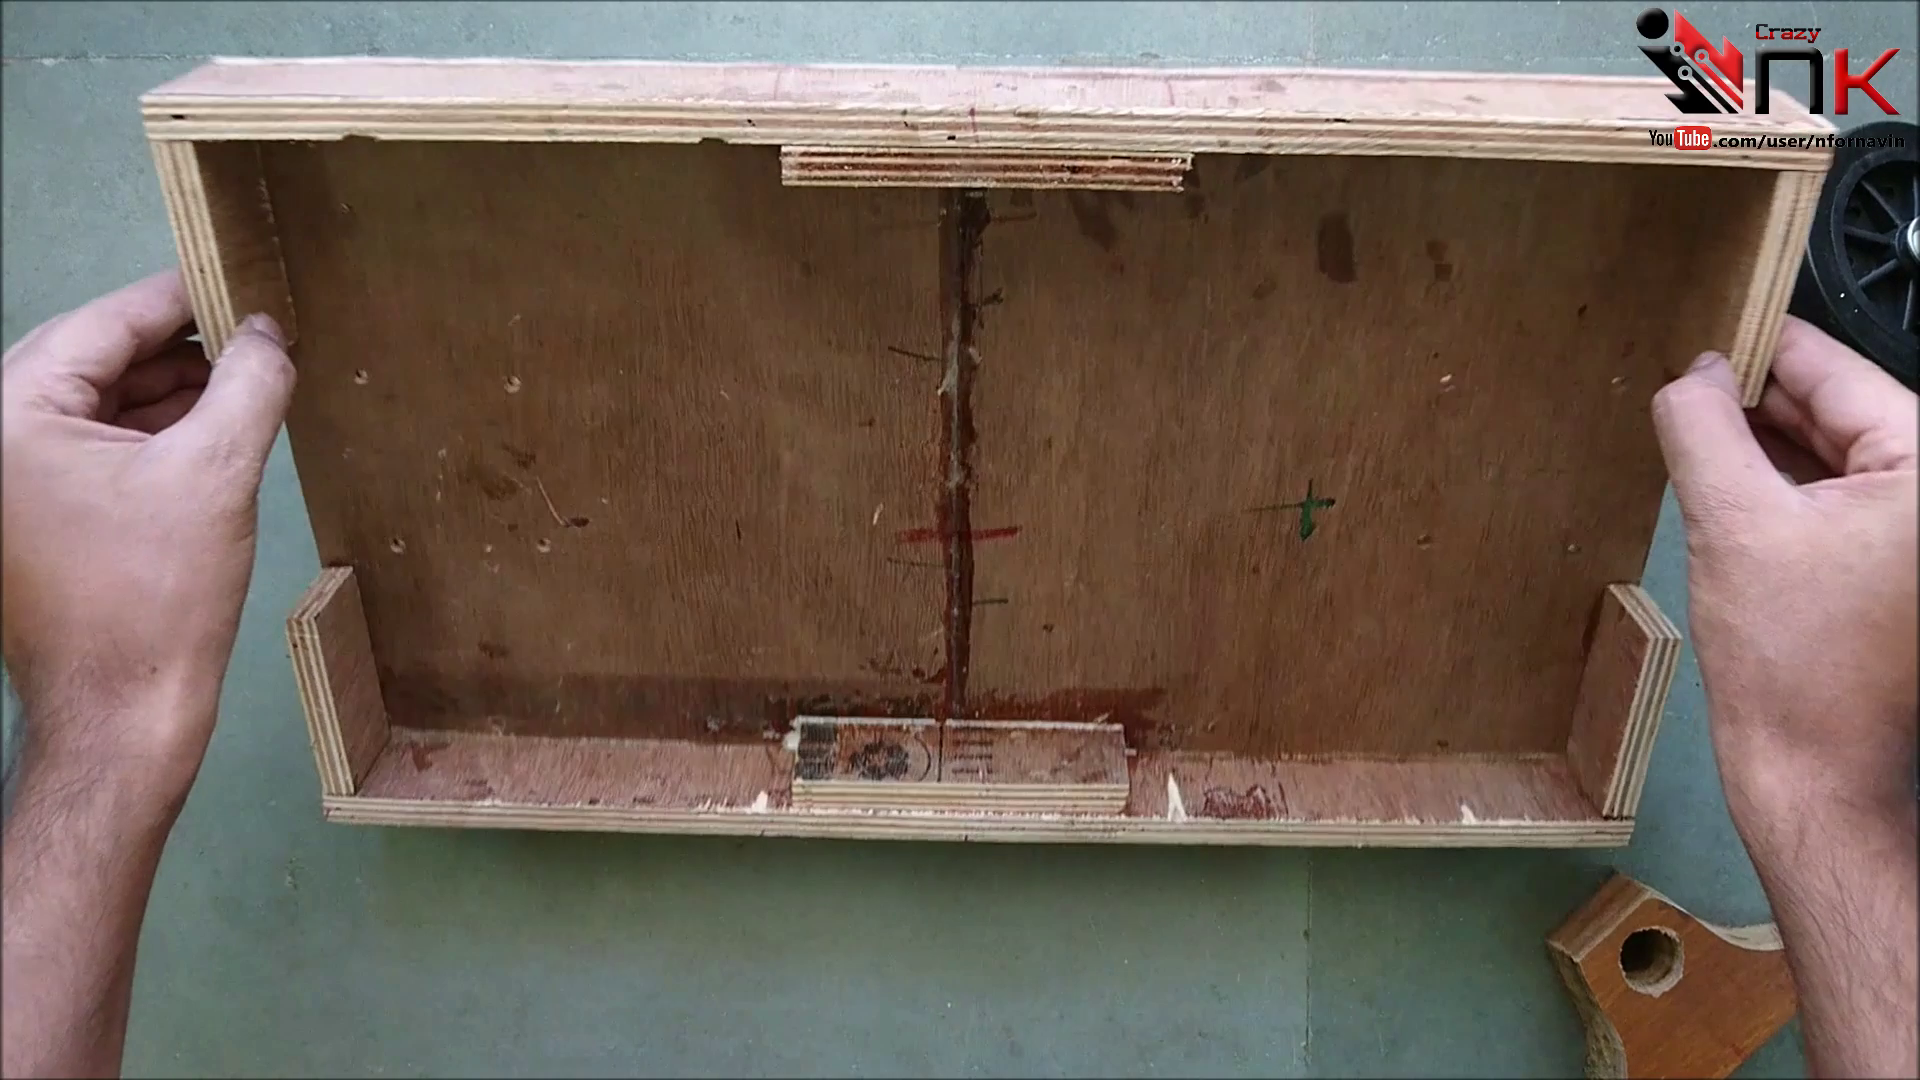
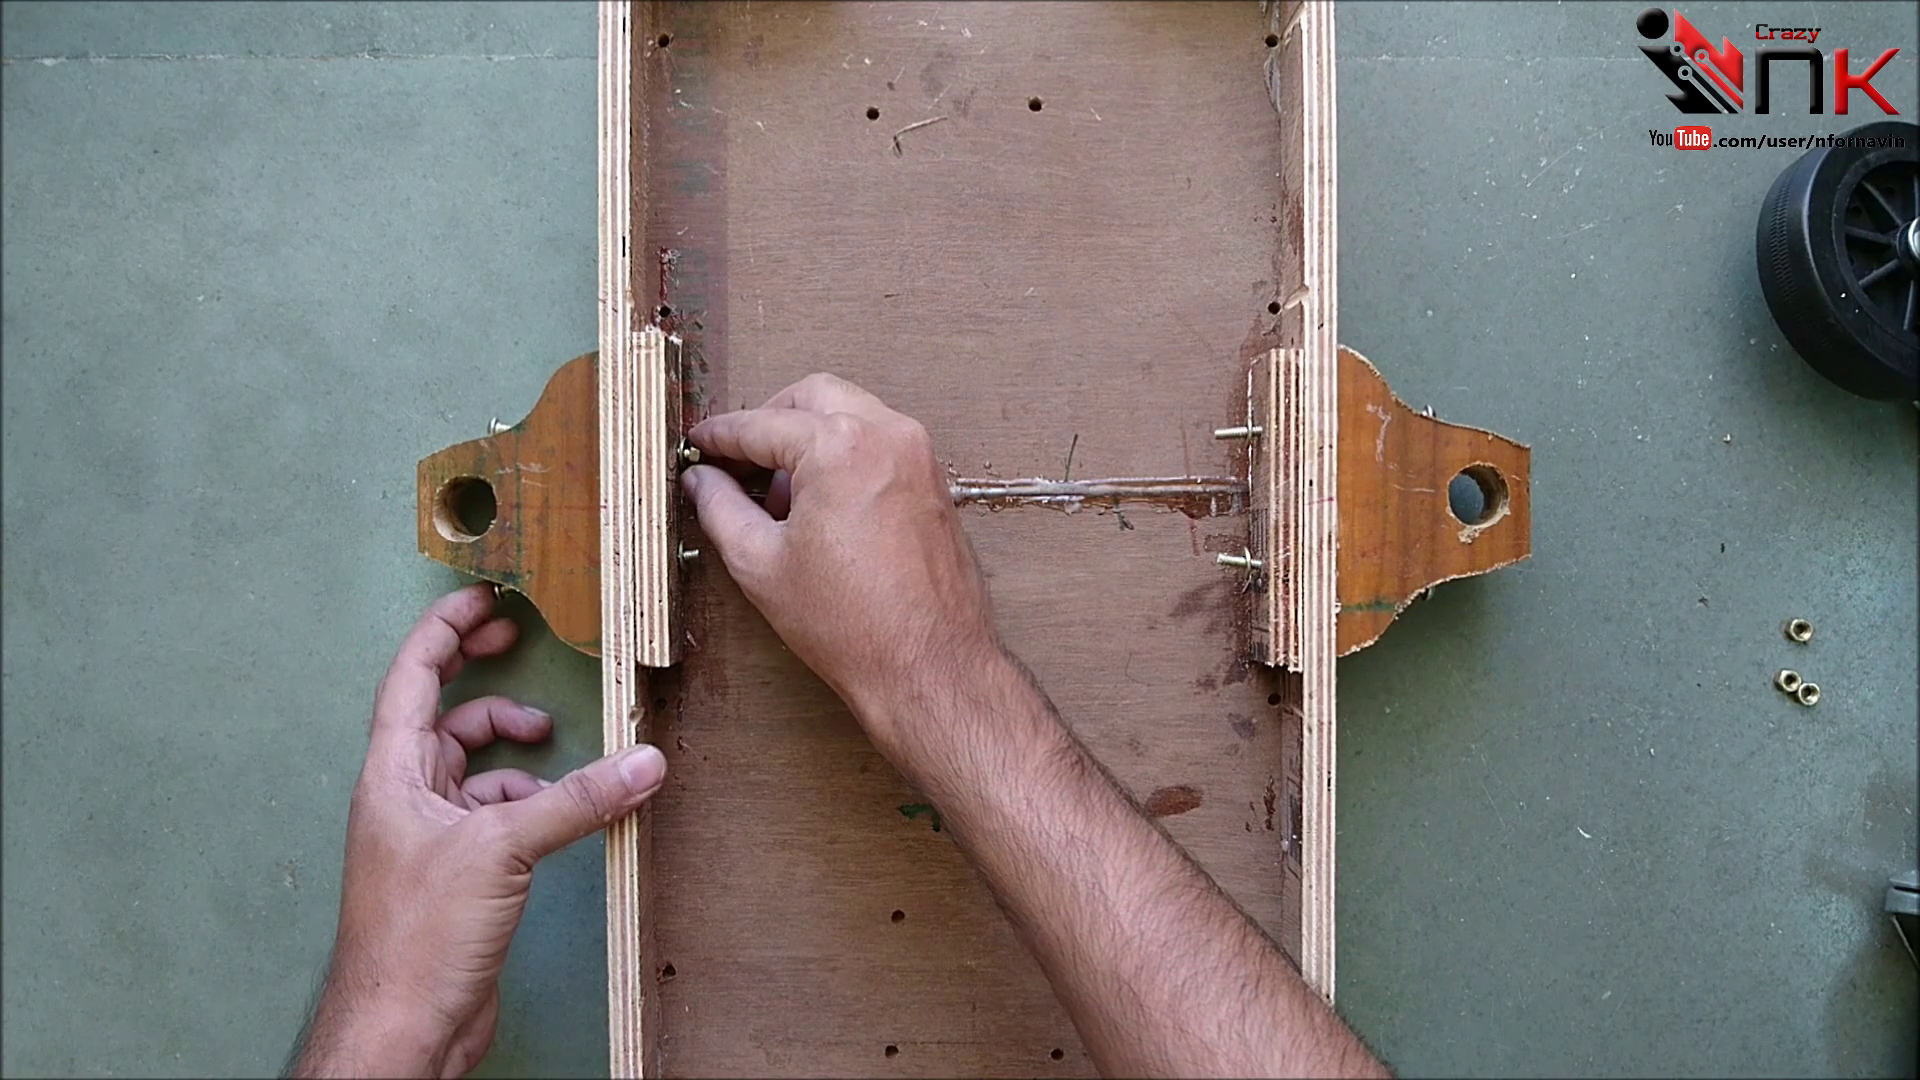
Make a second wooden frame box underneath the base. This frame acts as the motor housing, creating a sturdy box structure that supports and protects the motors.
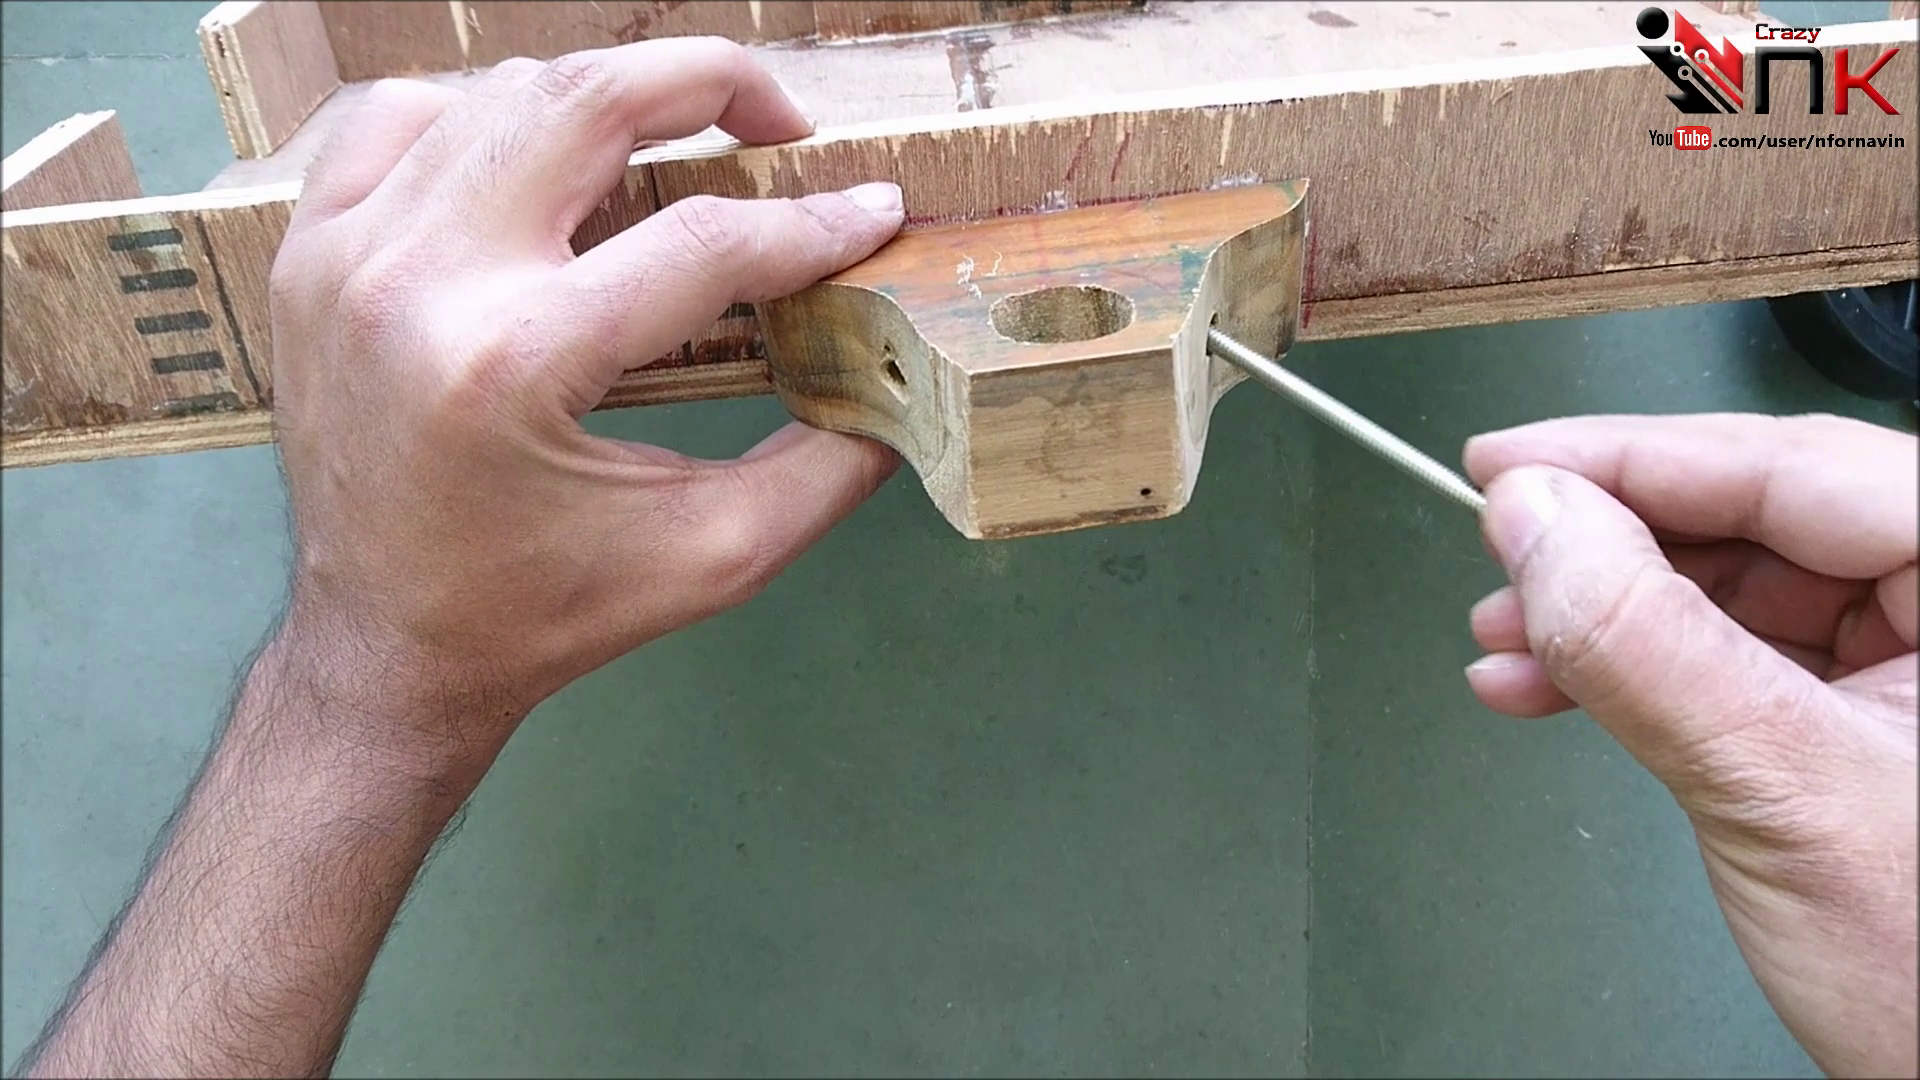
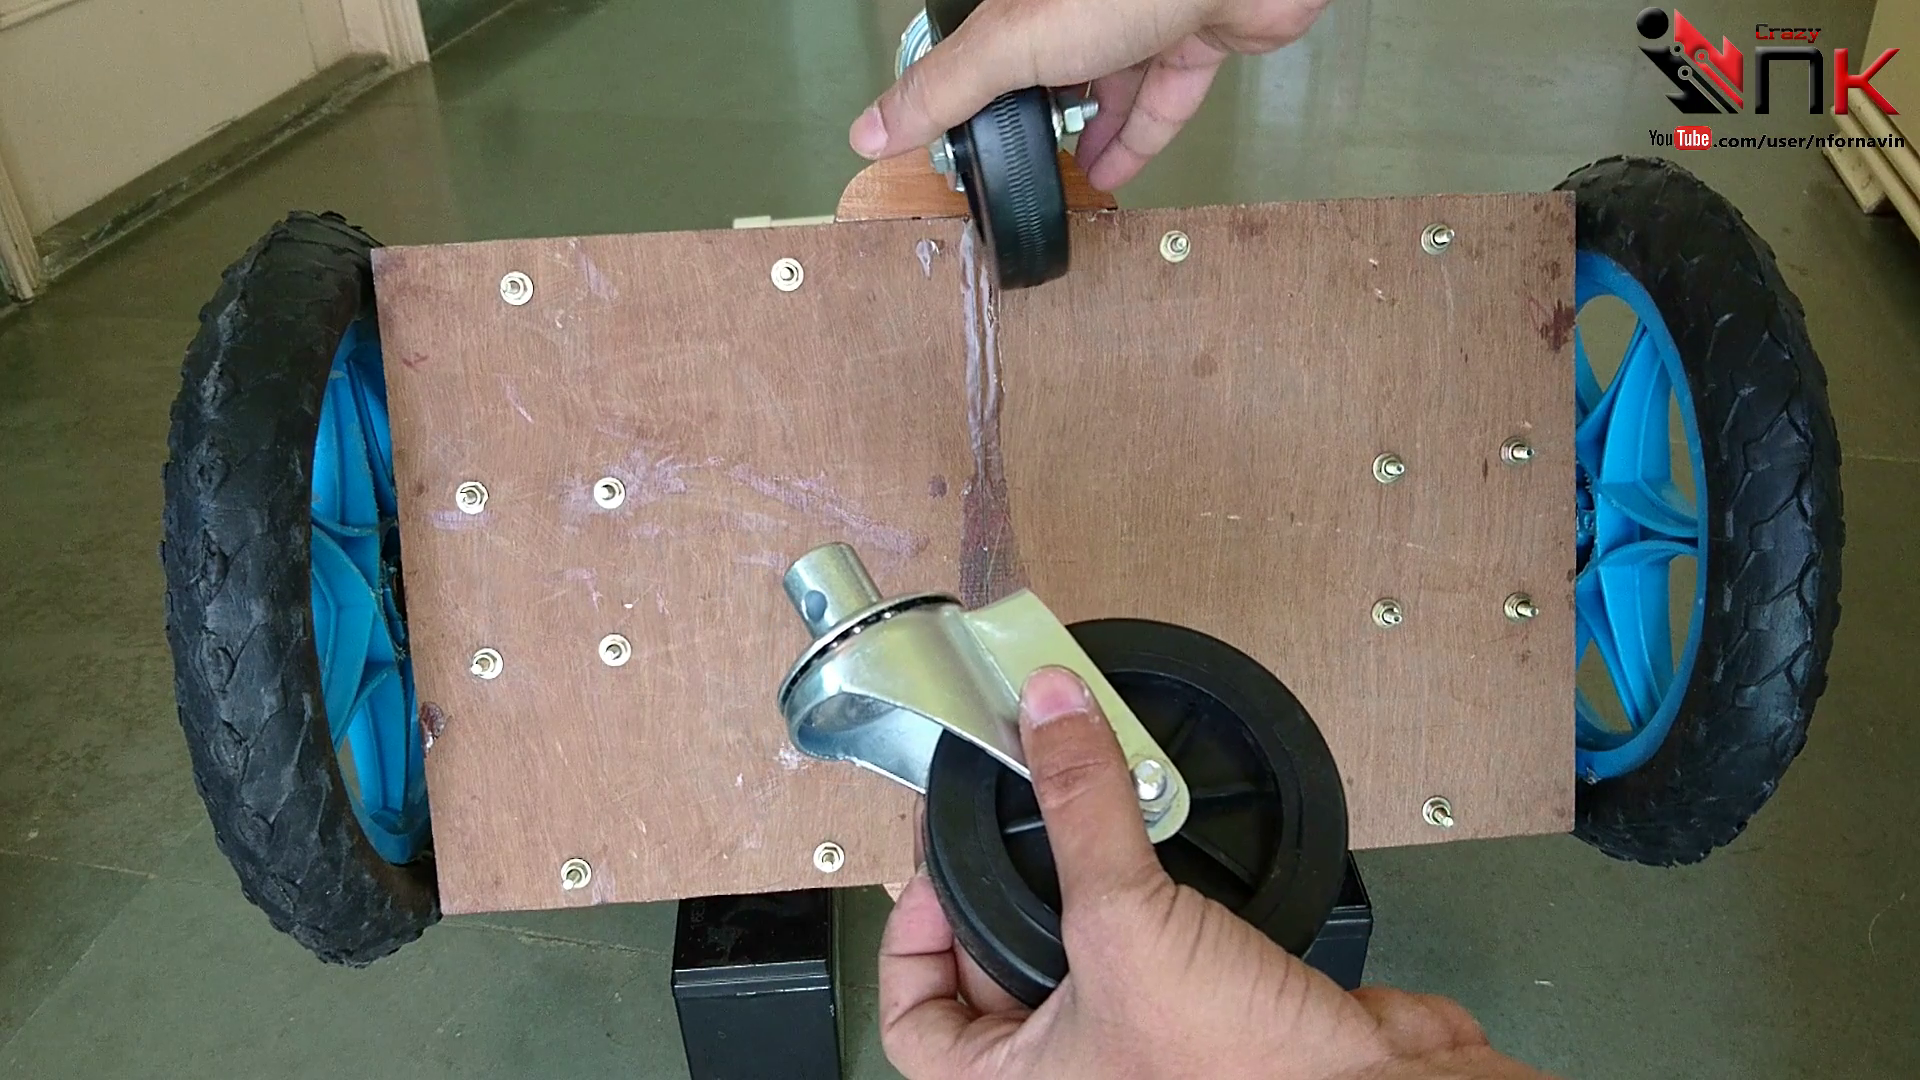
Take the two custom wooden brackets designed for the swivel caster wheels and align them with the pre-drilled holes on the sides of the frame. Insert long machine screws through the chassis and into the brackets to securely fix them into position.
Once assembled, the combined structure forms a rigid box that increases the strength of the chassis while providing dedicated space for mounting the motors and Swivel Caster Wheels in the next step.
Install the Motors and Complete the Chassis
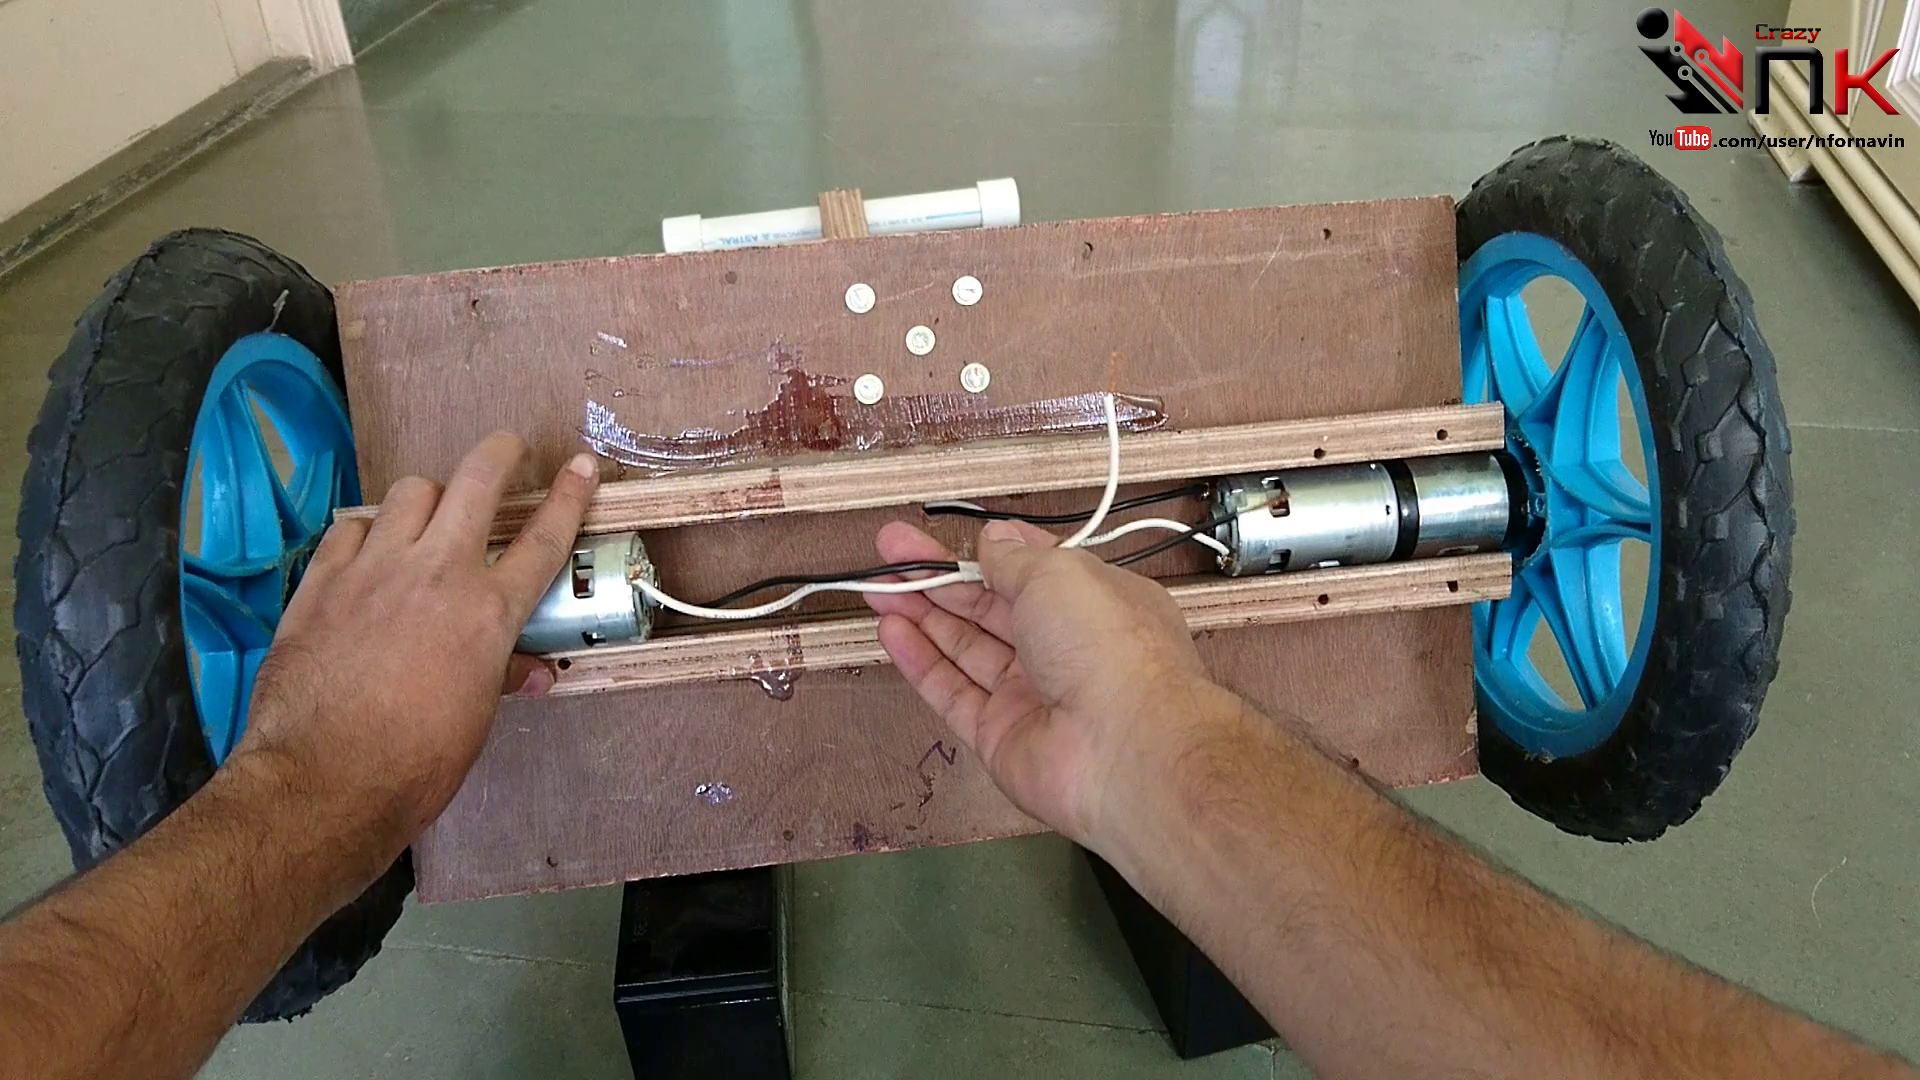
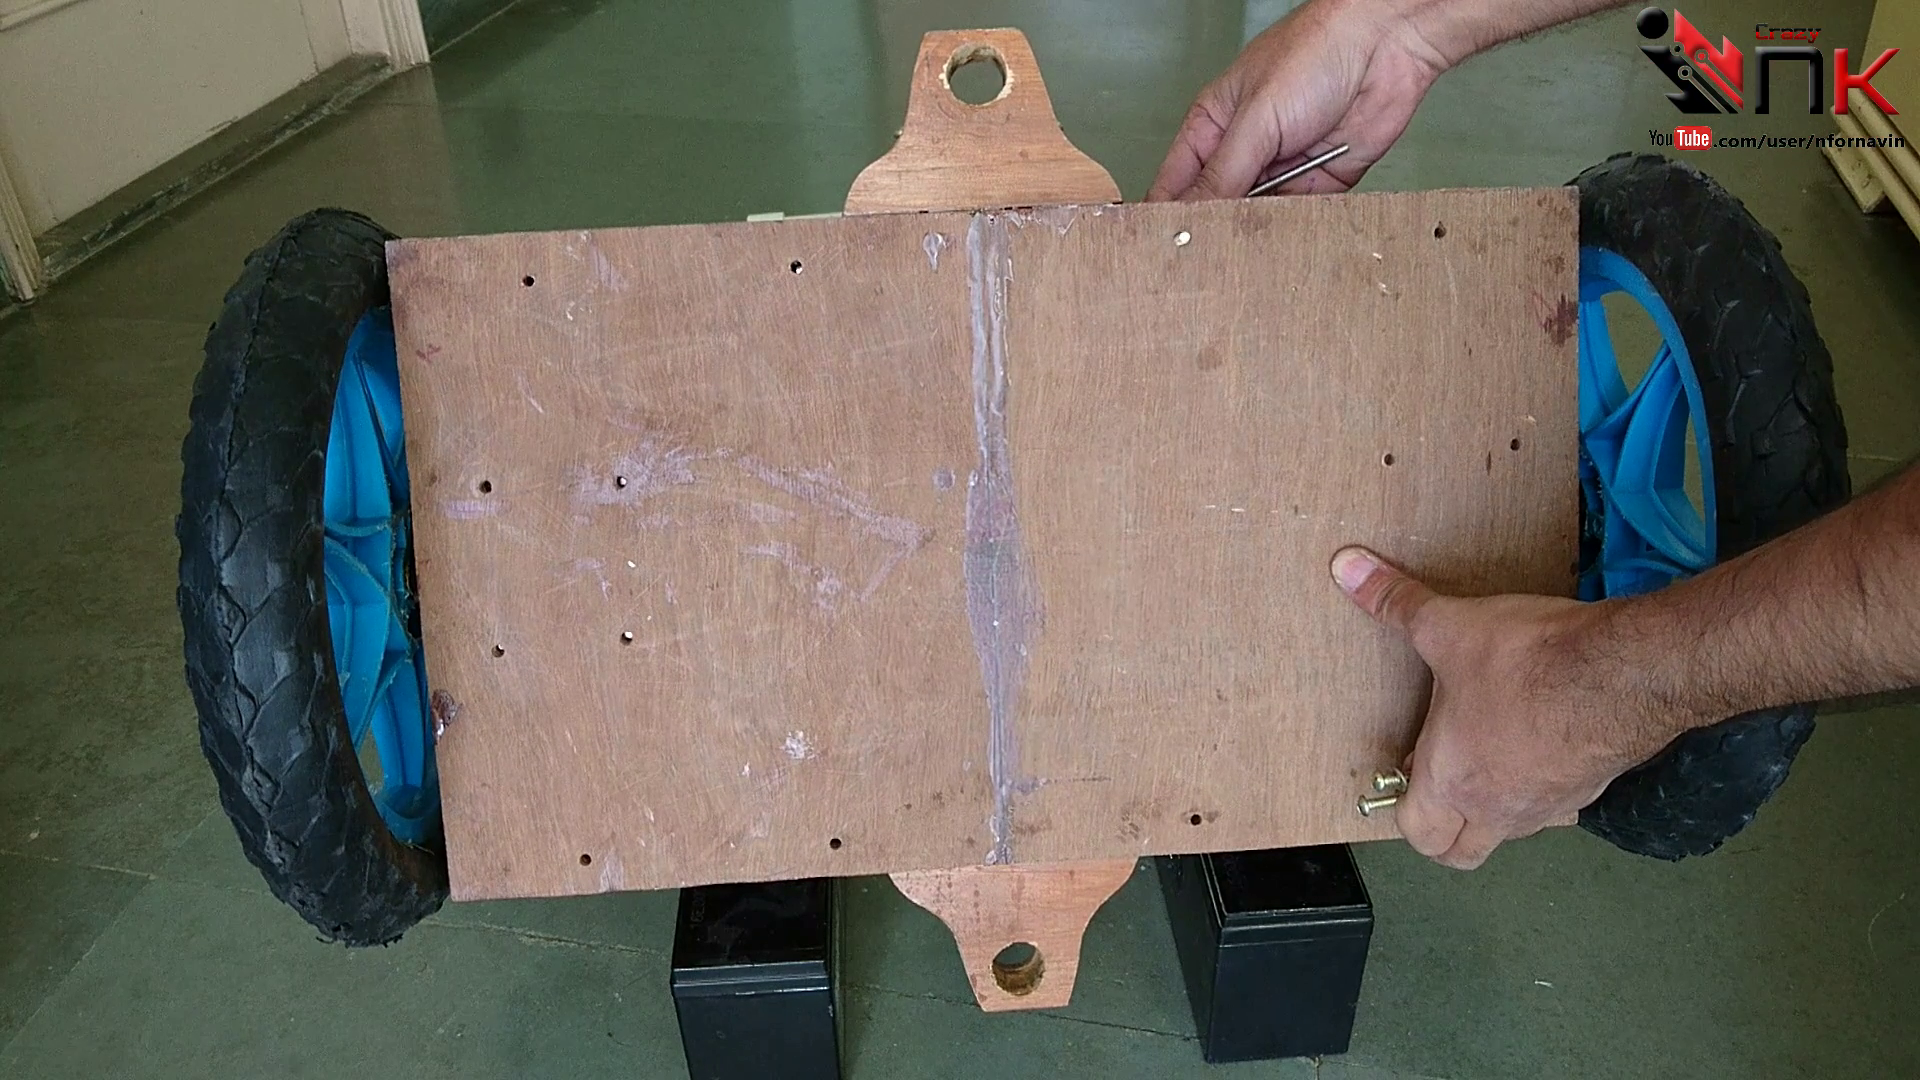
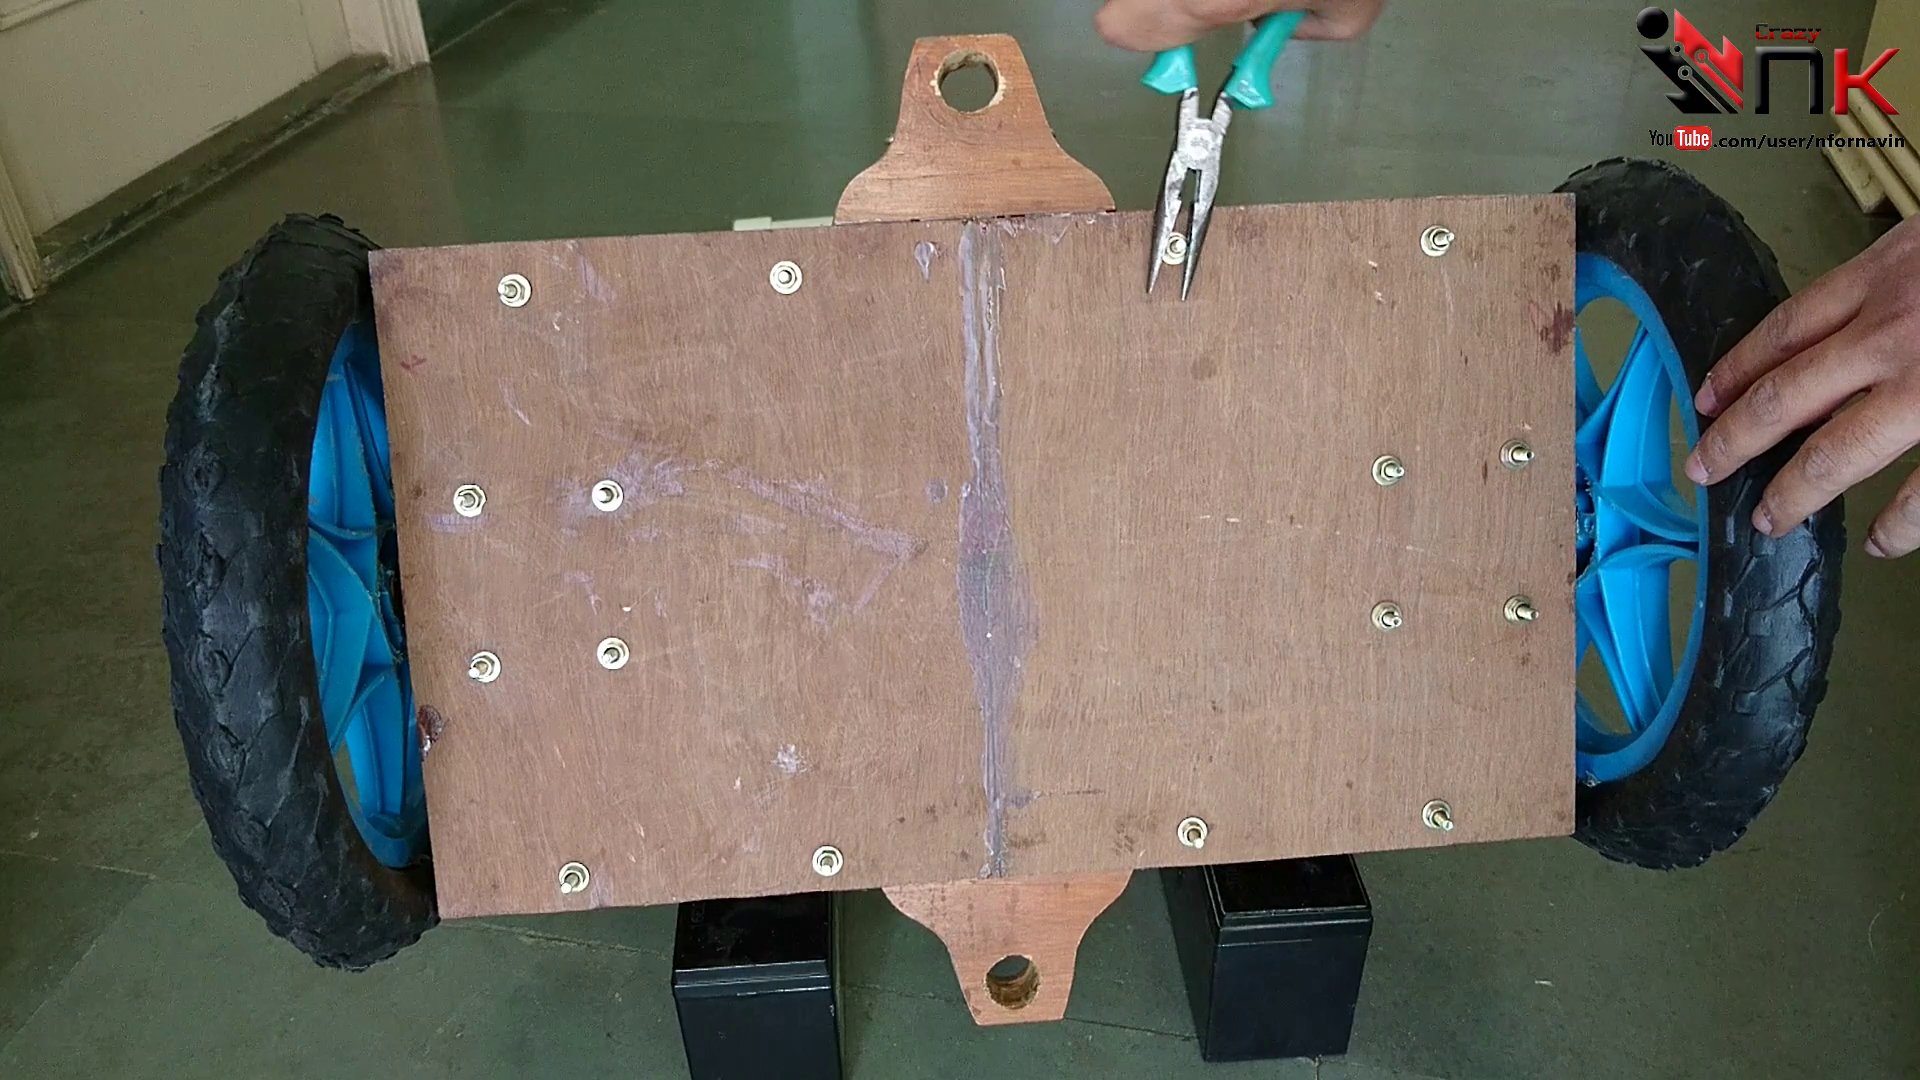
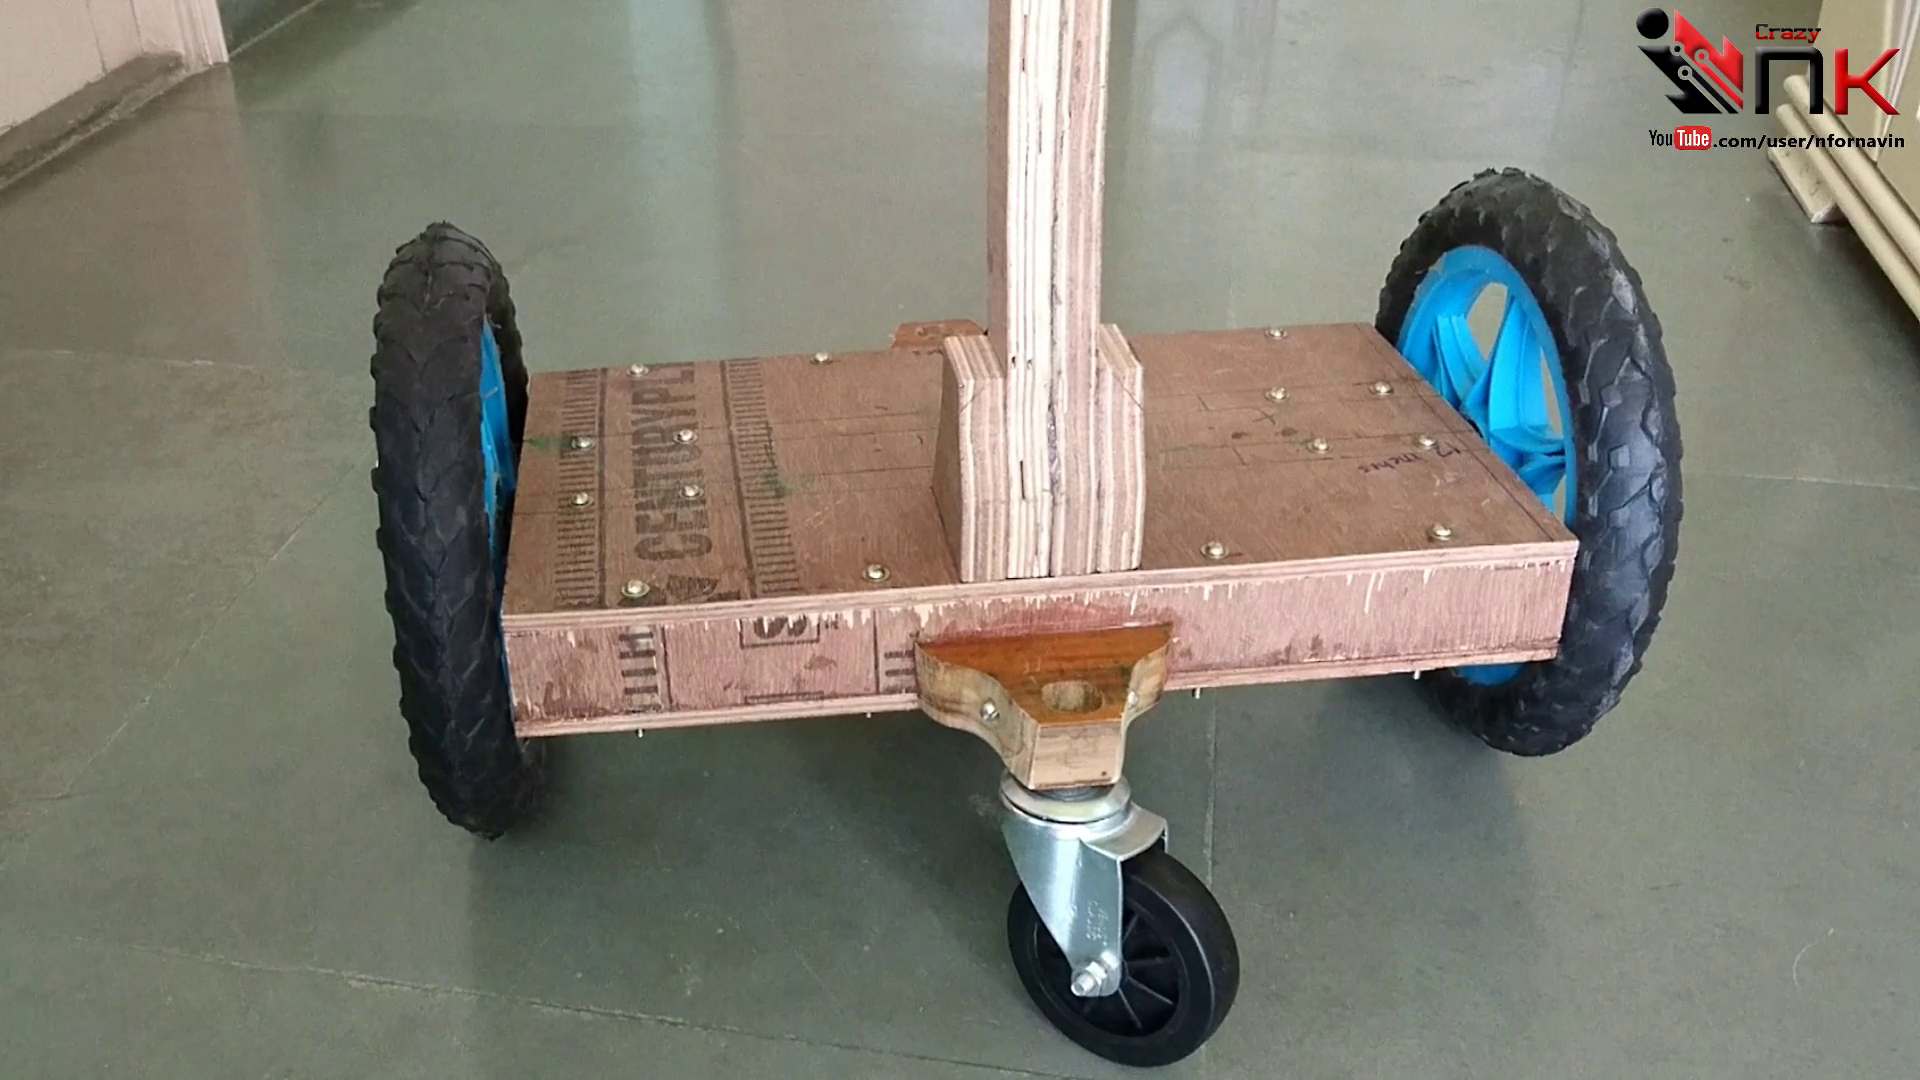
Place the pre-assembled motor-and-wheel units into the motor housing, positioning each motor on its respective side of the chassis. Route the motor wires through the center of the frame, keeping them clear of any moving parts.
Align the motor mounting holes with the wooden supports and secure each motor firmly using nuts and bolts. Check that both wheels are parallel and rotate freely without rubbing against the frame.
Finally, attach the plywood cover over the motor housing and fasten it securely with nuts and bolts. This encloses the motors inside the reinforced box structure, protecting the drive components while increasing the overall strength and rigidity of the chassis.
Next, mount the two swivel caster wheels onto the custom wooden brackets located at the front and rear of the chassis. Fasten each caster securely using heavy-duty nuts and bolts, ensuring they can swivel freely. These caster wheels provide additional support, improve stability, and allow the hoverboard to turn smoothly during operation.
Install the Battery and Wire the Electrical System
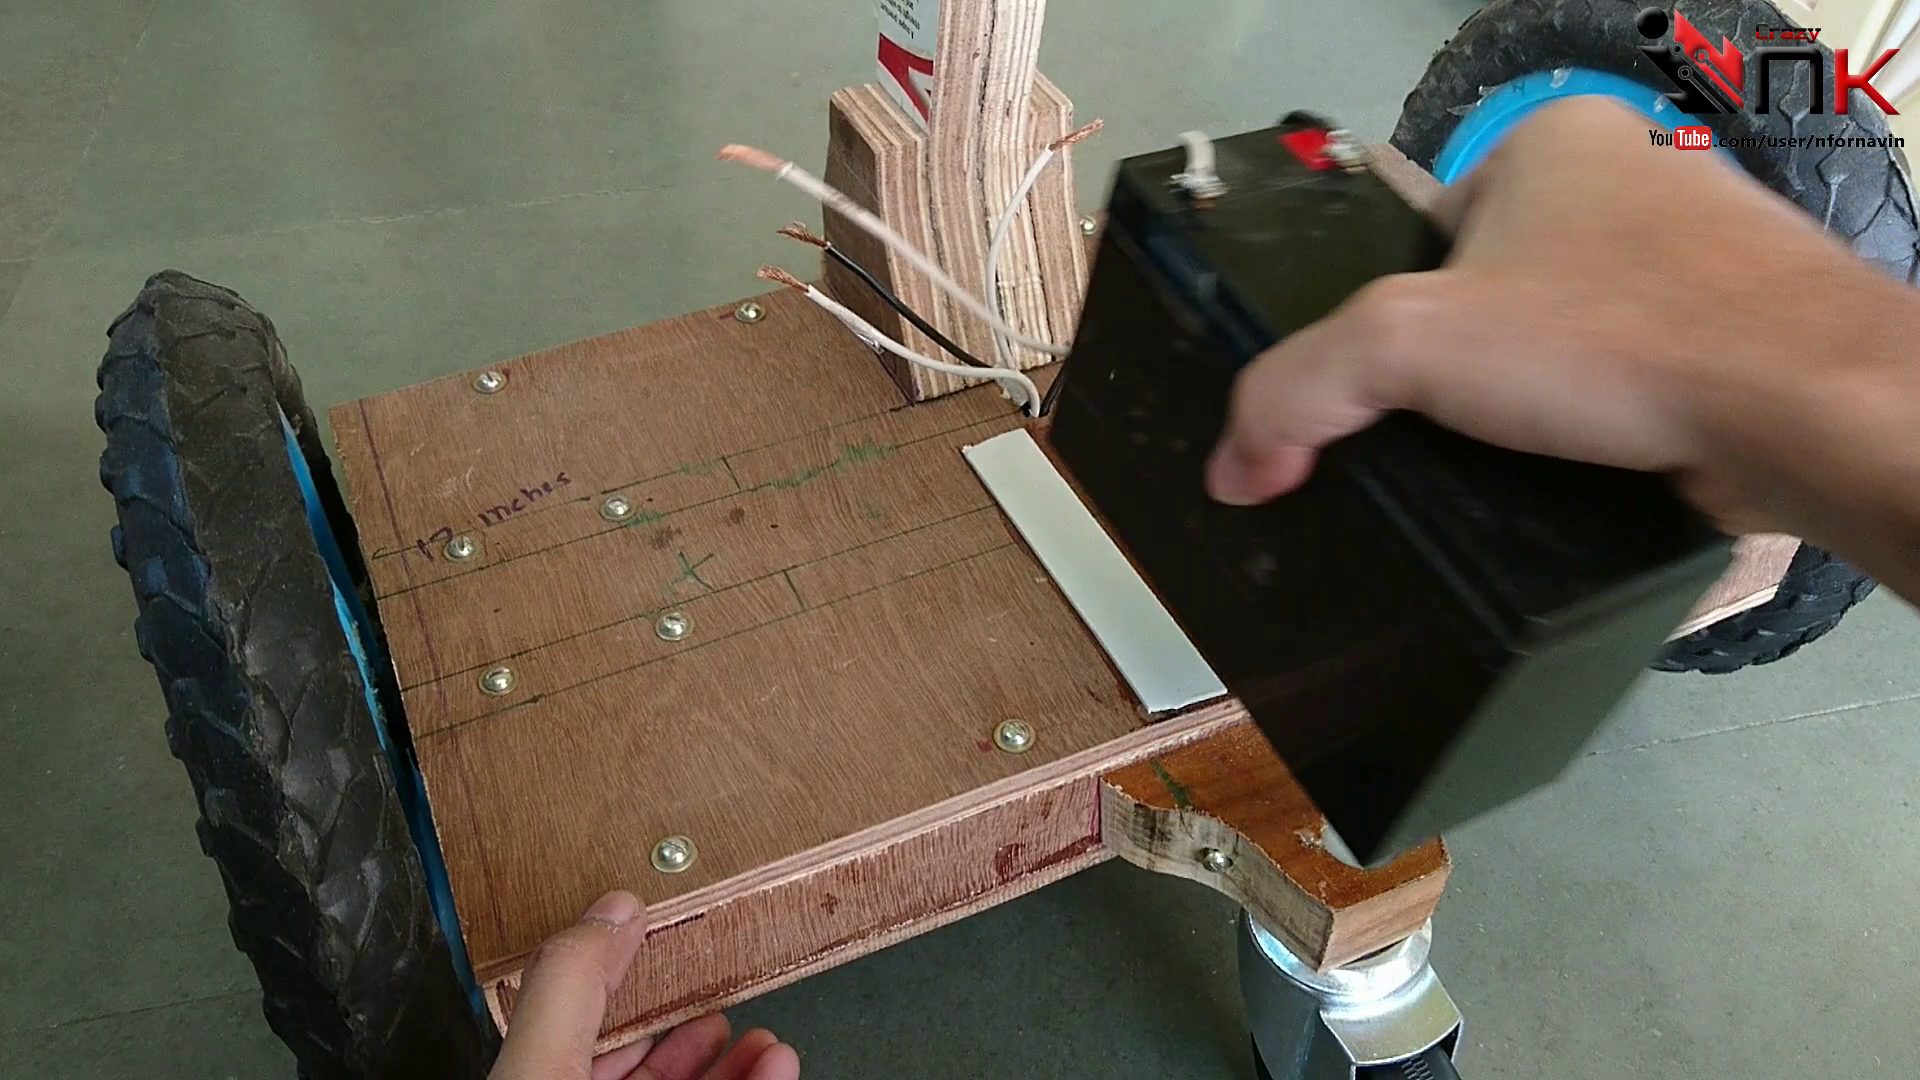
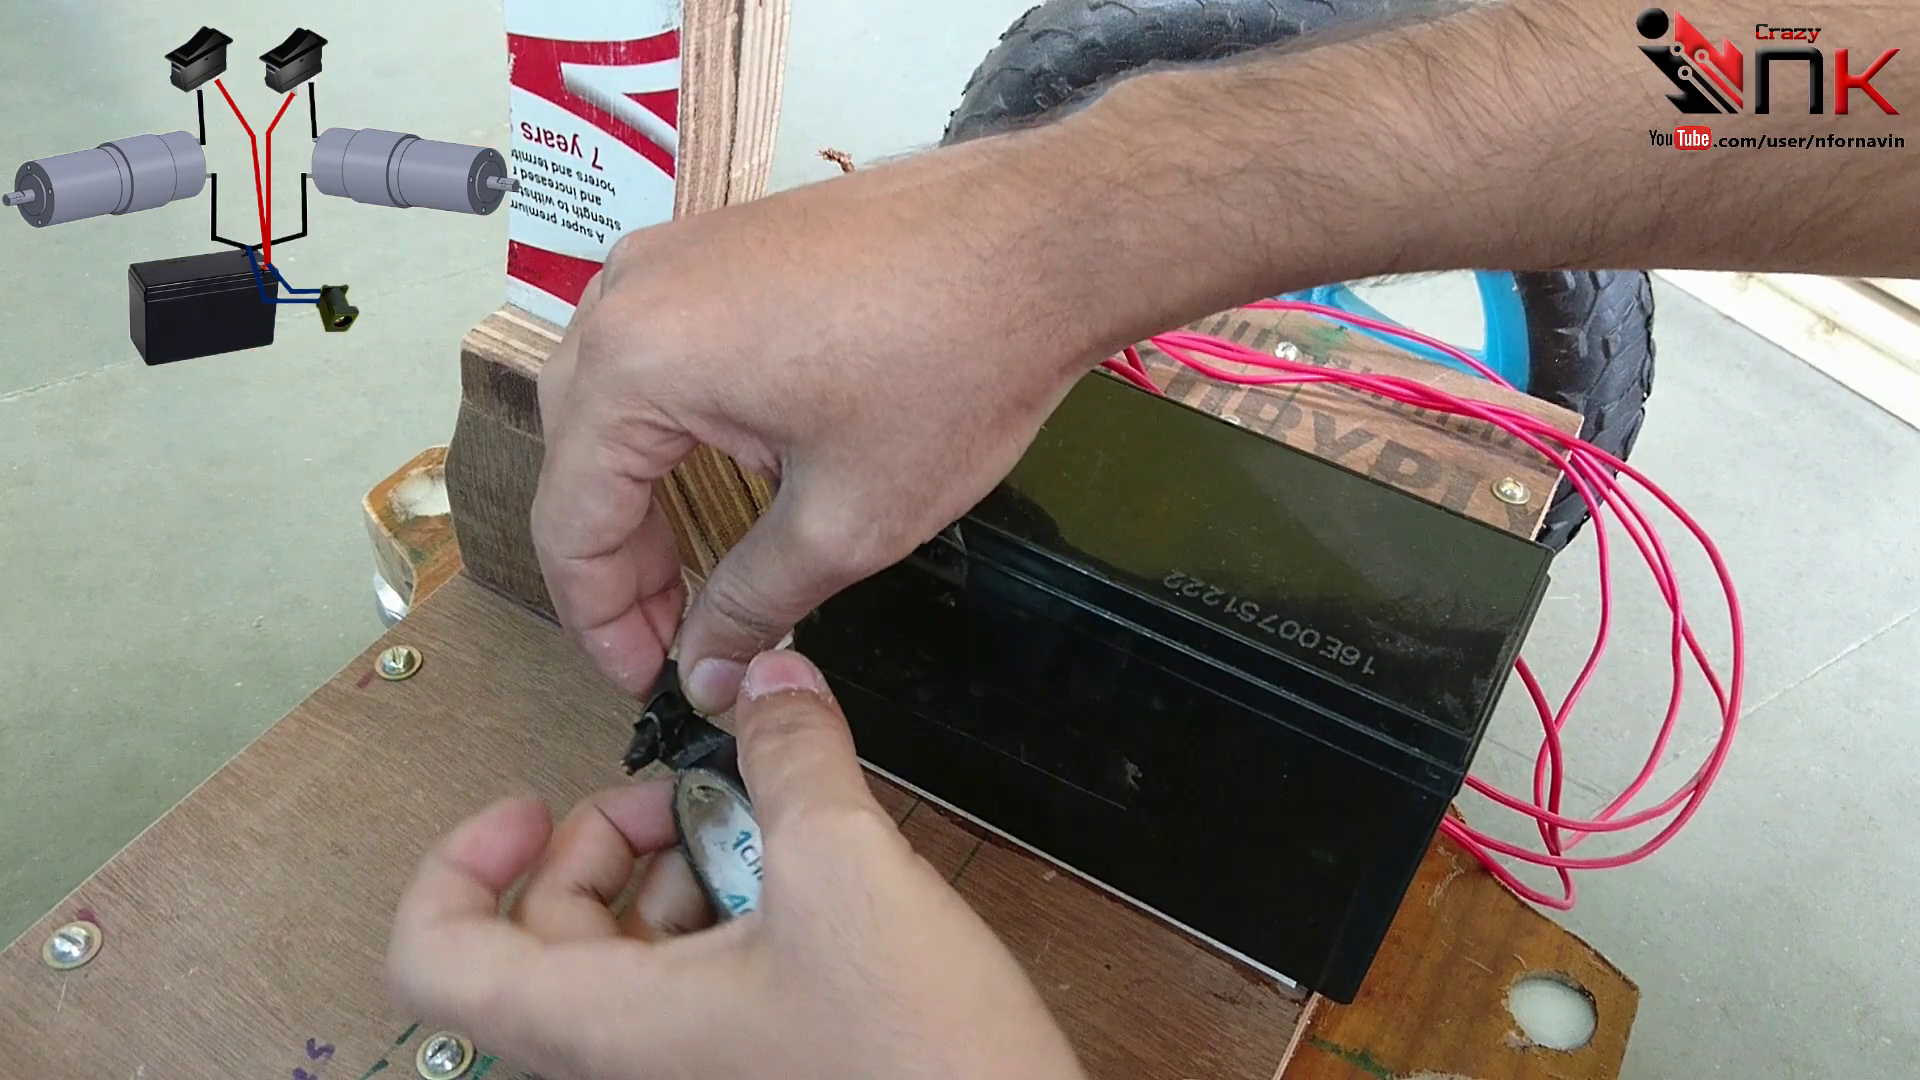
Place the 12V rechargeable battery securely on the main platform beside the steering column. Position it so it is firmly supported and allows the wiring to be routed neatly.
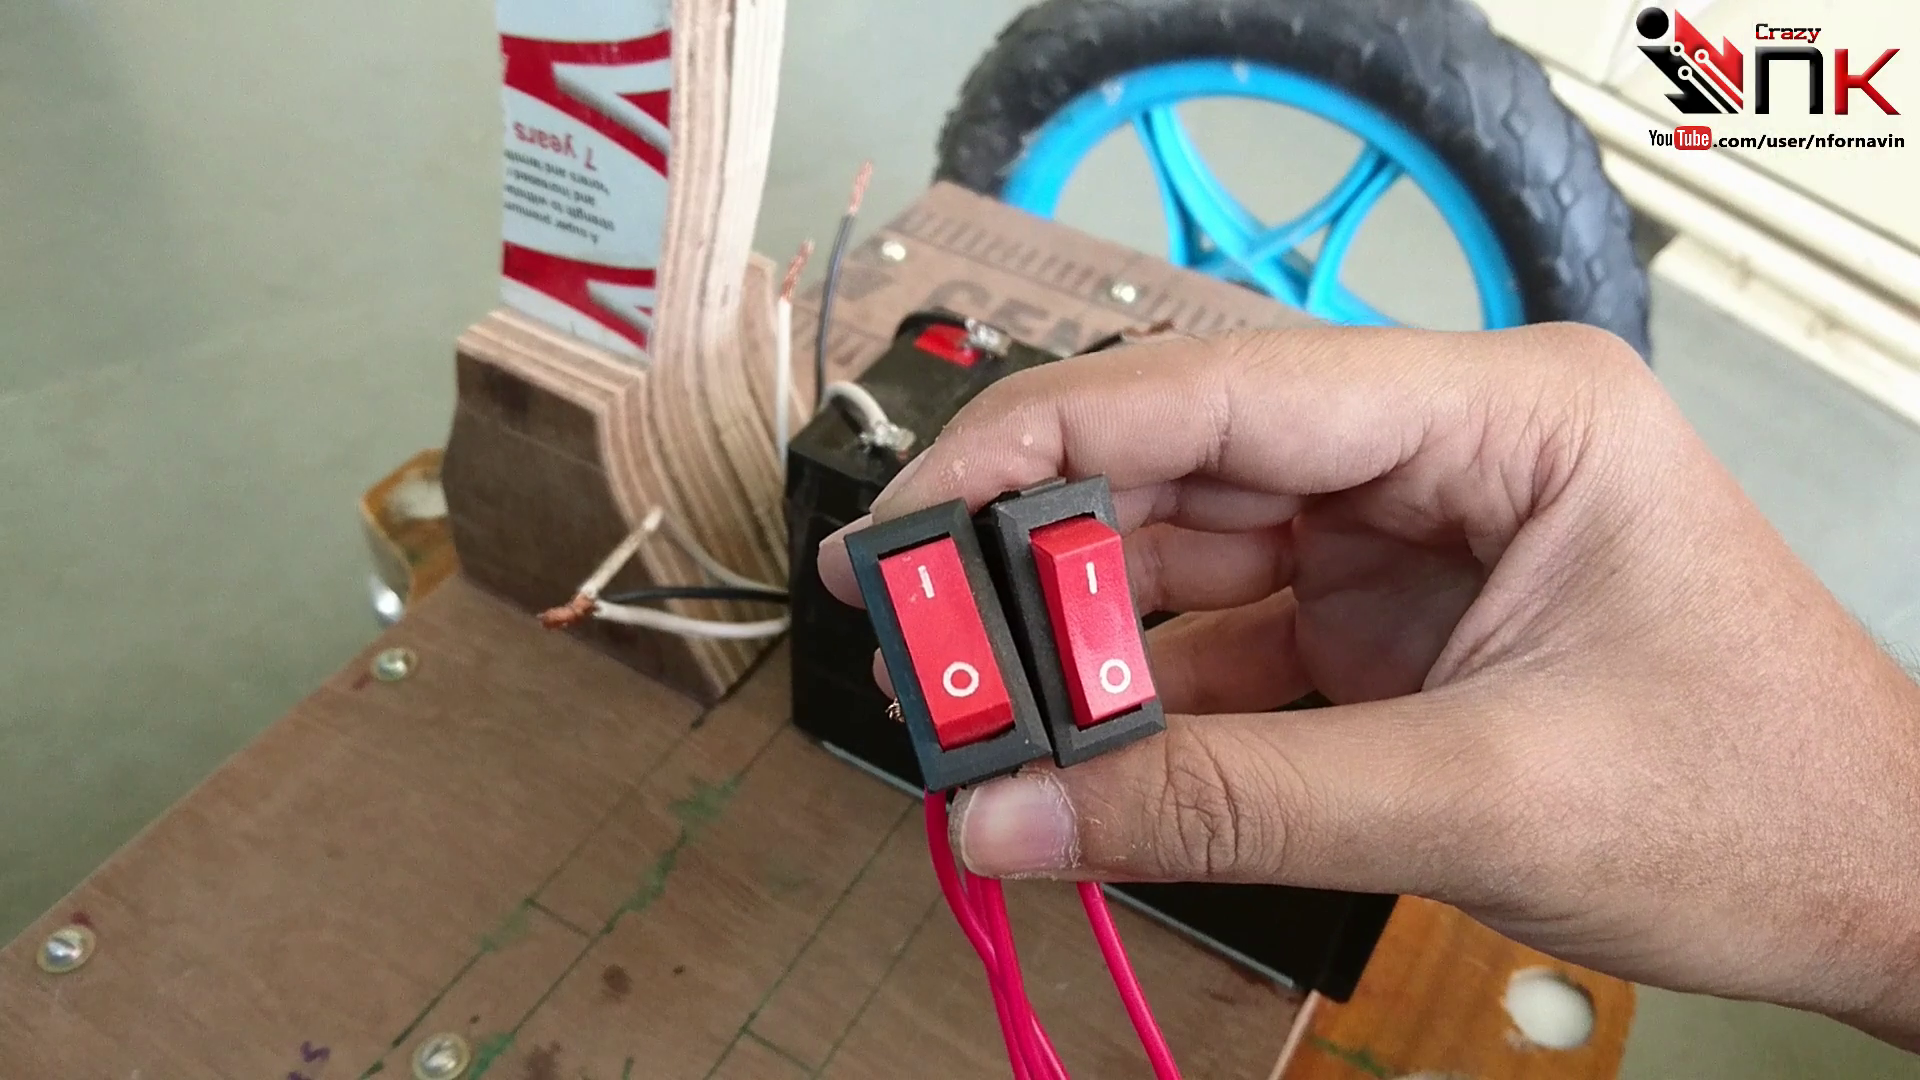
Connect the two high-torque DC geared motors to the momentary rocker switches according to your wiring diagram. The momentary switches allow each motor to be controlled independently, making it easy to drive and steer the hoverboard. Double-check that all positive and negative connections are correct before connecting the battery.
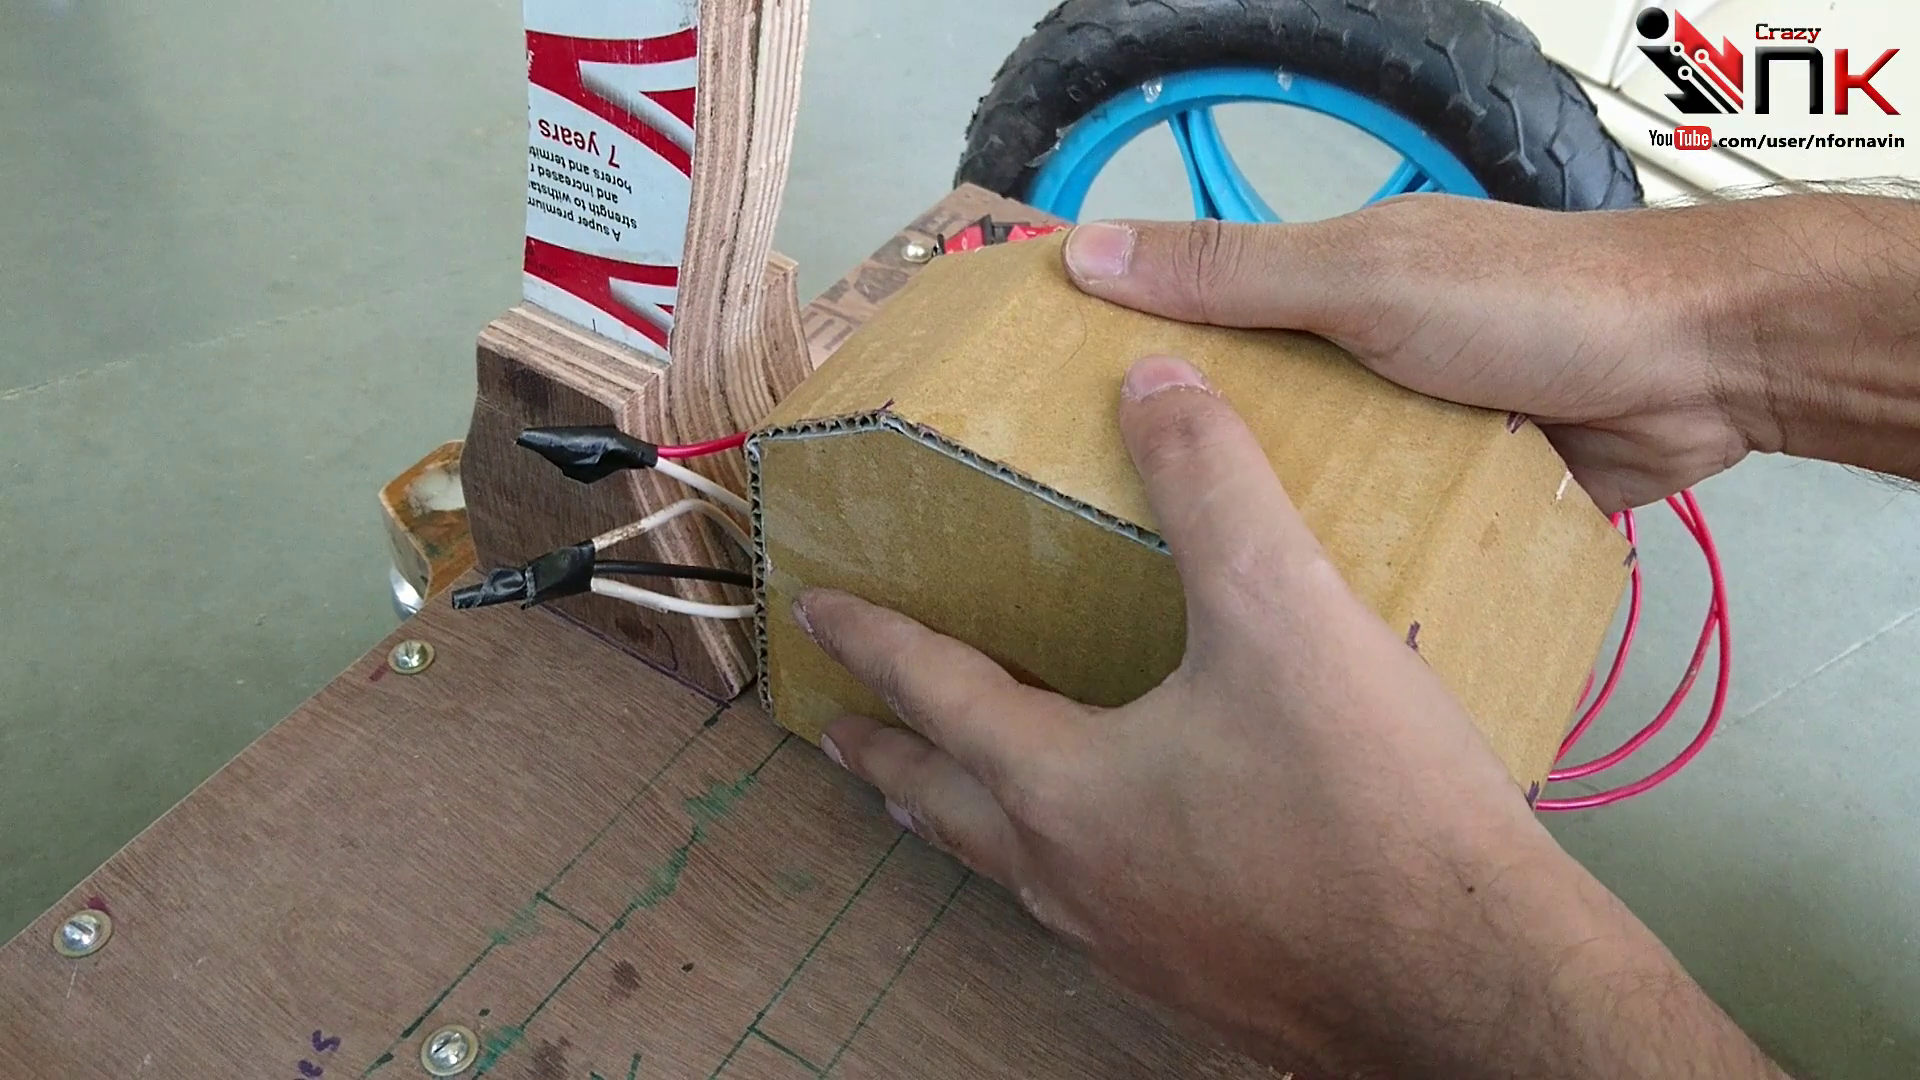
Once the wiring is complete, insulate every exposed wire joint using heat shrink tubing or high-quality electrical tape to prevent short circuits and improve reliability. Use cable ties to keep the wires organized and away from the wheels and other moving parts.
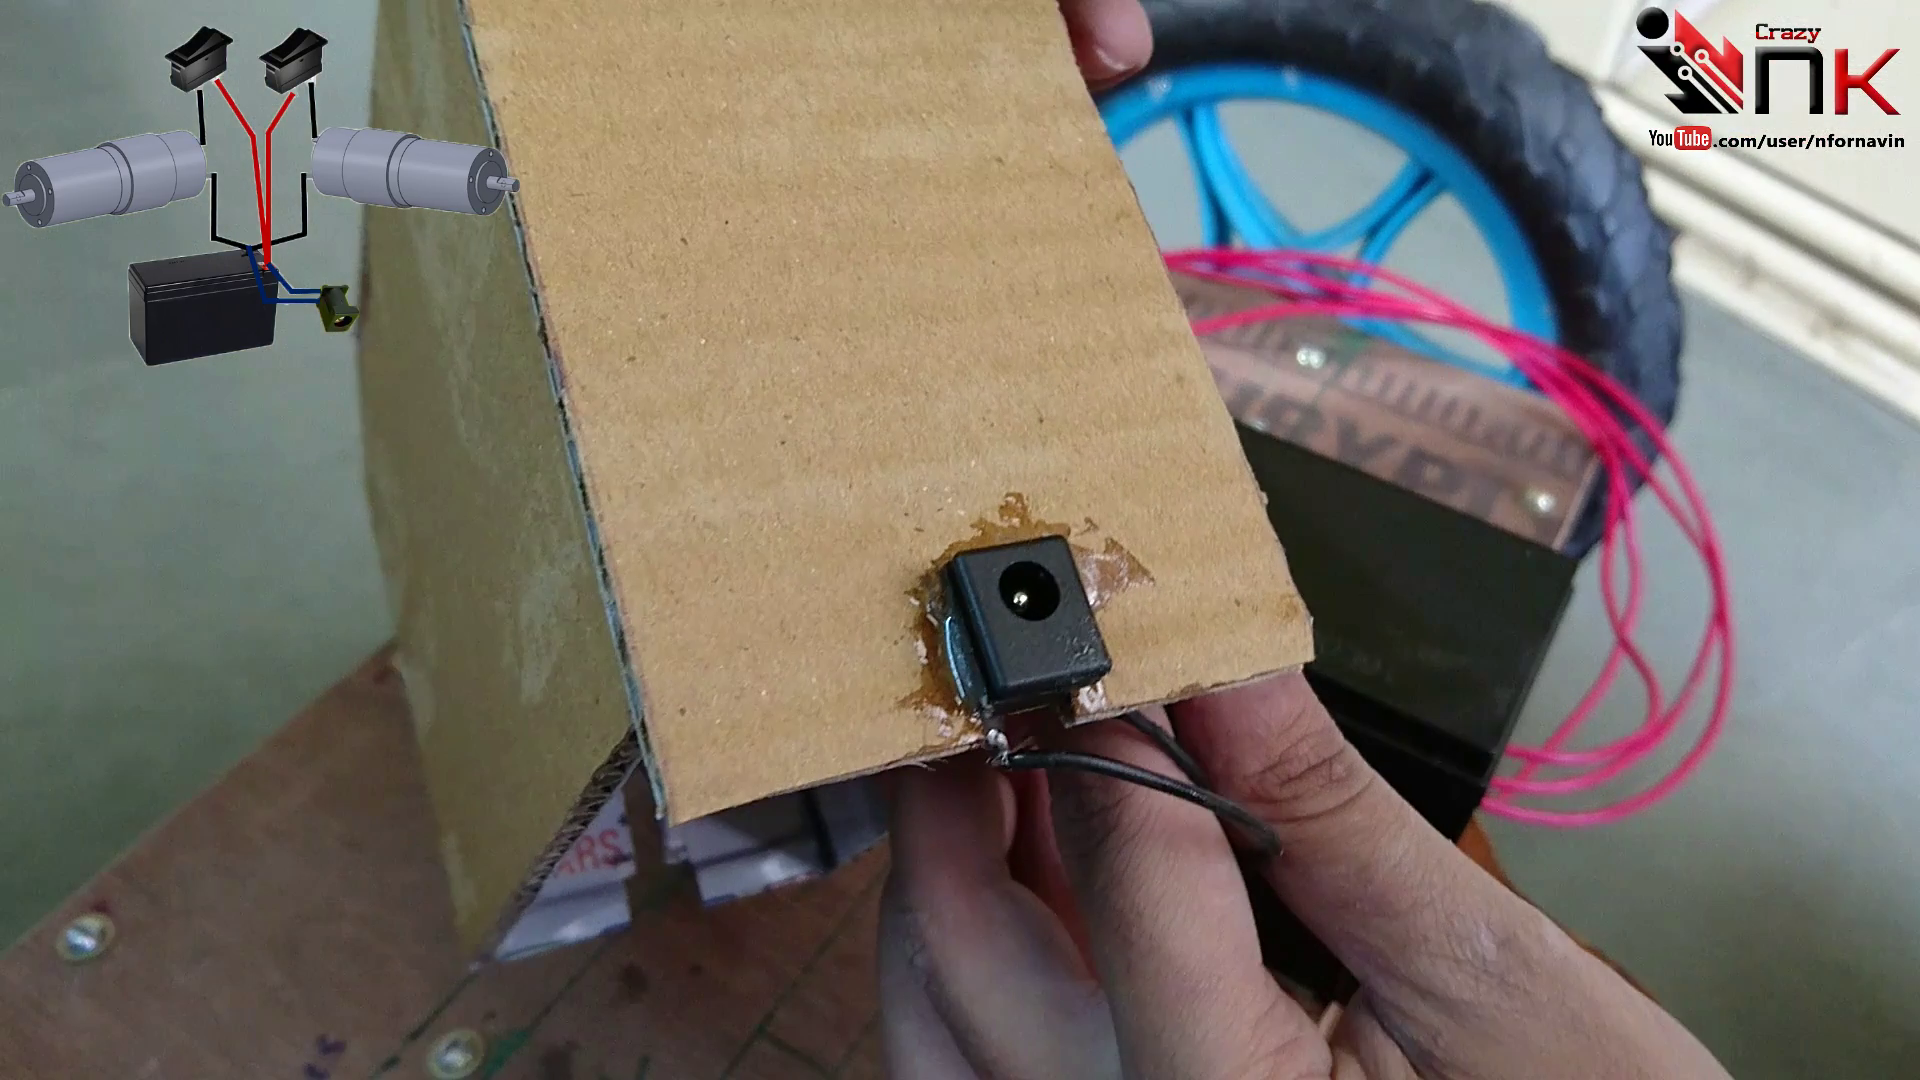
To protect the electrical components, install a custom enclosure over the battery and wiring. In this build, a lightweight cardboard cover was used, but you can also use plywood, acrylic, or plastic for a more durable enclosure. Finally, mount a DC barrel charging jack on the side of the enclosure to provide a convenient external charging port, allowing the battery to be recharged without opening the cover.
Final Control Setup and Testing
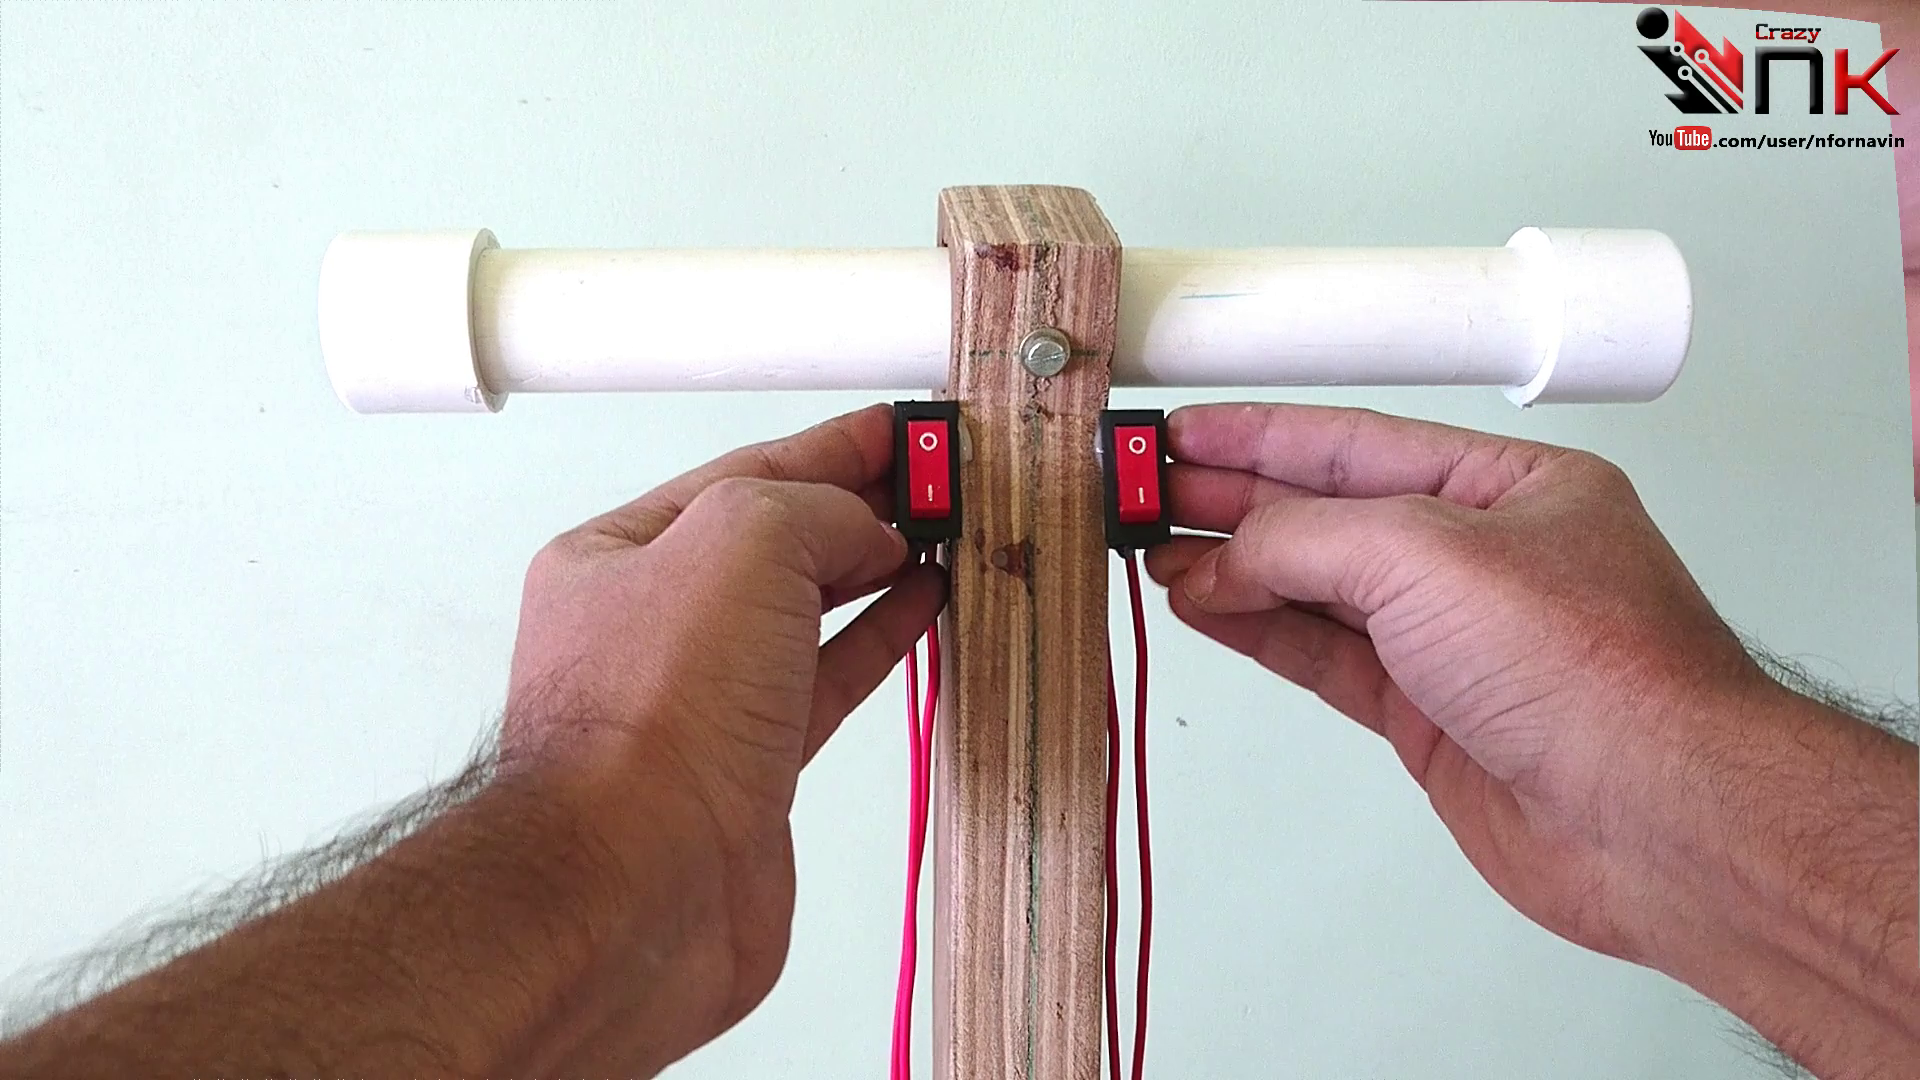
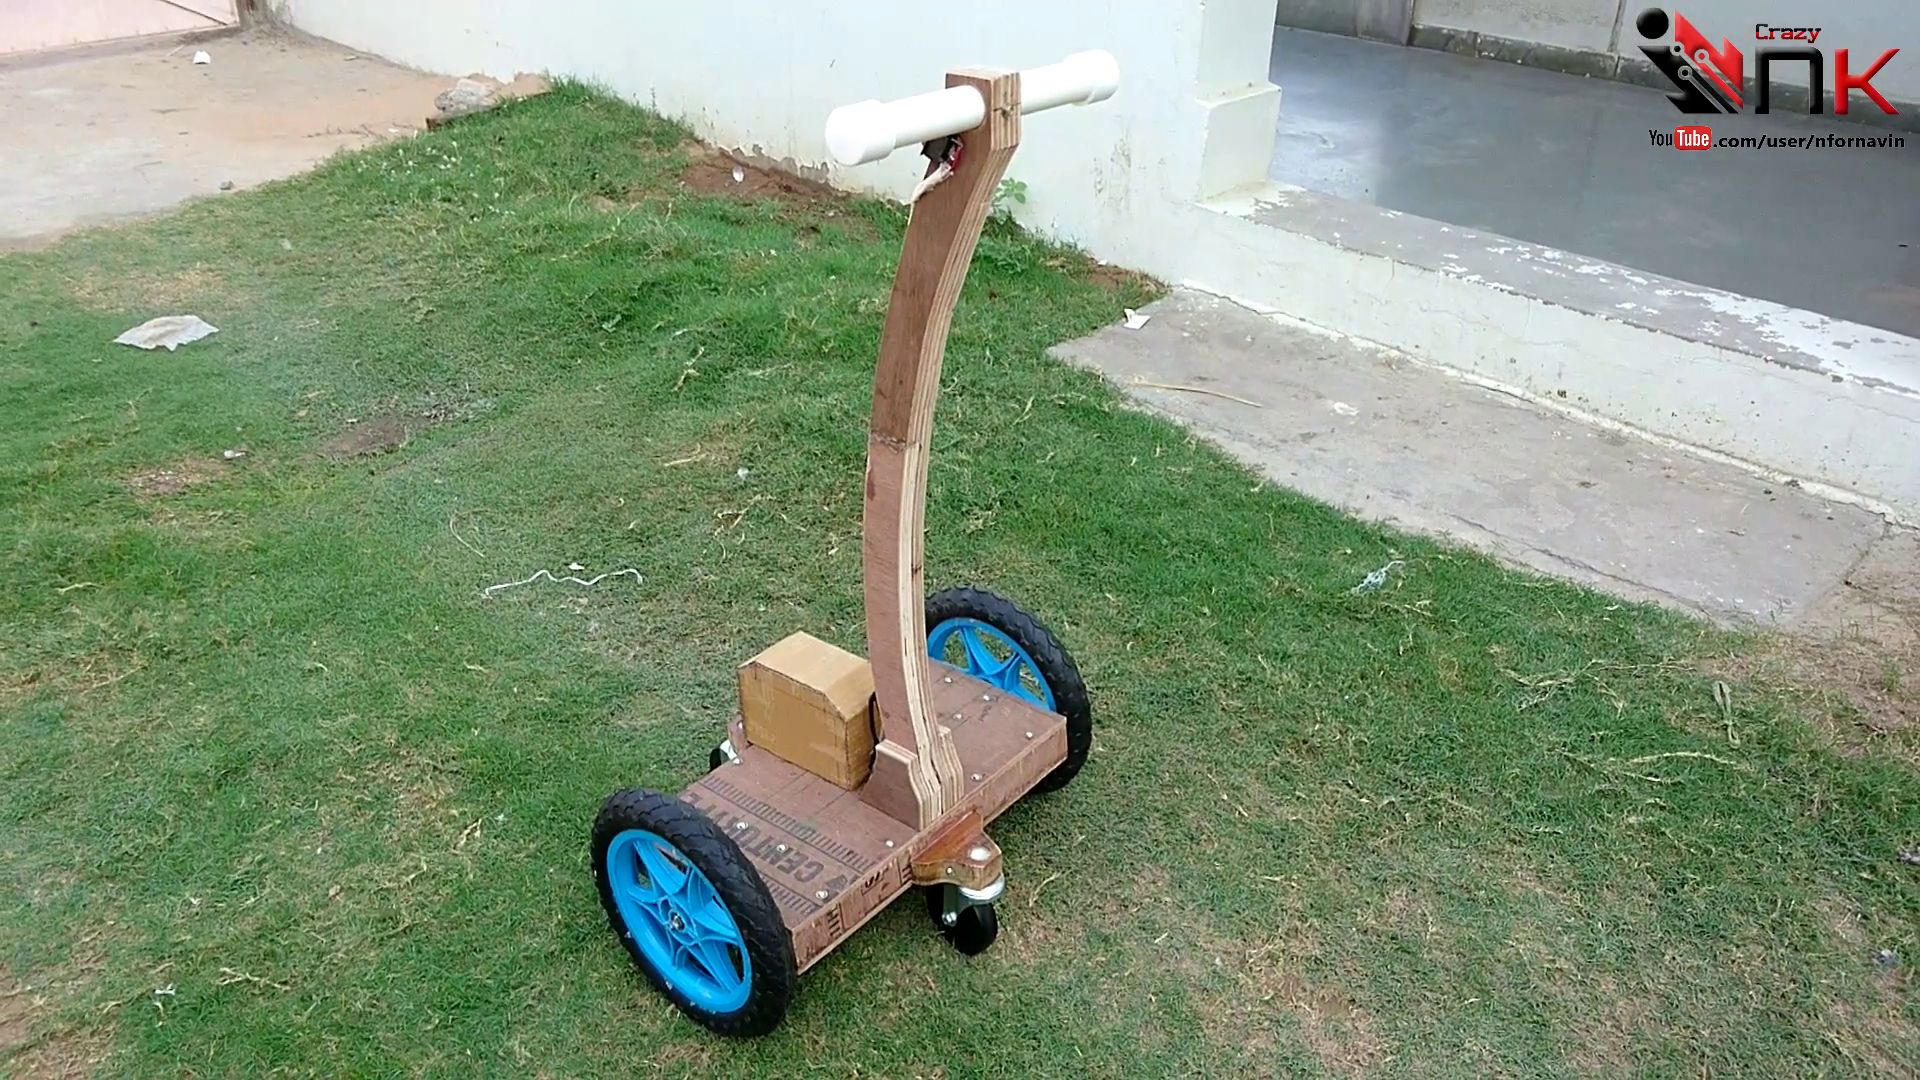
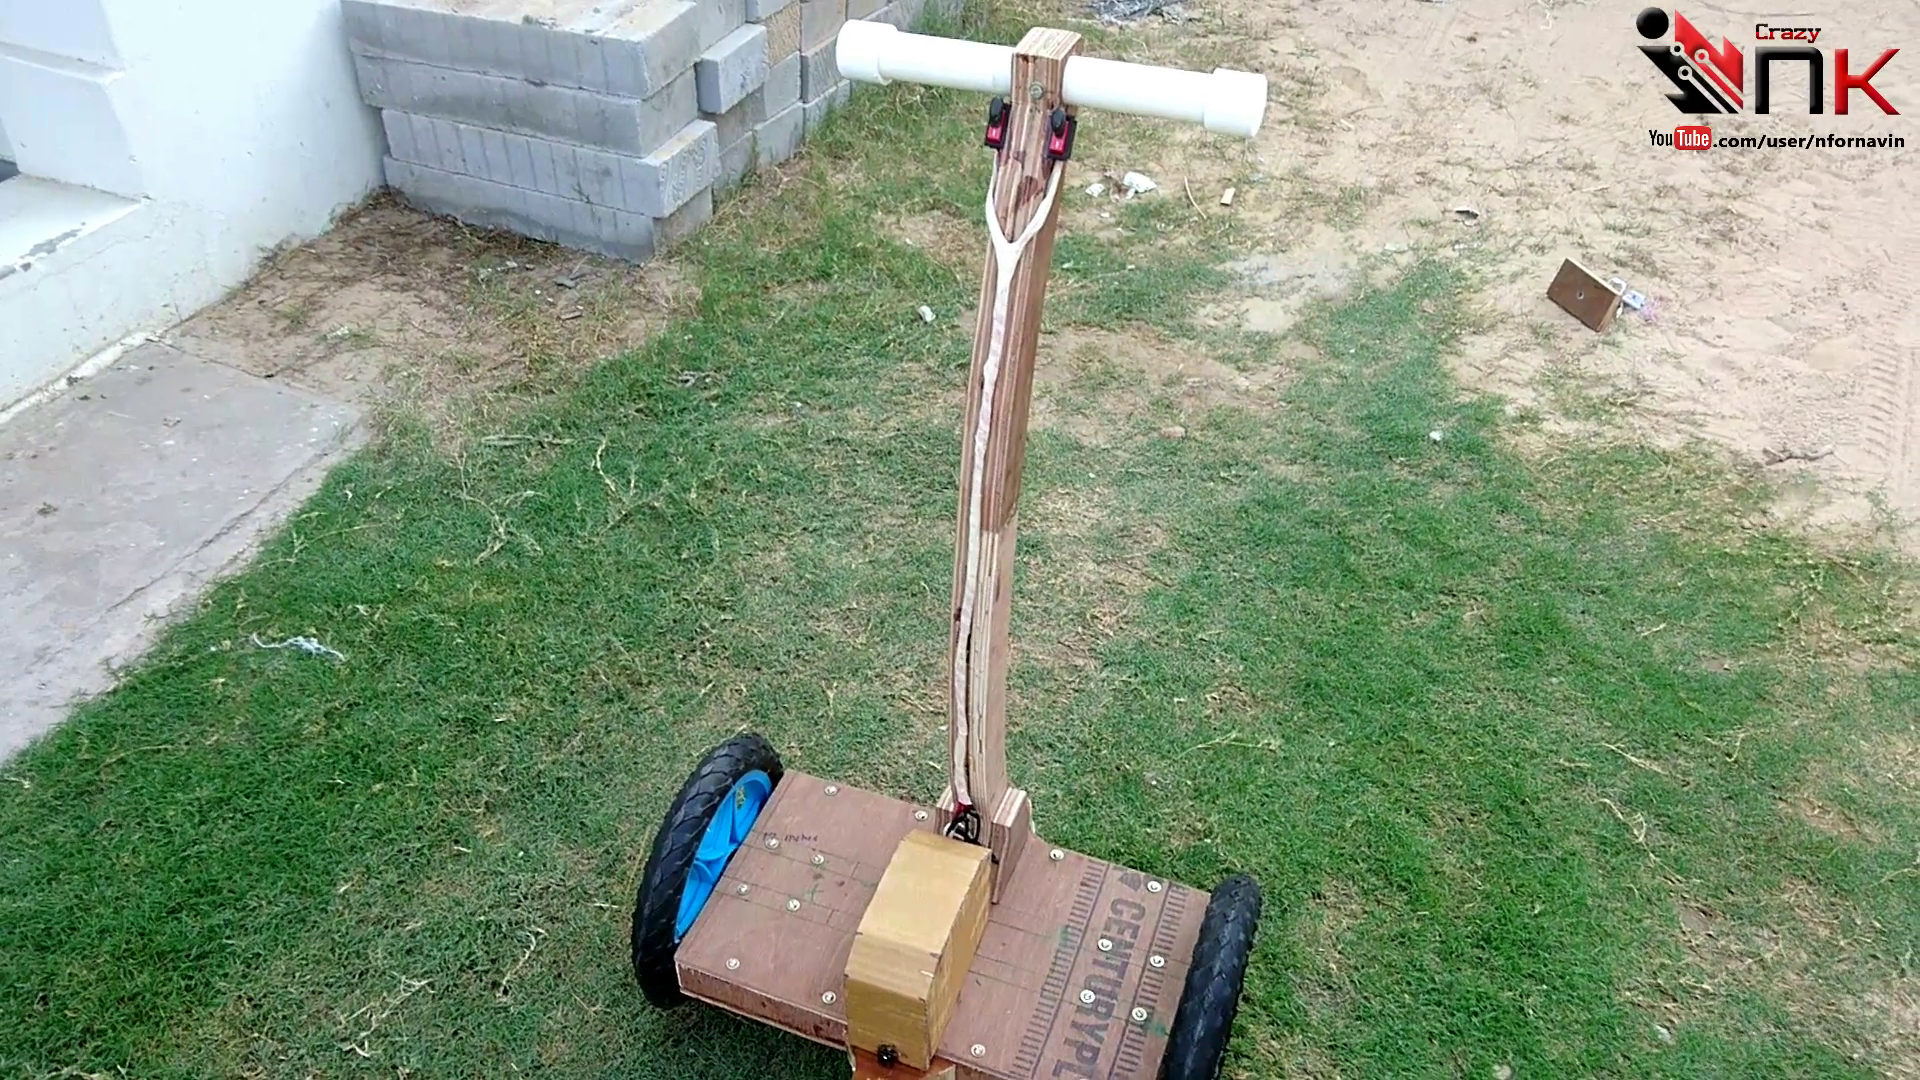
Secure the two control switches on the upper section of the wooden stem, just below the PVC handlebars, so they can be comfortably reached with your thumbs while riding. Route and connect the long control wires from the battery box along the steering column up to these handlebar-mounted switches, ensuring all connections are tight and properly insulated.
Once the control system is fully integrated, place the scooter on a flat, level surface and carefully test the drive response. Check forward and reverse operation, verify smooth motor control, and confirm that both switches respond correctly.
Your DIY battery-powered Segway-style scooter is now fully assembled and ready for its first test drive!
Final Inspection and Ride Testing
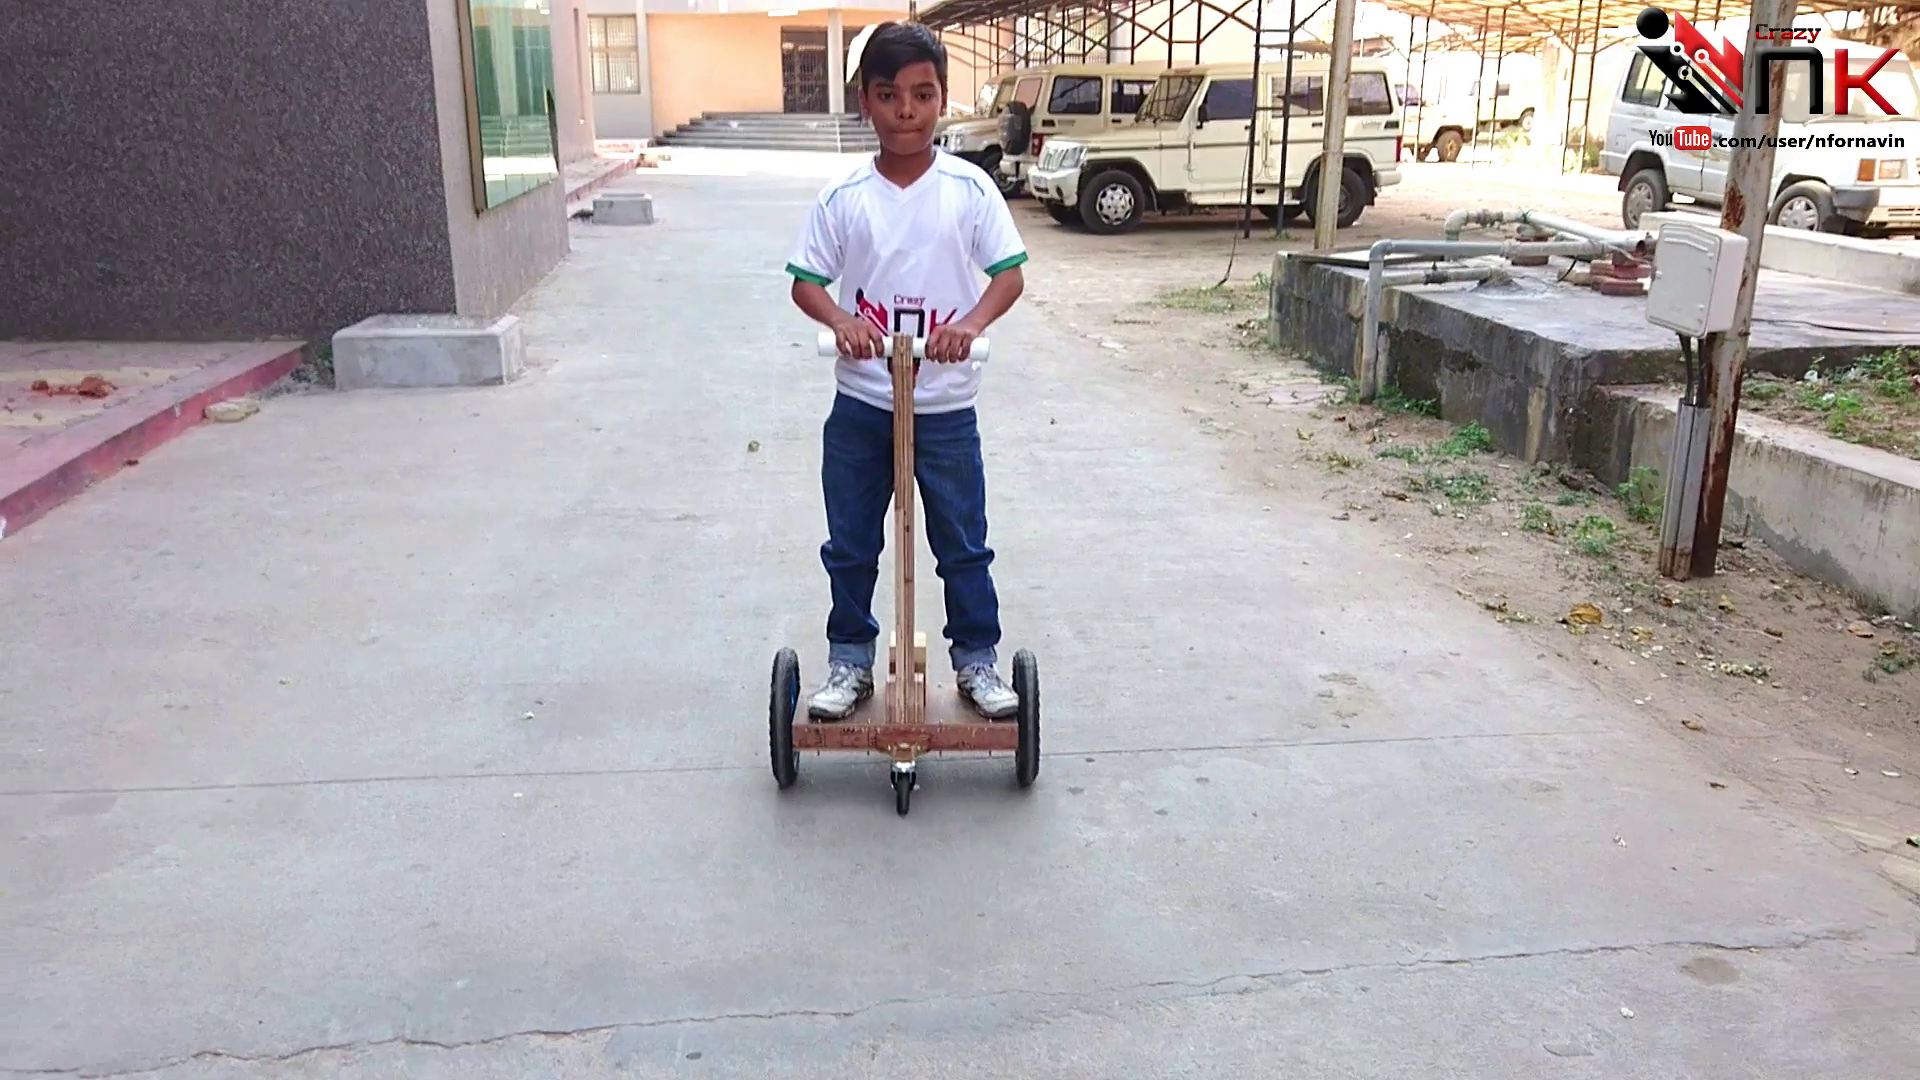
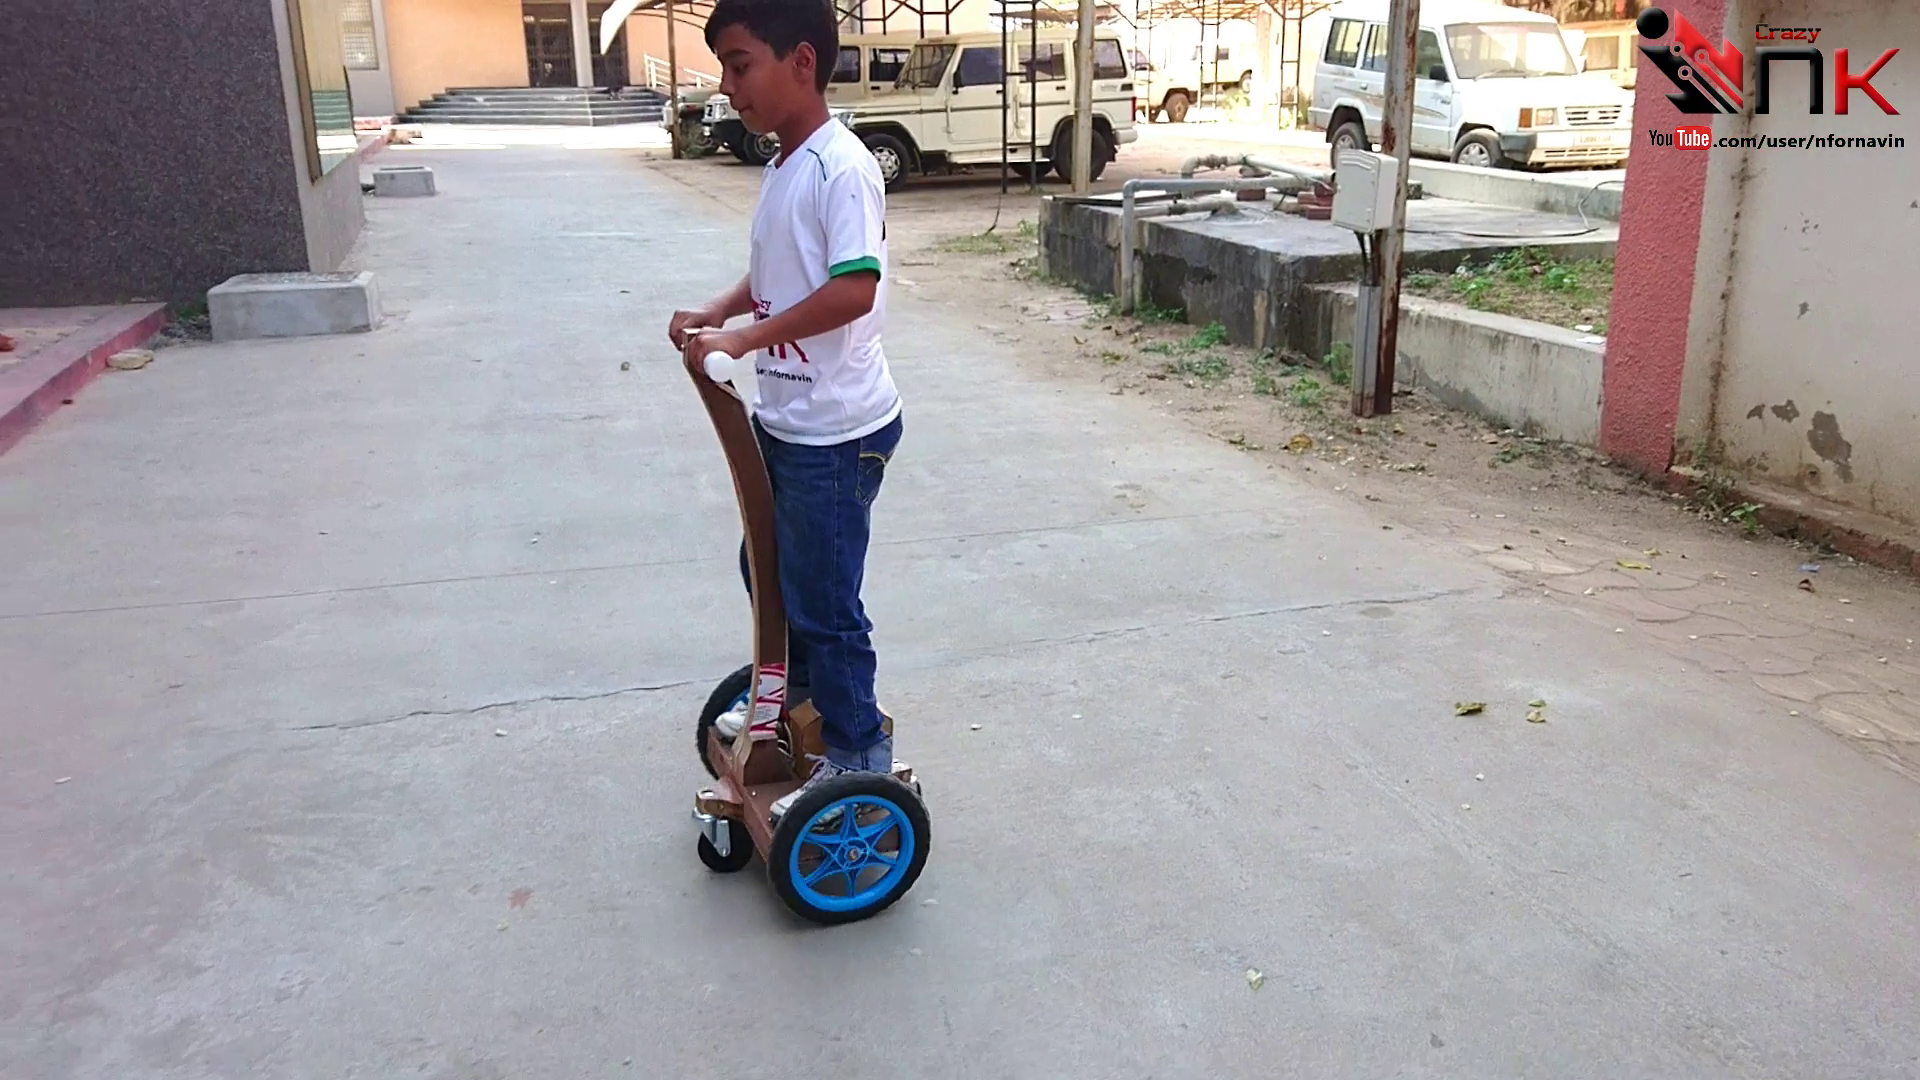
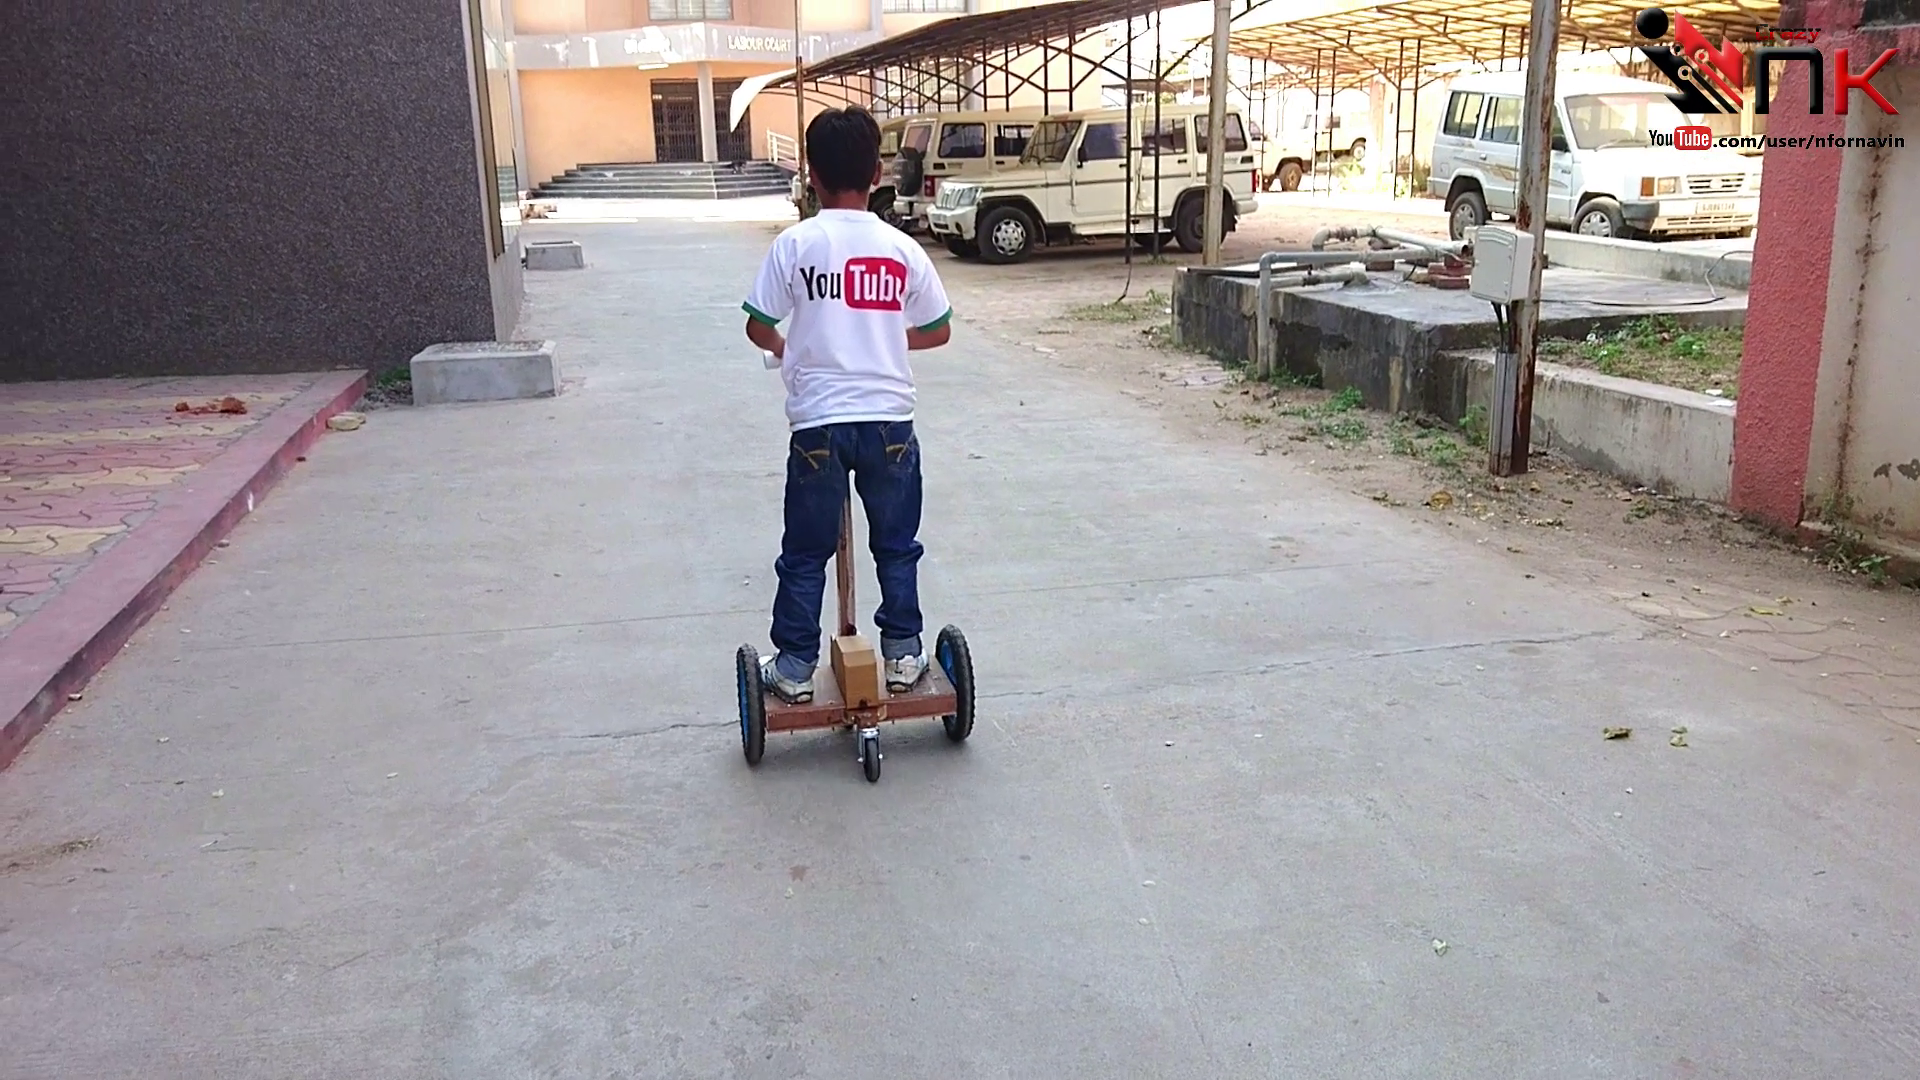
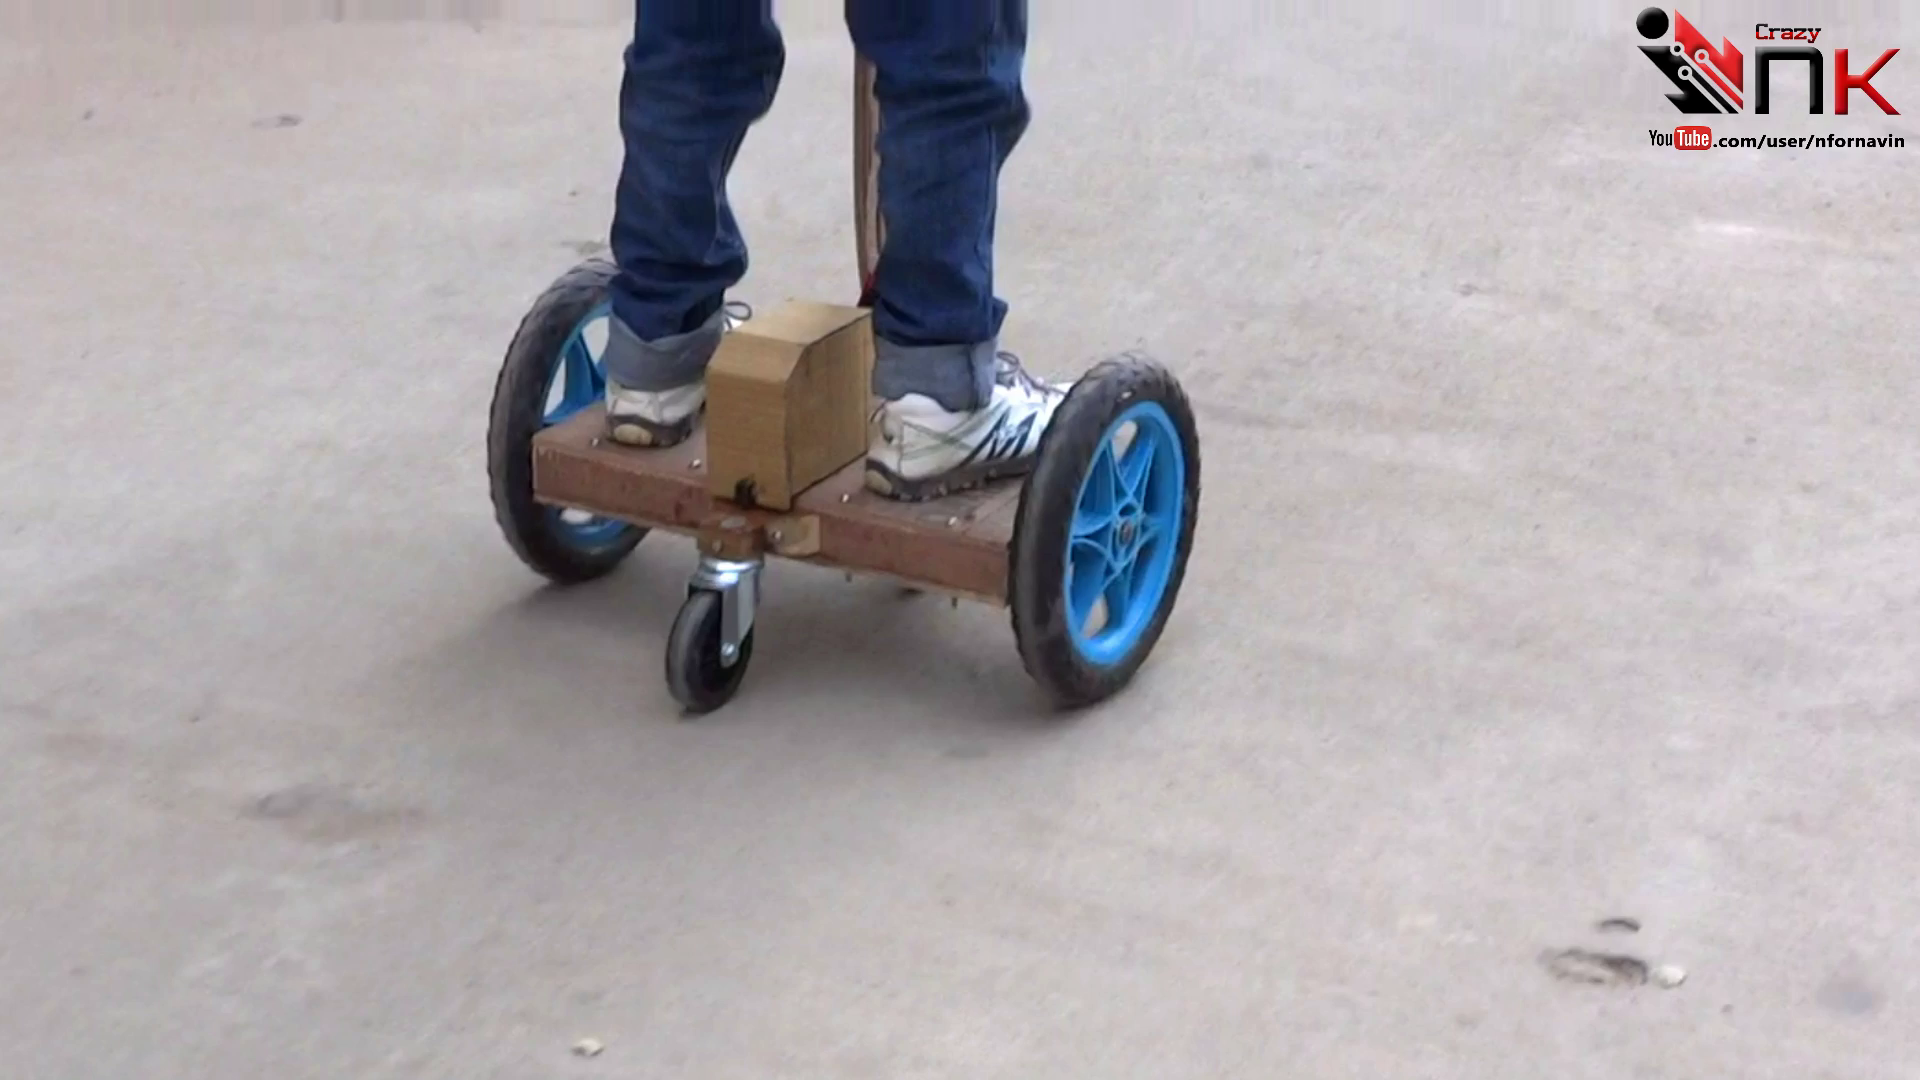
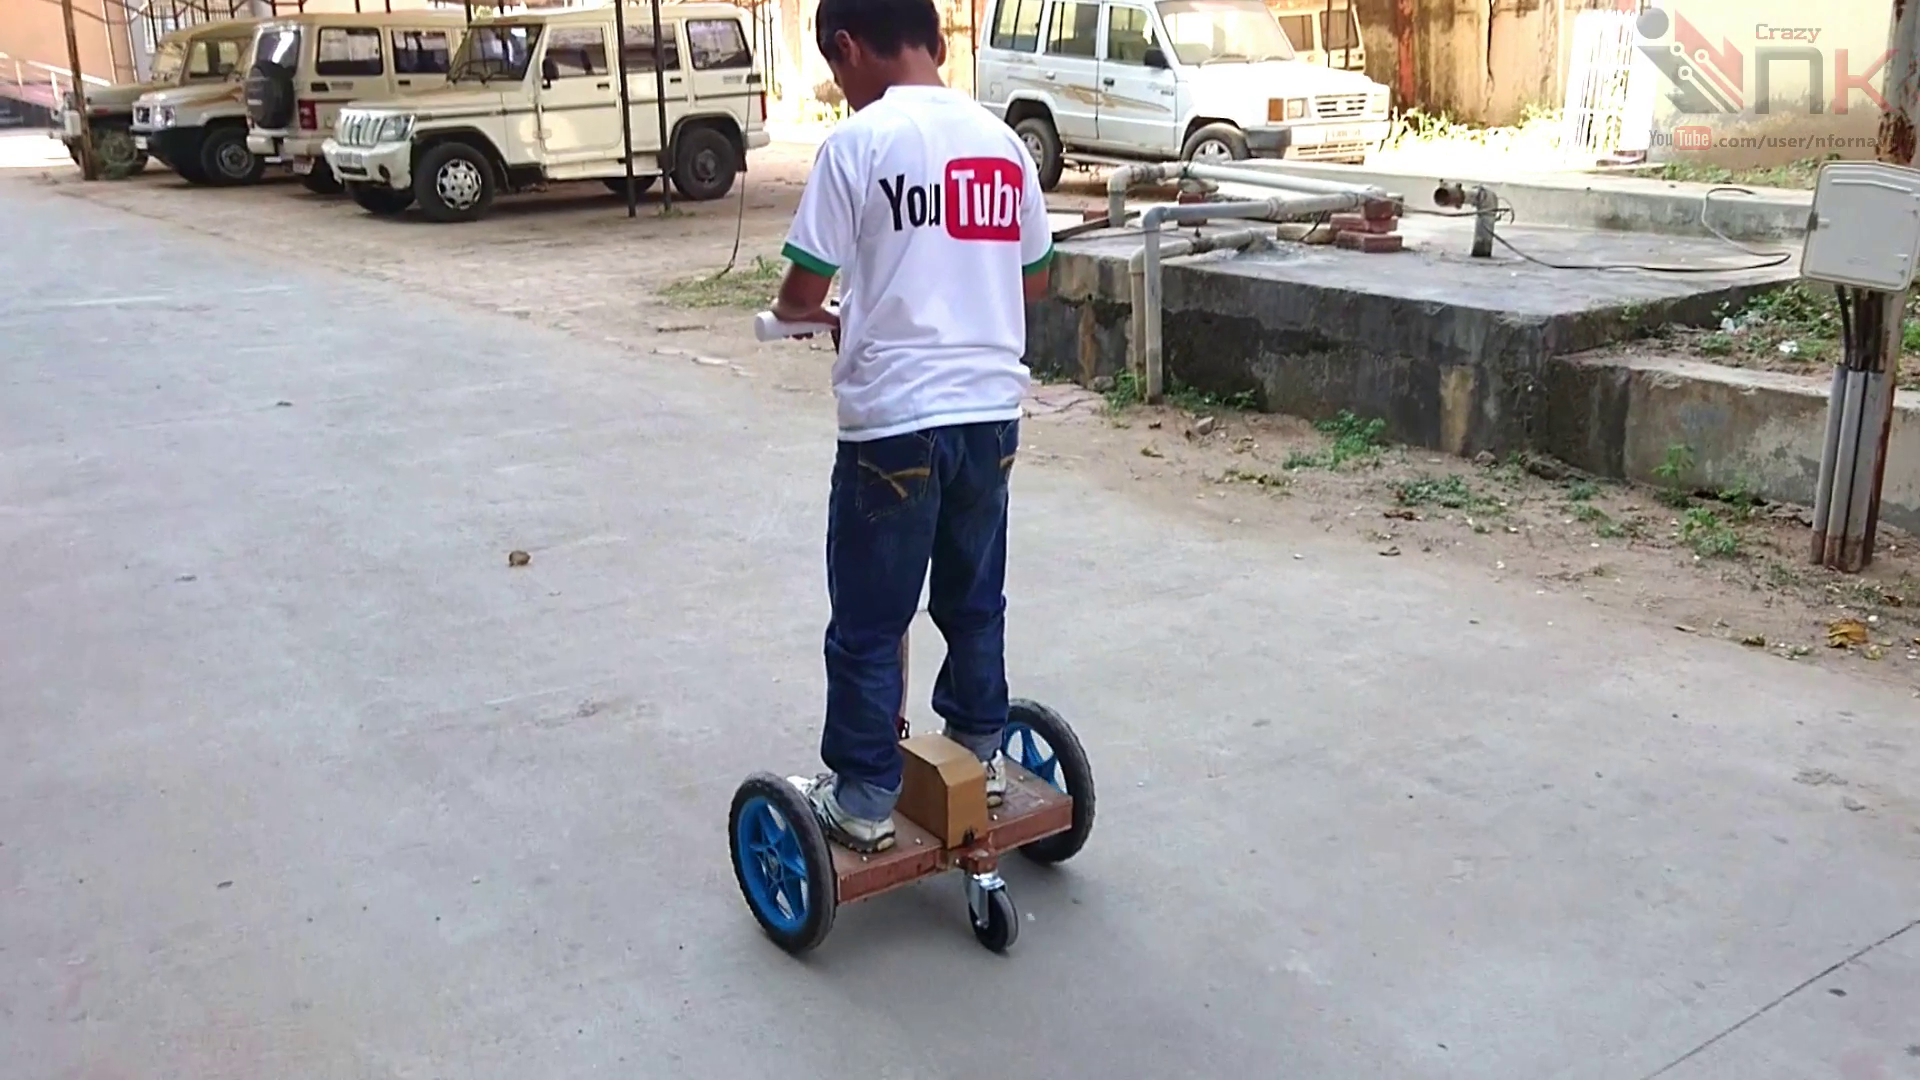
Before riding, carry out a quick safety check to ensure all bolts, joints, and structural parts are firmly tightened and that every electrical connection is properly insulated and secure.
Choose a wide, flat, and open outdoor area for testing with no obstacles nearby. Stand steadily on the wooden platform, hold the PVC handlebars firmly, and gently press the thumb switches to activate the high-torque drive system.
Start slowly to get a feel for the response and balance control. Once everything operates smoothly, you can Enjoy cruising around on your custom-built, battery-powered mechanical Segway!