DIY Bleach Space Shirt


A couple of years ago I learned how to make custom shirts by using bleach. I've made lots of shirts since then and perfected my process. It's so much fun since you can make any design that you want!
Just the other day one of my favorite shirts got a stain on it. I tried to wash it out but I was unsuccessful. So I decided to bleach it to hide the stain.
In this instructable I will to share my method for shirt bleaching and help you make your very own bleach space shirt!
Supplies
You will need:
- T-shirt (any color but white)
- t-shirt shaped cardboard
- planet template
- scissors
- pencil
- freezer paper
- bleach
- spray bottle
- gloves
- old rags
- iron
Cut Out Template


First you will make your template.
For this step you will need your freezer paper, pencil, scissors, and a print out of the planet shape PDF.
Take a piece of freezer paper that is at least as big as the planet shape. Notice that one side of the paper is waxy and the other side feels like regular paper. Make sure to place it with the wax side down so that you are tracing on the papery side. Once you trace the planet shape onto the freezer paper, cut it out with your scissors. I used a precision knife for the small parts but scissors will work too.
Downloads
Iron on Template


For this step you will need a cardboard shirt shape, an iron, the paper template and your t-shirt.
You can buy cardboard shirt shapes at craft stores but I just made my own by tracing my shirt onto a box. The cardboard will keep the beach from soaking though to the back side of the shirt. It will also help hold the shirt nice and flat for bleaching.
For the shirt material I have found that 100% cotton works the best when bleaching but this shirt is actually 60% cotton and 40% polyester and it worked great too.
Turn on your iron. I like to put mine on hi. Then place your shirt over the cardboard shape and make sure it's smooth. Position your paper template on the shirt where you want it to be. I decided for right in the middle. Once it is hot, iron the template to the shirt. The wax on the back of the paper will stick to the shirt and hold it in place. Don't iron too long. It should only take a few seconds to melt the wax. If it seems like the wax isn't melting try turning up the heat on your iron.
Prepare Bleach


.jpg)
Now that your shirt is all ready it's time to prepare your bleach. For this step you will need a spray bottle, bleach, water and gloves.
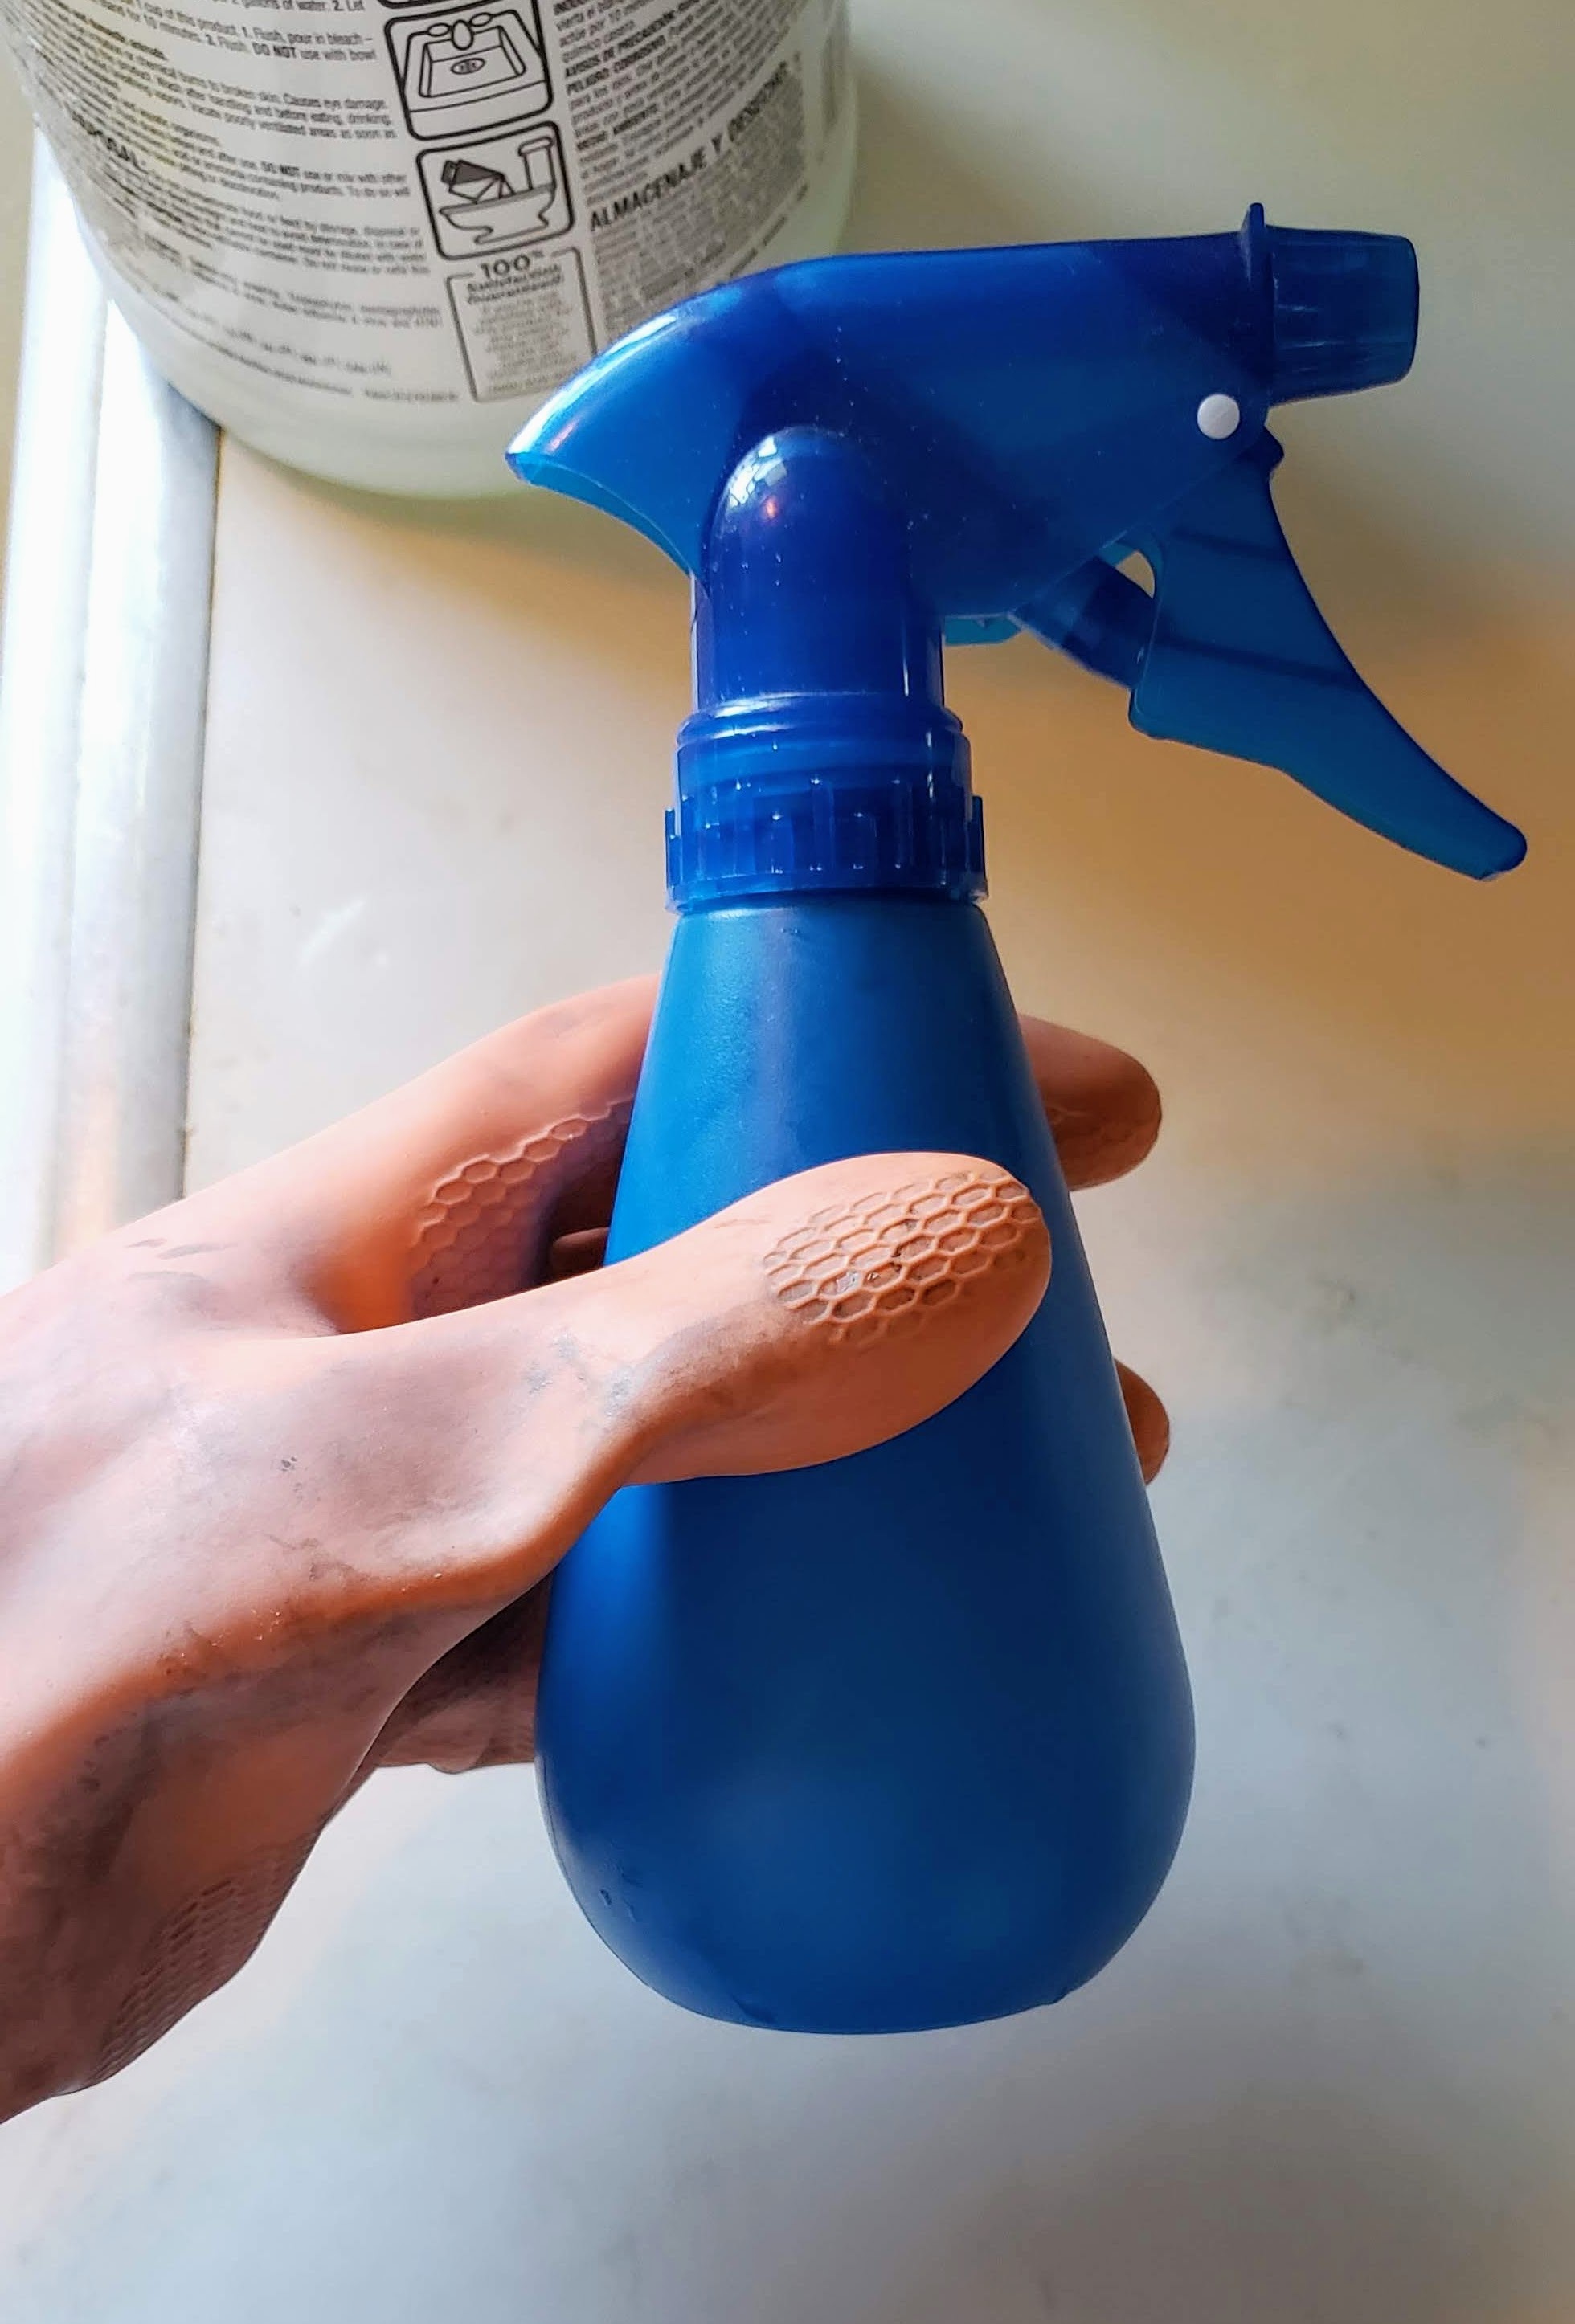
I find that a spray bottle with a mist setting works best for bleaching. I got mine at Walmart for 1$.
Always wear gloves when handling bleach!
With your gloves on add a 1:1 ratio of water and bleach to your spray bottle. Gently shake to mix.
Note: Make sure to thoroughly wash any utensils that come into contact with the bleach before using for food.
Spray Your Shirt


Now comes the fun part!
You will need your gloves, the bleach mixture, your shirt and some rags.
Note: When bleaching you may want to wear clothes that you don't care about. I have accidentally gotten bleach spots on some of my clothing that I was wearing.
I have discovered that bleaching a shirt really seems to work the best on a hot, sunny day. The hotter the better. I have done it on a cloudy day but it didn't seem to be as effective.
Take your supplies outside and find a sunny spot. Put your gloves on and and have some rags handy. Now gently mist your shirt with the bleach mixture. Only spray a little at a time, it only takes a tiny bit. Then take your rag and gently dab right around the template. This keeps the bleach from soaking under the template and ruining your design. Wait a few minutes and watch your shirt begin to lighten.
Continue to spray, dab and wait until your shirt is bleached to your liking. If you want your shirt to look more like mine, spray in a diagonal line across the shirt.
Wash and Dry


Remember to keep your gloves on for this step.
As soon as your shirt is bleached as much as you want, take it off the cardboard and to a sink. Rinse it until you can't smell the bleach anymore. Take any rags you used for bleach and rinse them too. Peel off the paper template.
Now take your shirt and rags and run them through the washer and dryer by themselves. Once your shirt is dry you can try it on!
After your initial wash there's no need to give your shirt any special treatment. You can wash and dry it like normal with other clothes.
I hope you enjoy my instructable. Thanks for reading!