DIY Bubble Machine
.png)
After a long shower, the last mug of water left in the bucket, your eyes on the soap and hands ever ready to grab it!!
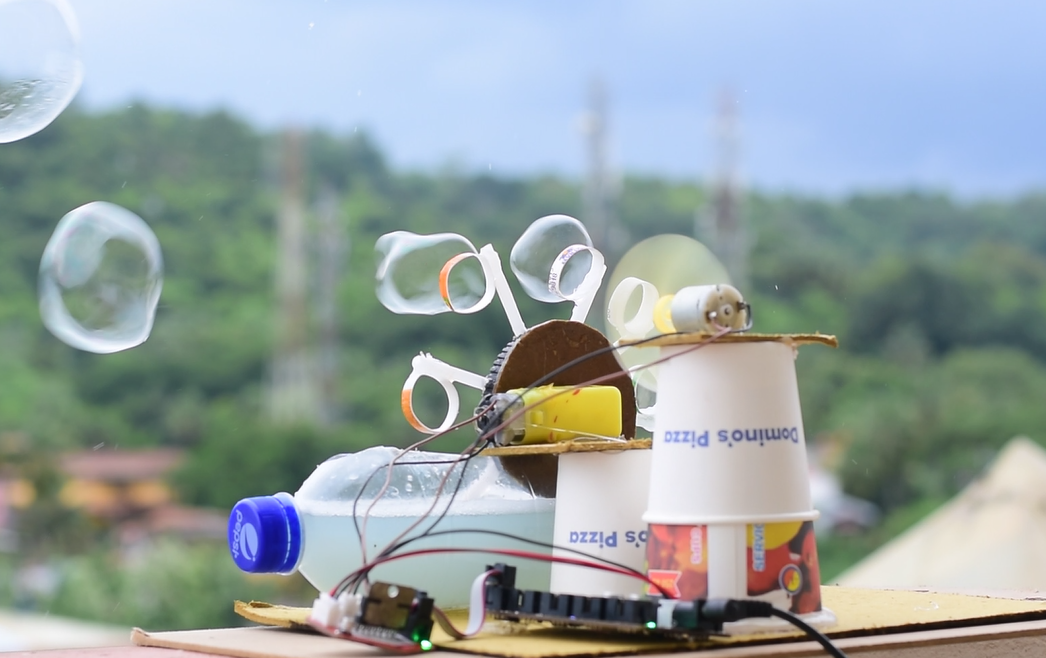
Making soap bubbles and playing with them feels so heavenly and now, building your own bubble machine is a really easy and fun project. It can be made from almost anything, glued and screwed together with an end result that will keep the kids amused for hours.
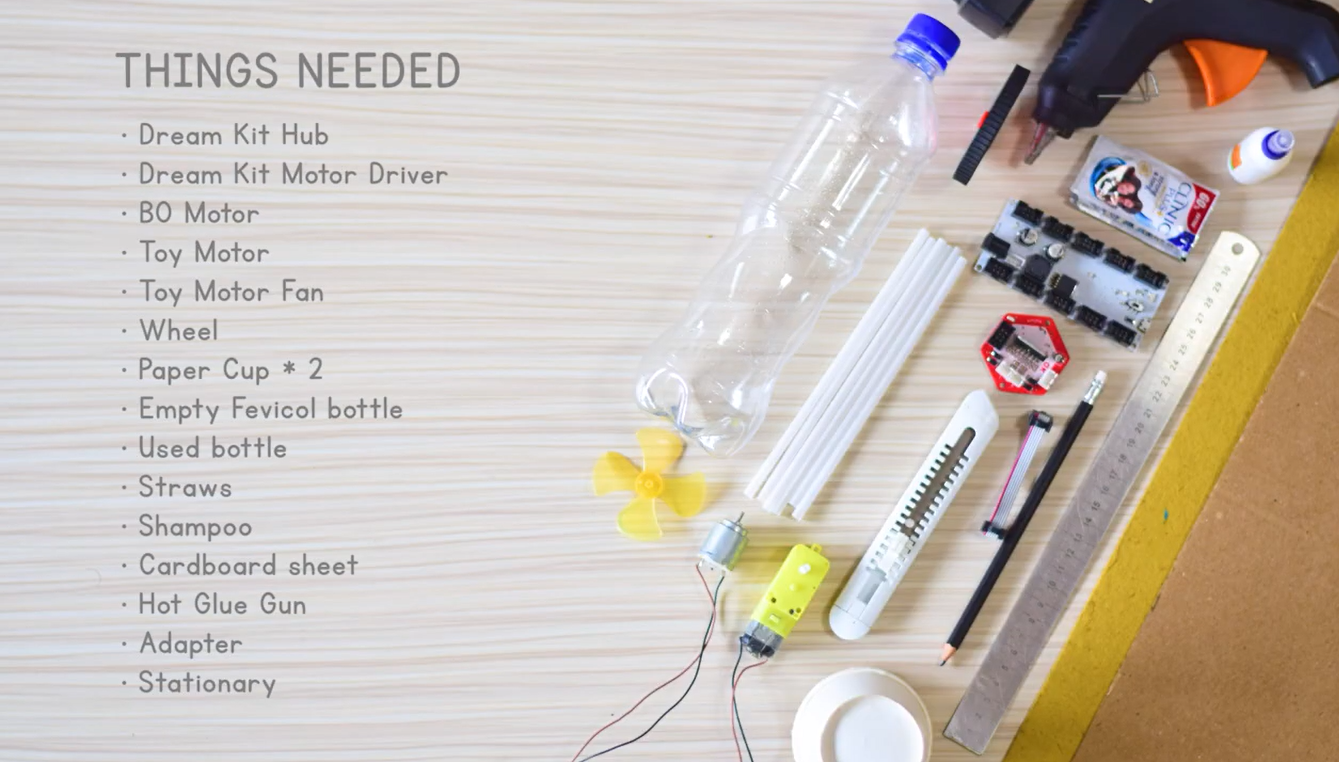
Supplies Required:

.png)
- Dreamkit
- Glue Gun
- Cardboard sheets
- BO motor with wheels
- Toy motor
- Toy motor fan
- Paper cup
- Empty fevicol Bottle
- Used bottle
- Straws
- Shampoo or Soap water
How It Works

Here, the BO motor rotates the bubble ring which picks every last bit of bubble liquid from the bottle. As it gets out of the liquid, the holes pass a blower to form the bubbles. The toy fan attached to the toy motor acts as a blower that forces the bubble liquid out of the holes in the ring, forming BUBBLES!
Connections

Programming Dream Kit With DK Studio
.png)
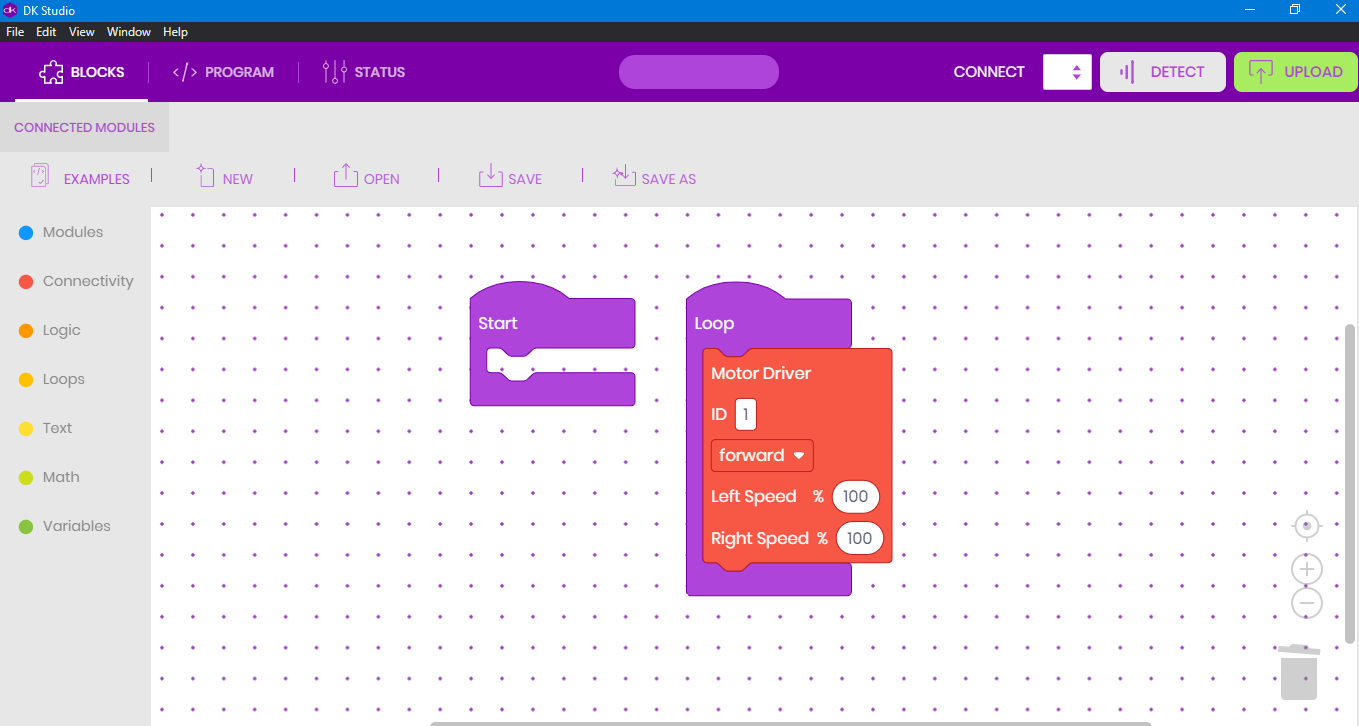
Connect the HUB to your computer using a USB cable and make sure the HUB is in USB mode. Open DK studio software in your computer choosing the correct port number and click on ‘Connect’. Place the blocks as shown below and click on ‘Upload’.
Click here to download the DK Studio Software
Build Your Model

Cut the straw to a height 1 cm less than that of the cup.
Take an Empty Fevicol Bottle and Cut It Into 8 Circular Rings.

Attach Each Ring to One Side of the Straw With the Glue Gun.
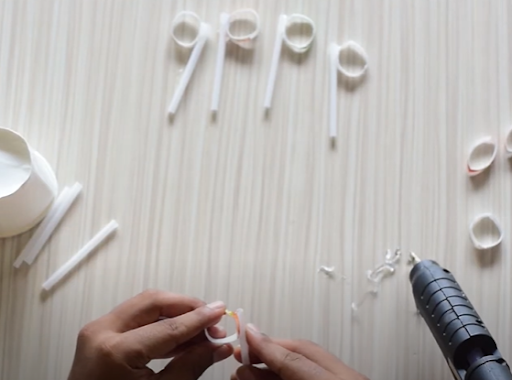
Take the BO Motor Wheel and Cut a Circle of Diameter Same As That of the Wheel. Attach the Cardboard to One Side of the Wheel So As to Hold the Bubble Rings.
.png)
.png)
.png)
Mark the Lines to Assemble the Straws in a Circular Manner and Stick It on the Markings of the Cardboard.


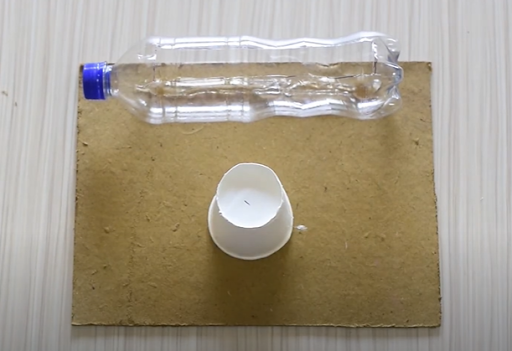
Now, Take an Empty Bottle and Hold It Vertically. Mark a Rectangle on the Bottle and Cut It.

Take Cardboard As a Base for the Whole Assembly and Attach the Bottle and an Inverted Cup(*as a Stand for the Bubble Ring) to It.
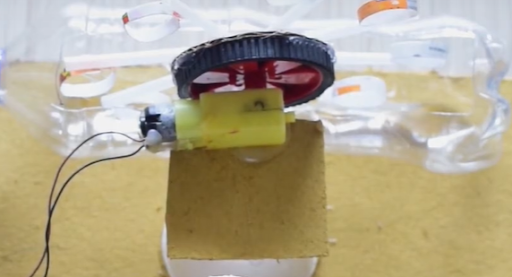
Place the BO Motor on Top of the Stand and Fix the Bubble Ring Assembly to the Motor.
Take Two Paper Cups and Attach It Such That the Base of Both the Cups Are Glued Together.

Attach a Small Cardboard Piece on Top of the Cup to Place the Motor With the Fan (* Air Blower).

Connect the Motors to the Motor Driver Module and the Module to the HUB. Now, Prepare the Bubble Solution
Pour the Solution Into the Bottle.

Upload the Program to the HUB After Connecting the Motor Driver Module. Change the Speed of the Motors and Have Fun :)
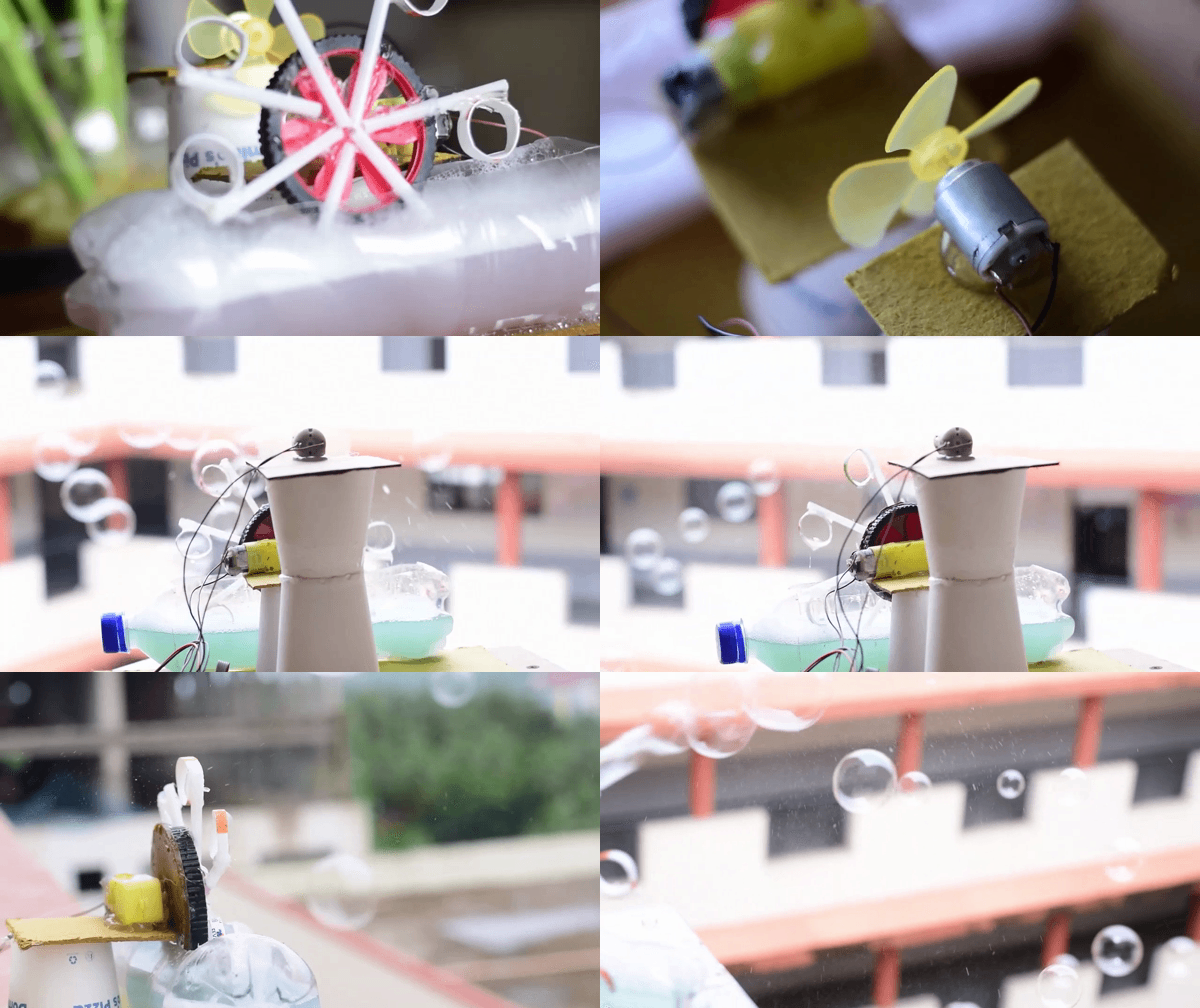
Once you complete the project share it on Instagram with Tag #dreamkit and #CreatedWithDreamKit
Happy creating !!!
Click here to Check out our YouTube Channel for More such DIY projects