DIY Cable Railing Installation on Existing Wood Posts
by Danisi Shaw in Workshop > Woodworking
82 Views, 1 Favorites, 0 Comments
DIY Cable Railing Installation on Existing Wood Posts

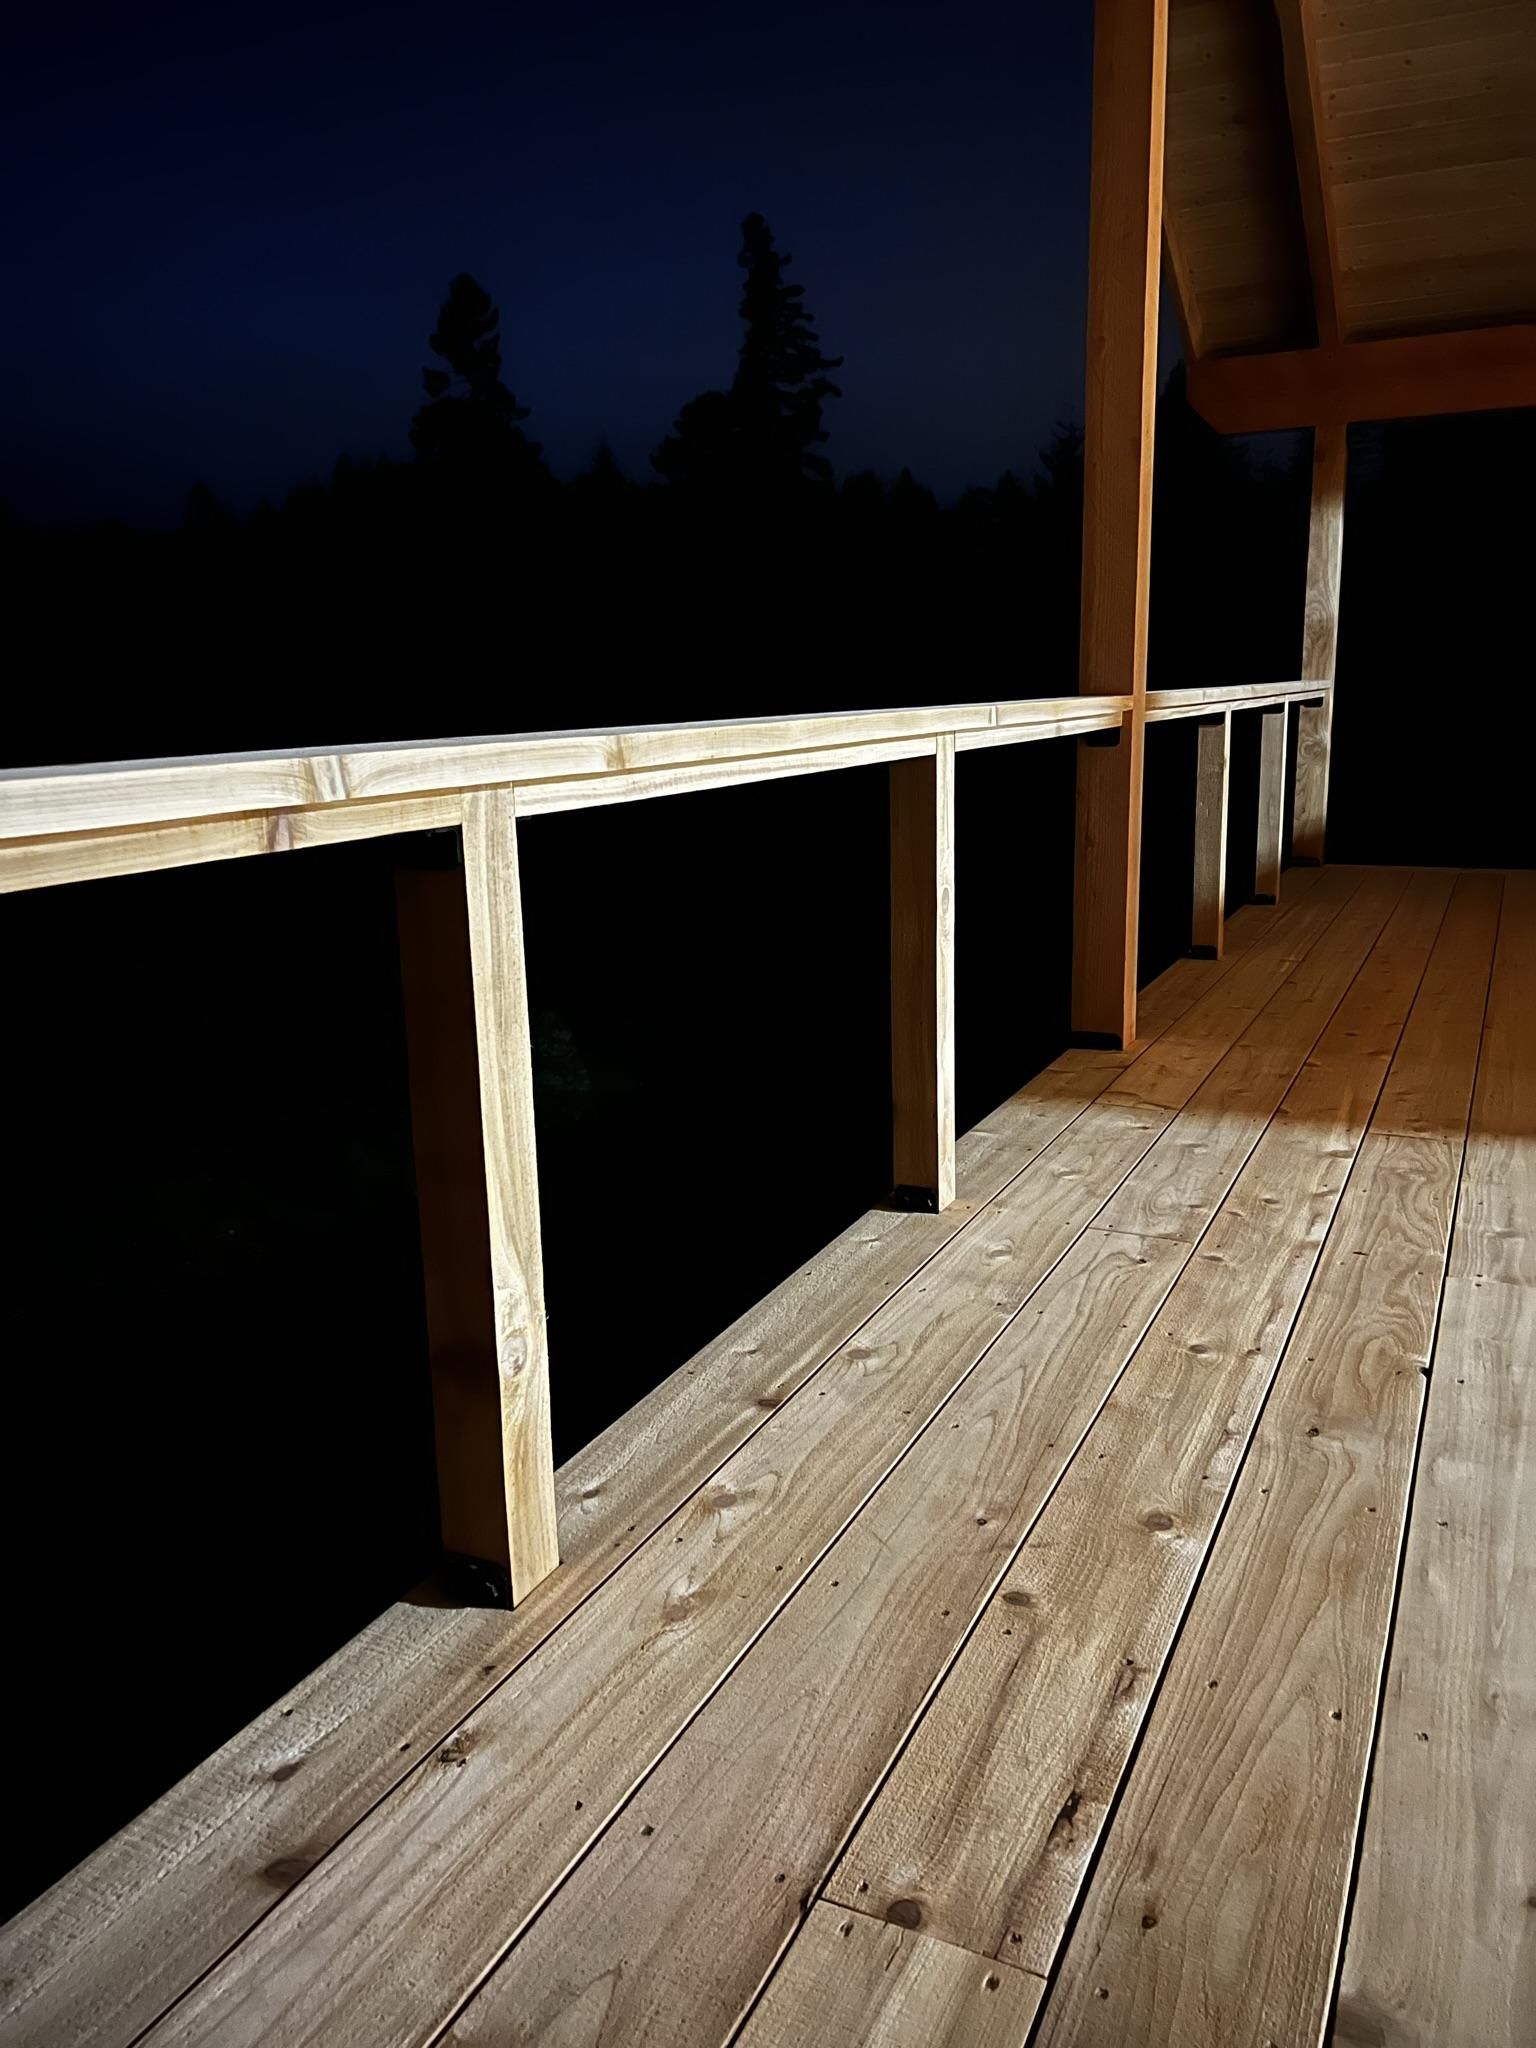
If you already have a sturdy wooden deck or staircase with wood posts, adding cable railings is one of the easiest ways to give it a clean, modern look. You don't need to replace your entire wooden frame; you can just install stainless steel cables right into your existing wood posts!
In this tutorial, I'll show you step-by-step how to drill, thread, cut, and tighten cable railings on your wood posts.
Note: This guide assumes you already have your wooden deck or staircase frame built with solid wood posts firmly in place.
Supplies

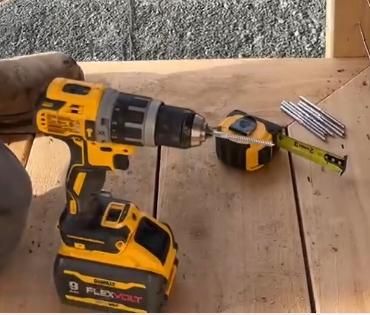
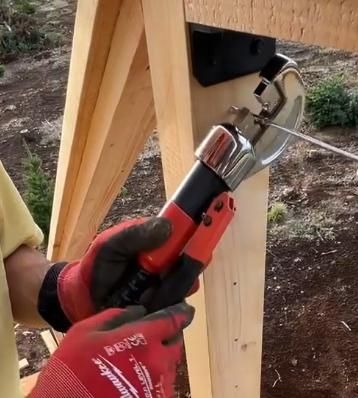
For this project, we used the Cable Railing Kit for Wood Posts from BLIKA, which provided the matching stainless steel hardware needed for the build. Here is the full list of materials and tools you'll need:
Materials:
- 1/8" T316 Stainless Steel Cable: Make sure to use T316 stainless steel so it won't rust outdoors.
- Invisible Swage Lag Screws: Threaded fittings that anchor directly into your wooden end posts.
- Protective Stainless Sleeves: Inserted into the intermediate post holes to prevent the steel cable from cutting into the wood over time.
Tools:
- Drill and Wood Drill Bits
- Drill Jig: Essential for drilling perfectly straight, level holes through your wood posts.
- Hydraulic Cable Crimper: Used to crush the metal fittings tightly onto the cable ends.
- Professional Cable Cutter: Dedicated wire rope cutter for clean cuts without fraying.
- Tape Measure and Speed Square: For precise alignment.
- Wrenches/Allen Keys: Drives fittings into the wood and turns the hex tensioners for final cable tension.
- Safety Glasses and Work Gloves
Mark and Drill Holes in Your Wood Posts
- Mark Spacing: Measure and mark your hole locations vertically on each post. Keep the spacing 3 inches apart or less to meet building safety codes.
- Attach the Drill Jig: Clamp your Drill Jig firmly onto the mark on the post to keep your drill bit straight.
- Drill Intermediate Posts: Drill clean holes all the way through the middle wood posts so the cable can pass through easily.
- Drill End/Corner Posts: For the end posts, drill pilot holes for your threaded lag fittings without drilling all the way through.
Install Protective Sleeves in Intermediate Posts


- Take your stainless steel protective sleeves.
- Tap them gently into the pre-drilled holes of all your intermediate wood posts. This creates a smooth metal lining so the moving steel cables won't saw into or wear down the wood over time.
Mount Lag Fittings Into Both End Posts


- Take the threaded lag screw bases and drive them into the pilot holes on both the starting end post and the finishing end post.
- Use a drill or wrench to turn the fittings deep into the wood until they are firmly anchored.
Thread and Crimp the First Cable End


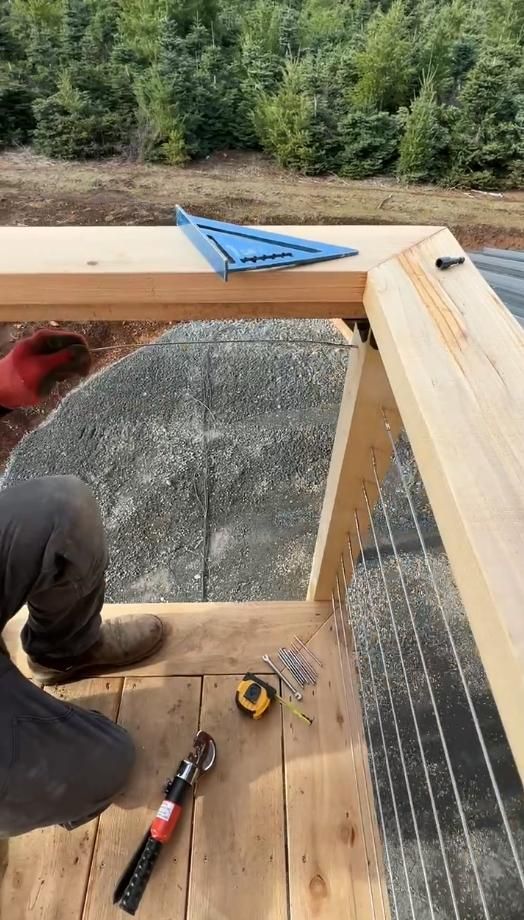
With the fittings anchored, you can attach the start of your steel cable.
- Insert and Crimp the Start: Insert the bare end of your stainless steel cable directly into the pre-installed fitting on your starting end post. Use your hydraulic crimper to crush the fitting collar tightly around the cable 2 to 3 times.
- Thread Across the Posts: Carefully unspool the steel cable and thread it through the protective sleeves in all your intermediate wood posts, going all the way to the far end.
Cut to Length and Crimp the Finishing End


Now complete the connection at the far end post.
- Pull and Measure: Pull the cable tight toward the pre-installed lag screw base on the far end post.
- Cut Cleanly: Mark the cable at the correct depth, then use your professional cable cutter to snip the steel wire cleanly.
- Insert and Crimp: Insert the freshly cut cable end straight into the second fitting sleeve, then crush it 2 to 3 times using your hydraulic cable crimper.
- Connect to Lag Base: Thread the crimped fitting onto the pre-installed lag screw base on the far end post
Repeat for All Lines


Repeat Steps 4 and 5 for every row until all cable lines are threaded, cut, and crimped into both end posts.
Tension the Cables
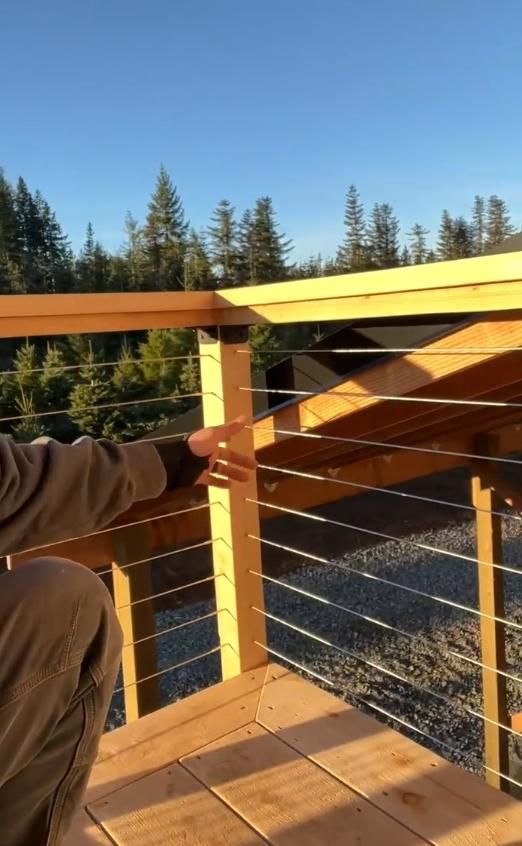

Now it's time to pull all your cables straight and taut!
- Tighten the Terminals: Use your wrench or socket tool to turn the threaded tensioning screws on the fittings, pulling the cable line tight.
- Work From Center Outward: Always start tightening the middle cables first, then work your way out toward the top and bottom cables. This prevents your wood posts from bowing or twisting out of alignment.
- Test Tension: Pluck each cable line with your finger. If it makes a clear tone and doesn't deflect easily when pushed, your tension is spot on!
Check Your Work and Enjoy!


Walk along your deck and stairs and push on each cable line to make sure none are loose. If any cable feels a bit soft, just turn the end fitting a few more times with your wrench.
Now you're done! You've successfully upgraded your existing wood posts with a clean, modern cable railing system!