DIY Cable Railing Installation on Wood Deck
by leahgeorge2427 in Outside > Backyard
146 Views, 0 Favorites, 0 Comments
DIY Cable Railing Installation on Wood Deck
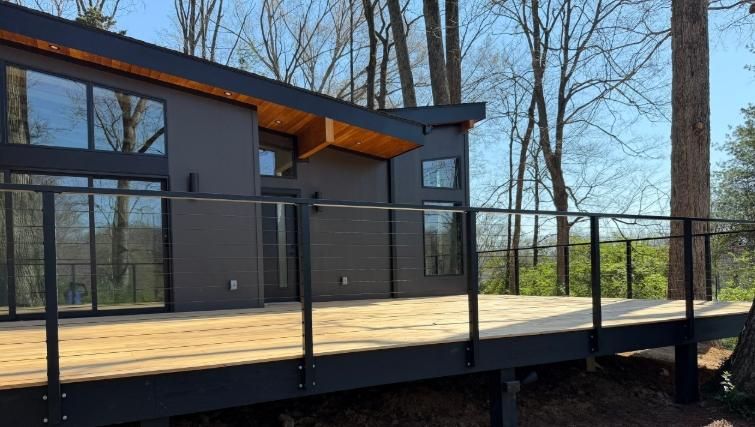
Upgrade your wood deck with a modern, unobstructed view using a DIY cable railing system. Stainless steel cable railings are durable, low-maintenance, and relatively simple to install with the right tools.
In this guide, I’ll walk you through the step-by-step process of installing a cable railing system on a traditional wooden deck.
Supplies
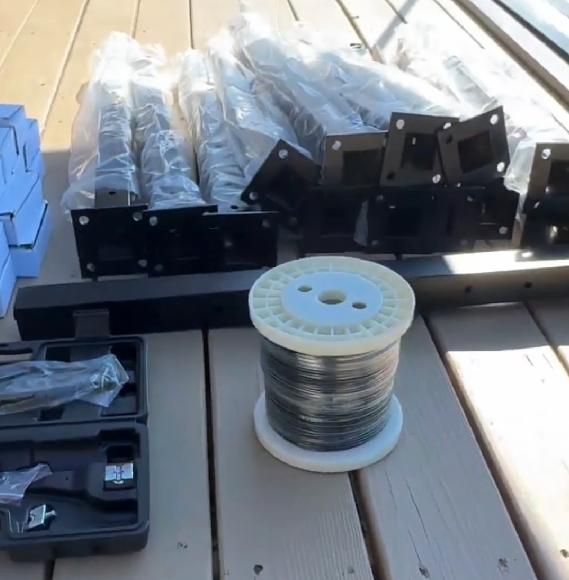
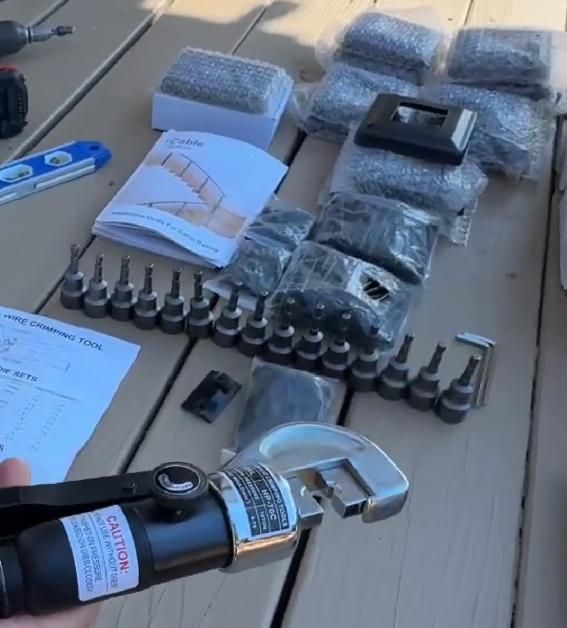
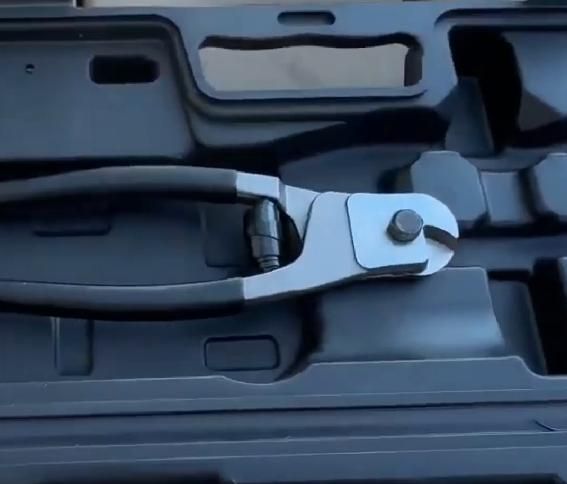
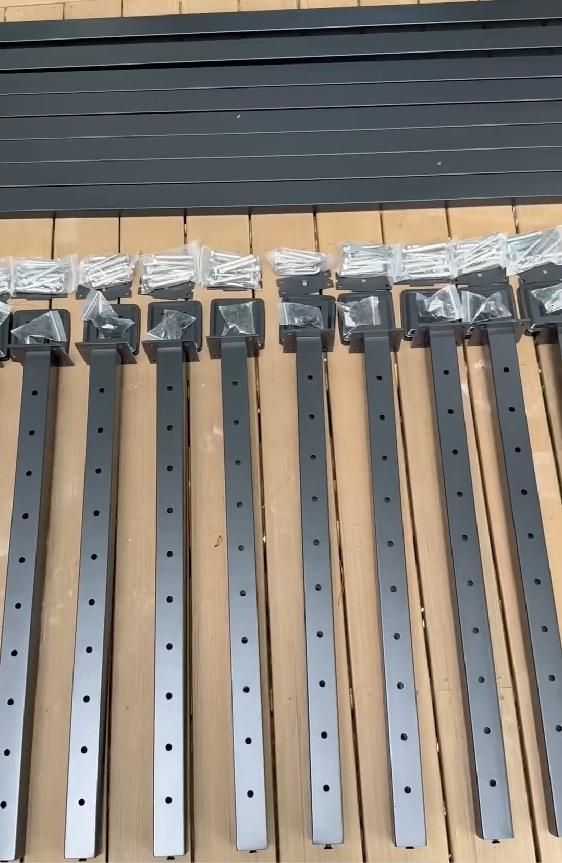
Materials:
I chose the BLIKA cable railing system because it offers good quality and solid durability at a budget-friendly price point.
- Pre-drilled stainless steel posts
- 1/8" stainless wire rope
- Stainless Steel Top Rail
- Cable fittings
- Heavy-Duty Concrete/Deck Anchors: Lag screws with rubber washers for wood decks, or expansion bolts for concrete.
- Structural Blocking: Extra wood under the deck floorboards where posts anchor.
Tools:
- Cable Cutter: For cutting the wire ropes.
- Hydraulic Cable Crimper: For securing fitting attachments.
- Impact Driver & Socket Wrench Set
- Level & Laser Level / Chalk Line: Crucial for perfect post alignment.
- Tensioning Wrench / Allen Keys
- Safety Glasses & Work Gloves
Layout
- Mark Post Positions: Use a chalk line to mark the center line of your railing path along the deck rim joists.
- Space the Posts: Space your posts no more than 4 feet apart.
Reinforce Deck Support
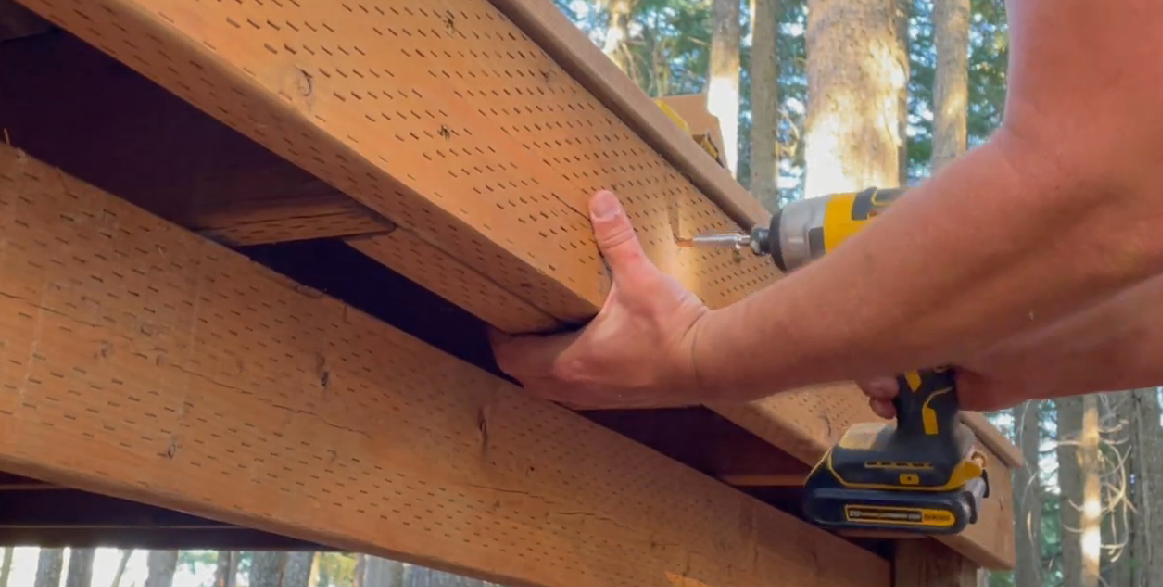
Go under the deck and add 2x8 or 2x10 pressure-treated blocking directly beneath where each post base flange will sit. Secure the blocking to the rim joist with structural screws.
Install Posts
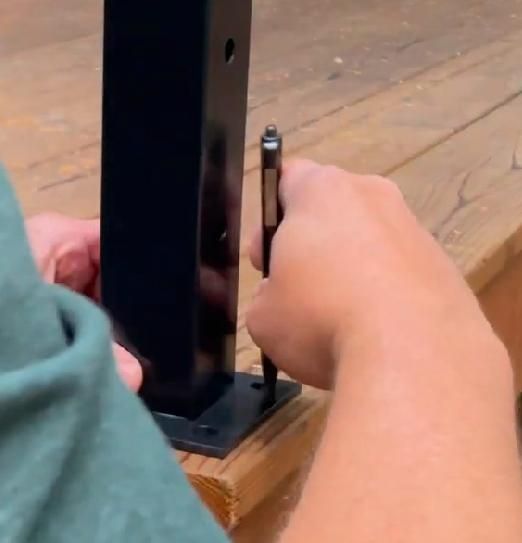
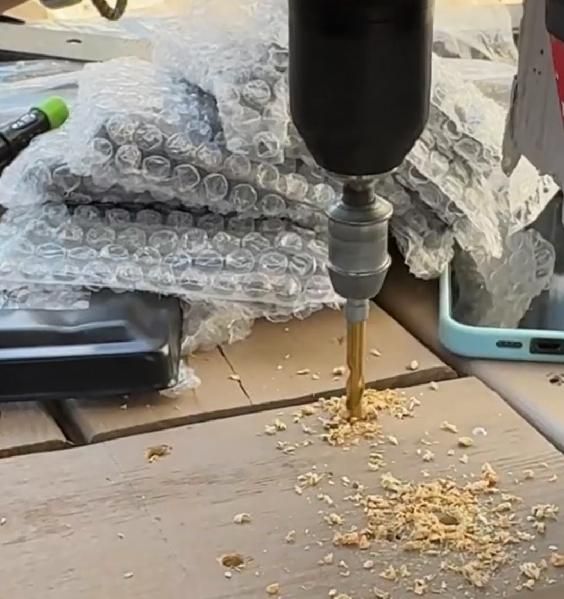
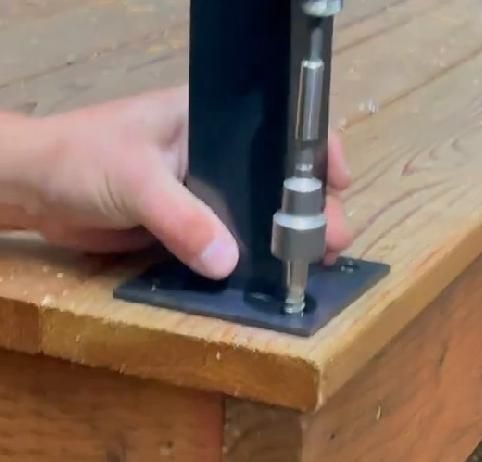
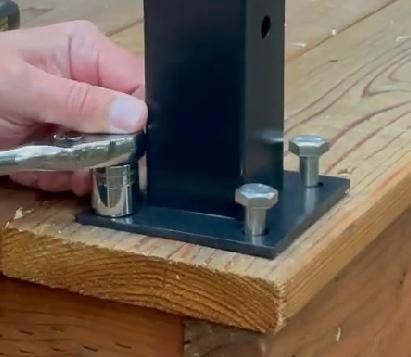
Since the holes are pre-drilled, fixing the posts plumb (100% vertical) is your most important task!
- Place the post base plate over your chalk line. Mark the mounting holes.
- Drill pilot holes into the deck framing/blocking.
- Drive heavy-duty stainless steel lag screws (with rubber sealing washers) into the base plate.
- Check Plumb on 2 Sides: Place a spirit level on both the front and the side of the post. If it’s slightly tilted, slip stainless steel shims under the baseplate before fully tightening the bolts.
- Slide down the decorative base cover cap to hide the anchor bolts.
Install Top Handrails
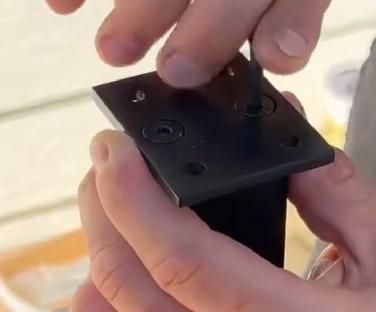
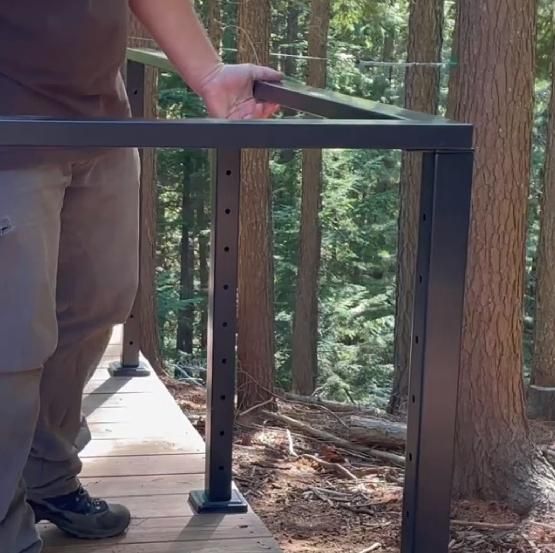
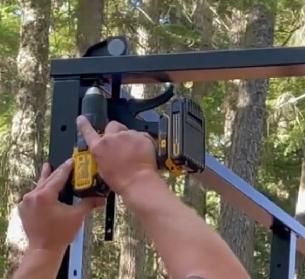
- Mount top rail connector brackets on the top of each post.
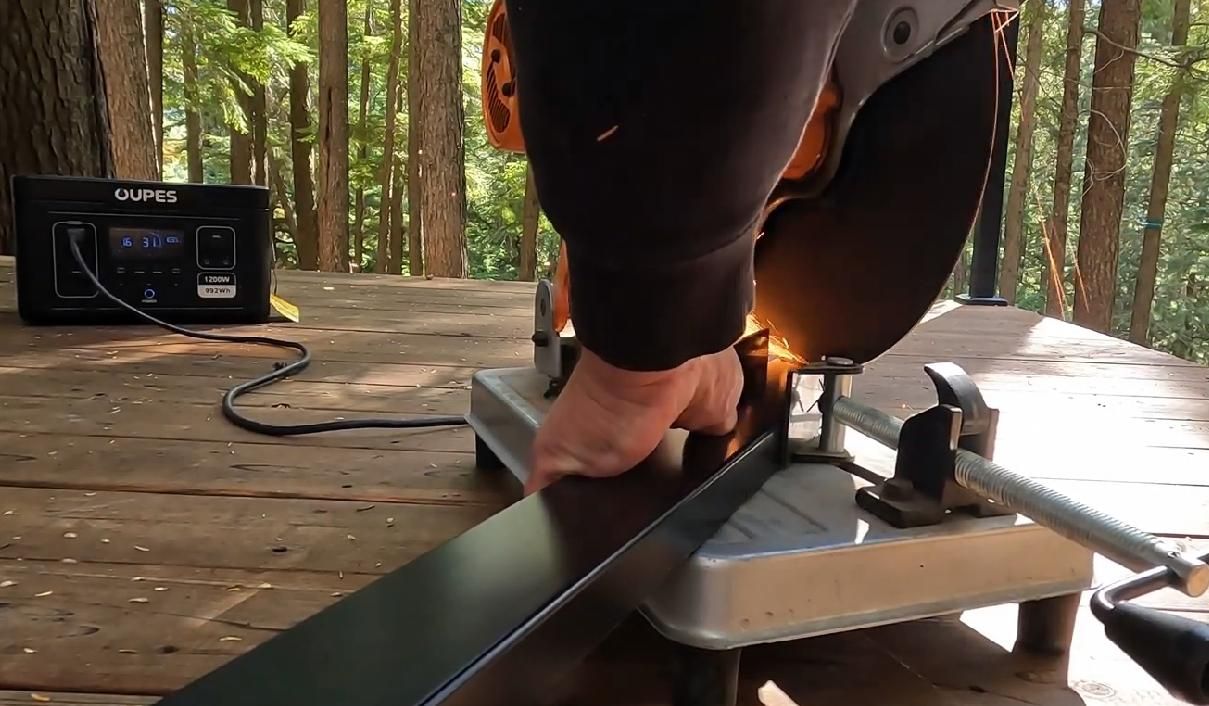
- Cut your stainless steel top rail (or wooden handrail) to length.
- Secure the handrail to the post saddles using stainless steel screws or blind rivets.
- This completes a rigid metal frame capable of handling heavy cable tension.
Thread Cables
- Prepare Terminals: Crimp the threaded terminal or swage fitting onto one end of your 1/8" stainless wire rope using a hydraulic hand crimper (typically 2 to 3 firm crimps per fitting).
- Anchor First End: Insert the crimped fitting into the outer hole of your starting end post.
- Thread Cable: Unspool the wire rope and carefully thread it through all intermediate BLIKA posts until reaching the final post.
- Cut to Length: Cut the wire with a dedicated cable cutter, leaving enough room for your tensioning hardware according to your product instructions.
Tension the Cable System
Tensioning must be done in a balanced sequence so that individual posts do not bend or warp under uneven load.
- Start from the Center: Always begin tensioning the middle cable run first, then alternate moving upward and downward toward the top and bottom rails.
- Hand-Tighten First: Thread all tensioning nuts onto the fittings by hand to take up initial slack across every line.
- Final Pass with Wrenches: Use an open-end wrench or Allen key to gradually tighten each run in passes.
- Deflection Test: Pull hard on the center of each cable run. The cable should be taut and flex less than 4 inches apart under firm hand pressure.
Finish
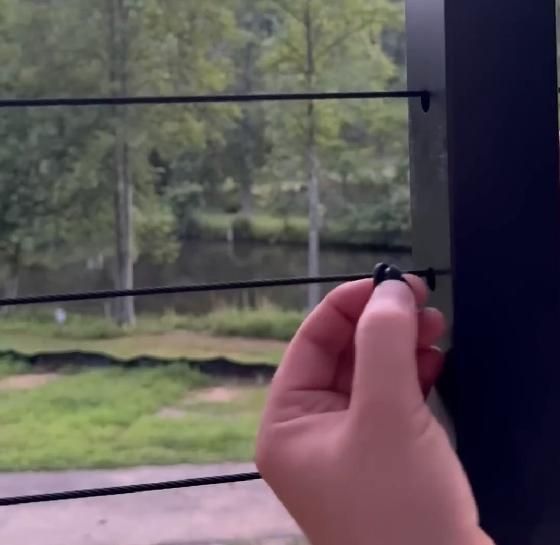
- Attach Decorative Caps: Snap or screw stainless steel end caps over all exposed nuts and hardware for a flush, professional look.
- Clean Stainless Steel: Wipe down the entire post and cable assembly with a stainless steel cleaner or rust-preventative oil to clear off metal dust from drilling and crimping.