DIY Coil Winder

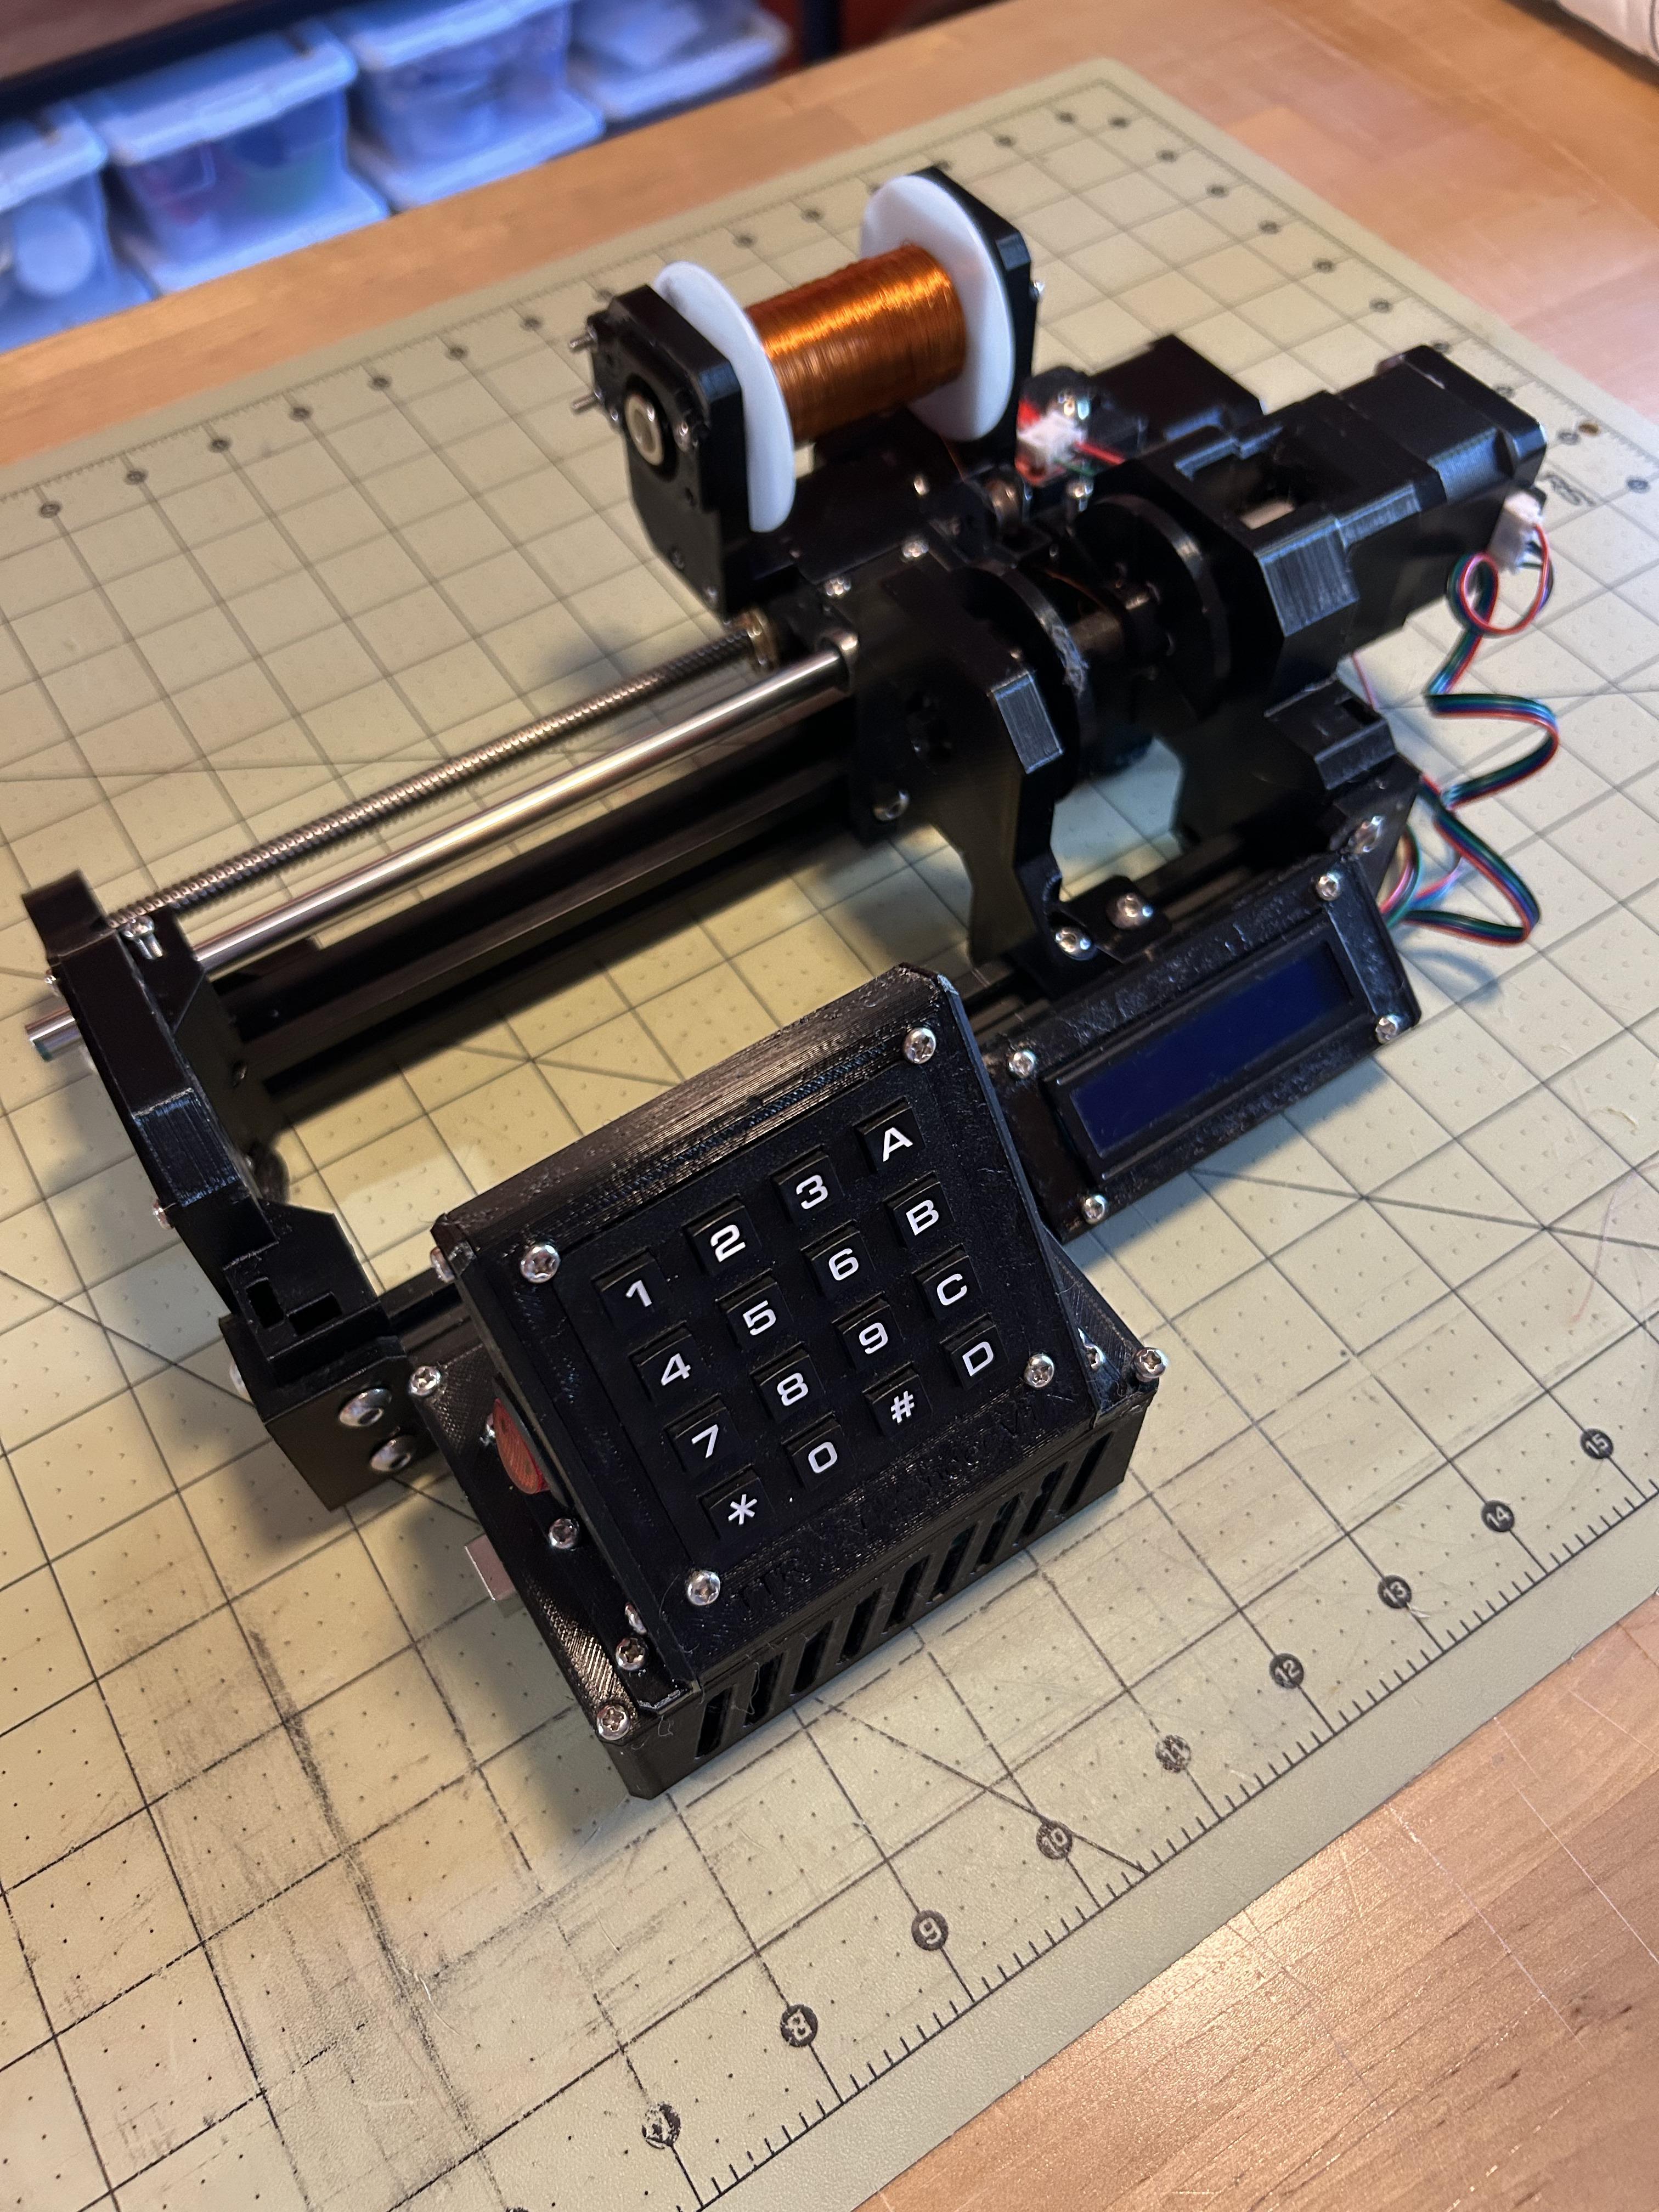
Coil winders can be a time saving tool to have in your arsenal, whether it be radio coils, power supply chokes, Tesla coils, or electromagnets a coil winder can save you hours of time and lots of headaches. The coil winder that I have designed can be used for winding linear air core coils on a variety of pre-programmed molds, or you can enter a custom length and diameter if the default coil molds don't suit you applications. Winding at an angle is also a feature that this coil winder incorporates with little extra user input. As well as the choice between entering turns or entering the desired inductance and letting the machine do the calculation of turns for you. The machine uses an adjustable homing switch to know there to begin each winding, and a tail stock piece or threaded rod can be used to secure the coil in the chuck. Whether you're a radio enthusiast, a power supply builder, or a Tesla coil maniac this machine is right for you.
Supplies
Supplies Needed:
- Nema 17 1.5A stepper motor (2x) here
- PLA/PETG 1kg
- TPU >20 G (optional)
- 5mm to 8mm coupling (2x) here
- 20x20x250mm aluminum extrusion (2 pieces although link contains four) here
- 8x250mm Linear rod here
- 8x85mm Linear rod here
- 8x250mm T8 threaded rod here
- T8 nut here
- 8mm linear bearings (2x) here
- 8mm inner 22mm outer bearings (5x) here
- M5x10mm machine screws here
- M5 T-nuts here
- M5 nuts here
- M3 machine screw & nut set here
- Mechanical limit switch here
- Arduino Mega 2560 here
- A4988 stepper driver (2x) here
- 4x4 matrix keypad here
- 16x2 LCD here
- L780SCV (5V regulator) here
- 20mm round rocker switch here
- 2.54mm header pins here
- Heat shrink here
- End crimps (for switch) here
- Higher gauge wire for electrical connections here
- Potentiometer (for LCD contrast control) here
- Proto-pcb board here
Print Parts

The STL files for the 3D printed parts are listed below. I used PETG for most of the parts in this build and TPU for the two spool tension pieces as well as the feet. However, you could just as easily use PLA for most parts and the tension pieces, although printing the tension pieces out of PLA/PETG will likely cause wear on the spool and cause the spool feed to be more jerky. The print orientation for most pieces should be easy to figure out as all pieces have a flat side that should be face down on the bed. I printed all these pieces without support and had no issues, but if you think your printer may struggle with some of the captive nut spaces then some support may be necessary.
Downloads
Assemble the Machine


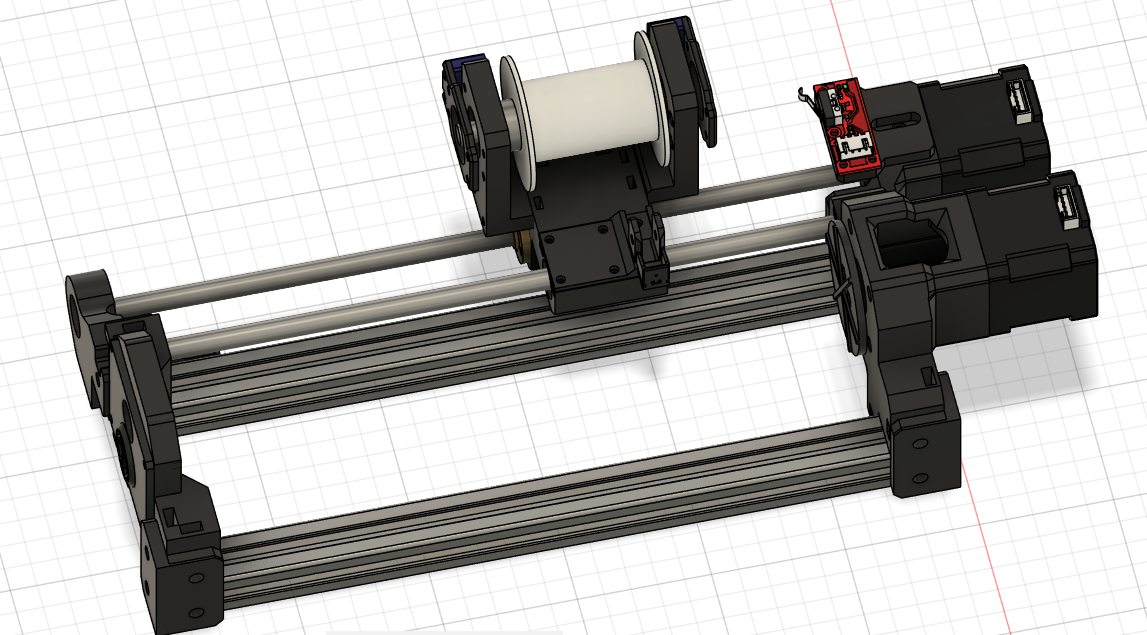


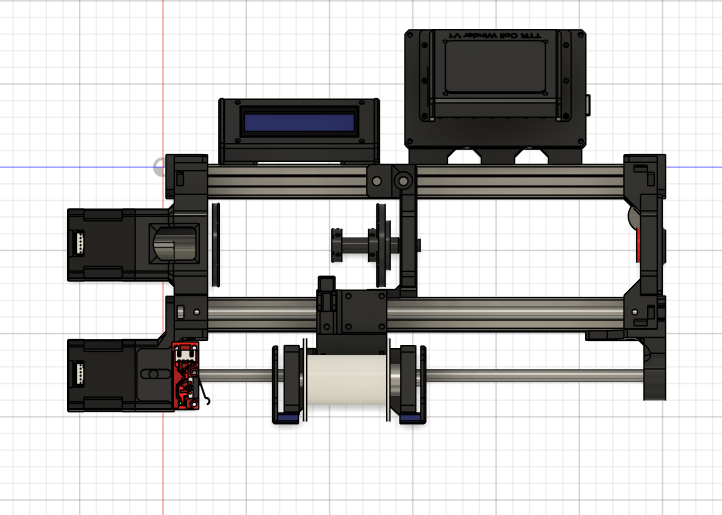
The two main pieces of the coil machines frame are the main motor mount and the back piece, which along with the corner brackets, spool carriage motor mount, and spool bearing holder, all hold the frame together (The 20x20 extrusion needs to be tapped to M5 at both ends for the corner pieces). Once the frame has been assembled the spool carriage can be constructed and added to the assemble. The spool carriage consist of a main carriage piece which houses the T8 nut, the 8mm linear bearings, two bearing holder pieces that hold the spool bar and spool in place, and an adapter piece that allows the coil guides to slide in and out depending on what gauge is being used. The adjustable tail stock consist of only three pieces the main bearing holder piece, the 8mm to chuck adapter, and the chuck itself. Finally, the electronics assembly consist of a case and two mounts for the LCD (which also serve as wire management), the main Arduino Mega case, and the keypad/switch holder which bolts on top of the Arduino case.
Program/Wiring
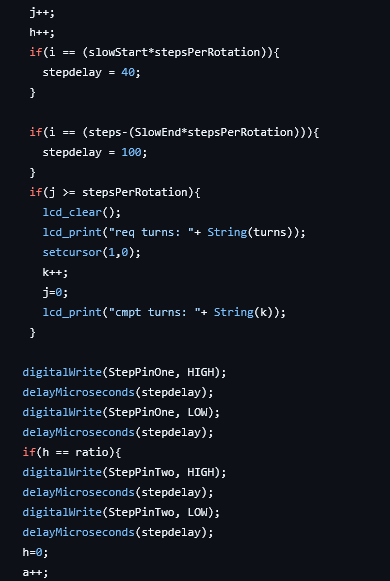
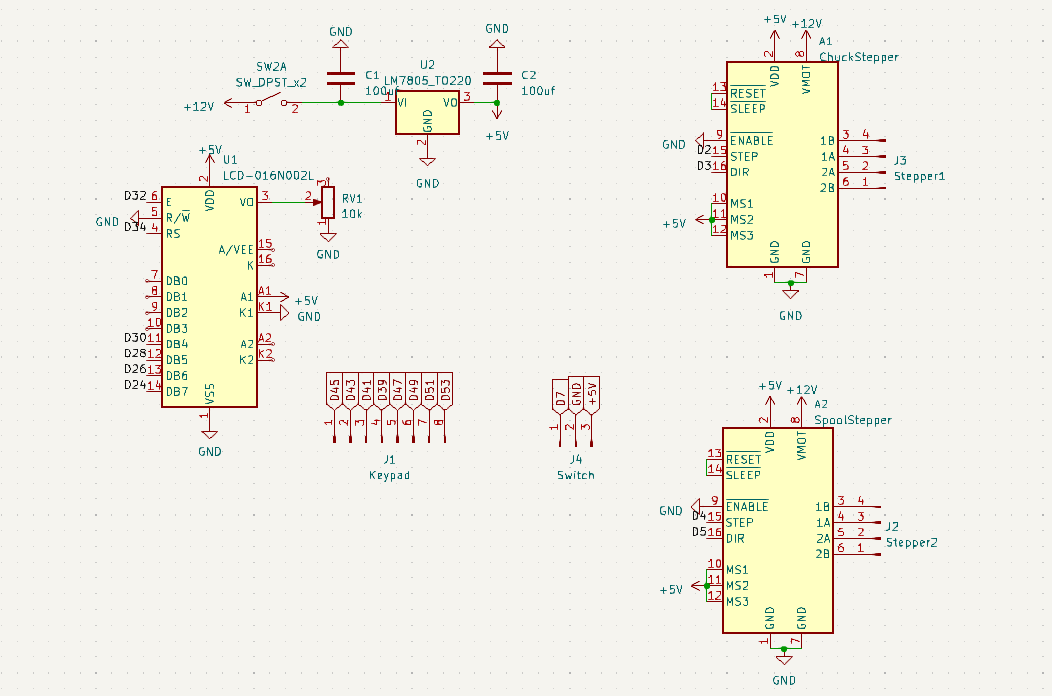
The program is broken into three main C++ programs the first file Main.cpp contains the program for the coil winder. The second file LCD.cpp contains all the code for the LCD interface. The third file is Keypad.cpp which contains the program for the keypad interface. There are also three header files, the first file header.h is most important as it contains, steps per rotation, steps per mm, the distances to move for each wire gauge, and the default perimeters for the three coil molds. The other header files are only for LCD.cpp and Keypad.cpp. For the wiring a schematic has been included.
Usage
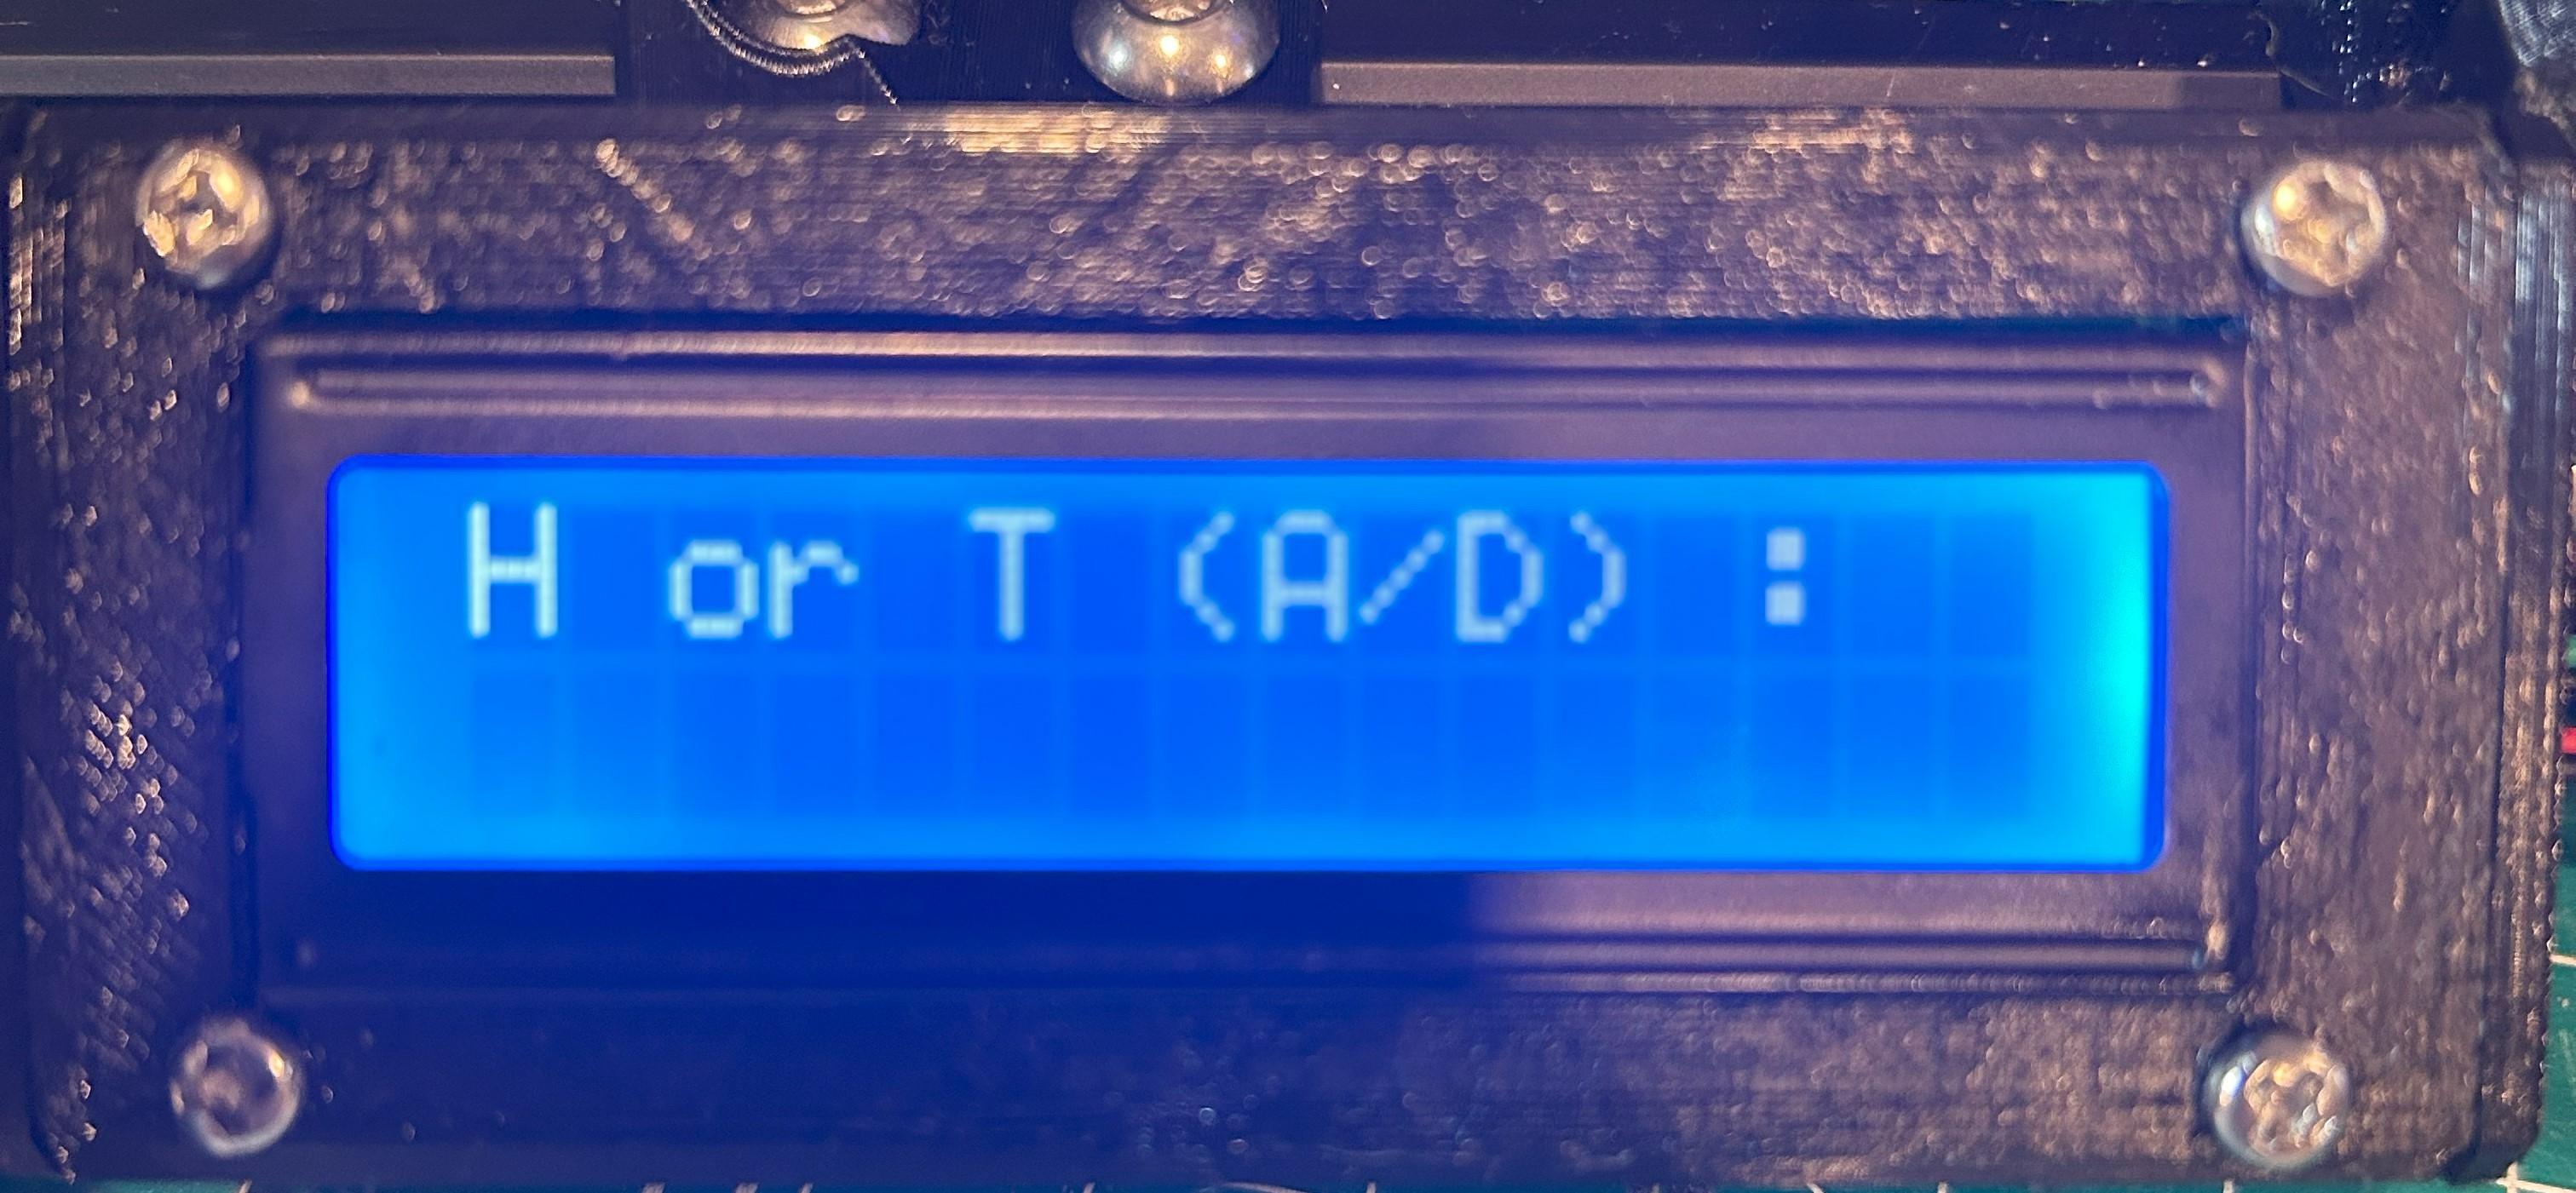
Upon booting up the coil winder for the first time you will be prompted with a question, "H or T (A/D): " this prompt is requesting that you choose between H/inductance or T/turns, 'A will select inductance and 'D will select turns. If you choose inductance you will be prompted to enter you desired inductance. 'A', 'B', and 'C' will all change the unit from Milli Henry, Micro Henry, and Nano Henry. After entering the desired inductance a prompt reading, "Enter CM type" asking what coil mold you want to use entering 1-3 will select that mold and entering C will enter a custom mode which will ask you to enter the length and diameter of your custom mold. Finally, you will be asked what wire gauge you are using, after entering the gauge the machine will start winding the coil. However, if you choose to enter turns you will be asked how many turns you want followed by the coil mold selection, but you will then be asked if you want to wind at an angle. If you enter 'A' for accept you will be asked for the angle at which you want to wind, and the distance from the wire guide to the end of the coil mold in mm. after entering this information you will then again be asked to enter your wire gauge and the coil will begin to wind. The '#' key serves as the enter button, the '*' key serves as the backspace (for prompts that support it), and the 'A' / 'D' key serve as accept and deny.
Wind Coils


Tips:
- When winding a coil on one of the coil mold be sure to move the adjustable coil guide as close to the coil mold as possible to get tighter windings.
- Consider using double sided tape or some other adhesive to help hold down the first layer of wire an achieve better looking turns.
- Adjust the tension pieces on the spool for the right amount of tension to prevent the wire from slacking up.
- Make sure the the spool is rotated so the the wire is tight before every winding to ensure a good first few turns.
- Adjust the stepper drivers so they are delivering the right amount of power to the motors.
- The step delay, slow start and stop, and wire gauge dimensions are all accessible from the main header file so feel free to make changes to tune up performance.