DIY Colorful Butterfly With Flapping Wings
by CrazyScience in Craft > Paper
4086 Views, 21 Favorites, 0 Comments
DIY Colorful Butterfly With Flapping Wings
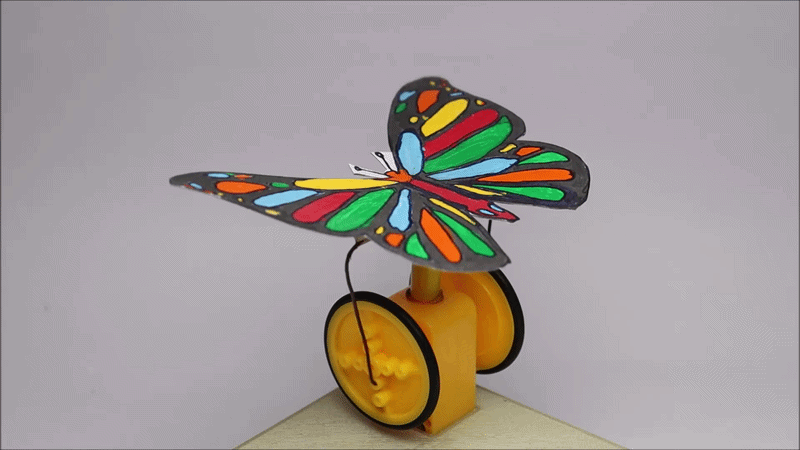
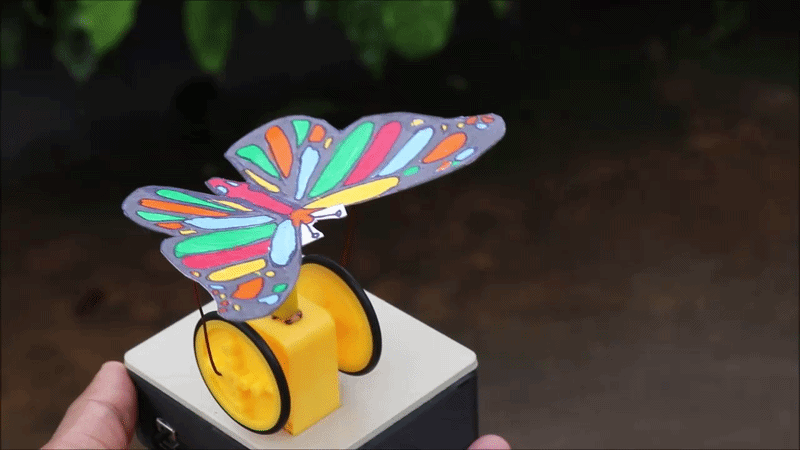
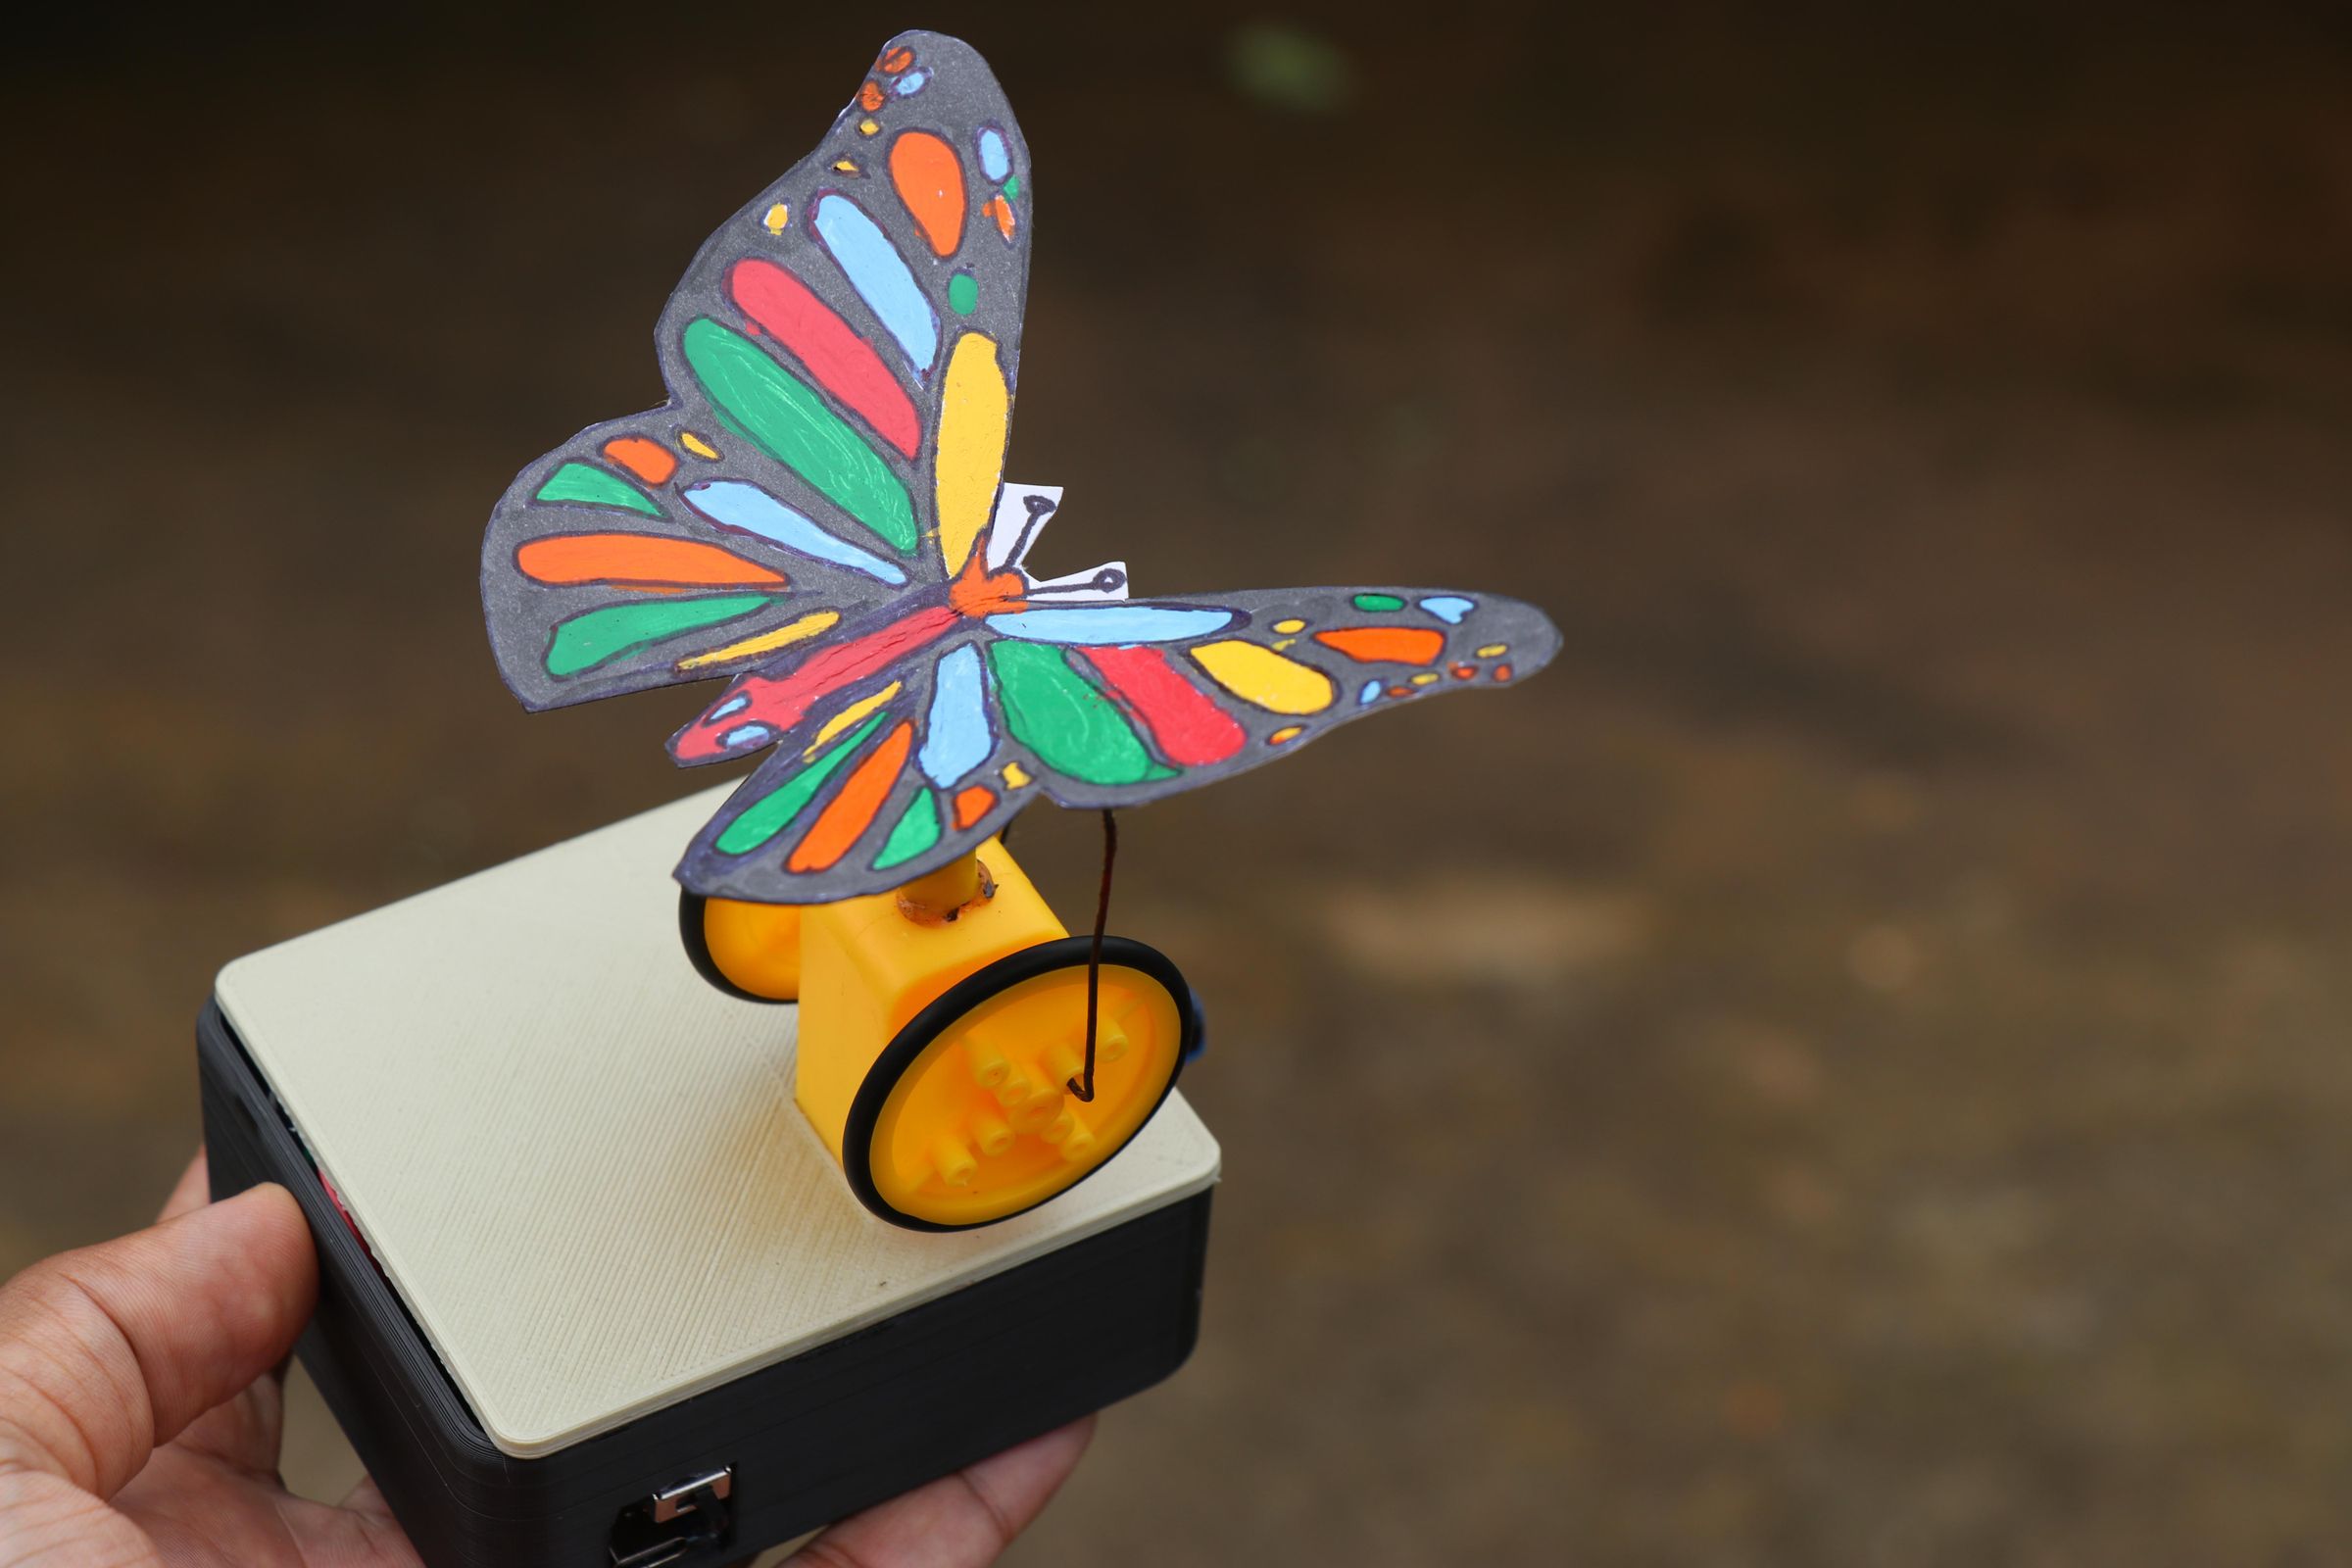
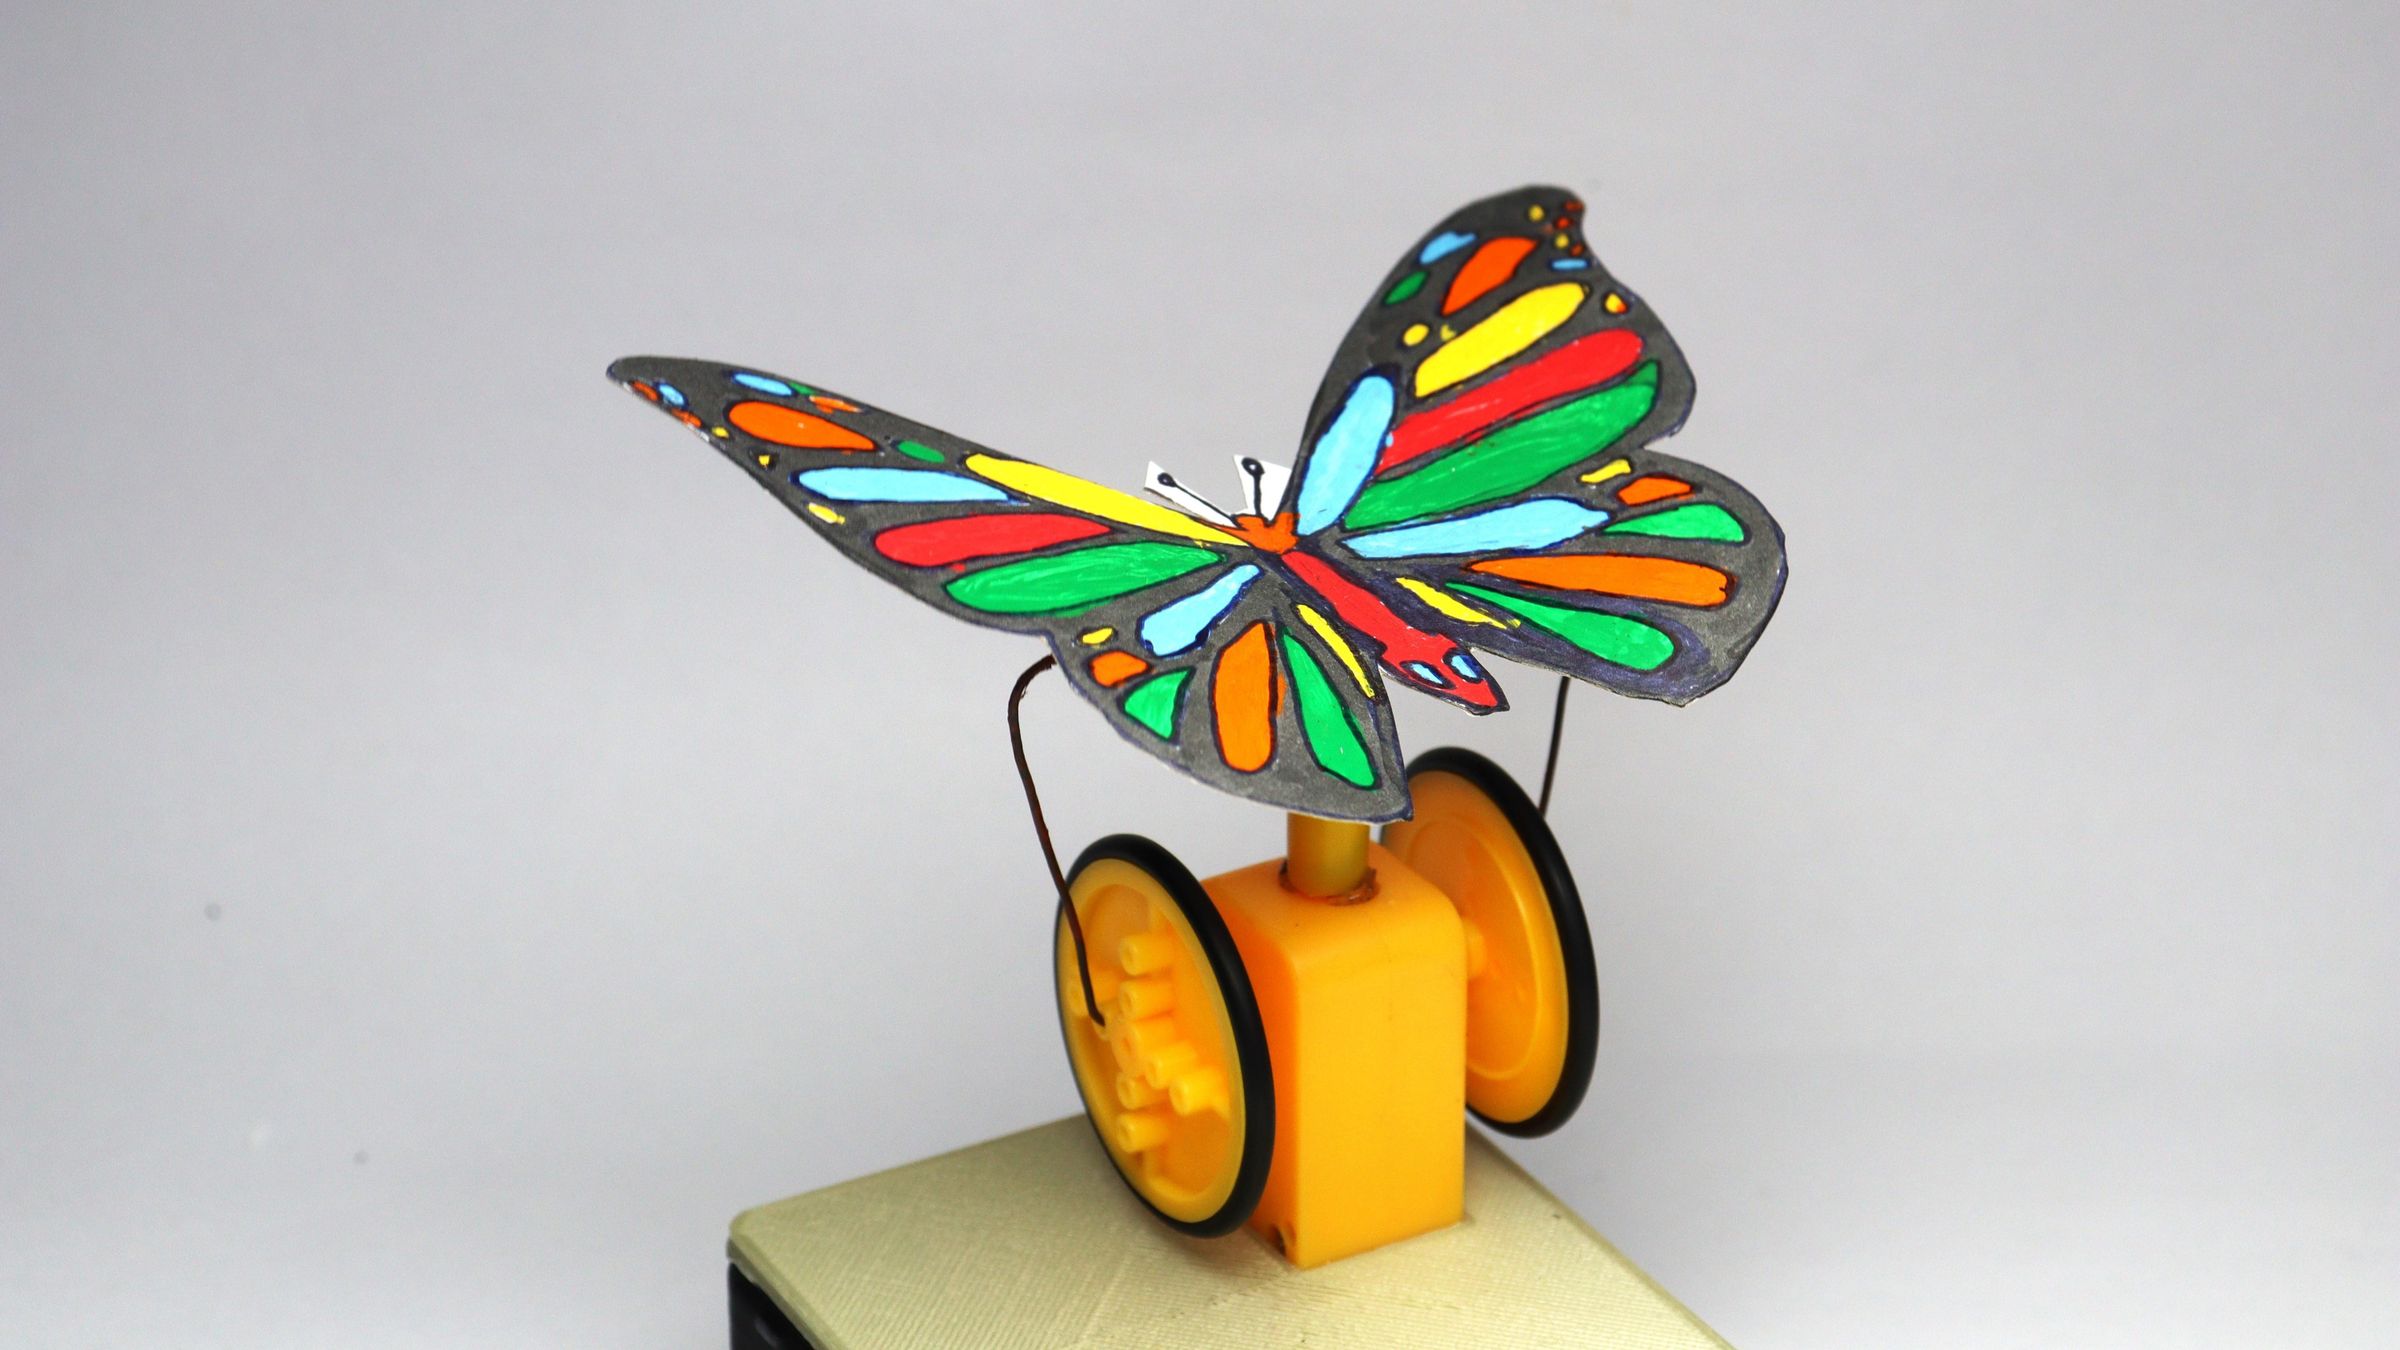
Hello people welcome back to my instructables in this project i made this colorful butterfly that will flap its wings.
From the first glance itself most of them have guessed how this butterfly works well for those who are still confused let me explain about this butterfly.
To begin with let me tell that butterflies are symbols of beauty and color apart from a mere flying insect!
I wanted to give a life for this static insect and i will show how i was able to build a beautiful hand-painted butterfly whose wings gently flap using a simple mechanical mechanism.
I was able to make this from Hobby Motor, steel wire, and other simple parts. It's colorful, satisfying to watch, and an example of art combined with engineering.
To bring this butterfly to life just turn on the switch, and it begins to gently flap its wings, creating the illusion of a real butterfly in flight.
The speed controller switch allows to adjust the speed of motor that in turn will change the speed of wings flapping that gives the freedom to have different patterns of flap.
Powered by a battery and hence no need to depend on external power sources.
Since this uses a single 3v motor and less power consuming components you can expect a longer battery backup so that your butterfly remains flapping its wings for a very long time.
Great desktop companion and the color of the wings are definitely eye catchy,
I strongly recommend to build this project as the build instructions are very clear and if you follow them you can have a great living butterfly in a few hour.
Like always there is a working video along with complete build tutorial given at the end steps of this instructables.
Supplies
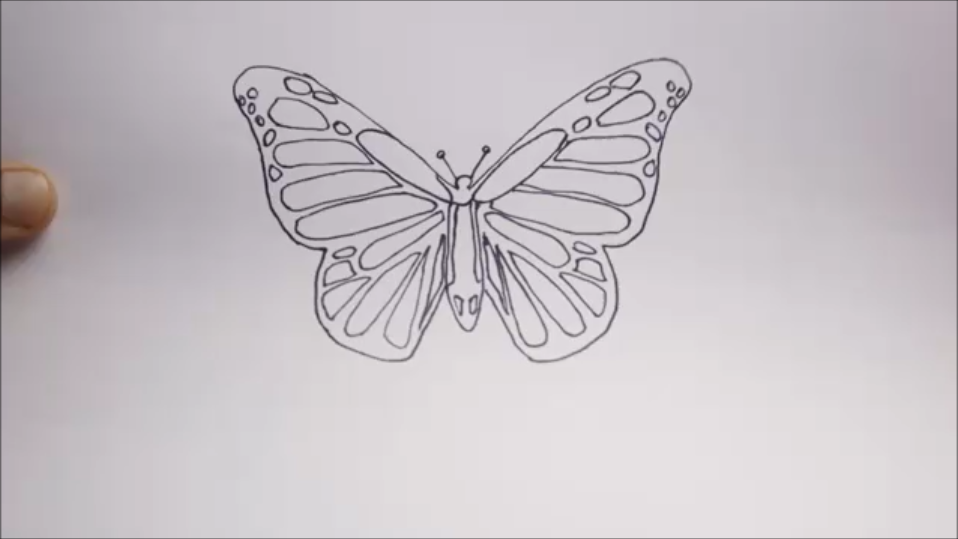
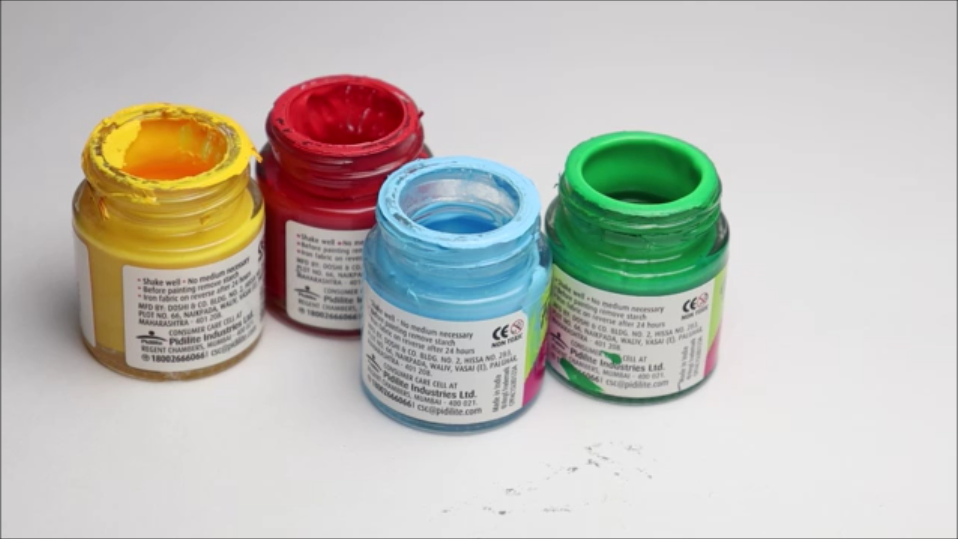
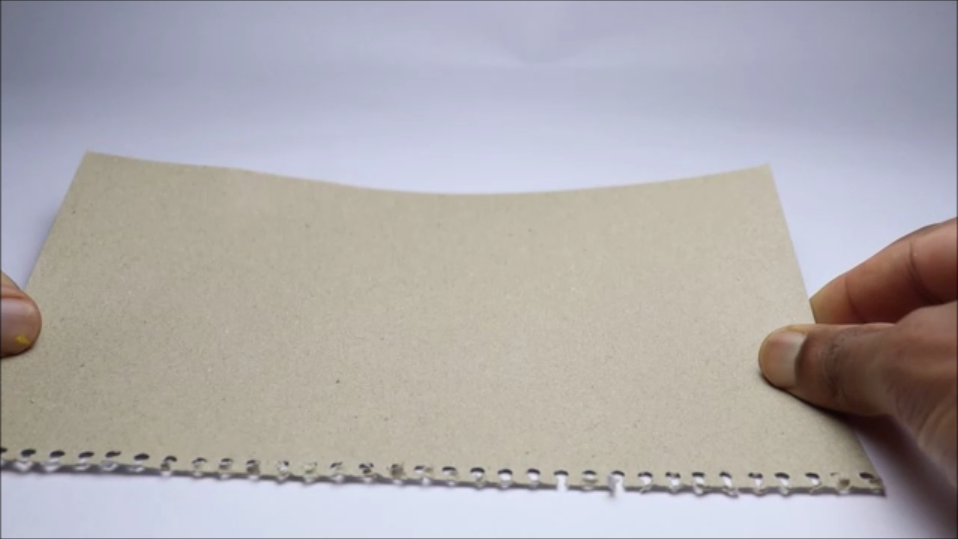
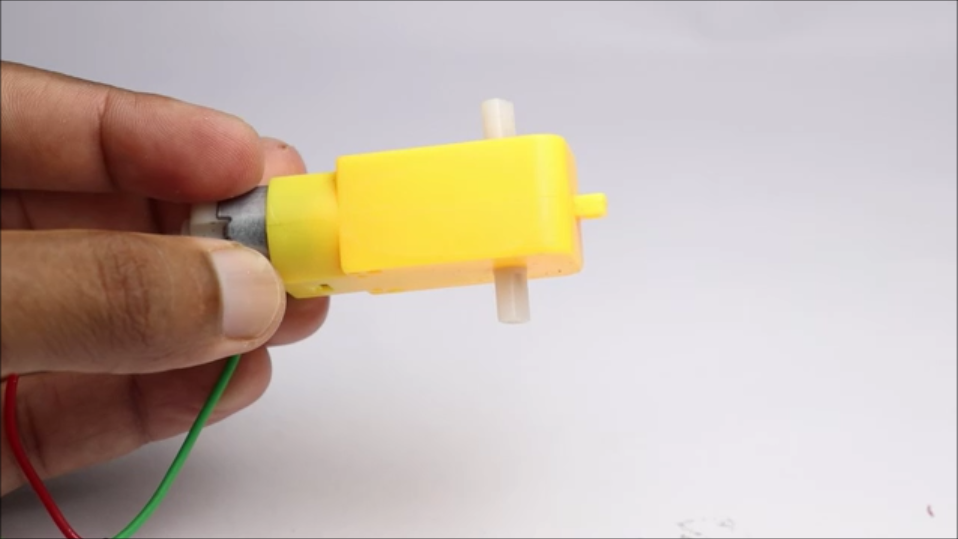
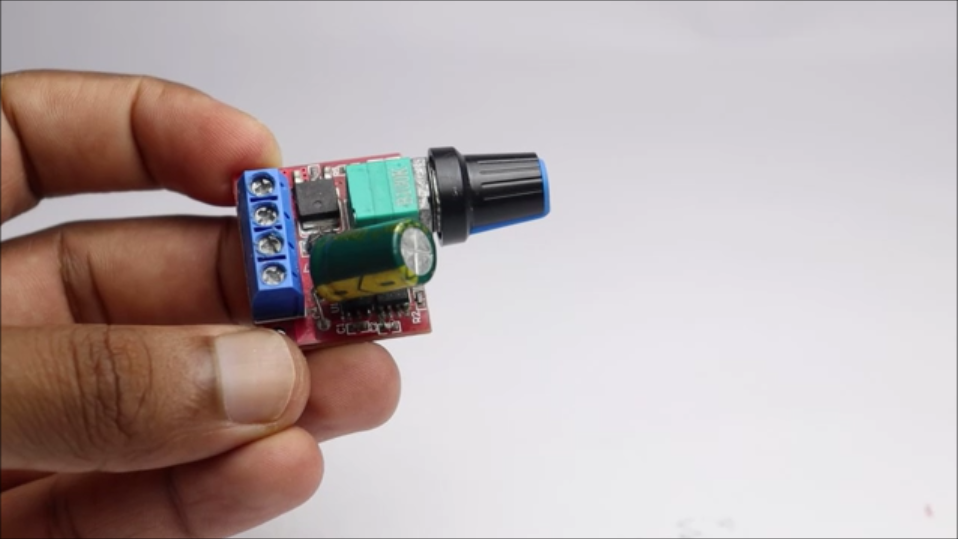
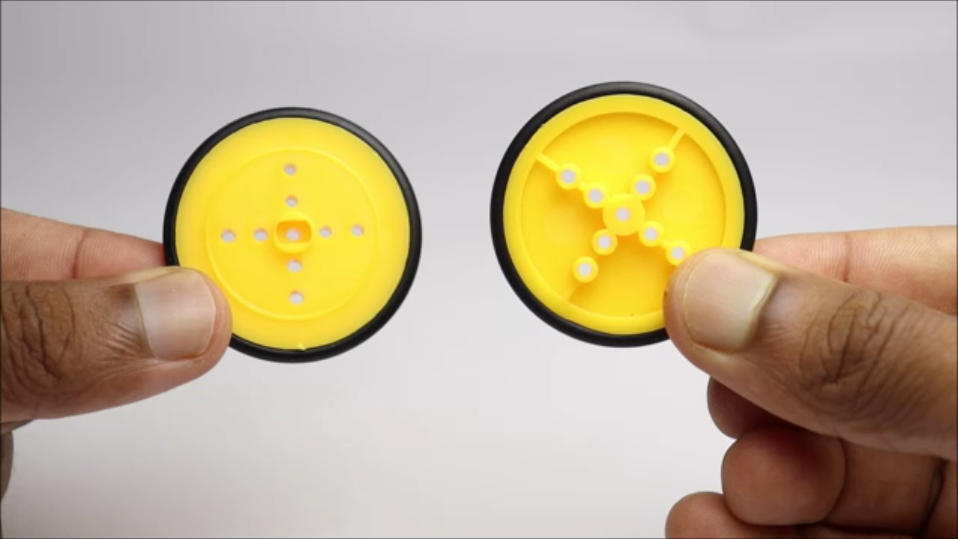
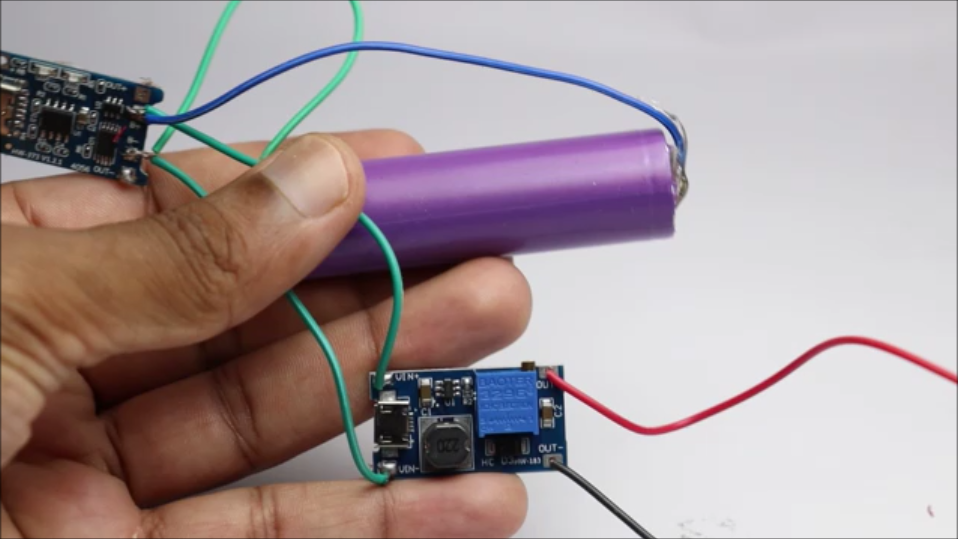
These are the materials which you will need to make this mechanical butterfly
Paper and pen
Butterfly (to be hand drawn or just take a printout of this)
Marker
Scissors
Thick Paper
Super Glue and Hot glue
BO Motor(hobby dc gear motor)
Lithium ion battery
Voltage dc dc booster board (optional)
Wheels (small) this was not available individually so can get it from the set
Metal strings(from paper clips)
Plier to bend the wires(you can do it with hand too)
Popsicle Sticks
If you buy from the above affiliate links i will receive a small percent of the sales at no extra charges on you this will help me to build such projects
Making and Coloring the Butterfly
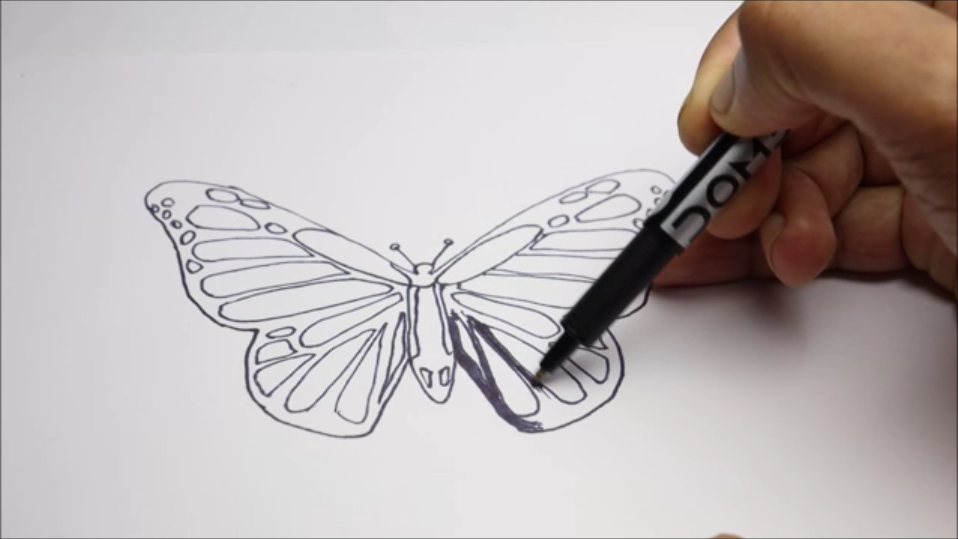

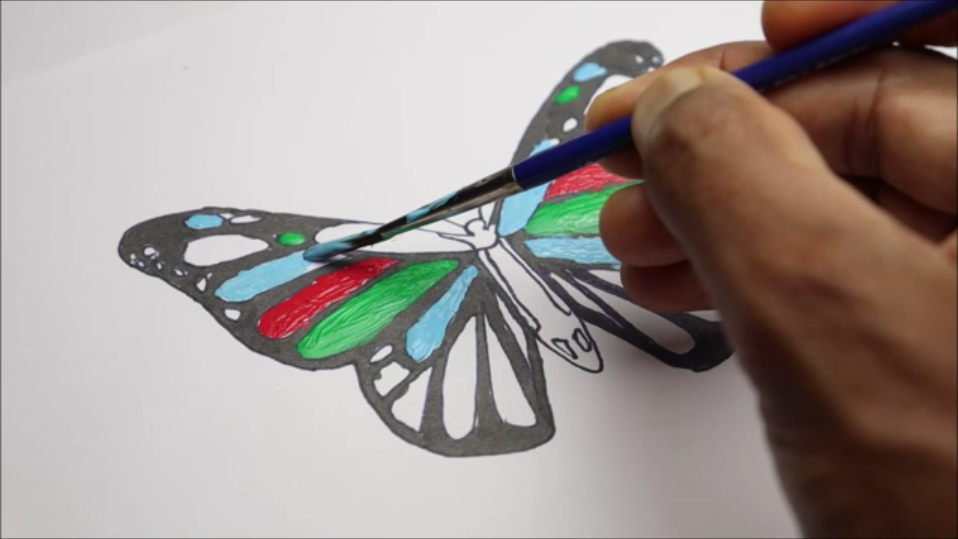
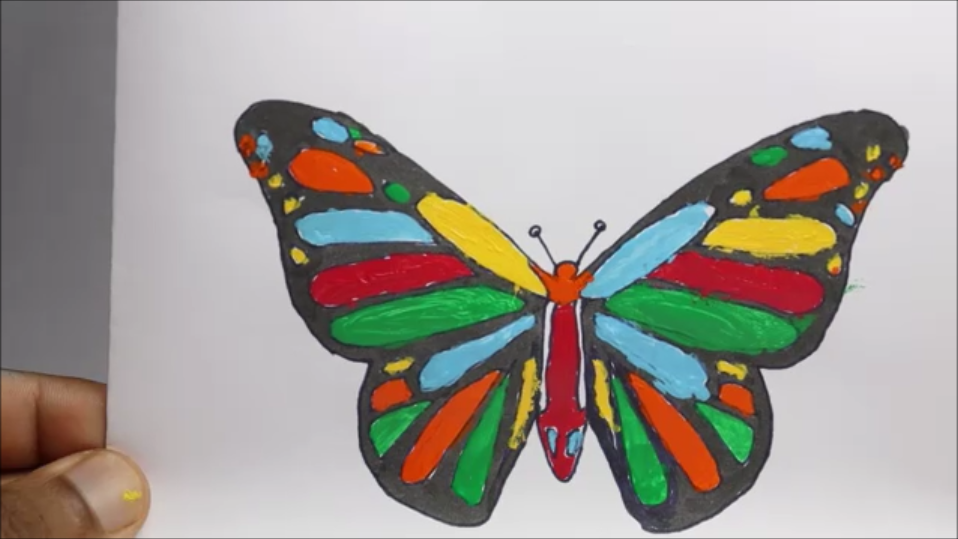
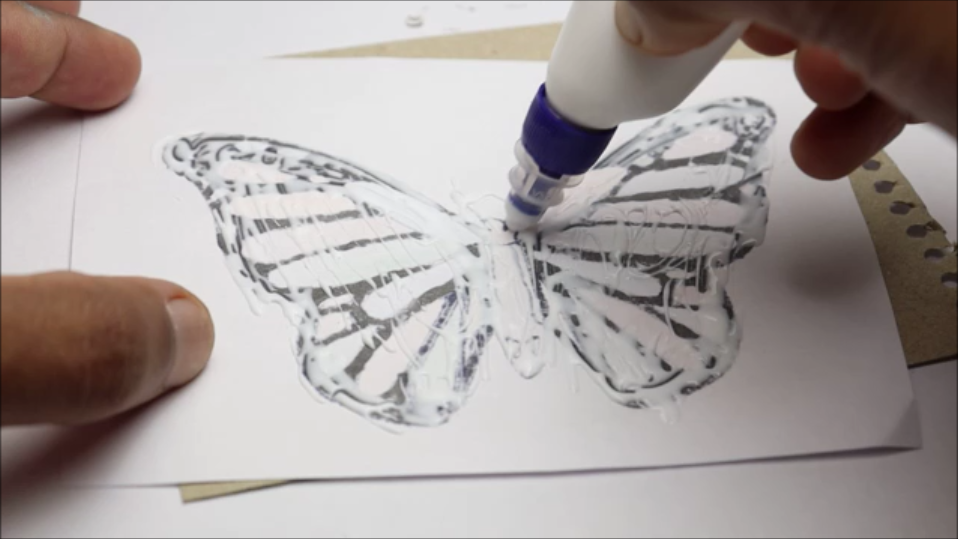
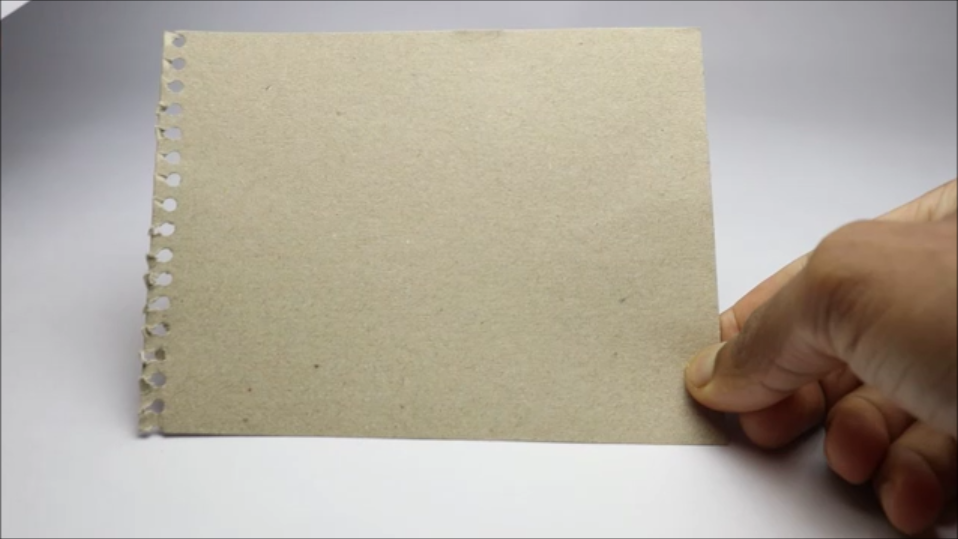
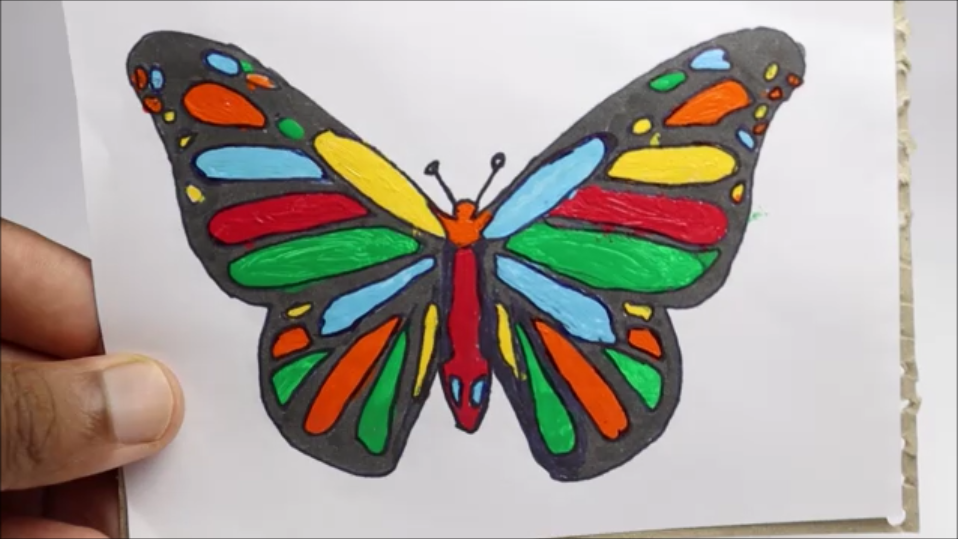
I chose to hand draw the butterfly and then paint it, This is easy to do believe me I'm not great at drawings but this butterfly came out great for me.
If you think its impossible for you to draw i suggest you to take a print out of mine for the outline and start to sketch.
For me i found that drawing in pencil first then trace the lines with marker will help in getting a good butterfly.
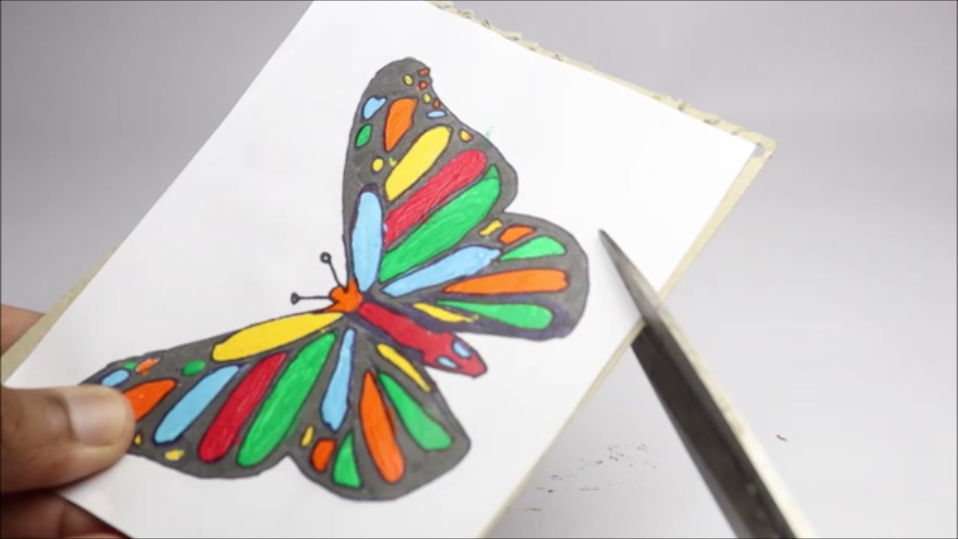
I drew the outline first, Filled the borders with marker, you can see from the second image how the butterfly looks after the borders are filled with markers, i chose to use 2.5mm thickness marker.
Later i colored the inside spaces with different shades of paint, keep in mind that more colors you use the more vibrant and beautiful the butterfly will look while flapping.
This may take a while to paint individual block one by one, But after this is complete slowly the butterfly will come to life.
After you color the butterfly, allow to dry completely and now again use marker to highlight the borders, this will serve 2 purpose
One is the minor unfilled paint gaps are covered and secondly the wings color starts to highlight.
This layer of butterfly wont sustain the flapping mechanism for long, to fix this i will use a slightly thicker paper from back cover of my notepad.
This not only adds the flexibility but also keeps the mechanism working for a very longer duration.
Use glue on back side of the hand drawn butterfly and paste it on the thick paper and wait until this is dry completely.
Trim the excess parts with scissor and if needed you can highlight the borders again for a complete neat finish
Simple Circuit for Mechanism
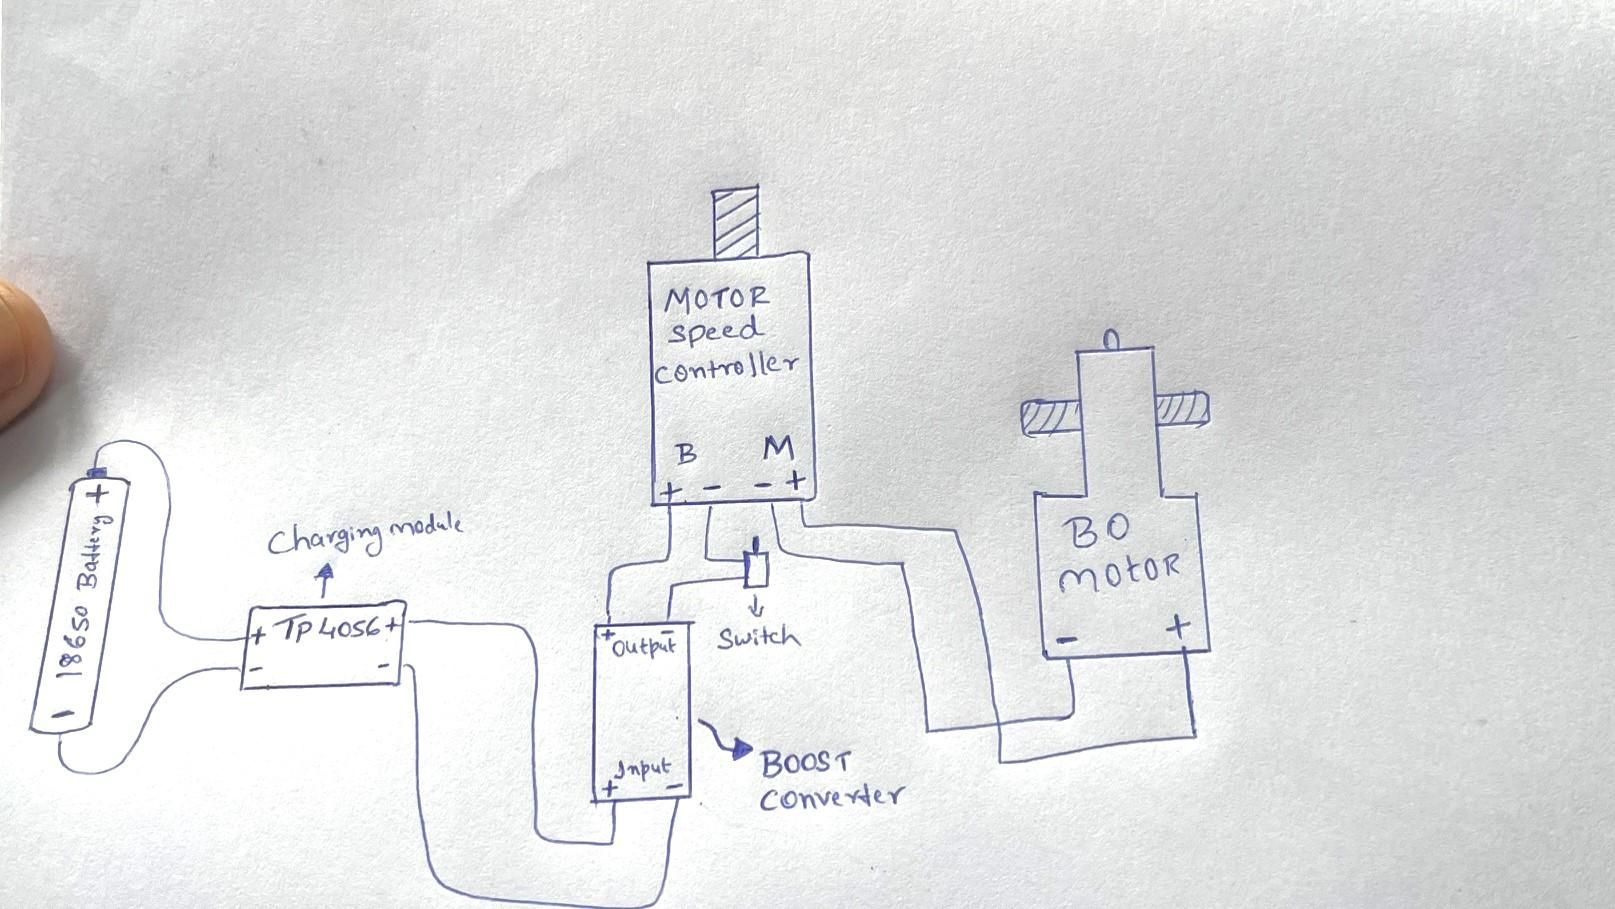
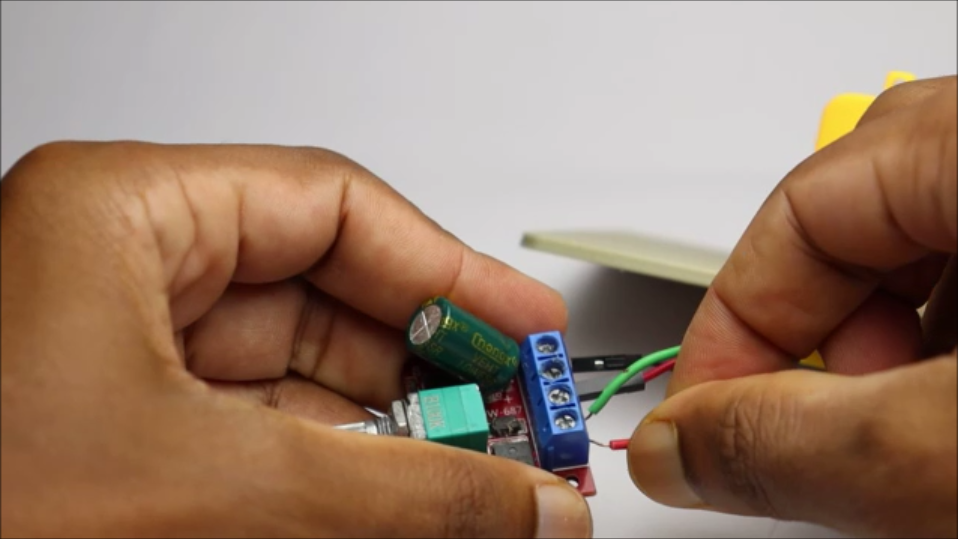



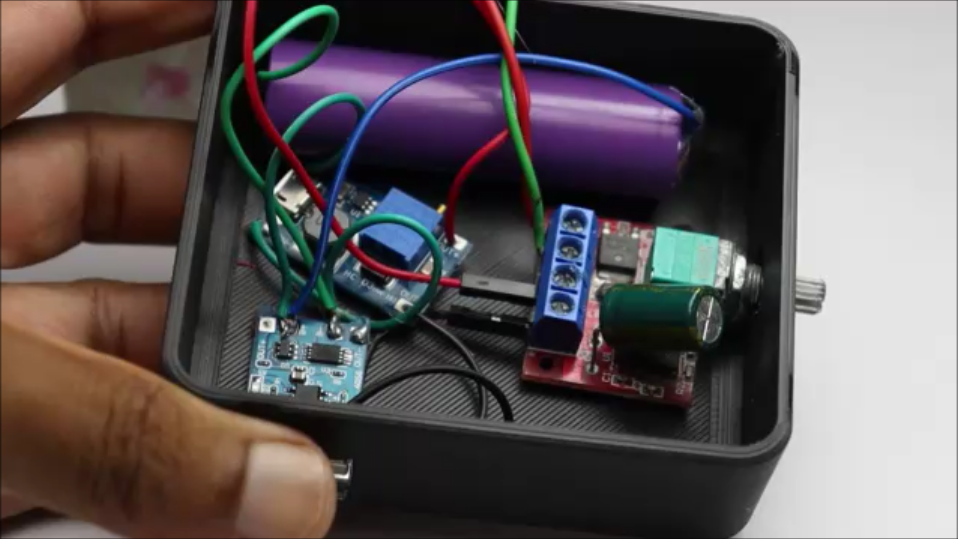
There is nothing to worry with the circuit part since there is no coding involved, it is a simple circuit all you have to do is connect the wires!
I will use a booster circuit and this is not really necessary you can simply use tp5056 charging board with a battery connected to it.
The output from the tp4056 board is connect to the input or the power + and power - pins of the speed controller.
The motor + and motor - pins from the speed controller board are directly connected to the BO motor pins.
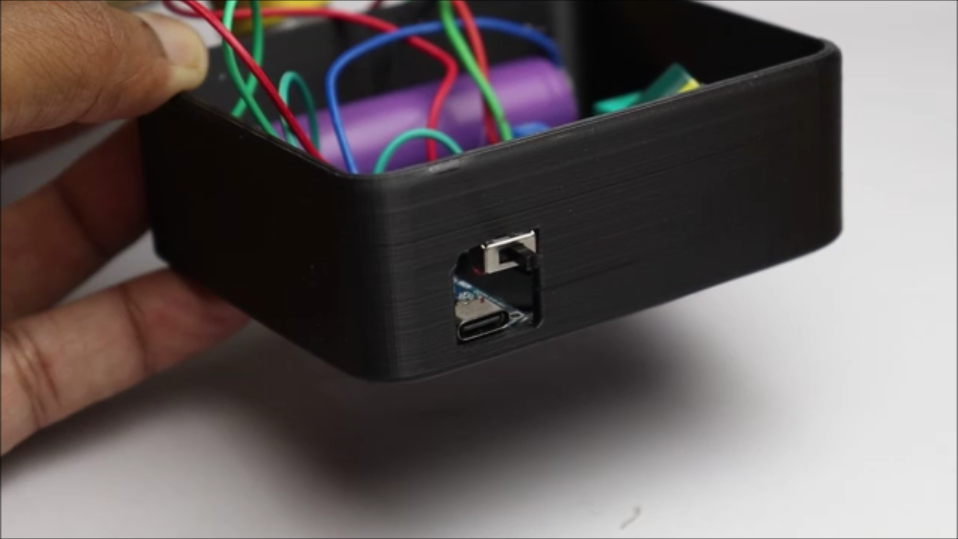
Now drop this whole electronics inside the base of the 3d printed frame and use hot glue to stick the speed controller with the base.
Attach the charging board to the side of the frame and the power on and of switch near to that as you can see from the image on the this step.
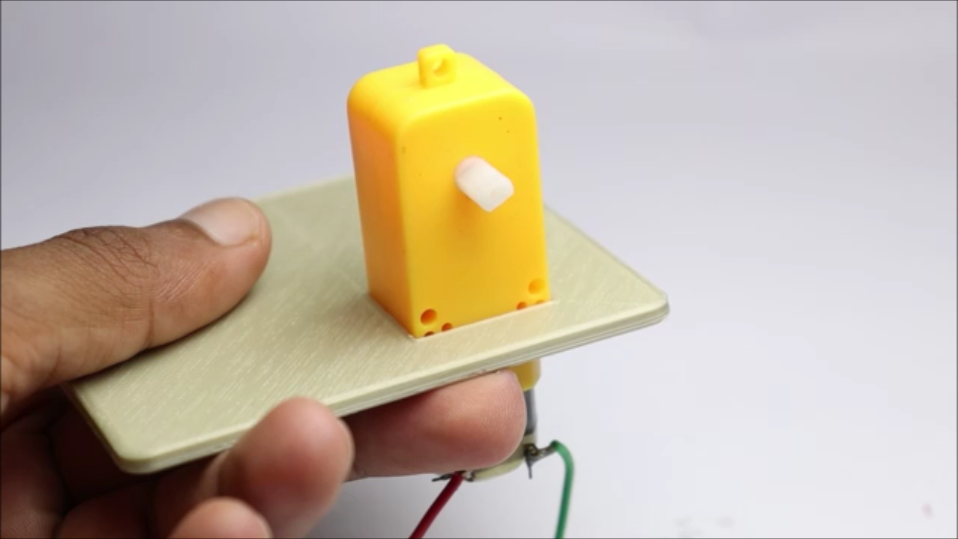
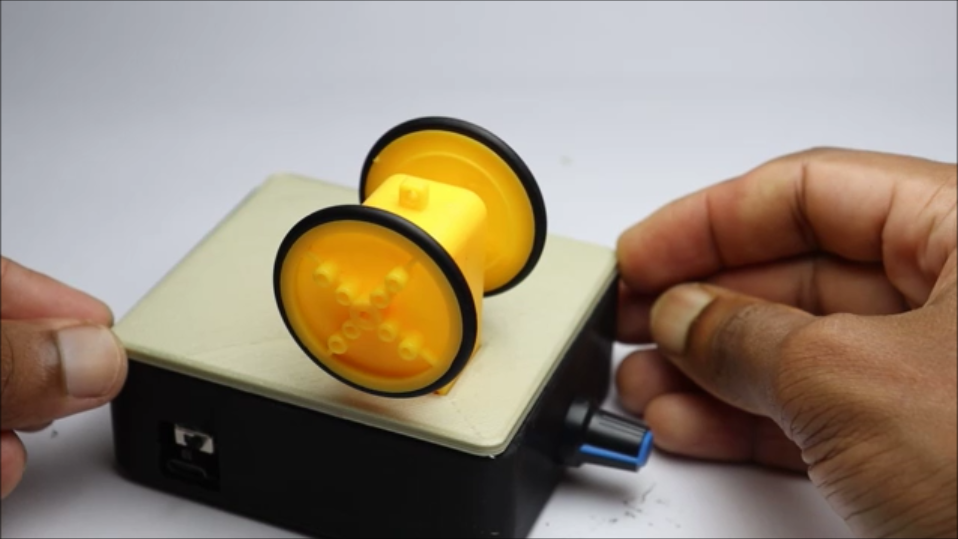
This completes the circuit, Now insert the BO motor to the slot on the lid and secure it with super glue.
Press and hold the base and top part until the glue dries completely, now we can build the main mechanism for this project.
You also can replace this open circuit with a simple small PCB, Complete your electronic projects in the best way from PCBWay
Why them? They have provided me with the best PCB and The quality is just amazing compared to other providers in the market, They also have advanced Color PCB printing
If you don't have a 3dprinter check for their Multicolor 3D printing service with this your project becomes more interesting
A revolutionary solution that combines the best of both rigid and flexible circuitry to elevate your electronic projects to new heights.
Don't miss to check their 12th anniversary offers here , the offers are valid from July 1st to 31st and dont miss it
There are many coupons and lucky draw that you can win and redeem and avail greatest of the offers across their platform
You can participate in their 12th anniversary contest by posting your pcb related projects or cnc/3d printing project and win exciting prizes.
You can start your pcb order for just $5, also upto 50% off for ed printing and CNC machining, there is also a special sales in pcbway store where you get special discounts
During this time if your PCB order use the same solder mask color as your color there is no extra color fee.
i Unboxed the blind box and won an OLED display module which i use in many of my projects
On the occasion of their anniversary there is a color debug challenge where you can participate and win coupons that you can redeem on your next order.
If you participate in badge design contest the winner gets $200 usd coupon, how cool is this!
Designing and 3d Printing Electronics Holder
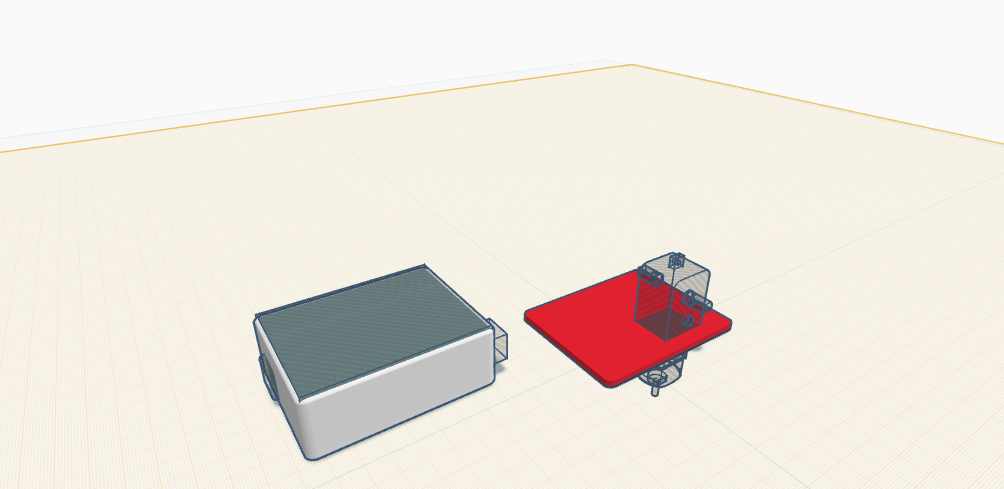
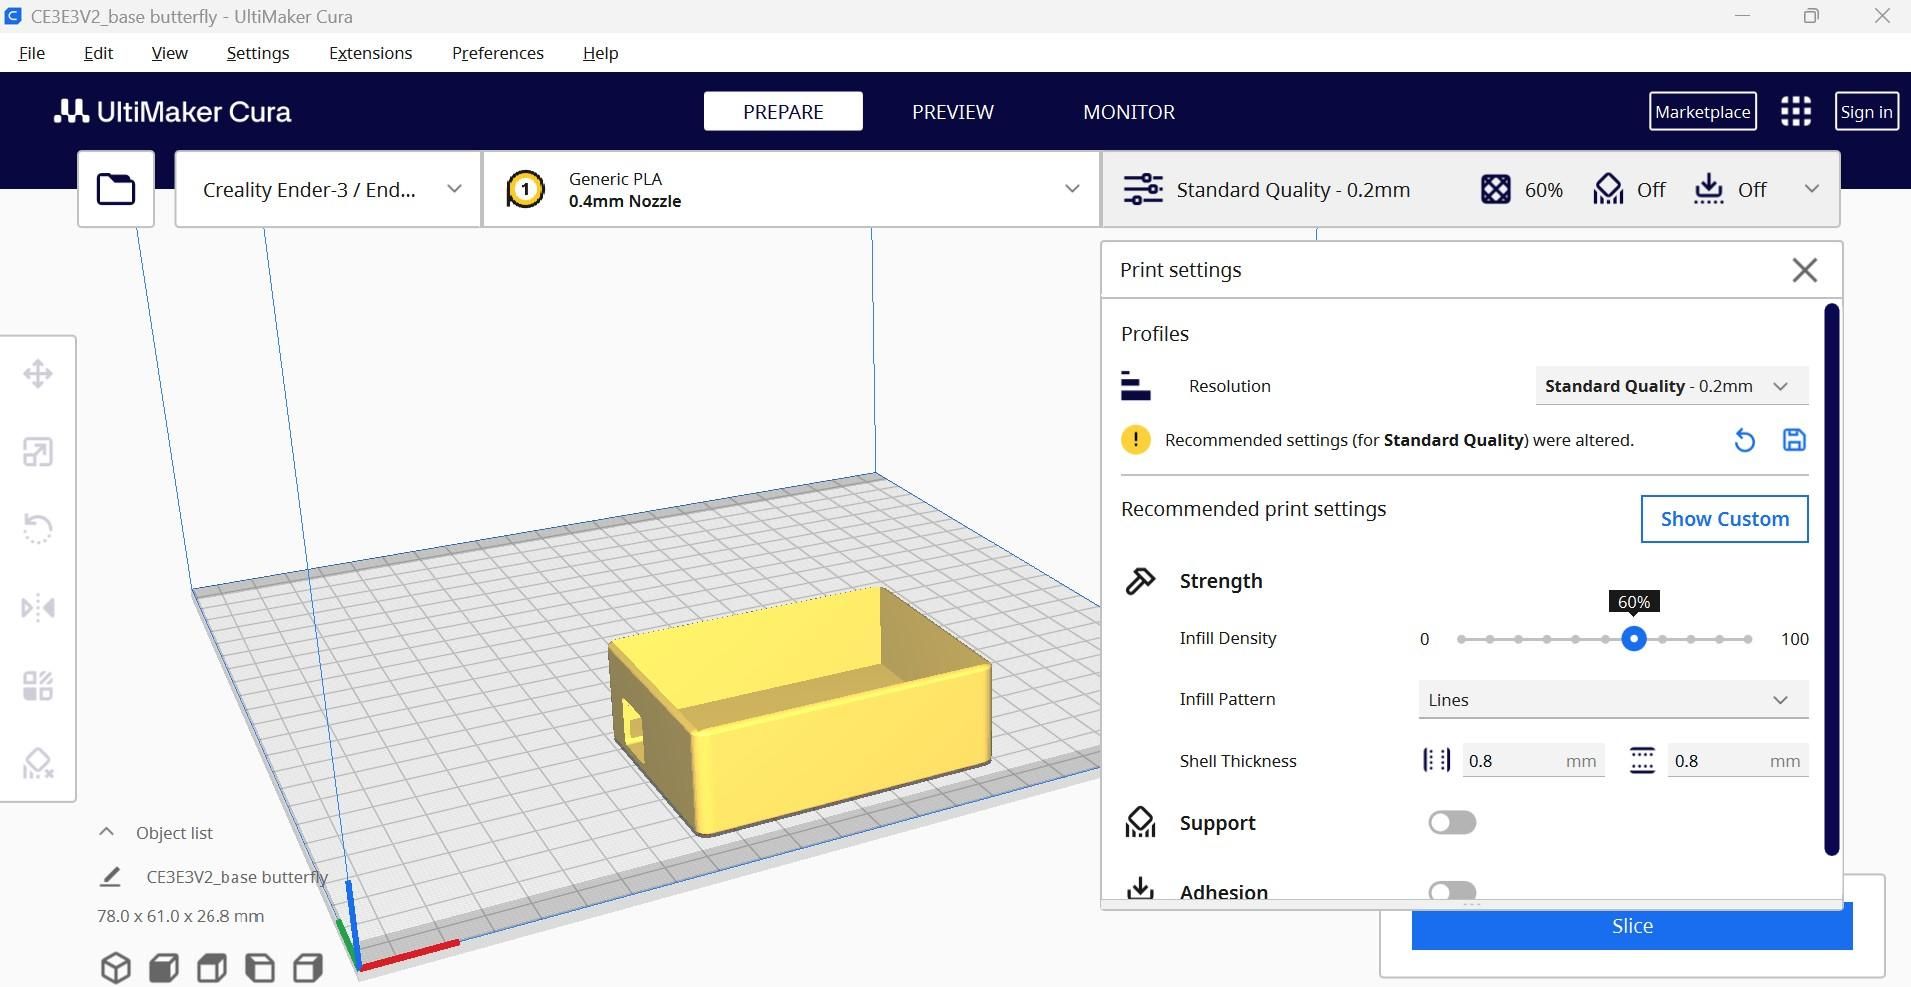
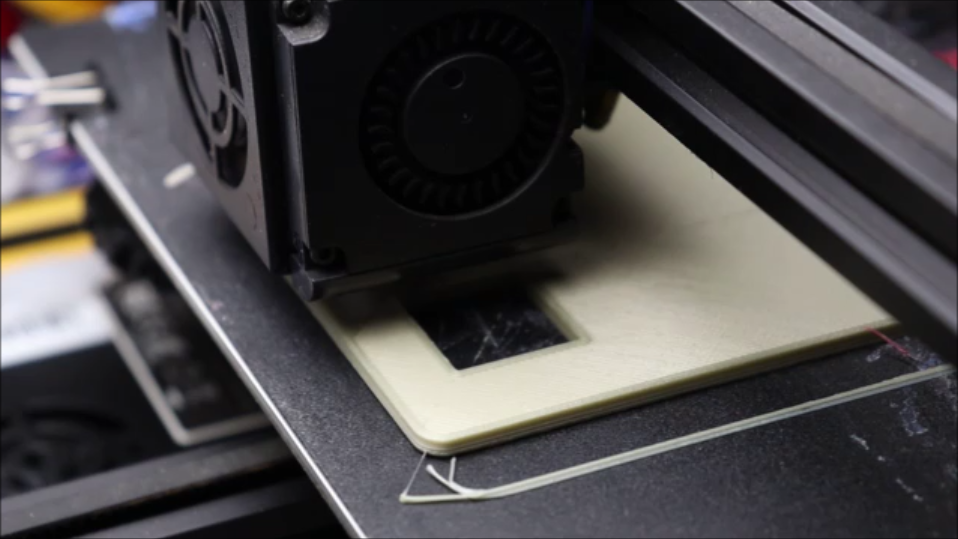
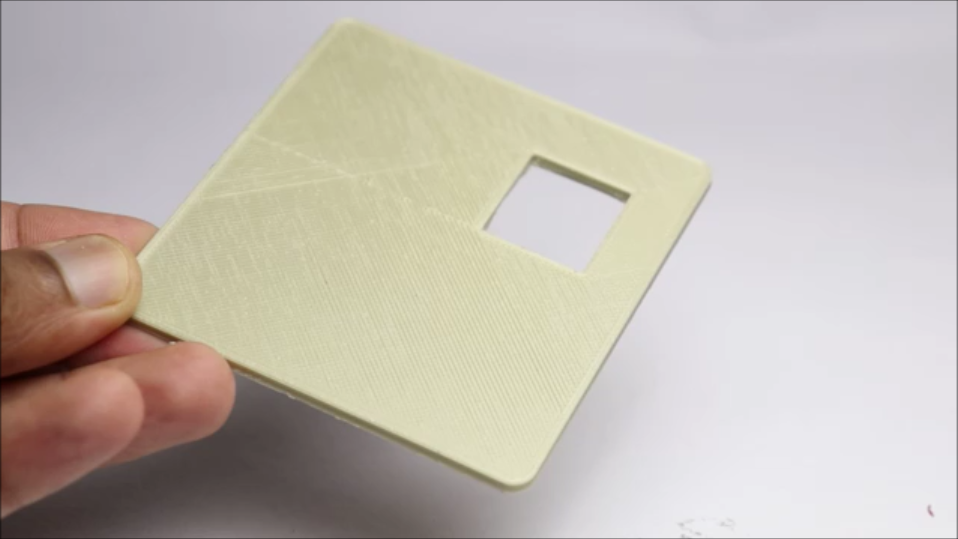
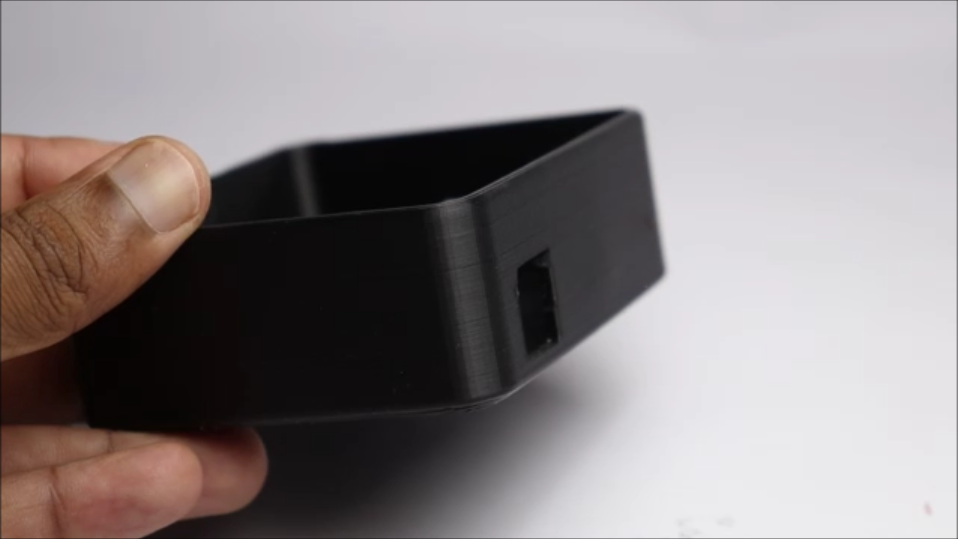
I will design the holder or the casing for electronic components using the Tinkercad application.
Unless and until you are familiar with design don't edit my model because i have designed the space inside for the standard components that are listed her
If you try to reduce it may cause some problem in the balancing or other mechanism.
The design shapes are pretty simple and you can make them easily too, If you don't want to take any risk simply use the STL files given on this step.
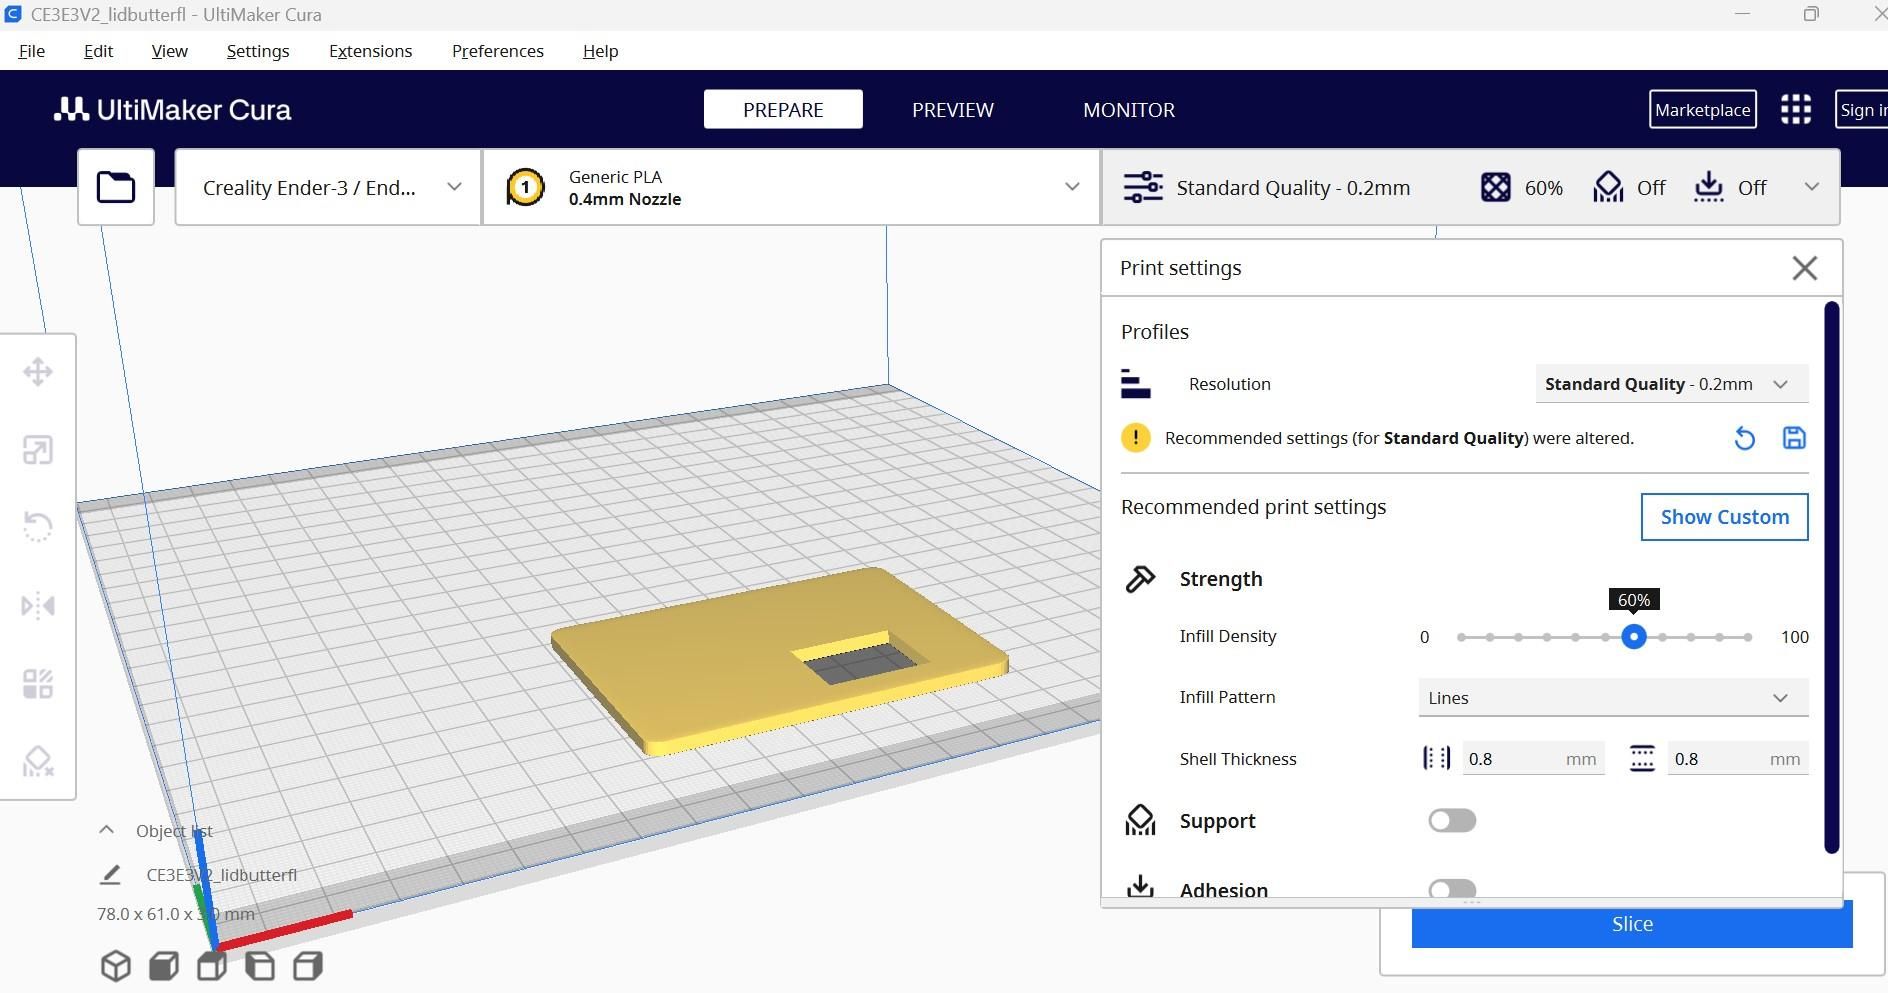
Simply export the design files to Cura slicer and make sure not to use any rafts or supports at the time of print since we don't need them.
Post processing is also not required, the print time is also very minimal.
I will print the base in black color and the top lid with golden pla filament,
These 2 parts will serve as a casing for the electronics, the lid serves as a motor holder upon which the butterfly will sit.
Preparing the Butterfly
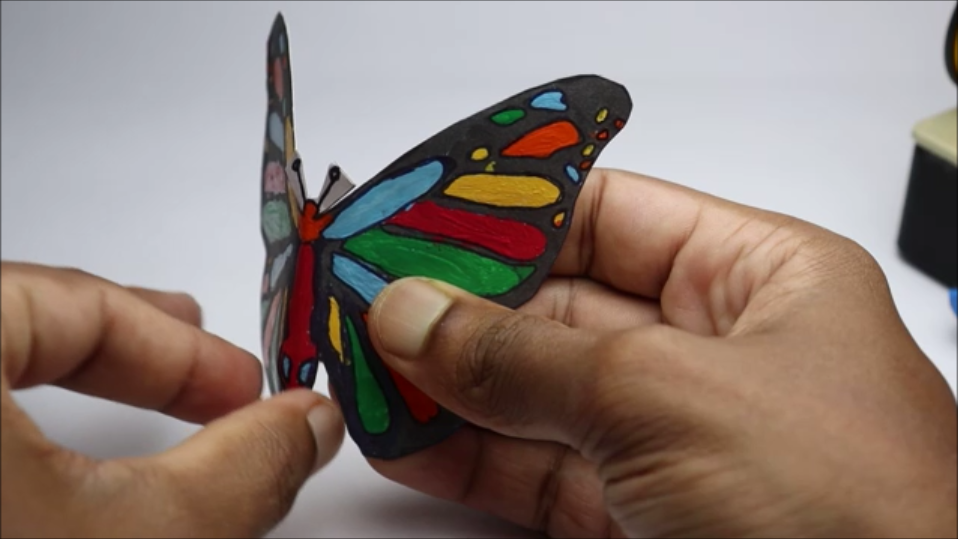
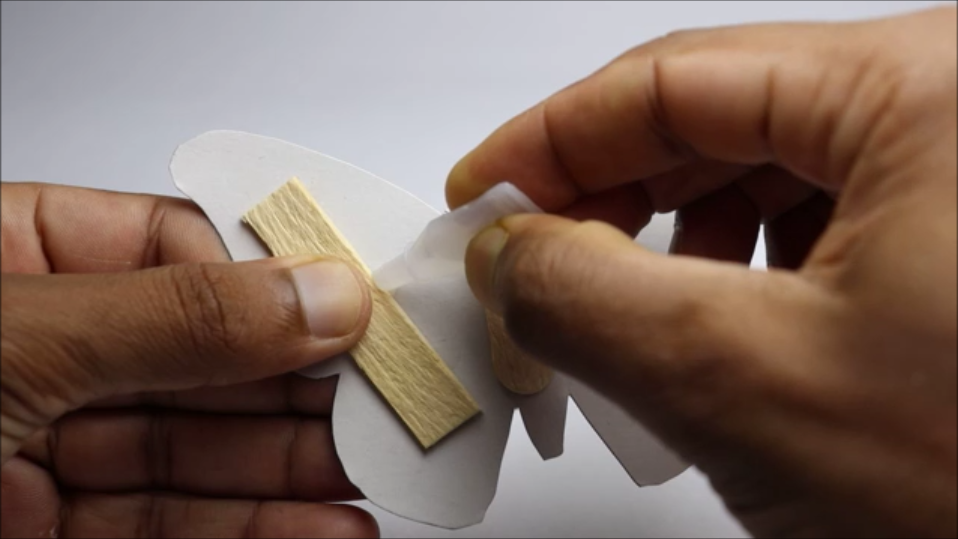
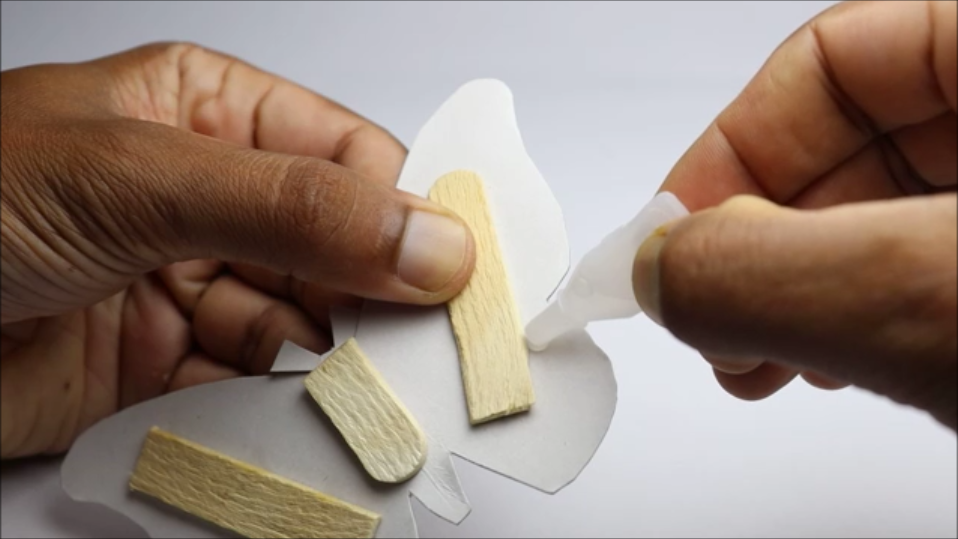
The butterfly that we left earlier to dry has now finally dried and is ready for the next step of the build, trim off the excess parts from the wings and with the help of ruler bend the butterfly inwards slowly,
Now repeat the same step but this time bend the butterfly outwards this will give a path to the mechanism.
The mere paper thickness will not give a smooth motion we have to define the areas in terms of mechanism to work,
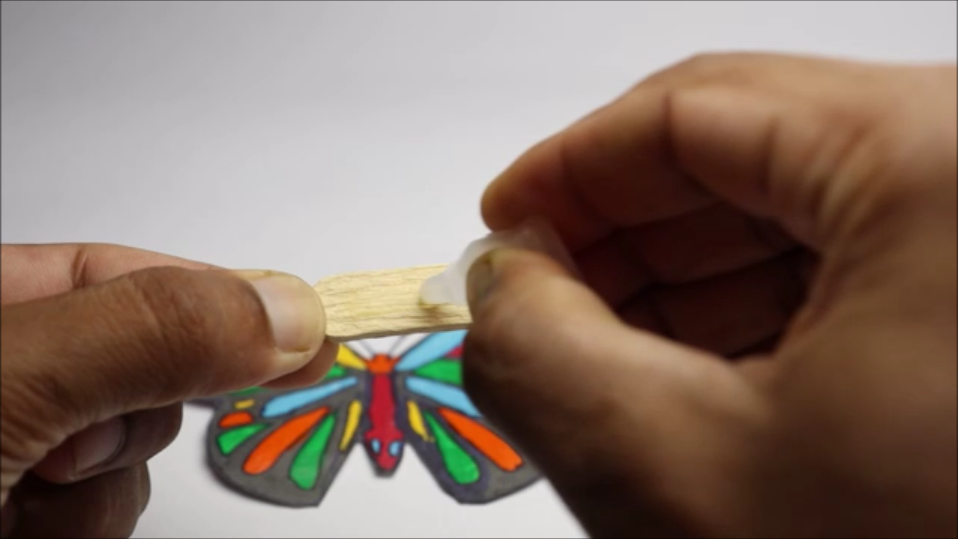
I will use popsicle stick in the center that will be glued later to the base pillar.
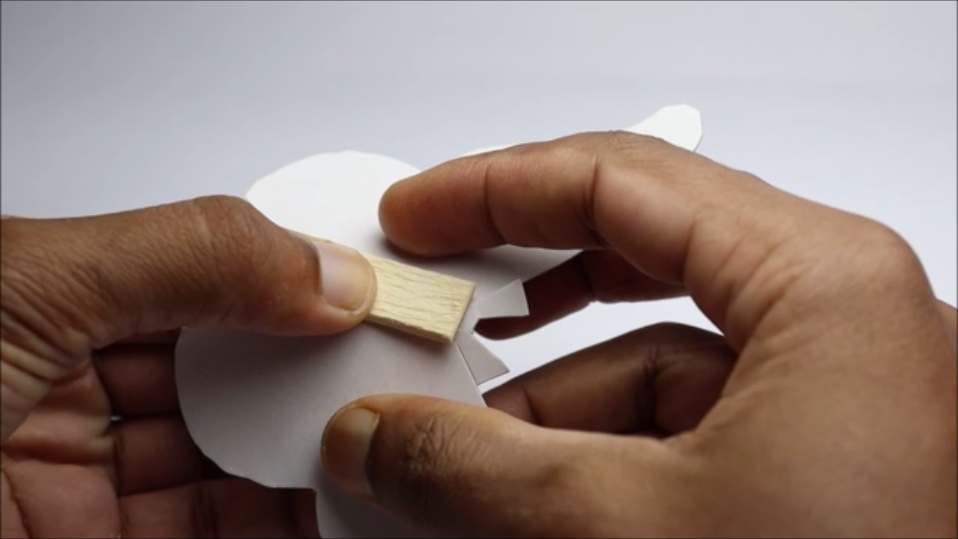
The 2 wings of butterfly is connected to the strings so here also i will be using popsicle sticks and i will use super glue to secure the wings with popsicle sticks.
Use the length of popsicle stick like i did, if you are using too small then the mechanism wont work and if the length is too long the mechanism will not drive a good flap.
After this is complete, manually flap the wings of butterfly and if needed add extra layer of glue to ensure good strength.
Building the Mechanism
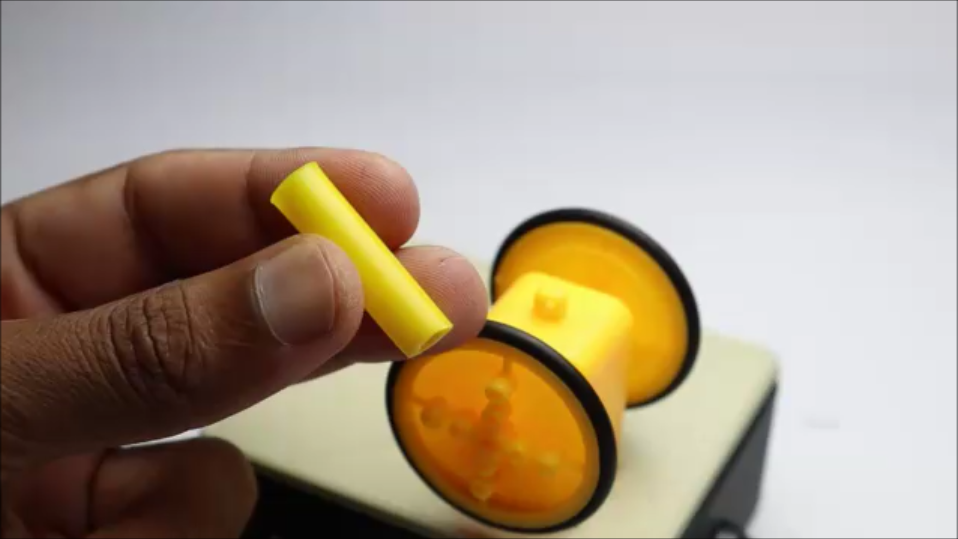
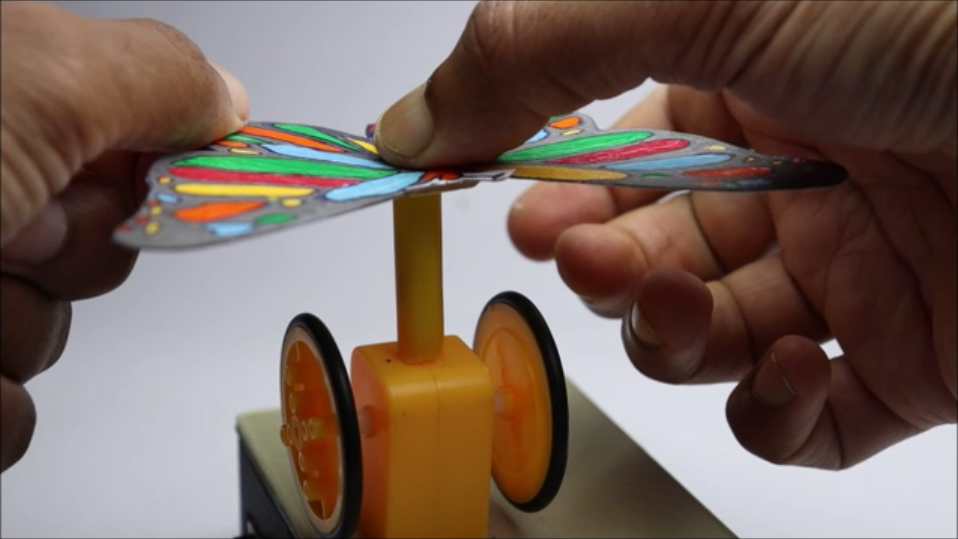
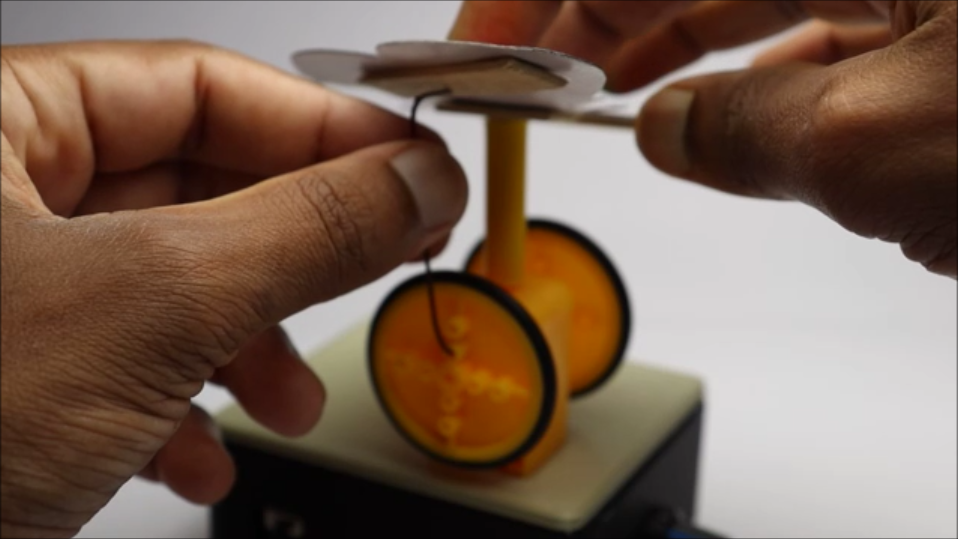
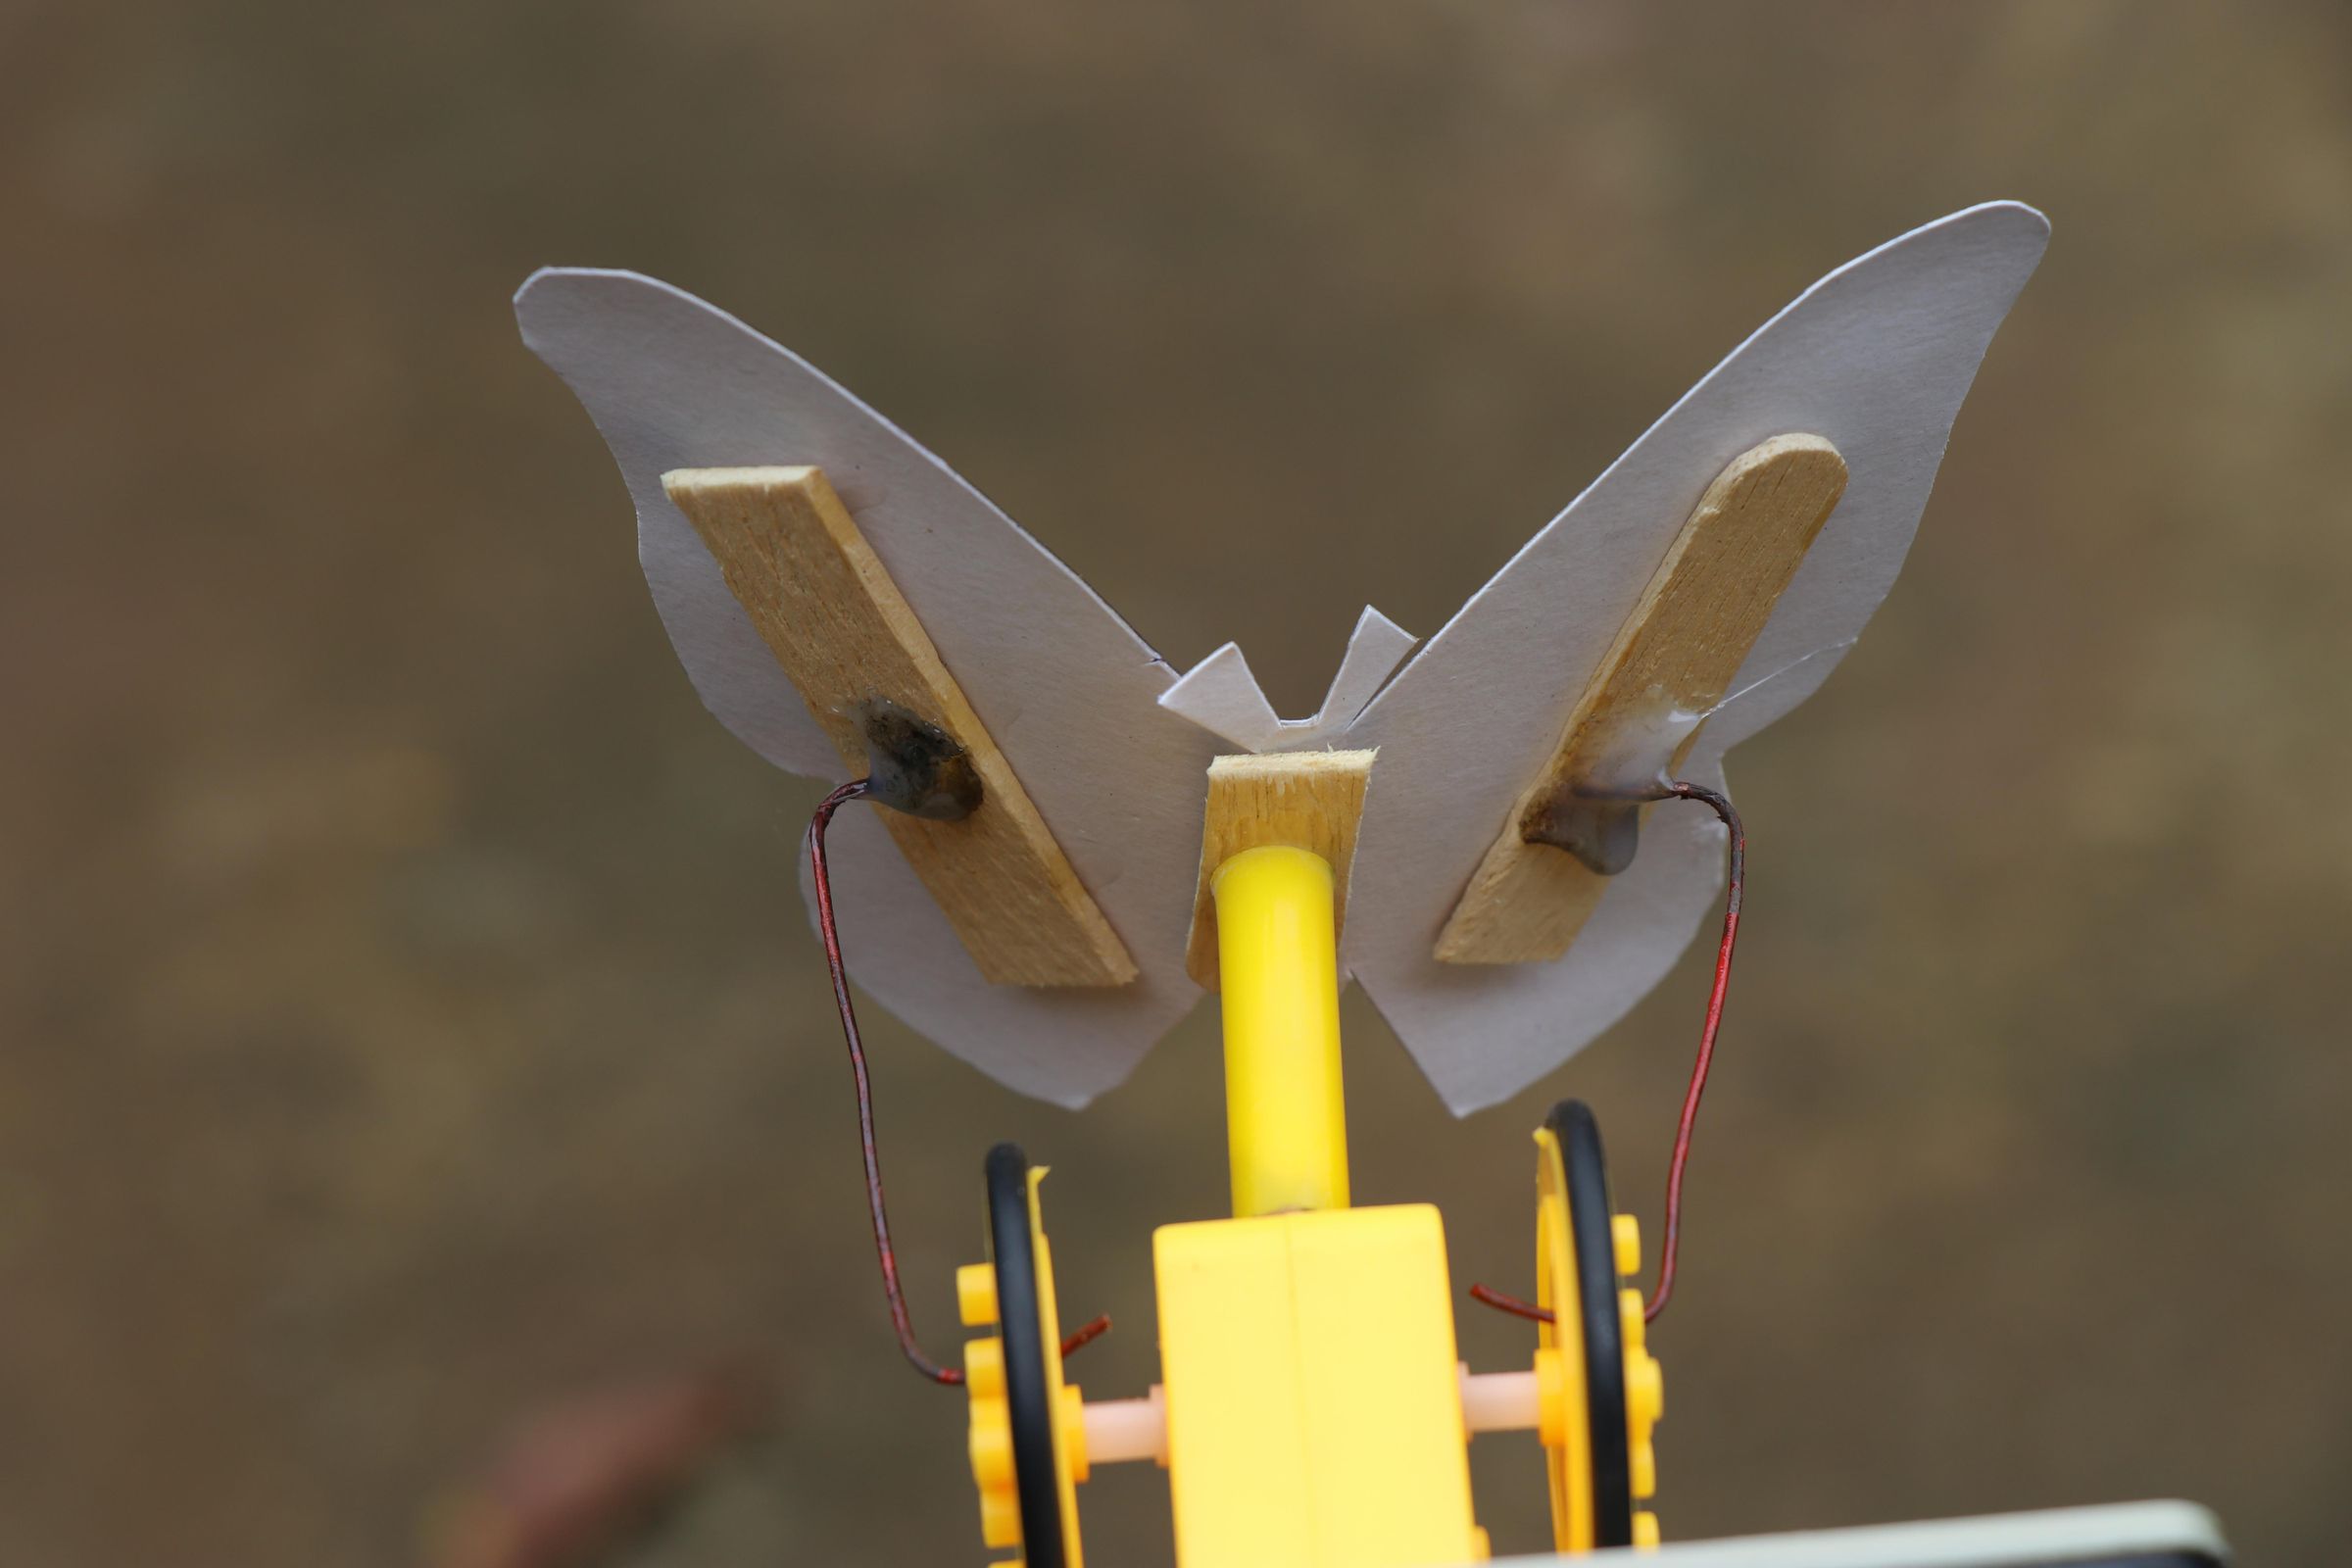
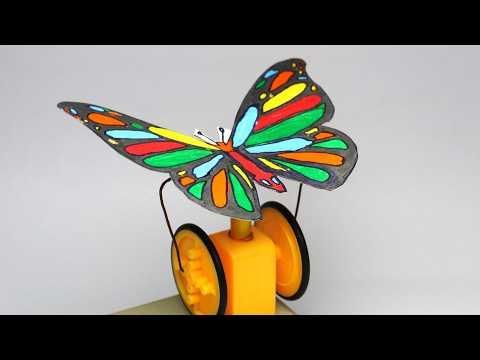
Here it is a simple mechanism that we are using for flapping the wings, If you check online there are many of complex ones yet they still wont guarantee you a promised working.
Here i made few other attempts and found that this was the most effective type for this project.
I will make use of the wheel with tiny holes to make the flapping mechanism.
Just connect the wheels to the shaft of dc motor and to the next hole after the center insert the steel wires bent to fit the mechanism.
This will disturb the center point and creates a variation in motion that controls the flapping motion.
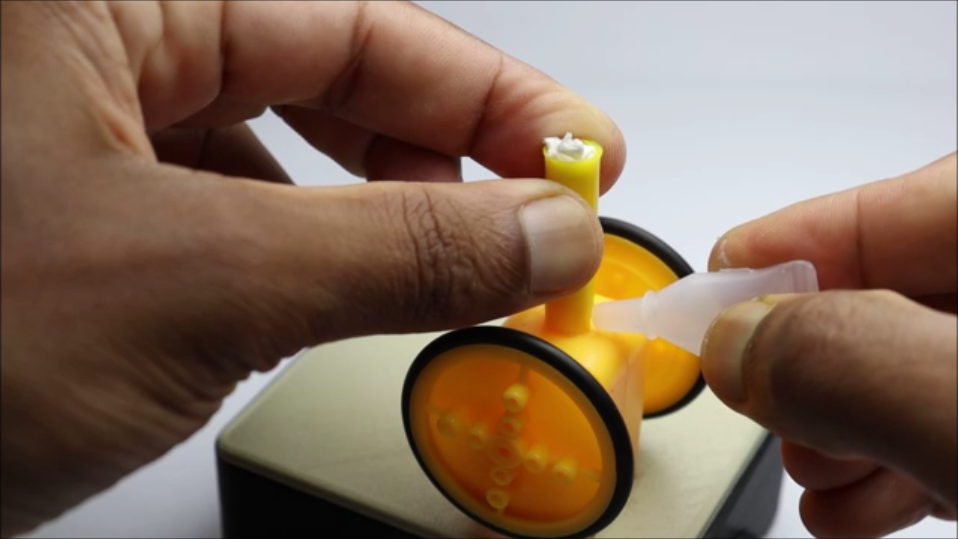
For any mechanism to work you need a soled base and for the base i will be using the frame of the dc motor itself and to elevate the heigh i will use a hollow plastic tube.
To enhance the strength i will use paper filled inside these tubes and strengthen with super glue, this will give a steel like strength to this and the base will be super solid.
I will now add the center part of butterfly (the part with popsicle stick) to the center pillar using superglue.
Then connect the connecting wire between the wings and the wheel holes, and the wing part is strengthened using hot glue as you can see in the above step images
Allow to dry completely and then we can head over to testing.
How to Use and the Tutorial Video of Build
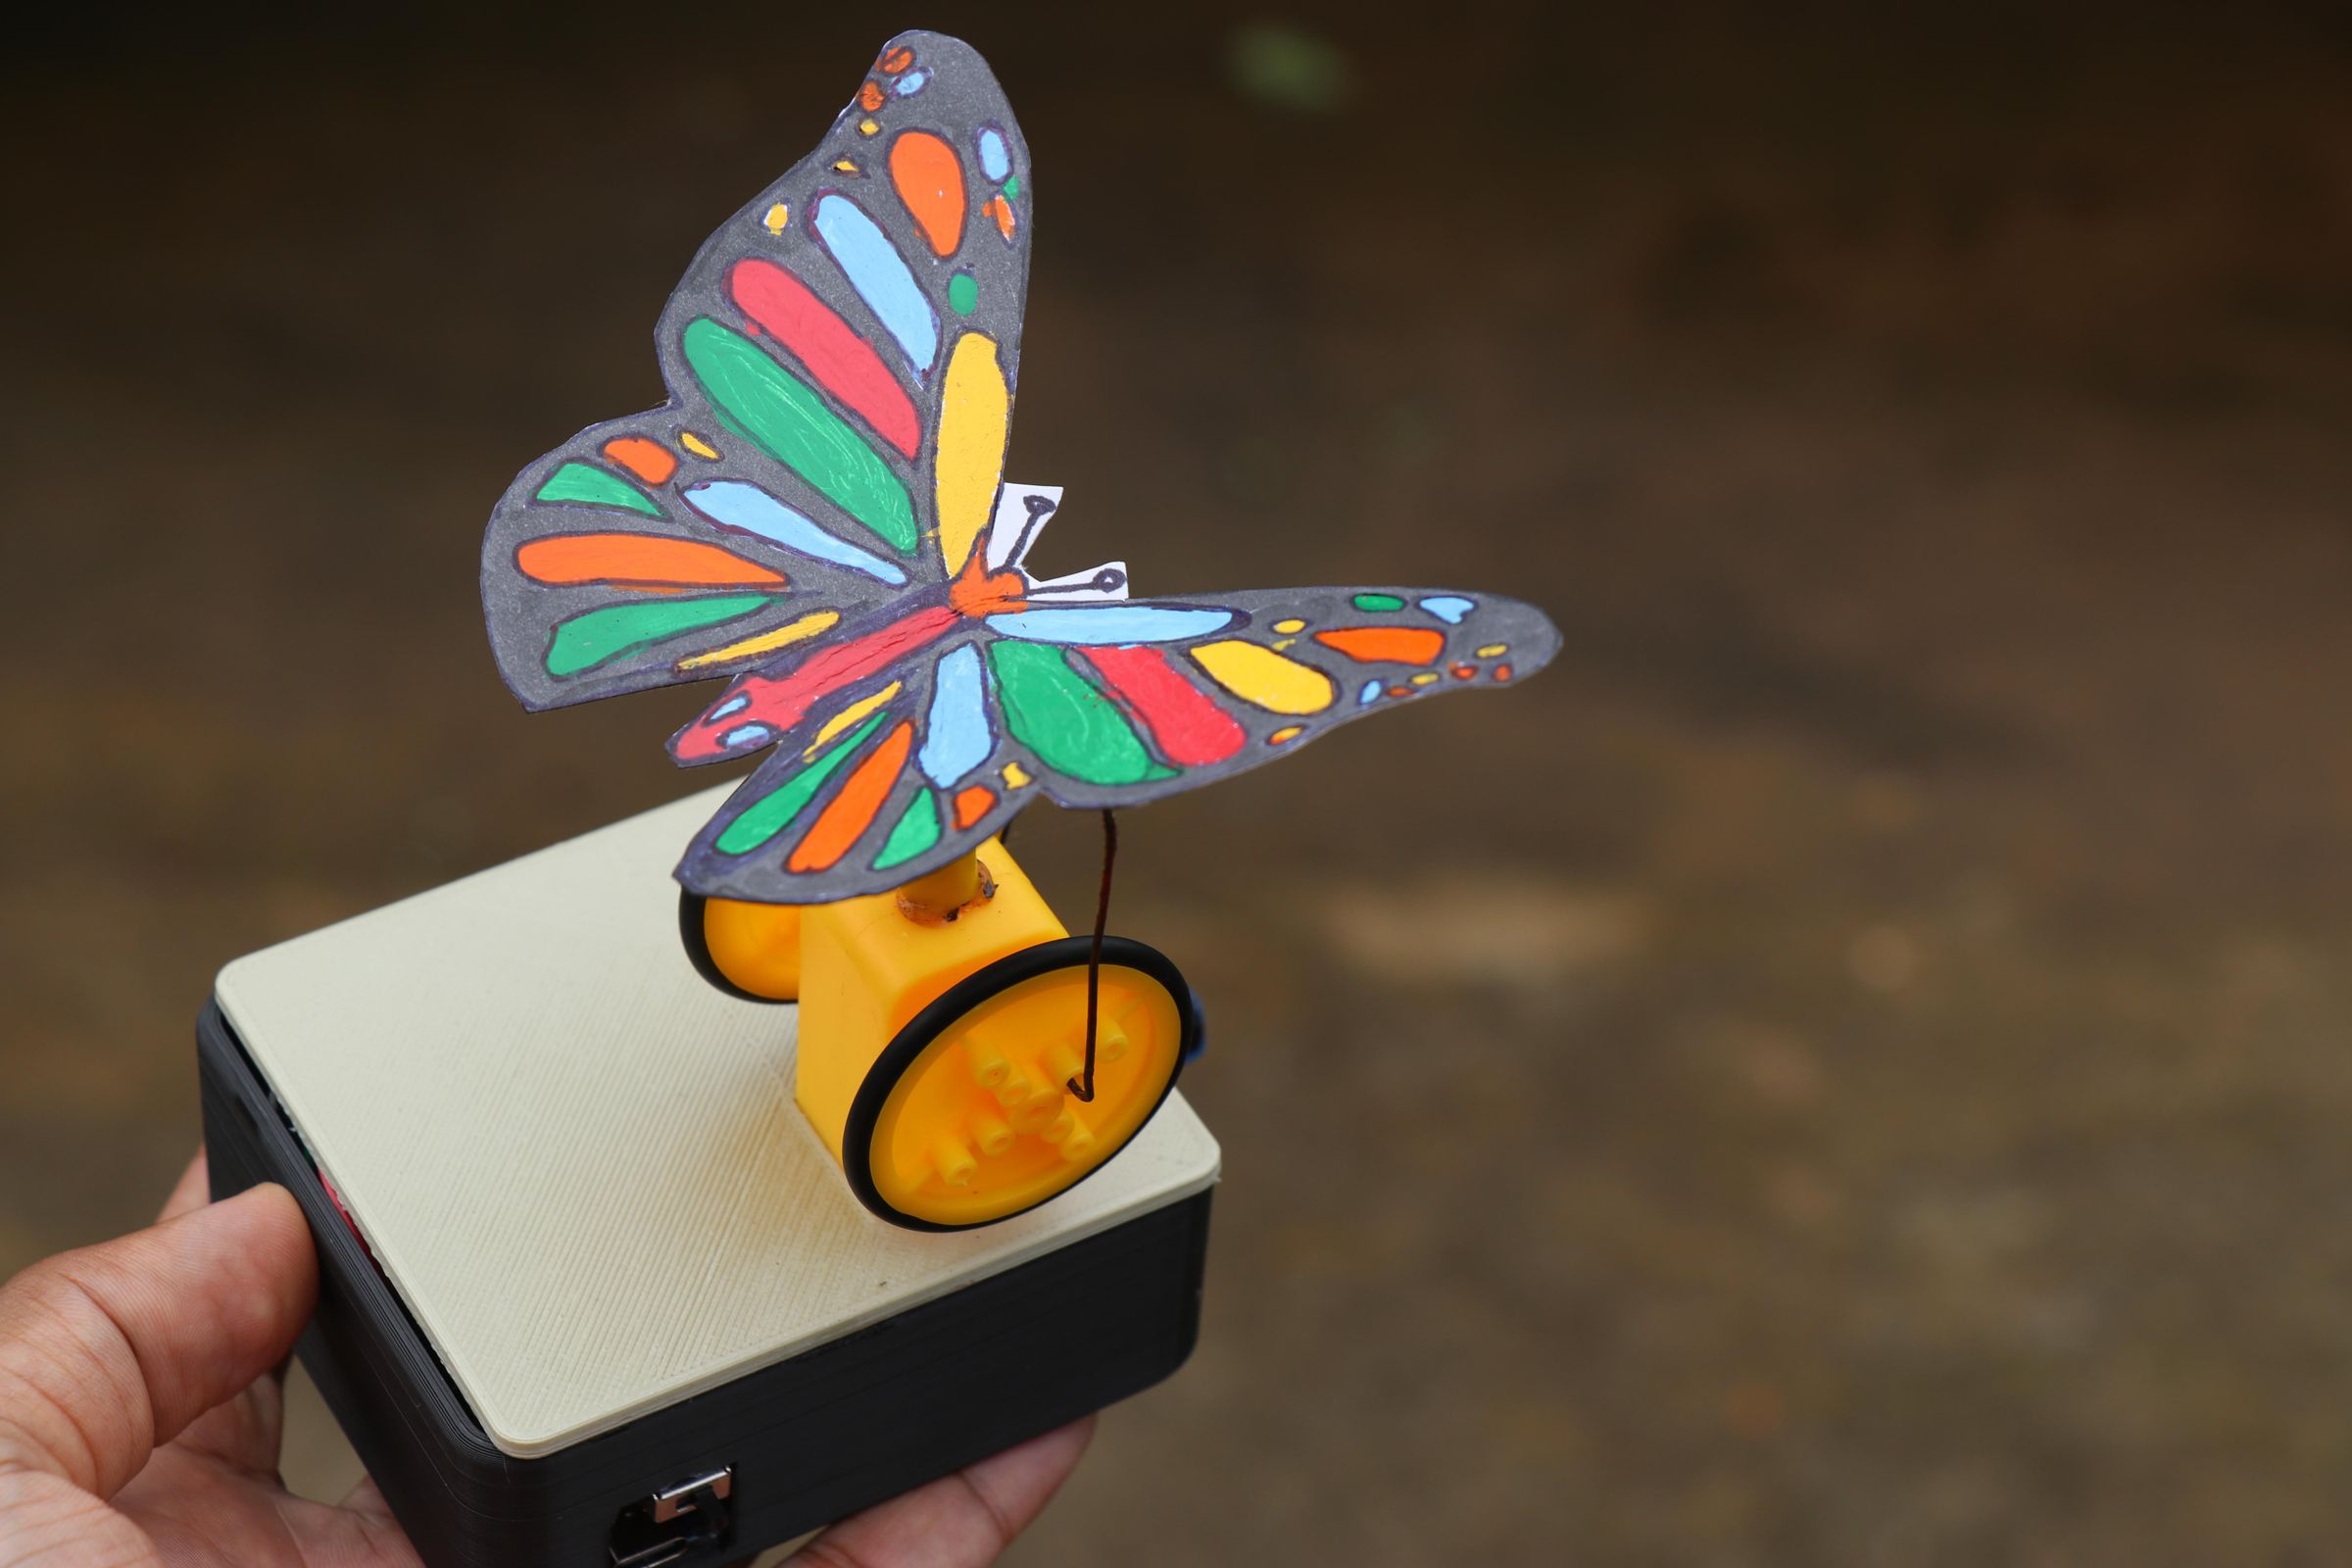
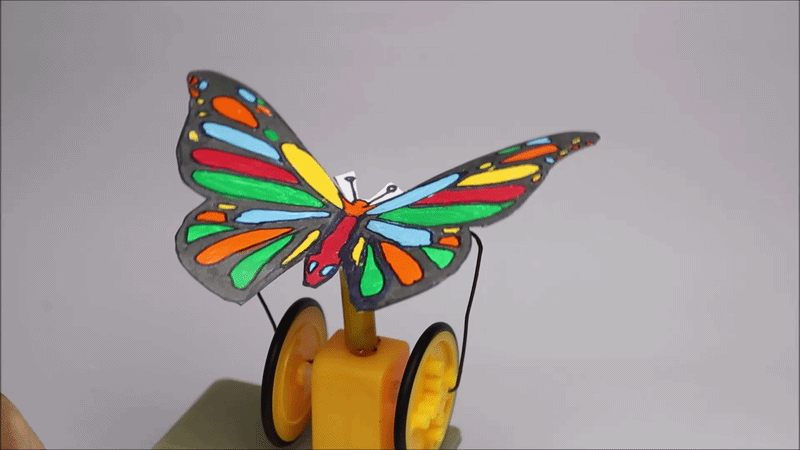
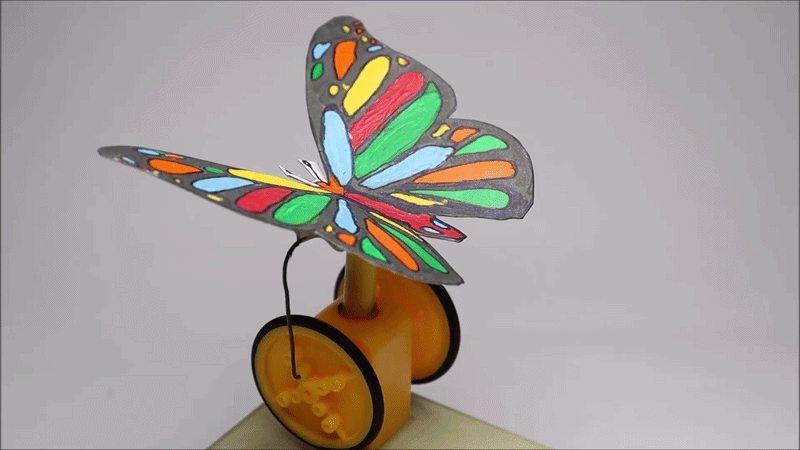
Using this is not even a thing all you have to worry about is finding a place this butterfly will fit in!
Joking! you can keep this anywhere you want since this butterfly will add a charm to that place and all eyes will be on this butterfly.
The base is solid and due to the weight of battery and other components the flapping movements are stabilized.
Just turn on the switch(speed controller) and adjust the speed i recommend not to use more than 50%, below values gives a smooth buttery flow to the butterfly.
There is a detailed step by step video tutorial of this project along with focus on the working video, Consider checking that in this video.
This was all about this project, If you have any questions to ask let me know i would be eager to help you guys.
Thank you and let me know how your butterfly came out :)