DIY Decorative Stone Planters - Creating Colourful Patterns With Painted Stones
by steve-gibbs5 in Outside > Backyard
121 Views, 1 Favorites, 0 Comments
DIY Decorative Stone Planters - Creating Colourful Patterns With Painted Stones
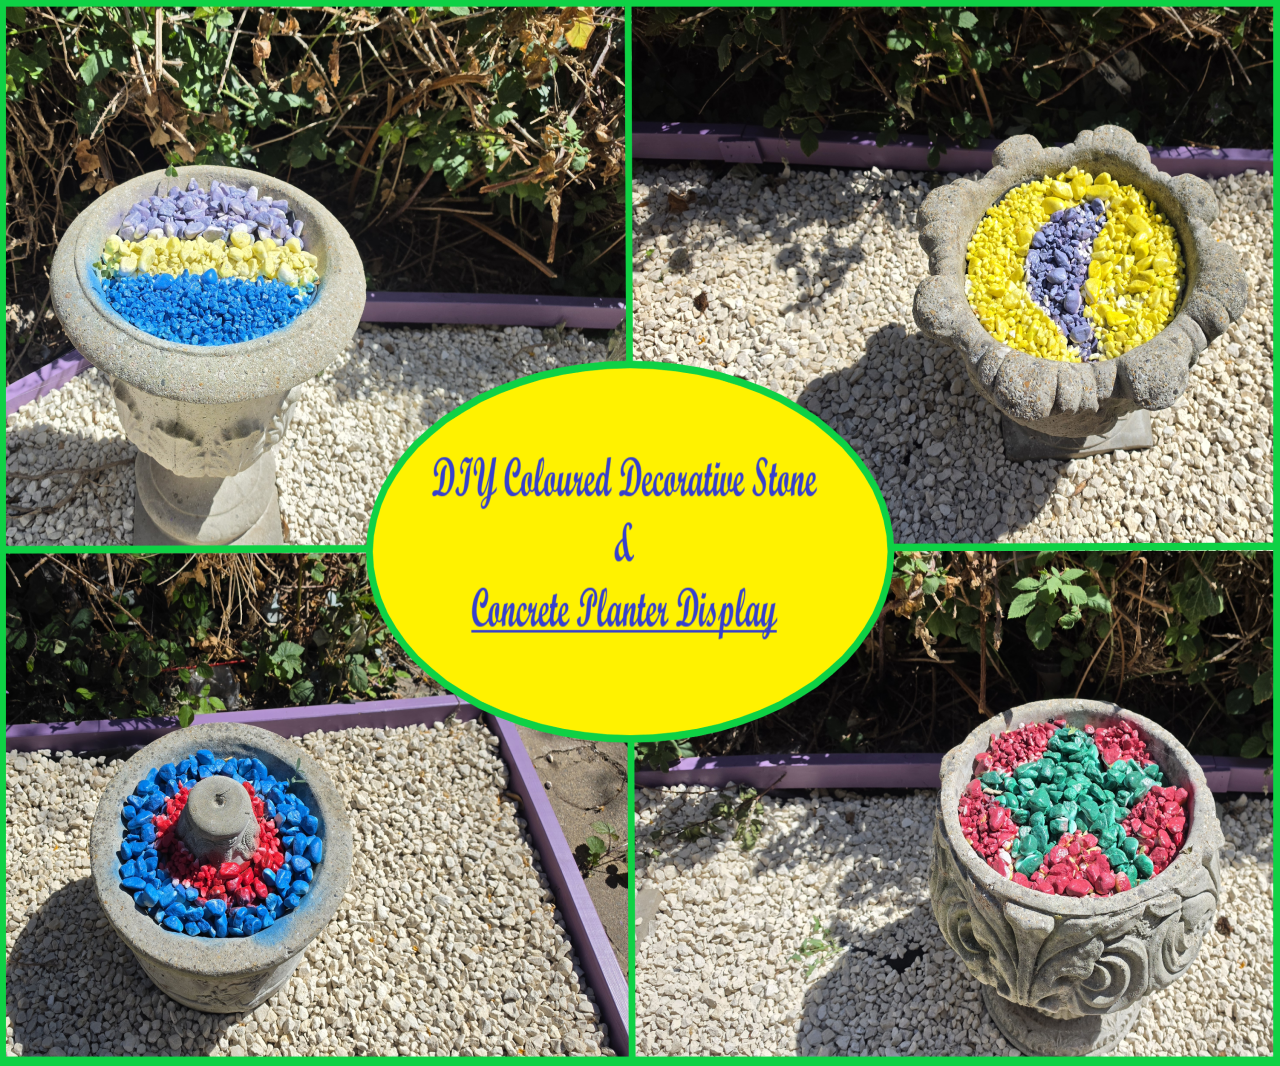
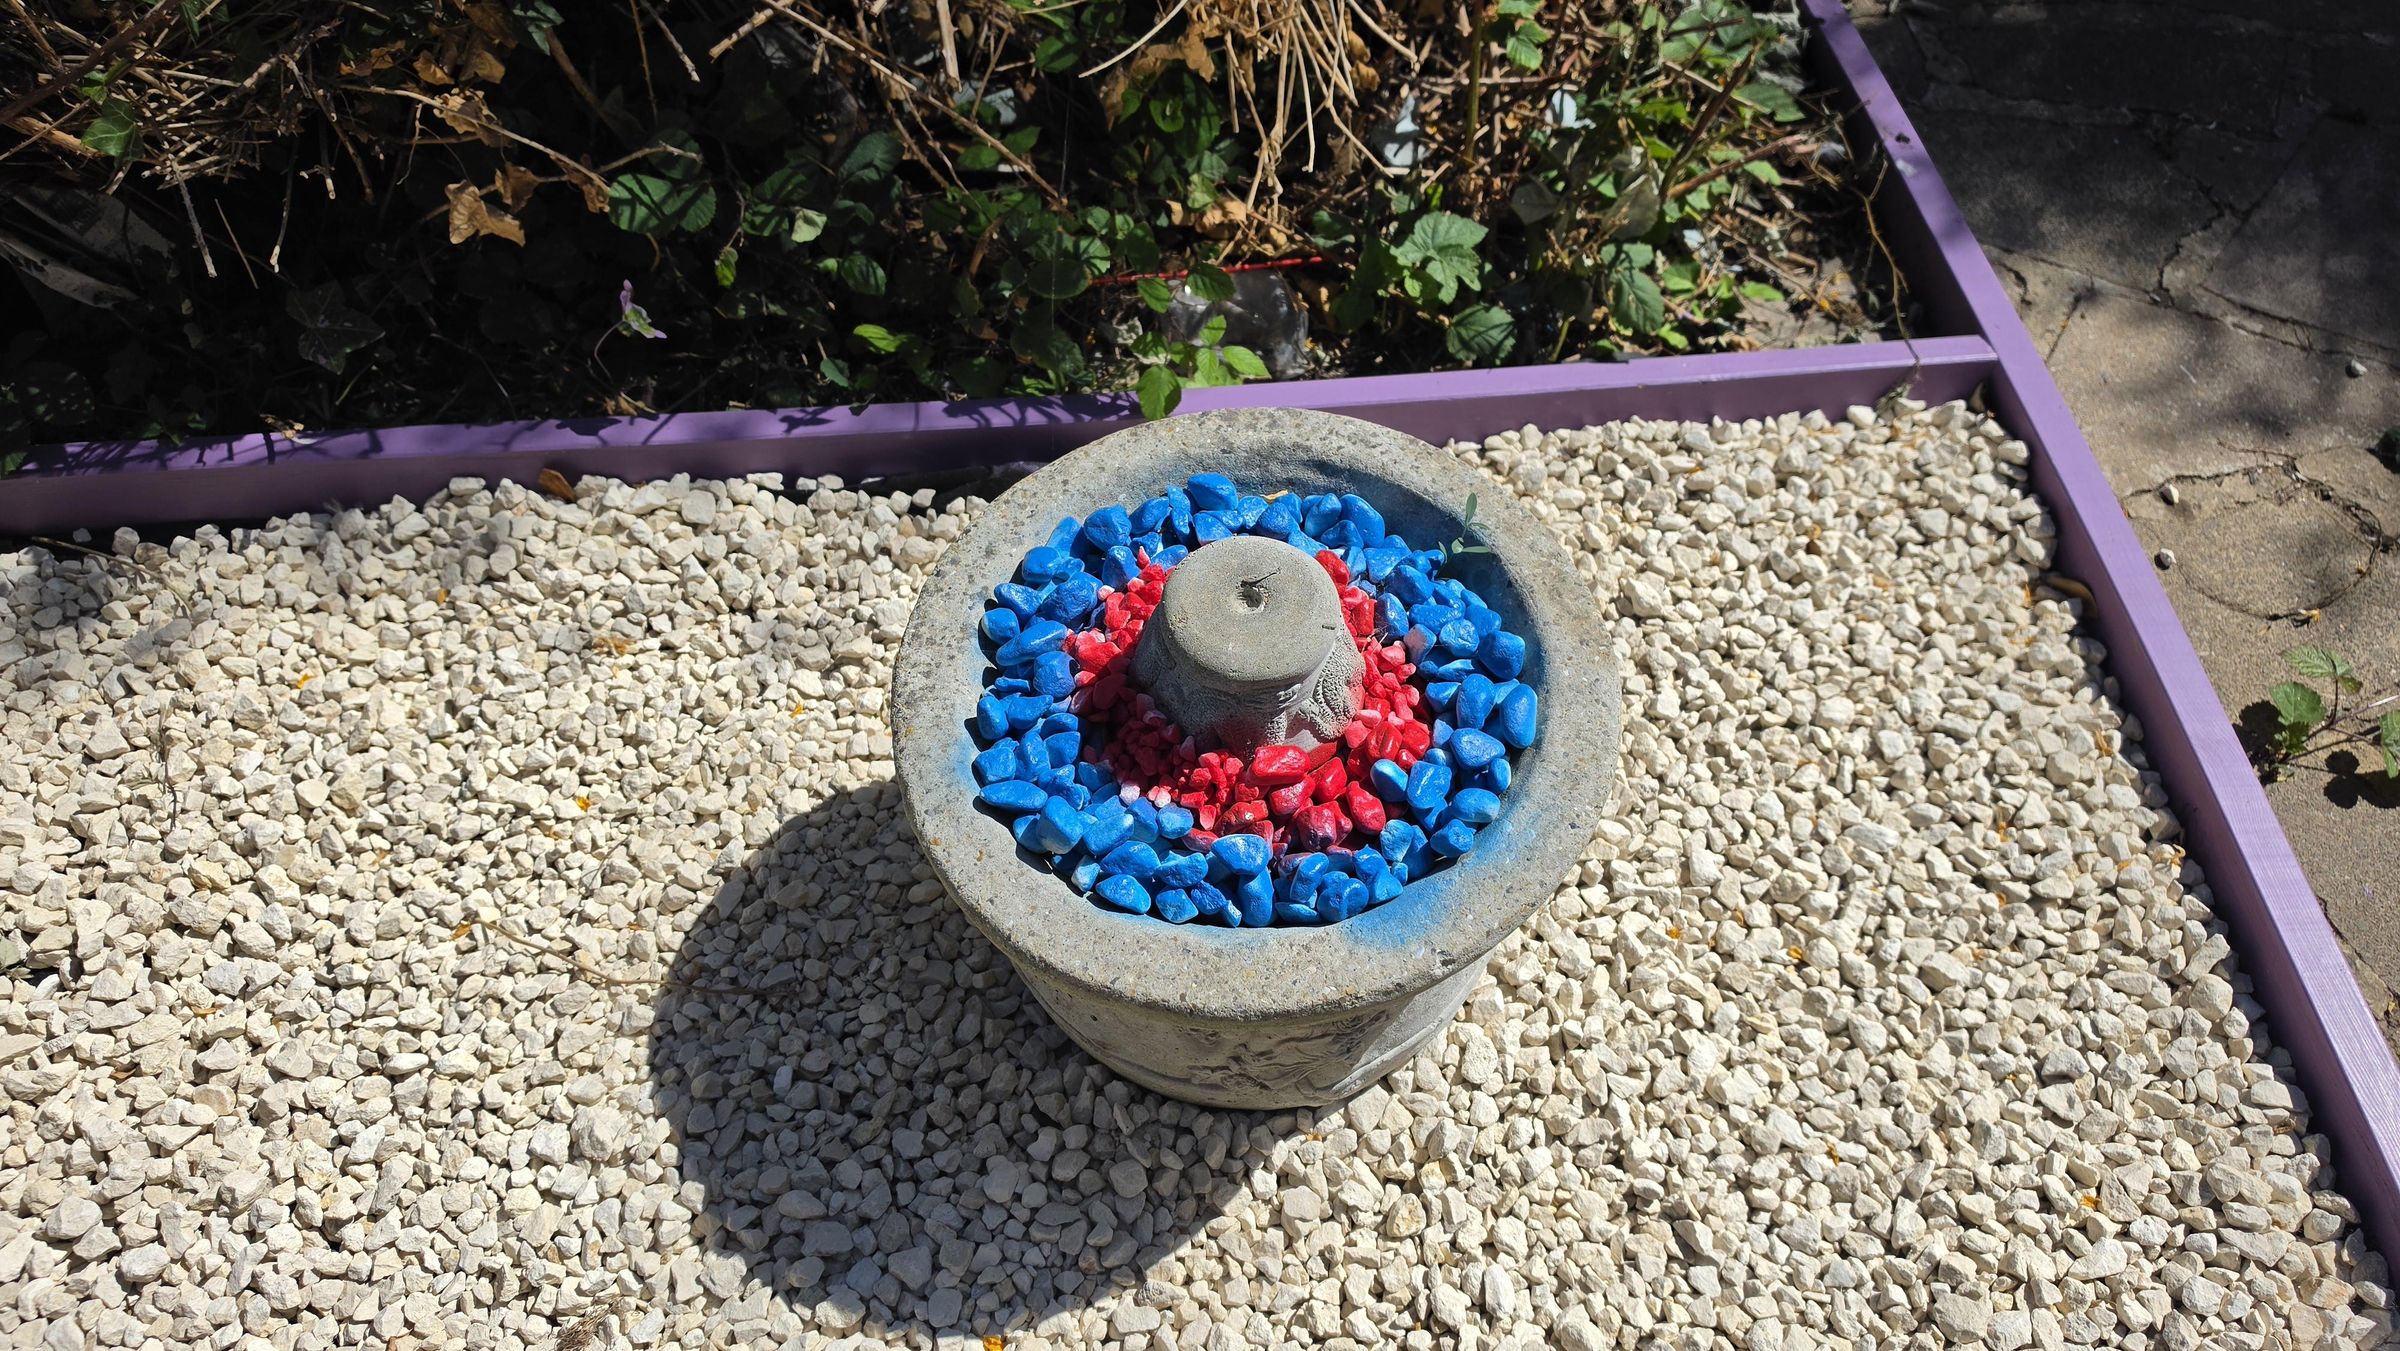
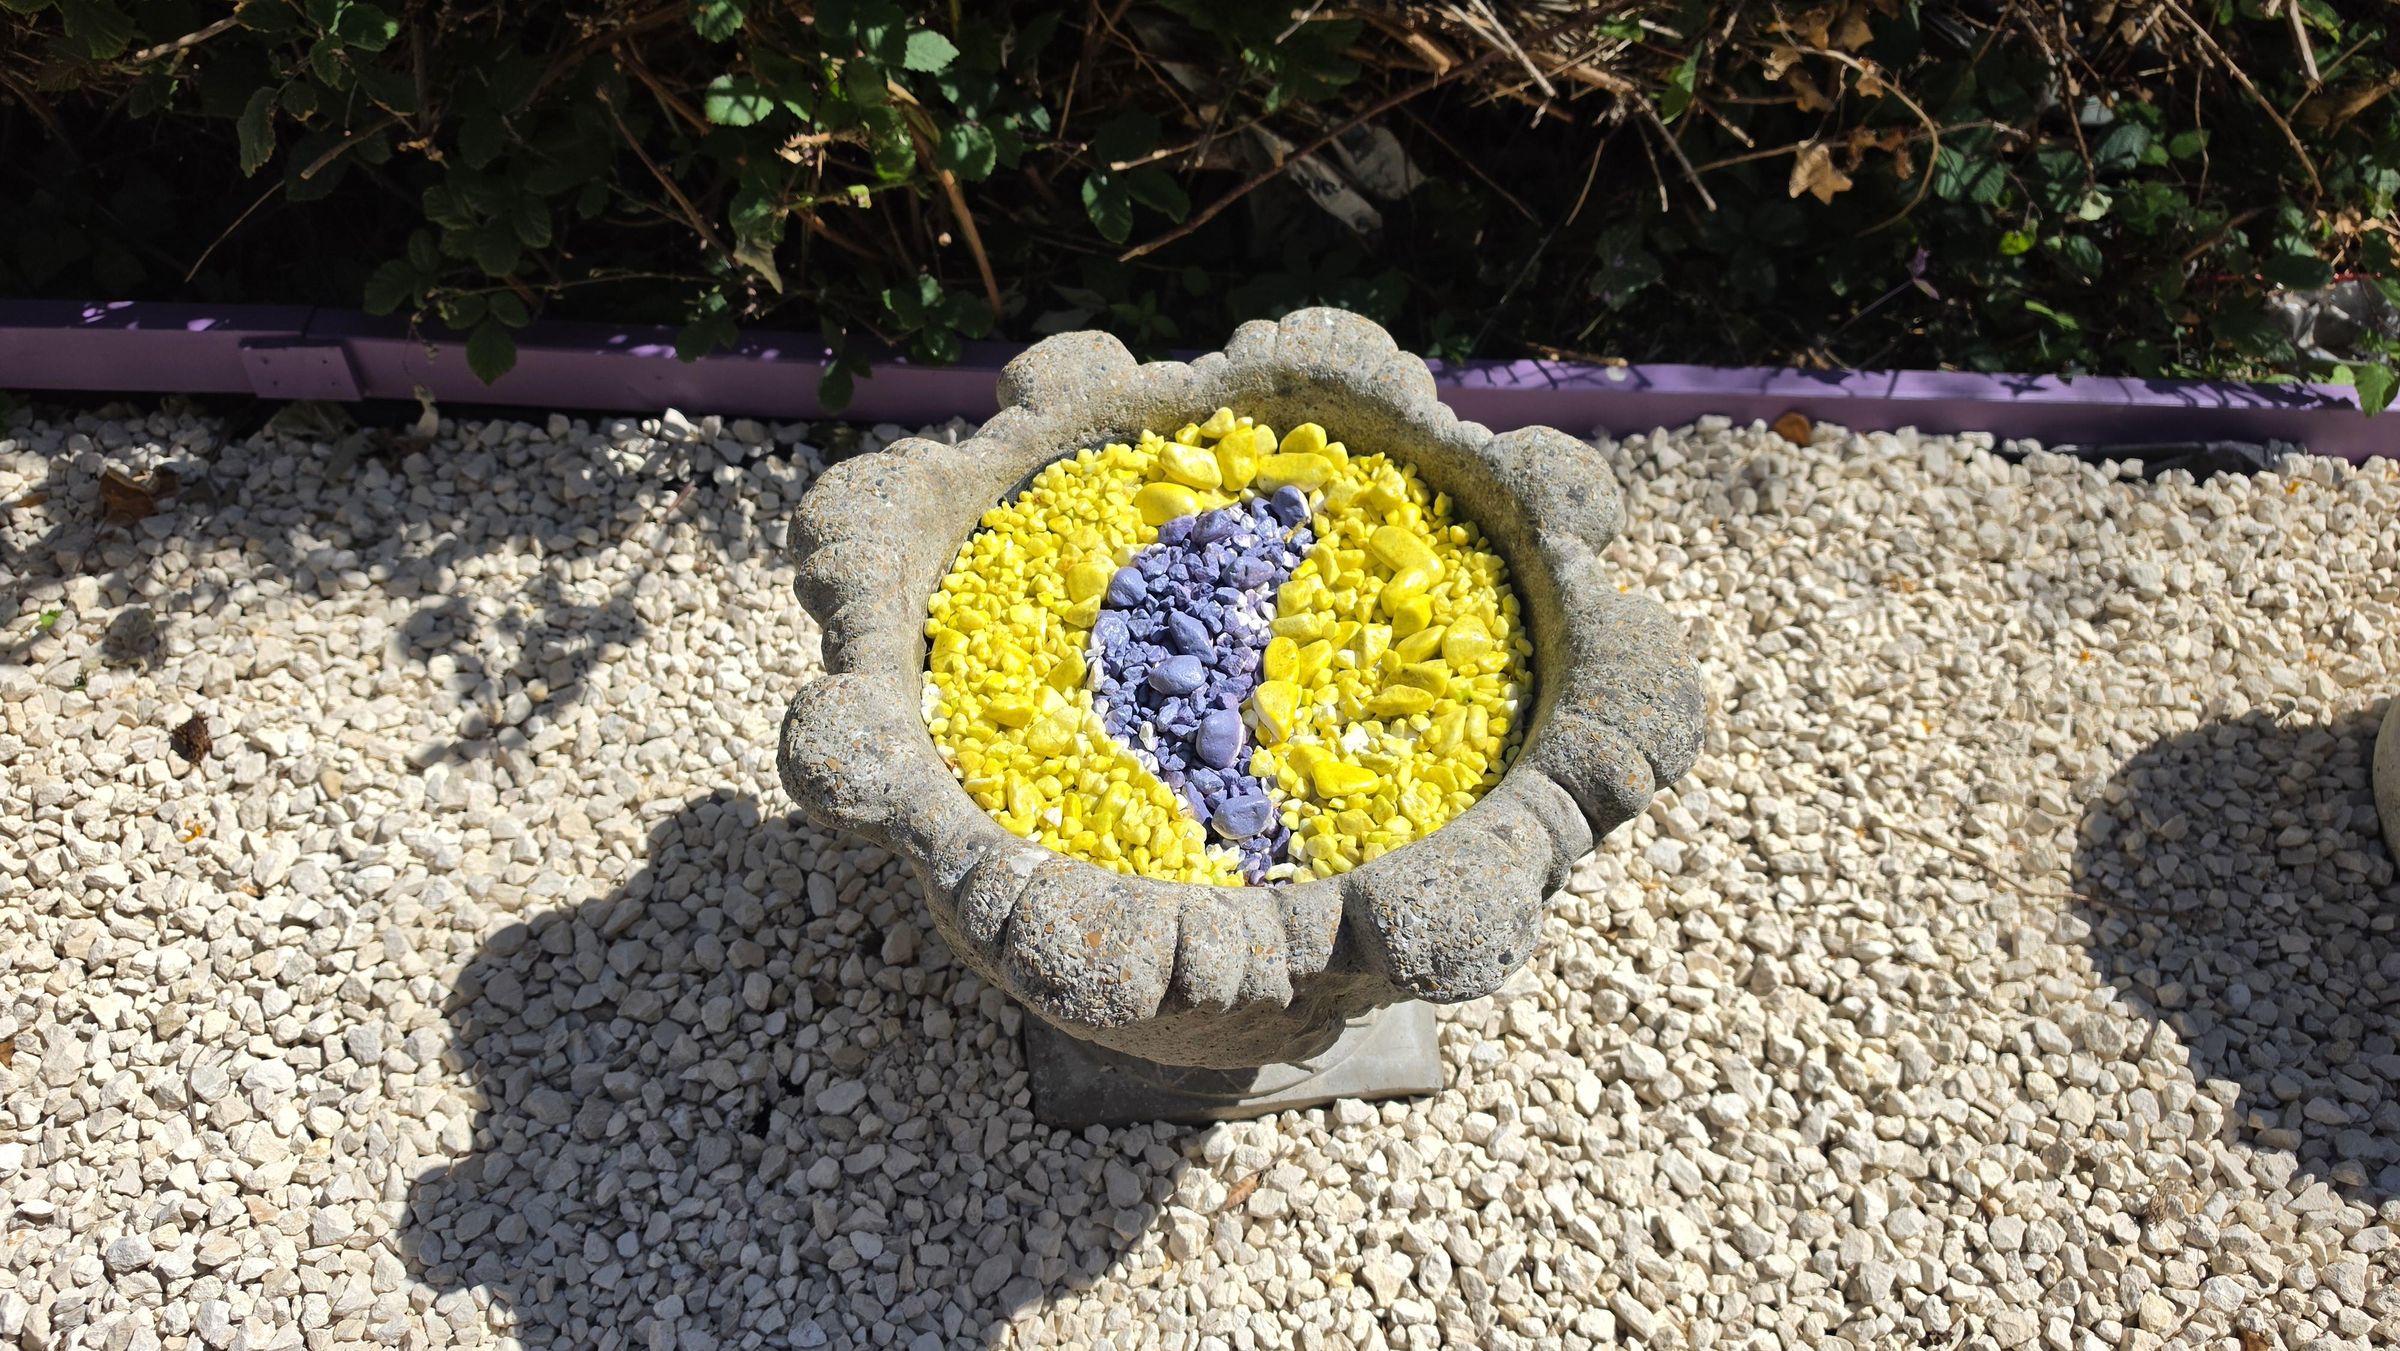
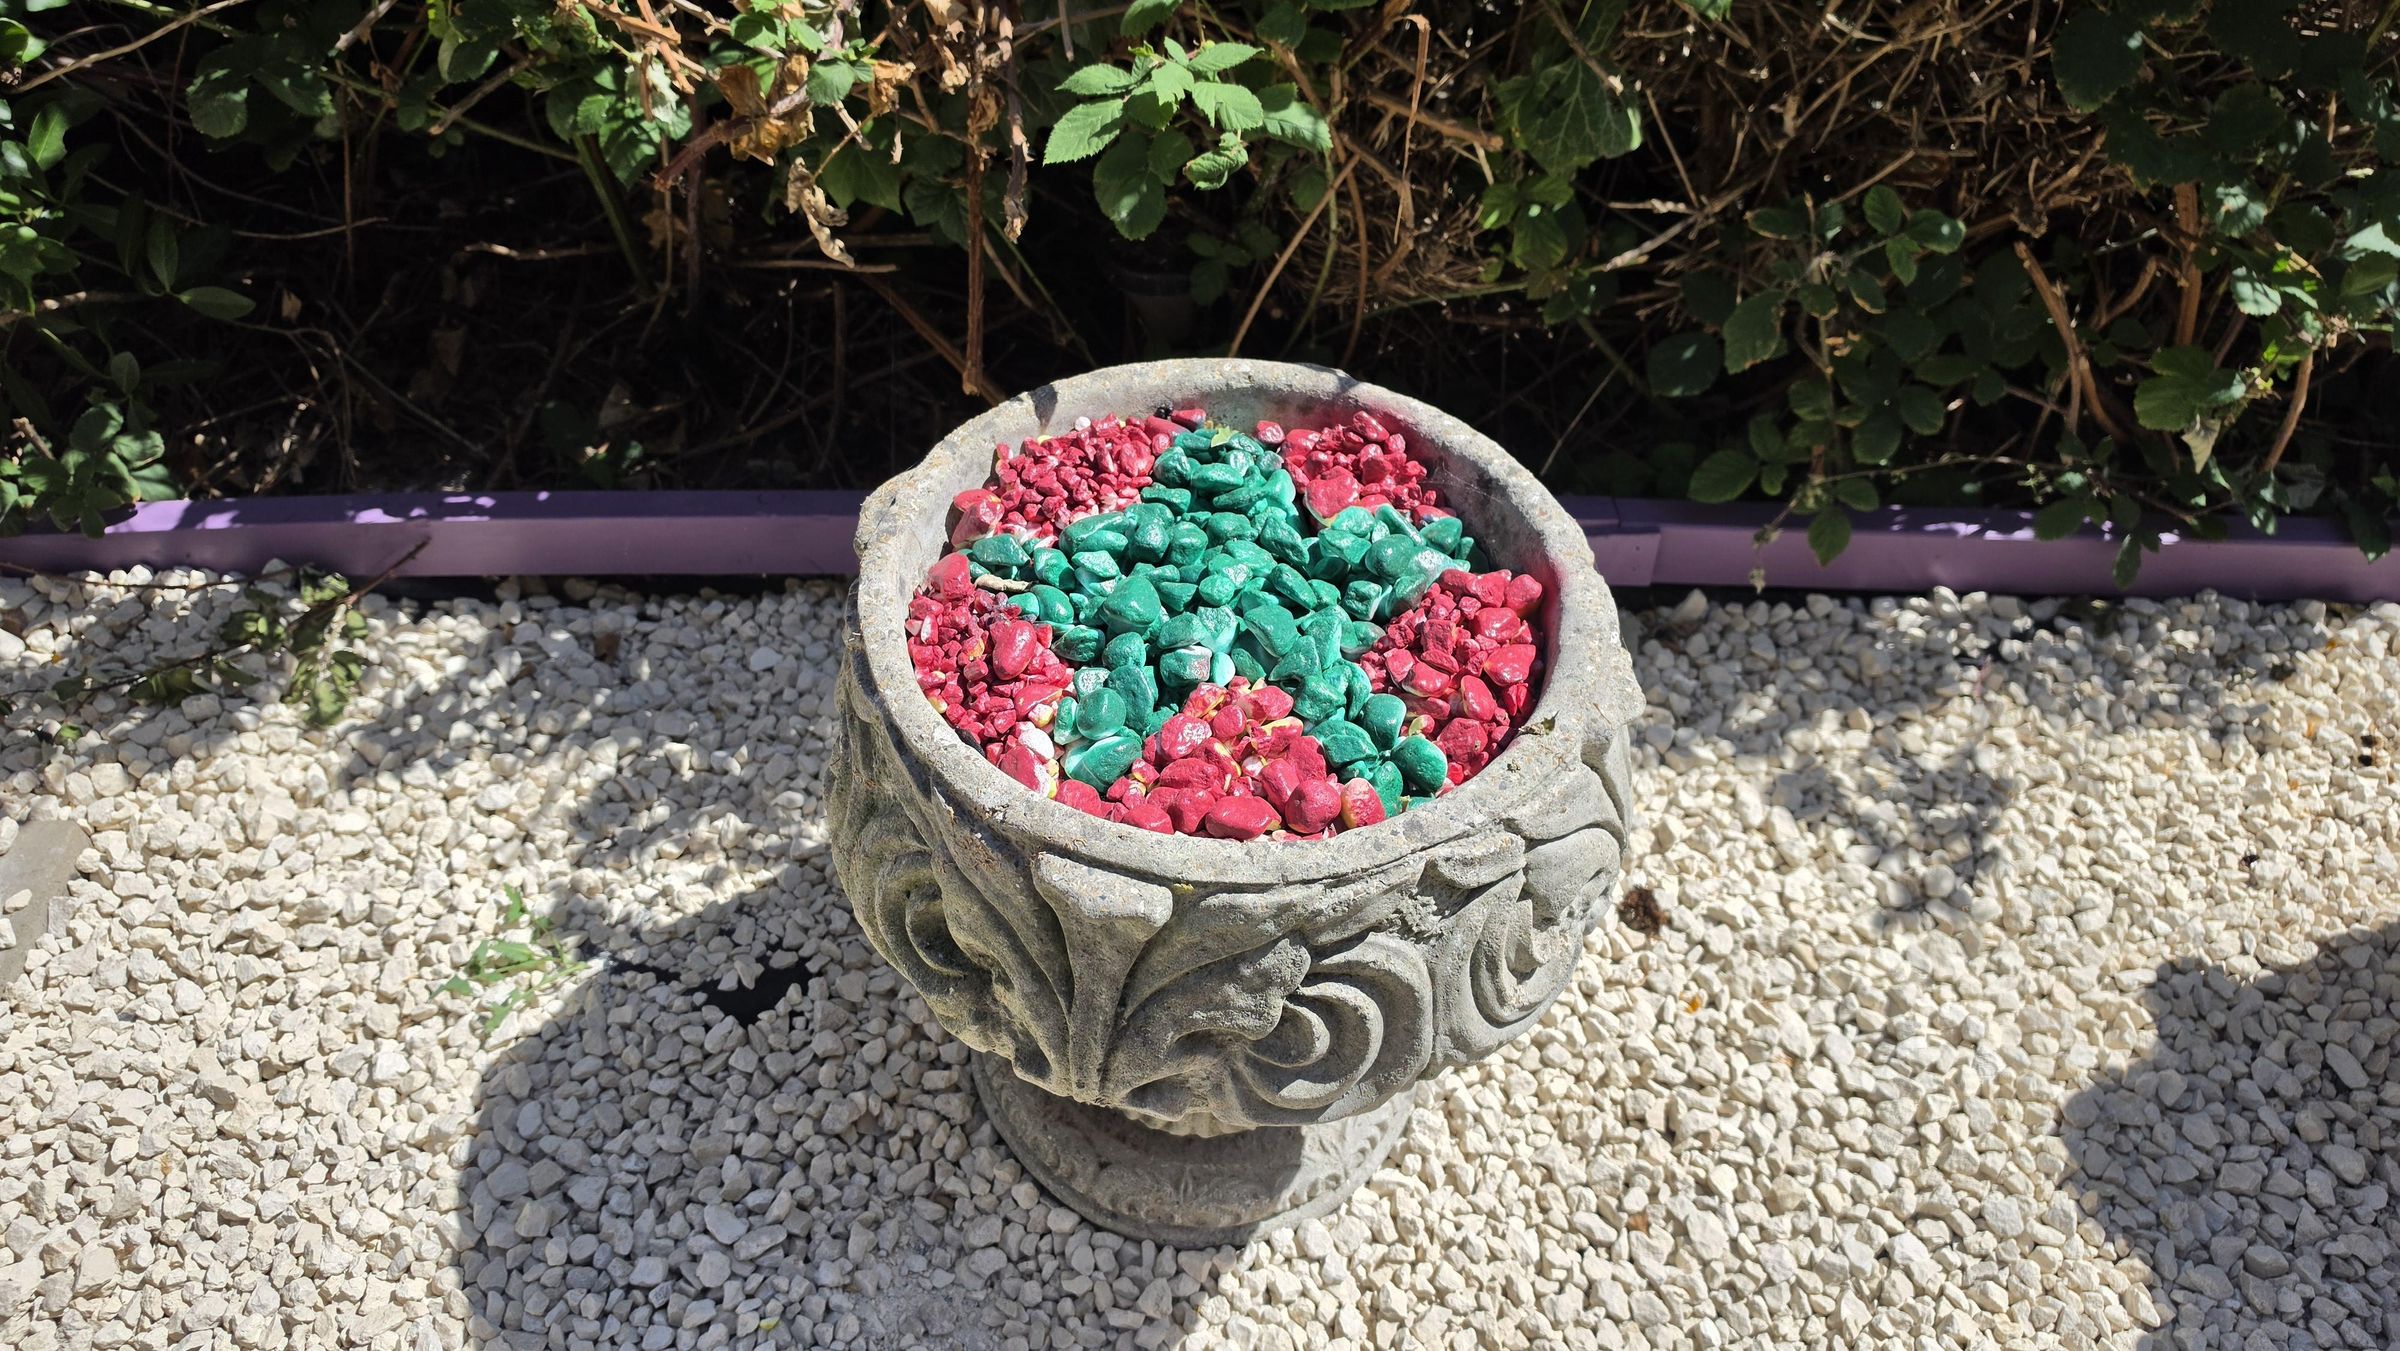
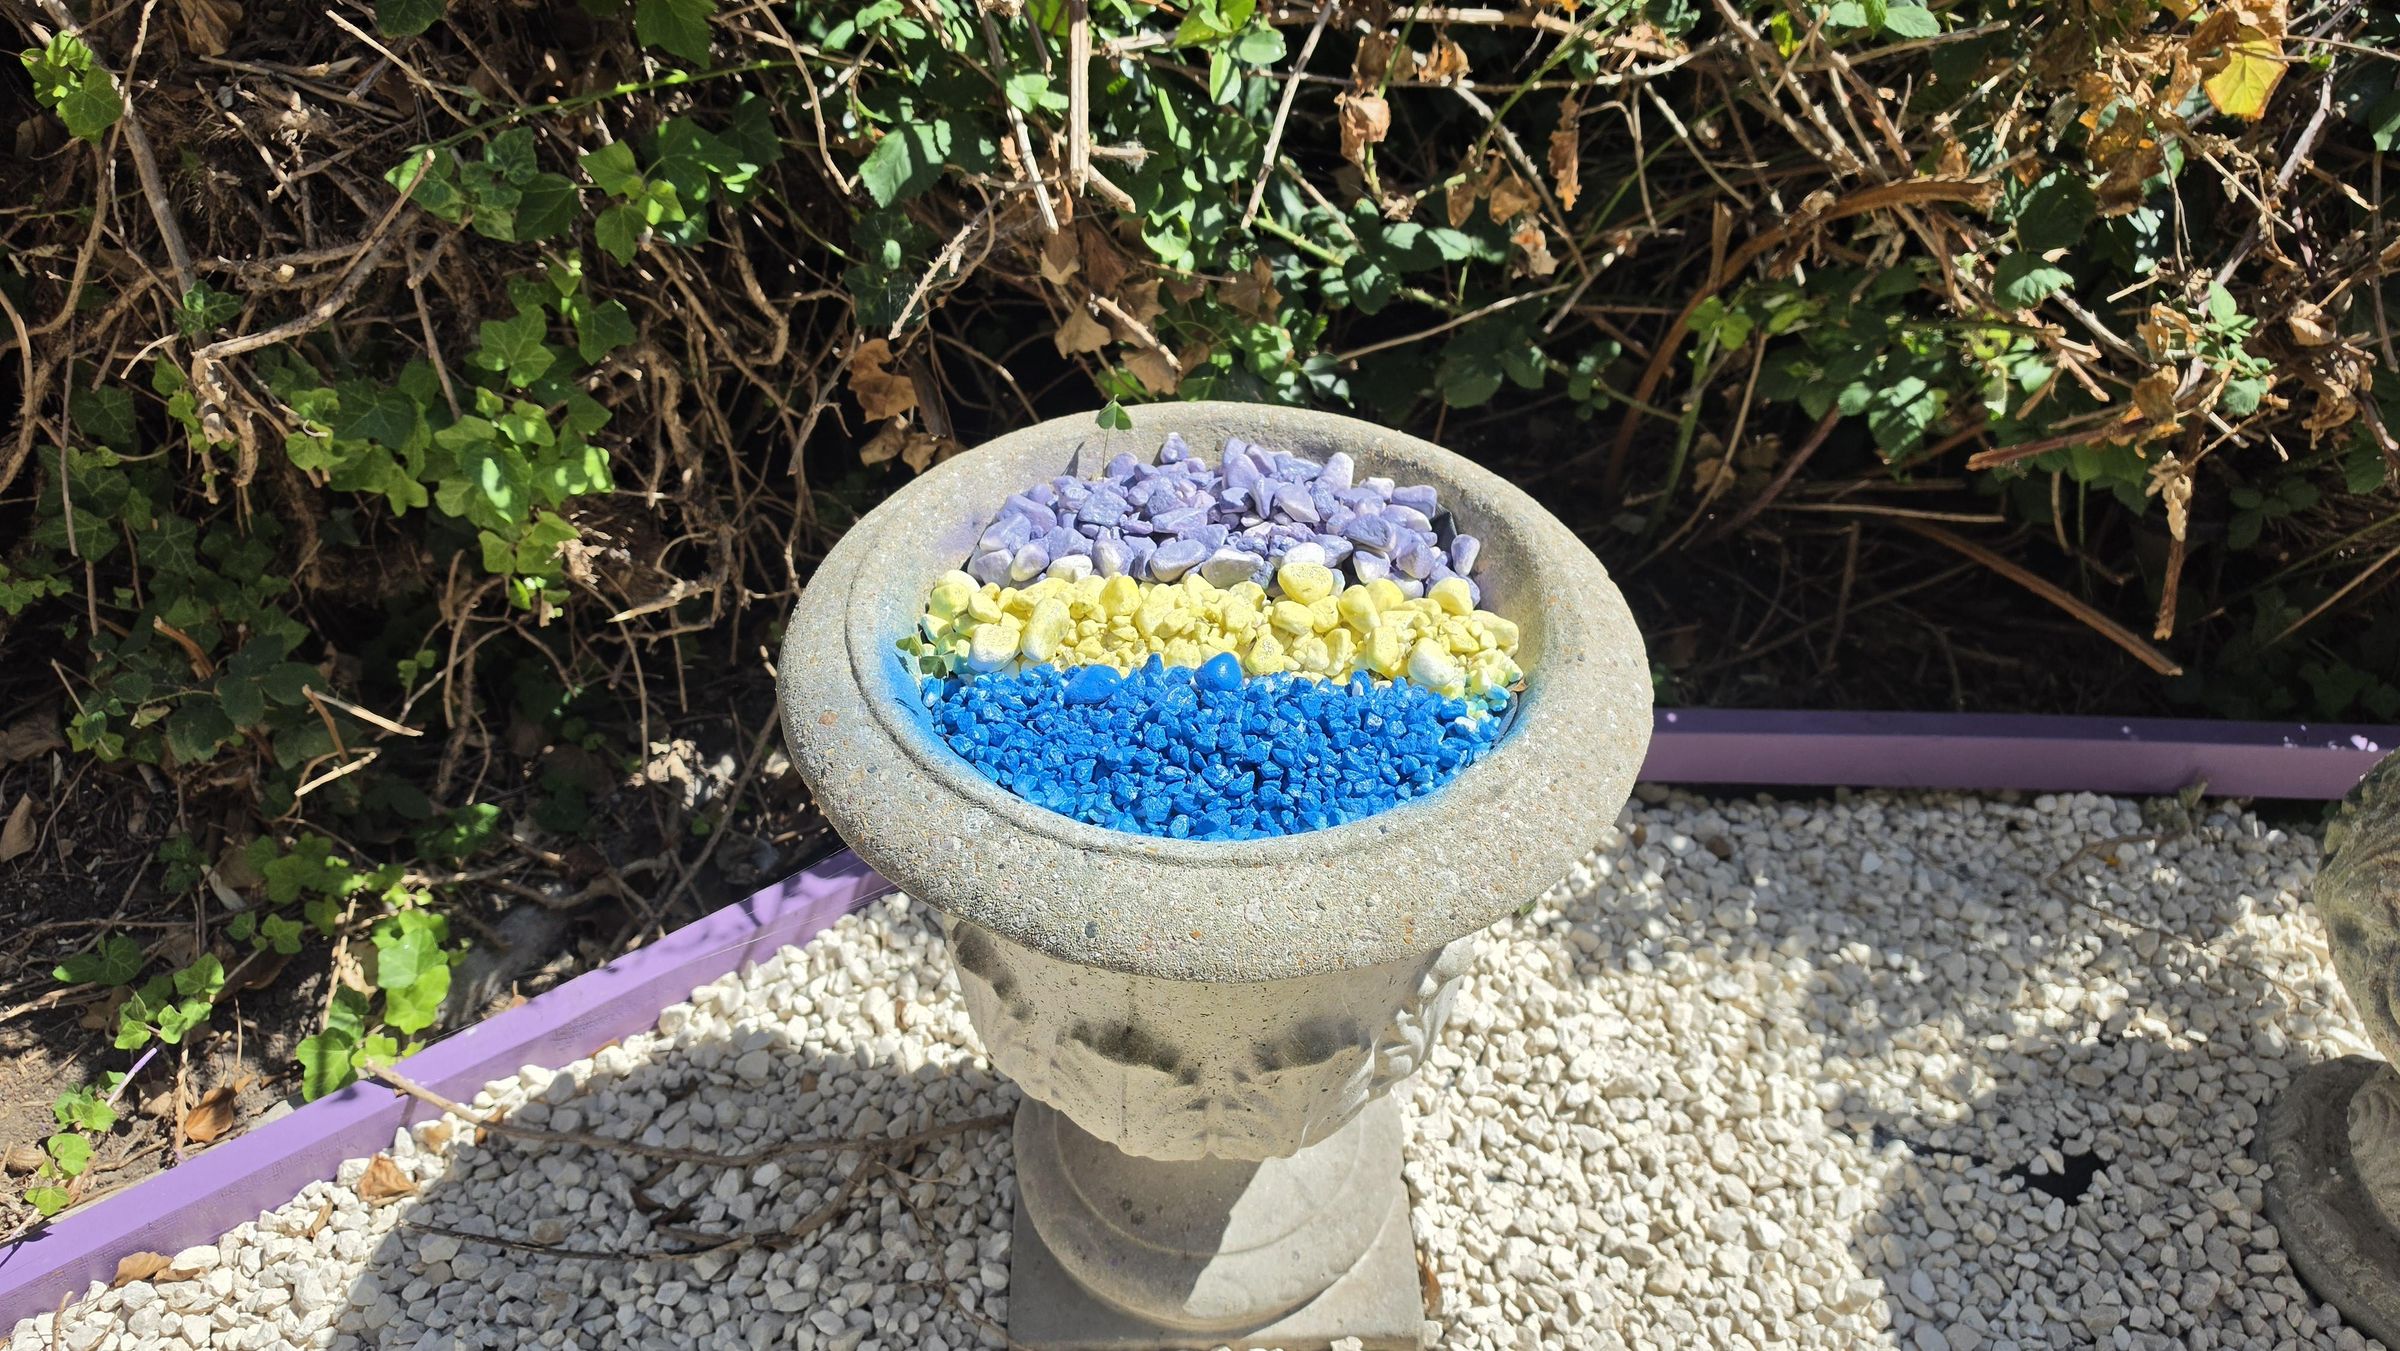
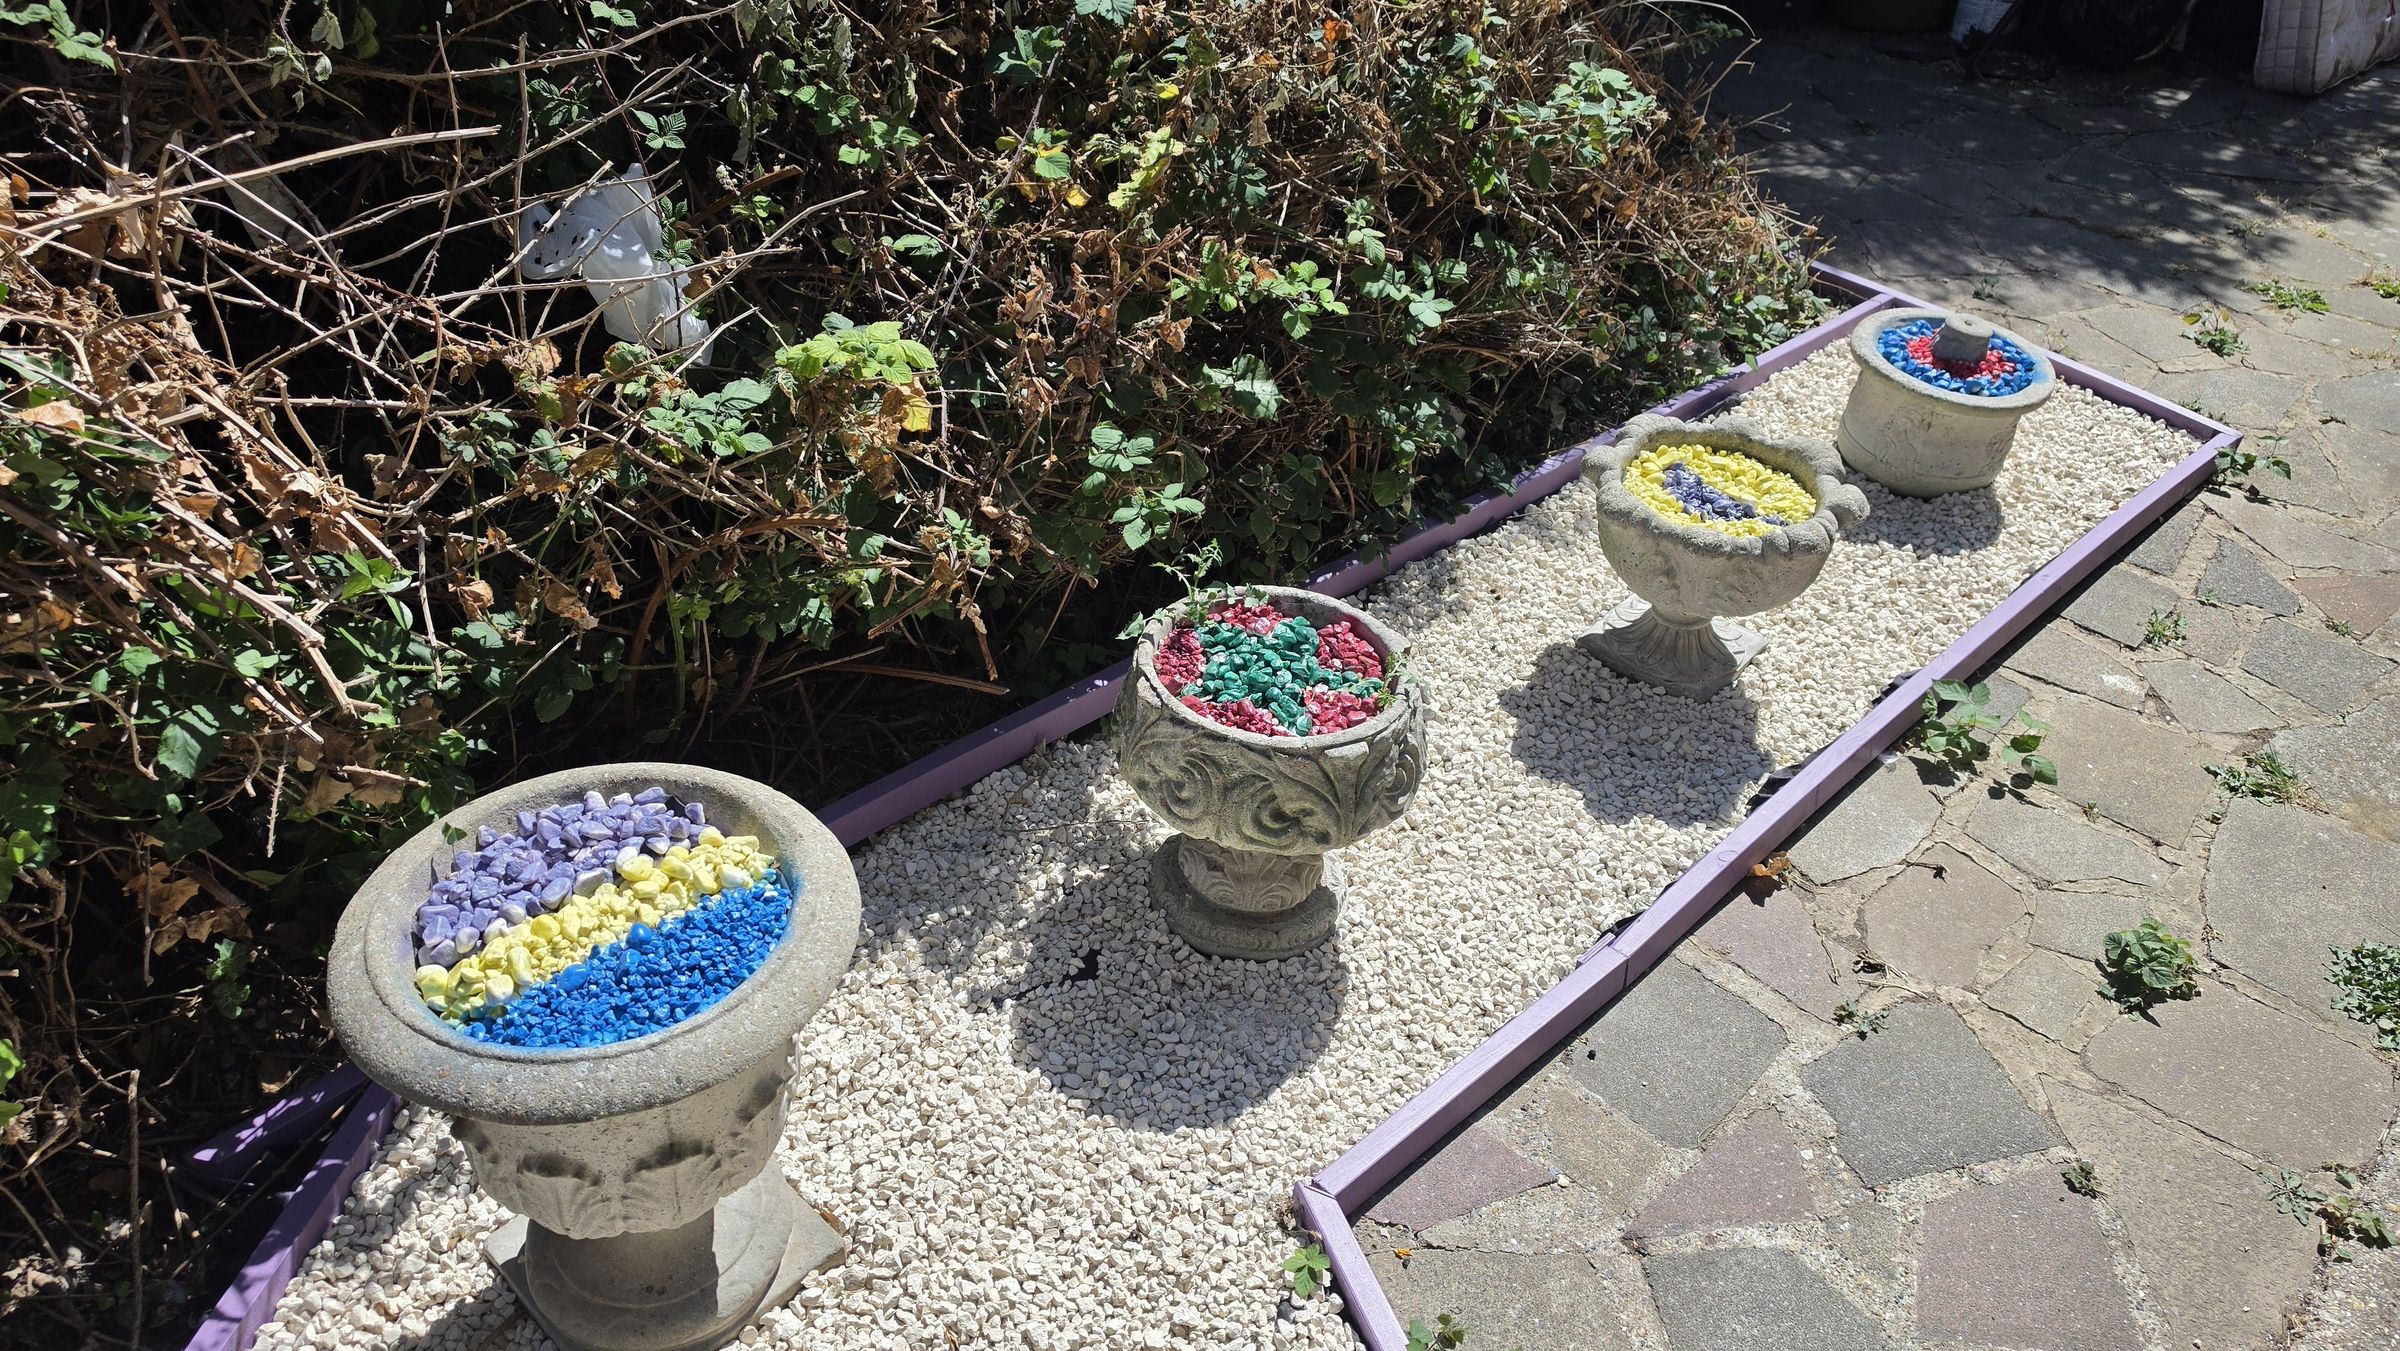
Welcome dear reader, to a small yet fun project to brighten up your garden or inside your home.
The Project:
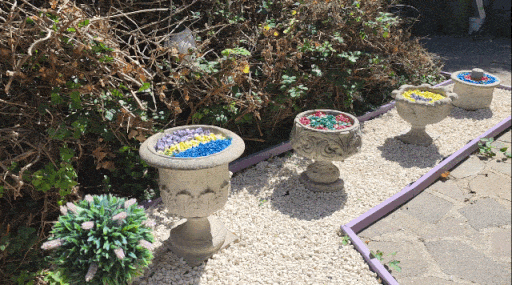
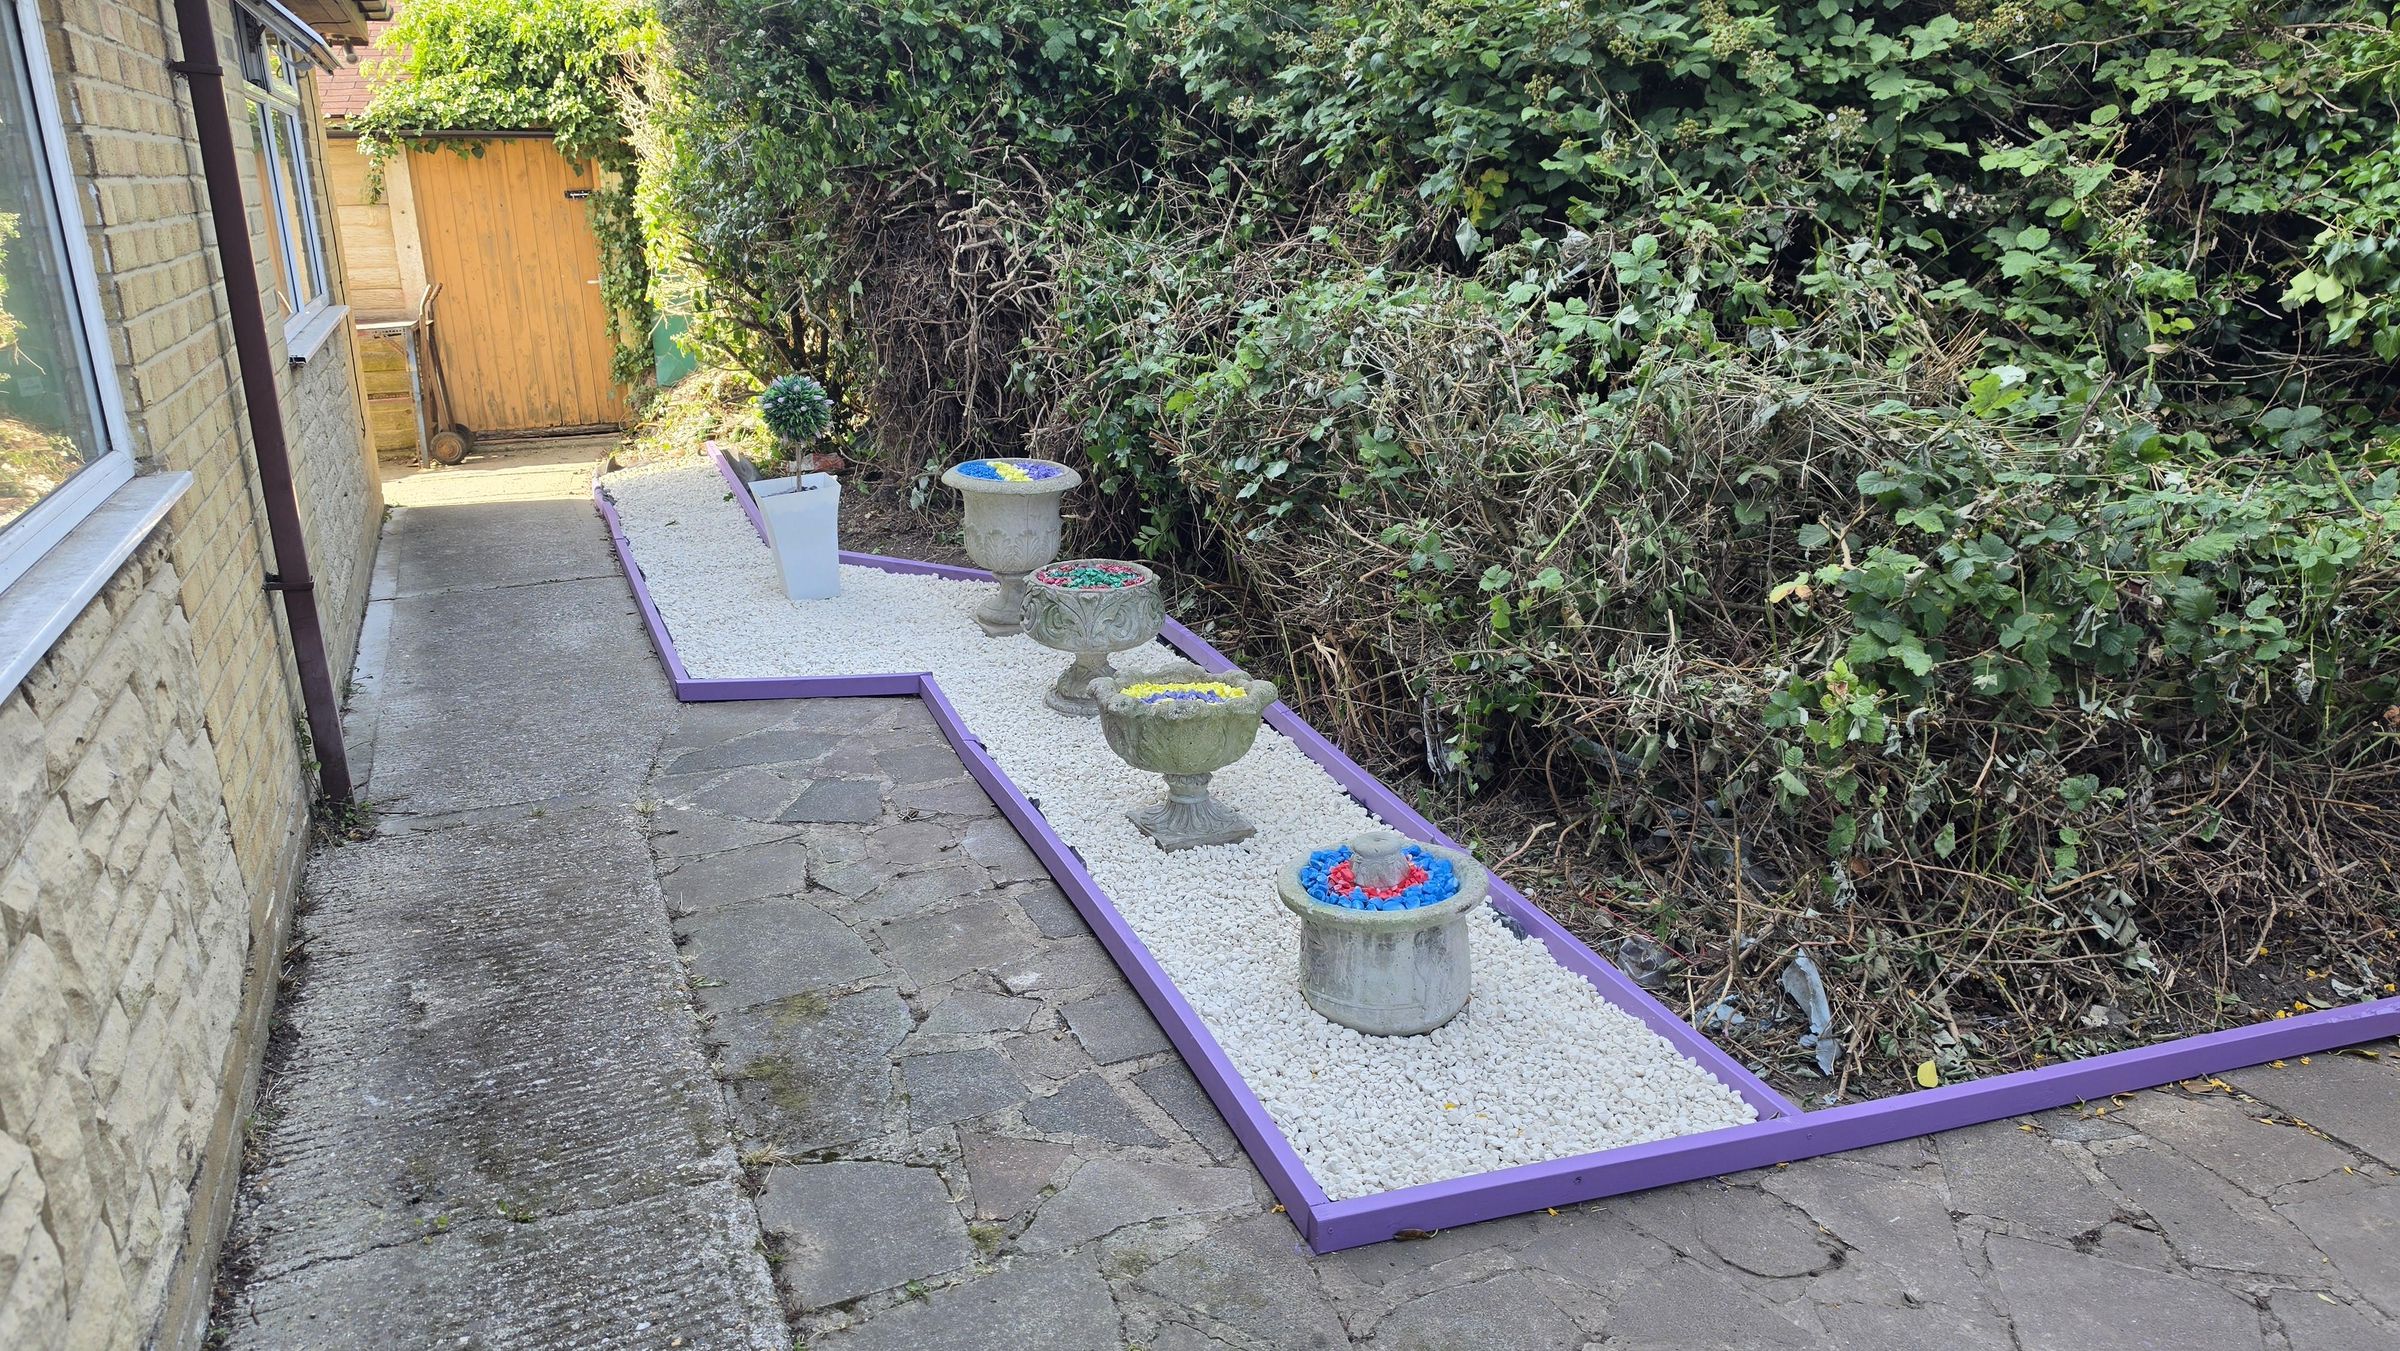
Here, I have taken some unused concrete planters and filled them with some self-painted colourful decorative stones and made some fun shapes with them. These planters are located on a garden border I made using some treated timber, painted and filled with some decorative stones/pebbles to give a friends front garden a little colour and make it feel a little more spacious.
The Inspiration:
I have embarked on a mission to clear and tidy my friends/neighbours front garden. She said that I have free rein to do what I feel is needed so I wanted to start of by doing something I thought she would like (and she did). If you have watched the accompanying video attached above, you will have seen that it was a four day mission just to do the area I did, clearing away a lot of overgrowth and rubbish. The inspiration hit when I came across four concrete planters that were hidden away, covered in weeds and cobwebs, but in good shape (and VERY heavy). Knowing that my friend didn't do a lot of planting/gardening, I thought of filling them with coloured stones, then the idea of fun, cheerful pattens, and then the border. My friend loved the end result, like that the planters were being used again, they were pretty and maintenance free, and to quote her "At least I can't kill stones unlike my past planting efforts".
What's involved:
Although the end result took a lot of work, this Instructable is about the planters and decorative border which was the enjoyable and creative part. This is something where you can let your own imagination and style come into play, and something you can get the kids involved with too. I purchases some cheap white decorative stones and coloured them with left over spray paints I had from previous projects, used scrap cardboard to make shape templates to make multi coloured patterns, and then a border to make a focal point for the garden. You can use different size stones, planters, colours, designs or even ready-coloured stones or slate, the process is basically the same.
Most of the 'making' photos are taken from the attached video from one of my CCTV cameras that shows a time-lapse of the complete 4 day project (clearance, border, planters) in eight and a half minutes, so grab a drink or a snack, chill out with the relaxing soundtrack and watch the entire process unfold.
So lets get to the making.
Supplies
For the Border:
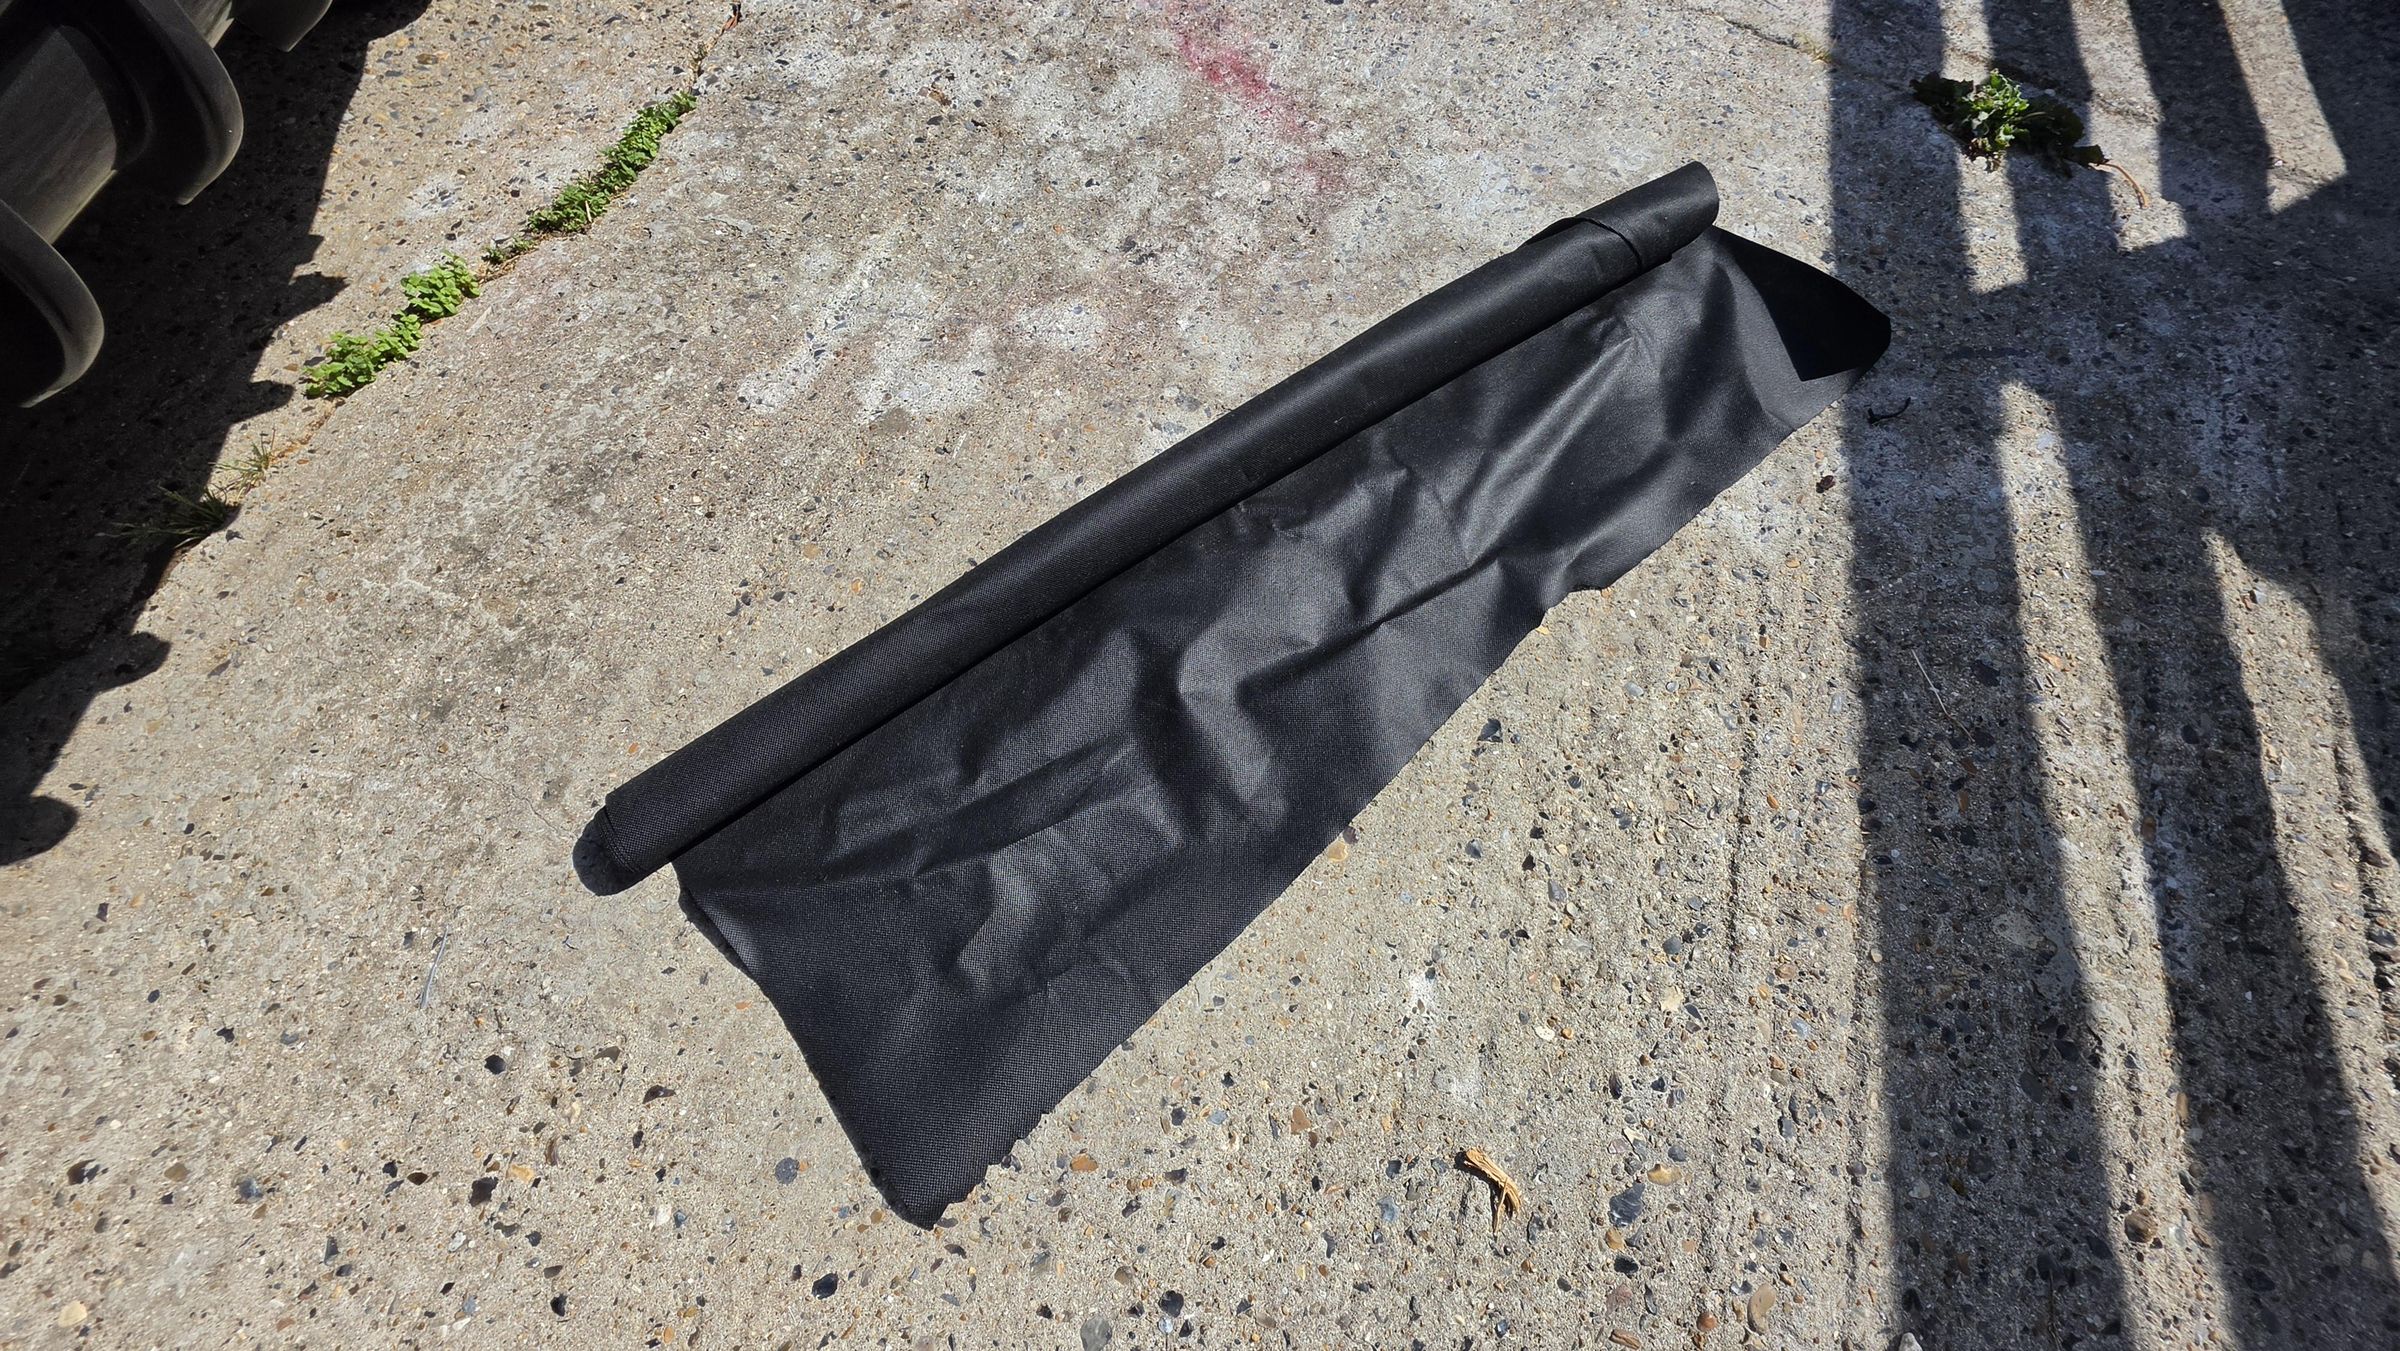
- A good quality weed membrane
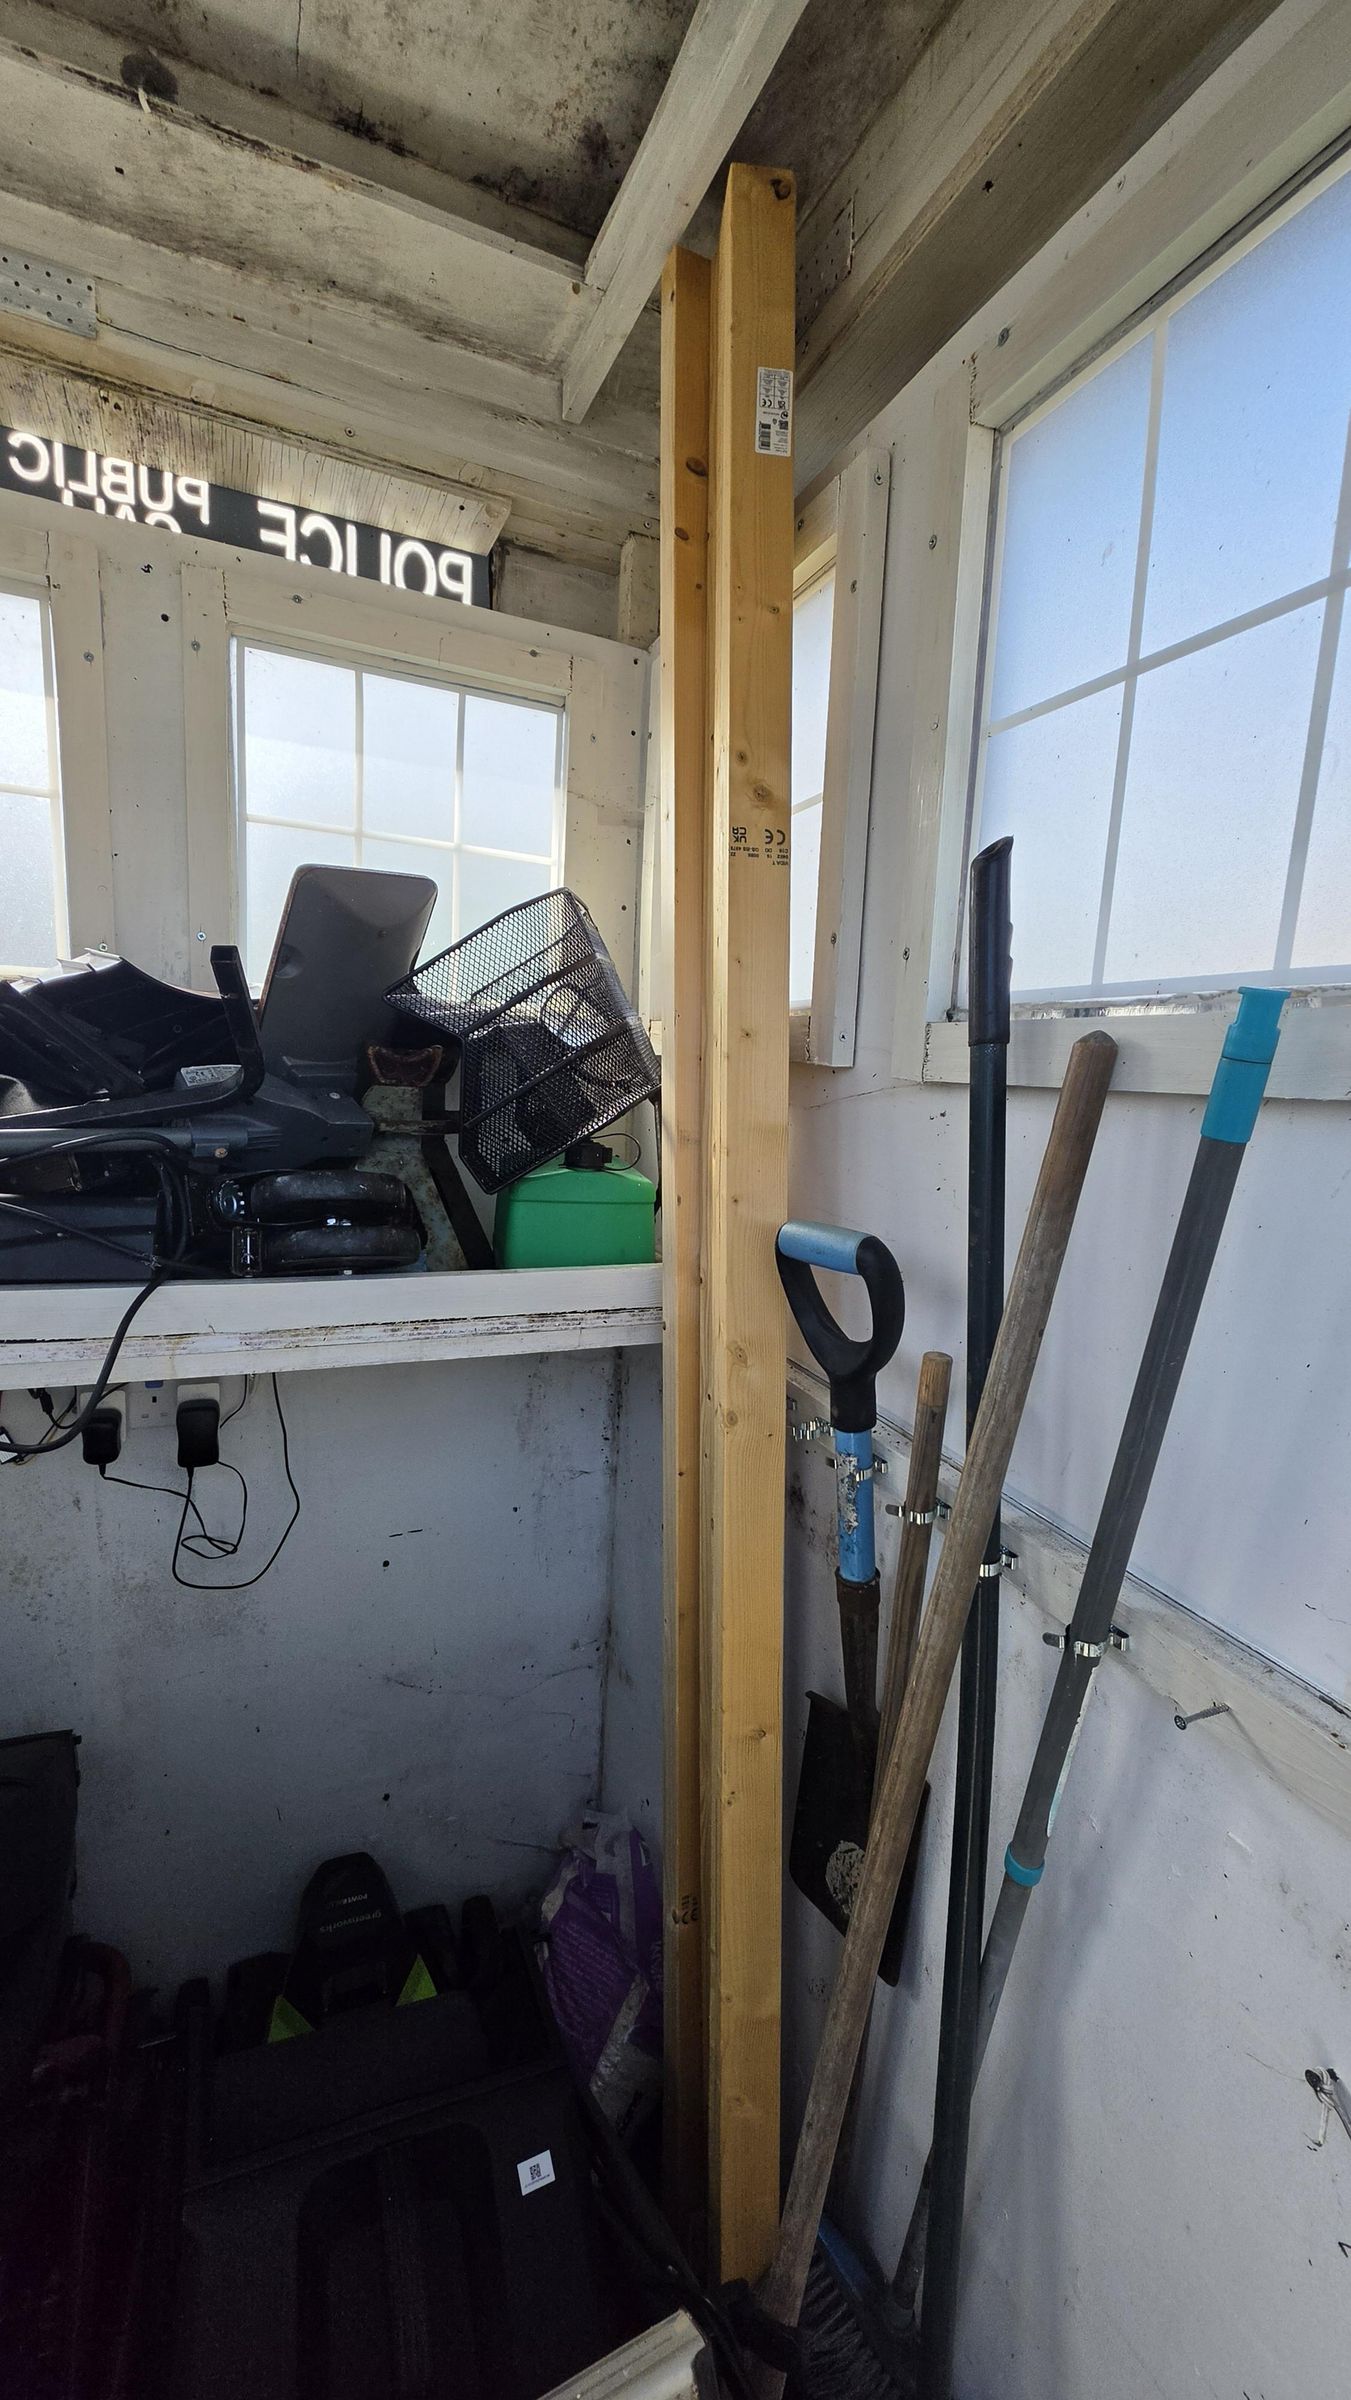
- Treated CLS timber lengths 38mm x 63mm
- External screws to fix the timber together
- Screwdriver
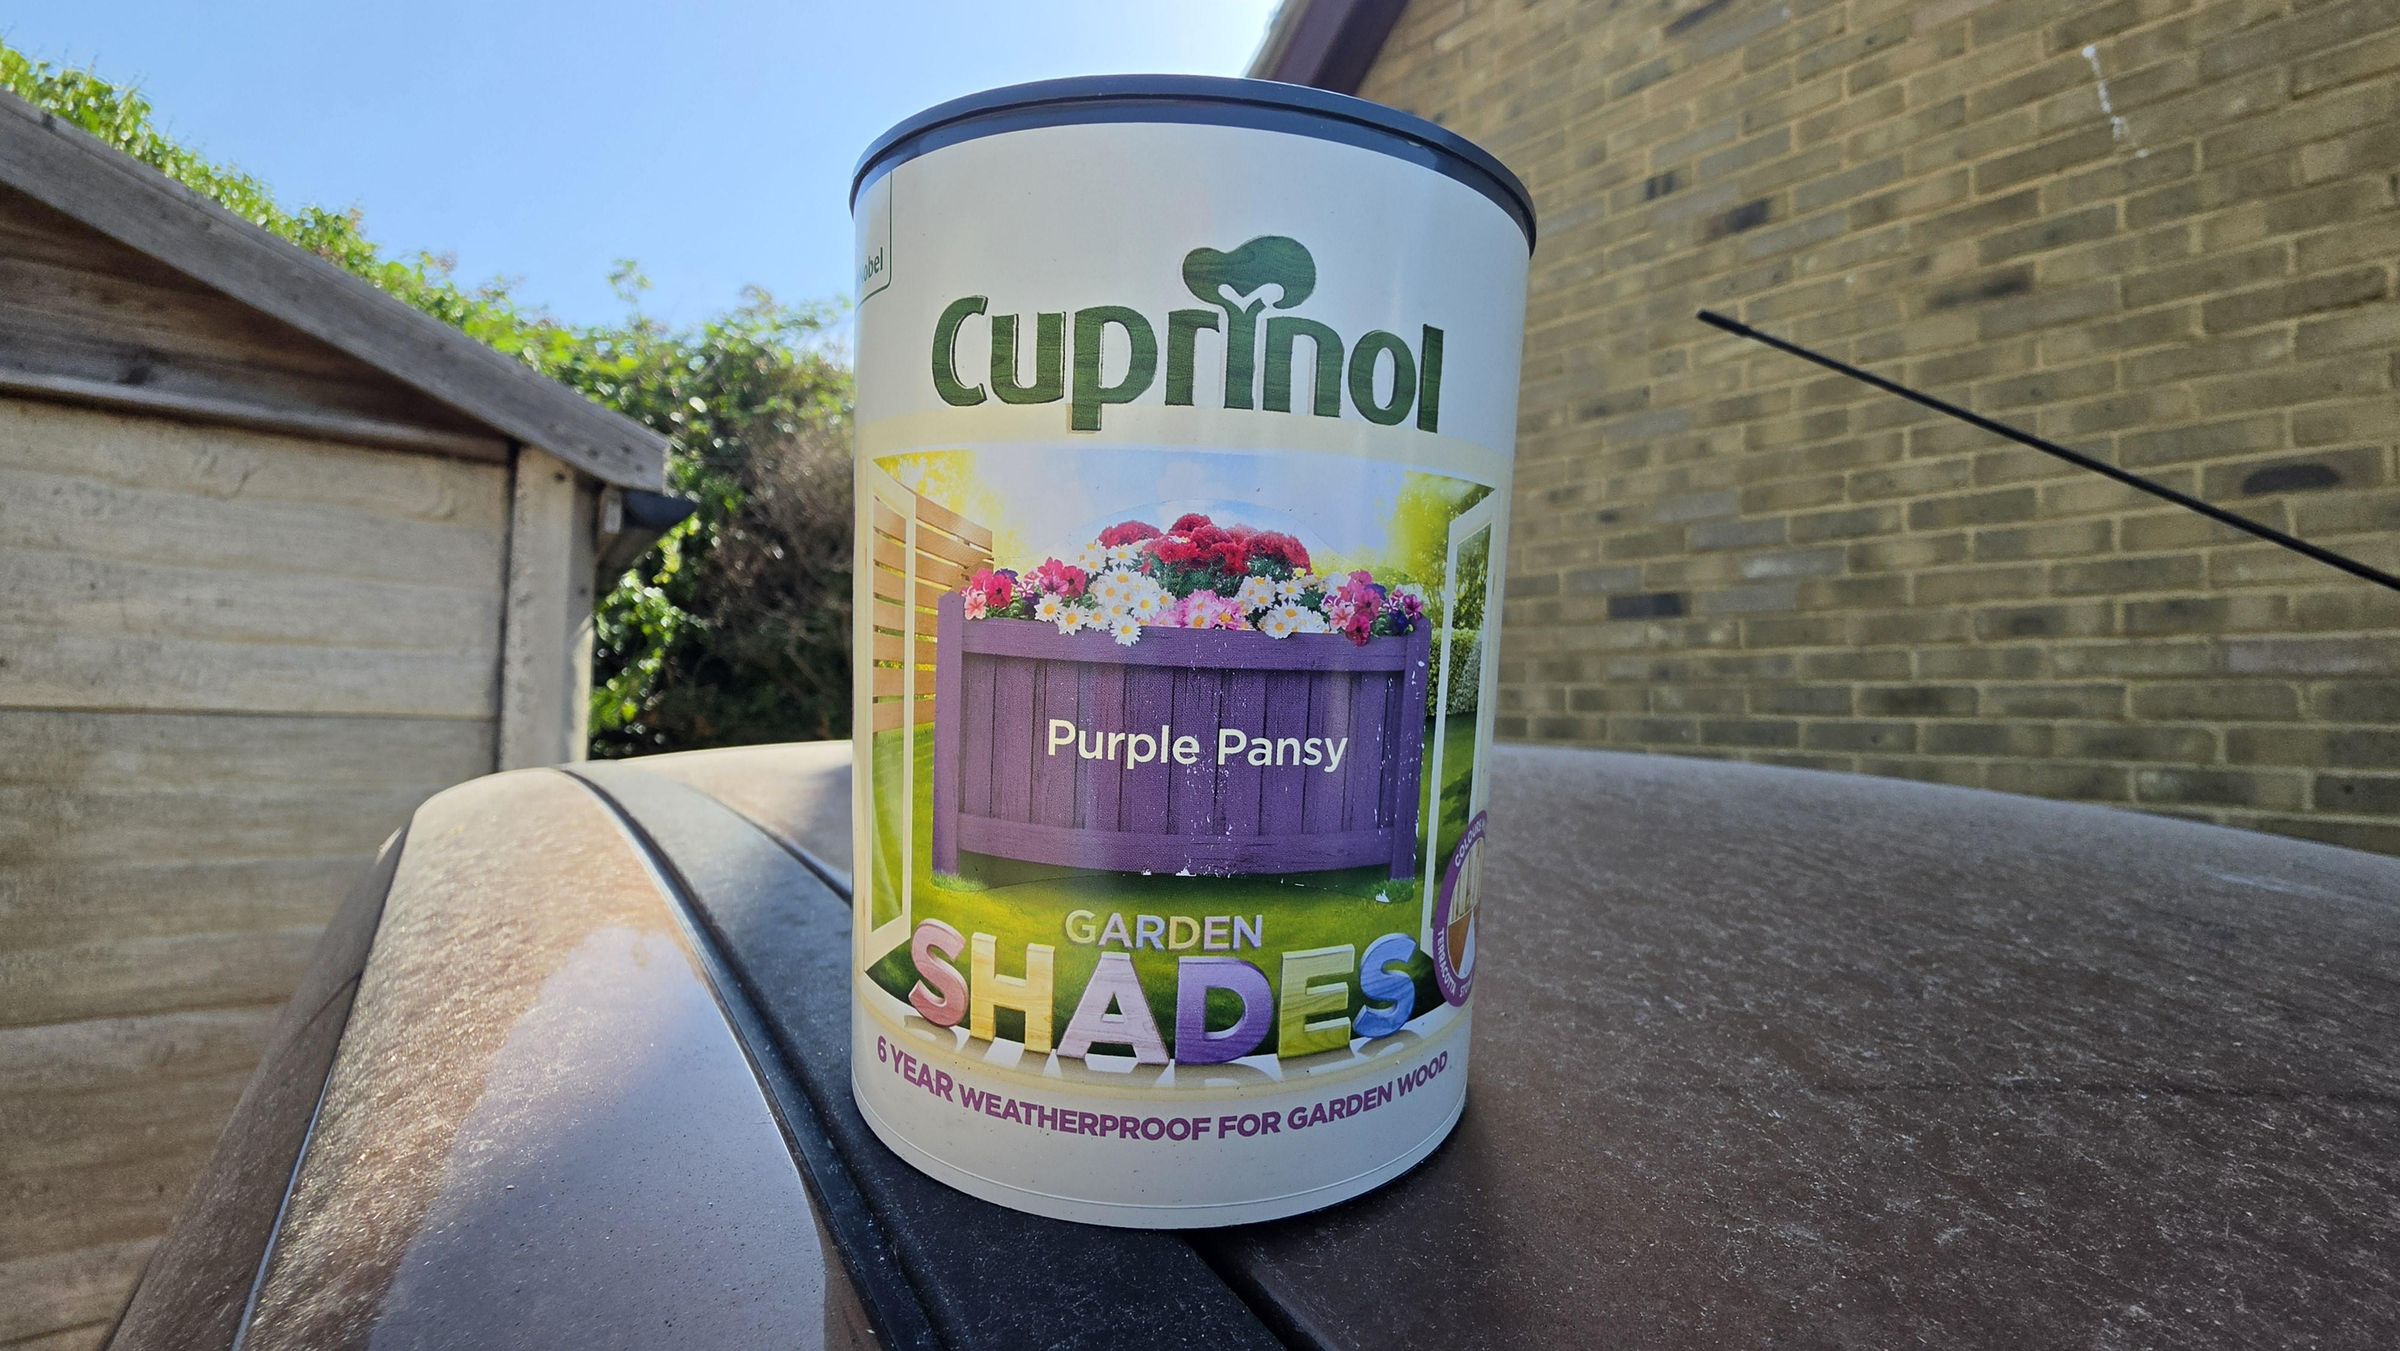
- External wood paint, colour of your choice (I used Purple Pansy)
- Paint brush
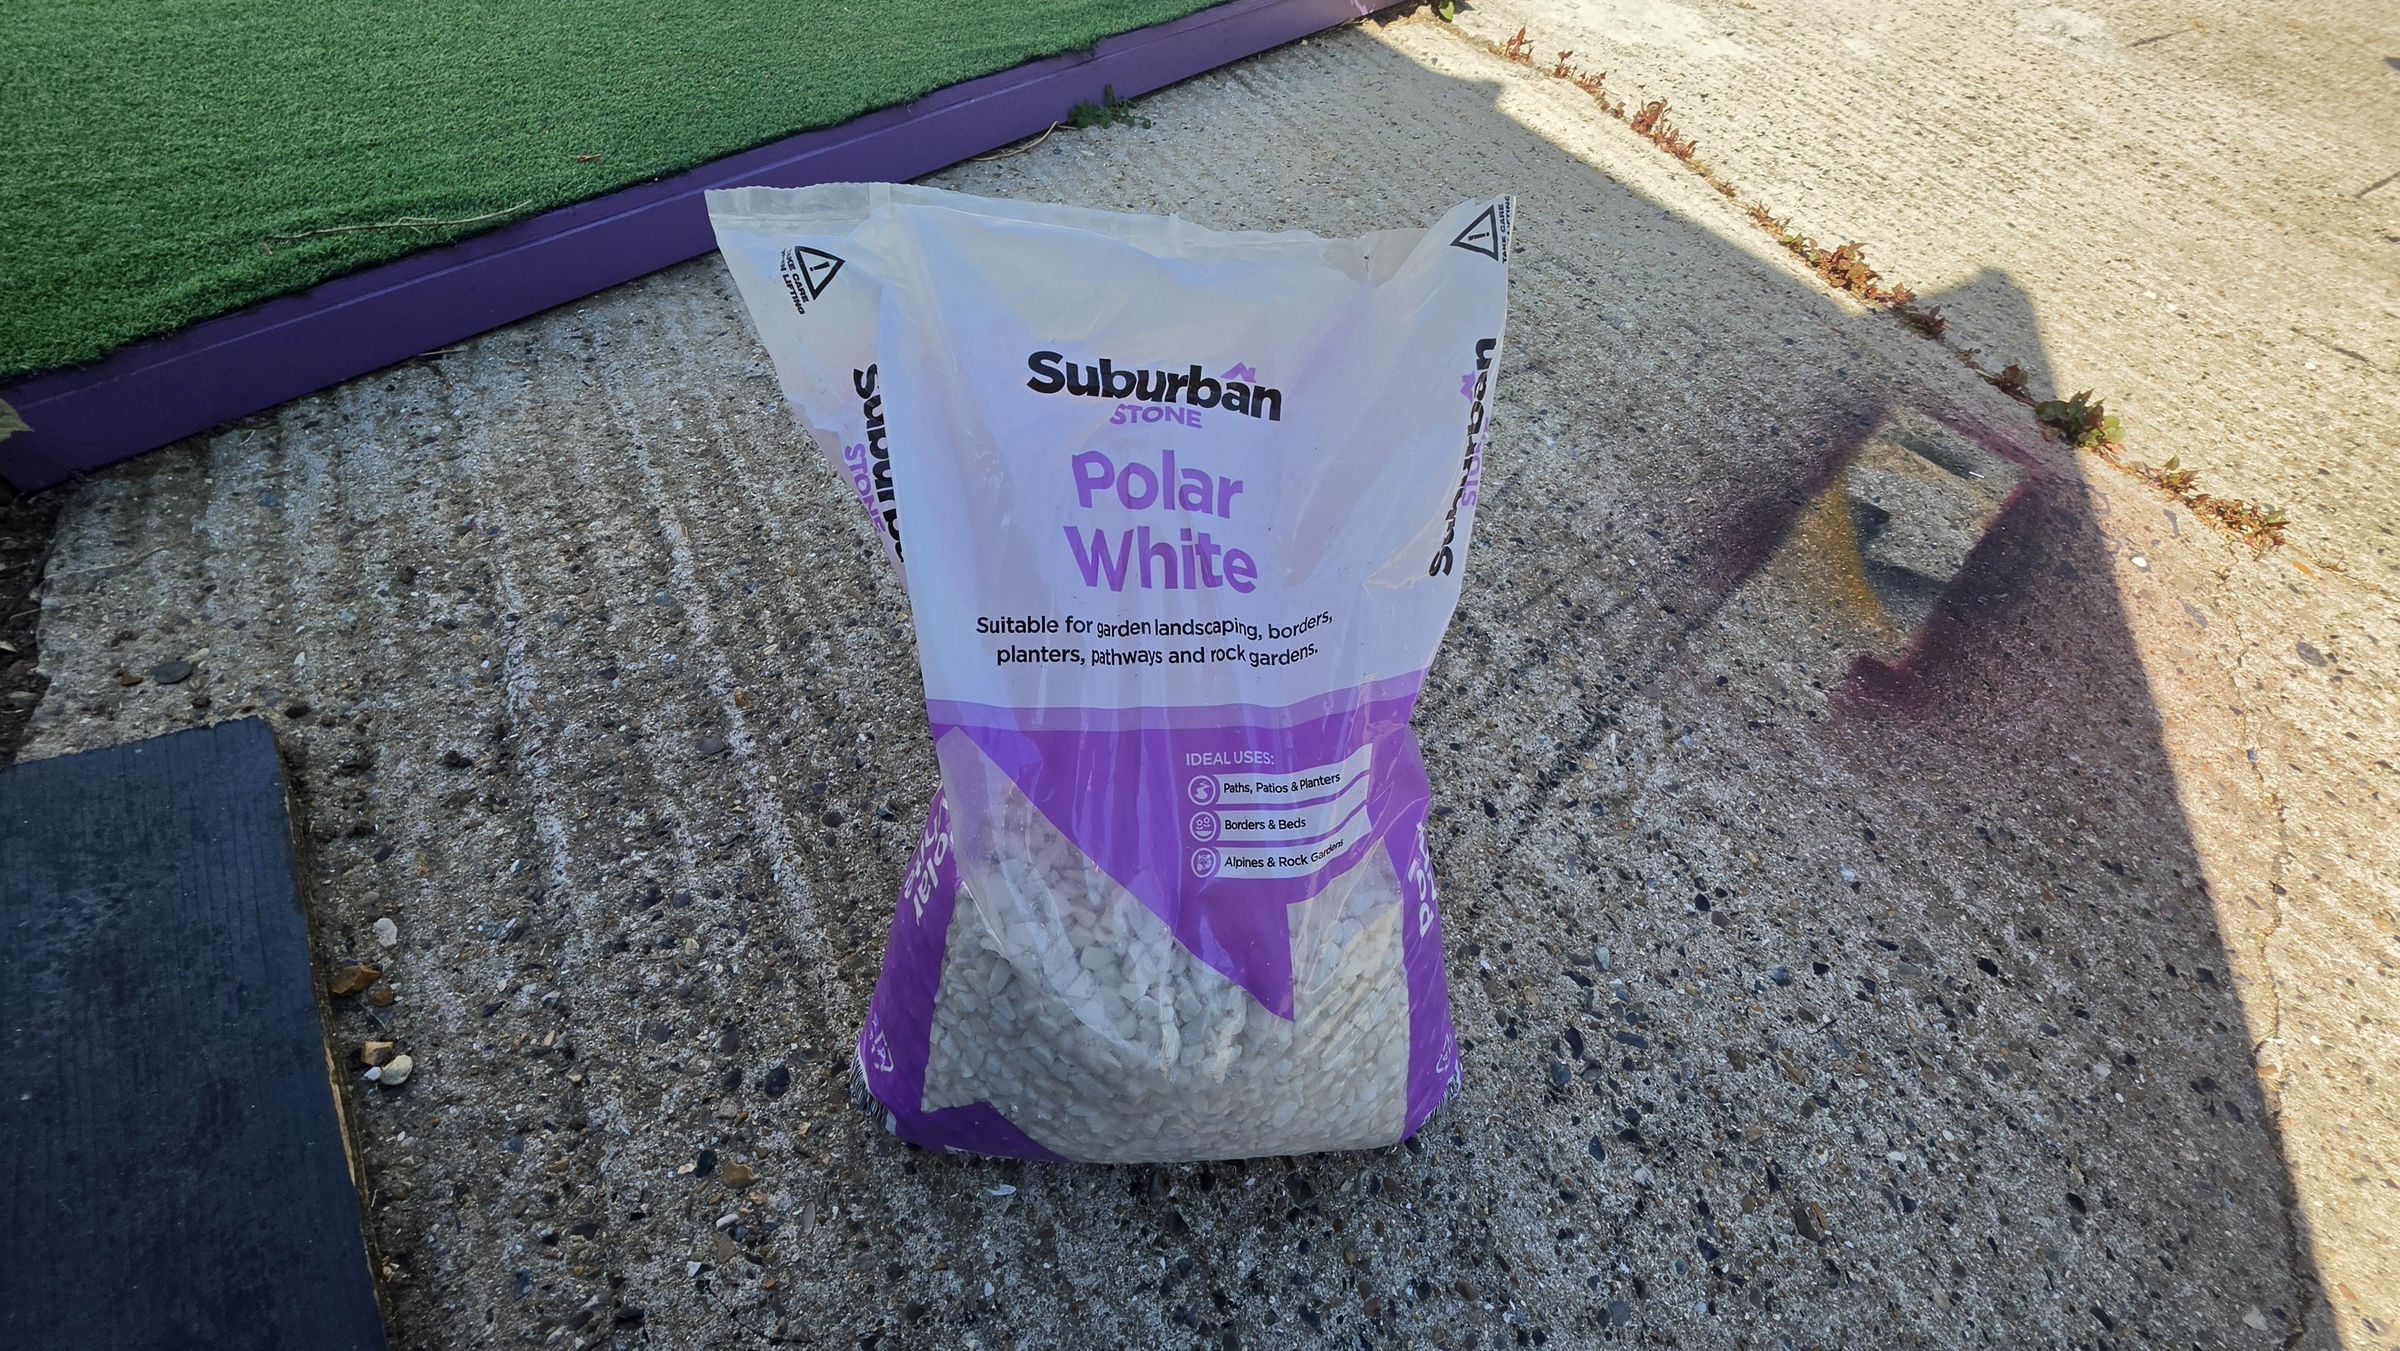
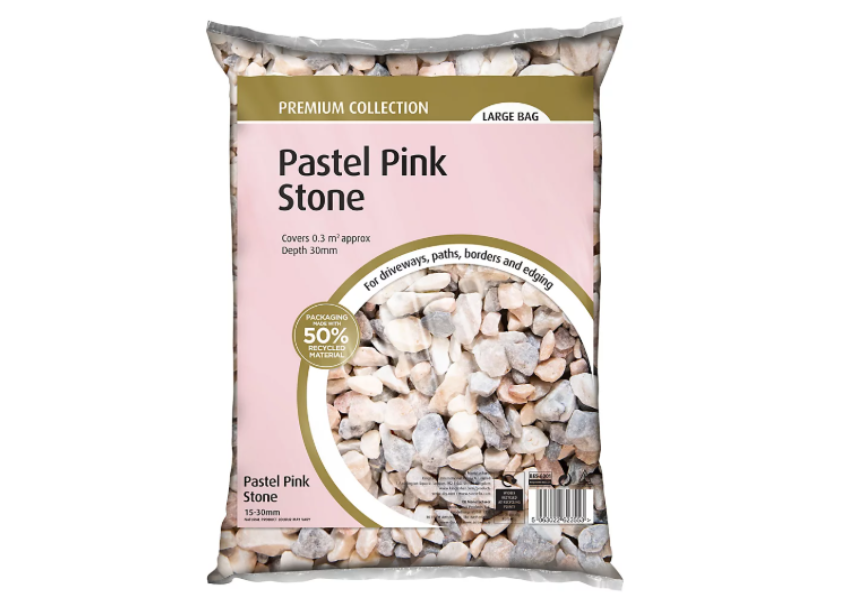
- Bags of large decorative stones (I used a light pink/creamy colour)
For the Planters:
- Concrete planters (or a sturdy alternative of your choice)
- Bags of white decorative stones (or pay a little more and purchase already coloured stones)
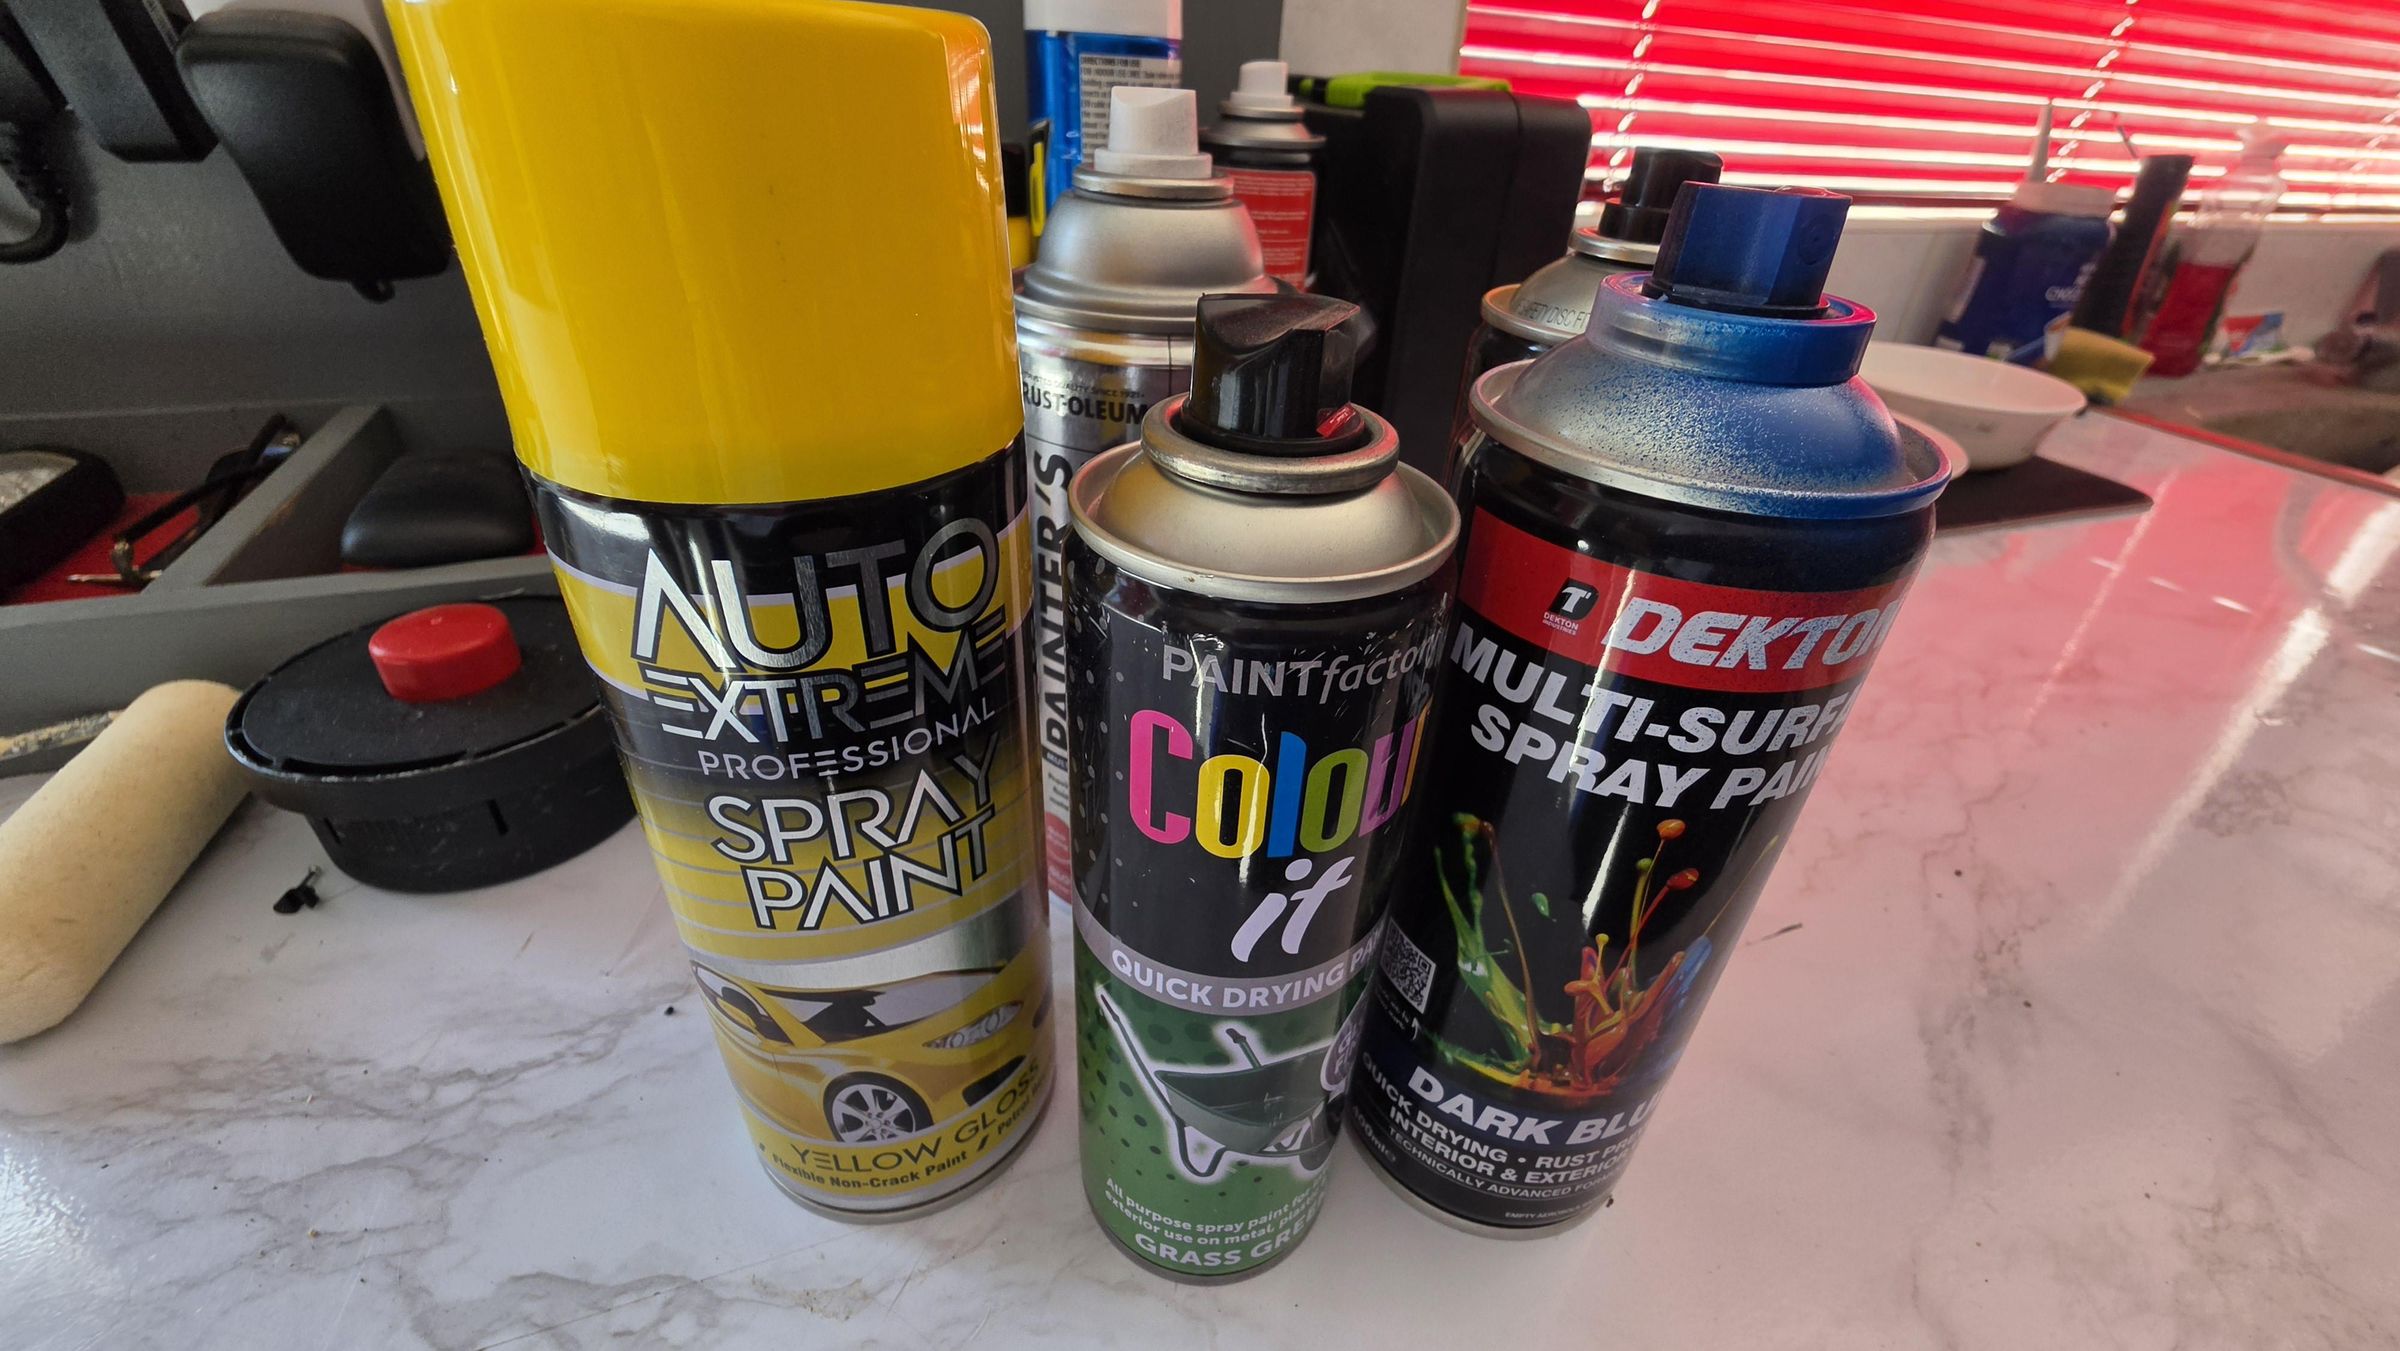
- Spray paint, colours of your choice (if not using already coloured stones)
- Masking tape
- Scrap cardboard to make the shape templates
- Pair of scissors
- A couple of jugs or small containers to use to pour in the coloured stones
As I needed to do a lot of prep work, I used a hedge trimmer, Strimmer, Small chainsaw, dustpan & brush and a good hard bristled yard broom.
Prep the Ground and Planters
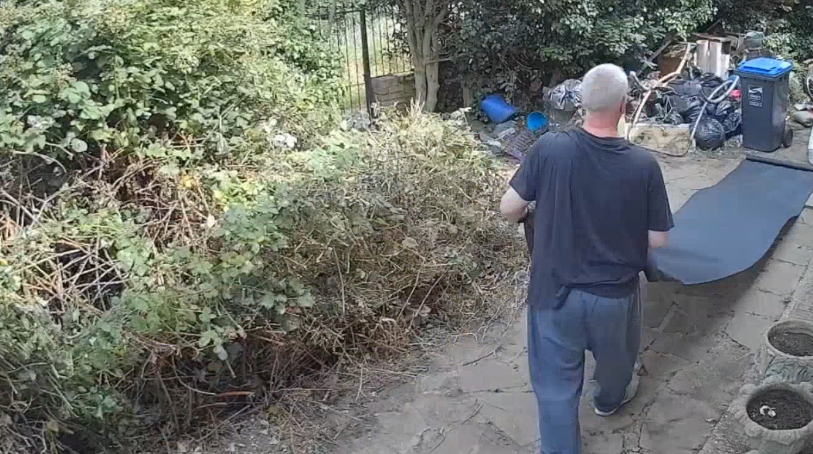
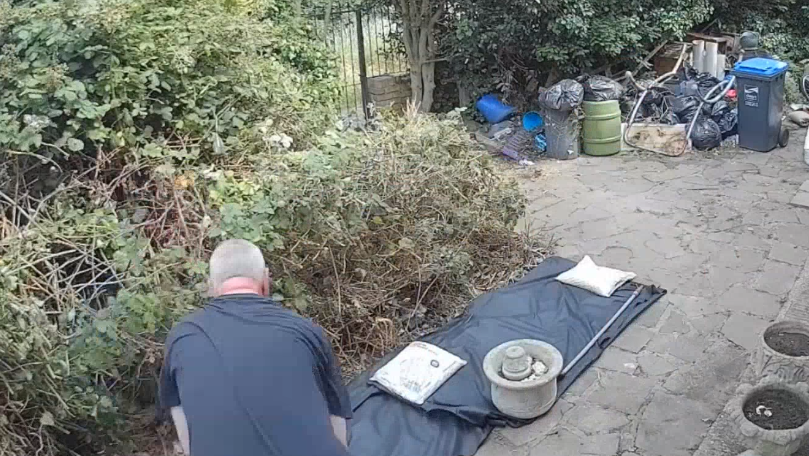
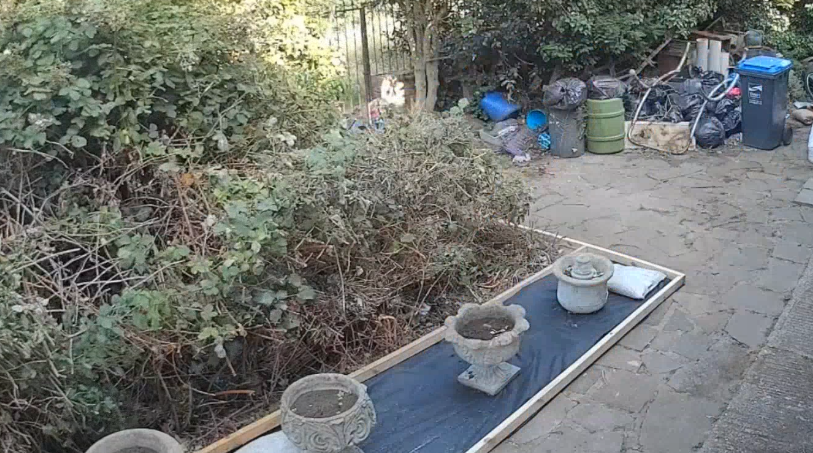
Step 1 and 2 are if you wish to make a border for your decorative coloured stone patten planters. If you just want to see the planters, skip to Step 3.
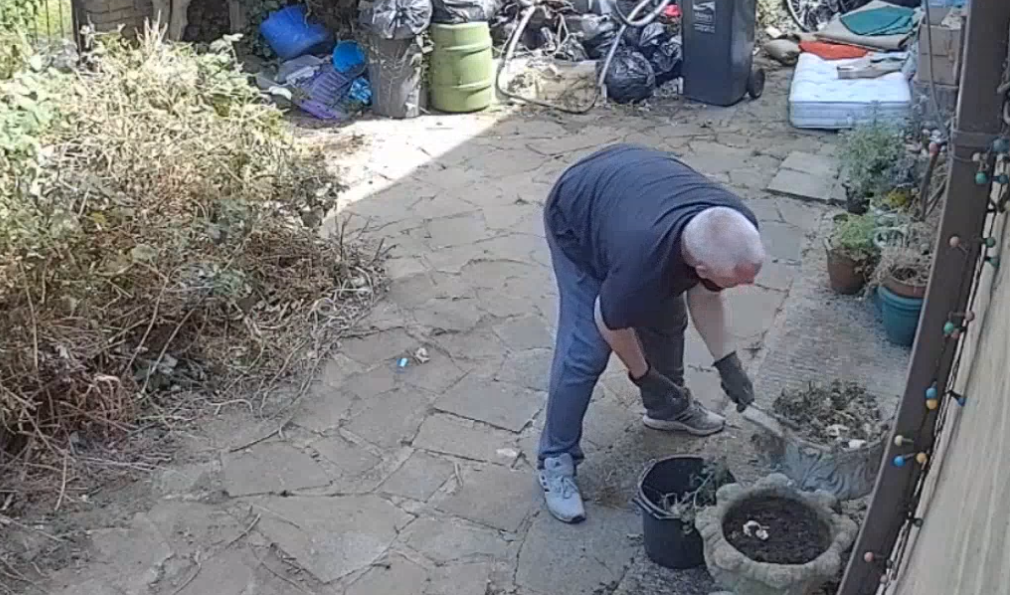
As you can see from the photos and especially the video, I had a lot of work to do to make room for the border and planters. After I spent 2 and a half days cutting, pruning and clearing all of the overgrown bushes and rubbish, I set to work on the area to lay the border. While I was clearing out, I pulled out the buried concrete planters, cleaned them up and removed anything that didn't belong, only leaving plain soil in the bottom of the planter dishes.
Give the area a good sweep and cut away any weeds growing through the ground. I was working with paving slabs and there were weeds growing through the cracks. If you plan to make the border on soil, take the extra time to remove as many roots and sharp stones as you can, level the ground and compact the soil.
Lay down lengths of weed membrane making sure any joins overlap by 10cm to 30 cm. Weigh the membrane down so it doesn't blow around, and lay down the CLS timber lengths cutting to size where needed. Join the lengths together using brackets or scrap pieces of plywood. Then finally place the planters into position, which will also help hold the membrane down.
Paint and Cover the Border
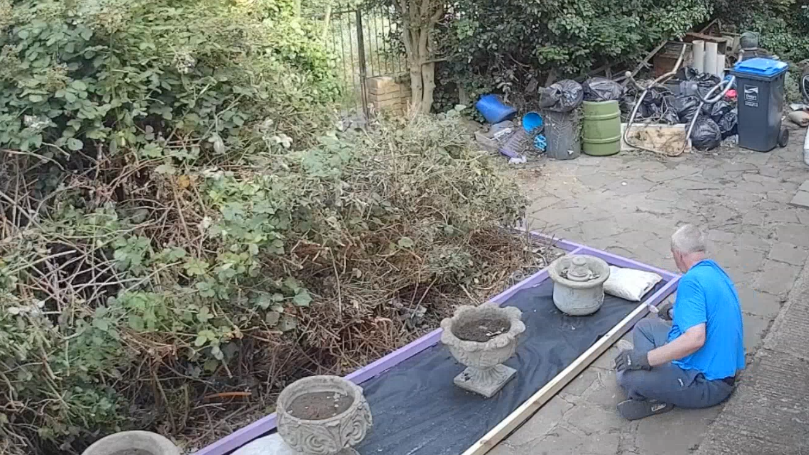
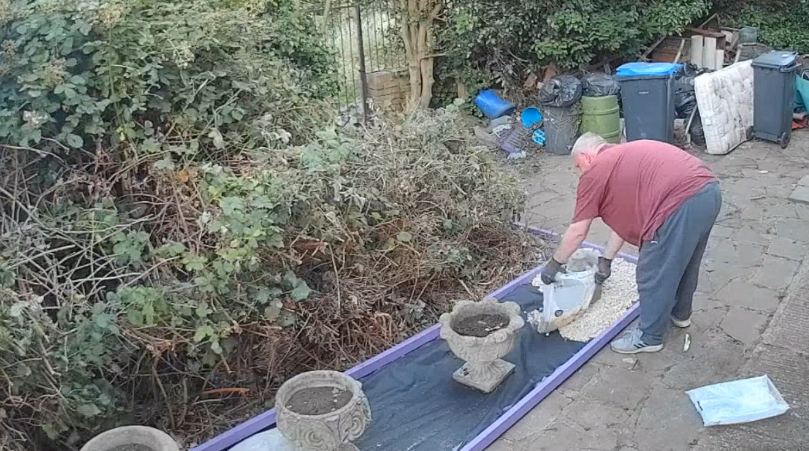
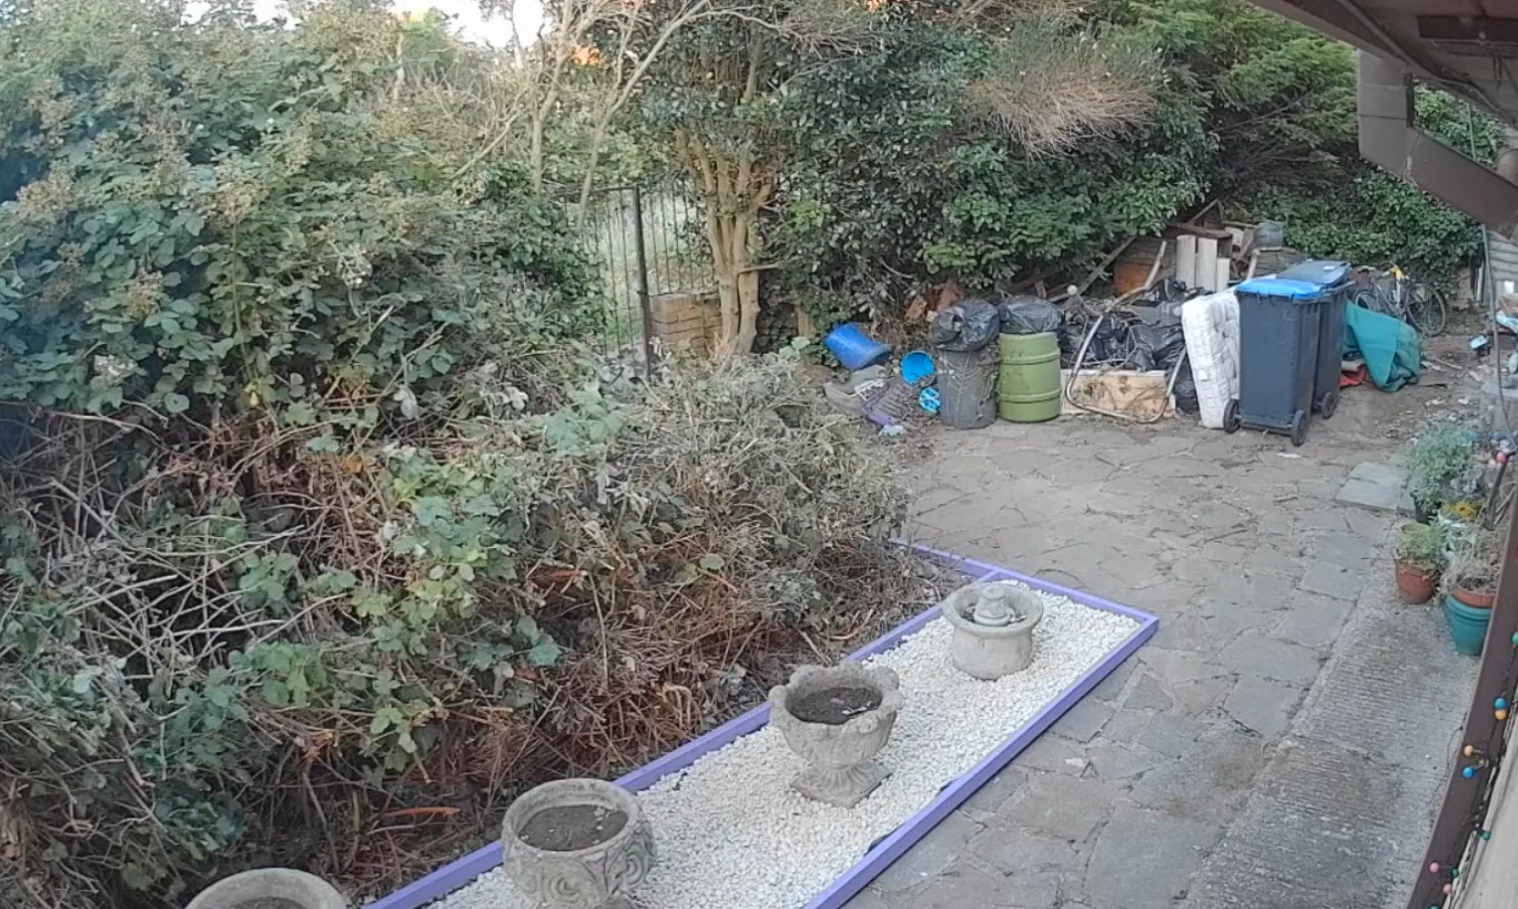
With the border laid out and planters in position, paint the timber borders with an external wood paint, which not only gives it colour, but will give added protection from the elements to the wood. Depending on the quality and thickness of the paint, two coats is a minimum requirement. If you just want the natural wood look, I suggest applying a wood sealer/protector to the treated wood to help extend the condition and life of the timber.
When the paint has dried, we can now cover the area with our choice of decorative stones. Open a corner of a bag and start pouring the stones onto the membrane, and once empty, start smoothing out the stones to make them level and evenly covered. Keep going with the rest of the bags until the area is fully covered and has a decent depth so you don't see any membrane. Just remember one thing, as large as a bag of decorative stones look, expect to buy more bags than you think. I figured nine 20KG bags would be enough for the area I was working on, turned out I needed fifteen bags for a decent coverage.
Give the area a once over to make sure the stones are level and fully covered. You might want to wipe down the timber frame with a damp cloth as you can get dust from the stones bags. With the border now done, we can get on to the fun part, the planters.
Level and Cover the Planter Bases
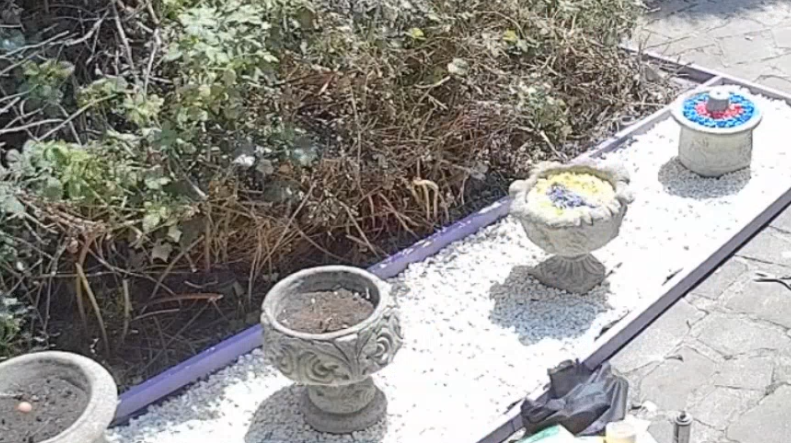
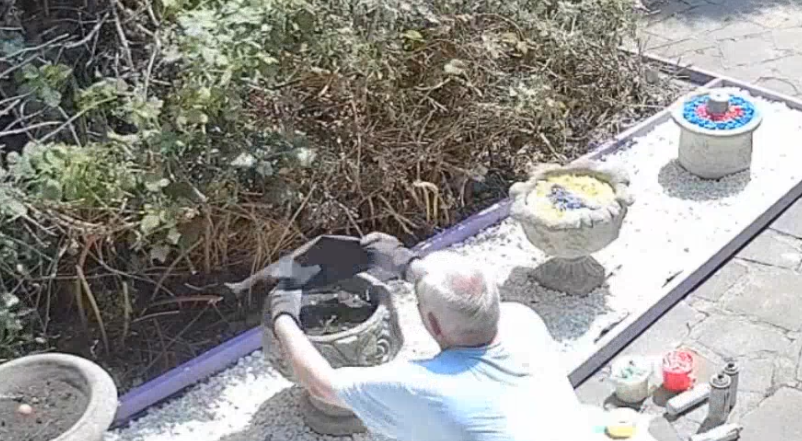
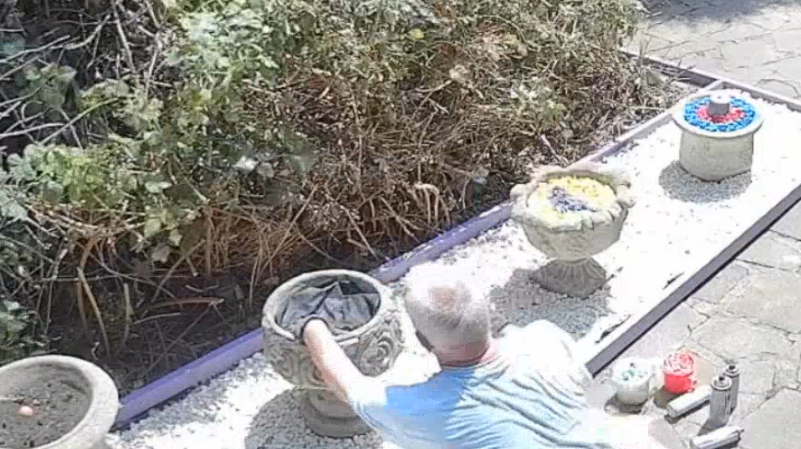
To start off with the planters, I left some soil on the bottom of the dishes so not so many stones were used. Level and pat the soil flat, the cut a piece of weed membrane off and cover the soil in the dish.
Colour the Stones
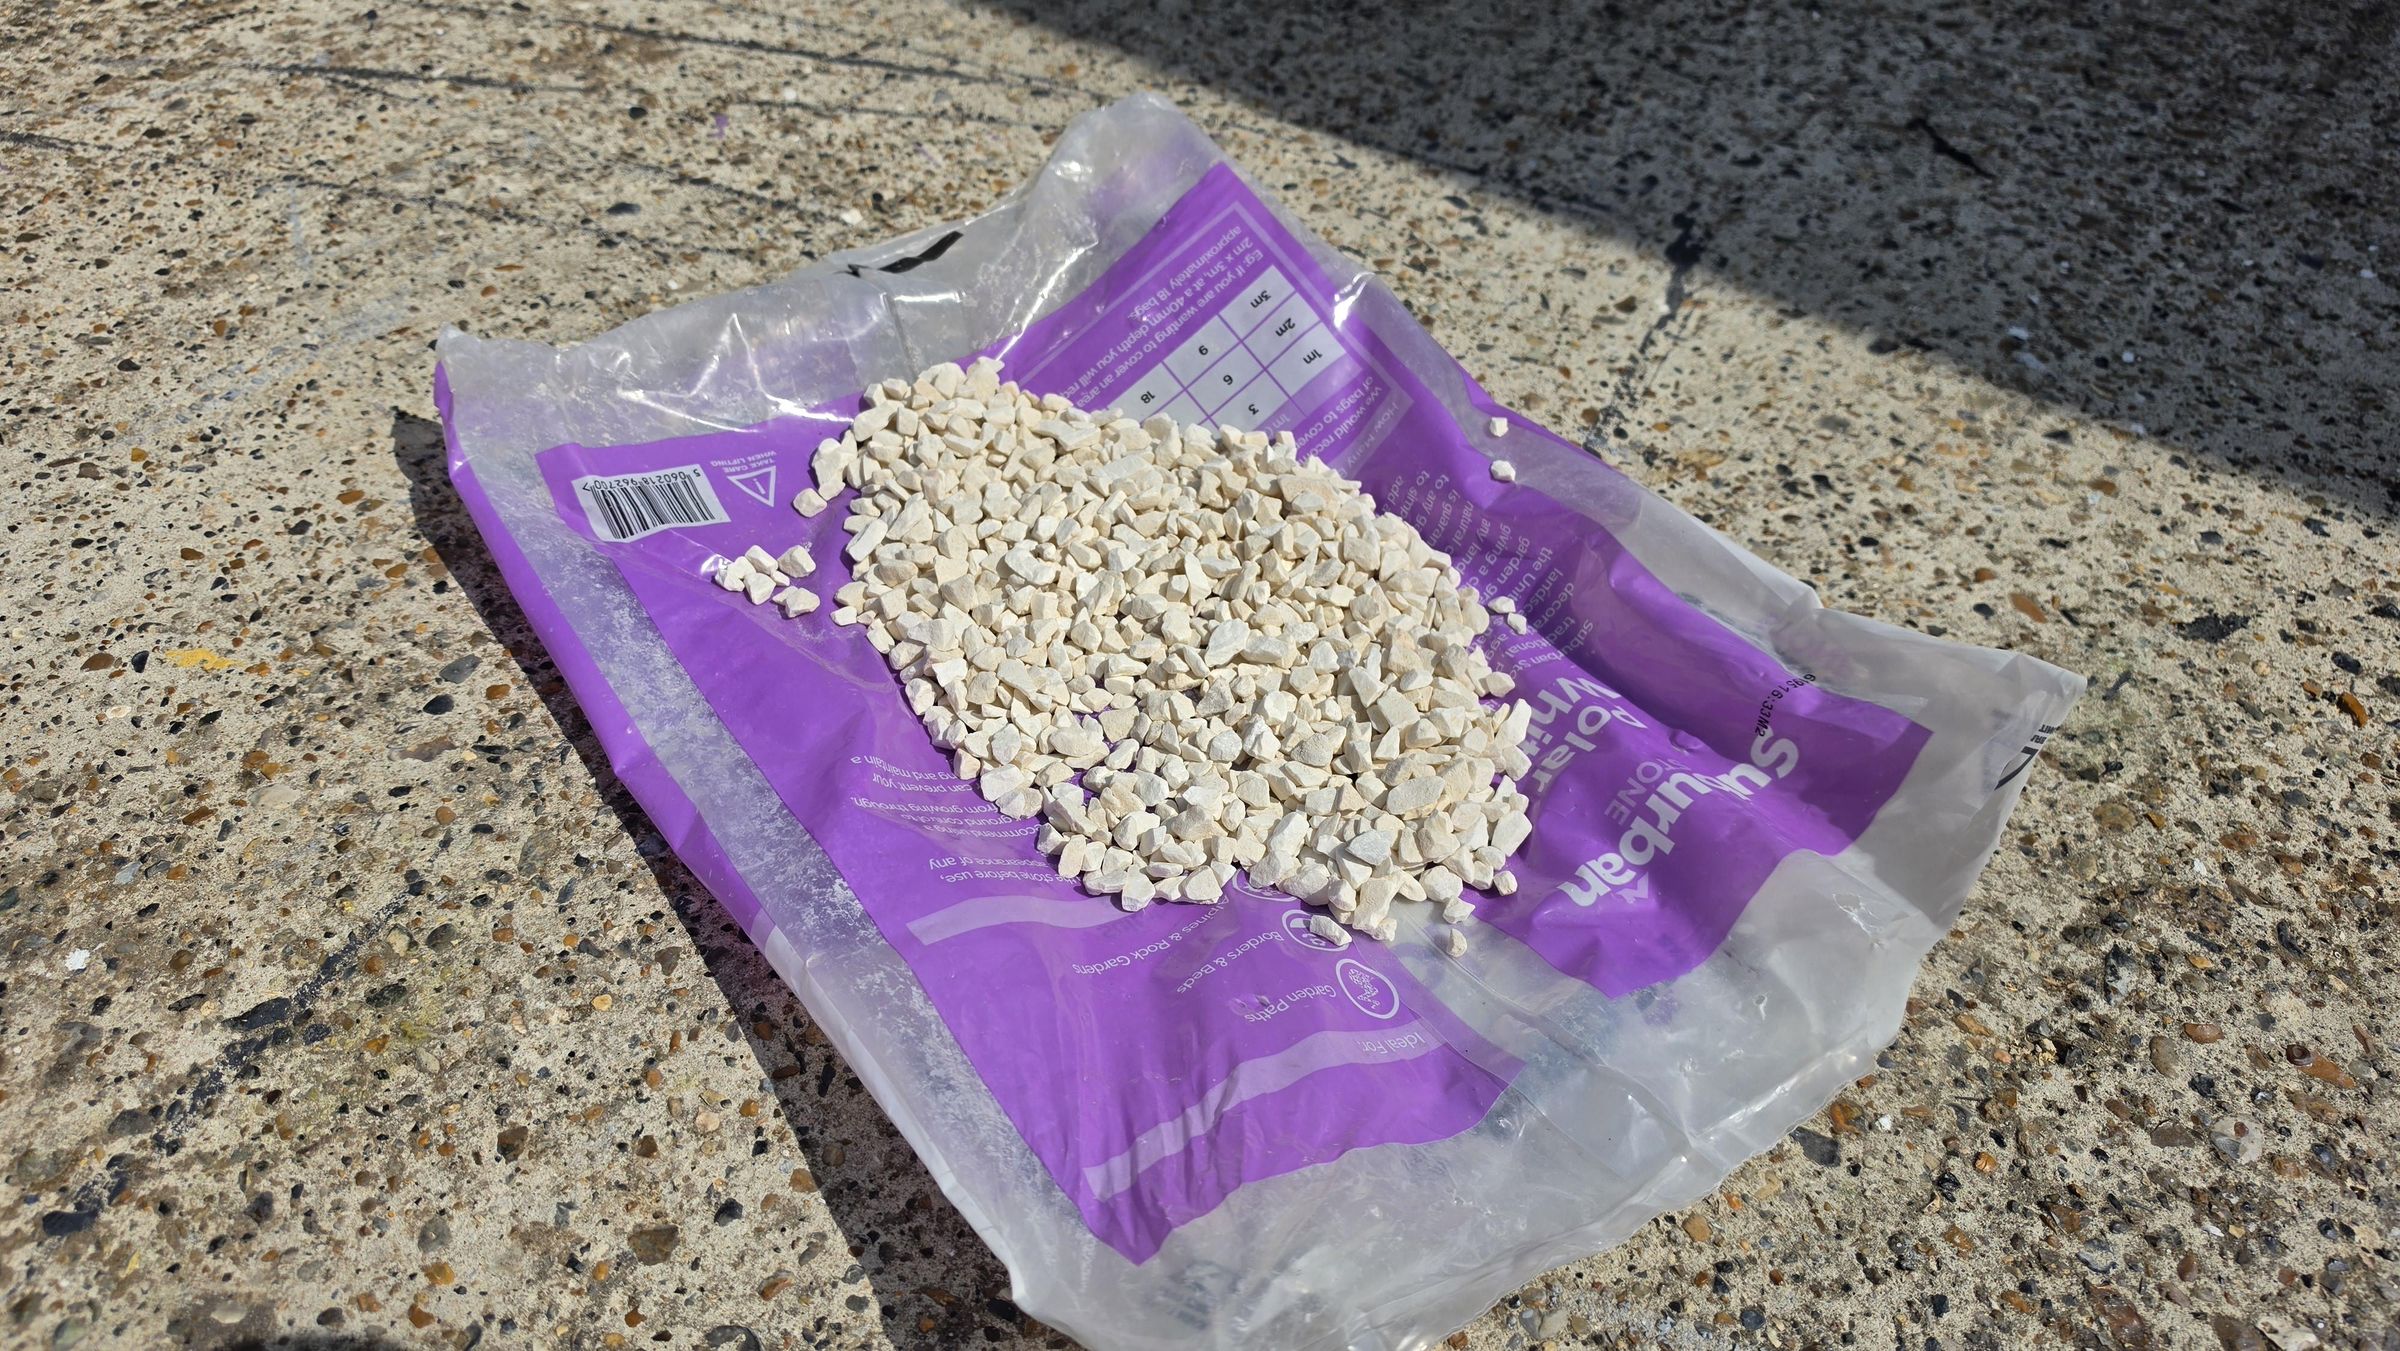
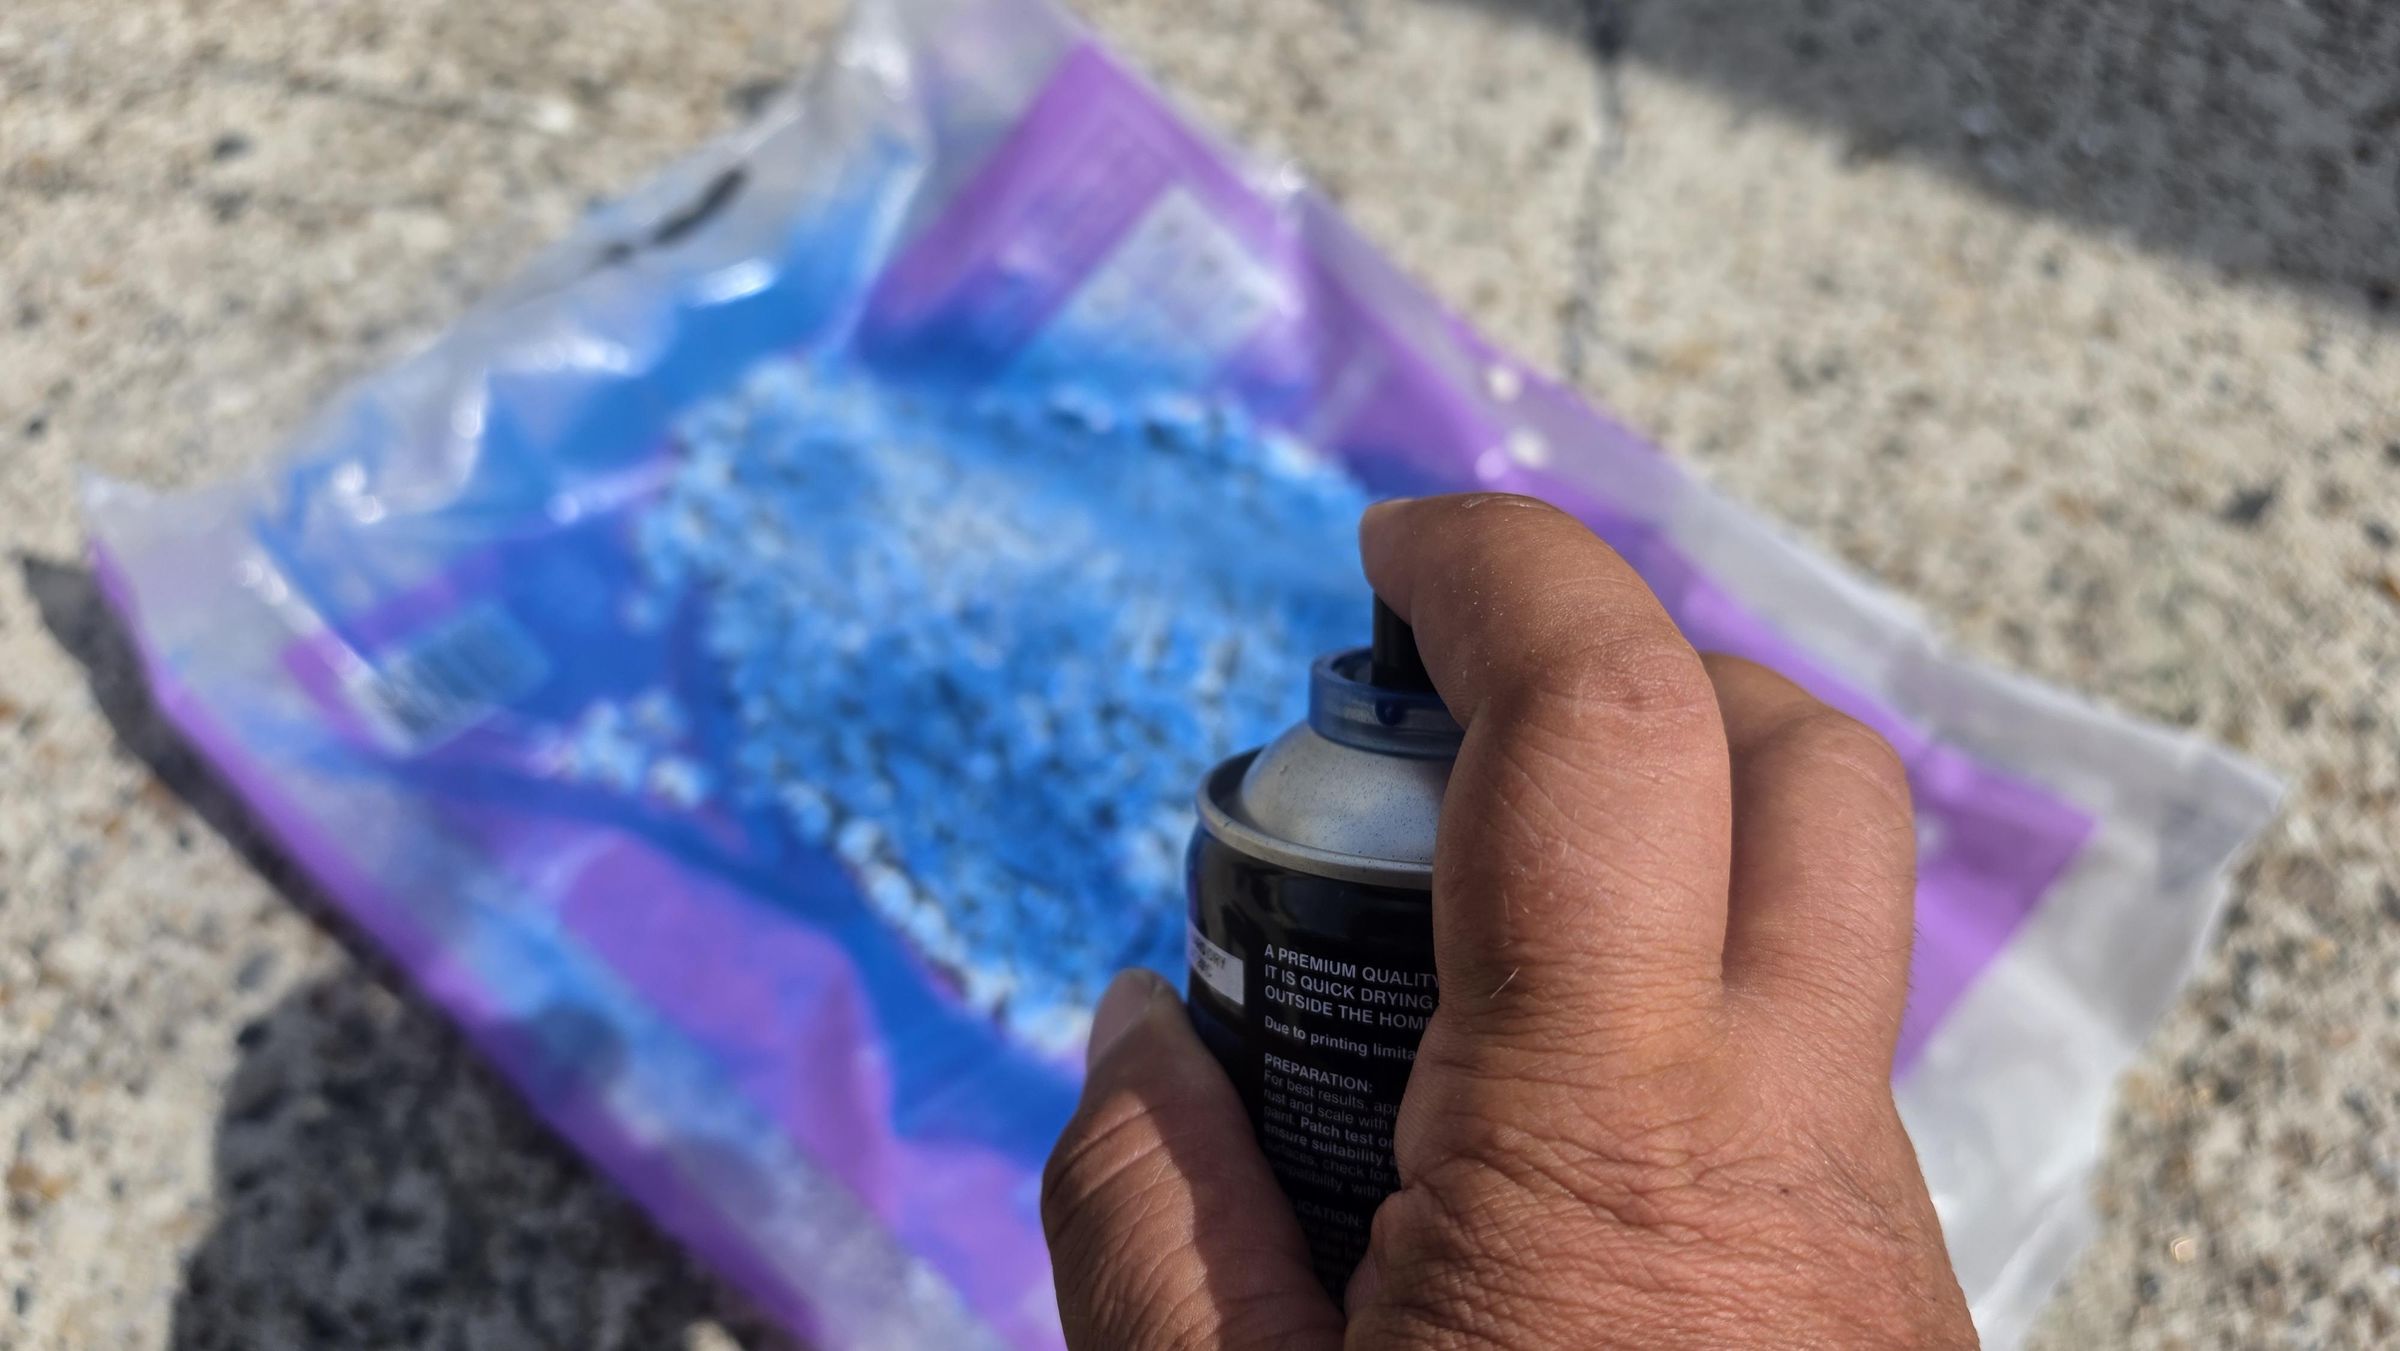
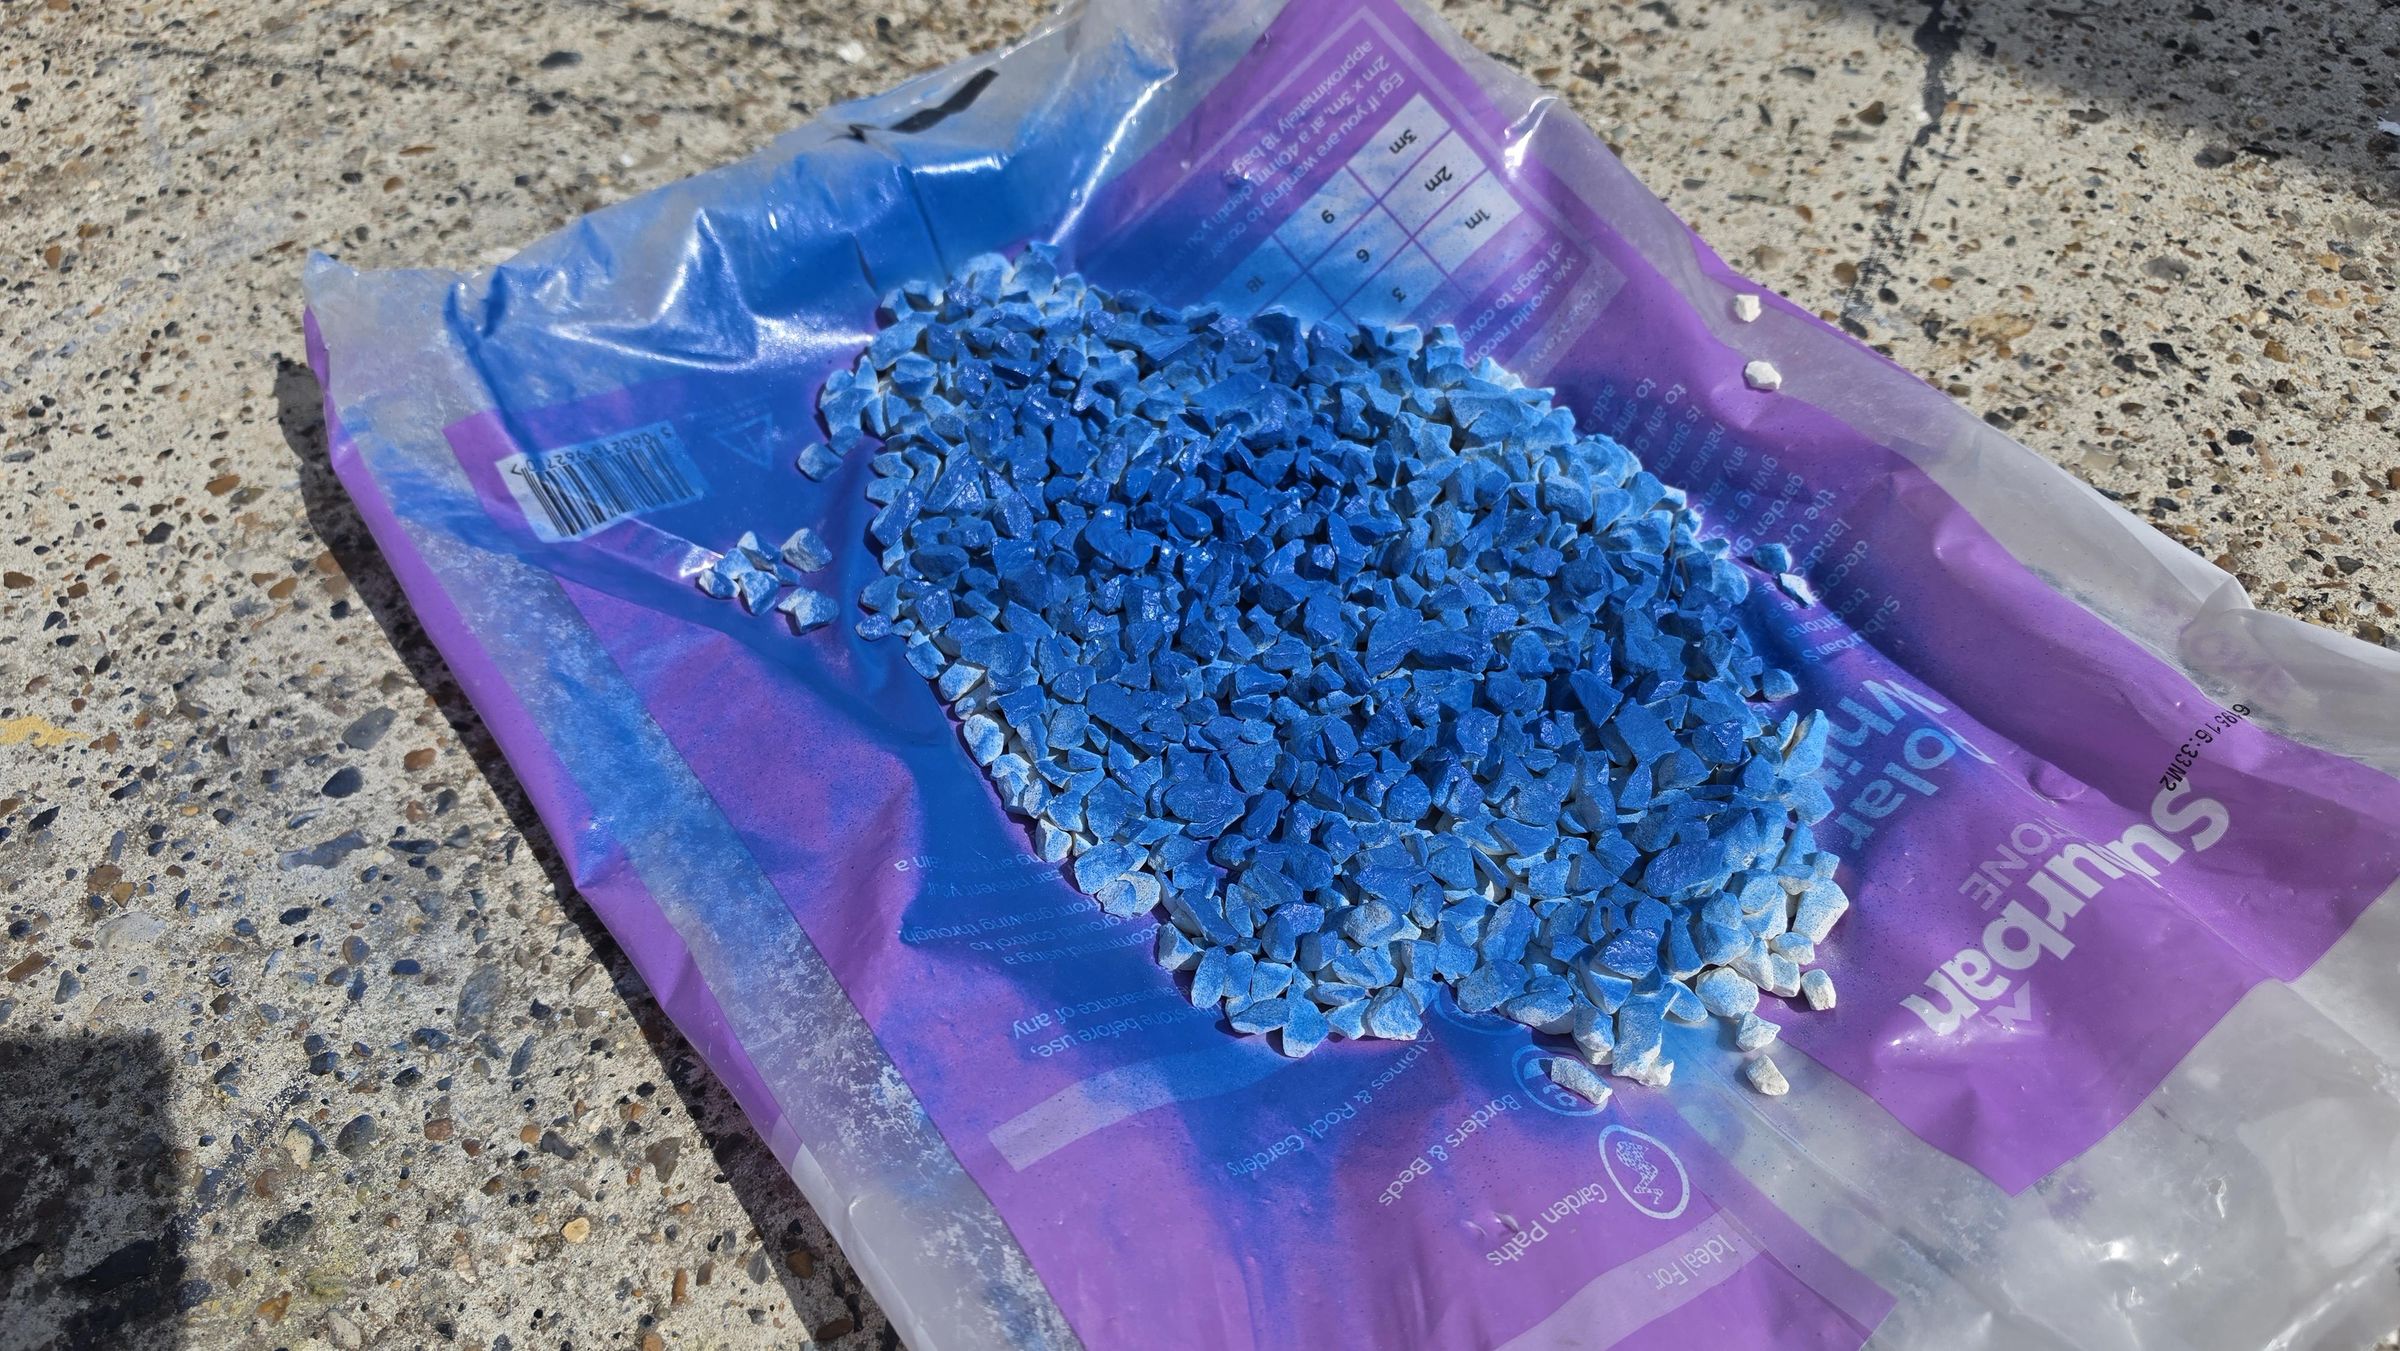
I used white decorative stones for two reasons, 1: I found that white stones are cheaper than coloured ones with places selling them on deals like three 20KG bags for £16/$20, and I had left over spray paints from previous projects, and 2: the white helps make the coloured paint pop a bit making a nice rich colour.
Keeping the the empty bags from the border stones or using refuse sacks, cut them to make sheets and pour/spread out different piles of the white stones. Then give the stones a rinse with some water, from a hose if you have one. The stones could very well be covered with a fine dust which would wash off in the rain, taking any paint you put on, with it. So give them a rinse, and leave do dry for 24 hours, on a warm day if you can.
Spray the stones on the colours of your choice and wait for them to dry. Them re-spread the stones turning over as many as you can a paint again and wait to dry. You can do this a third time if you feel you need to, but we will be doing a touch up coat when the stones are in the planters.
A couple of things to note: First is that you don't need to be careful painting the stones like you would anything else with spray paint (even coats, slow steady sweeps, spraying from a distance) because it really doesn't matter if you get run marks on the stones as you really won't notice them. Second of all, if there are areas of the stones not covered and still showing white, this adds a little definition and is a colour in itself afterall.
Make the Cardboard Template Shapes
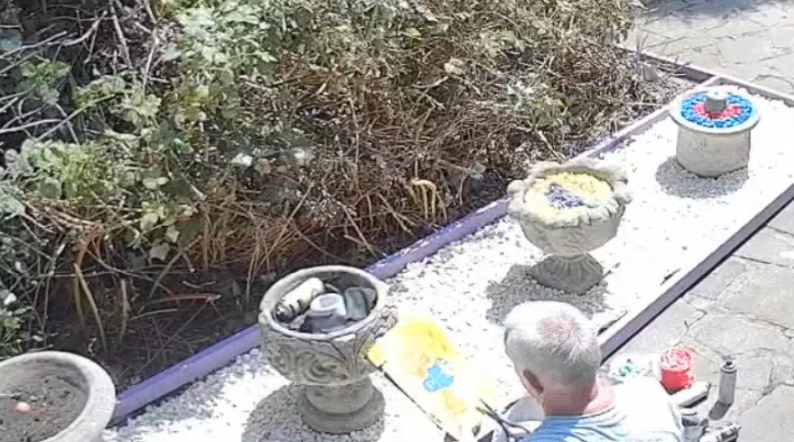
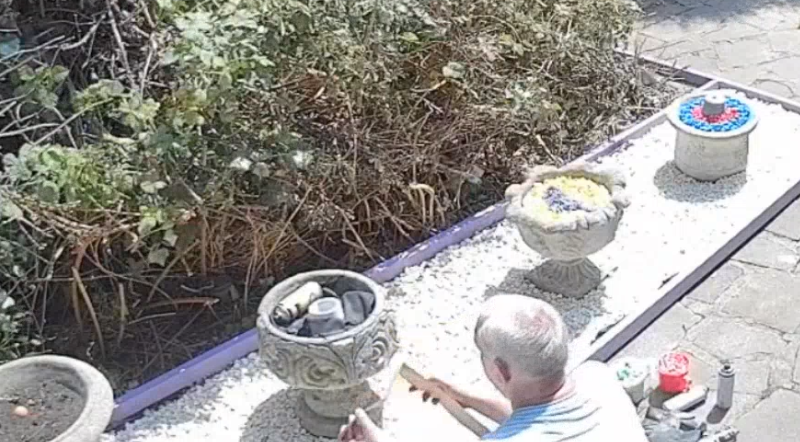
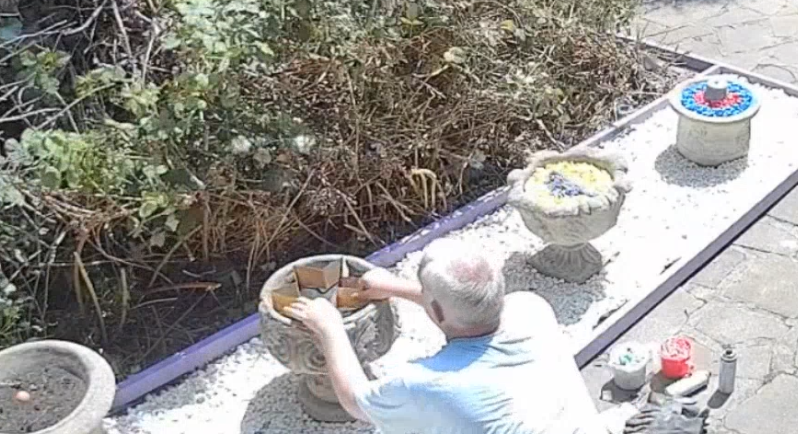
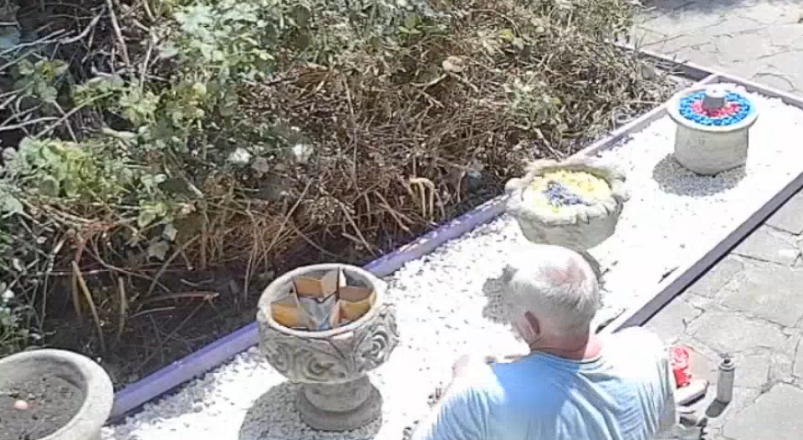
Next to make the shapes. Cut up some strips of scrap cardboard (the thinner cereal box stuff works really well), and start forming your shapes. Use some masking tape to join strips together if they are not long enough.
Sometimes depending on the shape, it might not hold its shape too well, but this is not an issue as ling as we have the rough shape as we can form it better when we start pouring in the stones. Place the template into the dish on top of the membrane.
Pour the First Layer of Coloured Stones
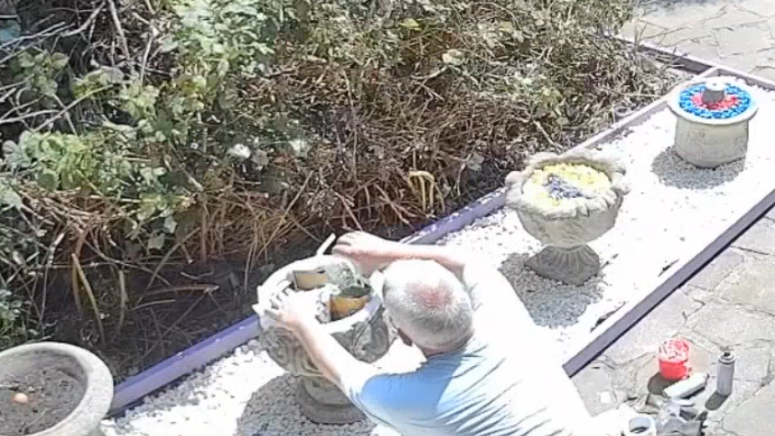
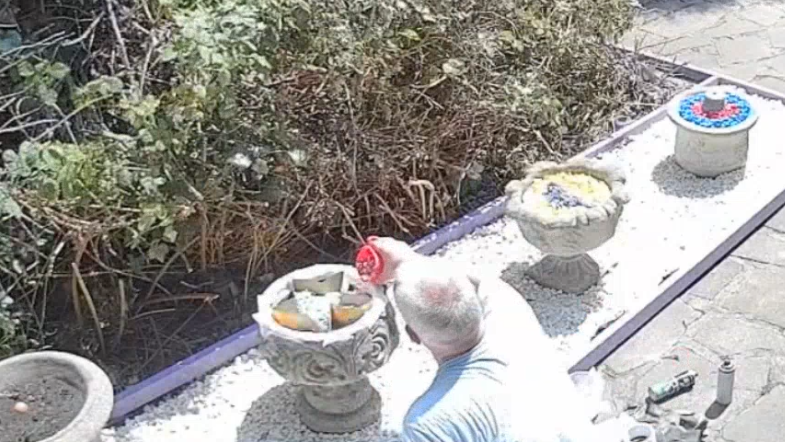
Using a couple of jugs or small containers, fill them up with some of the coloured stones, one colour for each (or mix them up if you like, it's your design), then pour some of one colour inside the template, then some on the outside. What we are doing here is building up layers which will help us keep the shape of the template as mentioned in the previous step.
Masking, Final Layer of Stones and Colour Touch Up
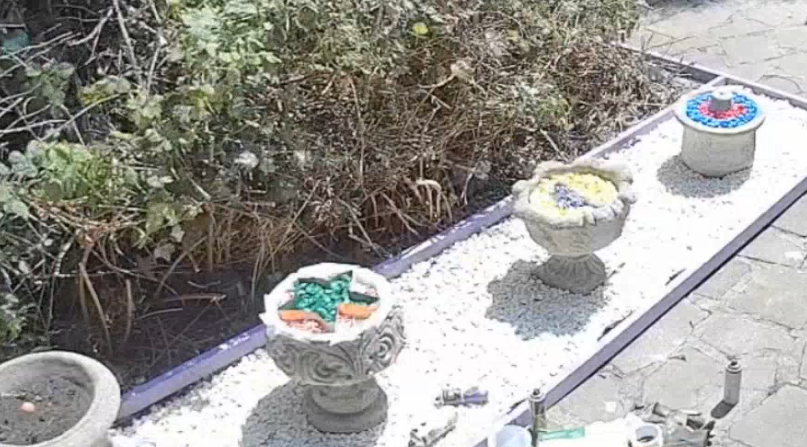
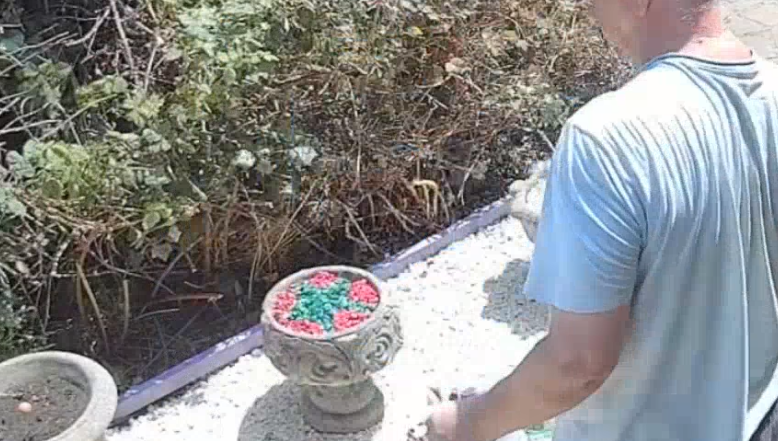
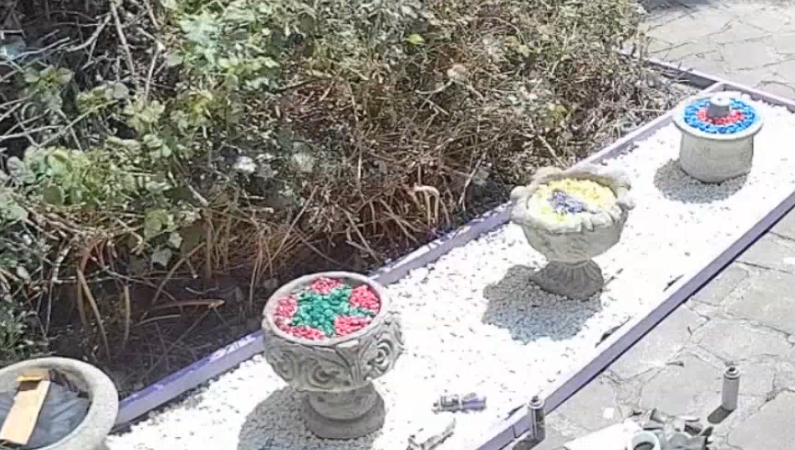
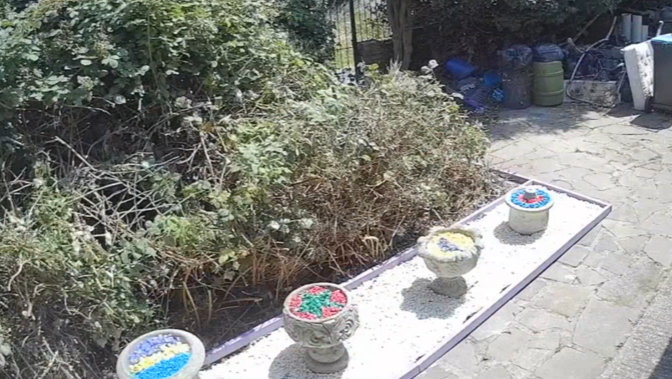
Before adding the final layers of stones, attach masking tape around the inner edge ant around the top of the planter dish to keep any spray paint off when doing the final touch up.
Now keep building the layers of coloured stones until you reach the height you want, but no higher than the planter dish, while making slight adjustments to the template to help keep its shape.
Now carefully spray the stones with the final layer of paint. keep the spray can nozzle close to the stones and use very short pulses of spray to keep red on red, green on green etc.
Now we can remove the template. Do this by using your finger and thumb, grabbing the top edge, each side with both hands, then slowly work the cardboard out with small sharp tugs while trying to keep the stones in place. Then finally, remove the masking tape pulling it off in an upright motion where you can.
For the stripes patten, I only used two cardboard strips equally spaced (or there abouts), and used the same stone layering process. And we are done.
Conclusion
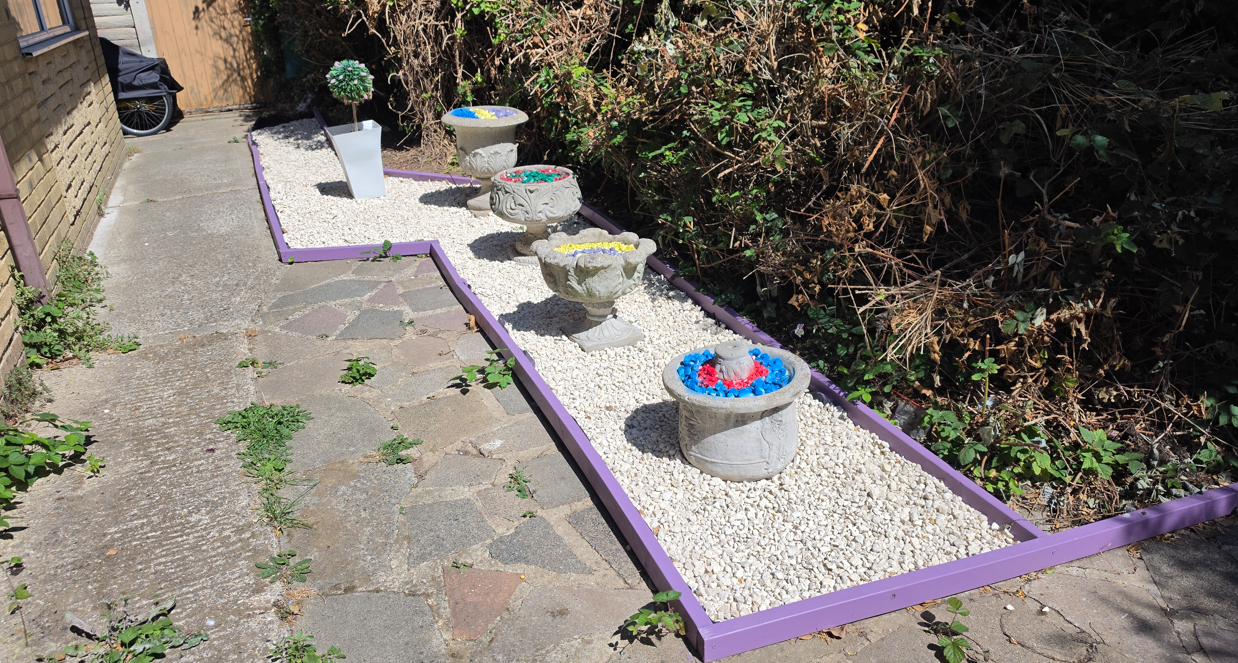
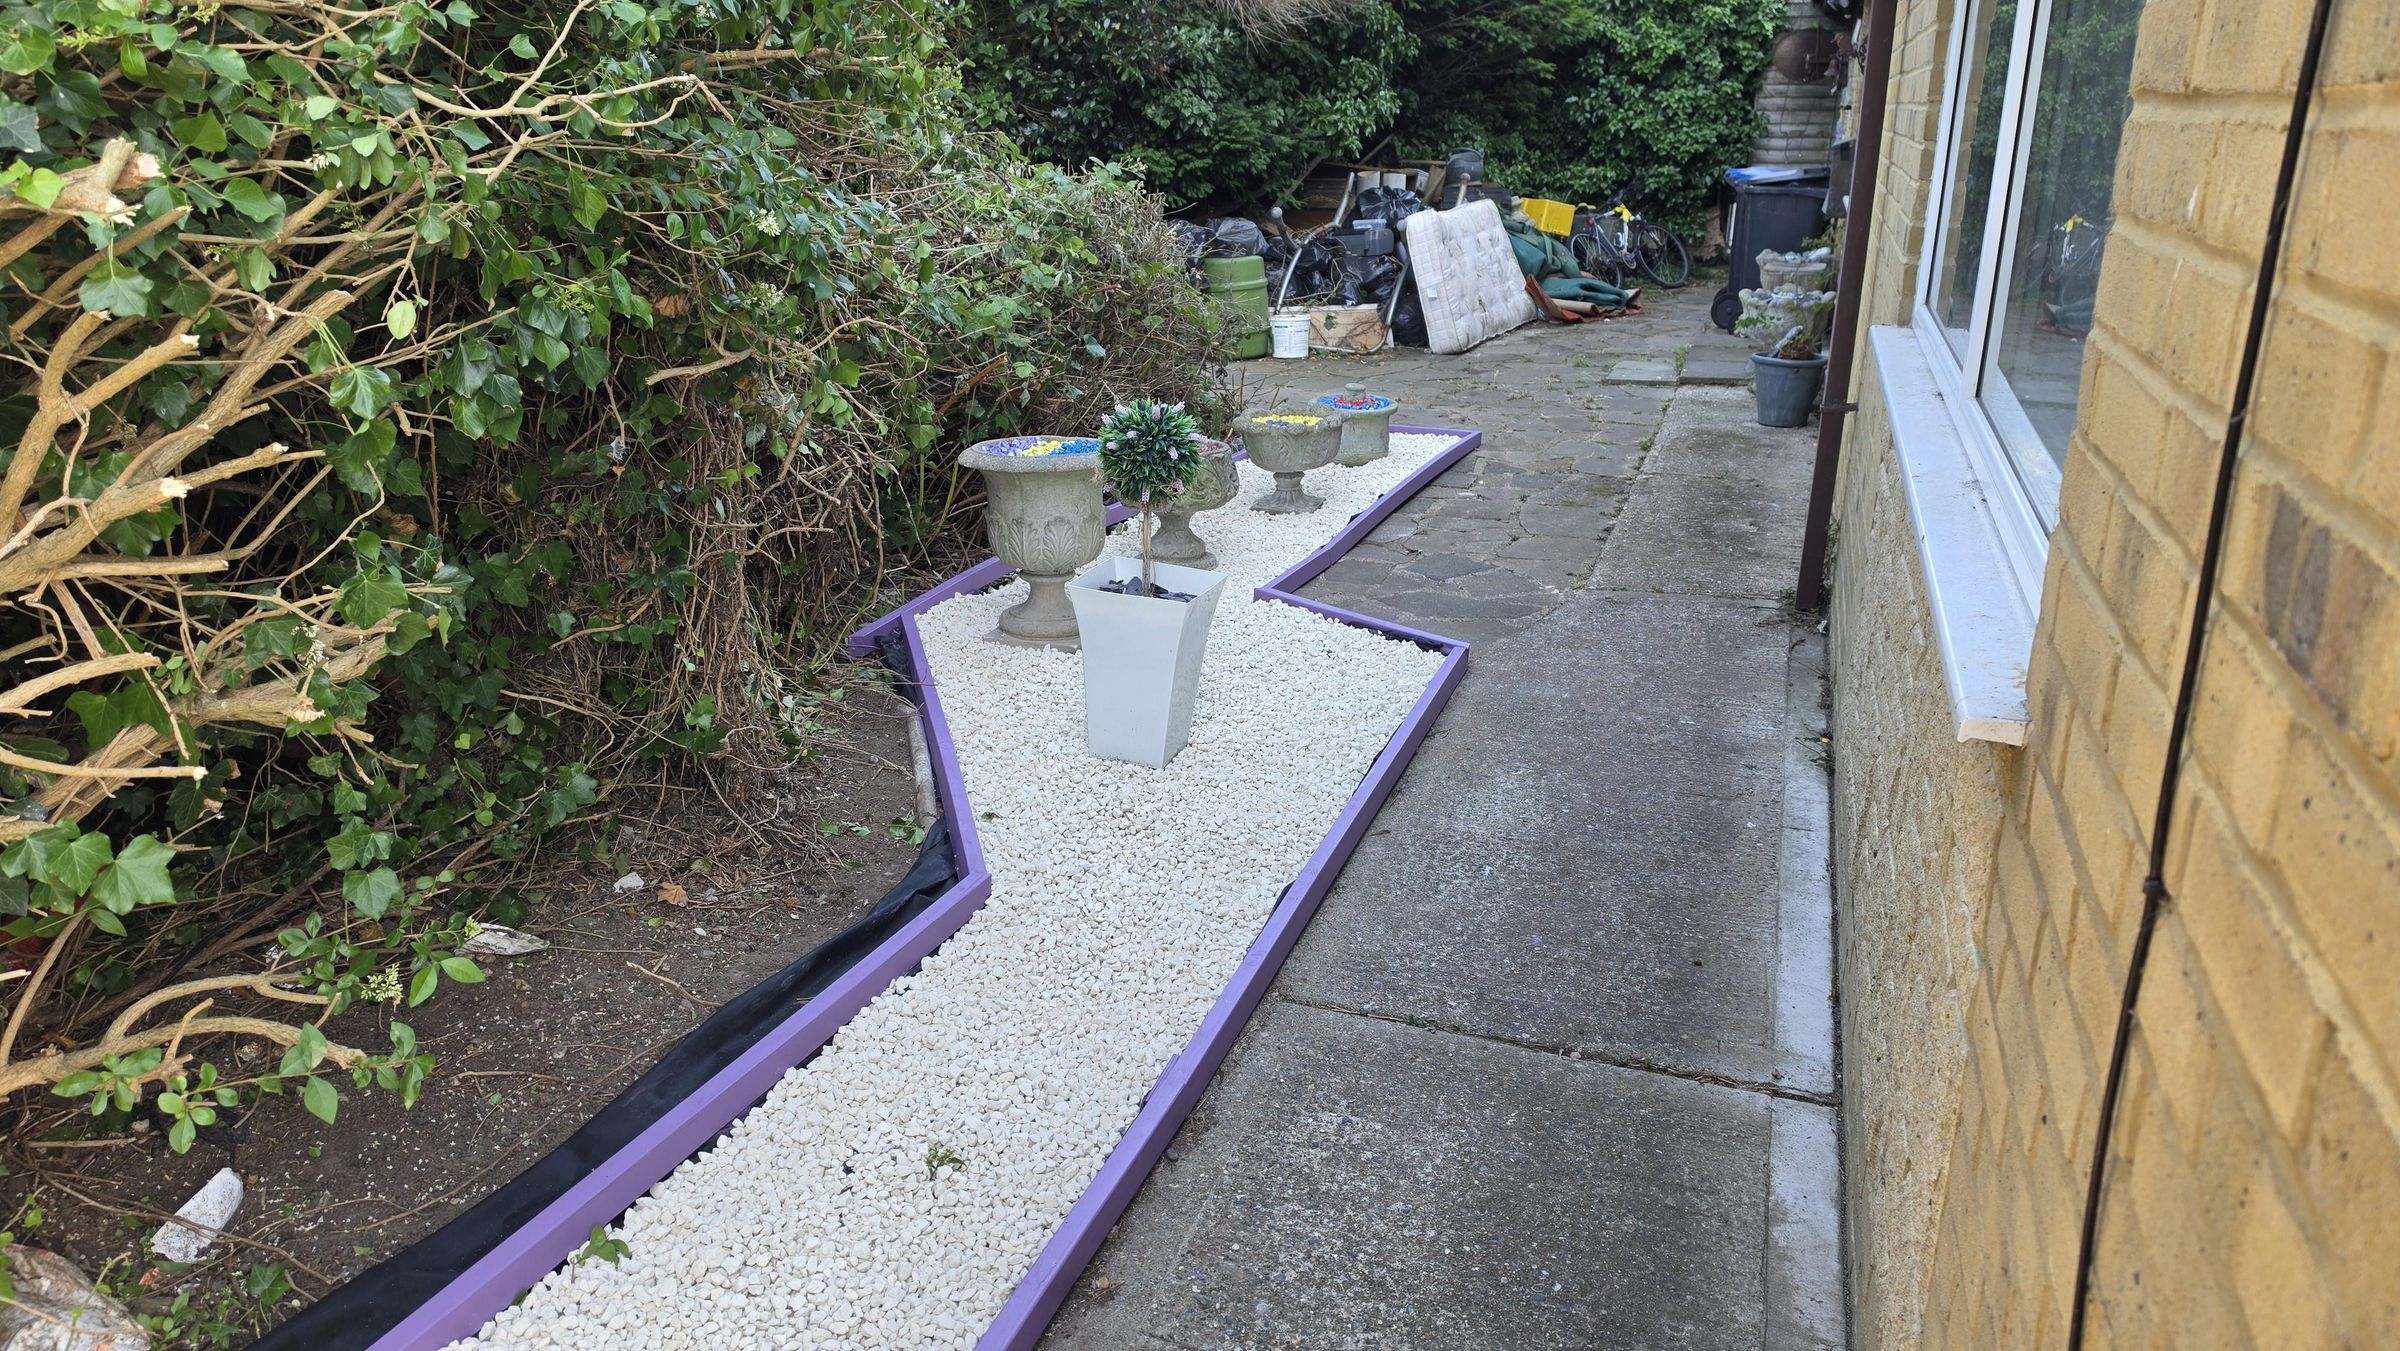
And there we have it. A simple, cost effective, low maintenance and fun way to decorate your garden or even in your home with some regularly available materials and a little creativity. If you don't want to paint the stones, you can pay extra and purchase already coloured stones, different sizes, use slate chippings, or even glow in the dark stones or pebbles.
The concrete planters work really well as they match the stone look, can take the weight of the stones, and are very sturdy, but of course the choice of planters, colours and shapes are entirely up to you to make them look how you want.
I hope that this has given you some ideas or inspiration to give this a go yourself, especially if you want decorative plant pots, but are not to handy at keeping plants and flowers alive, but wat a little colour around your home.
Thanks for reading, and happy making.