DIY ESP32-C3 Tamagotchi: Immortalize Your Pet!
by DsnIndustries in Circuits > Arduino
670 Views, 0 Favorites, 0 Comments
DIY ESP32-C3 Tamagotchi: Immortalize Your Pet!
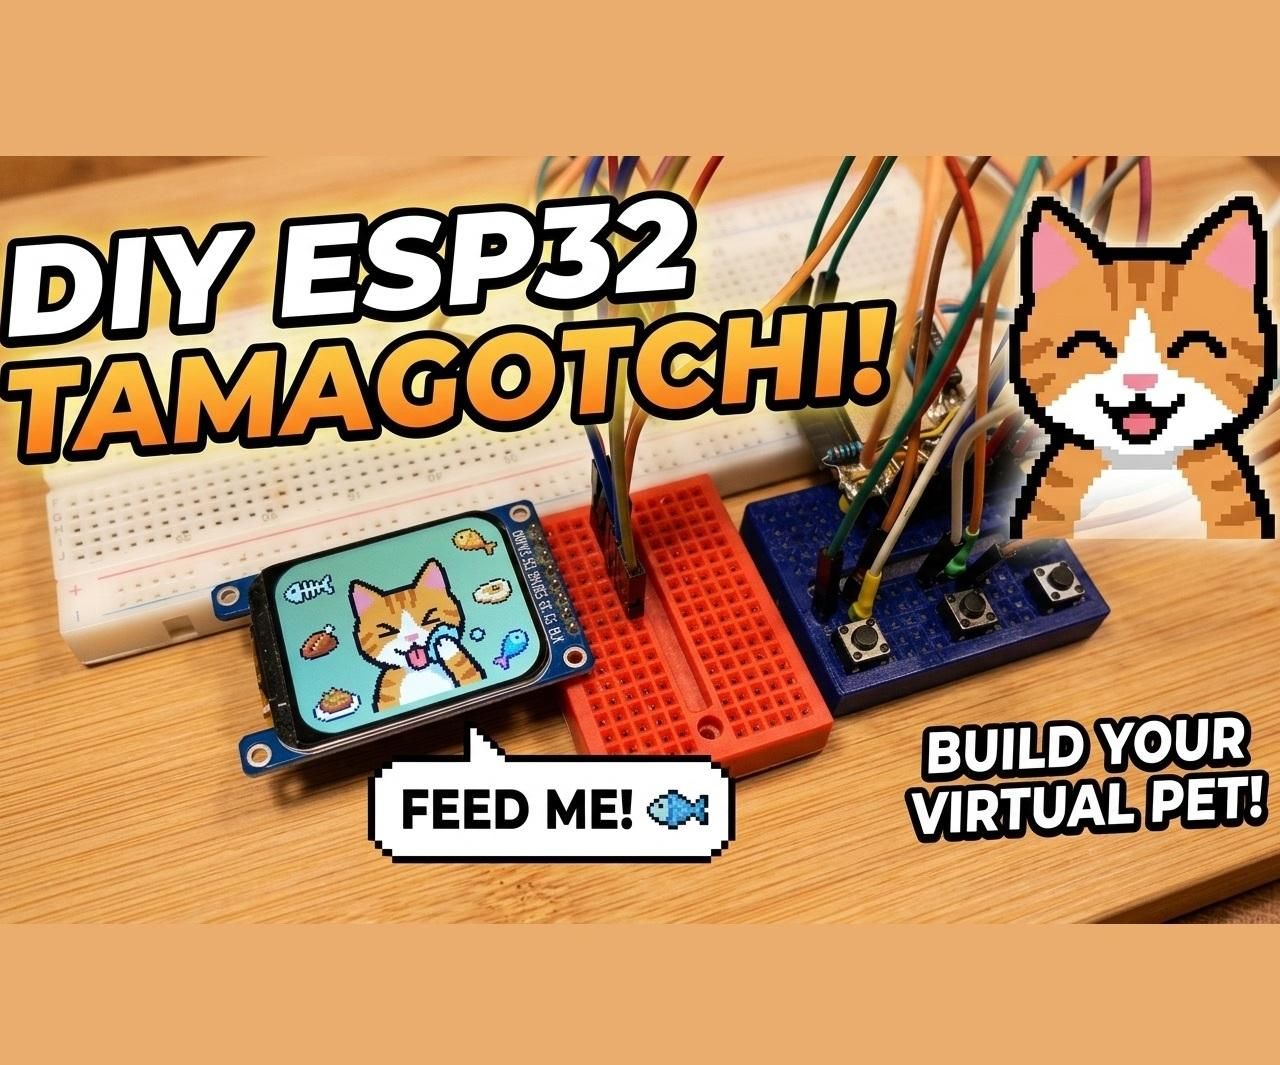
In this project, I will show you how to build your very own custom Tamagotchi from scratch using an ESP32-C3 microcontroller. This project is about more than just coding—it’s about creating a digital companion. I built this device featuring my own cat, Tarçın, and I will guide you through the process of putting your own pet into the software so you can carry them with you everywhere.
This project became incredibly meaningful to me during the development process. While I was working on this Tamagotchi, my orange cat, Tarçın, ran away from home. I was incredibly upset because he is the happiest part of my life. Fortunately, he returned home a day later, exhausted but safe. This experience made the project much more personal; now, this Tamagotchi character is based on Tarçın, and I’m going to show you step-by-step how to make one for your own pet
Supplies
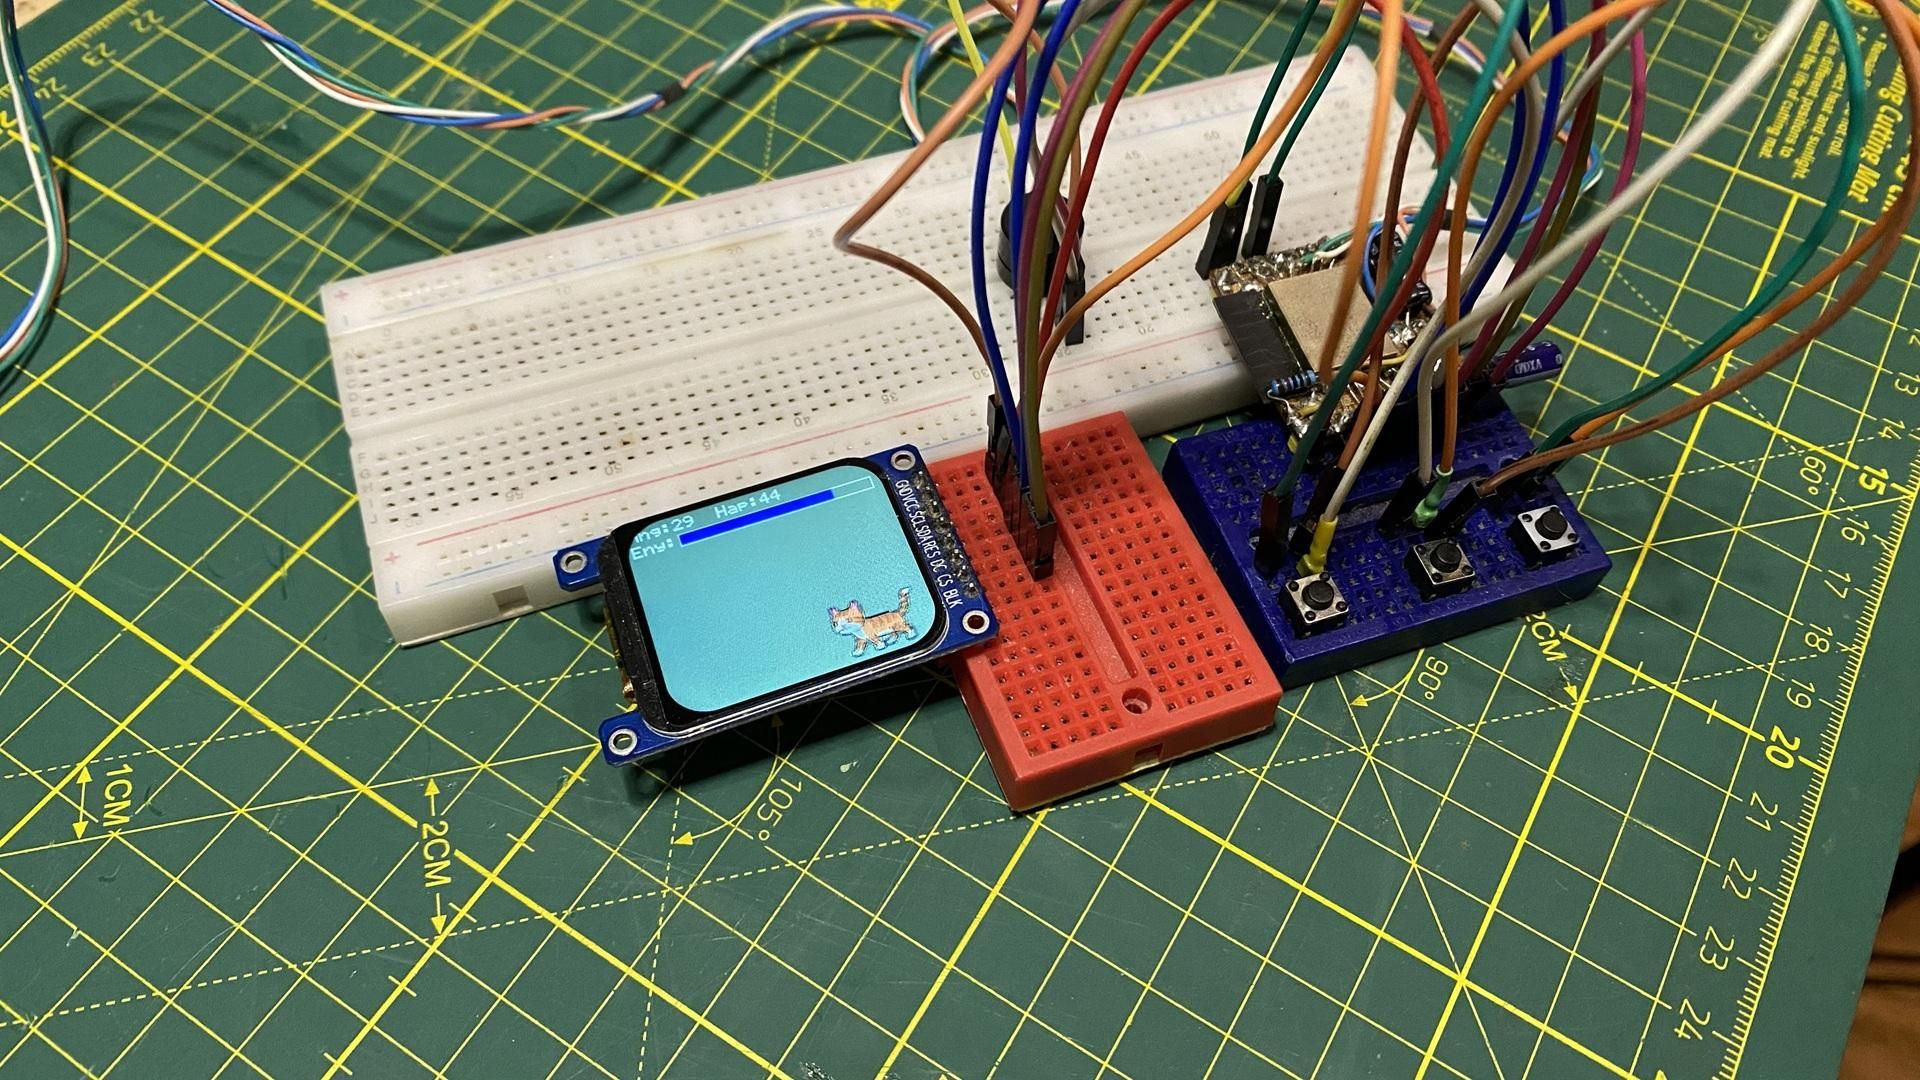
Here is what you need to build the device:
- Microcontroller: Handmade ESP32-C3 development board.
- Display: 1.69-inch ST7789 display module (240x280 resolution).
- Input: 3 tactile buttons.
- Audio: 1 buzzer.
- Prototype: Breadboard and jumper cables.
- Tools: Arduino IDE (v2.3.10) and ESP32 board package (v3.3.10).
Wiring the Hardware
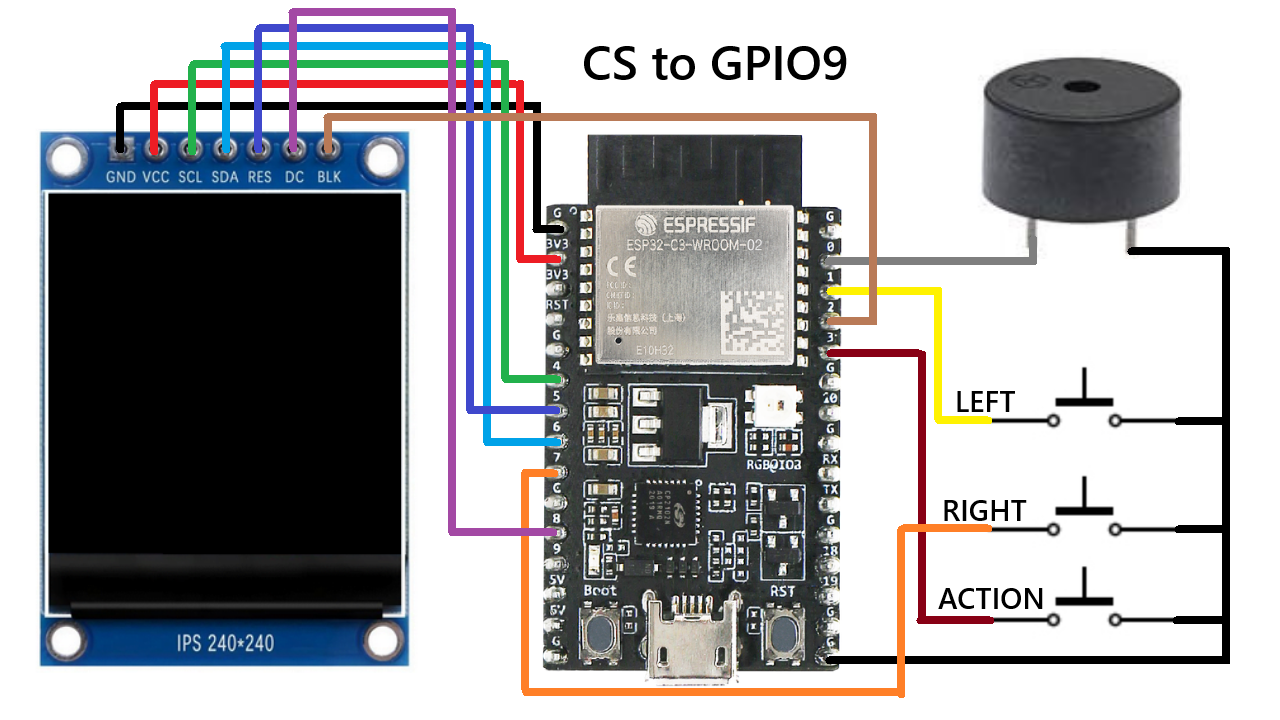
The setup is designed to be simple. We are utilizing the INPUT_PULLUP method in the software, which means you do not need to add external resistors to your buttons—the code handles that for you.
- Connect your display to the SPI pins on the ESP32-C3.
- Wire the 3 tactile buttons to your GPIO pins.
- Connect the buzzer to a PWM-capable pin.
Software & Modular Code
.png)
The software is organized into a modular structure within the Arduino IDE, making it easy to manage. The logic is split into specific sections: character, input, display, hardware, and sprites.
- The project is completely open-source and protected under the GPL-3 license.
- You will need my custom display library from GitHub to get the screen running.
Customizing Your Pet
This is the fun part! You can create your own sprites to make the Tamagotchi look like your pet.
- Generate Assets: I used Gemini AI to help create different animation scenarios for my cat.
- Format: Use an online image-to-hex converter to get the code for your images.
- Dimensions: If you aren't making major changes to the code, keep your sprite resolution exactly at 90x90 pixels.
- Insert: Paste your generated code directly into the sprites section of the project.
Pro-Tips for Optimization
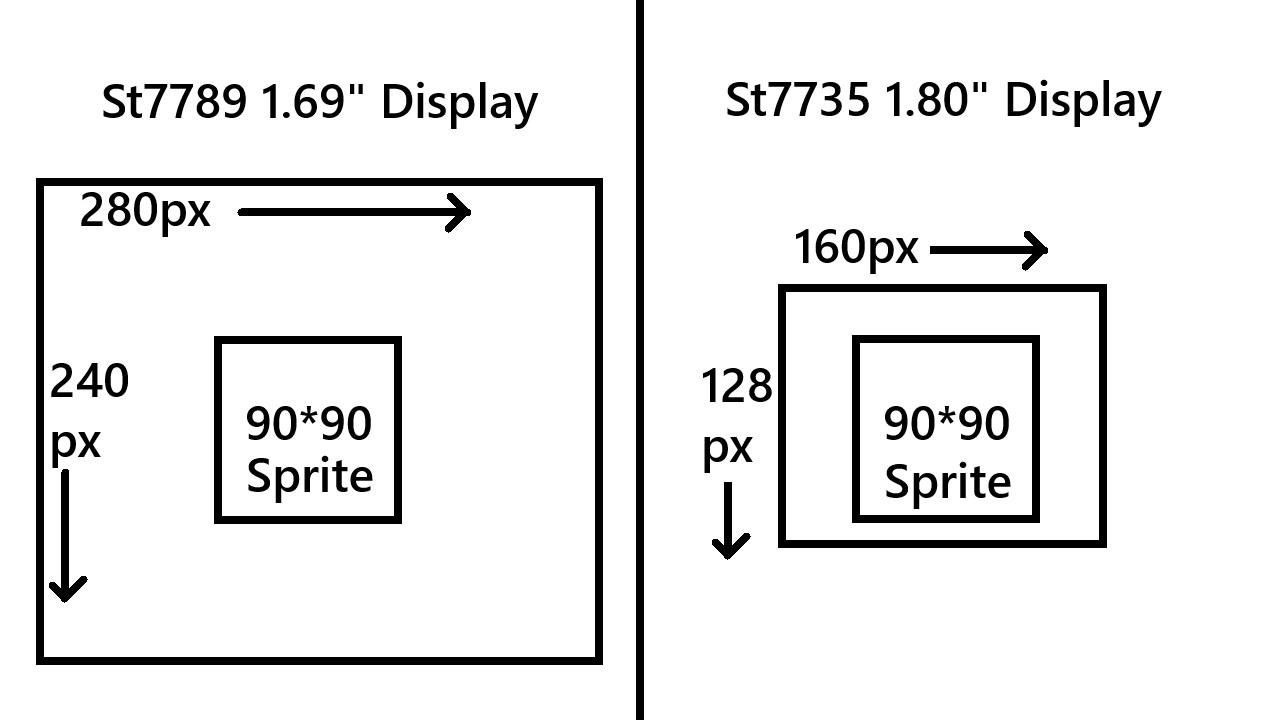
- Memory Management: If you run out of memory for your animations, you can swap the ST7789 display for an ST7735. Decreasing the resolution from 240x280 to 160x128 or 128x128 frees up significant memory, allowing you to add more sprites or custom features.
- Fine-Tuning: You can easily customize the gameplay speed by editing the values in the code—speed up or slow down the cat’s movement or the falling game items to your preference.
Conclusion
Your Tamagotchi is ready! You can feed, sleep, play with, and clean up after your pet. Just like a real pet, if you neglect its stats, the happiness level drops quickly, and if the energy level hits zero, the pet will expire—though you can always restart the game.
Check out the full GitHub repository here: https://github.com/derdacavga/Esp32-Tamagotchi
Watch the video tutorial here: https://youtu.be/zm_Z1XUjkTI