DIY Eco-Friendly Cardboard Shadow Projector
by kenfaith079 in Circuits > Electronics
78 Views, 0 Favorites, 0 Comments
DIY Eco-Friendly Cardboard Shadow Projector
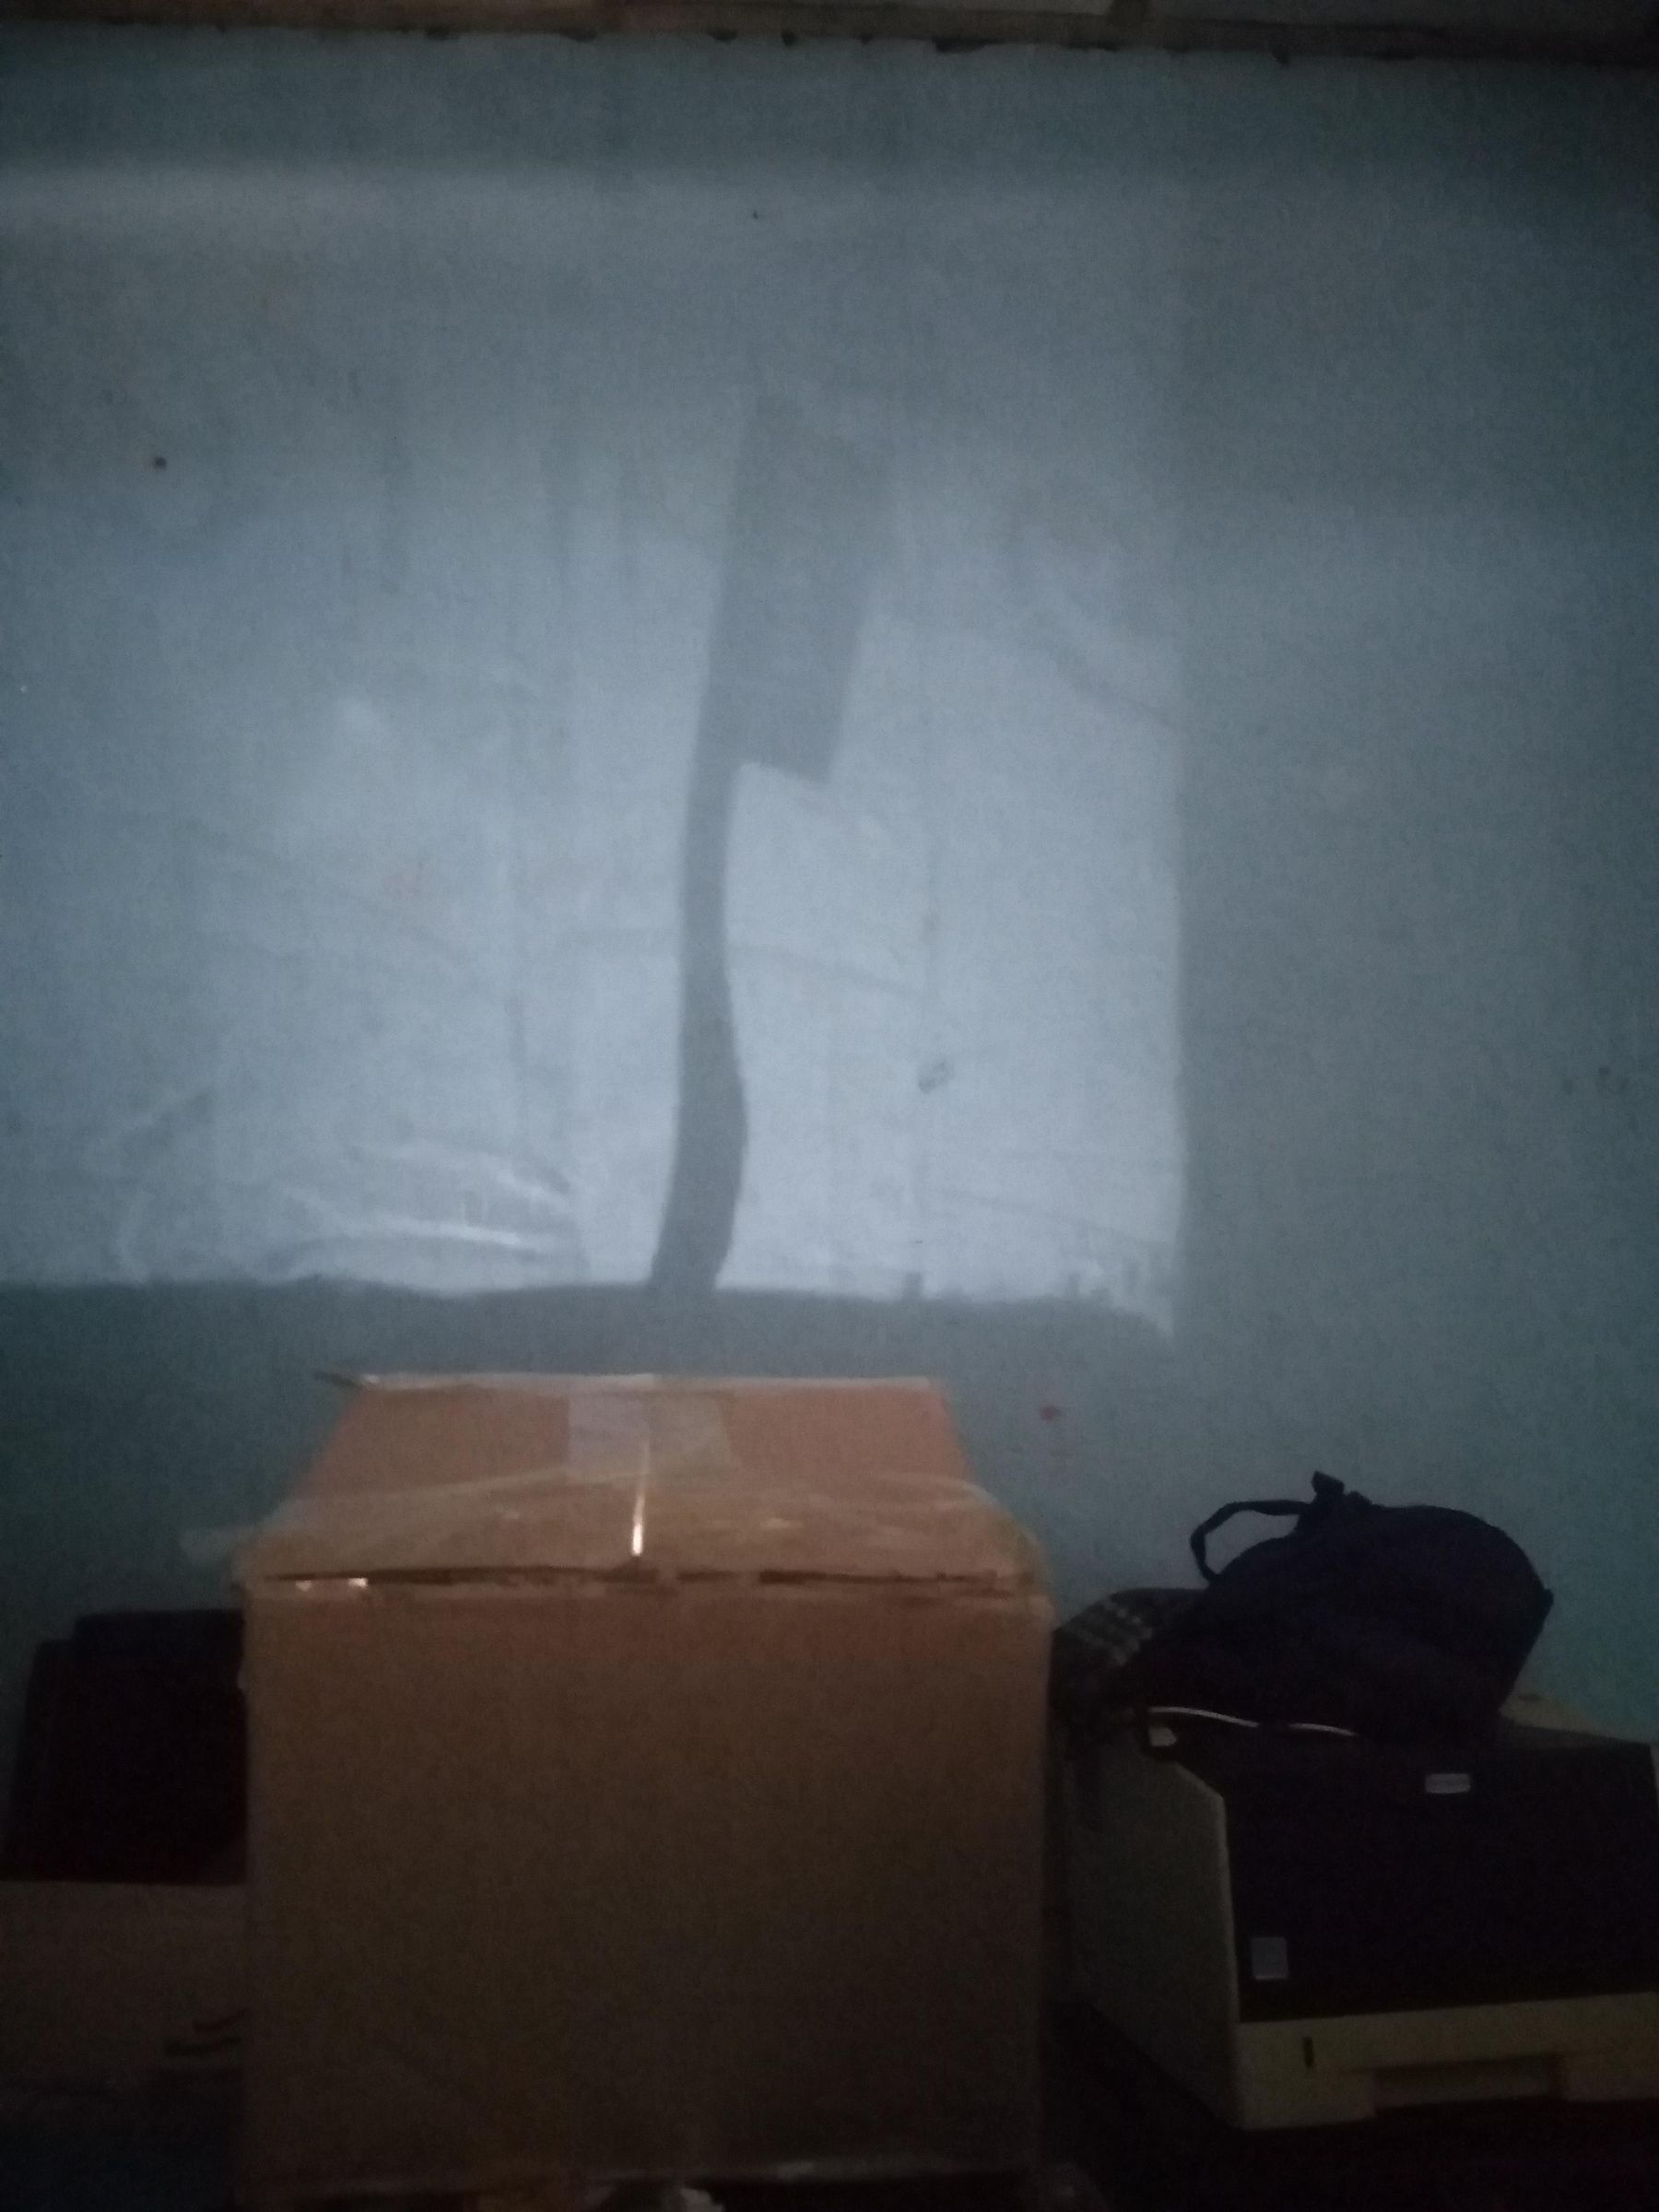
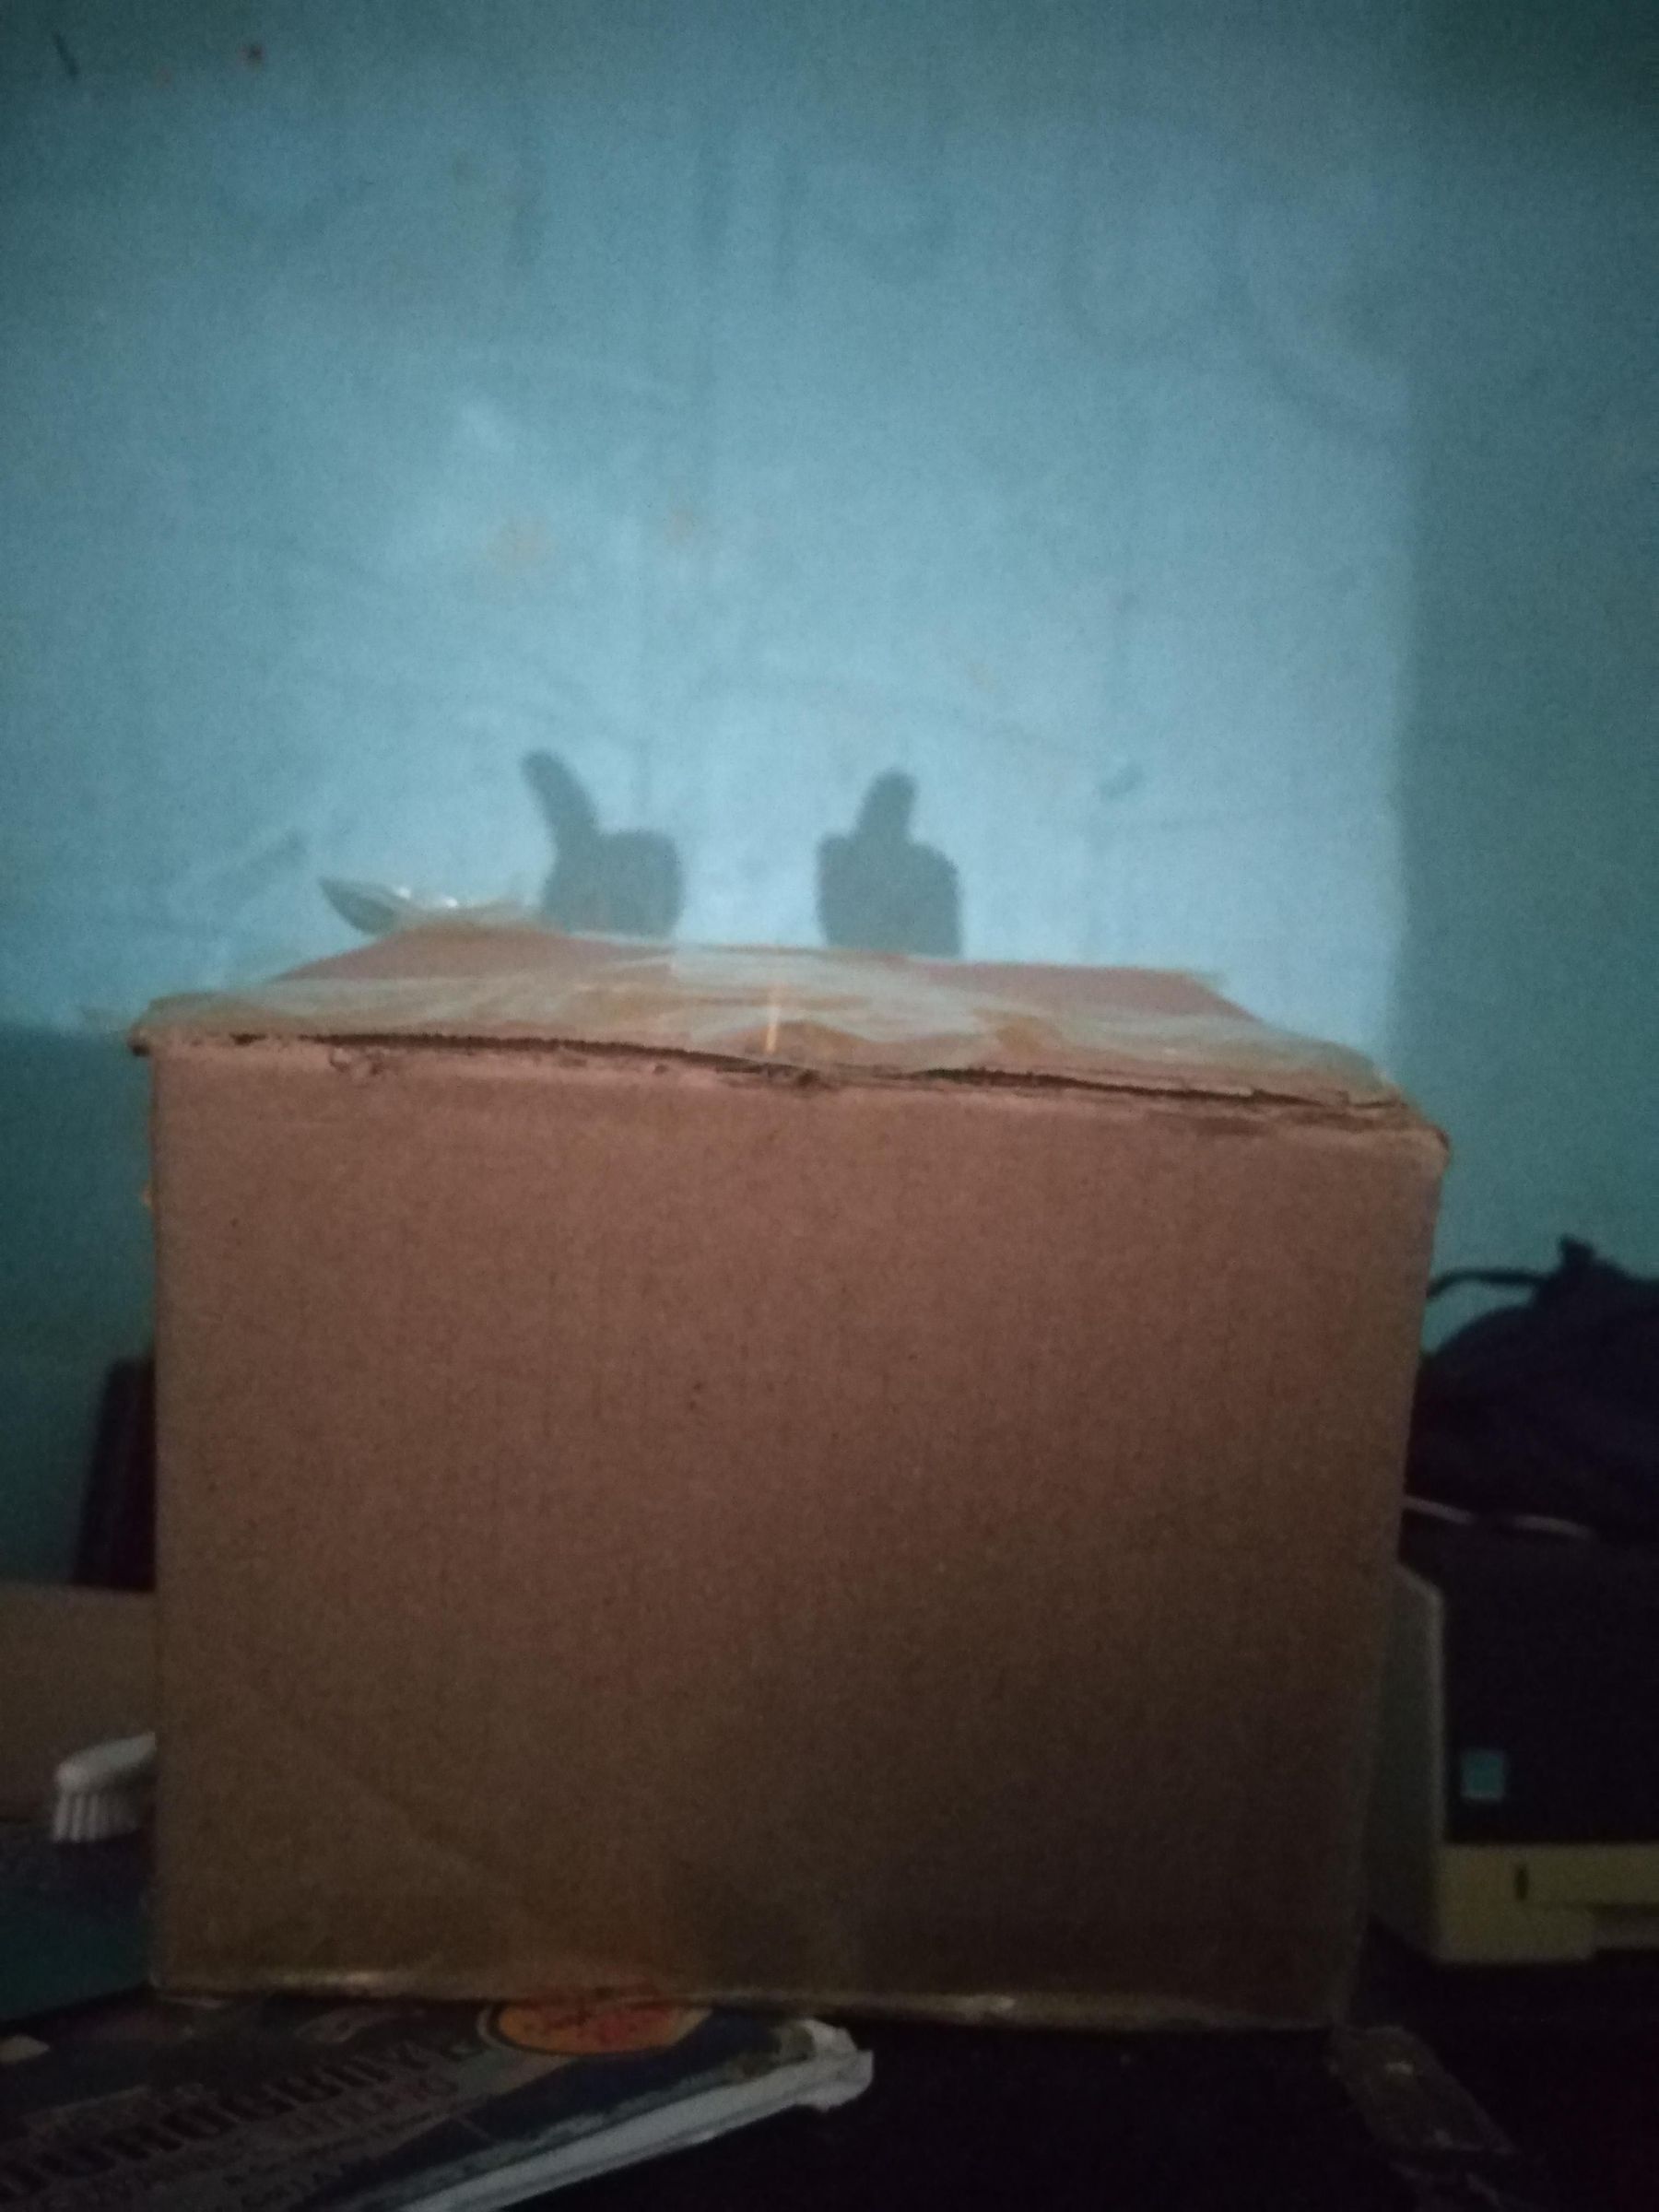
A shadow projector is a simple device that uses a light source to cast enlarged silhouettes of objects onto a wall or screen. It's a great project for learning about light, shadows, and basic optics, and it can also be used for storytelling, art, or classroom demonstrations.
Lucky for us, this instructable will walk you through building it from start to finish.
Supplies
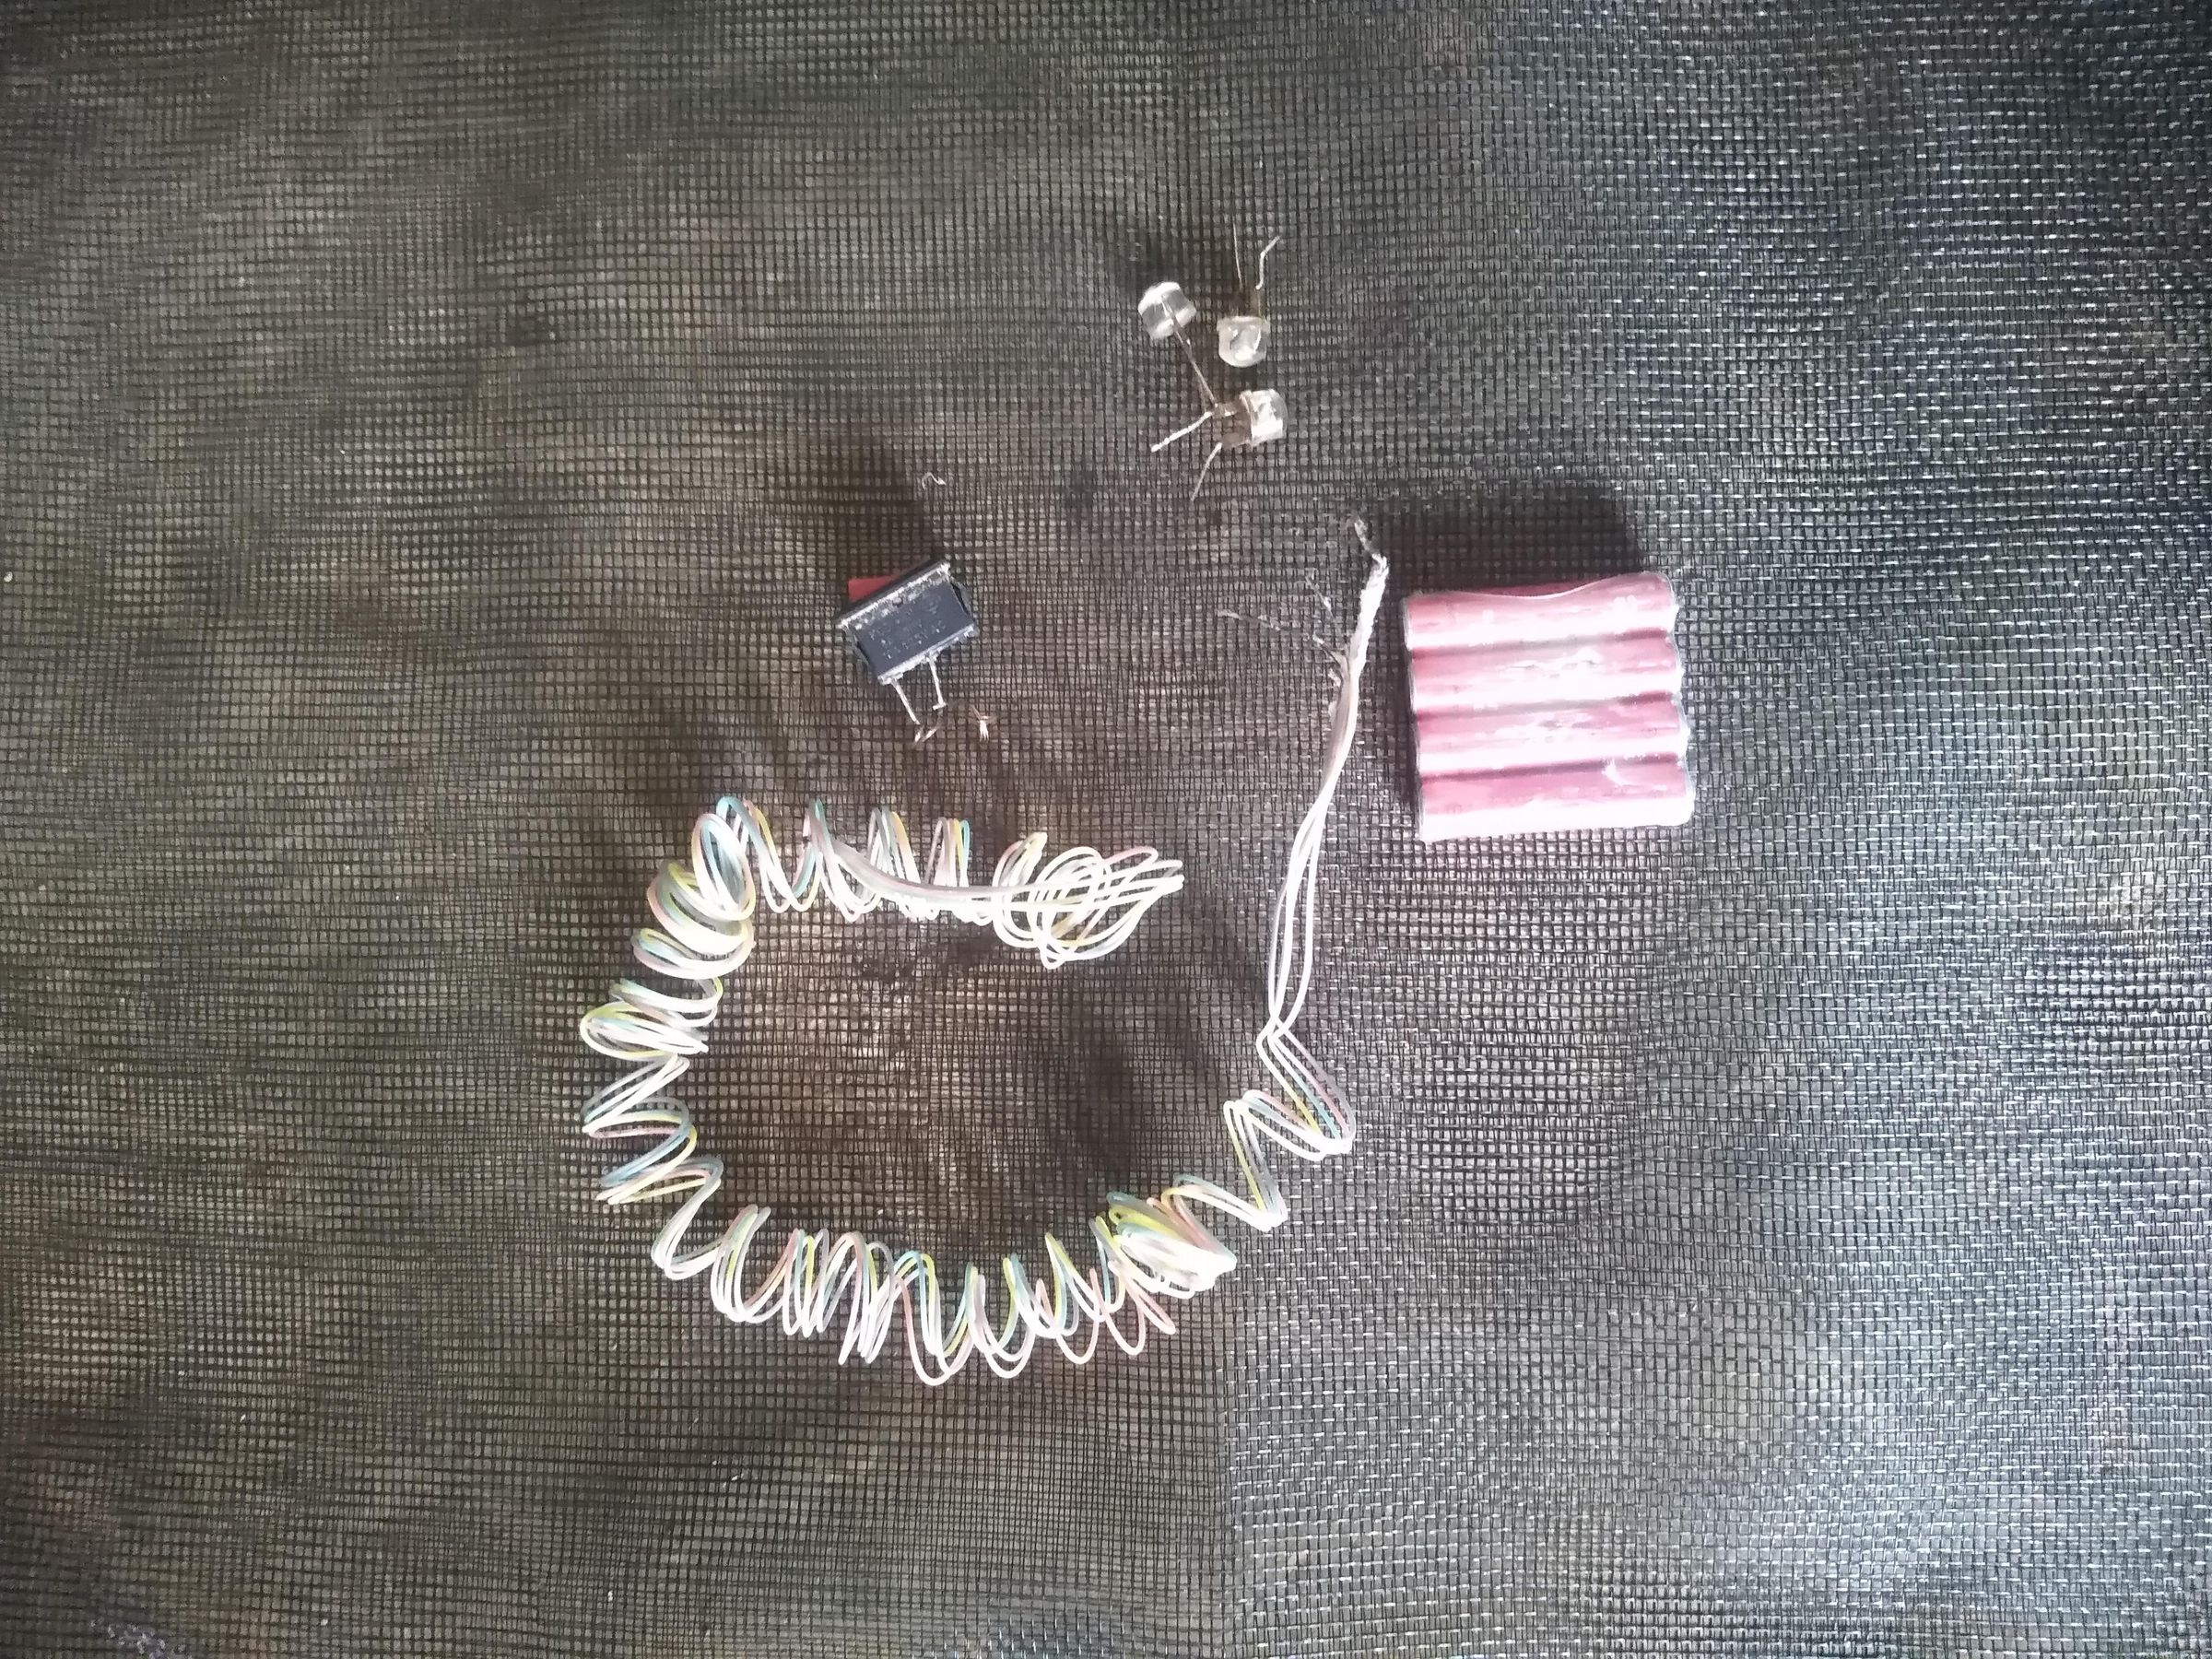
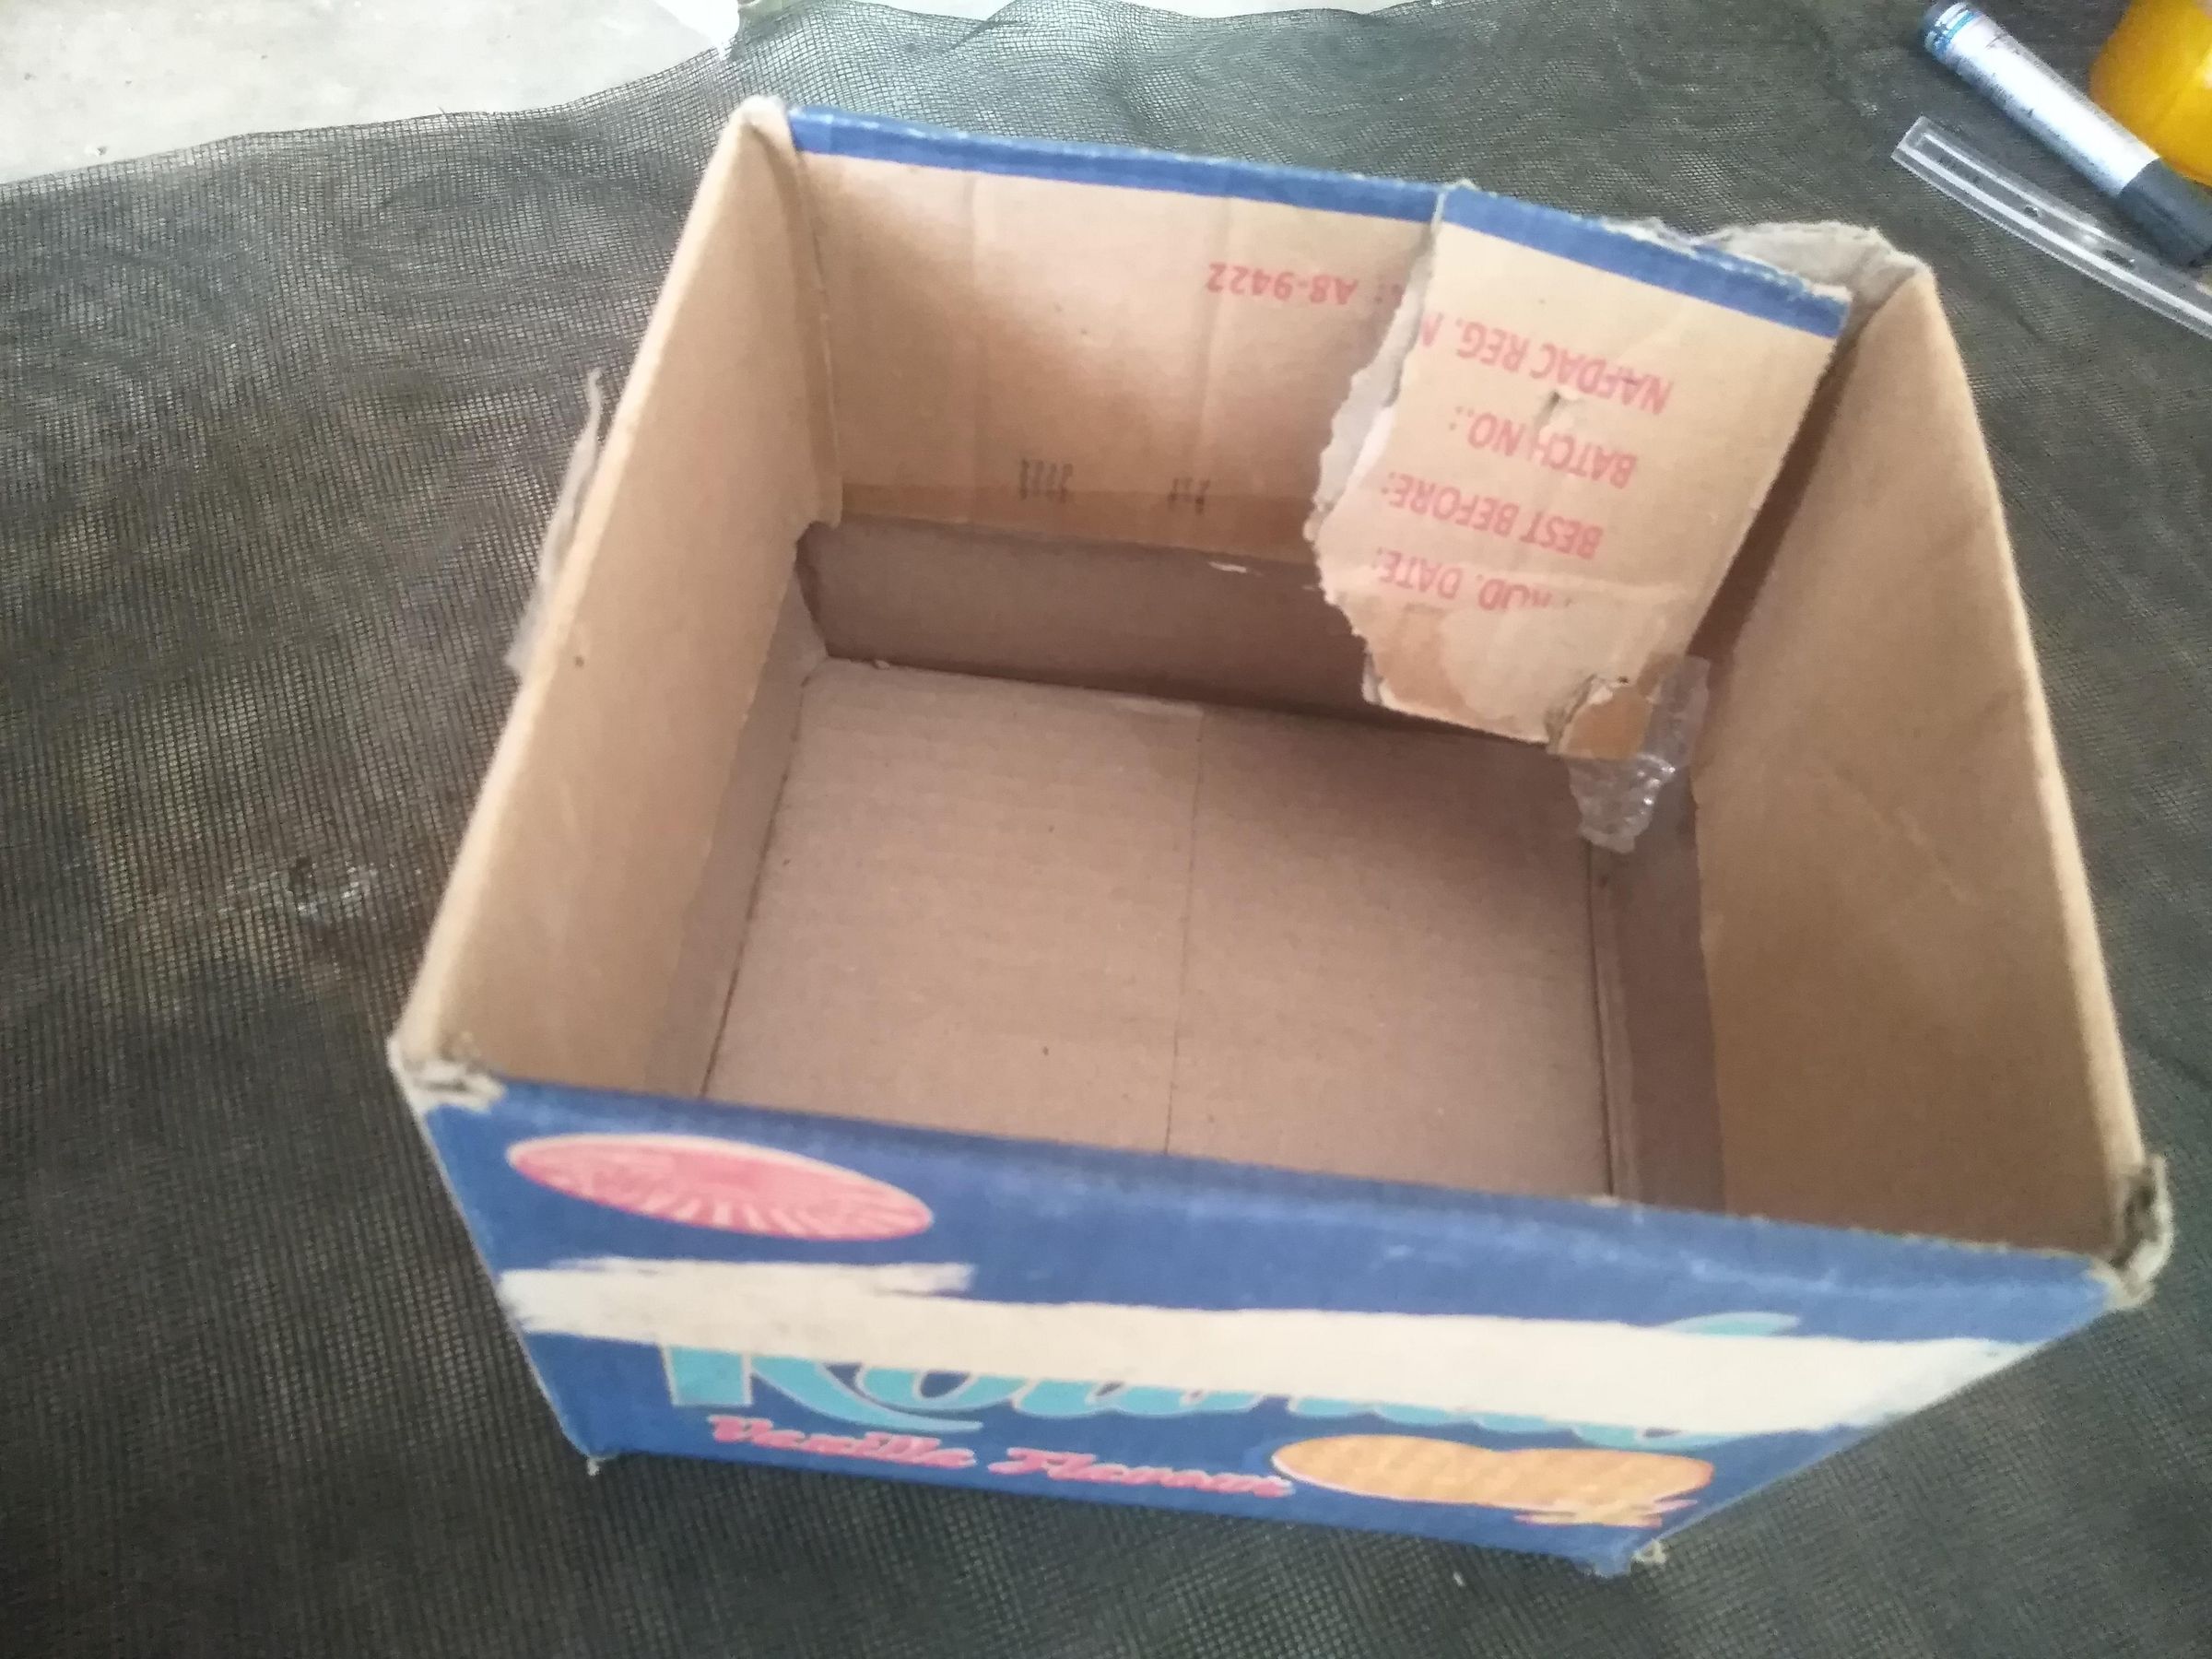
Materials Needed
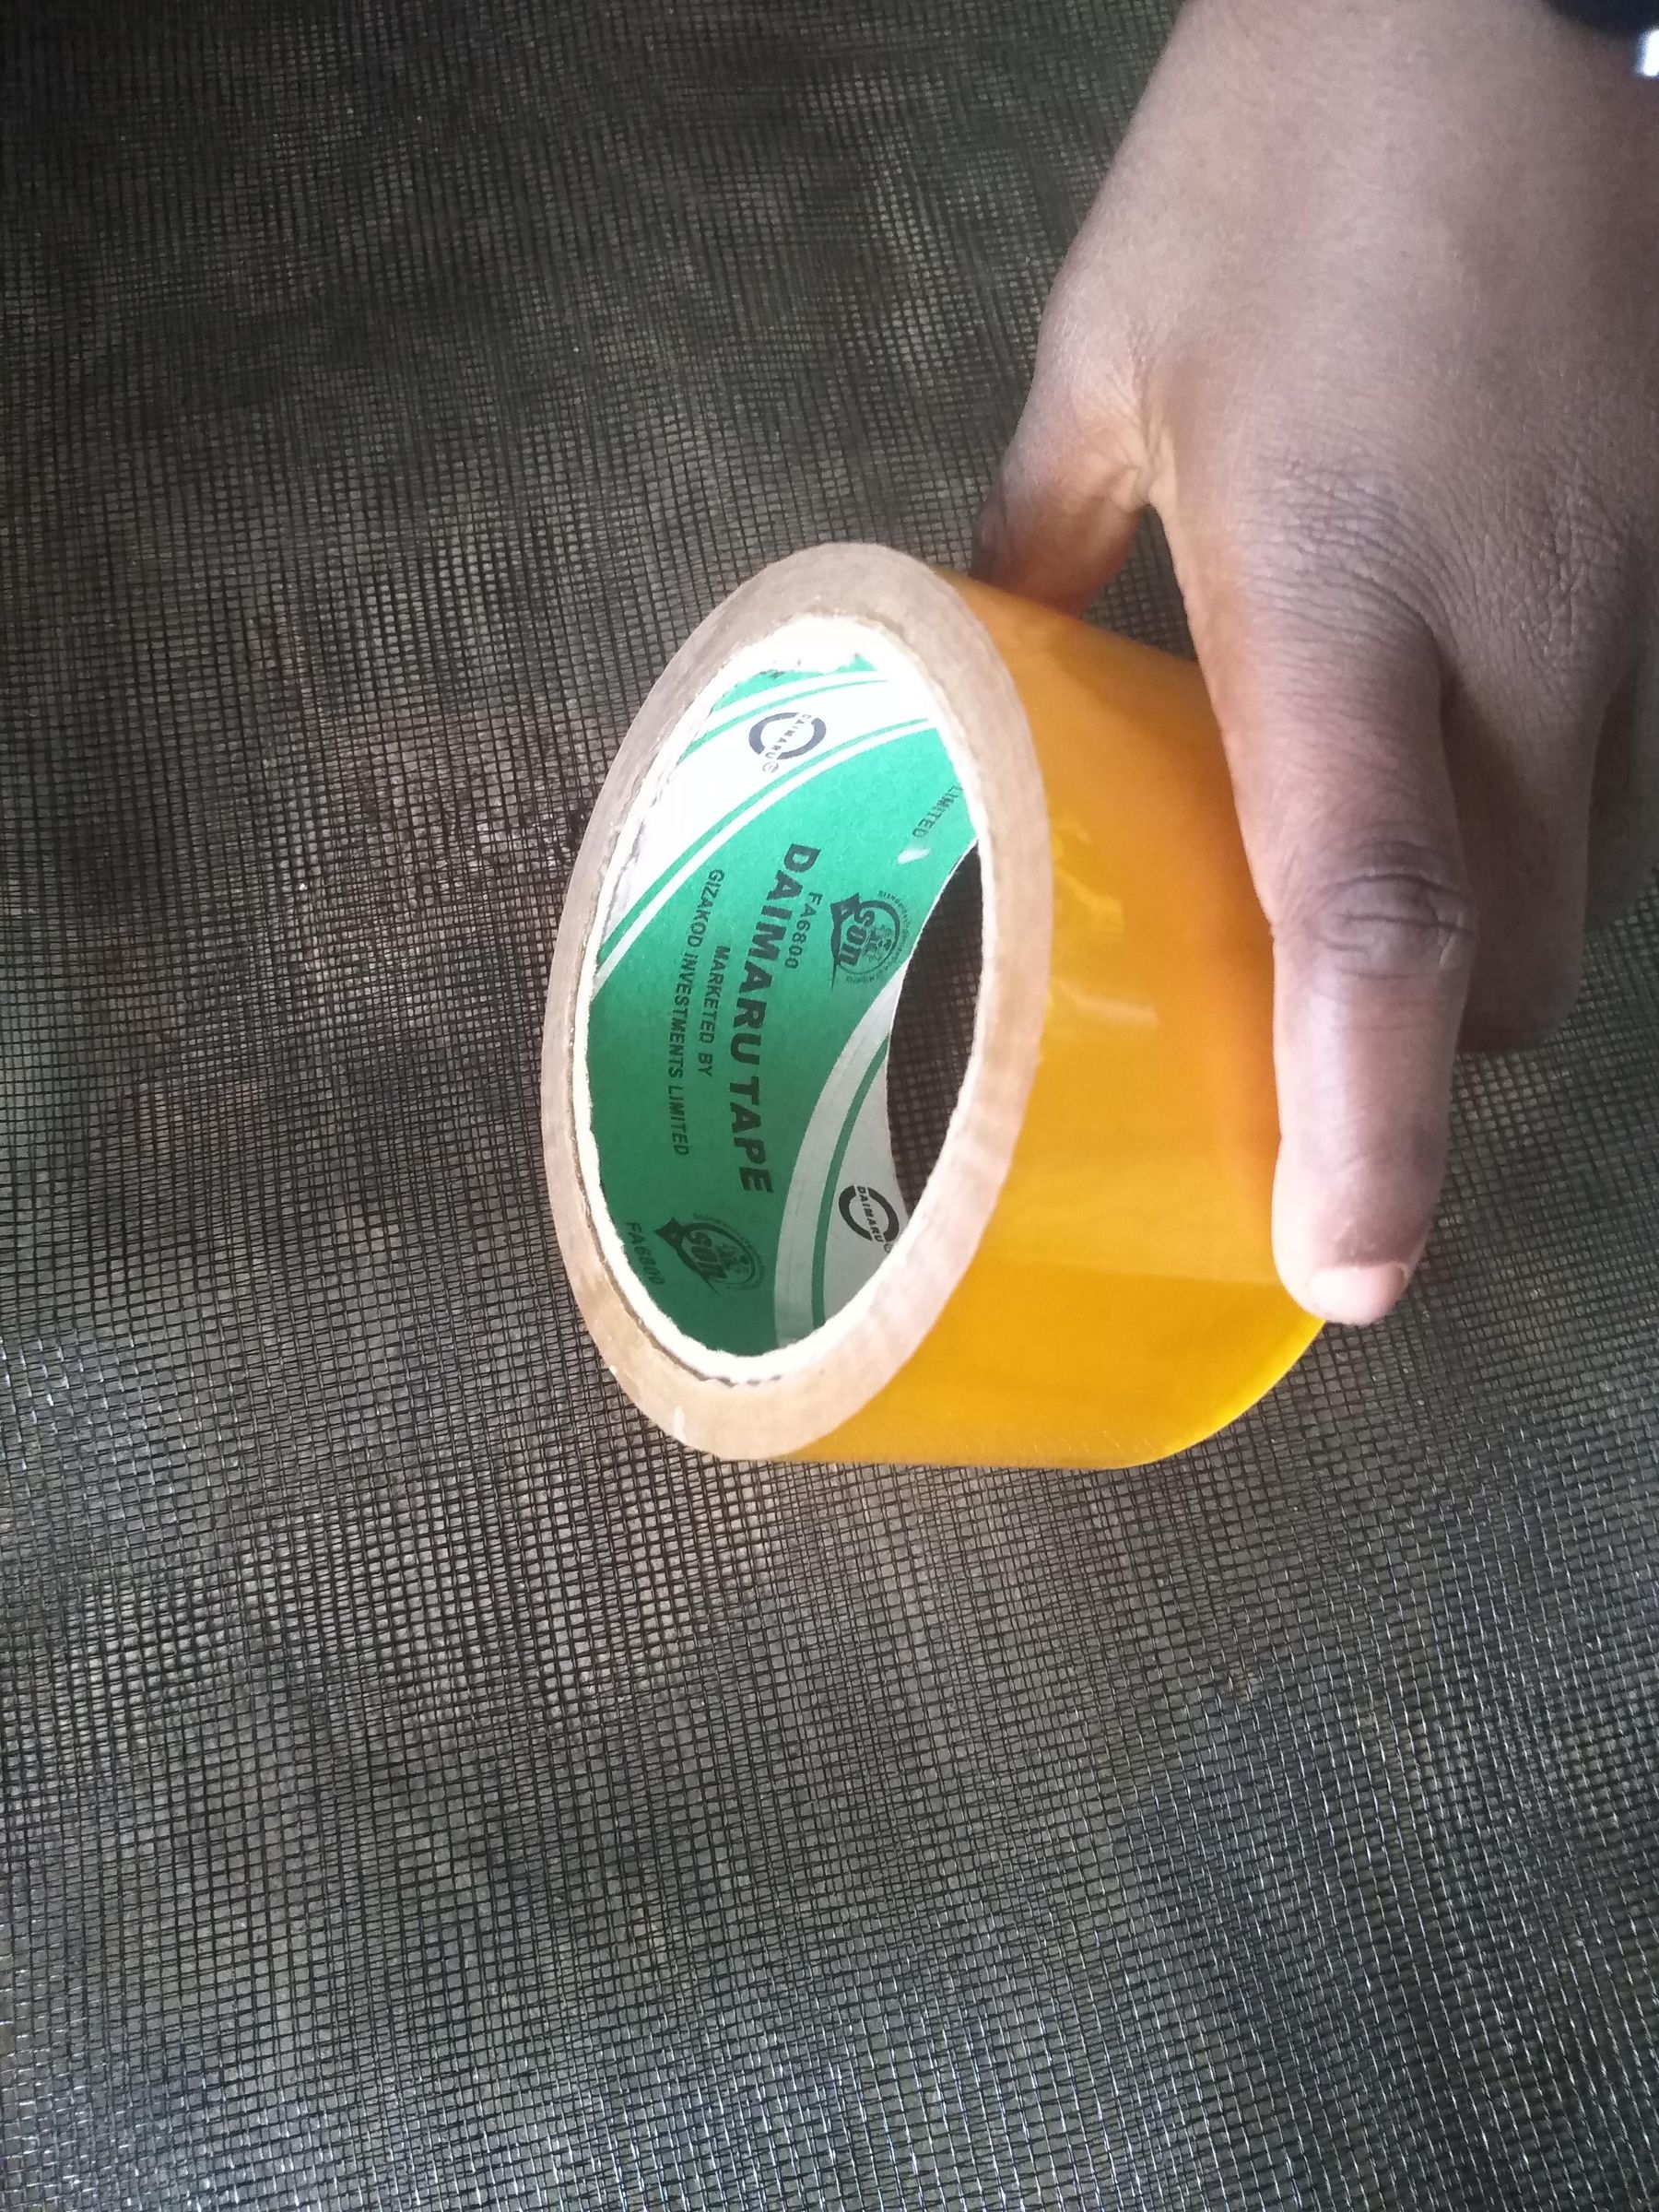
- Enclosure: 1 small cardboard box, clear plastic film/wrap, and clear adhesive tape.
- Electronics: 3 bright LEDs, 1 rocker switch, and a thin insulated hookup wire (e.g., stripped from a multi-core cable).
- Power Supply: AA or AAA batteries (a 2-cell or 3-cell pack matching your LED voltage requirements).
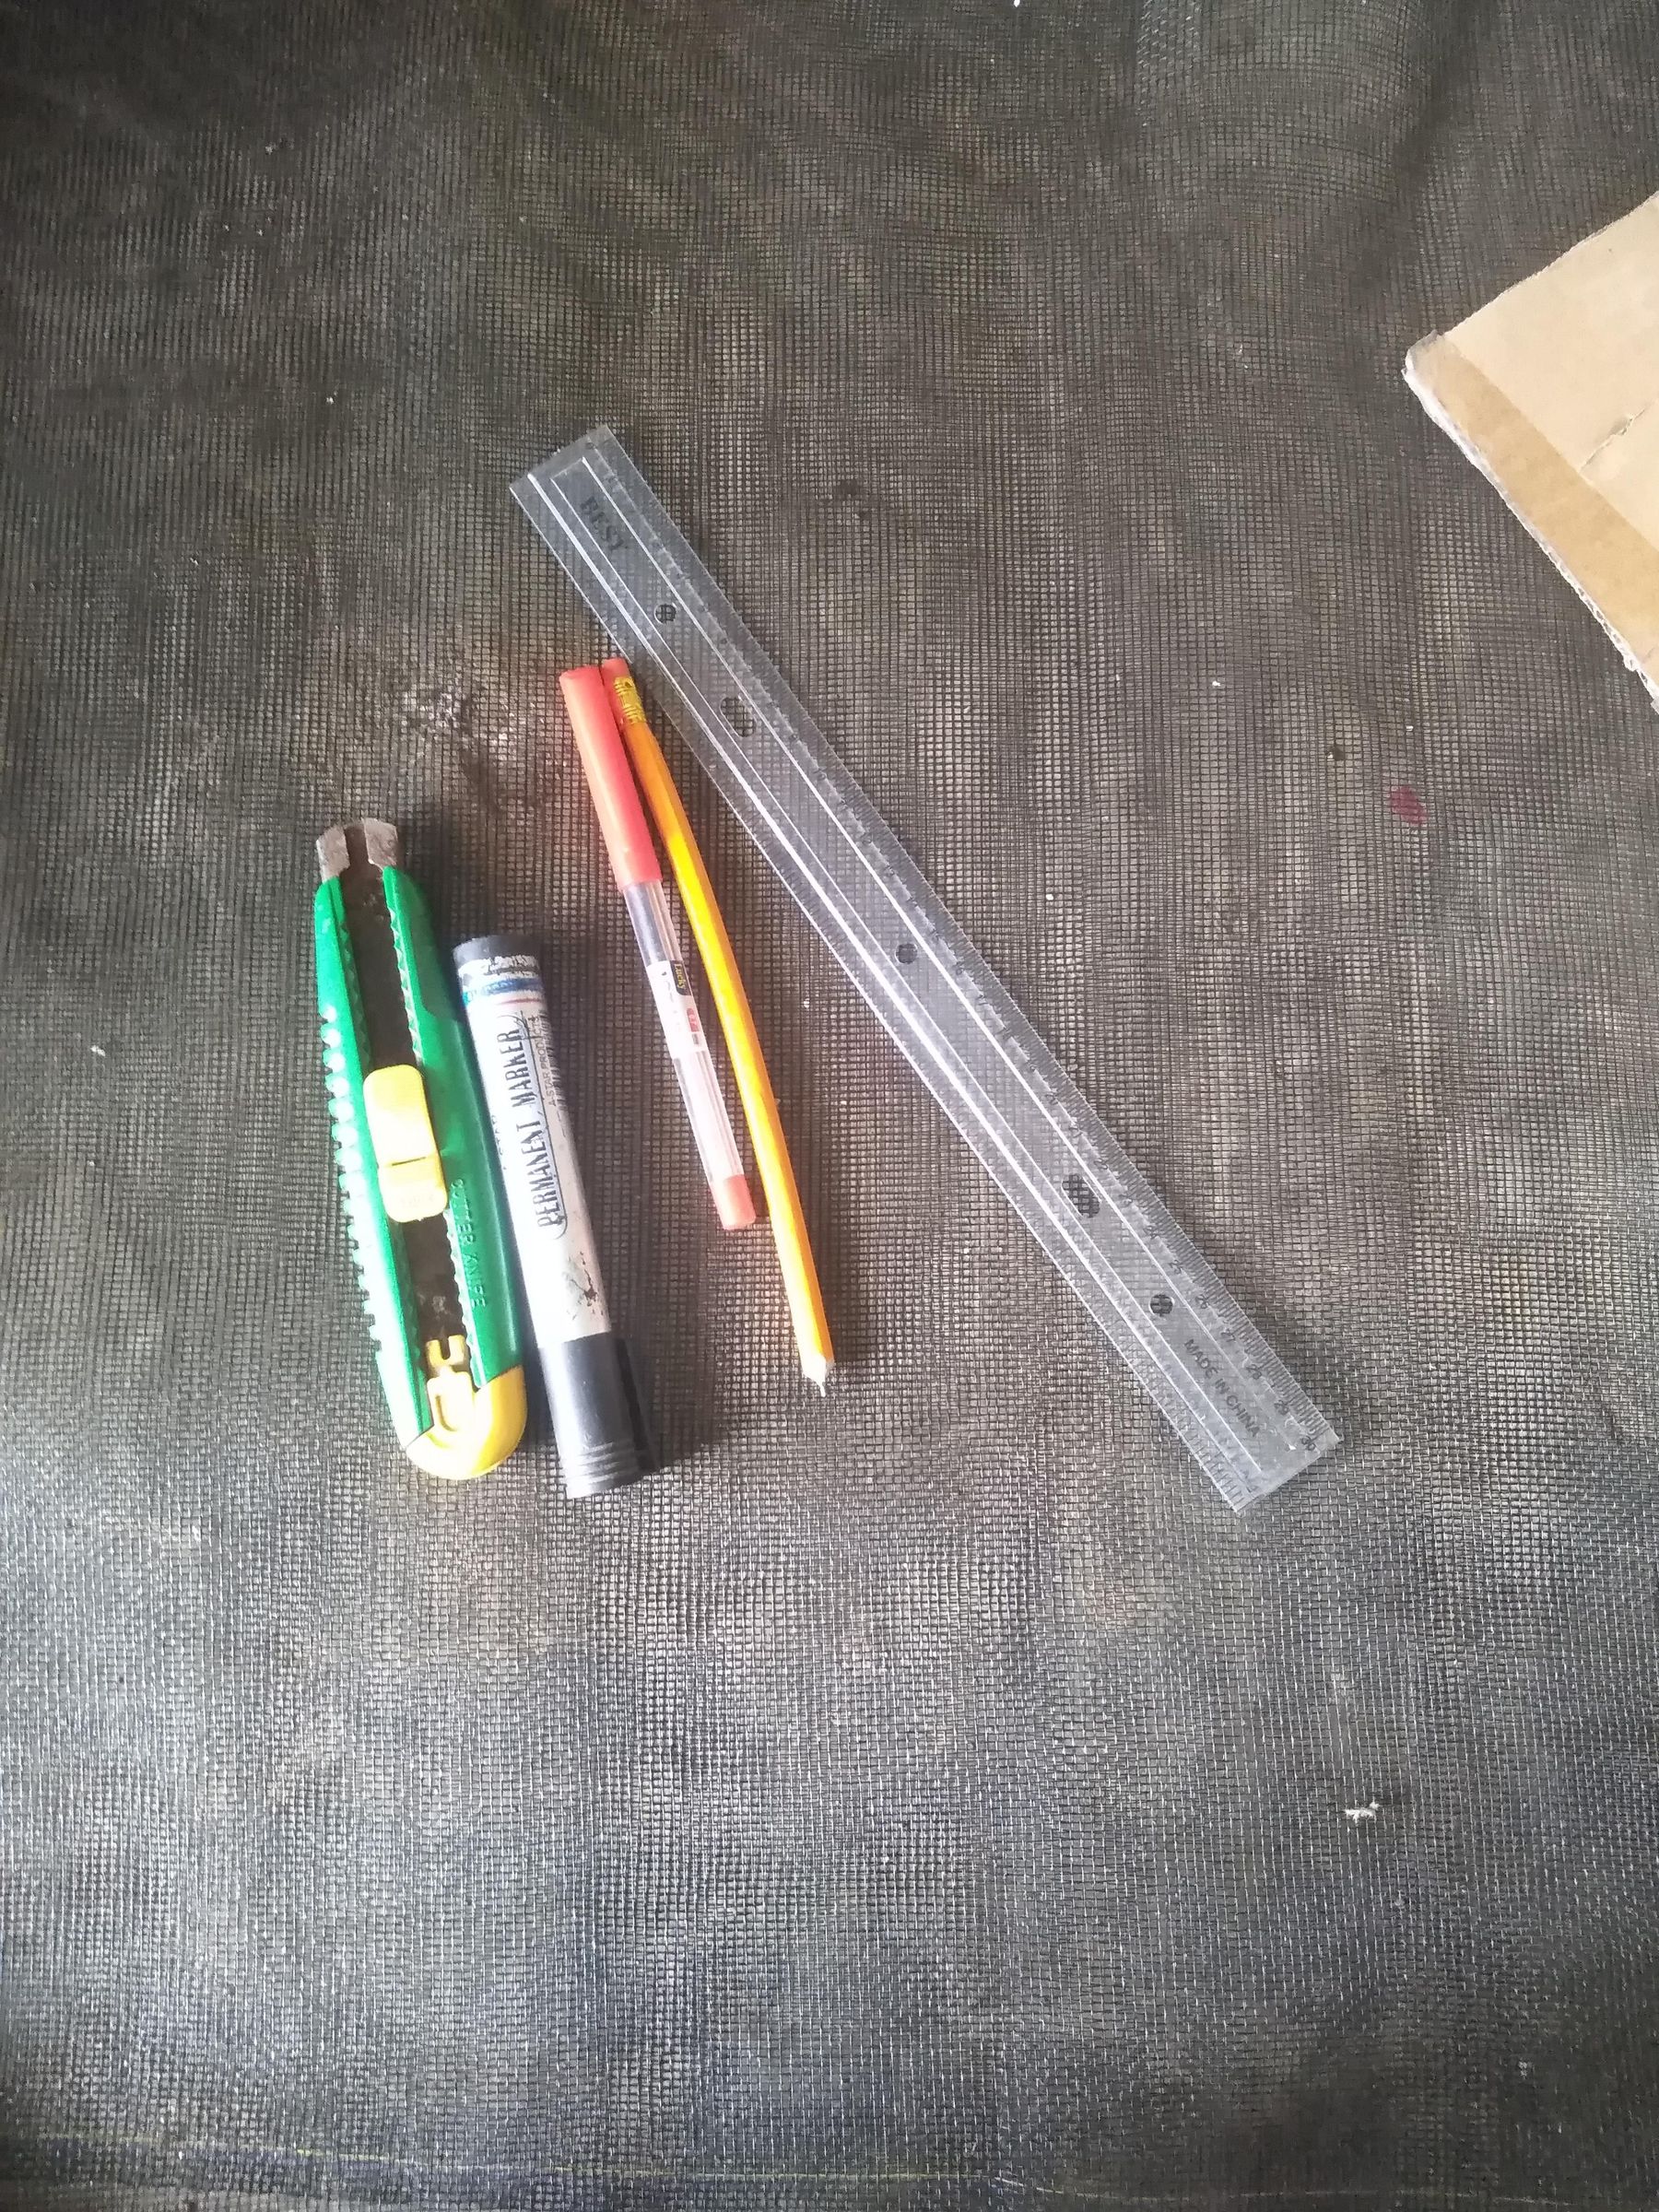
- Tools: A utility knife/box cutter.
Prep the Materials & Enclosure
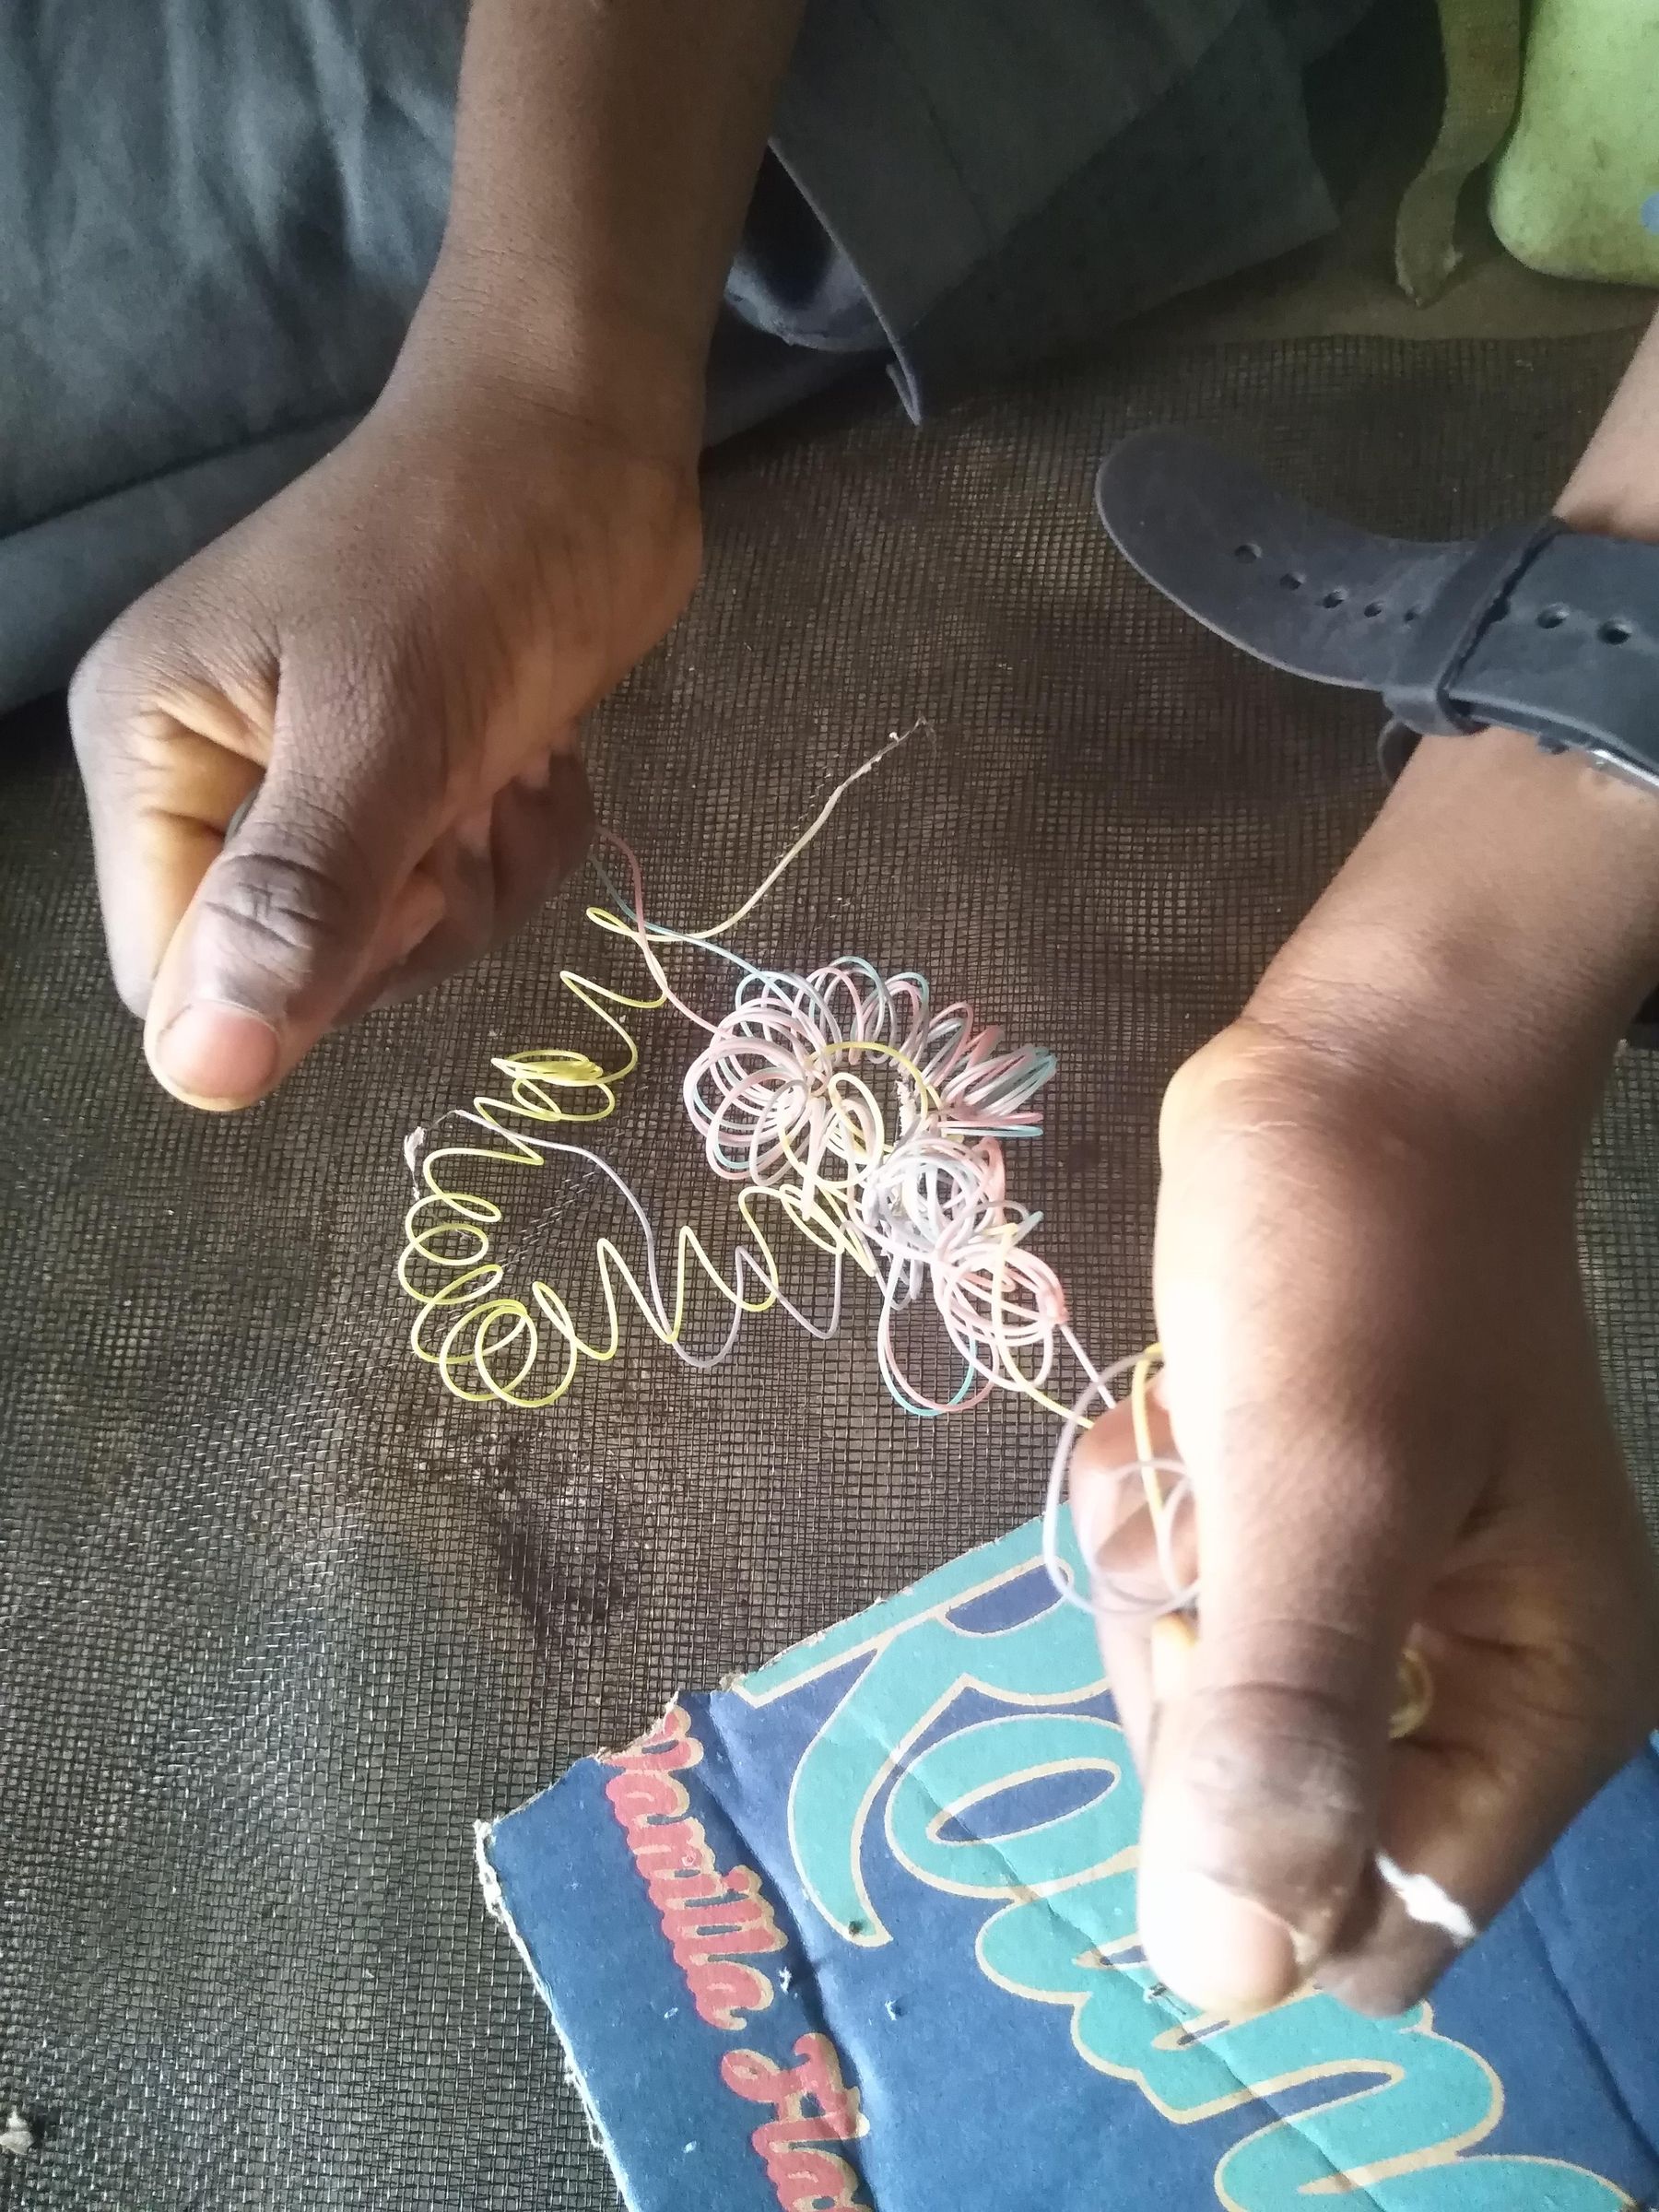
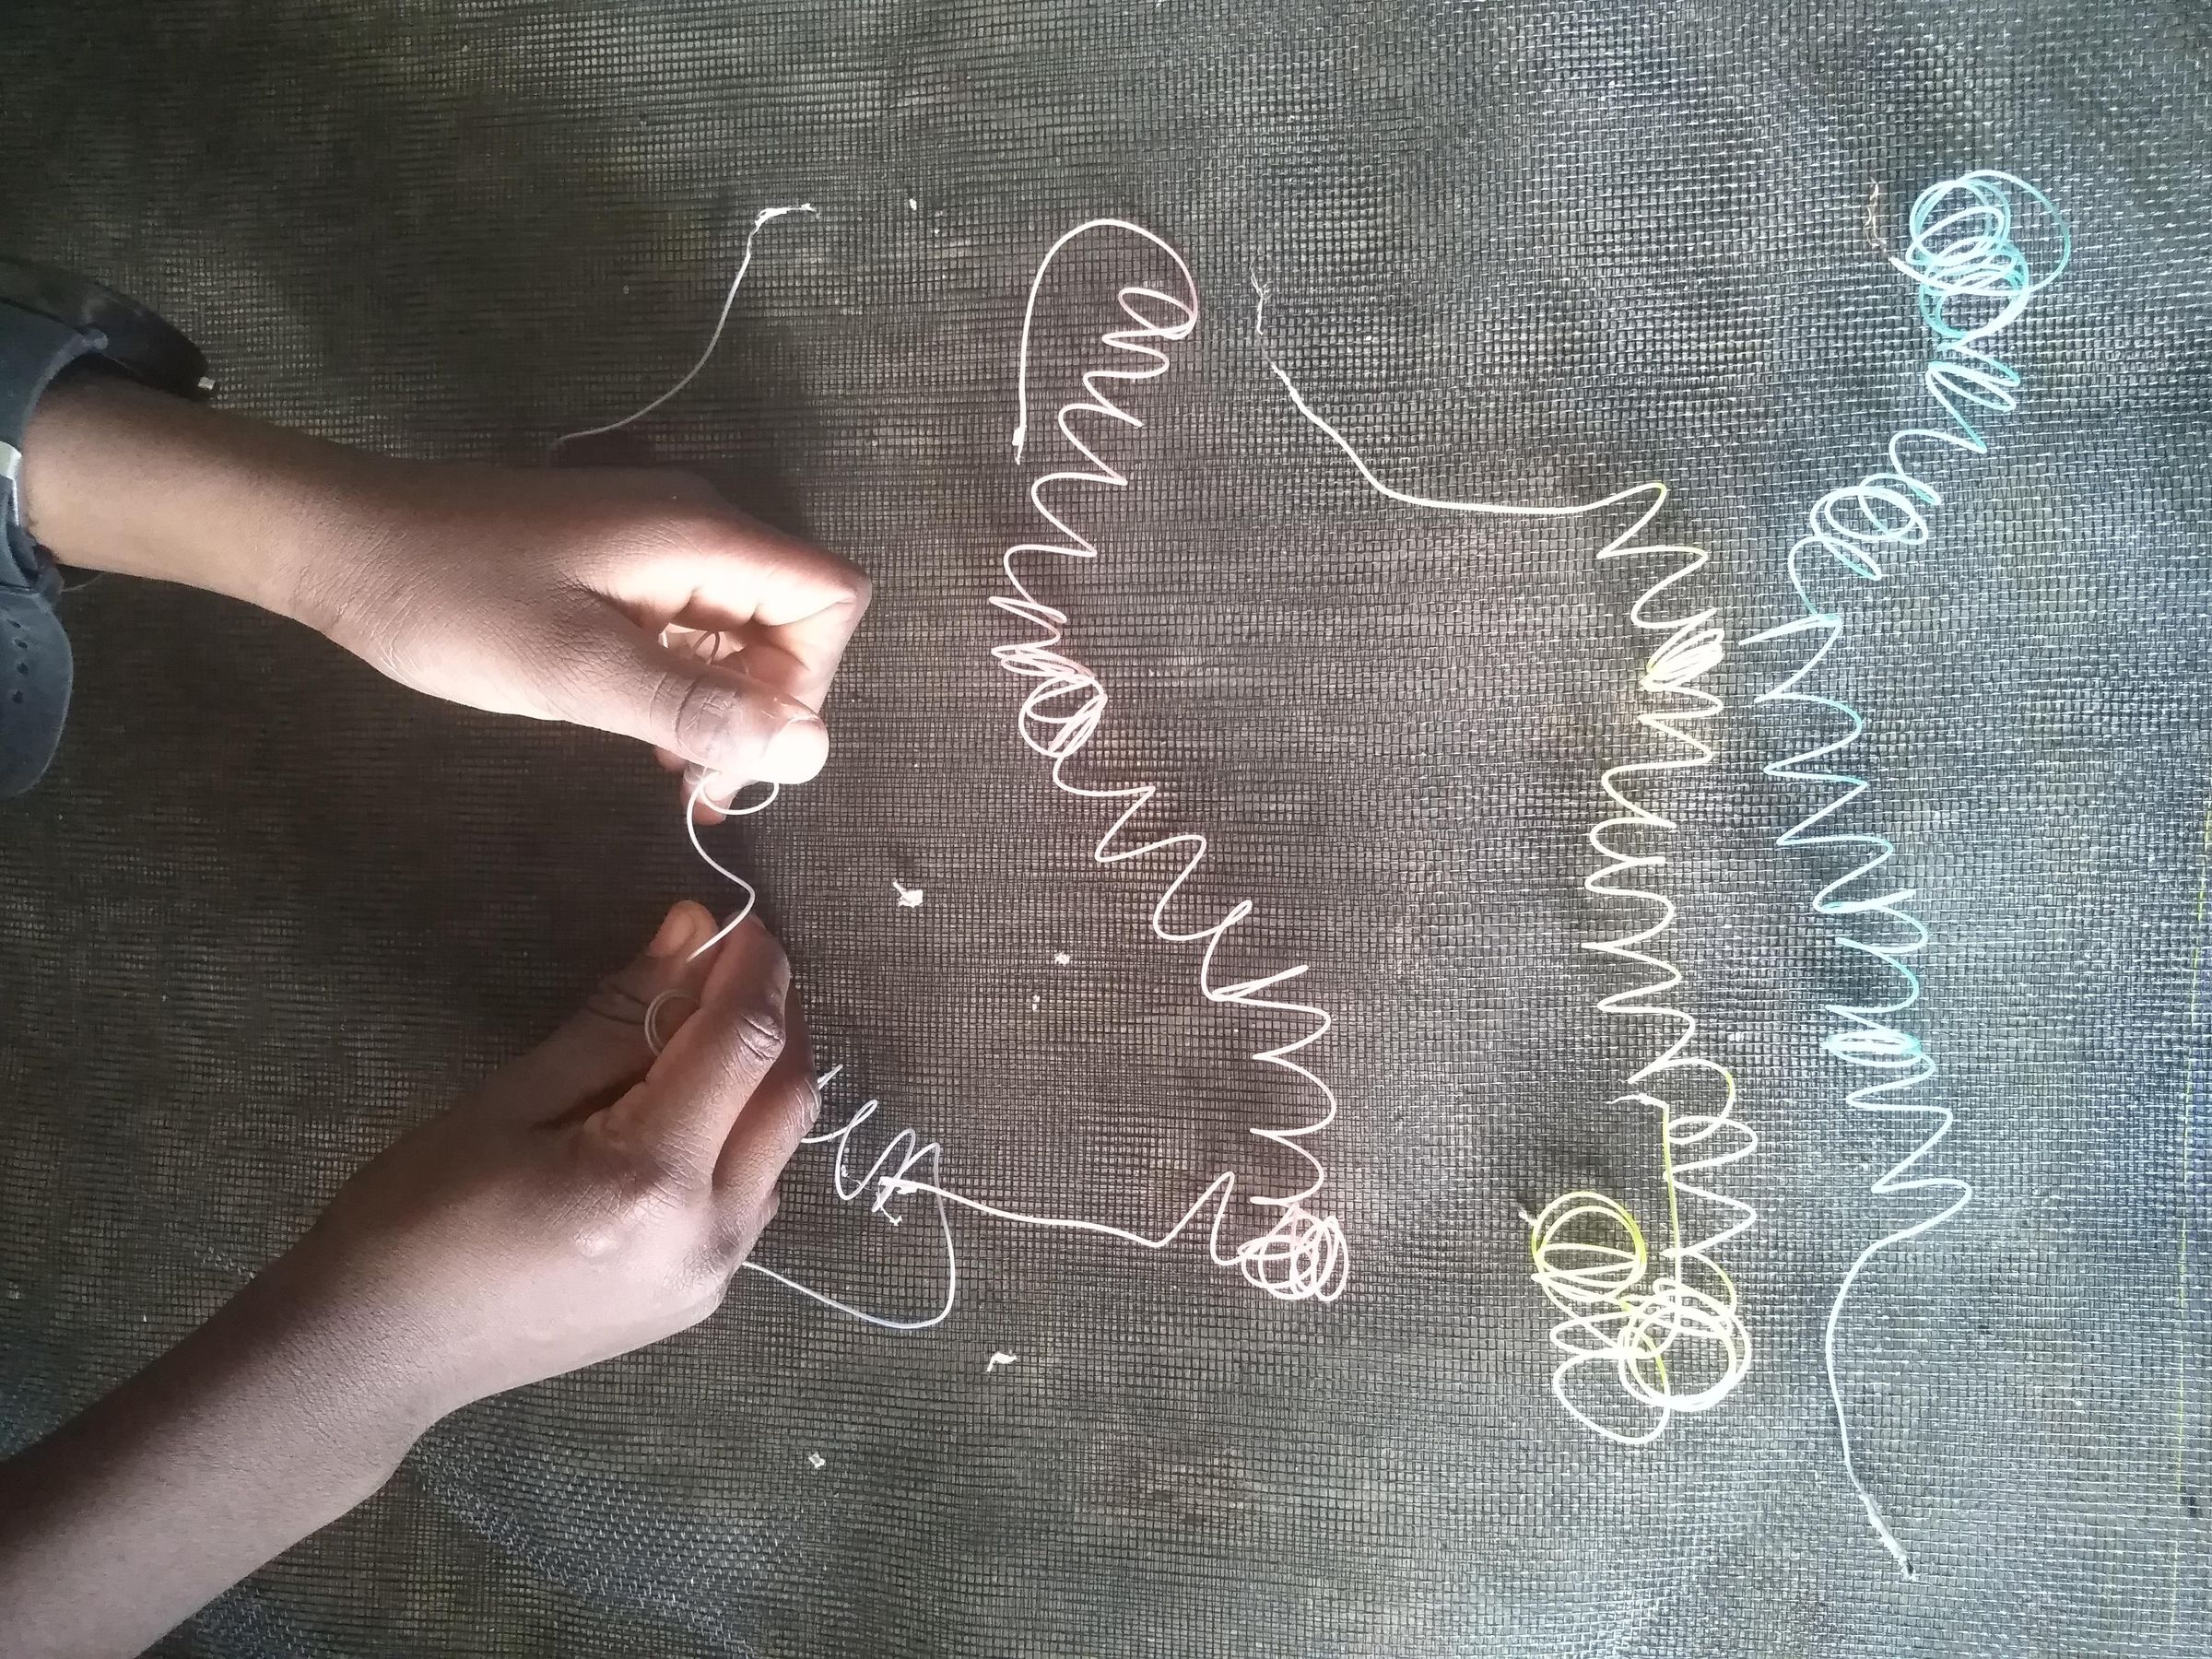
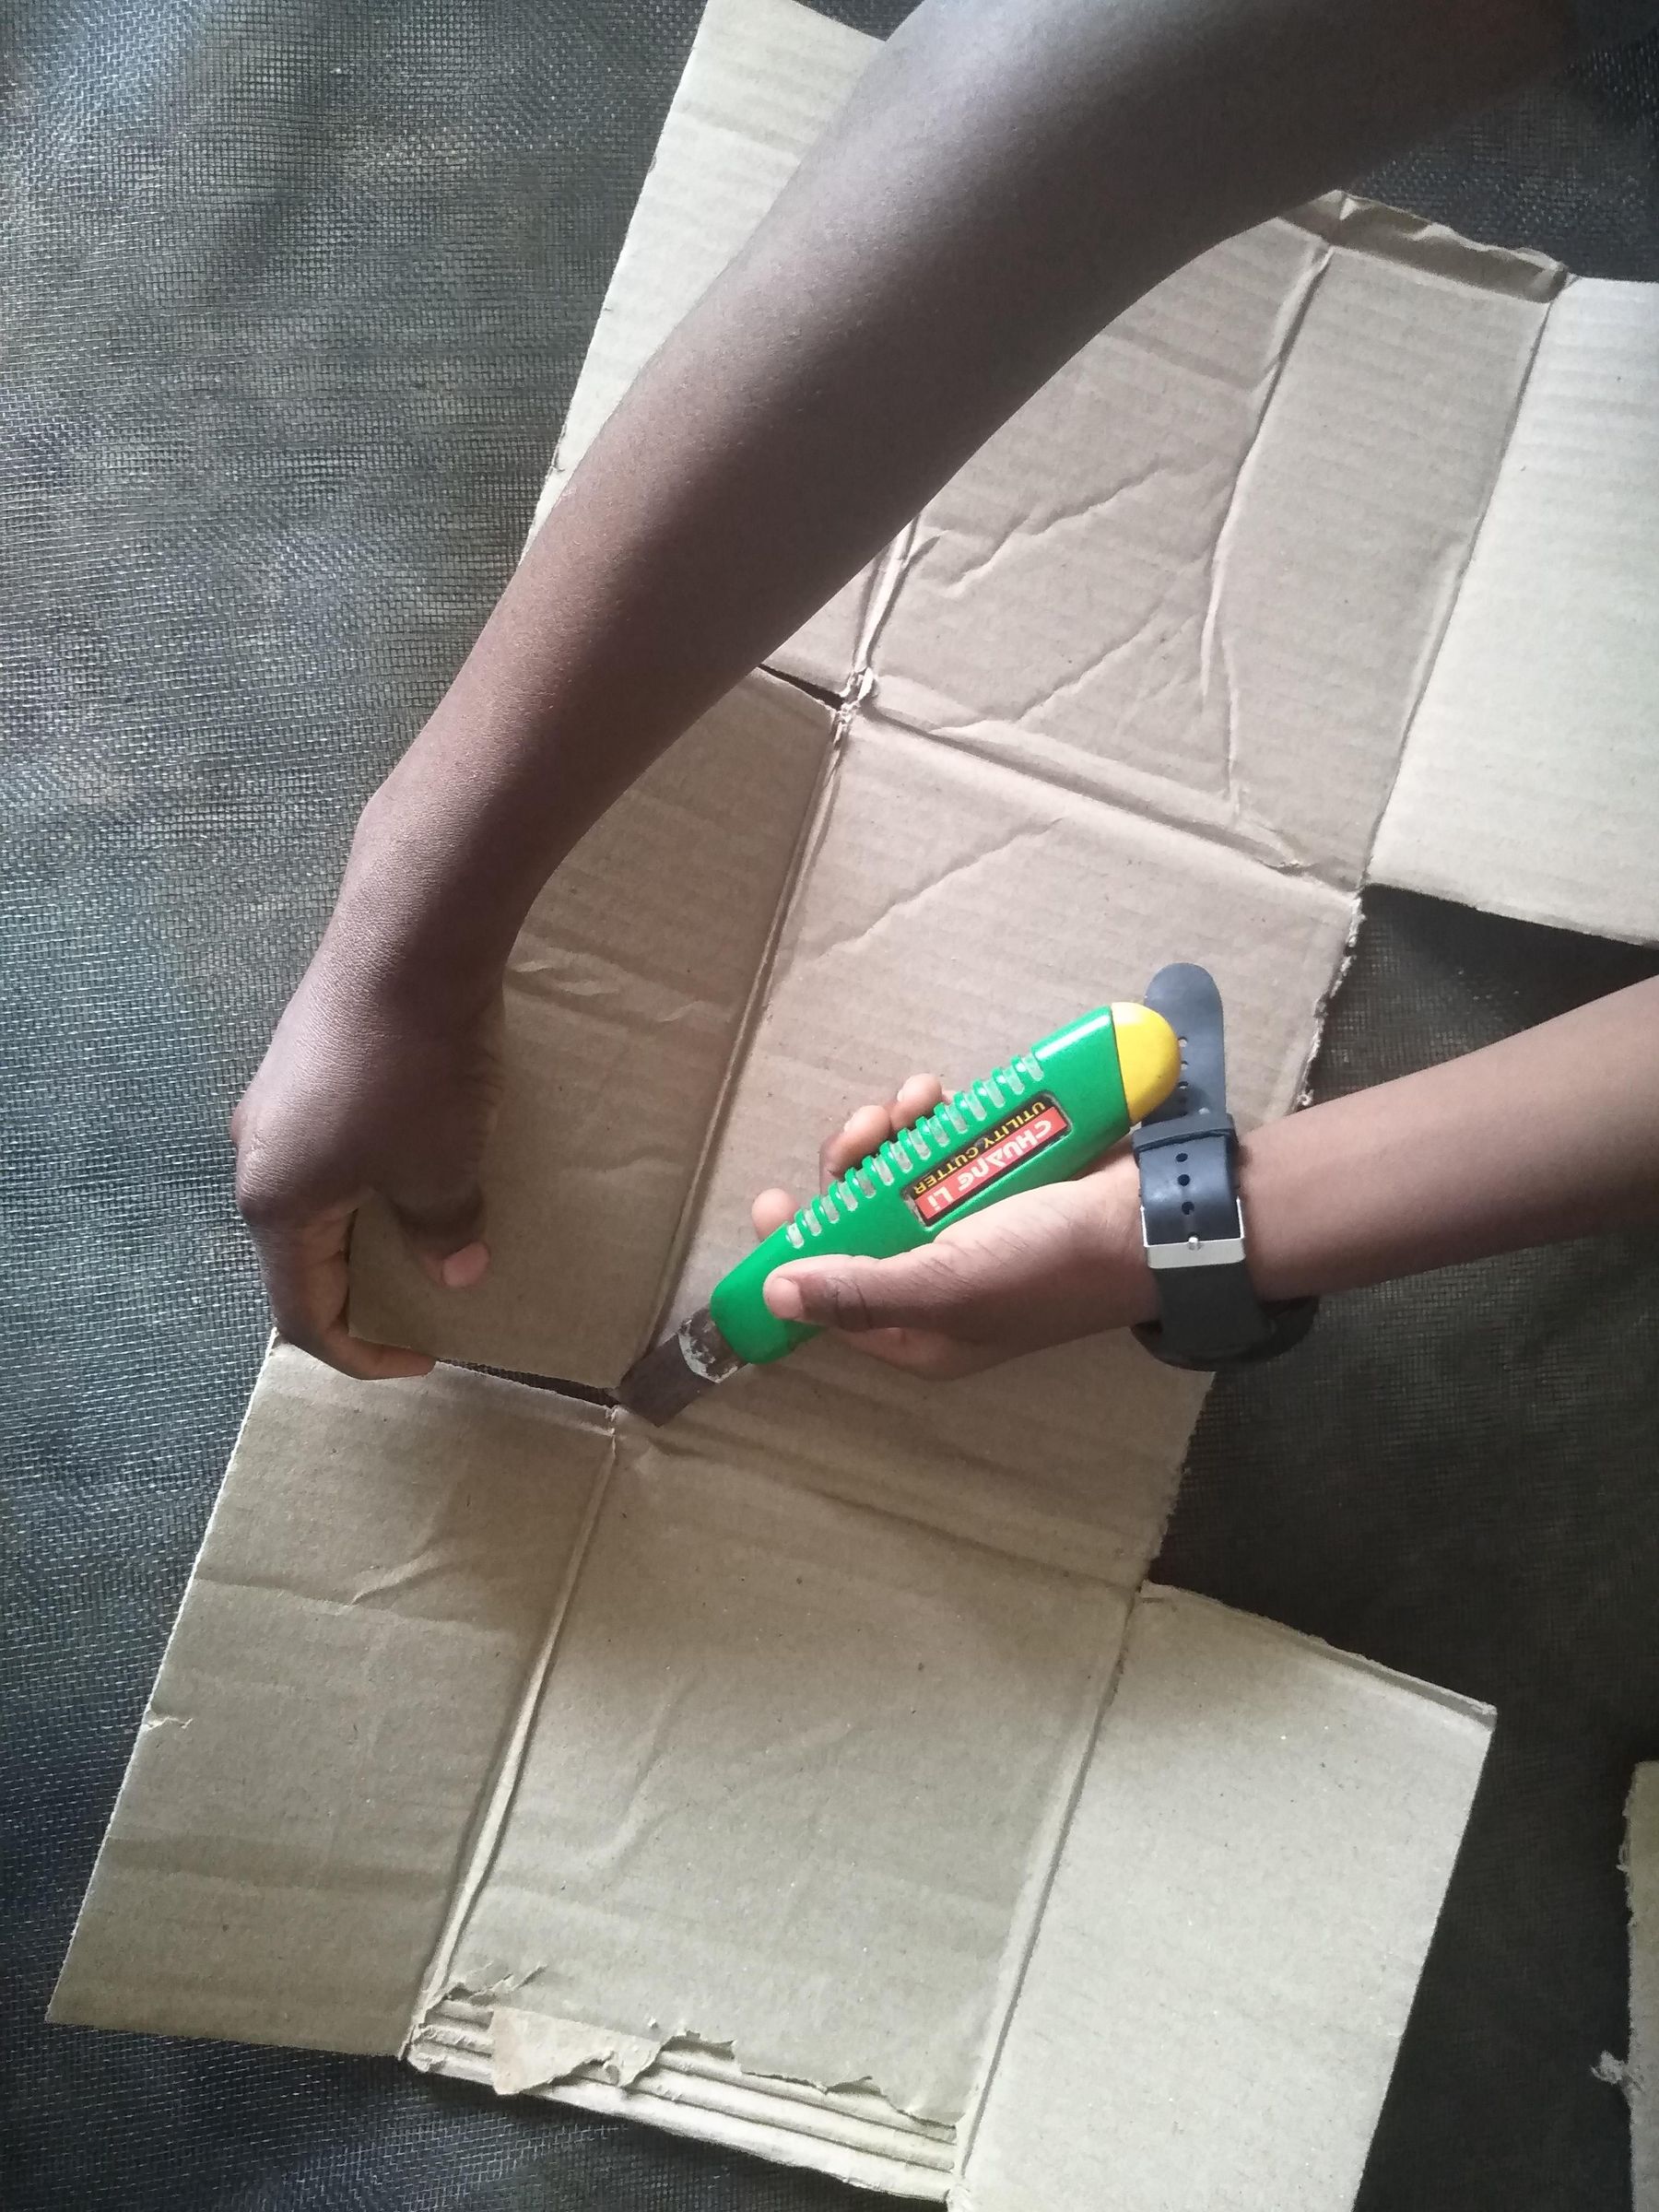
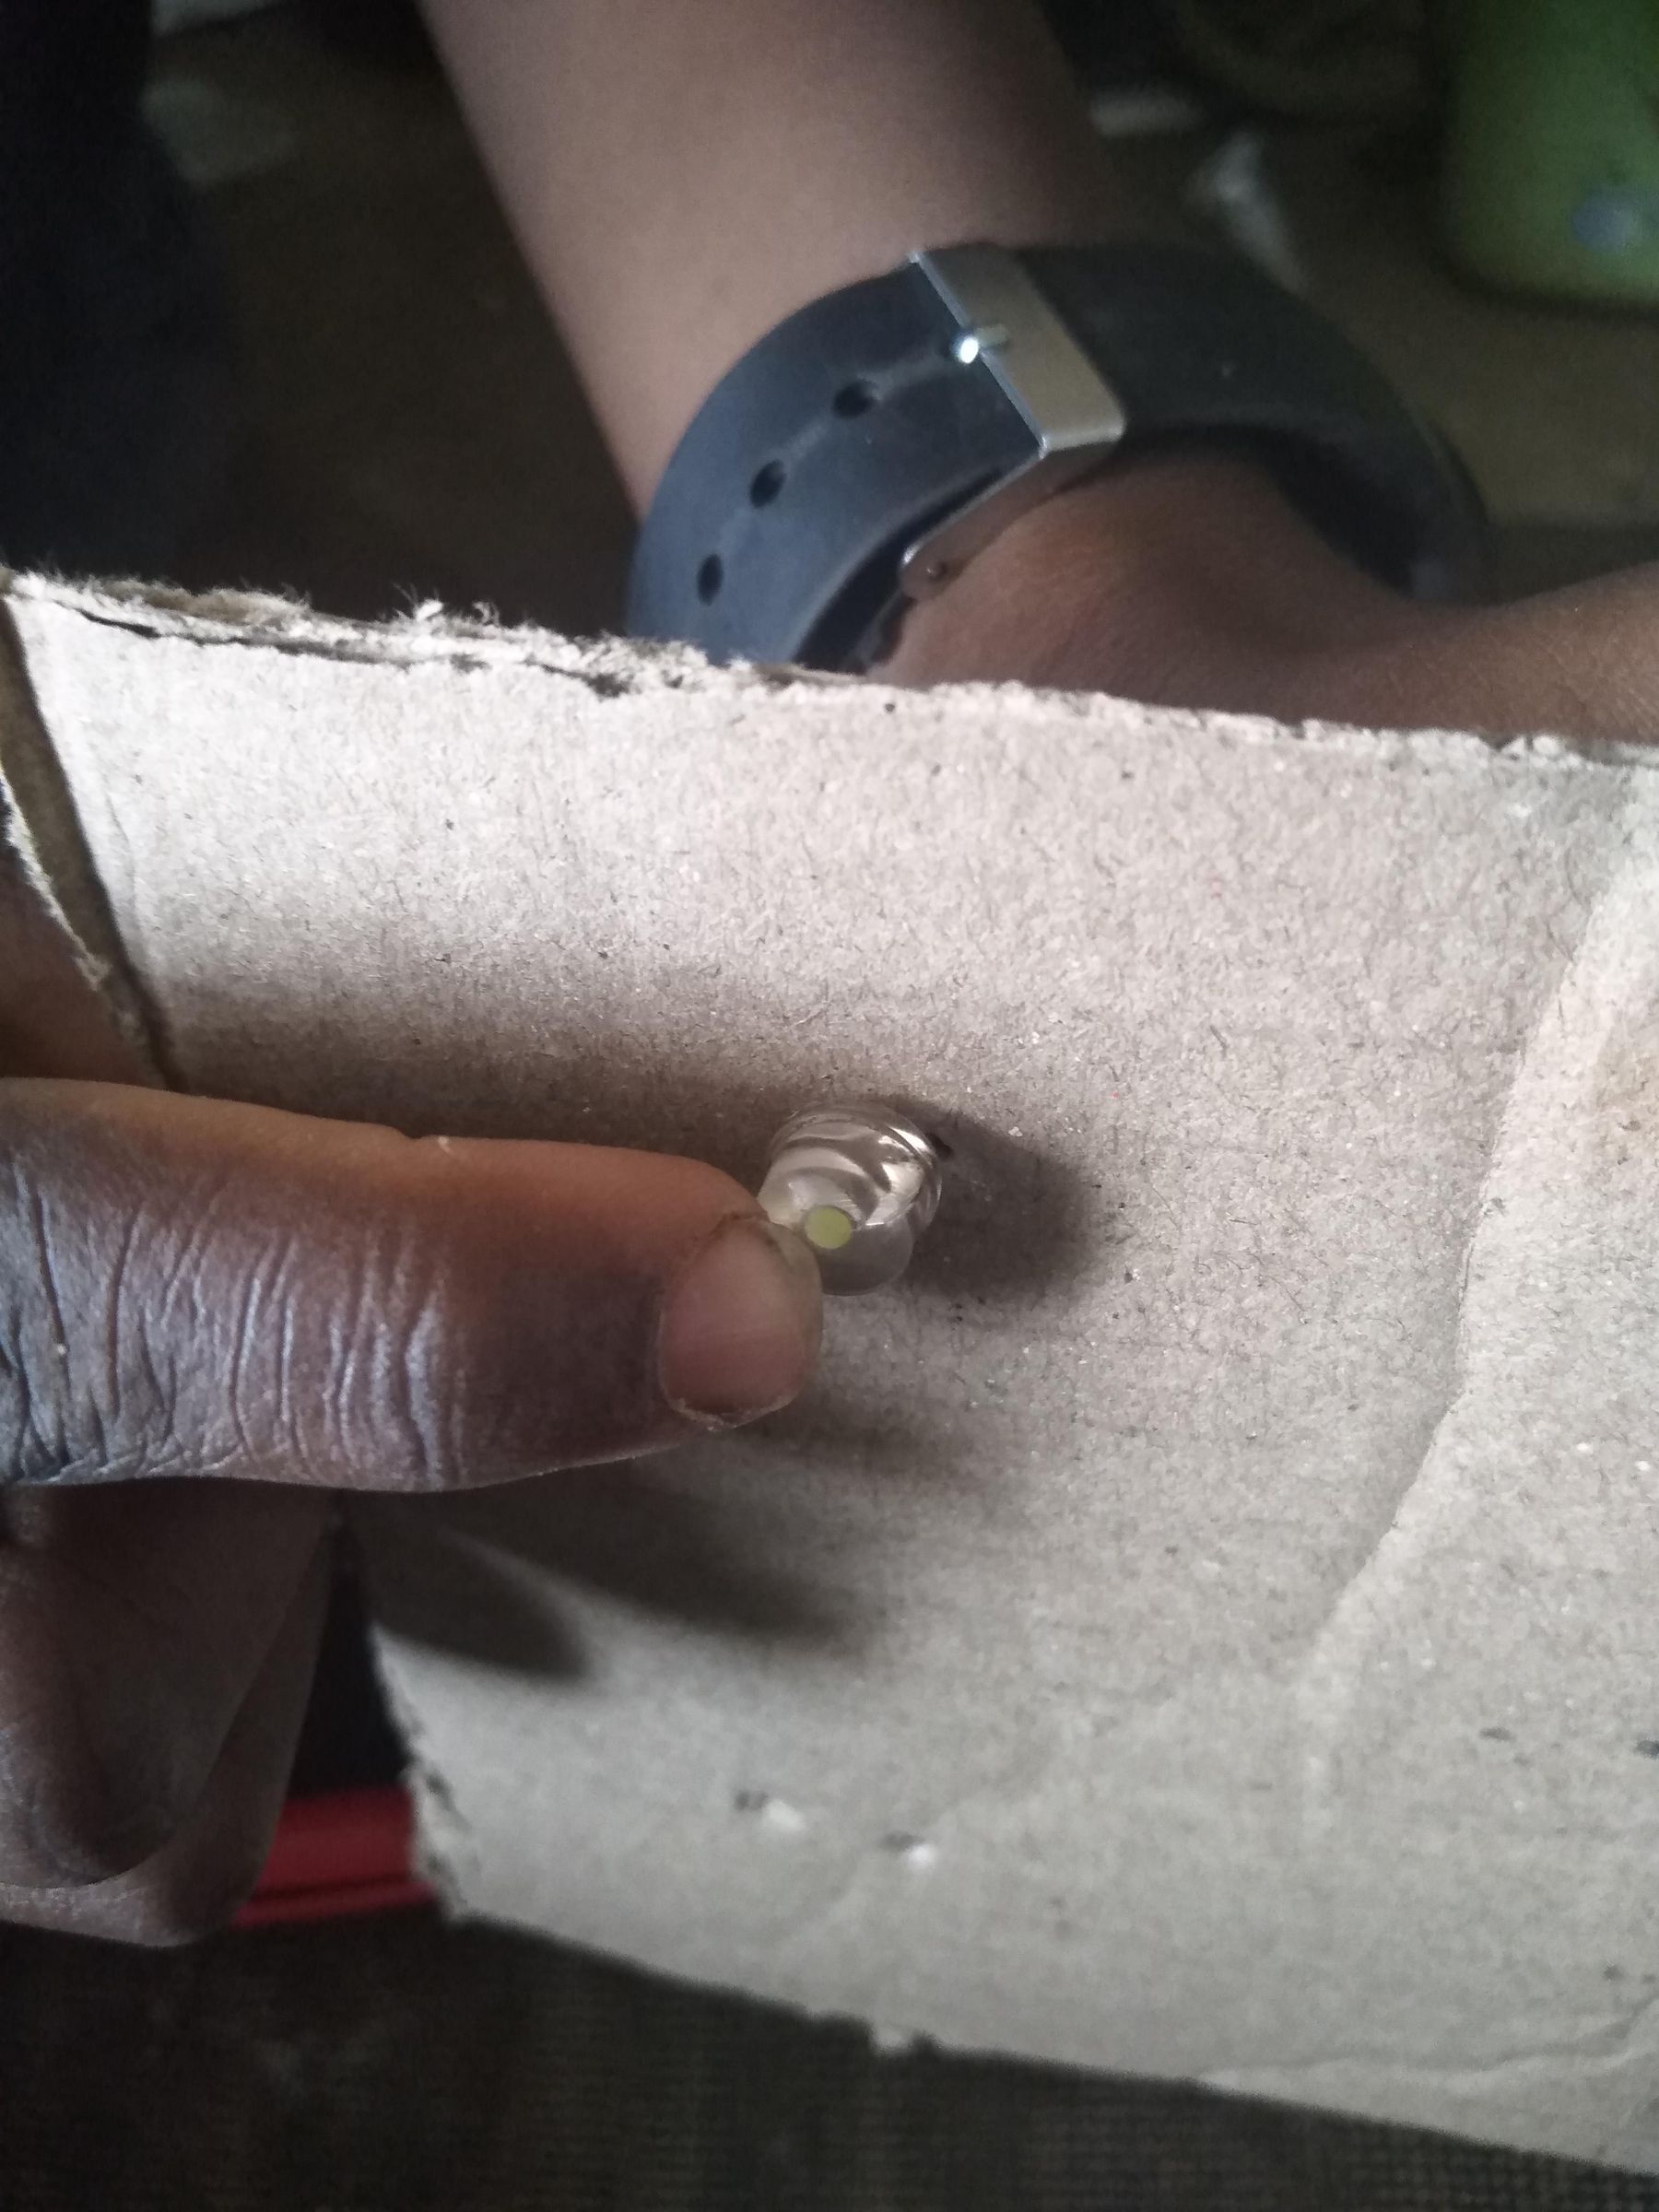
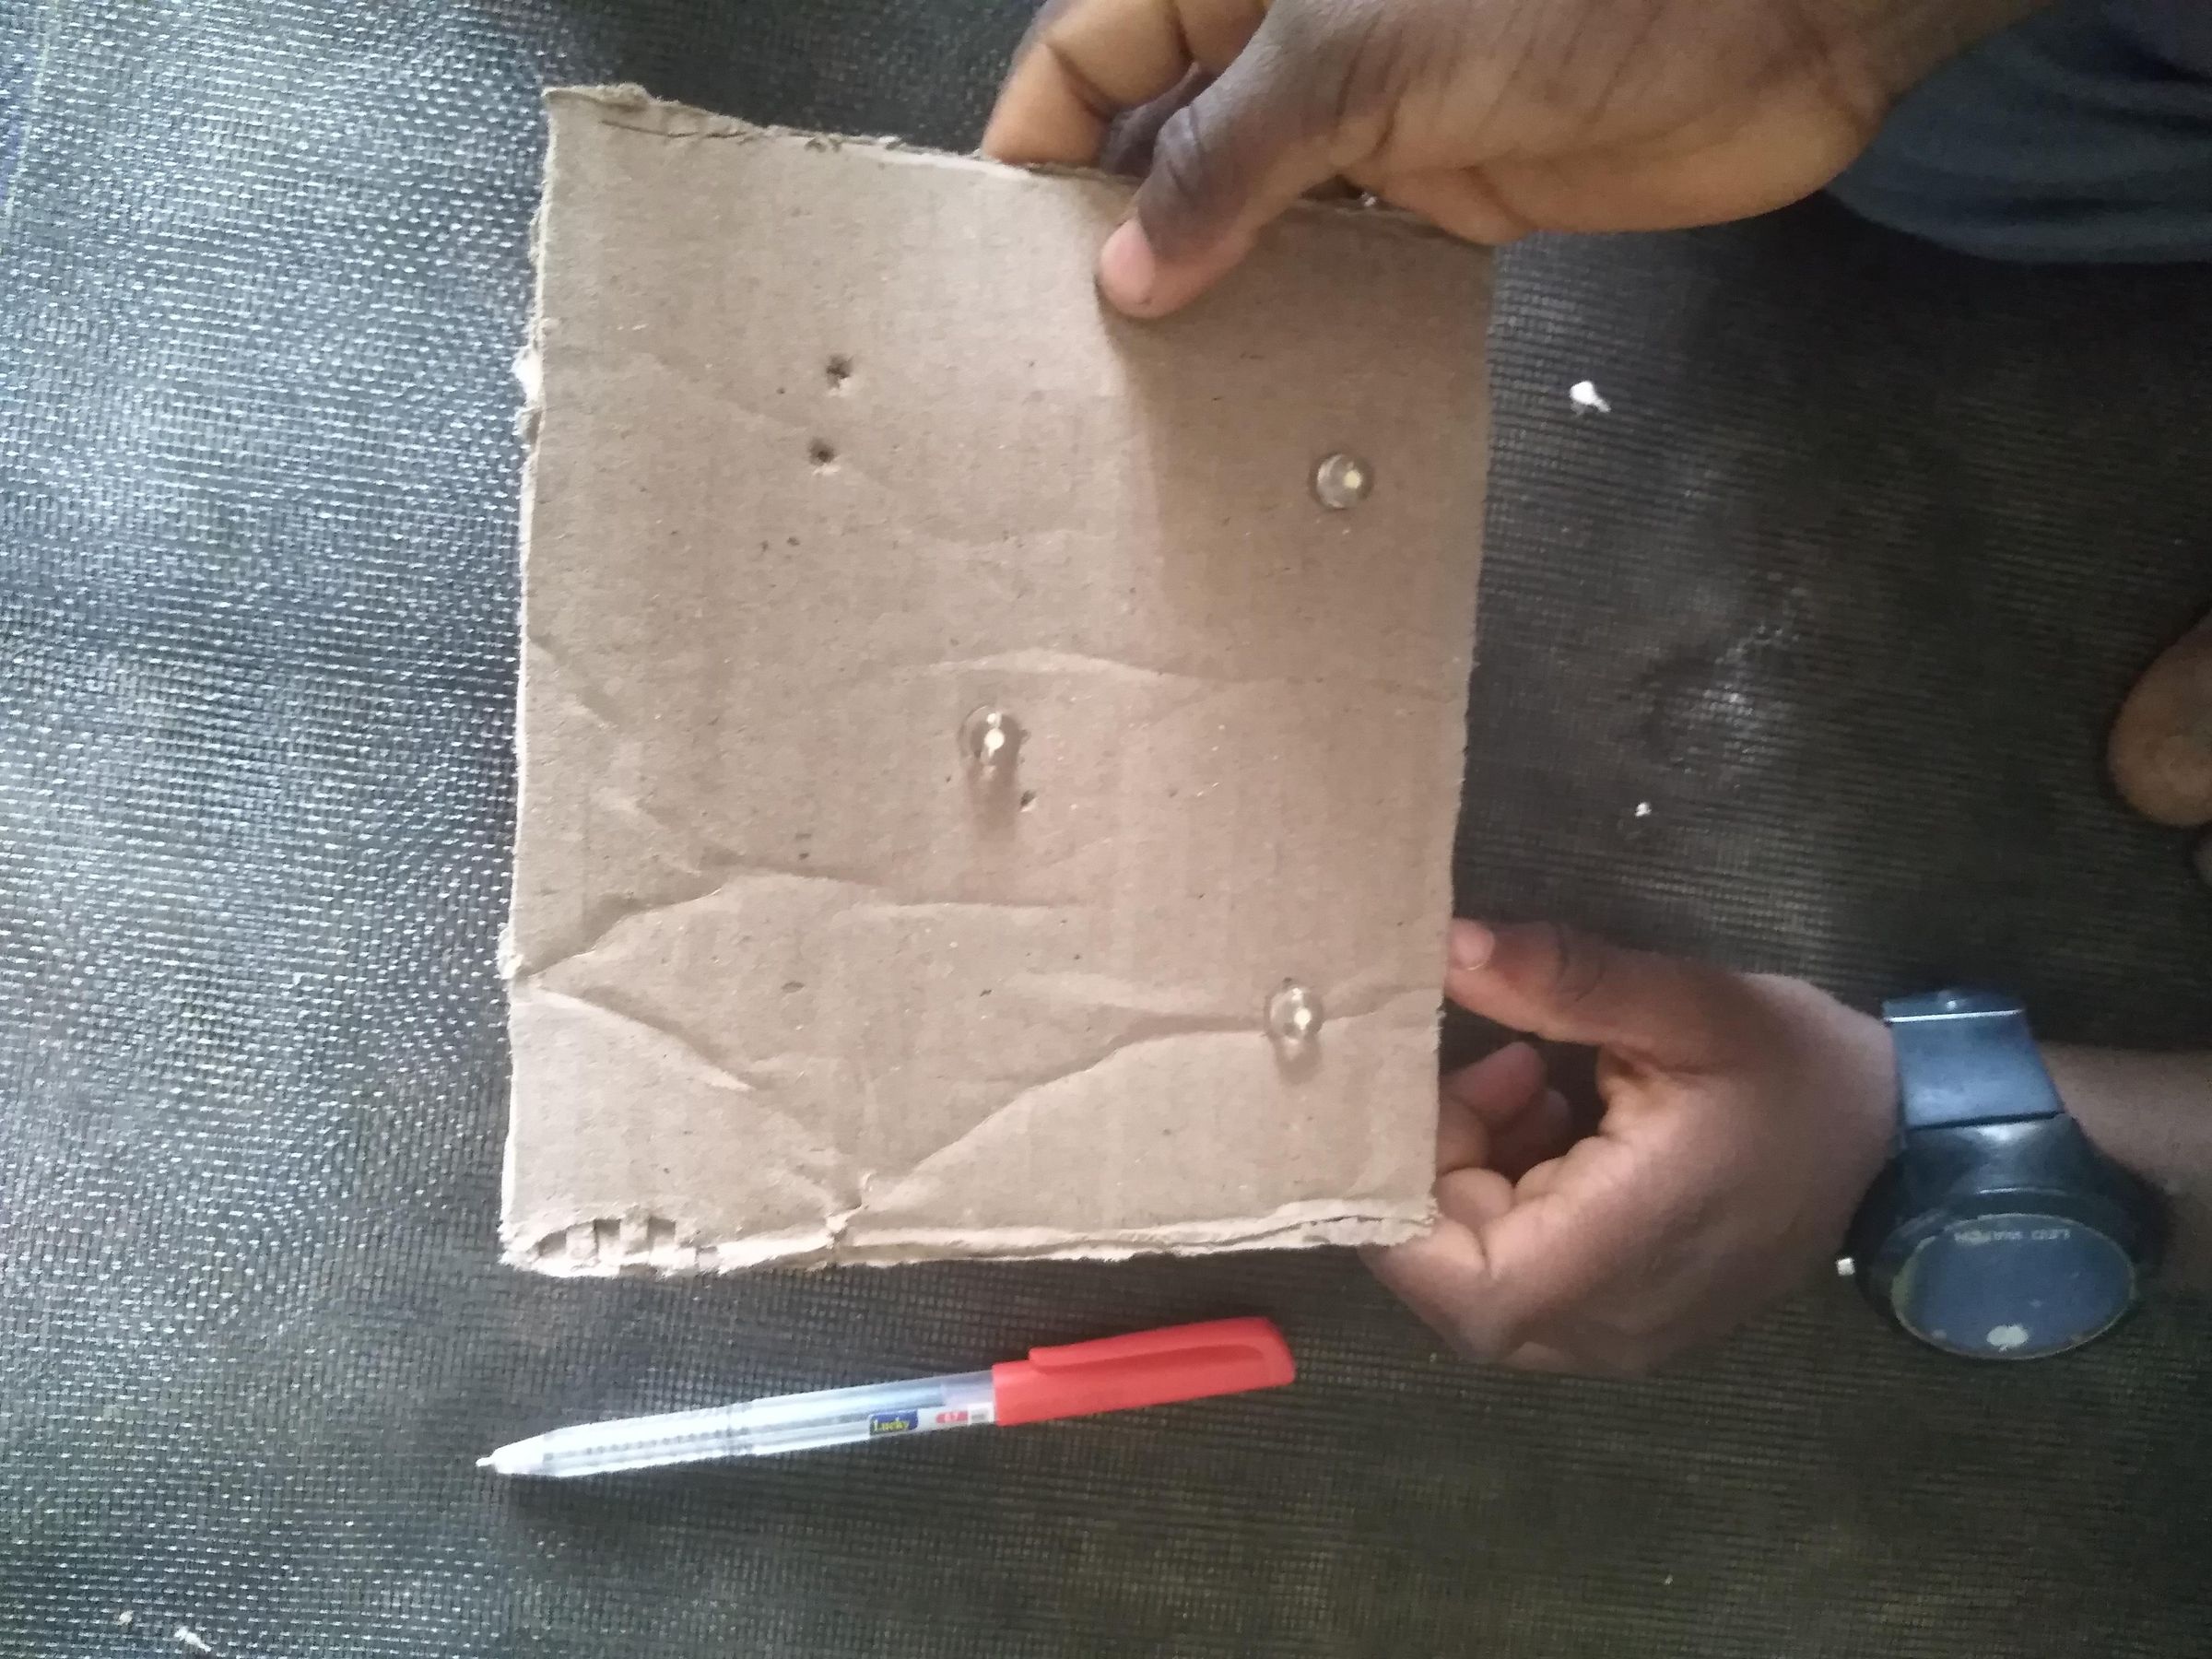
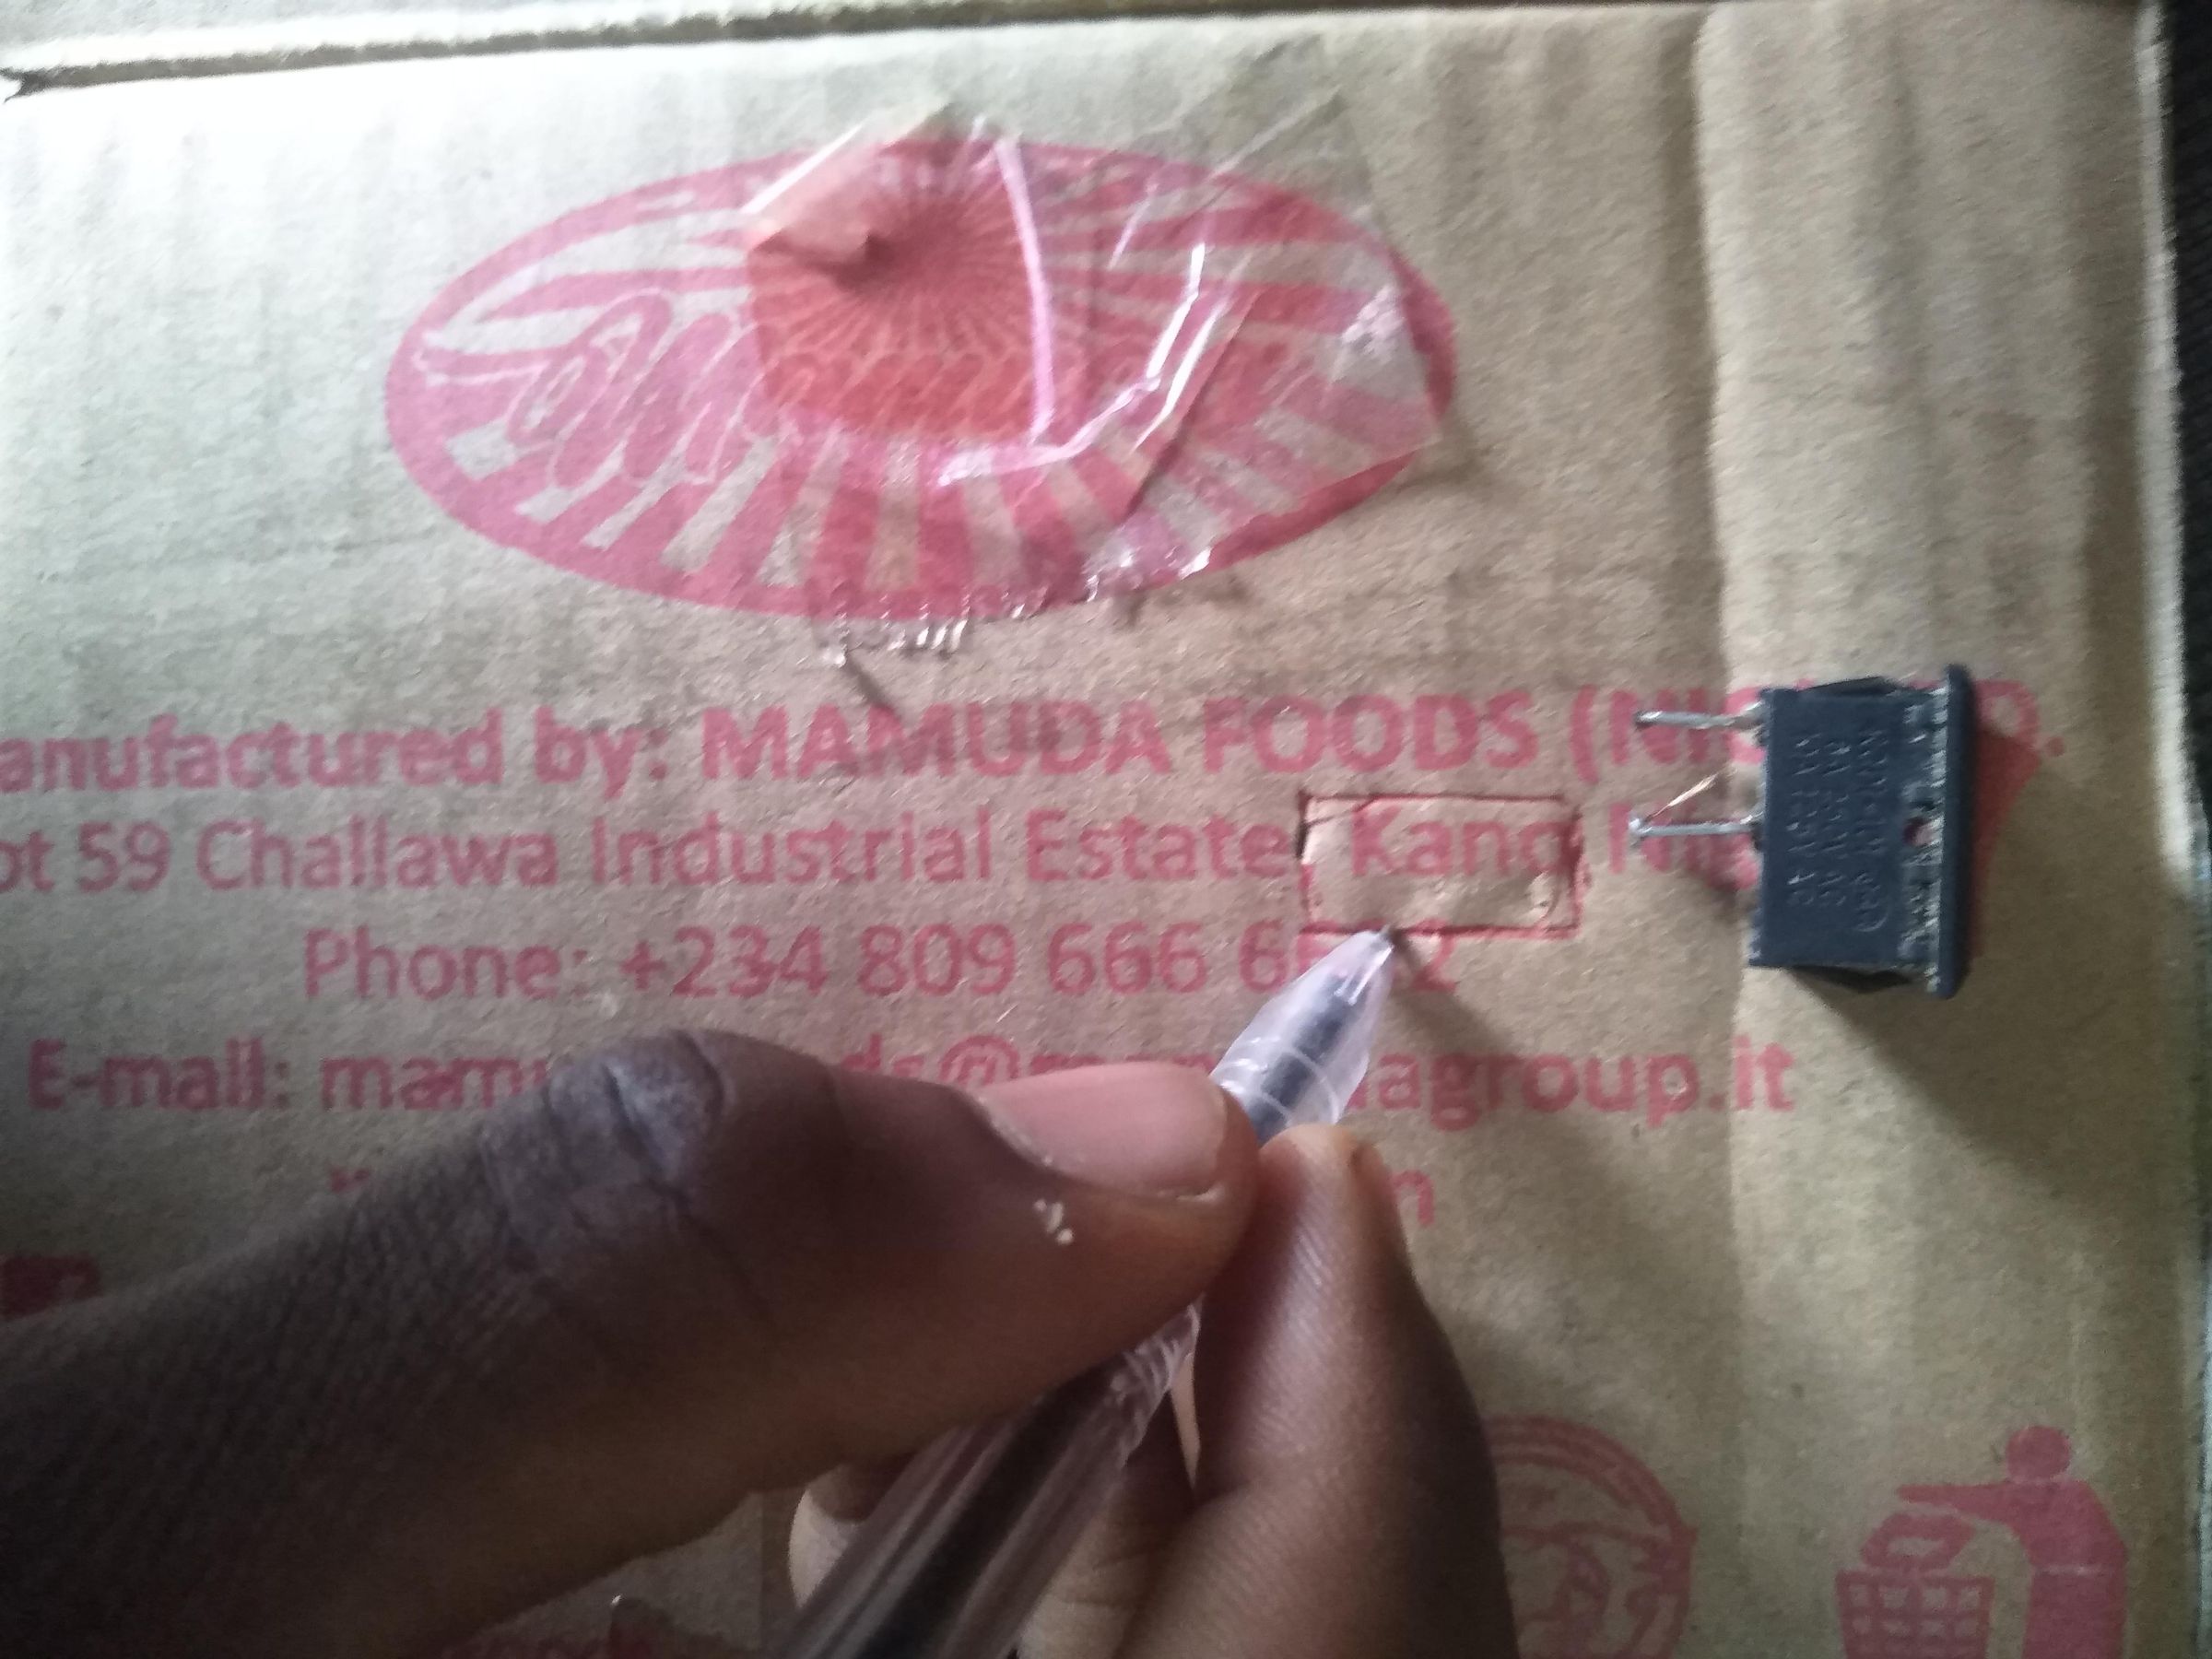
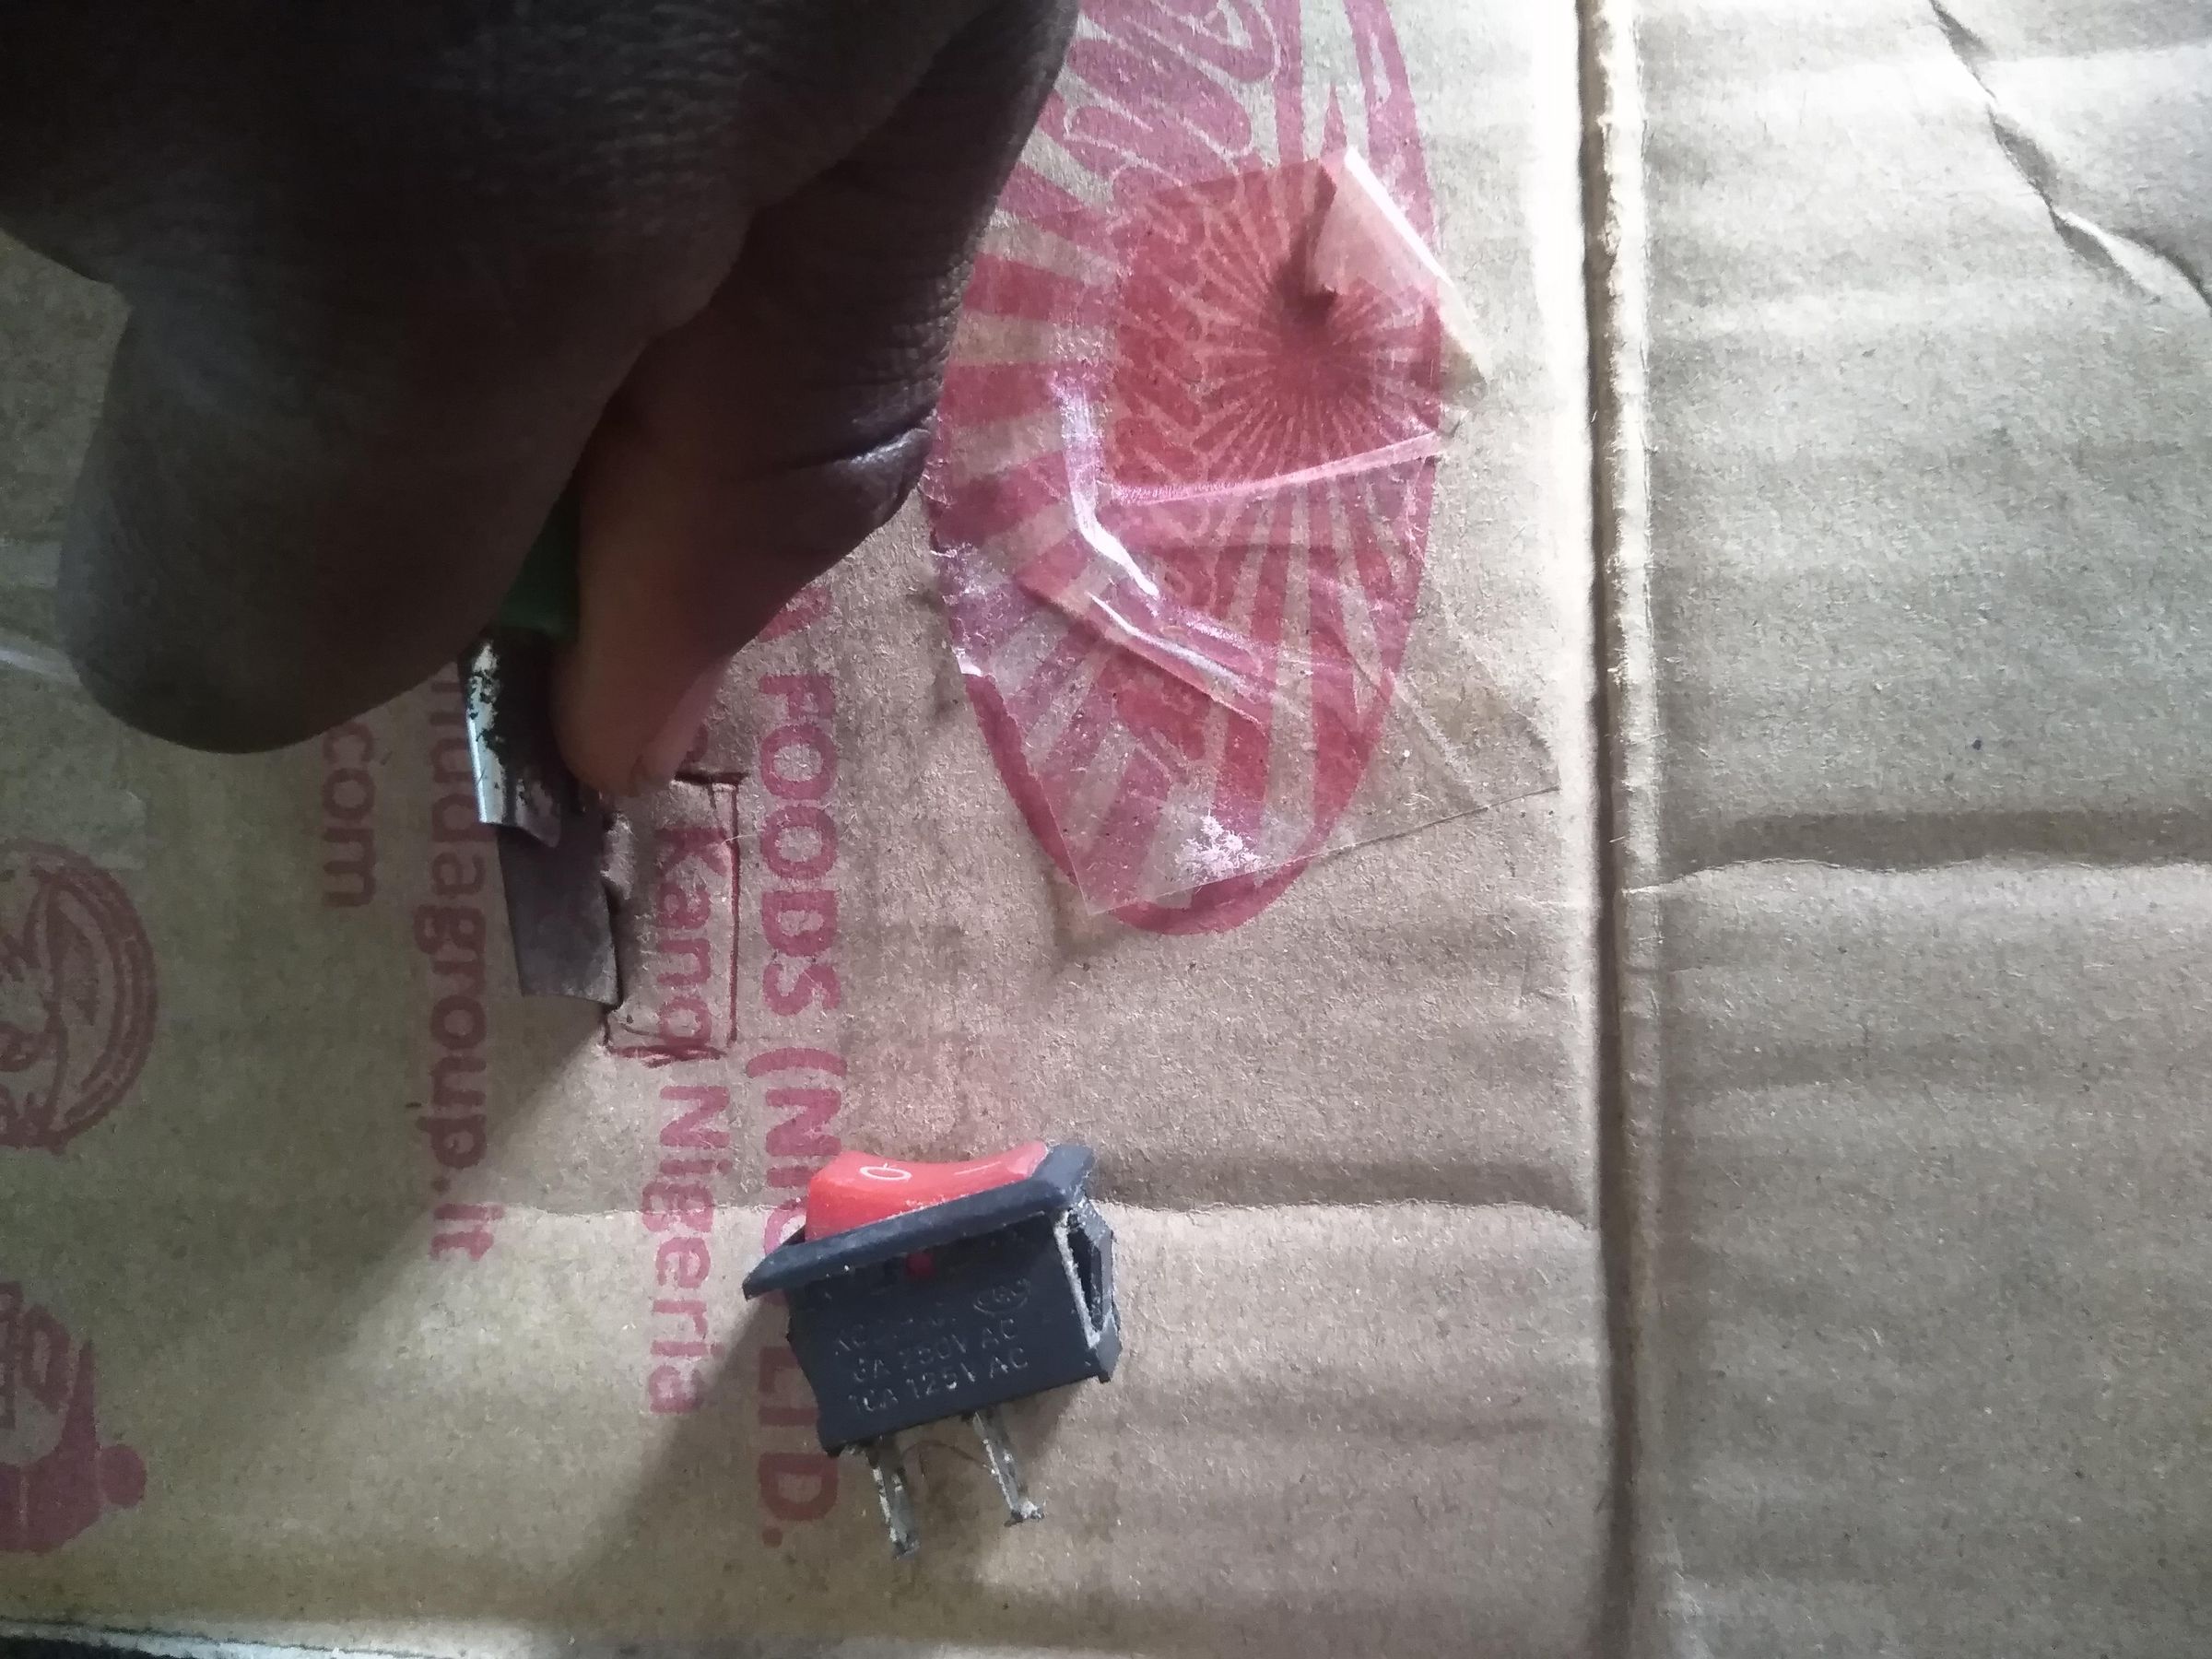
Straighten the Wires: Uncoil and straighten your hookup wires so they are easy to route and strip.
Mount the Component Board: Cut a small rectangular piece of cardboard that fits snugly inside your main box. Push the metal pins of your 3 LEDs through this piece to keep them firmly in place.
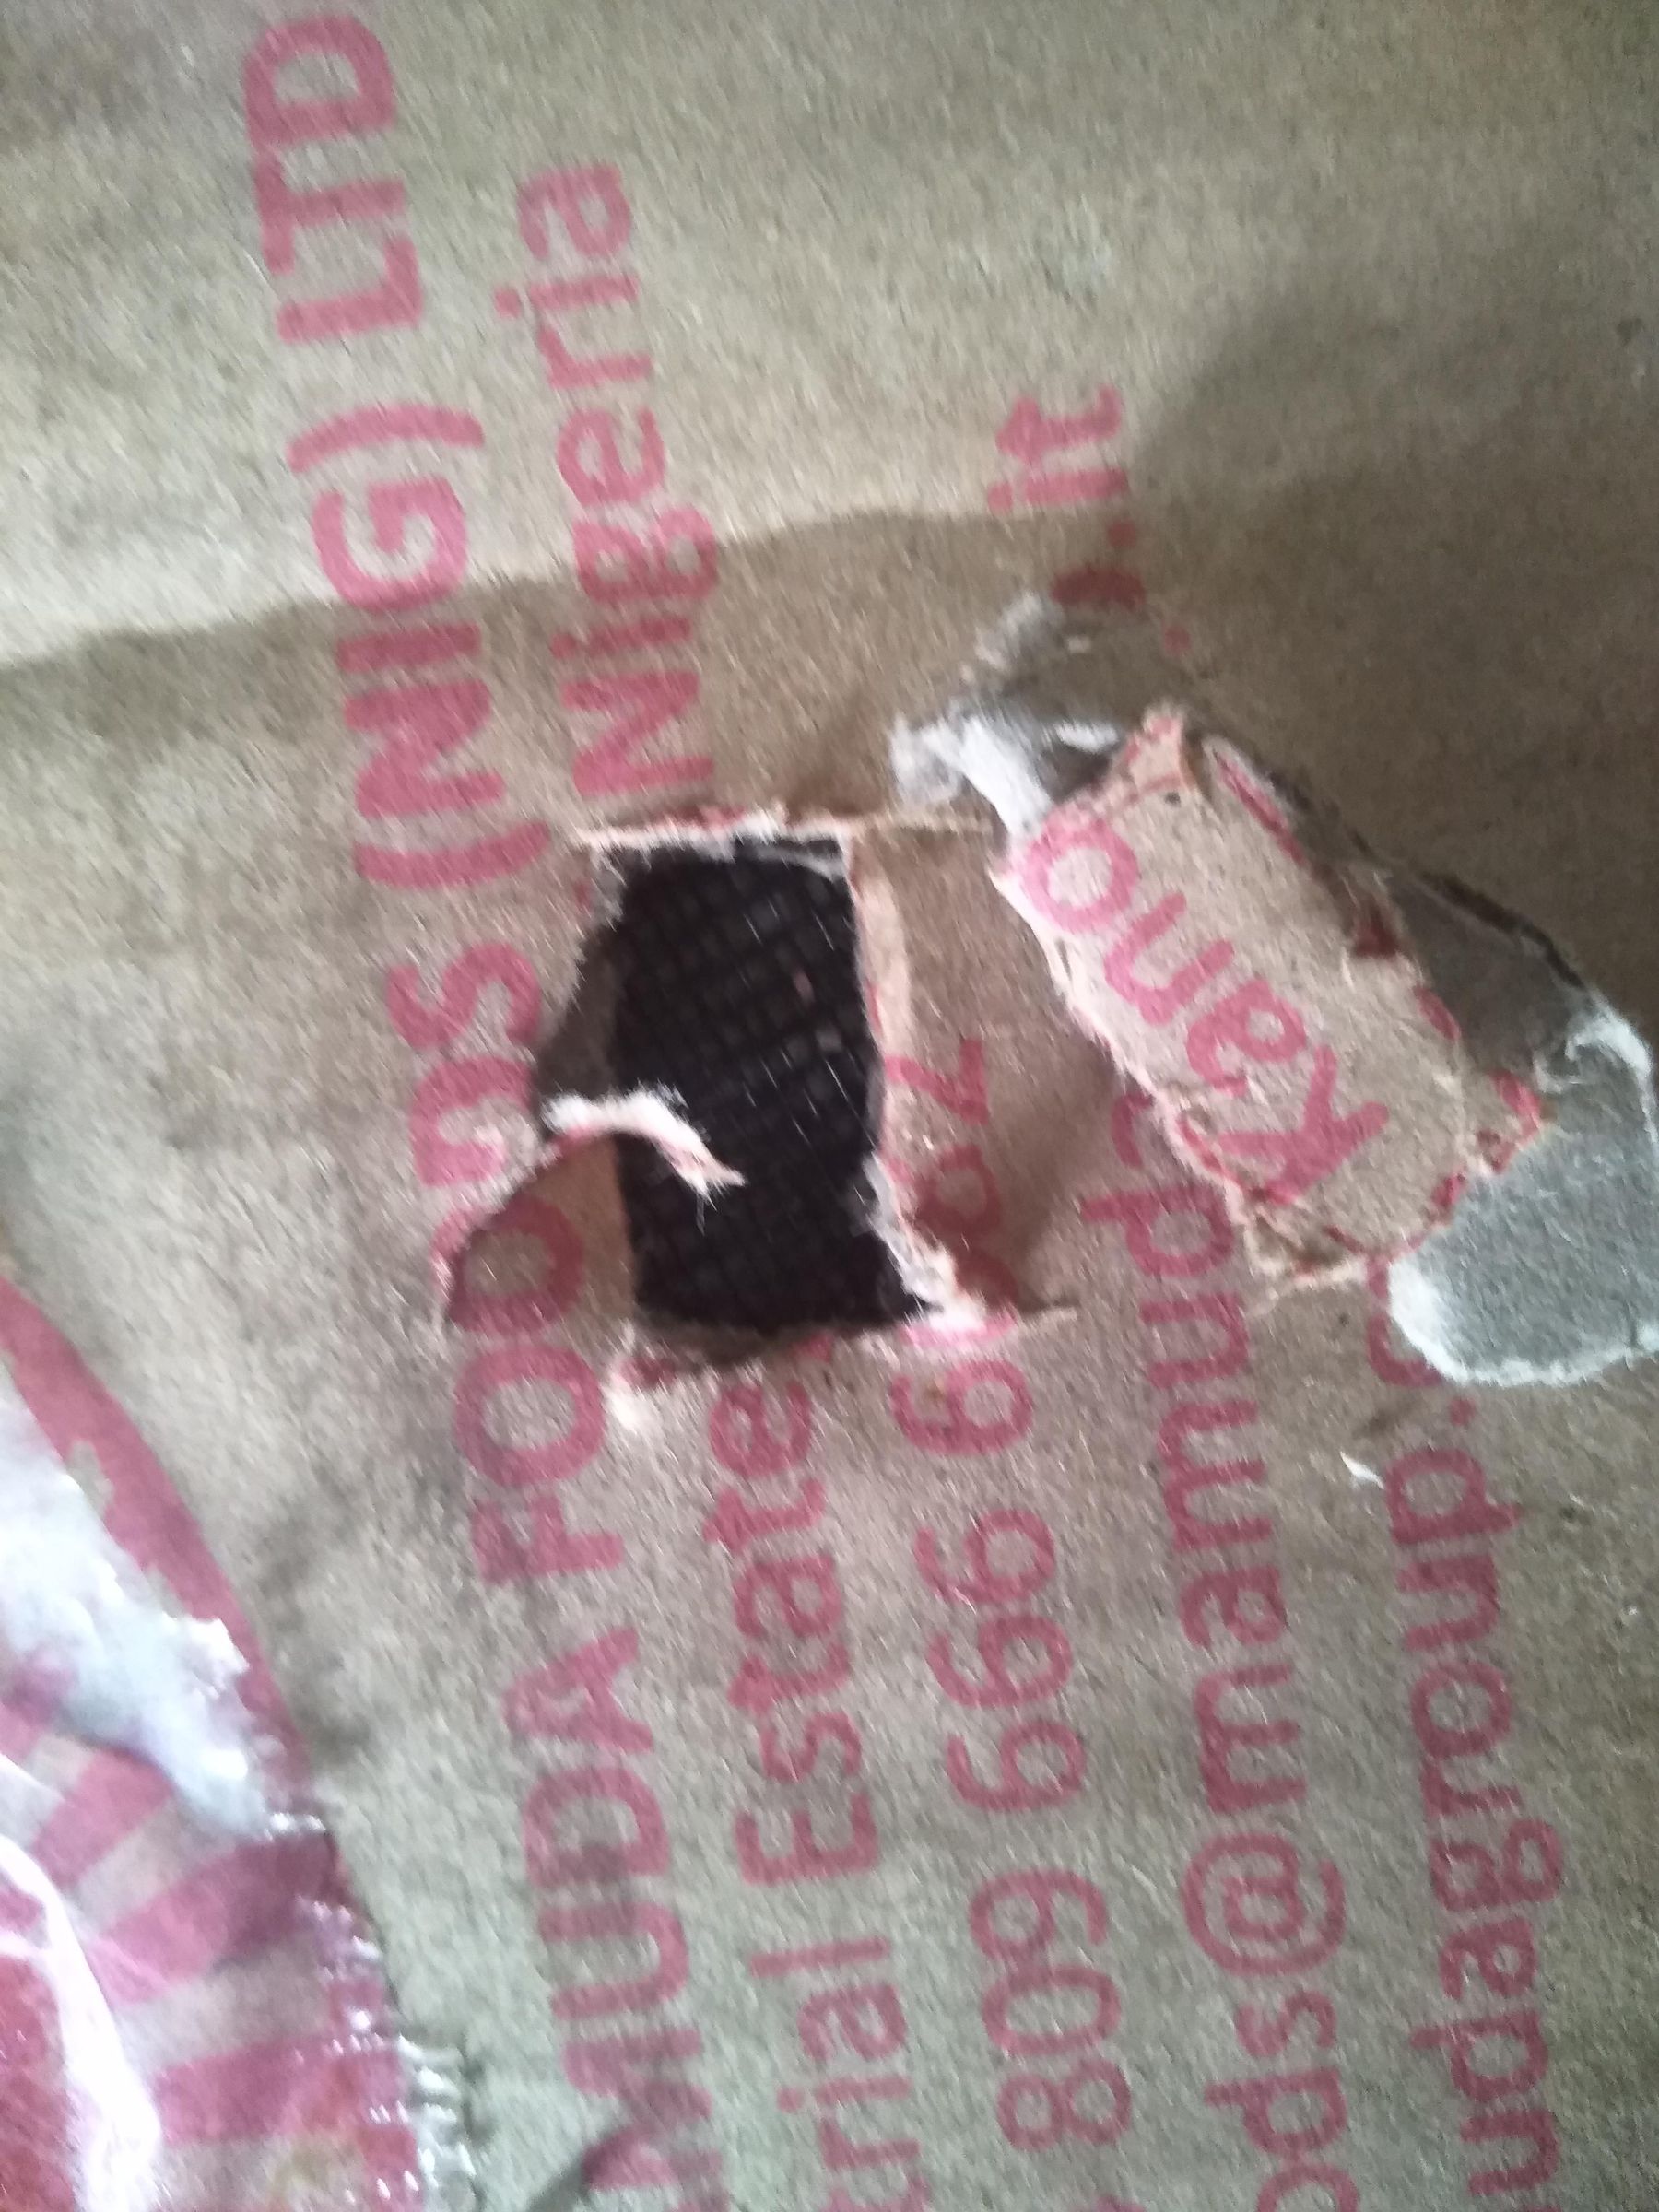
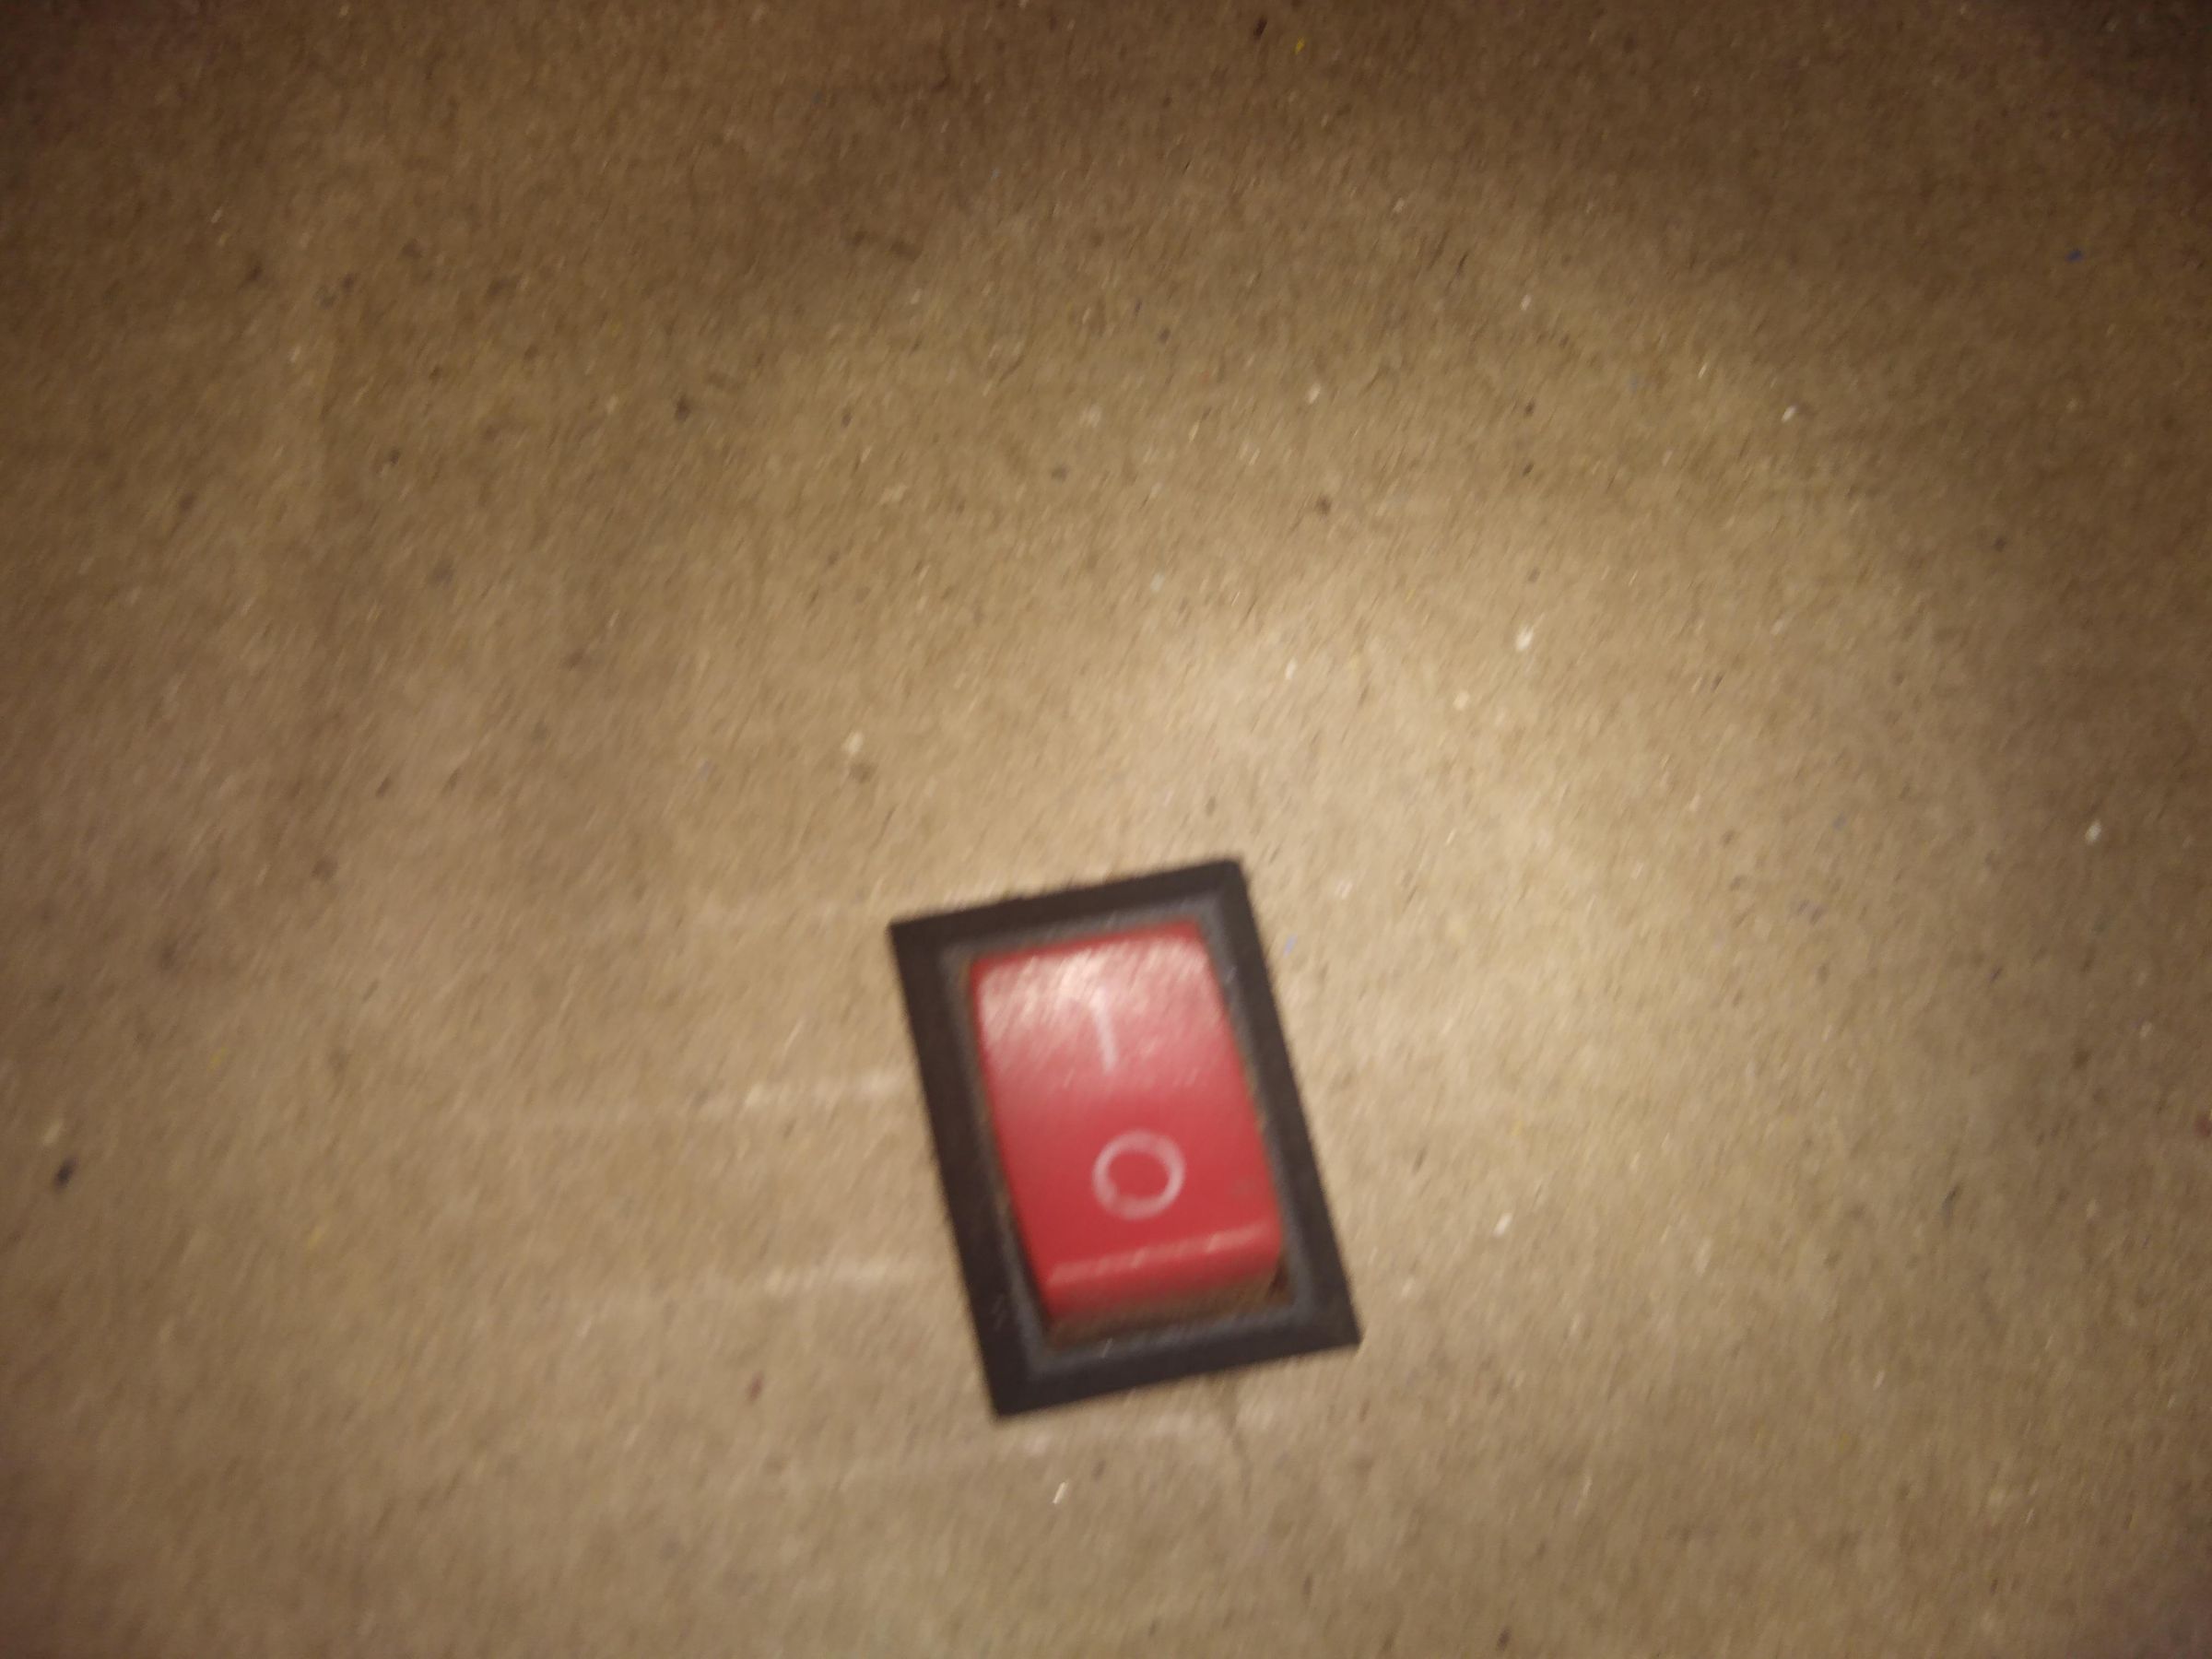
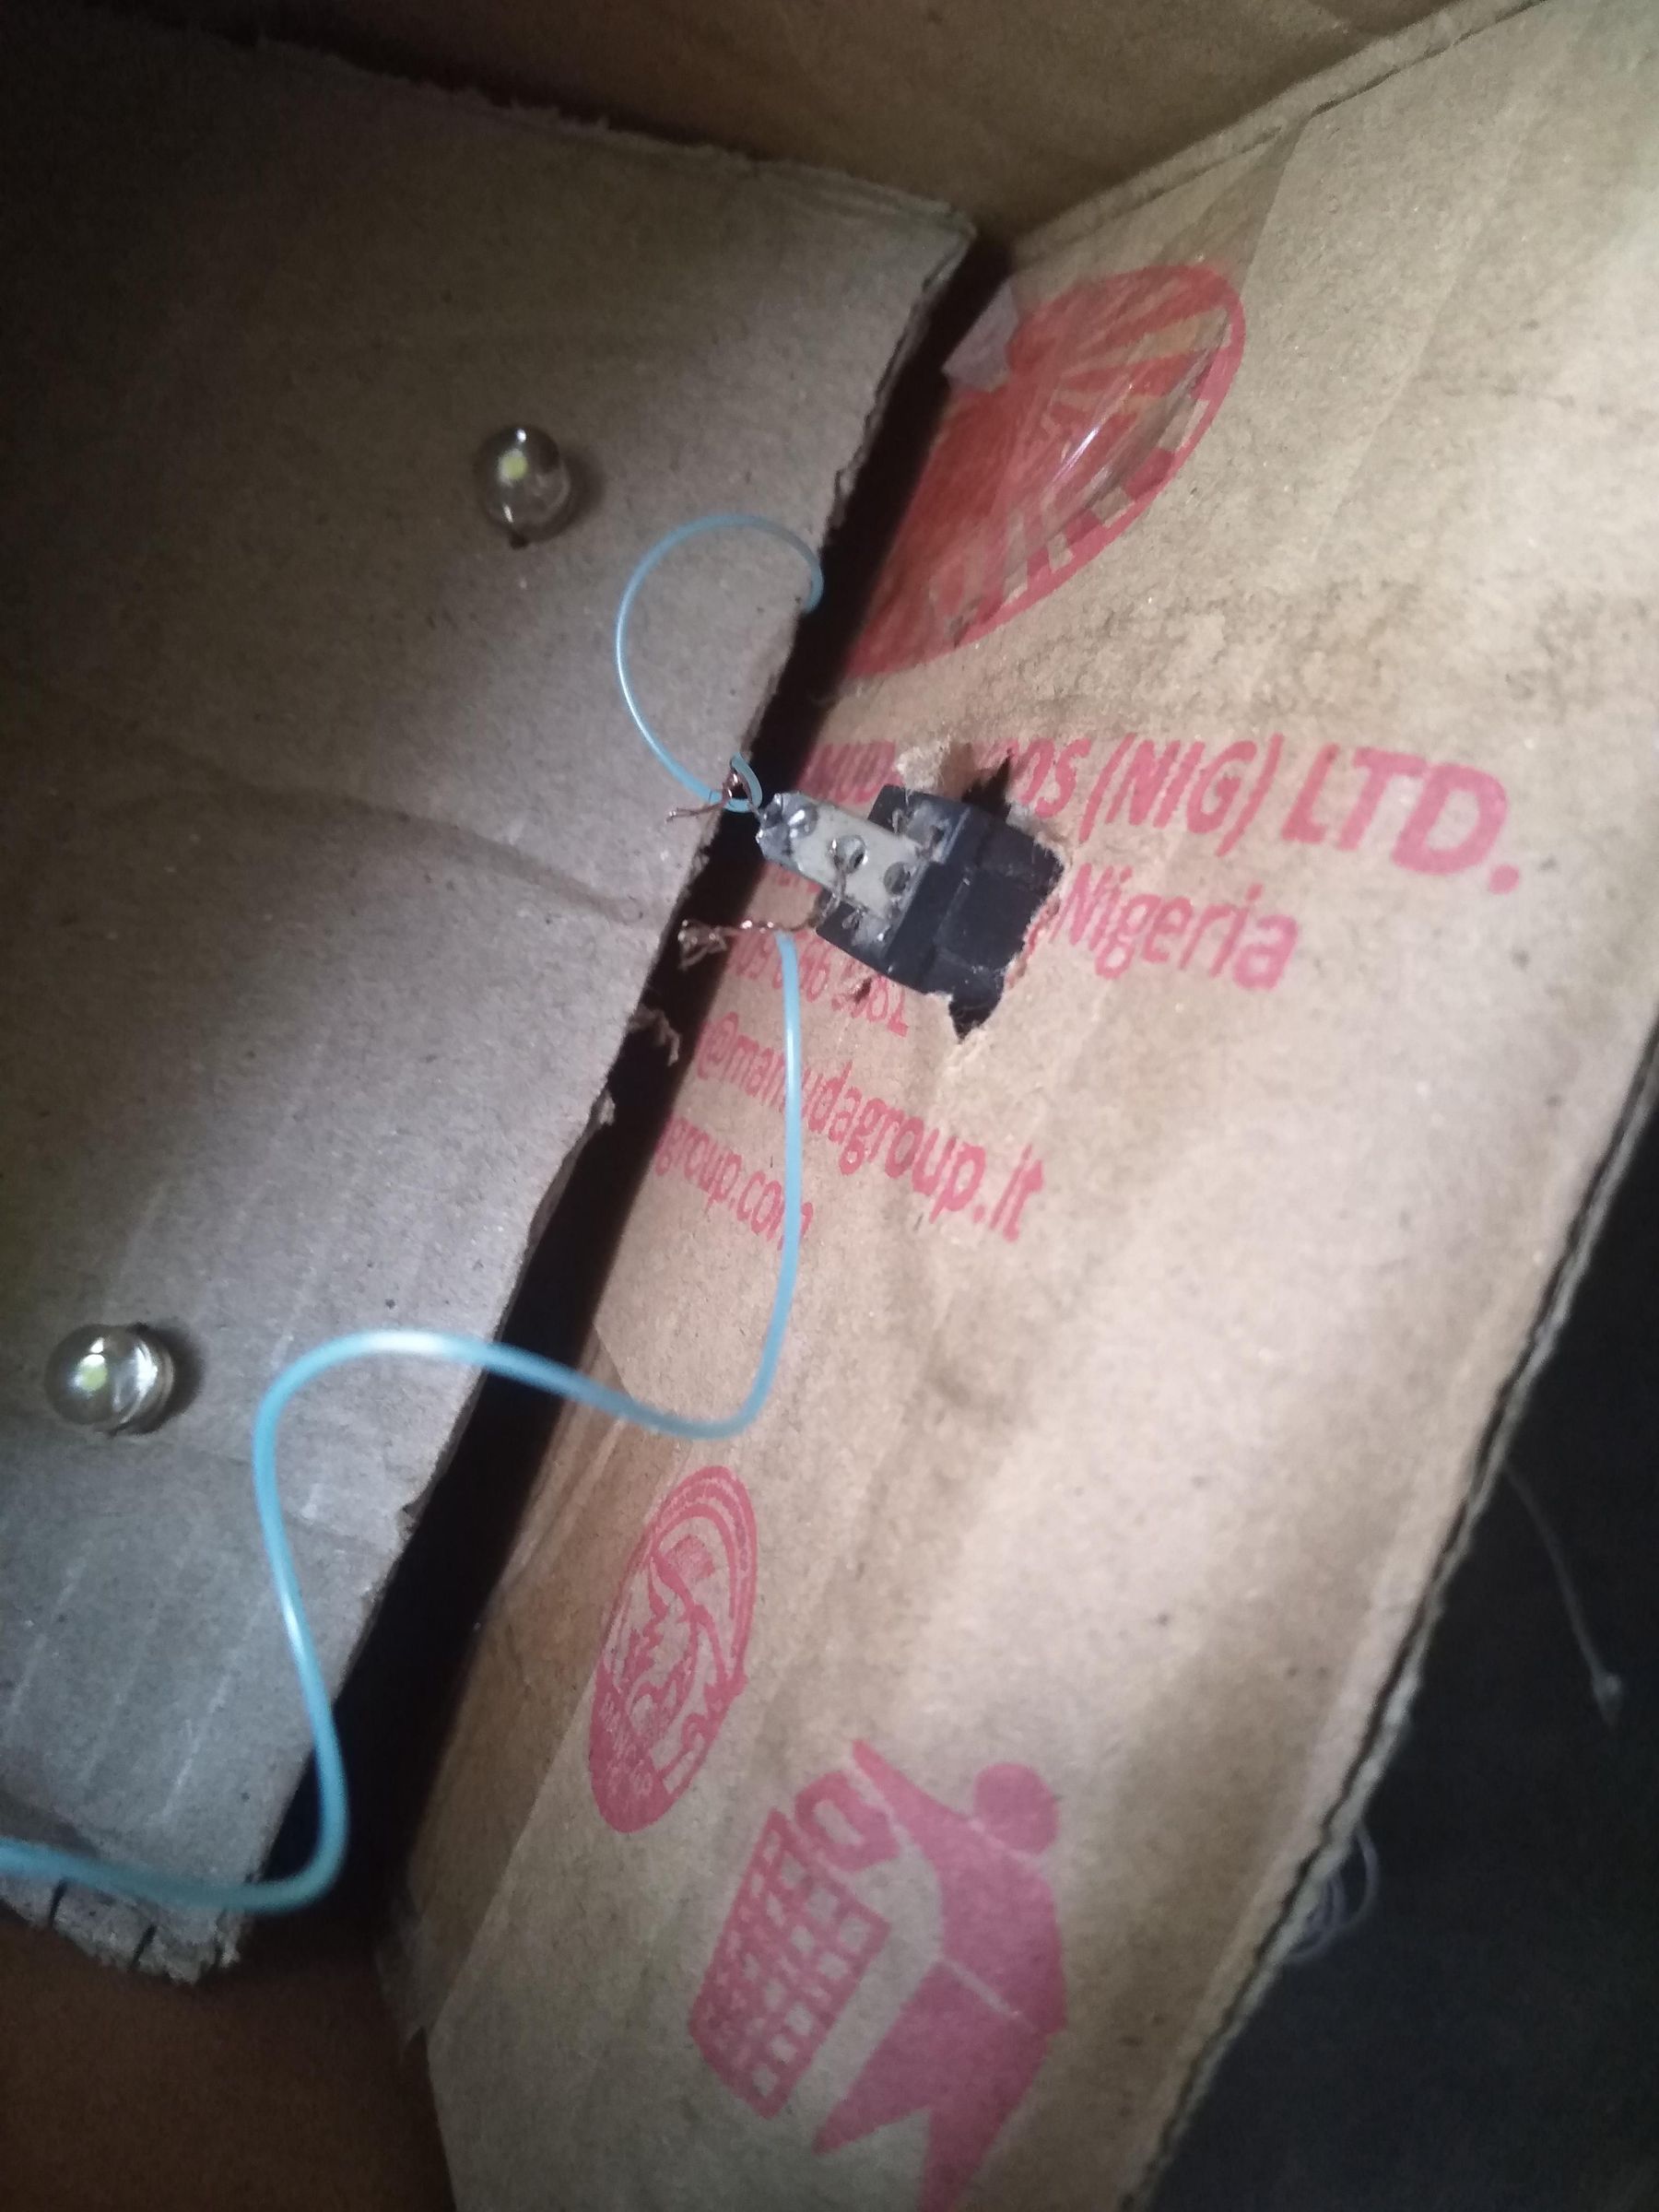
Install the Switch: Use your utility knife to cut a small rectangular slot on the side of the main cardboard box. Push the rocker switch through from the inside so the button faces outward.
Wire the Circuit
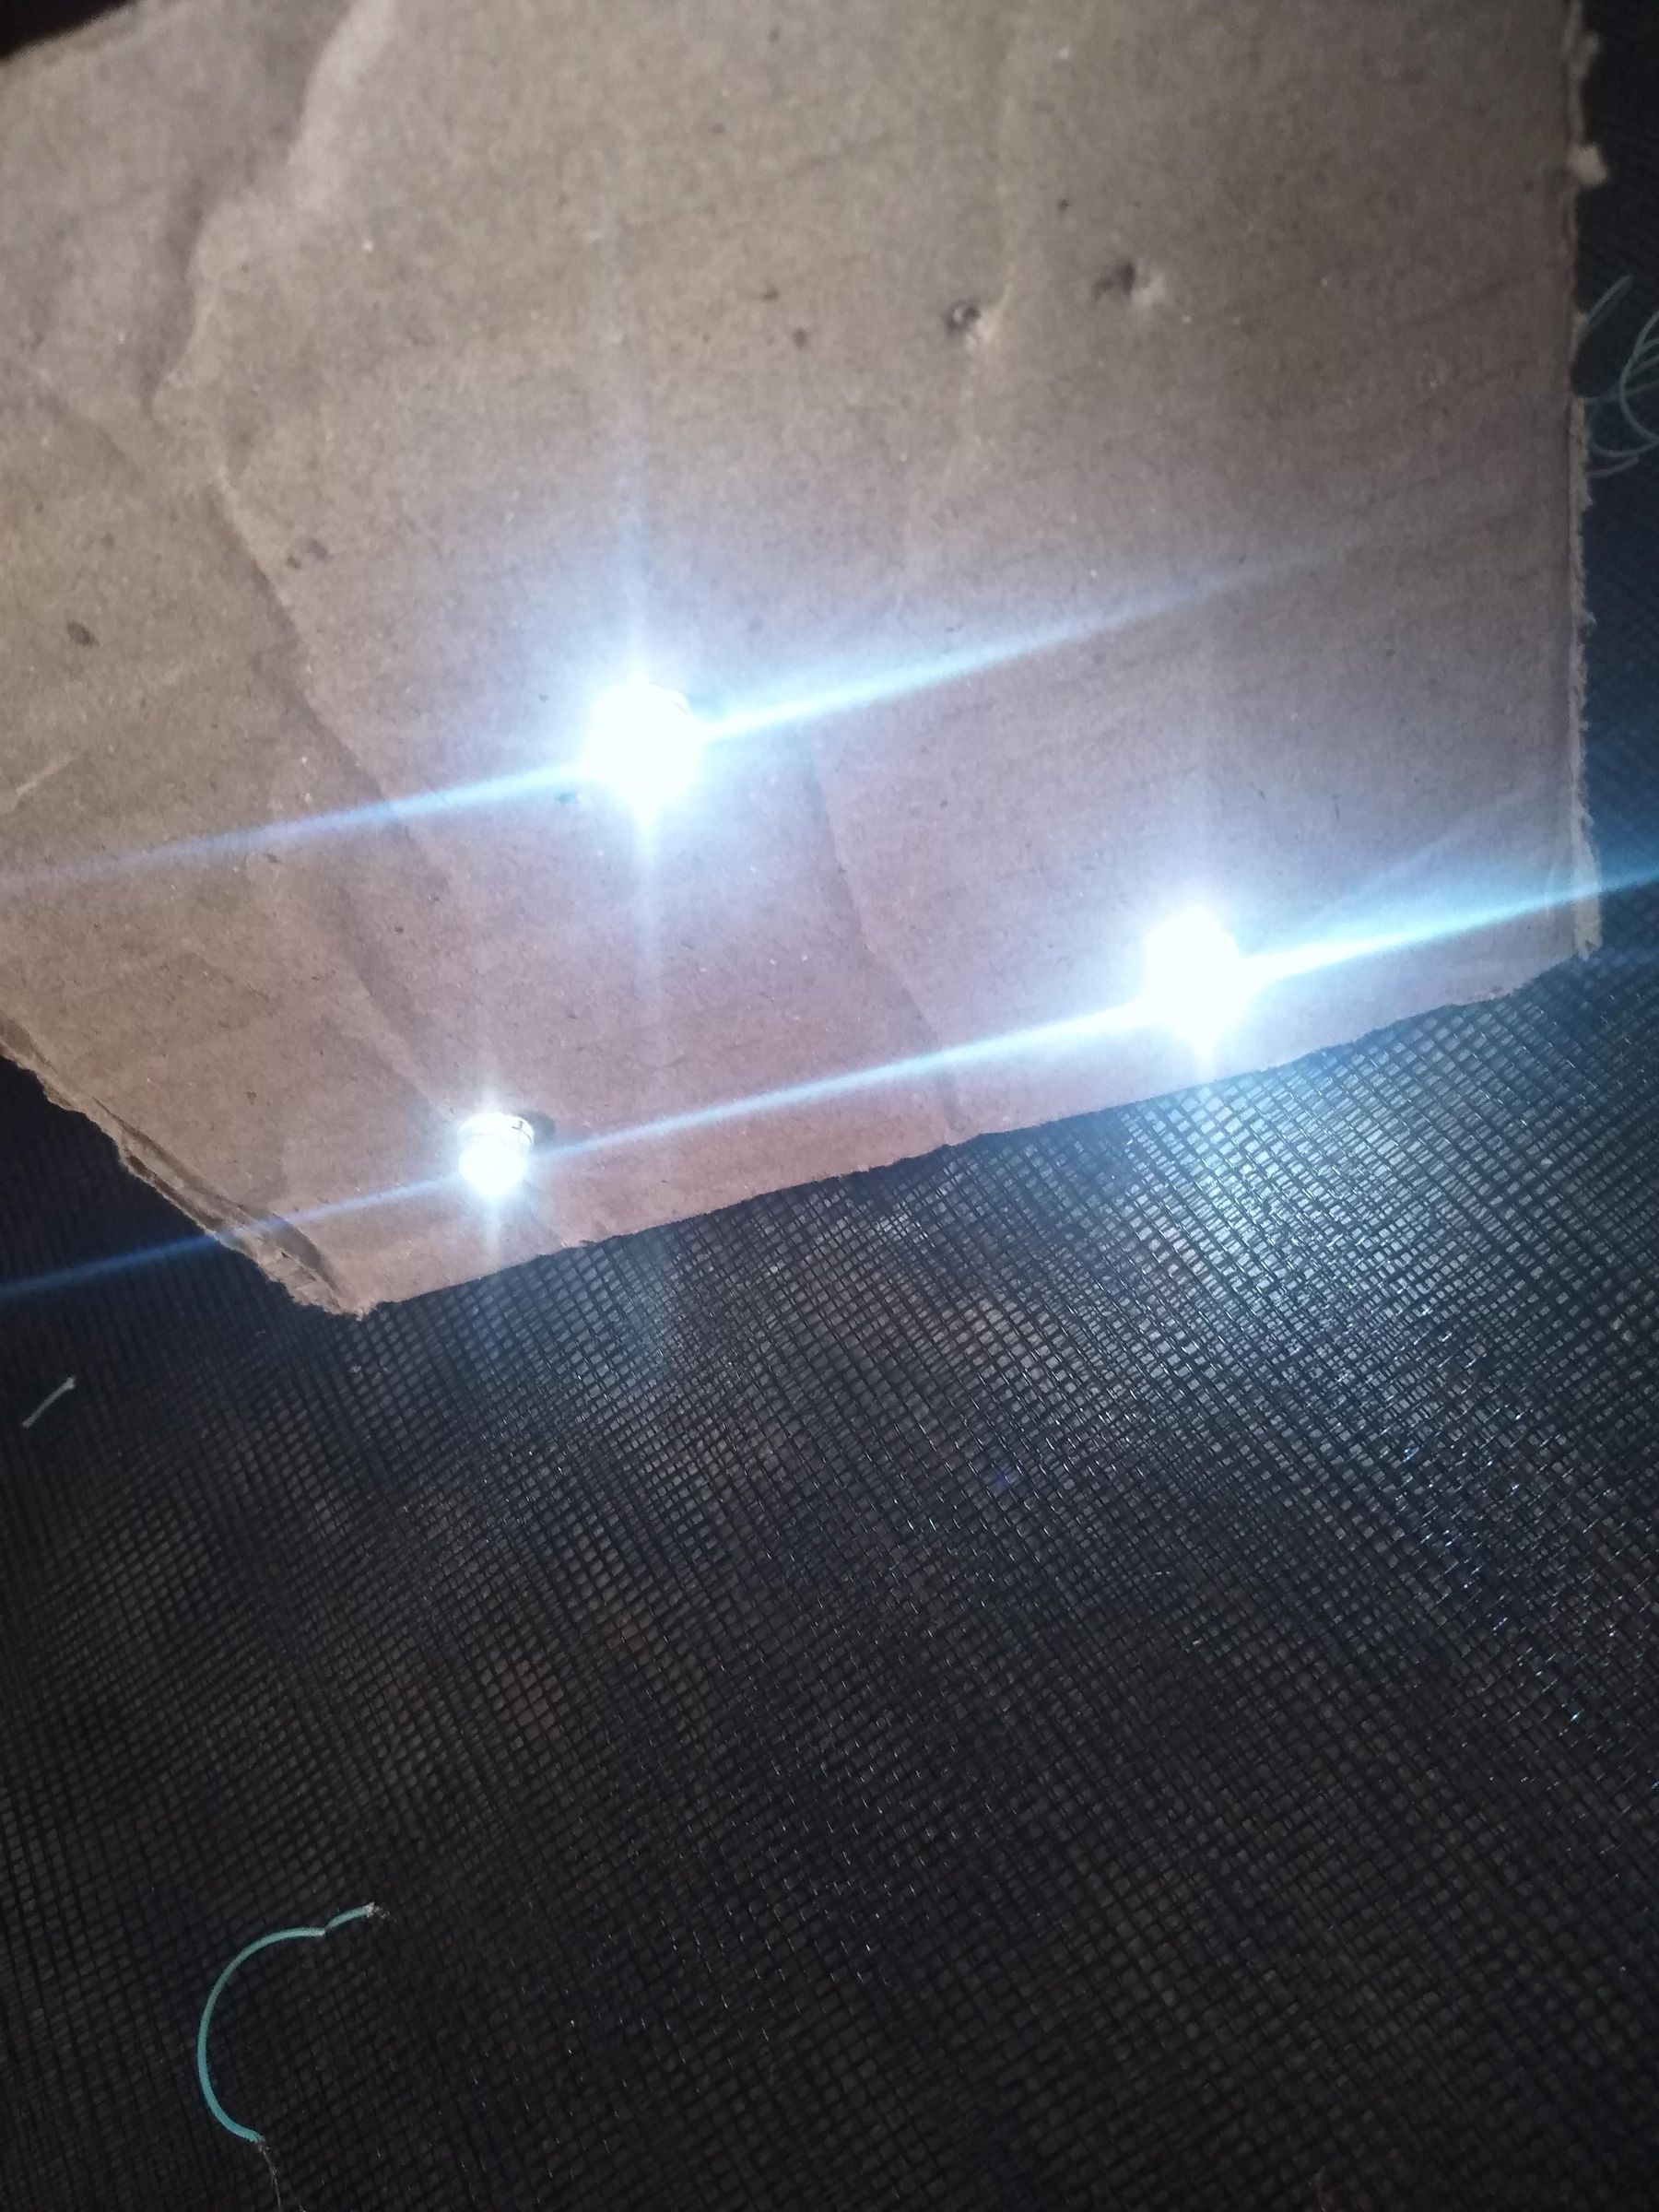
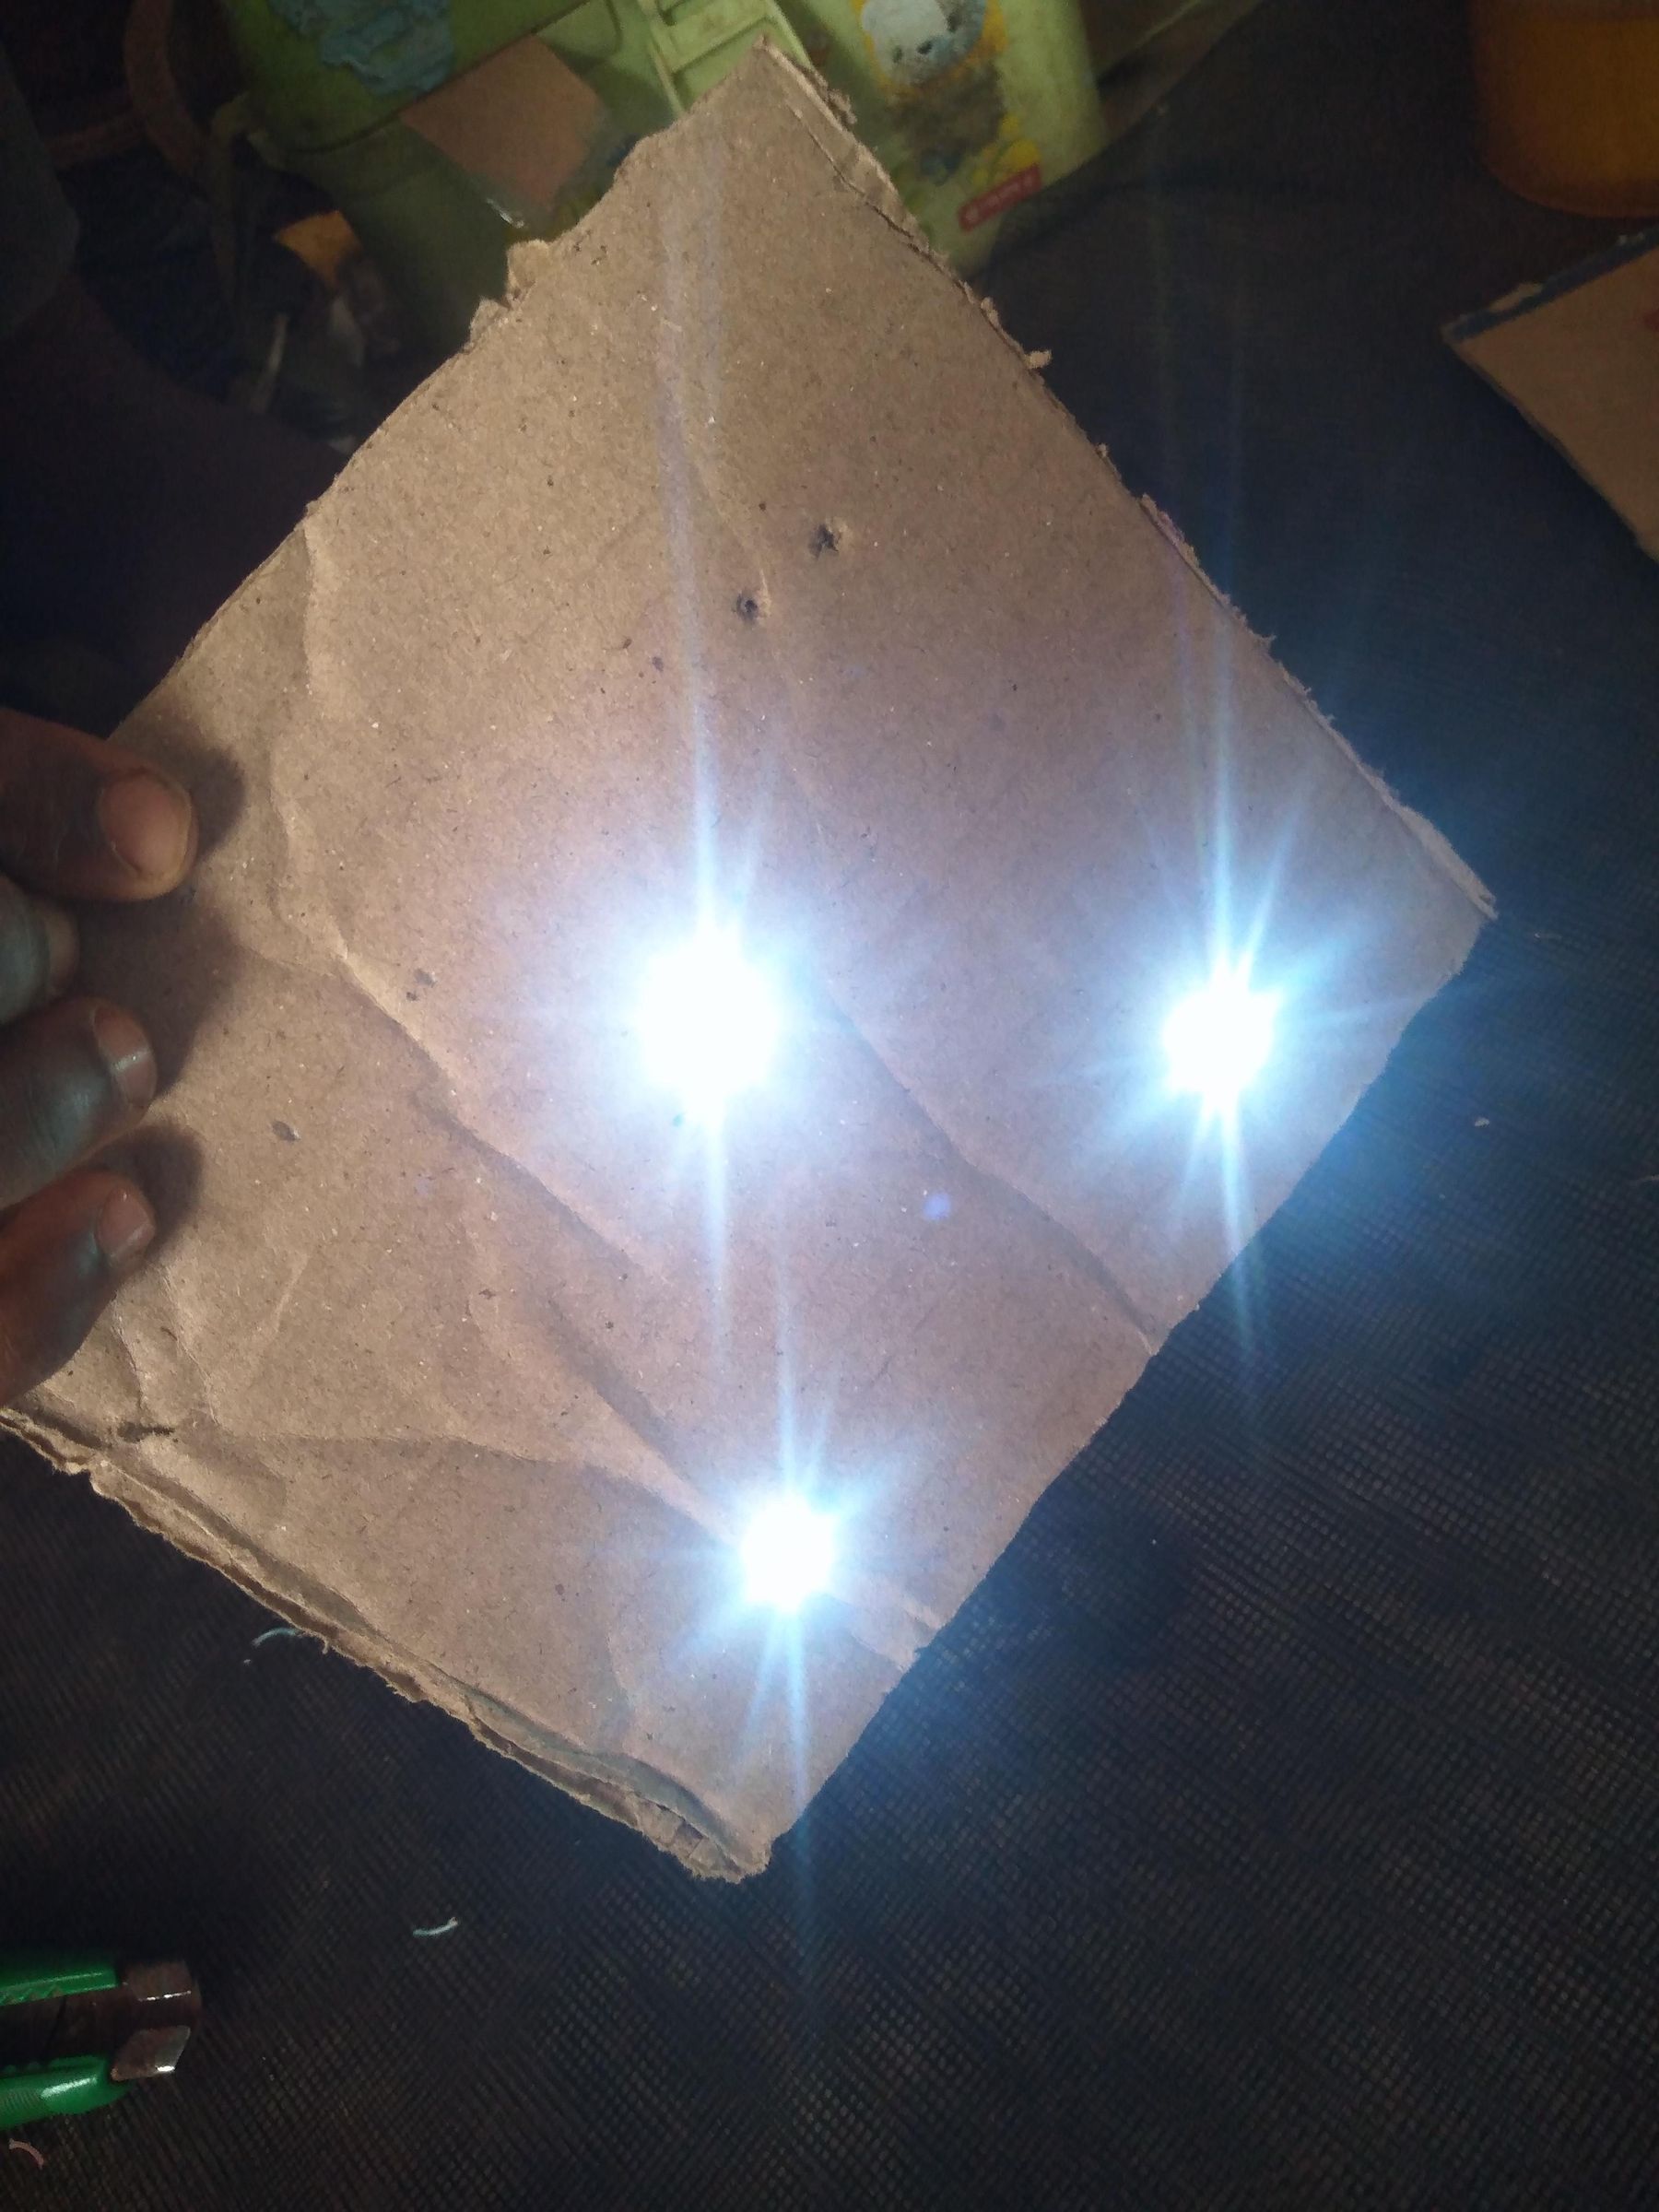
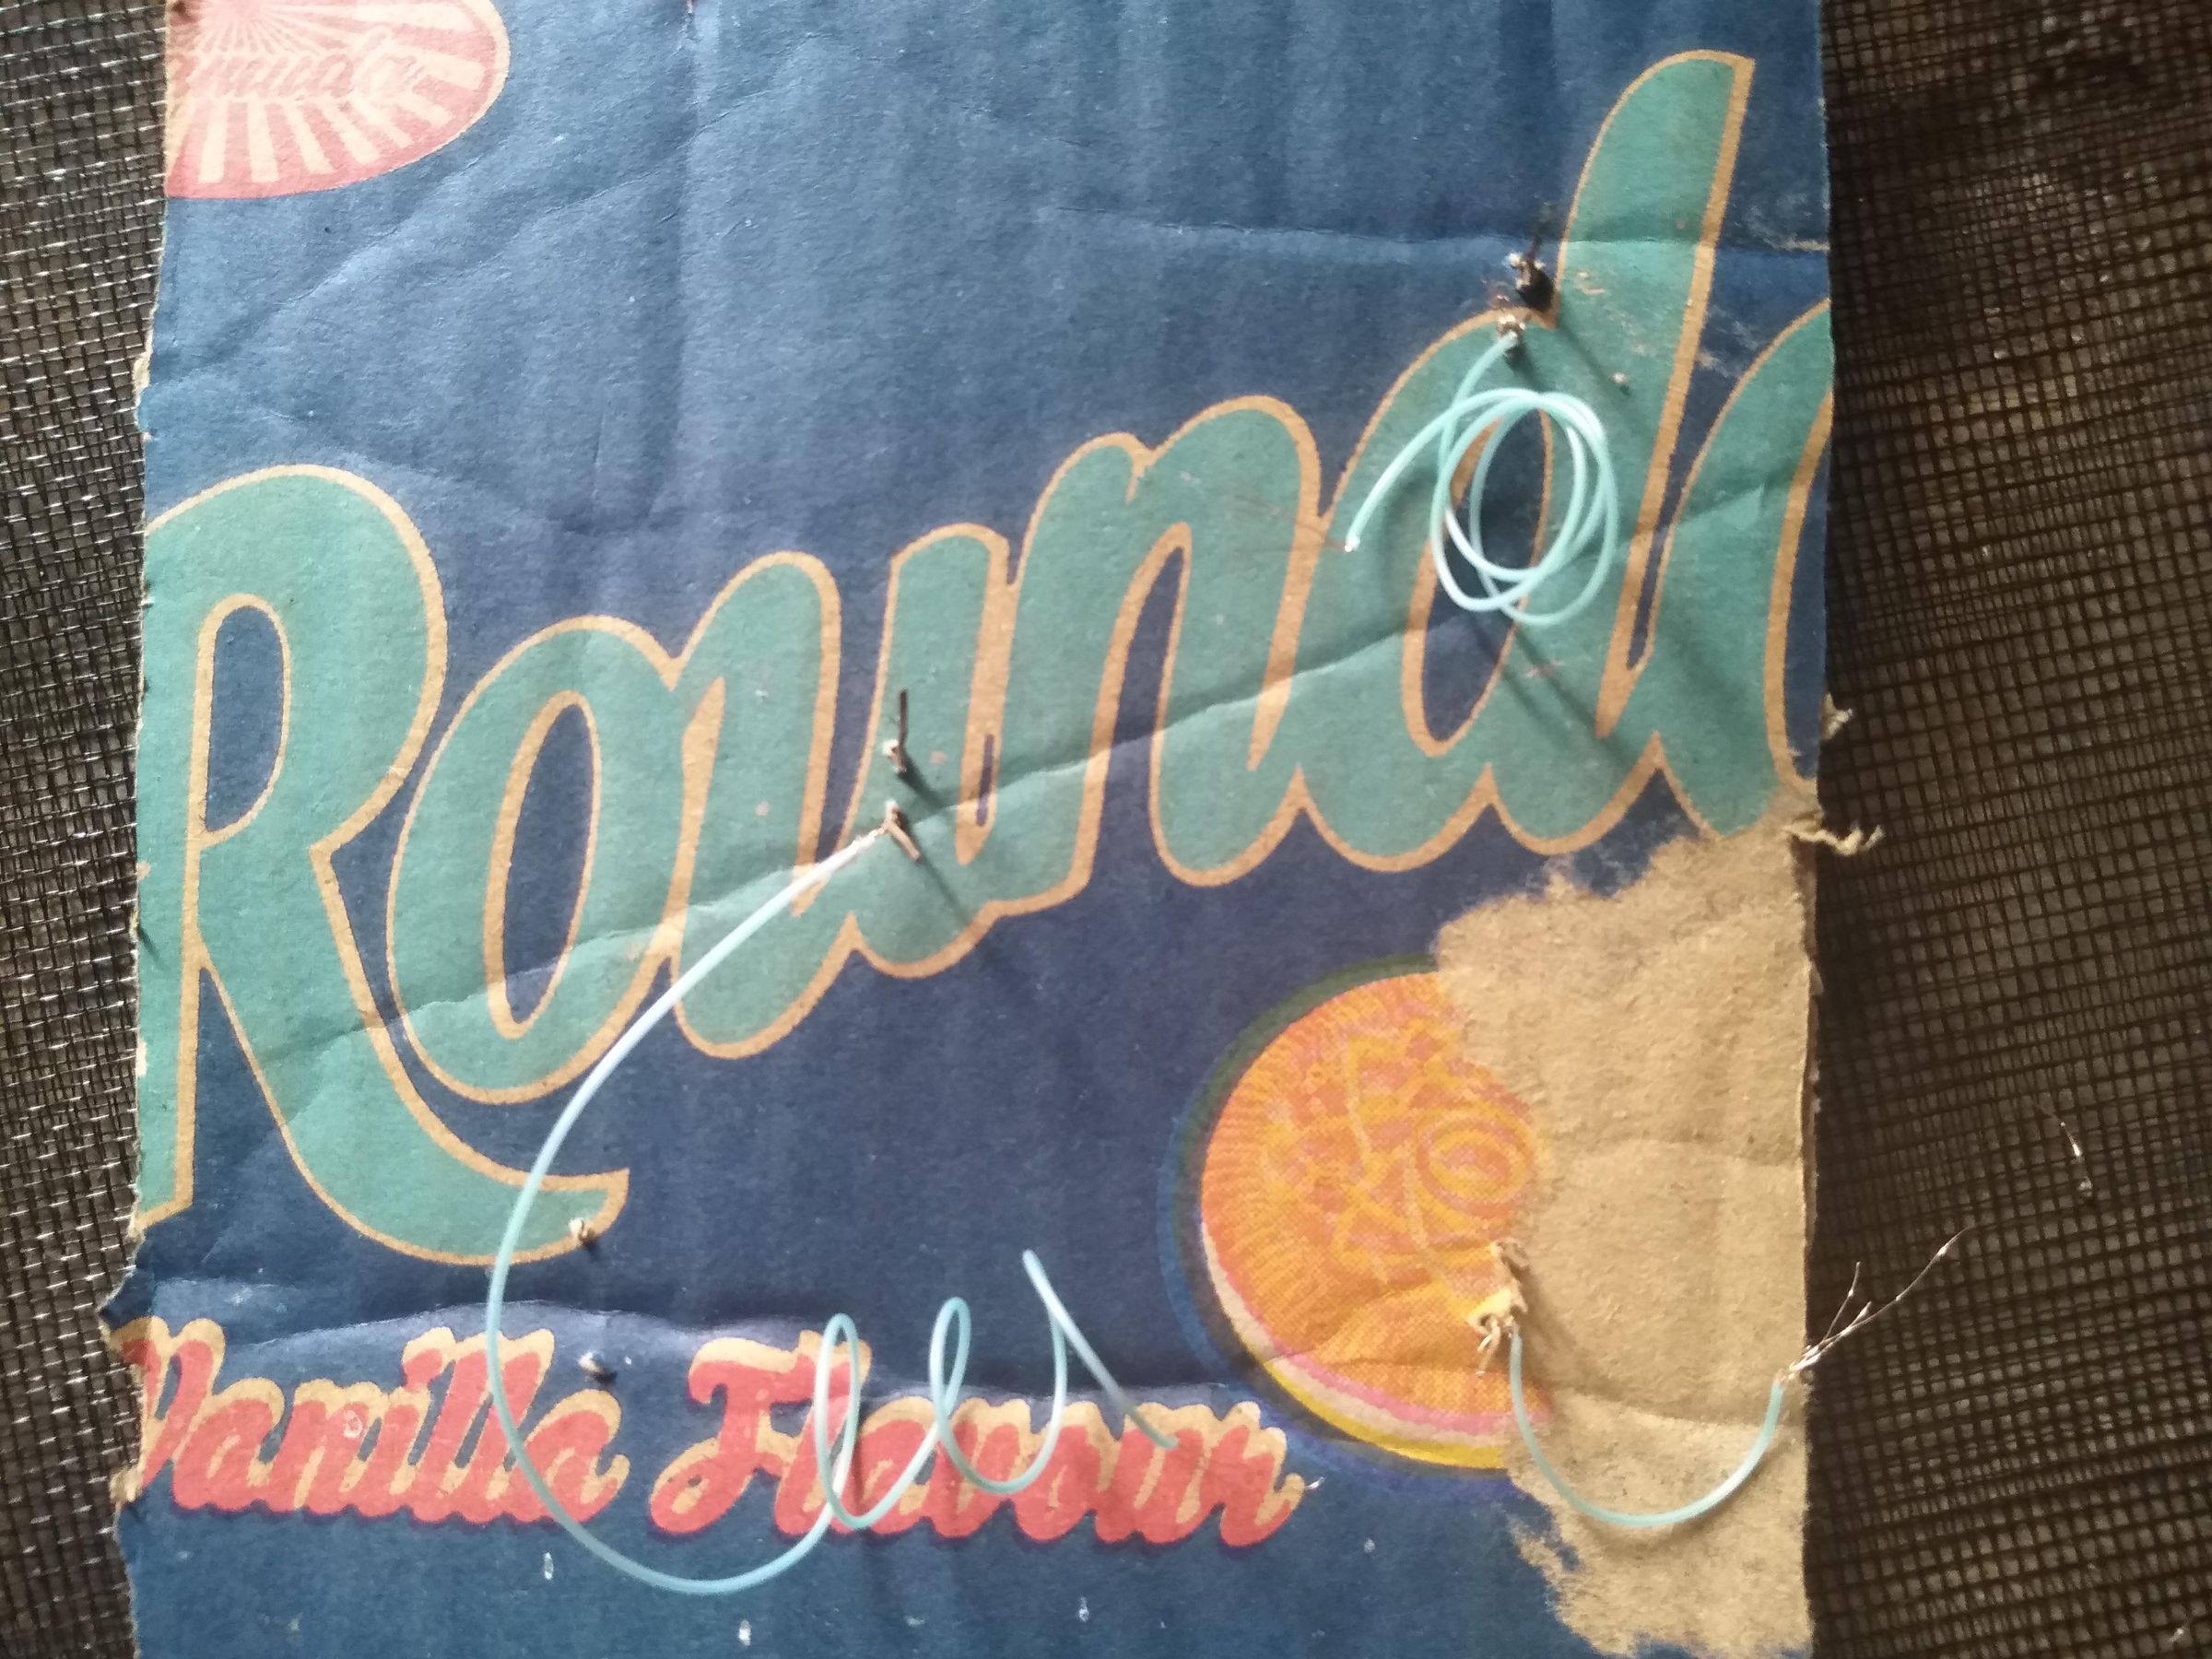
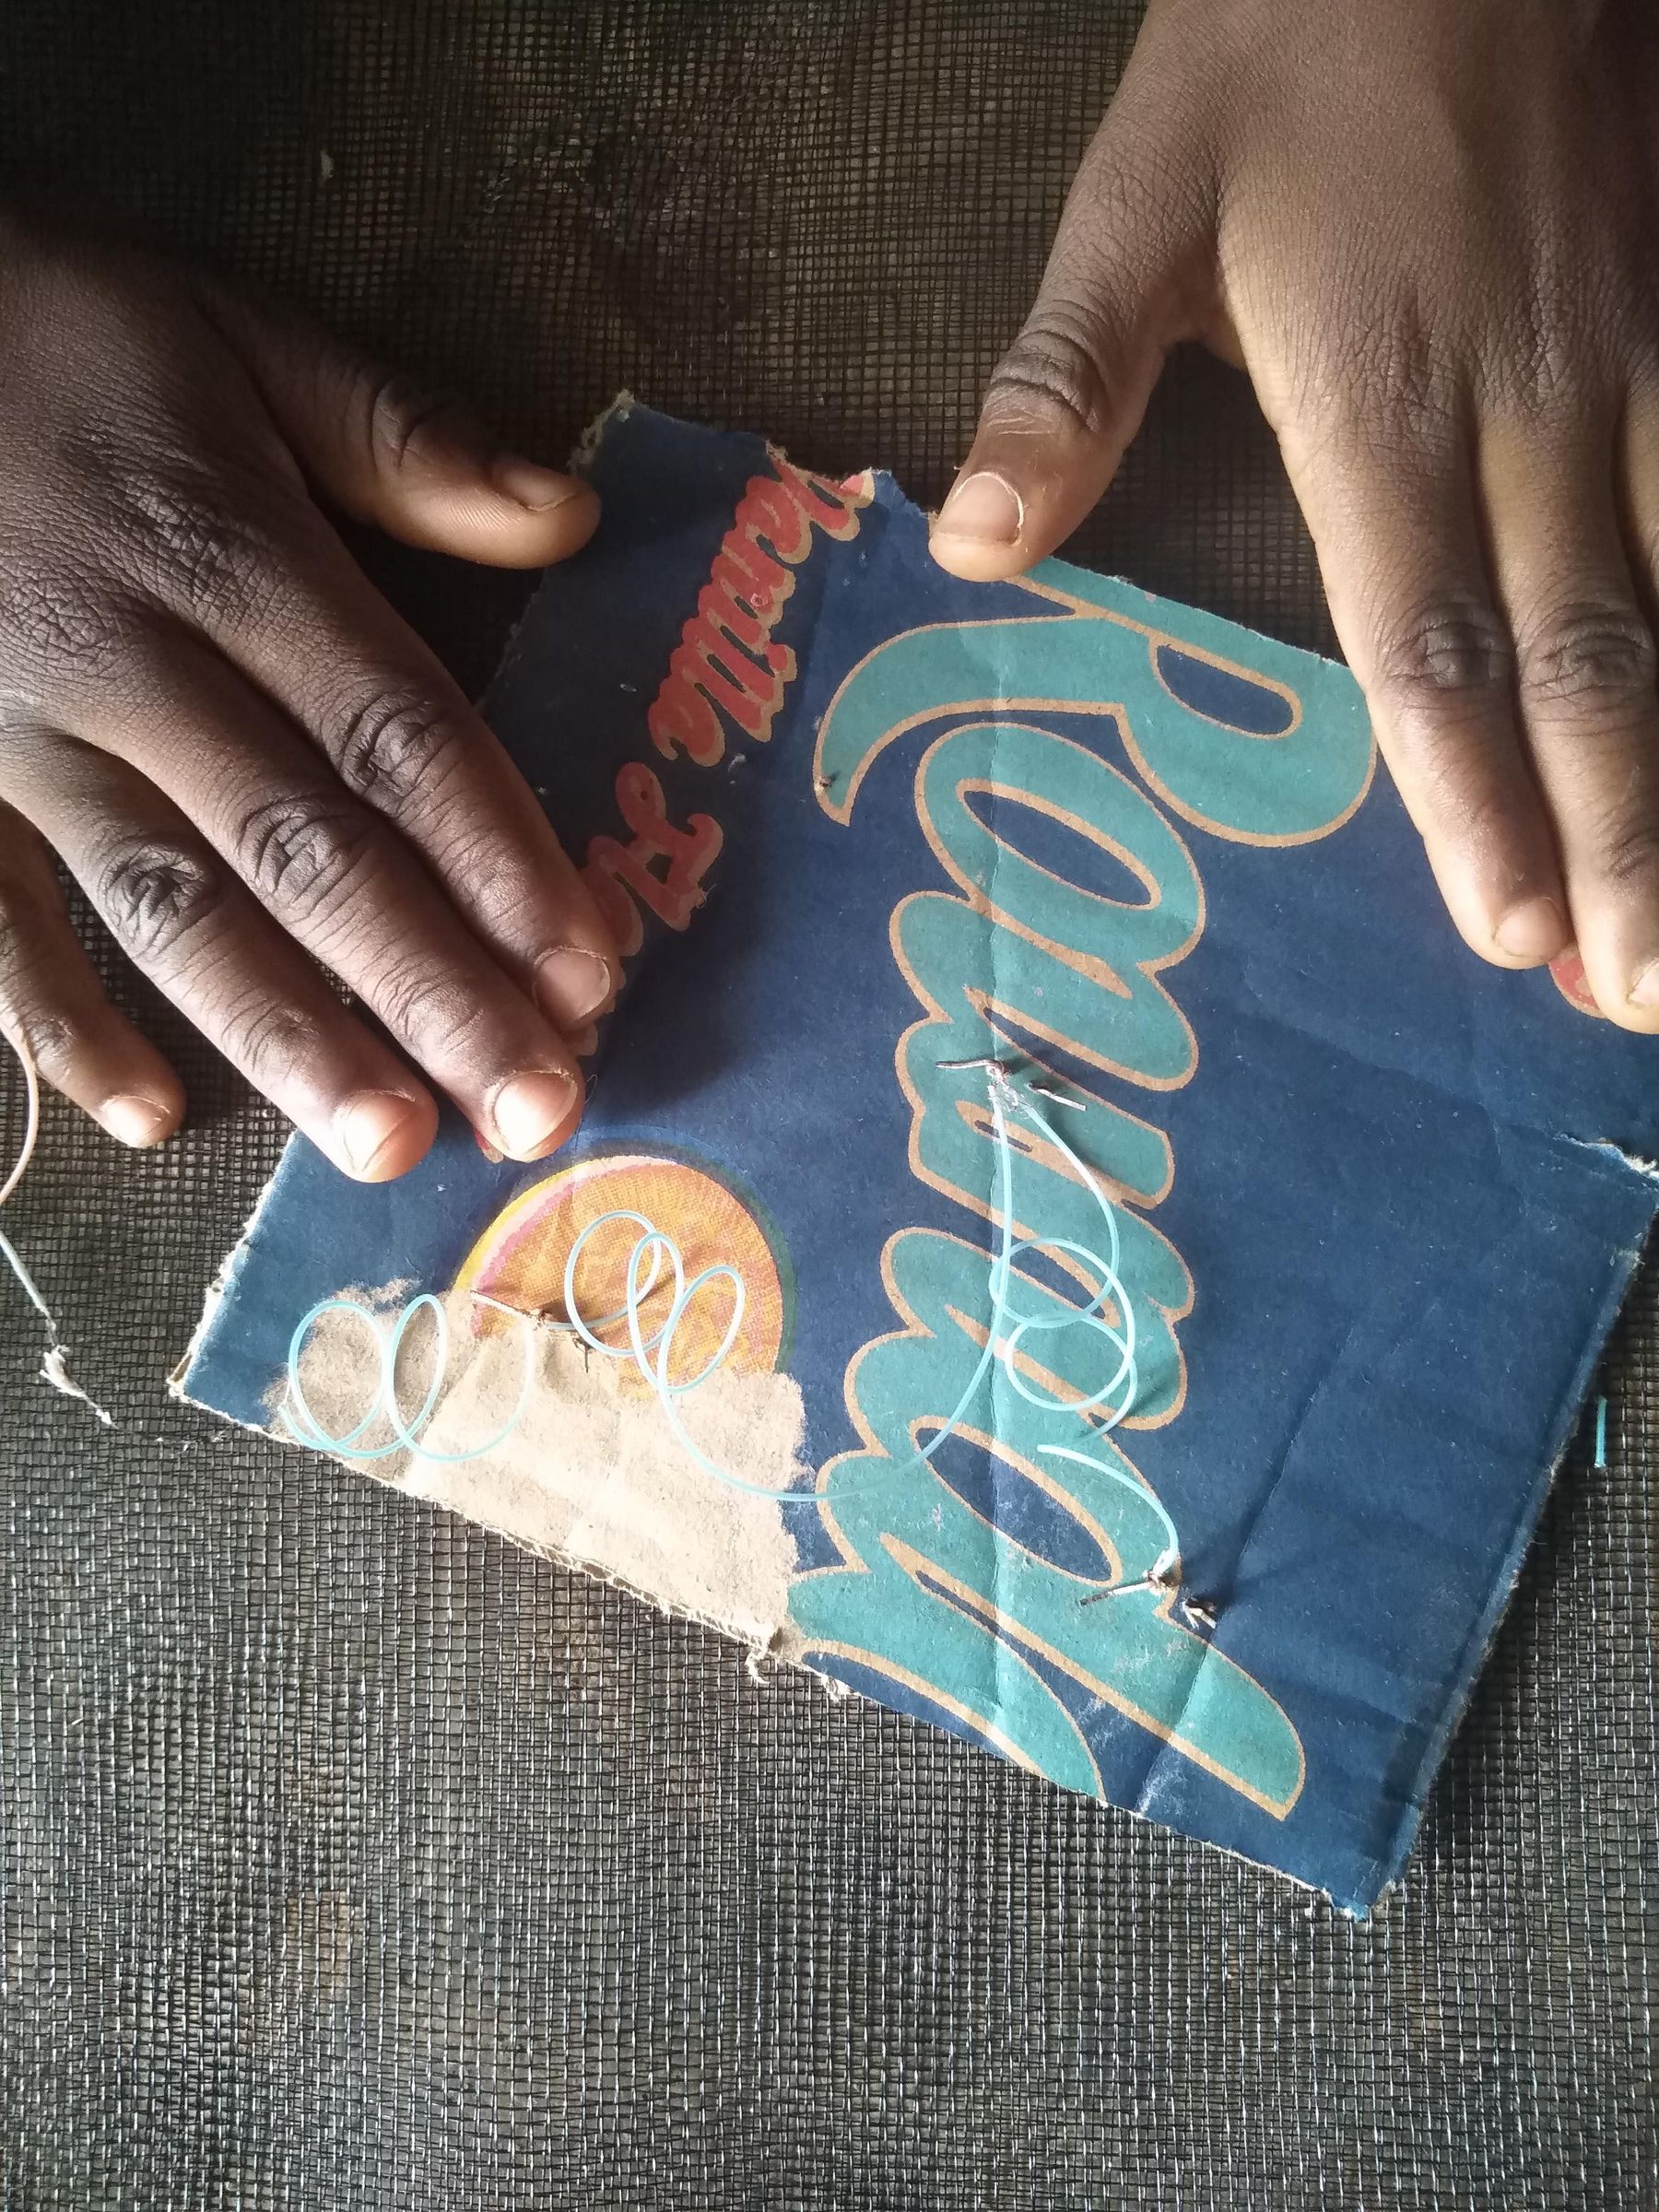
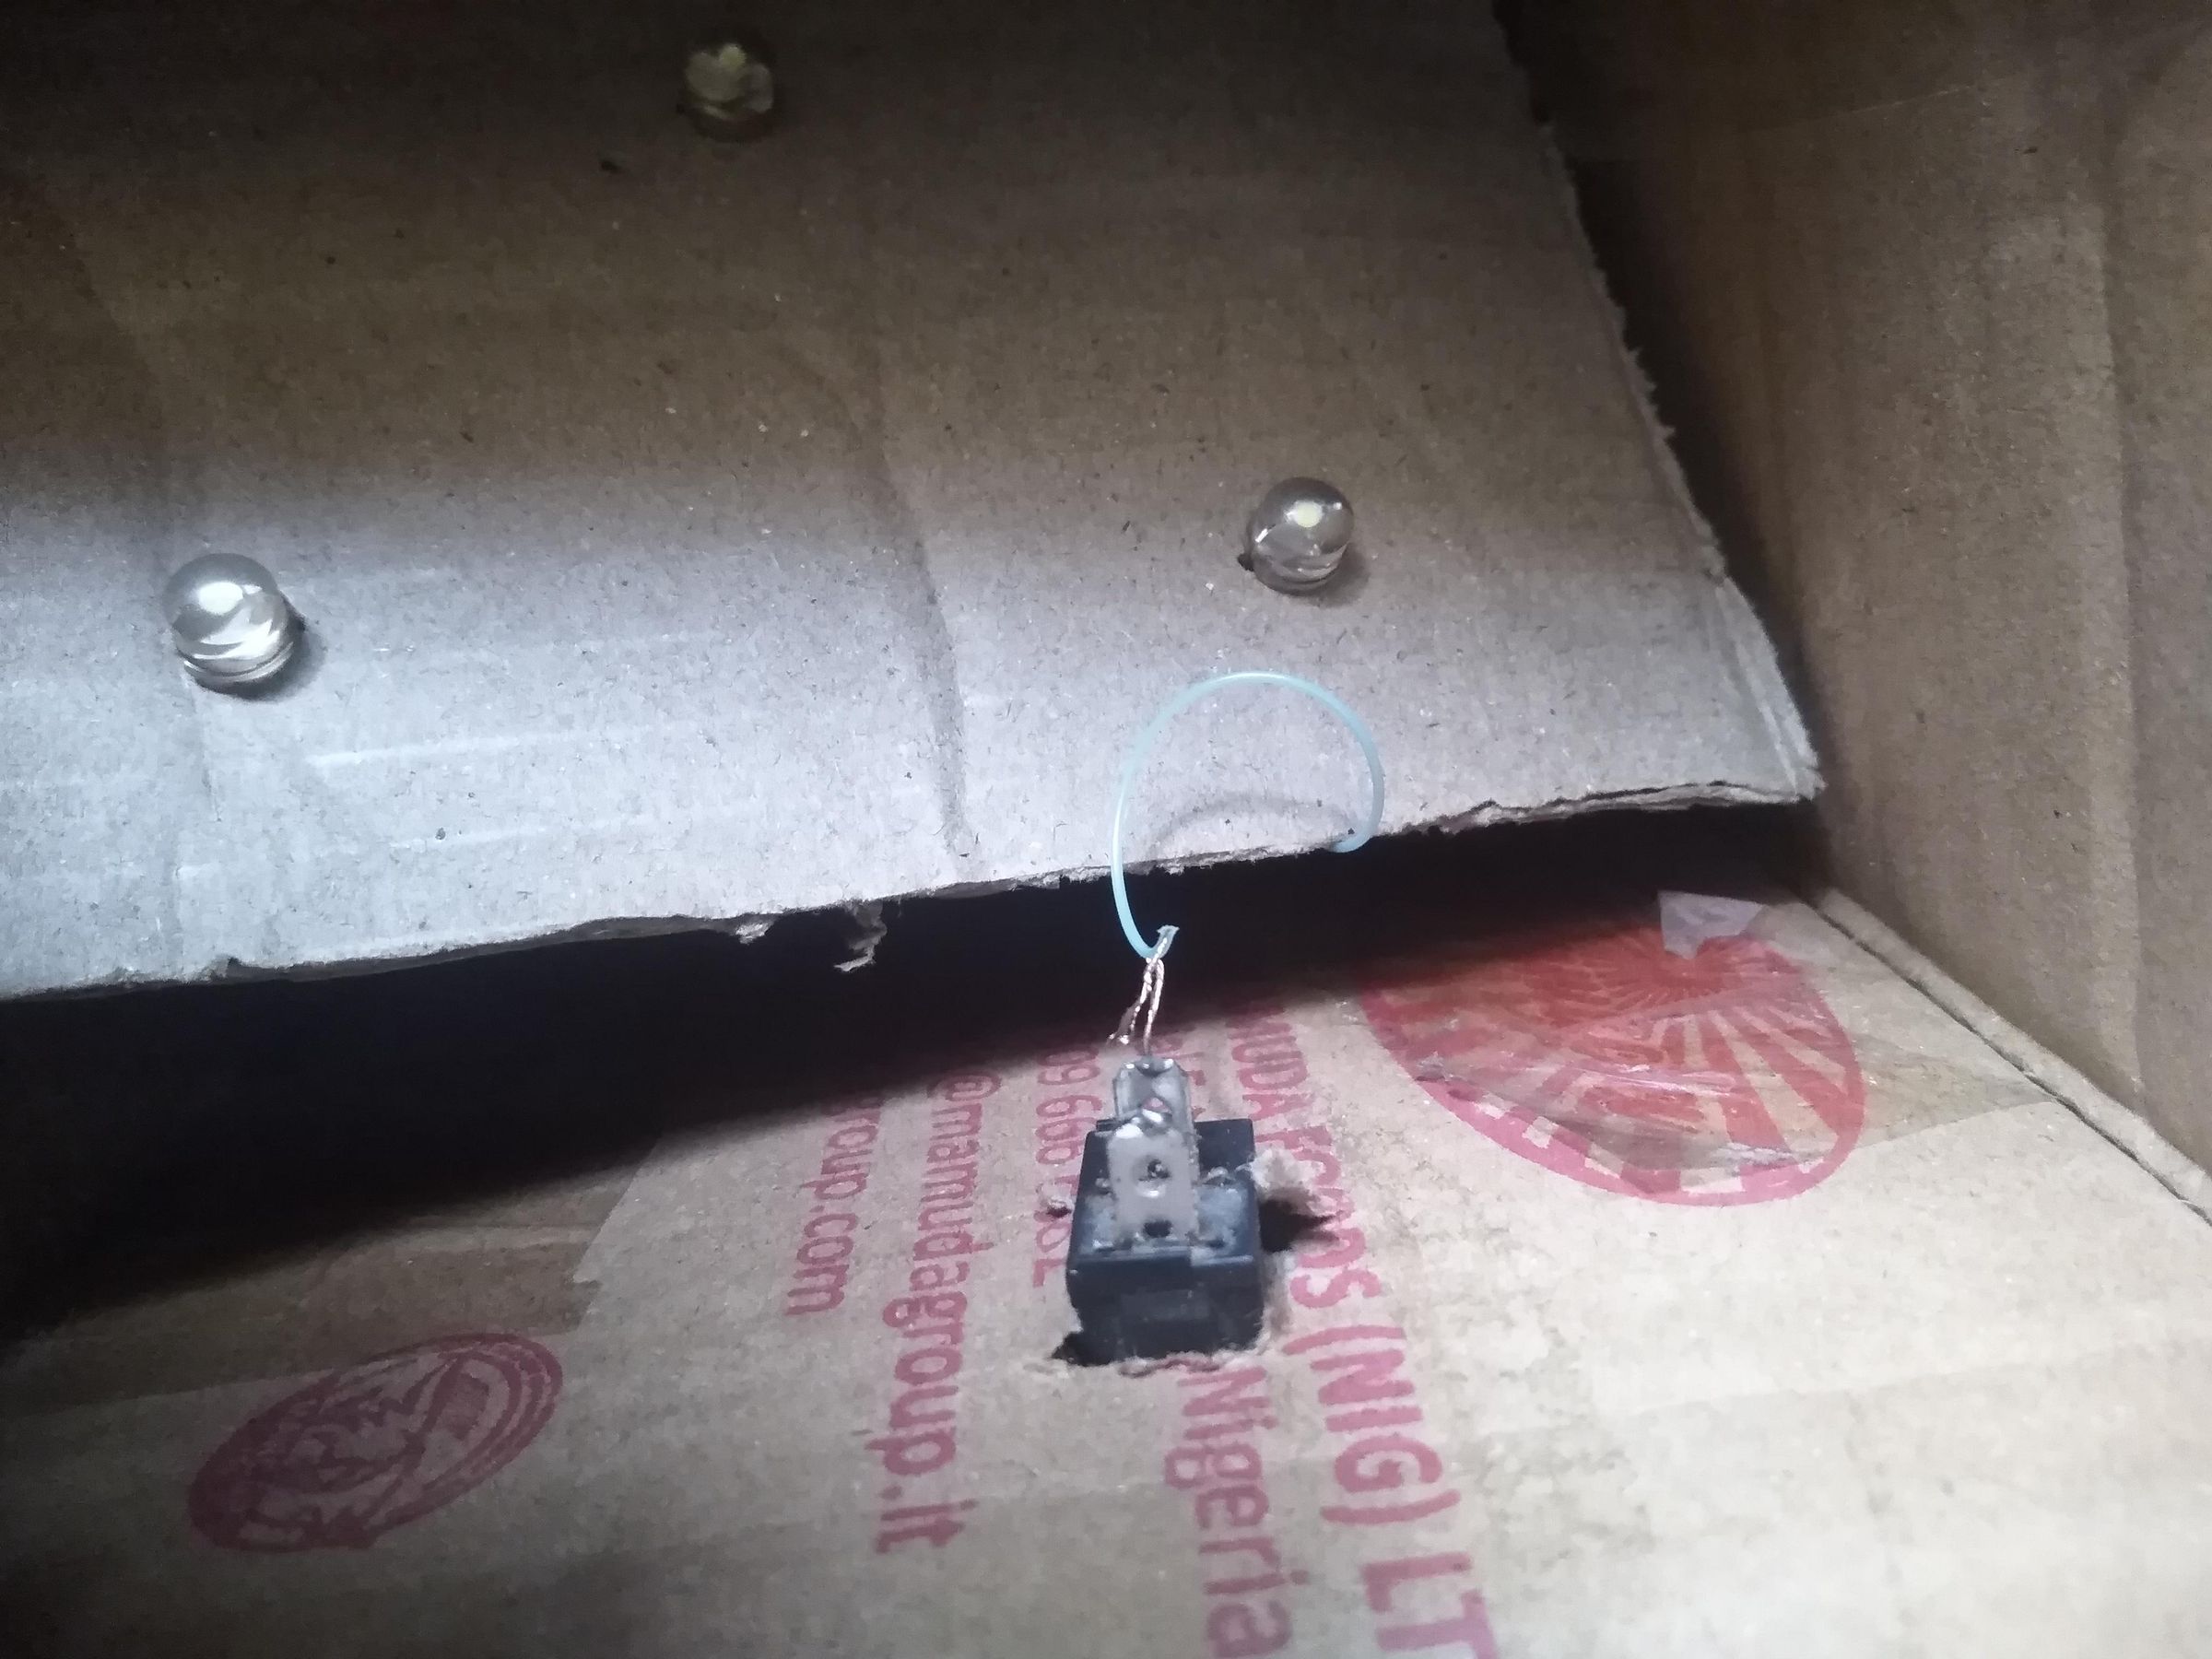
Connect the LEDs: On the inside of the board, connect the legs of the LEDs together (positive to positive, negative to negative for a parallel setup, ensuring the voltage matches your battery supply).
Wire the Switch: Run a wire from the positive terminal of your battery pack to one pin of the rocker switch.
Complete the Loop: Run a second wire from the remaining pin of the switch to the positive side of your LED network. Finally, connect the negative lead of the battery pack directly to the negative side of the LEDs.
Make sure all exposed wire twists are secure and insulated from touching each other.
Assemble and Seal
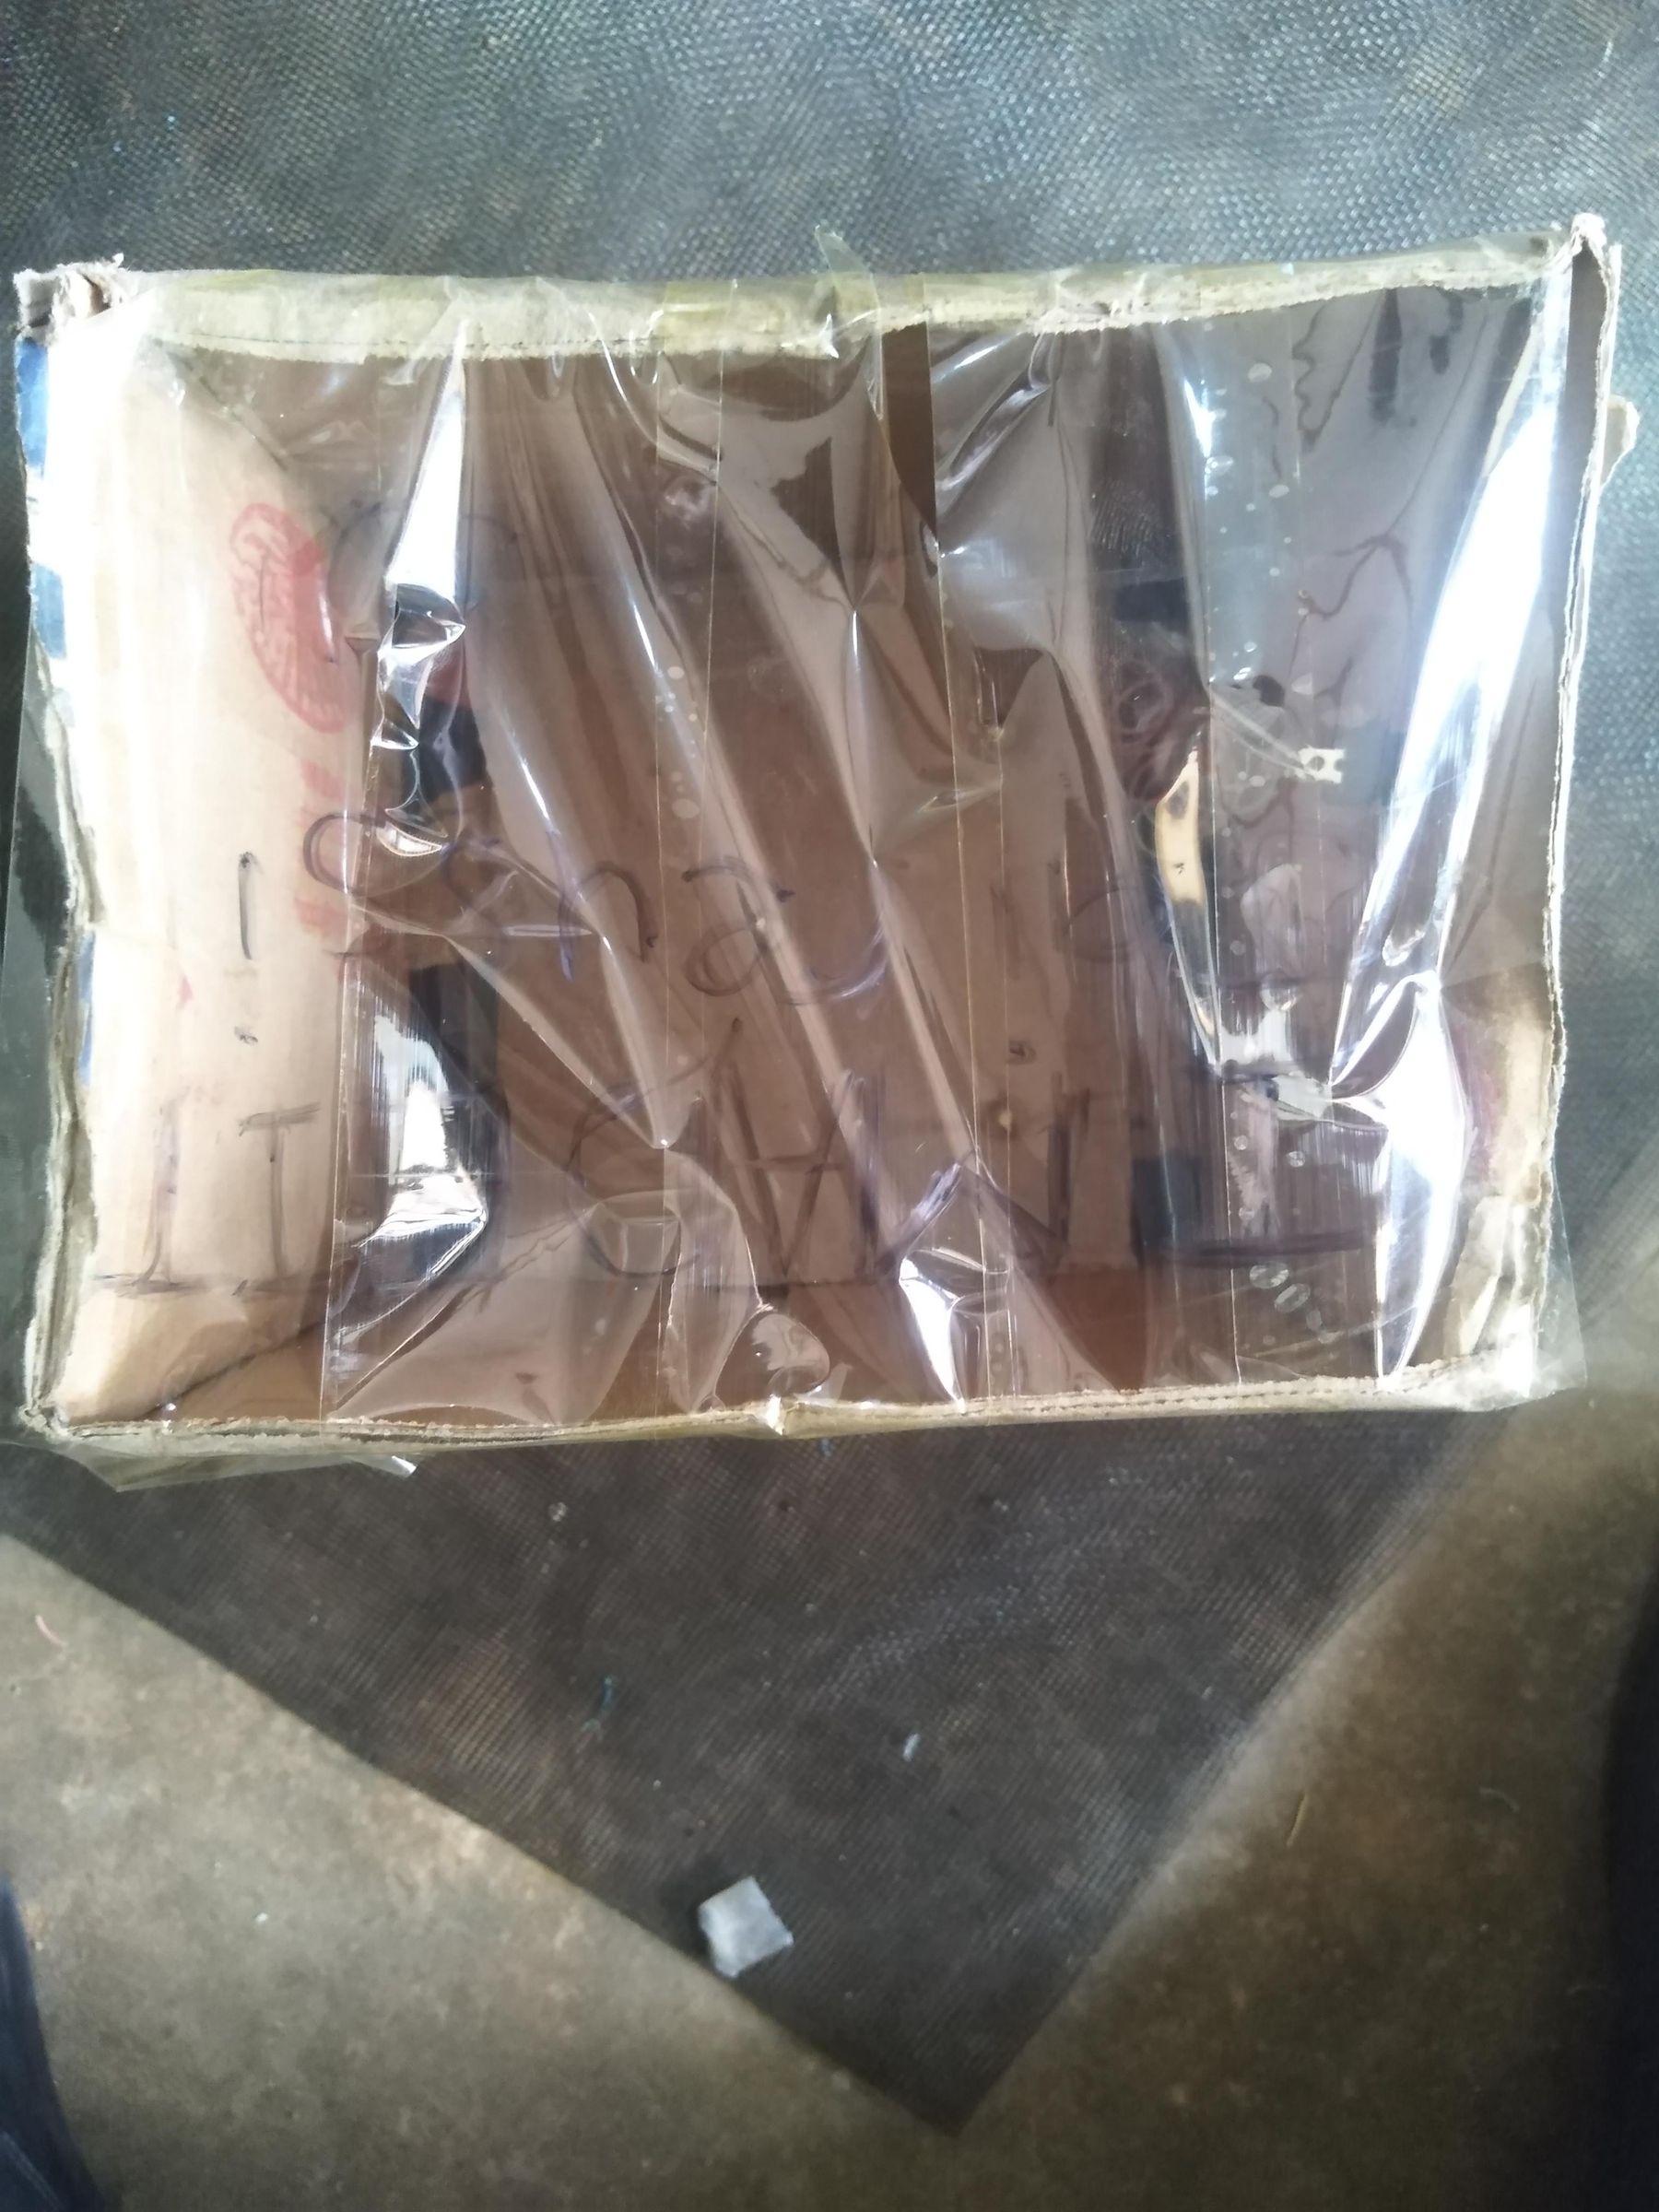
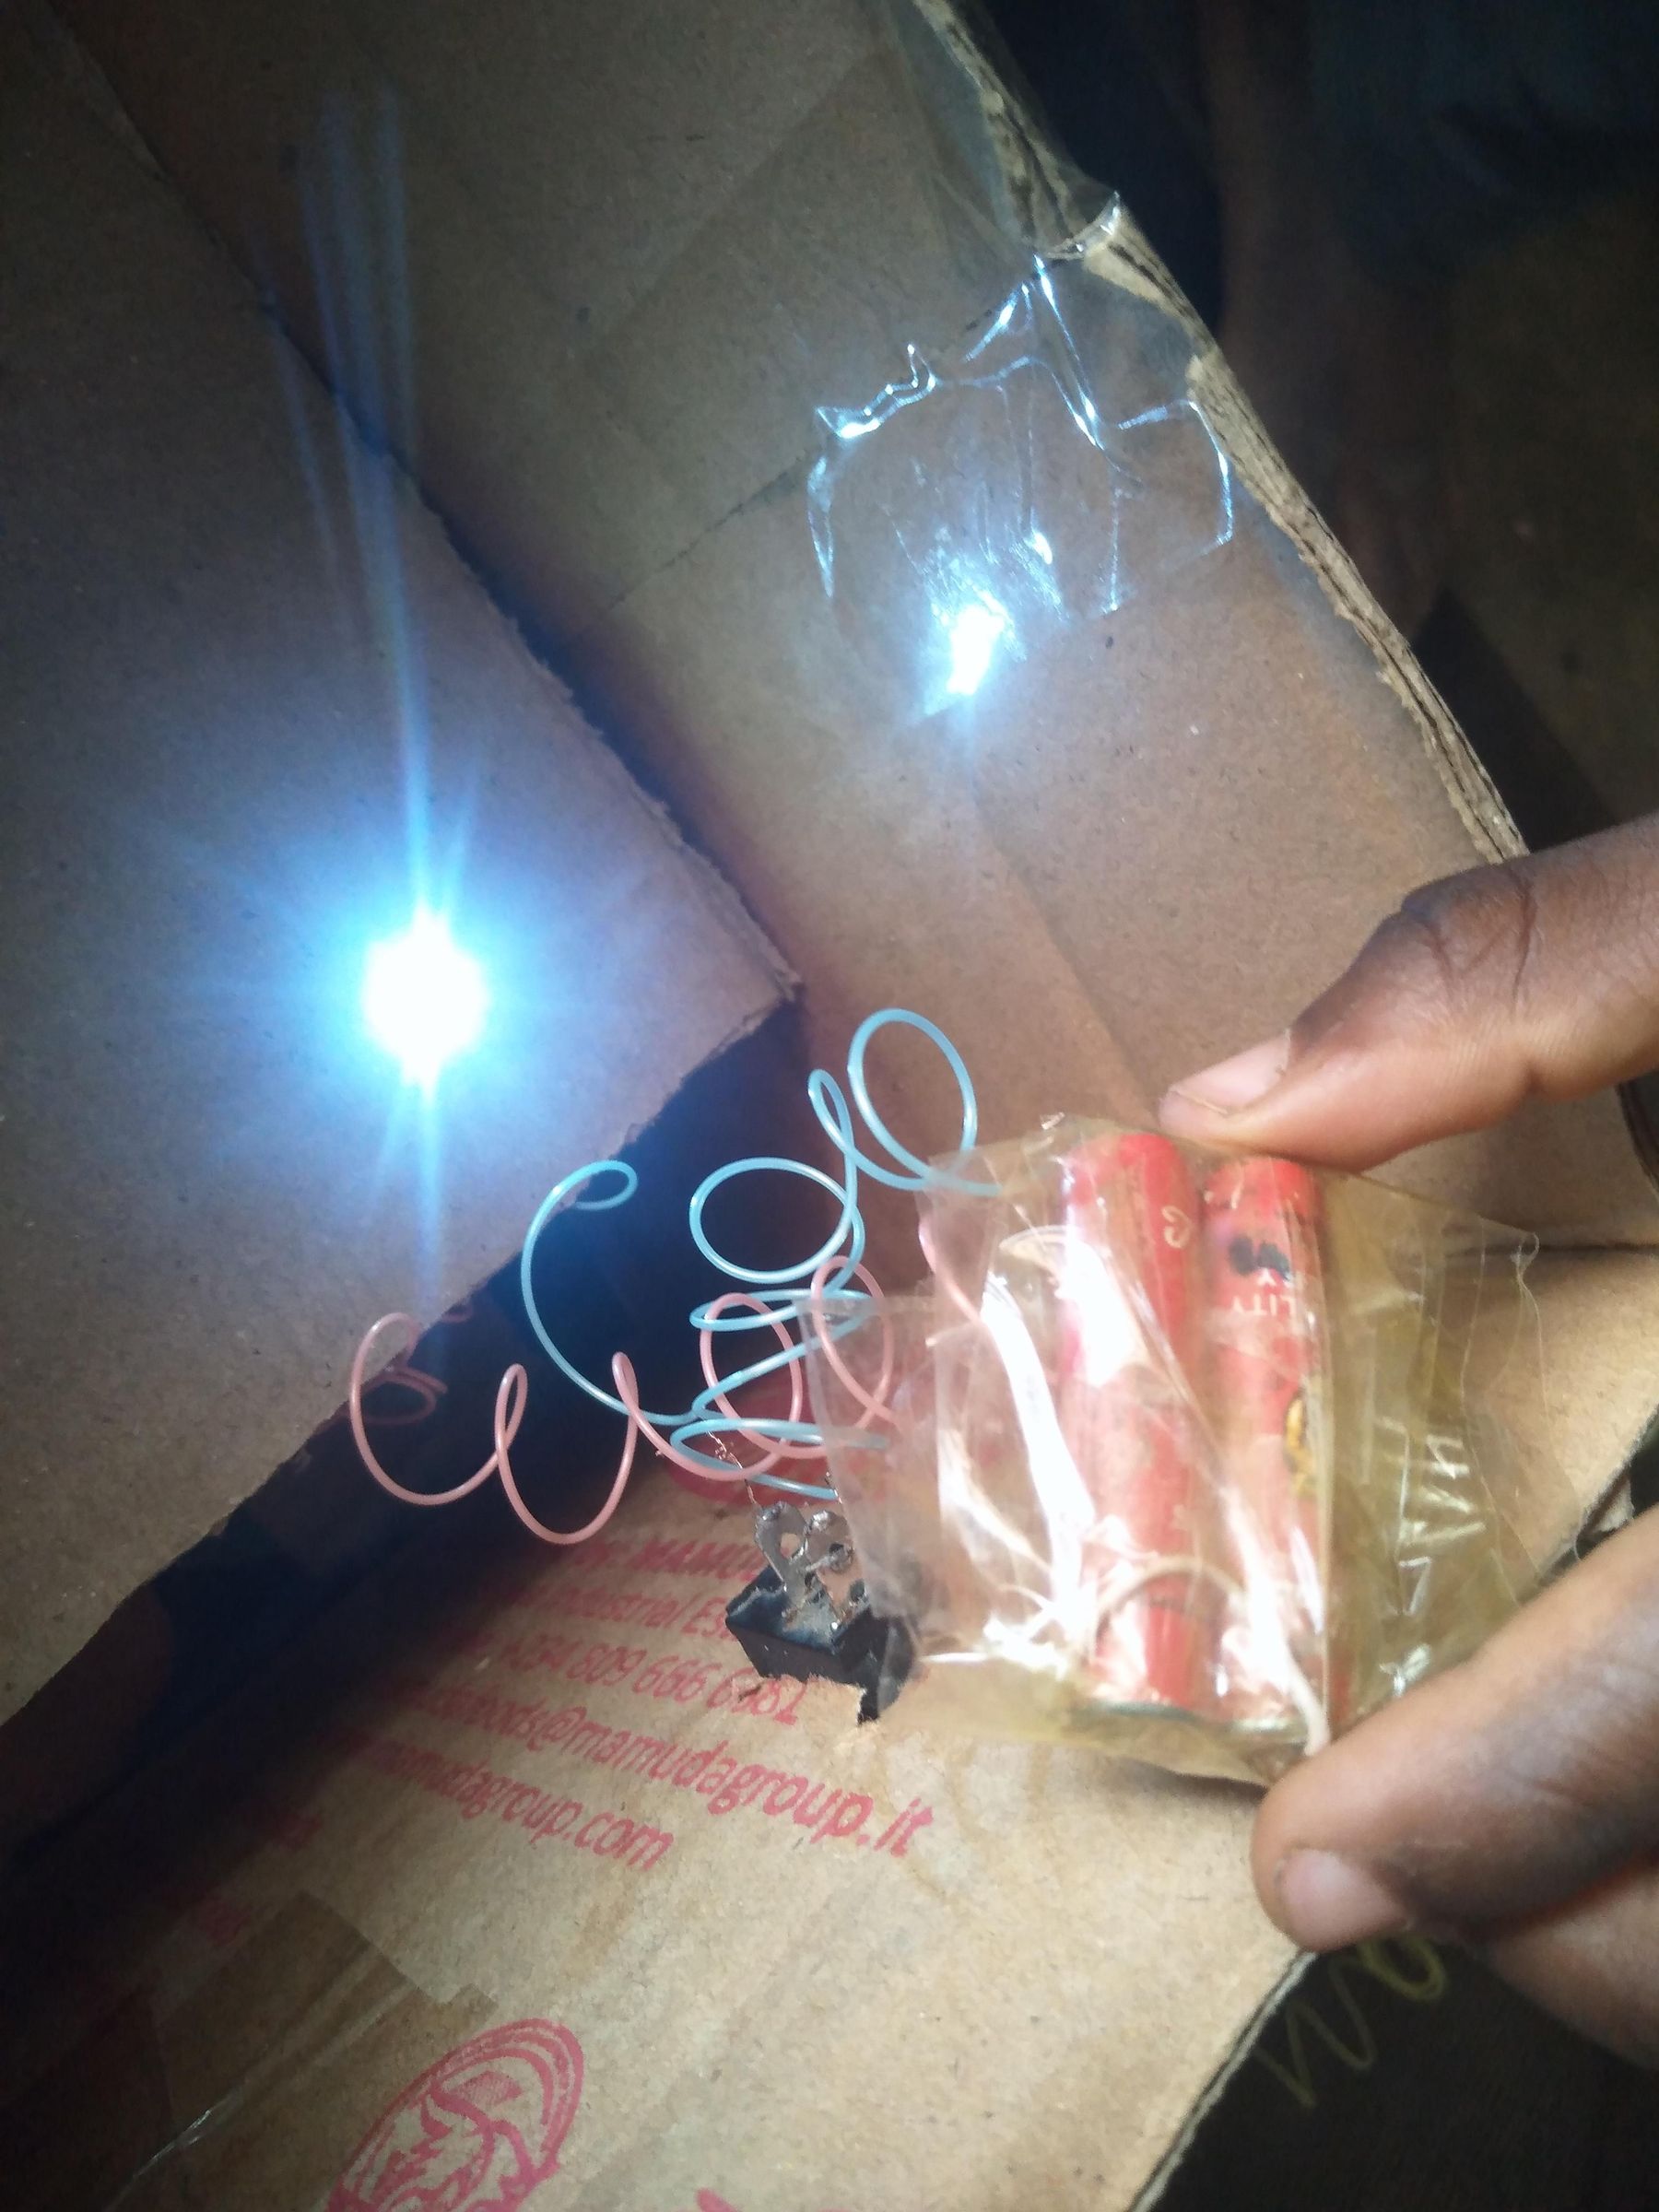
Secure the Inside: Place the battery pack securely at the bottom of the box and position your LED cardboard panel right above it, facing upward or forward.
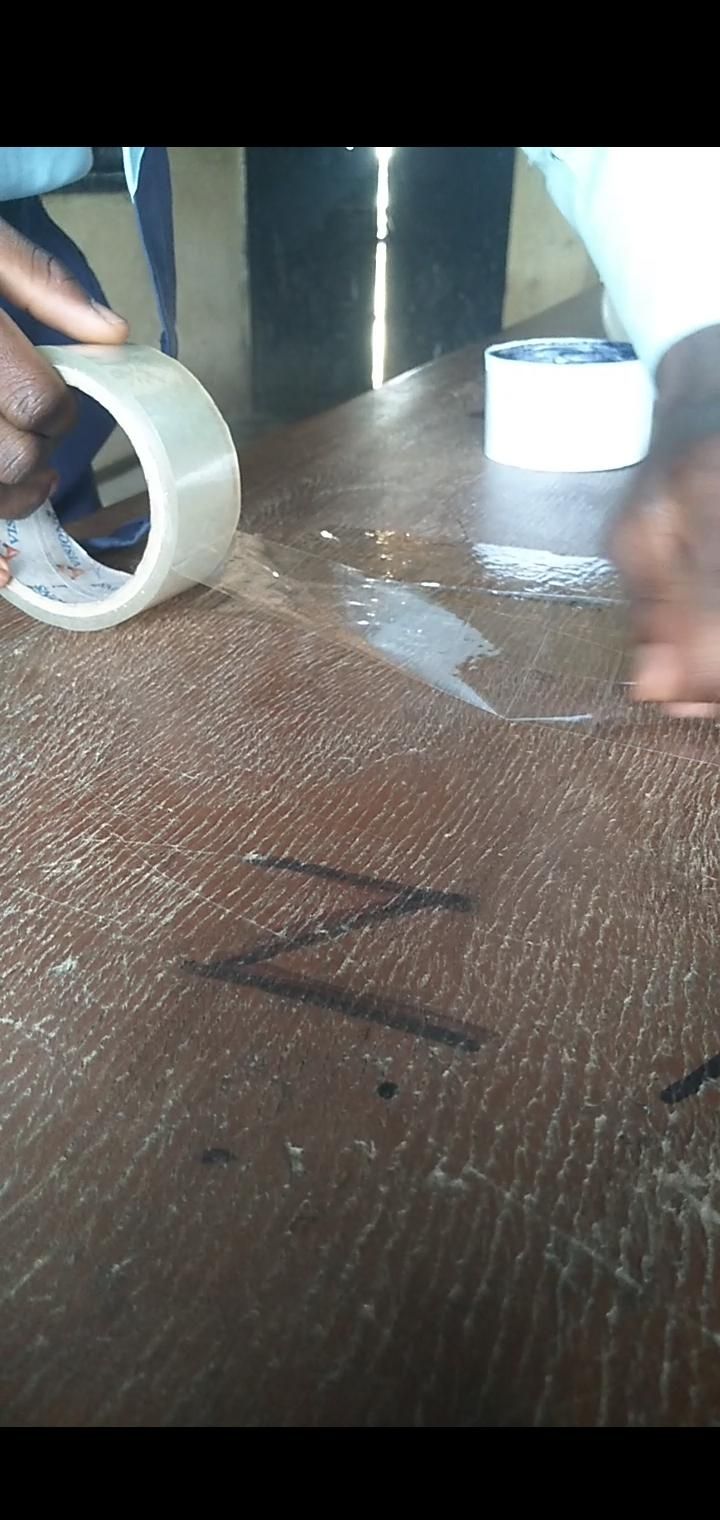
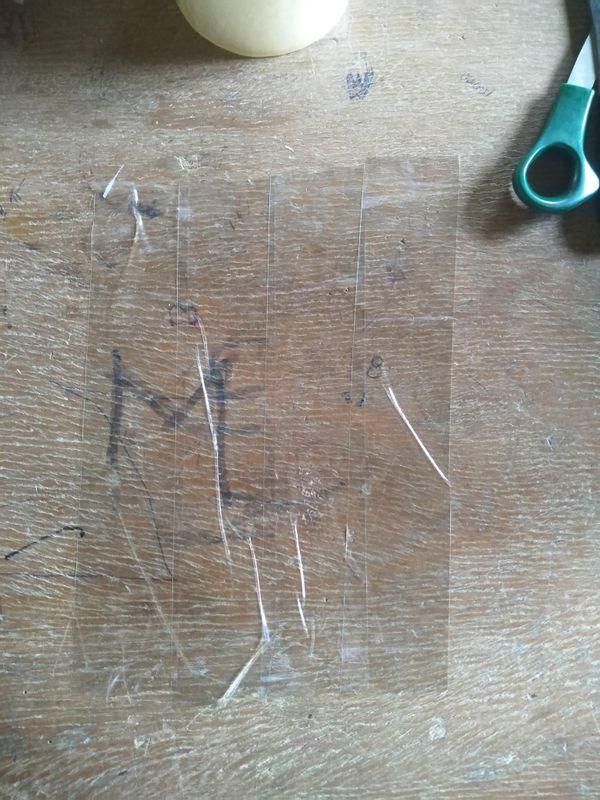
Create the Lens: Cut open the top face of the box. Cover this opening with tight, clear plastic film or a cluster of clear adhesive tape and tape it down smoothly along the edges. This acts as a protective lens that lets the light cast out evenly.
Testing Time!!!
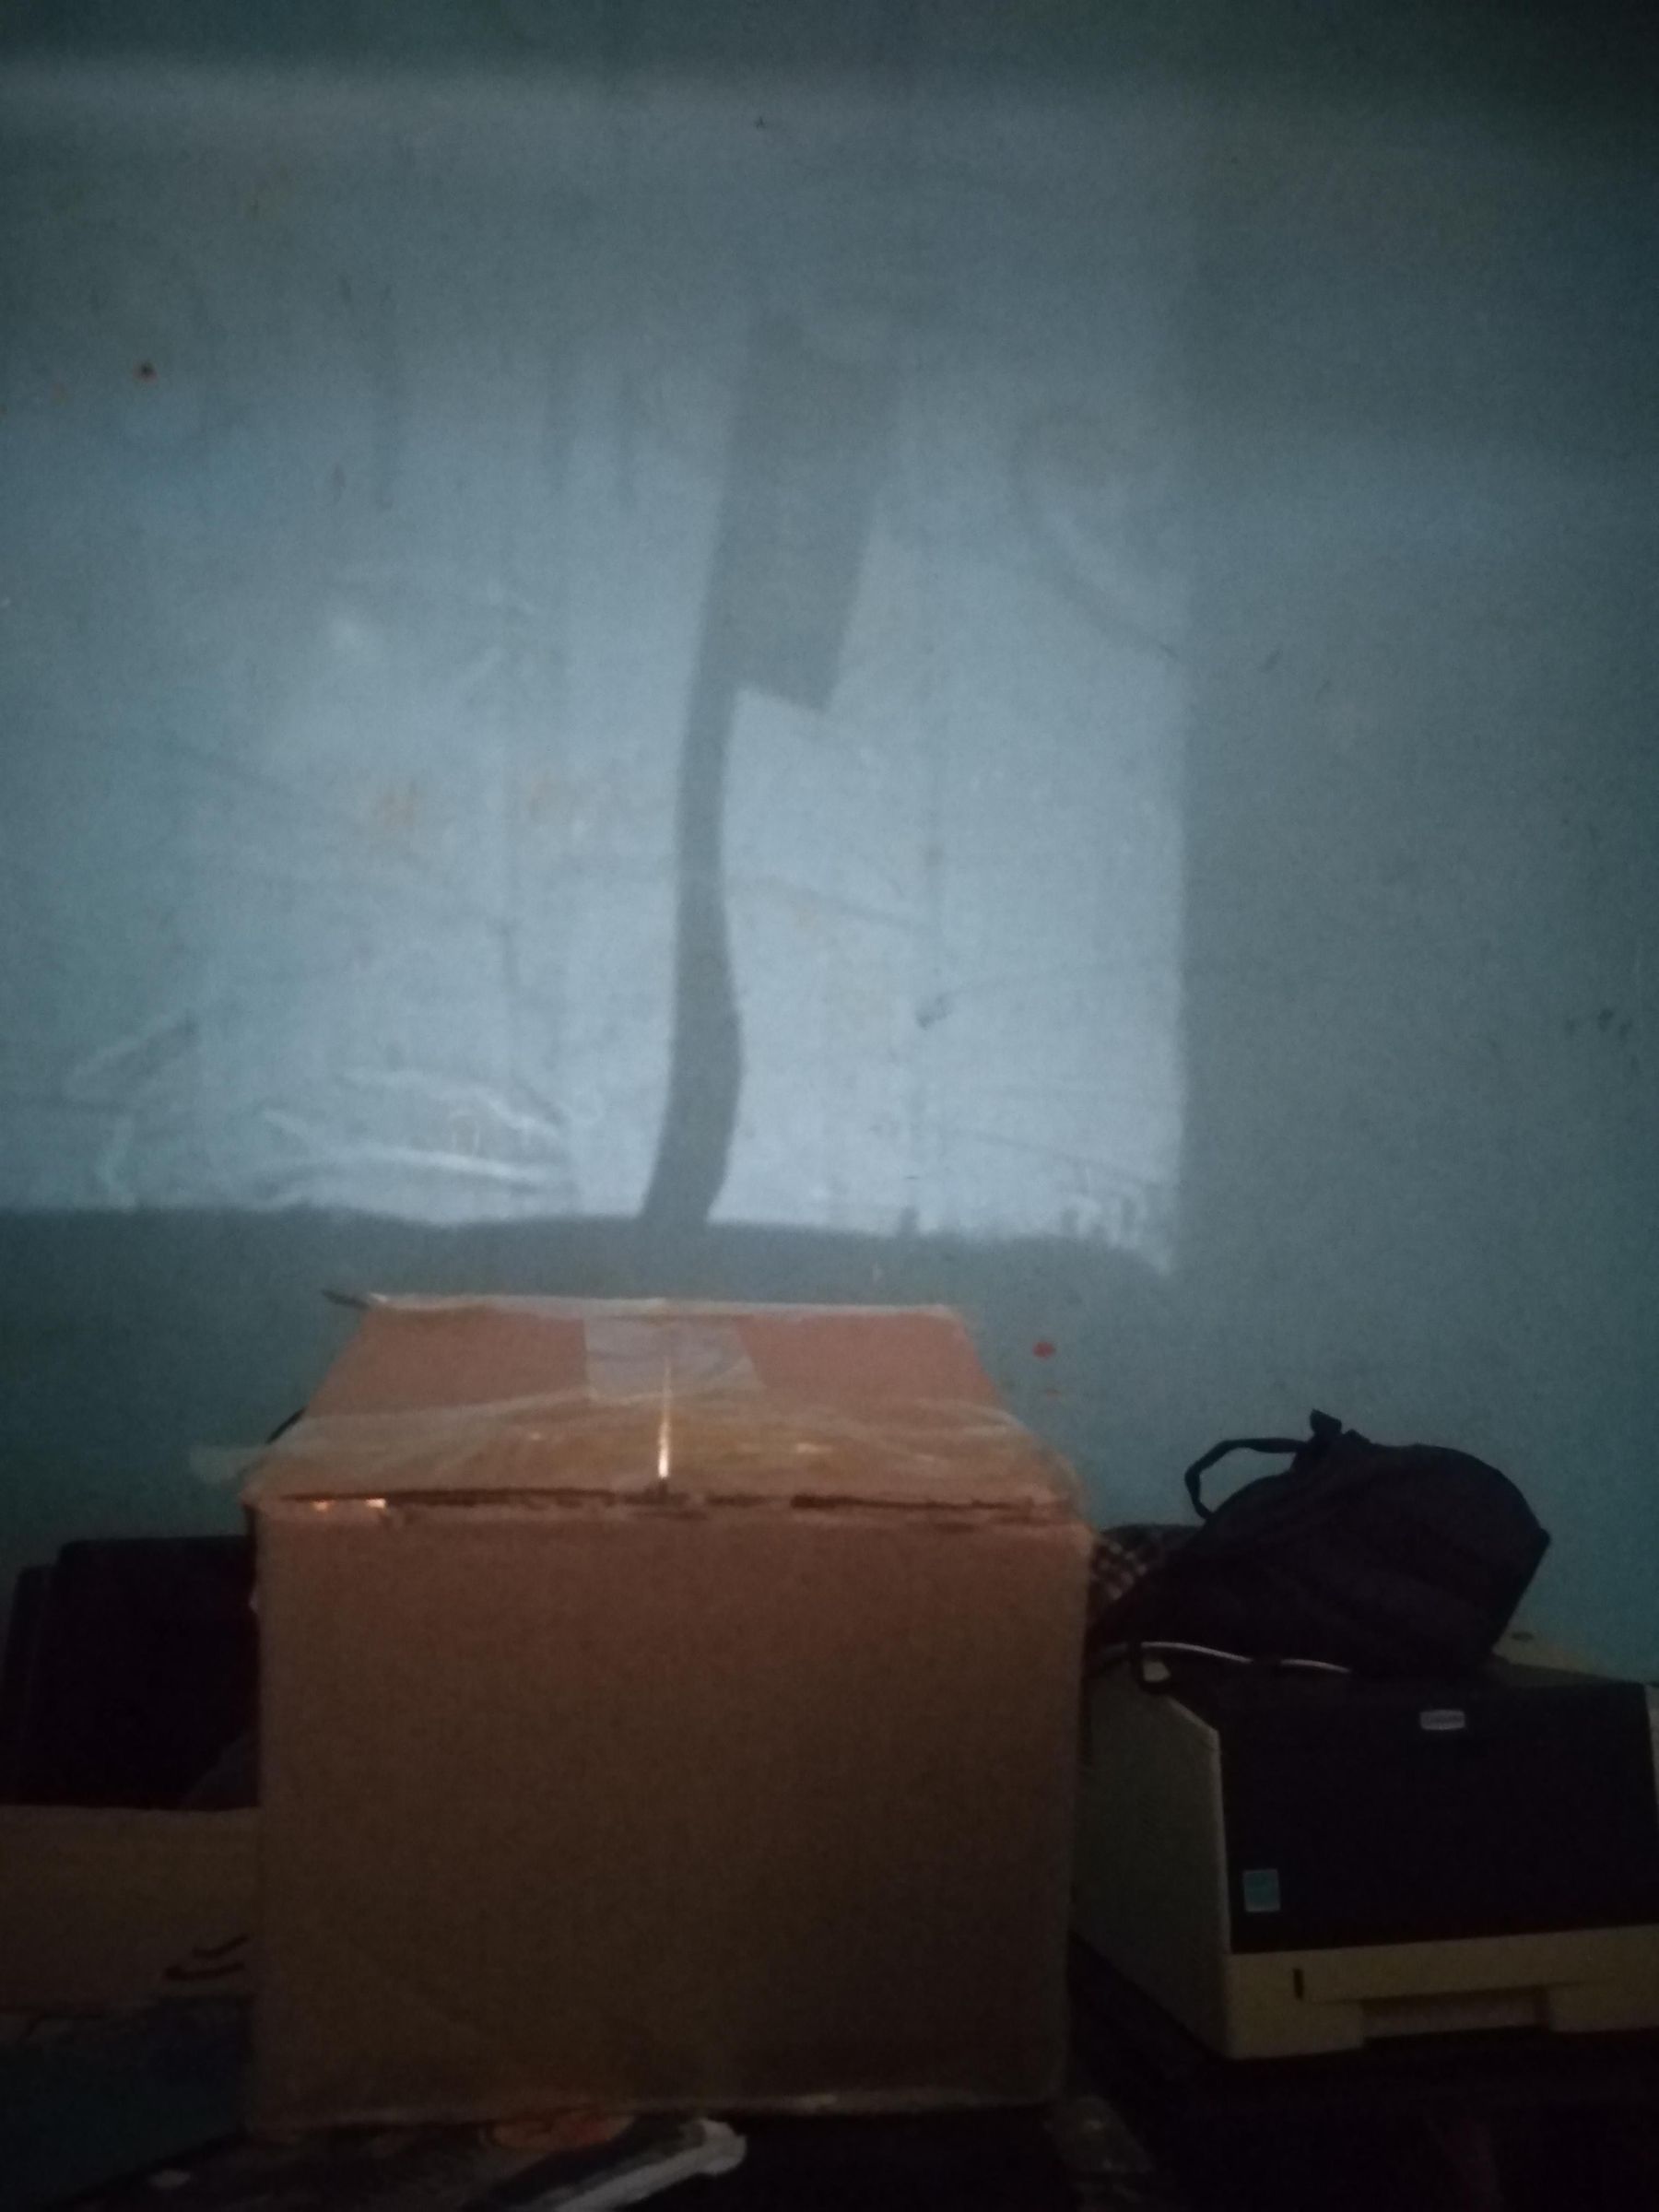
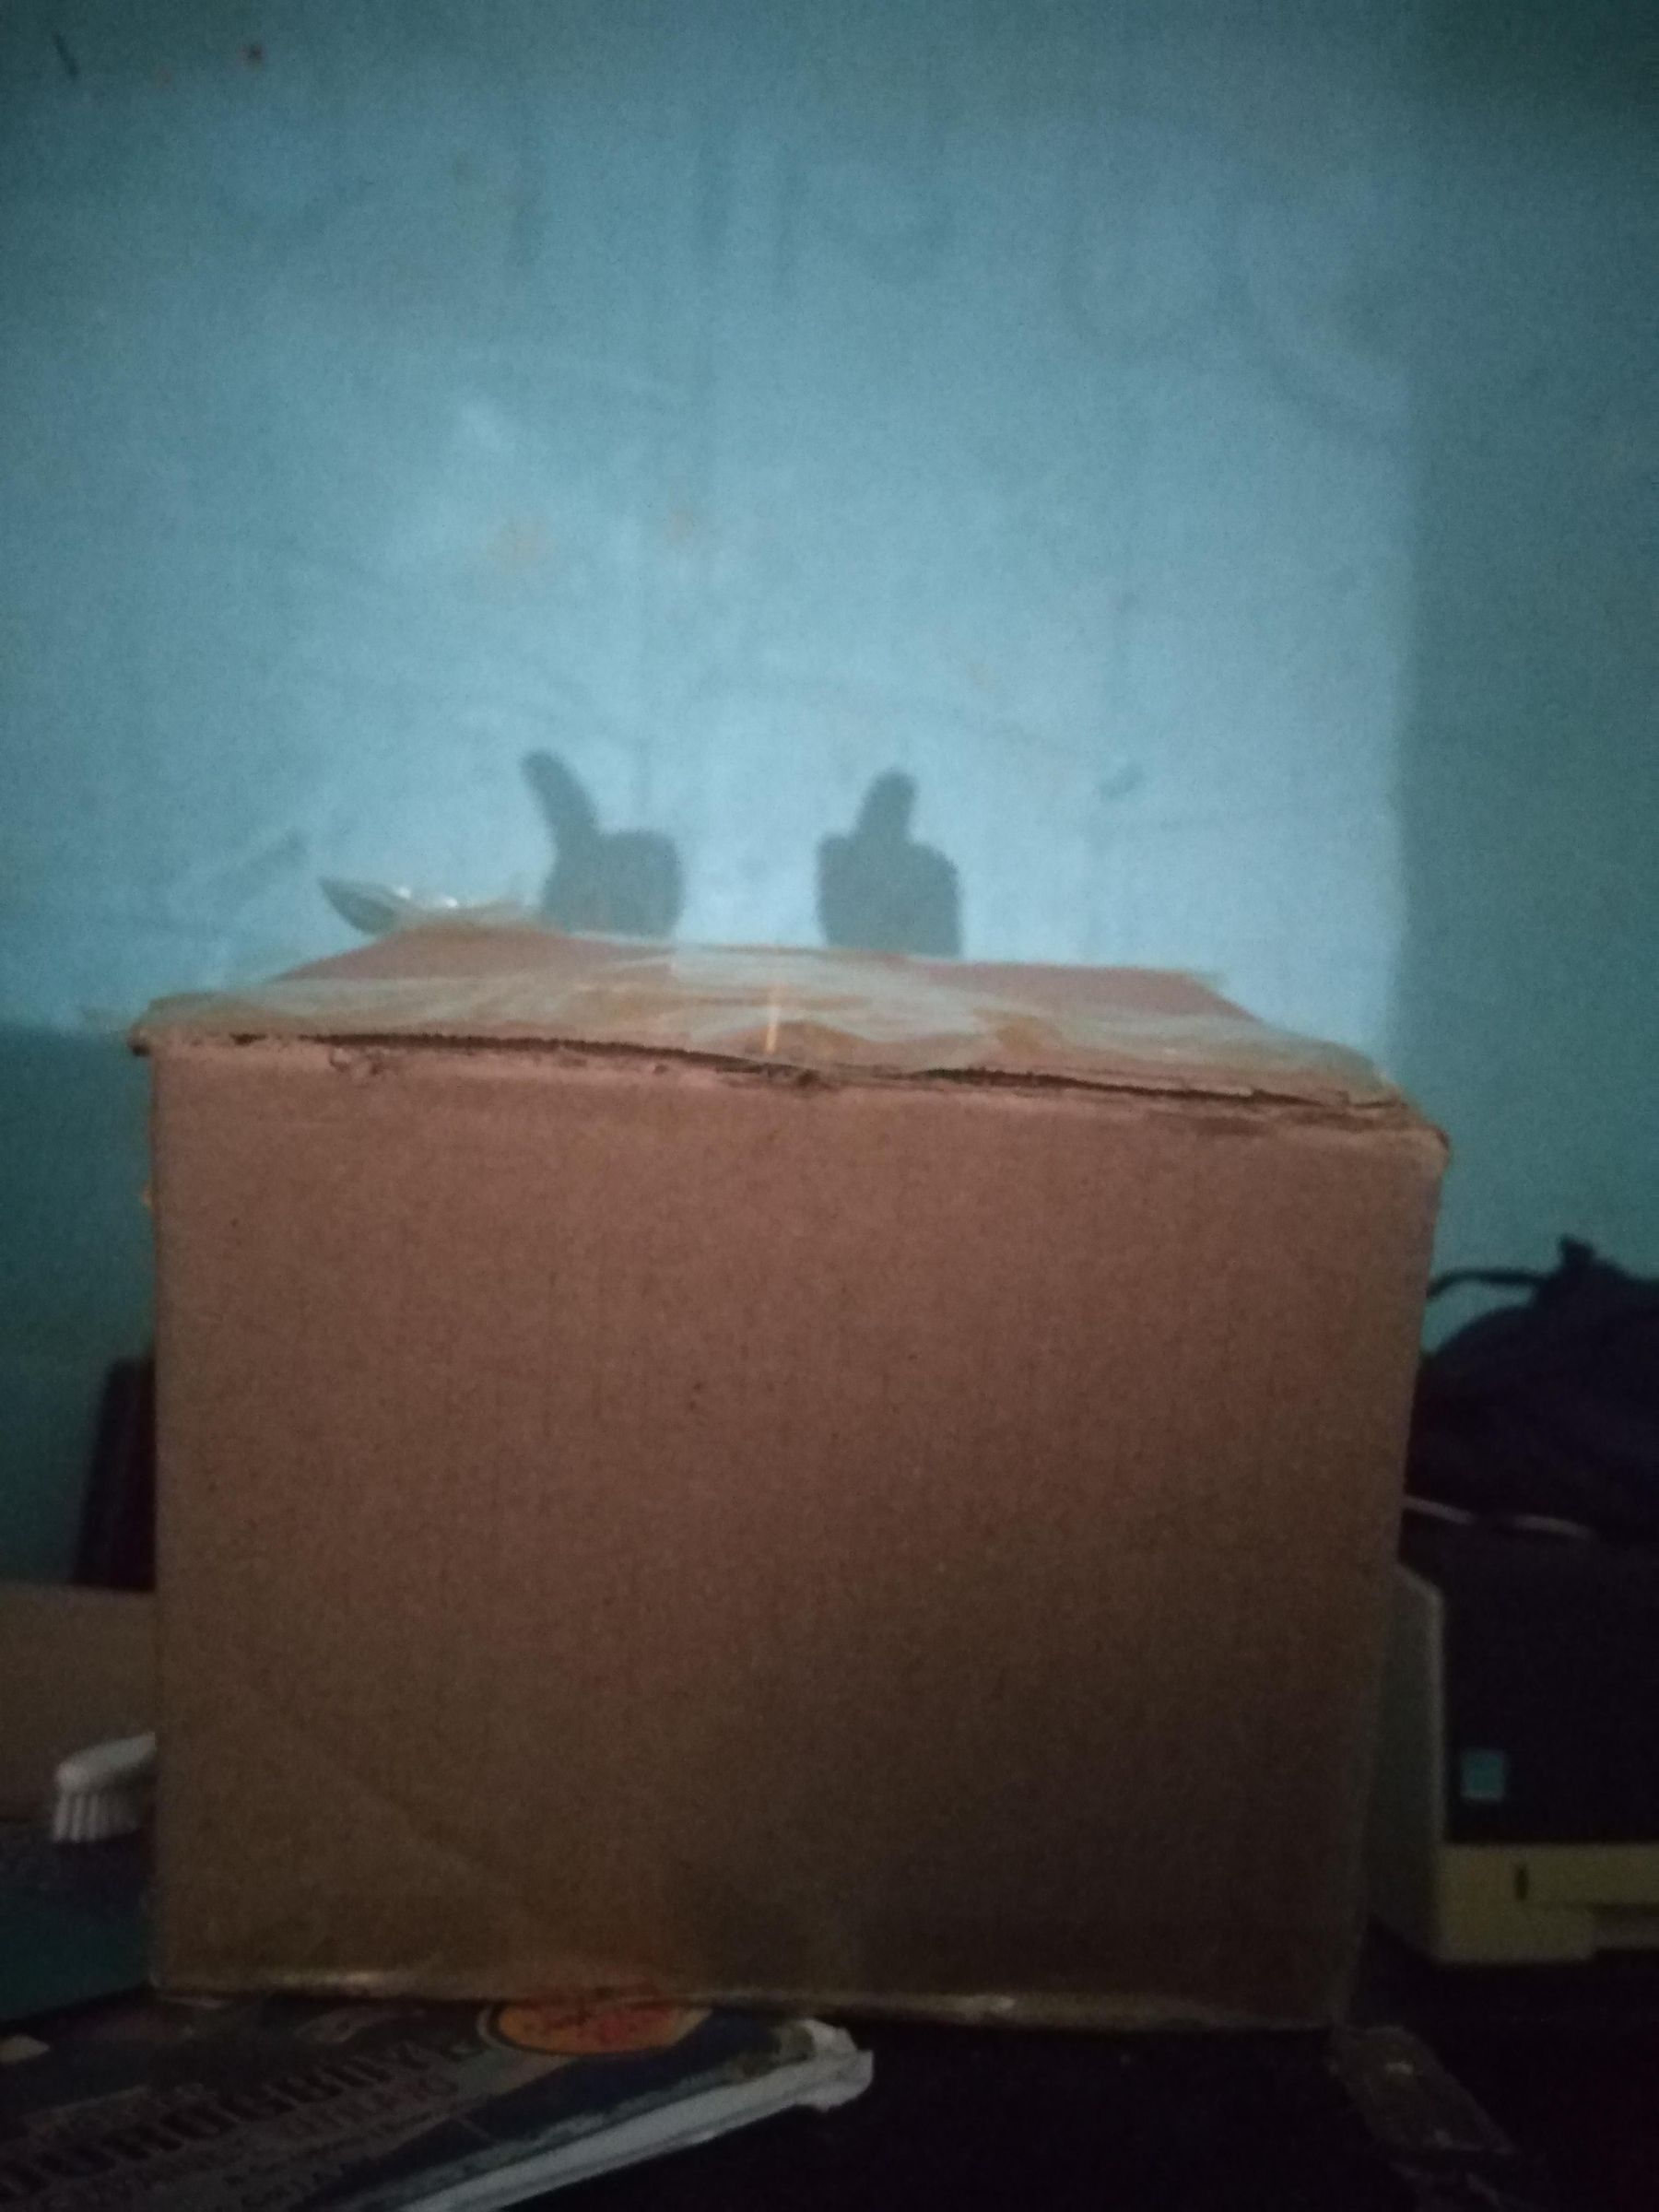
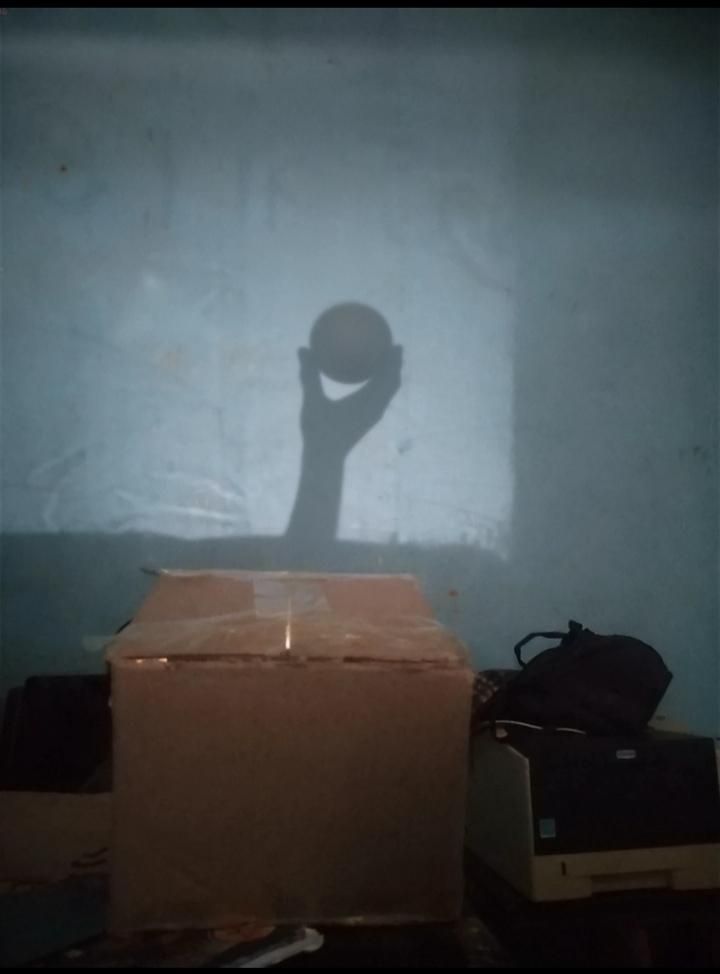
Hurray!!!
Flip the rocker switch. Your eco-friendly shadow projector is ready to create you unlimited silhouettes.
Some of the ones I projected are in the images above. I can't wait to see yours!!!