DIY Epoxy Obsidian Hunting Knife
by ComposiMold in Workshop > Knives
937 Views, 1 Favorites, 0 Comments
DIY Epoxy Obsidian Hunting Knife
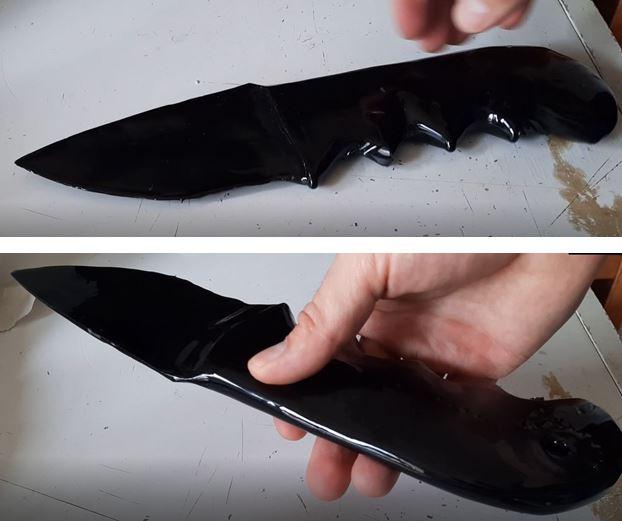
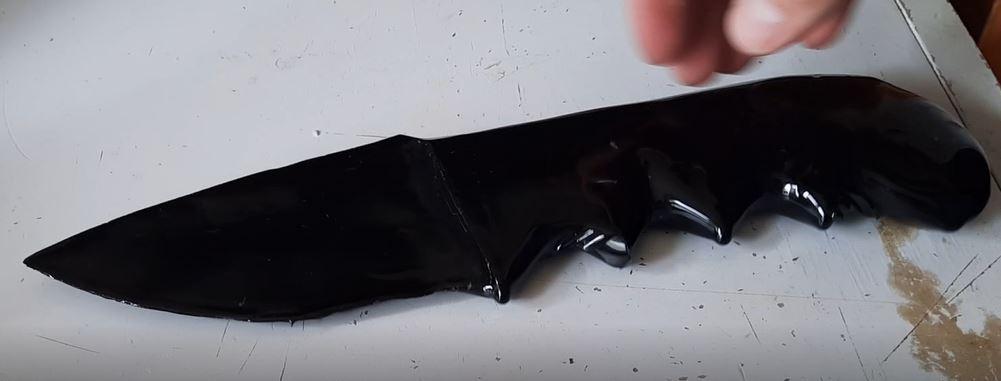

- This is a DIY project demonstrating how to create a shiny black epoxy knife that looks like an obsidian hunting knife starting with Impressive Putty and using very few tools.
Supplies
- ImPRESSive Putty
- Clear Casting Plastic
- Black Epoxy Pigment
Tools
- Microwave
- Freezer (optional)
- Sharp knife
- Sander (optional)
- Gram scale (optional)
Sculpt the Knife
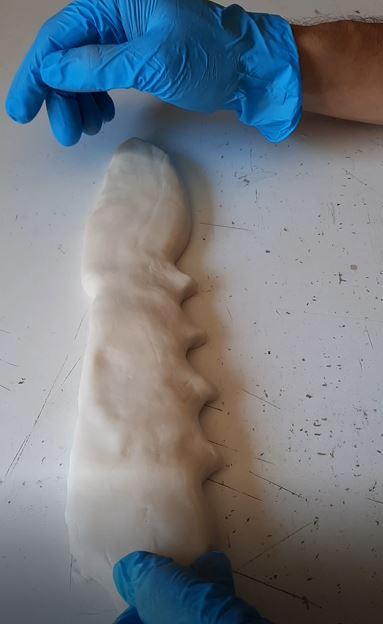
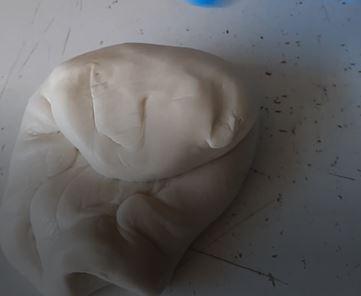
- Place the ImPRESSive Putty on a microwave safe dish.
- Heat it in the microwave until completely softened/becomes dough or clay like with no clumps. (This took about 2 minutes at 30 second intervals).
- Allow the Putty to sit at room temperature for 10 mins to cool until it is able to be handled comfortably
- Next knead and shape the putty.
Carve the Knife
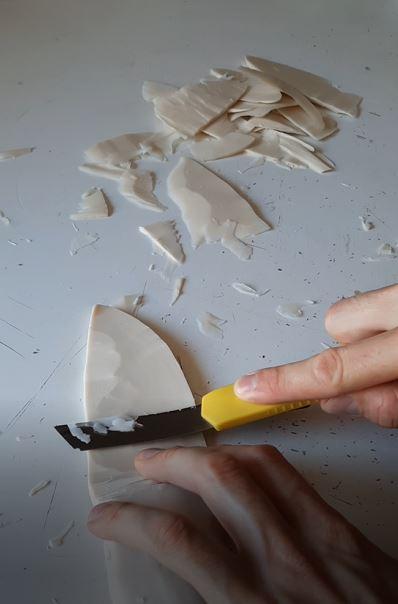
- Once satisfied with the shape allow it to cool in the freezer for an hour or until it feels like a hard rubber.
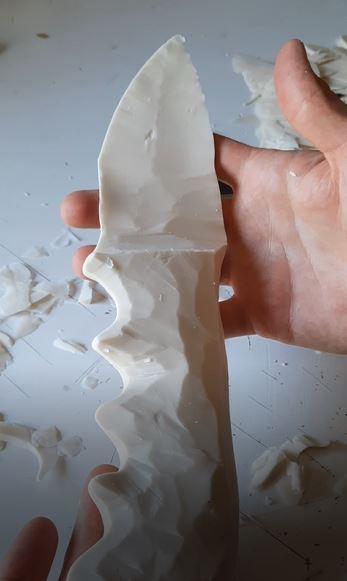
- ImPRESSive Putty can be easily carved with a sharp knife. Carve the ImPRESSive Putty to give it a better shape and to give the blade the appearance of carved obsidian.
- The pieces of ImPRESSive Putty that have been carved off can be reused for future projects.
Mold the Knife
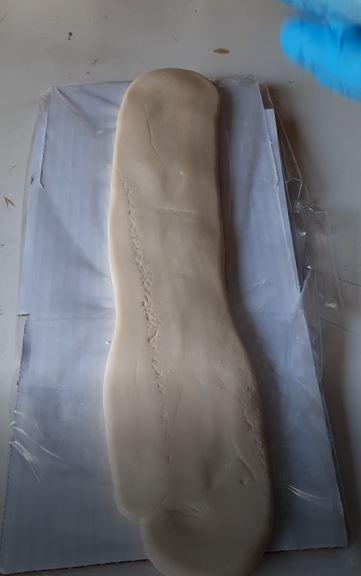
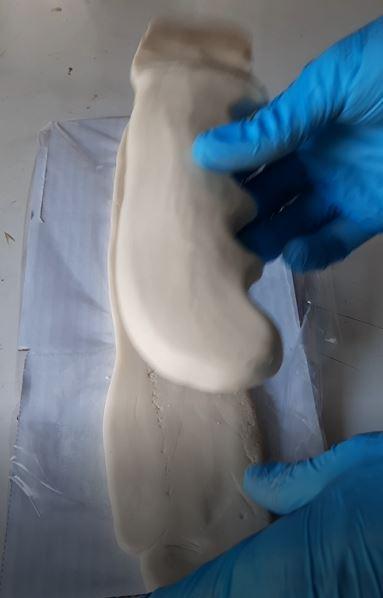
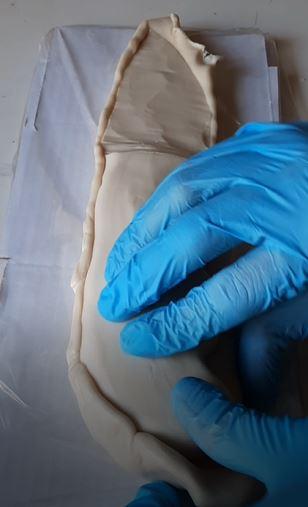
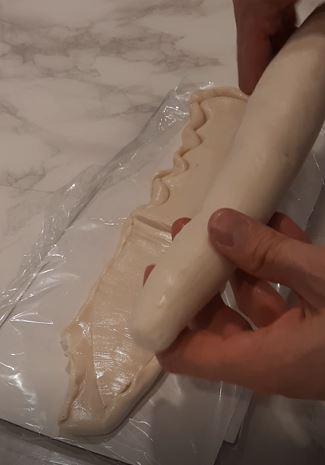
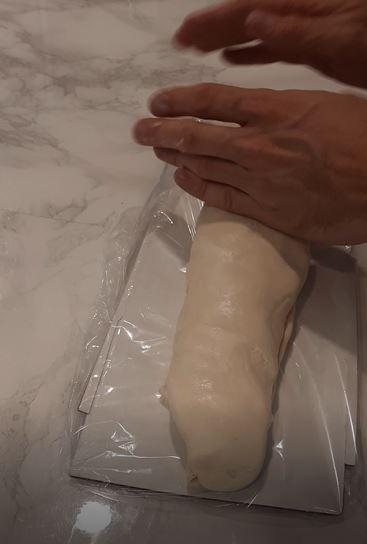
- More ImPRESSive Putty is used to create the mold.
- Heat the ImPESSive Putty in the microwave for about one minute until it has a clay like consistency.
- Allow it to cool to about 80F then shape it just larger than the knife.
- ·A very thin coat of vegetable oil should be applied to the carved knife, then press one half of the knife into the heated ImPRESSive Putty.
- Allow the first half of the mold to cool to a hard rubber before pressing the second half of the mold onto the knife
Removed the Carved Knife From the Mold
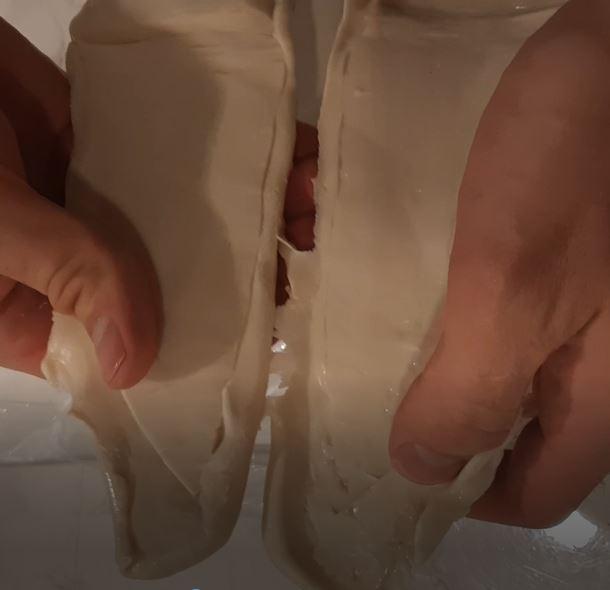
Once the second half cools to a hard rubber, the carved knife can be removed from the mold.
Get Ready for the Epoxy
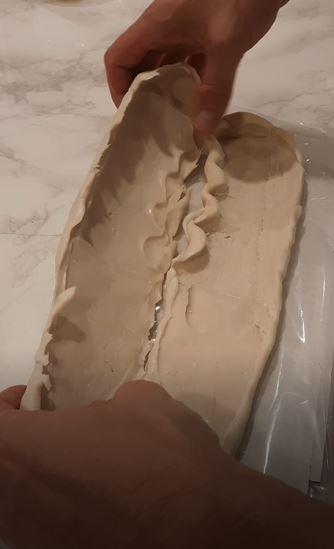
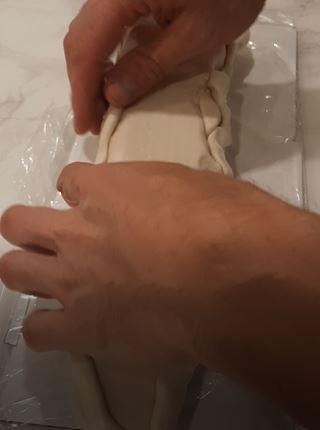
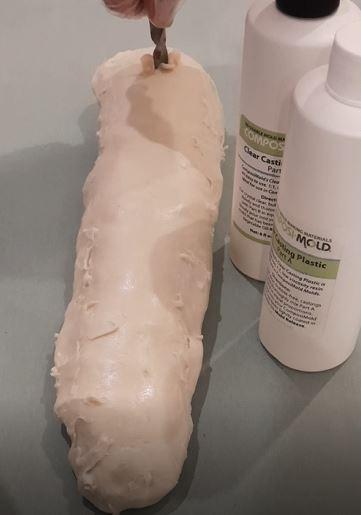
- Put the mold back together.
- Use more impressive Putty to seal where the two halves meet to make sure none of the epoxy resin will seep out of the mold.
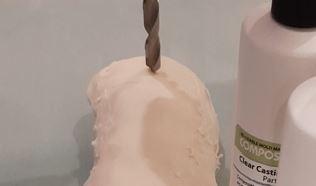
- Once the ImPRESSive Putty seal has become rubber like, make a hole for the resin by twisting a drill bit into the highest point on the mold, (a larger hole would have made pouring the resin faster and easier here)
Mix and Pour the Epoxy
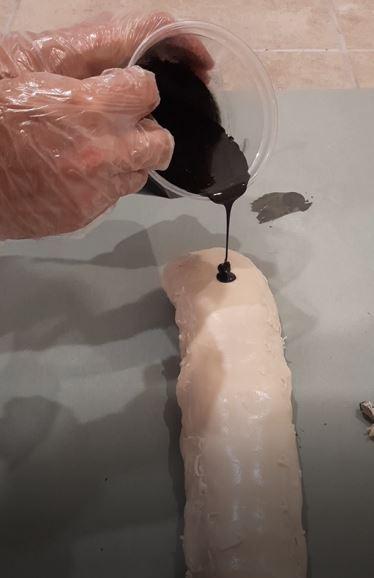
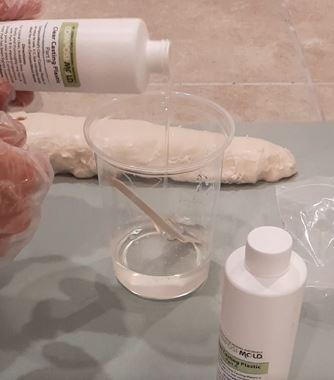
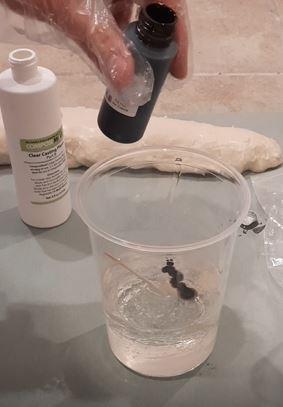
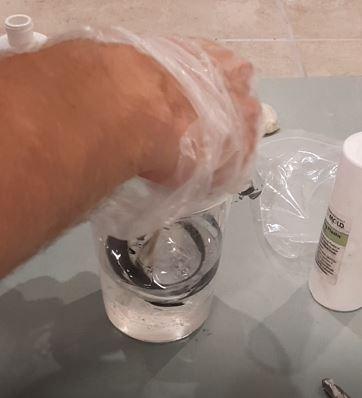
The resin used is Clear Casting Plastic which contains two parts, each should be measured equally by weight or volume then mixed thoroughly. The black is a black epoxy pigment, just one or two drop is enough for this project. Once thoroughly mixed pour the resin in the mold until it is completely filled.
Remove the Epoxy Knife
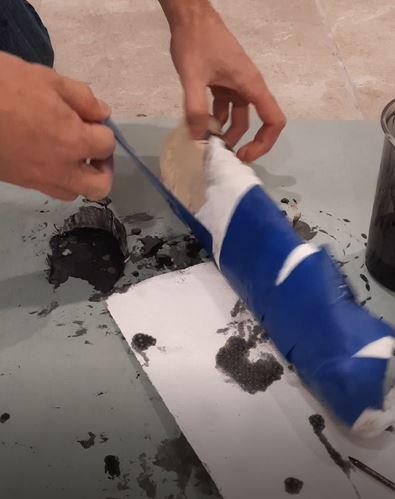
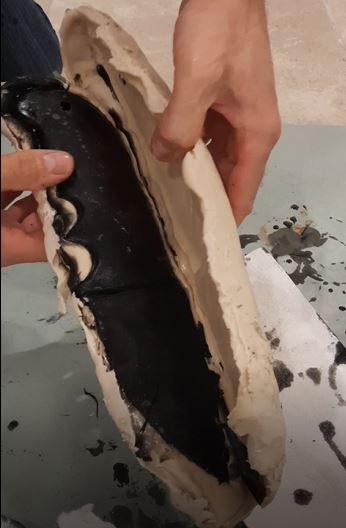
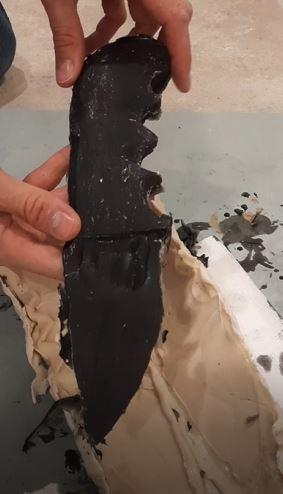
Tape up the mold to make sure nothing leaks out then allow the resin to cure for about 16 hours.
Remove Imperfections
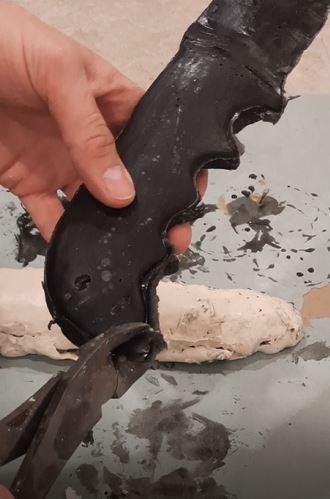
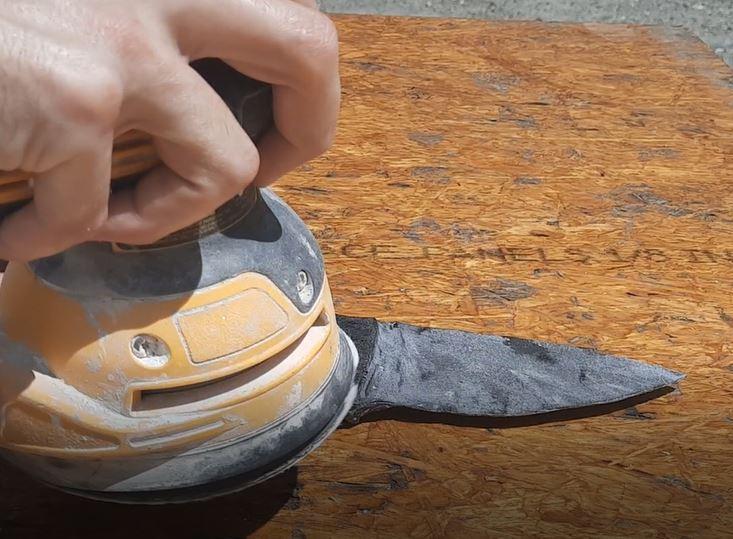
The knife came out great but still needs to be cleaned up. Remove flashing with a knife and wire cutters then if desired sand it down to remove any imperfections (the blades edge was sanded to make it sharp).
Make It Look Like Obsidian With a Gloss Coat
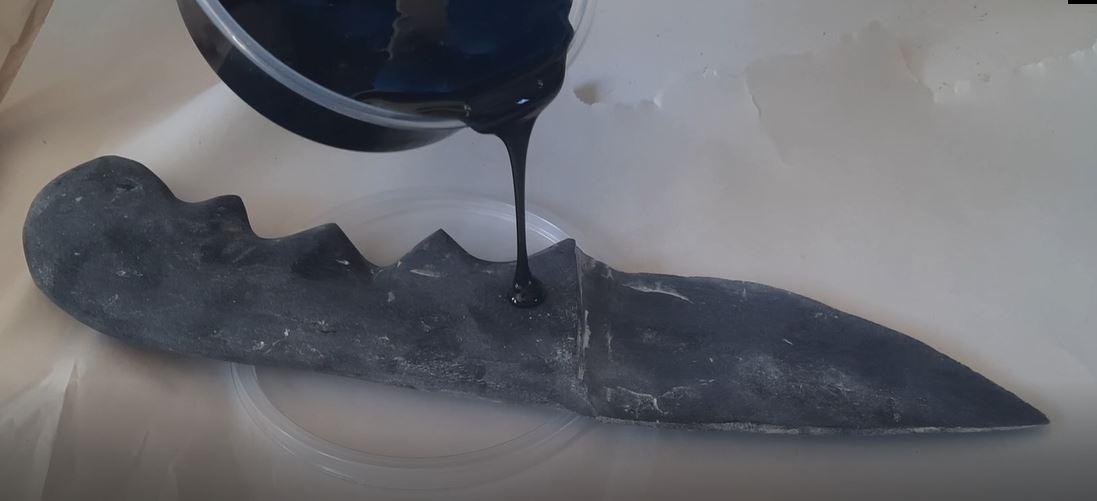

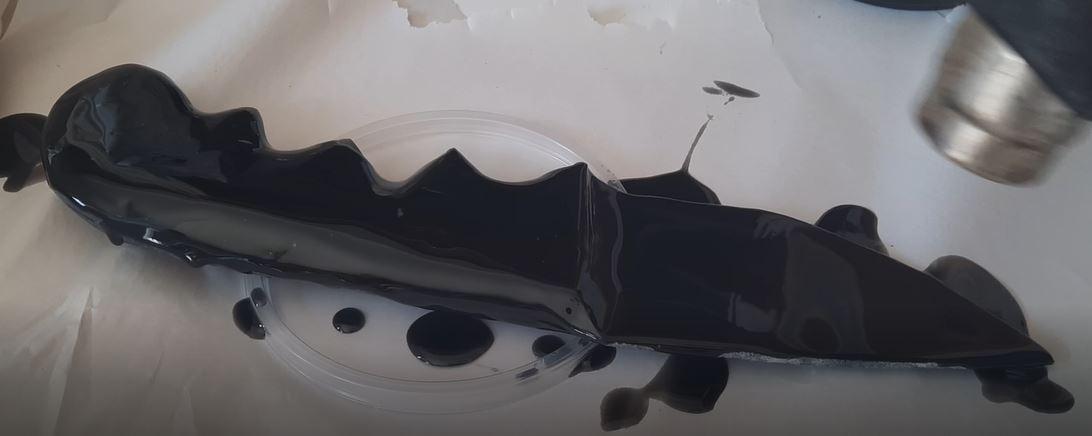
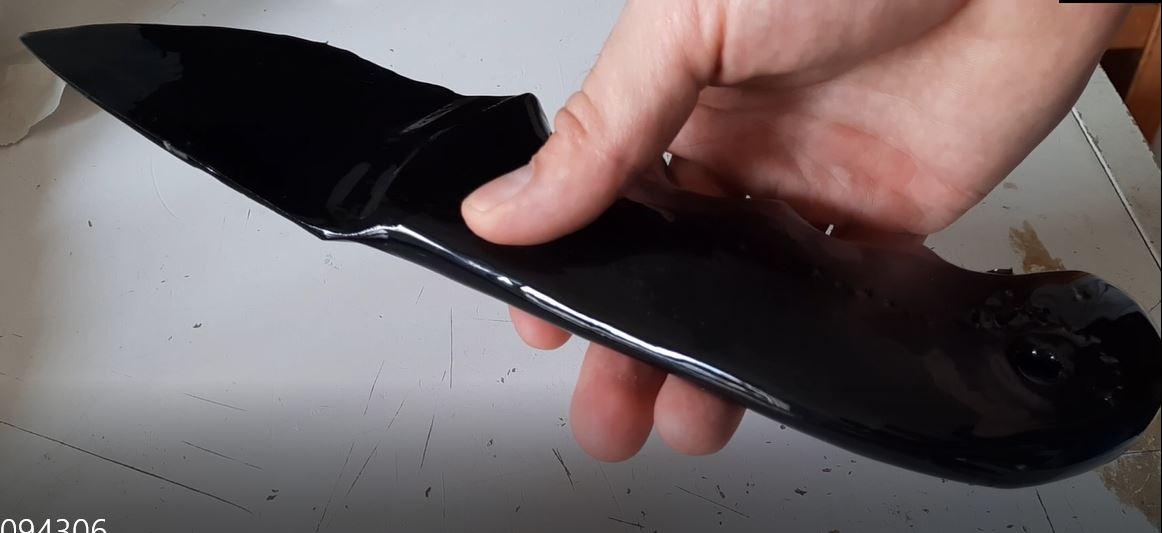
More epoxy can be mixed up and poured over the knife to give it a shiny smooth surface.