DIY Hiking Poles
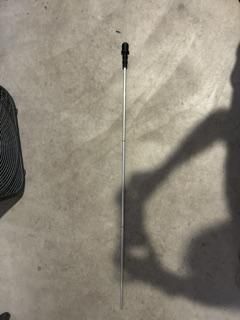

This is a tutorial on how to make your own inexpensive light weight hiking poles. It will show you what to buy, what to print, and how to assemble.
Supplies
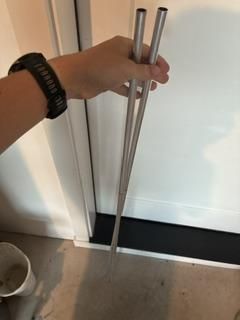
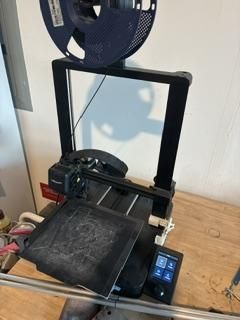
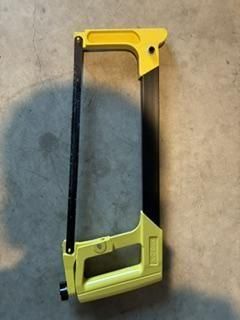
1/2" x 48" aluminum tube (I bought mine from Home Depot)
3D printer filment (choose any color that you like)
Roll of scotch tape or duck tape
TOOLS:
Metal hand saw
3D printer
Measure
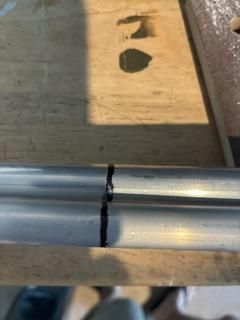
In the first step take your aluminum tube and put it on the ground on your side. Next mark the tube at where it hits your armpit. Marking it at the armpit insures a hiking pole length just right for you.
NOTE: If the length from the floor to your armpit is
greater than 48" than you might need to find a longer pole.
Cut
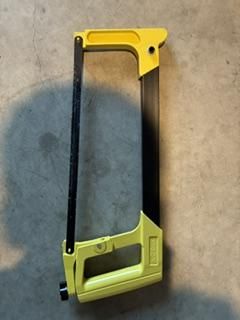
In this next step cut the aluminum pole with a metal hand saw. In this step this was not necessary for myself because the 48" of the pole reached my armpit.
3D Print
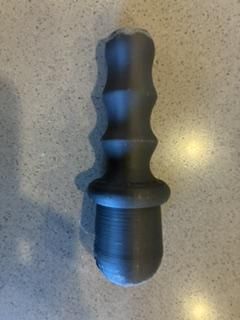
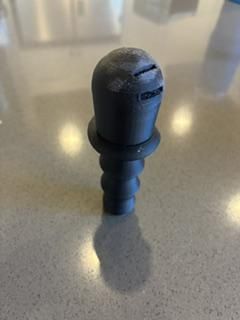
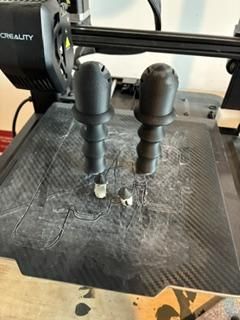
In this step you will need access to a 3D printer. Print the following g code files. These files include the two grips and the two pole tips.
Assemble
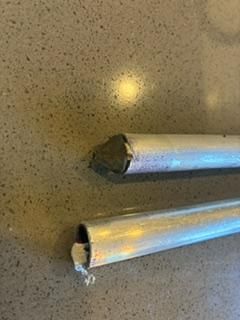
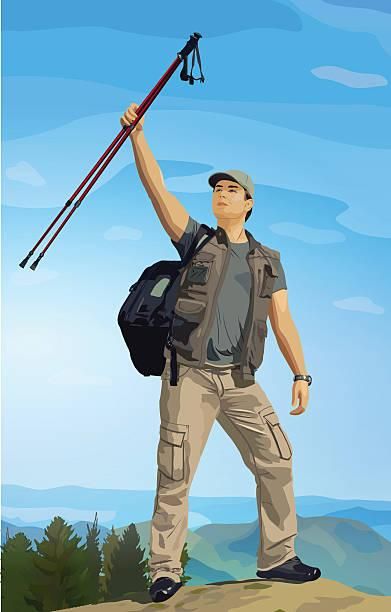
First take the top of your aluminum tube and wrap it in one layer of tape. Next take your 3D printed handle and slid it on if the handle it not snug and tight repeat the last step. Do this to both poles. Now that you have your handles on we can start on the tips of the poles. First wrap tape around the cylinderical part of the tip then push the cylindrical part into the bottom of the pole opposite of the handle. If the tip is not snug and tight then repeat the last step. Congratulations you finished your very own DIY hiking poles.
Hike Some Trails


Look for a fun hike you would enjoy and make sure to take advantage of your new hiking poles.