DIY Kitchen Compost System (With Brown Waste/Green Waste Balancing Cup)
by xX_christopher_Xx in Living > Kitchen
939 Views, 25 Favorites, 0 Comments
DIY Kitchen Compost System (With Brown Waste/Green Waste Balancing Cup)


We have been using our kitchen scraps to make liquid fertilizer. This has spared us a lot of annoyance dealing with flimsy decomposable compost bags, but more importantly, we can use the liquid fertilizer in our garden!
However, there have been several issues we ran into along the way.
1. Green/Brown Balance
Kitchen composting requires both carbon and nitrogen, but cannot have too little of either. Composting is most effective at a carbon-nitrogen ratio of around 30:1 (in other words, there is 30 times as much carbon as nitrogen). However, different materials have different carbon-nitrogen ratios. Composting materials are typically separated into two groups: brown and green.
Brown waste is comparatively high in carbon (with a C/N ratio of more than 30:1), and is usually dry or dead plant material. Brown waste includes dry leaves, wood chips, or paper.
Green waste is comparatively high in nitrogen (with a C/N ratio of less than 30:1), and is usually green/wet plant material. Green waste includes vegetable scraps, fruit scraps, and coffee grounds.
A good rule of thumb is to use 50% green waste and 50% brown waste. Here is a website from the University of Nebraska-Lincoln with some information on the C/N ratios of multiple different materials: https://extensionpubs.unl.edu/publication/g2222/html/view
However, typical kitchen waste, such as vegetable and fruit scraps, is green, so you will probably produce a lot more green waste than brown waste. You may want to collect paper scraps or dead leaves or purchase wood chips to use as brown waste.
We would like a way to guarantee that we have 50% green waste and 50% brown waste in our compost pile. Since you don't want to leave green waste lying around, the typical way to do this would be to measure how much green waste you produce after working in the kitchen, measure out an equal amount of brown waste, and then put them both on the compost pile. We would like to make the measuring process quicker and easier, as well as provide a supply of brown waste near the compost bin.
2. Compost Collection
We want to be able to easily collect the liquid fertilizer, but it is at the bottom of the compost bin and is hard to get out without making a mess. We would like to make it easier to collect the liquid fertilizer.
3. Accessibility
A quick google search for "kitchen compost bins" and "kitchen composters" reveals both $15-$25 glorified buckets and $300-$400 fancy electronic composters, neither of which are very helpful. We want a kitchen composter that is both cheap and effective. Preferably, the compost bin will also not require compost starters or activators.
Supplies

- Sturdy plastic container (we used a Kirkland Signature Ultra Clean HE Laundry Detergent bottle from Costco).
- Water spigot /dispenser (the plastic ones from TEMU will work)
- Alternatively, you could just buy a jug with a spigot already attached
- Jar or bottle (to hold the fertilizer)
- 3D printer and PLA filament
Tools: Electric Hot Knife
Container + Spigot

.JPG)
.JPG)
.JPG)
.JPG)
.JPG)
.JPG)
.JPG)
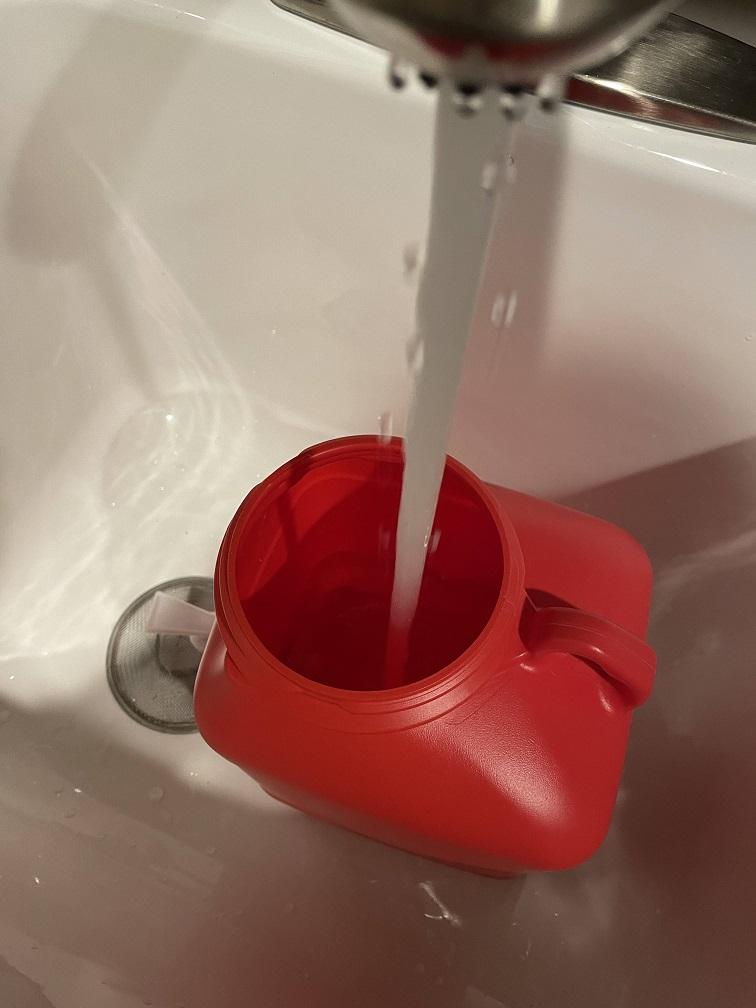
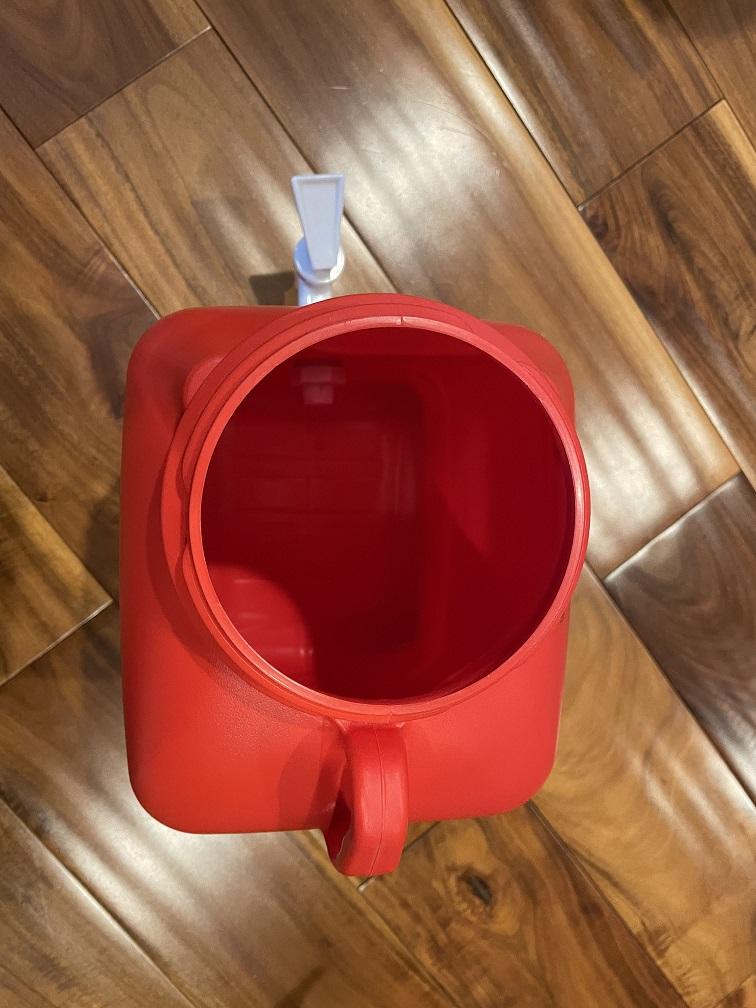
We reused a plastic container for our kitchen compost bin, but any plastic, metal, or ceramic bin with a lid will do. The main concern is the size of the container - it should fit on your kitchen counter without taking up too much space while also being big enough to hold all the waste you produce.
It helps to have multiple bins. When one fills up, we move the bin to the balcony, so it can freely compost. If you always keep on adding new compost on top of a compost pile, it'll compost a lot more slowly.
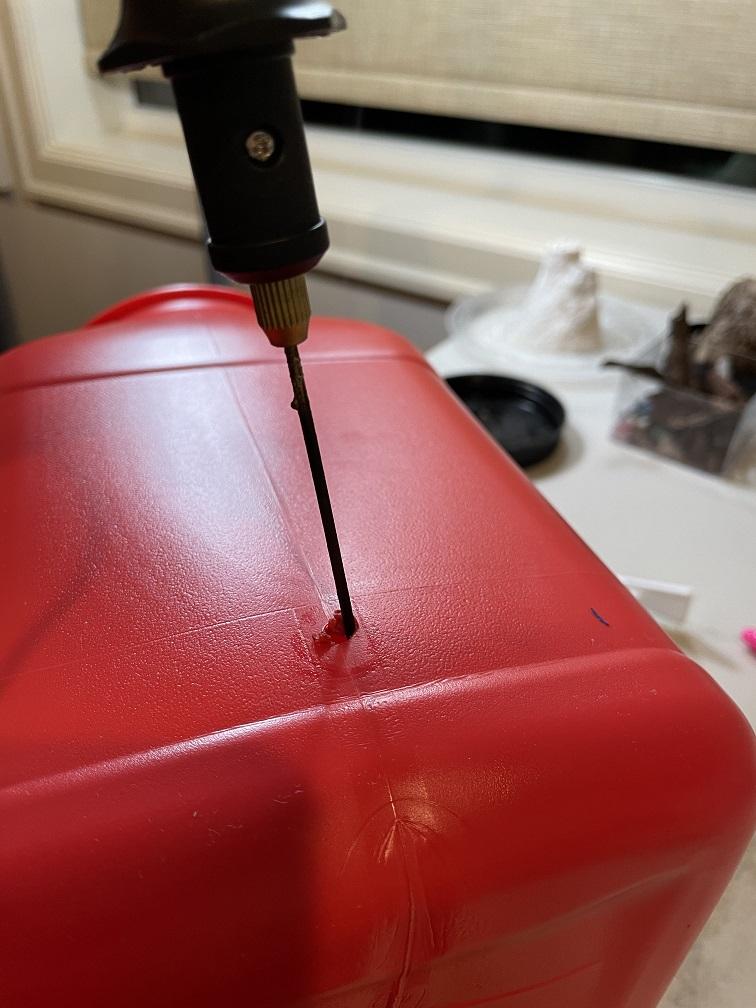
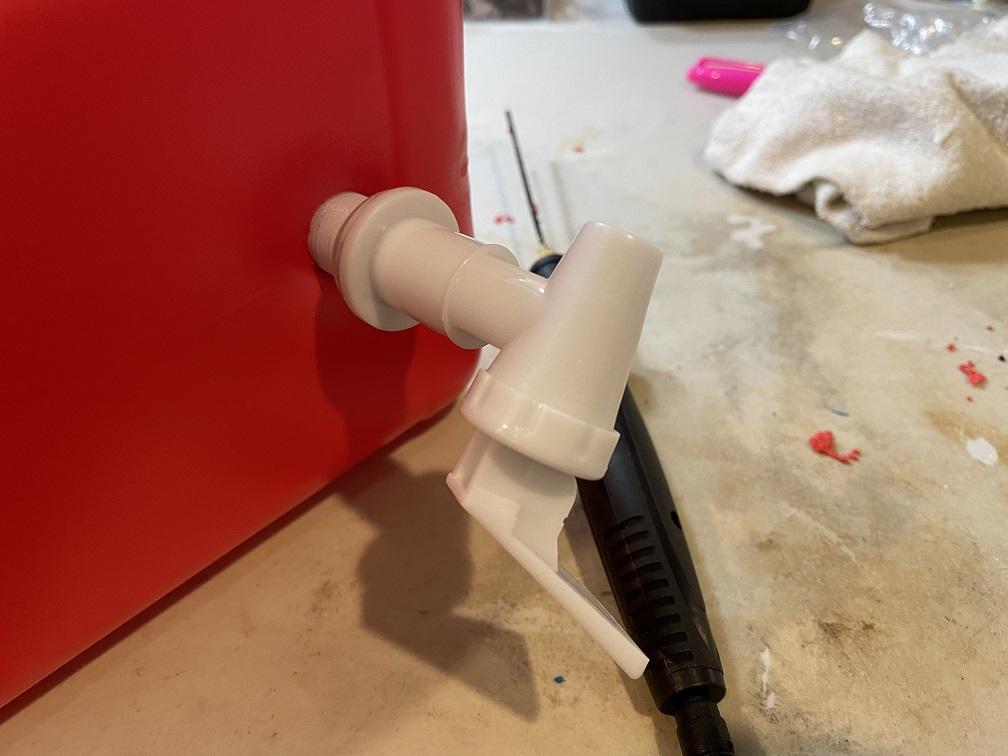
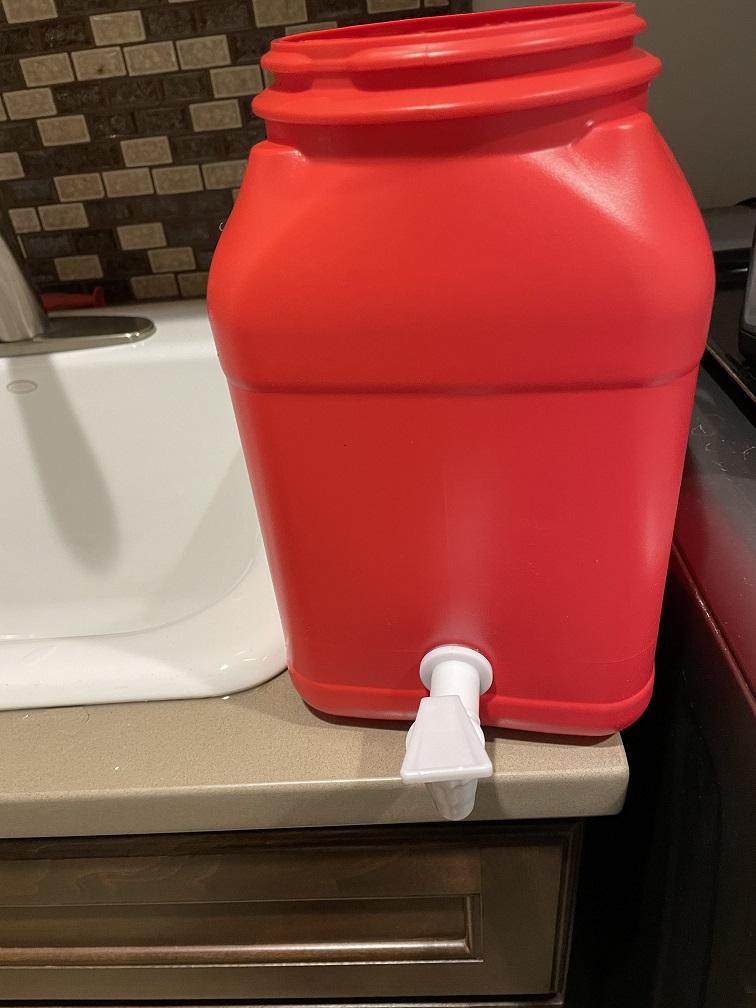
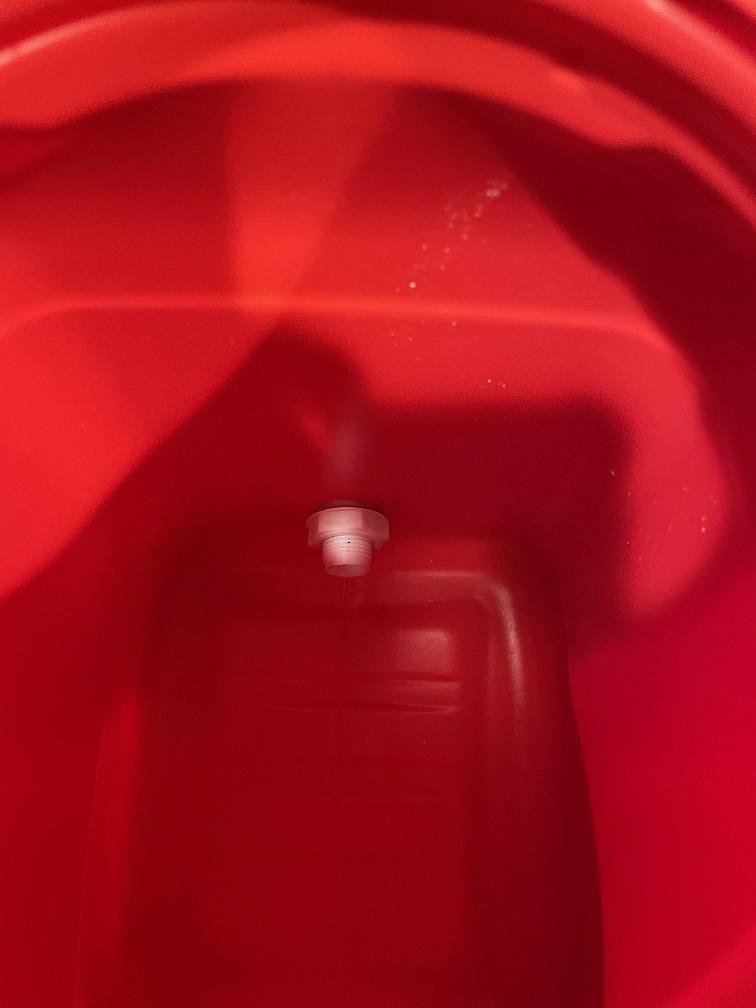
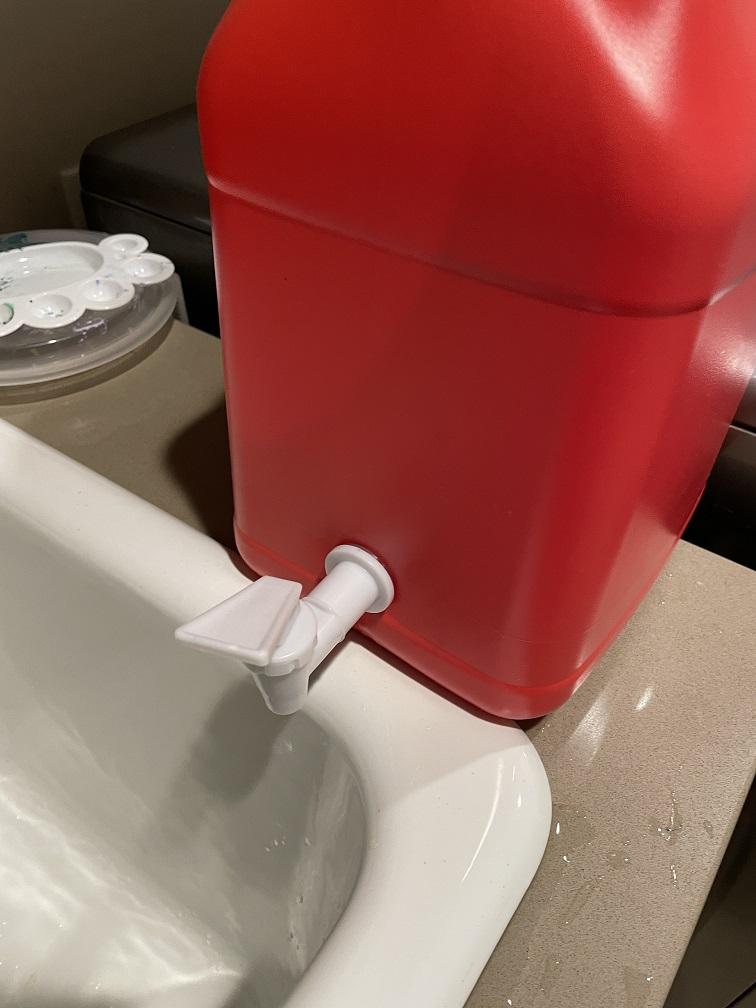
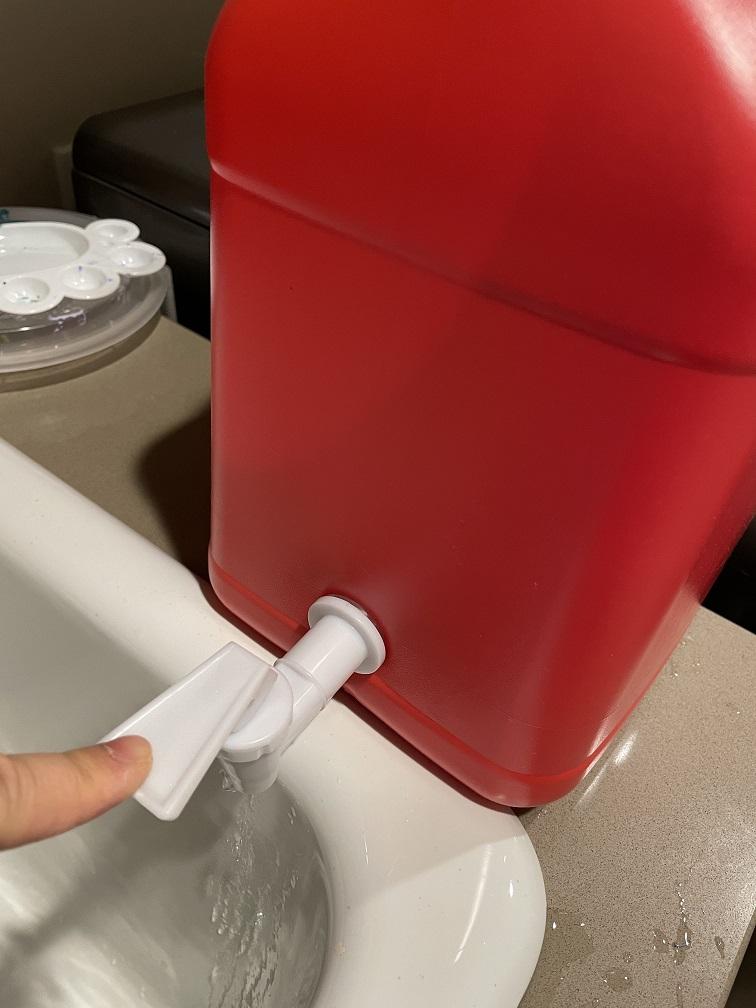
To make it easier to pour out the liquid fertilizer, we added a spigot at the bottom of the container. Start by drilling a hole on the side of the container. If you used a plastic container like we did, you can just use an electric hot knife/foam cutter. Smooth out the edges of the hole. Install the dispenser, following the product instructions (our dispenser came with two sealing pads to seal the gap between the spigot and the container). Test to make sure there is no leakage.
Liquid Fertilizer Compartment
.JPG)
.JPG)
.JPG)
.JPG)
.JPG)
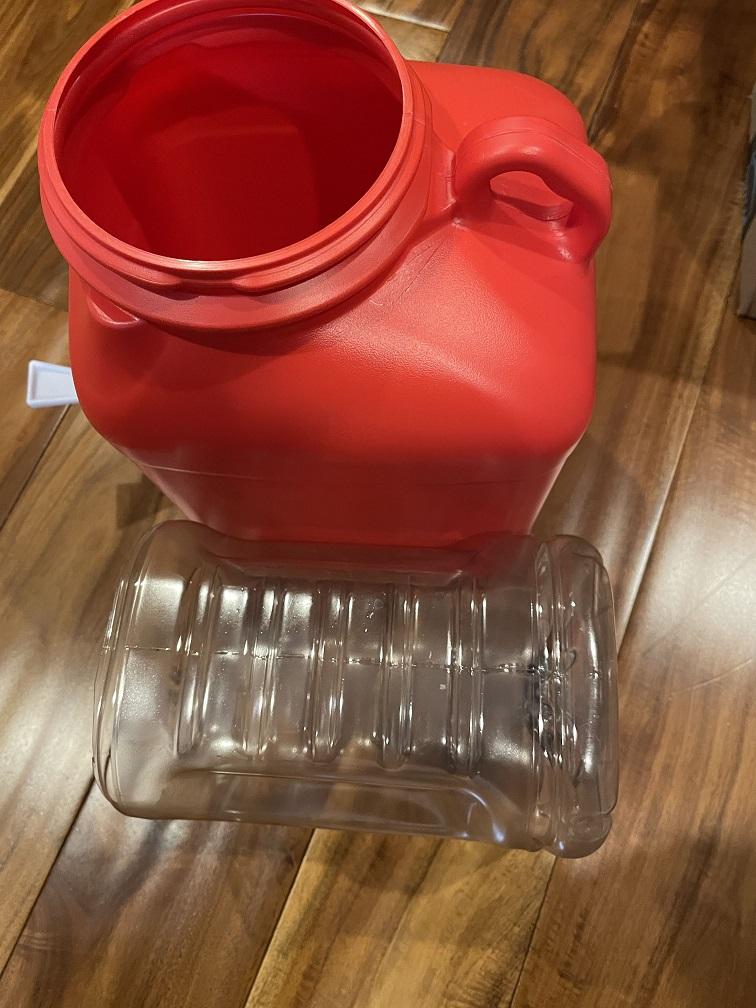
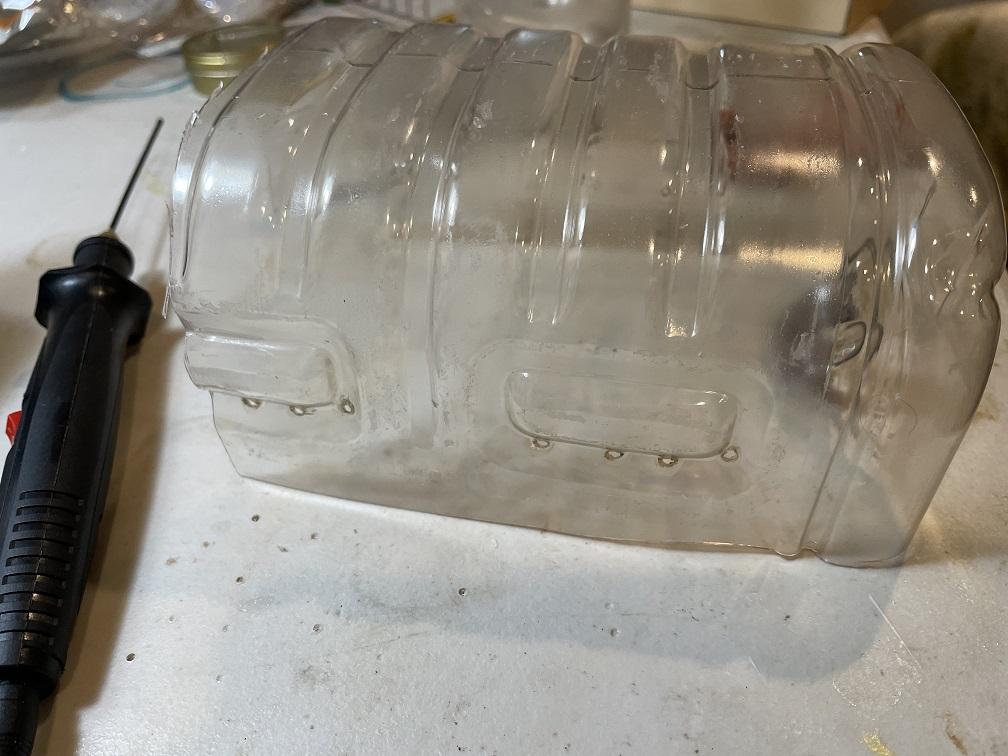
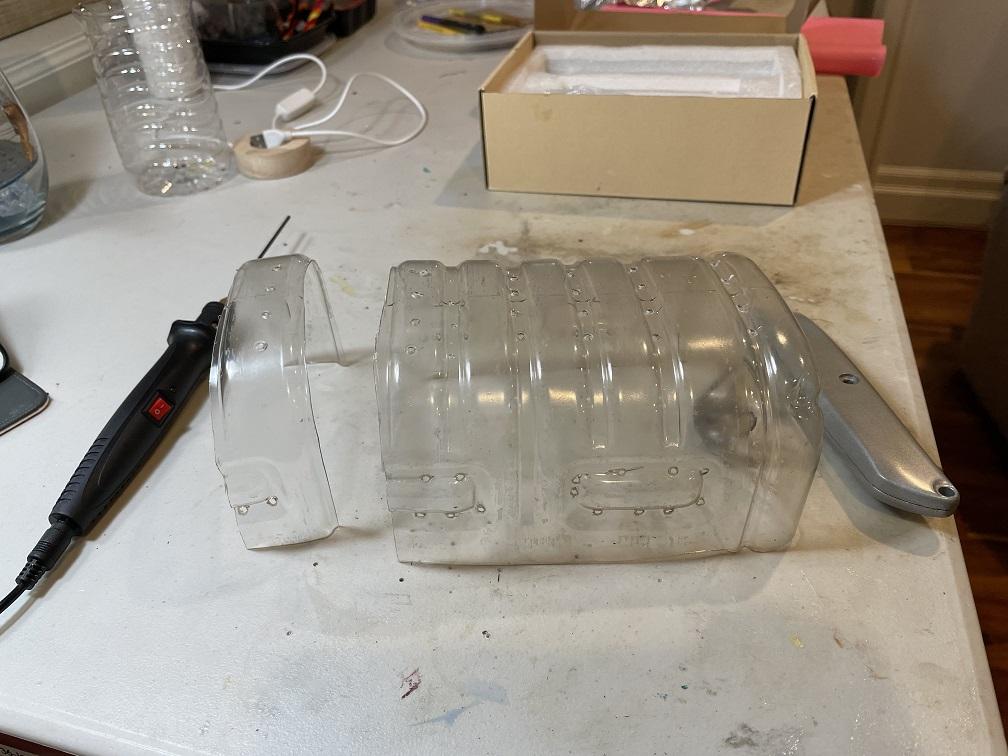
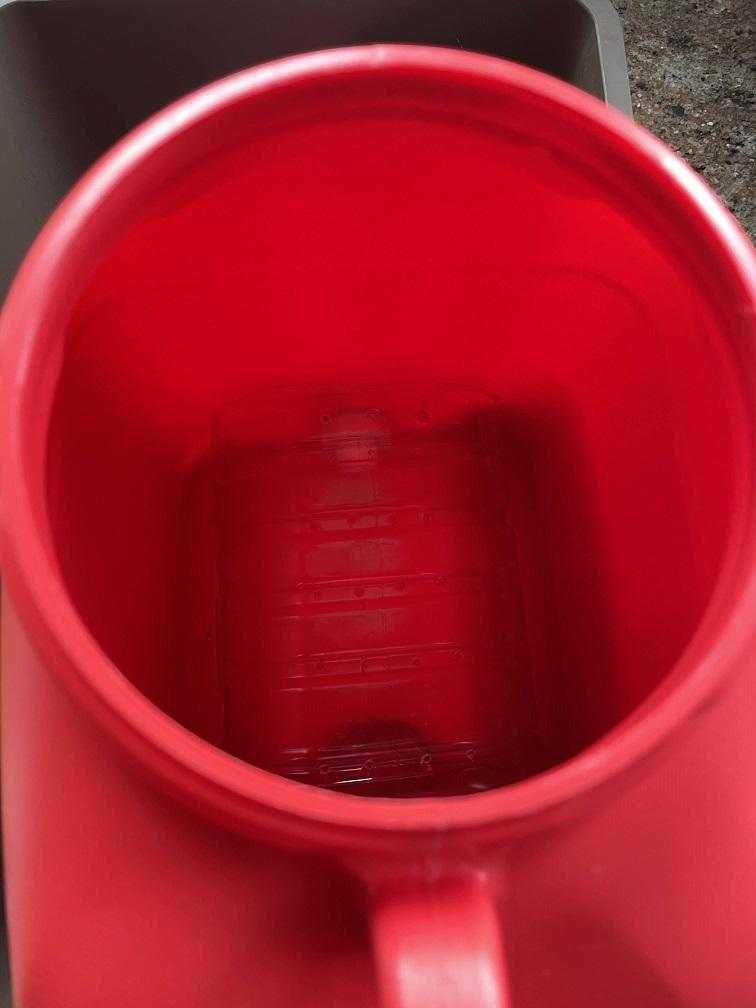
We would like to make a compartment for the liquid fertilizer to drain into so that the solid waste will not block the spigot. The compartment will also trap some oxygen next to the compost, increasing the composting speed.
We used a sturdy juice bottle for the compartment frame. Cut it to a length that can fit inside the container. Then, cut off one side so that the plastic forms a U shape and adjust its height so it is higher than the spigot. Drill holes to provide drainage and ventilation.
Two-Section Spoon


The proportion of Green and Brown can vary depending on region and season, but most of the time the 1 to 1 ratio should work fine: https://www3.epa.gov/recyclecity/compost.htm
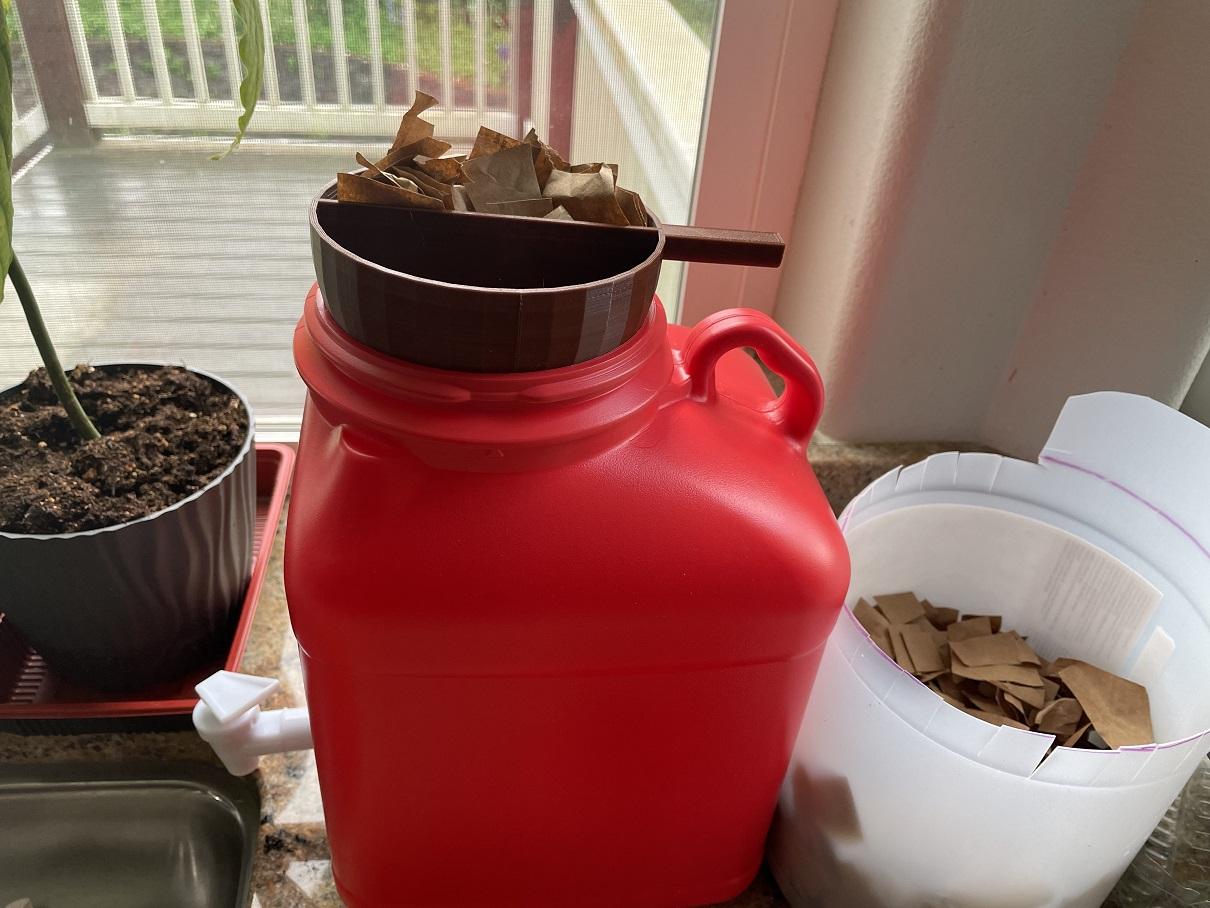
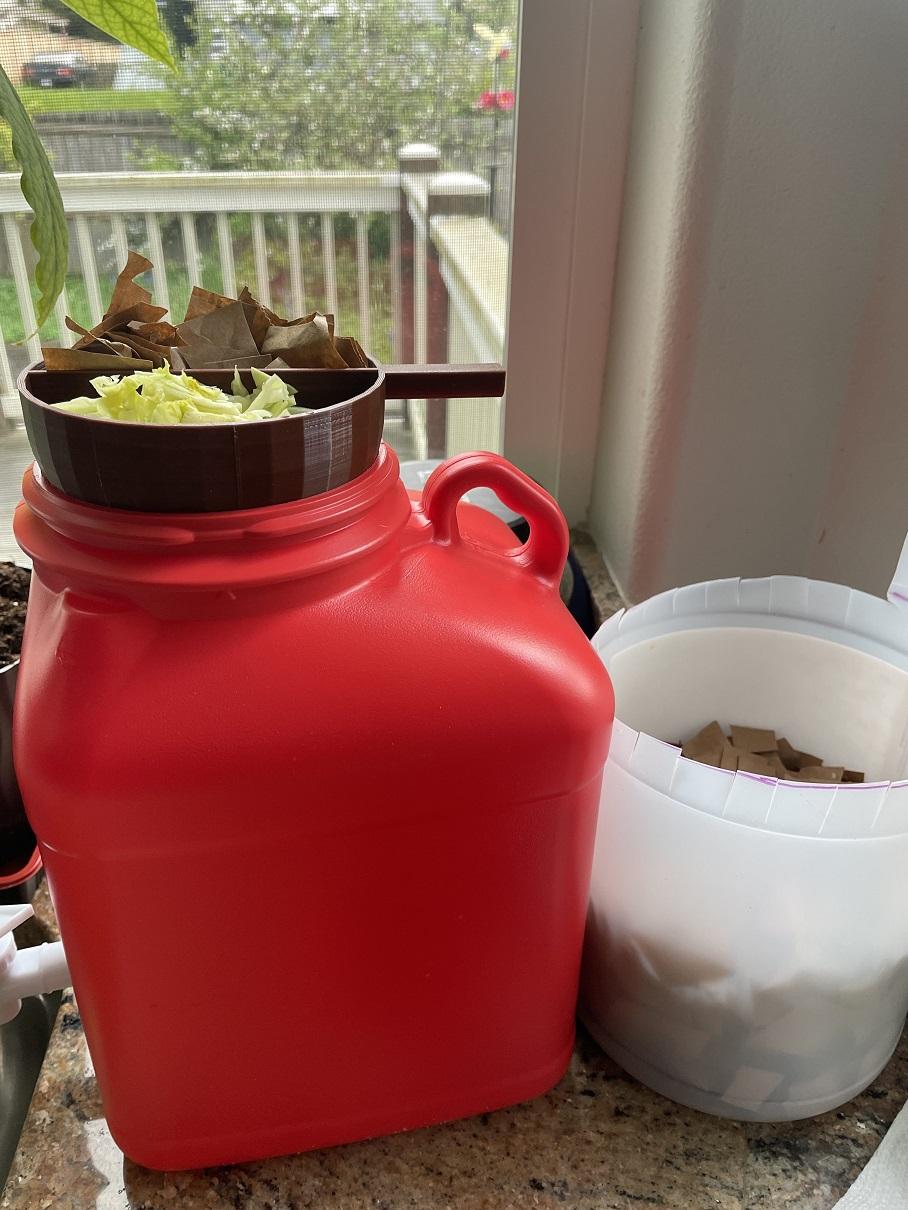
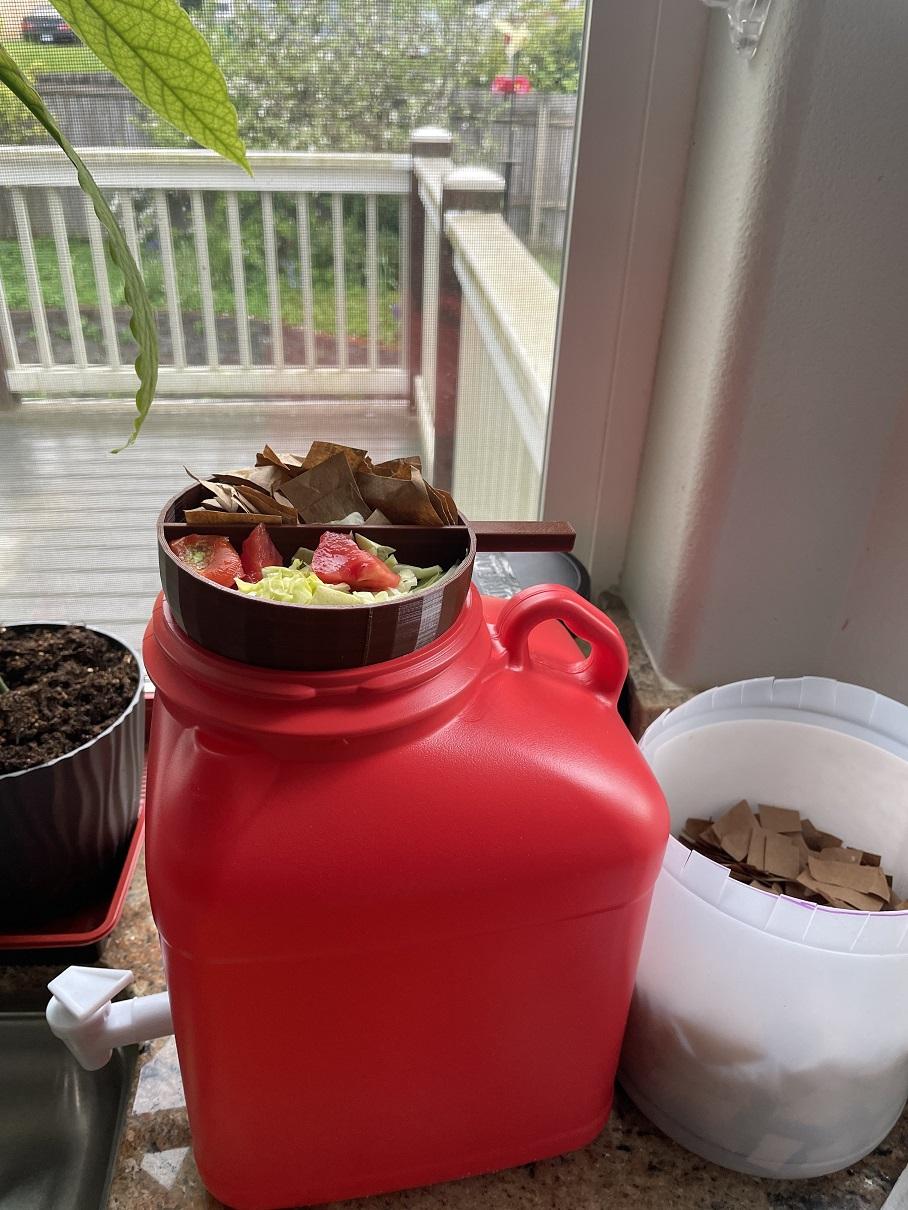
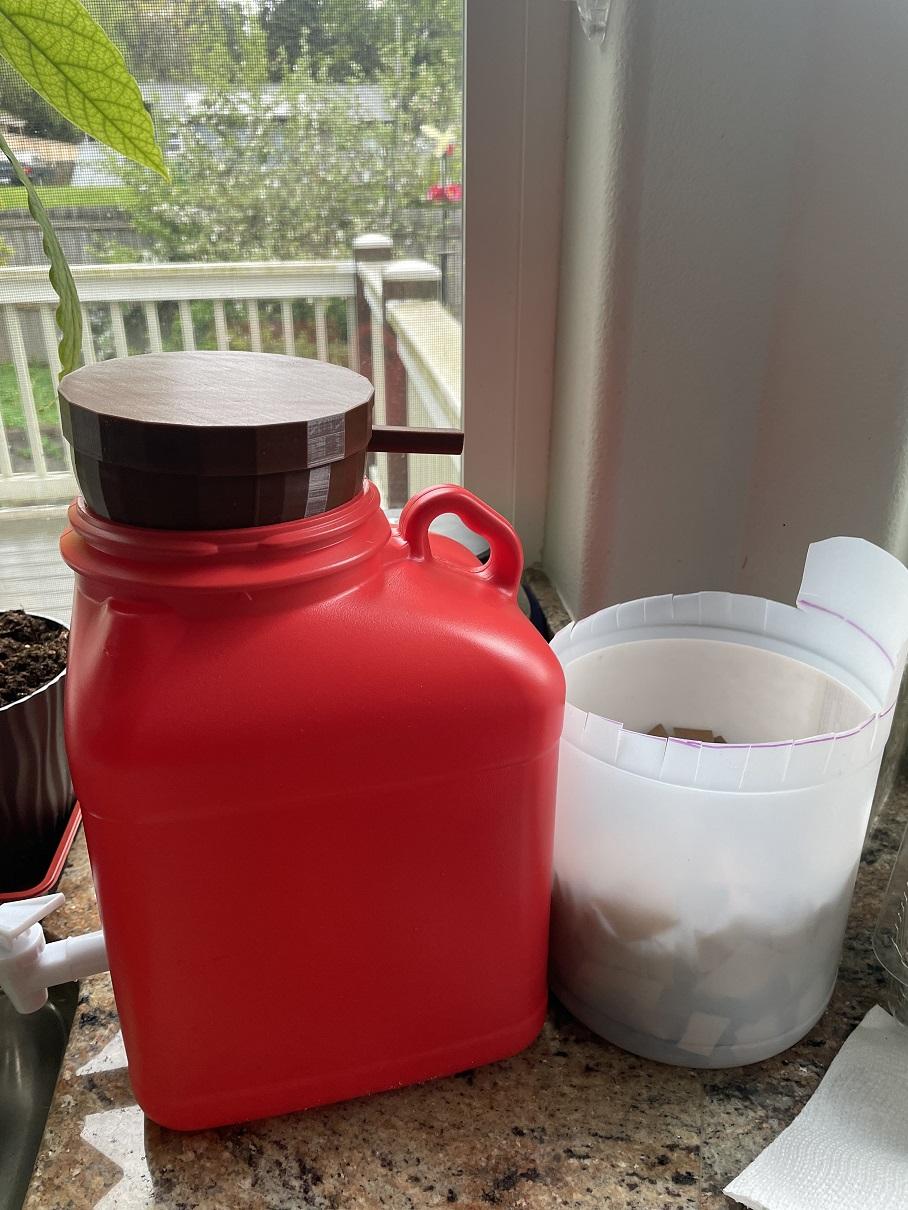
To help us do this easily, we designed a special measuring cup split into halves. The measuring cup sits on top of our container (the spoon is slightly bigger than the opening to ensure that it can't fall inside the container). You will need to adjust the size of the spoon if your container has an opening of a different size. I also designed a lid, for the cup, as the cup replaced the lid of the original container.
3D print the spoon and matching lid.
Instructions for using this split measuring cup are provided in the following steps.
Container Lid
If the kitchen compost container is not full, the cup and lid can be used to serve as a cover for the whole container. Once full, we need to cover the container and put it aside, and it's time for a new compost bin!
This cover needs to be able to sit well on top of the spoon to keep pests out. The ideal lid provides some ventilation as well - if your lid is air-tight when closed, consider poking some small holes in the top of the lid with a heat knife and padding the lid with ventilating fabric. Our lid is not air-tight, so this step was not necessary for us.
Happy Composting!
.JPG)
.JPG)
.JPG)
.JPG)
.JPG)
We ripped up some brown, unmarked paper bags to use as our brown waste, setting it in a jar next to the compost bin.
Now, we are ready to use our compost bin!
1. Layer some brown waste at the bottom of the container.
2. Place brown waste in one half of the spoon.
3. As you work in the kitchen, collect the green waste and place it in the other half of the spoon.
4. Once both sides of the spoon are full, dump them into the bin and stir it a bit. Refill the brown waste side of the spoon.
5. When the bin fills up, close the container lid and set the bin aside. It's time to start a new compost bin!
You should check on the full compost bins every once in a while to see if any liquid fertilizer has been produced yet. In our weather, I can typically start collecting liquid fertilizer in 2-3 weeks.
If the compost pile becomes too smelly, add brown waste and mix (or shake the bin, if your lid is tight enough.) If the compost pile is decomposing very slowly, consider adding a bit more green waste.
Enjoy your new compost bin!