DIY Laser-Cut Acrylic Name Refrigerator Magnets
by thunderlaser-nolan in Workshop > Laser Cutting
20 Views, 0 Favorites, 0 Comments
DIY Laser-Cut Acrylic Name Refrigerator Magnets
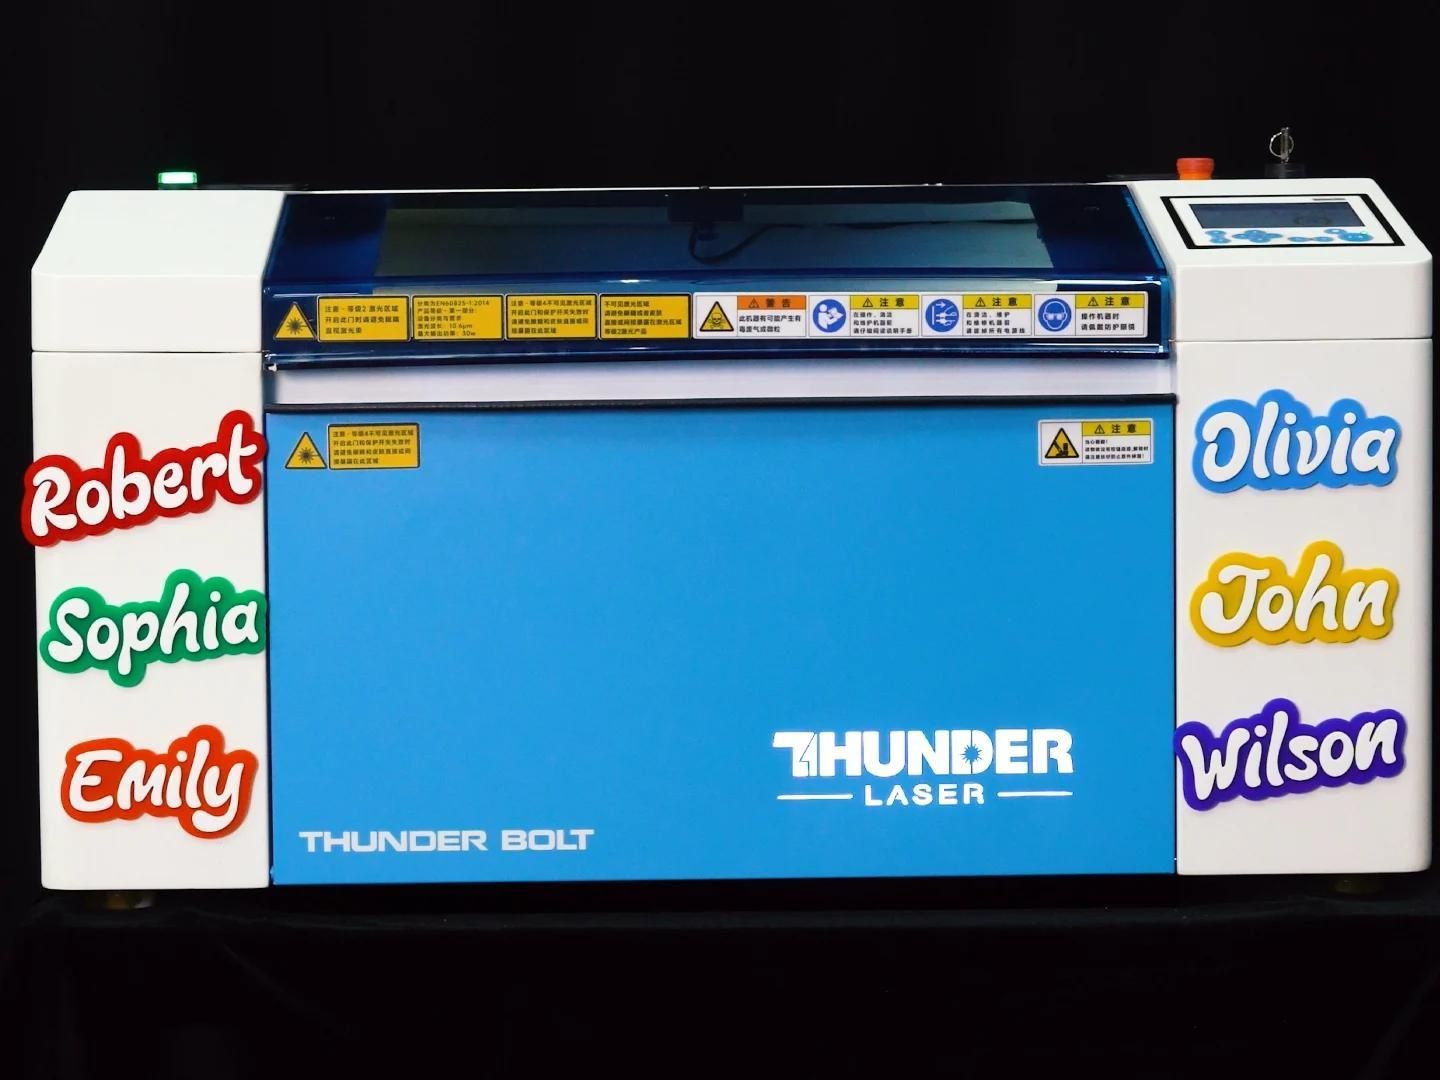
Name refrigerator magnets are an easy way to add something personal to a space you use every day.
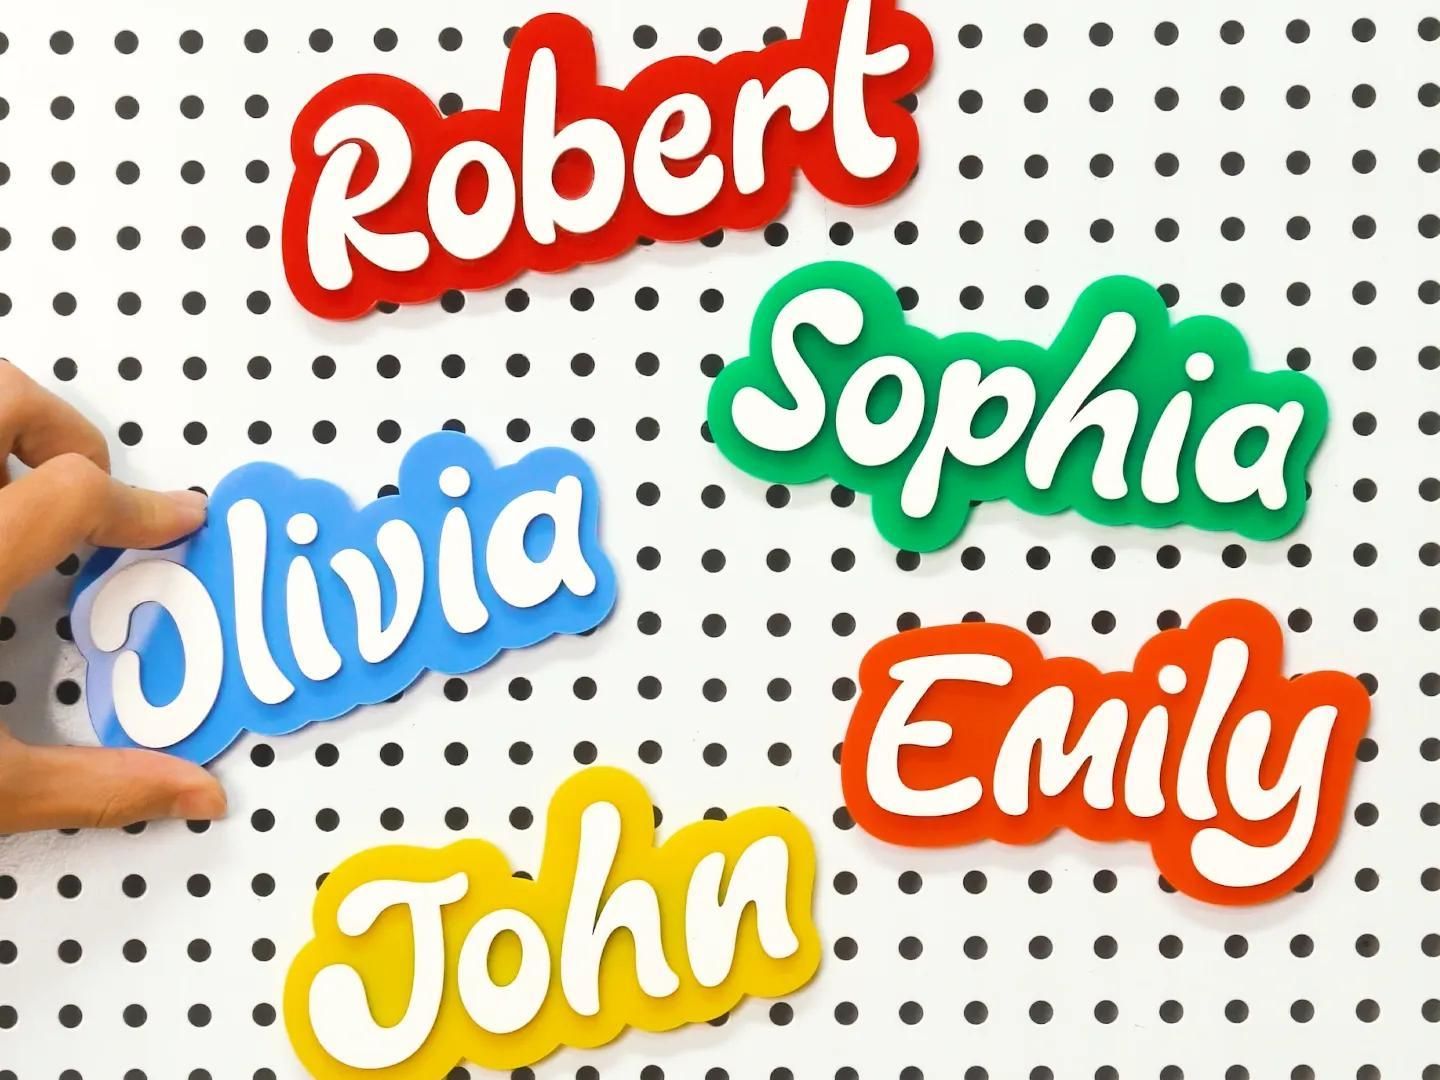
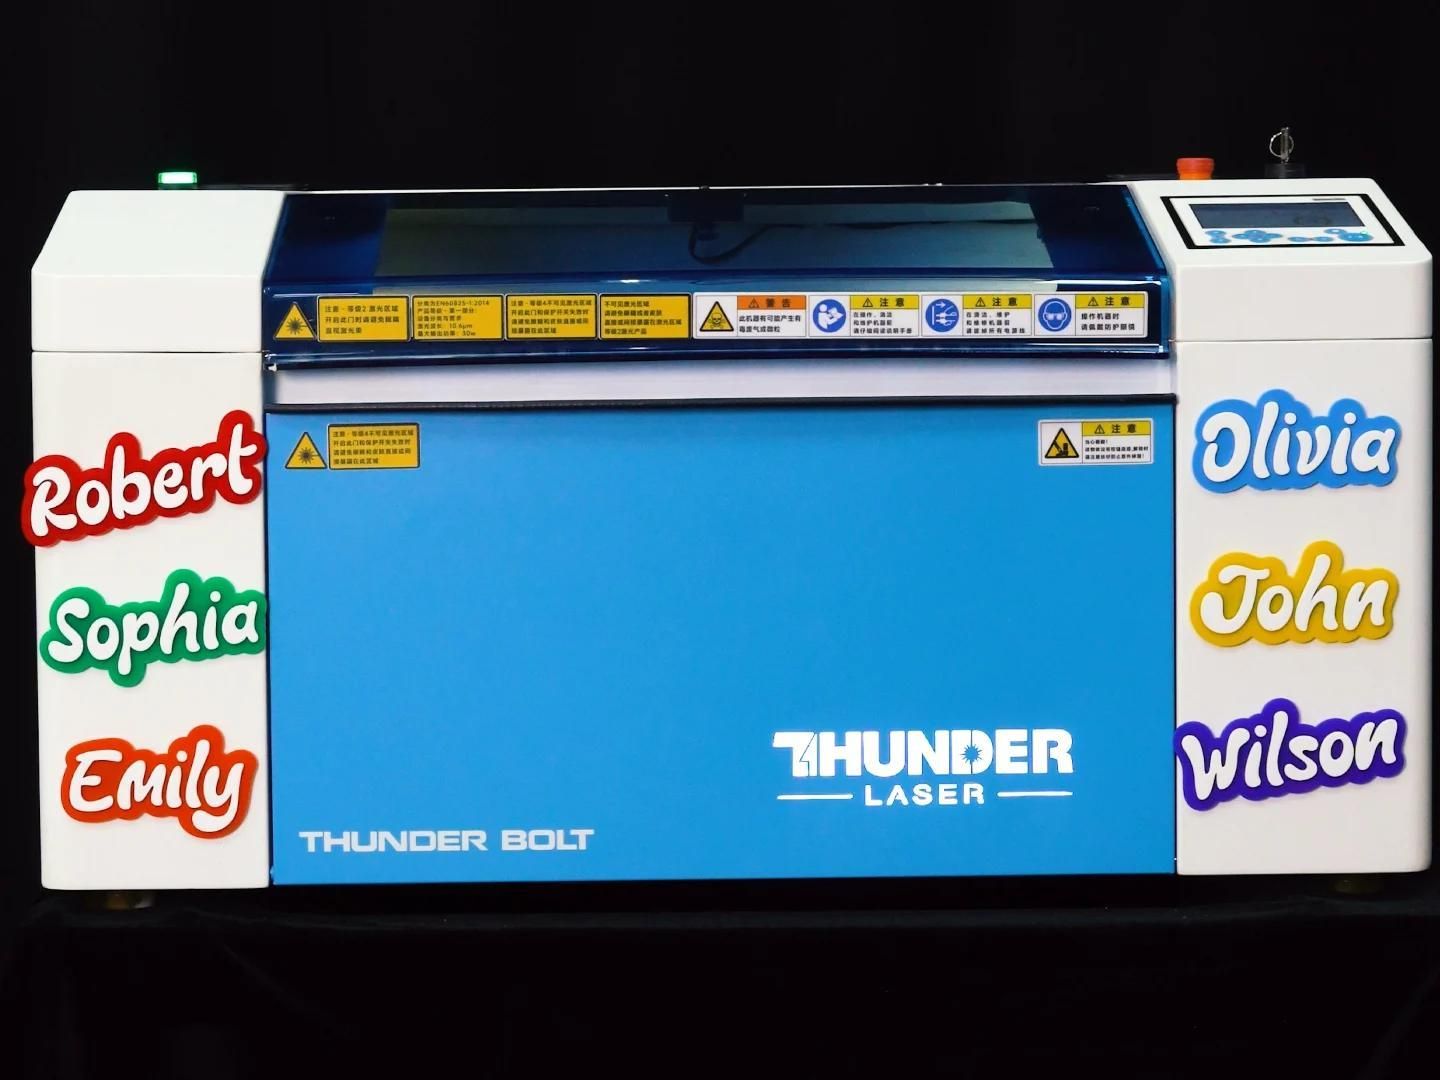
With 3mm acrylic, you can cut names into clean, colorful pieces for the refrigerator, family message boards, kids' spaces, small gifts, or personalized magnet sets.
The design is easy to adapt, so once the basic file is ready, you can change the name, font, size, or acrylic color to make a completely different version.
For more acrylic laser cutting guidance, see: https://www.thunderlaser.com/laser-wiki/material-applications/laser-engraving-cutting-acrylic-guide.html.
Supplies
- Thunder Bolt laser cutting machine (or another Thunder Laser model)
- One 3mm acrylic sheet — flat, clean, and dry
- LaserMaker software (free) — LightBurn or RDWorks also work
- Name Refrigerator Magnets project file (.dxf), attached to this Instructable
Laser settings for 3mm acrylic: cutting speed 10mm/s, max power 60%, min power 10%, LOW air assist.
Prepare & Position the Material
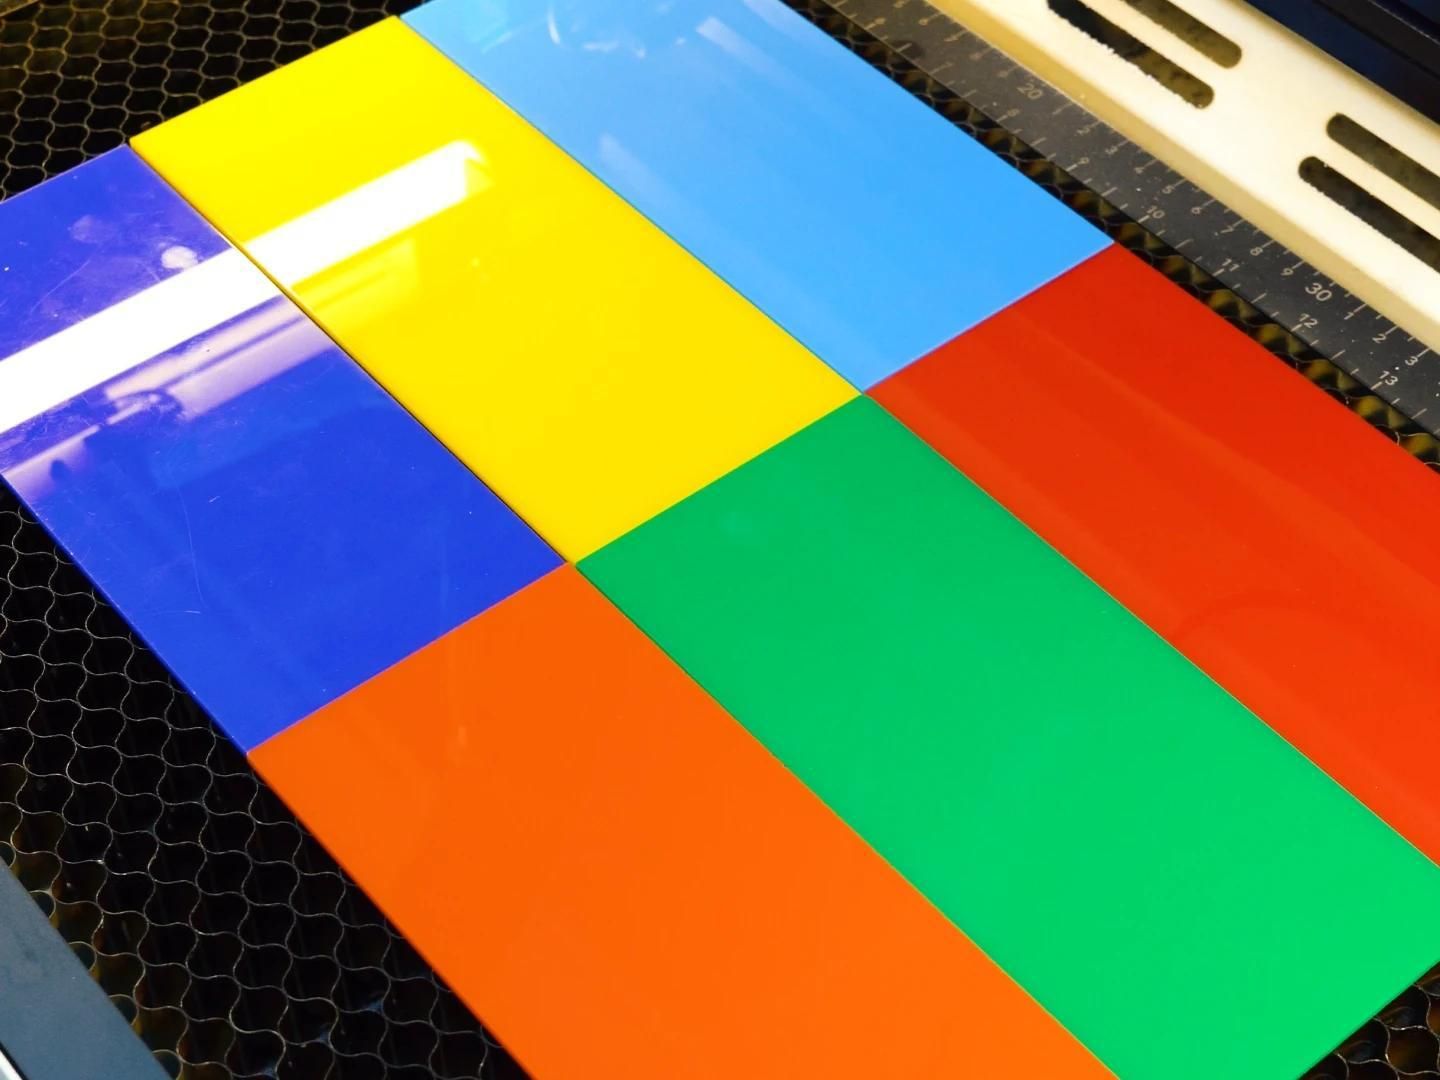
Place the 3mm acrylic sheet flat on the laser work bed and make sure it is clean, dry, and stable.
Keep the protective film on the acrylic while handling and cutting the sheet so the finished surface stays protected from scratches. Make sure the material sits flat across the cutting area, and secure it if needed so it cannot shift during processing.
Import & Adjust the Design File
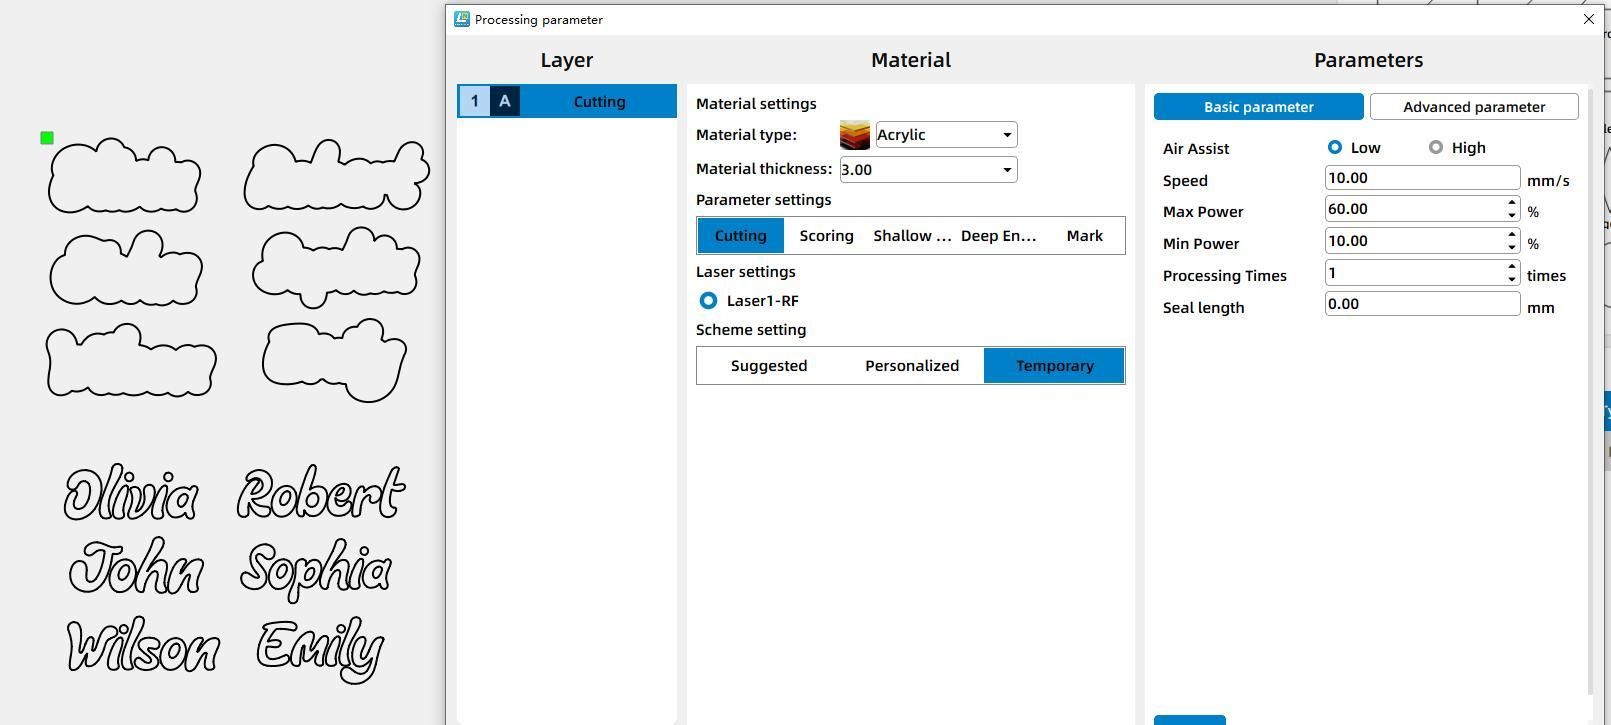
Import the name refrigerator magnet design into your laser software and resize it to the finished dimensions you want.
Check the letter spacing, narrow strokes, inner cutouts, and overall layout before processing. Set the acrylic cutting layer to 10mm/s speed, 60% max power, 10% min power, and LOW air assist, then place each name efficiently within the available acrylic area.
Set the Correct Laser Focus
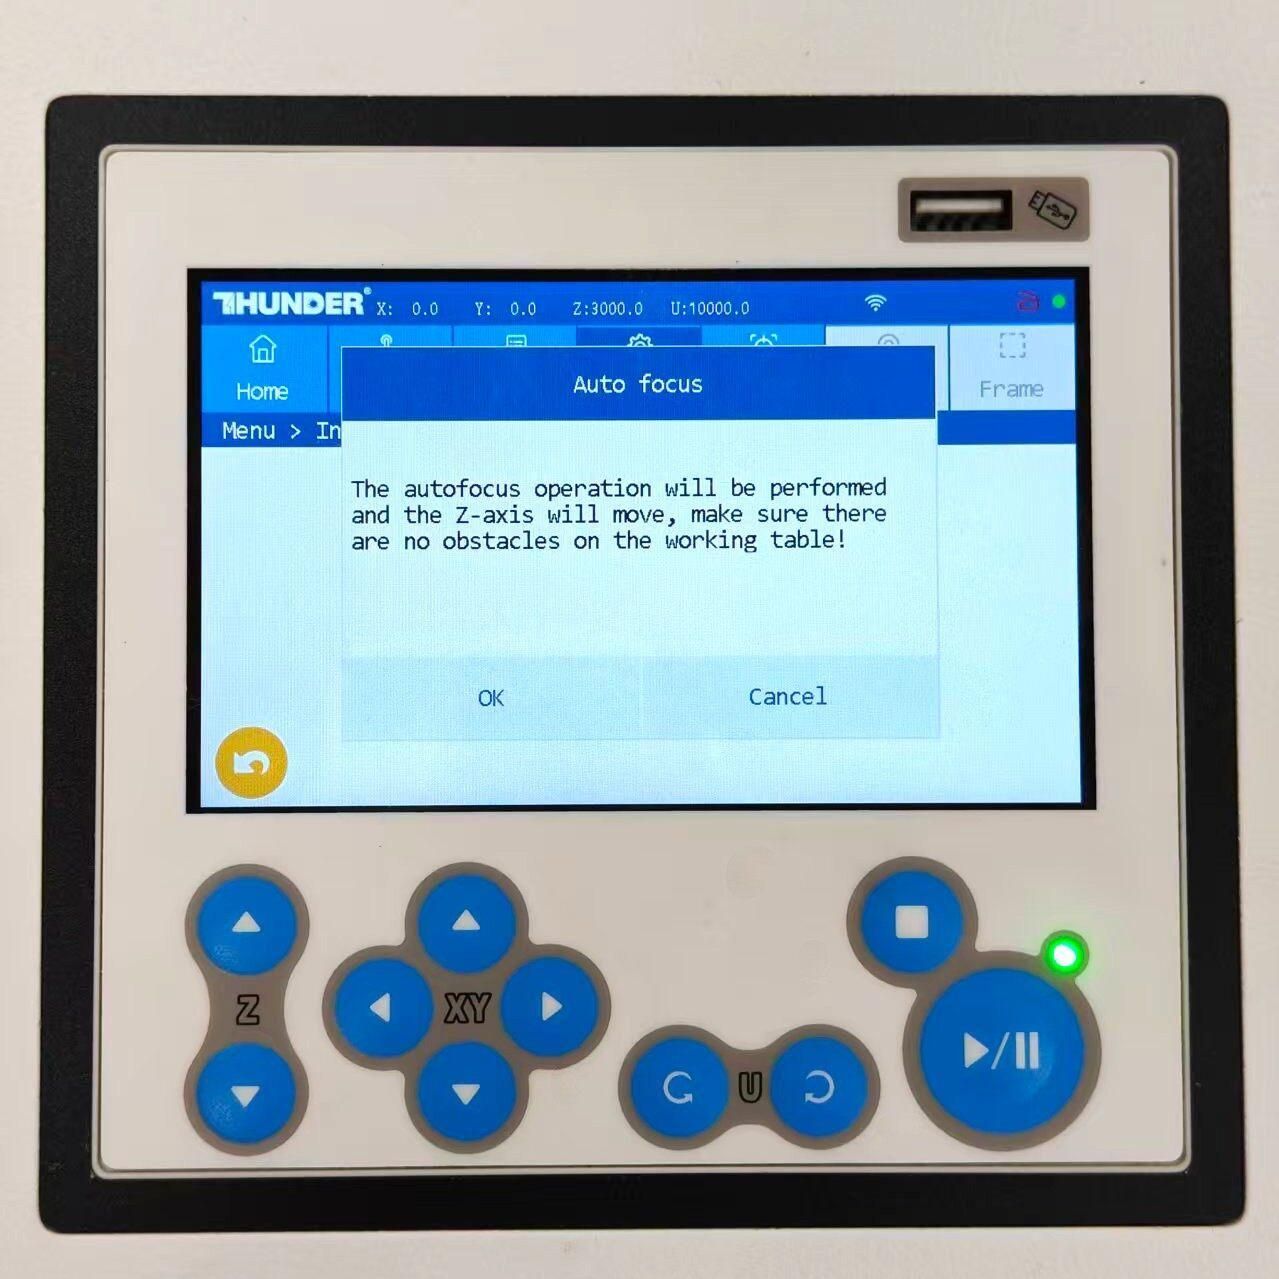
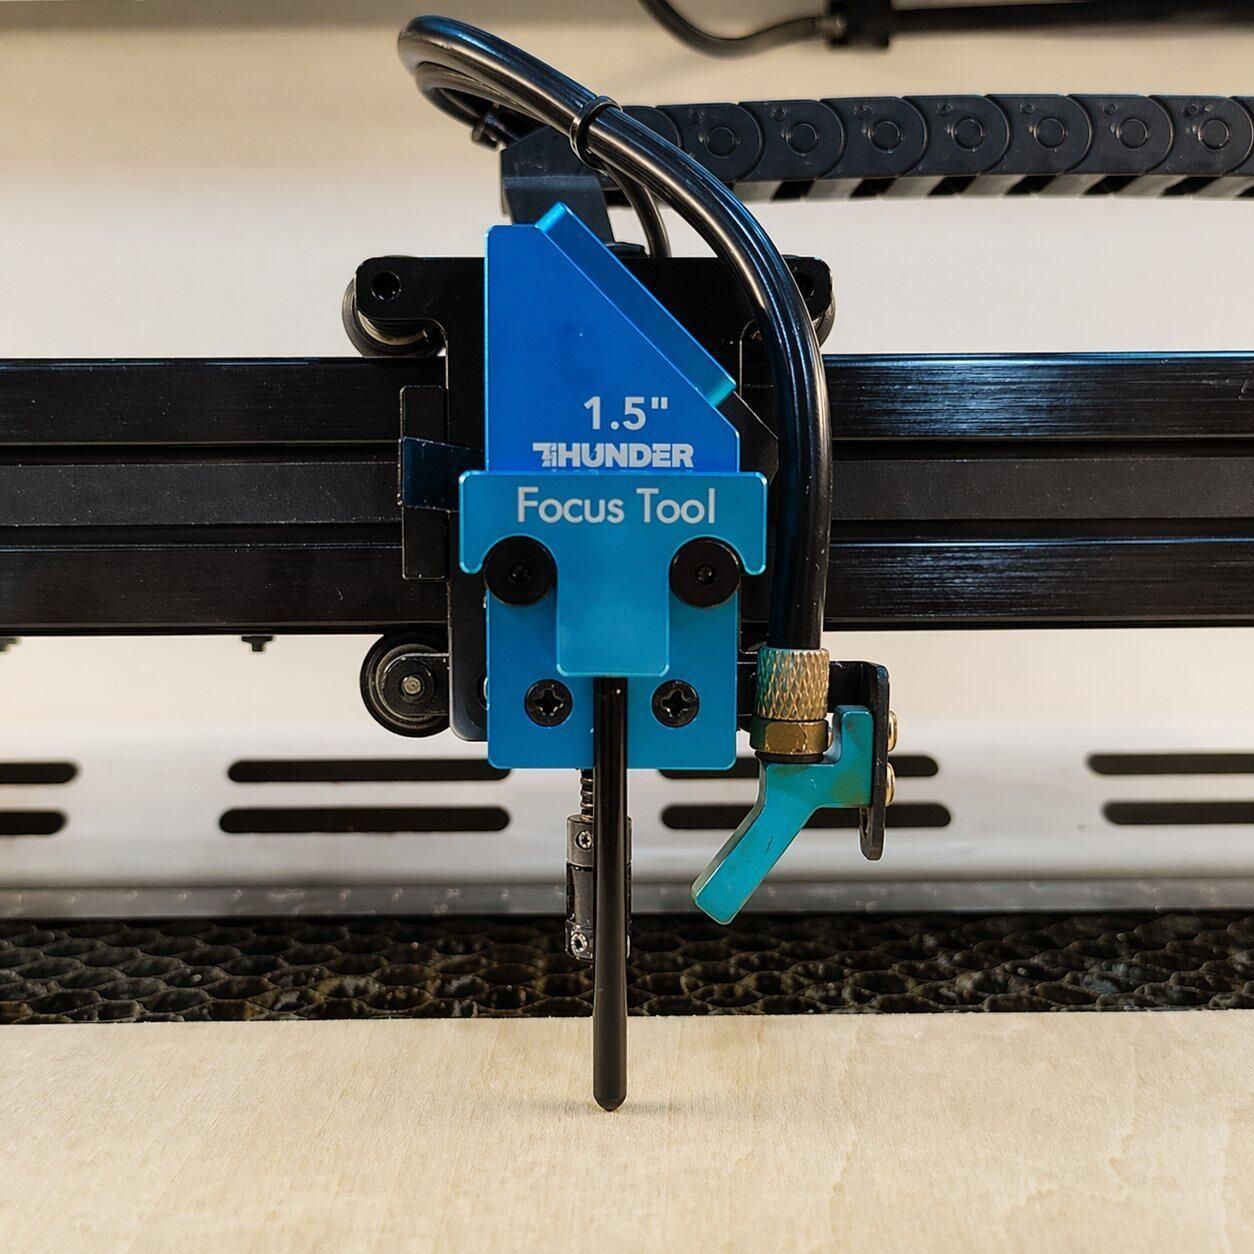
Set the laser focus on the top surface of the 3mm acrylic before cutting.
Consistent focus helps the laser cut through narrow letter strokes and small internal details cleanly. Check that the acrylic remains flat after focusing so the cutting distance stays consistent across the entire name design.
Frame the Design & Start Laser Cutting
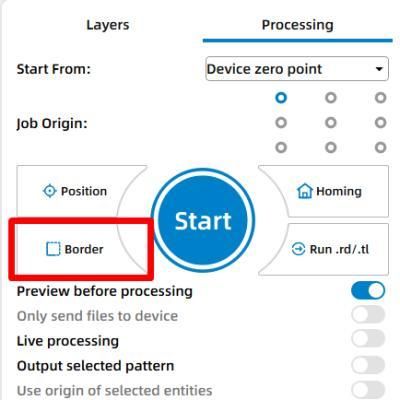
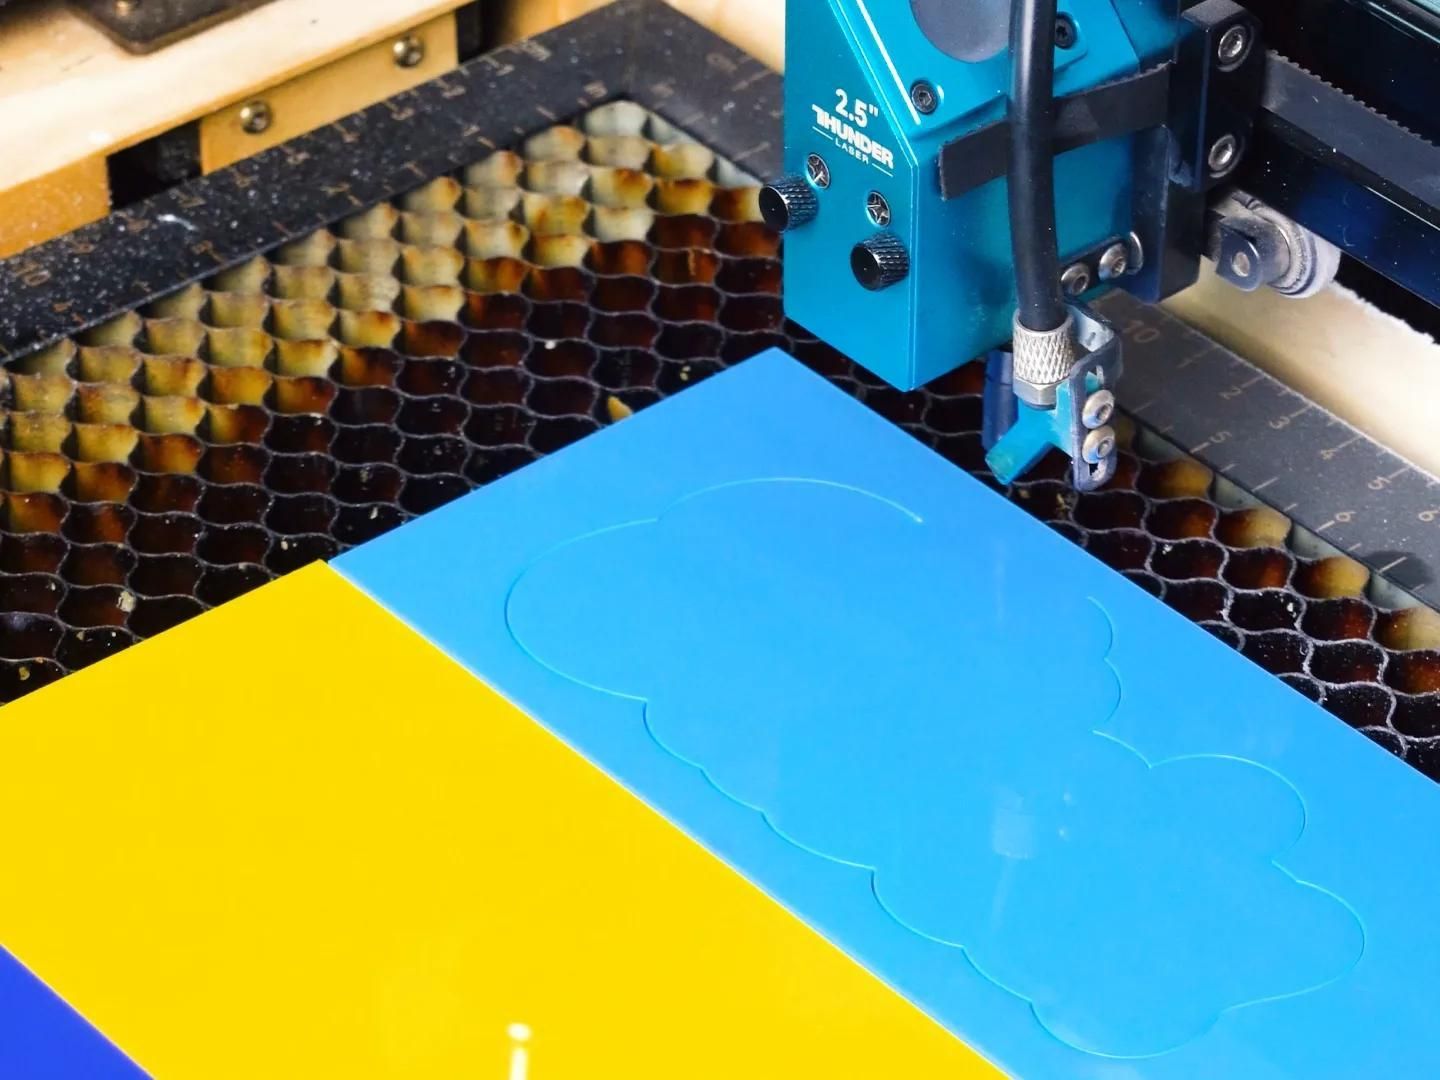
Run the Frame function first to confirm that the complete name design stays within the acrylic sheet and has enough clearance around the edges.
Once the position is correct, start cutting at 10mm/s speed, 60% max power, 10% min power, with LOW air assist. Stay near the machine during processing and watch for unusual smoke, flame-ups, alarms, or material movement until the cut is complete.
Post Processing
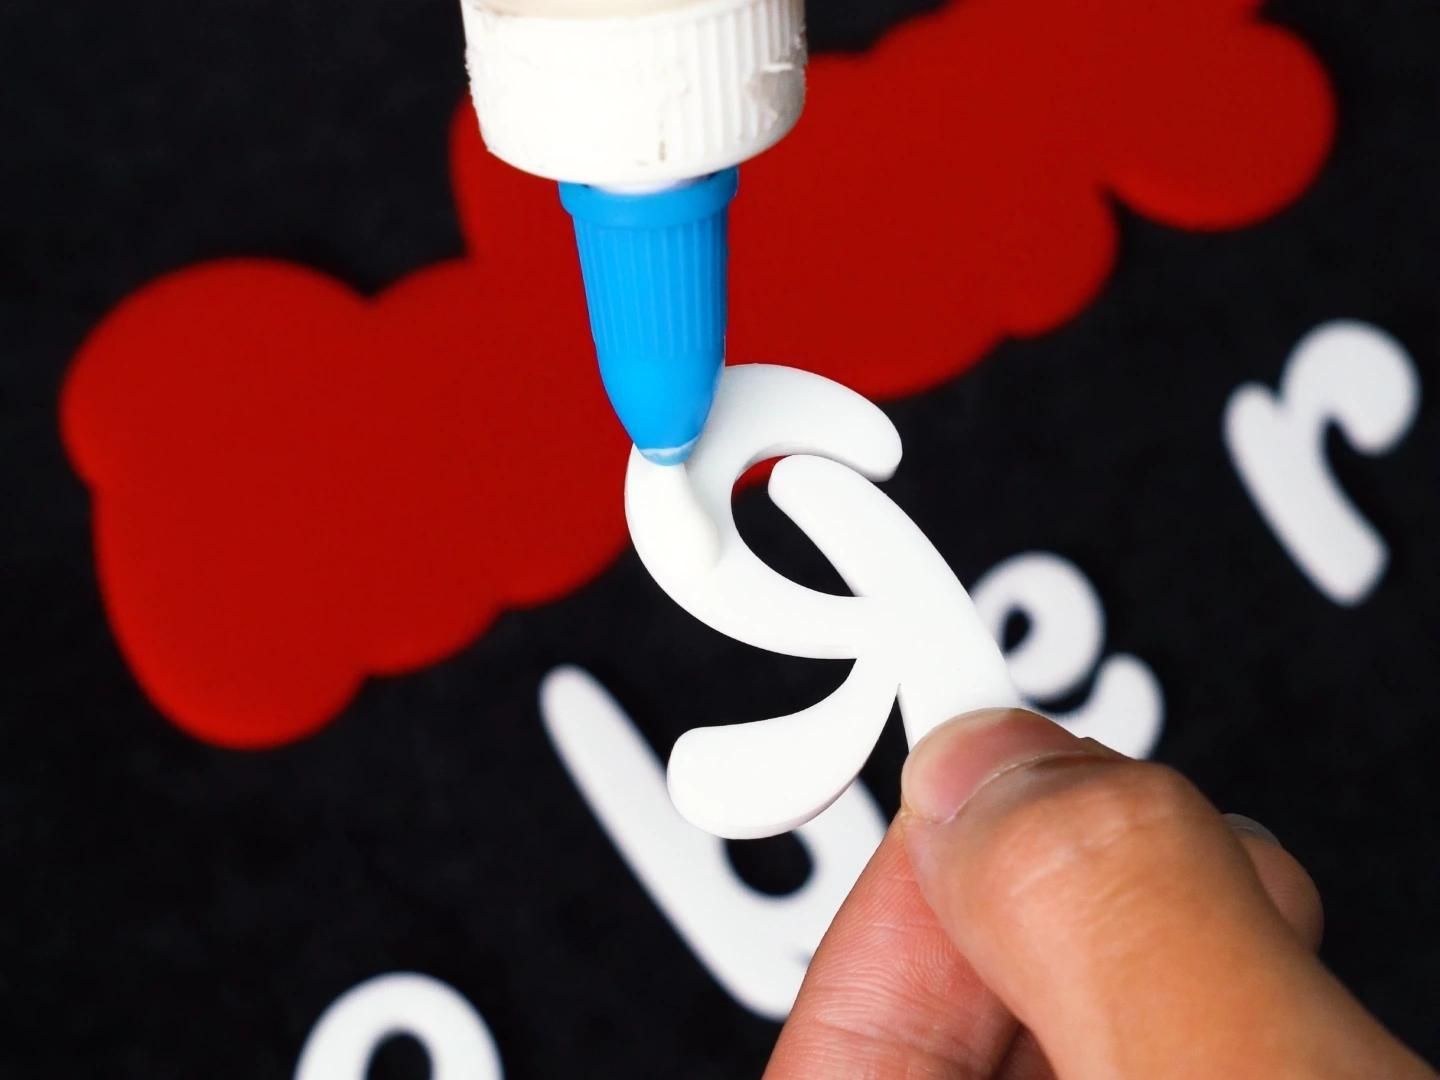
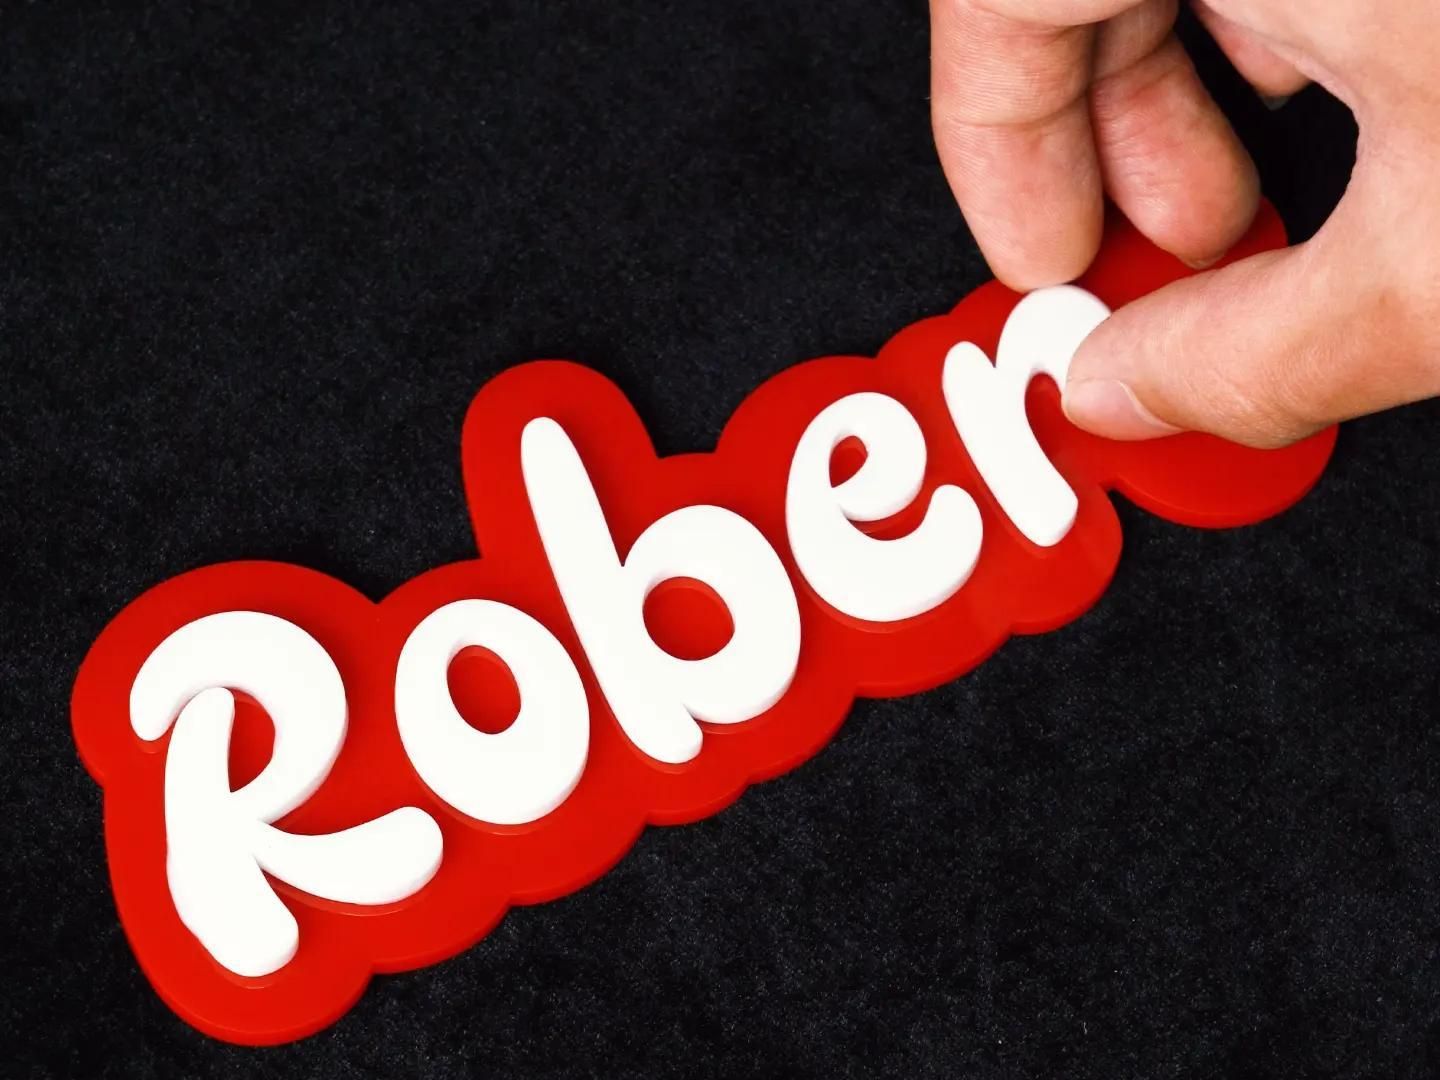
Remove the cut acrylic name pieces from the laser bed and peel away the protective film. Wipe the surfaces gently to remove dust and fingerprints, especially around narrow letters and small internal details.
Arrange the parts in their final position before applying glue. Use a small amount of glue to secure the acrylic name to the magnetic component used for your refrigerator magnet, then check the alignment before the adhesive begins to set.
Let the glue cure fully, then clean away any remaining residue and check that the finished name sits straight. Once everything is secure, the refrigerator magnet is ready to use.