DIY Laser-Cut Home Doorplate With Plywood and Acrylic
by thunderlaser-nolan in Workshop > Laser Cutting
310 Views, 1 Favorites, 0 Comments
DIY Laser-Cut Home Doorplate With Plywood and Acrylic
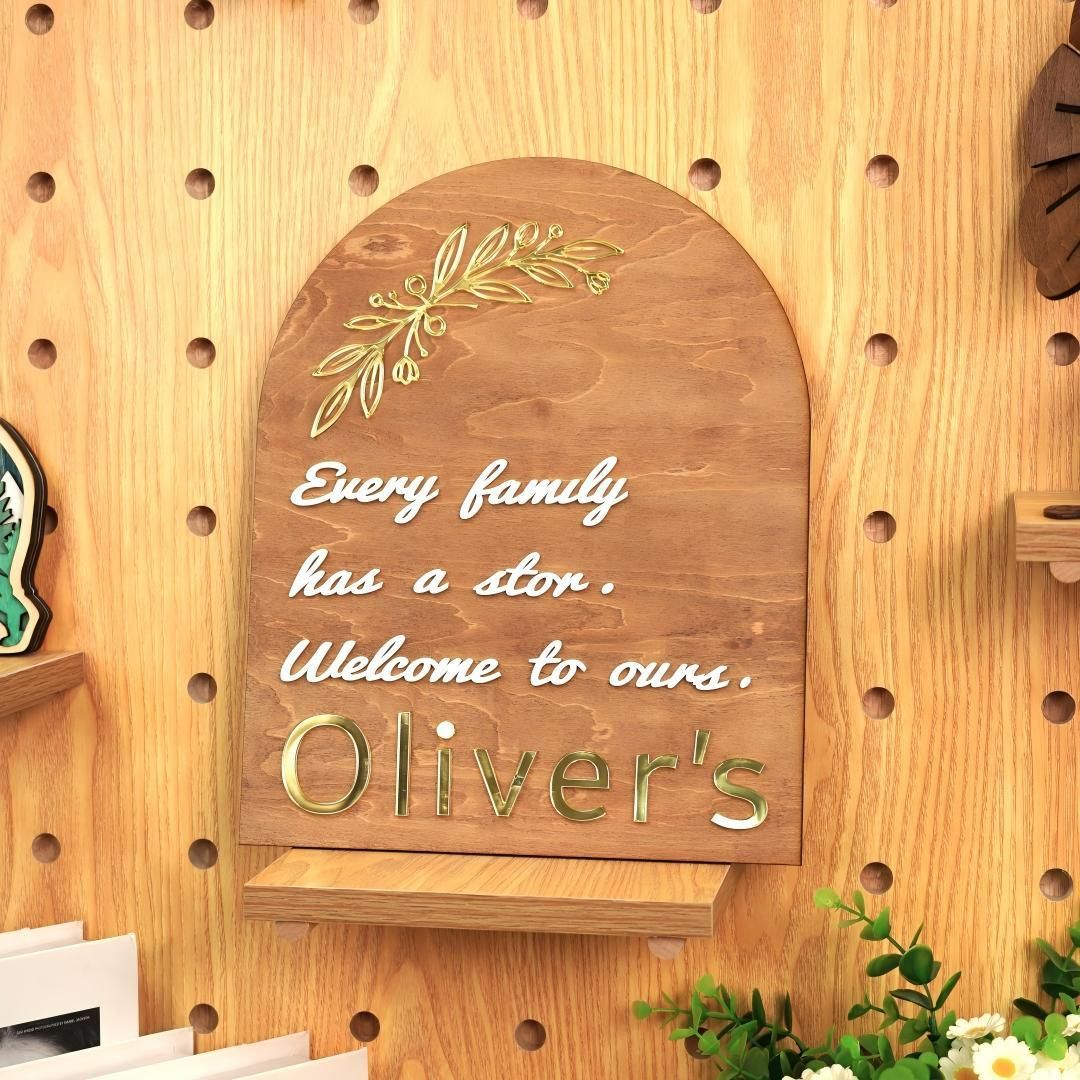
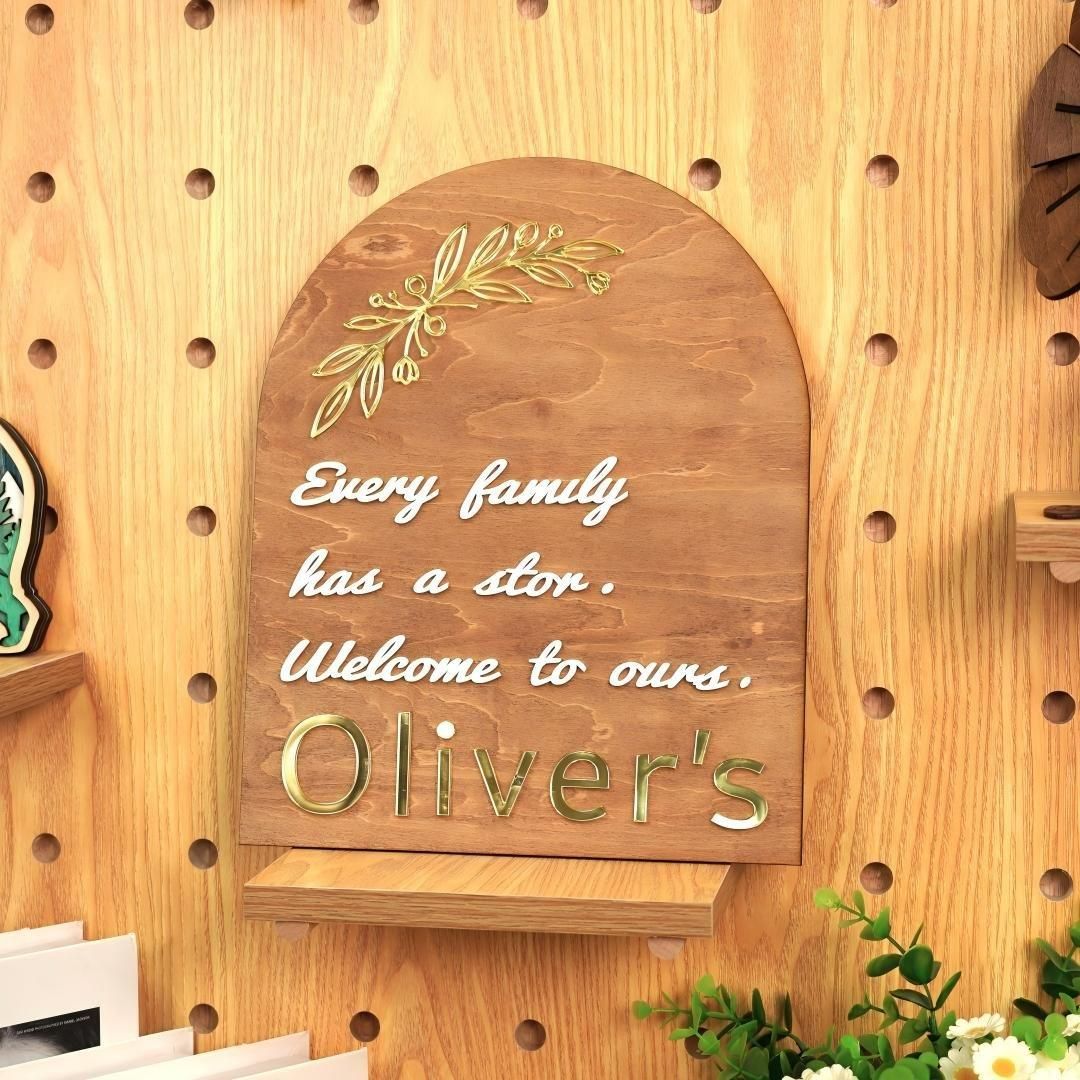
A home doorplate is a small detail that makes a room, front door, or family space feel more personal.
By combining a plywood base with an acrylic front layer, you can create a clean and modern door sign with warm wood texture and sharp acrylic details.
This project is easy to customize with names, room numbers, house numbers, or simple decorative patterns.
For more plywood and acrylic laser cutting guidance, see: Plywood Laser Engraving and Cutting Guide and Acrylic Laser Cutting and Engraving Guide.
Supplies
- Thunder Bolt laser cutting machine (or another Thunder Laser model)
- One 3mm plywood sheet and one 3mm acrylic sheet — flat, clean, and dry
- LaserMaker software (free) — LightBurn or RDWorks also work
- Home Doorplate project file (.dxf), attached to this Instructable
Laser settings for 3mm plywood: scoring speed 300 mm/s, max power 15%, min power 10%, air assist LOW; cutting speed 10 mm/s, max power 30%, min power 10%, air assist HIGH.
Laser settings for 3mm acrylic: cutting speed 10 mm/s, max power 60%, min power 10%, air assist LOW.
Downloads
Prepare & Position the Material
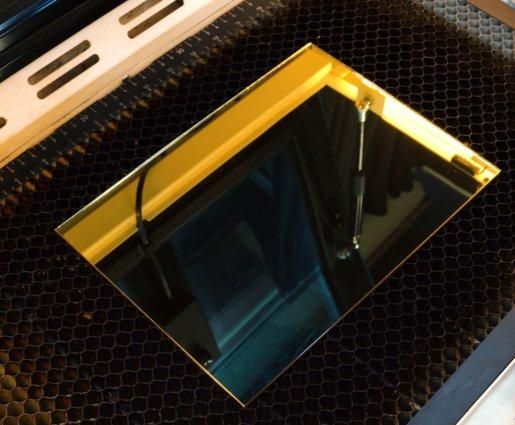
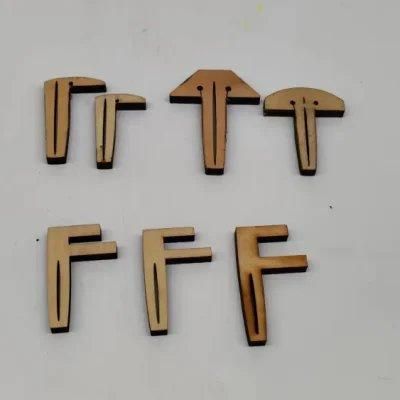
Place the 3mm plywood flat on the laser work bed and make sure it is clean, dry, and stable.
Because this project also uses 3mm acrylic, keep the acrylic sheet ready and make sure its protective film stays on during cutting to prevent scratches. Use pins or magnets if needed so the material does not move during processing.
Import & Adjust the Design File
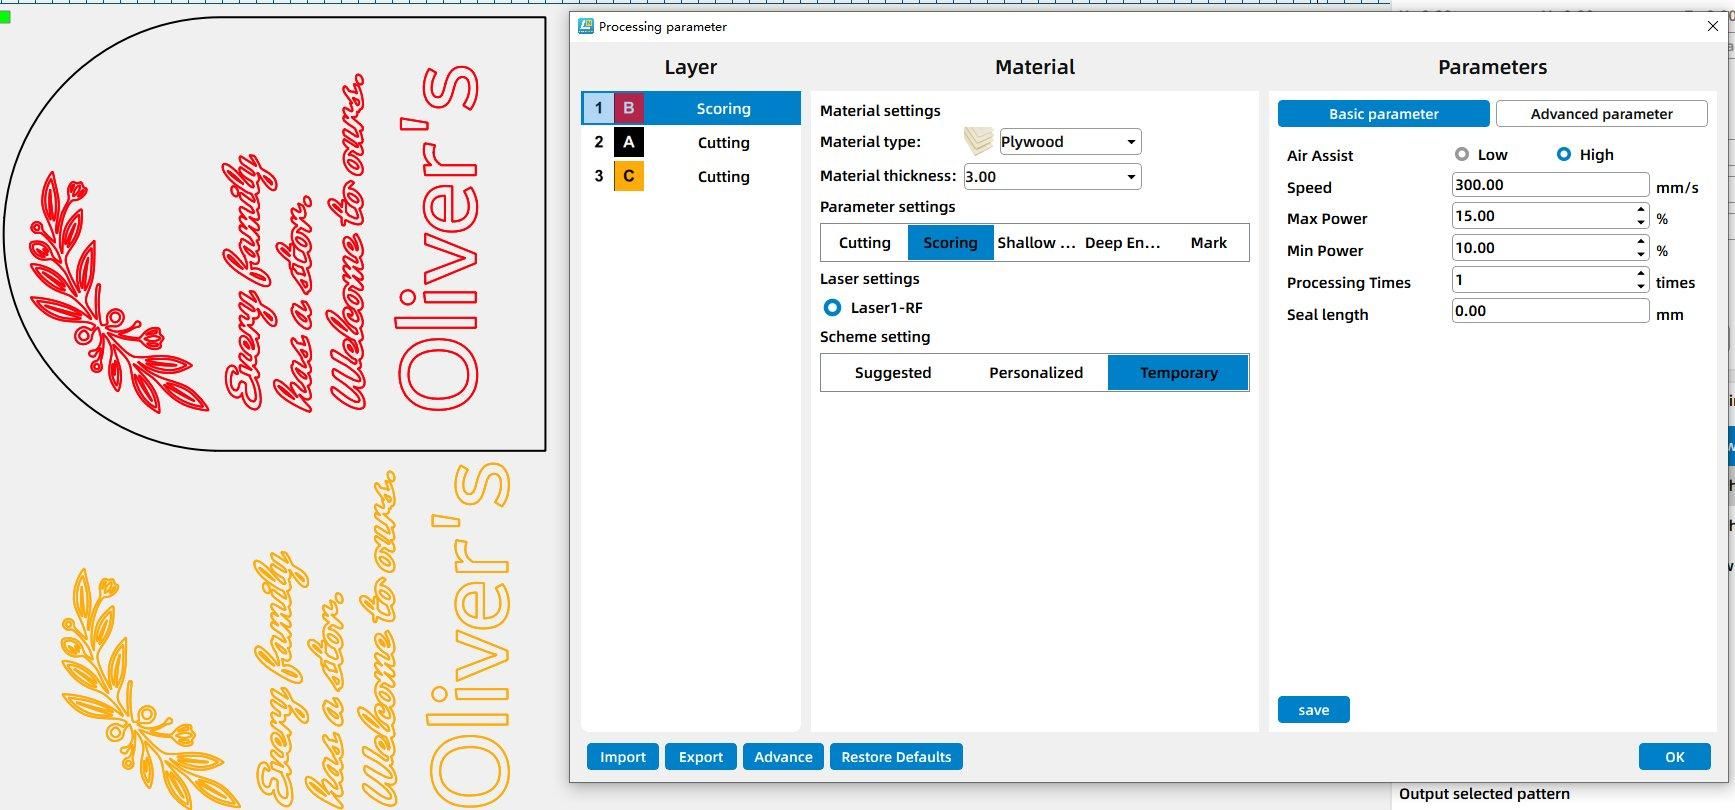
Import the home doorplate design into your laser software and adjust the size to fit your plywood and acrylic sheets.
Check the scoring lines, plywood cut lines, acrylic cut lines, mounting holes, and alignment areas before processing. Since this is a two-layer doorplate, make sure the acrylic front layer lines up correctly with the plywood base.
Set the Correct Laser Focus
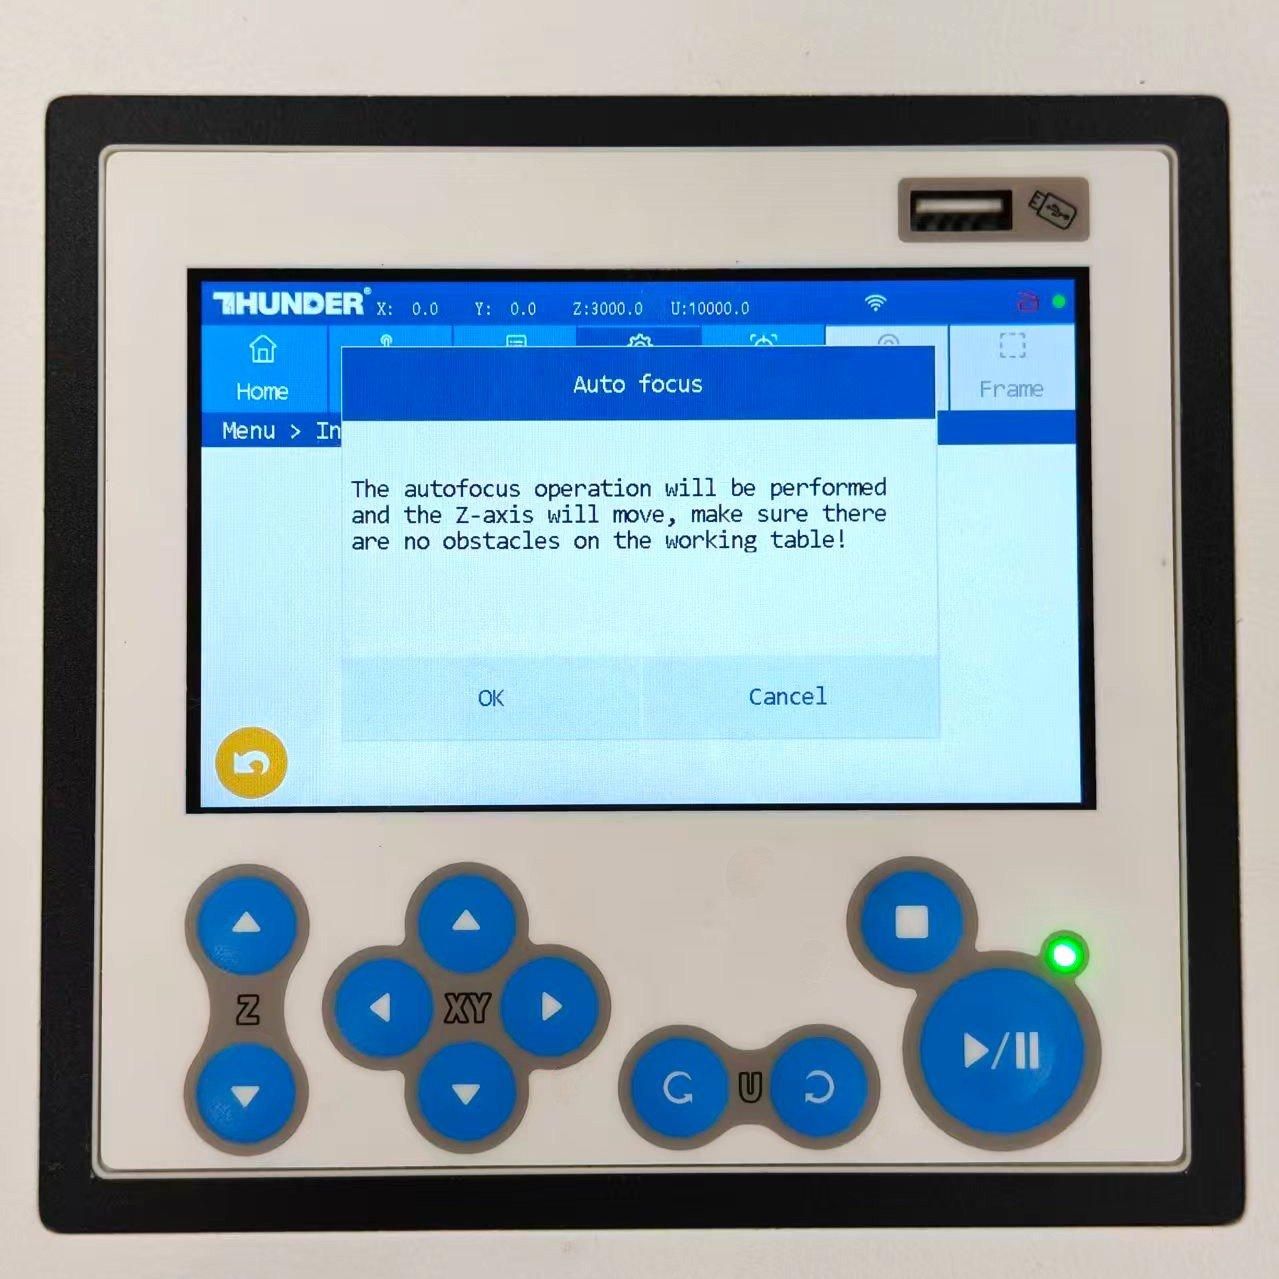
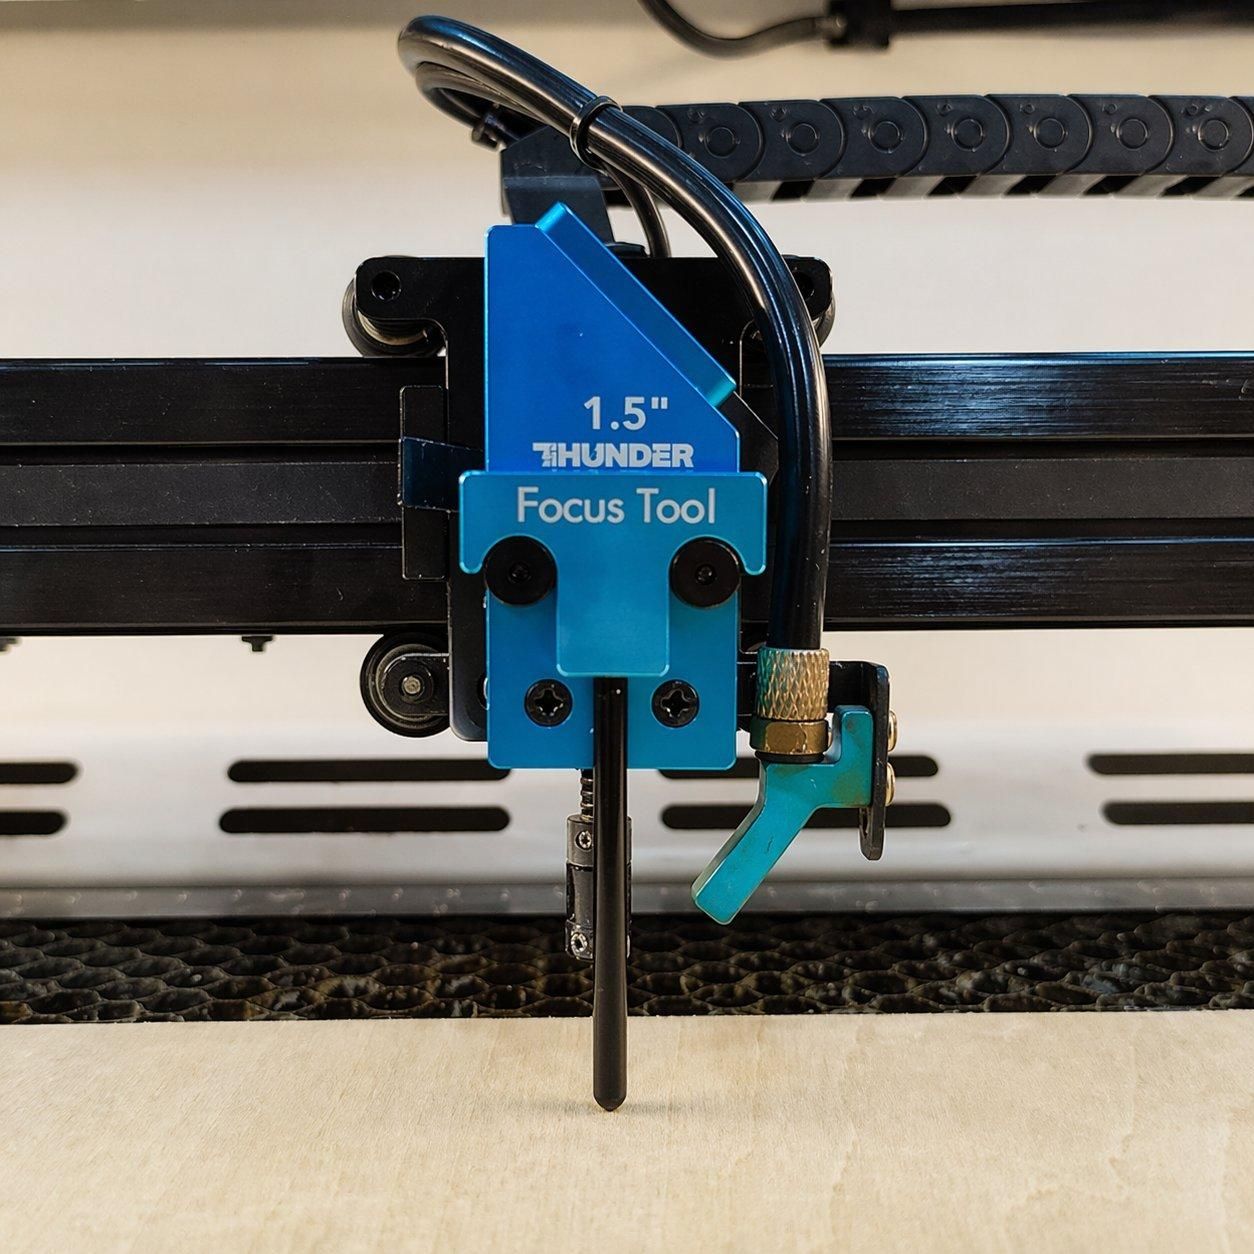
Set the correct laser focus before processing each material.
Good focus helps the plywood scoring look clean, keeps the plywood cutting edges neat, and gives the acrylic layer a smooth cut edge. If you switch from plywood to acrylic, check the focus again before starting the next layer.
Frame the Design & Start Scoring and Cutting
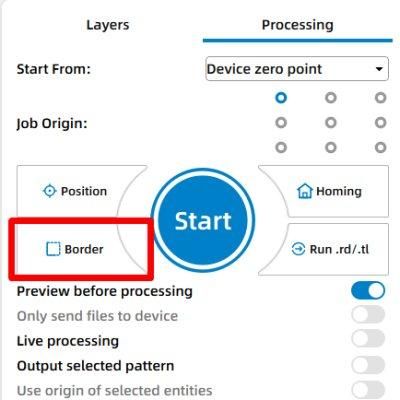
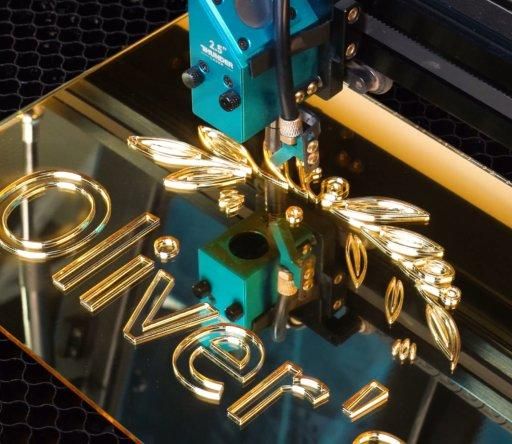
Run the Frame function before scoring the plywood to confirm that the design is positioned correctly on the sheet, then use the plywood scoring setting with low air assist.
After scoring is complete, run Frame again before cutting the plywood, then use the plywood cutting setting with high air assist. When processing the acrylic layer, place the acrylic sheet on the bed, run Frame again to confirm the position, and cut the acrylic with low air assist. Stay near the machine during all three operations and watch for smoke, flame-ups, or material movement.
Post Processing
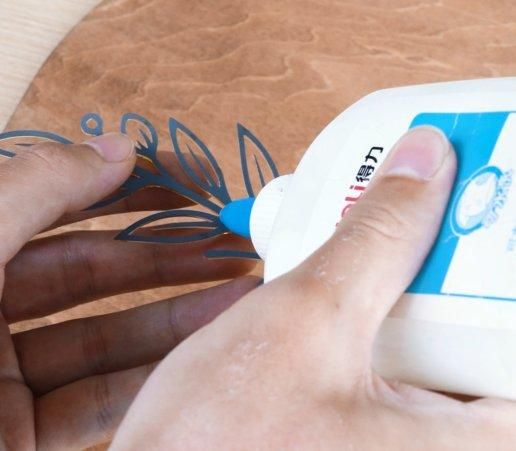
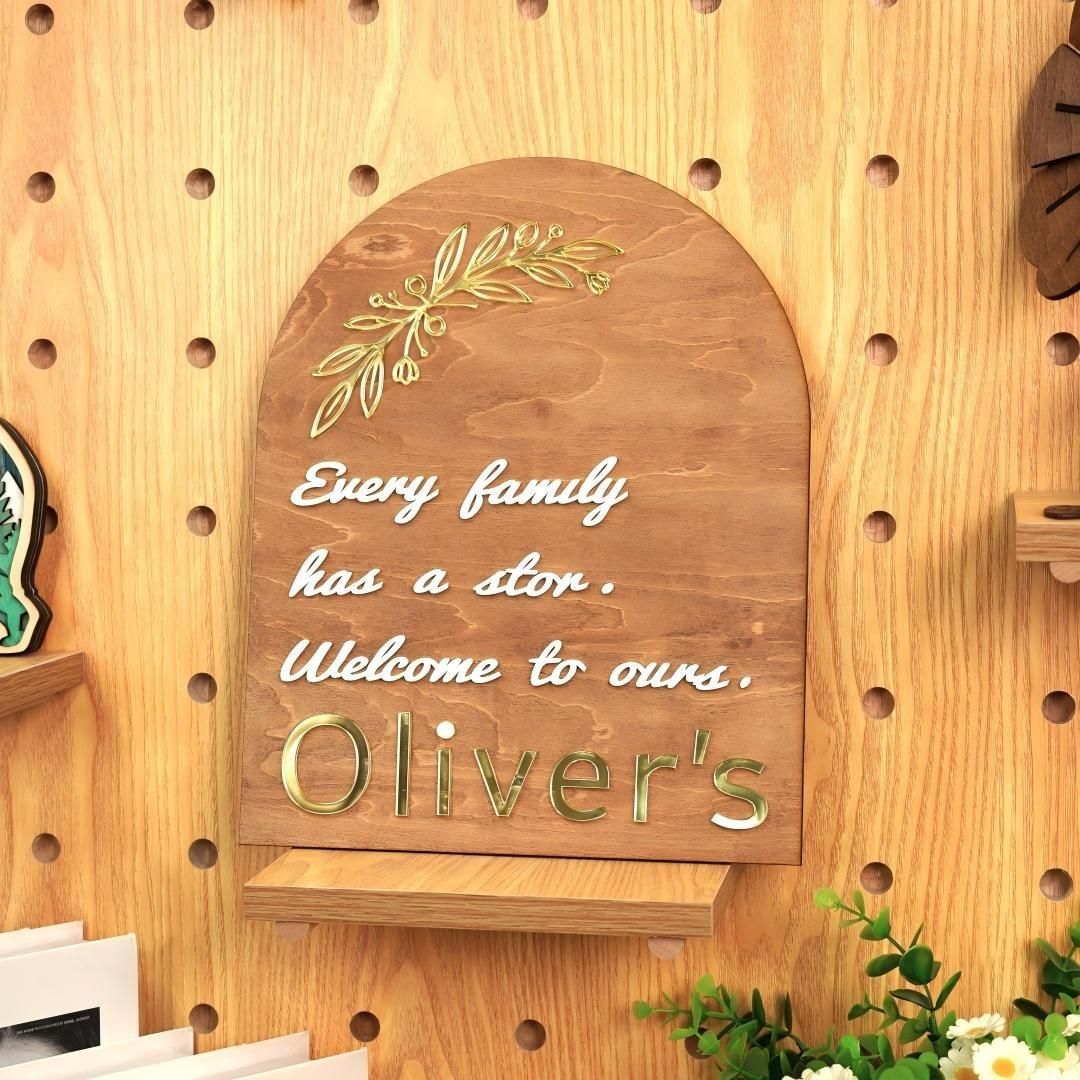
Remove the plywood and acrylic pieces from the laser bed, then clean off any dust or soot from the plywood edges.
Peel the protective film from the acrylic after cutting, align the acrylic layer with the plywood base, and glue the two layers carefully so the edges and text sit neatly. After the glue has dried, mount the finished home doorplate to the door with double-sided tape, screws, hooks, or another suitable hanging method.
My home doorplate is ready. What about yours? Try changing the name, number, font, wood finish, or acrylic color to create a custom sign for bedrooms, studios, offices, rental rooms, or front doors. If you want to make more laser cut home doorplates, acrylic door signs, plywood house number signs, or custom room name plates, choosing the best plywood laser cutting machine and best acrylic cutting machine makes the process cleaner and easier. Explore Thunder Laser machines or contact us to find the best laser cutter for door signs and personalized home decor projects.