DIY Laser-Cut Separable Storage Box for Desk Organization
by thunderlaser-nolan in Workshop > Laser Cutting
58 Views, 0 Favorites, 0 Comments
DIY Laser-Cut Separable Storage Box for Desk Organization
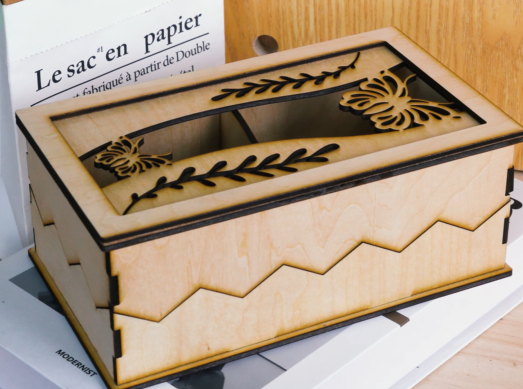
A separable storage box makes everyday organization easier because each section can be used together or taken apart when needed.
With laser cutting, you can turn 3mm plywood into a clean, practical organizer for stationery, craft tools, small accessories, or desktop items.
This project is simple, useful, and easy to customize for different storage needs.
For more plywood laser cutting guidance, see: Plywood Laser Engraving and Cutting Guide.
Supplies
- Thunder Bolt laser cutting machine (or another Thunder Laser model)
- One 3mm plywood sheet — flat, clean, and dry
- LaserMaker software (free) — LightBurn or RDWorks also work
- Separable storage box project file (.dxf), attached to this Instructable
Laser settings for 3mm plywood: cutting speed 5 mm/s, max power 30%, min power 10%.
Downloads
Prepare & Position the Material
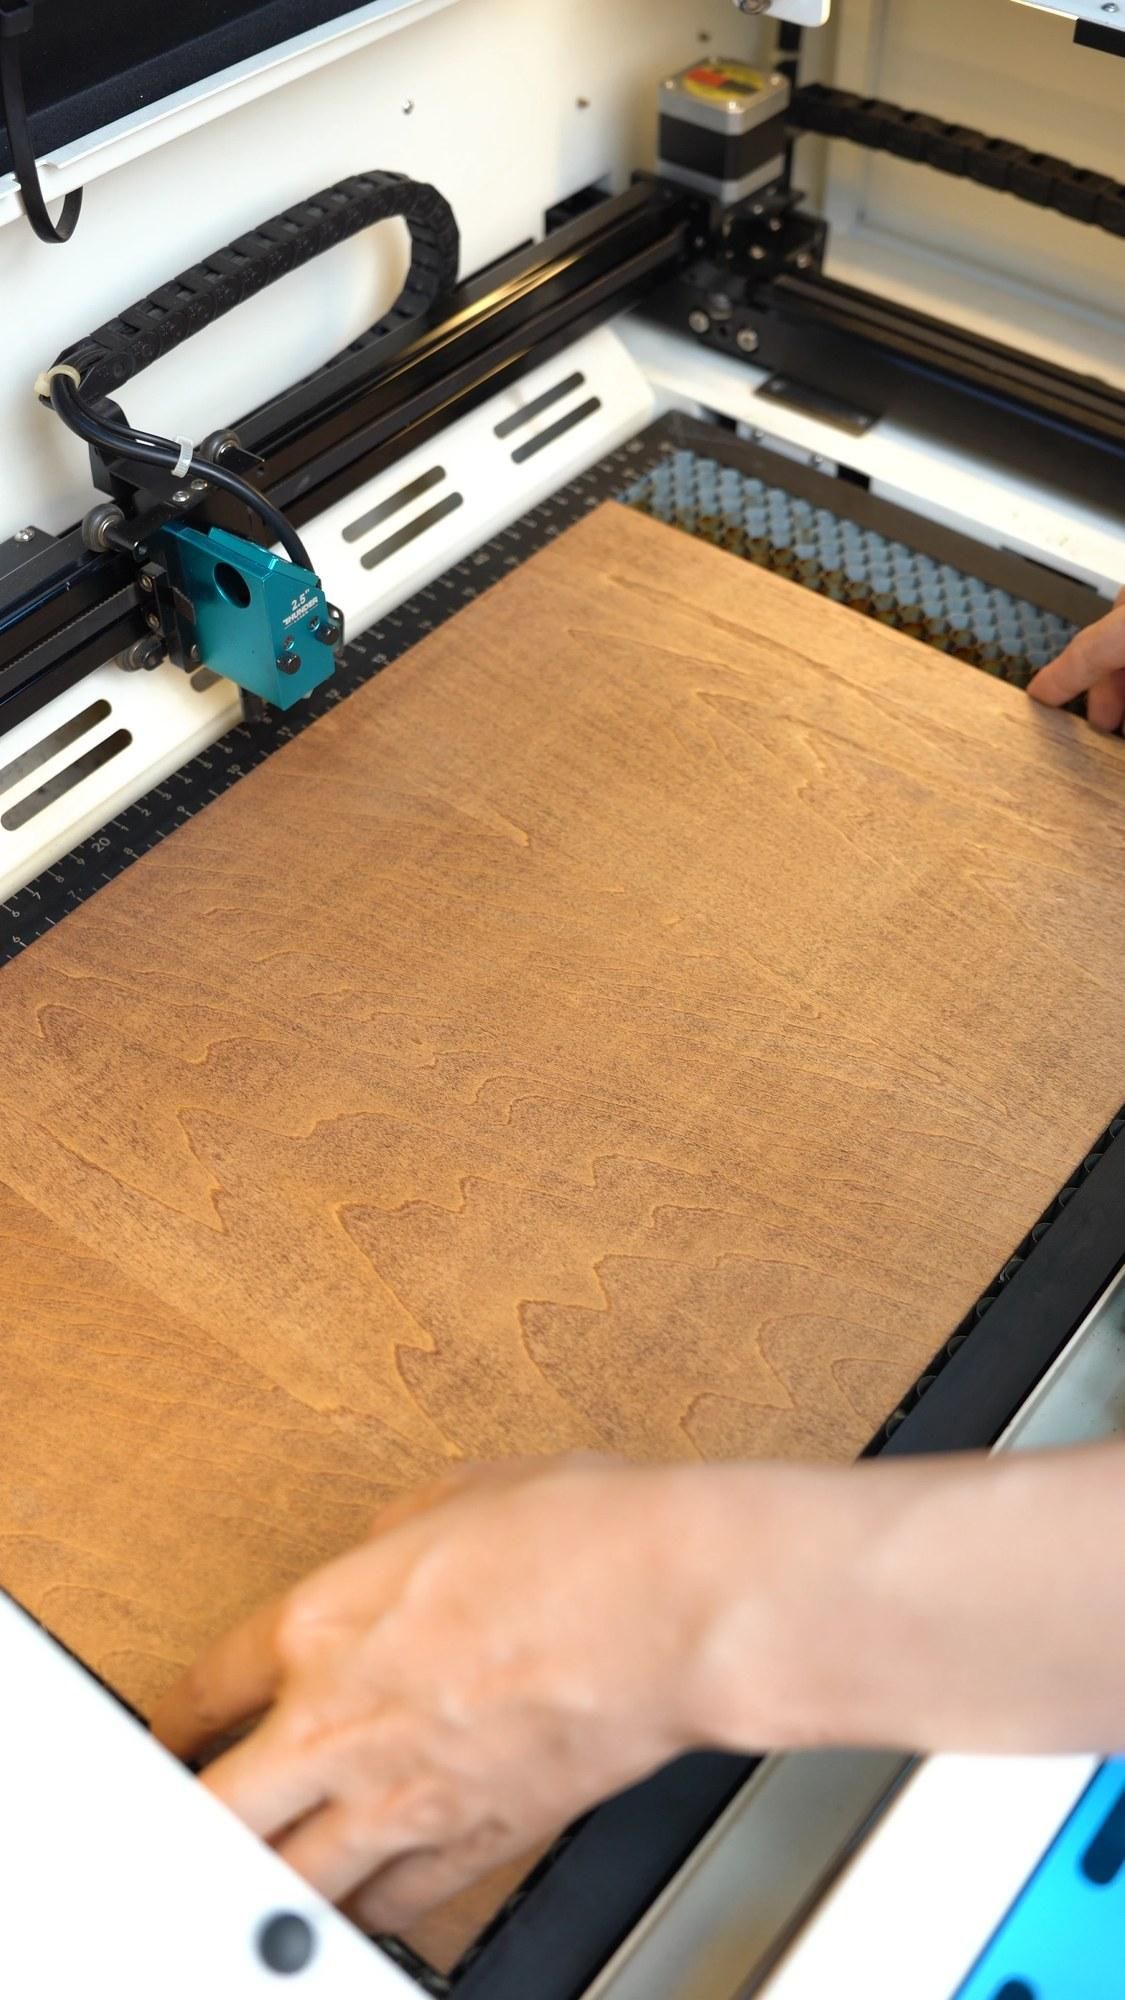
Place the 3mm plywood flat on the laser work bed and make sure the surface is clean, dry, and stable.
Check that the plywood is not warped, because a flat sheet helps the laser cut the storage box parts more accurately. If needed, use pins or magnets to keep the material from moving during cutting.
Import & Adjust the Design File
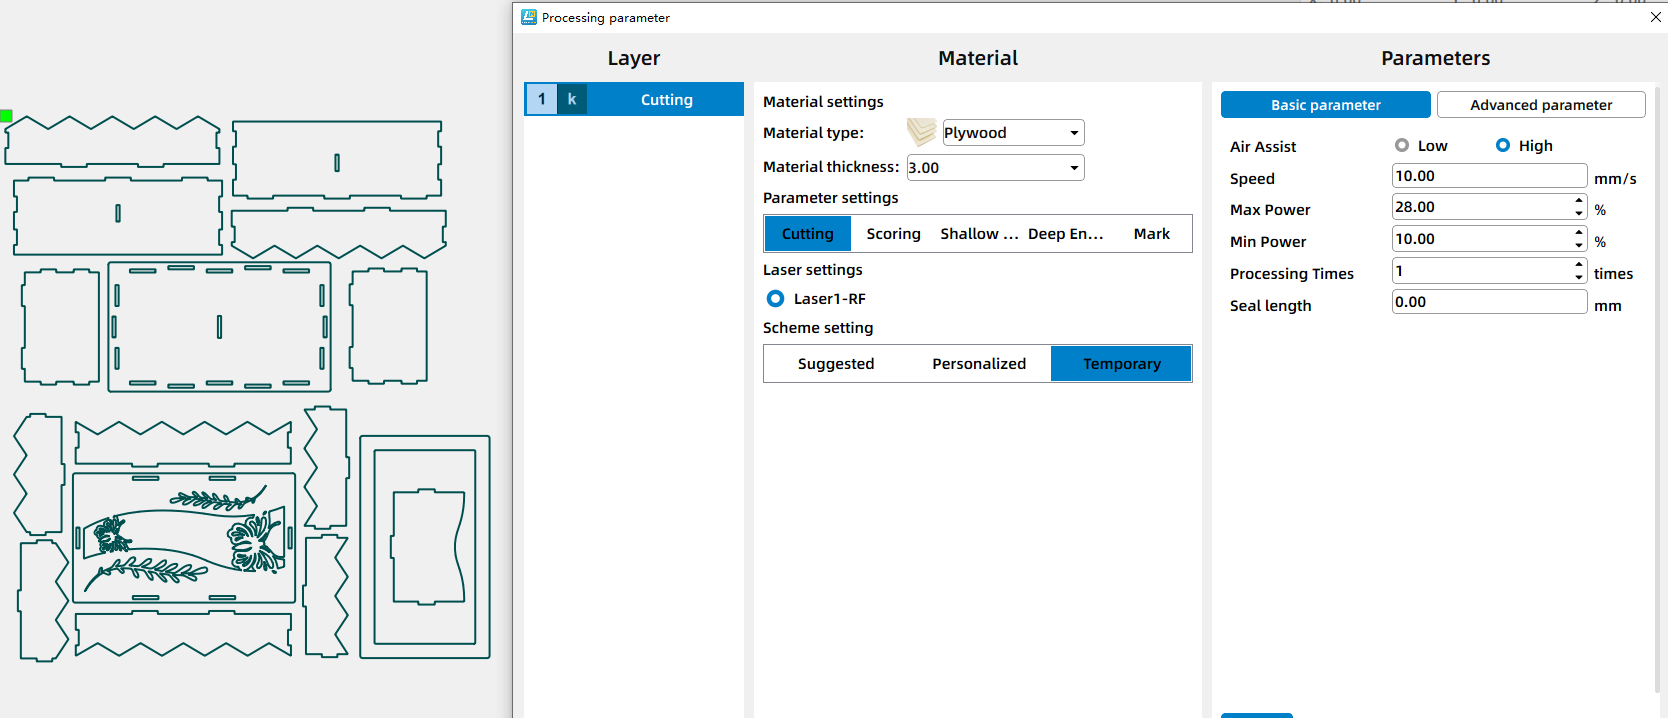
Import the separable storage box design into your laser software and adjust the size to fit your plywood sheet.
Check all cut lines, slot positions, and connection areas before processing. Since this is a removable storage box, make sure the separate parts and dividers match the material thickness so they can fit together smoothly after cutting.
Set the Correct Laser Focus
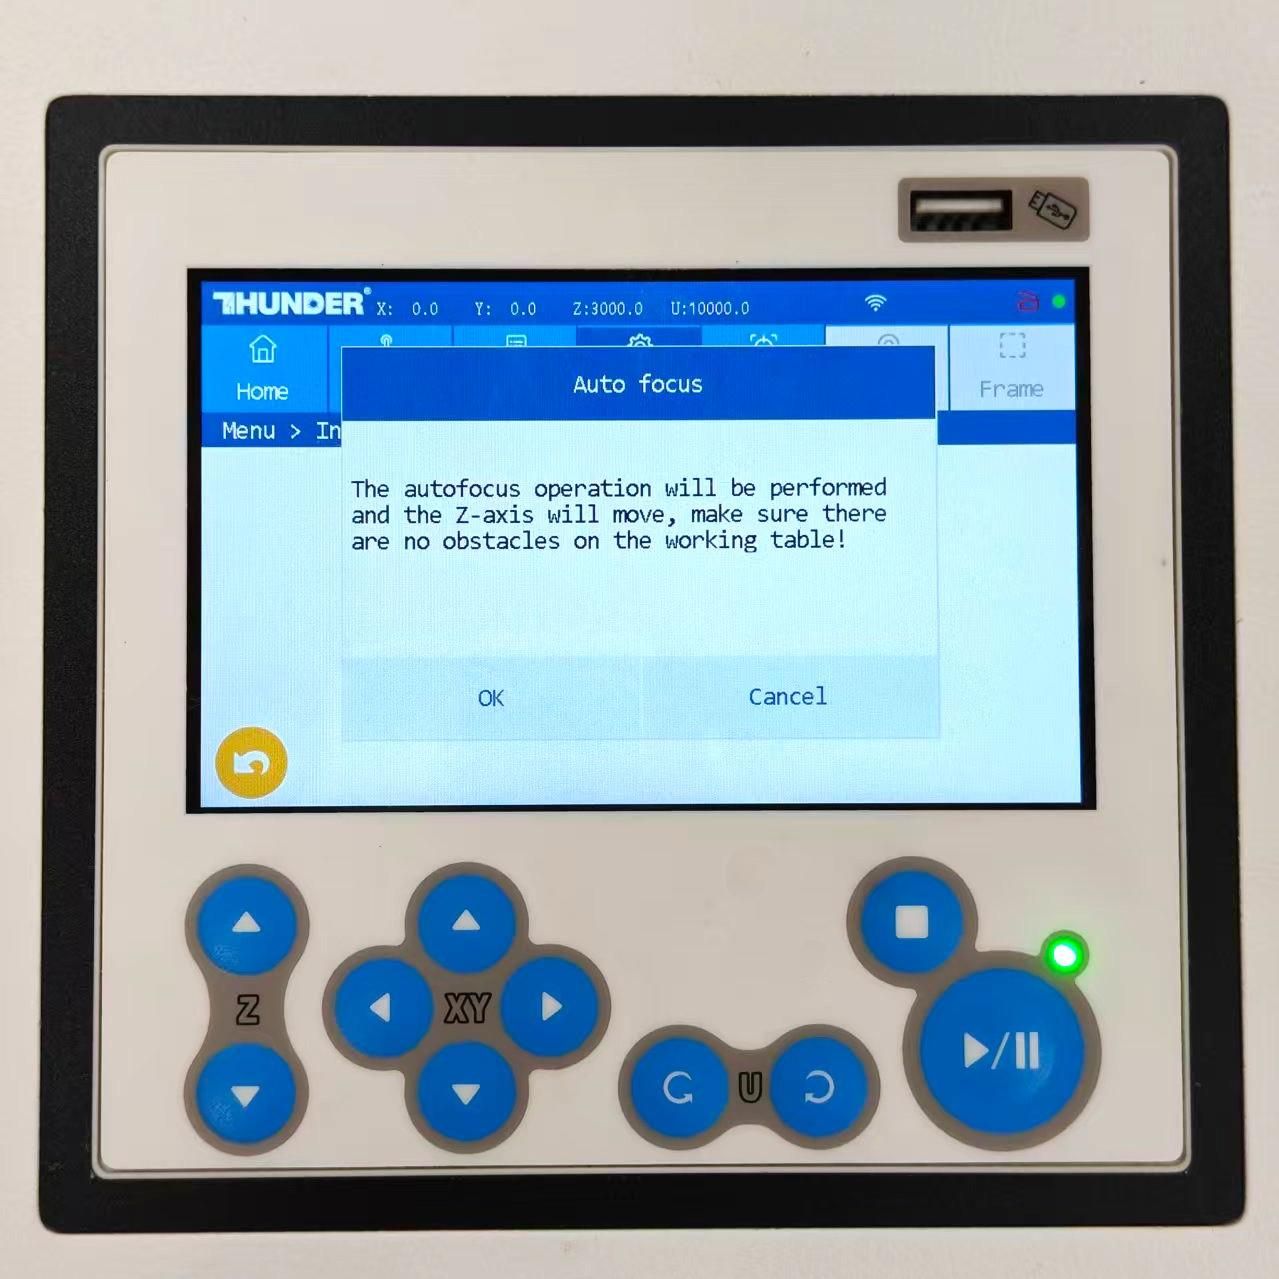
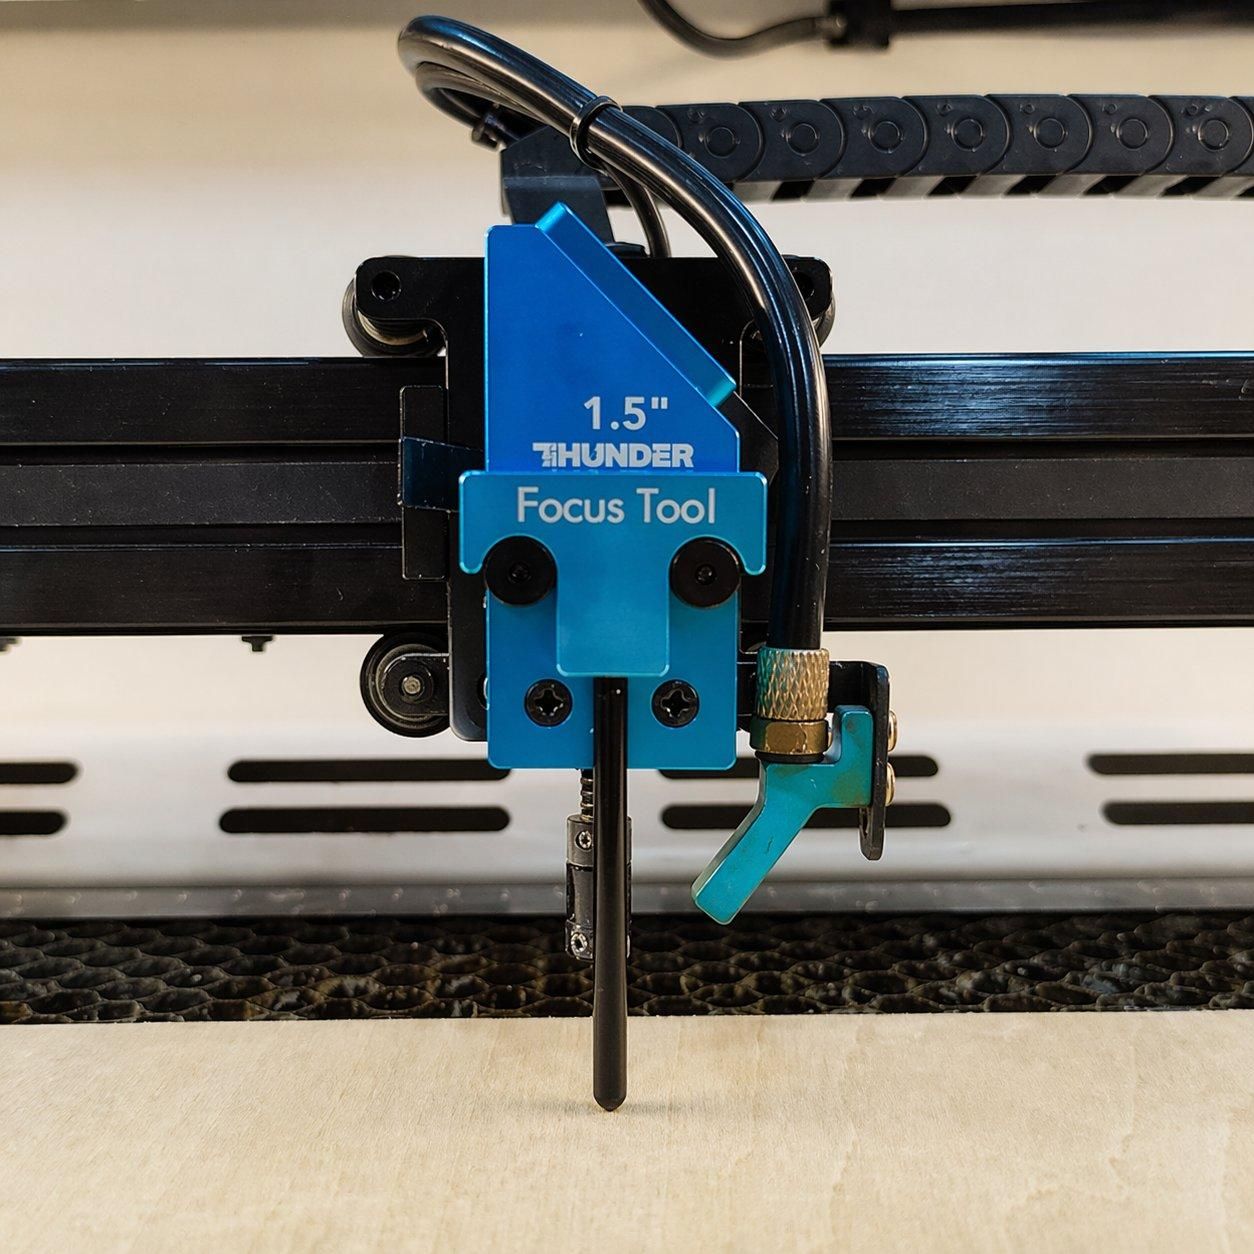
Set the correct laser focus before cutting the plywood.
Good focus helps the laser cut through the 3mm plywood cleanly and keeps the edges of each organizer piece neat. This is especially important for a laser cut storage box because tight slots and small connecting parts need clean, accurate edges.
Frame the Design & Start Laser Cutting
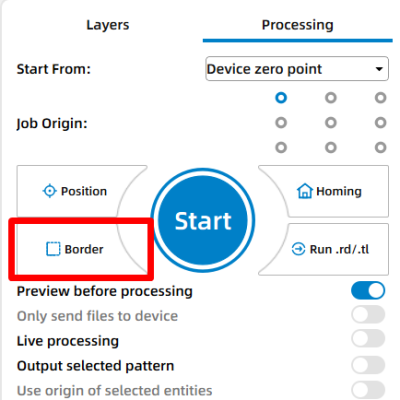
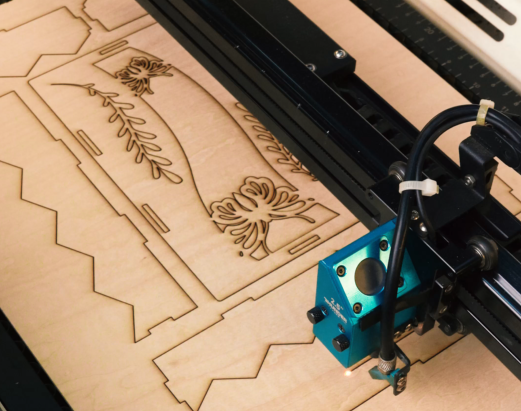
Run the Frame function first to confirm that the full separable storage box design fits within the plywood sheet.
Make sure the frame stays inside the material and leaves enough space around the edges. Once the position is correct, start cutting and stay near the machine to watch for smoke, flame-ups, or material movement.
Post Processing
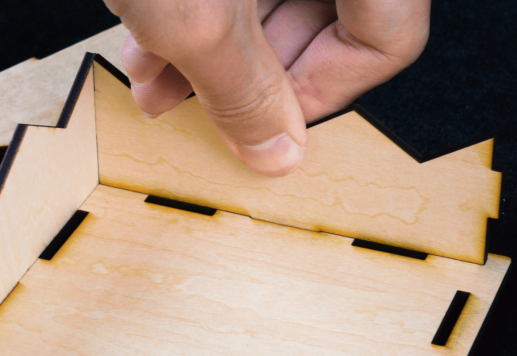
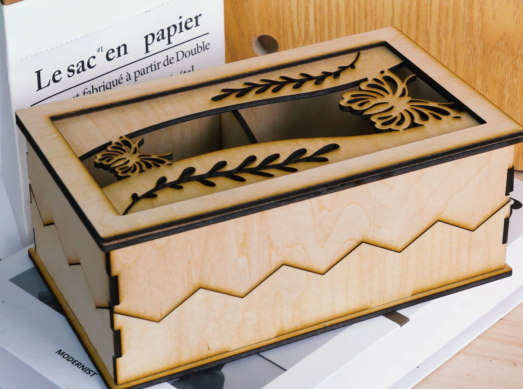
Remove the cut plywood pieces from the laser bed and clean off any dust or soot from the edges.
Assemble the storage box according to the design, fitting each divider, side panel, and base piece into place. After assembly, you can use the separable organizer as one complete box or take sections apart for more flexible desktop and shelf storage.
My separable storage box is ready. What about yours? Try changing the number of compartments, box size, or decorative cut-out pattern to create a custom plywood organizer for your desk, craft table, shelf, or workspace. If you want to make more laser cut storage boxes, removable plywood organizers, or custom wooden storage projects, choosing the best plywood laser cutting machine makes the process cleaner and easier. Explore Thunder Laser machines or contact us to find the best laser cutter for storage box projects and practical wood organization ideas.