DIY Laser-Marked Marble and Brass Memorial Stone
by thunderlaser-nolan in Workshop > Laser Cutting
332 Views, 0 Favorites, 0 Comments
DIY Laser-Marked Marble and Brass Memorial Stone
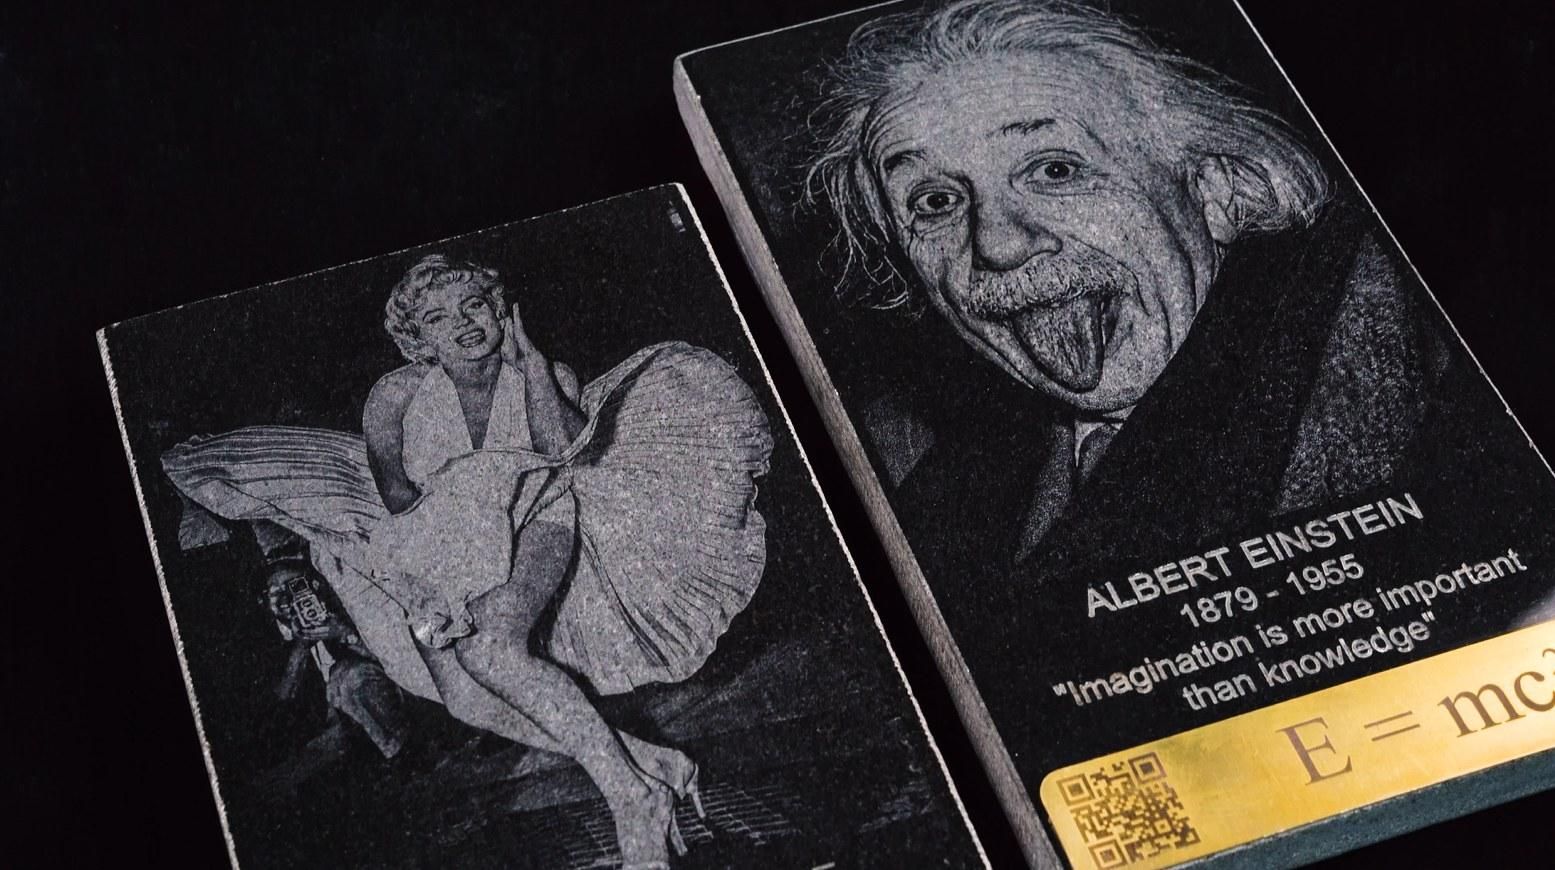
A marble and brass memorial stone can turn a photo, name, date, or QR code into a lasting tribute.
With the Titan Pro 36, you can combine CO₂ laser processing on marble with fiber laser marking on stone and brass, creating a clean, layered memorial piece with both emotional meaning and refined detail.
This project is suitable for personalized memorial plaques, keepsakes, tribute displays, and mixed-material marking projects that combine stone texture with brass details.
For more marble and metal laser marking guidance, see: Marble Laser Engraving & Marking Guide and Metal Laser Engraving and Cutting Guide.
Supplies
- Thunder Titan Pro 36 laser cutting machine (or another Thunder Laser model)
- marble and 3mm brass sheet — flat, clean, and dry
- LaserMaker software (free) — LightBurn or RDWorks also work
- Marble & Brass Memorial Stone project file (.lbrn2), attached to this Instructable
Laser settings: Photo (Marilyn): CO₂ laser, Image mode, speed 1500 mm/s, max power 17.5%, min power 0%, air assist OFF; Text – Stone: Fiber laser, Fill mode, speed 1500 mm/s, max power 100%, min power 100%, 15 passes, air assist ON; Brass: Fiber laser, Fill mode, speed 100 mm/s, max power 40%, min power 30%, Z offset -2 mm, air assist ON; QR: Fiber laser, Image mode, speed 100 mm/s, max power 40%, min power 30%, Z offset -2 mm, air assist ON
Prepare & Position the Material
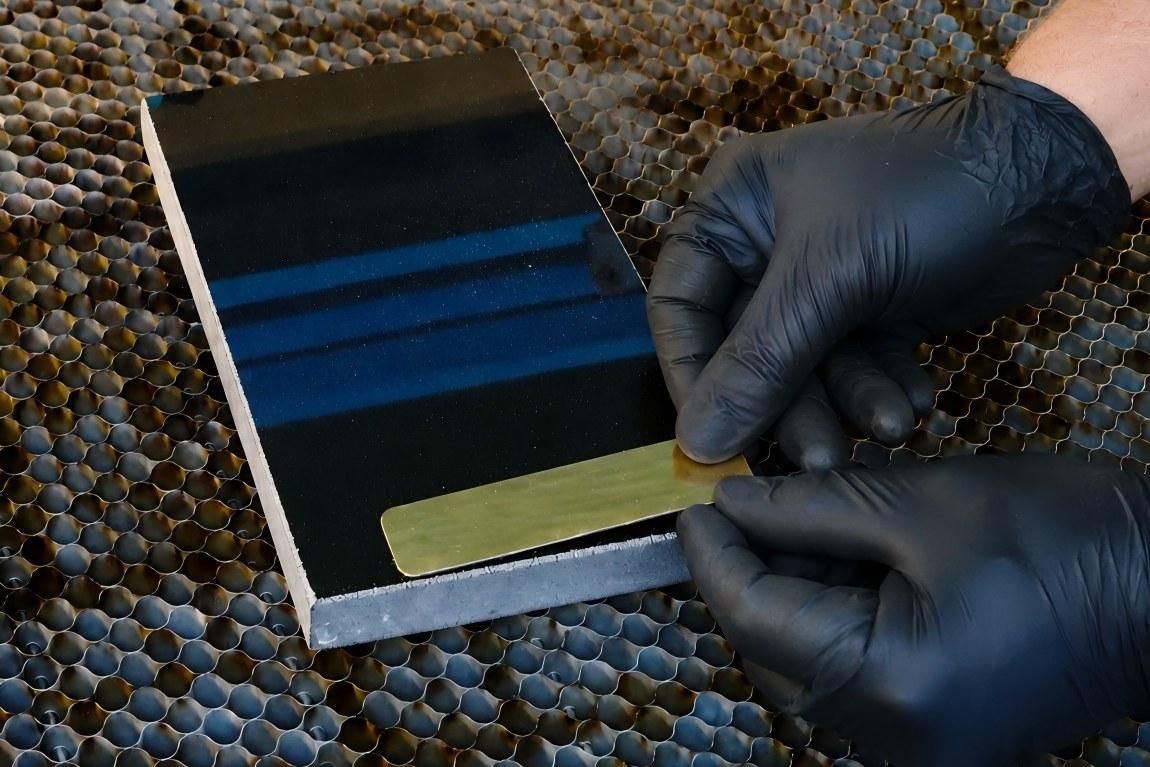
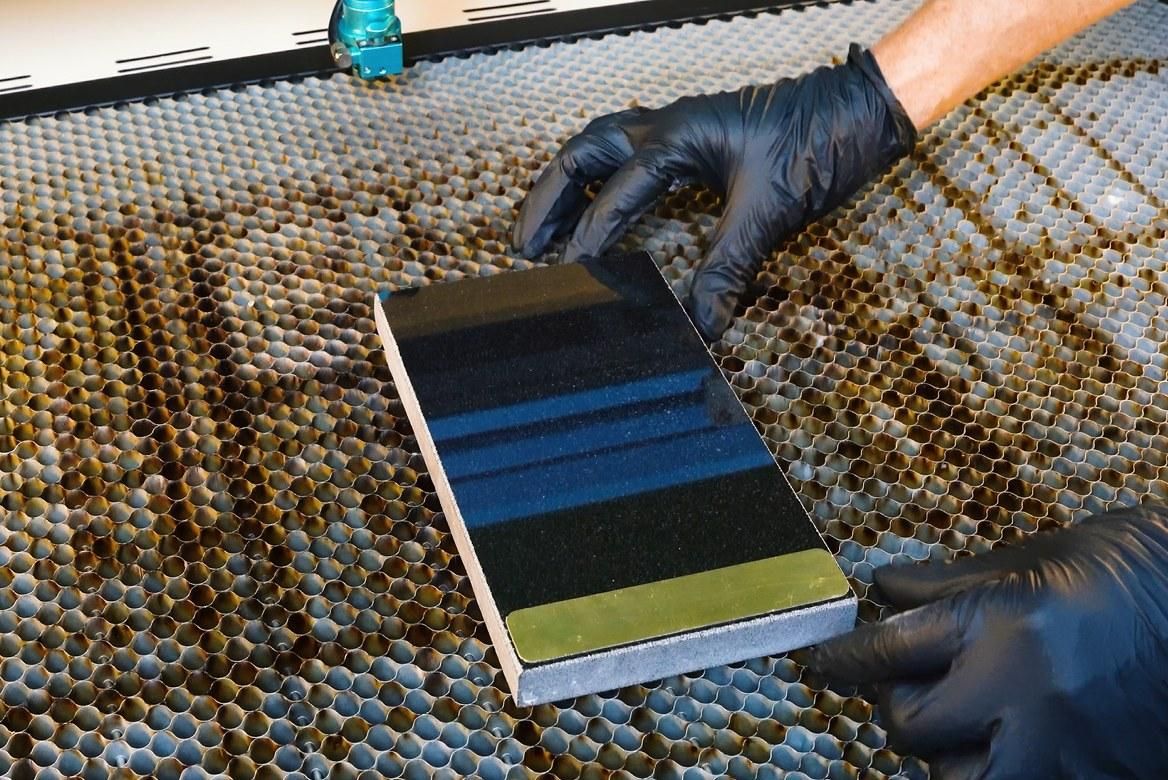
Prepare the marble and the 3mm brass sheet before processing.
First, attach the finished brass piece to the proper position on the marble surface, making sure it is aligned neatly and firmly. Then place the marble on the worktable and keep it stable, flat, and clean so the photo, text, brass marking, and QR code can be processed accurately.
Import & Adjust the Design File
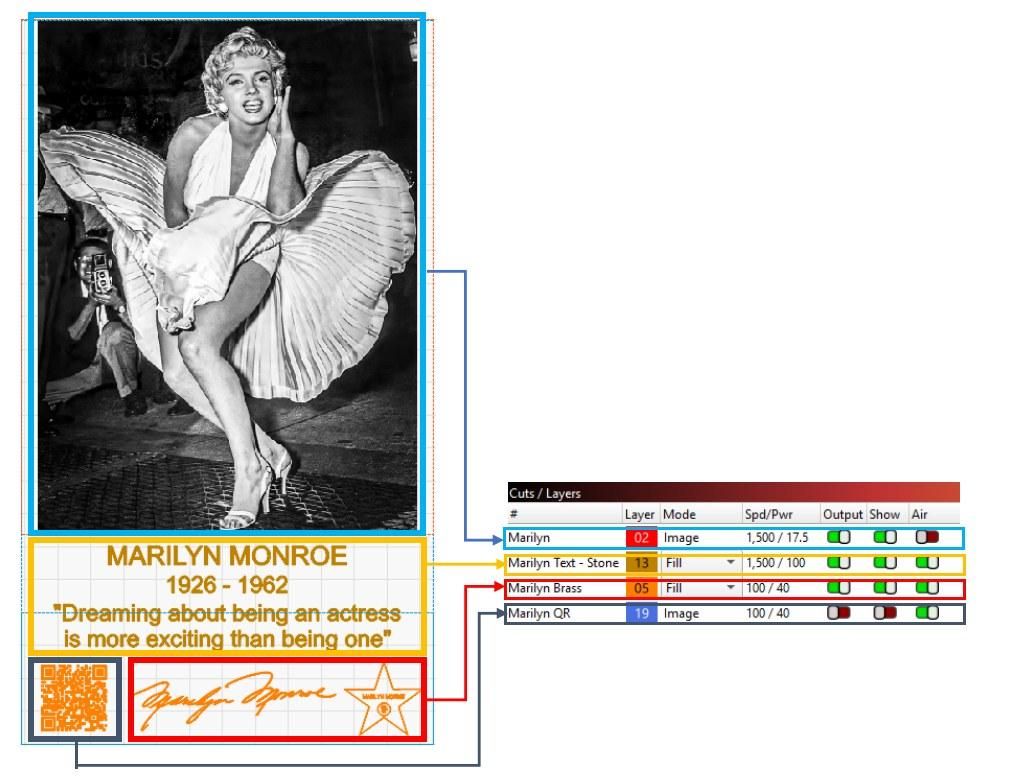
Import the memorial stone design into your laser software and place each design element in the correct area.
Adjust the portrait photo for the marble surface, position the text on the stone, and align the brass and QR code layers carefully. Since this project combines marble and brass, check the layout before processing so every marked detail fits the final memorial design.
Set the Correct Laser Focus
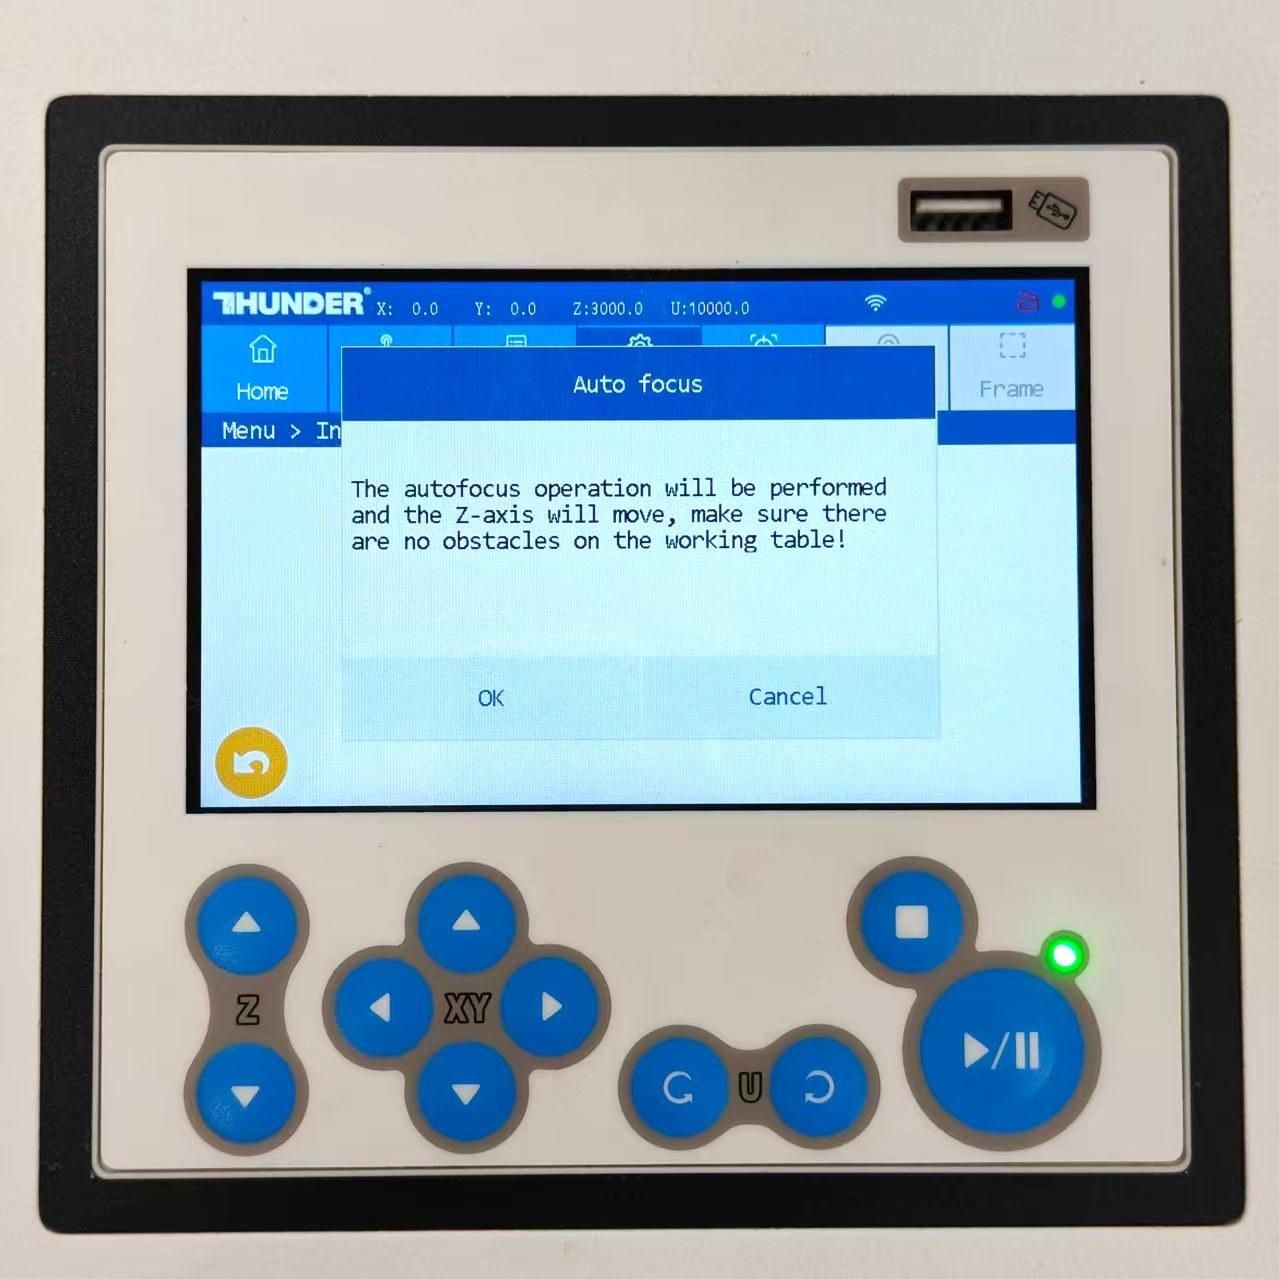
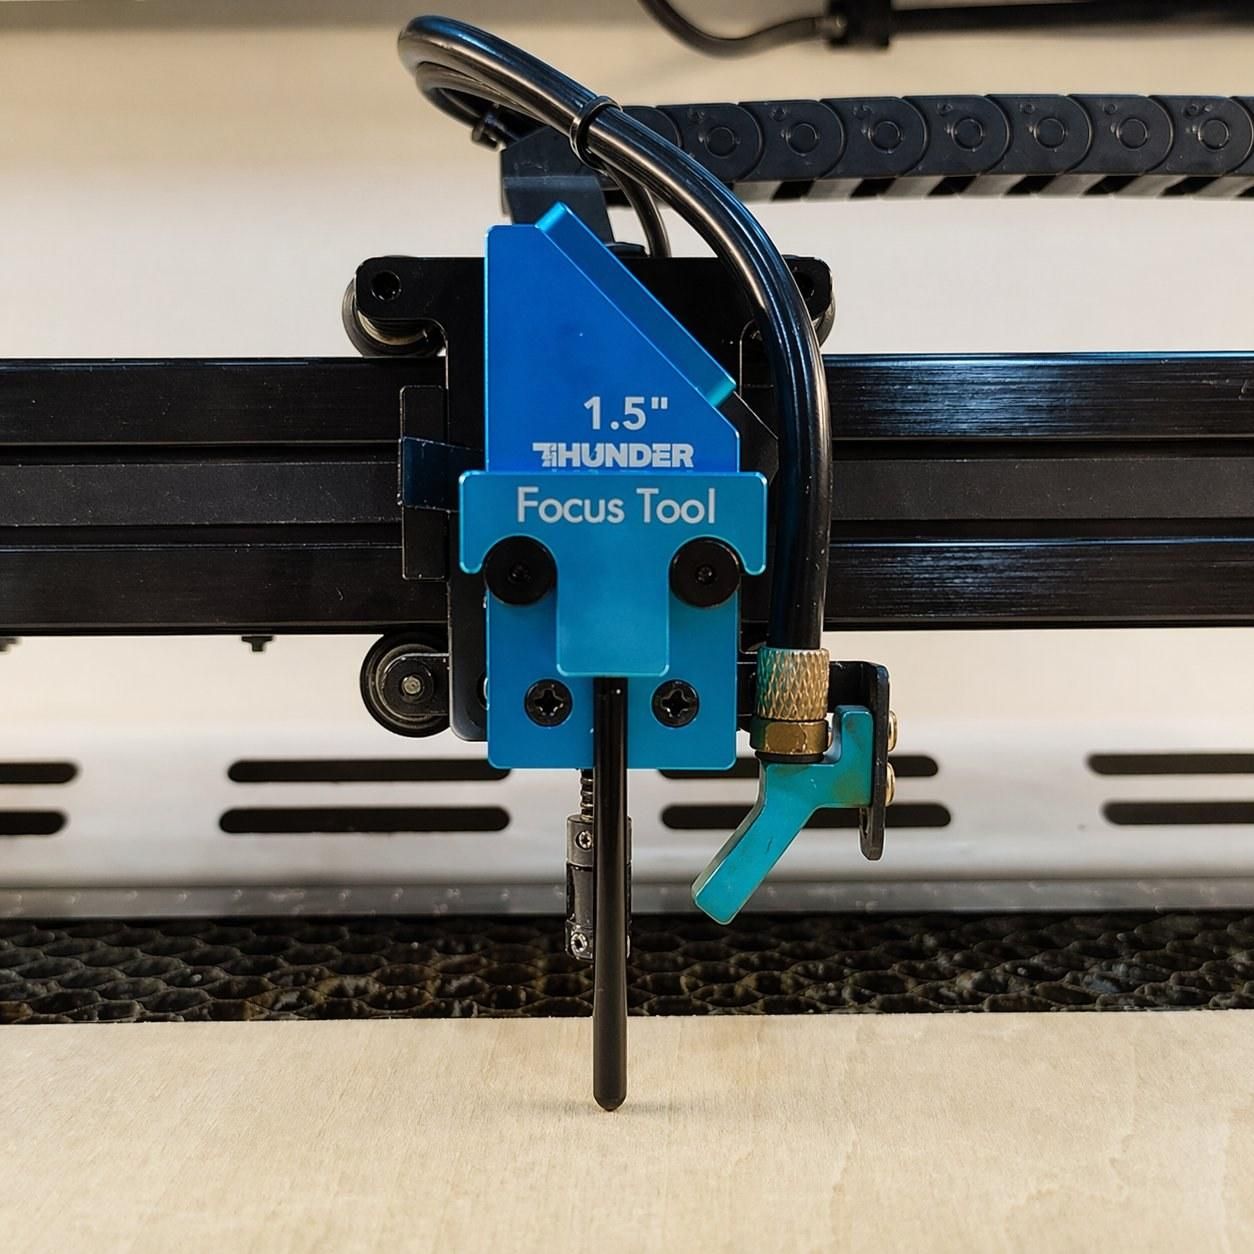
Set the correct laser focus for the marble surface and the brass area before marking.
Good focus helps the CO₂ laser produce a clear photo on marble and allows the fiber laser to mark sharp text, brass details, and the QR code. If the material height changes between the marble and brass layer, check the focus again before starting that operation.
Frame the Design & Start Laser Marking
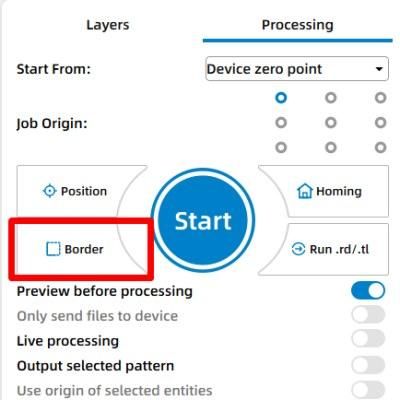
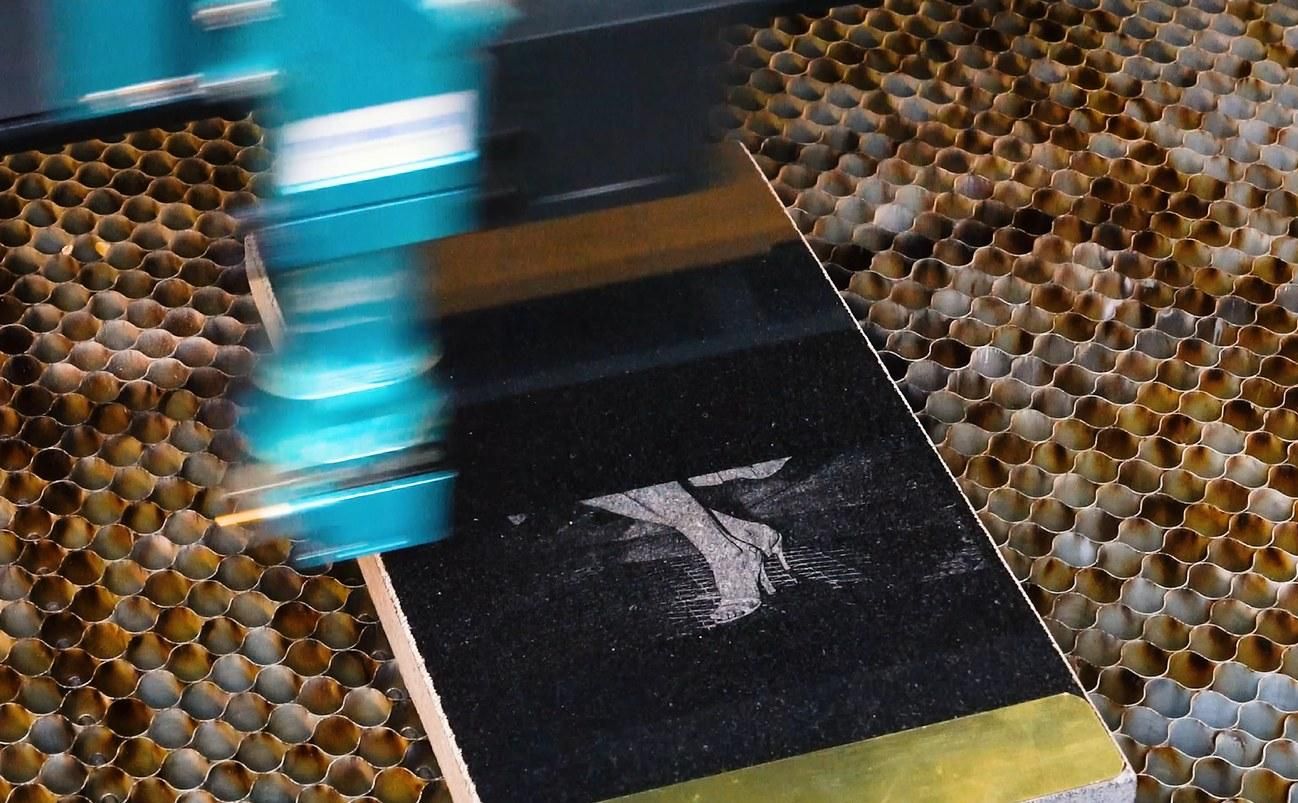
Run the Frame function before each processing layer to confirm that the photo, stone text, brass marking, and QR code are all positioned correctly.
Start with the CO₂ laser photo layer on marble, then use the fiber laser for the text on stone, the brass marking, and the QR code. Keep the material in place throughout the process and monitor the job carefully so the layered memorial design stays aligned.
Post Processing
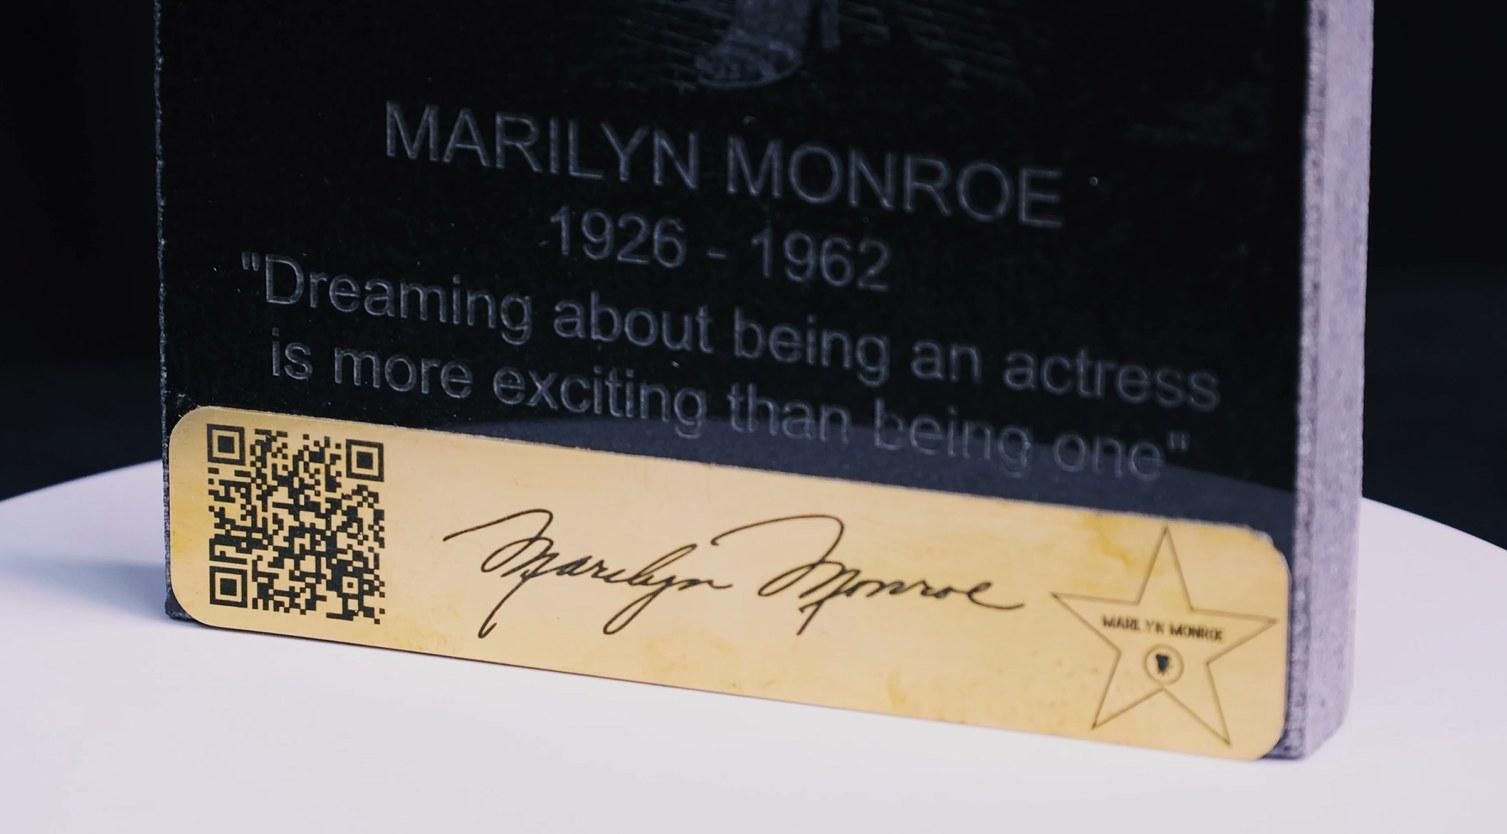
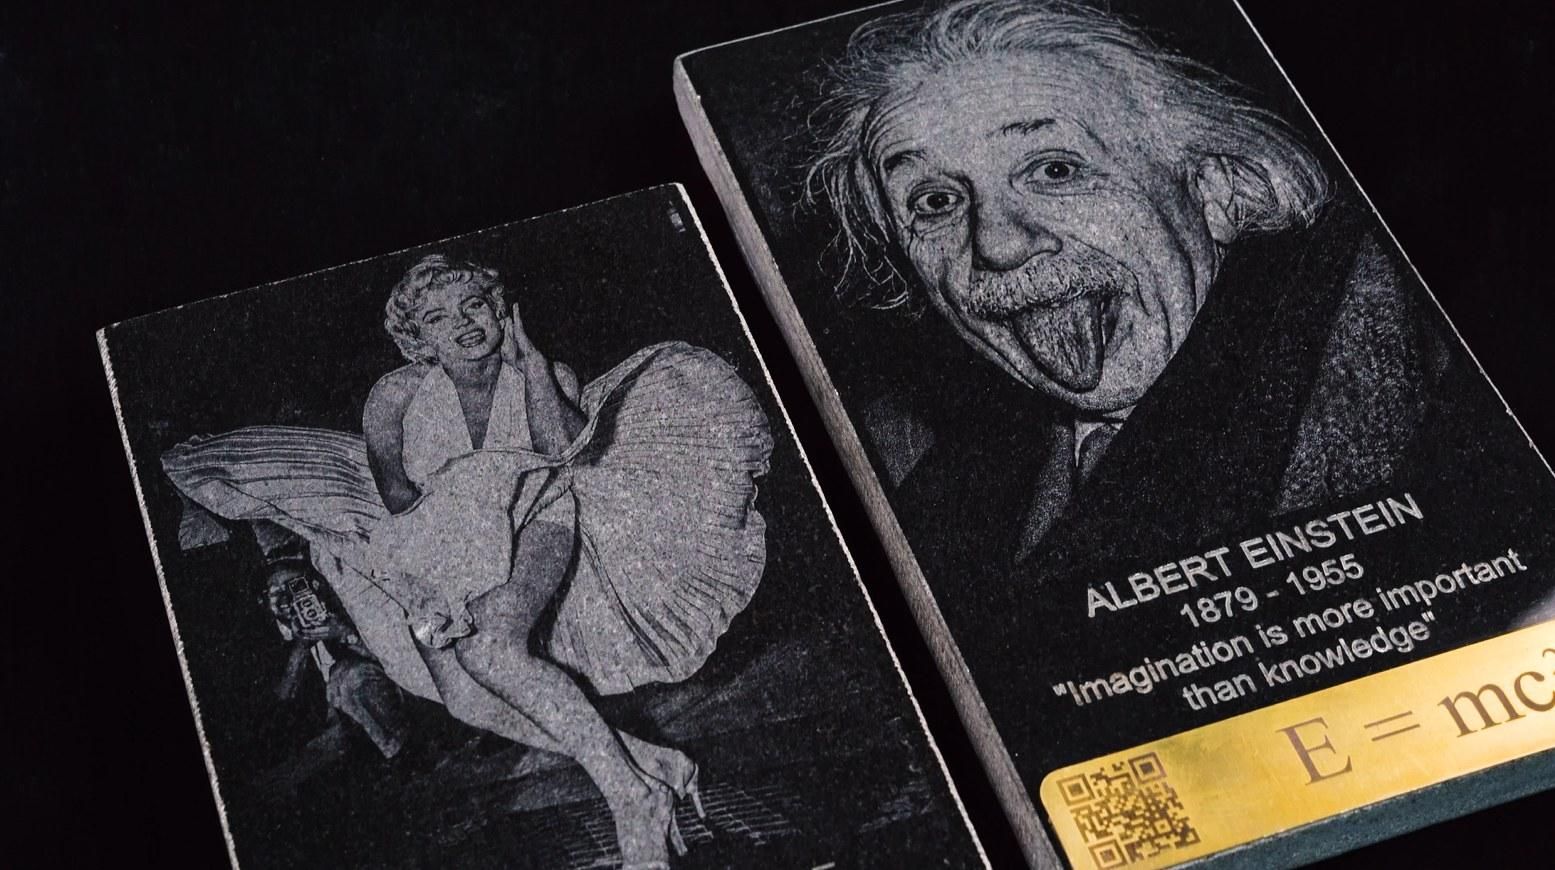
After marking is complete, let the marble and brass surface cool briefly before removing it from the worktable.
Gently wipe away dust or residue from the marked marble and brass areas with a soft cloth. Check that the portrait, text, brass detail, and QR code are clean and readable, then display the finished memorial stone on a stand, shelf, table, or tribute area.
My marble and brass memorial stone is ready. What about yours?
You can change the portrait, wording, dates, brass layout, or QR code to create a personalized keepsake for remembrance, family gifts, or custom tribute displays.
If you want to make laser-marked memorial stones, marble photo plaques, brass memorial plates, or custom stone tribute projects, choosing the best marble engraving machine and best brass engraving machine makes the result cleaner and more reliable. Explore Thunder Laser machines or contact us to find the best memorial stone engraving machine for marble, brass, and mixed-material marking projects.