DIY Leather Knife Sheath


Long, long ago, little boys and even some girls were allowed to play outside. Quite often, they even had knifes with them to sharpen sticks to hunt imaginary animals and monsters and other deadly foes. Real animals, and such, were never in any danger, because they are genetically predisposed to hear children from miles away.
During those times, children actually rarely got hurt by their toys, because they very early on learned that it is much easier to get things done when your knife is sharp and that it is very advisable to stay on the safe side of your knife’s edge….
Anyway, I recently stumbled across the first hunting knife that I got from my parents when I was about 10 years old. It is a tough blade that still holds a keen edge, but the leather sheath that came with it died a moldy death many, many years ago.
I loved that knife and was very proud then to be given such an important gift, with such high responsibility - and I still like the shape and durability.
So, I decided that it is high time to provide it with a new sheath.
The sheath that came with the knife had had a belt loop and two buttons at the knob and the heft to hold it in.
I now decided to try to do a one-piece sheath, because the strap at the heft on the old sheath had been partway severed long ago due to much use, and especially after I had given the knife its first decent edge.
My leather working experiences are far and few (a single piece braided leather belt in high school), but I figured that it couldn’t be that hard.
So, I simply started sketching on a piece of an envelope and, after first thoughts on shape and size, on a piece of thin cardboard. I then cut out the three pieces, that I figured I would need to get the design I want and put the bits together with some clips to see if the knife would fit. Which it did, and that actually pretty well.
Then I decided to look on YouTube………….
I quickly learned that others hat come up with the identical friction hold design long before me, so I had reinvented the wheel! Yeah!
I also learned that you need some really cool and expensive tools to do a halfway decent and acceptable job, and years of practice, and, and, and got a bit depressed.
Then I learned that you really don’t need much more than a sharp knife, something to make holes with, needles and a sturdy thread and maybe something to stain the leather with and something to smooth its edges and a piece of cloth to polish the surface with a bit of wax.
Ok, humans have been doing this for millennia….
Some time after writing this Instructable, I finally came across Jessyratfink's Beginner's Guide to Leatherworking….
If you want to start with some leatherwork, read it and save a lot of time! :-)
Supplies


Well, I decided not to go all out stone age and not make my own needles from bone, but buy the basics.
I know I could do it all by myself: Sharp knives - check - nails to punch holes - check - Bow-String for sewing - check - Wood Stain - check - Beeswax, cloth, etc. - check
But the holes and stitching would probably be more regular, beveled edges too, with modern tools, so let’s check the internet again….
Finding a suitable piece of leather proved actually a bit more challenging, because many small stores that used to fix leathery products like shoes and bags, that also used to offer pieces of leather to hobbyists seem to have disappeared due to the beloved Internet, or have decided that it is better to offer a service than to provide the materials to let people make things themselves.
So I ended up on the Internet, again.
There are many different types of leather. So far, so good.
I didn’t t think much about that at first, but simply ordered what seemed sensible at the time - to me.
I ended up with two types:
2 mm leather, smooth, semi/anilin, brown - whose color improved markedly by mistreatment
4 mm leather, rough, not coloured, untreated - leaves bits everywhere
The thick leather turned out to far too unmanageable to make a sheath for my rather small knife, while the thin leather seemed quite flimsy and no good either.
About a week later, I decided to take the 2 mm leather and strengthen it by glueing a partial double layer. This means a dynamic redesign while work in progress - as with most things in life….
Playing around with the leather, it seemed to me that it might be enough to double the 2mm leather at least on the back part, i.e. the side on the leg and for the belt loop.
- Paper/Cardboard to sketch on and for prototyping
- Scissors and a sharp scalpel to cut the pieces
- Clips to hold the pieces together
- Leather 2 mm 29.99 €
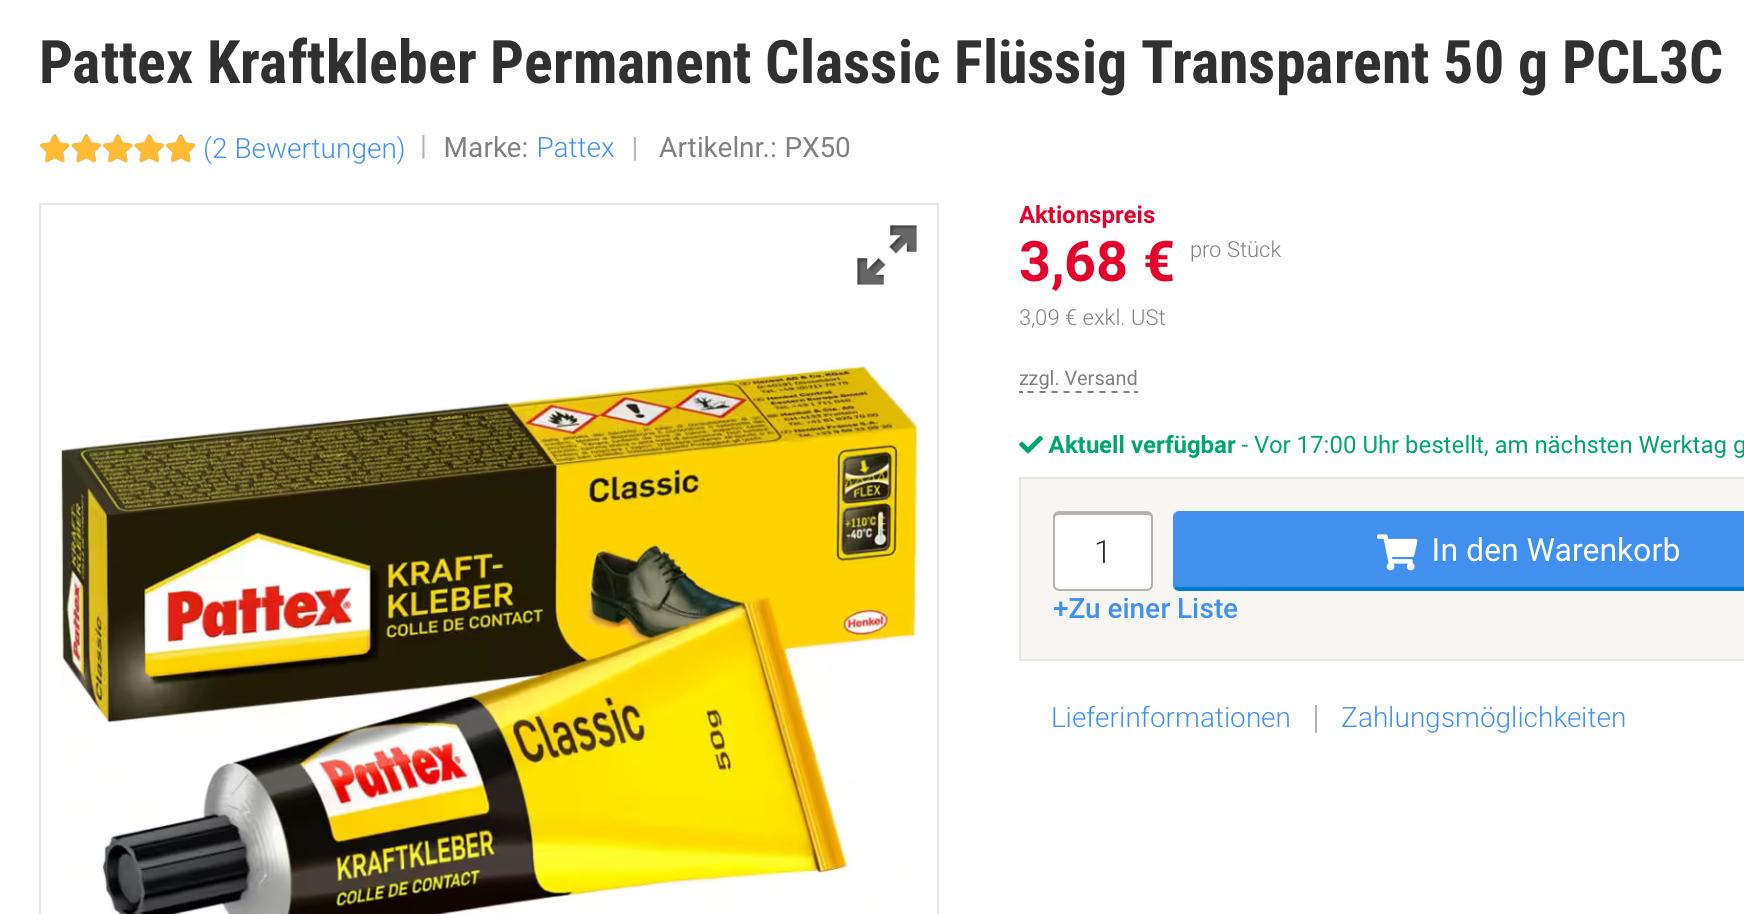
- Contact glue 3.68 €
- Hole Punch Tools 2, 4, 4 mm
- Groove cutter
- String and dull needles
- Awl
- Beveler / Scalpel
- 2 mm drill bit plus electrical hand drill
- Wax and Cloth for polishing
- (Leather Tool Kit 36.92 €)
Design


The design phase was the hardest part and took the longest and has the least pictures to prove it.
The knife had been sitting in a drawer unprotected and unused for years - with a bad conscience for it.
Then came the actual attempt of finding a solution, like going to a store and buying a ready made sheath, getting one made and, finally, making one myself. But, what shape/type?
Taking a piece of paper and drawing the shape was the quick and easy part.
So, years….
Taking the leather and actually making a sheath only took an afternoon!
As hinted above, I laid the knife in front of me on a much used envelope and closed my eyes and let my mind wander and thought about how I carried and used the knife long ago. I soon ended up with the decision not to do the two button type sheath it had before, but a more simple one-piece friction hold type.
Then I opened my eyes and sketched it on the envelope….
I found that I could better estimate the size and fit of the needed leather if I first made a long line with a ruler on the paper for the length of the knife.
Then I made a perpendicular line where the heft is.
Next another perpendicular line where the leather should end, so that there is enough of the grip protruding to be able to grip it securely to pull the knife from the sheath. If it protrudes too much, the knife might fall from the sheath due to lack of friction, too little and you need to pry it out with your fingertips and might actually drop it, because your hold might slip. With this type of hilt, I felt that about 4 cm are pretty much ideal.
Then I placed the knife on its back edge on the long line and rolled it carefully towards me in order to get a rough estimate on how much material would be required for the inner half (leg-side) of the sheath. The knife tends to try to slip, so it’s a bit tedious, but it makes it much easier to next draw the perpendicular outline of the knife with a pencil, so as not to unduly dull the blade. This way, you quickly get a good idea on the amount of material you need.
Now you need to draw a roughly parallel line to the edge, where the stitching will later be / for me about 1 cm width to start with.
So that the stitching later on won’t be cut by the knife and to make it a bit easier to get the knife out of the sheath, a strip of leather will need to be cut to mirror exactly the strip just drawn.
I decided that I want the sheath be wider at the hilt-section and a bit asymmetric, i.e. a little more flat on the leg-side. Also, the hilt has a finger guard that can be used to stop the knife from being pushed too far into the sheath - so a step on the narrow strip. Also, where the guard is, the sheath needs to be a bit wider, so you can draw the knife better, therefore I decided that I would need an additional short bit of leather to make the top wider. This would also mean that the sheath-leather piece would later not be completely symmetrical along the middle line, but a bit wider on the outside part.
From the hilt-end, two lines were drawn further, so that the resulting strip could later be folded down and used for the belt-loop and later shortened accordingly. It’s end would be sewn to the sheath, of course.
That’s it.
Ok, after the first sketch, this was done on a piece of pretty flexible cardboard from another envelope.
After drawing, the edge-side was cut out and everything folded over. To accommodate the thickness of the blade, another new middle was drawn about 2 mm next to the previous.
The shape was then outlined on the other side, expanded a bit to allow for the asymmetry and the whole thing cut out.
The additional strips were cut from rough cardboard to imitate the thickness of the actual leather later on.
Now, that’s it.
Testing


Now, the pieces of cardboard were assembled with the knife inside, using a couple of clips to hold things together.
Wiggling things around and drawing and replacing the knife a few times showed where improvements to the design might be useful.
With a leather belt, it was tested how long the belt-loop would need to be for a 4-5 cm wide belt.
Ready for the leather! (Once I find a suitable piece….)
Leather


Usually, it seems that people use scalpels and sharp knives to cut their leather. As I am a bit lazy, I decided to use sharp scissors for the preliminary cuts and a scalpel for later shaping and cleanup.
The cardboard design was simply transferred to the leather I had decided to use, twice, because I want to double the leg/side. This means, that I only used half of the 2nd copy. Make sure you do mirror copies, if you want to have smooth sides on the outside and the inside. For the inside, I only used the belt-loop half of the template, and cut it a bit narrower on the fold-side, to make the fold more flexible.
As a third piece I cut the ca. 1 cm wide strip along the knife-edge side of the sheath that will protect the stitching from the knife and a corner that will serve as a stop for the finger guard to prevent the knife from being pushed too far into the sheath.
Then came the testing with some clips….
It turned out that four additional successively shorter strips of leather would be needed to make the sheath look more consistent and make it easier to draw the knife. OK, this results in a ca. 1.5 cm stack, but worry about stitching that block later….
When everything seemed to look ok and usable, it was time to put things together….
Glue


Before sewing , it is sensible to glue the pieces together to keep them from rearranging, every time you punch a hole. Simple contact glue has been used to repair shoes for many years and I decided to get a transparent type, because the glue I had had completely gelled on me / never heard of that before.
It does make life easier, if you lay the pieces out and decide on a glueing order beforehand - which I failed to follow a couple of steps, of course.
Before gapping glue, the smooth leather sides were roughened up with a piece of sandpaper.
It is a bit tedious, but it does make sense and actually saves time - and actually makes the handling easier - to apply the glue to the sections you want and let the glue dry for ca. 10 min successively. In this way, you can apply glue to both sides of a piece without making a mess and then put multiple pieces together at once.
When using contact glue, it is always mentioned that the connection is best when high pressure is applied after connecting the pieces. People seem to always mention pounding things with a hammer. I tried this too, but could easily pull things apart afterwards, in some sections, the glue didn’t even hold together and it seemed to not help the leather either. Putting such a glued section into a bench vise for a few seconds with high pressure helped immediately, so I treated all glues parts with pliers (and protective cardboard), or a bench vise.
Ok, and keep the windows open - the glue stinks and the solvents cause headaches, or worse….
As a first step, I glued the outside and inside sections of the sheath together, making sure the belt-loop sections are well-aligned.
Then some pressure….
Next came the narrow knife-edge protection strip.
Stacked on top of this came the four ever/shorter heft-guard strips. Always aligning things as perfectly as possible.
Then some pressure….
And, of course, I put glue on parts before it was time. It’s not that terrible, because the glue dries to a thin and flexible film that you hardly see after pressing together and you can simply redo another thin layer, when you finally want to glue it.
Cleanup


Ok, I sewed the belt-loop first, but it makes more sense this way….
Once things are sewn up, the inside parts of a sheath are really hard to reach. This means, that all cleanup on misalignments, as well as surface treatments should be done before then.
In my case, I used a scalpel to straighten the belt-loop edges and the inside edge of the leather stack for the hilt section.
Then I used some soft wax on the inside surfaces and edges to seal them.
Holes


I bought the leather sewing kit, because there were a couple of hole punching tools included. These tools turned out great to get small holes with accurate spacing in the lines I had marked on the leather. For the belt-loop I ended up with four layers of 2 mm leather, which were the upper limit of the tools. The lower edge of the sheath were also 4 layers, but at the heft it came up to eight layers / far too much for the tools.
I first marked the lines for the stitches with a pencil and then used the groove cutter from the kit to cut a low groove where the string will rest for protection after sewing.
Then I used the hole puncher tools to first marked the holes, until happy with the layout and then to create the holes.
For the belt-loop stitches it worked fine, though a bit tight in the handling.
For the sheath I decided to punch holes only part of the way to provide a guide and then drilled the holes the rest of the way with a 2 mm drill bit, using a small electric hand drill. The hole-spacings on the reverse side turned out fine.
After making the holes, I used the groove cutter on the reverse sides as well - a bit more tedious, because of the holes, but ok.
Sewing


Sewing is a complex topic, as there are several stitching options….
As usual, I was in a bit of a bind and didn't think much about it. Instead, I did what seemed best to me and used a length of twine with its middle placed at the starting stitch and a dull needle at each end. I didn’t look it up, but maybe a saddle stitch? I used about eight times as much string as the length that needed to be sewn together and ended up having enough left for safety. I used dull needles, because it seemed right, because sewing back and forth through the same holes, you might pierce the strings and that seemed not so good to me.
With this type of stitch, you always go one hole further and push the needle-and-string through from each side and pull really tight after each stitch. As the leather tends to close in on the previously created holes, it is very advisable to use an awl to widen the hole of each stitch before pushing the needles through. I was impatient and broke a needle because of ignoring it.
To make the stitching more durable, I did a couple of double stitches at the beginning and stitched back a few holes at the end, cut the string and used a lighter to melt the strands back to the surface.
Belt loop stitches
Do the stitching of the belt-loop first! It is very difficult sewing the belt-loop, when you have sewn the sheath closed - at least with my design….
I did a triangle shape, but there is no reason other than aesthetics for it, and because that was the shape of the leather end anyway. I started stitching in one corner, went around and over stitched the first couple of stitches again. I put both string ends on the back side, cut them and melted them back to the leather.
To finish things off and seal the holes, I rubbed soft wax into the stitching.
Once the stitching for the belt/loop was finished, the sheath was finally glued shut.
Sheath stitches
I decided to start sewing at the top of the thick leather block for the heft and with the string over the outside top. To protect the string, I cut a small groove with a scalped - I know, I should have cut deeper.
I started stitching with the second hole and up from there, twice around the outside, then back down toward the tip of the sheath, always using an awl to widen the holes before each new stitch. This way, it went quite easily and quickly. Always pull the strings tight after each pass of the needles.
At the end I sewed back about four stitches, one further for the front string to get both onto the back side of the sheath, cut and melted the strings.
To finish things off and seal the holes, I rubbed soft wax into the stitching, once again.
Finishing Up


Because I had too much material along the outside edge of the sheath and to round the edges, I used a belt-sander to remove the excess. This made quite a mess with leather fuzz flying all over, but worked ok.
To clean up the now slightly fuzzy edges and corners I used the scalpel.
Finally, I used liberal doses of soft wax to seal everything….
Fin
I know, I could - and probably should - have done many things better and differently.
But, the sheath feels nicely solid and soft and I like the shape of it. Ok, the color could still be worked on.
Yes, for the money I invested, I could have probably had someone else do it for me.
But, it was a nice short project and I now have lots of leather left for other things and the tools to work on them….
I hope this will show you how easy it is and encourage you to maybe try some project yourself.
Always stay fascinated.