DIY Mini UPS for WiFi Router V5.0
by opengreenenergy in Circuits > Gadgets
117865 Views, 407 Favorites, 0 Comments
DIY Mini UPS for WiFi Router V5.0


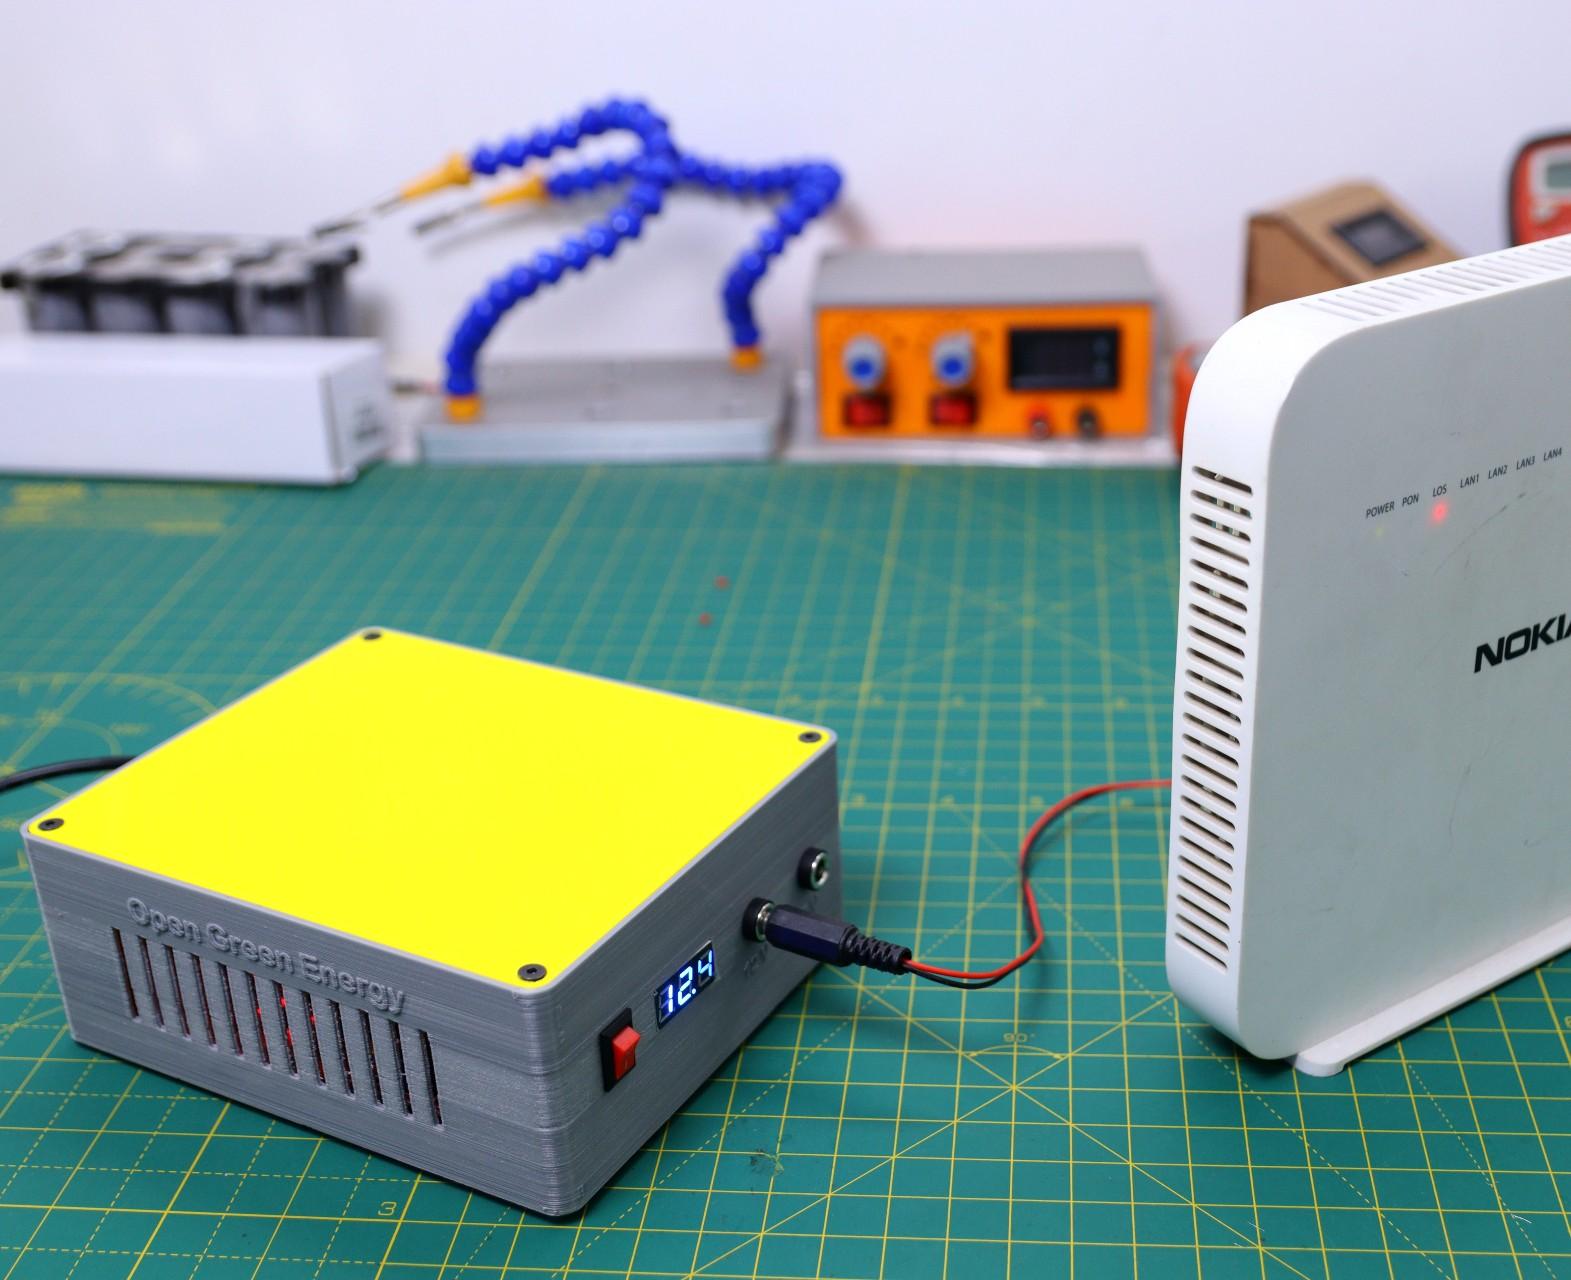


The pandemic COVID-19 outbreak forced companies to continue with work-from-home policy to maintain social distancing and for business continuity. More and more of us are working from home these days, and that means your home's WiFi networks are more important than ever.
Anyone with a fixed-line connection will know that their WiFi drops whenever the power goes out. It is annoying if you are in an important meeting/webinar through Zoom, WebEx, or MS-Team, and there is an interruption due to power cuts.
Solutions :
1. Using a conventional UPS ( Bulky and Costly )
2. Mini-UPS ( Light and Cheap )
I have already posted 3 Instructables ( V1, V2, and V4 ) on DIY Mini UPS, but this Instructables is the most advanced one which is designed by considering the feedback from the users of my earlier versions of UPS.
[ VIDEO TUTORIAL ]
New Features are:
1. Automatic Switching ( by using MOSFET ) between the power supply and battery pack during the power failure
2. Two Output Ports: 12V /2A and 5V/2A or 9V/2A
3. More backup time ( 8hrs)
4. Battery pack with 3S BMS
5. Additional Protection
My Book : DIY Off-Grid Solar Power for Everyone
You can order my Book on Off-Grid Solar Power from Amazon
Support me On Patreon:
If you enjoy my work here on Instructables, consider joining my Patreon, it will be a great help for me to make more interesting projects in the future.
Patreon Link: https://www.patreon.com/opengreenenergy
Components and Tools Required
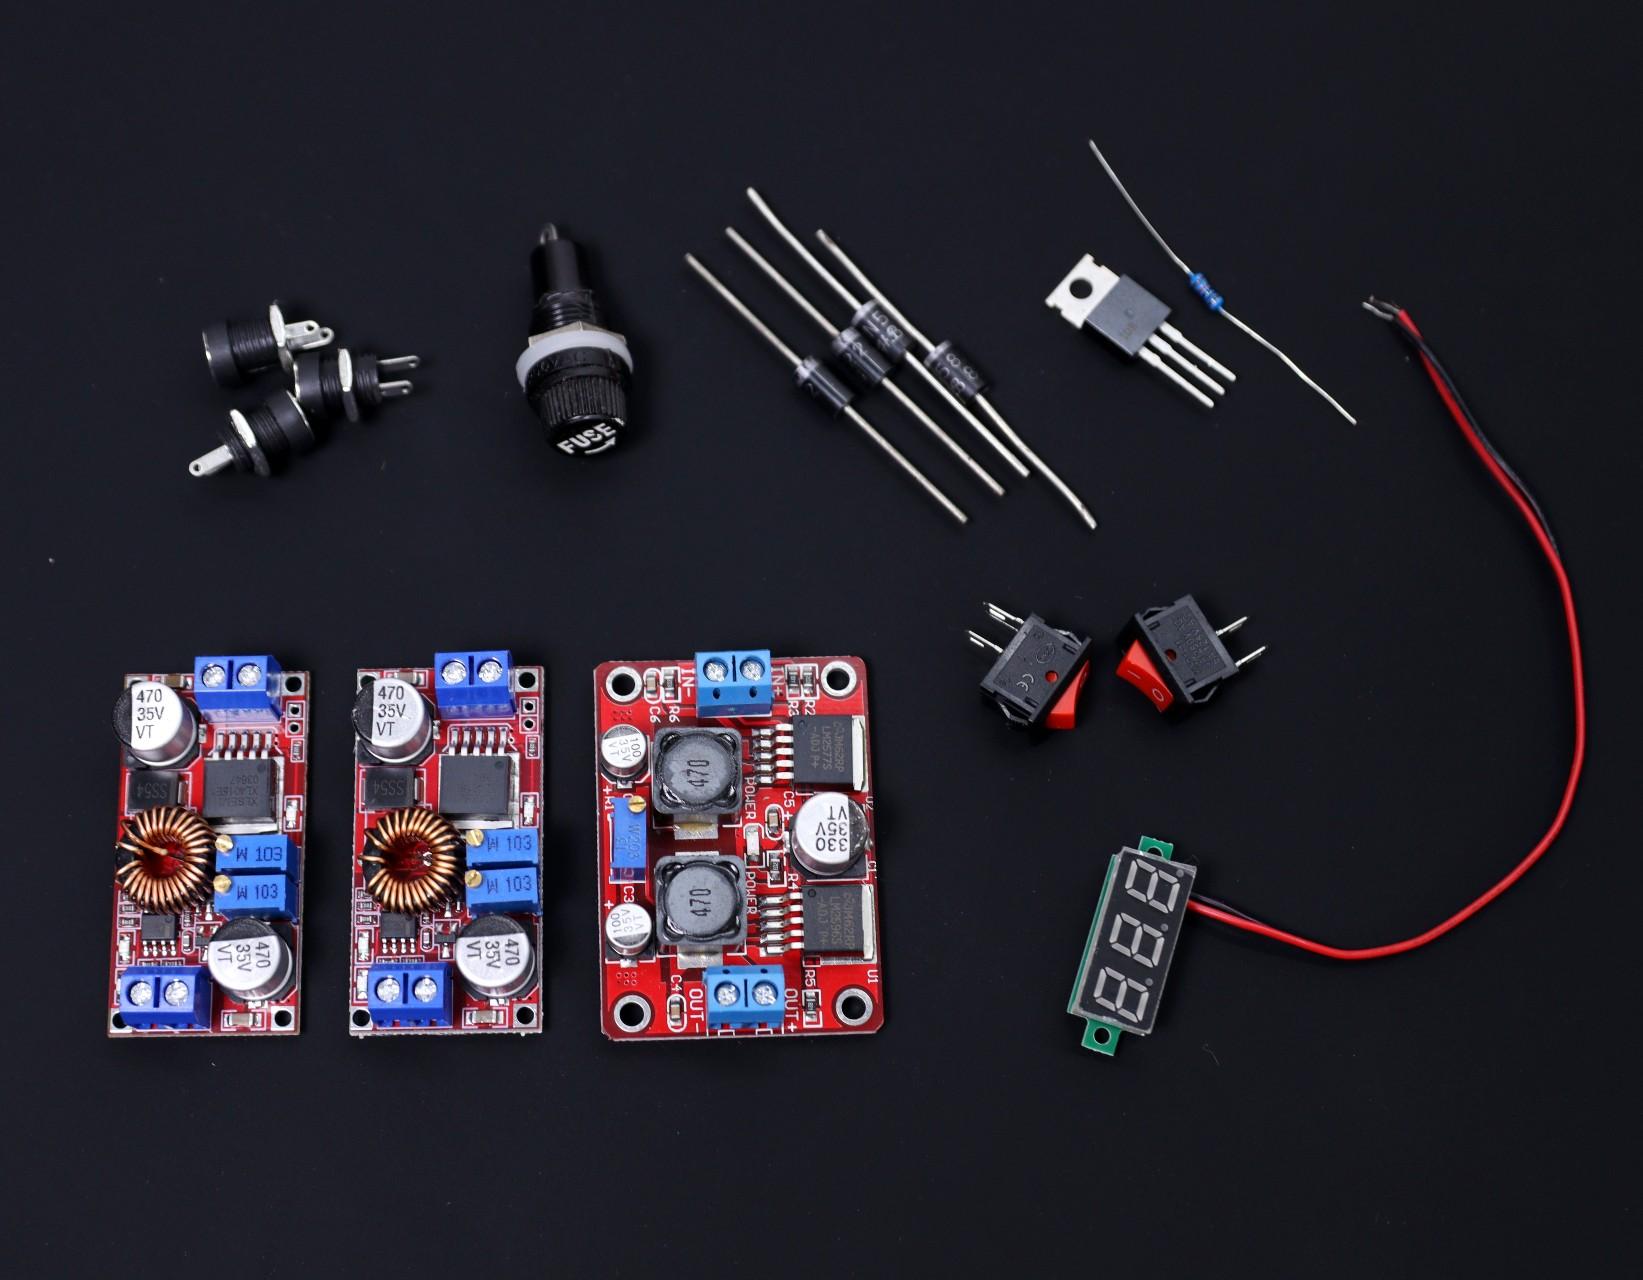
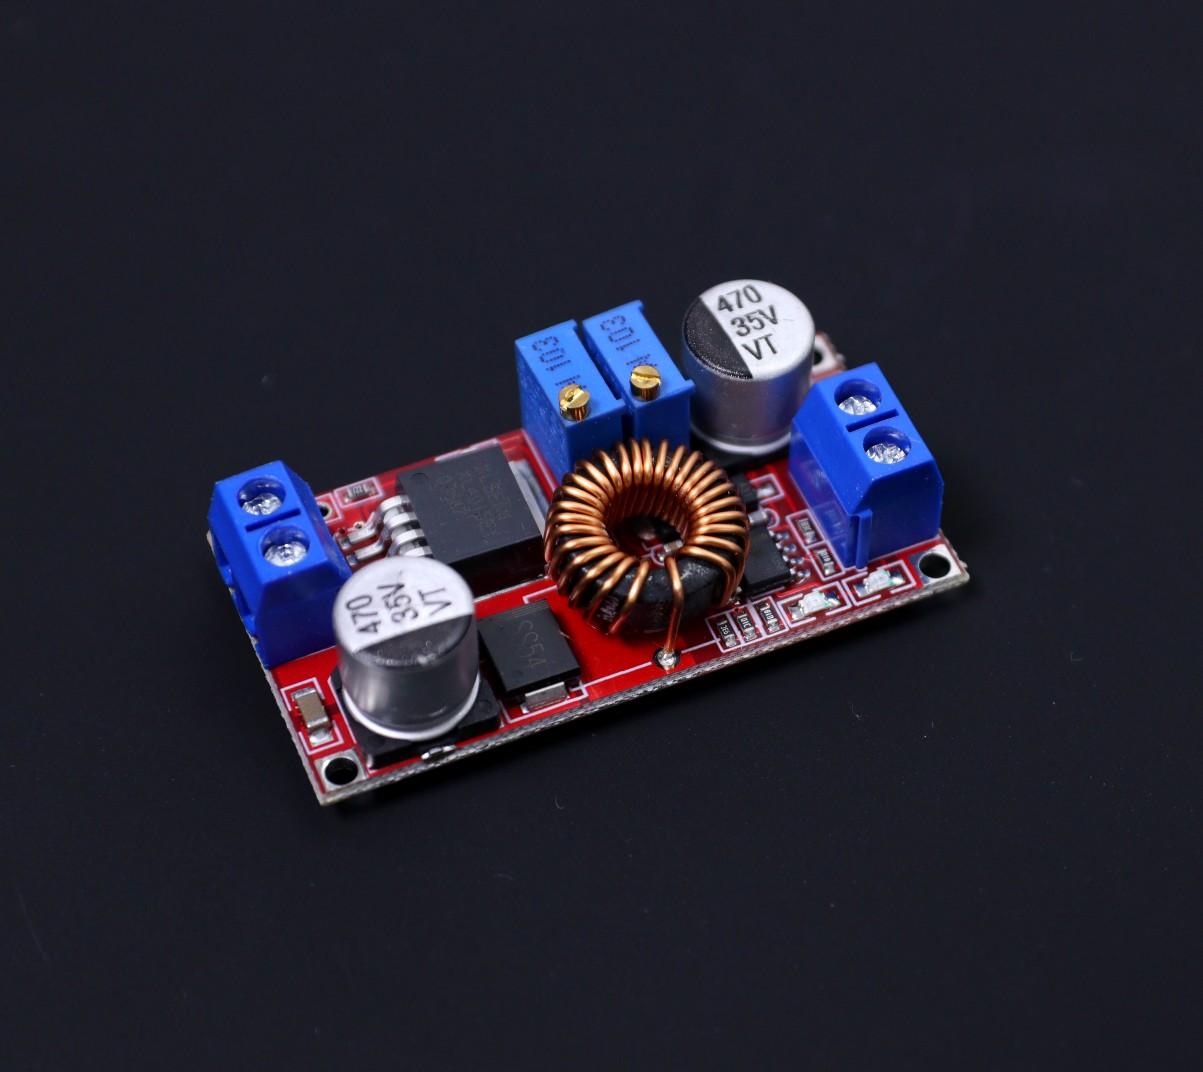


Note: You can get all types of modules in PCBWay Store
1. 18650 Batteries ( AliExpress )
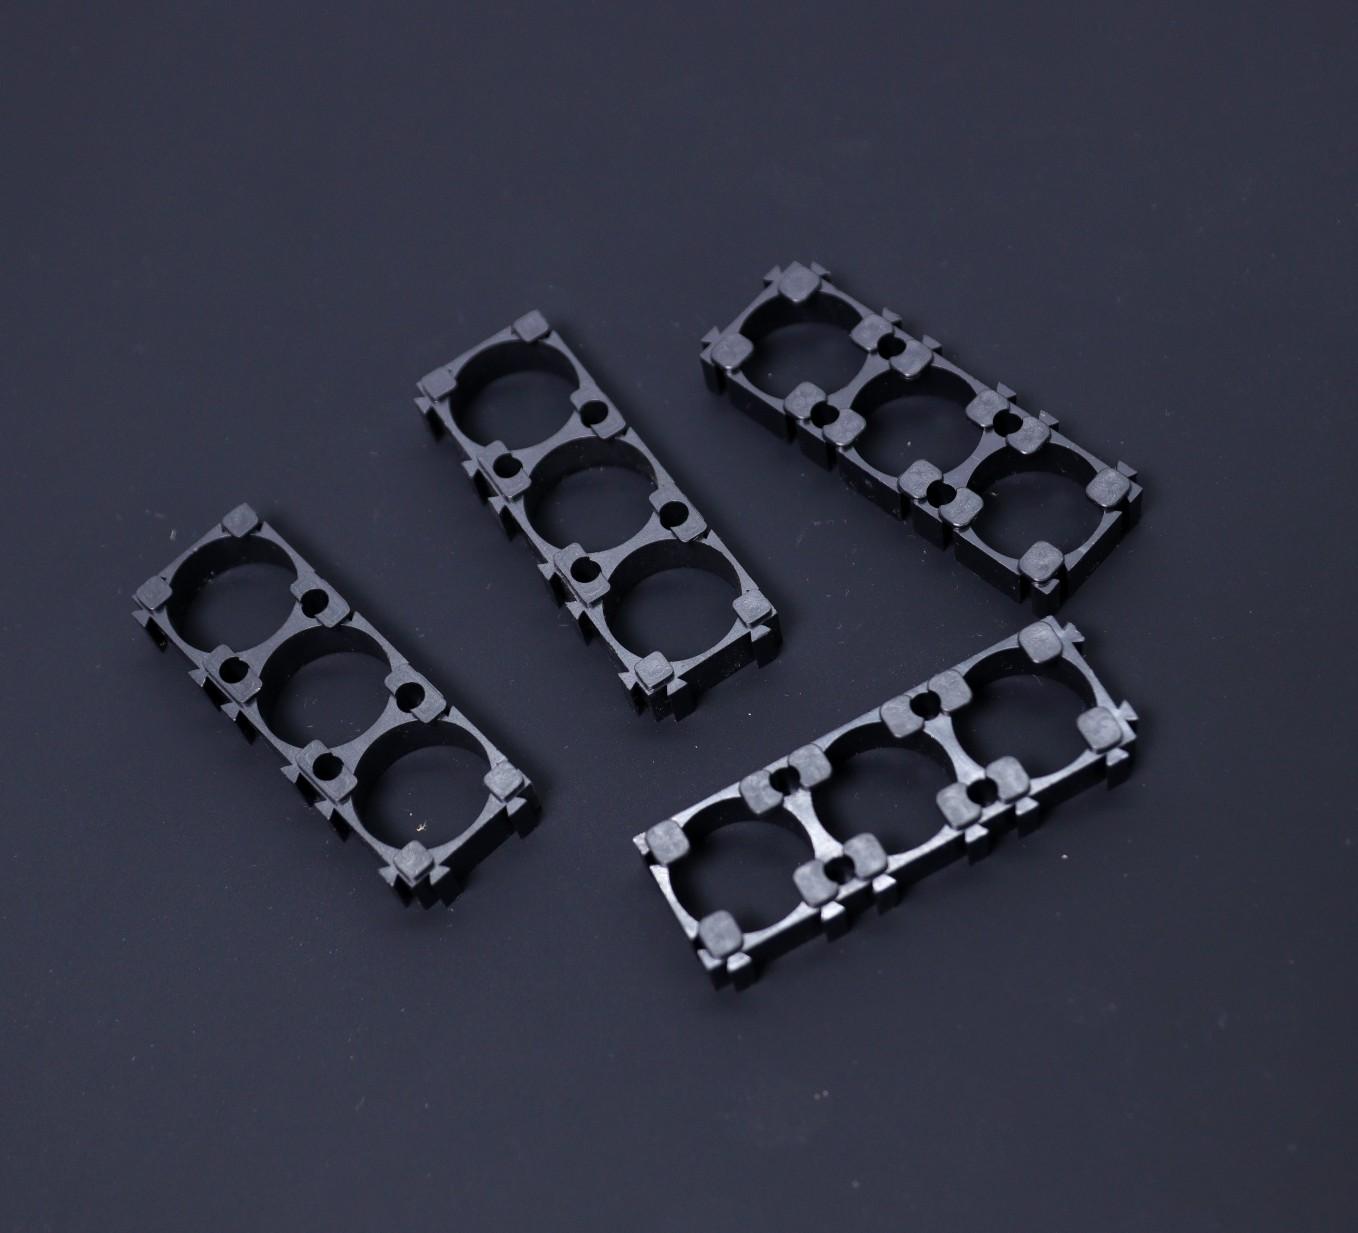
2. 18650 Battery Holder ( Amazon / AliExpress )
3. Pure Nickel Strip -0.15mm ( Amazon / AliExpress )
4. Buck Converter - XL4015 ( Amazon / AliExpress )
5. Buck-Boost Converter ( Amazon / AliExpress )
6. p-channel MOSFET ( Amazon / AliExpress )
7. Schottky Diode - 1N5822 ( Amazon / AliExpress )
8. 10K Resistor ( Amazon / AliExpress )
9. Rocker Switch - 10 x15mm ( Amazon / AliExpress )
10. DC Jack Male/Female ( Amazon / AliExpress )
11. Fuse Holder ( Amazon / AliExpress )
12. Glass Fuse ( Amazon / AliExpress )
13. Heat Sink - TO220 ( Amazon / AliExpress )
14. Heat Sink - 11x11x5 ( Amazon / AliExpress )
15. Voltmeter Display ( Amazon / AliExpress )
16. 22AWG Wires ( Amazon / AliExpress )
17. Heatshrink Tube ( Amazon / AliExpress )
18. 18650 Insulation Gasket ( Amazon / AliExpress )
19. Kapton Tape ( Amazon / AliExpress )
20. Double-Sided Tape ( Amazon / AliExpress )
21. M3 x 10 Screws ( Amazon / AliExpress )
22. Rubber Feet ( Amazon / AliExpress )
Tools Used :
1. 3D Printer ( Amazon / AliExpress )
2. Soldering Iron ( Amazon / AliExpress )
3. Spot Welder ( SEQURE )
4. Wire Cutter ( Amazon / AliExpress )
5. Wire Stripper ( Amazon / AliExpress )
6. Hot Air Blower ( Amazon / Aliexpress )
How It Works?


The working of the circuit is broadly divided in two conditions:
Condition-1: Mains Power Supply ON
In normal condition, power from the mains is drawn by a DC adapter through the input DC jack to charge the 6 x 18650 batteries and to provide power to the two output DC Jacks through the DC-DC converter modules. In this condition, the gate of the p-channel MOSFET ( IRF9540 ) is high, so it will not conduct, and no power flow from the battery pack to the output. The direct power flow from the DC adapter to the battery pack is prevented by two Schottky diodes ( 1N5822 ).
Condition-2: Mains Power Supply OFF
When the mains power fails, the stored energy in the battery is used to power up the output DC jacks through the DC-DC converter modules. In this condition, the gate of the p-channel MOSFET ( IRF9540 ) is grounded through the 10K resistor, so it will conduct, and power flow from the battery pack to the output.
Battery Pack and Charging Circuit :
In the schematic diagram, the 6 x18650 batteries are connected in 3S2P ( 3-series and 2 parallel ) configuration and then they are connected to a 3S BMS board for protection during the charging and discharging. The battery pack is charged through the XL4015 buck converter module.
To smoothen the DC input from the adapter a 1000uF /16V electrolytic capacitor C1 is used.
Output Converter Circuits:
On the output side, two DC-DC converter modules are used to get the desired outputs ( 12V and 9V/5V ) as per your router/modem voltage.
12V Output Port:
Buck-Boost Converter is used by considering the battery state of charge from the low voltage to fully charged condition. When the battery pack is fully charged the voltage is around 12.6V, so we have to step down ( Buck Mode ) the voltage to 12V. When the battery voltage is low the voltage will be less than 11V, so we have to step up the voltage ( Boost Mode) to 12V.
At the same time, the DC adapter is also connected to the input of the Buck-Boost Converter, so any voltage fluctuation at the input side will be not reflected in the output.
9V / 5V Output Port:
Buck Converter is used to step down the voltage from the DC adapter as well as the battery pack.
Output Capacitors:
The two 1000uF / 16V electrolytic capacitors ( C2 and C3 ) are connected at the output sides of the converter modules to avoid voltage spikes during the transition state. It will avoid the chances of rebooting during the switching between the DC adapter and battery pack.
Battery Voltage Status:
The voltmeter display is used to display the battery voltage level. The use of a rocker switch in the voltmeter circuit is to save unnecessary power wastage. You can turn it on when you want to check the battery voltage only.
Protection Fuse :
Fuse is used to providing protection against the over the current and short circuit. The fuse location is suitably selected so that it will come in both charging and discharging paths.
Disclaimer: Please note that you are working on a Li-Ion battery which is potentially very hazardous. I cannot be held responsible for any loss of property, damage, or loss of life if it comes to that. This tutorial is written for those who have ample knowledge of rechargeable lithium-ion technology. Please do not attempt this if you are a novice. Stay Safe.
Note: I have attached two schematics ( Rev-1 and Rev-2 ). The updated schematic is Rev-2 that I make after publishing my YouTube video tutorial. The changes are made by taking feedback from the users.
Prepare the 18650 Battery


Before connecting the cells in parallel, first, check the individual cell voltages. For paralleling the cells, the voltage of each cell should be near to each other, otherwise, a high amount of current will flow from the cell with a higher voltage to the cell with a lower voltage. This can damage the cells and even result in fire on rare occasions.
If you are using brand new cells, the cell voltage is near 3.5 V to 3.7 V, you can join them together without worrying much. But if you are going to use an old laptop battery, be sure the cell's voltage is nearly the same, otherwise, charge the cells to the same voltage level by using a good Li-Ion Battery Charger. I used my Nitecore SC4 Charger to charge all the 18650 cells before joining them together.
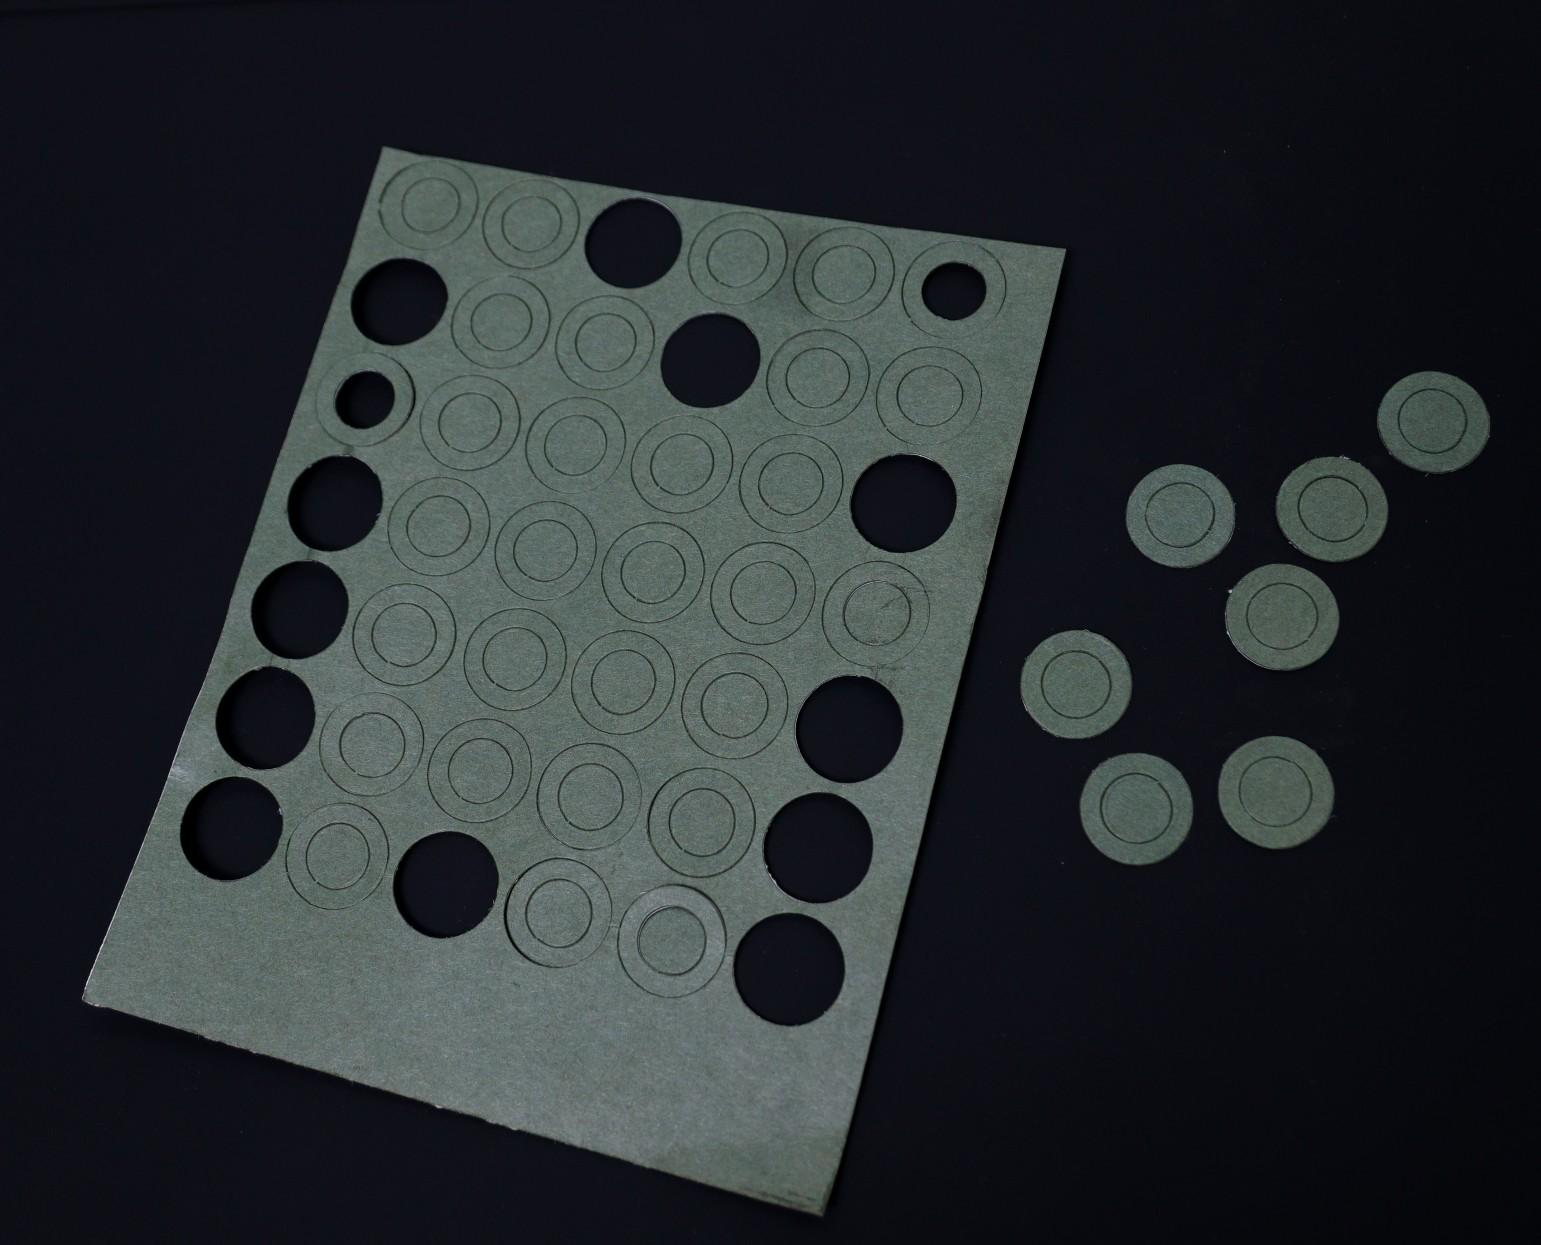
To prevent short between the terminals of the batteries I have used self-adhesive insulating rings on the positive terminal side. It is not mandatory but will extra protection.
You can read this article to know why these insulator rings are so important in making a battery pack.
Assemble the 18650 Batteries
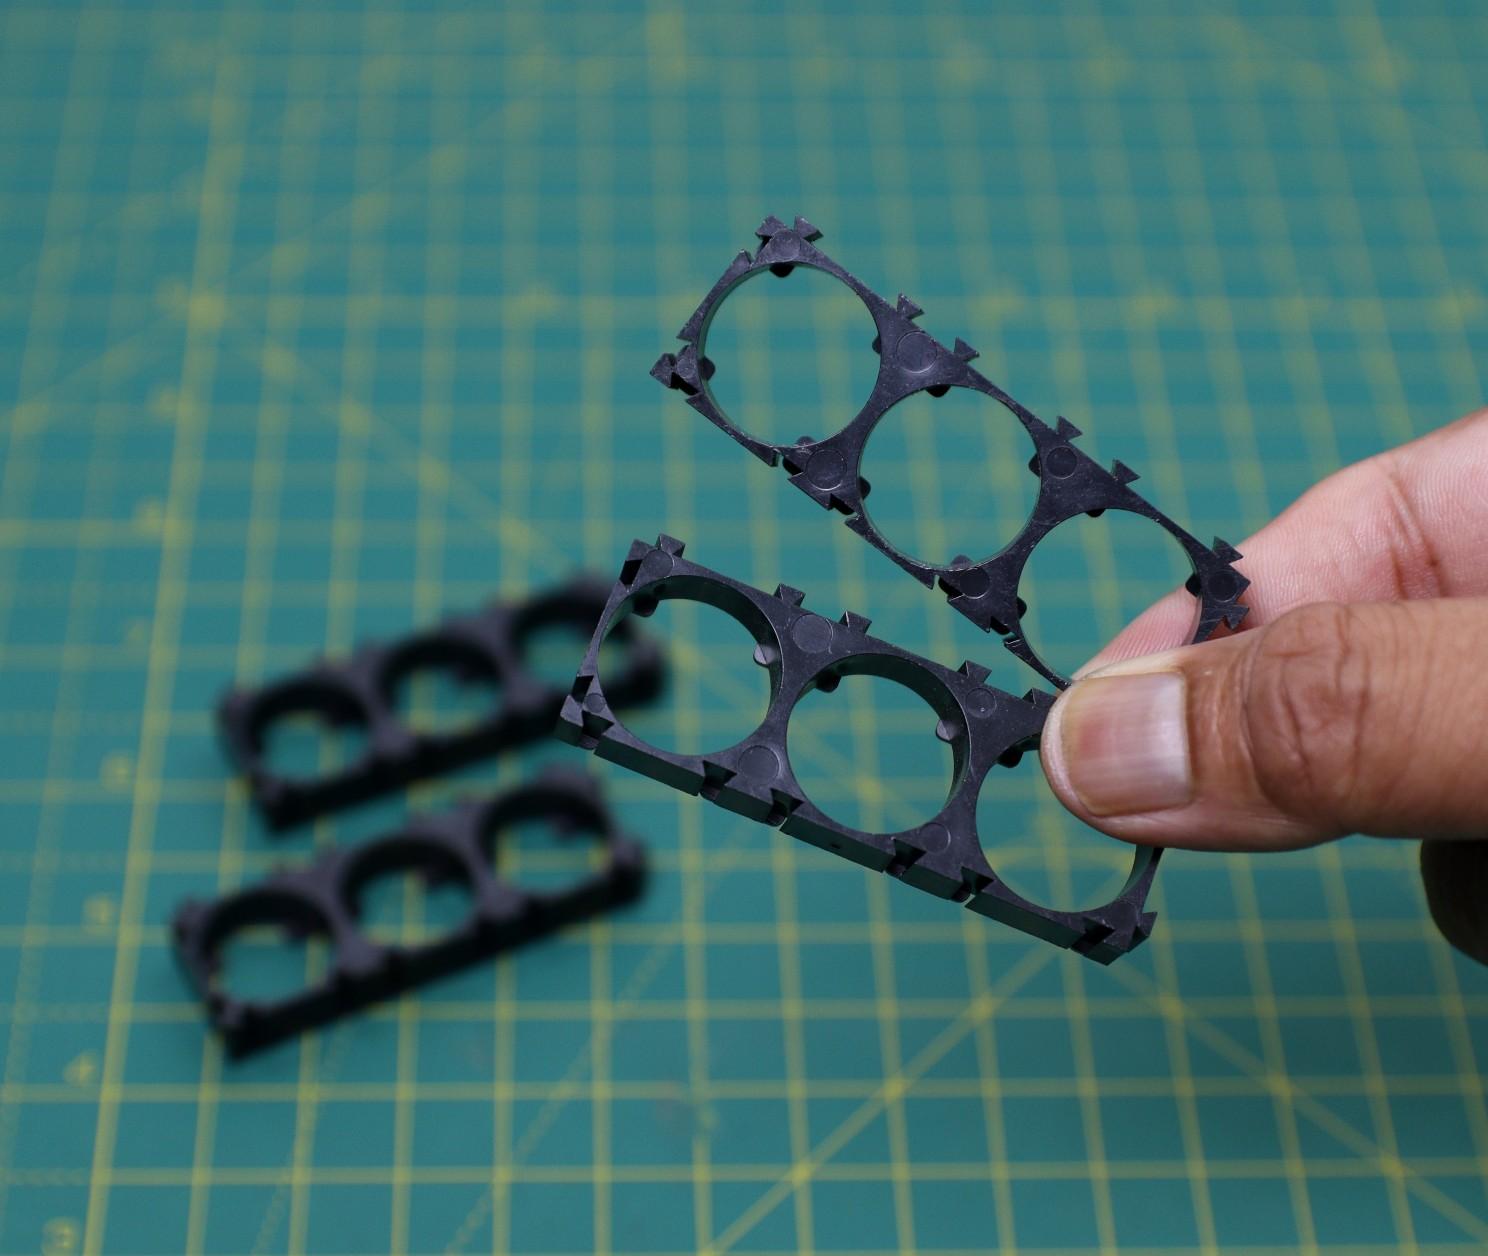
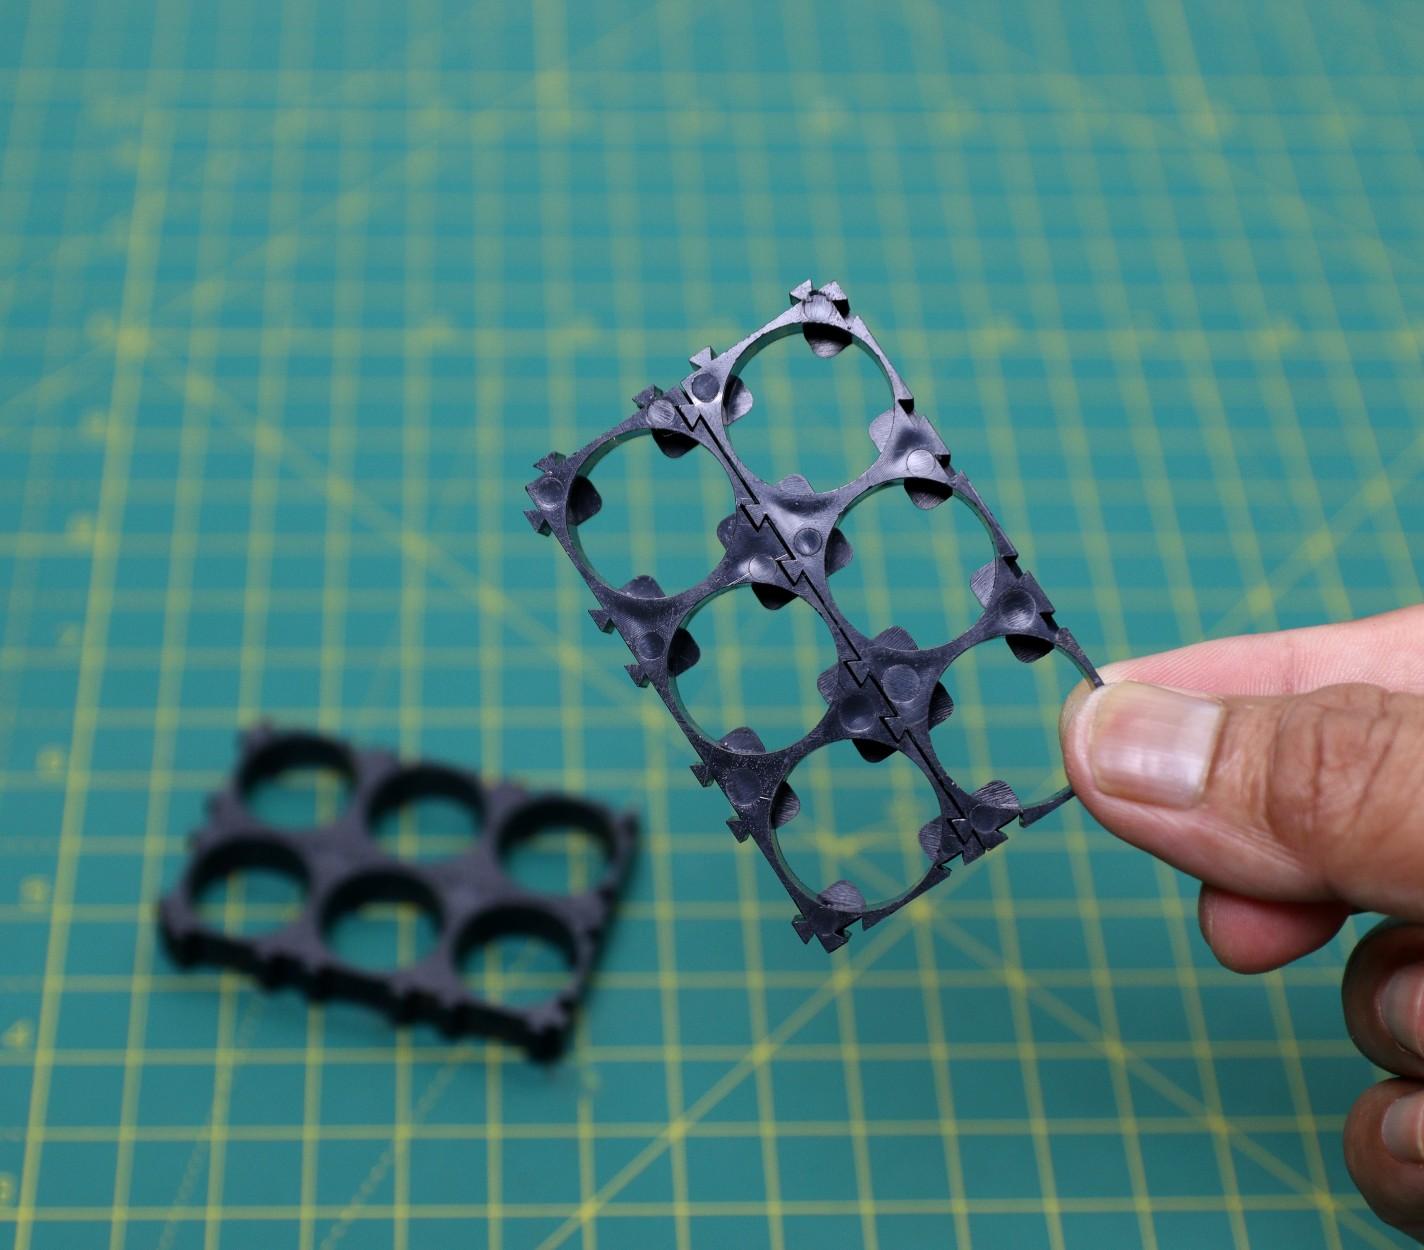
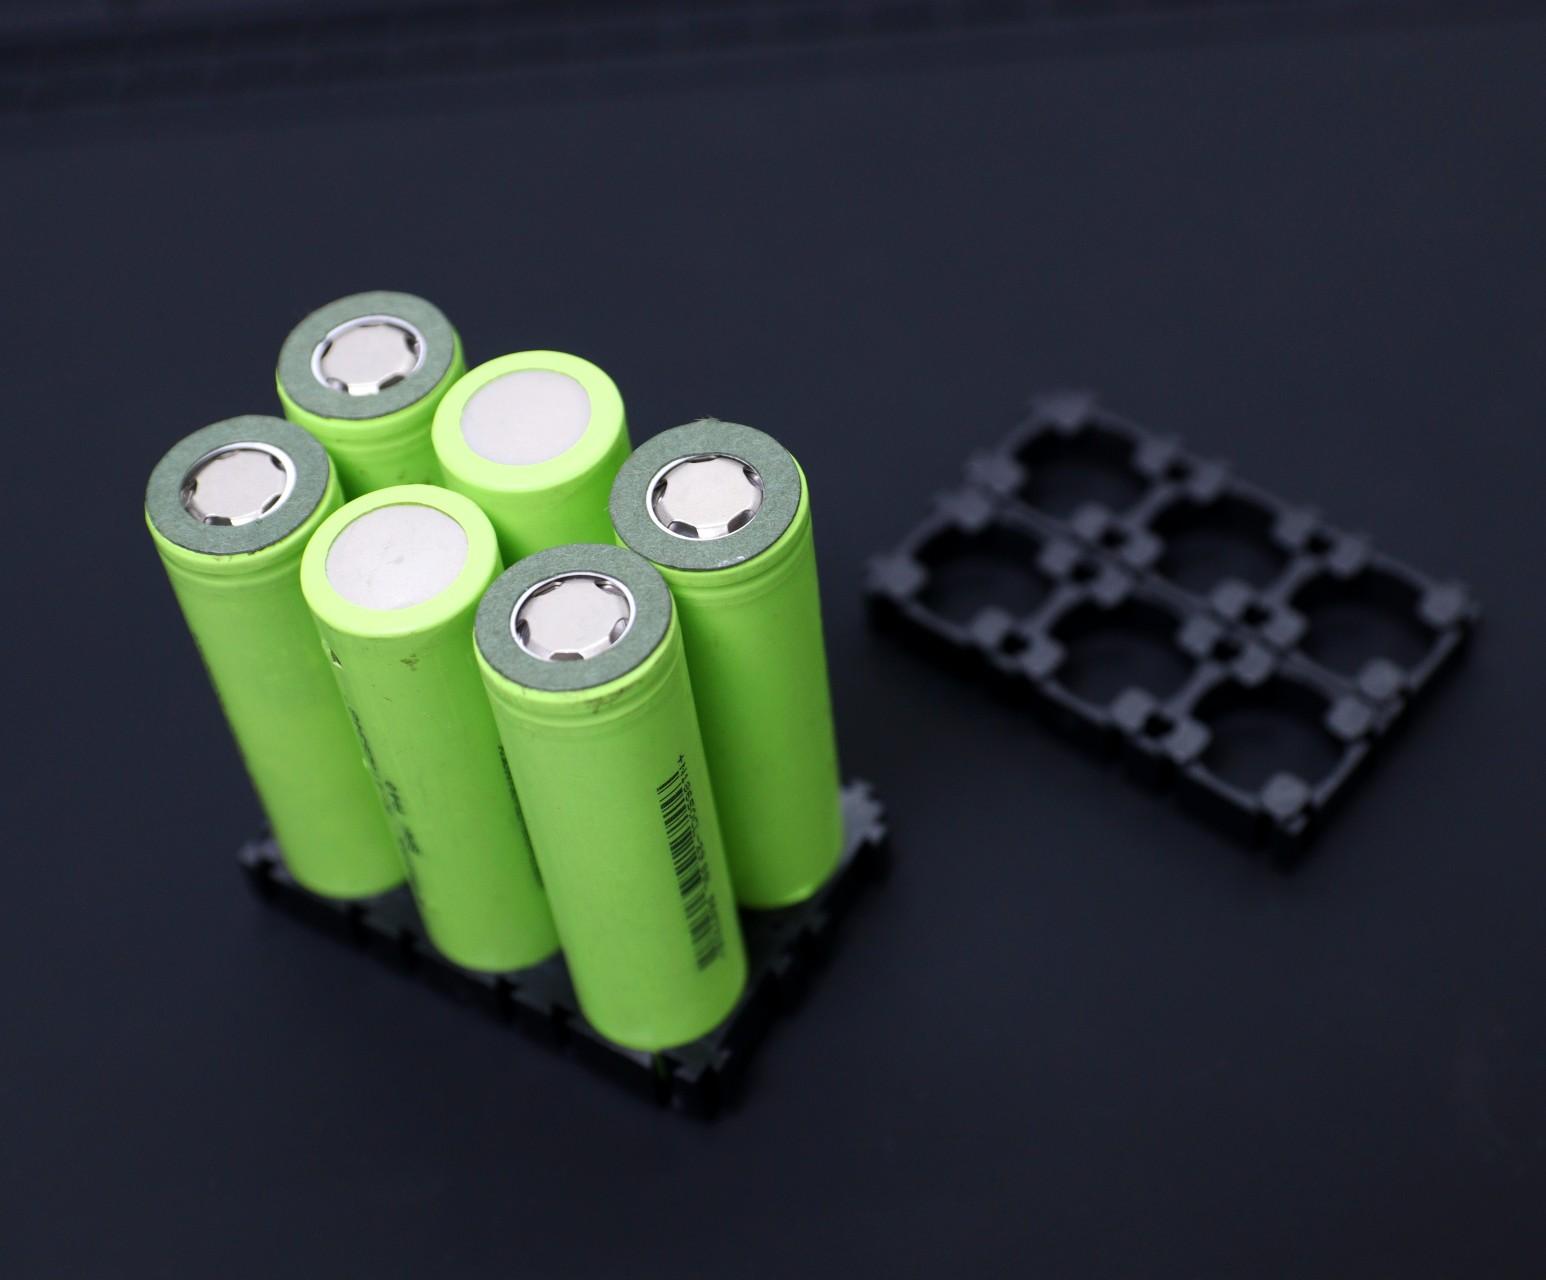


We have to assemble the battery to get the desired voltage and capacity. In our case, the voltage requirement is 12V and 9V / 5V.
The voltage level of a fully charged 18650 battery is 4.2V, to get 12V we have to connect 3 batteries in series (3S). To increase the capacity we have to add such series groups (3S) in parallel. Here I have used two such groups. So our final battery pack configuration is 3S2P.
If you need more backup time, add more parallel groups. In that case, the configuration will be 3S3P, 3S4P, 3S5P... and so on.
Number of batteries required to achieve 3S2P configuration = 3 x 2 = 6
Now we have to arrange the 6 batteries properly for making the electrical connection among them and with the BMS board.
Place the first parallel group of cells (2 nos) positive side up, then place the second parallel group negative side up, and then finally the last parallel group positive side up. For better understanding, you can see the above picture.
I used plastic 18650 cell holders/spacers to assemble the 6 batteries. The main advantages of using these holders are:
1. You can make a custom pack of any size according to your requirement. It's like solving a puzzle.
2. It provides space between the cells, which allows fresh air to pass and the battery gets cooled easily.
3. It makes your battery pack solid and reliable.
4. It provides safety anti-vibration to your battery pack
Spot Welding
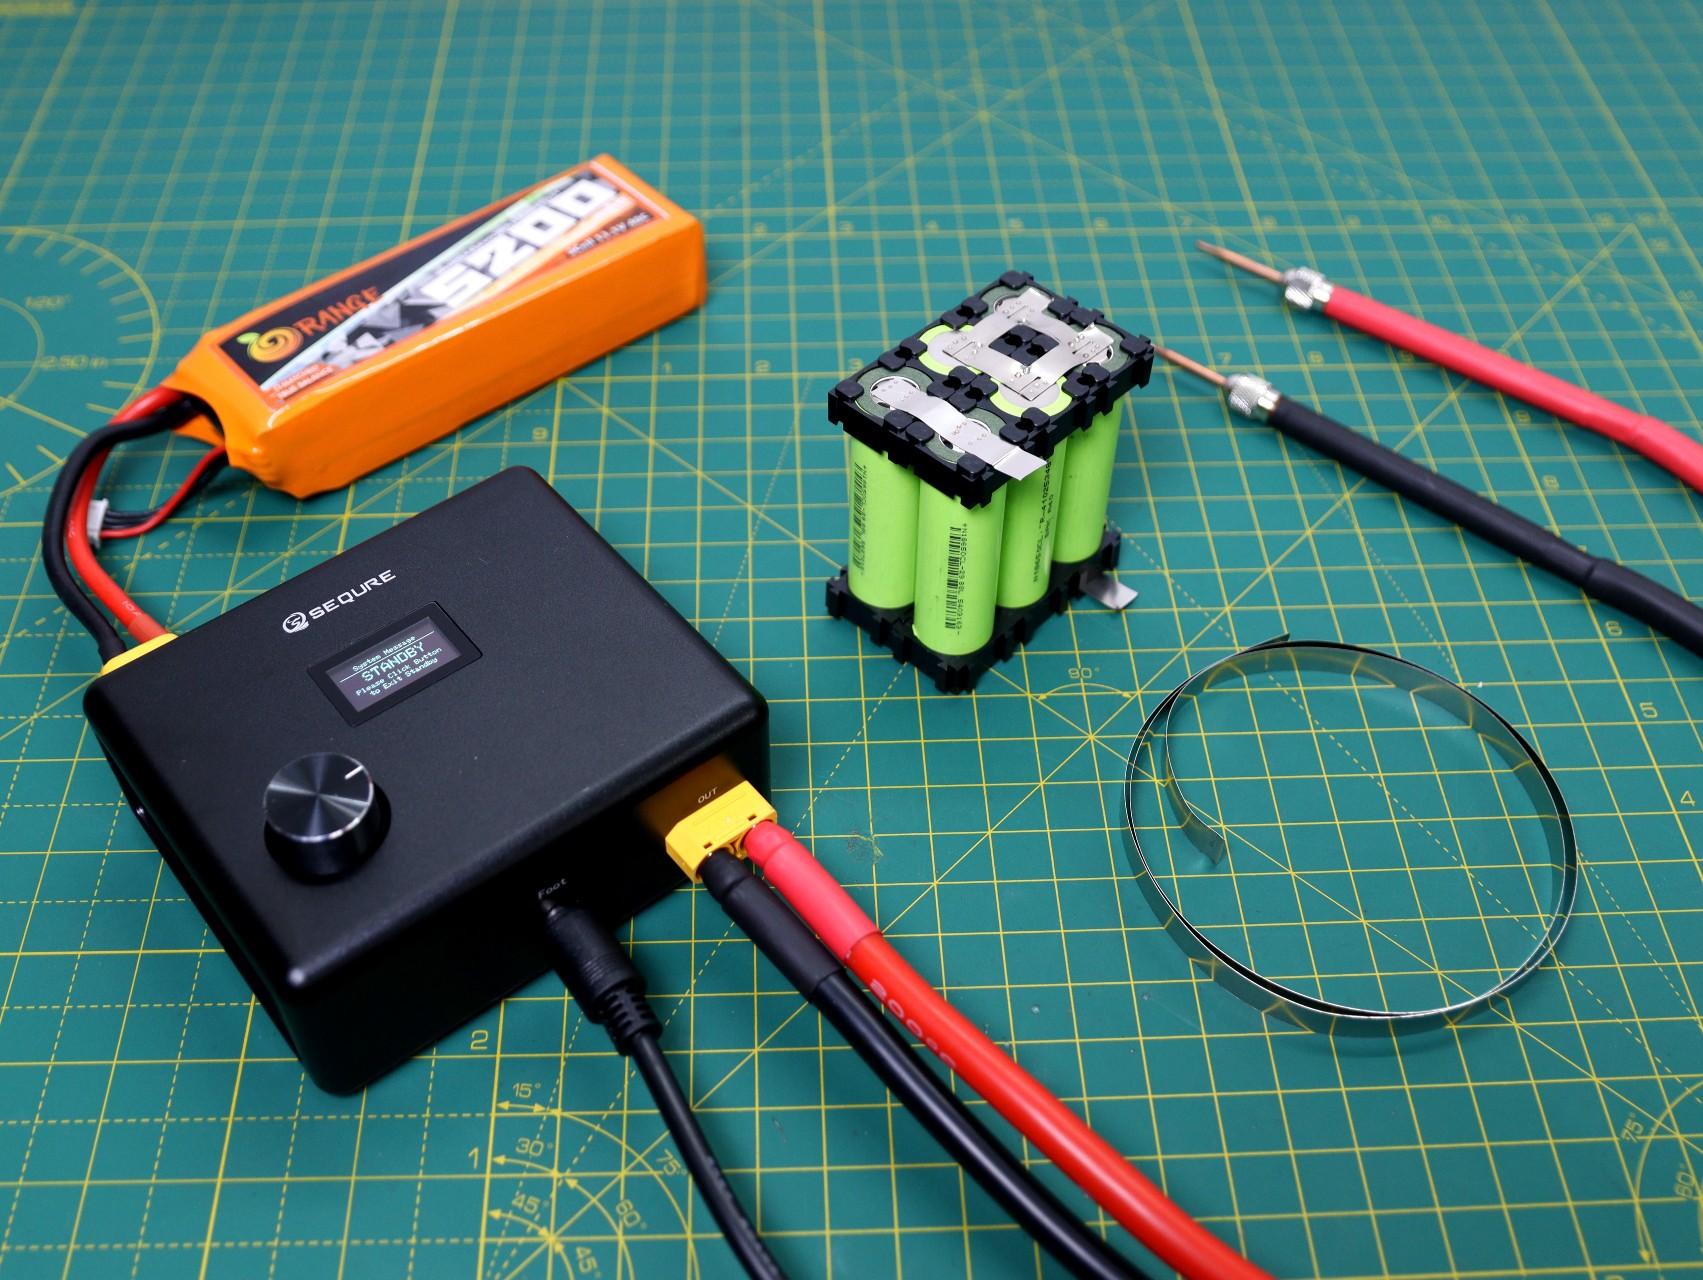


Lay your nickel strip on top of the 2 cells ensuring that it covers cells terminals, and then cut it. Connect the first parallel group negative terminal to the positive terminal of the second group and then the negative terminal of the second group to the positive terminal of the third group. Then spot weld the nickel strips by using a spot welder.
Here I have used a handy spot welder from SEQURE.
The spot welder can be used to weld the pure nickel as well as nickel-plated steel strips. You have to adjust the welder pulse according to the thickness of the nickel strips.
Safety: Wear safety goggles during the spot welding.
Connect the BMS Board
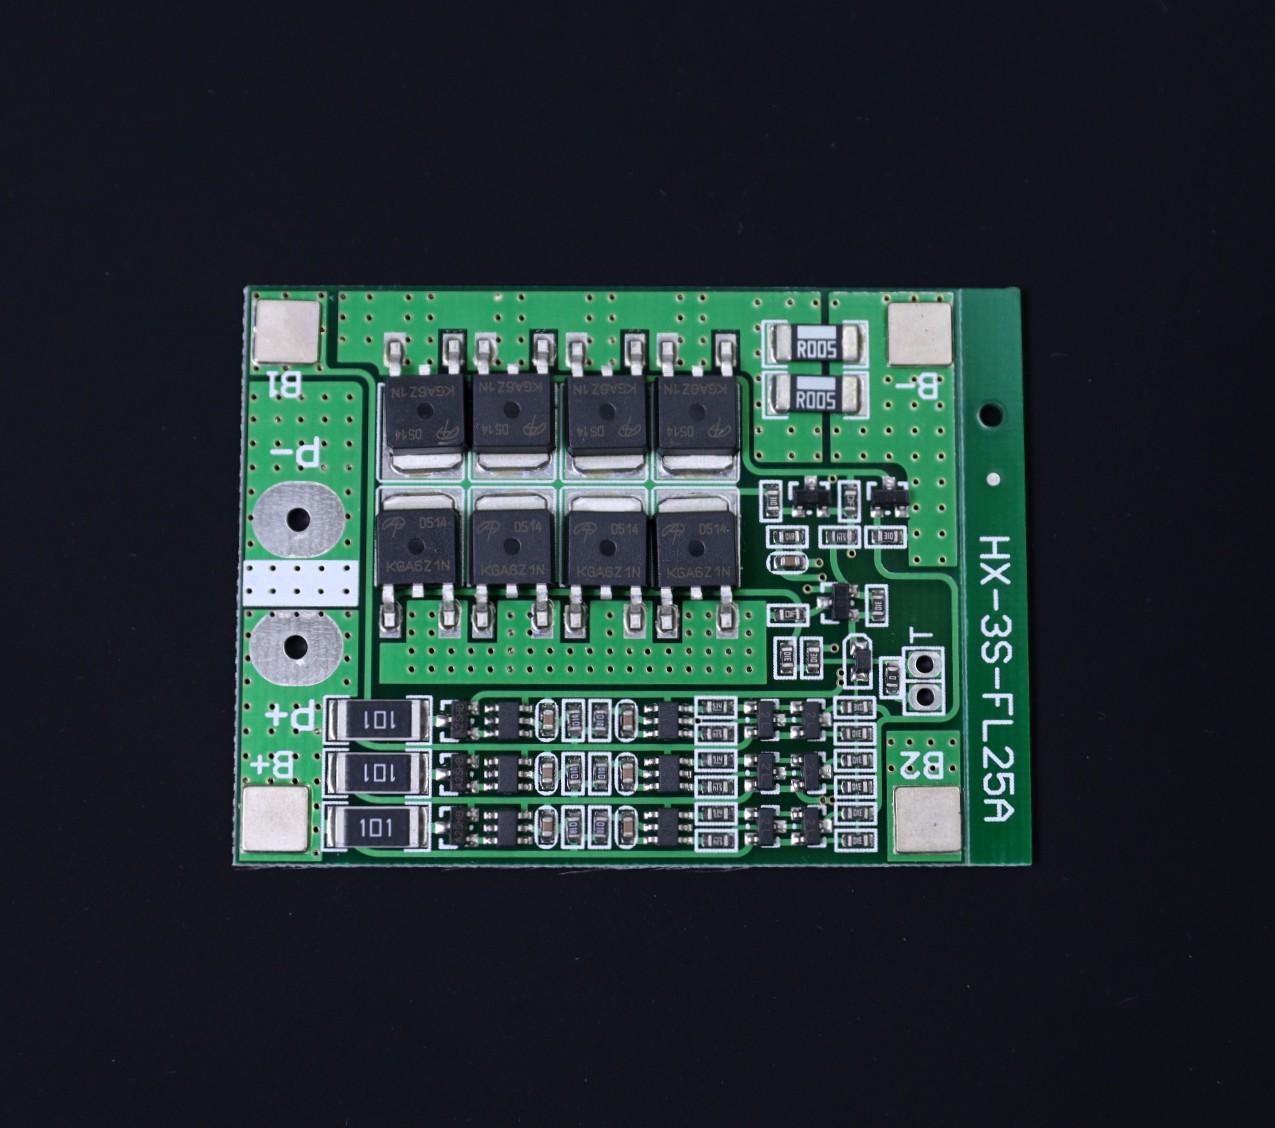


Connect the BMS as shown in the wiring diagram. The BMS has four soldering pads: B-, B1, B2, and B+. You have to connect the first parallel group negative terminal bus to the B- and positive terminal bus to the B1. Similarly the third parallel group negative terminal bus to the B2 and positive terminal bus to the B+.
You can spot weld the nickel strips to the BMS or solder them to the PCB pad. I preferred to solder the nickel strips to the PCB for a sturdy connection. First, apply soldering flux to the PCB pads and end of the nickel strips. After that tin all the pads by applying a little amount of solder and then solder them together. After spot welding, you can check the battery pack voltage to ensure you have done it correctly.
3D Printed Enclosure

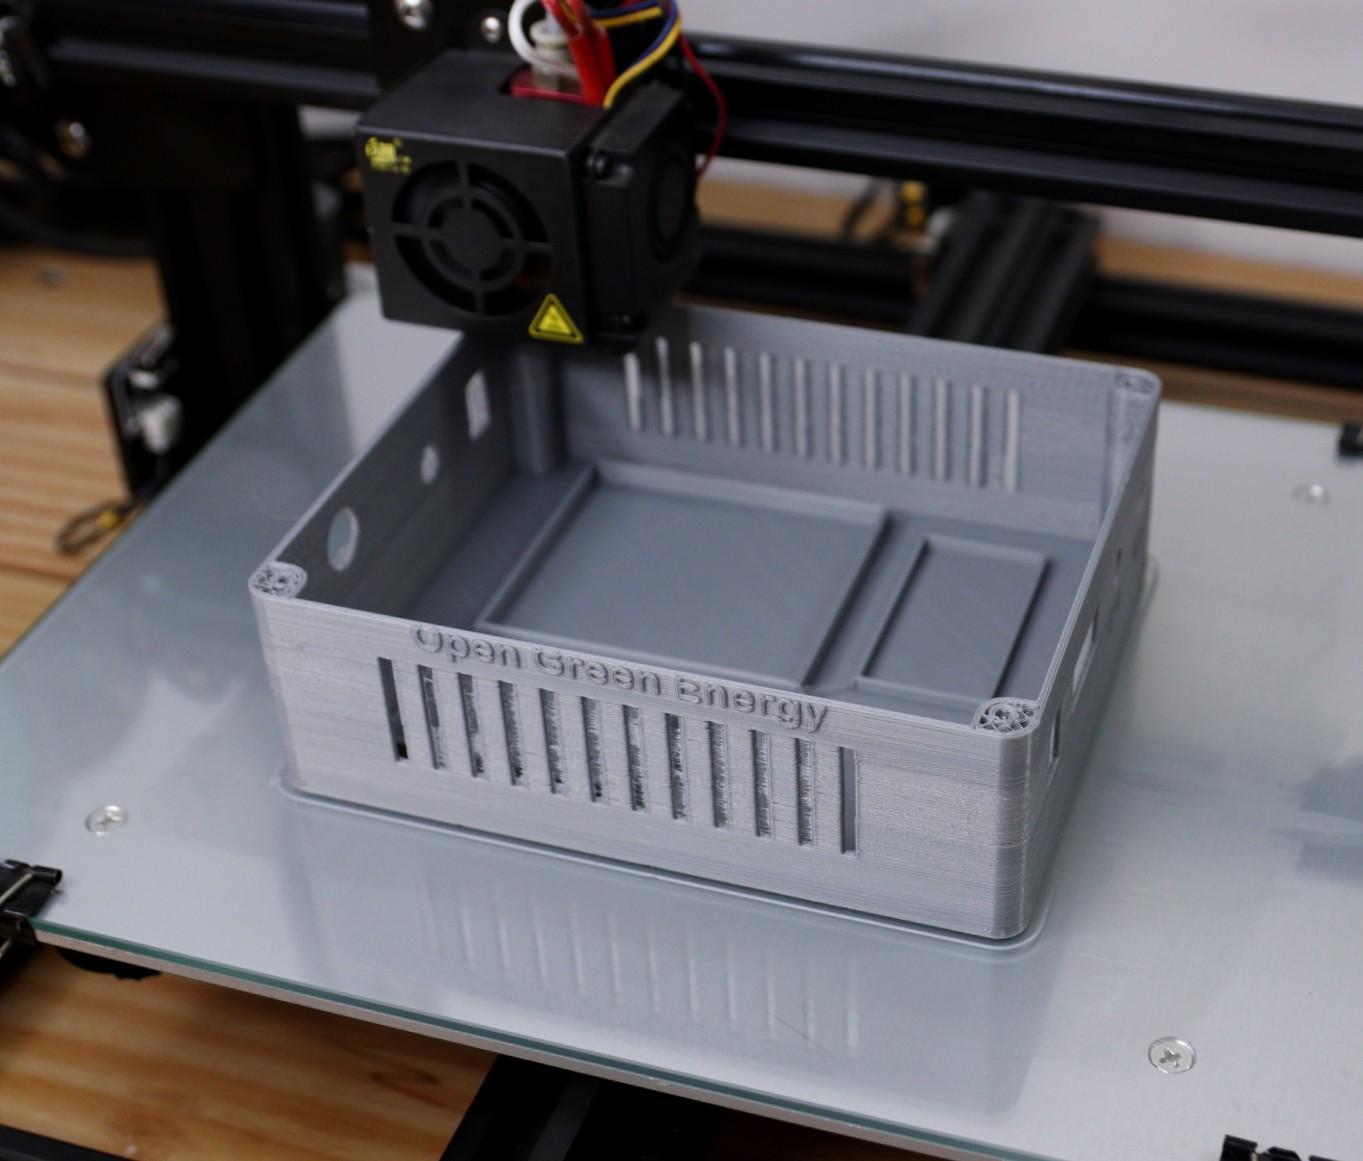
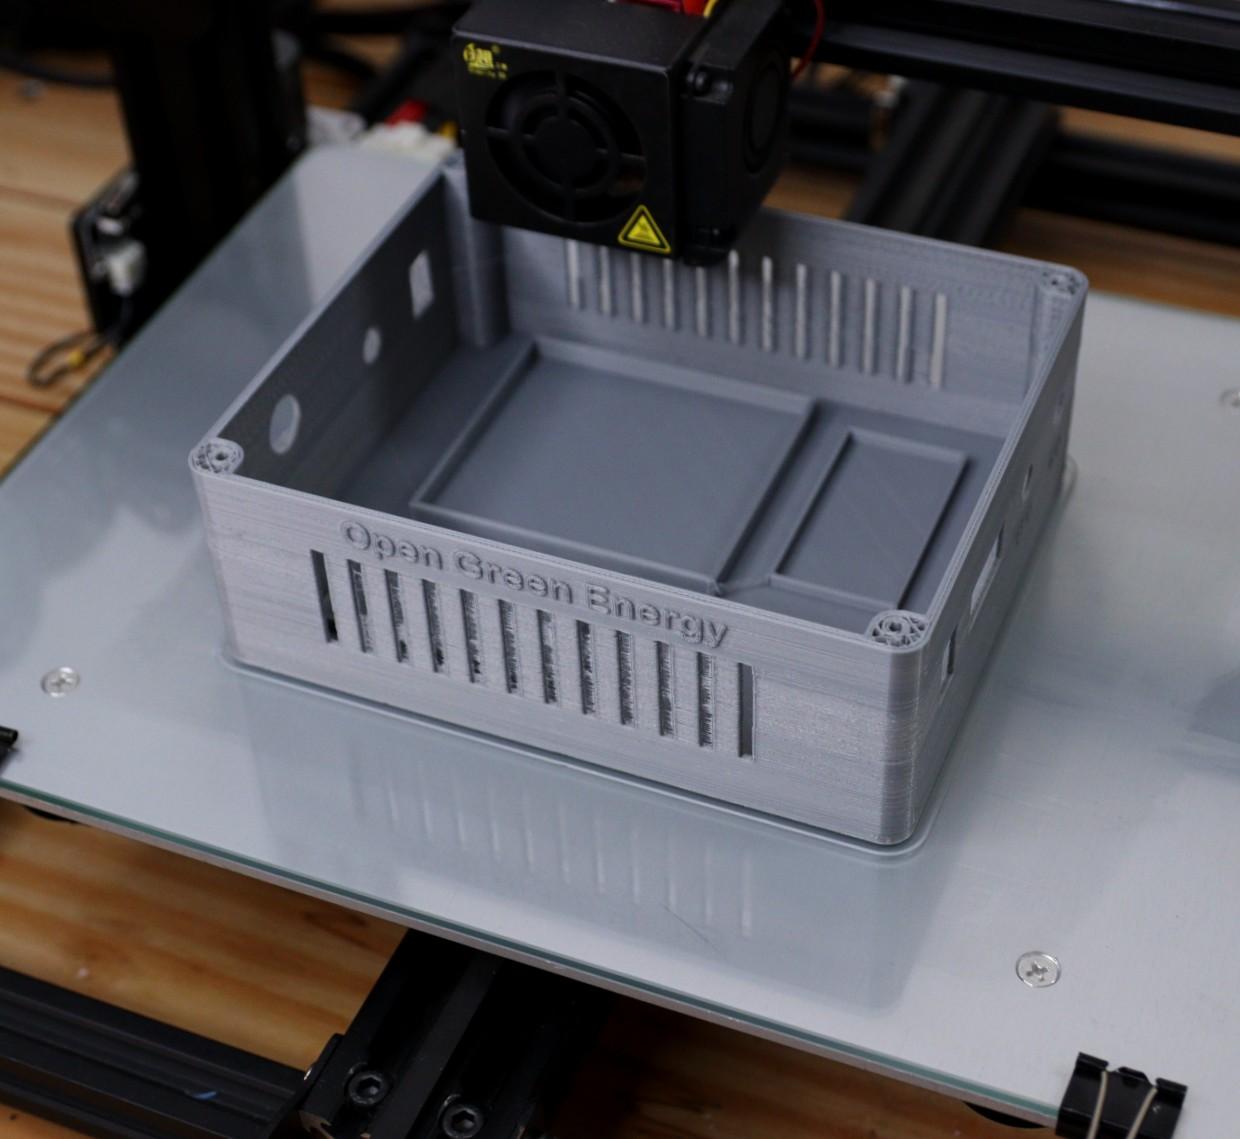
I have designed an enclosure for this project by using Autodesk Fusion 360. The dimensions of all the components are measured by a vernier caliper then the same were considered during the design.
The enclosure has two parts:
1. Main Body
2. Cover Lid
The Main Body is basically designed to fit all the components including the battery. The Cover lid is to cover up the main body opening.
I have used my Creality CR-10 Mini 3D printer and 1.75 mm Silver and Red PLA filaments to print the parts. It took me about 12 hours to print the main body and around 3 hours to print the top lid.
My settings are:
Print Speed: 60 mm/s
Layer Height: 0.2mm ( 0.3 also works well)
Fill Density: 25%
Extruder Temperature: 200 deg C
Bed Temp: 60 deg C
Download the STL files from Thingiverse.
Please note that I have shared two files for the main body, one with 5V and other with 9V for the second output. Print according to your requirement.
Prepare the DC Input DC Jack


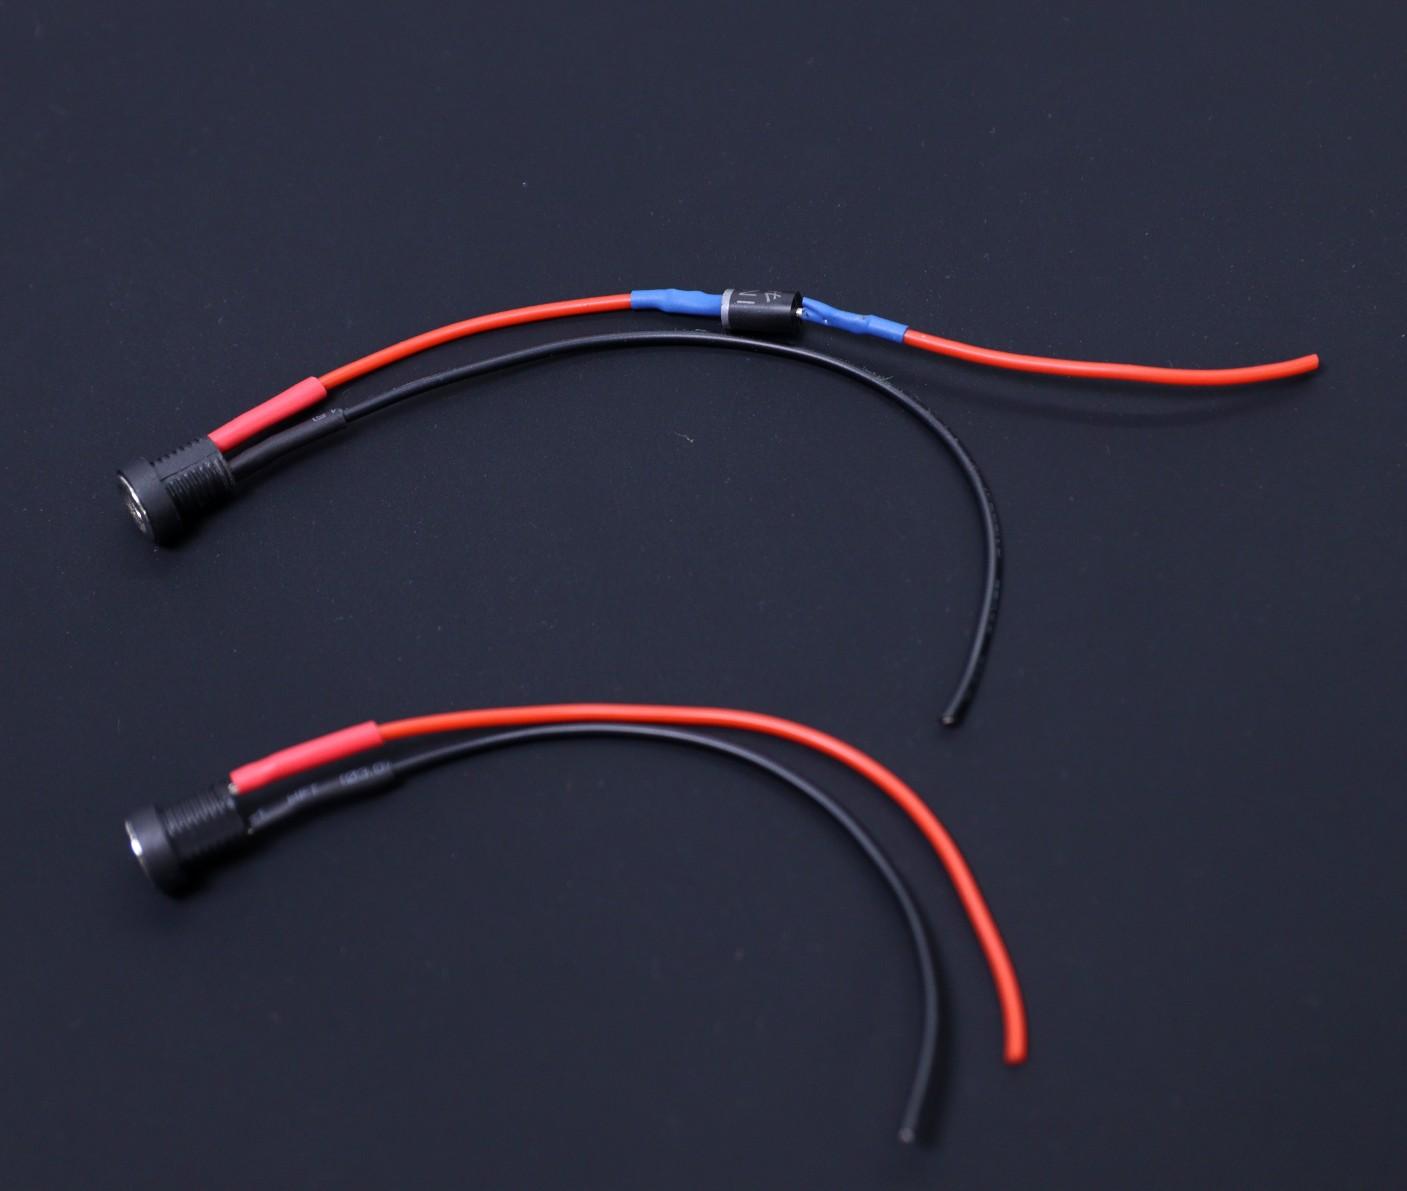


Here I have used three numbers of 5.5mm DC jack, one for connecting the DC adapter and the other two are for connecting the router and any other device.
As per the schematic diagram, a diode is connected to the input DC jack. So first I trimmed the legs of the diode by using a nipper. Then I solder the diode to the DC jack by using 22 AWG Wires.
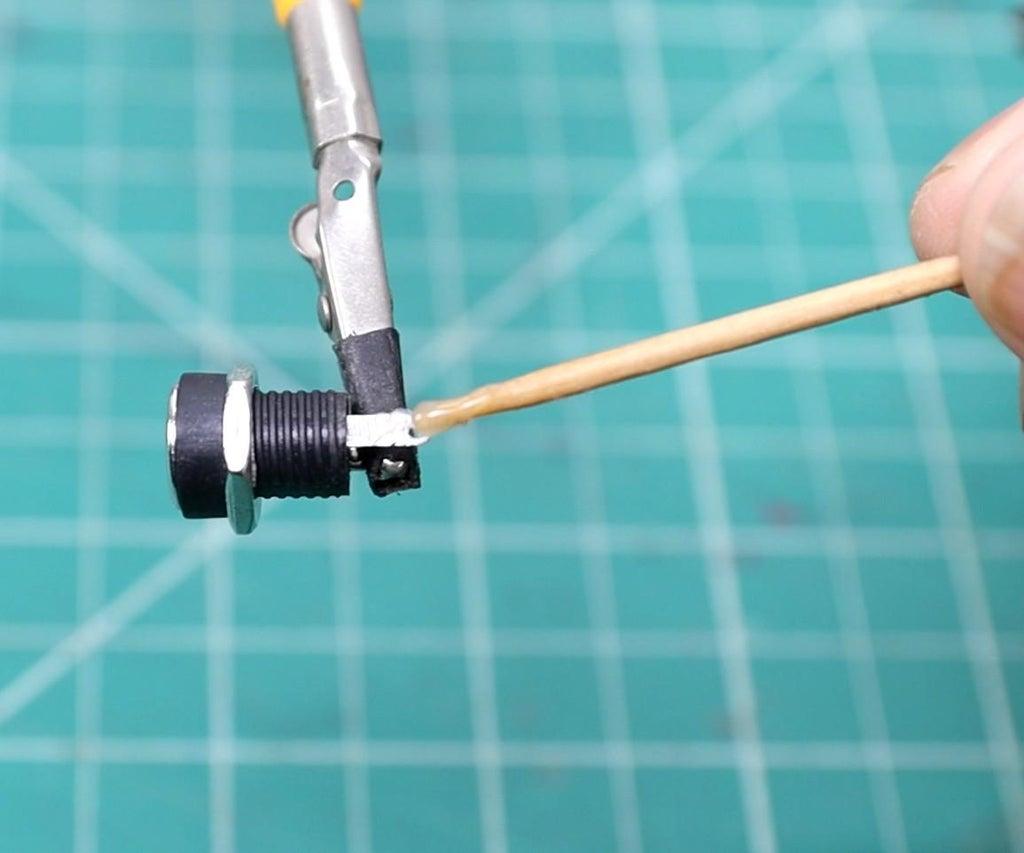
It is sometimes very difficult to solder extension wires to the DC jack terminals, so preconditioning is required. Apply a small amount of flux to the terminals and add a small amount of solder by using a soldering iron. Now it is very easy to solder the extension wires.
Prepare the Fuse Holder

.jpg)
.jpg)
.jpg)
.jpg)
.jpg)
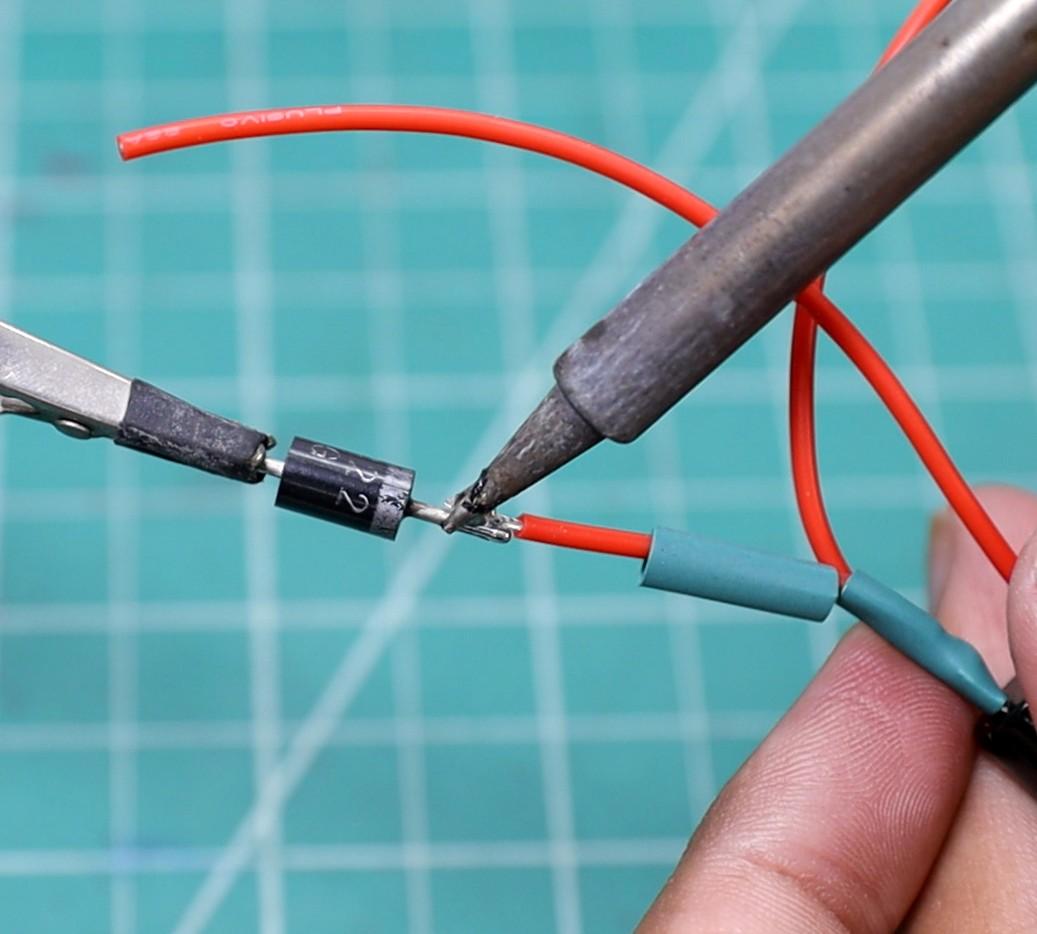
Apply a small amount of flux to the terminals and add a small amount of solder by using a soldering iron.
Solder two wires to one of the terminals of the fuse holder and a piece of small wire to another terminal. Then solder the diode to the shorter wire. Be sure the negative terminal of the diode is connected towards the fuse holder terminal. It is required because the power flow from the charger to the battery pack.
Prepare the Voltmeter Display


The objective of using the 0.28" Voltmeter display is to display the battery voltage so that you can know the battery state of charge. The rocker switch is connected in series so that you can switch off the display when it is not required. In this way, you will not waste energy unnecessarily.
First, cut the trim of the red wire of the display unit as shown in the above picture. Then solder the small piece of trimmed wire to the one terminal of the rocker switch ( 15 x 10mm ) and the other terminal to the positive terminal of the voltmeter display.
Insulate the soldering joints, by using heat shrink tube.
Prepare the MOSFET

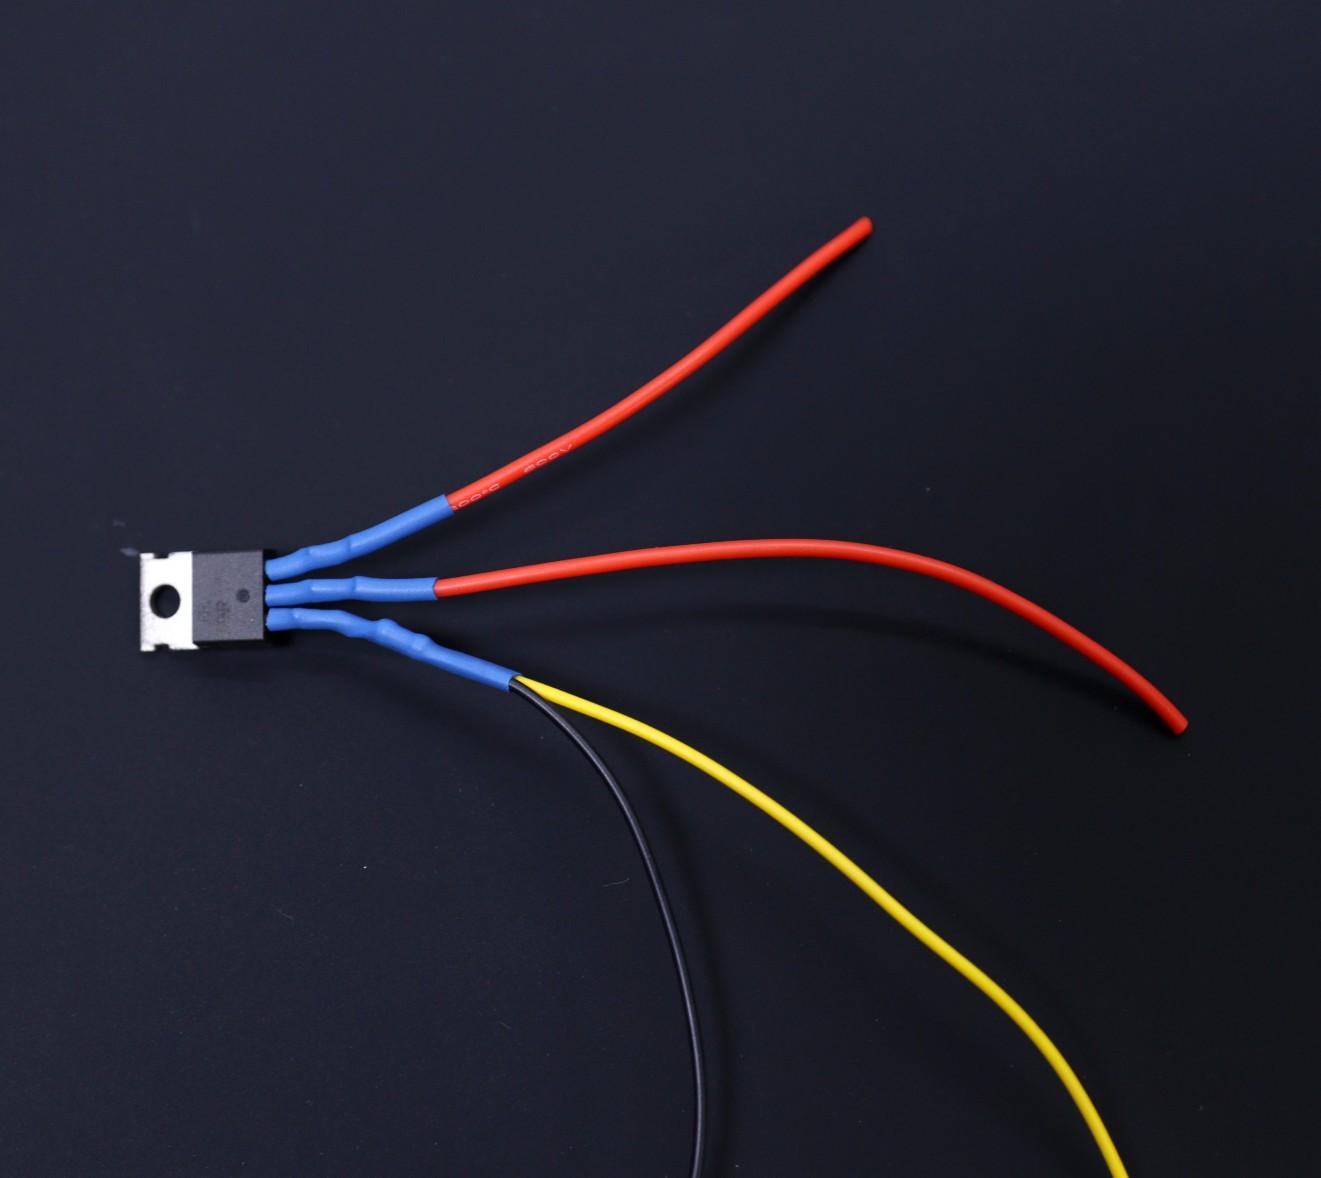
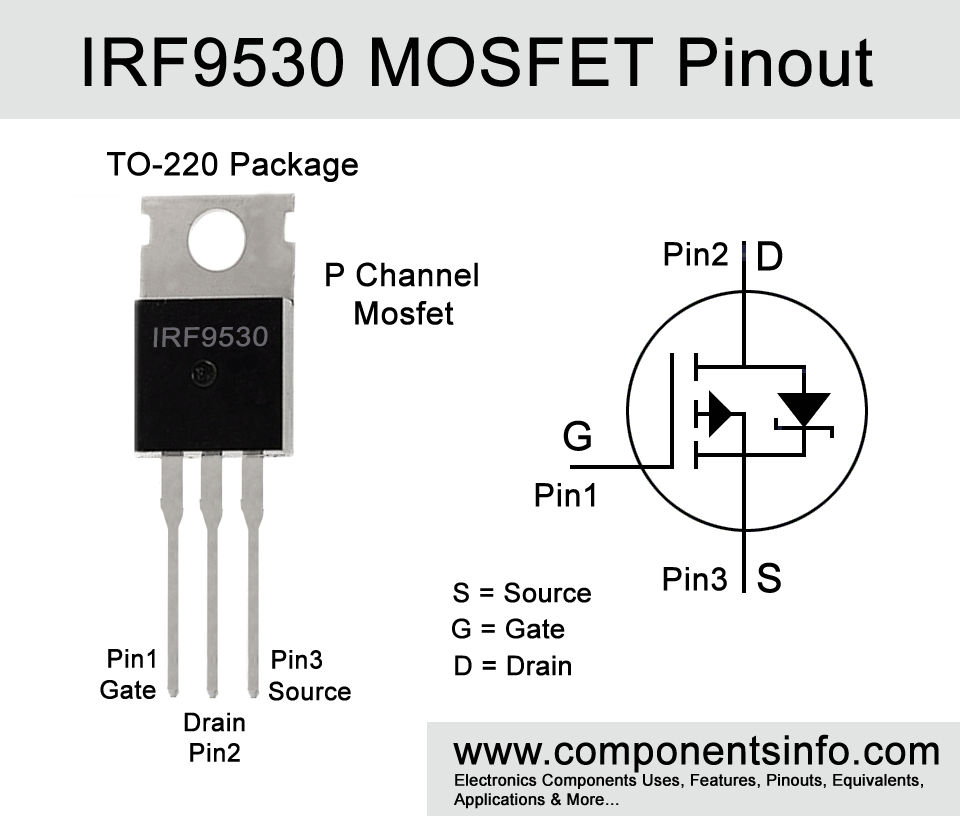
Here I have used a p-channel MOSFET for fast switching from power from the DC adapter to the battery pack. The MOSFET has 3 terminals designated as Gate, Drain, and Source. You can see the above image for a clear understanding.
Solder a piece of wire ( 24 AWG ) and 10K resistor to the gate of the MOSFET. Then solder two-piece of wires ( 22AWG) to the drain and source terminals.
Apply heat shrink tube to insulate the soldering joints.
Prepare Common Negative Wire
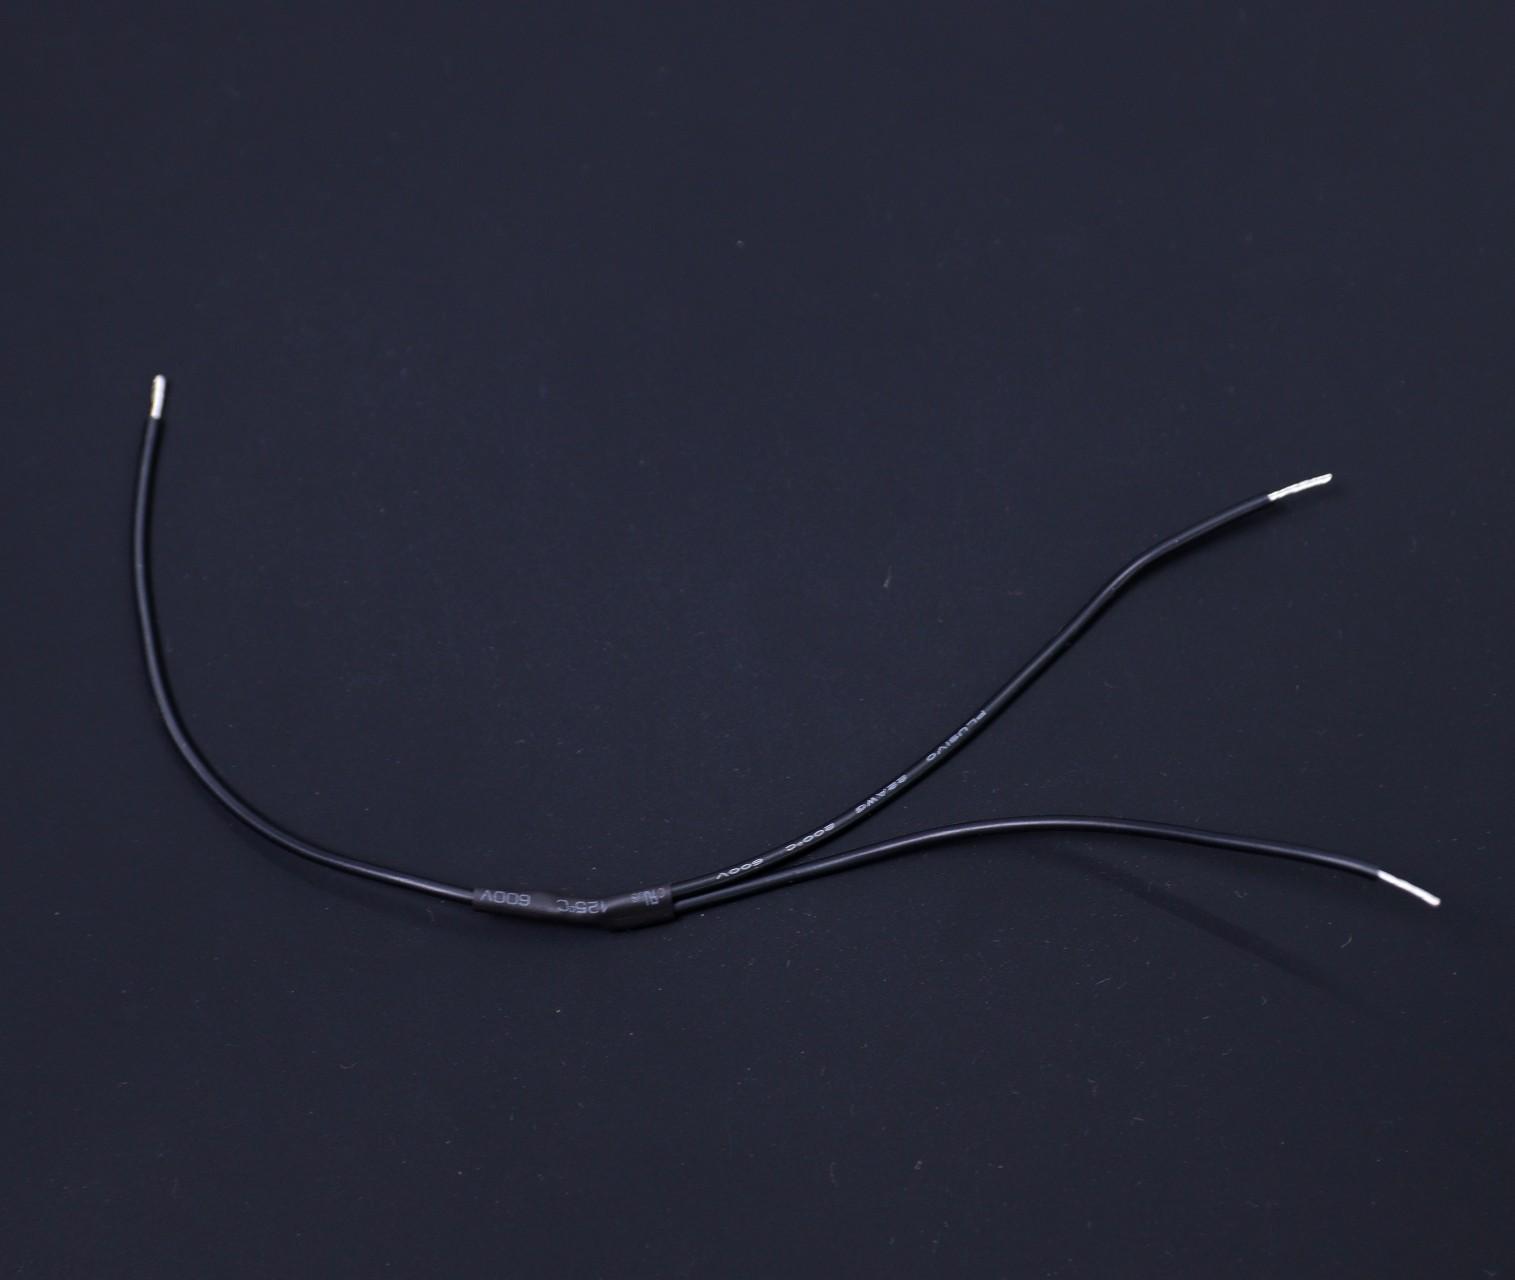
As per the schematic diagram, the same ground terminal is connected to the BMS board and two converter modules. So I have prepared a T connector by soldering three pieces of black wire ( 22 AWG ) as shown above.
Insulate the soldering junction by using a heat shrink tube.
Prepare the DC Output Jack
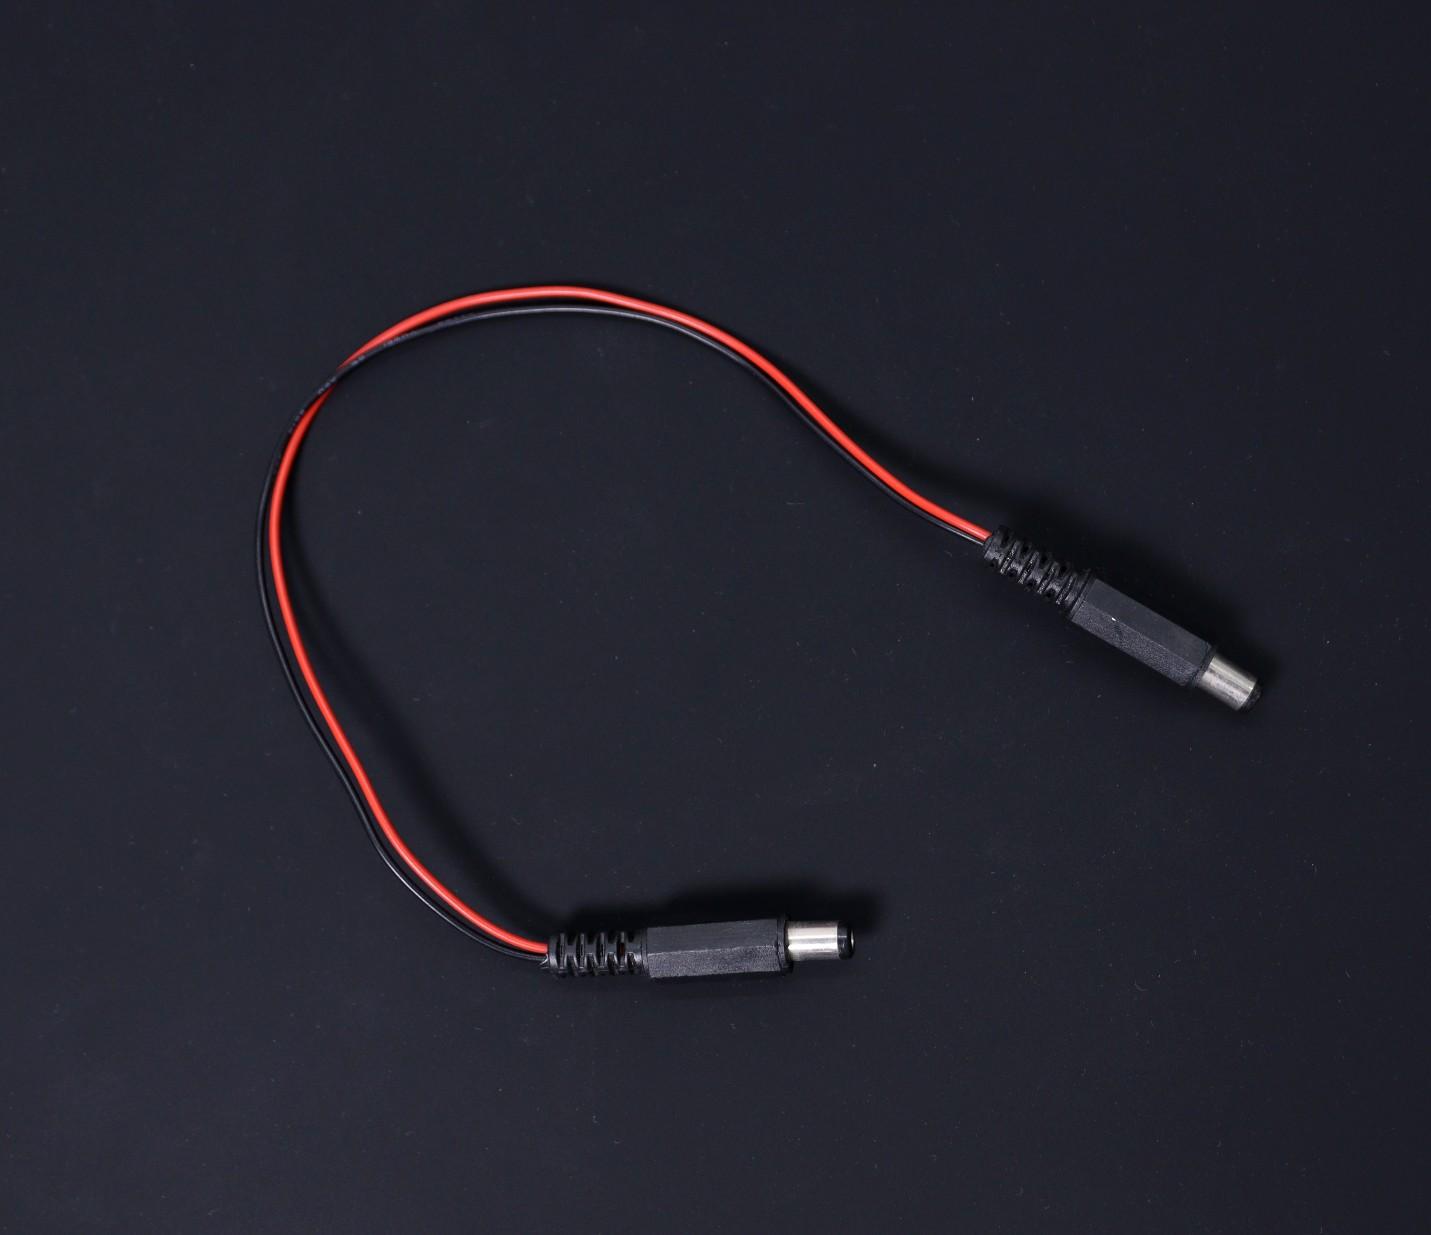
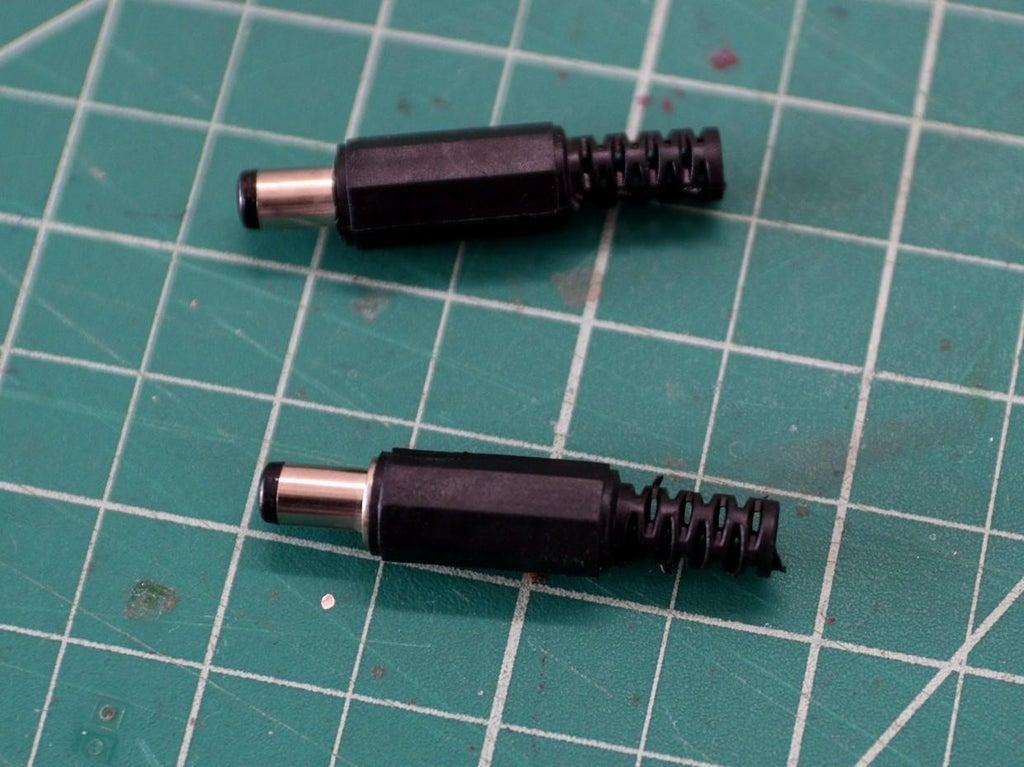
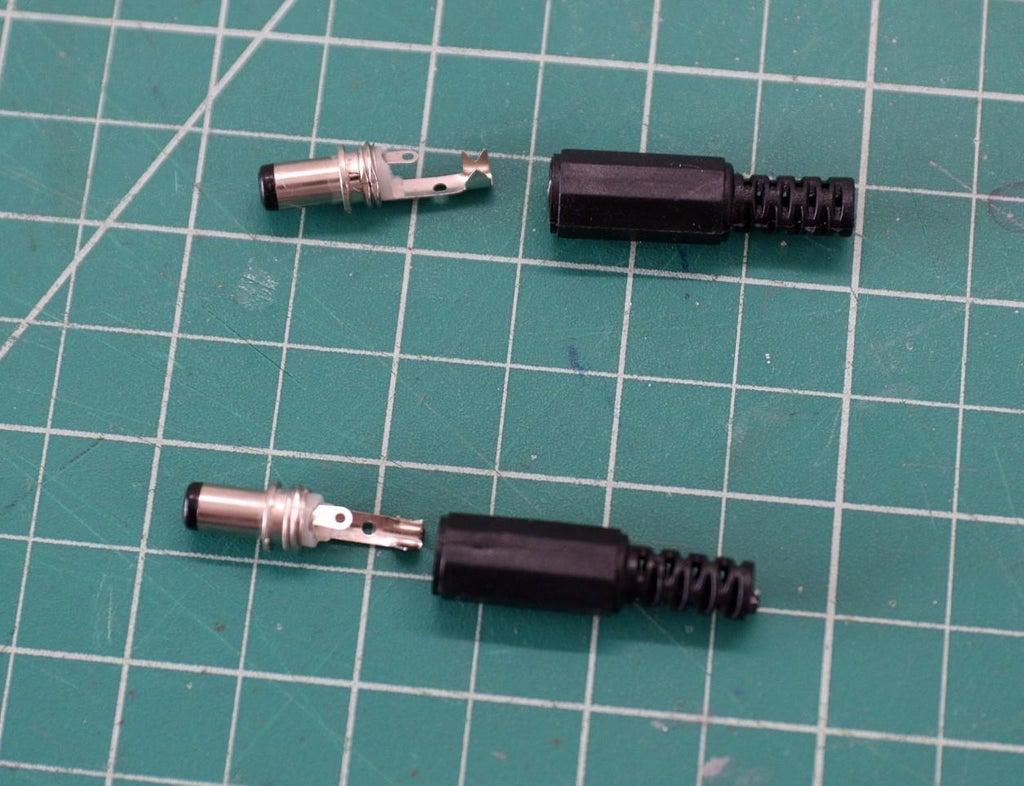

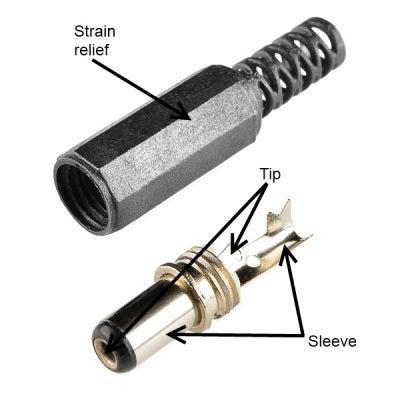
Now you have to prepare the adapter to connect the UPS output to the router input. First, check the specification of your router to confirm the size of the jack ( Sleeve size ) and the tip polarity. Your router will have a small diagram indicating the polarity expected by it; care should be taken to adhere to this, as an improper power supply may damage the device.
In my case, the size of the jack is 5.5mm and the tip polarity is positive. According to the size, order two male DC Jack. Then solder red wire to the tip (smaller one ) and black wire to the sleeve.
Set the Converters Output


Setting the Buck Converter Modules:
I have used two buck converter modules ( XL4015 ), one for charging the battery pack and another one to get the 5V or 9V output. The buck converter modules have both voltage and current setting options. You can adjust it by using a multimeter.
1. Buck Converter for Charging ( Set Voltage - 12.6V and Set Current -> 3A )
2. Buck Converter for Output ( Set Voltage - 9V / 5V and Set Current -> 2A )
Setting the Buck-Boost Converter Module:
The buck-boost converter is used to get the 12V output from the battery pack and power supply. I have used an LM2596-XL6009 module for the buck-boost converter. The module has only one potentiometer to set the voltage. The maximum current rating is 3A.
Place your multimeter probe at the output terminal and adjust the trim pot until you get 12V.
Install the Components


Install the DC Jacks, Fuse Holder, Rocker Switches, and Voltmeter display unit to the slot provided in the 3D printed enclosure.
You can apply a small amount of hot glue to secure the parts properly.
Complete the Wiring


Follow the schematic diagram to complete the wiring. I will recommend taking a printout of the attached schematic diagram and make the circuit as per it. Before connecting the input DC adapter, double-check all the connections.
Note:
1. Red and black wire in the schematic represent positive and negative respectively.
2. Rev-2 Schematic is updated schematic. I will recommend going with it.
Close the Top Lid
.jpg)
.jpg)

Finally, place the top lid and secure the 4 screws at the corners.
I have used 3M x 10mm screws to secure the lid. the counter sinkholes in the enclosure fit perfectly to the screw heads. I used the Allen key to tighten the screws. Never overtighten the screws, otherwise, the enclosure may crack or break.
Final Testing

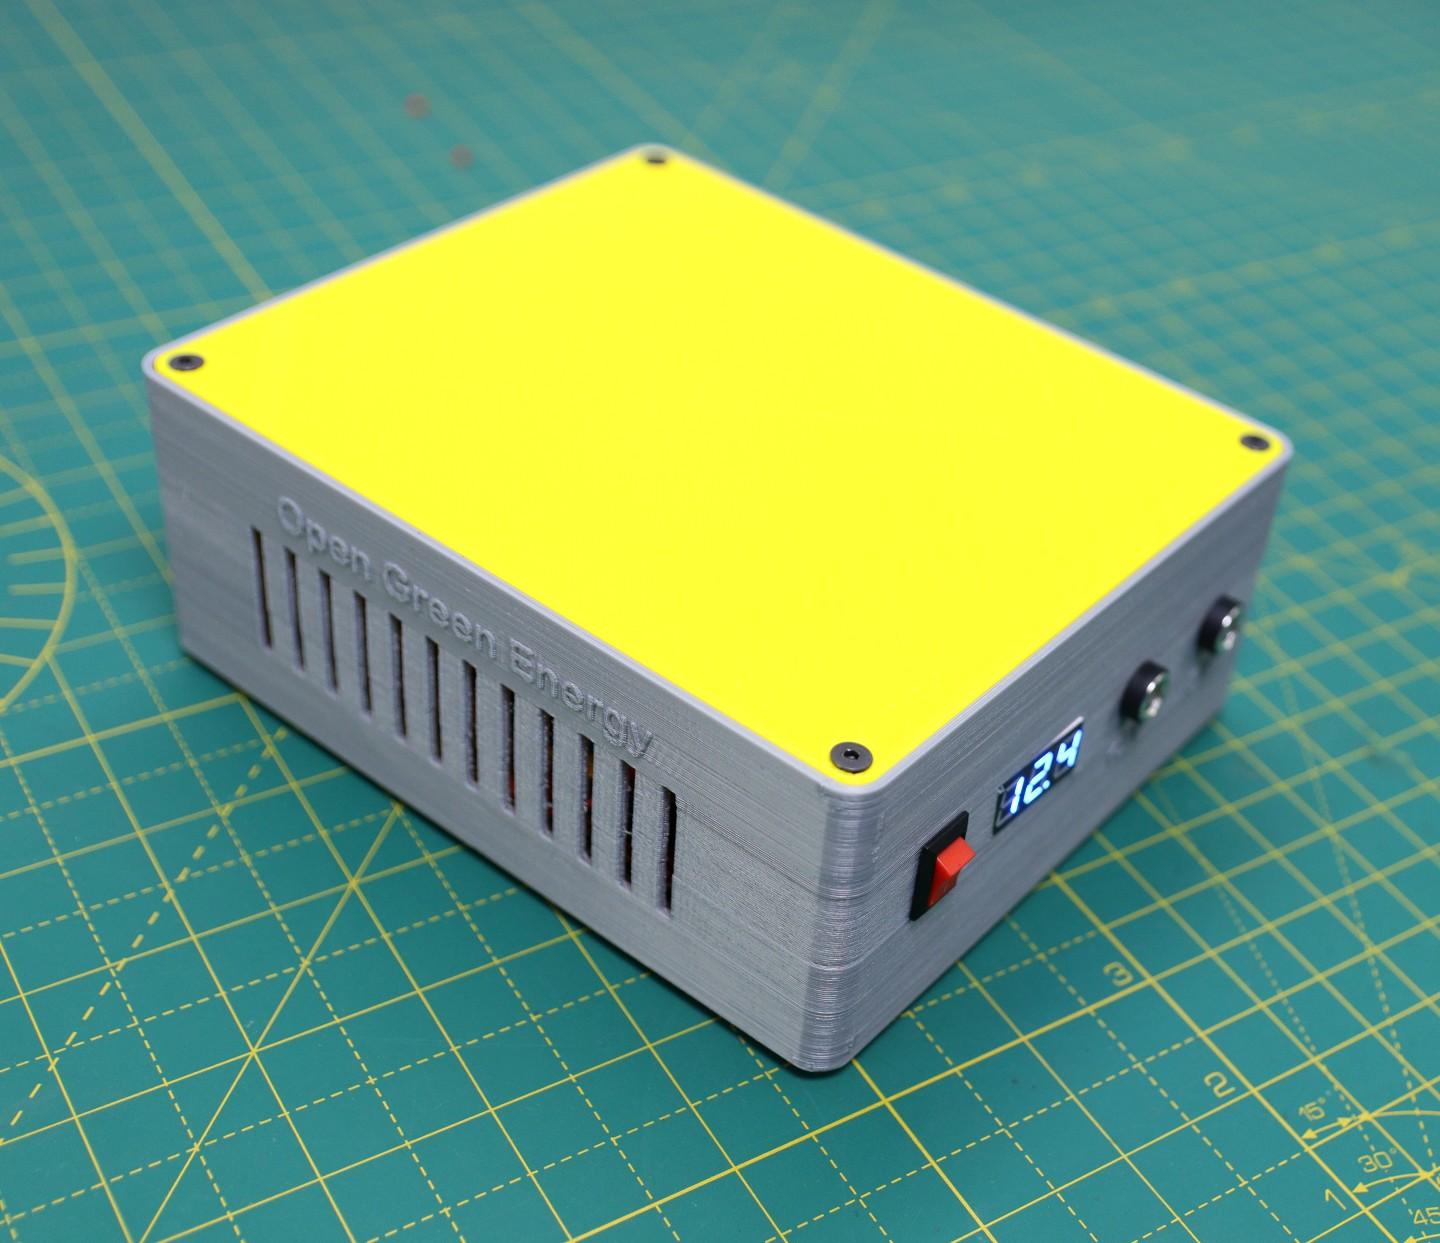

The last step is to test the UPS, plug in the DC adapter to the input jack. Turn on the rocker switch on the backside. Now you will notice the red led on the converter module will glow, it indicates the battery is charging. You can always check the battery voltage by turning on the rocker switch on the front side. The exact voltage will display on the voltmeter display.
Once the battery is fully charged, plug in the DC jack cable prepared in the earlier step into the female jack at the output. The other end of the cable will connect to the Router power input port. Now, the router status LED starts to glow and after a few minutes, your router is ready for providing internet service.
At this stage, you can unplug the input DC adapter, you will notice the router is still working flawlessly.