DIY Owl Piggy Bank That Flaps Its Wings for Halloween
by ROBO HUB in Circuits > Arduino
2062 Views, 5 Favorites, 0 Comments
DIY Owl Piggy Bank That Flaps Its Wings for Halloween


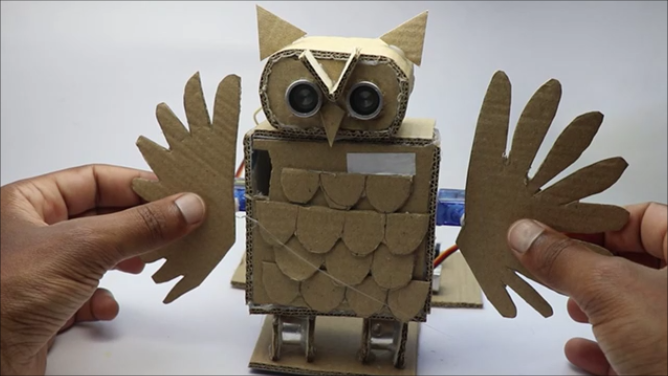
Hello friends in this Instructables I will show you how I made this owl piggy bank for Halloween that can flap it's wings when I insert the coin.
This project is powered by arduino and this spooky owl is a fantastic option to choose for this Halloween you can also show off this to your friends at the Halloween party.
let me tell you how this project works and why you should consider building this!
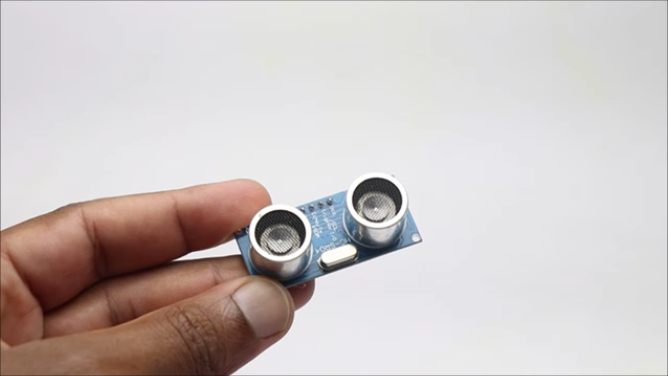
When you are inserting a coin the ultrasonic sensor detects the obstacle, in this case my hand is the obstacle
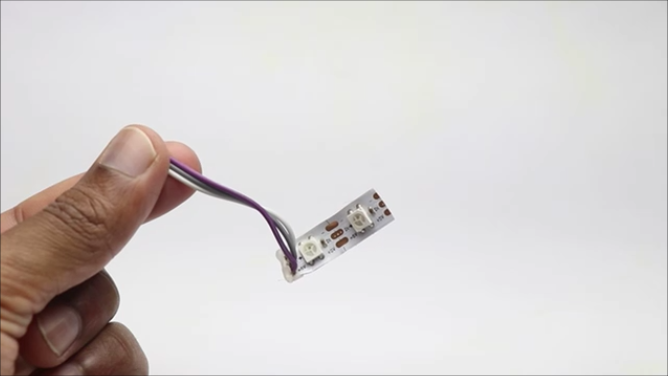
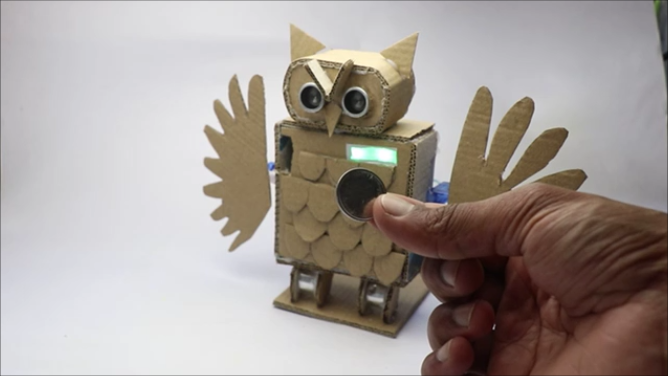
So the LED turns into red by its default green on standby and it will begin to flap its wings giving this Spooky effect.
Very portable project and is powered by usb through power bank and most importantly very fun to play with.
When u ask why did i say that you need to build this its because this creation sput technology to real life use!
I have made this project taking care of the materials availability so that everyone reading this instructable or are interested in building this can make it effortlessly with the materials available in and around in the house.
If you are building this project I have given all the circuit diagram and program explanation in the steps below
Also like always there is a complete video that shows the working as well as all the building steps of this project
Supplies


Arduino Uno from here
Micro Servo x 2
Ultrasonic Sensor
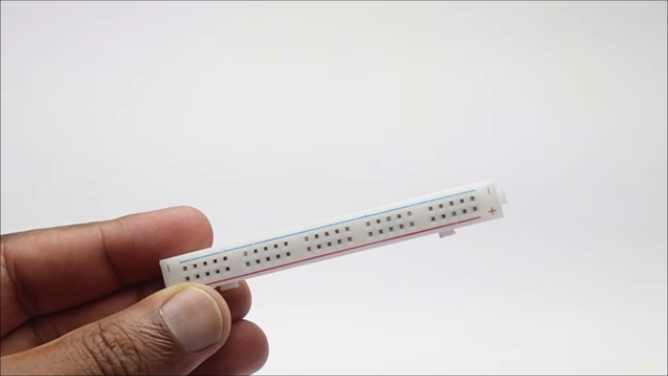
Power rail of breadboard
Jumper Cables
Pieces of Cardboard
Paper
Hot glue
Paper glue
Arduino IDE
Programming Cable
If you buy from these links i may receive a small percent of sales at no extra cost to you
Circuit and Codes
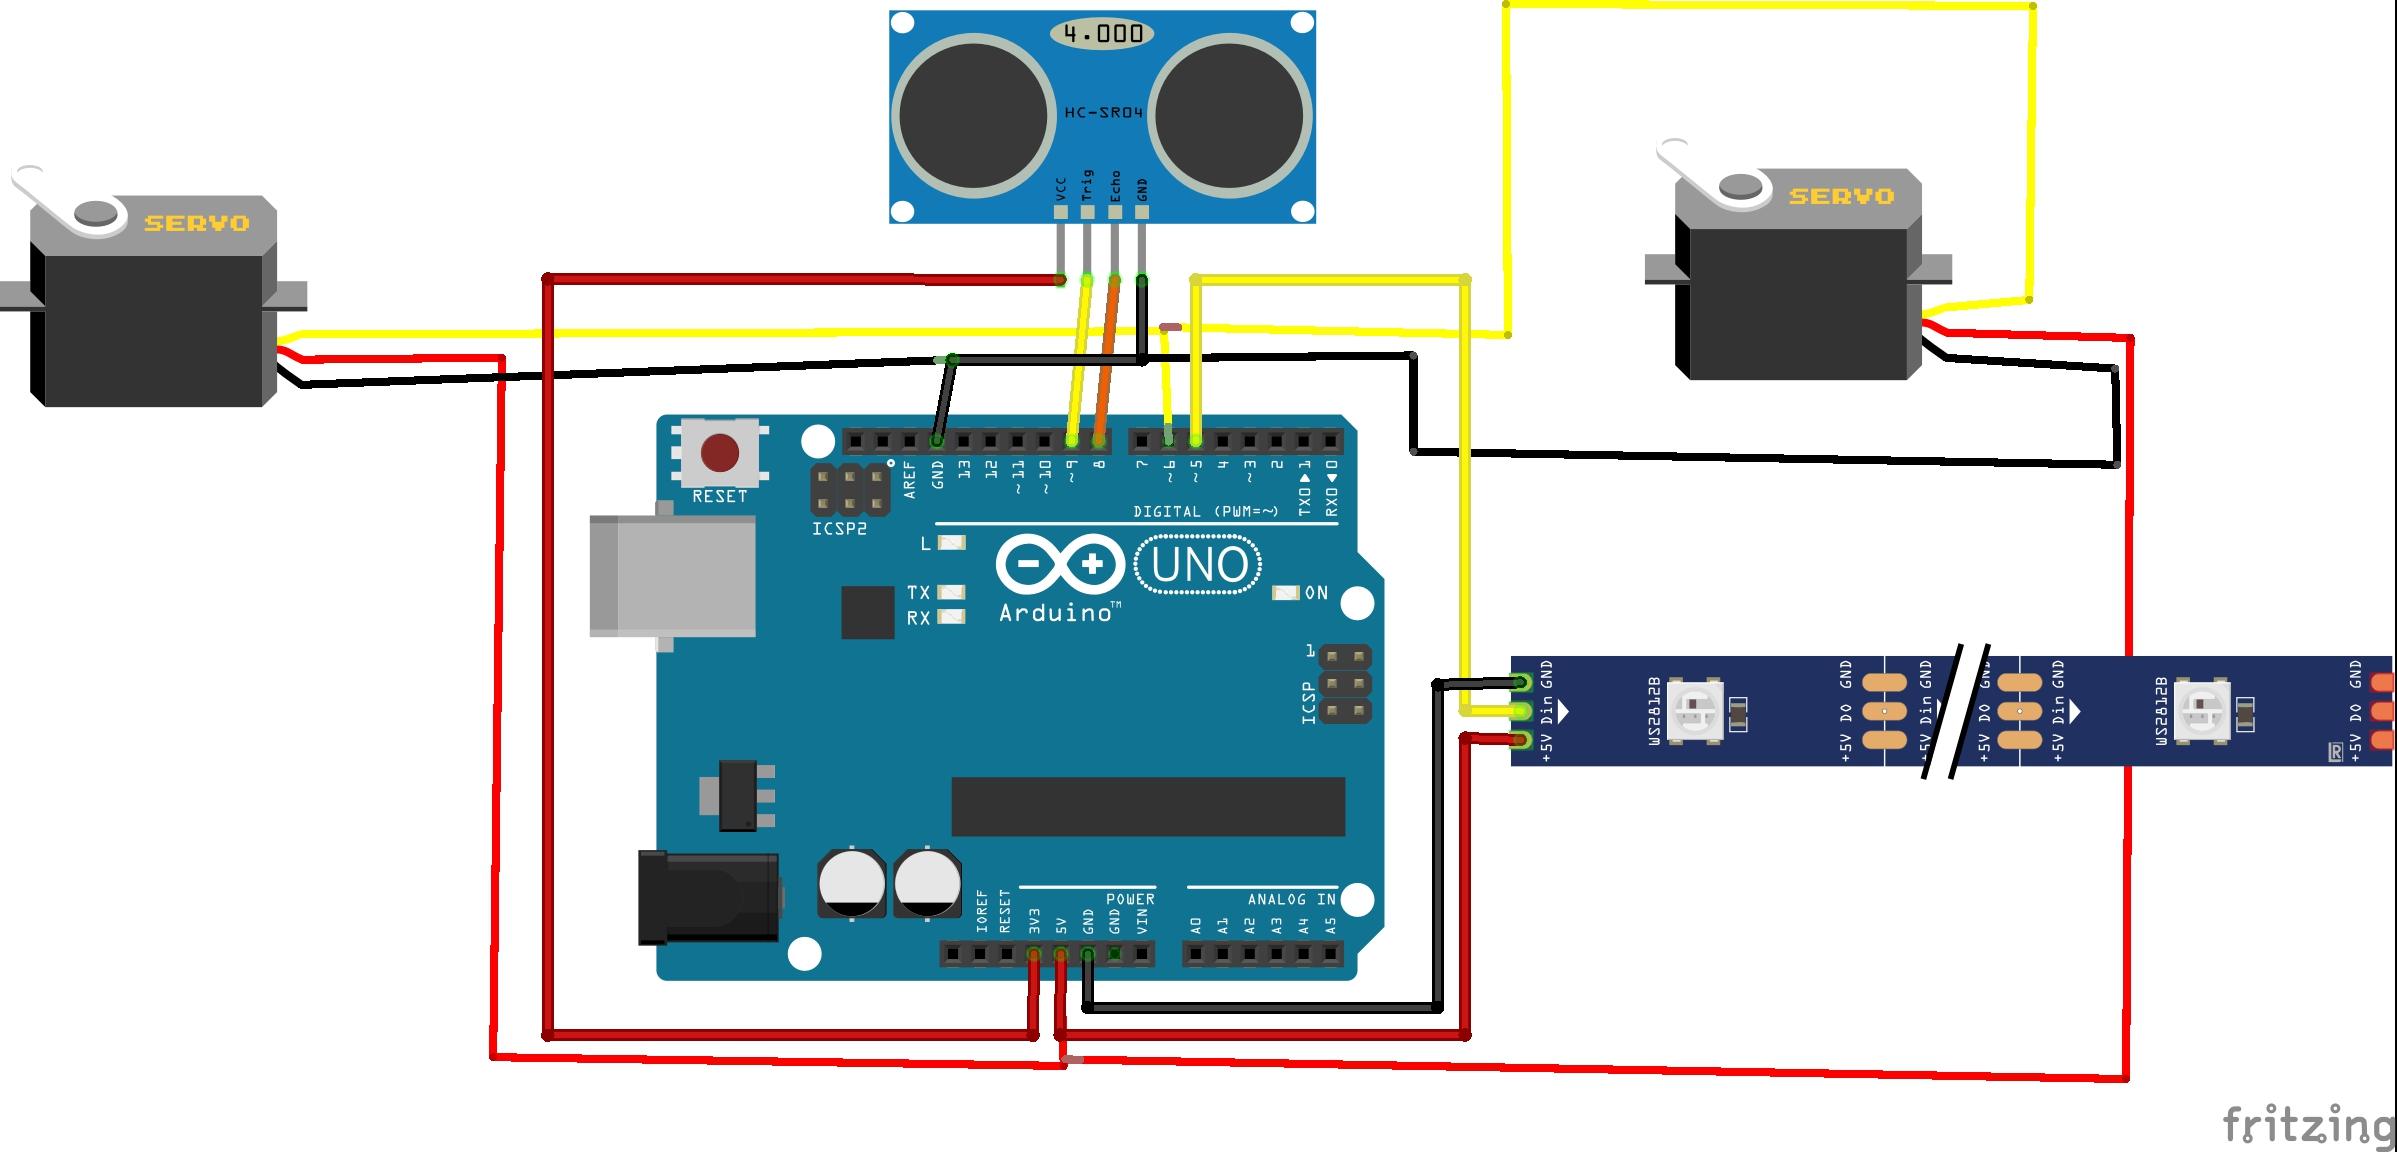


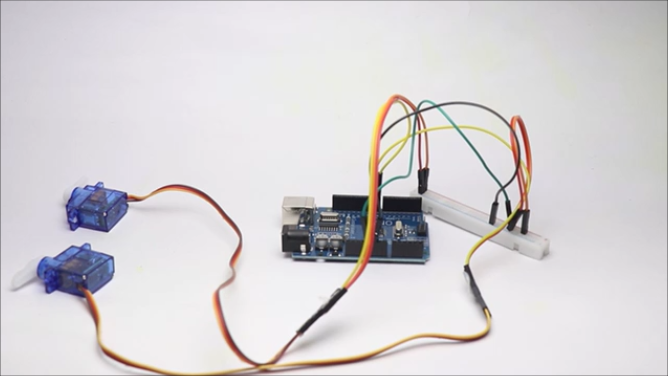
The circuit for this project has 2 main components other than ARGB Led strip
2 servo and the ultrasonic sensor play the most important role, i will break down the circuit component wise so that the connections are well understood for makers.
The servo has 3 pins and the ultrsonic sensor has 4 pins and the ARGB strip has 3 pins, all 3 has the vcc and gnd whihc is connected to 5v pin of the uno board and the gnd pin of the uno.
Now coming to the servo both the servo signal pins are connected to D6 pin of Uno board
The din pin of LED is connected to D5 pin and the Trig and echo from the ultrasonic sensor is connected to D9 and D8
Connect the componenets as said above and for the power supply you can use only the breadboard power rails that will simplify the circuit and reduce messy wires.
After the connections are complete, connect uno board to computer and open arduino IDE
Paste the code and check for proper port and board type and click on upload button, and after that test the circuit.
If you see greeen light on led and when you place your hand in front of the sensor the servo shaft should flap for few seconds meanwhile the green light should turn into red light, Now you have a ready circuit that can be installed on a owl.
Thinking of reducing the circuit and replace it with a PCB? Then you can consider checking NEXTPCB website they are providing PCB at $20 off and the first PCB for your project is on them! How cool is that
Have you heard about ceramic PCB earlier? maybe you havent but they manufacture it and i would say from makers point of view you can create super fancy projects using those.
Download their free PCB designing tool from here and have access to manufacturing analysis tool
Check their website for more exciting offers, they have all high quality products and services at very affordable prices so you can make high quality prototypes and products.
Making the Owl
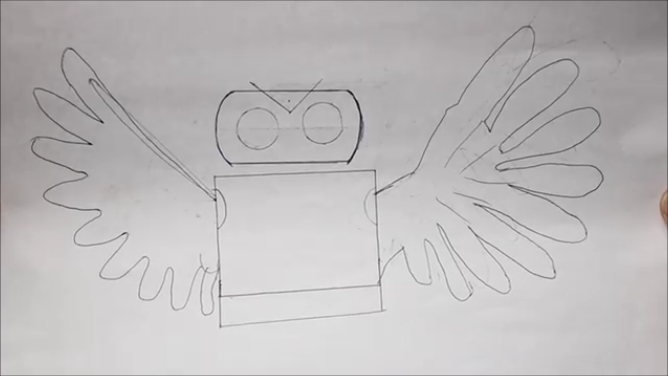
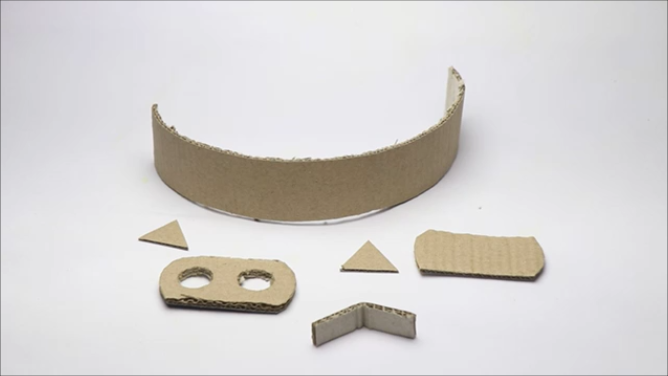
I made this template on paper first considering the standard size of the electronics, And here hc-sr04 is universal in size and that was designed first.
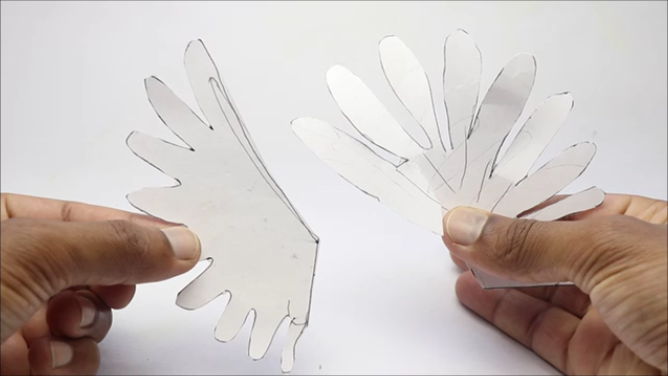
After the template is complete, i made the wings after several trials and was able to get it properly.
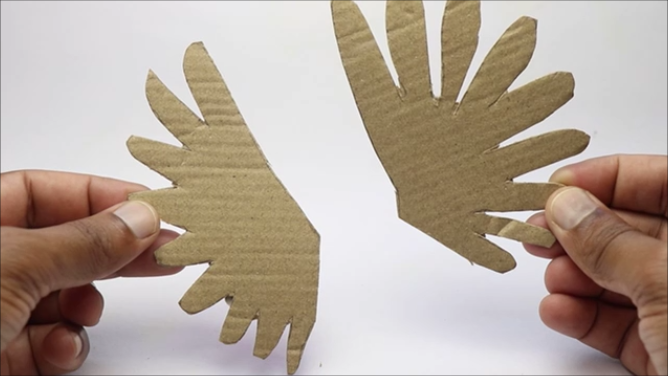
Trace the design from paper to cardboard and later with scissor cut the cardboard pieces, now we have parts cut into pieces that are ready for assembling.
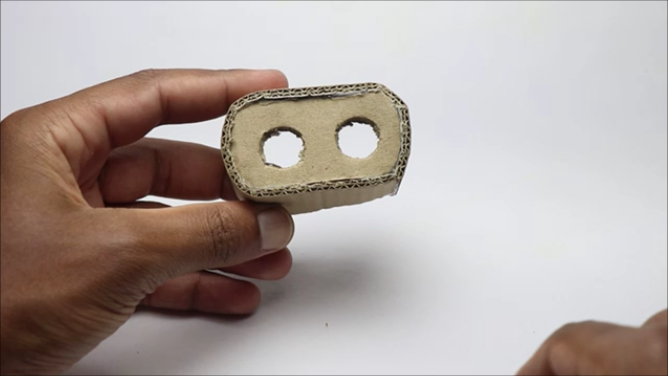
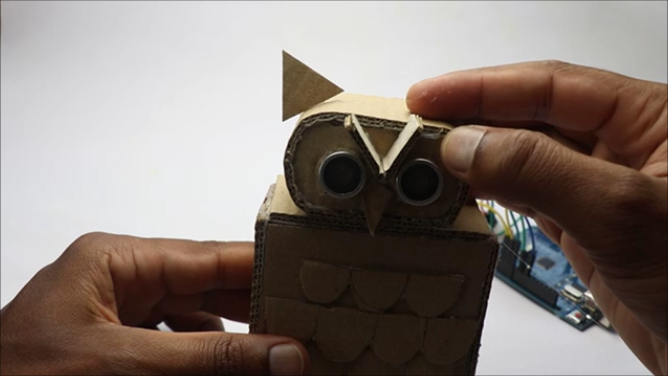
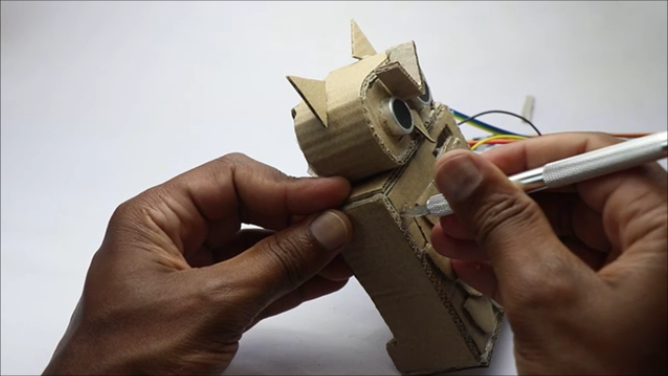
start with head first, its very easy to connect the pieces, After you have done with the head connect the sensor.
Inserting the hcsr04 may look tricky, But if u try pushing hard a little bit it will snap in at the right place.
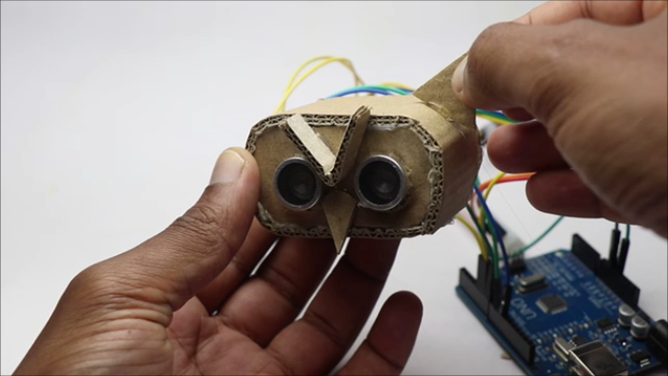
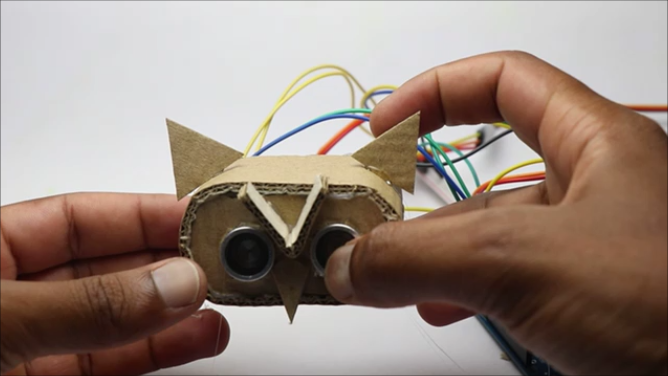
Hide the excess wires inside the space and later add two ears at the side of head that gives the owl head an appealing look.
Also add the tiny nose by folding a small strip of cardboard into the v shape, At this point the head is ready and we can move to building the body part.
Finishing the Owl

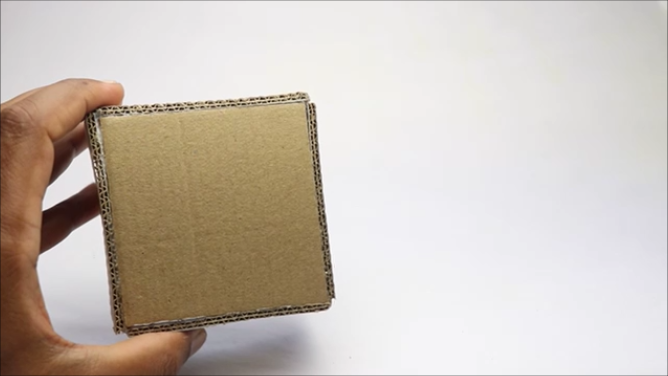

The body was made using a square piece of cardboard and its easy let me tell you.
Cut 6 pieces of cardboard, with the help of hot glue start joininng the pieces untill you have the box shape as shown in the step.
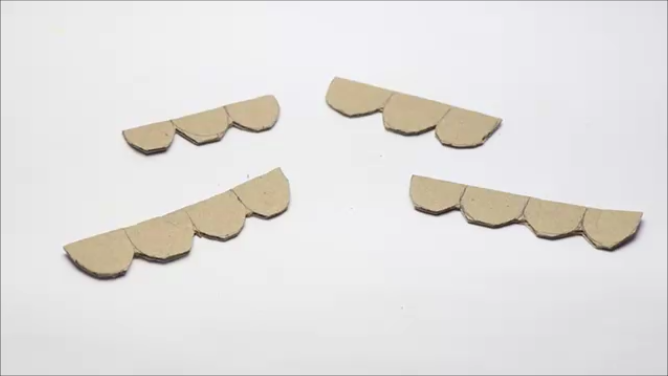
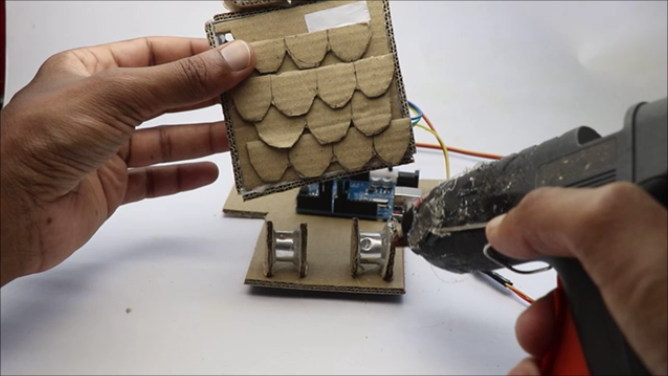
I have made wave sort of thing and cut those shape on cardboard to make the feathers.
Also i glued this to the body and repeated same step for other feathers also.
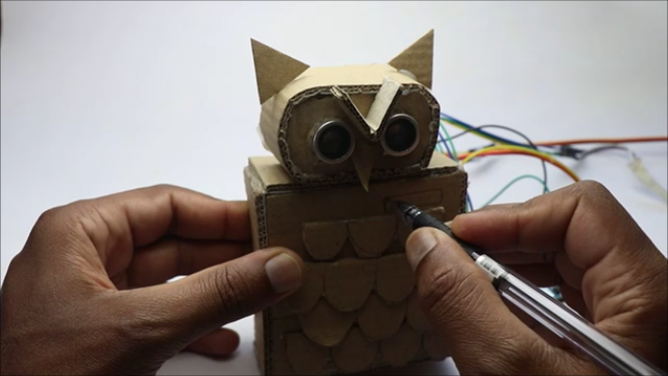
This completes the buold of the body or the middle part, now we can finish the owl.
Attaching the head will make the owl like an owl, use few drops of hot glue to attach the head to the body of the owl.
i will now complete this by adding the other electronics that we made e while ago.
Installing the Electronics
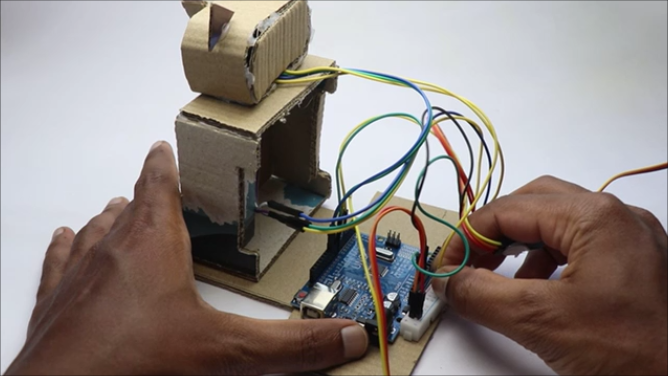
The electronics give the life to the owl, i will start by gluing the arduino to the base of the owl first and then other components are glued well.
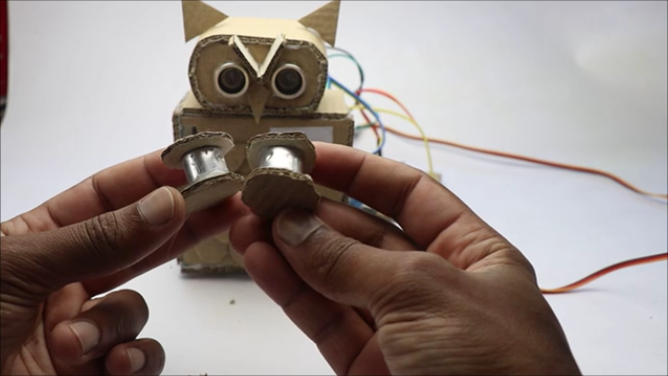
For the legs i used the tubes from ultrasonic sensor!
Now at the back side you can attach a small piece of paper or a cardboard to split the box into two halves so that you can drop the coins inside.
I added a round cardboard piece to either sides and attached it using hot glue to the base and later attached the body.
Now on the left side make a hole to insert the coins and right side attach the LED by making a small cut and attaching led and covering it up with strip of white paper.
In the end i will connect the uno to usb so that the servos are rest to default positions.
Again disconnect the usb cable and now using hot glue connect the wings to servo horn.
Allow the glue to dry completely and if you still want to make any further decoration to the owl maybe you can make it.
We are almost done with the building phase now we can proceed further to test the project and we will see the same in the next step.
How to Use


Using this is soo much fun and be aware if u show this to your friends they might keep this for themselves!
Connect the uno board with any power source, i used usb power from the power bank and i think with this option you have the freedom to use this spooky owl anywhere.
There is no rule to only insert the coin and make the wings flap!, After the power is connected to this owl.
You see the green light on the owl and when some objects gets closeby to the sensor, the wings flap for few seconds and the LED turns to red.
And as soon as you repeat it you can see the same results.
Take this to your party or you can place this on the living room so that guests can see and admire your creation!
This was all about this project, if you still have any questions we have comments box to get in touch.
I wish to see you build this project and post a make in the "i made it" section, definitely i will be happy.
Video Tutorial

Here is a video of the complete project in very detailed steps, also there is a working video that everyone must see!
Keep it on the table and that green light will attract people, wondering what it is.
When they come closer out of nowhere the wings start to flap. This is enough to give that spooky effect.
Hope you will build this project and create good vibes these holidays and also you can save money.
Thank you and have a great holidays.